Community Member Credit: Voltaire Duran Cacal


![]()


")
Write-up: Changing Manual Transmission Fluid


I changed my tranny fluid, it was VERY easy. In fact, easier than changing the motor oil (stupid socket won’t fit over the bolt on the oil pan because the ATTS unit is blocking it).
Anyway here goes.
Tools required:

-3 quarts manual transmission fluid (get 3 in case you need more)
-3/8″ drive socket wrench
-17mm socket
-Small attachment pump for the fluid bottles
-Drain plug washer (94109-14000)
-Filler plug washer (94109-20000)
-Something to catch the oil
-Torque wrench (optional but recommended)
-Jack/jack stands
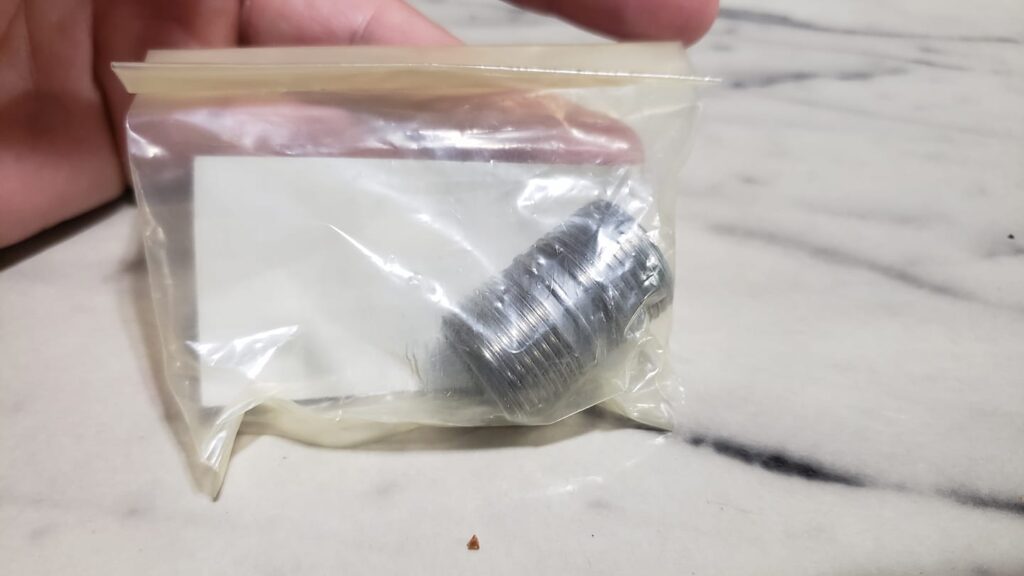
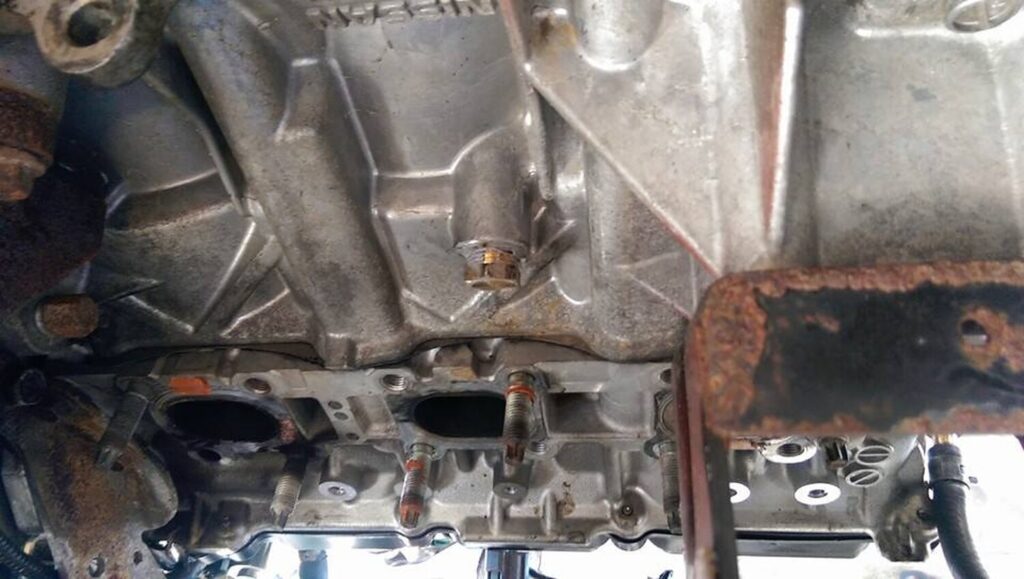
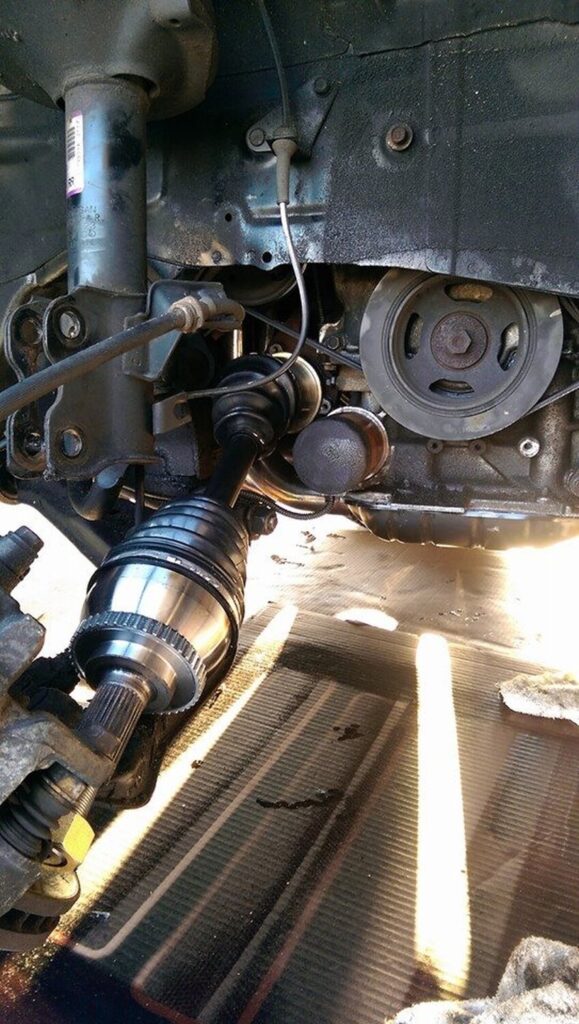
The tranny is located near the front passenger wheel. Here is the pump I used, it was 2.99 from kragen:

Step 1:
Jack up the car. Make sure the car is completely level when raised (4 jack stands recommended). The reason for this is to know how much you fluid you have filled up).
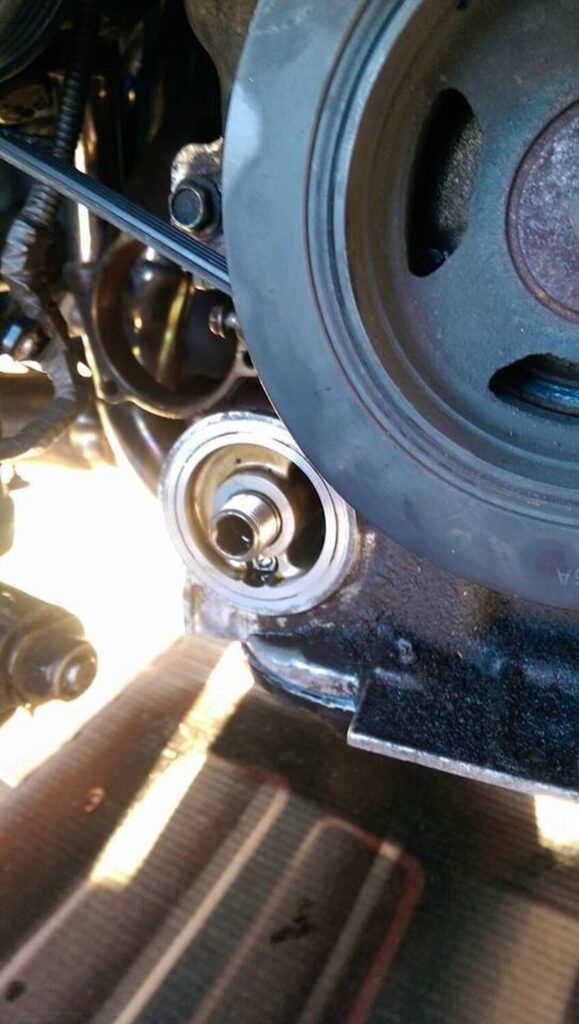
Step 2:
Remove the filler plug.
Use a 17mm socket.
A little bit of fluid should start dripping out.

Step 3:
Remove the drain plug.
As you can see from the picture, the bolt is a little square shaped, a 3/8″ socket wrench will fit right in. Remove it. Be careful, the oil will squirt out pretty far (same with motor oil).
Step 4:
Replace the washers on both bolts.

Step 5: Let the trans drain.

Step 6: Put the DRAIN bolt back on, torque it to 39 N-m (29ft-lb).
Step 7: Attach the pump.

Step 8: Route the tube to the filler hole, pump away!

Step 9:
Continue to pump until filler hole has fluid running out. Stop pumping. Let the remaining fluid drip out.
Manual states:
2.2 US qt at oil change, 2.3 US qt at overhaul for type-SH models
2.0 US qt at oil change, 2.1 US qt at overhaul for base models
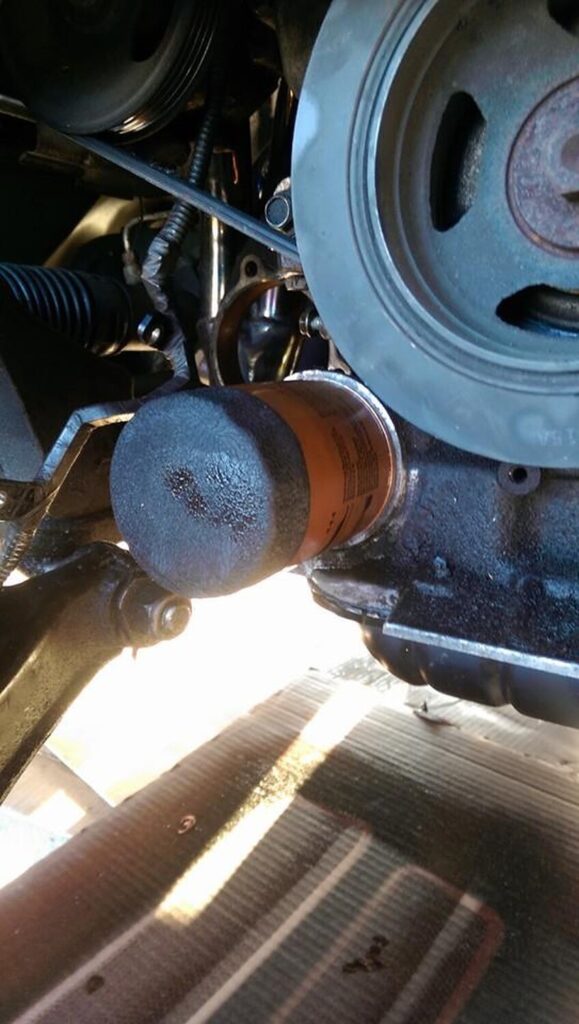
Step 9:
Put the FILLER plug back on. Tighten it to 44 N-m (33 lb-ft).
**FYI, you can also fill the transmission through the breather hole on top of the transmission, underneath the air box.
That’s all!
— This write up courtesy of Ludatic —
![]()


Credit: Product_Of_Korea
Installation Guide: EGS1.0
The front side of your G-TECH/Pro EGS has the main RPM gauge window with the backlit numbers. Colors in the backlight are adjustable to your car’s interior. During the time EGS is turned off the display will appear very dark, that’s normal. As soon as the unit is powered the dial face and the RPM needle will become visible. The aluminum back of the EGS may get warm during the operation, not to worry, that means aluminum is doing its job and dissipating heat generated by the powerful backlight LEDs

![]()

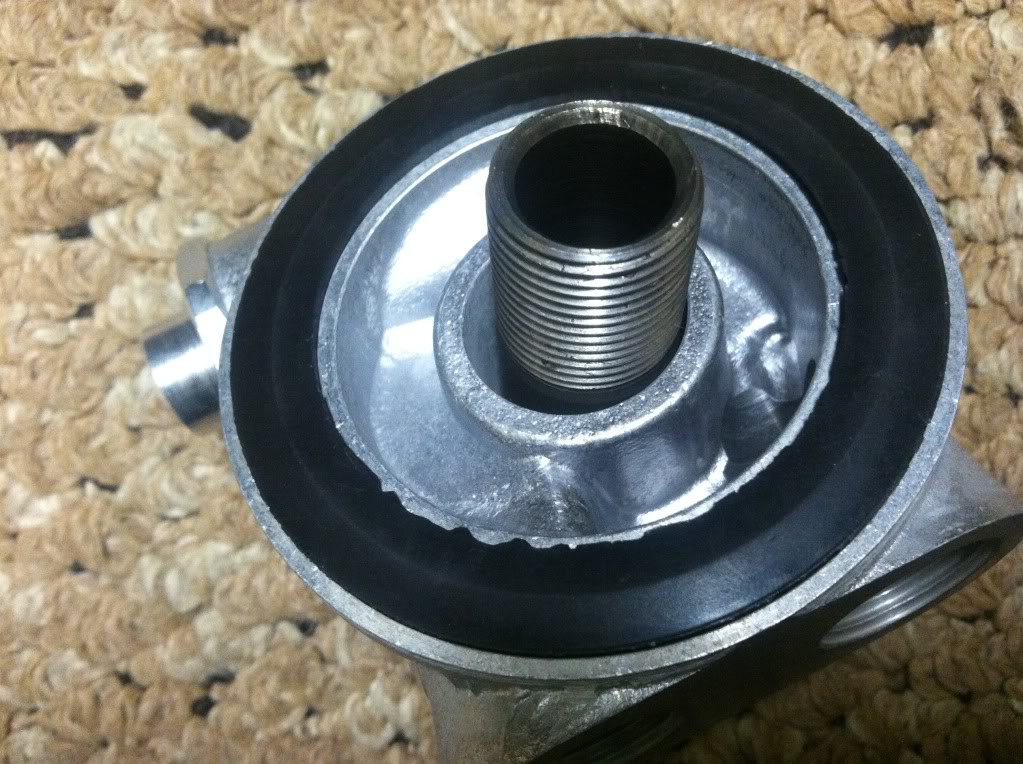
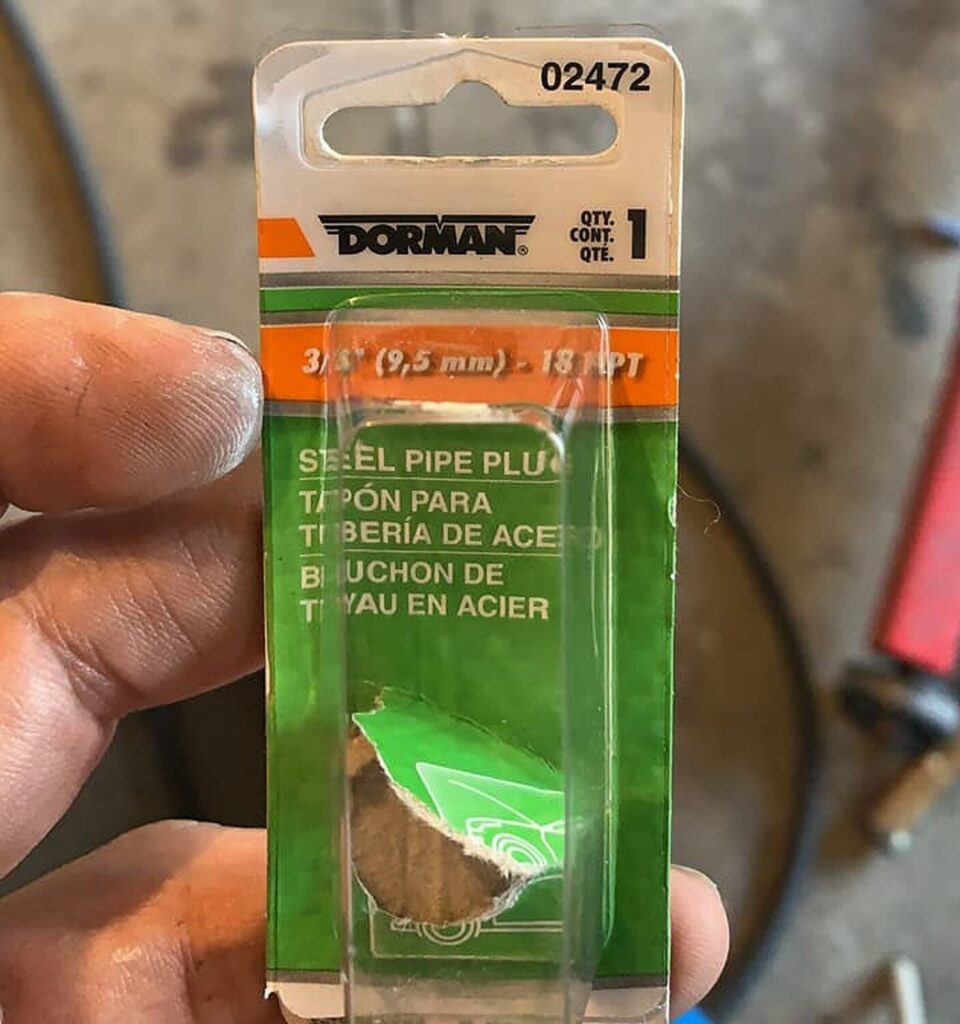
This setup replaces the factory oil cooler/warmer. The factory oil cooler/warmer warms up your oil and maintains it at coolant temperature. This cooler / warmer often leaks, or can not be reused due to damage or contamination. When using this delete kit vehicles must be driven carefully, with no high rpm driving until oil temperature warms up.
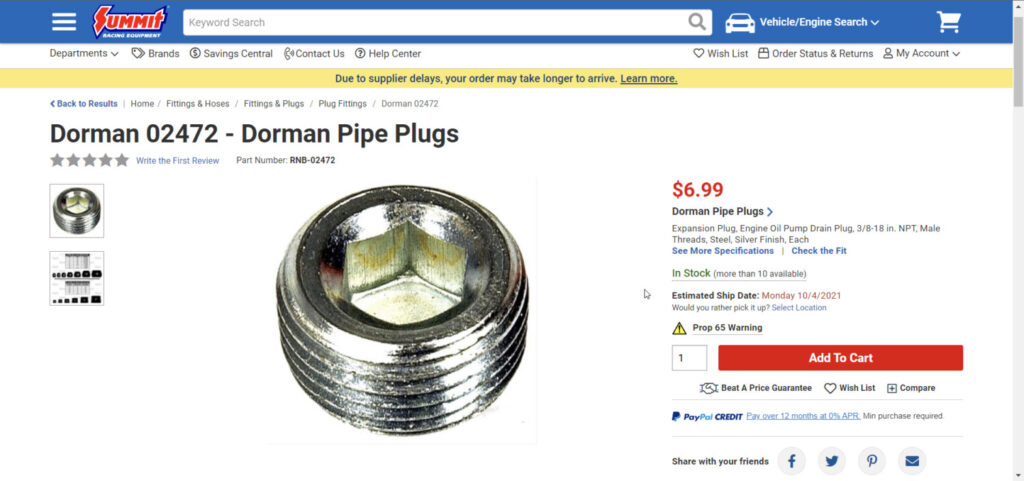
Parts Needed:
Part Number:
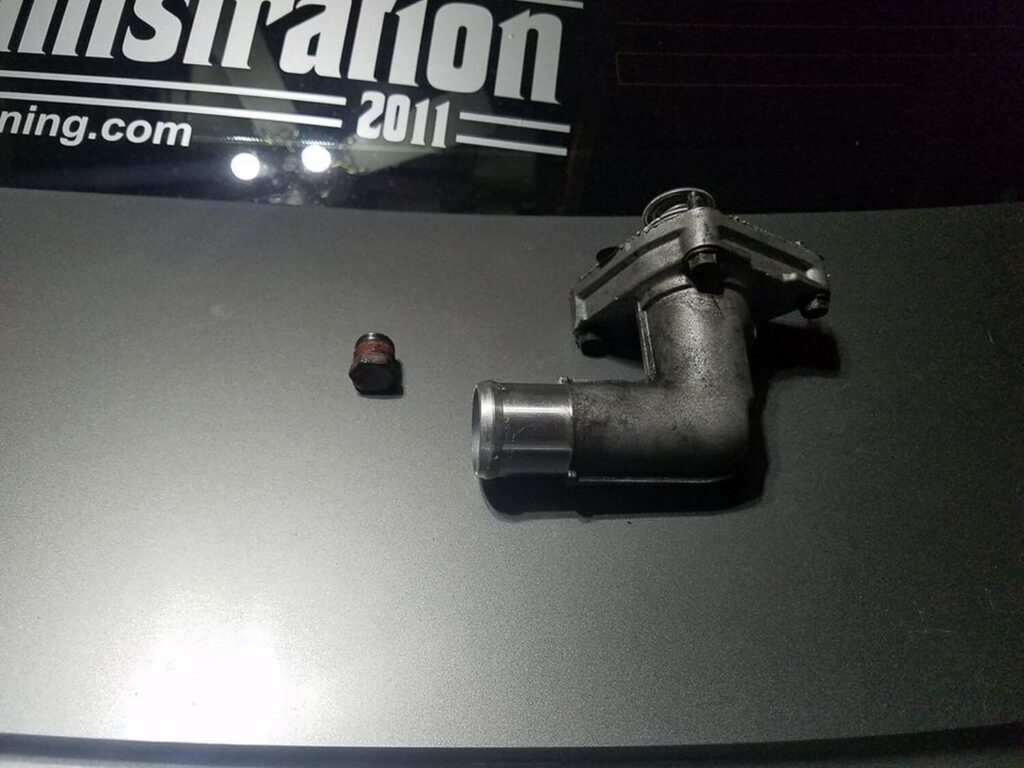
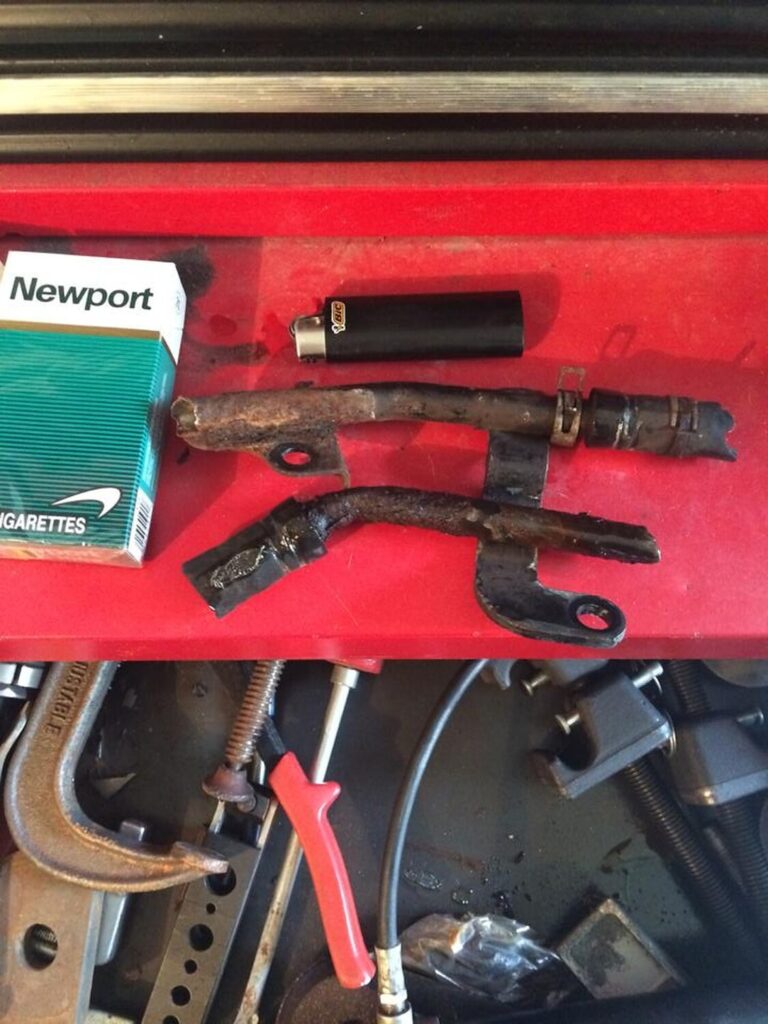
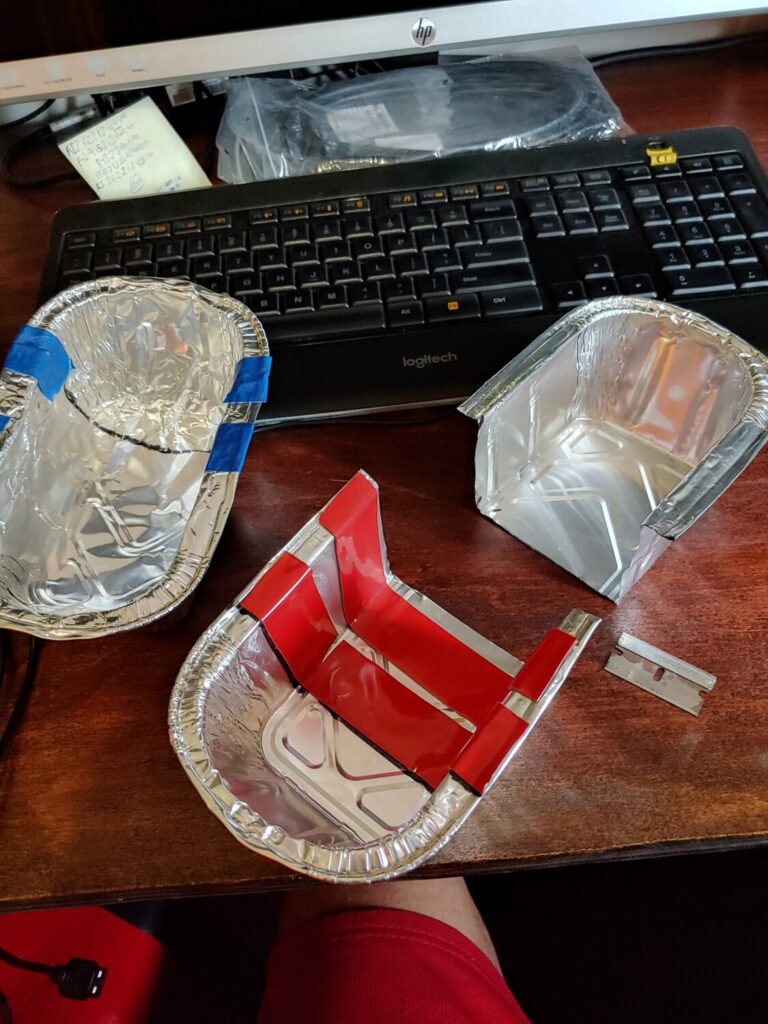
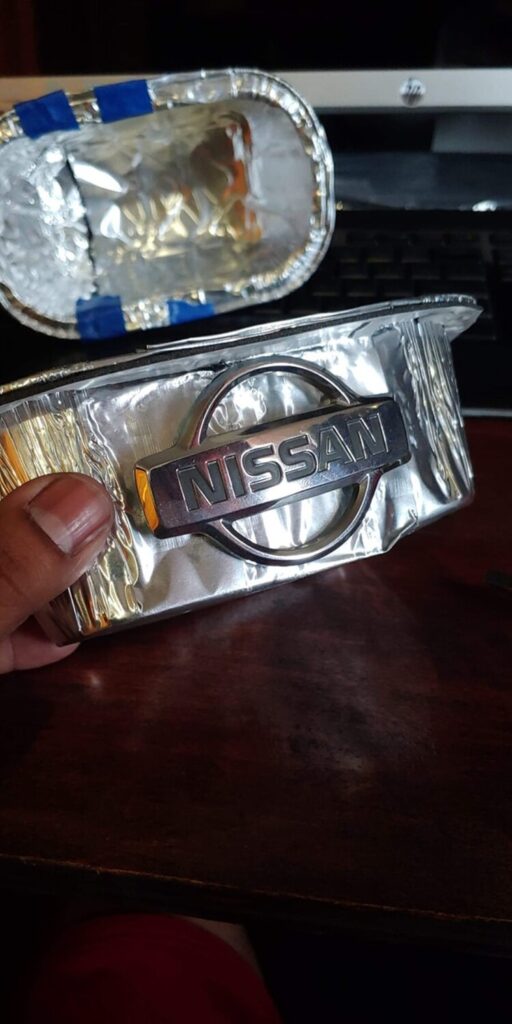
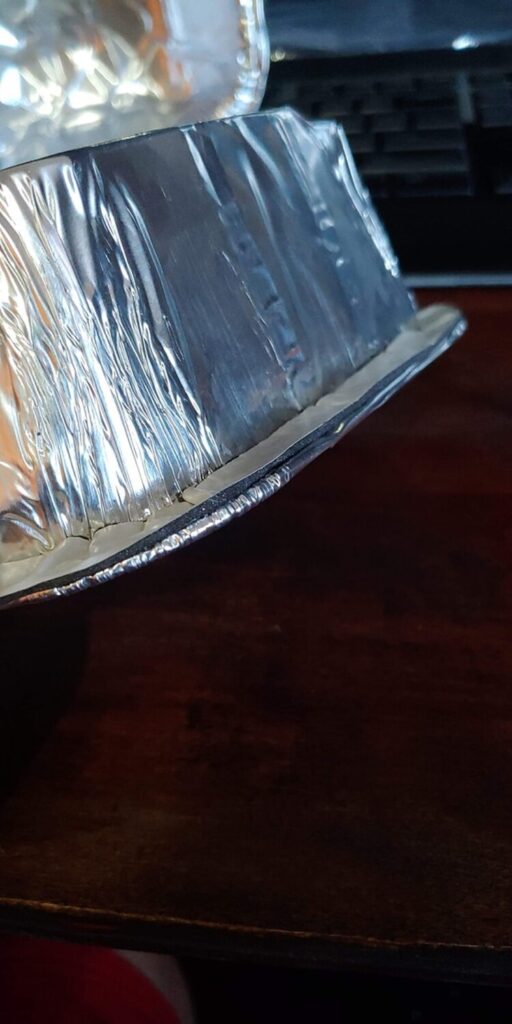
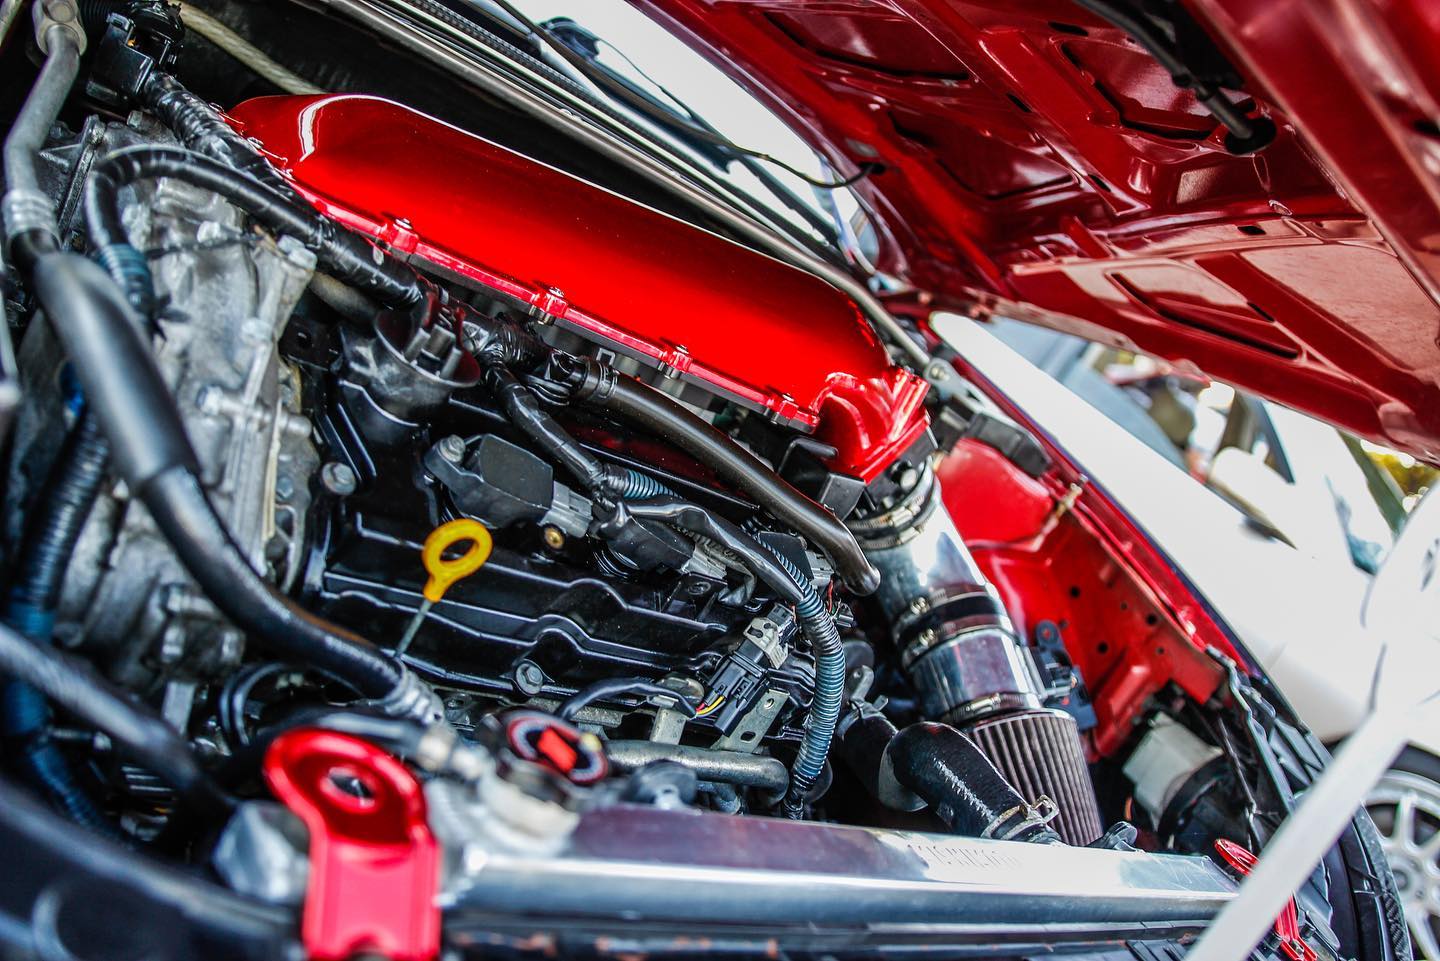
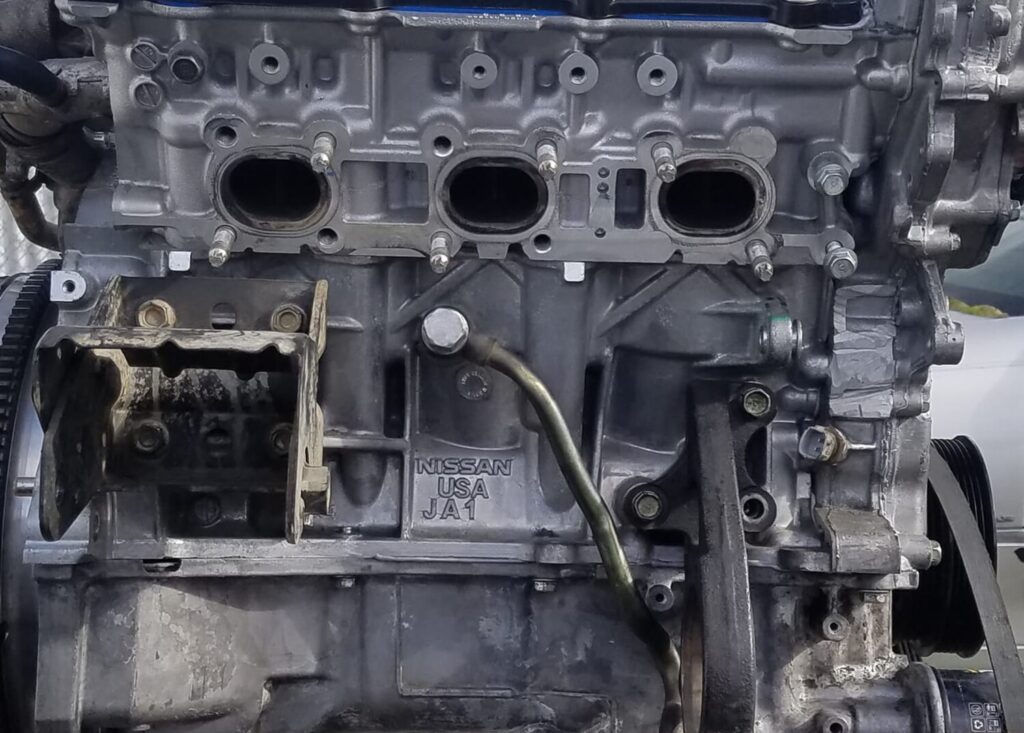
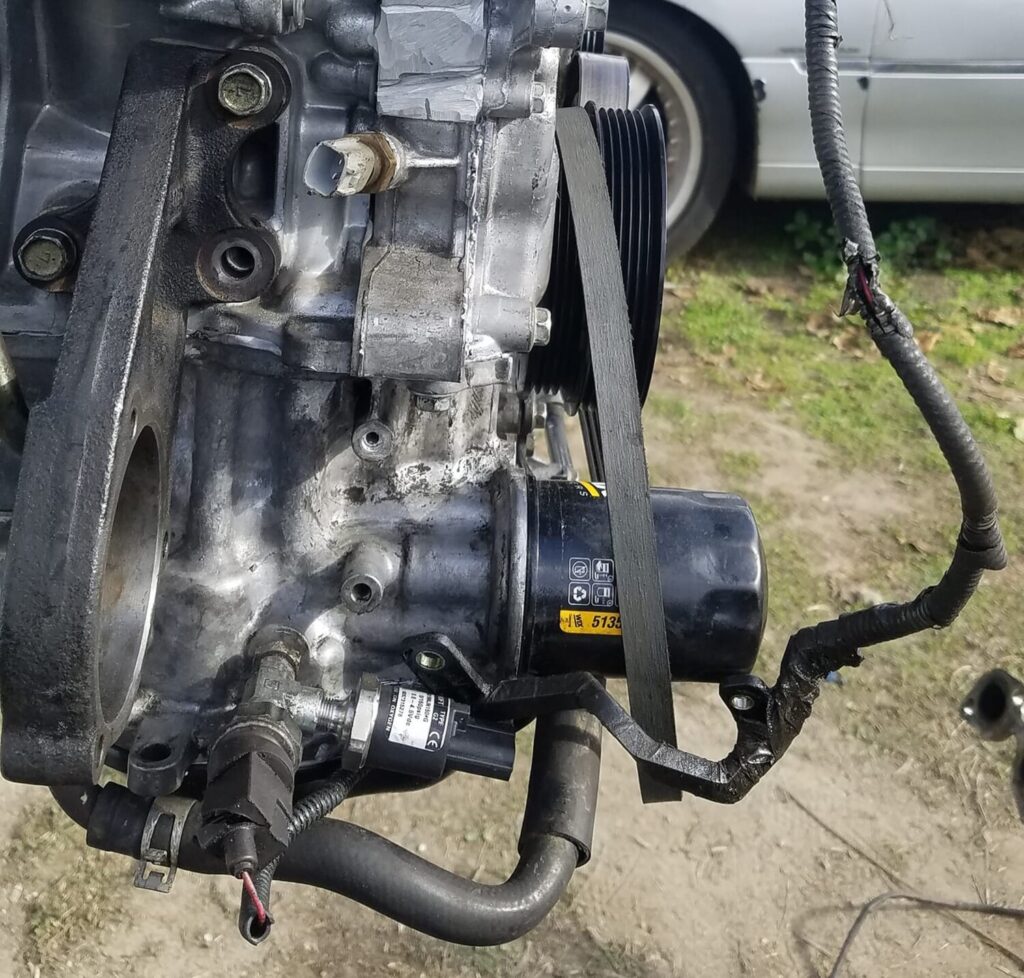
I’ve never heard of a Vq35HR having an oil cooler/warmer. Here are a couple of pics I took:
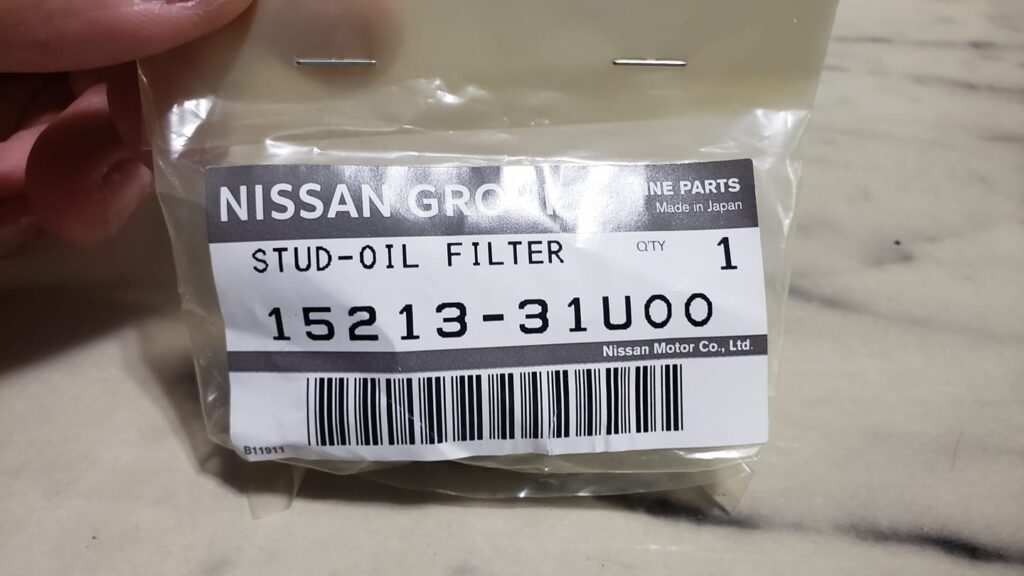
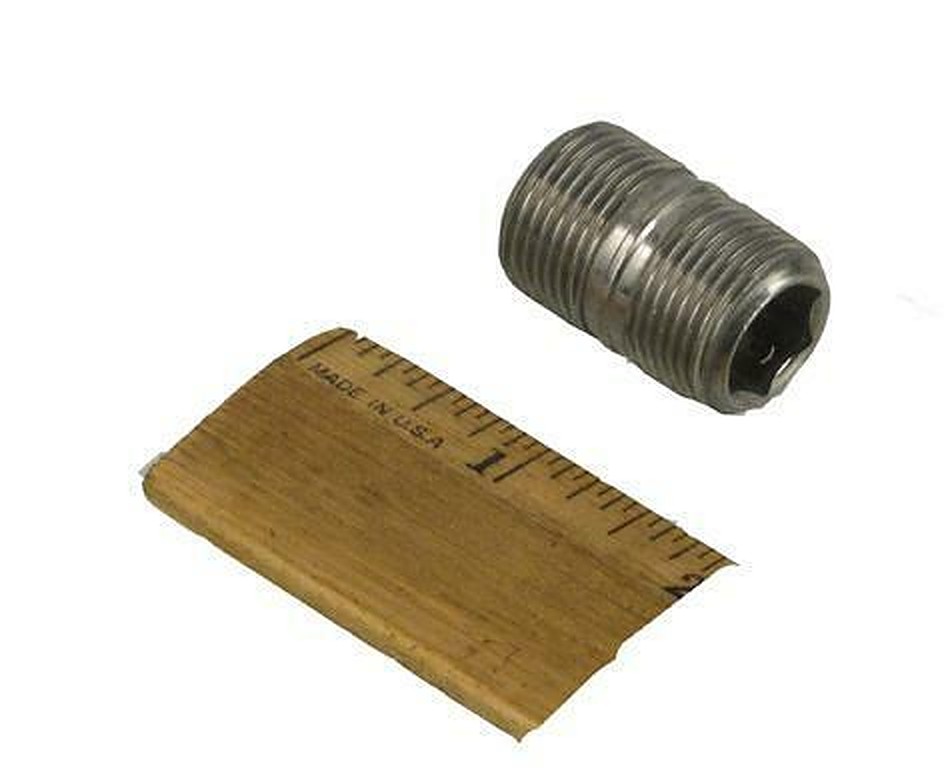
Stock VQ35DE stud
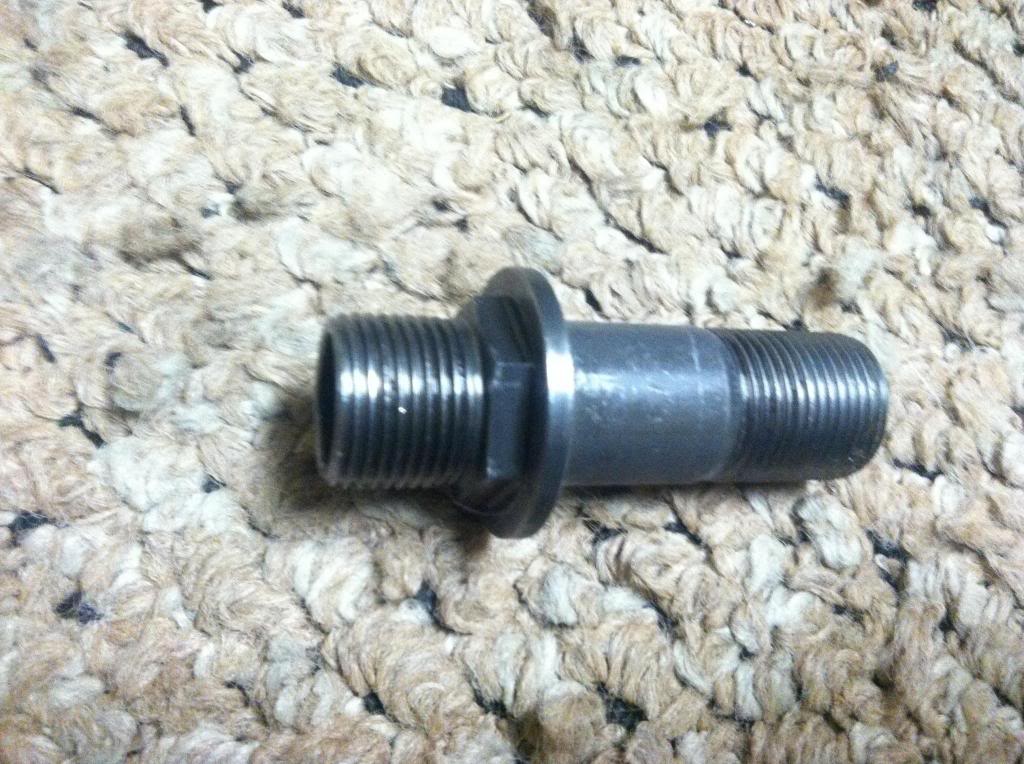
The reason why you need the VQ35HR oil filter stud. The shank is way too thin to use with an oil filter block and too long to use with just a filter.
The VQ35HR filter stud

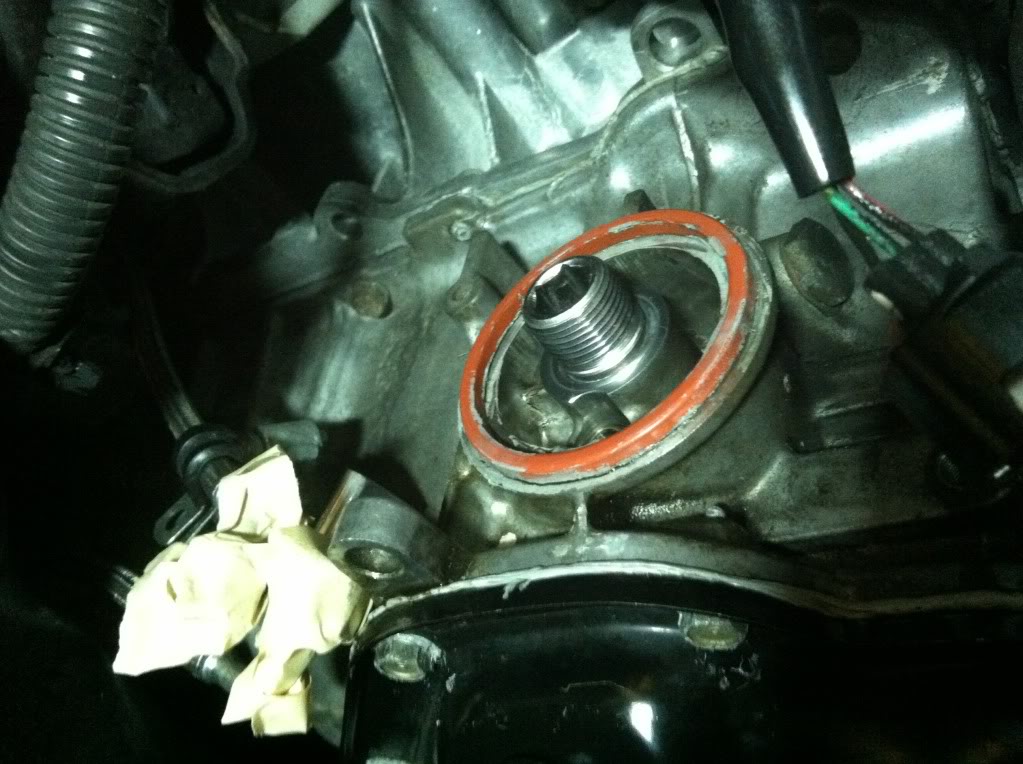
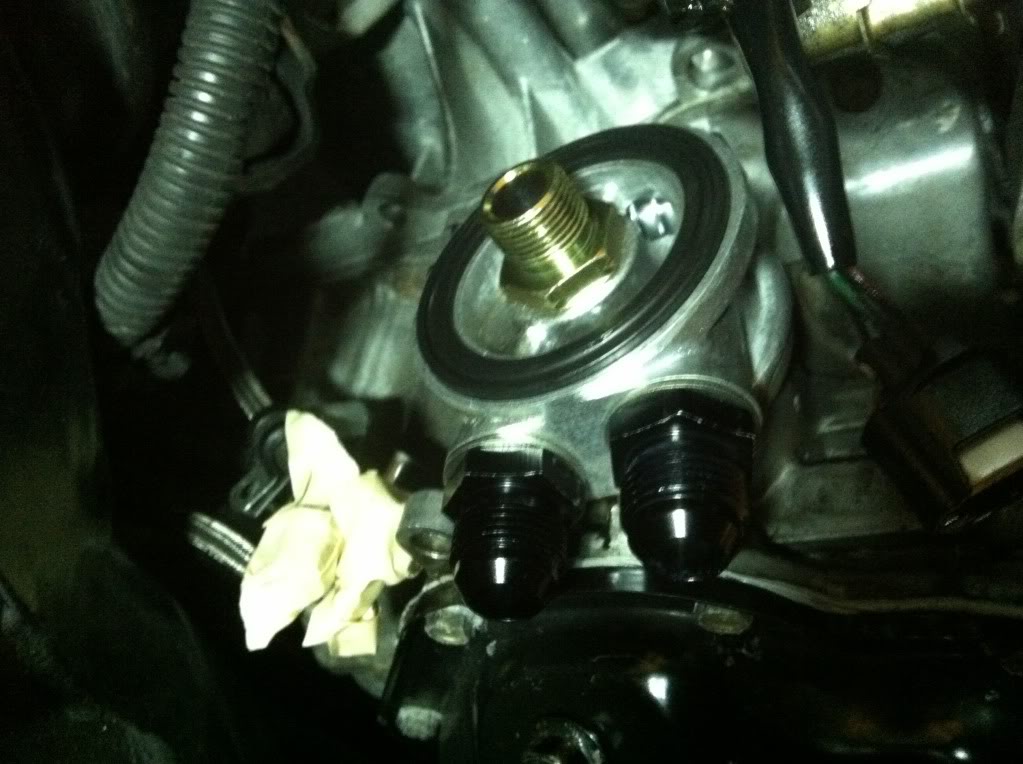
VQ35HR filter stud installed on a VQ35DE. You can see why you will need it.
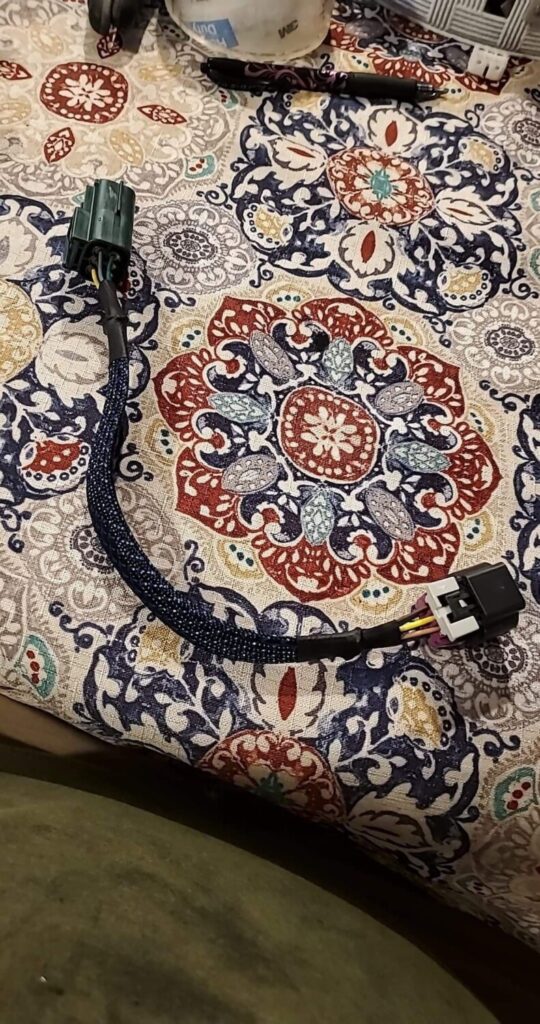
![]()

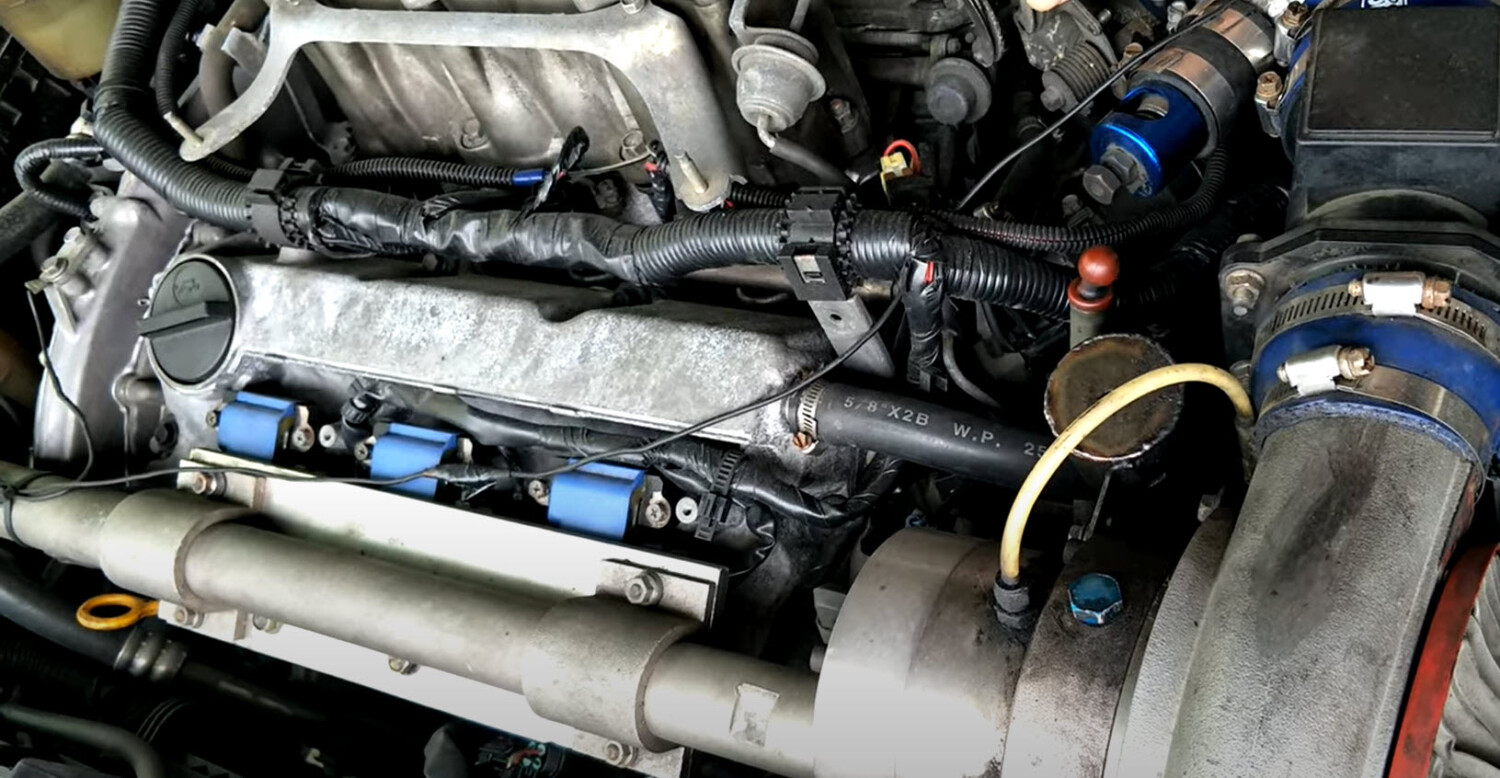
Description: Harness Assembly-Eng Sub (Knock Sensor)
Part Number: 24079-2Y000
Price: $36.00-38.00
Order Link: https://www.nissanpartsdeal.com/parts/nissan-harness-assy-en~24079-2y000.html


![]()

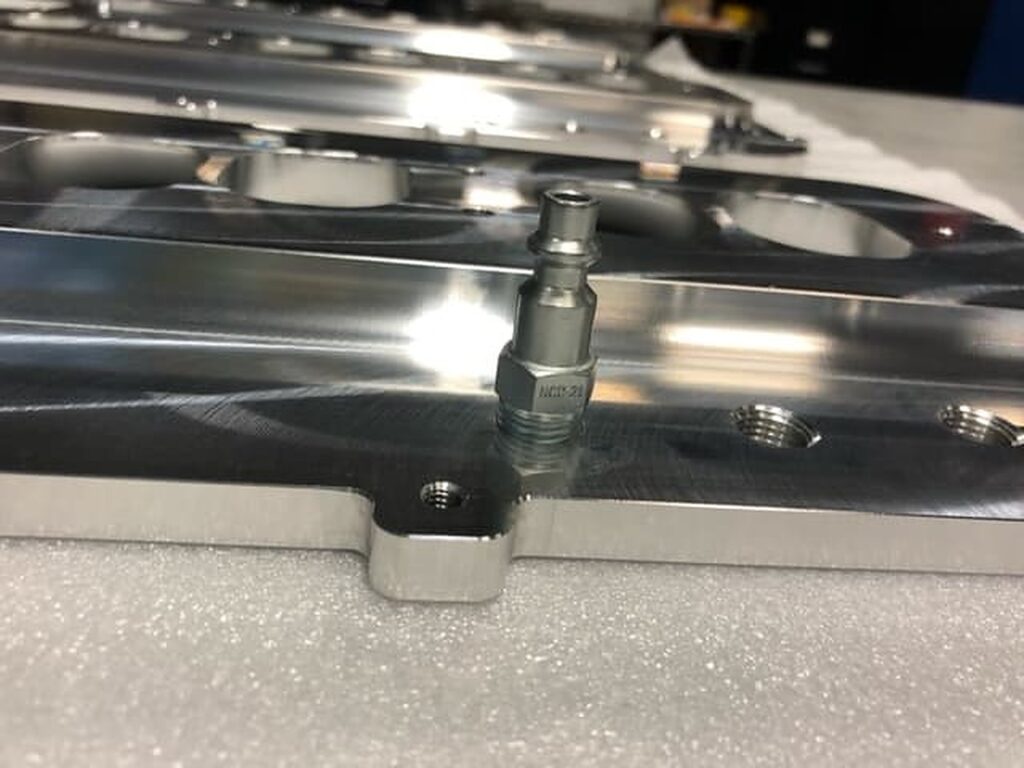
Community Member Credit: Unklejoe
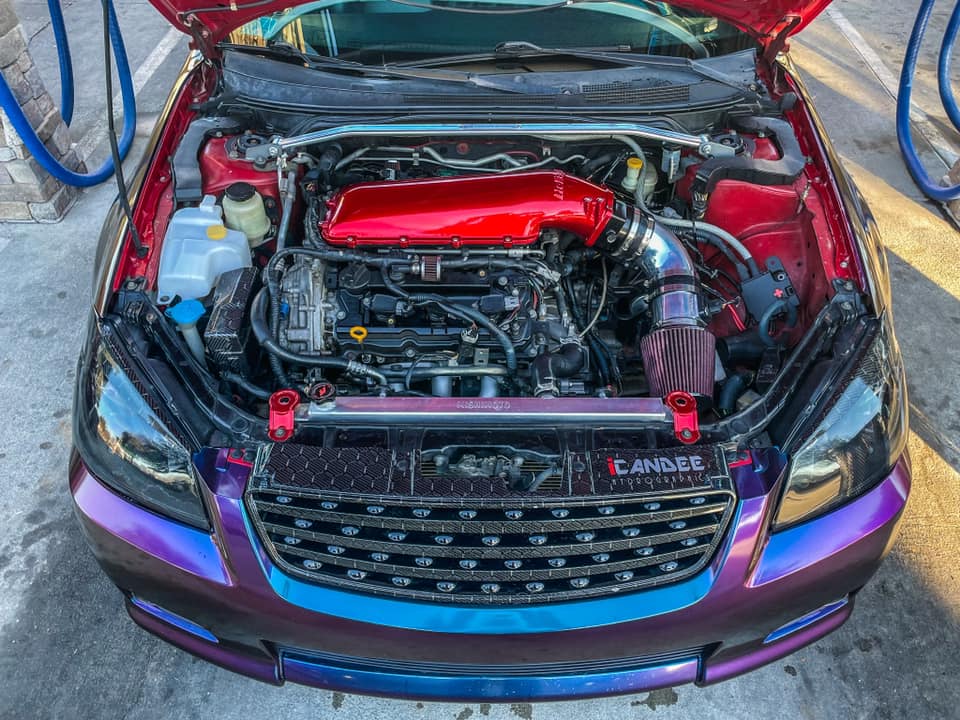
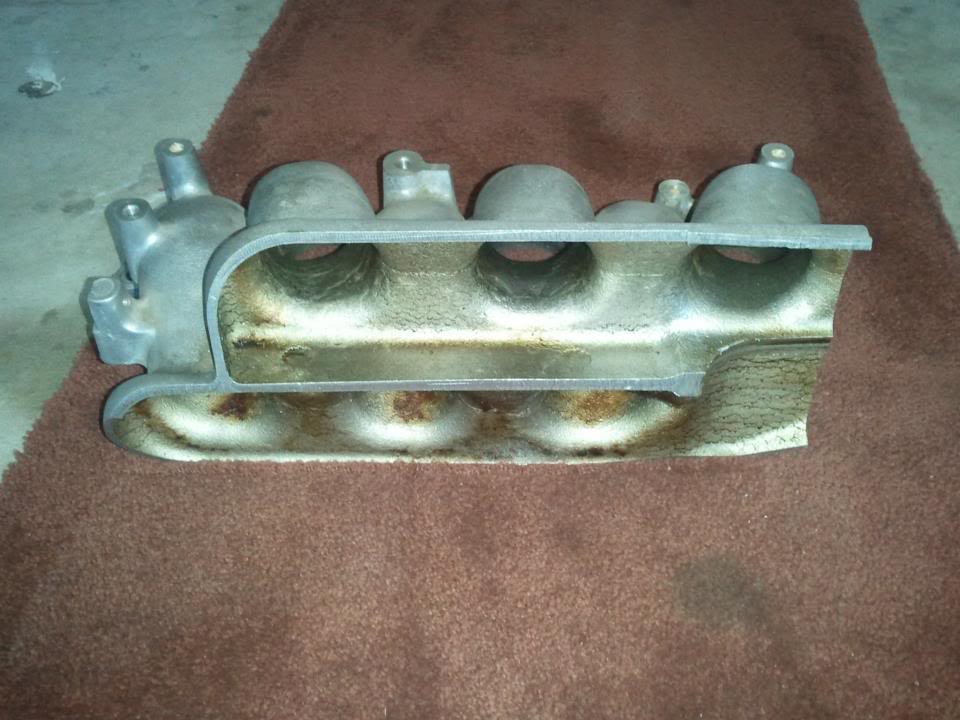
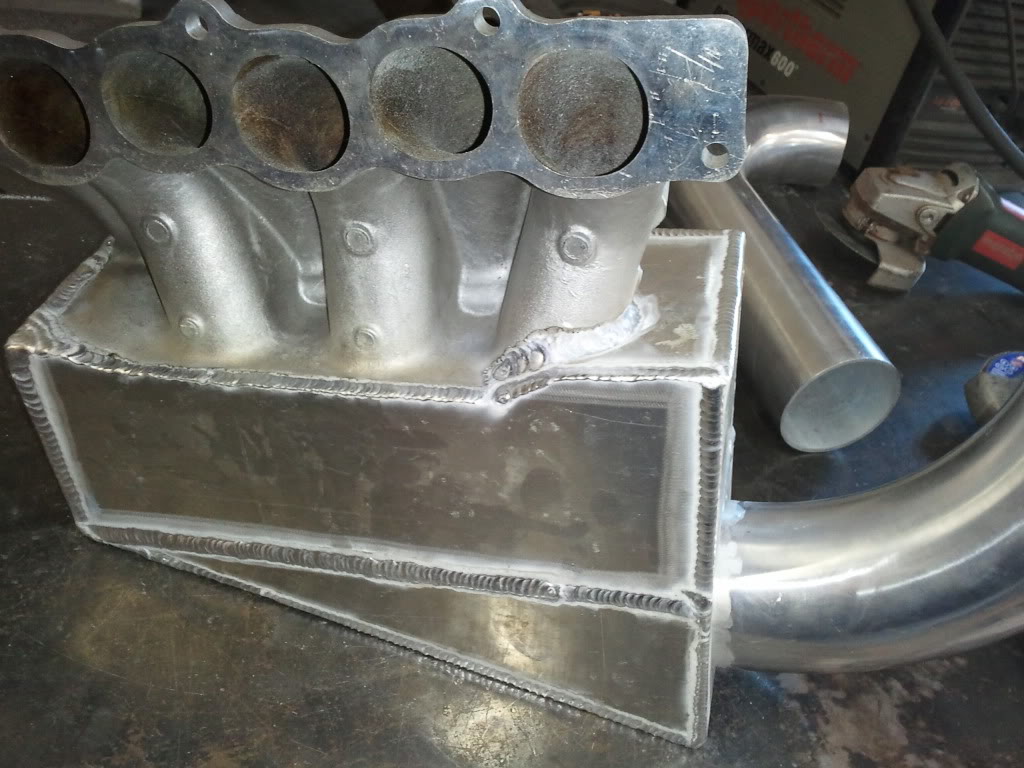
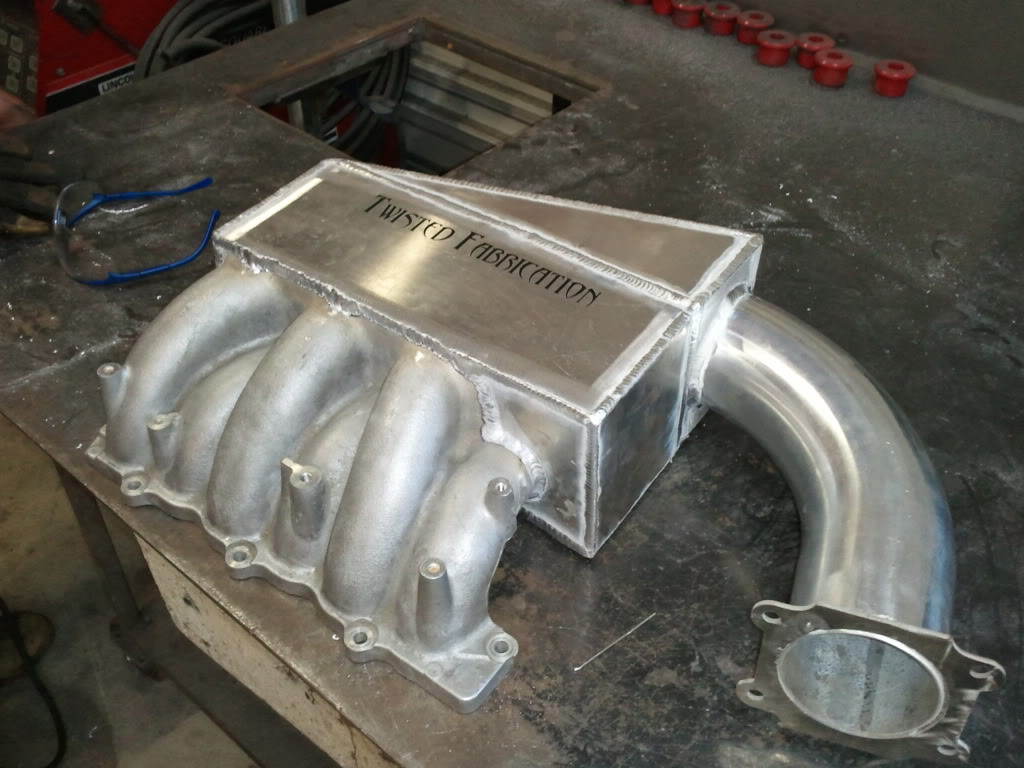
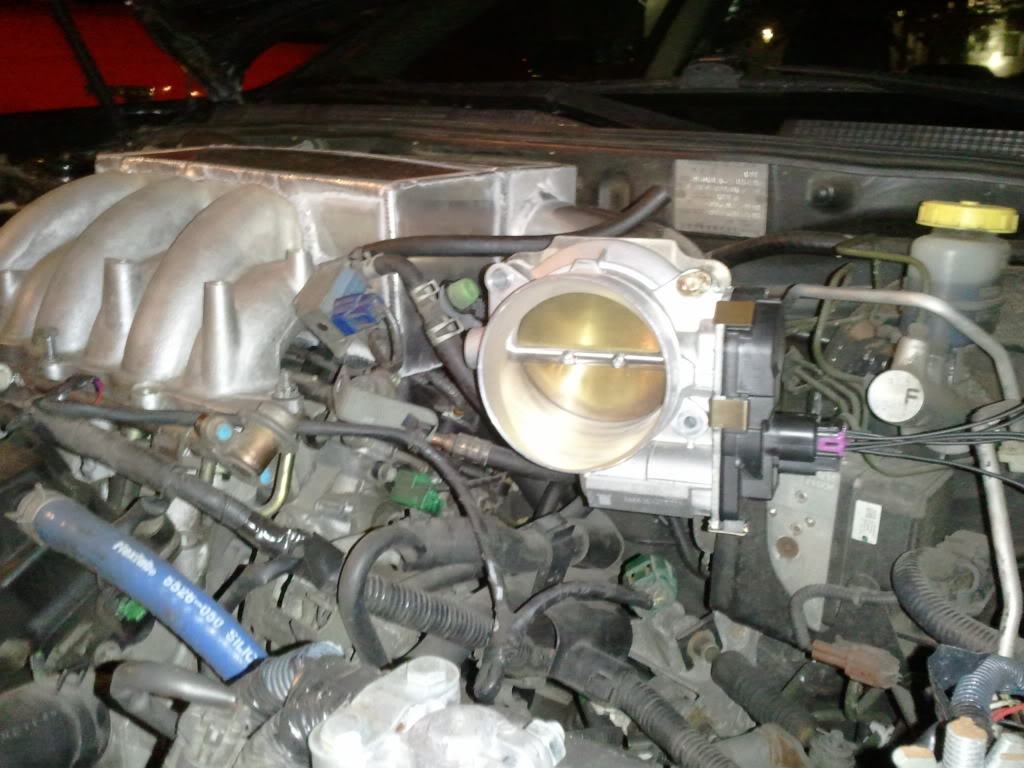
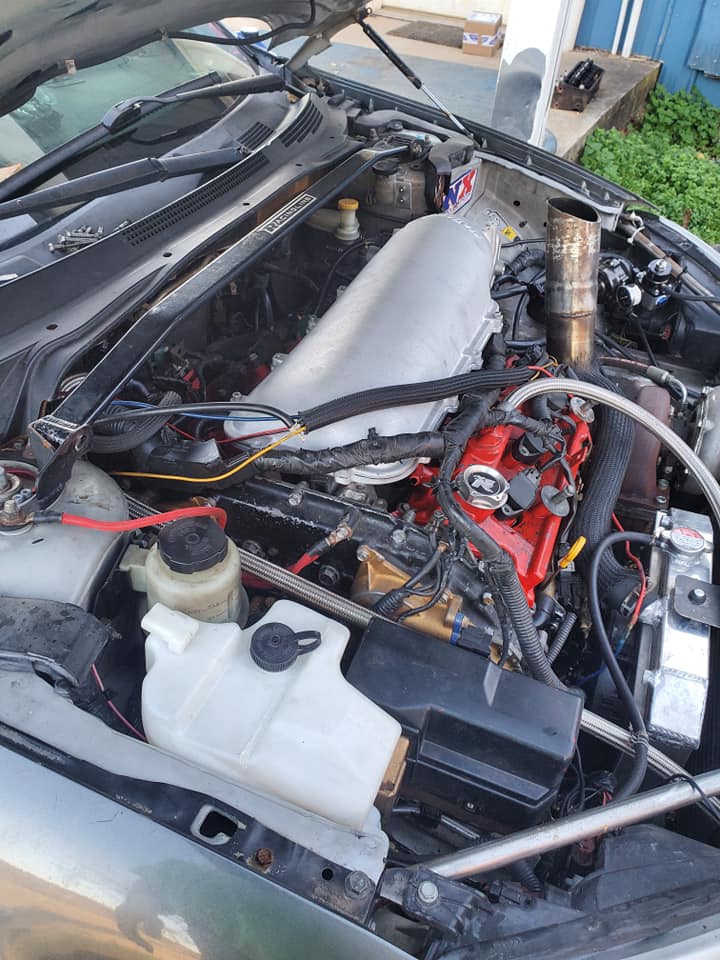
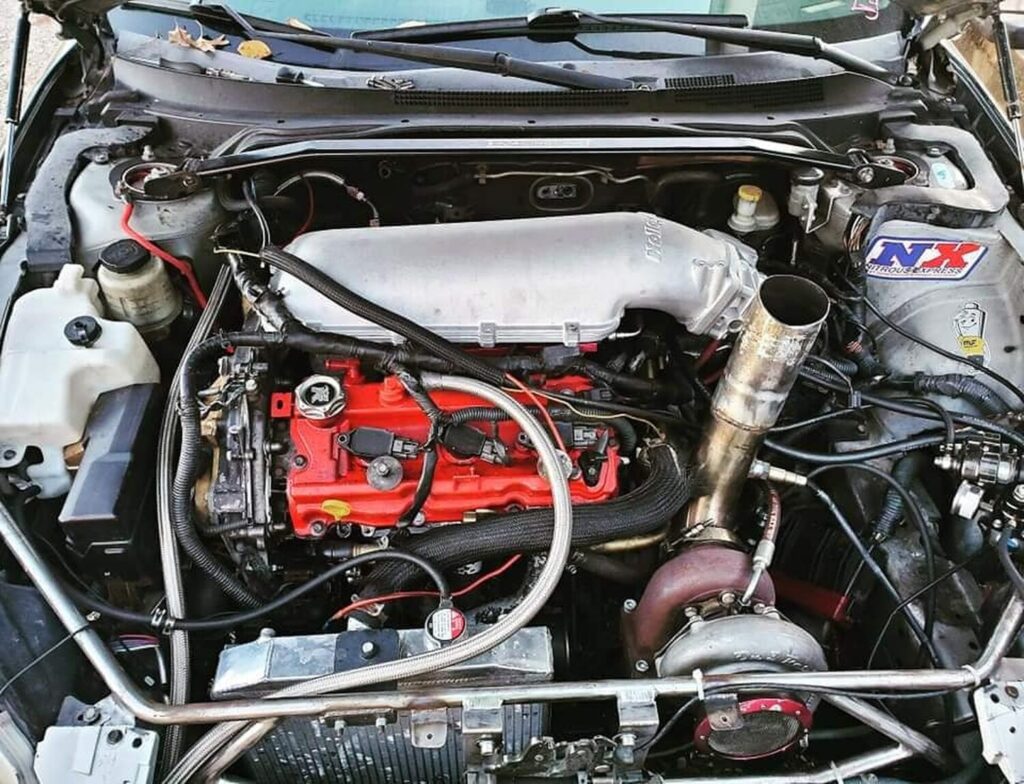
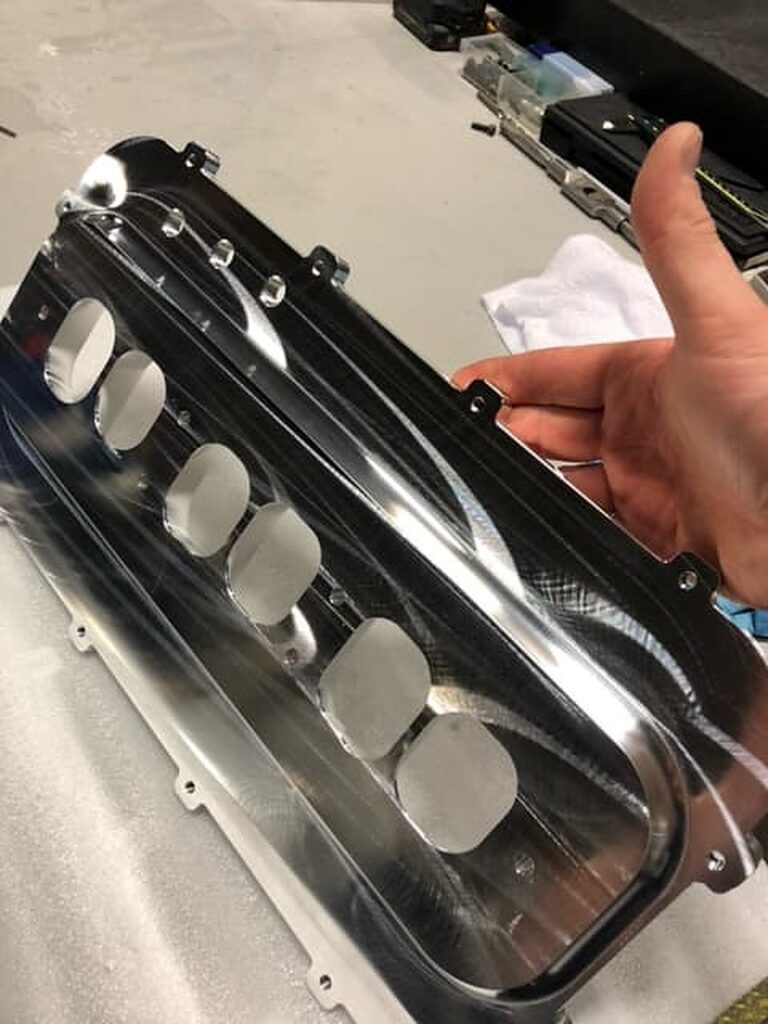
I am working on a custom intake manifold (with a TON of help from a fellow engineer and friend) that is a rip-off of spark’s design. Basically, it will consist of a butchered stock 02 UIM with a custom plenum. I will use a 3.5″ aluminum bend with 3.5″ velocity stack on the plenum (to replace the elbow) as well as a 3.5″ MAF/Intake Pipe/Velocity Stack/Filter.
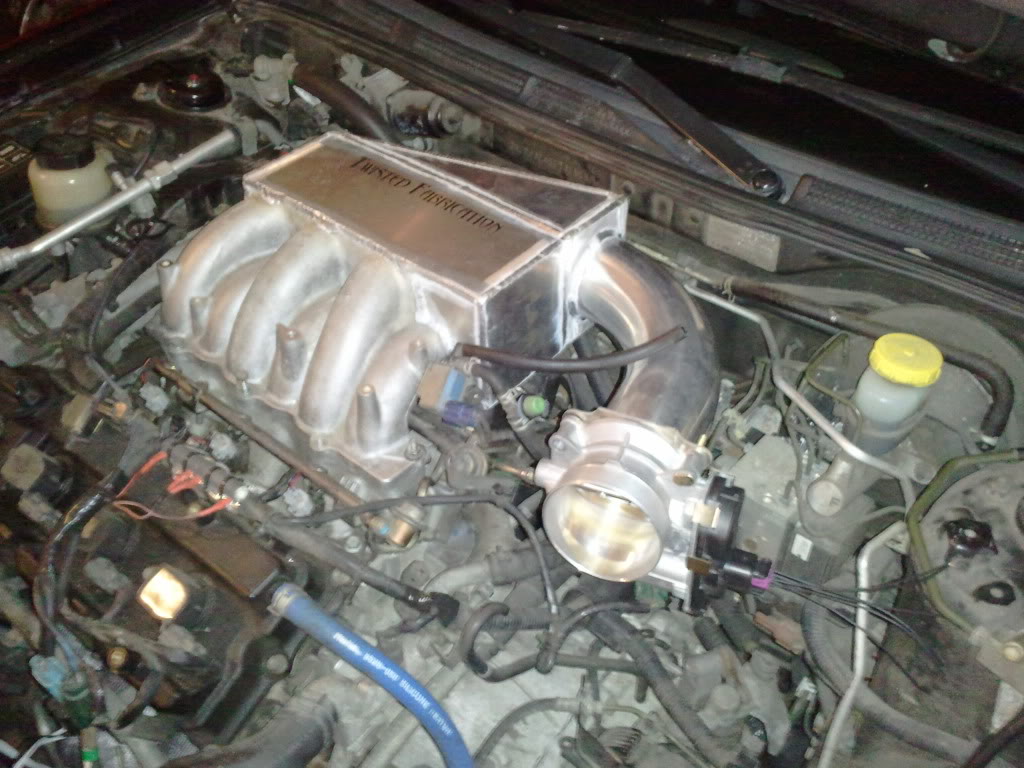
I also plan on running it with a GM 87mm DBW throttle body. This will give me a straight 3.5″ intake path.
Some people on the Titan and 350z forums have been able to run 87mm TB’s (like three people total) but the information is very scarce. Some people say that you need UPREV so that you can reflash the ECU to run the larger TB, but I do not believe that BS.
A couple of guys called “PGM” made a 90mm TB kit for the Titan a while back that used the Corvette TB and DID NOT require the use of UPREV; there was a small “conversion” box that was in line with the harness. This proves to me that it can be done. I can’t see there being anything too complex inside that little 1″ square box. Maybe an op-amp altering the value of the TPS signal…who knows.
Both the stock Nissan and the GM 87mm throttle bodies are made by Hitachi and use the exact same sensor and servo configuration.
One guy ran the 87mm GM tb on his 350z before with NO conversion box and NO reflash. It worked but he said there were “idle surge” problems. I believe that this can be corrected by following the idle relearn TSB procedure. I still need to do some research on how the TB motor is controlled (if the ECU uses feedback from the TPS or if the stepper motor is controlled directly).
We shall see. I will make it work and report back what I did (after I finish the manifold of course).
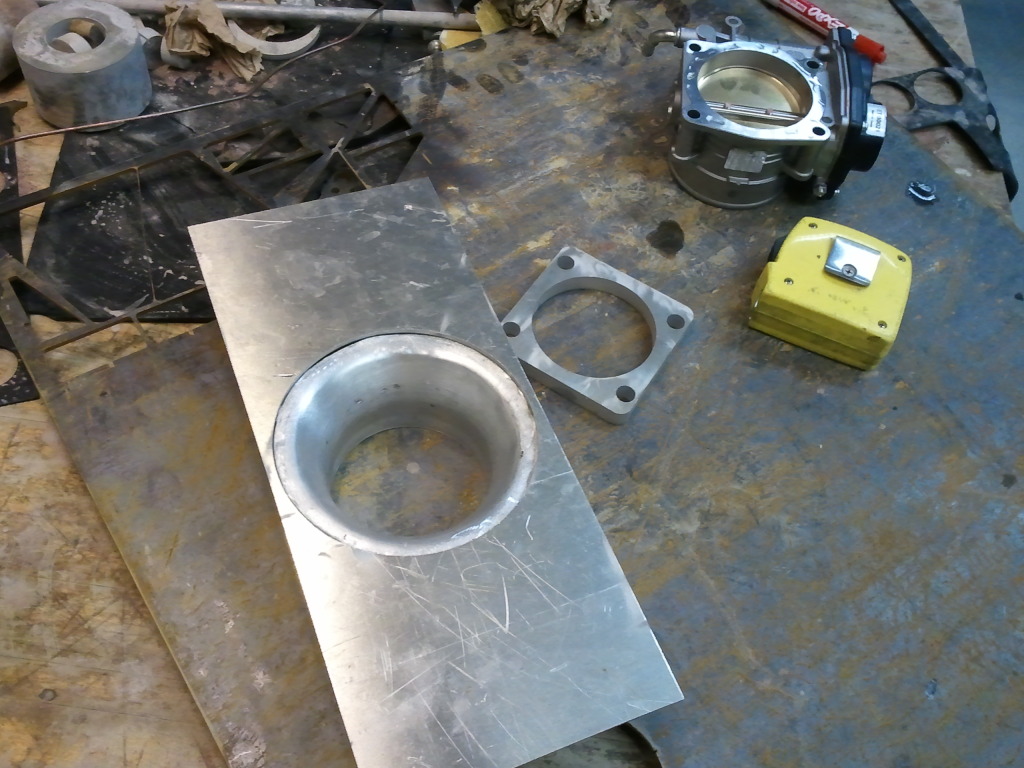
As far as pics:
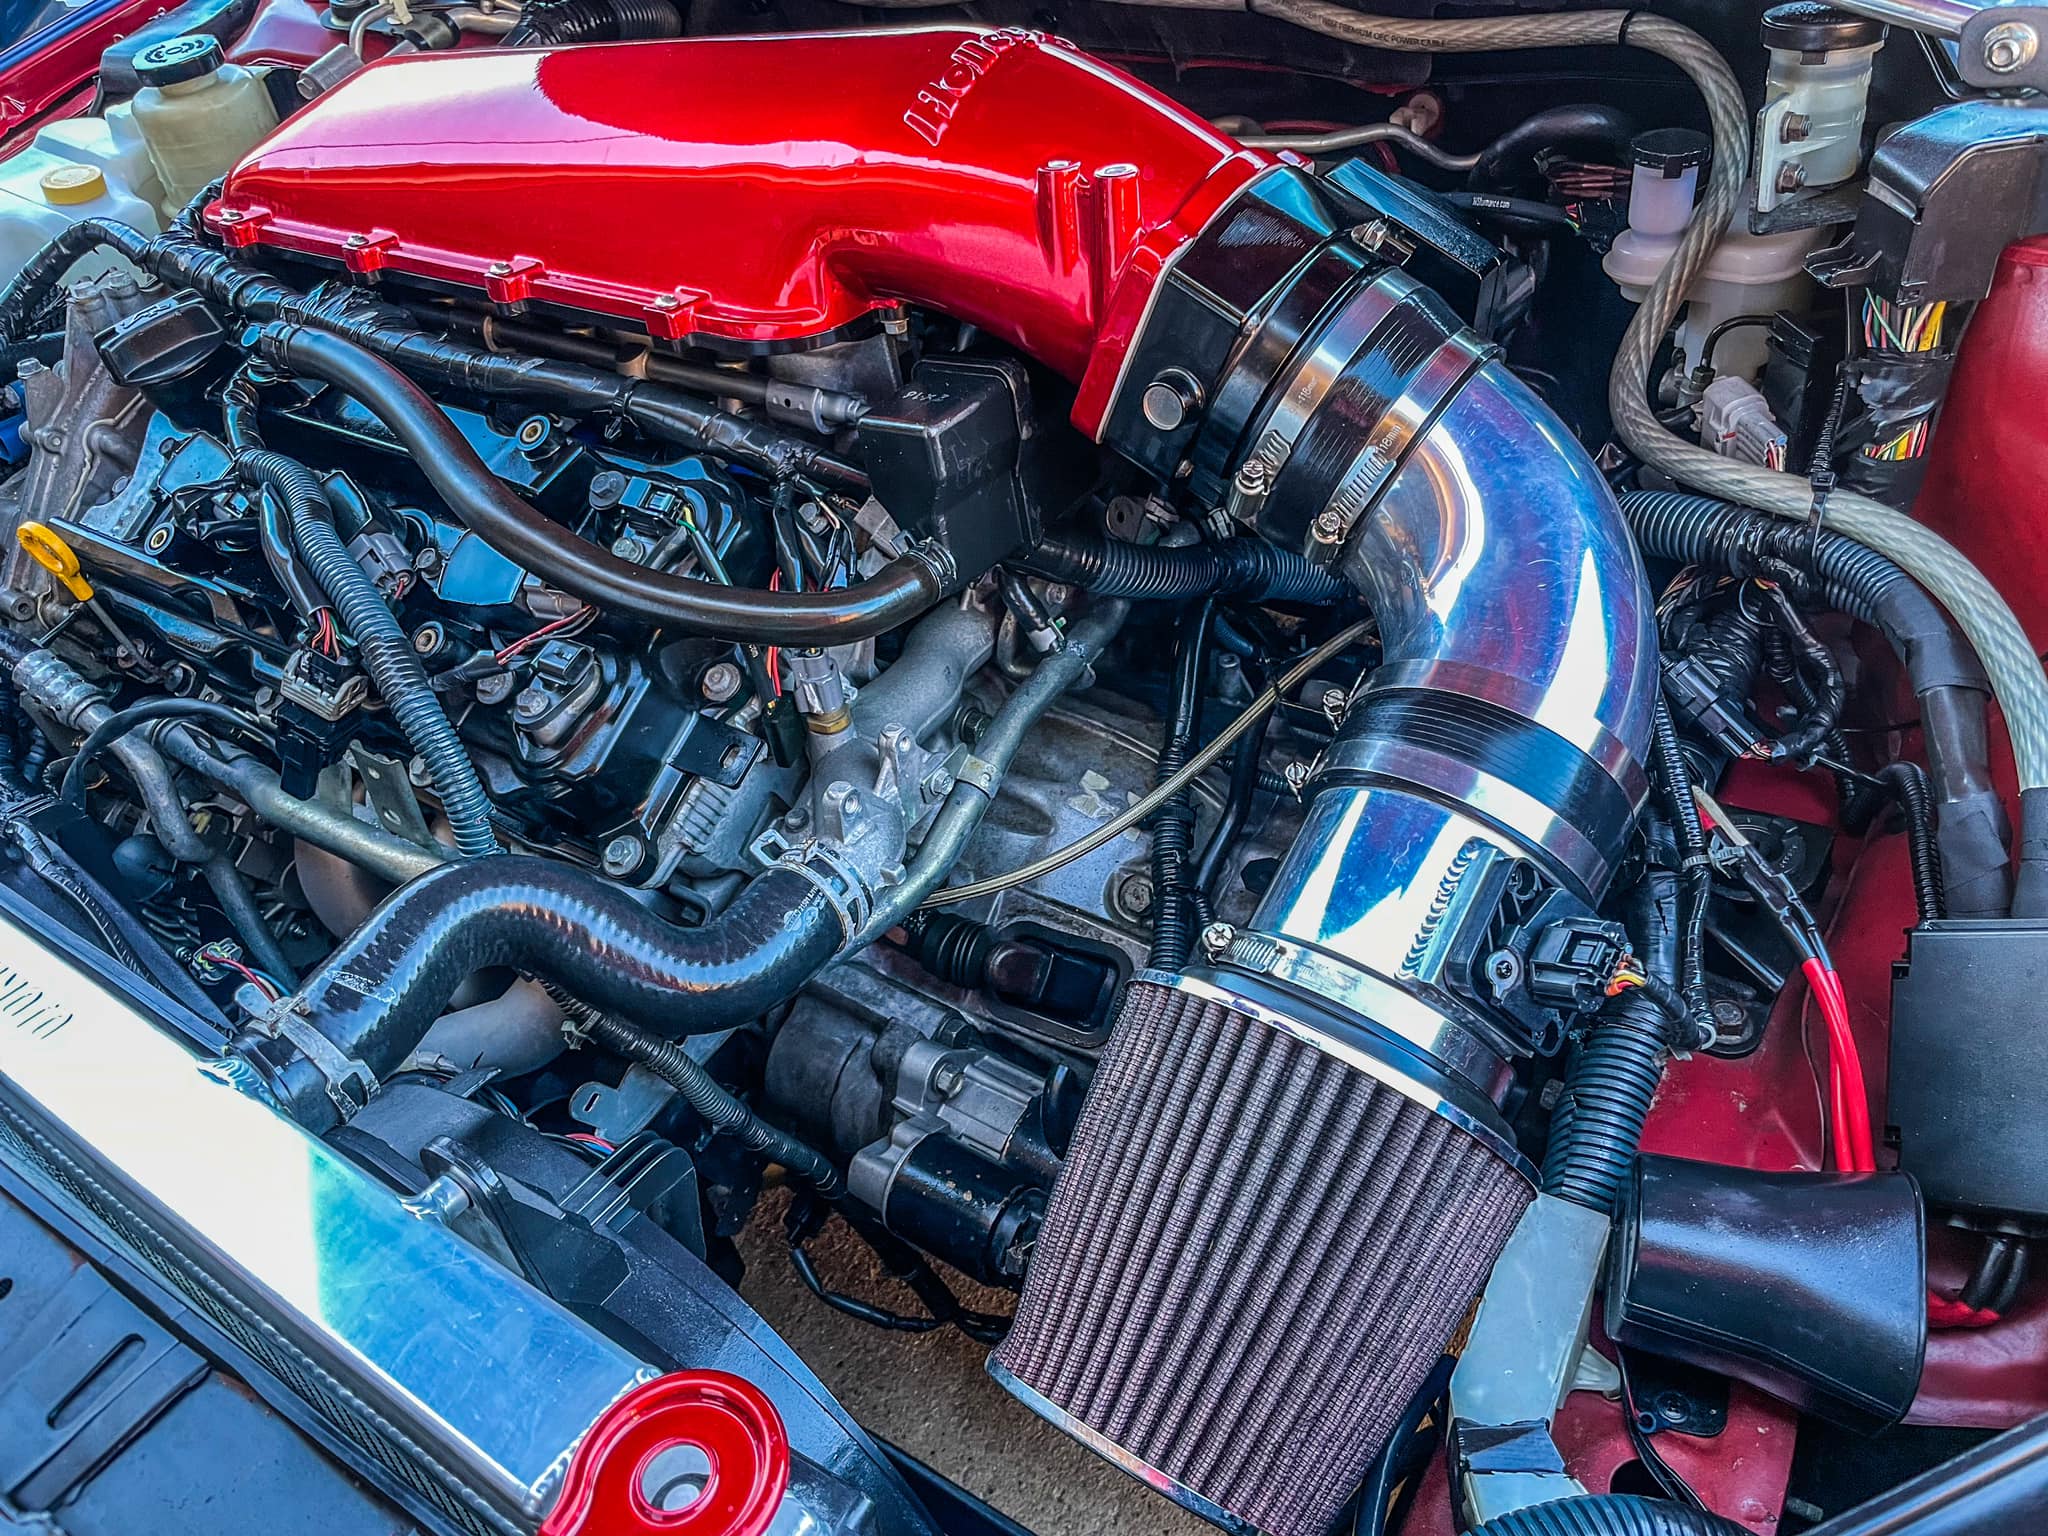
The throttle body

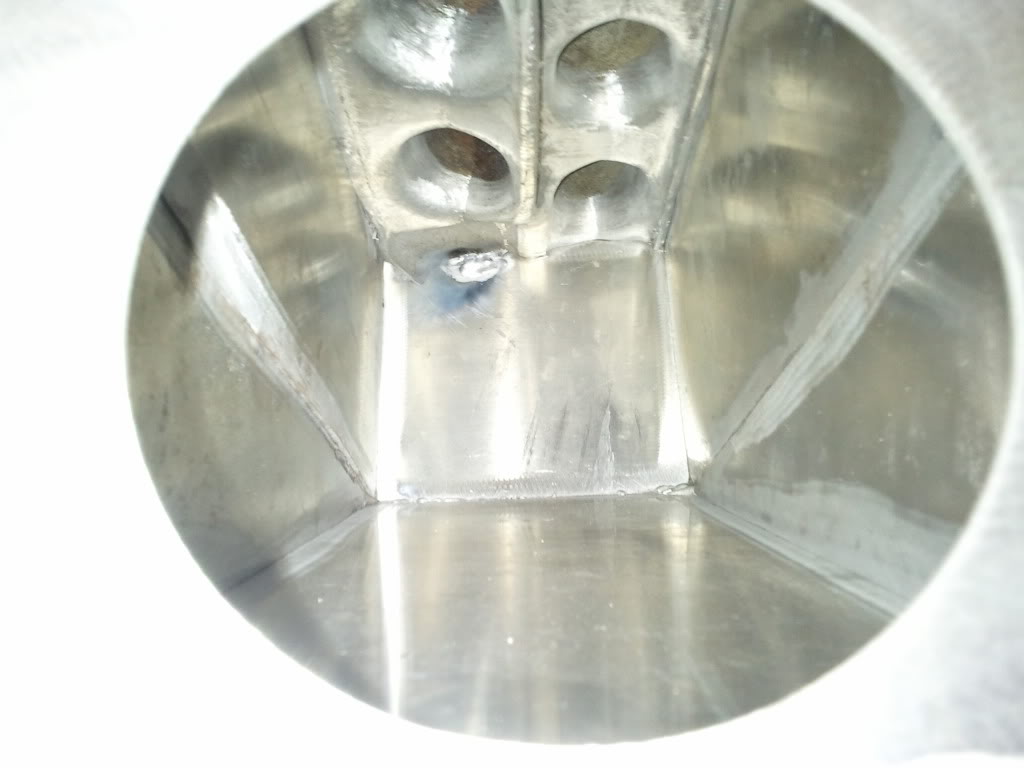
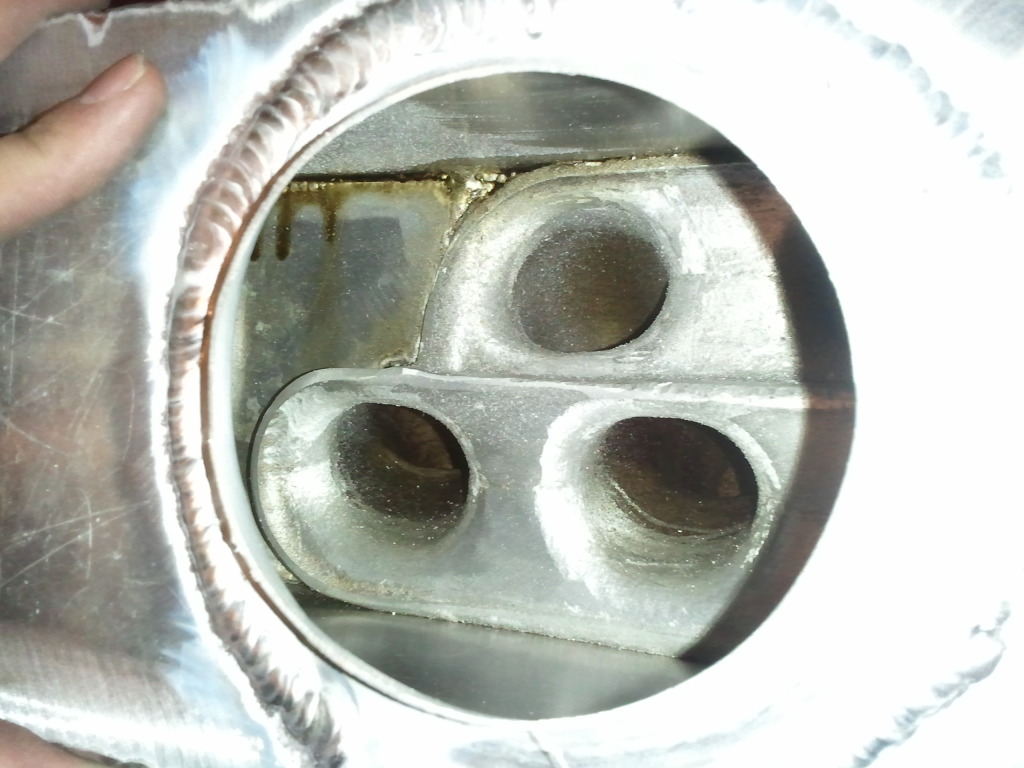
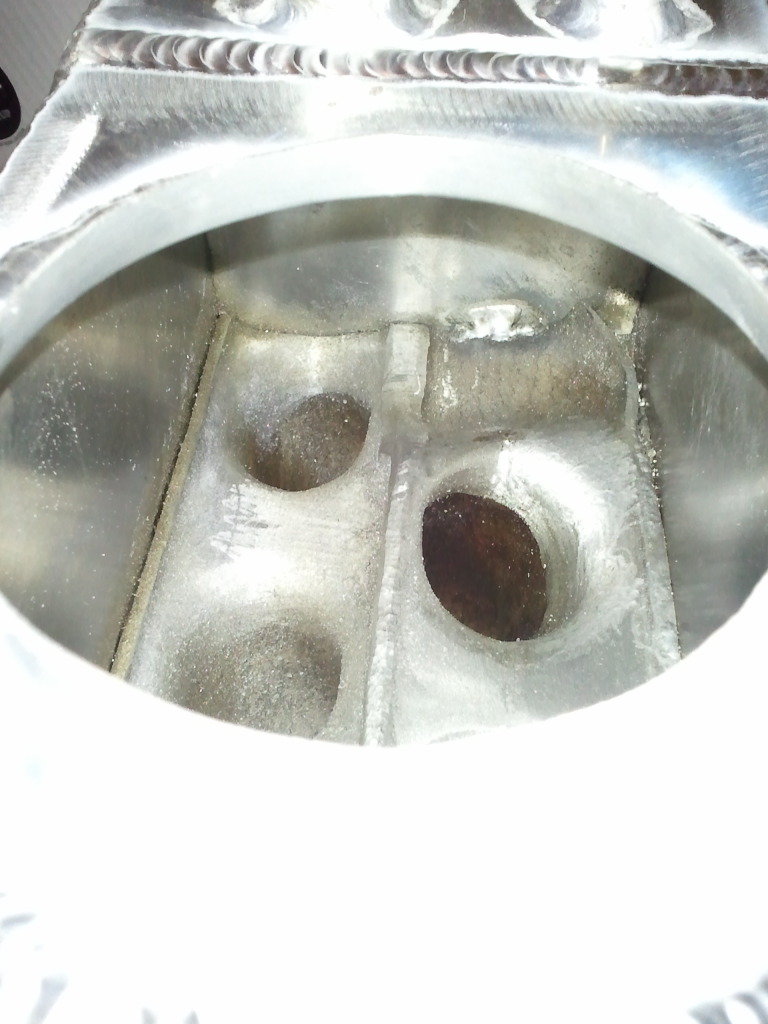
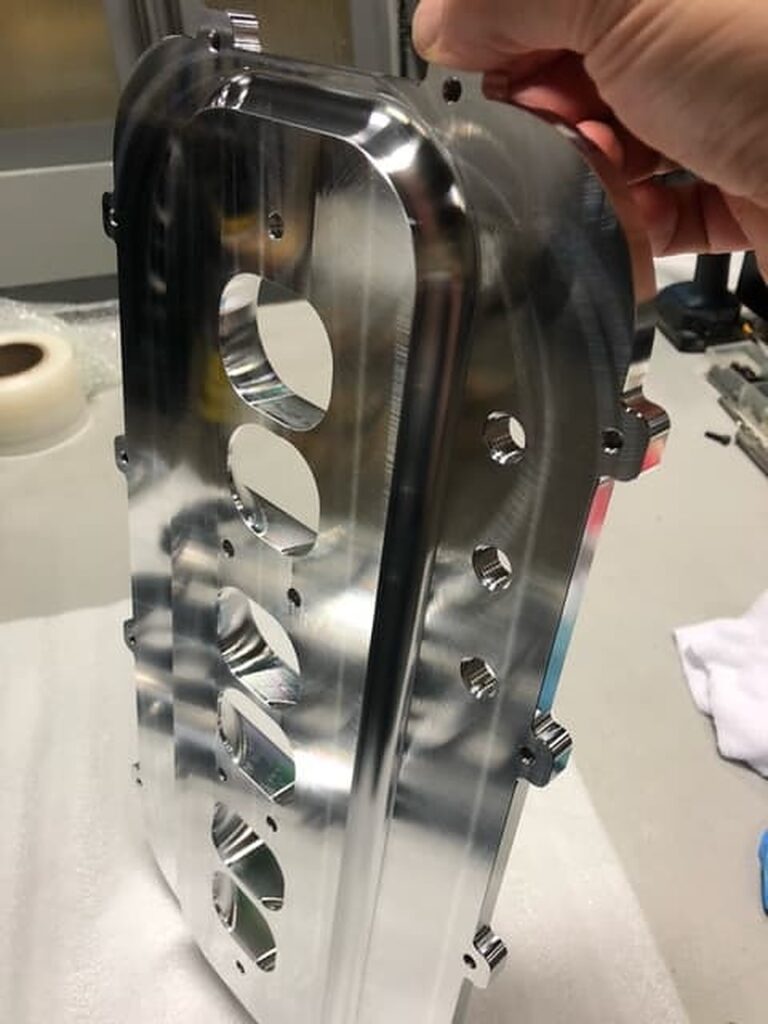
Cutting the stock manifold
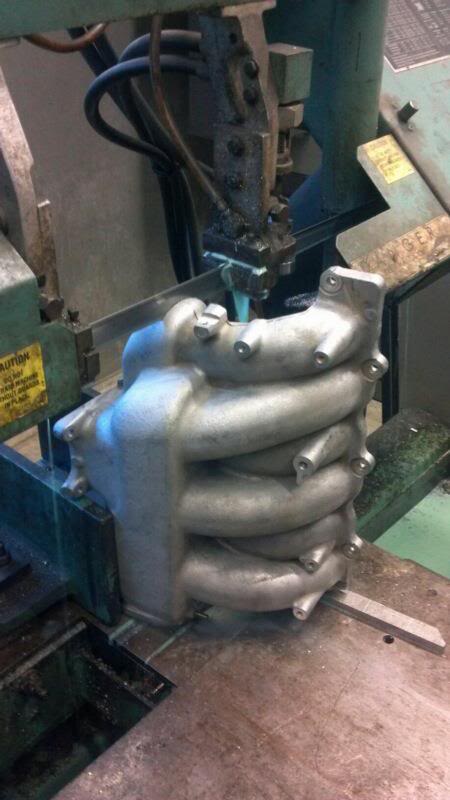
Cutting the stock manifold (again)

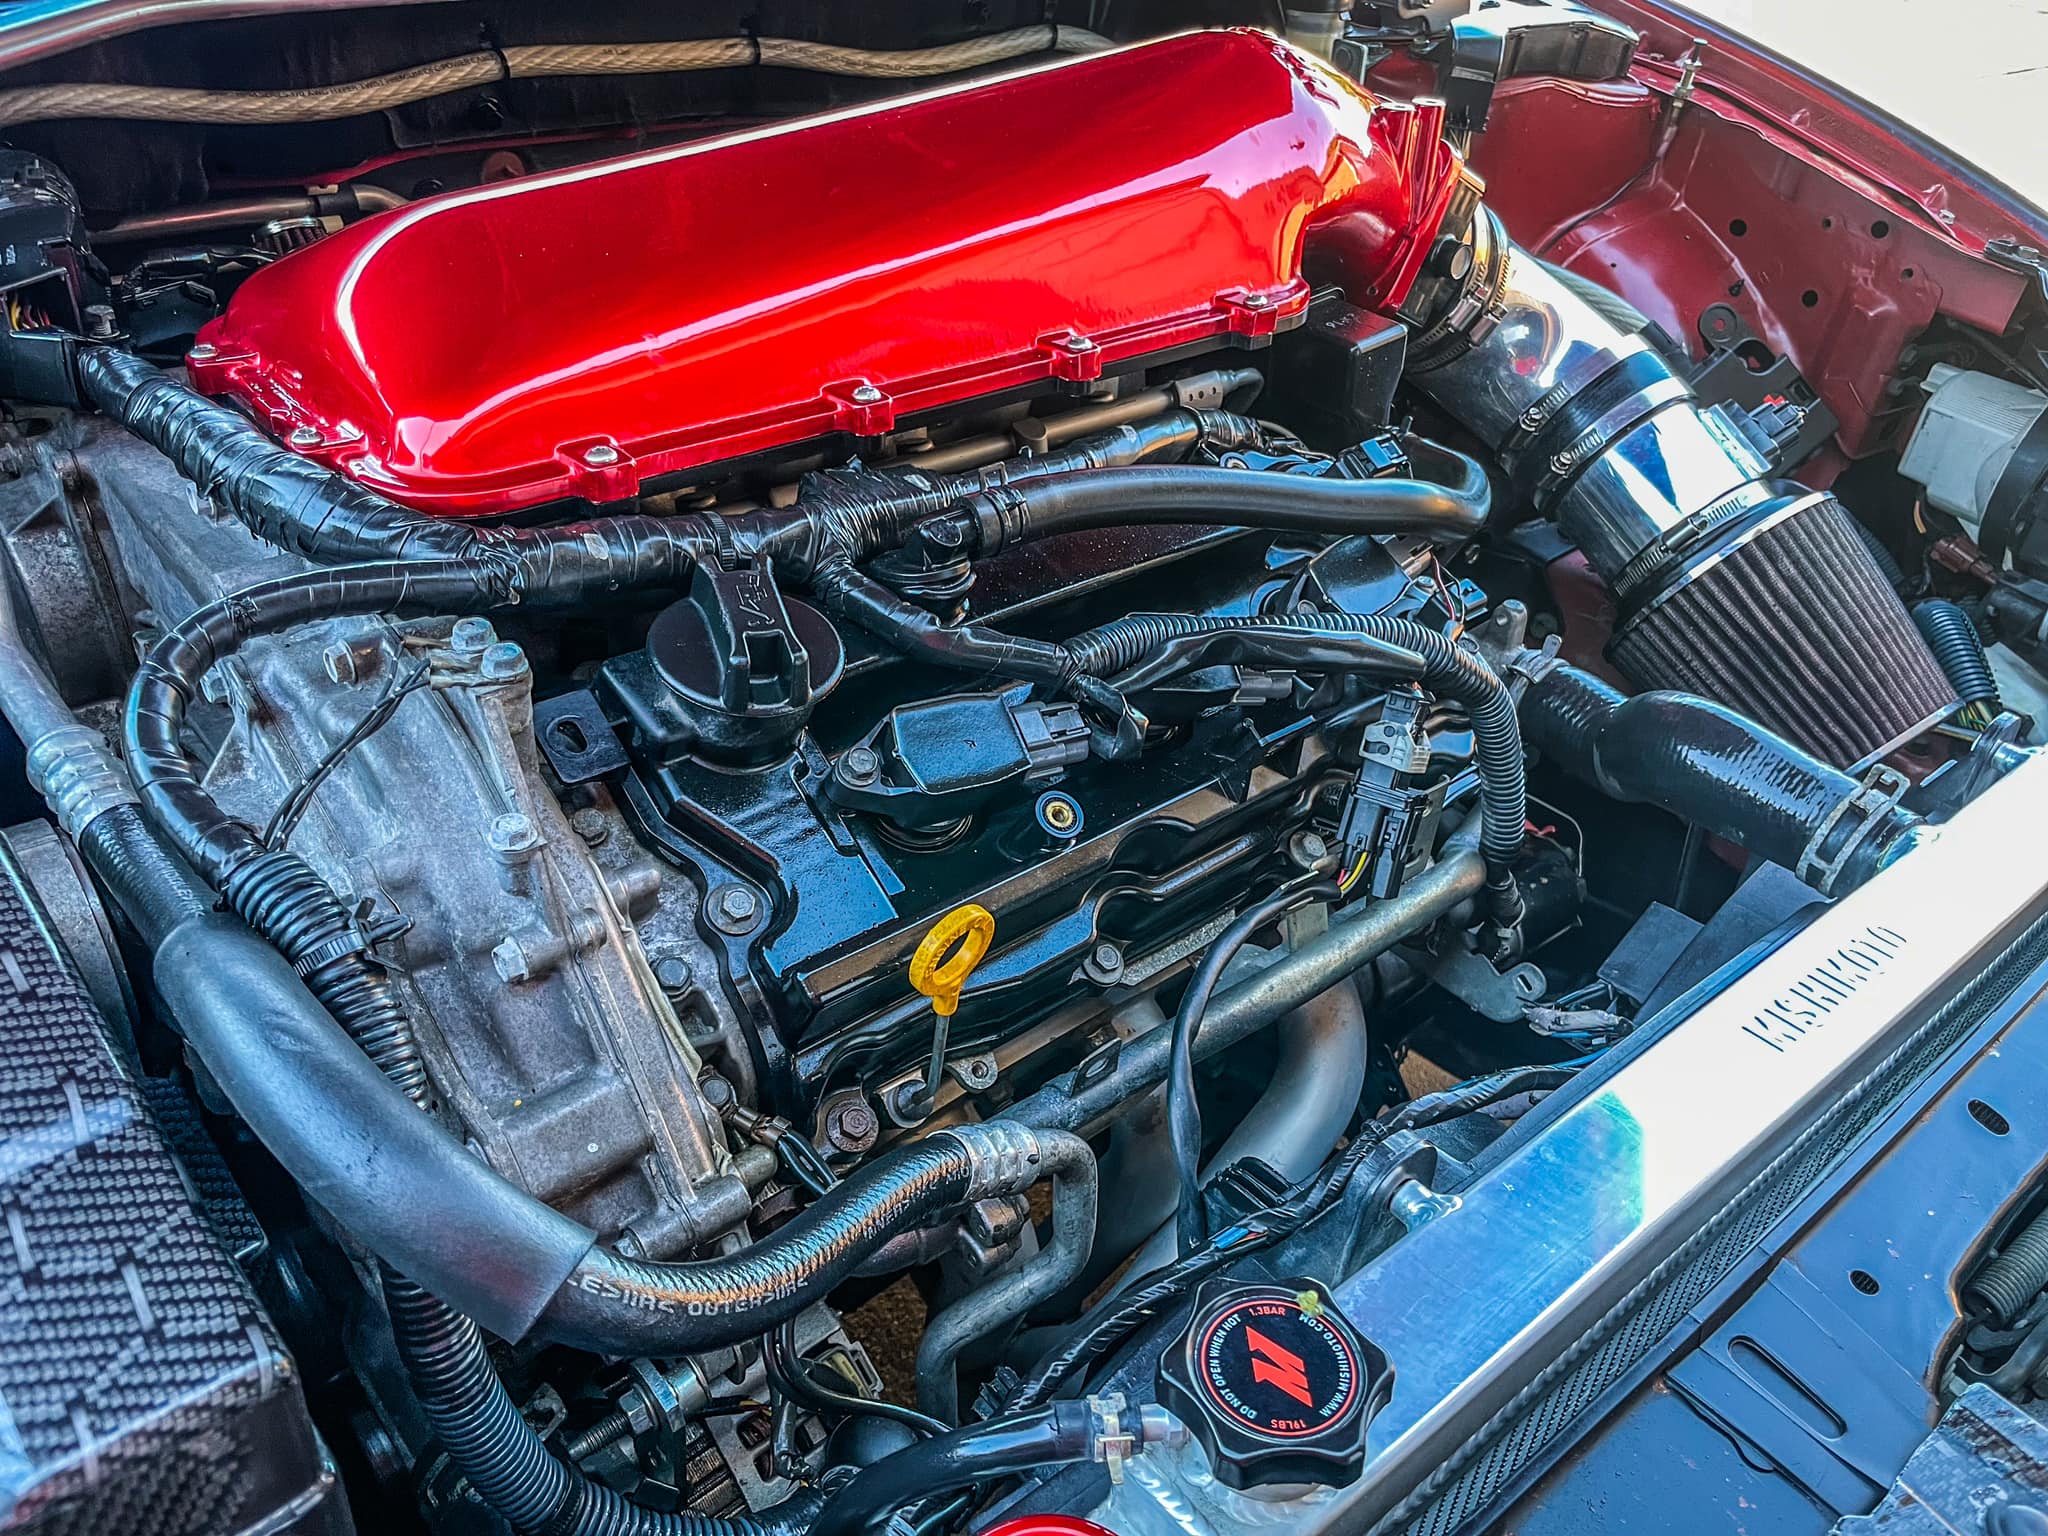
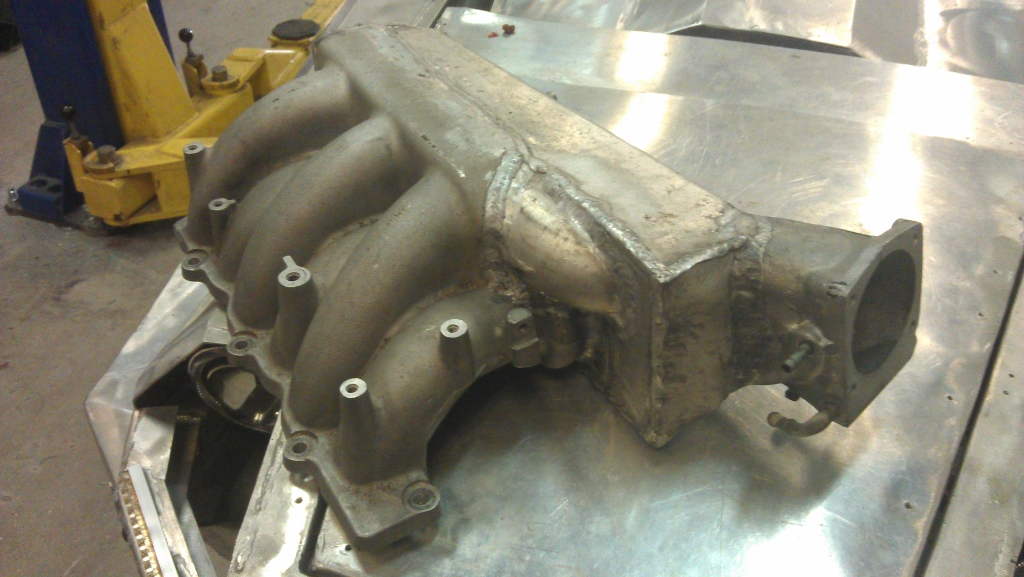
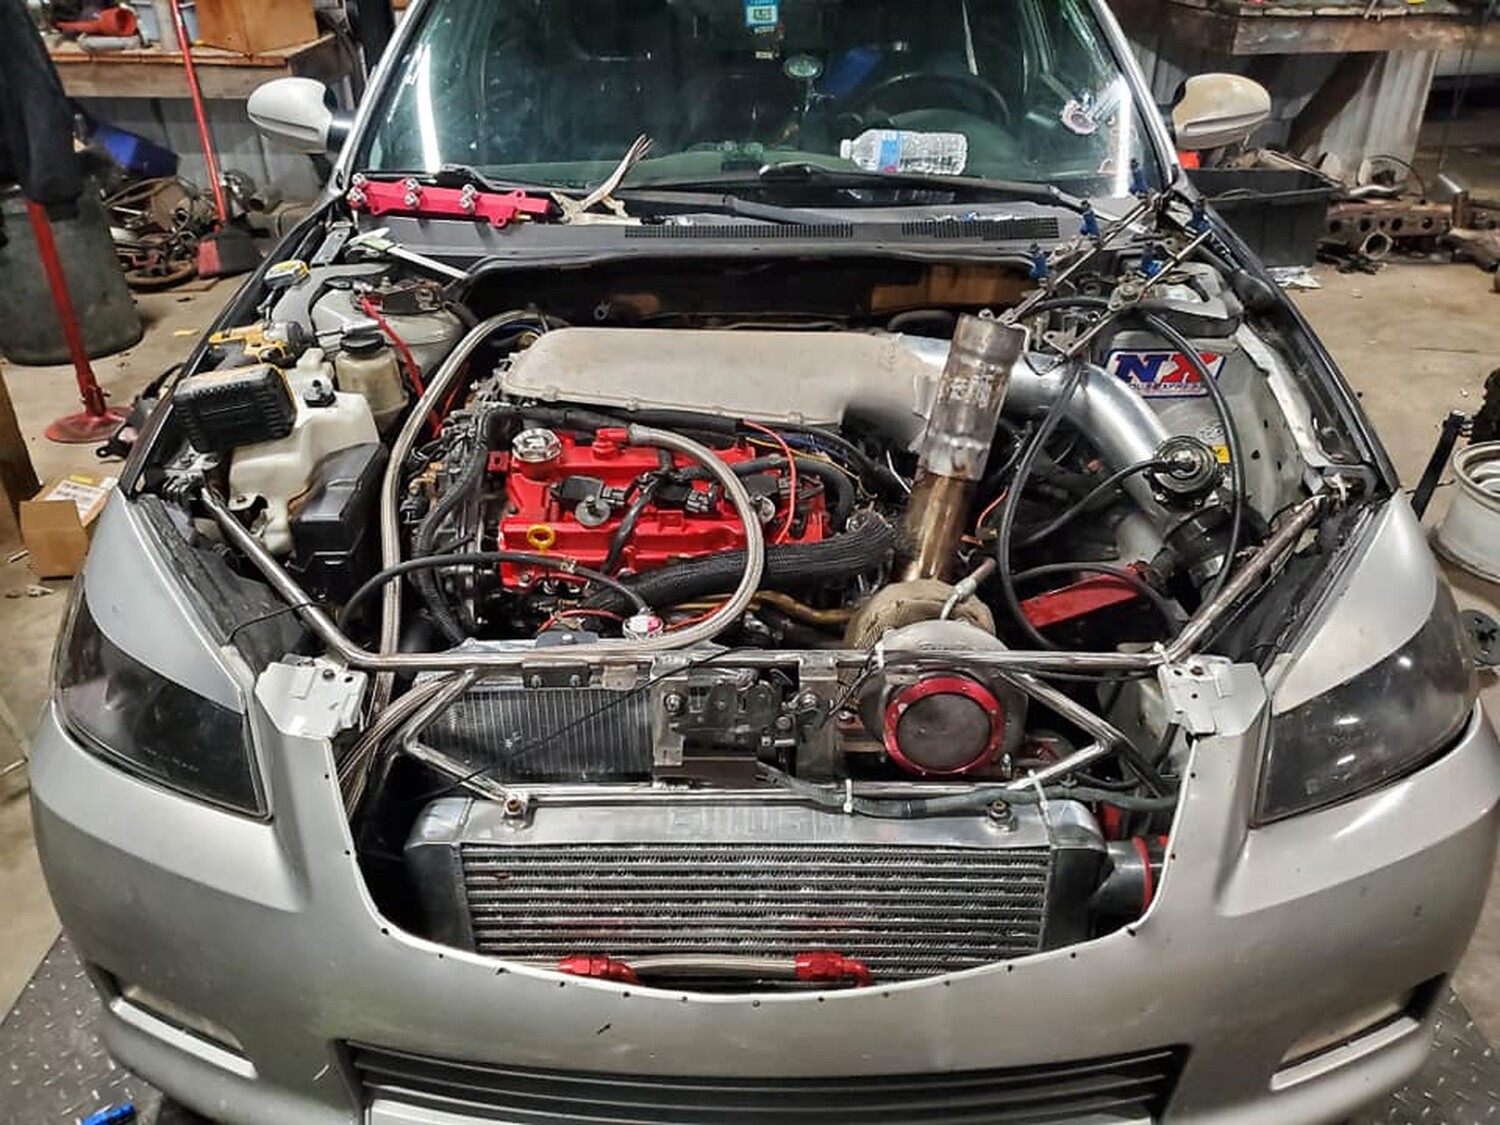
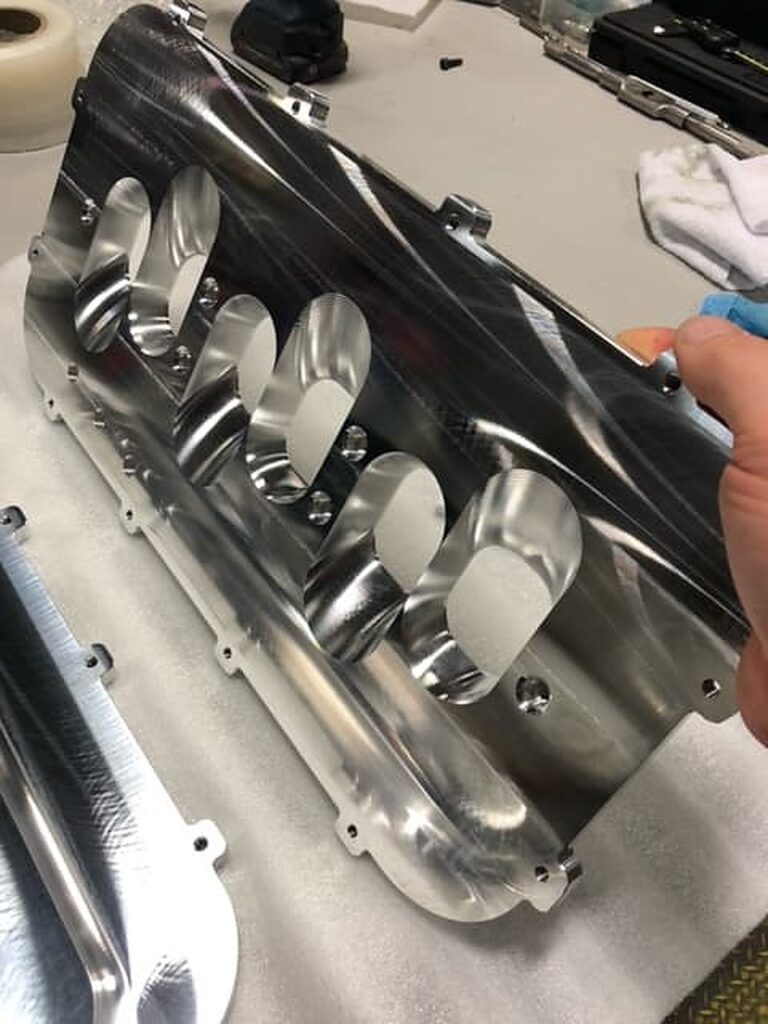
Final Product (I have a lot of work to do )
From NiZMo1o1


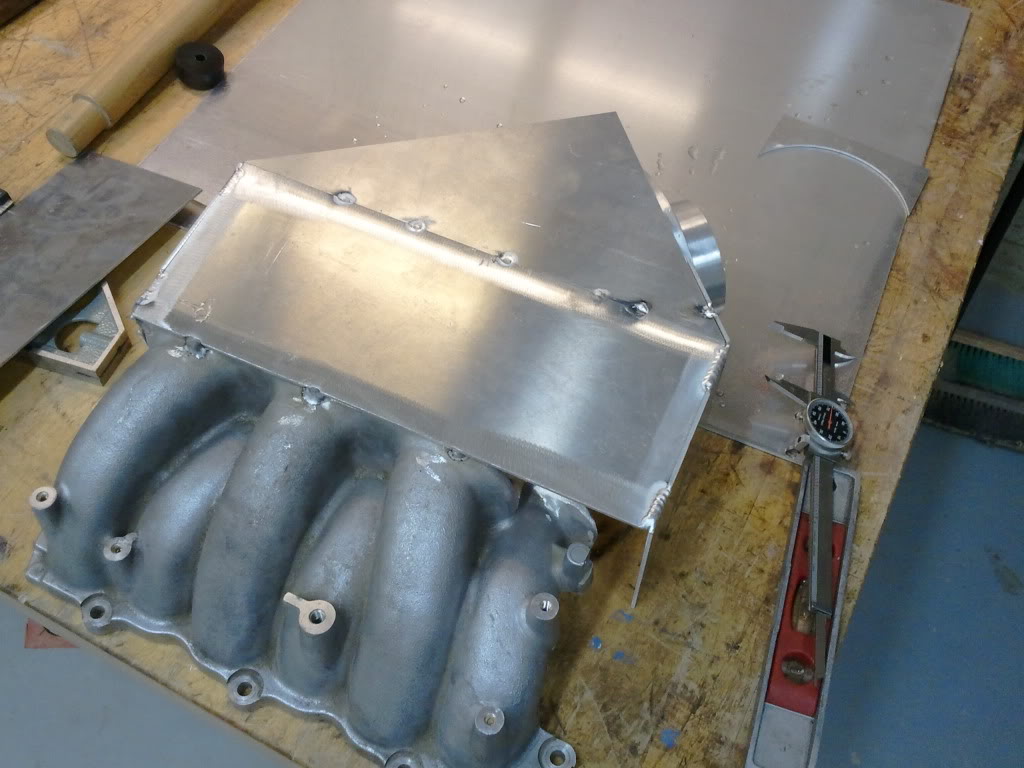
Small Update Started polishing the ports on the stock manifold and removing some excess material…

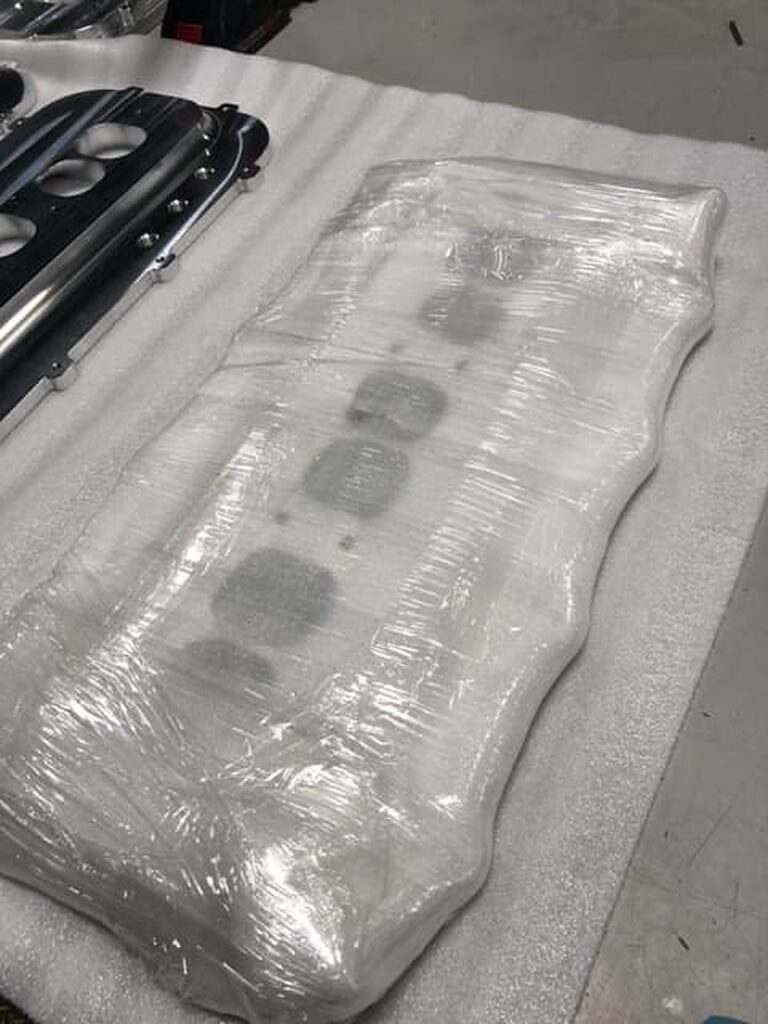
Also, here’s a pic of the parts (minus the sheet metal which was in the other room)


![]()

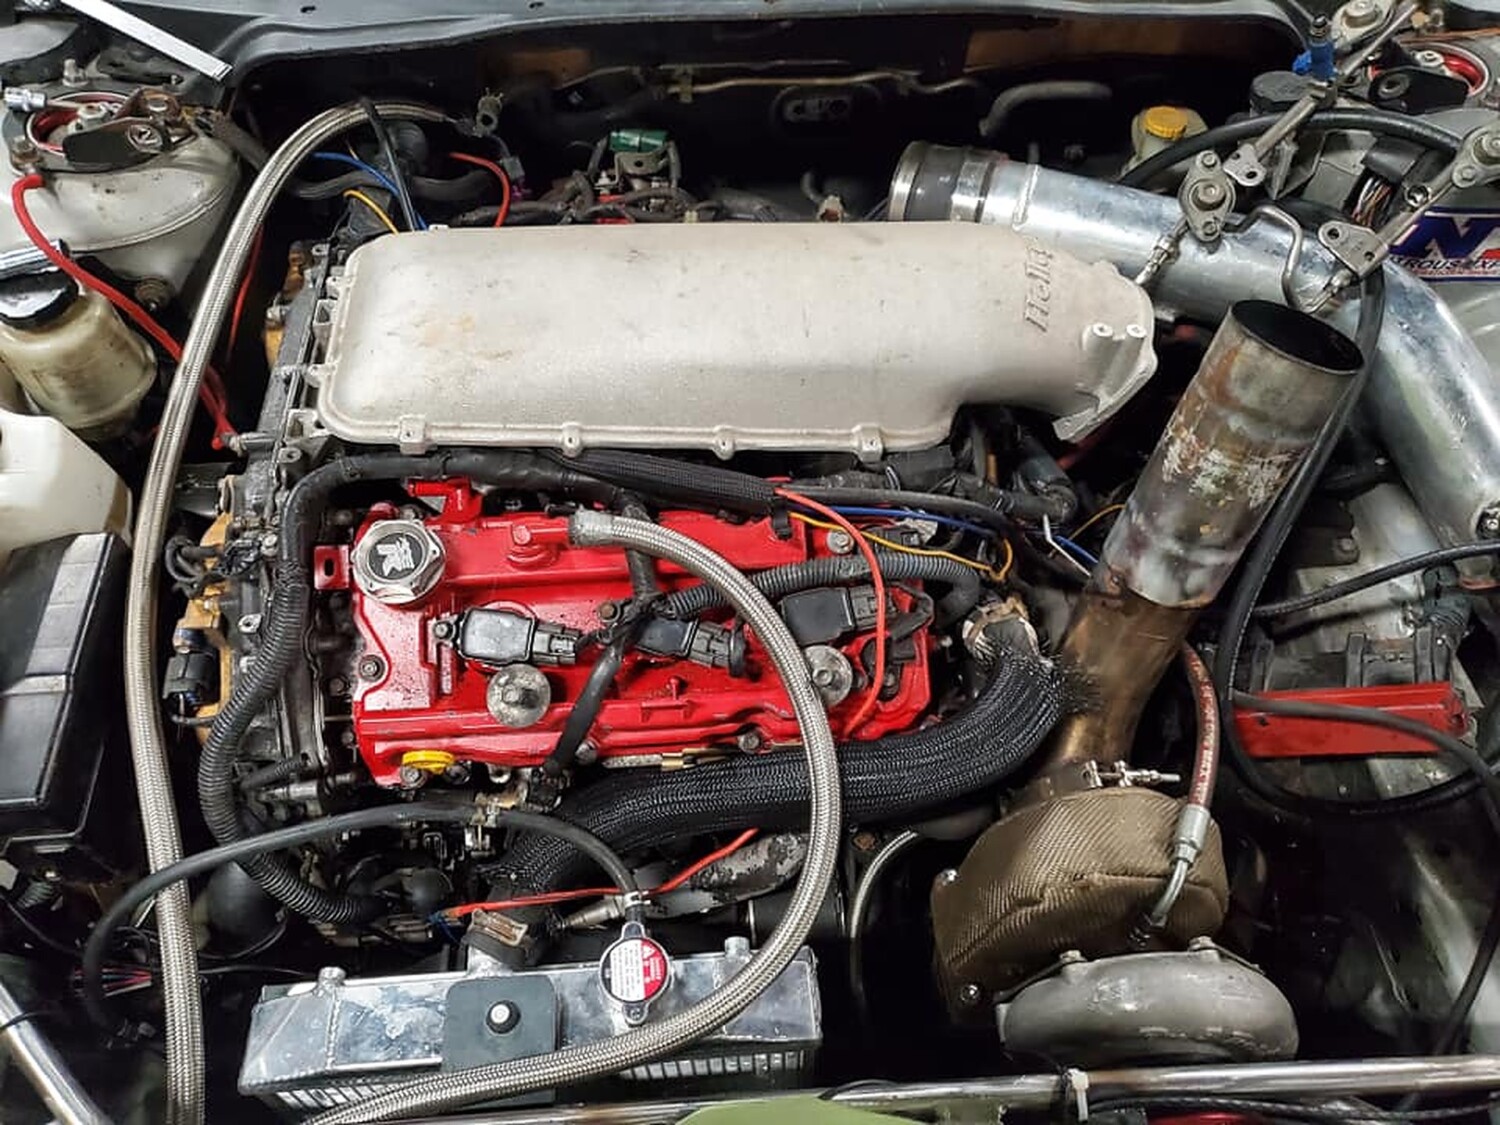
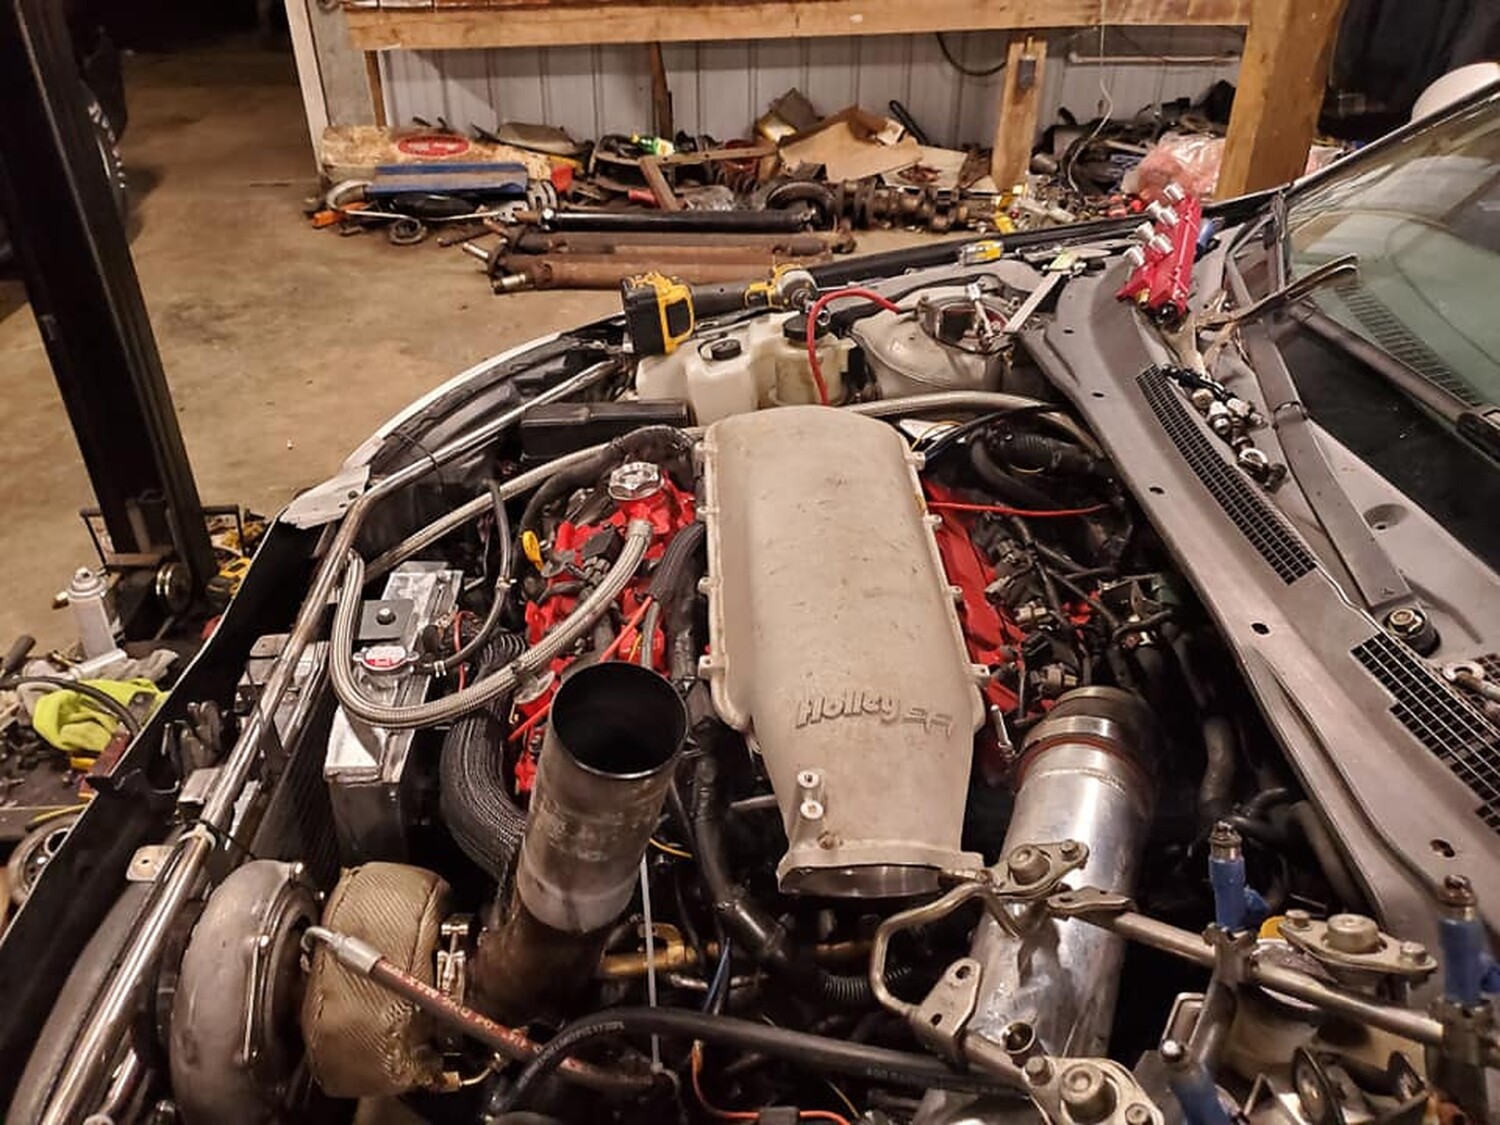
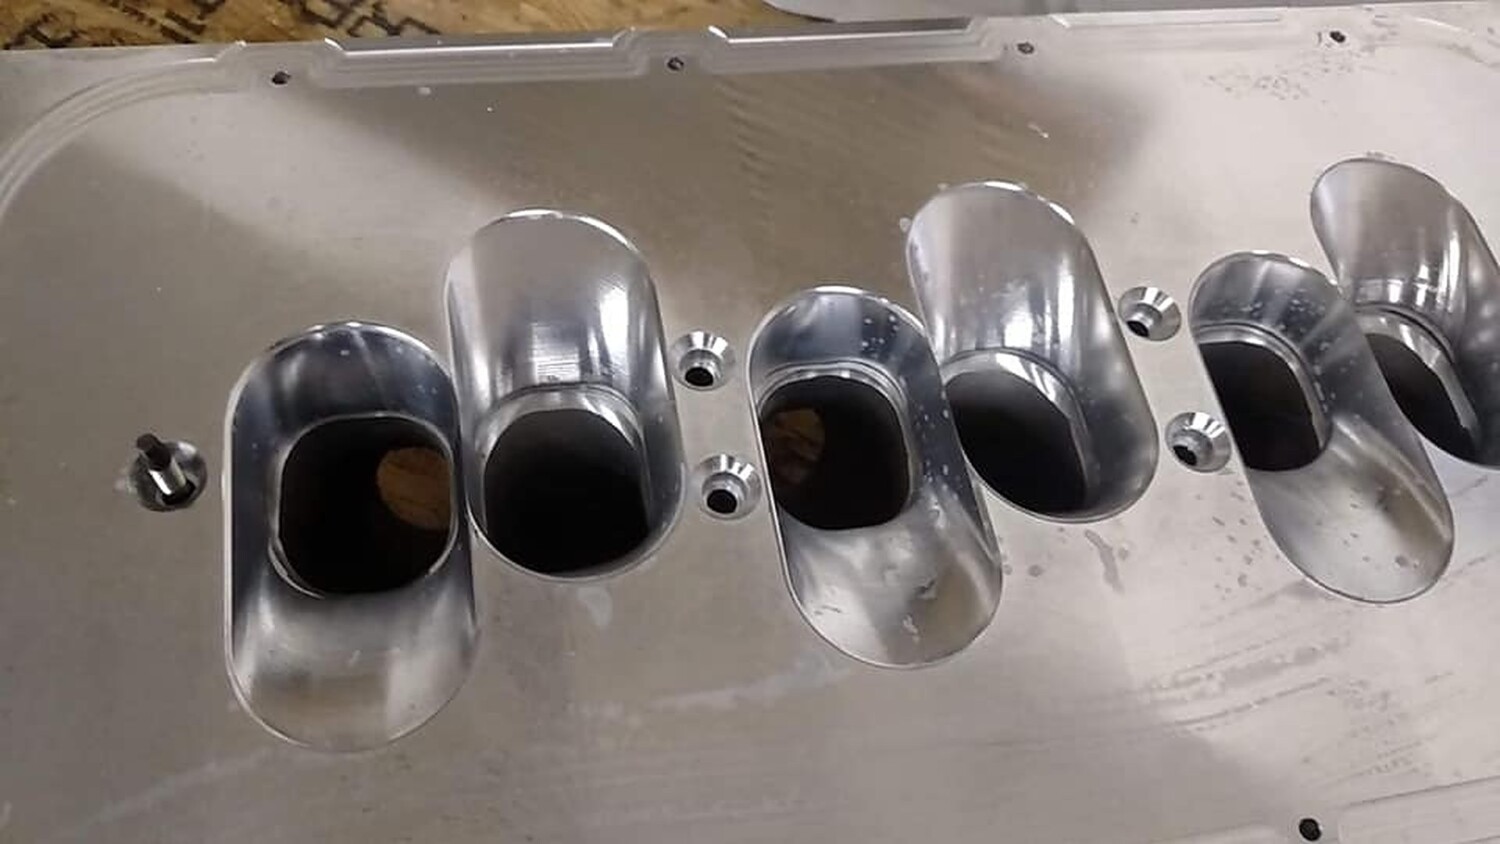
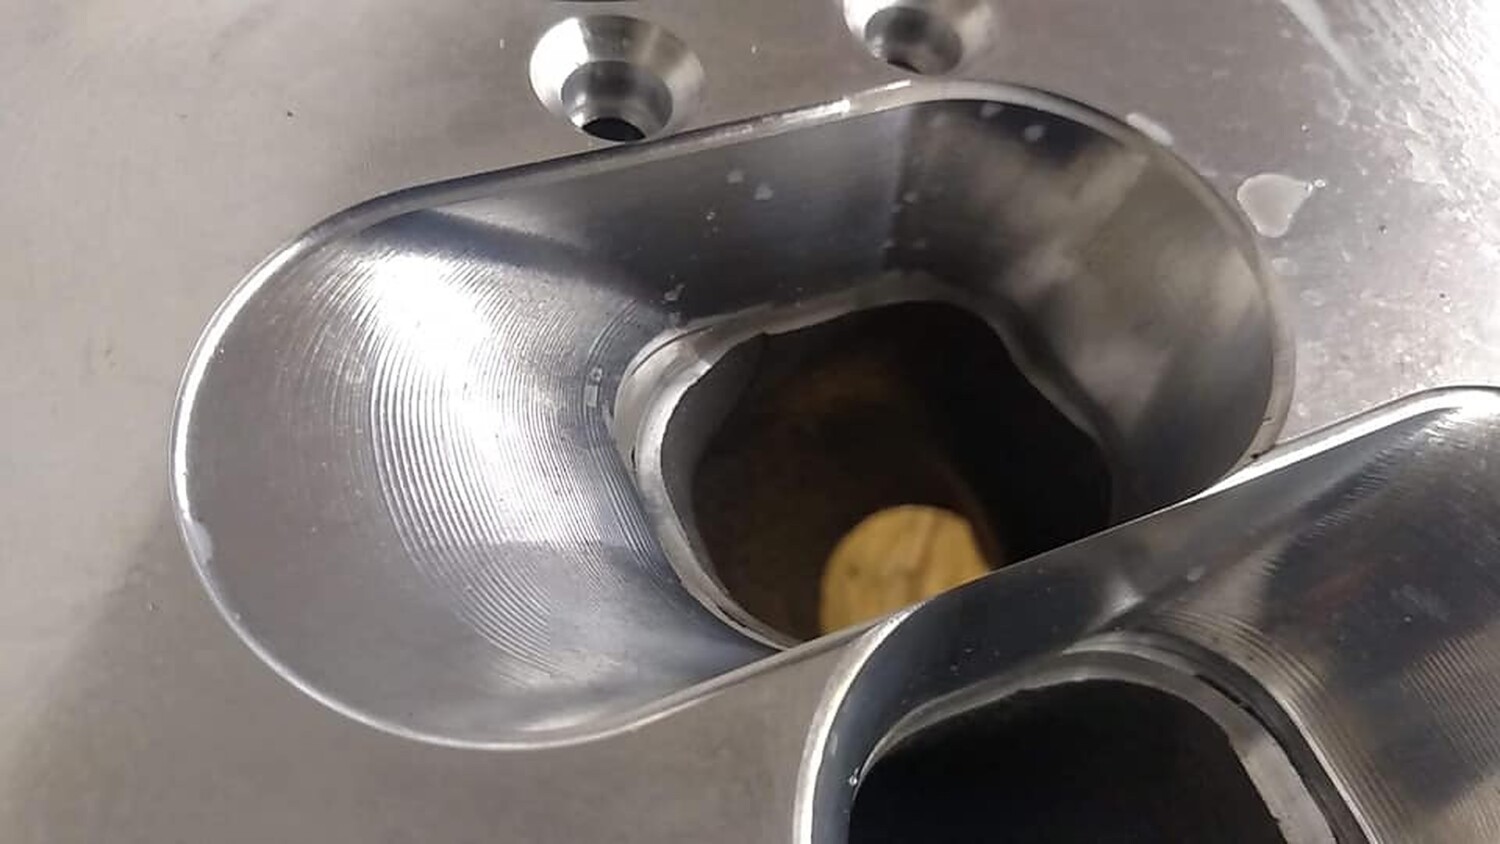
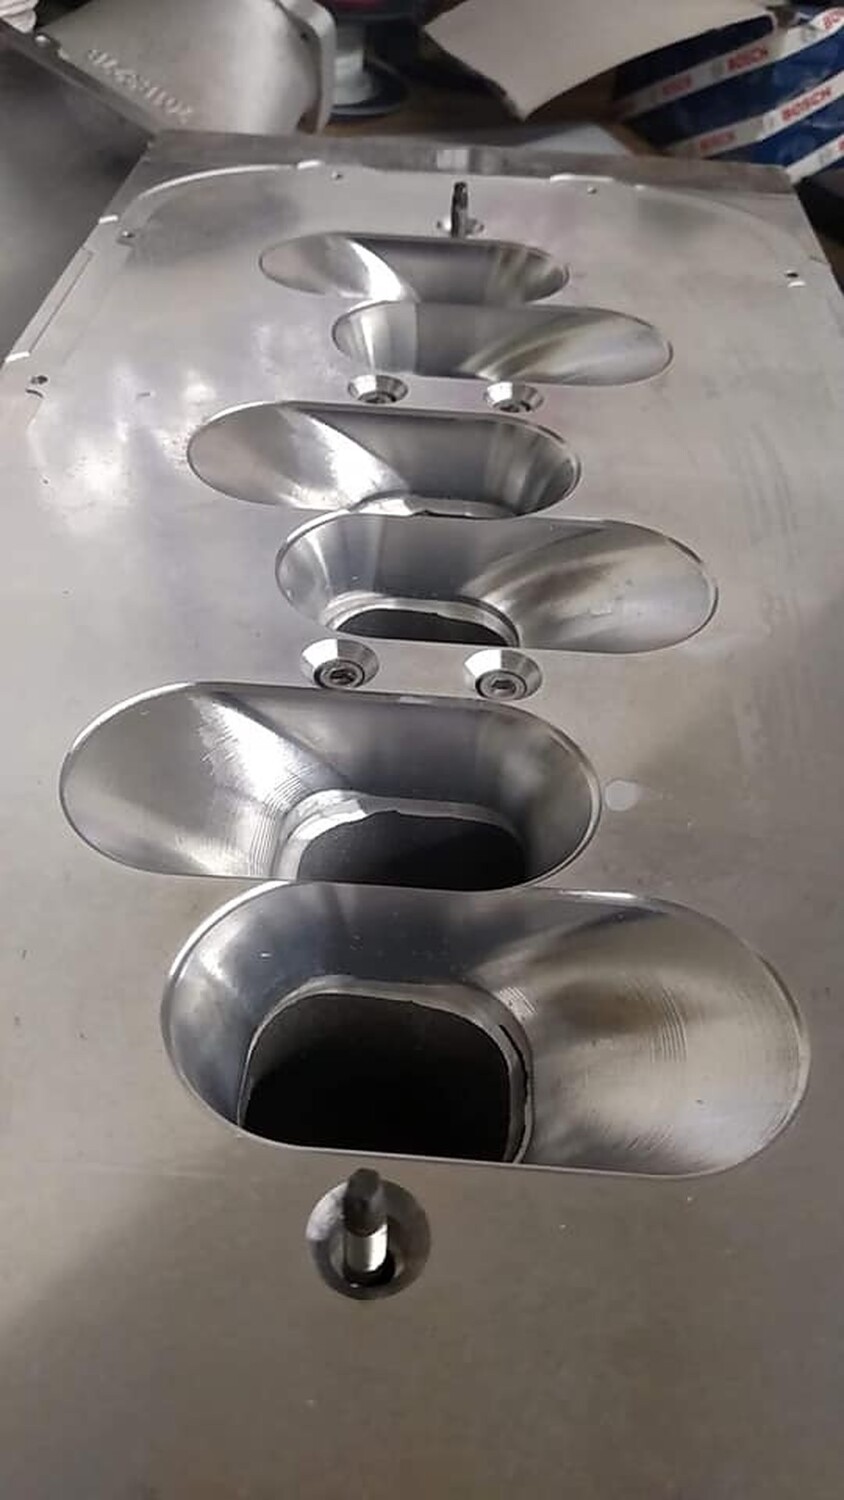
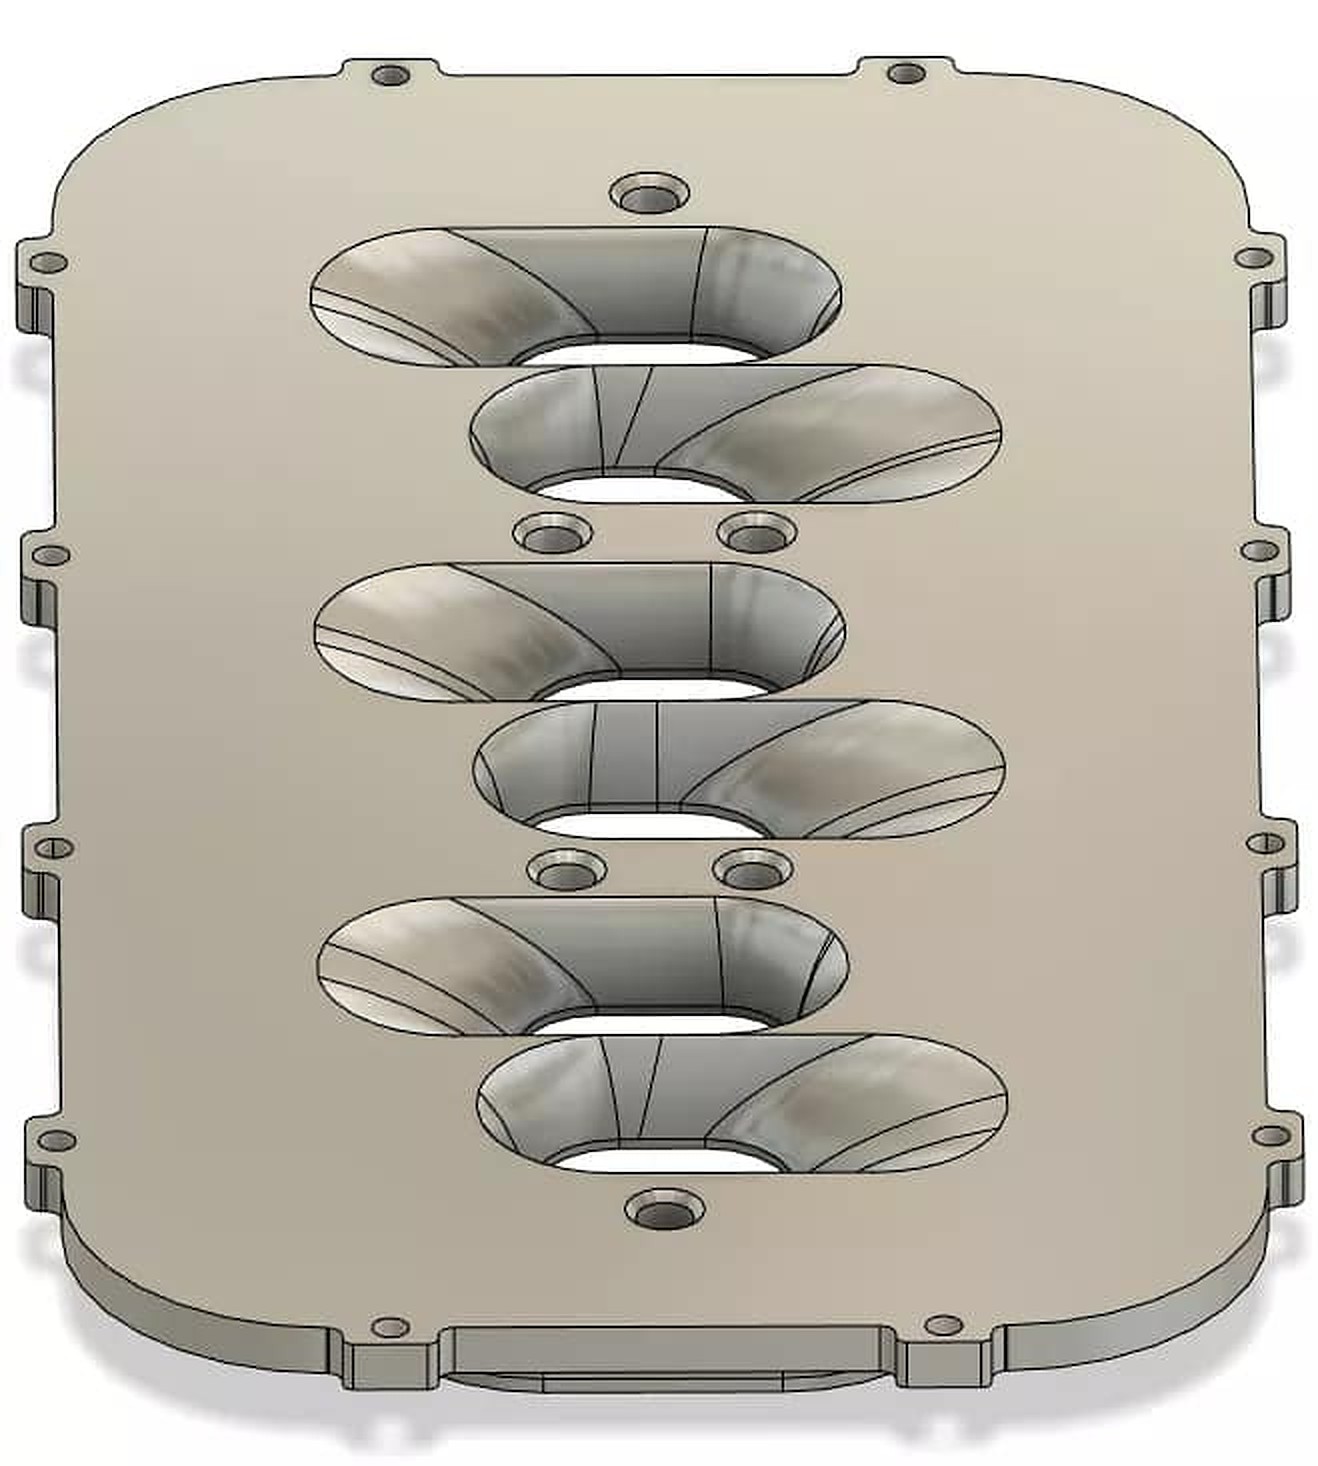
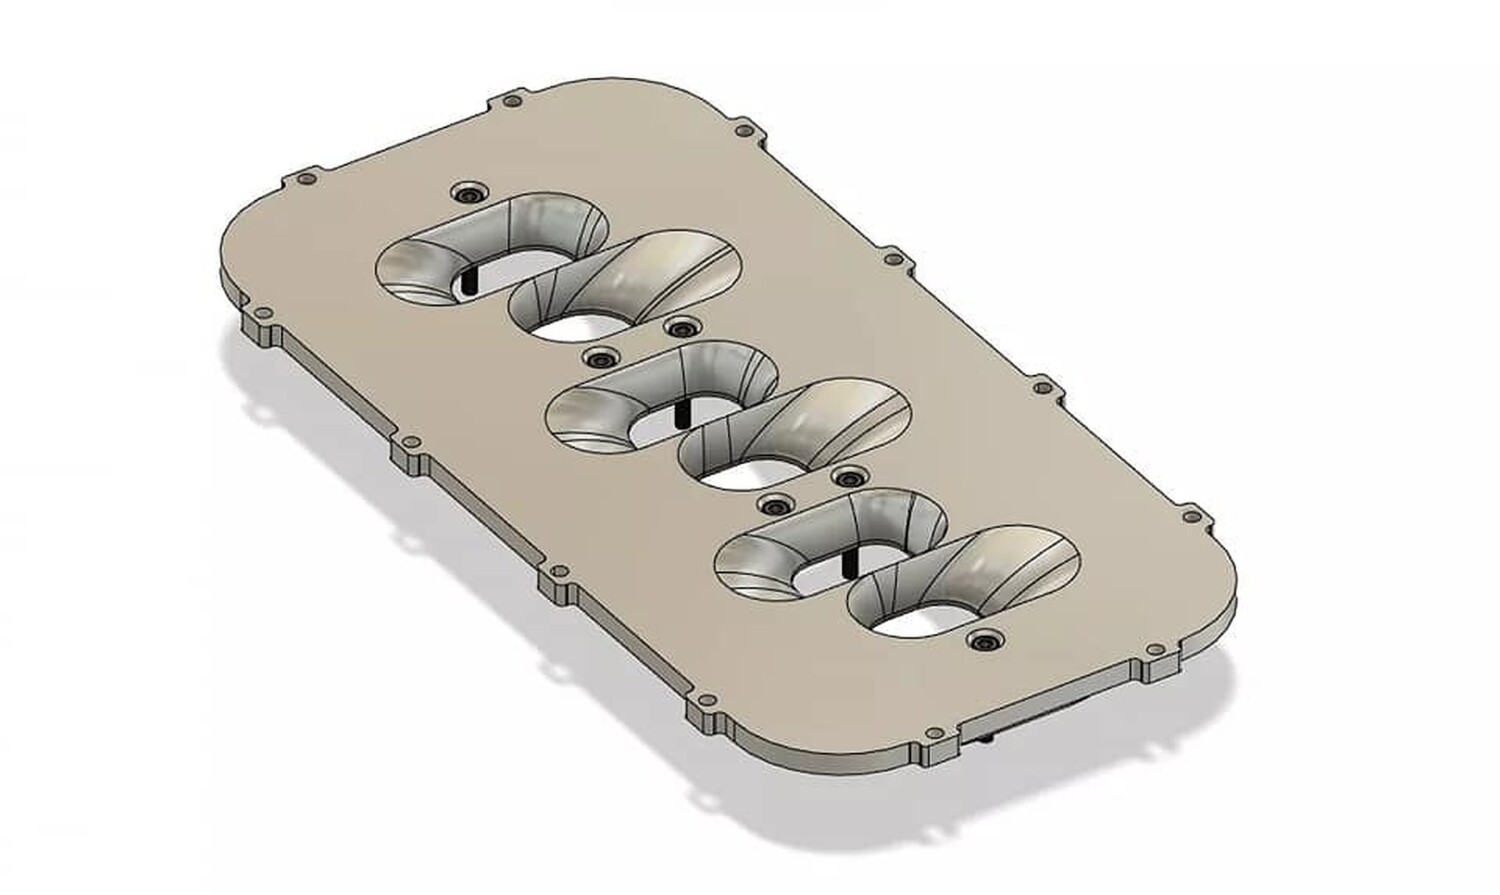
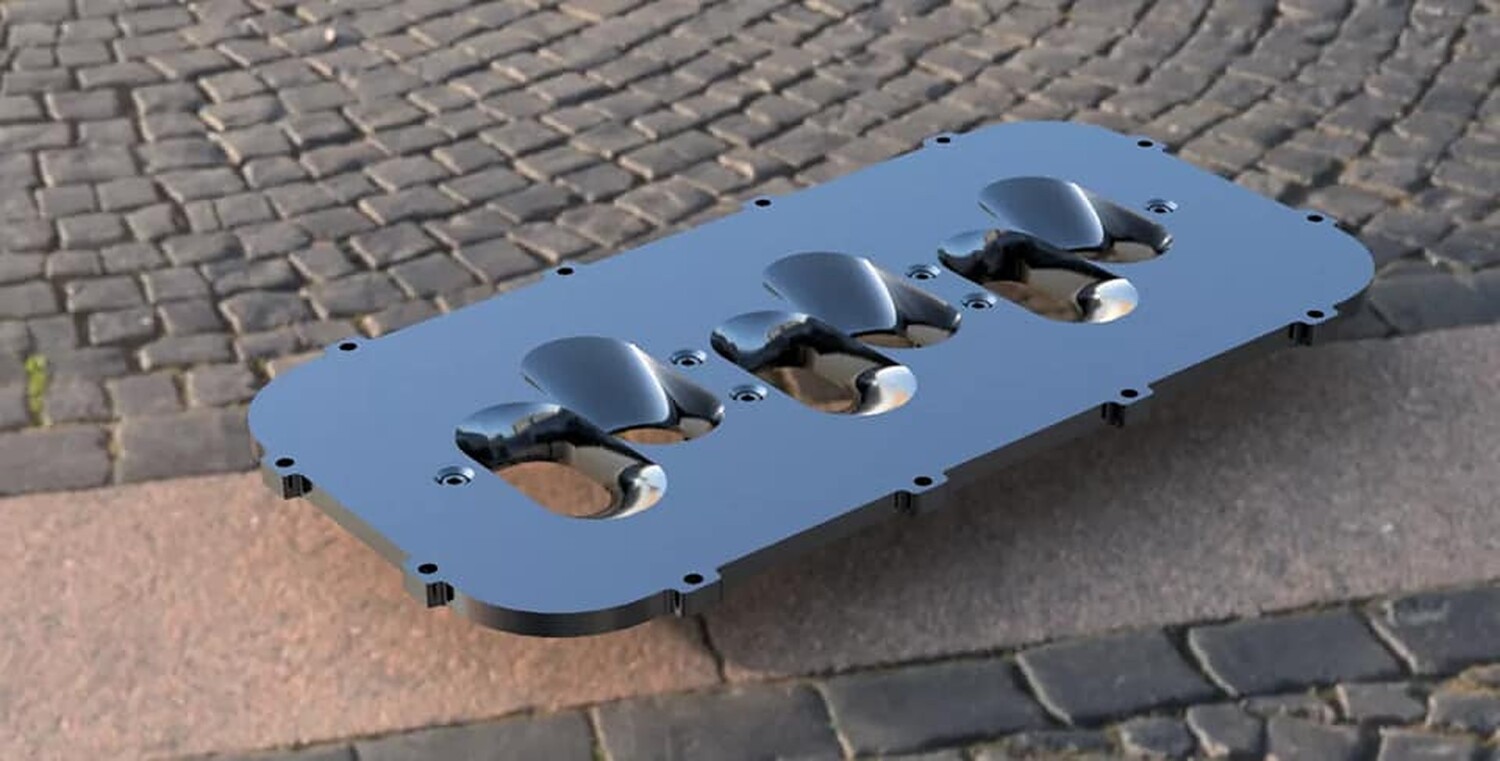
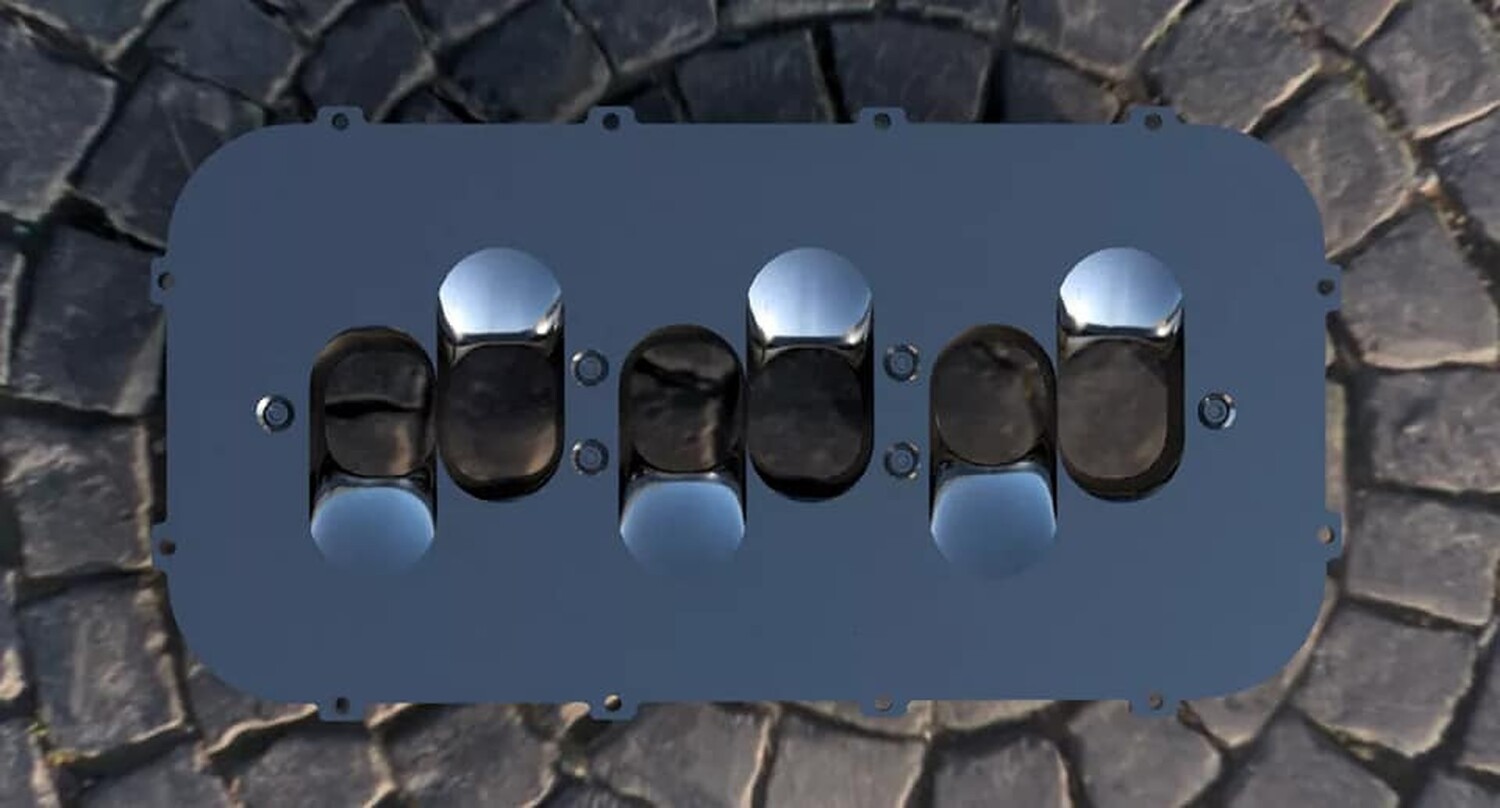
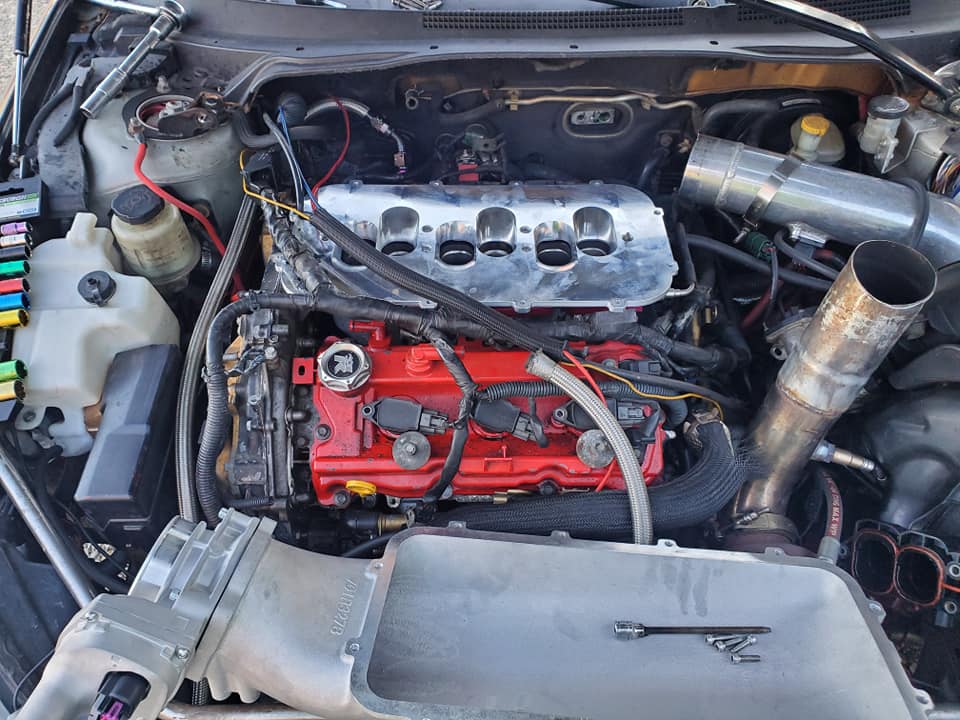
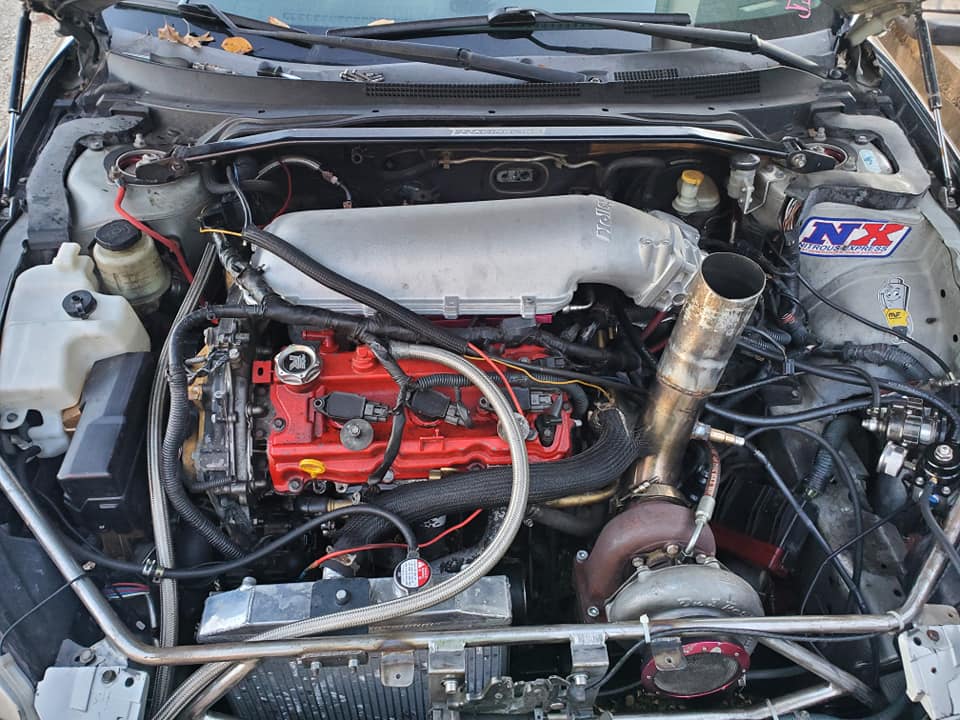
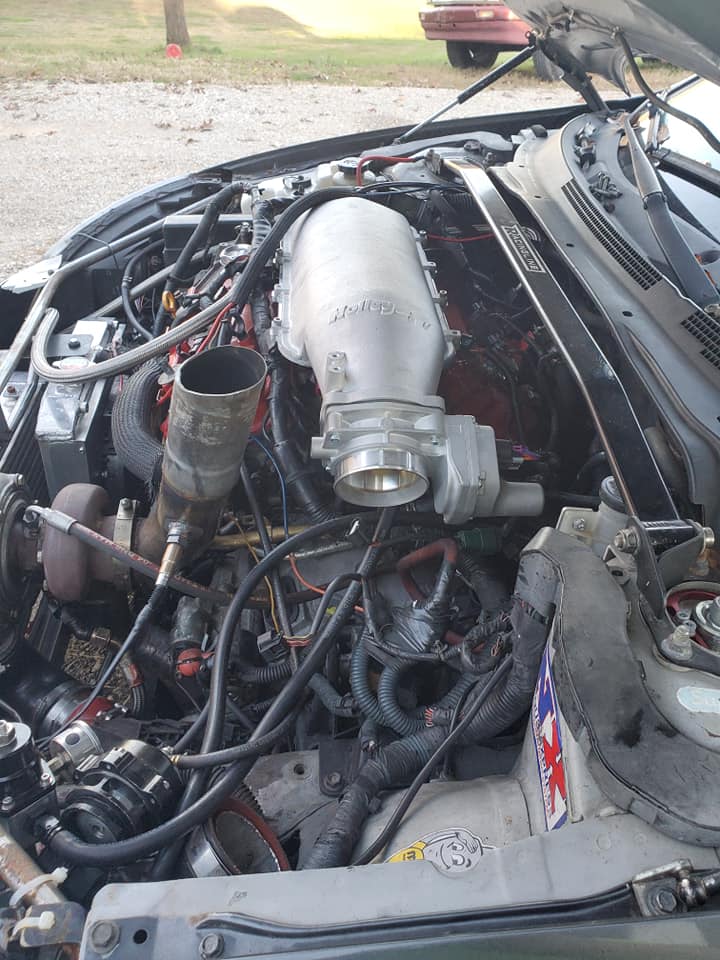
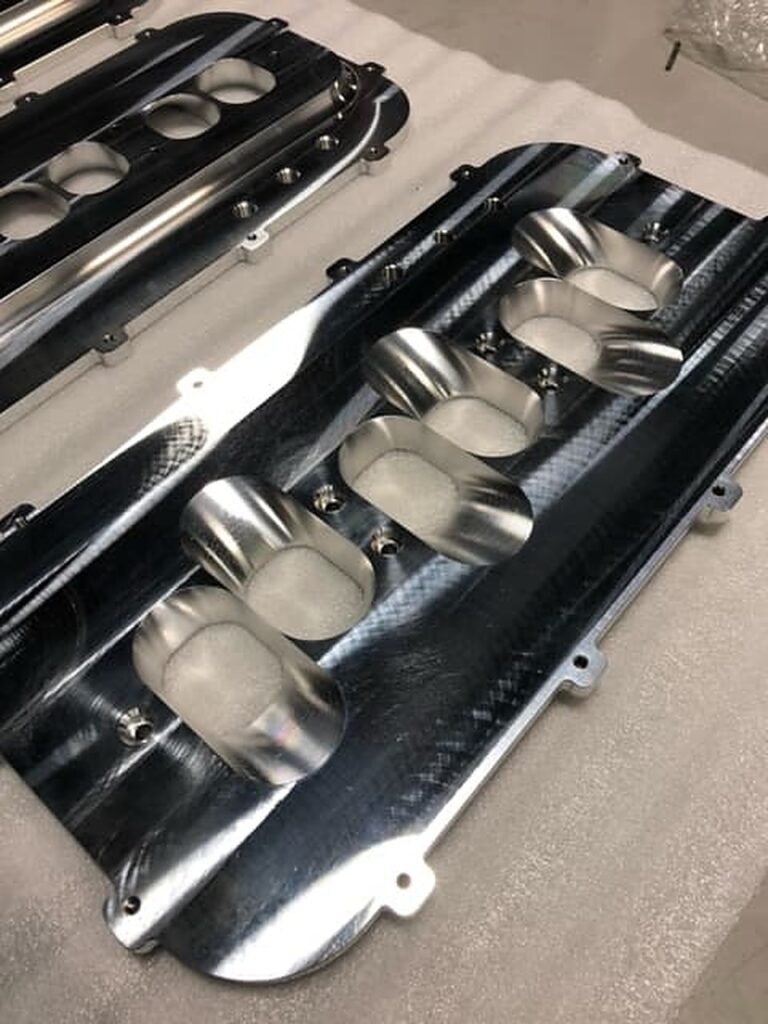
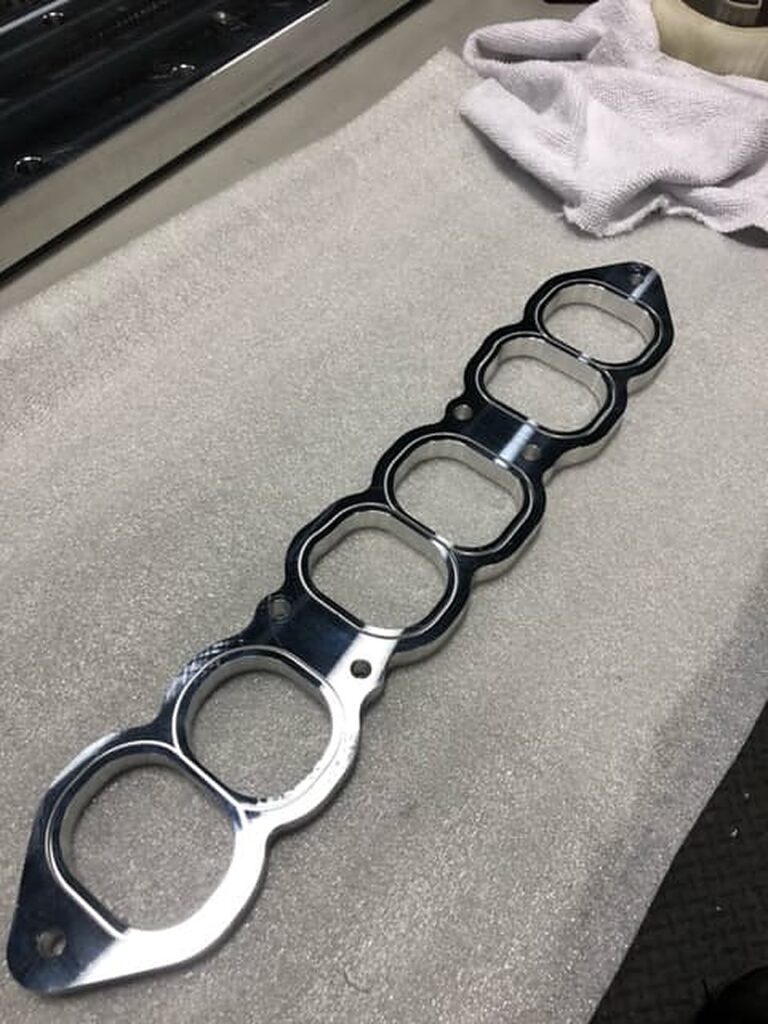
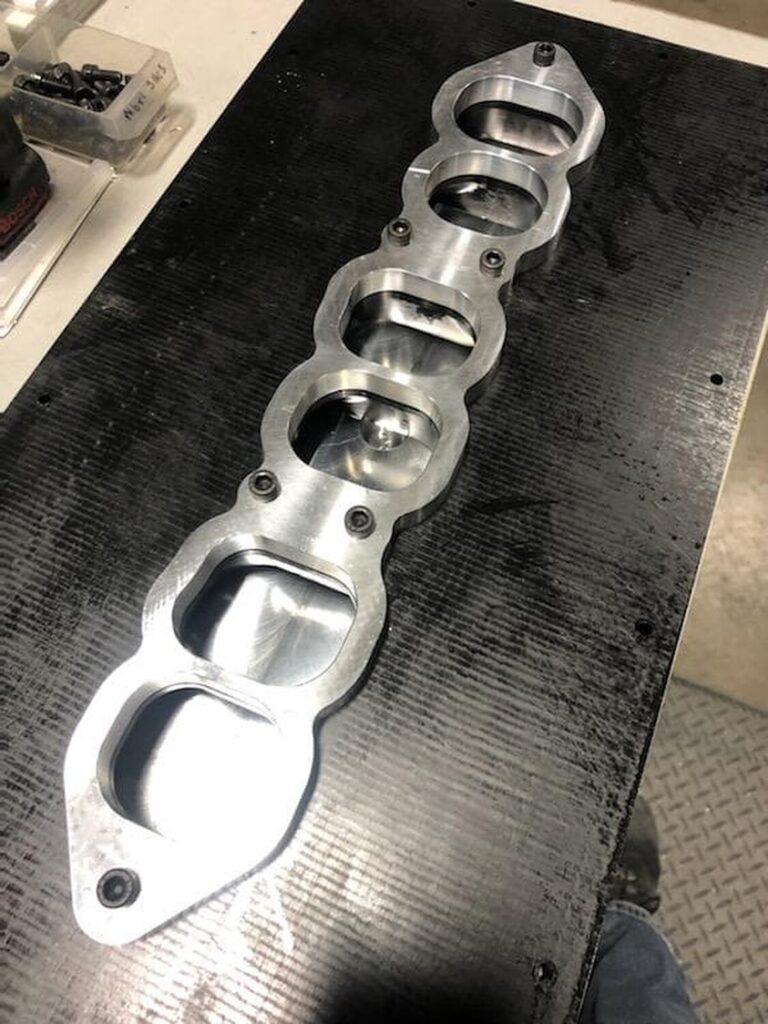
Community Member Credit: Caleb A.
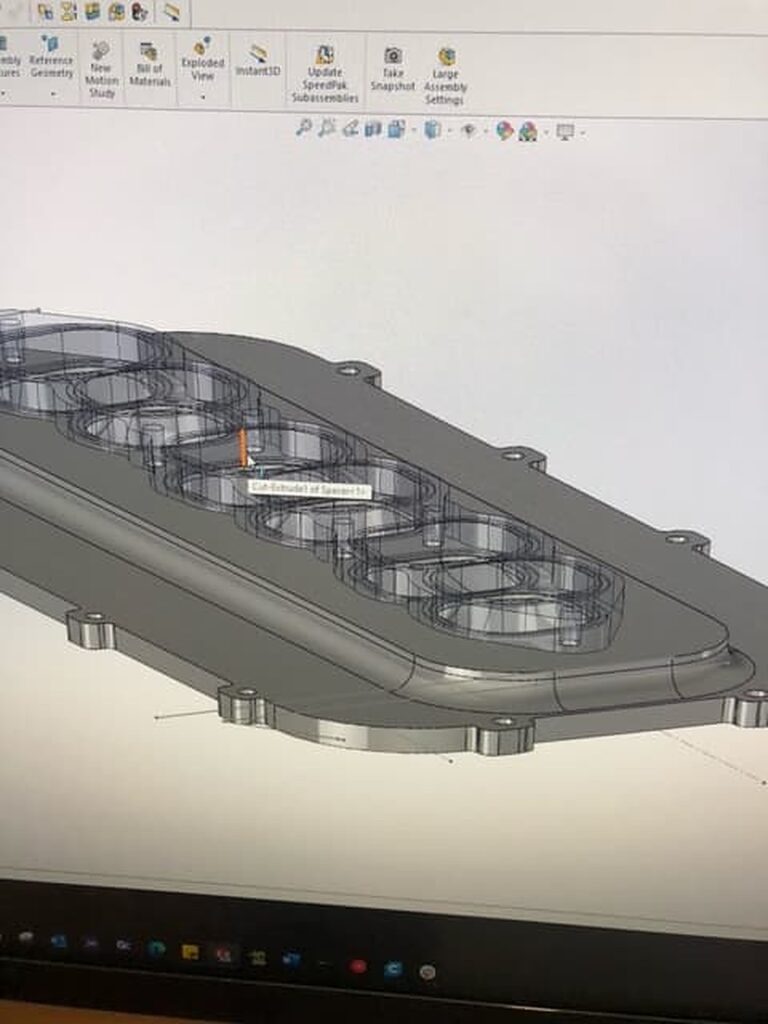
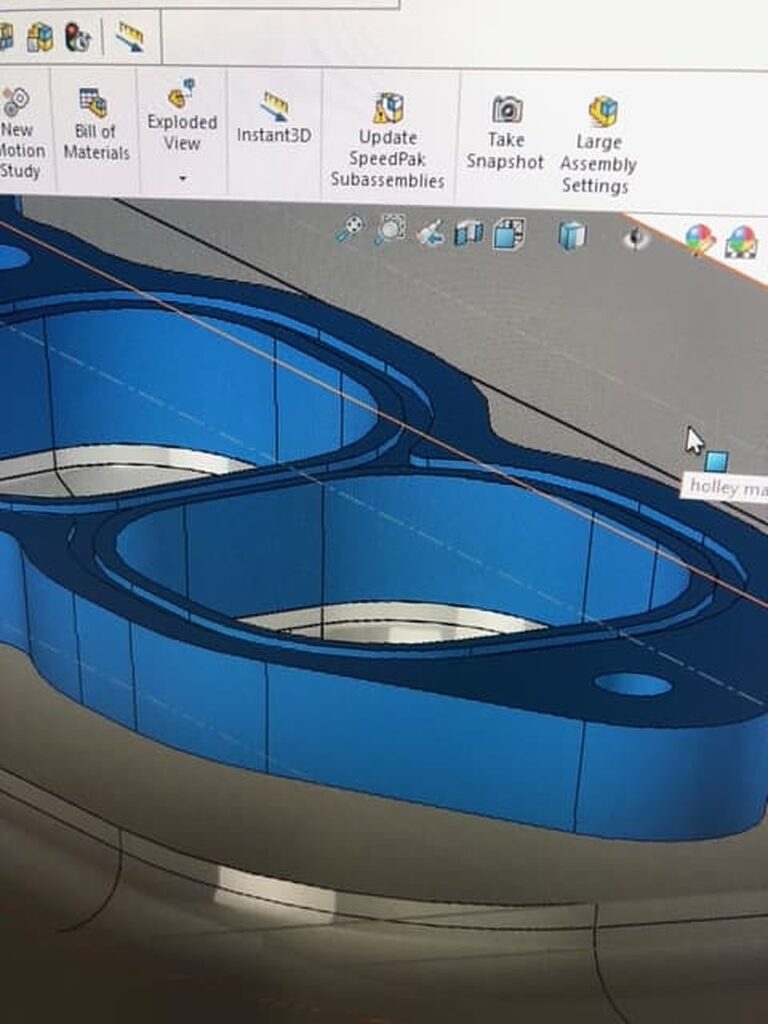
This is a Holley EFI plenum adapter for the Gen2 VQ35DE gen de. I can get them made for the FWD DE, RWD DE, RWD HR and even the 3.7. I’ve got a lot invested in this and those who are interested in this you need to be 100% interested in doing it because it’s gonna cost you about 1200 in total for everything and you’ll need to cut your hood.
This will make a lot more power but will make a major difference in the higher RPMs. More specifically over 7k RPMs. This is a baller mod, for those who are serious and want to make serious power. The kit will consist of a lower adapter plenum upper plenum (Holley EFI 95mm) gm 90mm throttle body and a plug and play wiring harness for the throttle body. Dyno sheets will be up soon for direct comparison but you will need a tune to run this. This can fit a variety of cars if your willing to make it fit!


![]()