Credit: Jungmin Lee
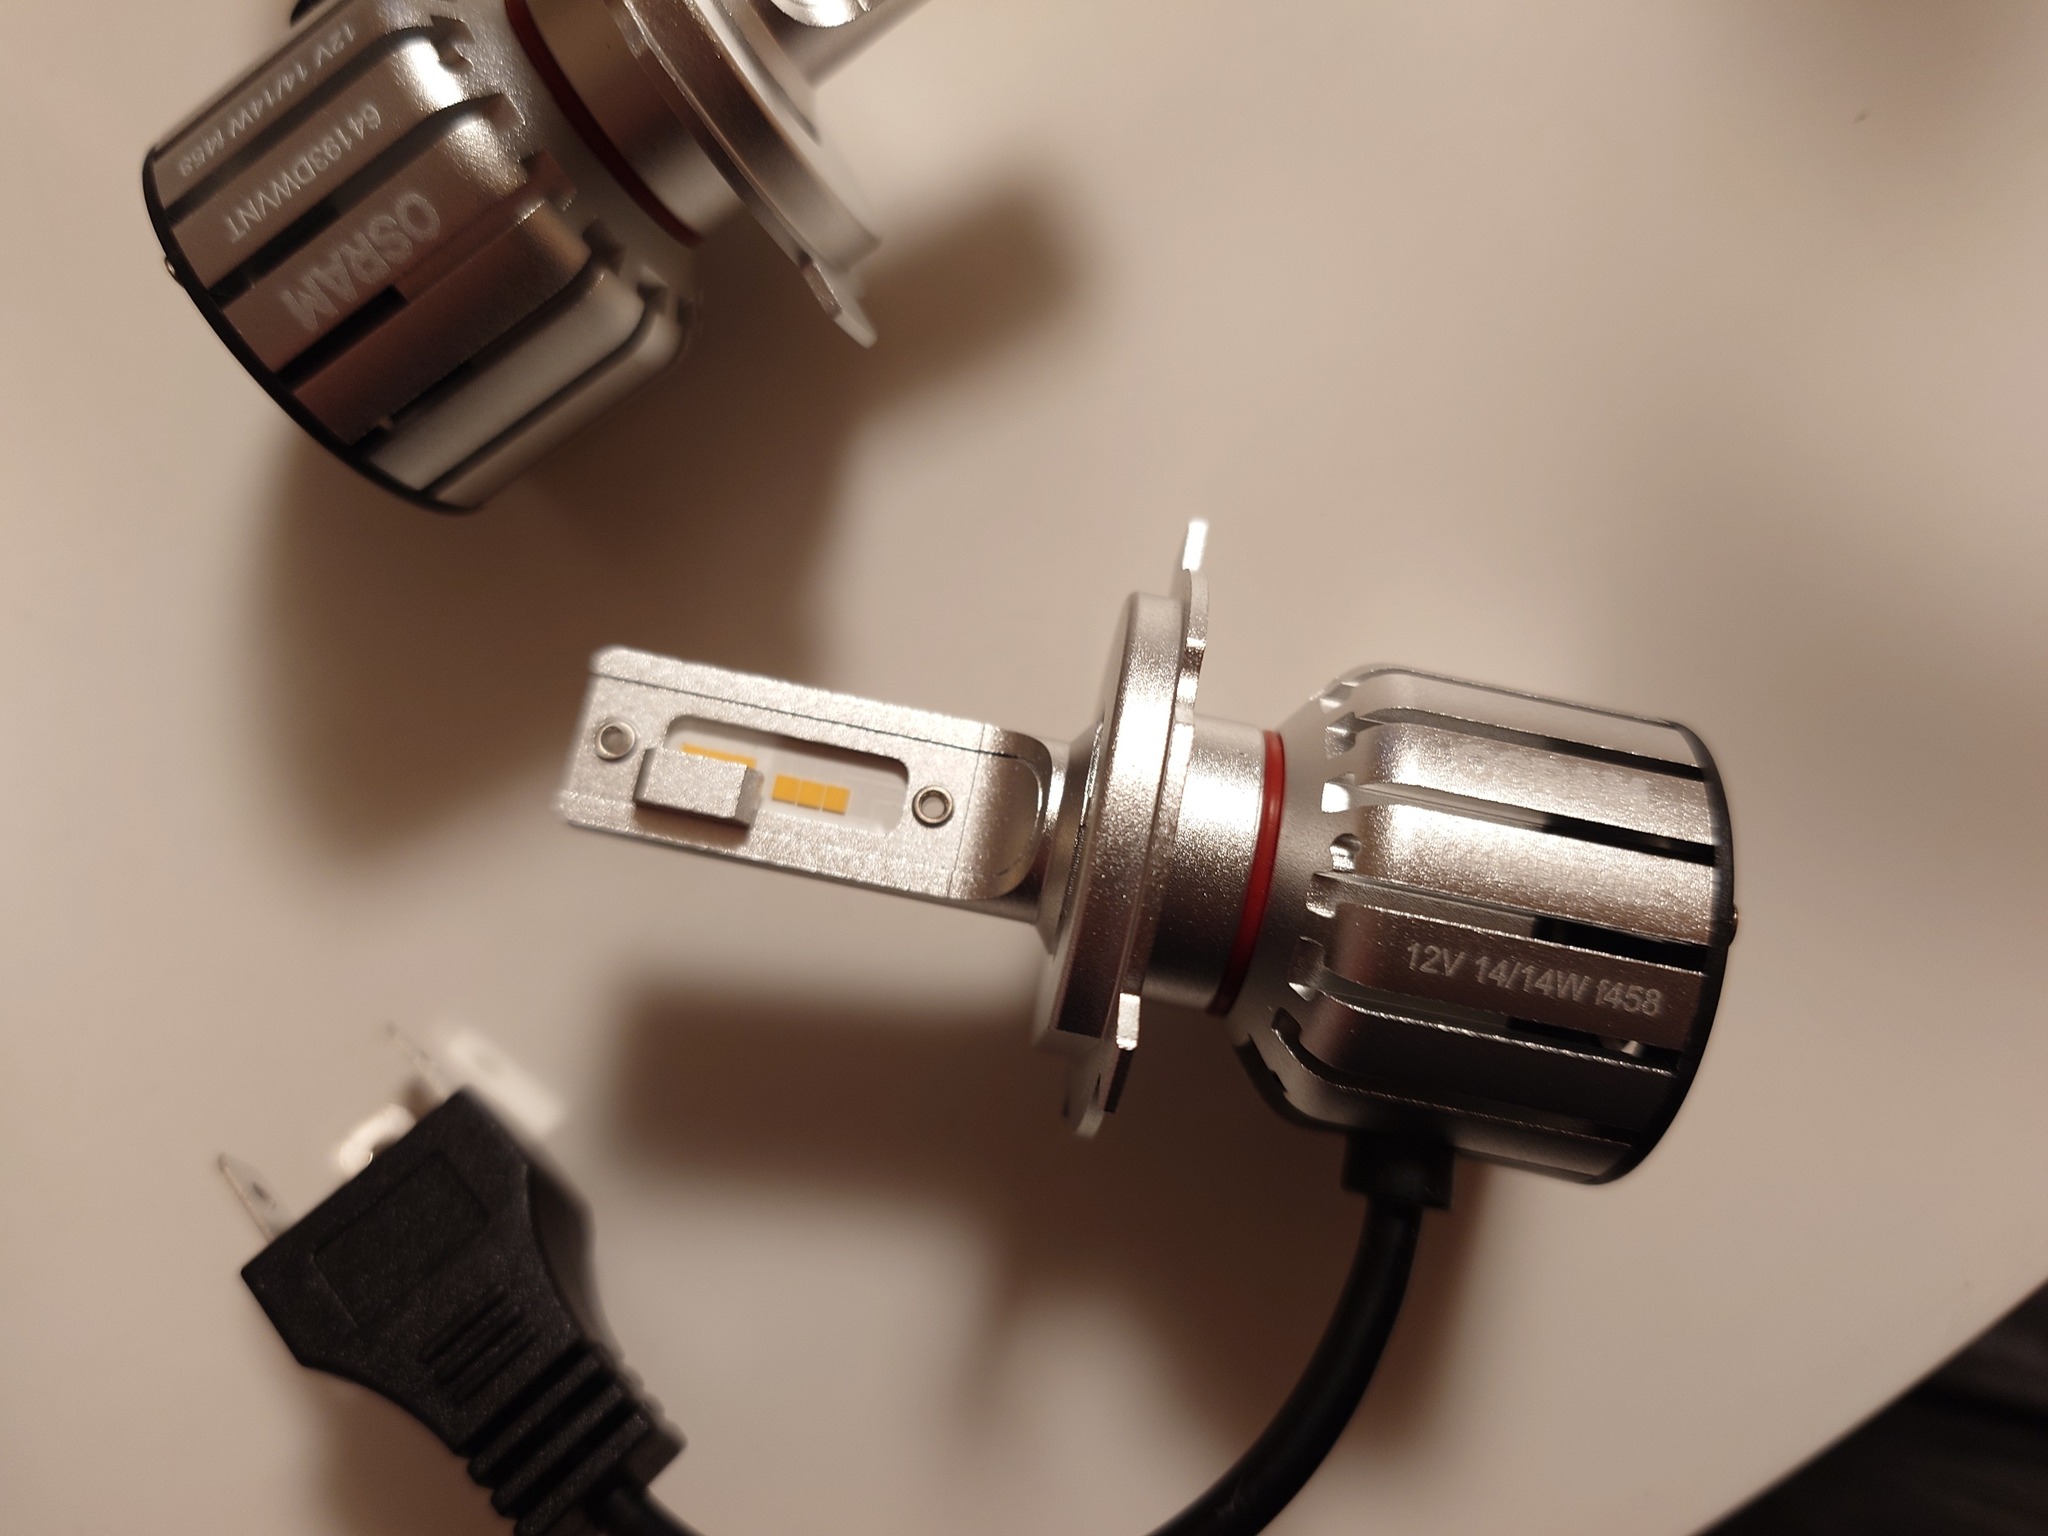
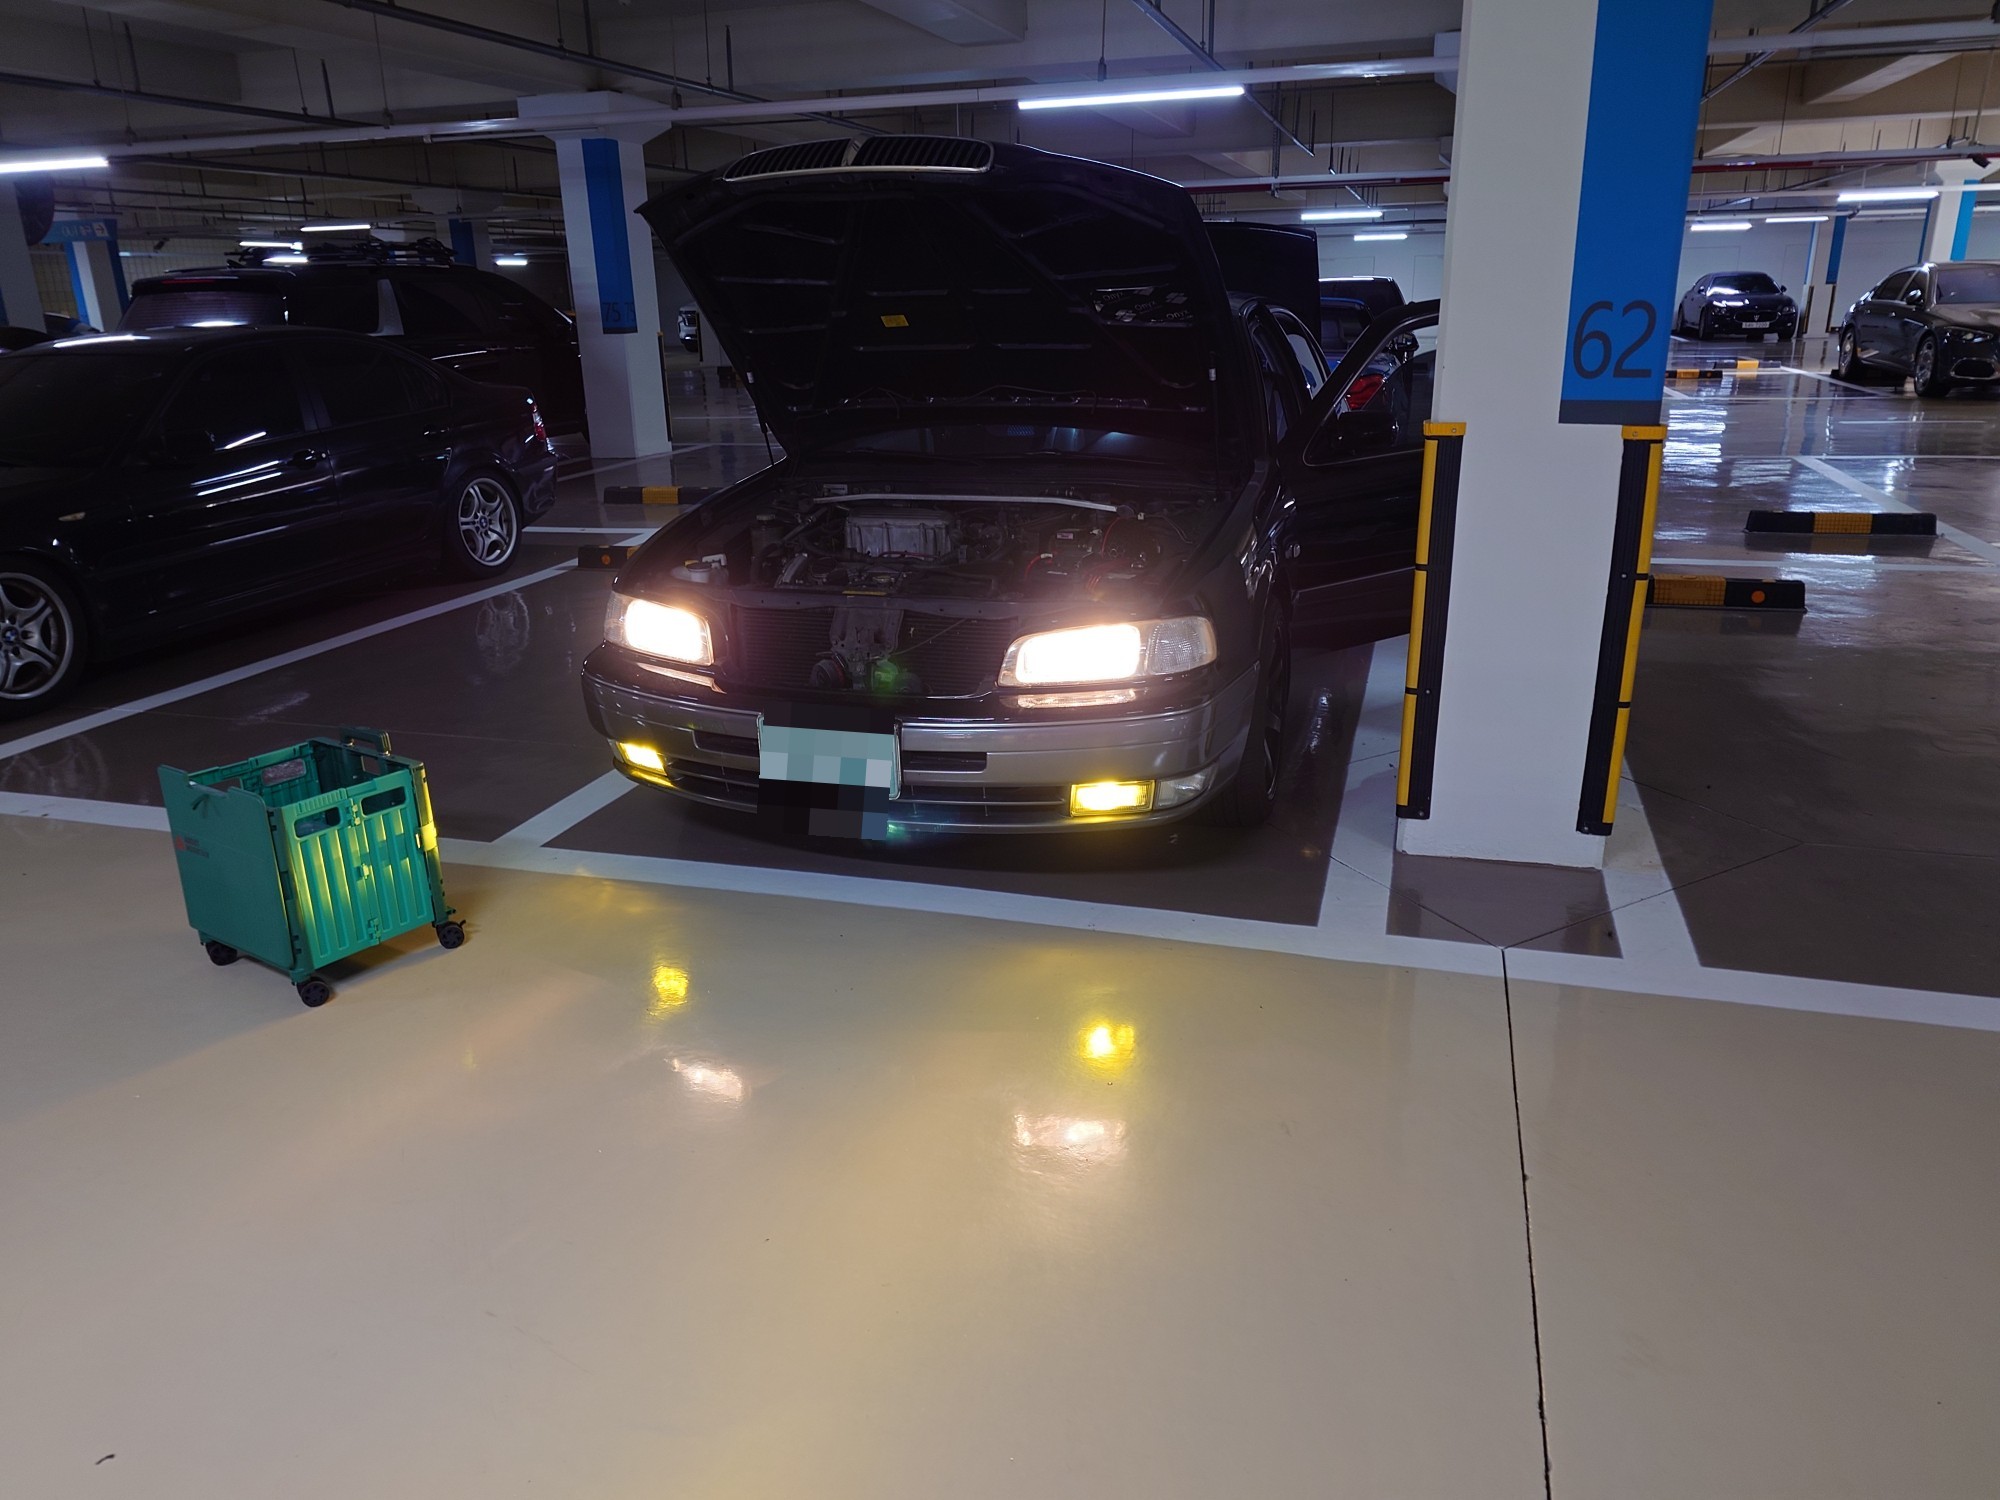
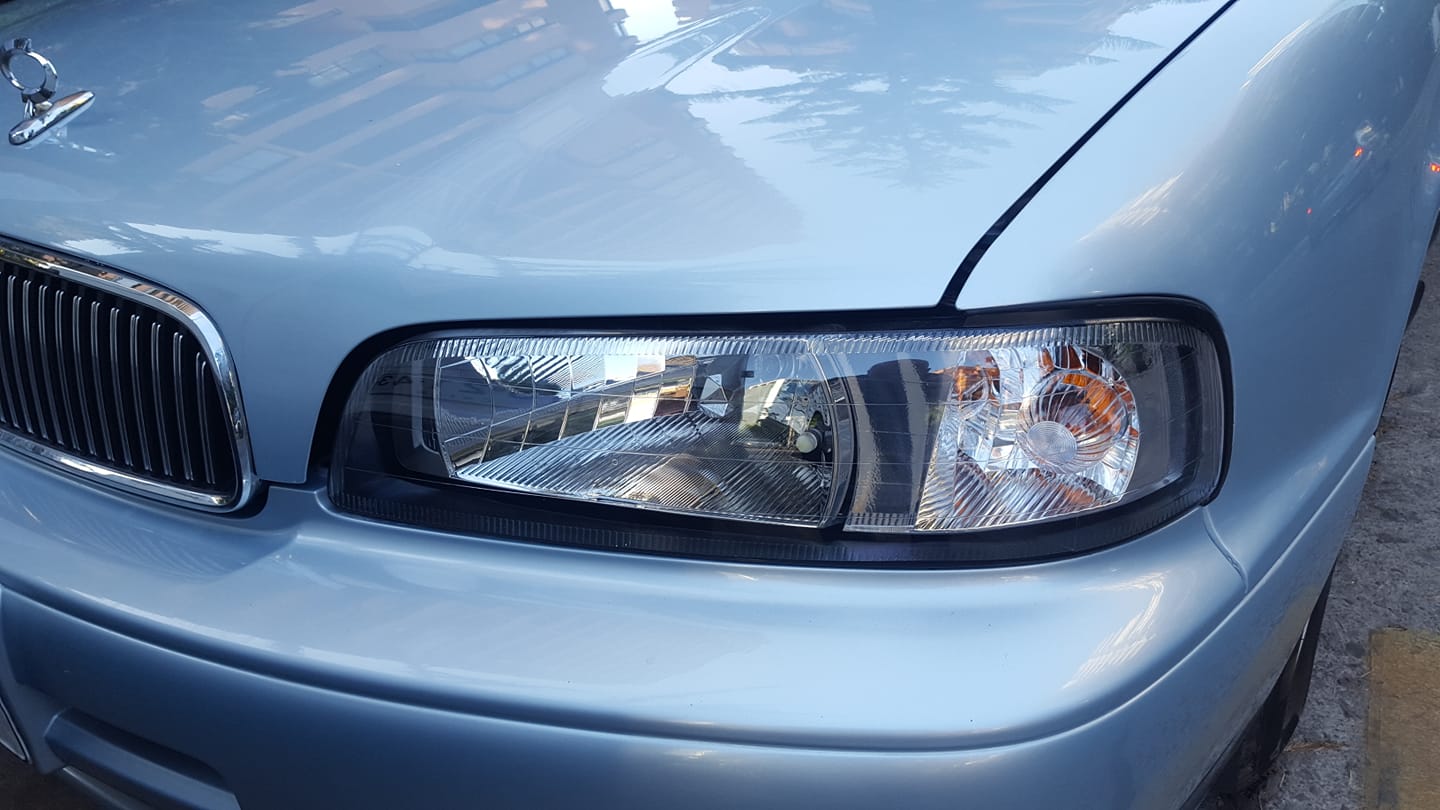
Finally did led retrofit without making it look obvious
I know most people like the cool white(5,500~6,000k) look of led but I like it for the efficiency.
![]()


Credit: Jungmin Lee
Finally did led retrofit without making it look obvious
I know most people like the cool white(5,500~6,000k) look of led but I like it for the efficiency.
![]()

Credit: Jungmin Lee
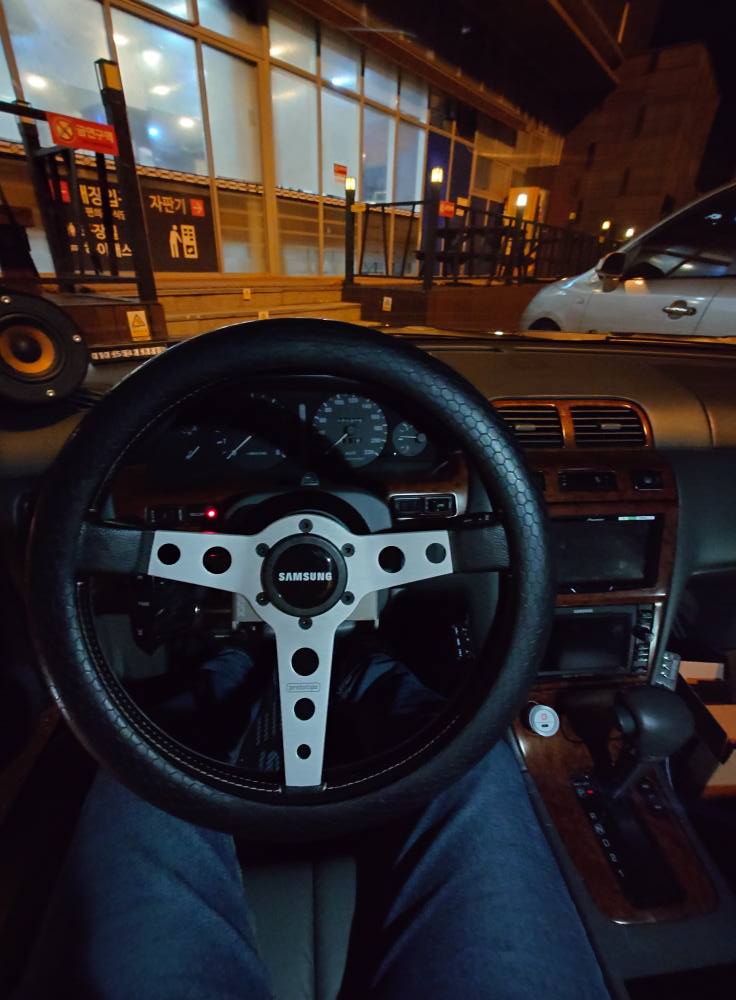
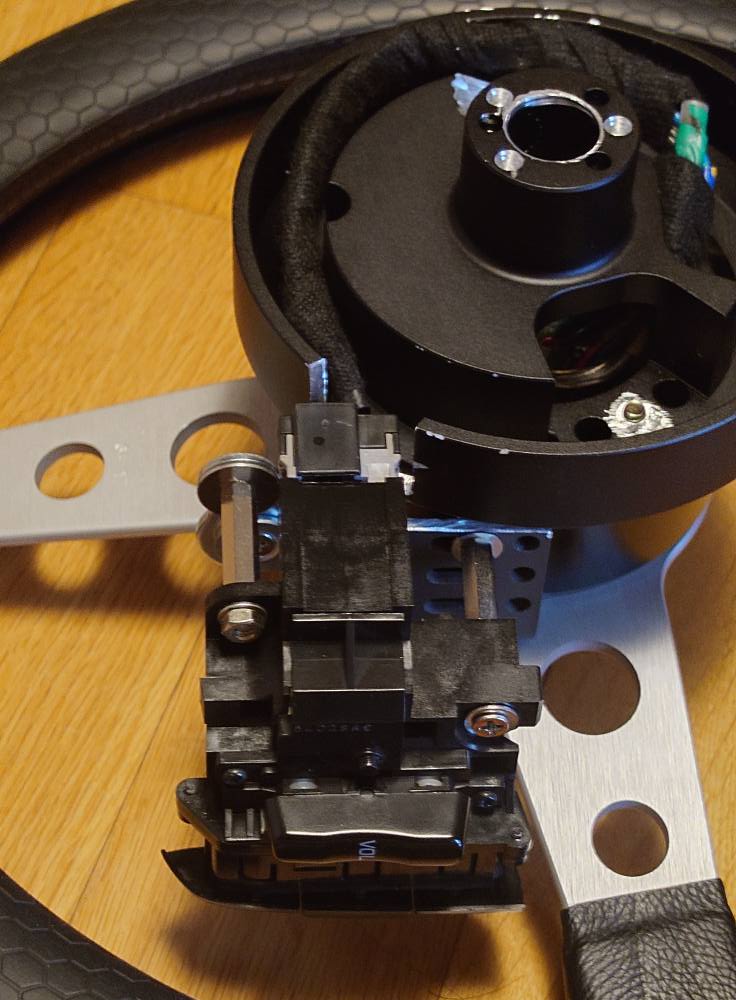
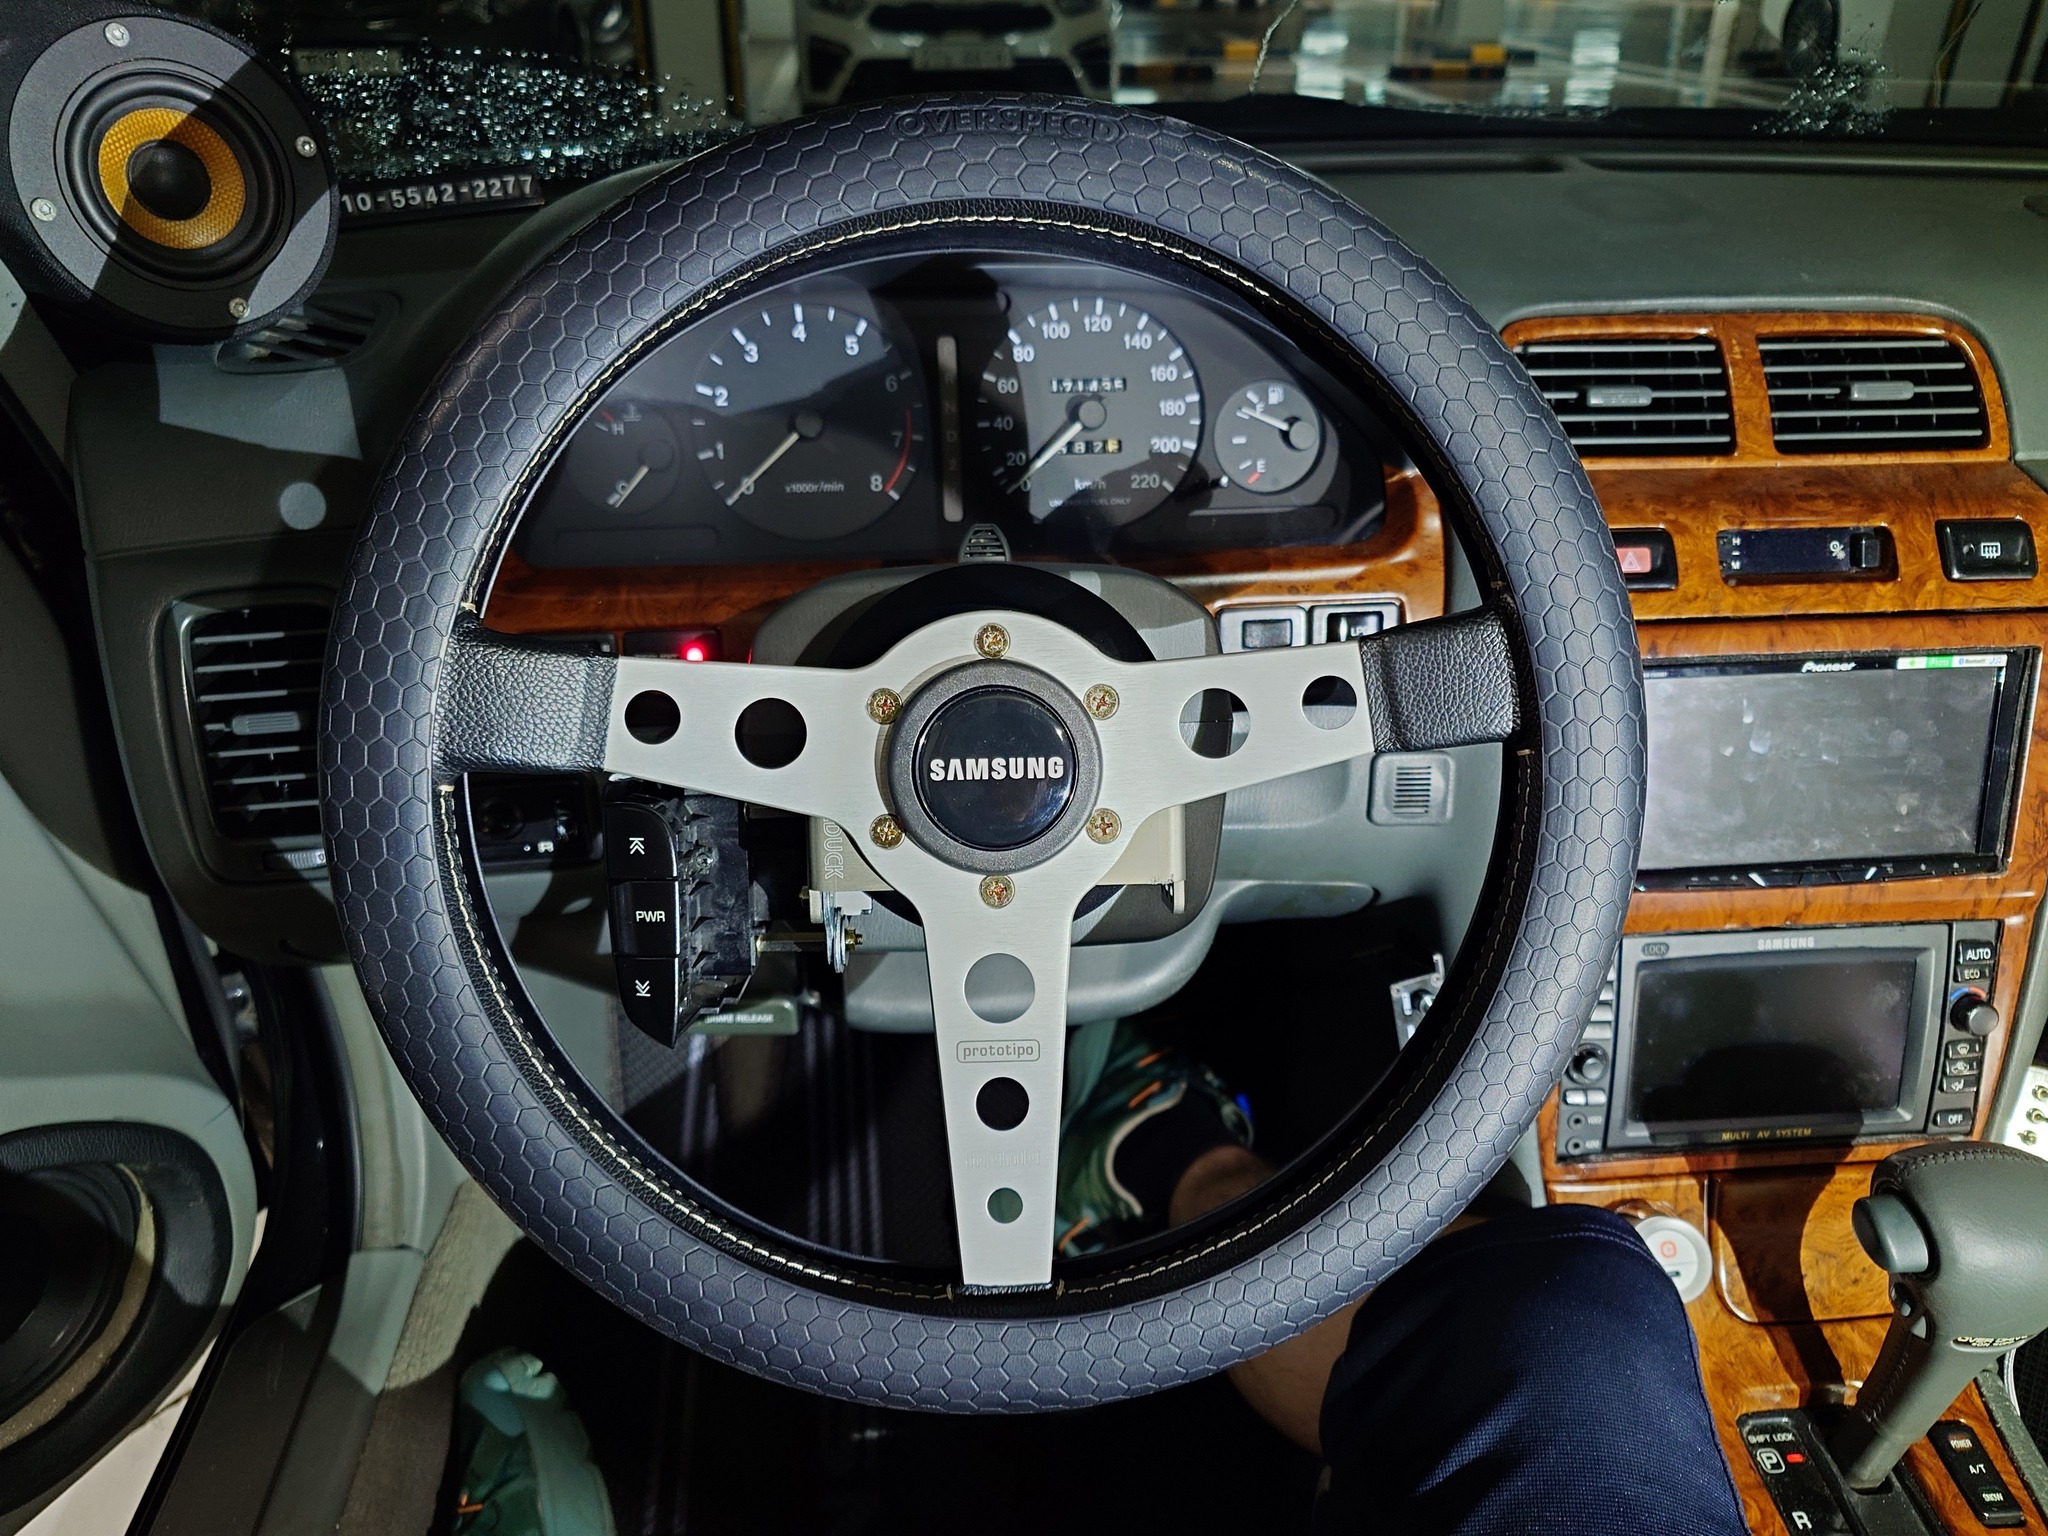
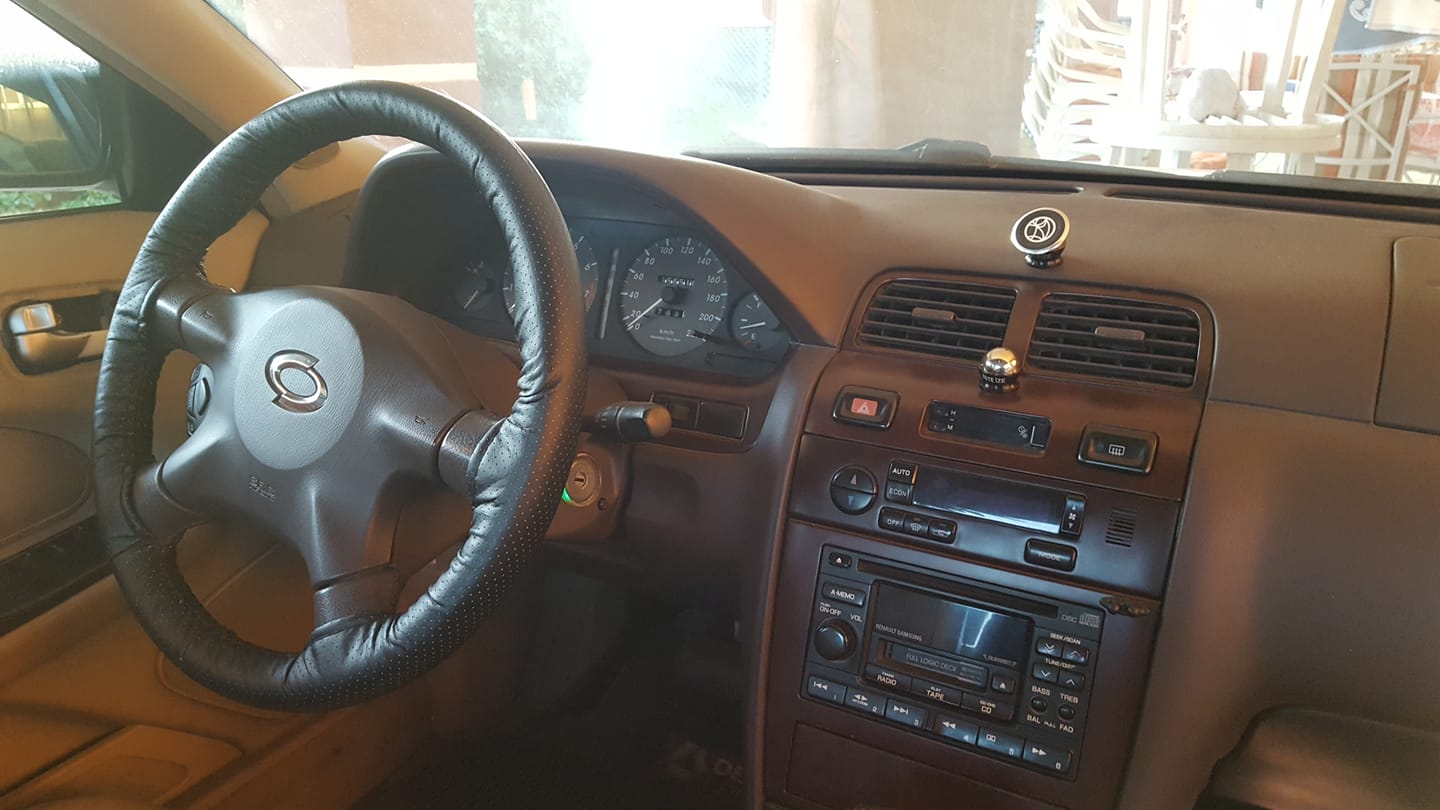
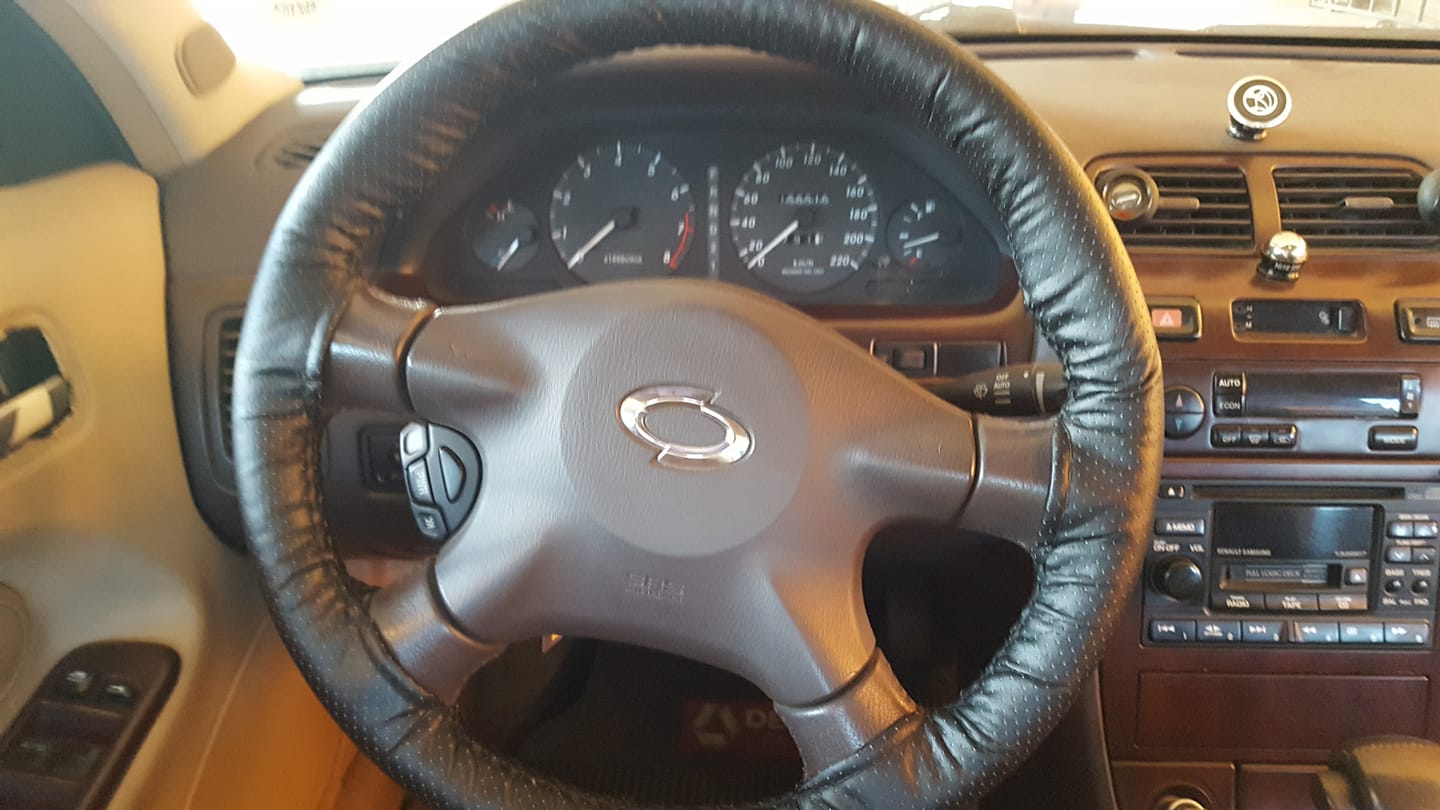
I installed a MOMO PROTOTIPO aftermarket steering wheel using a newer Nissan hub (for the Z/V chassis) because it’s designed to work with the clock spring. I had to make some small modifications to fit it on my SM525V, and you’d need similar changes for 4th gen models.
Steps I Took:
Aligning and Drilling:
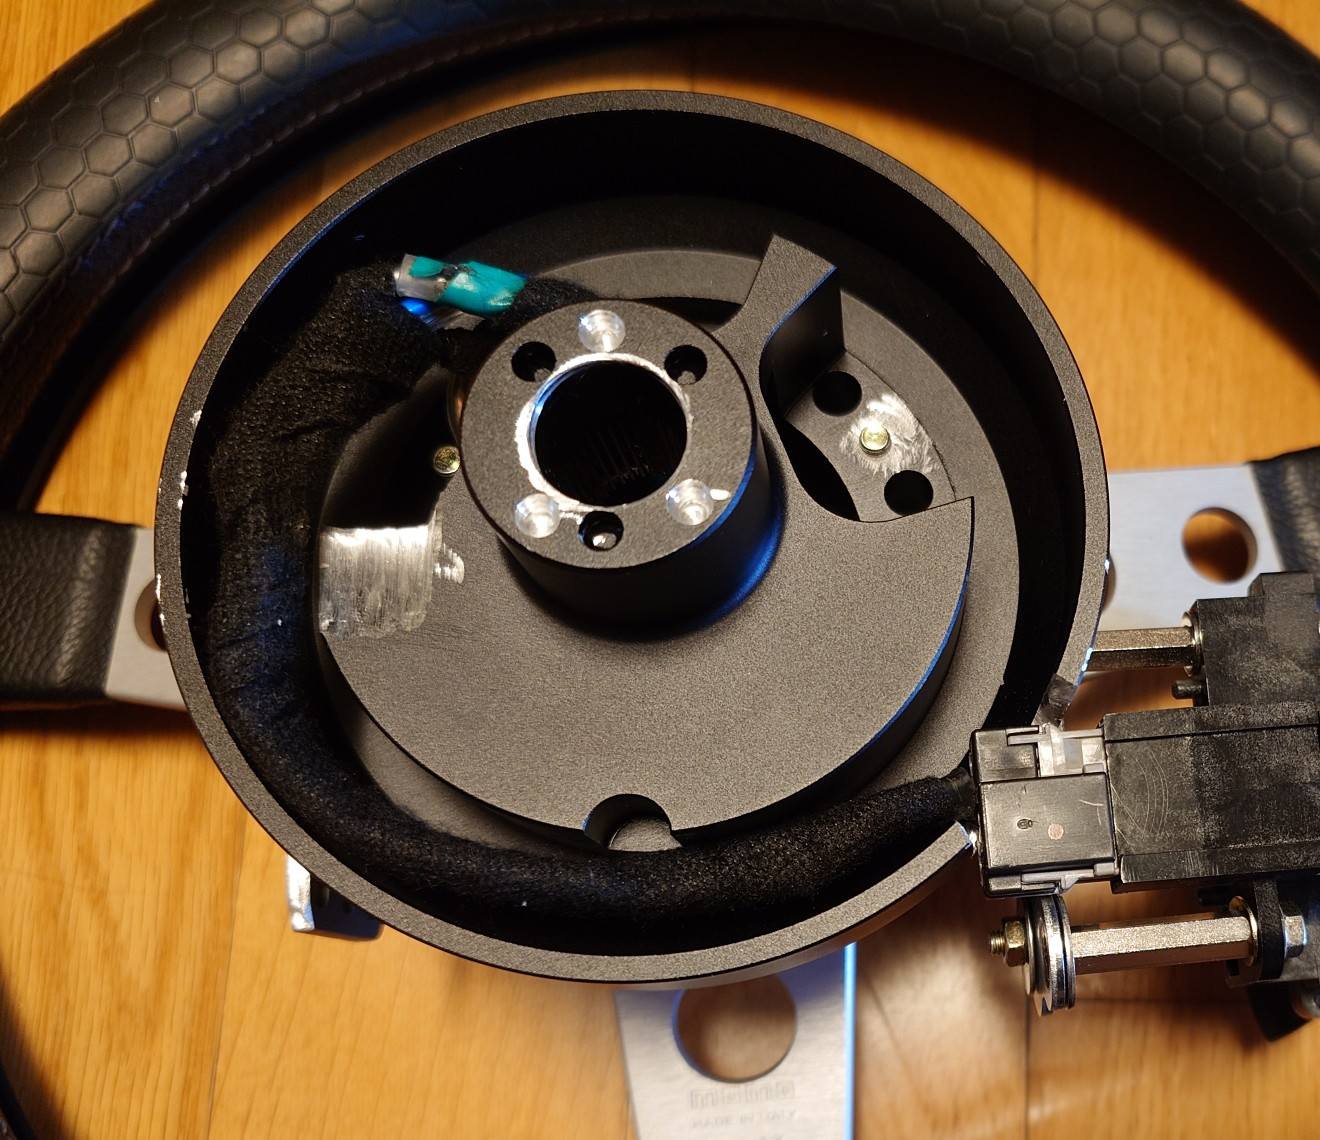
I matched the hub cutout to the clock spring nub. I drilled three holes for the cancel cam (for the blinker auto-cancel). You can skip this if you don’t mind losing auto-cancel in certain positions—you can just rotate the cancel cam to line up with existing holes.
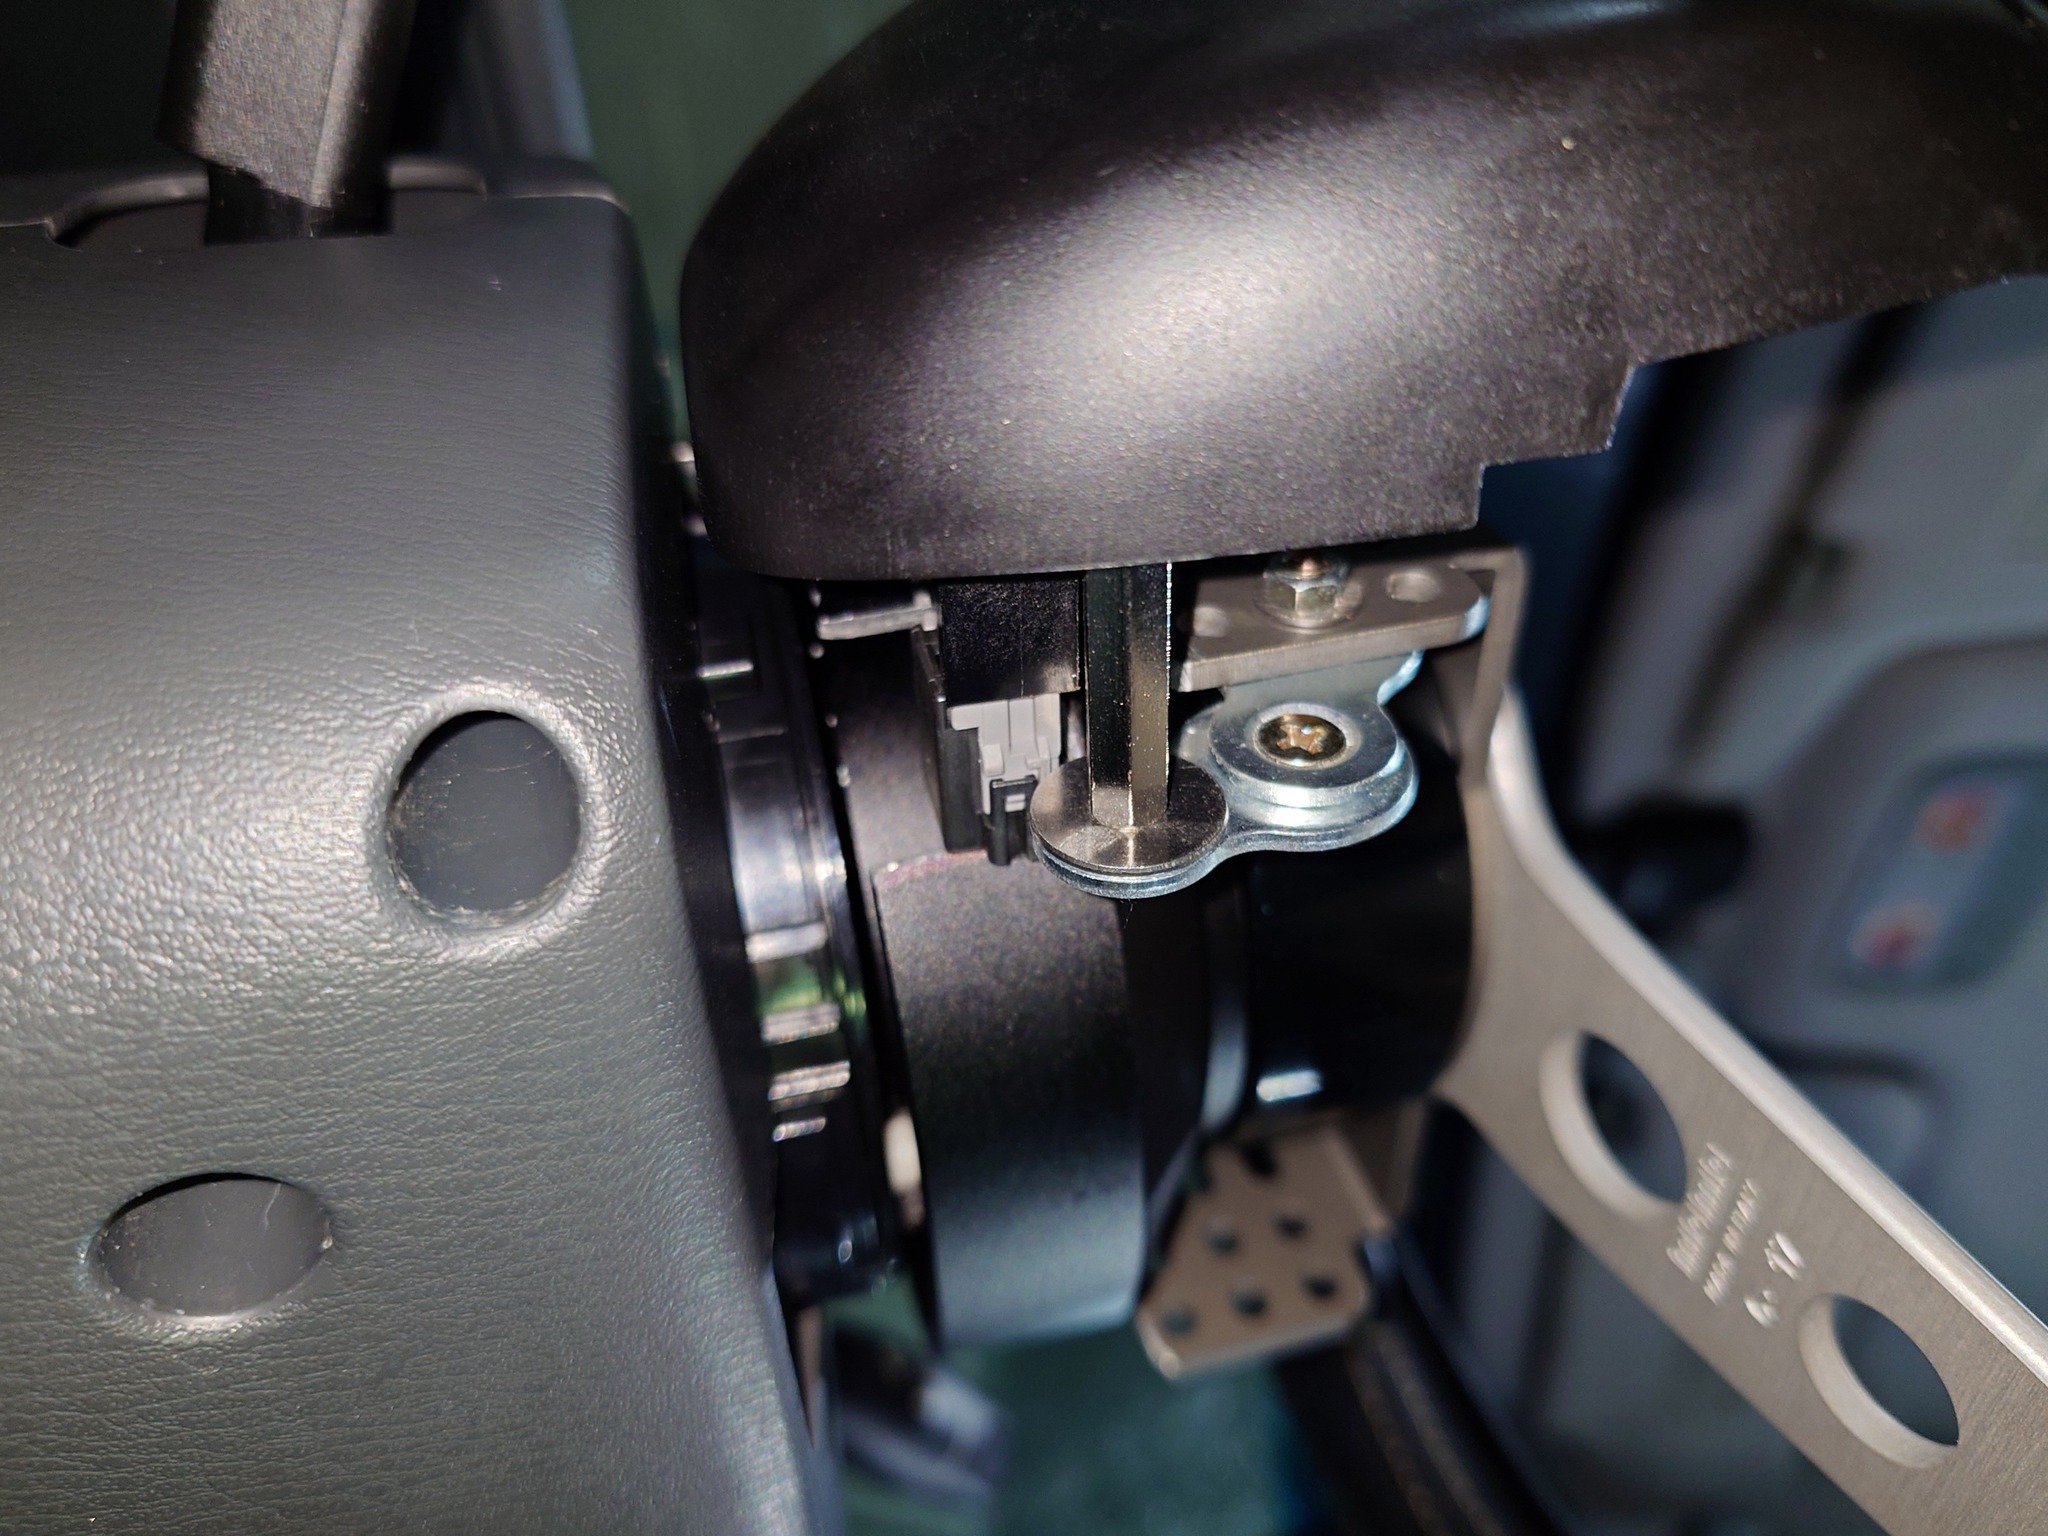
Shaving the Hub:
The hub didn’t seat all the way because a wall around the clock spring harness was in the way. I used a Dremel to carefully shave down the hub until it fit.
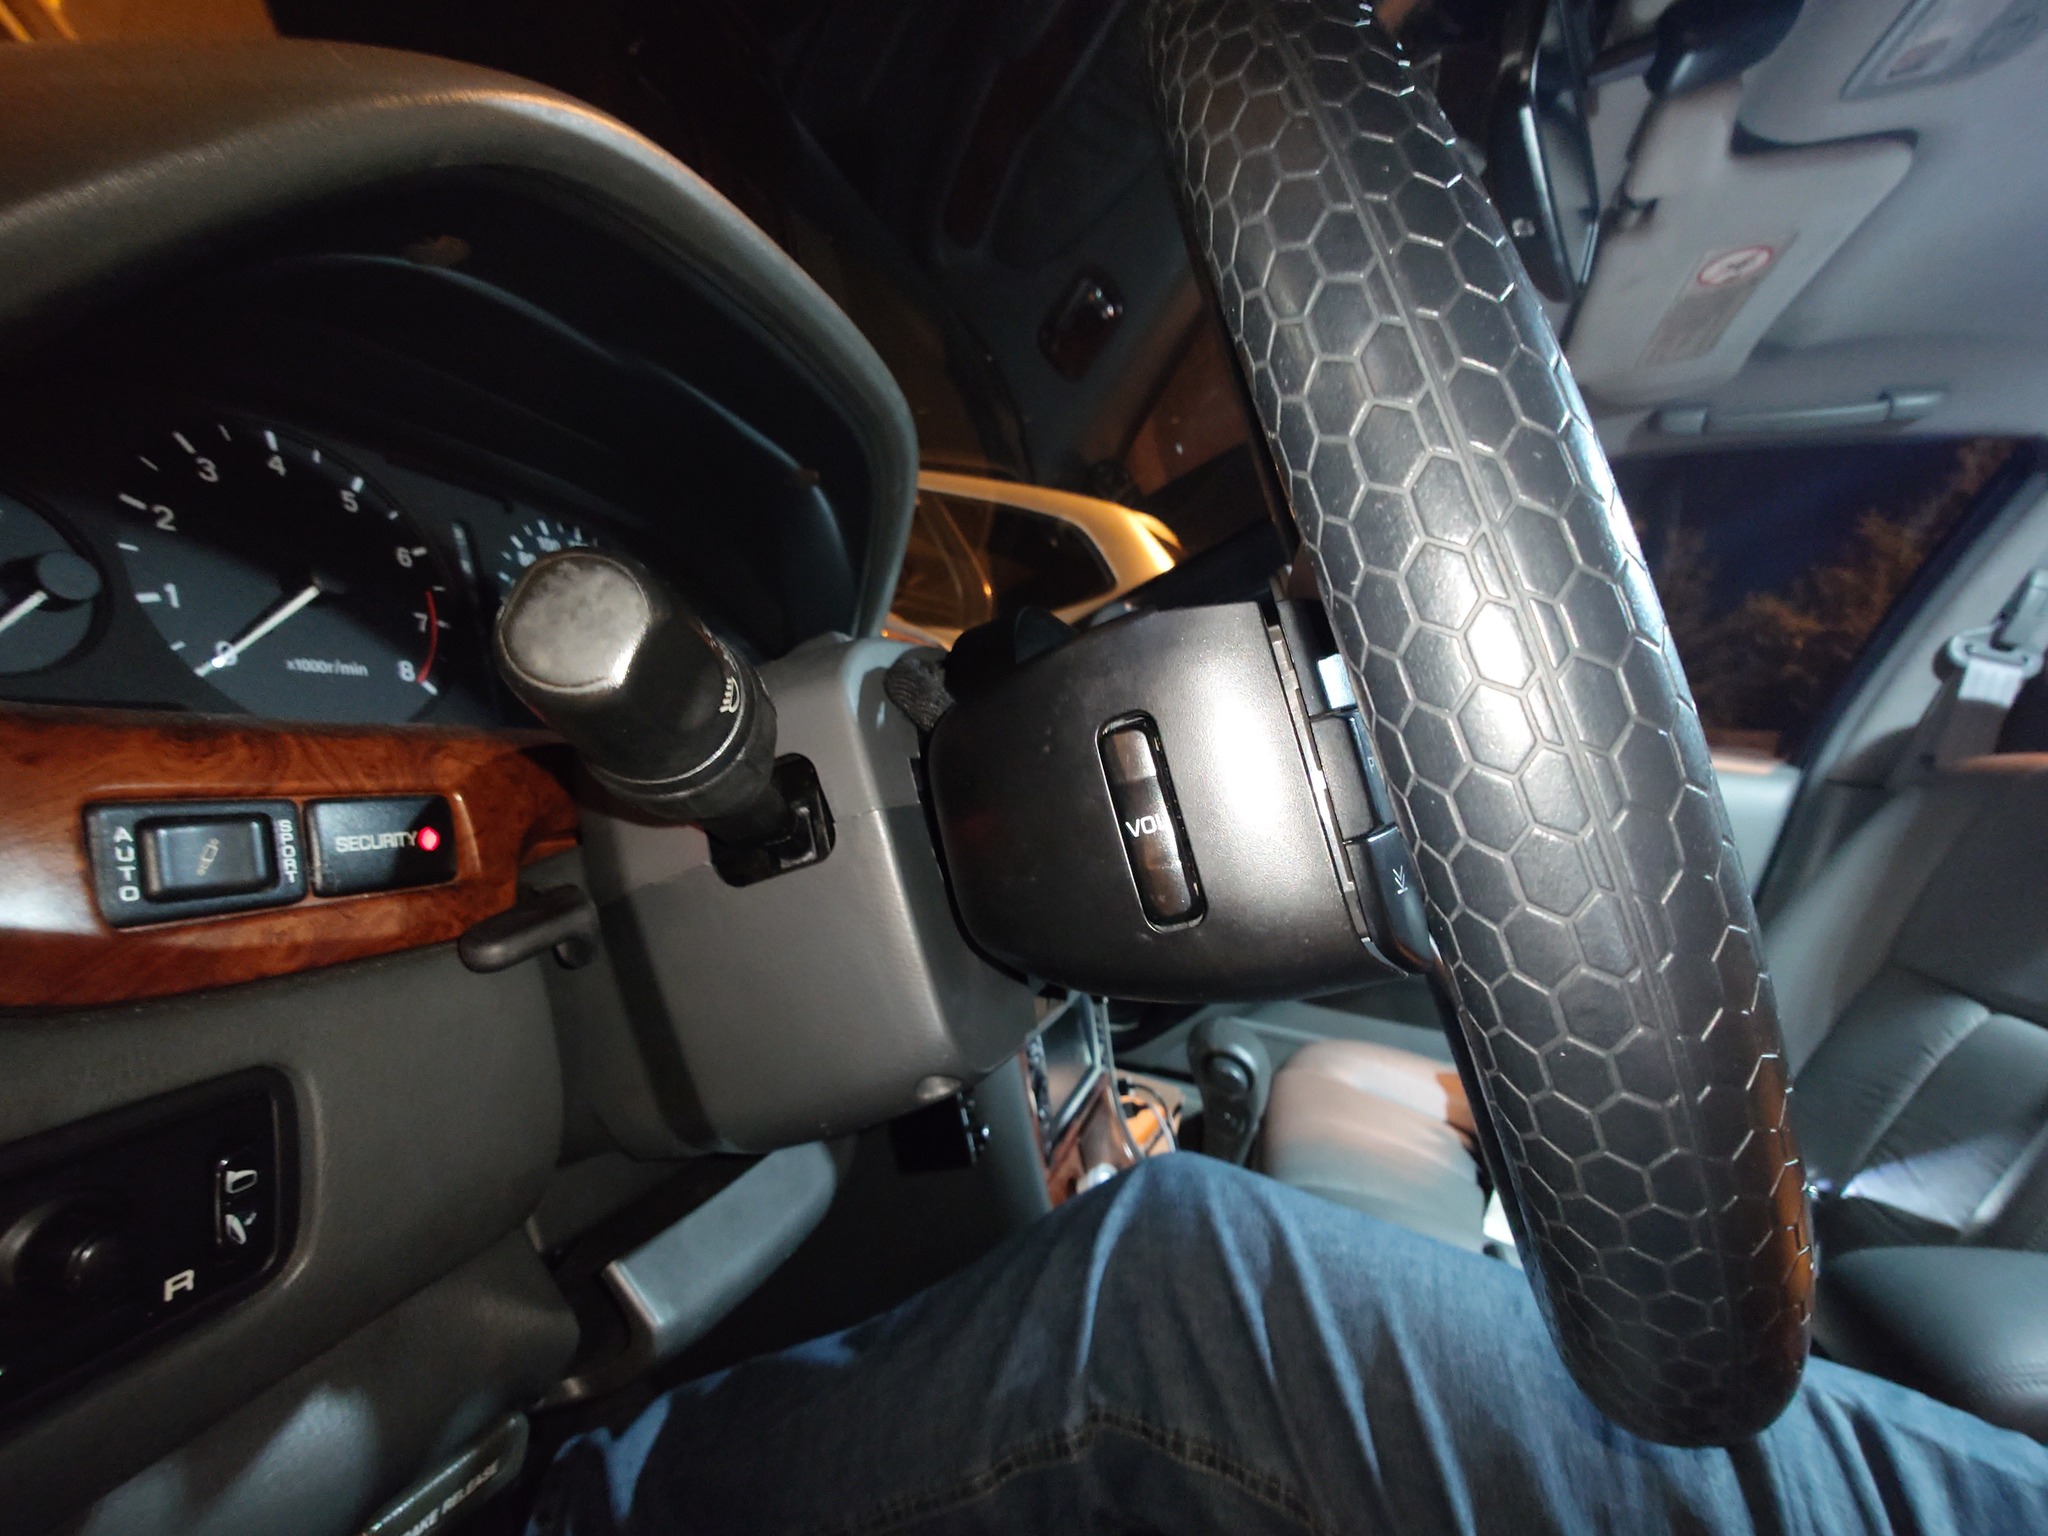
Keeping Audio Controls:
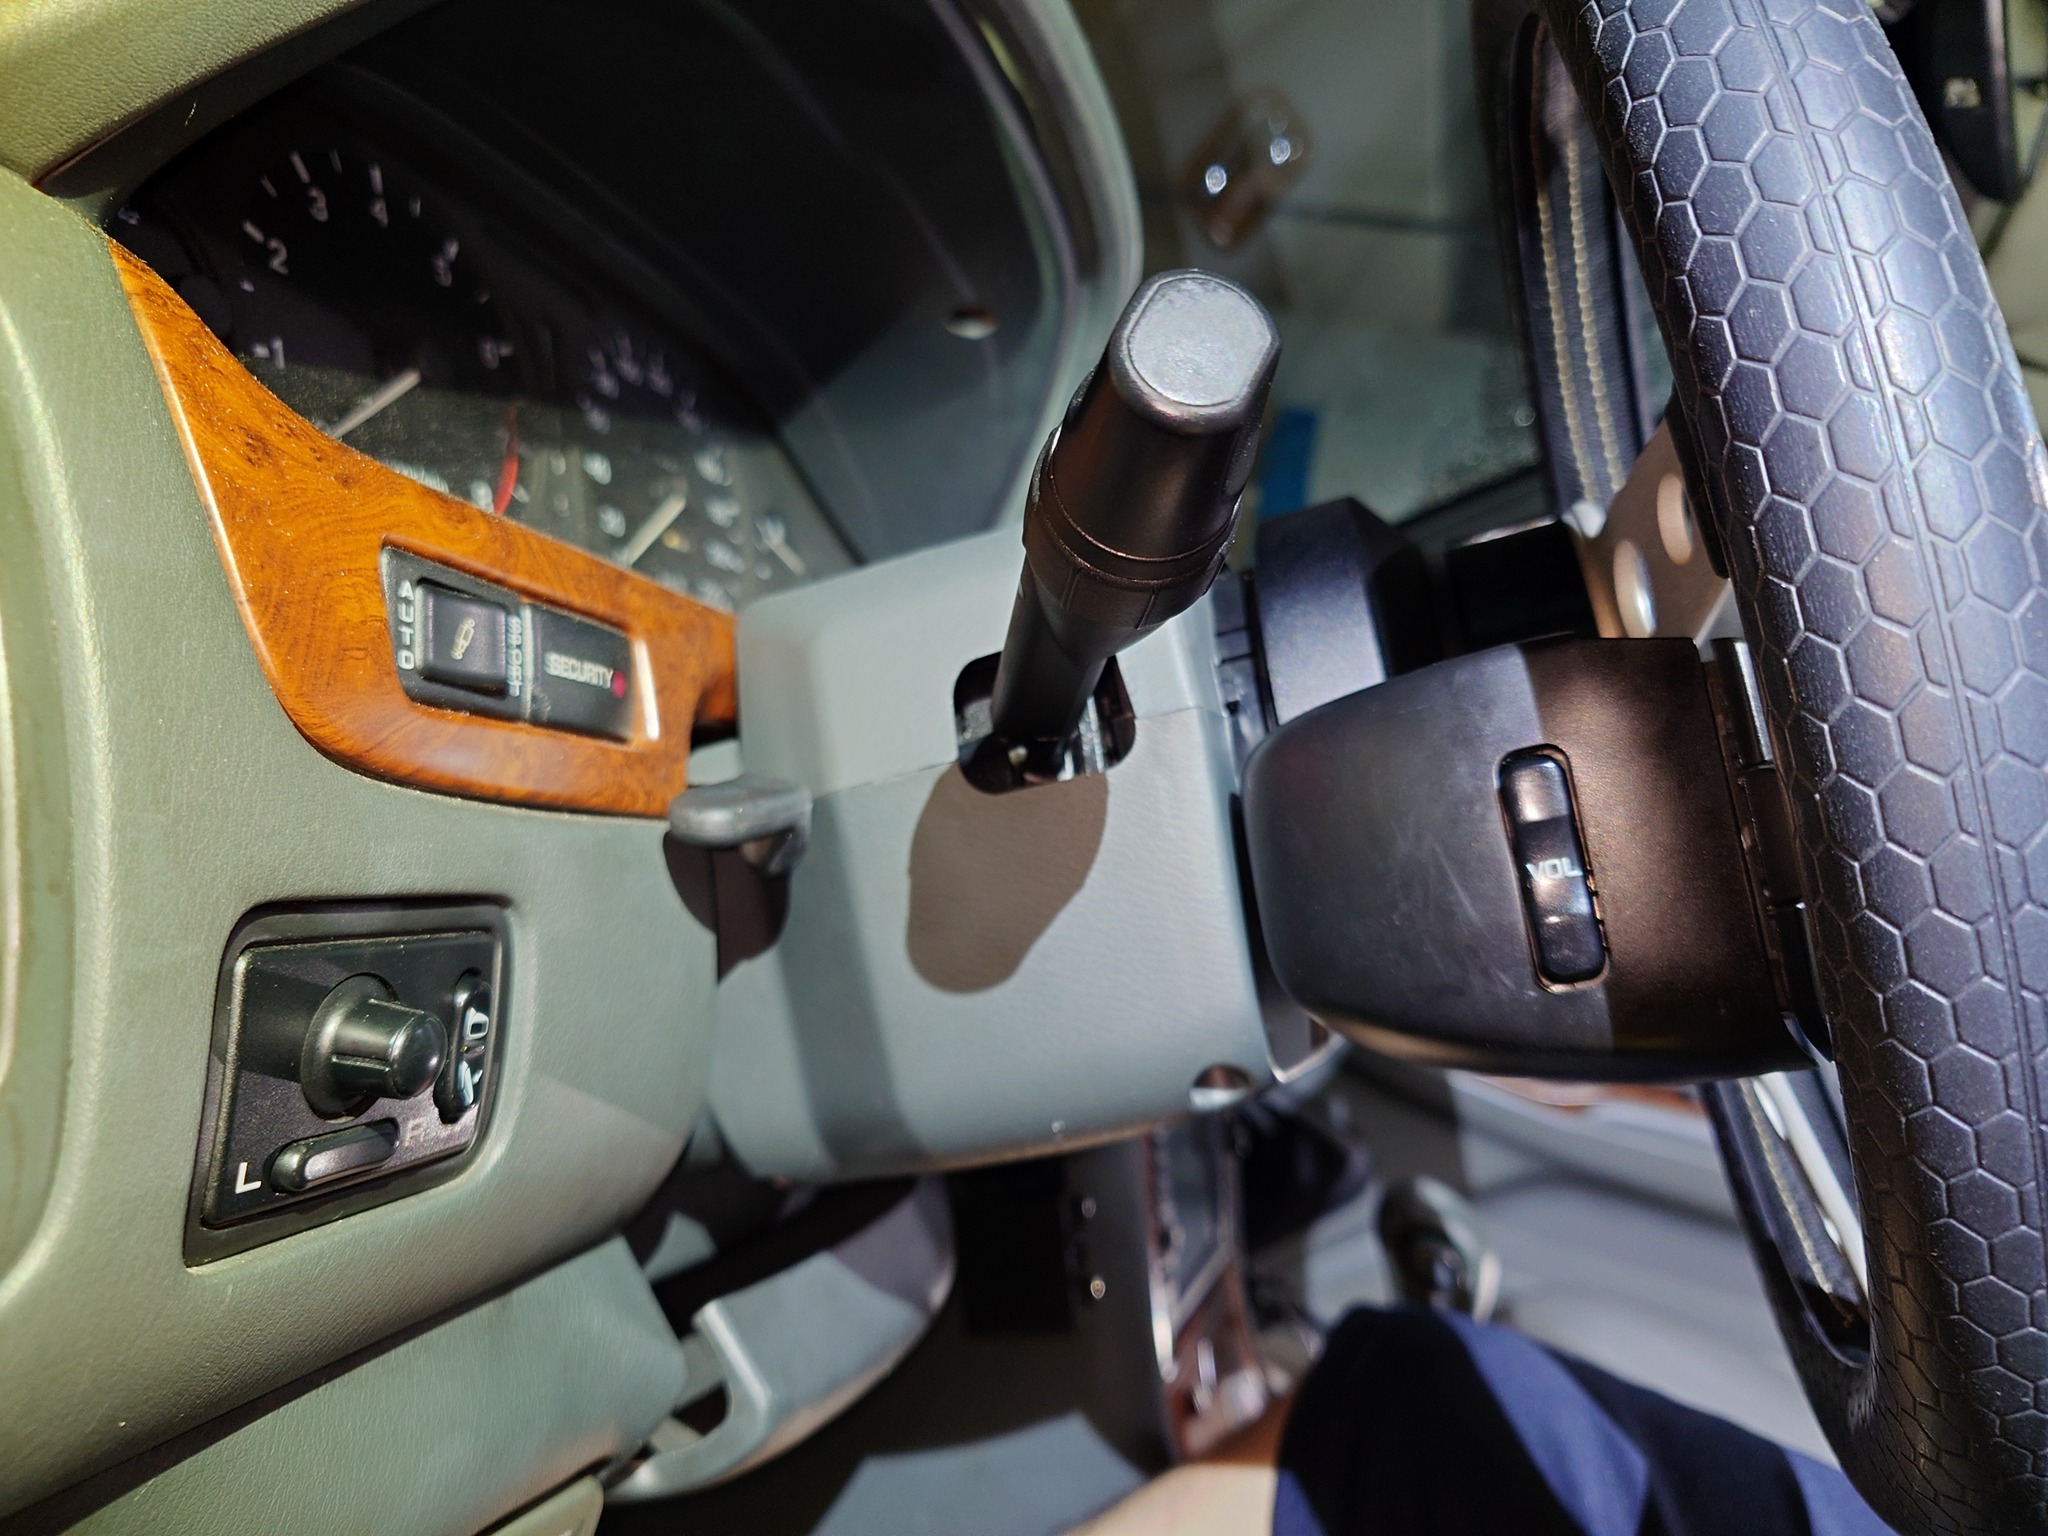
I wanted to keep the steering wheel audio controls (SM5s have these instead of cruise). I used a Fanatec paddle shifter adapter bracket, PCB support bolts, and figure 8 fasteners to attach the controls. I also extended the harness to run through the hub’s skirt, and trimmed part of the skirt so the SWC connector would fit.
Wiring the Horn:
I added a horn harness while extending the SWC harness. The hub is anodized and not conductive, so I gently sanded the shaft contact edge to make the horn button work.
SRS (Airbag) Light:
To cancel the SRS warning, I plugged a 2-ohm resistor into the SRS connector.
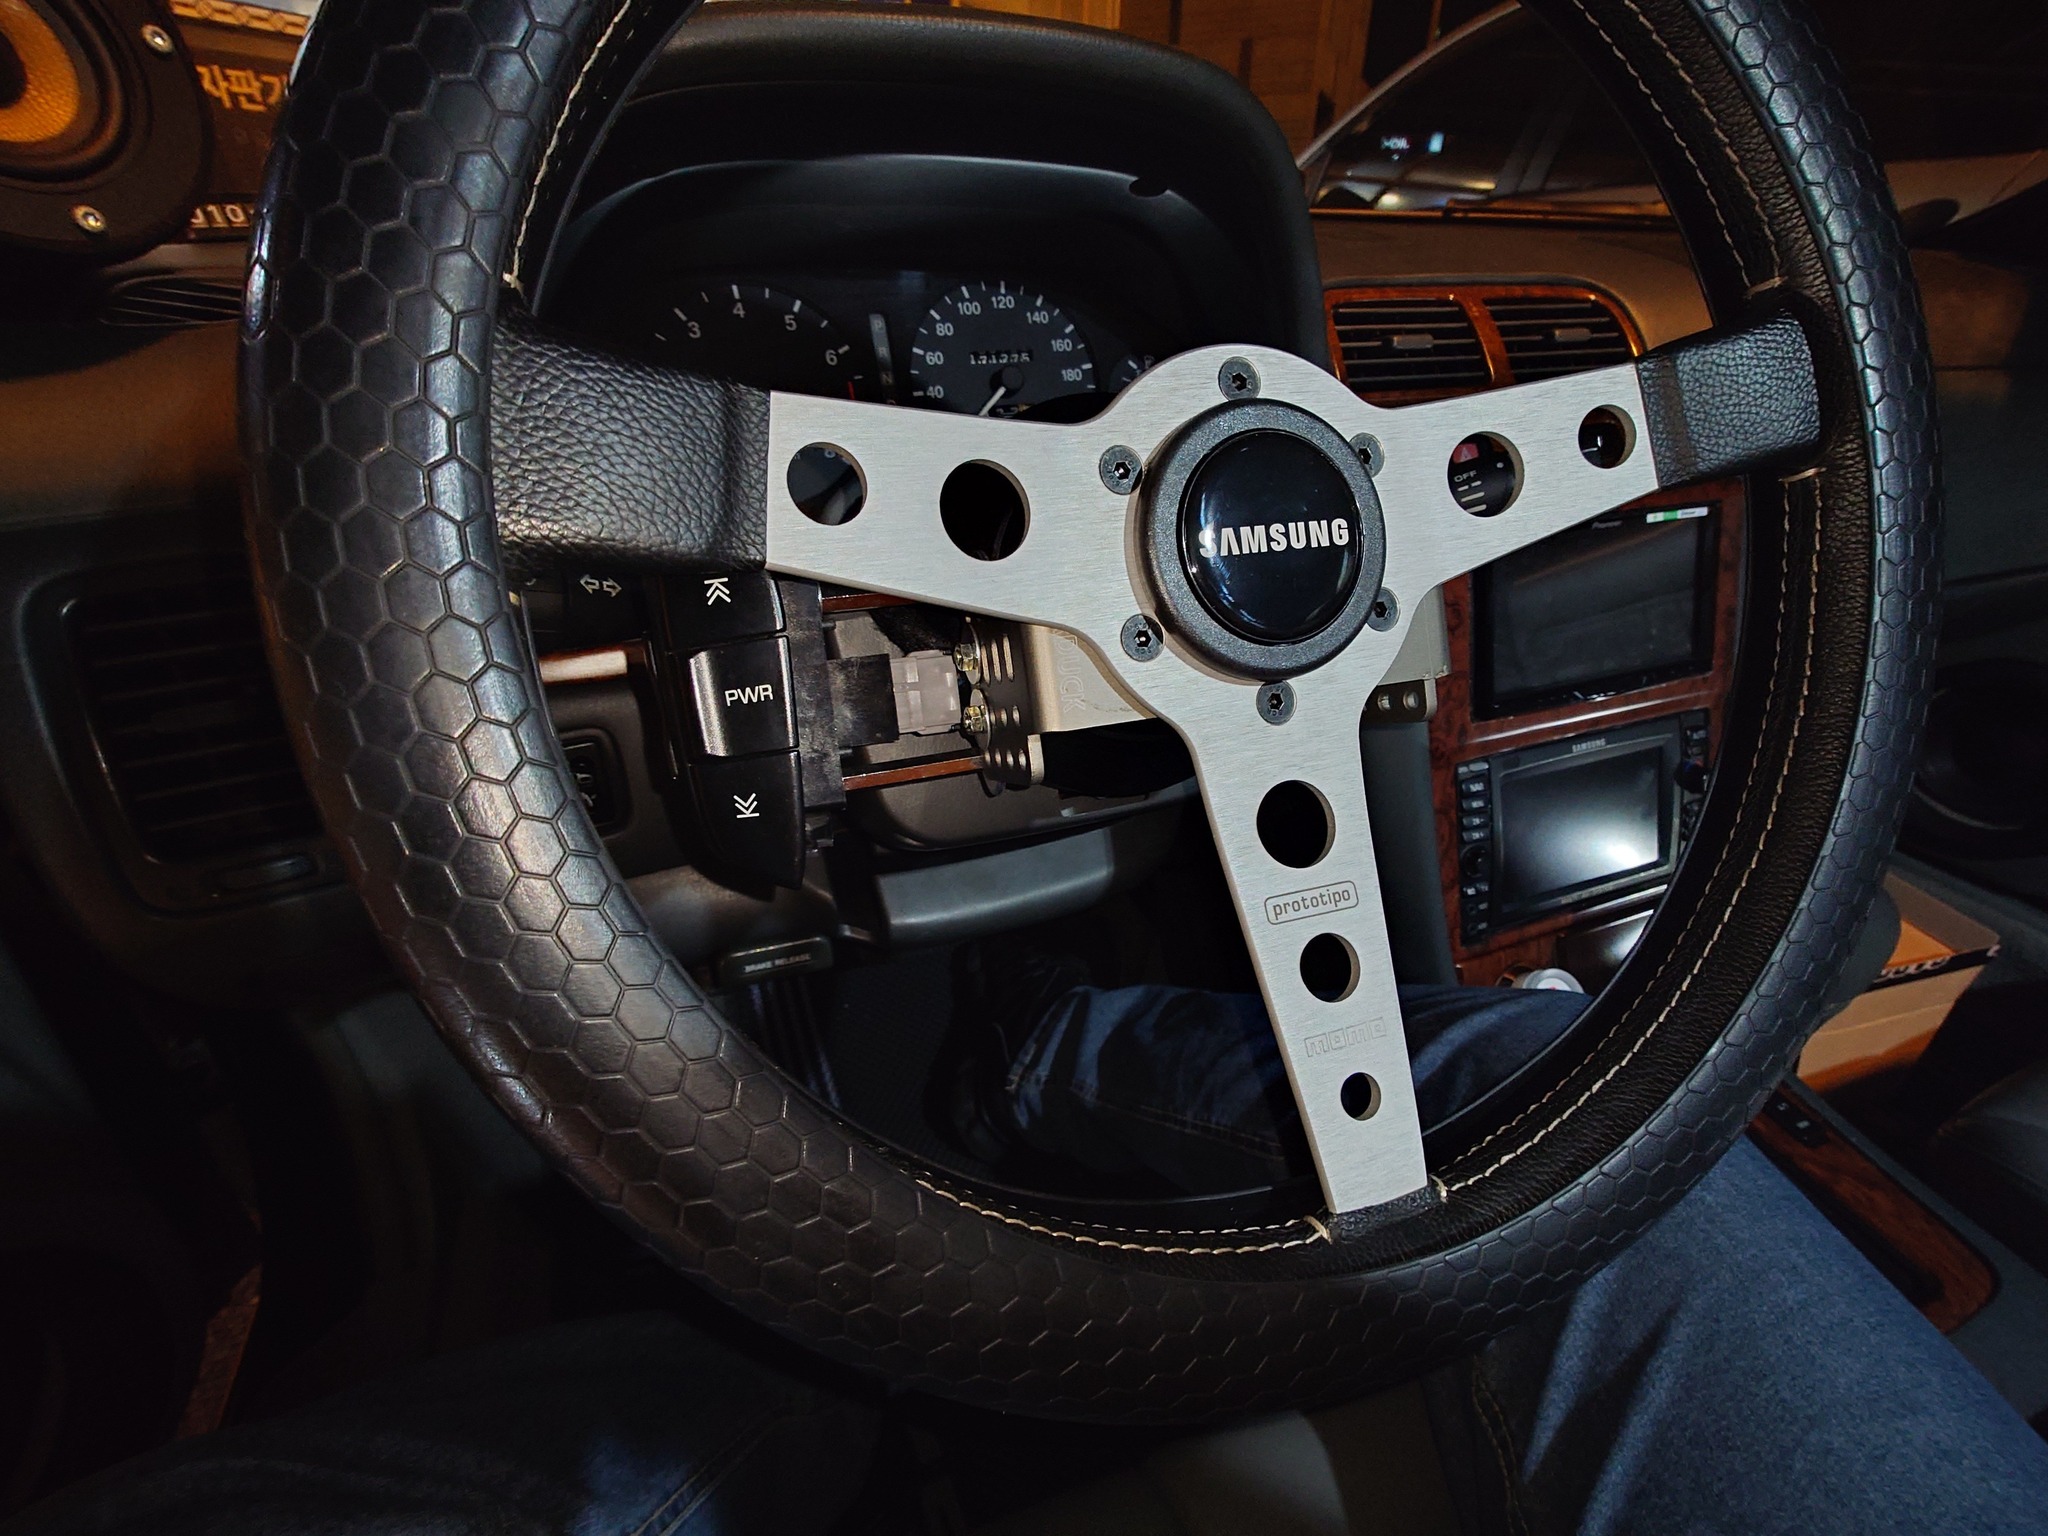
Final Result:
Only the SRS (airbag) was deleted. Everything else stayed in its original factory location.
![]()

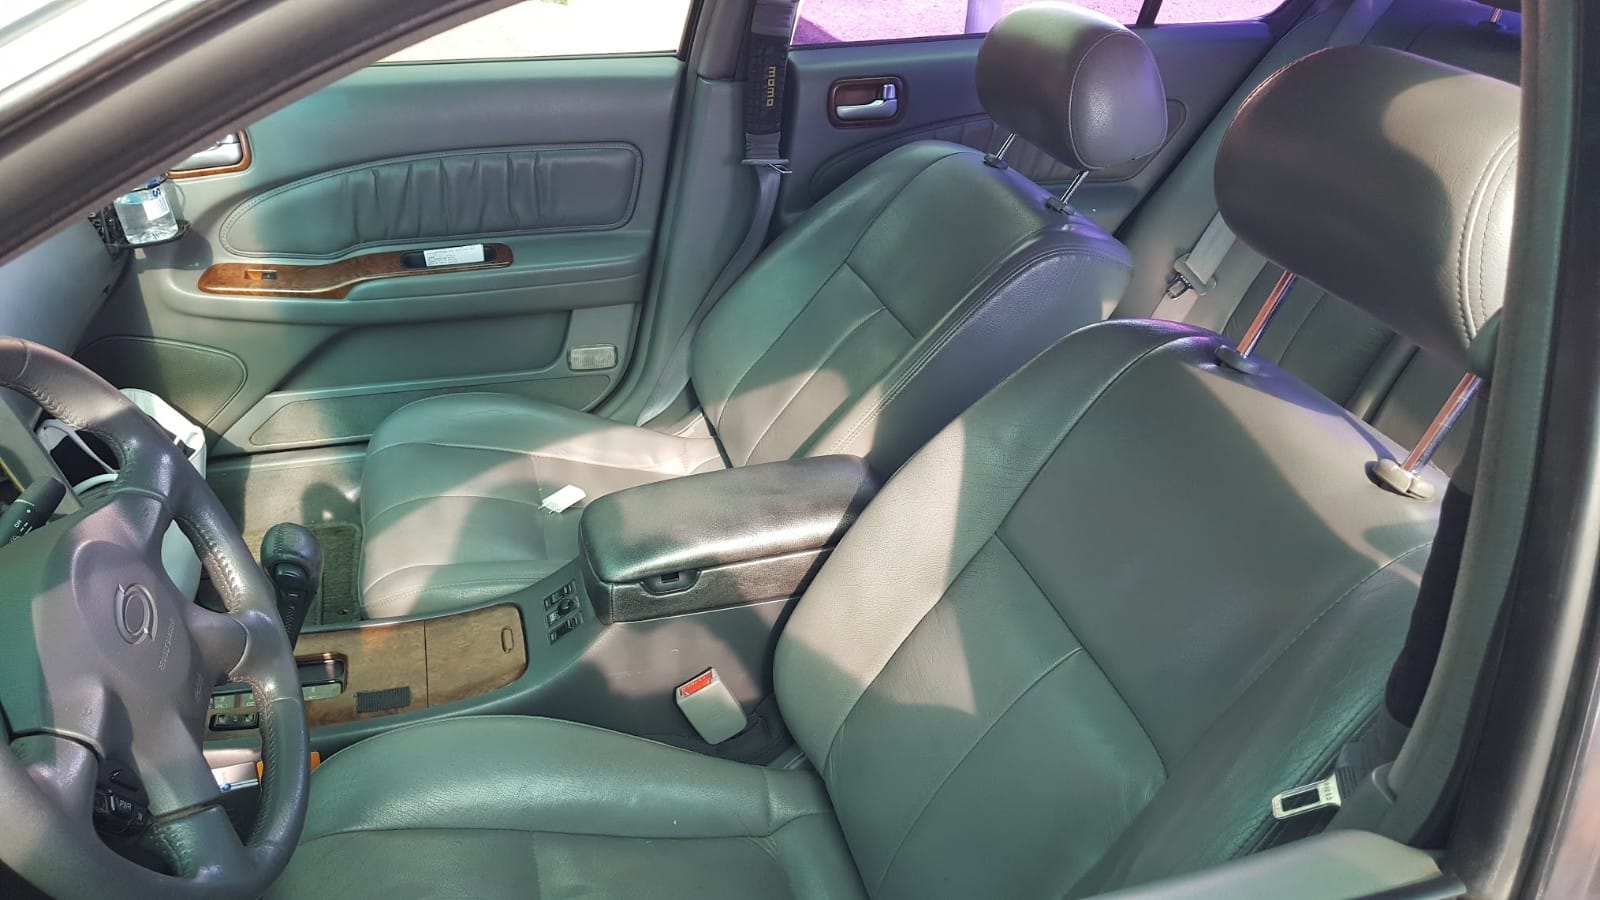
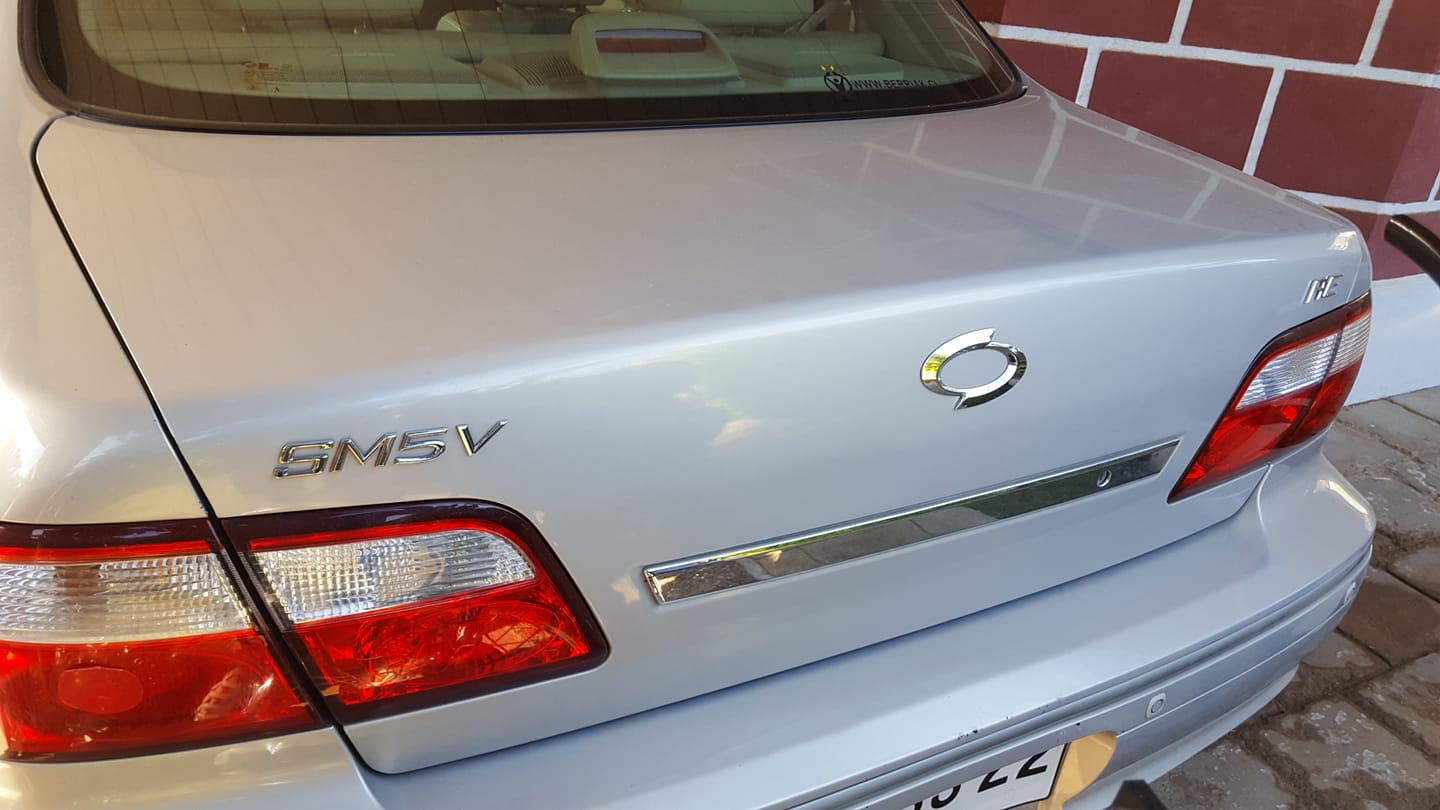
Owner: Jungmin Lee
Year: 1998
Make: Samsung
Model: SM525V
Color: Black
Transmission: 4-Speed Automatic
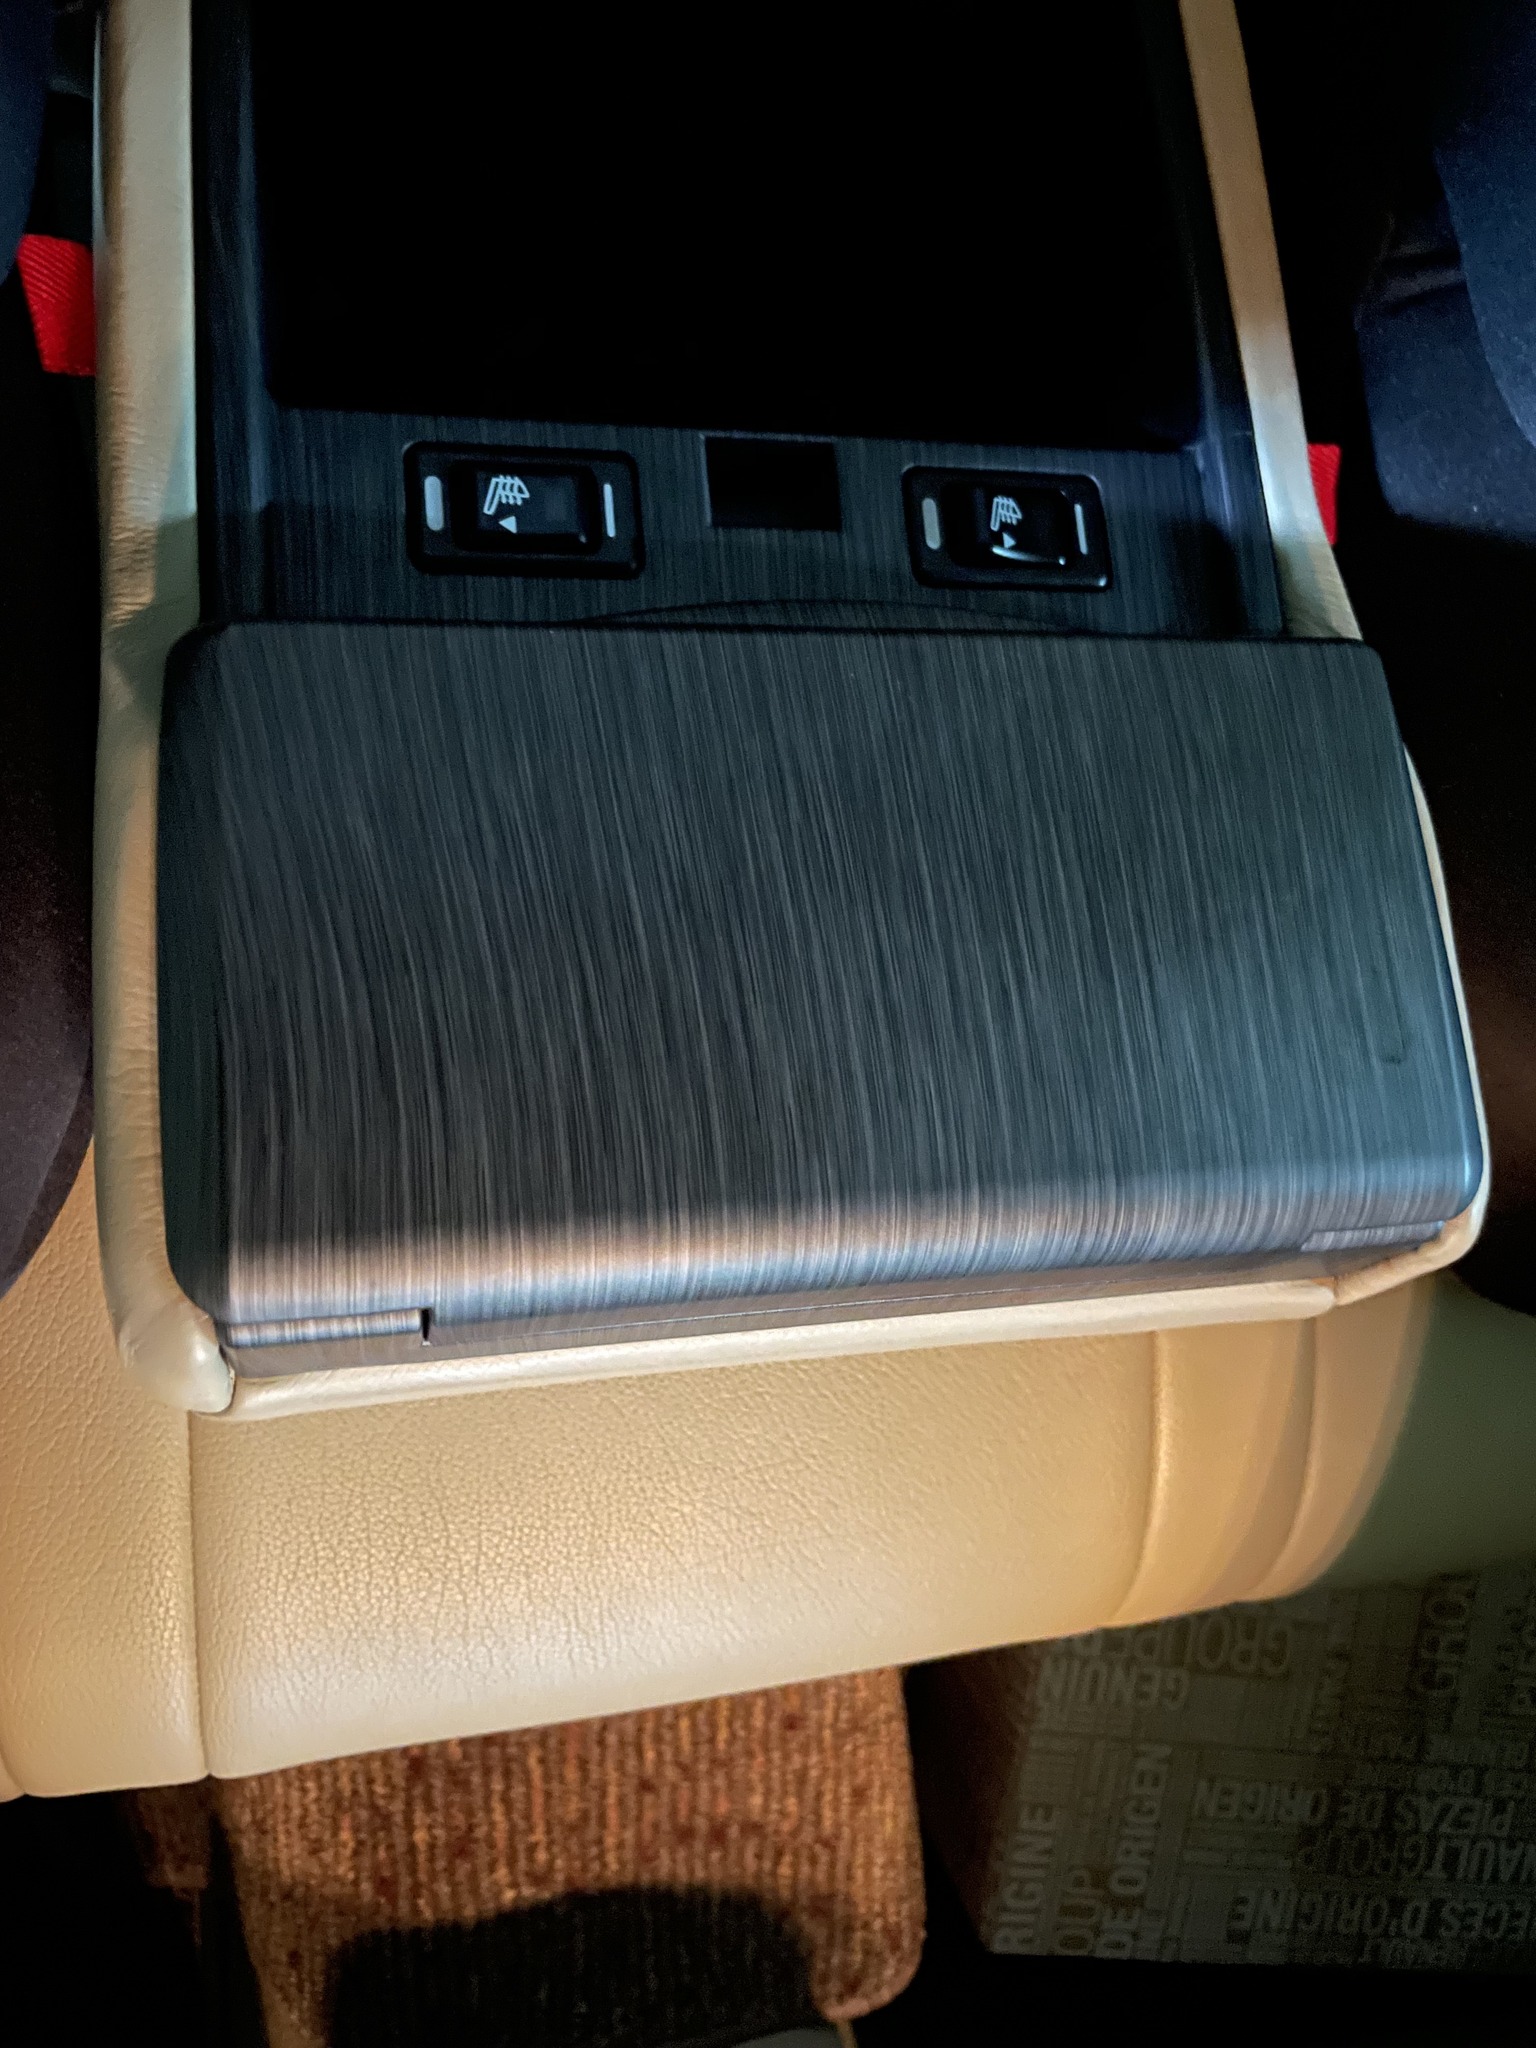
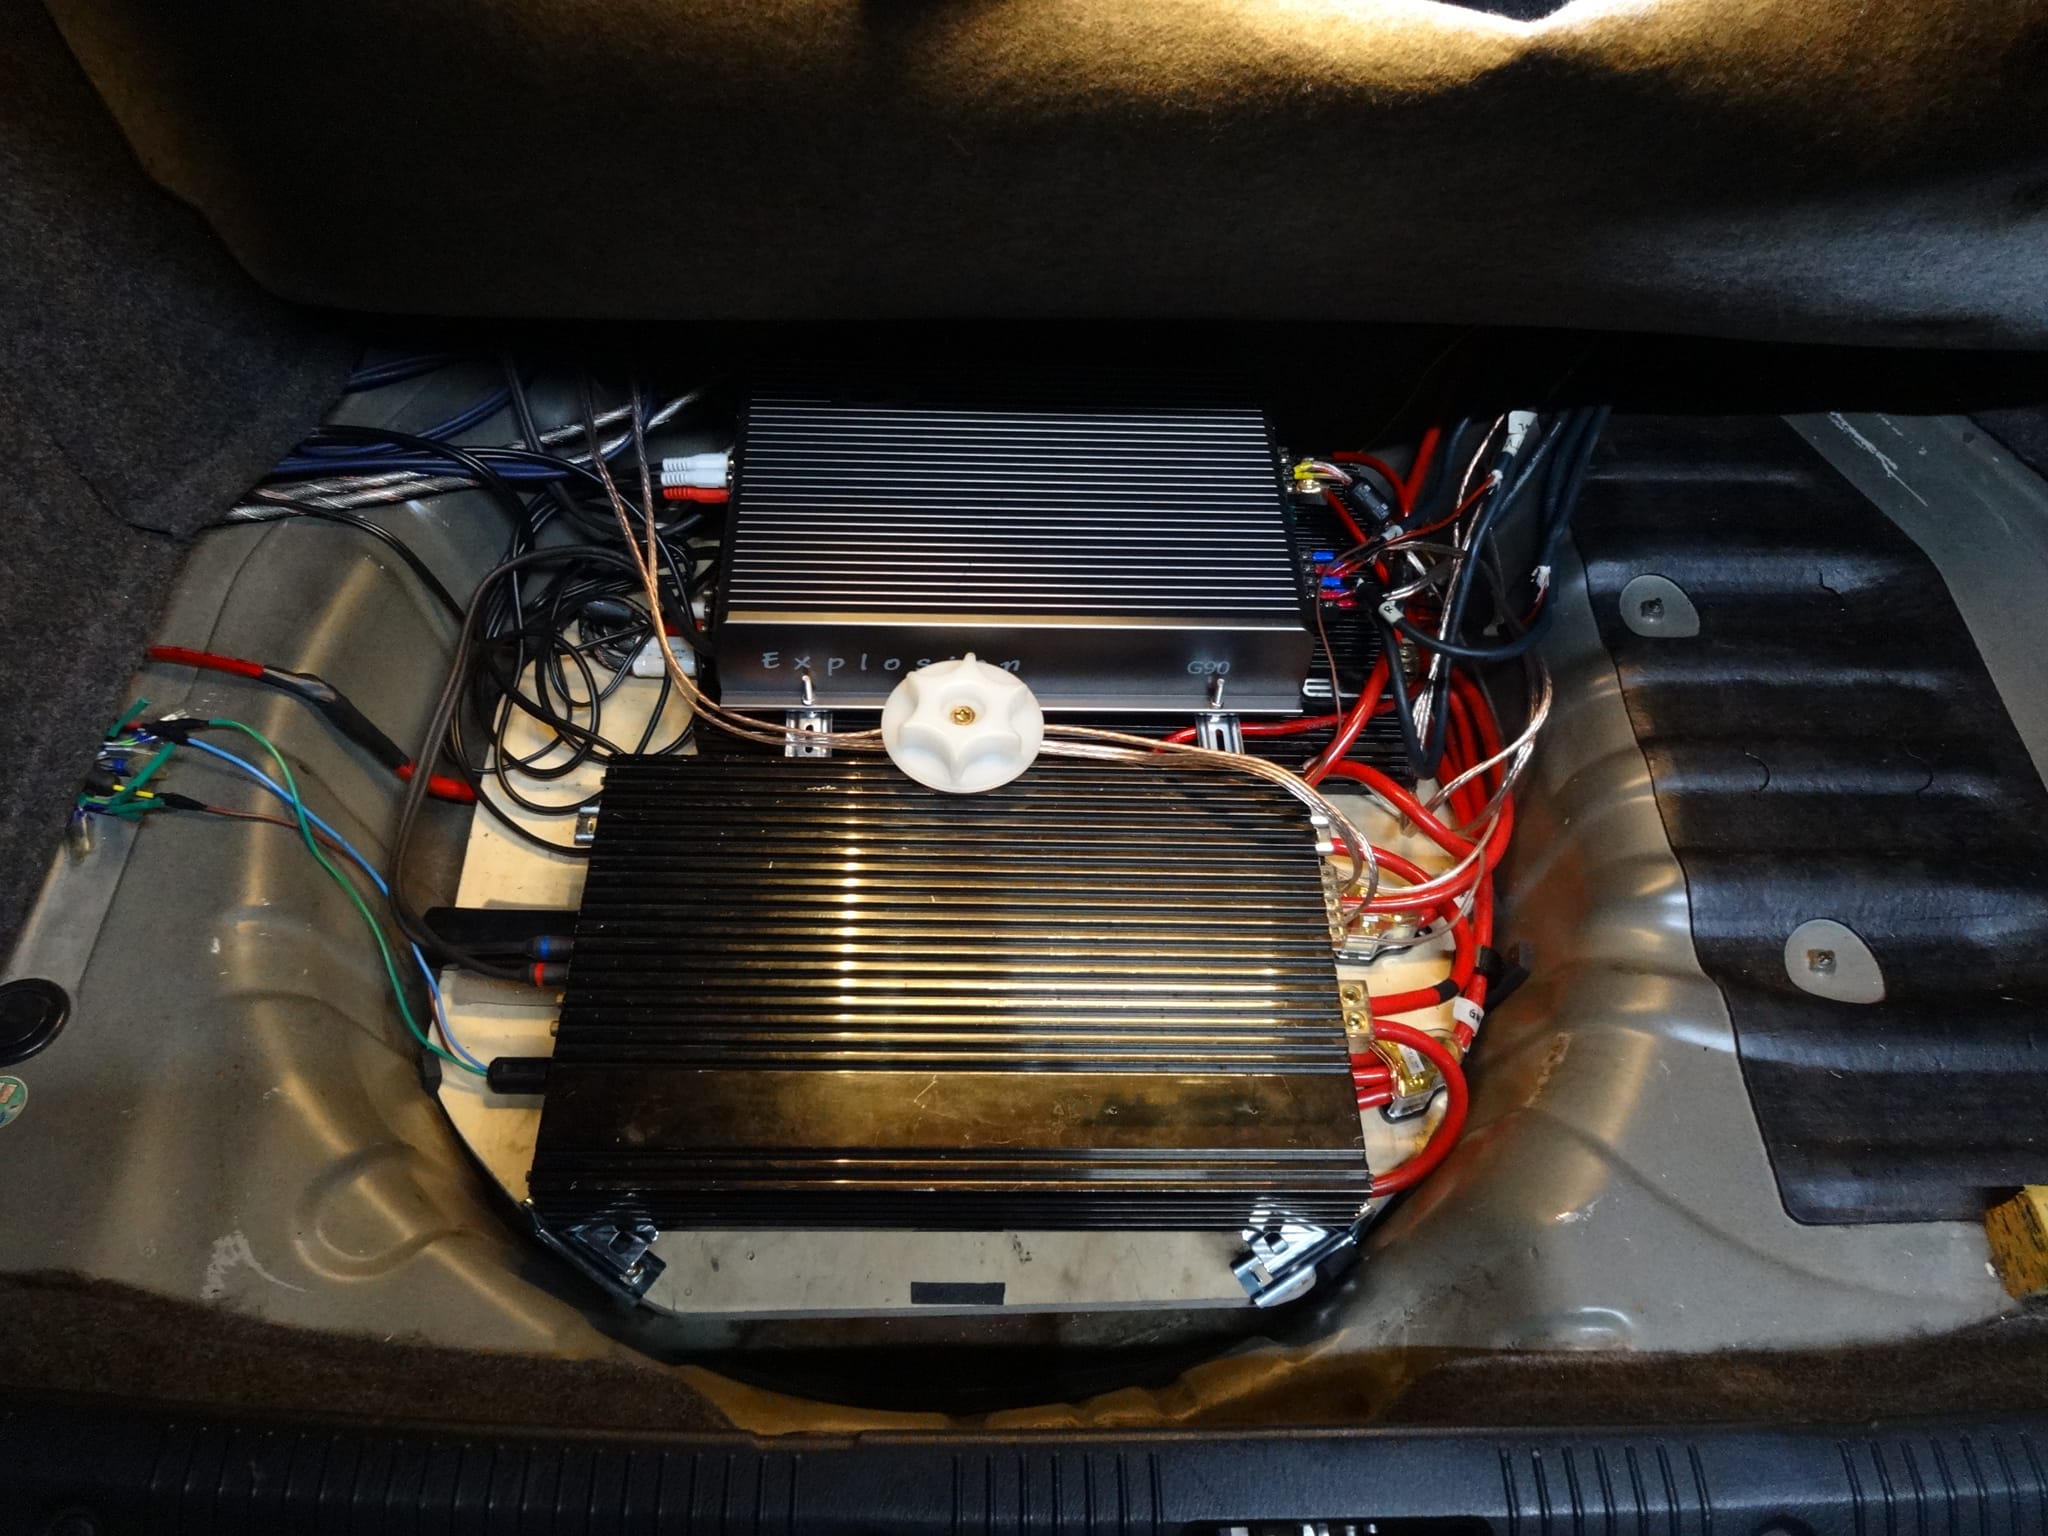
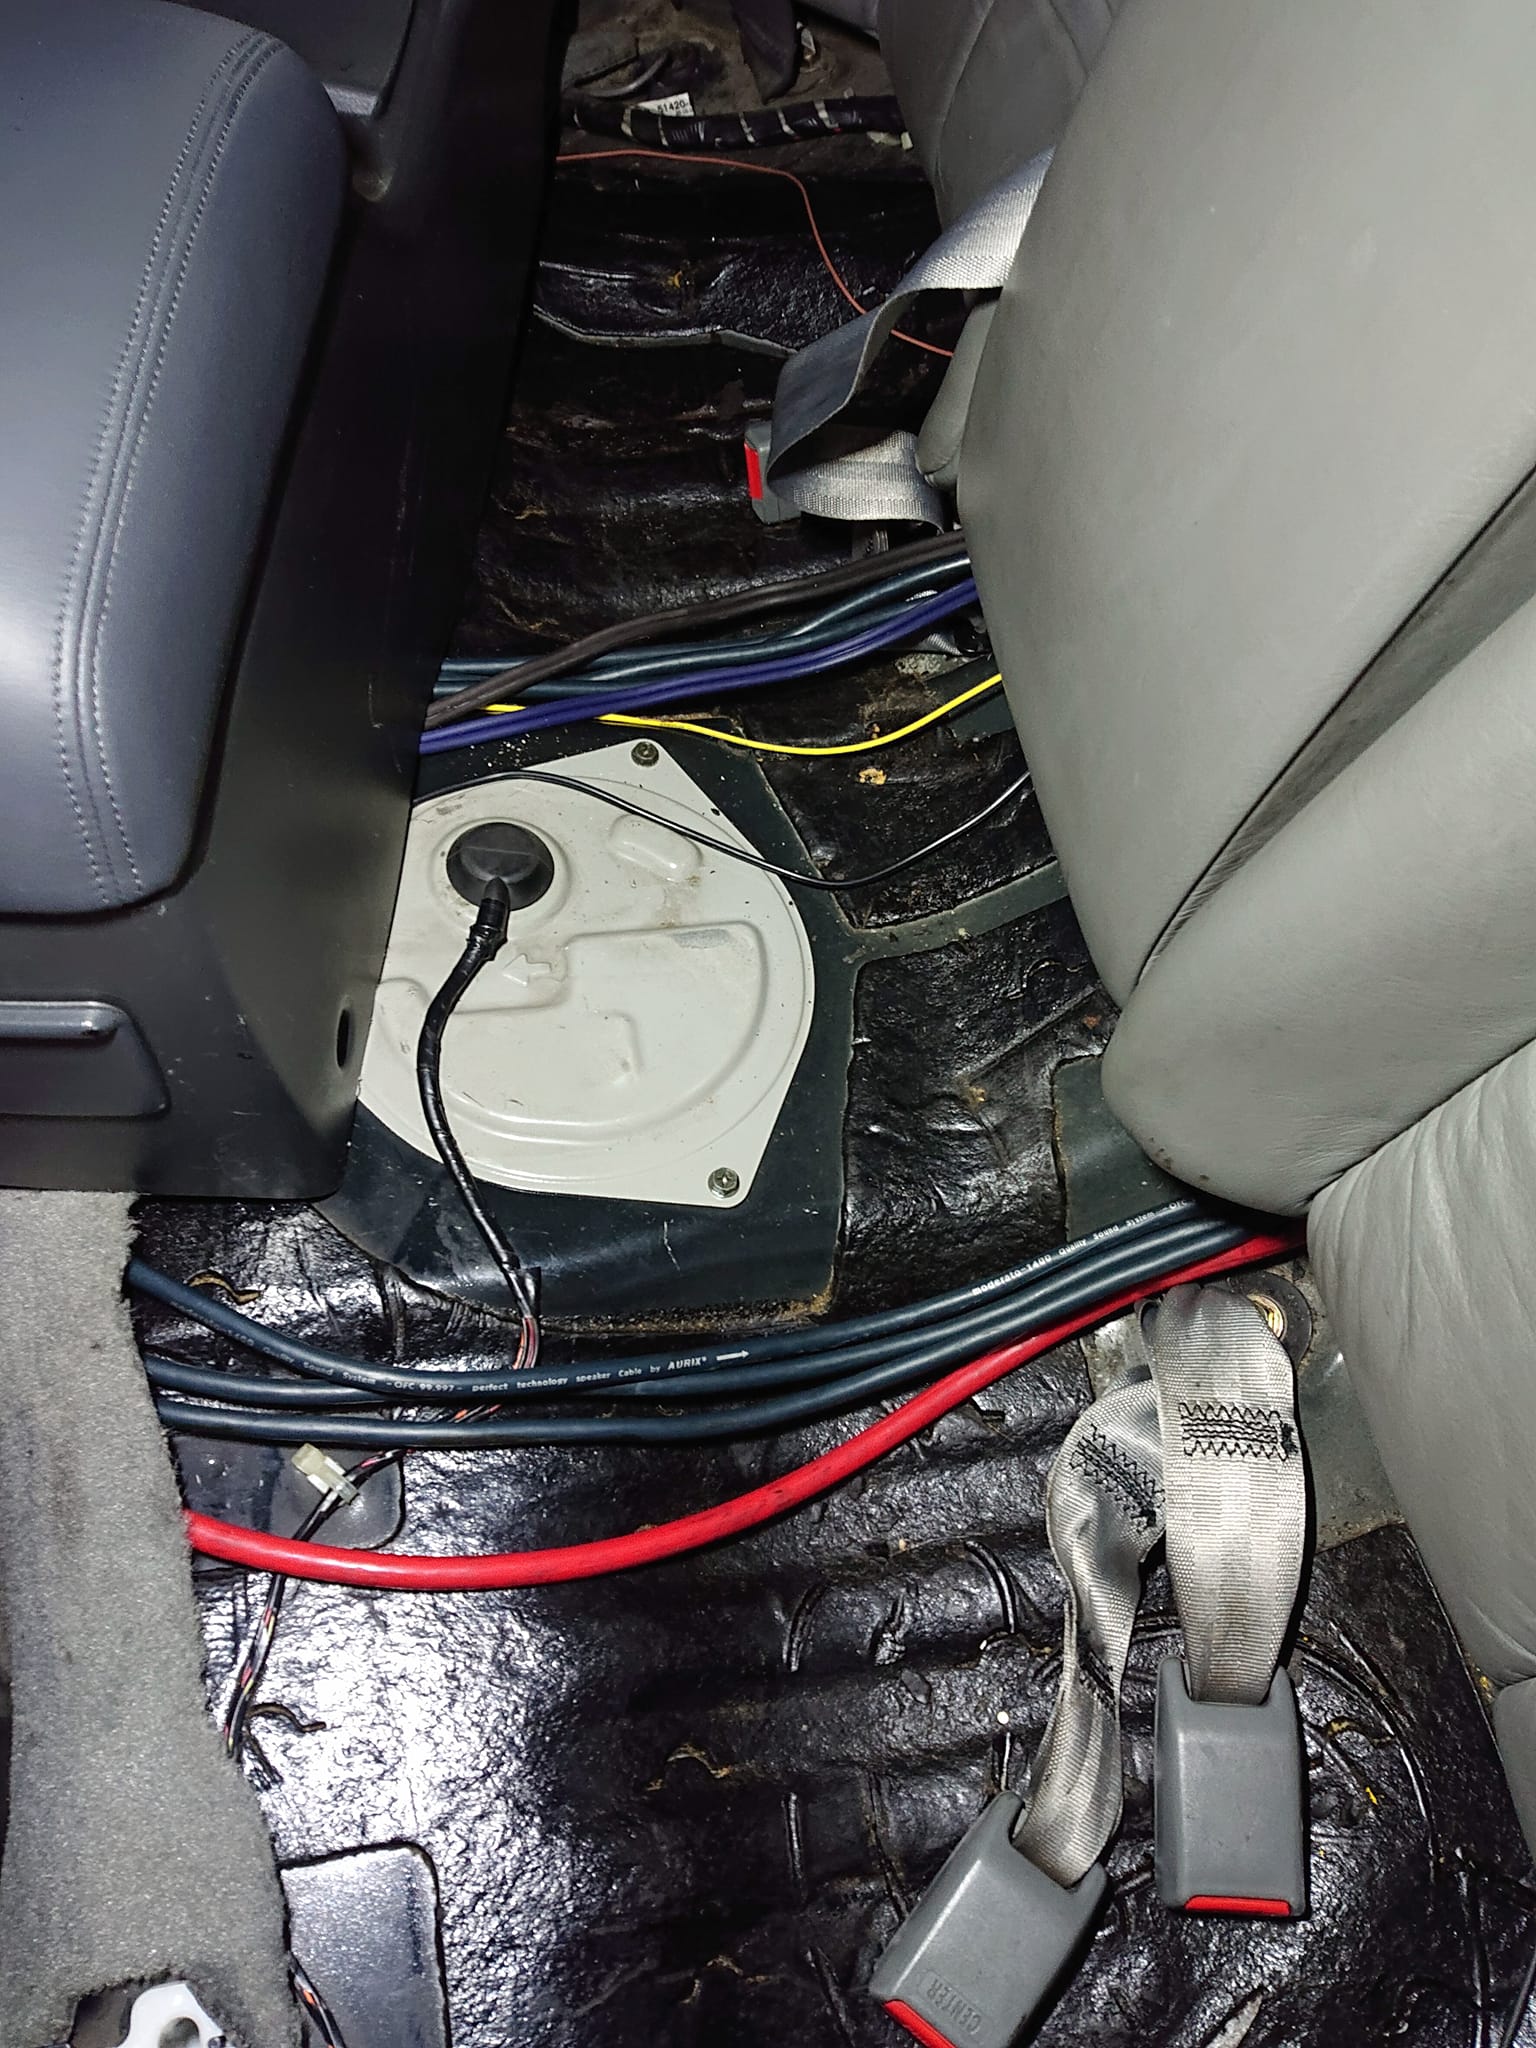
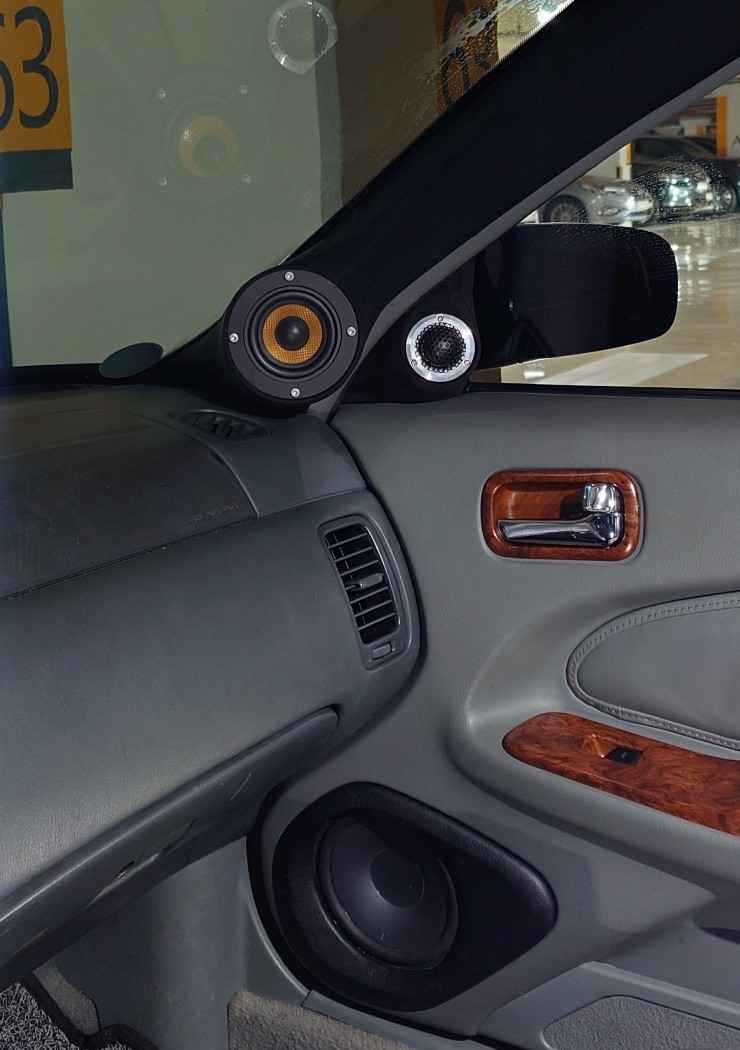
Lately, I’ve been working on the audio system. I removed the spare wheel and factory CD changer to make room for amplifiers and a DSP.
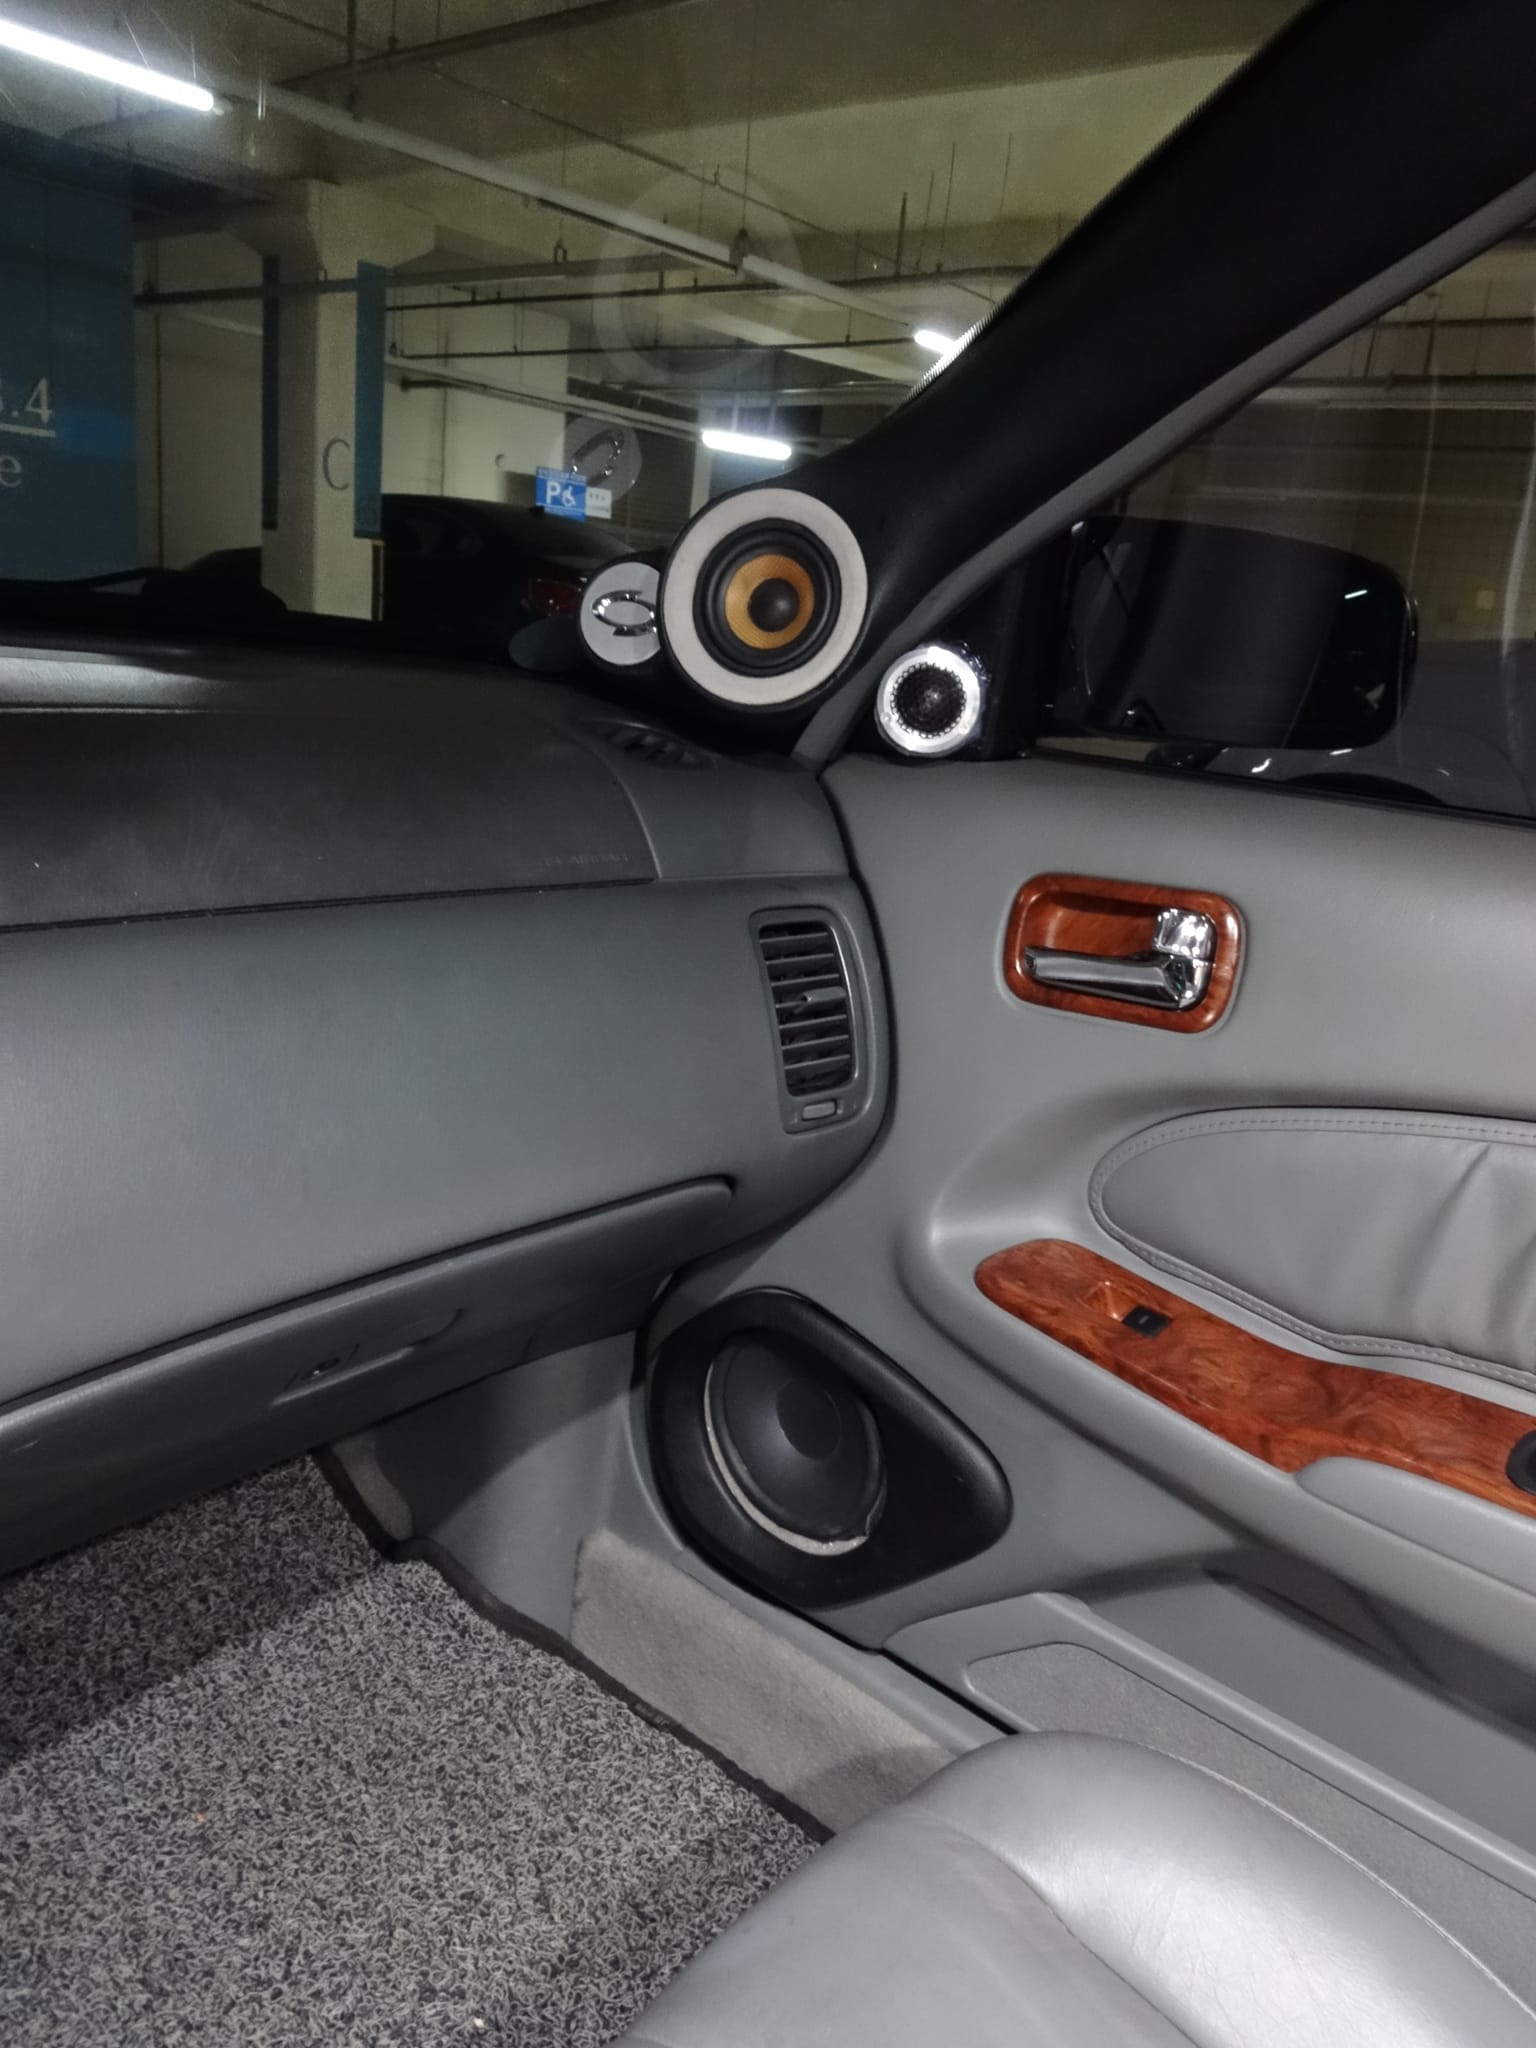

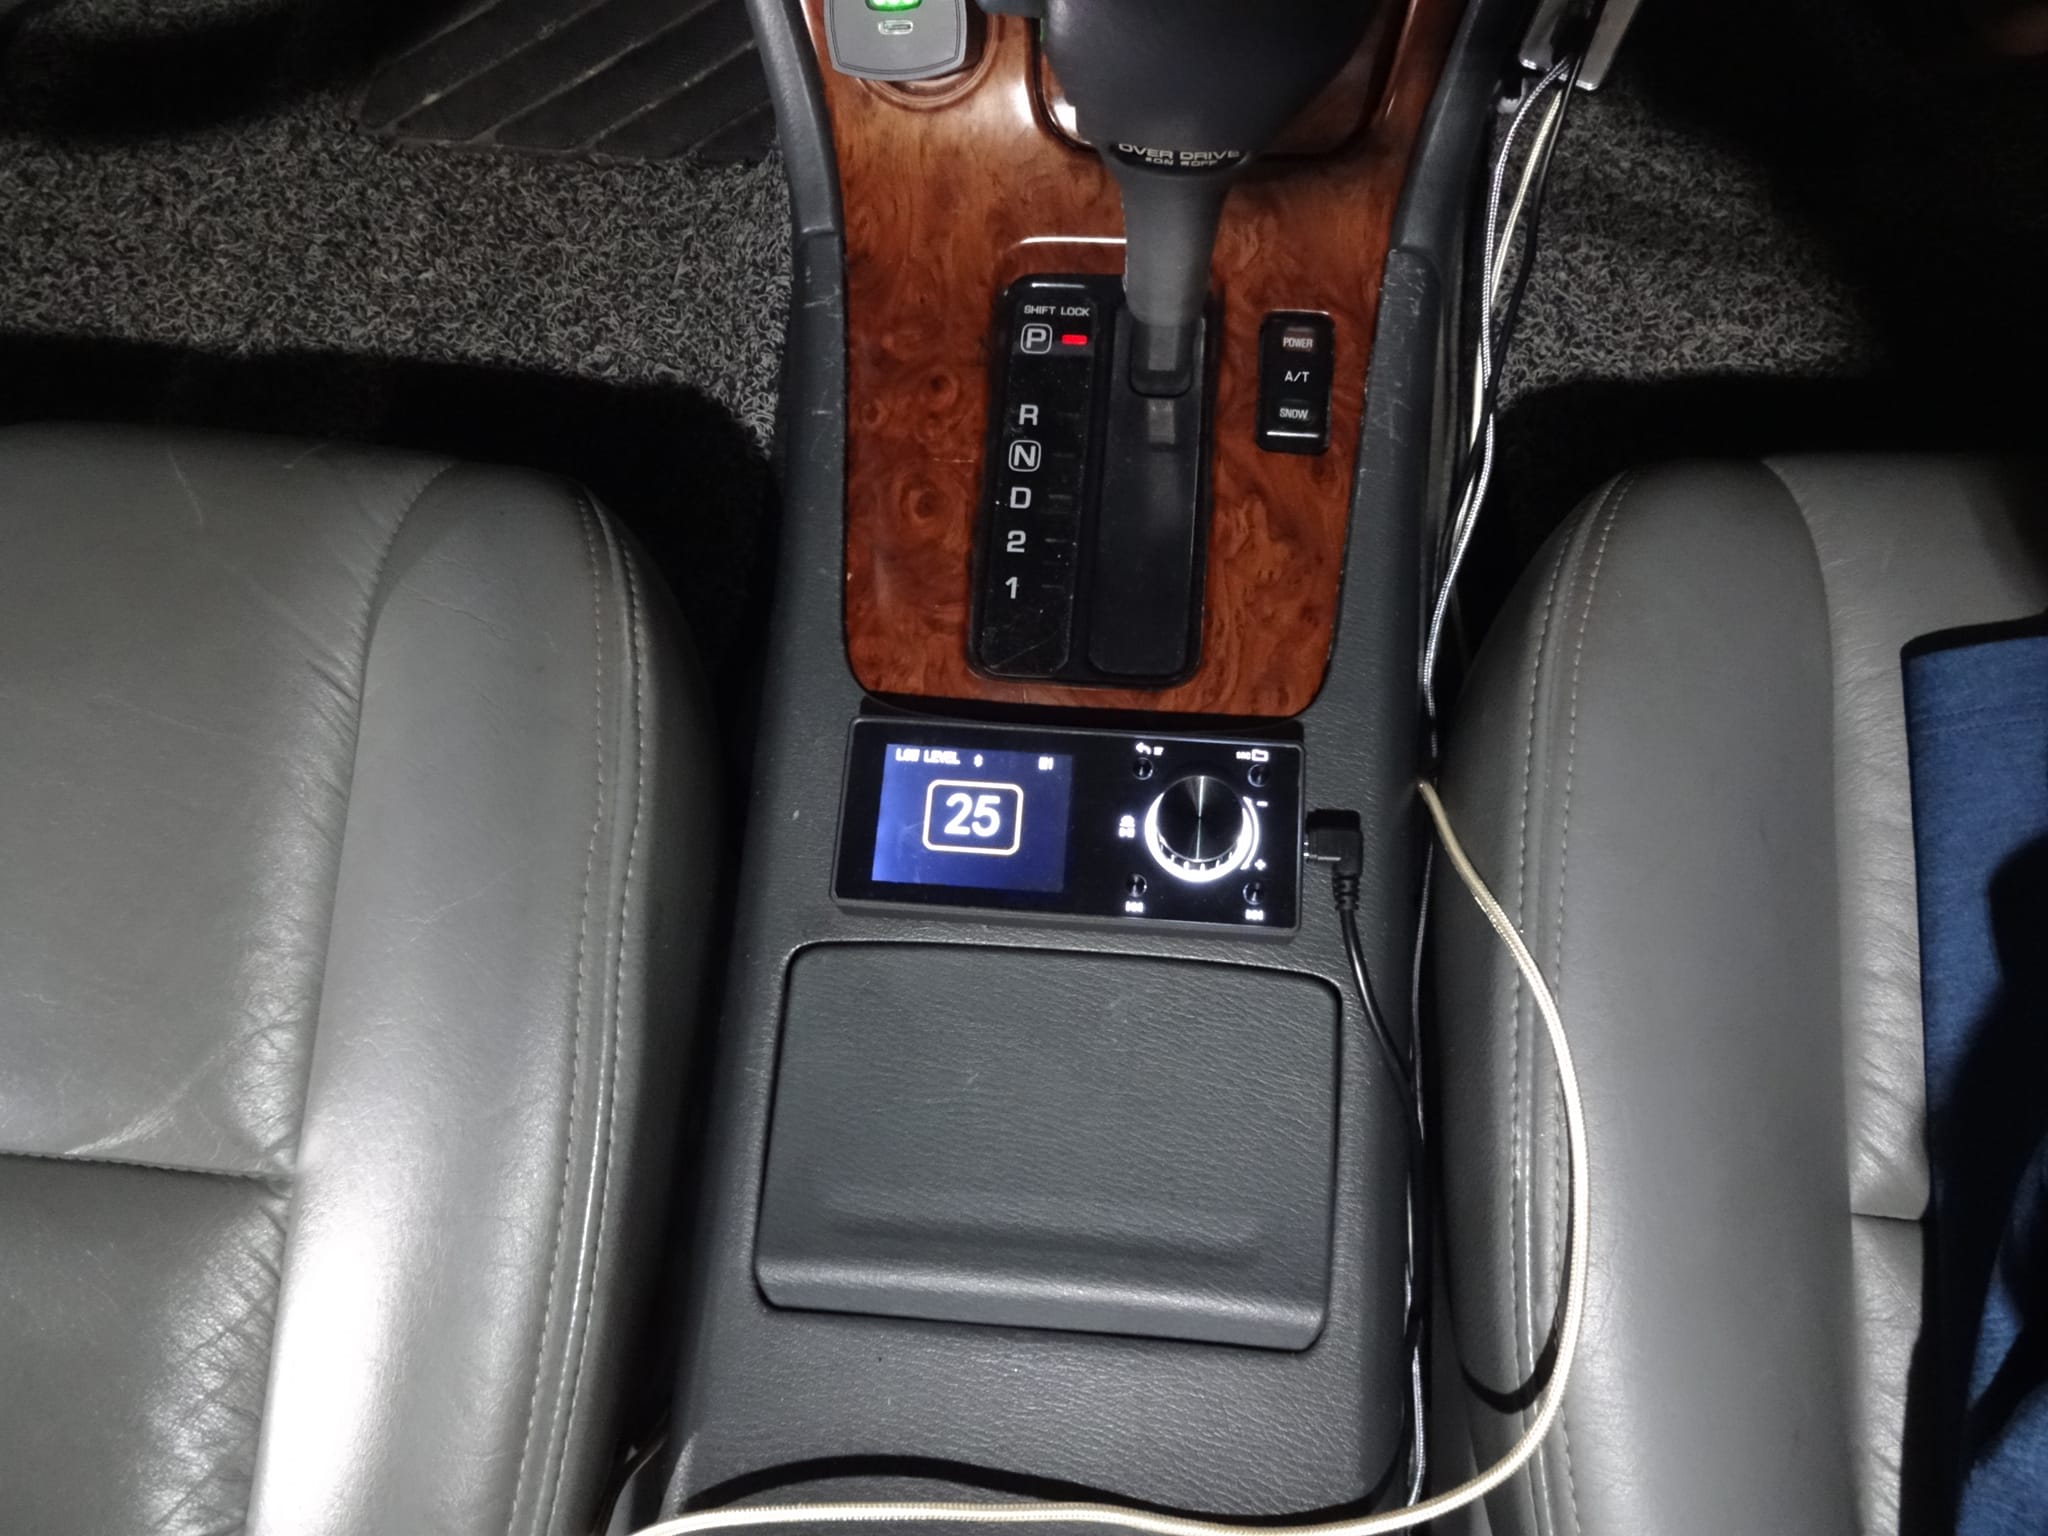
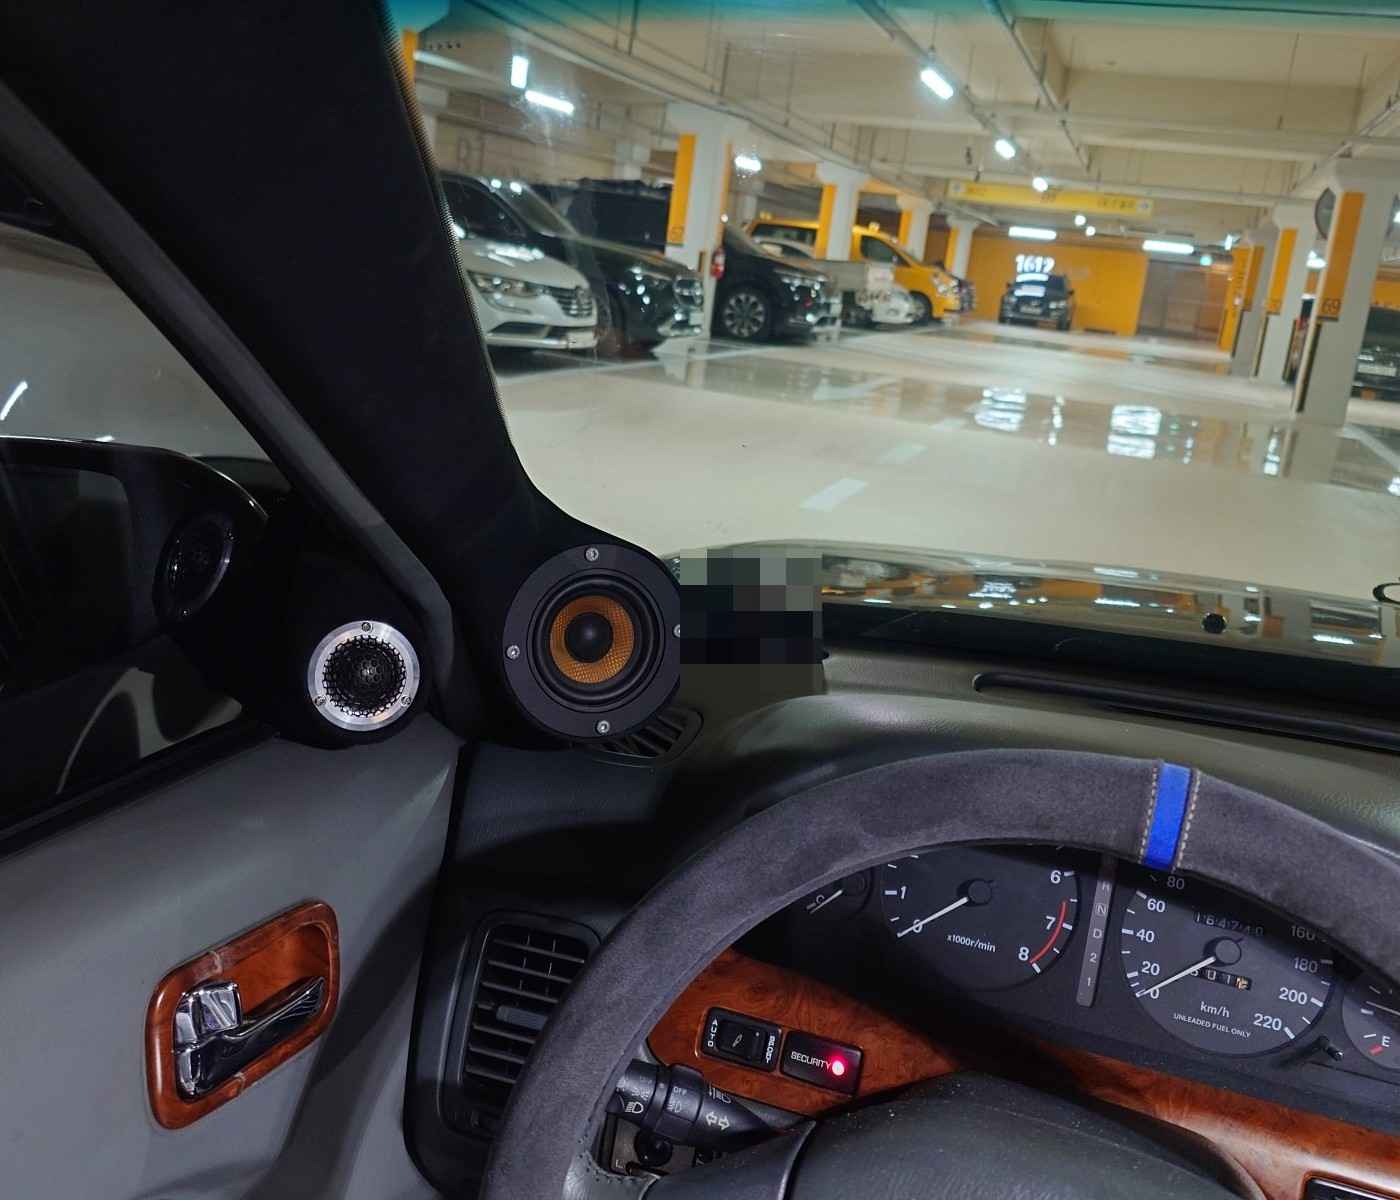
Customizing an A-pillar for a 3″ midrange speaker mount and optimal performance tailored to my seating position. Is this conversation helpful so far?
![]()
")
")
Credit: Jungmin Lee
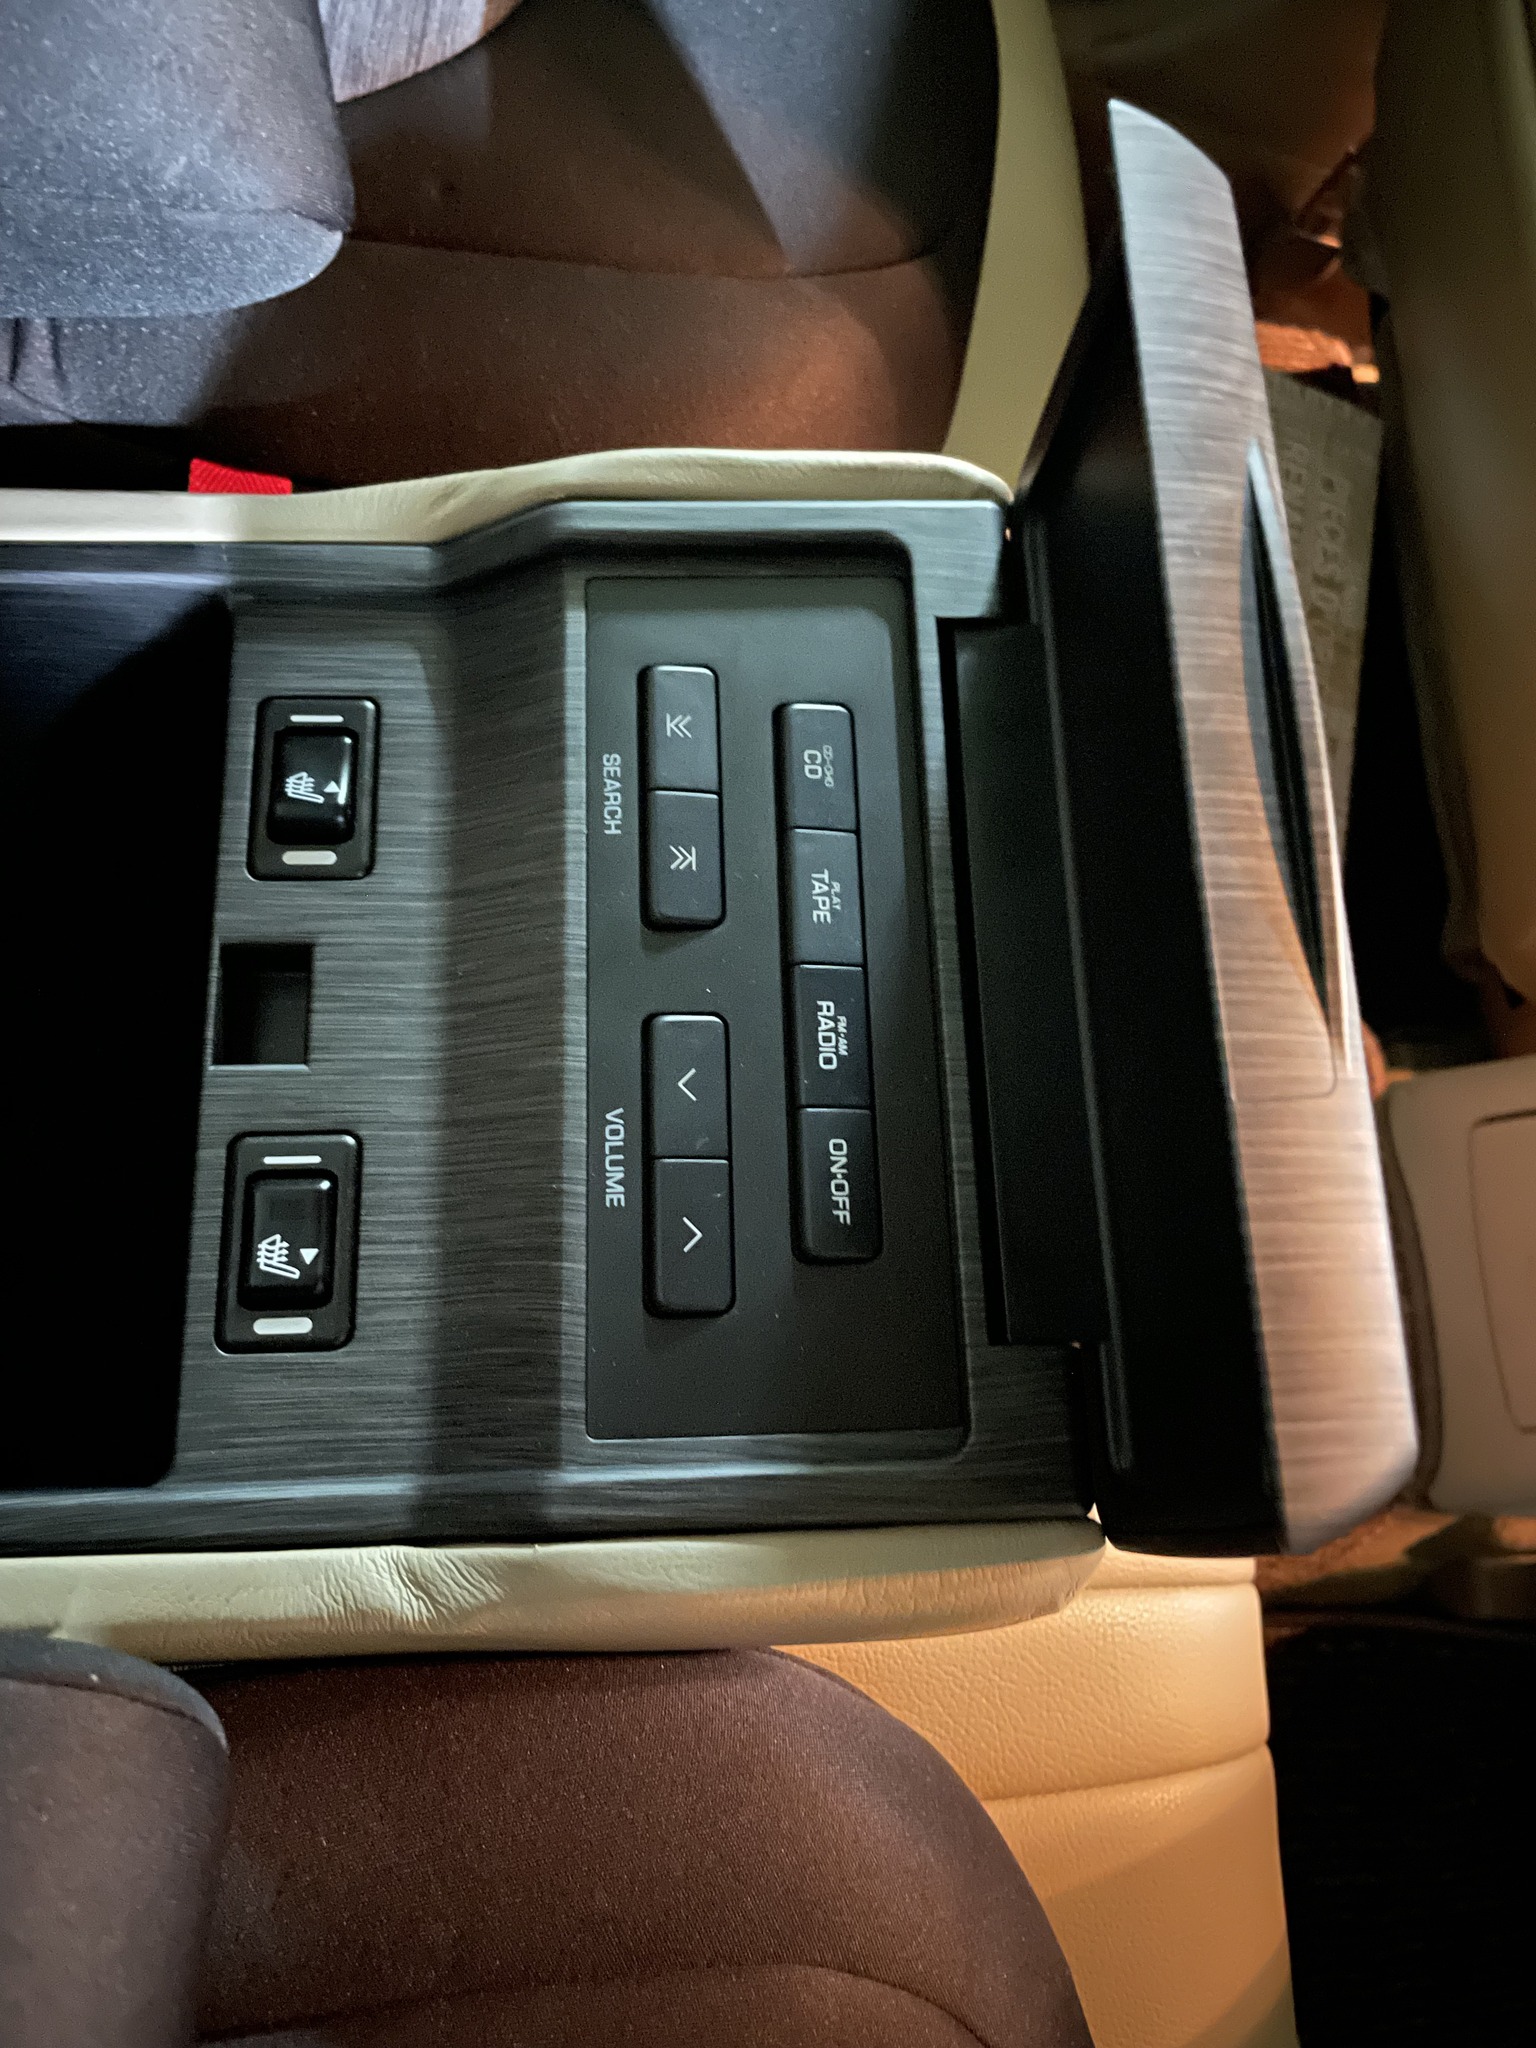
To integrate a factory steering wheel control from an A32 model into a Pioneer head unit, particularly in KDM SM5 vehicles, some modifications are necessary. This task was accomplished by employing a combination of soldering and the use of a signal converter module.
The specific module used for this conversion was the EX-PSCAJK, which performs a similar function to the ASCW-1. Essentially, any module capable of translating the factory steering wheel control signals to a format suitable for aftermarket head units would suffice. The unique aspect of the SM5’s factory steering wheel control is that it has a separate circuit for each button, unlike more contemporary cars which use varying resistance values for different signals. To address this, 470 ohm resistors were soldered to each button to create distinct resistance values. This step was crucial for generating variable signals. Finally, to streamline the setup, five wires were merged into a single connection, which was then attached to the module. This modification successfully enabled the use of the original steering controls with the new Pioneer head unit, combining the car’s original functionality with modern technology.


![]()
")
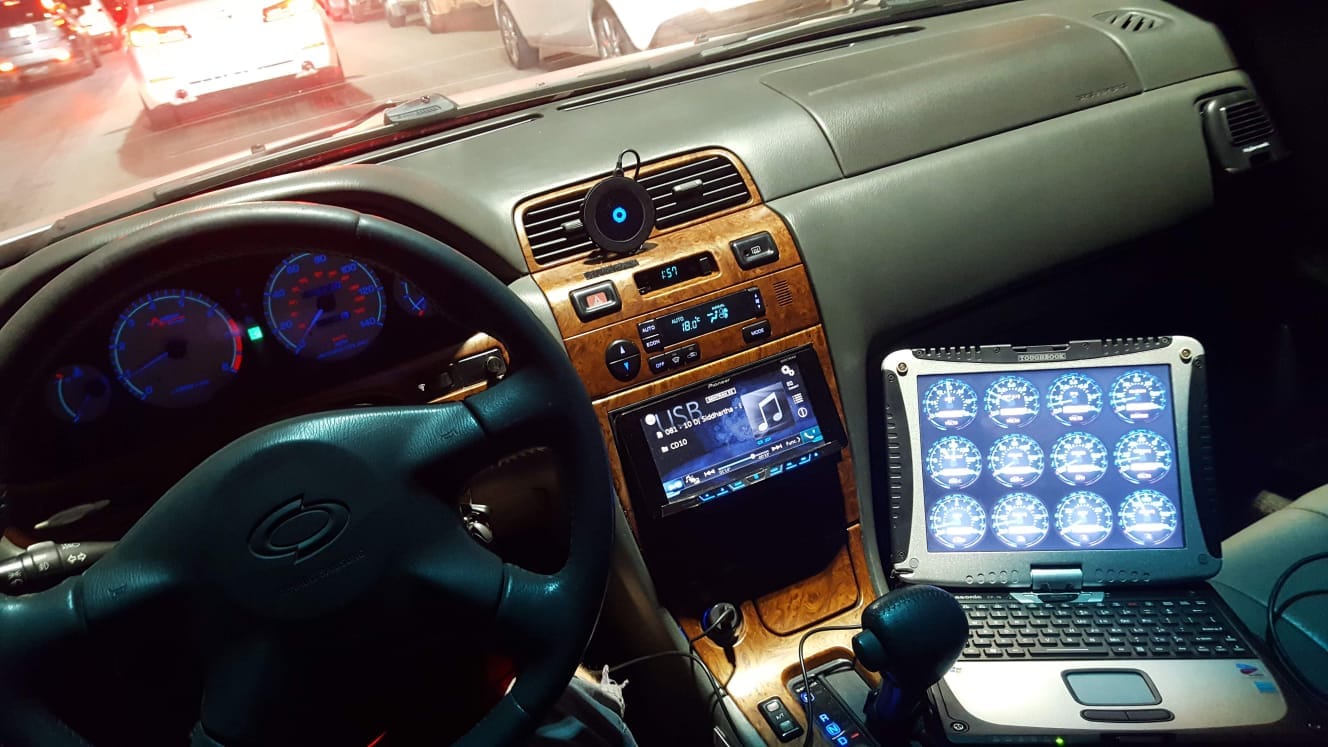
Credit: Jungmin Lee
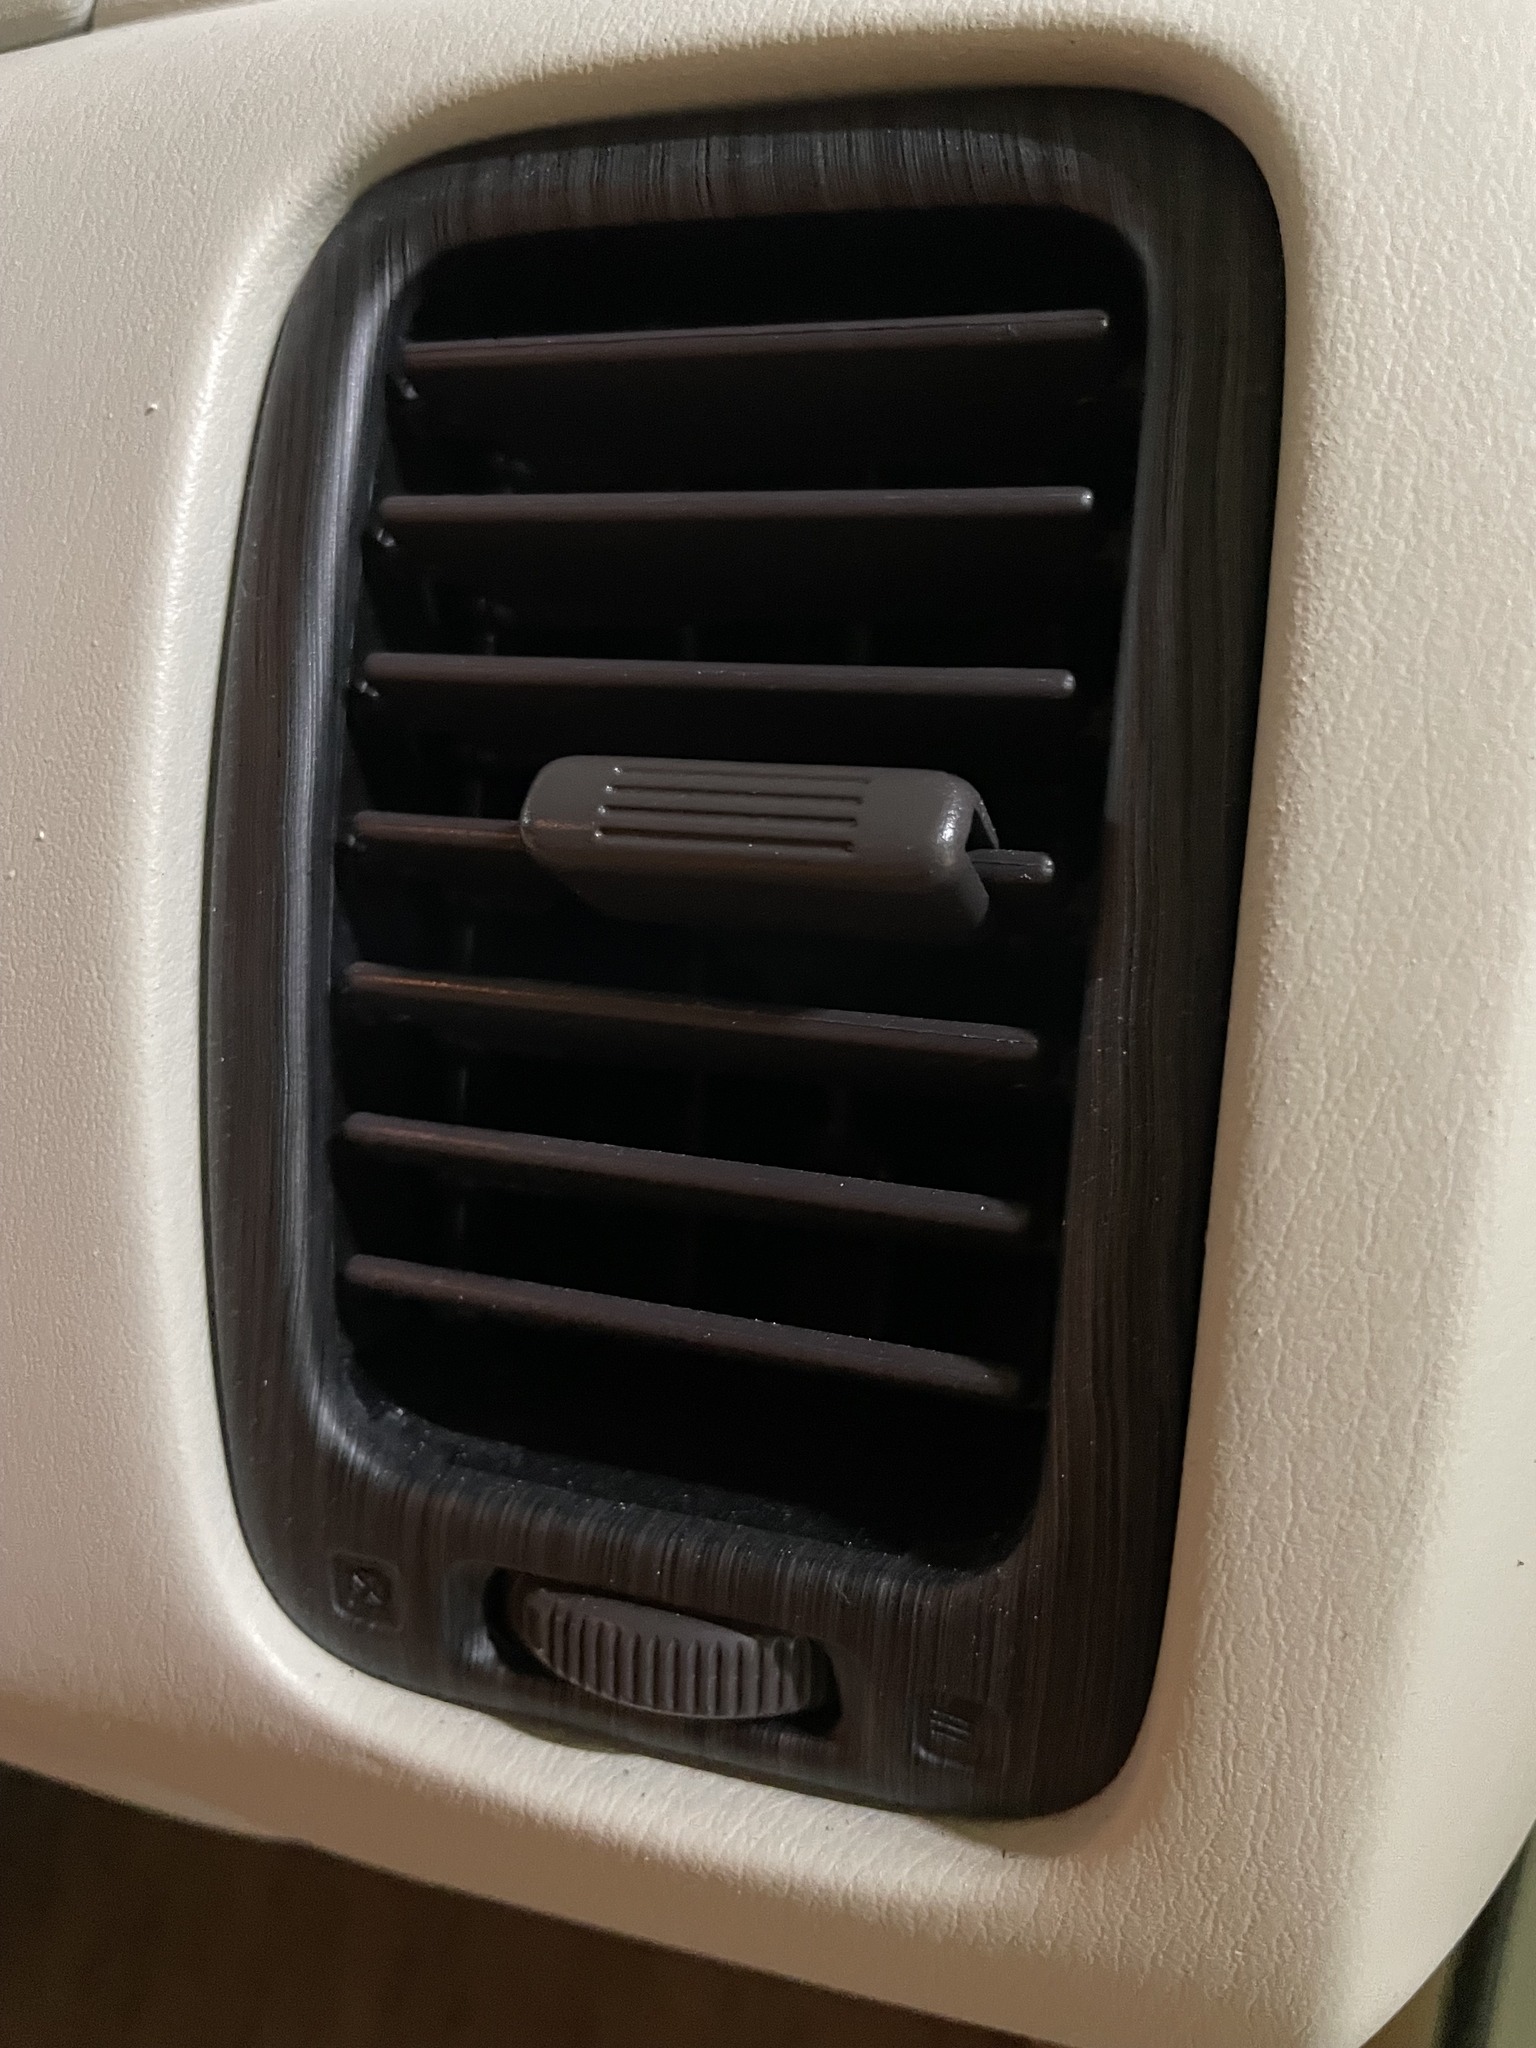
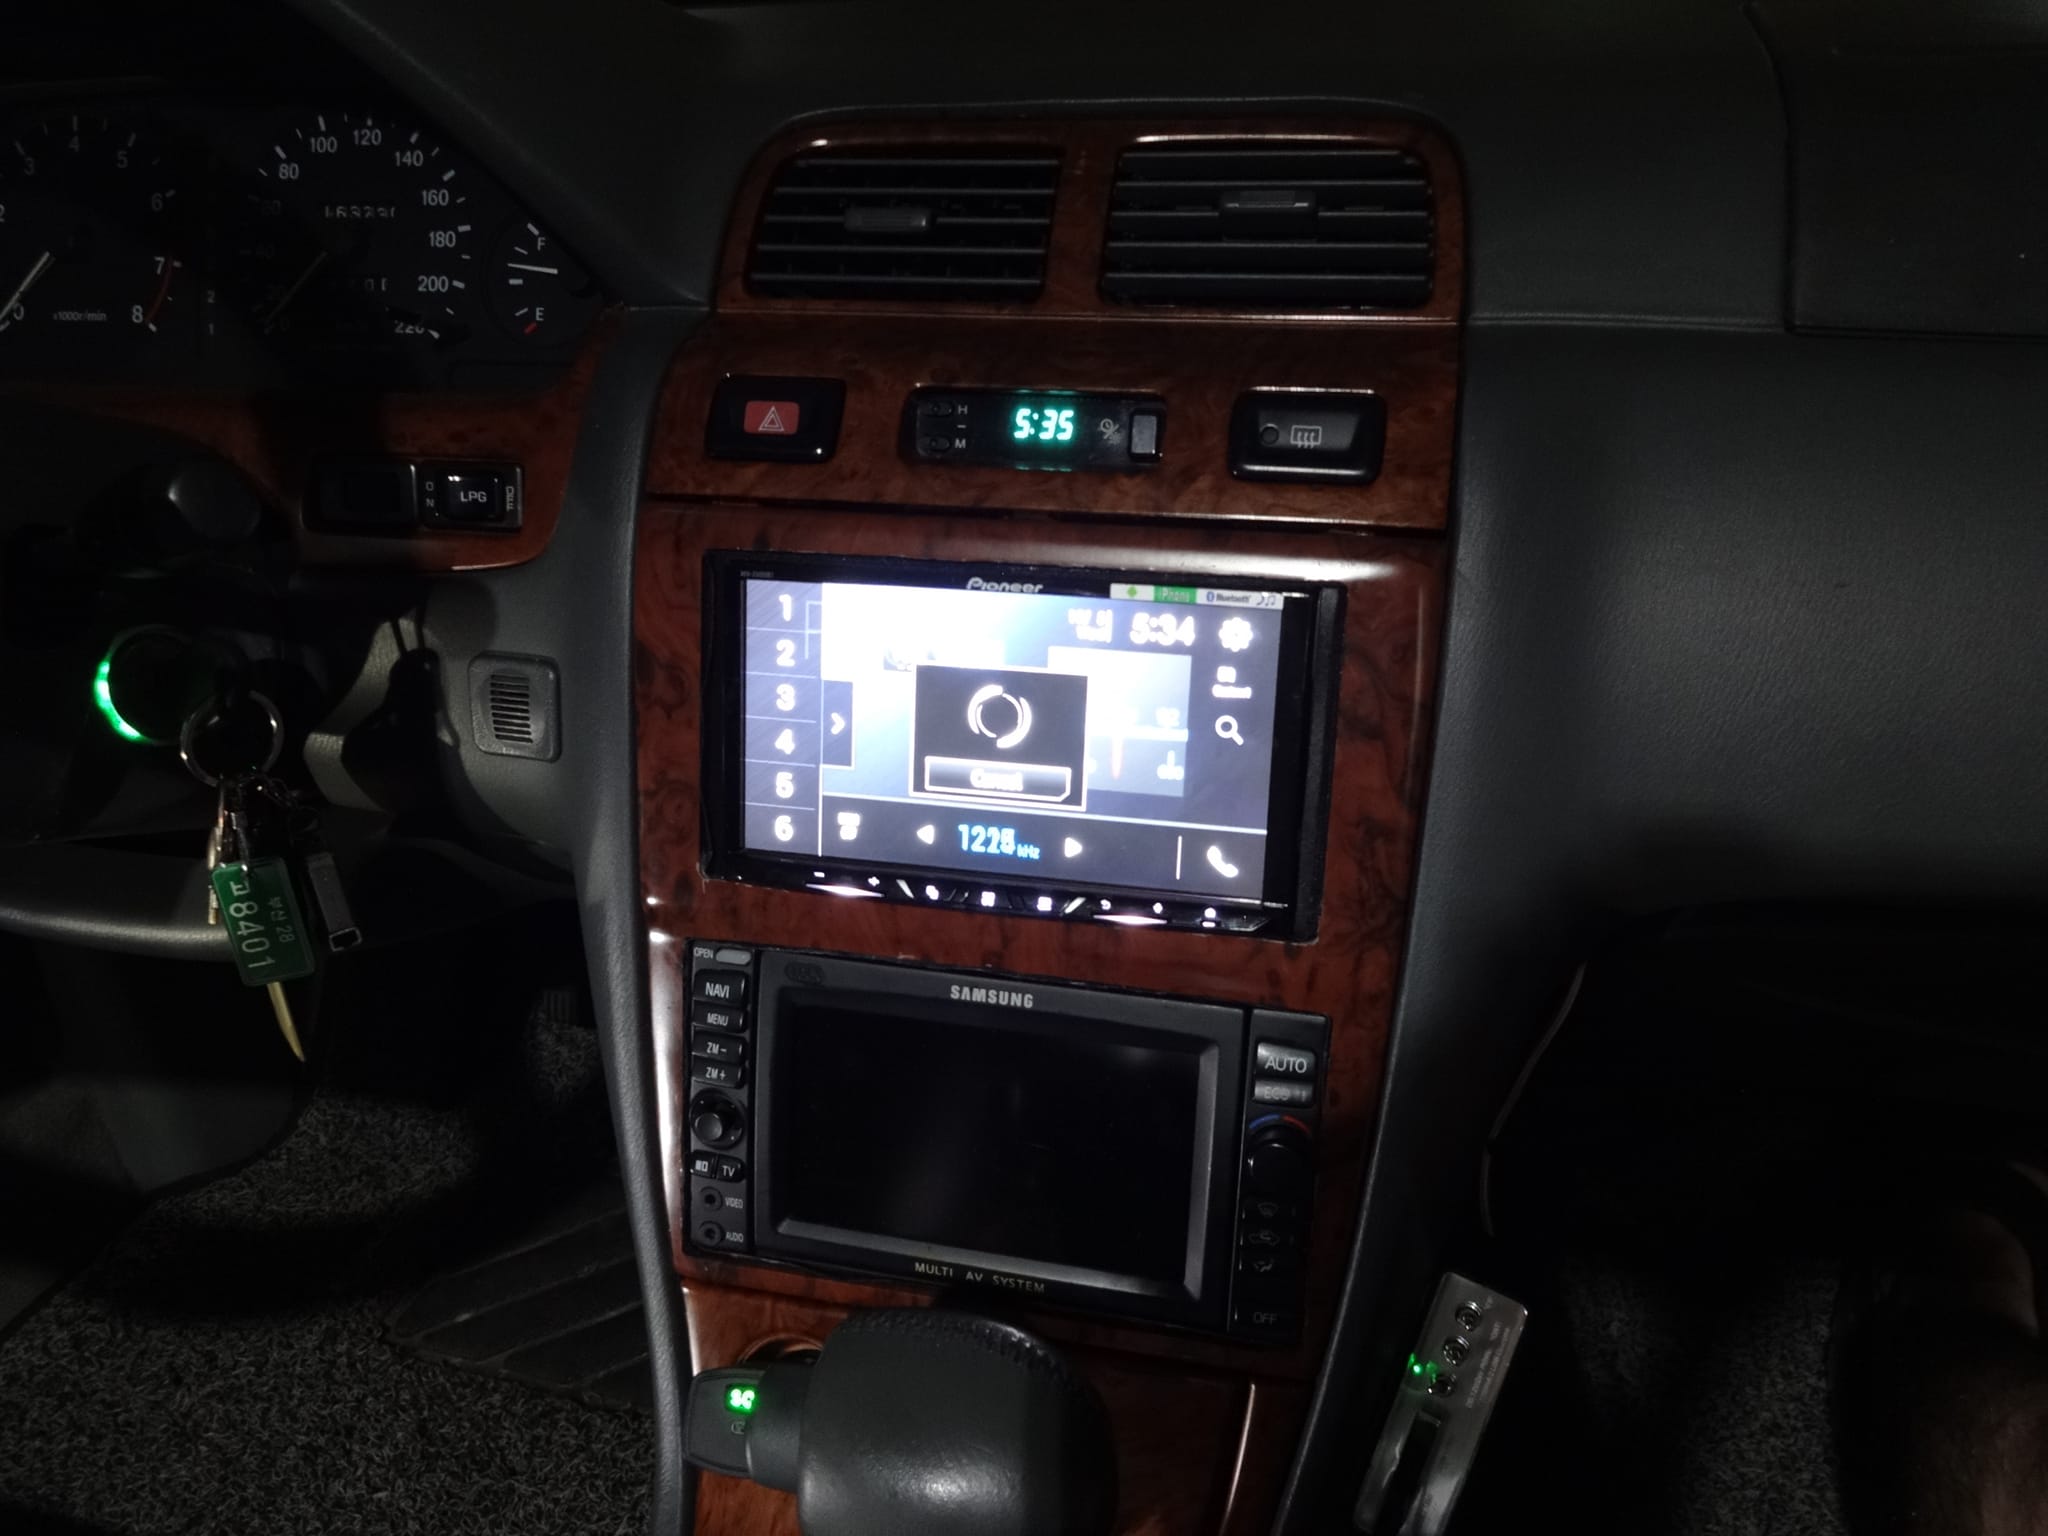
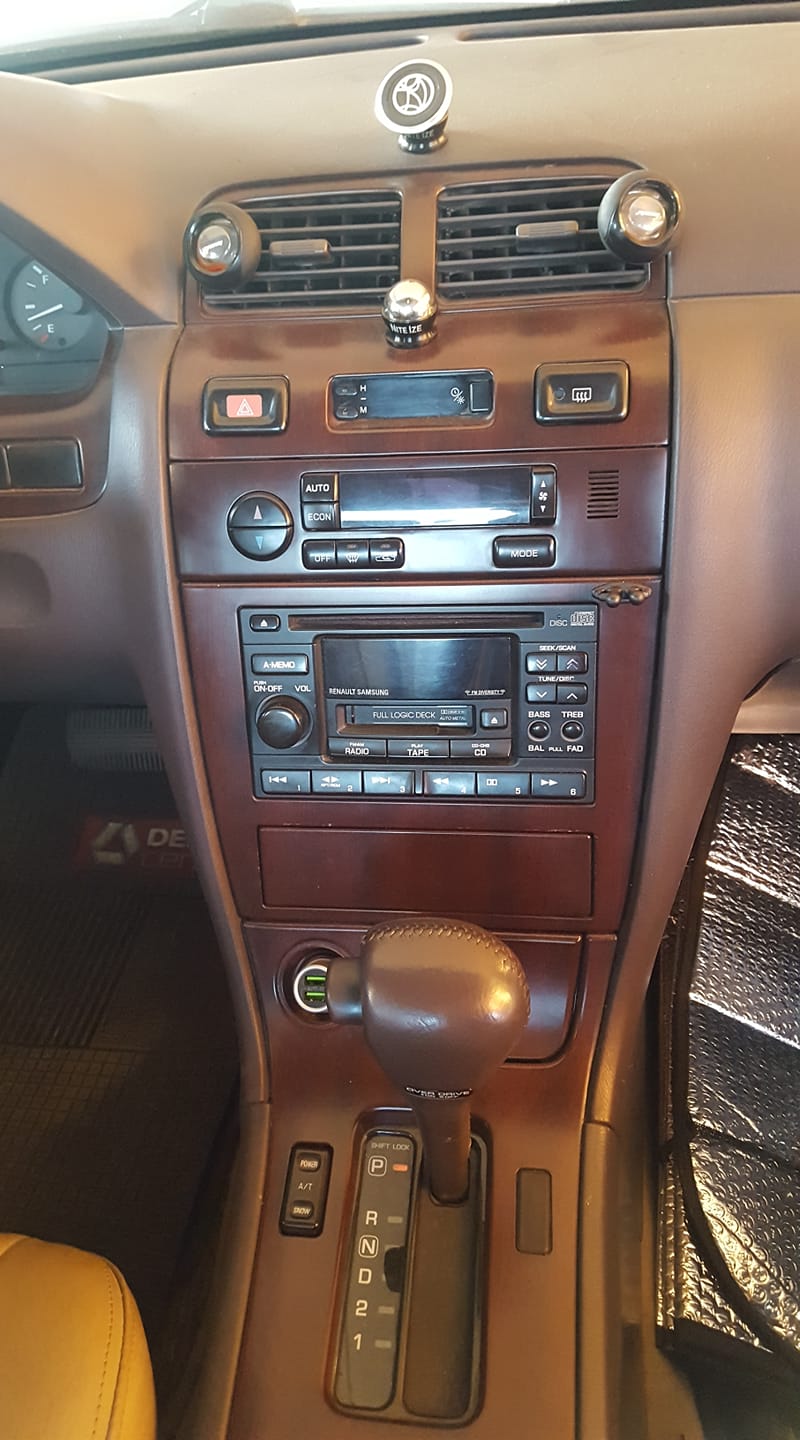
Finally a dual headunit-ish set up on factory nav system equipped 1998 SM525V (based on A32 platform)! Factory nav unit can play audio CDs and has auxiliary stereo input in front so I can use it as CDP and aux interface since it is connected to Pioneer AVH-Z5050BT via DIN 8pin to RCA adapter.
SM5’s nav system comes with single-din headunit from factory so the center trim piece is different from that of I30. I modified already-custom trim piece which other people made to flush-mount aftermarket GPS on manual climate control equipped car.


![]()
")
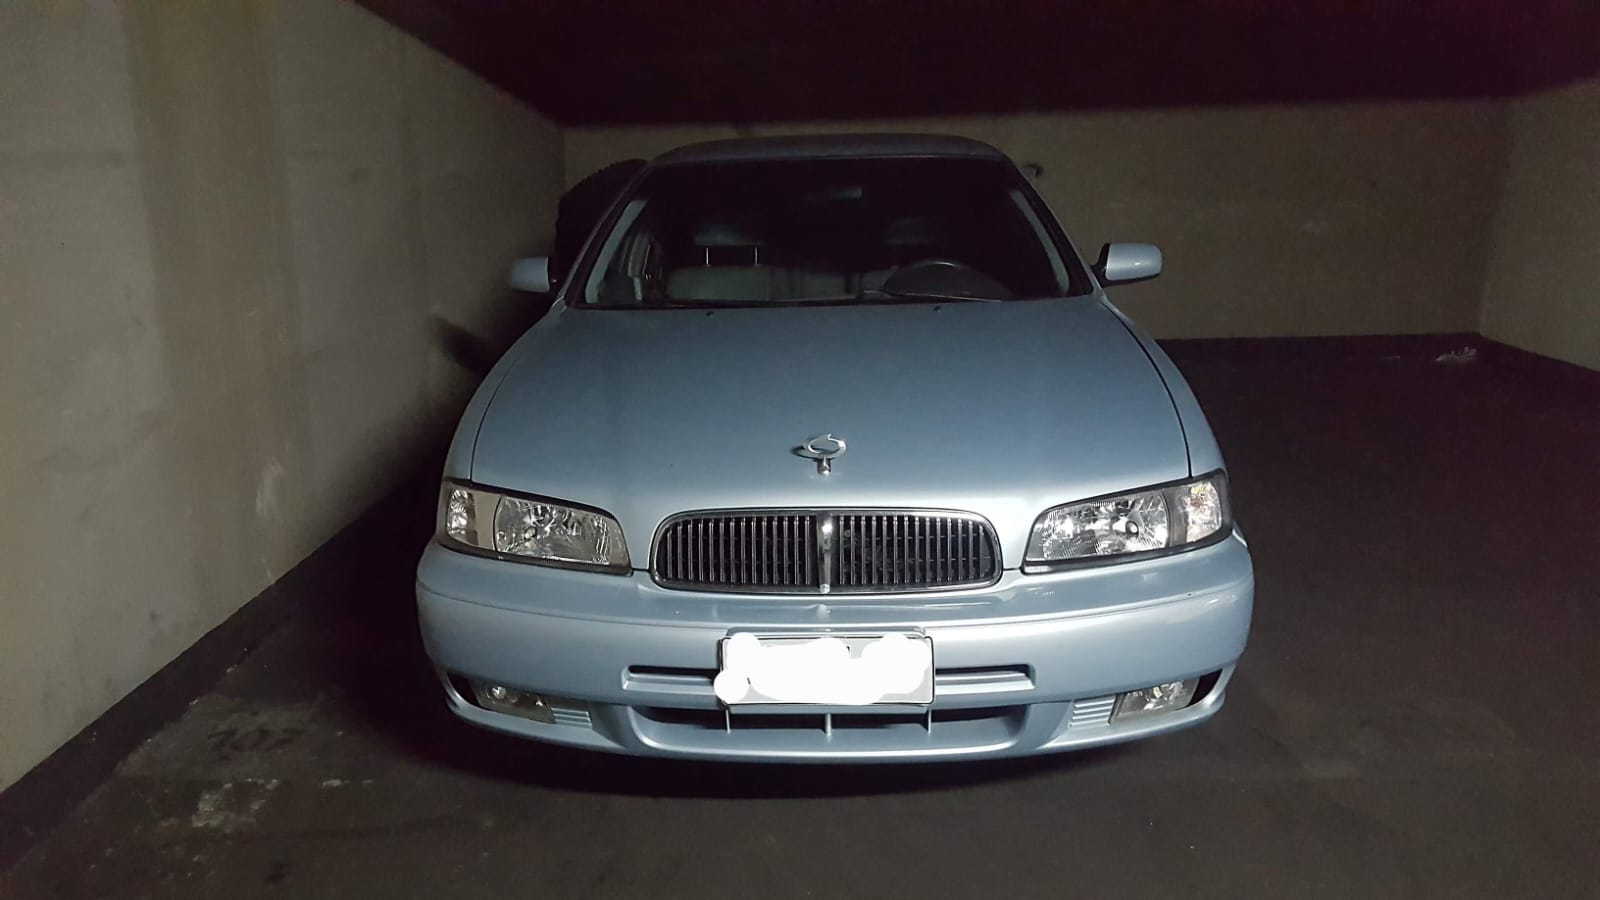
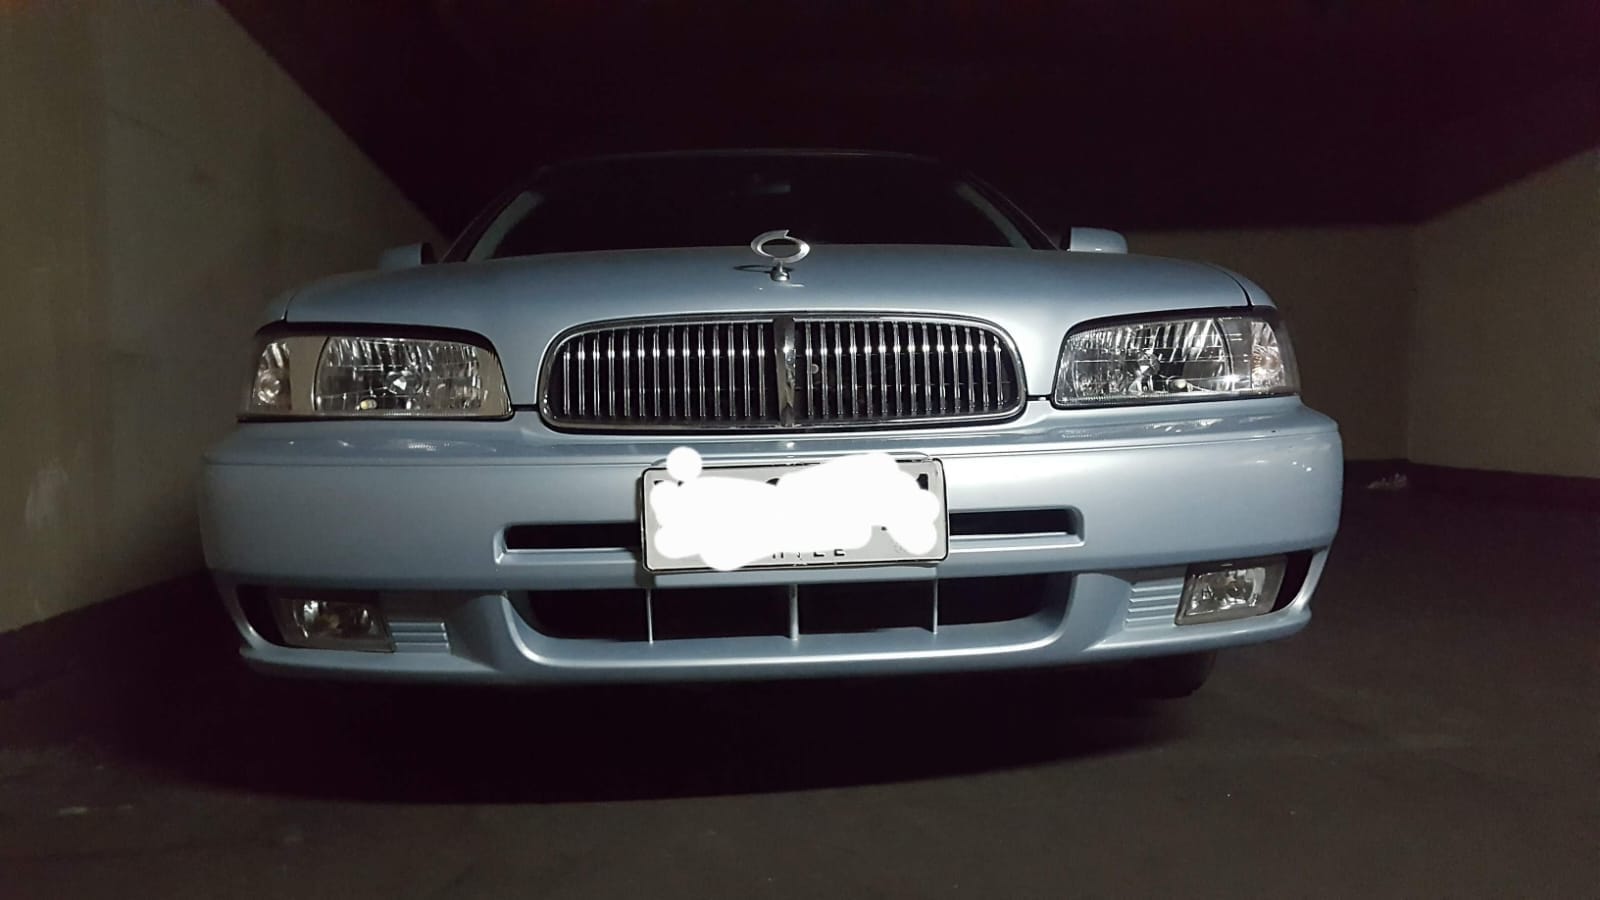
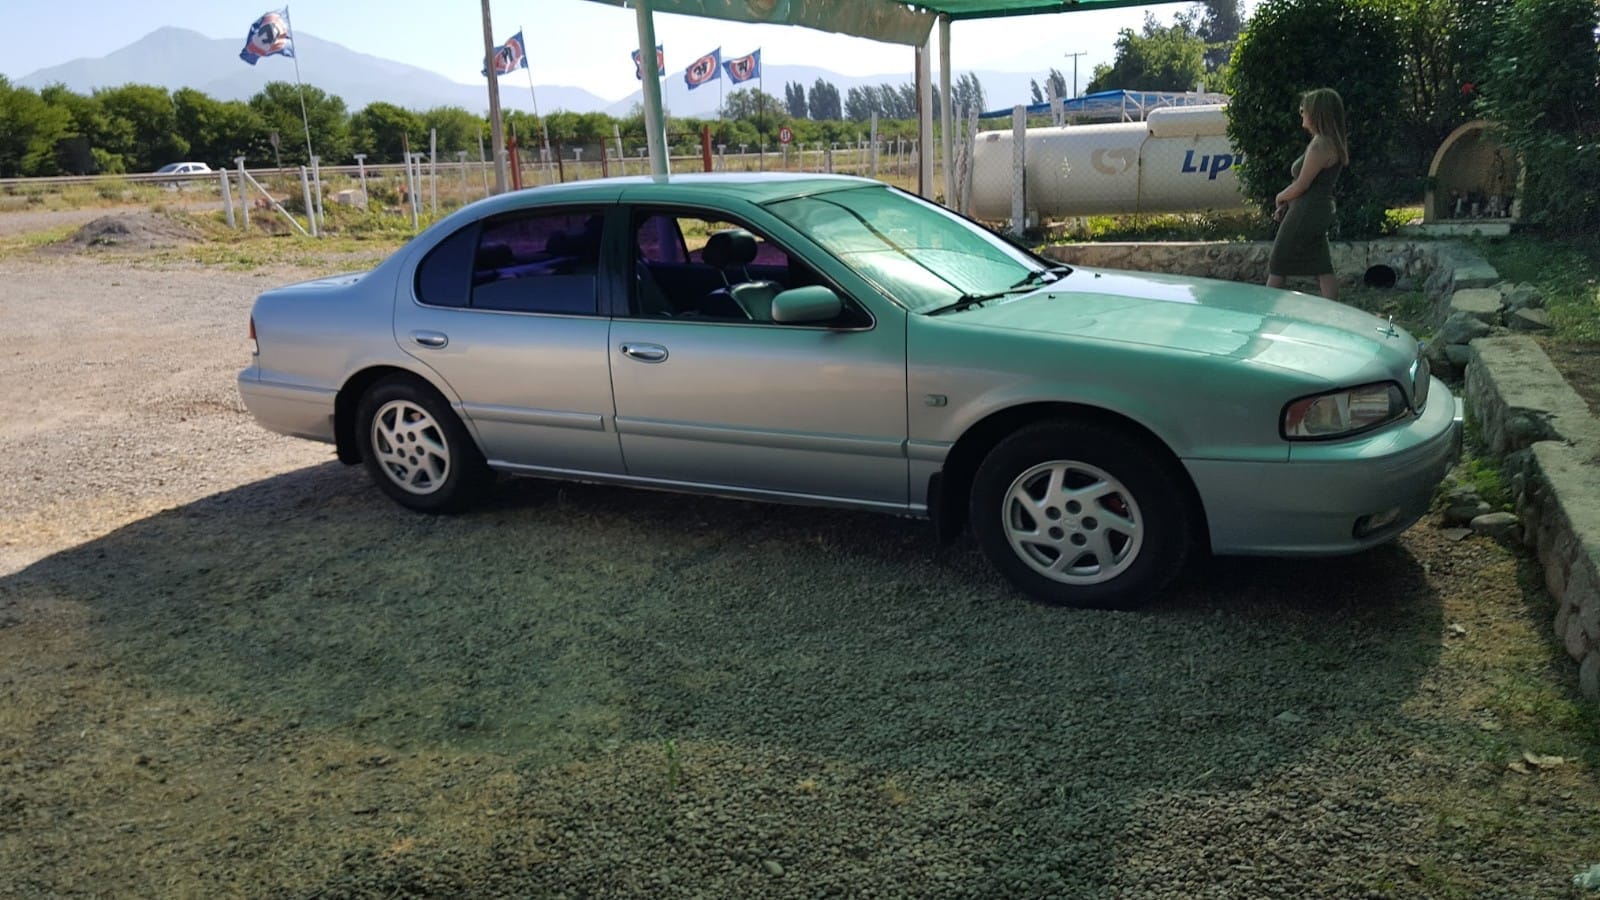
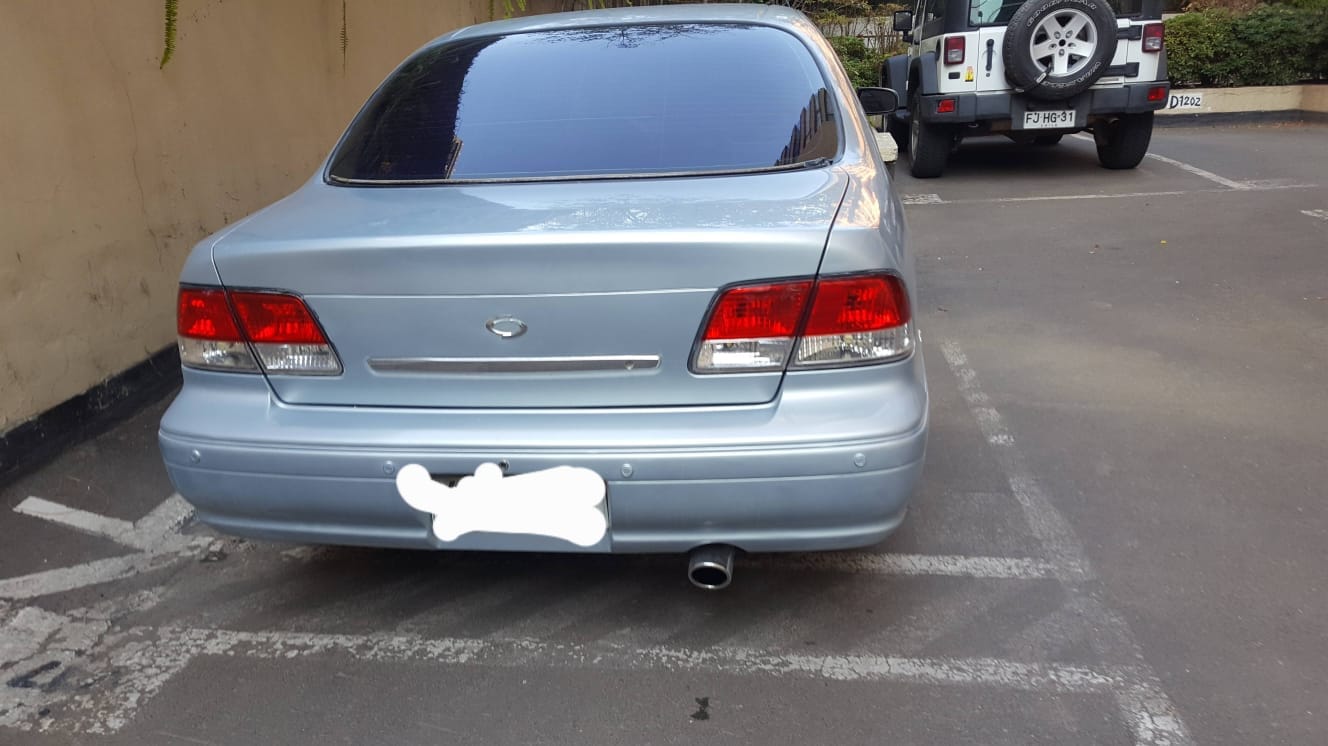
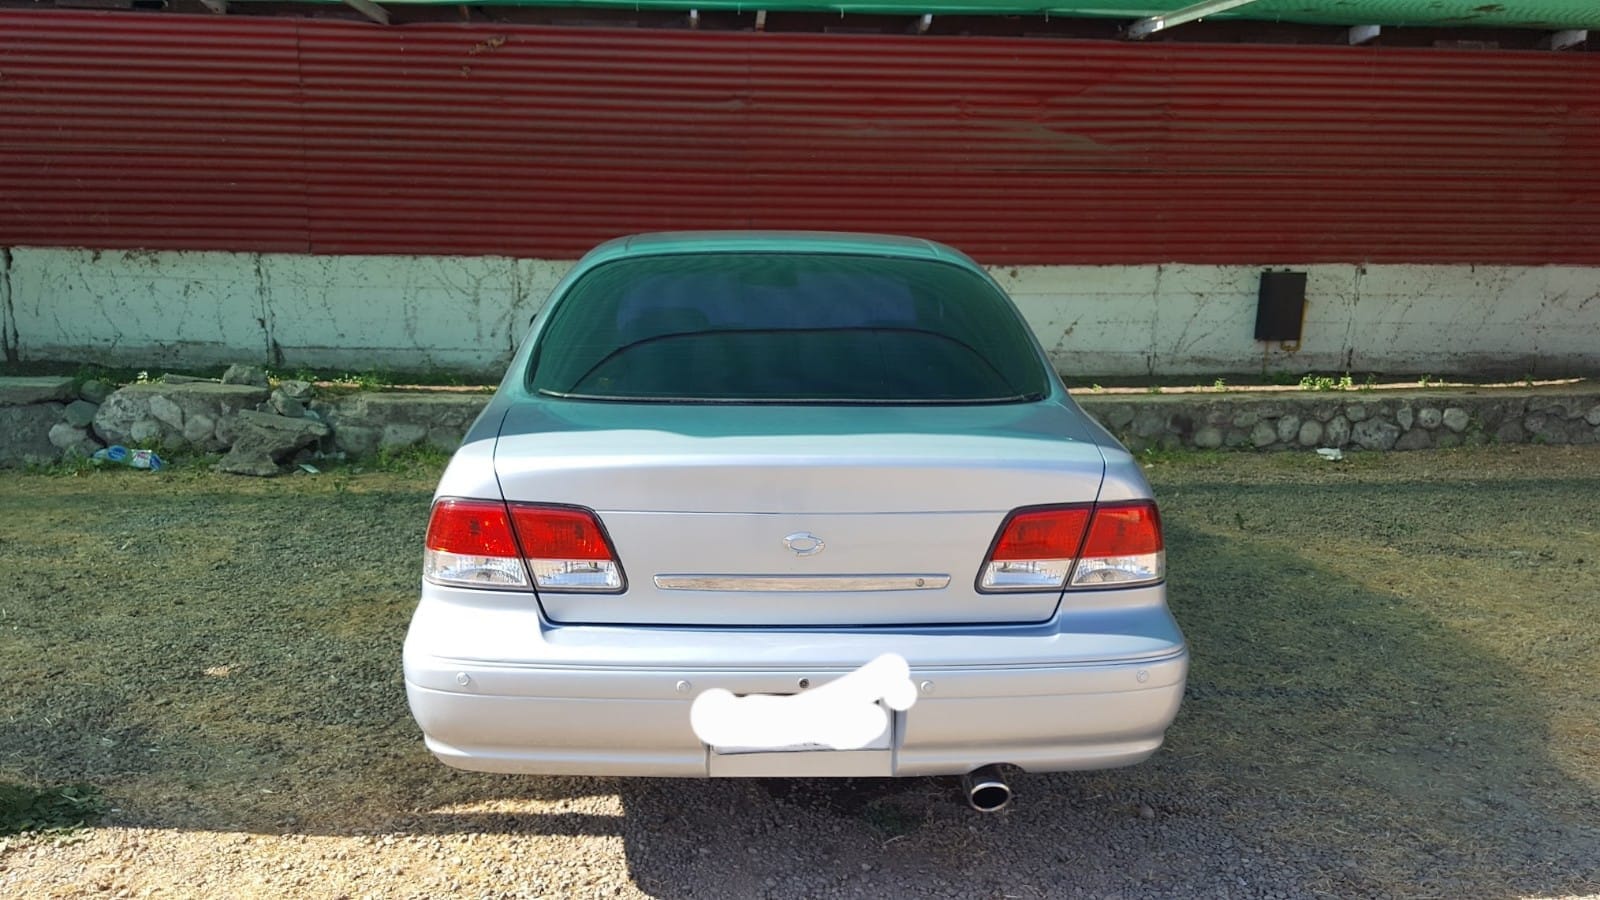
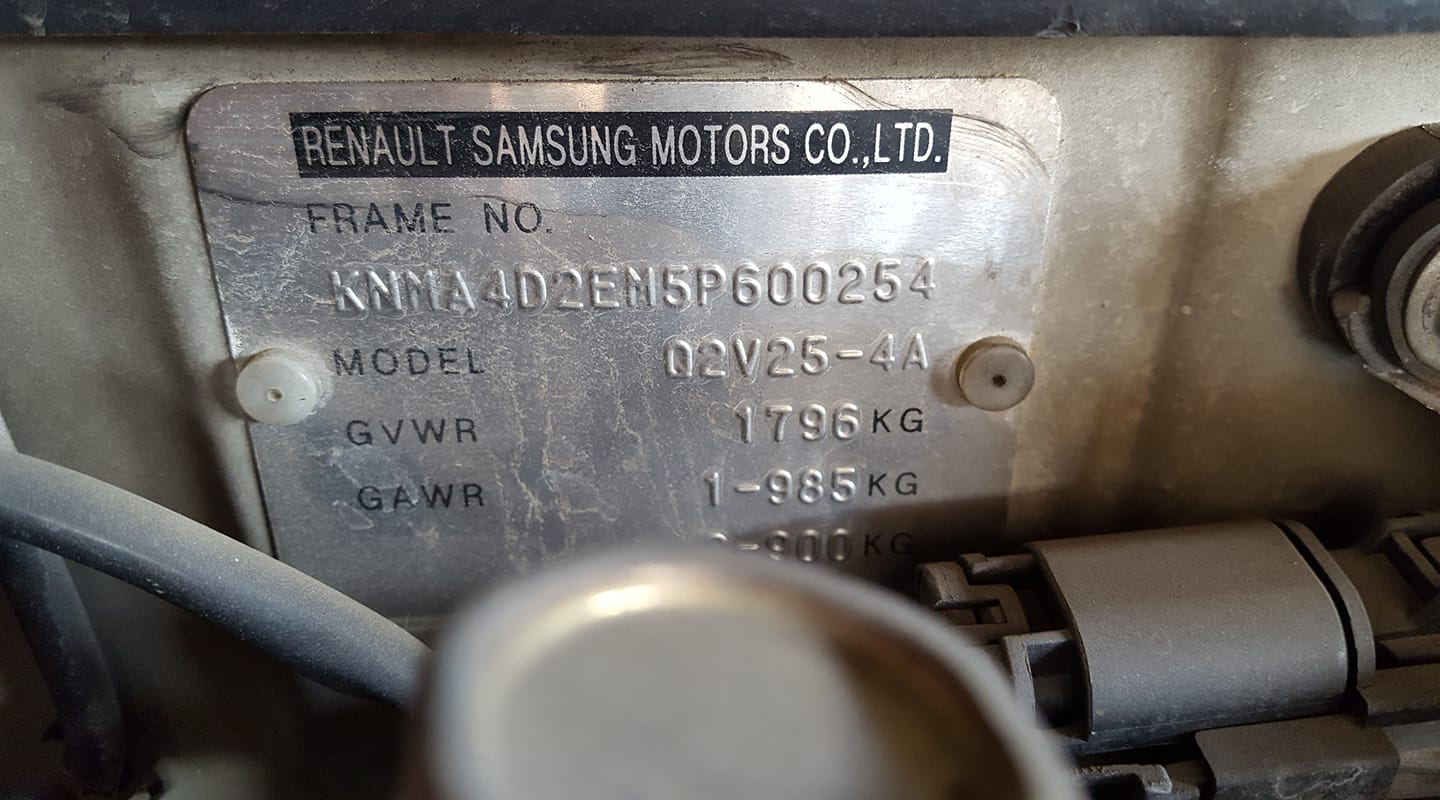
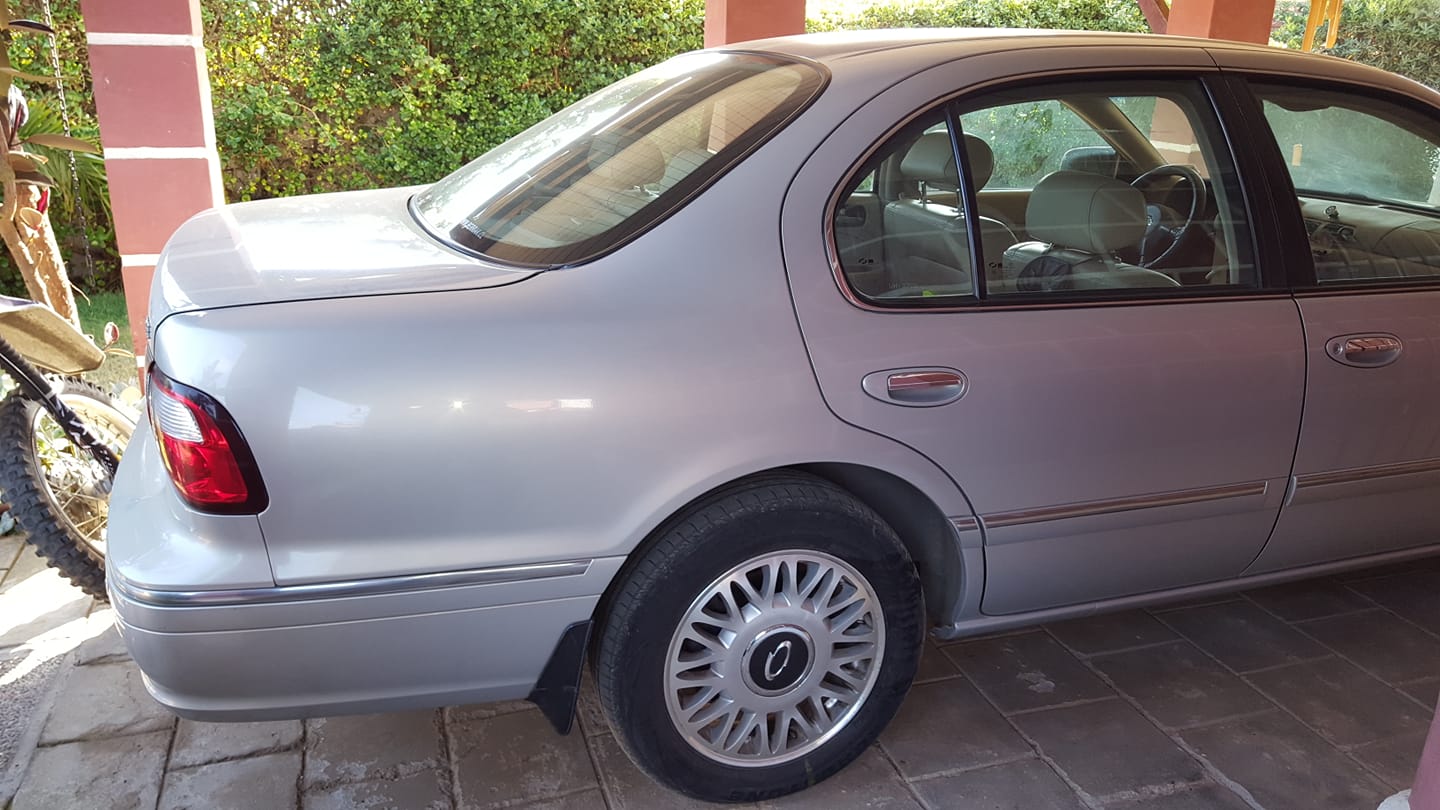
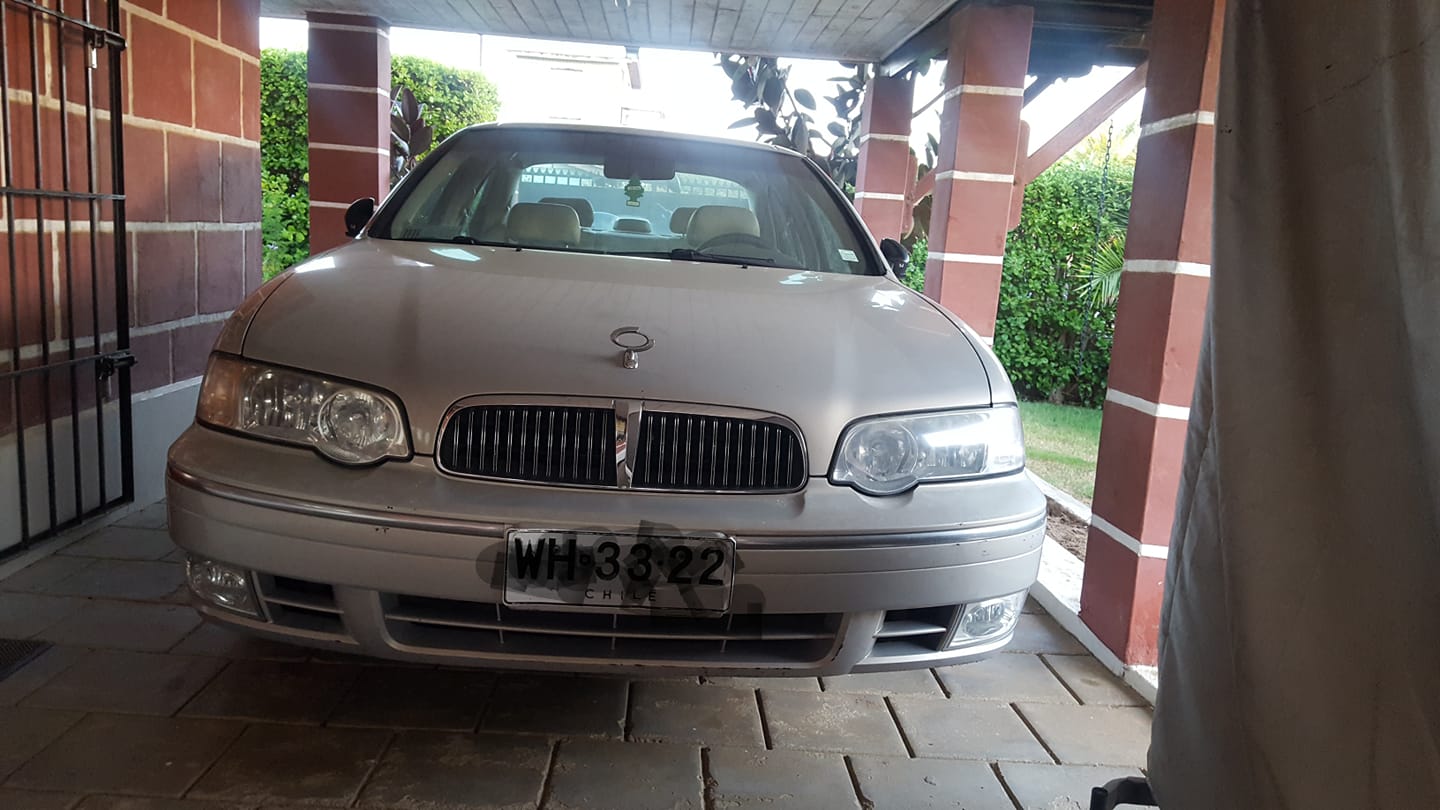
Owner: Renato Manotas
Year: 2004 (1st Generation)
Model: SM5
Color: Light Blue
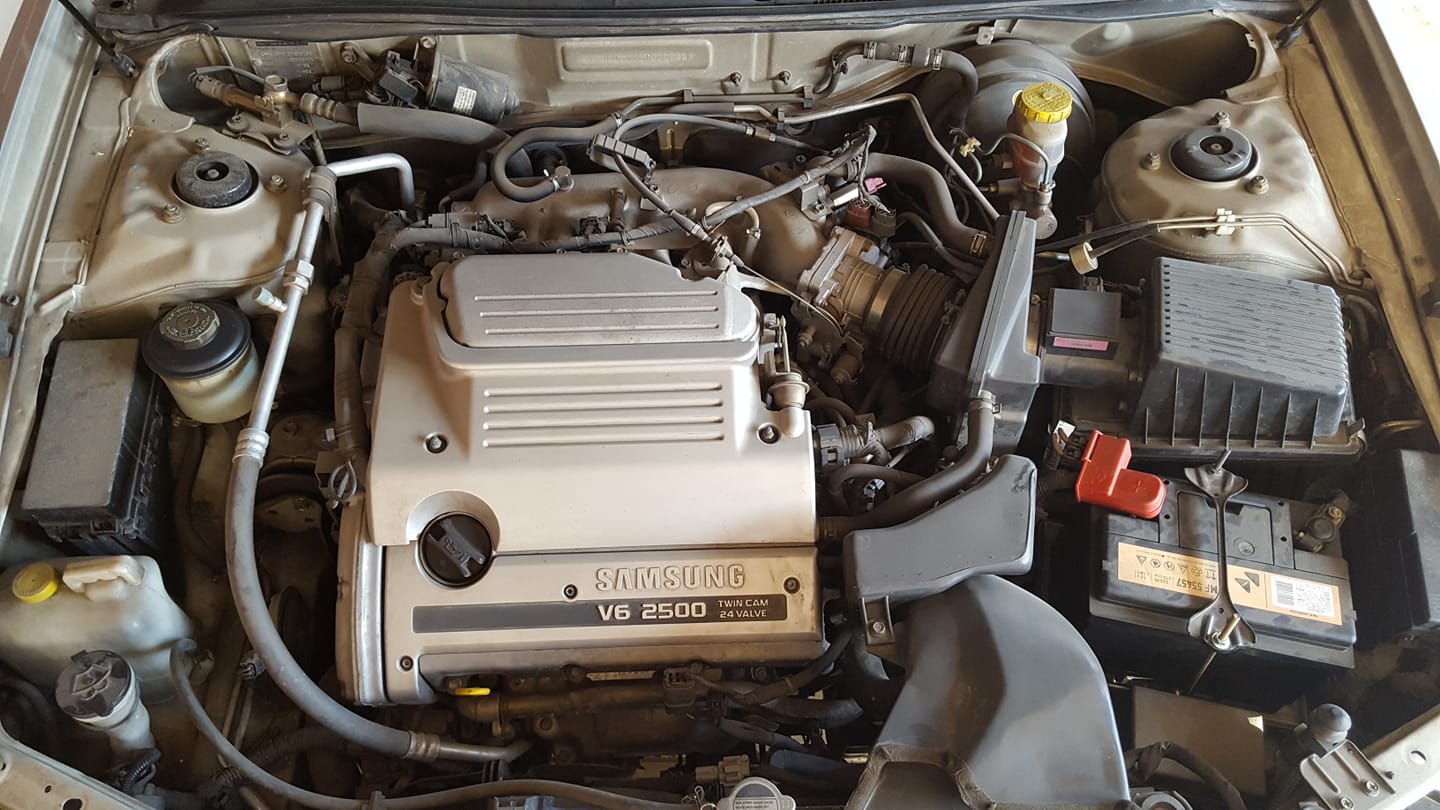
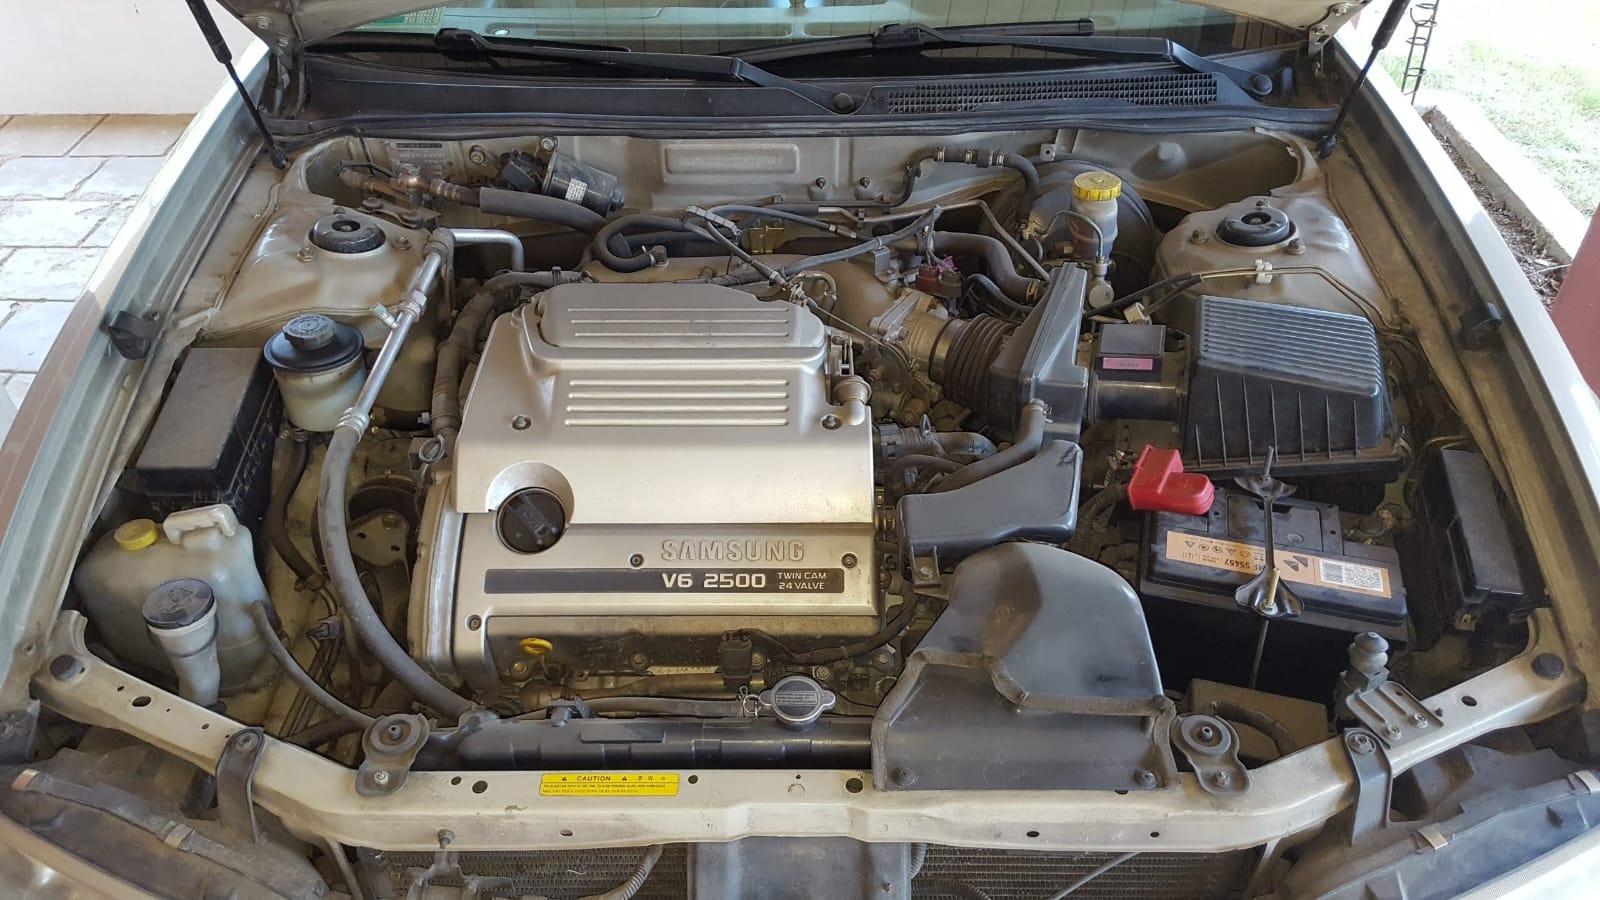
Engine: VQ25DE
Transmission: 4-Speed Automatic
Notes:


![]()

Community Member Credit: Jungmin Jungmin
Since the radiator coolant conducts electricity, the stray voltage will travel through it to find a ground. To prevent this from happening make sure the engine and frame are correctly grounded.
Install:


 Readings:
I got better scan data on the effectiveness of the radiator ground. The car tested is SM525V so basically applicable to all A32 variants. *The car has 2 point custom ground, and the comparison is between additional radiator ground.
Radiator fan operating time reduced. Probably means the cooling effect has improved since coolant temperature is the same.

This is the data after radiator ground: Injector operation 2.8~2.7ish mS, AFR alpha 101% and 99%.

This is data from the same car with radiator ground.


![]()