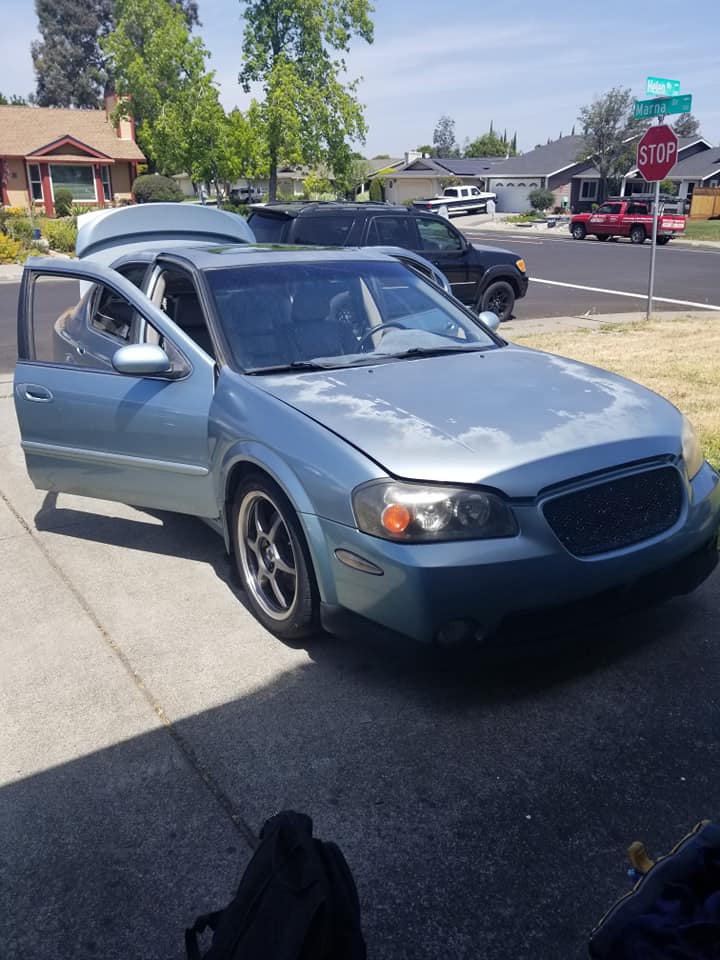
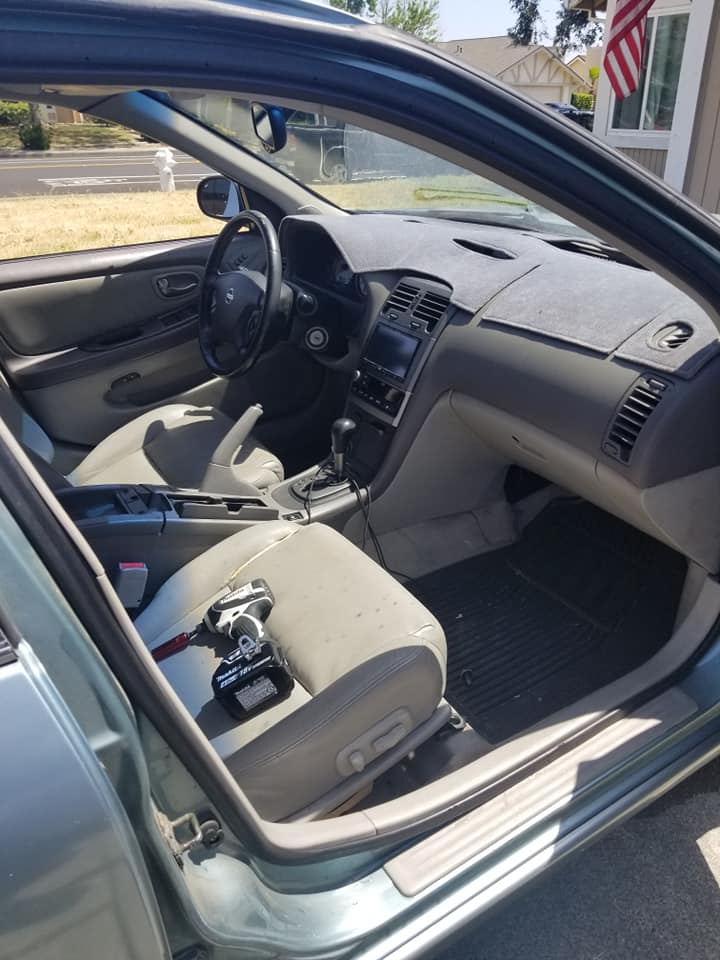
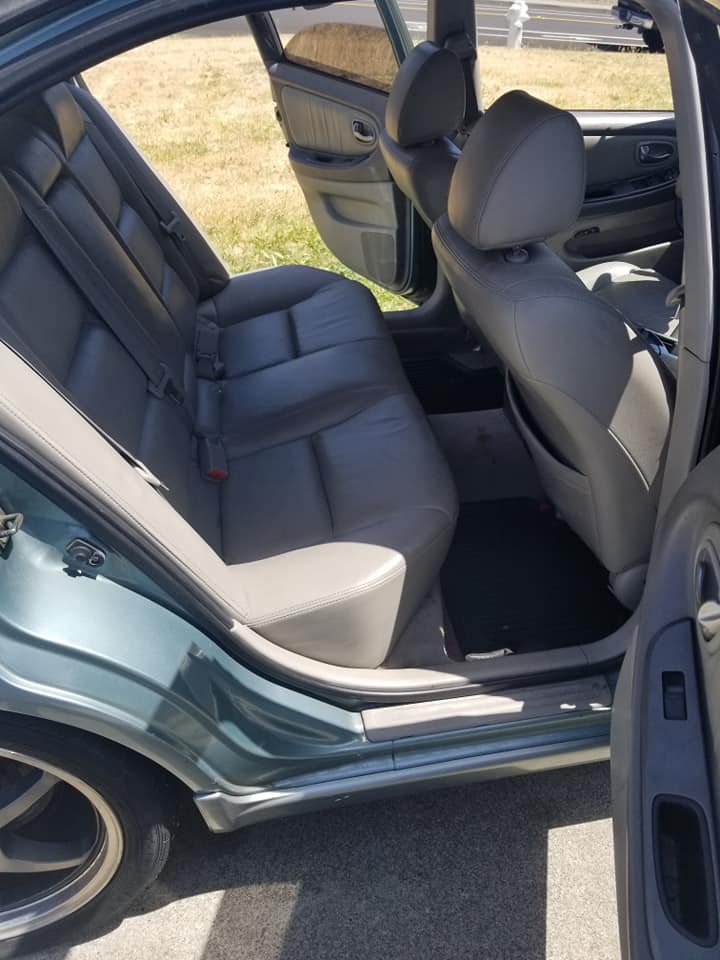
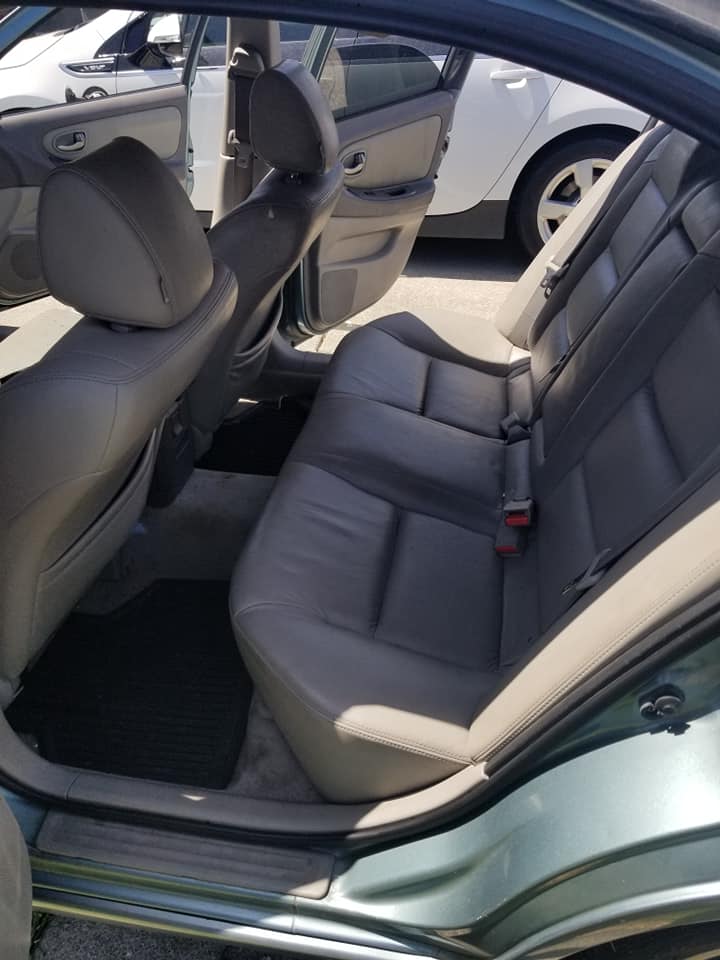
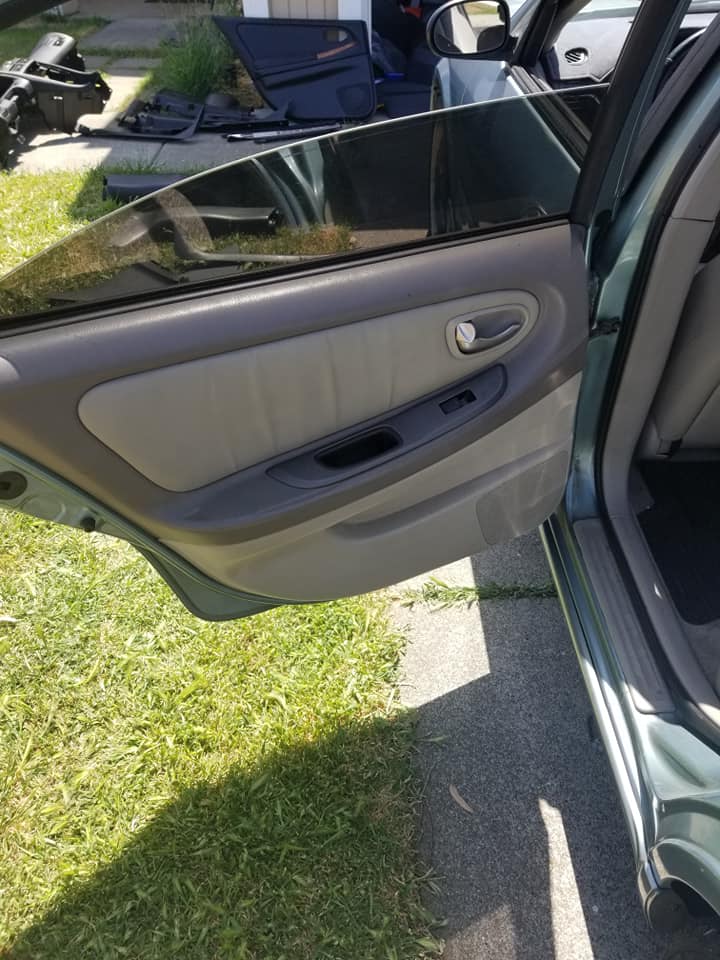
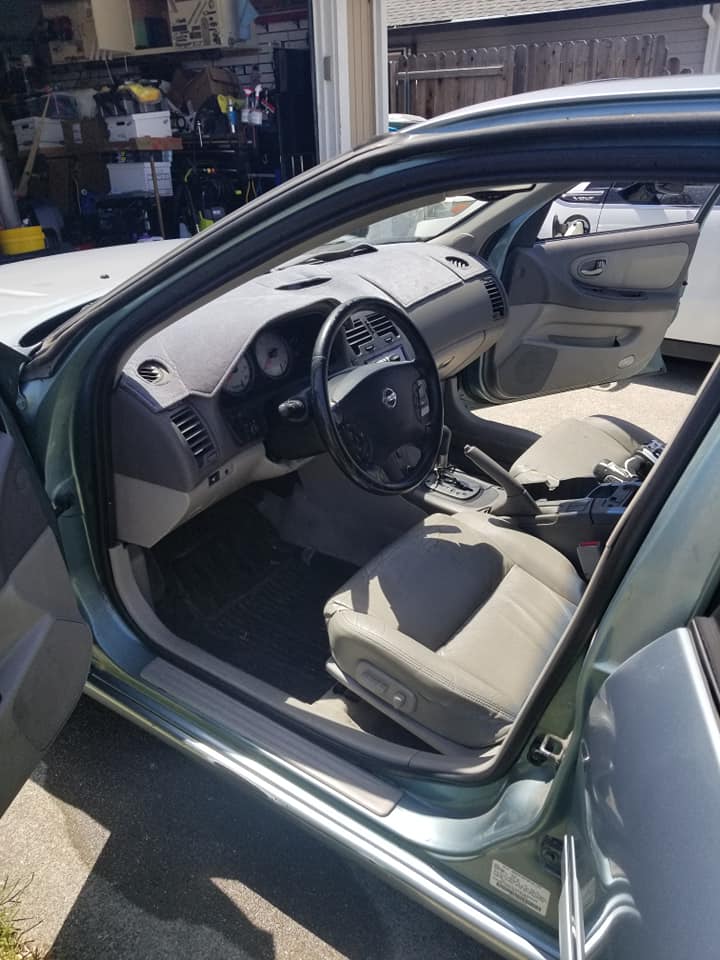
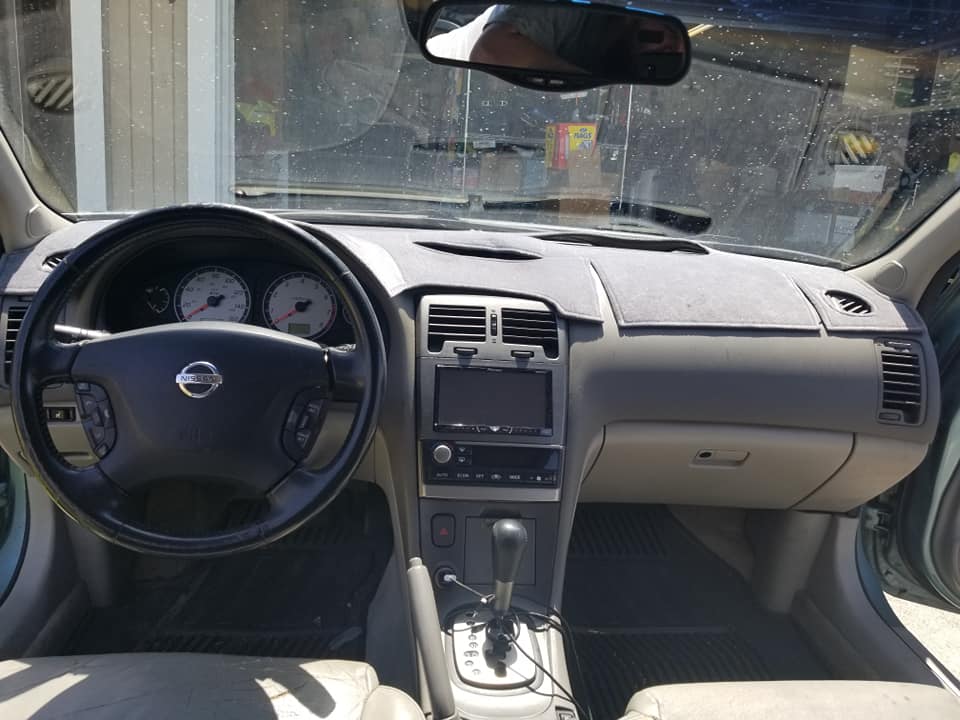
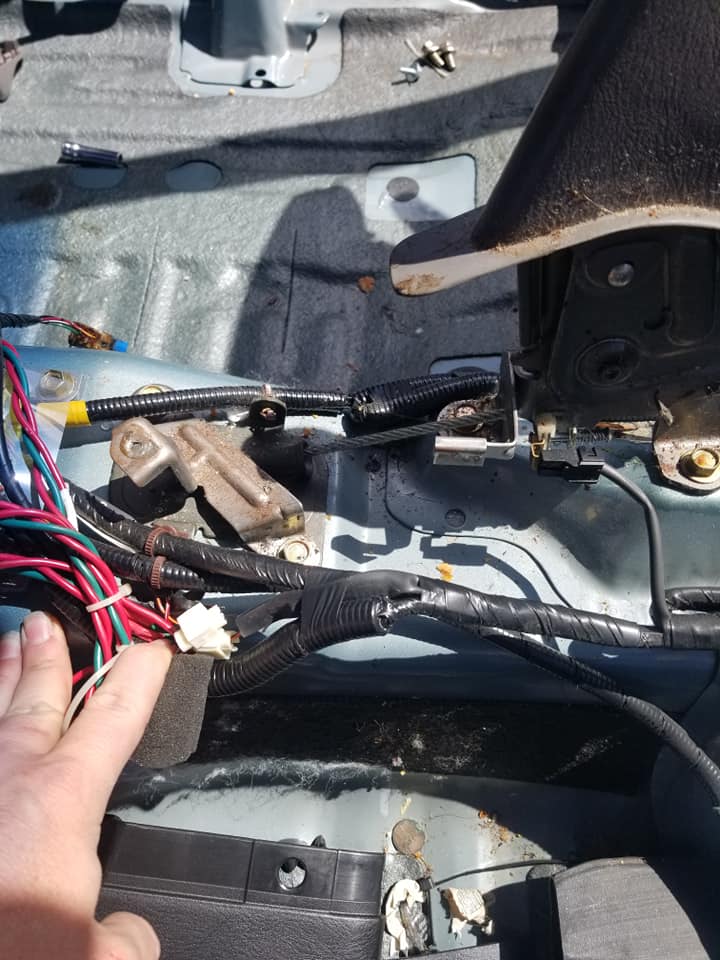
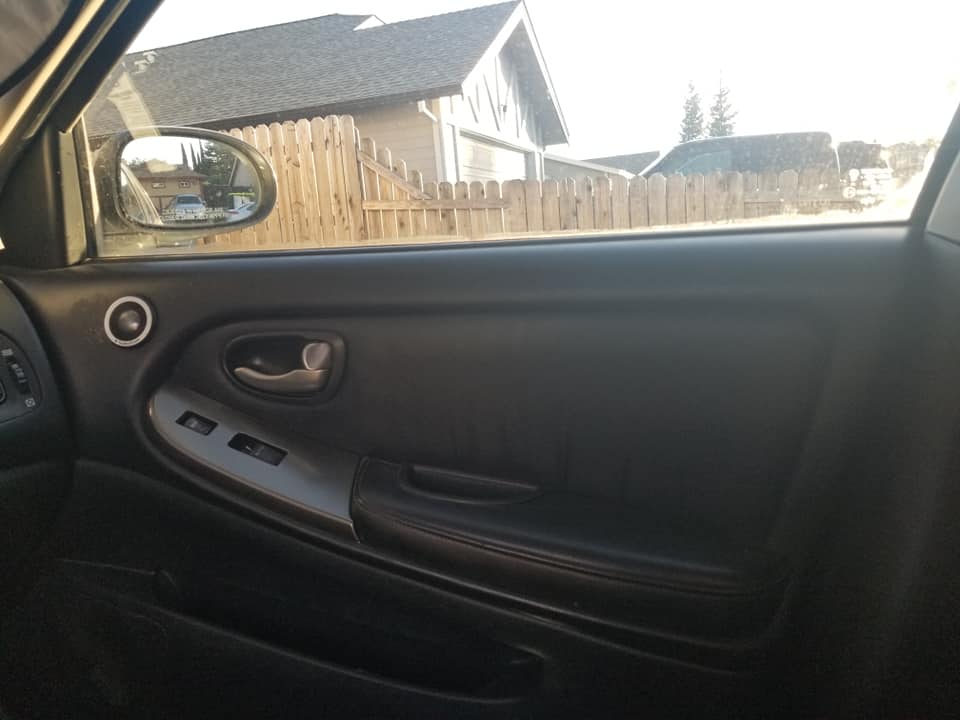
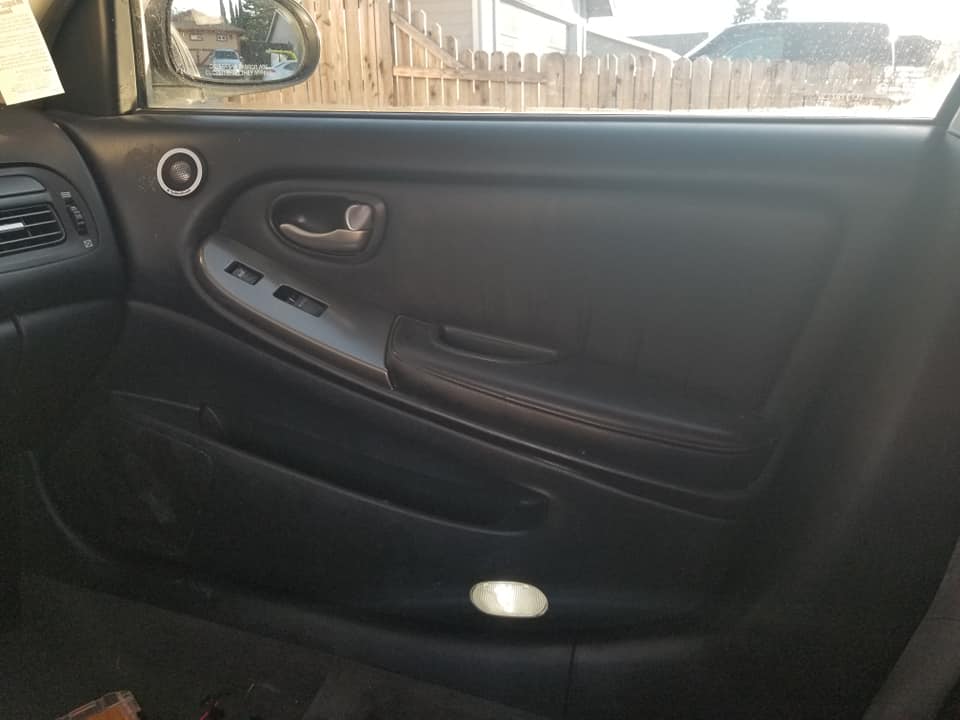
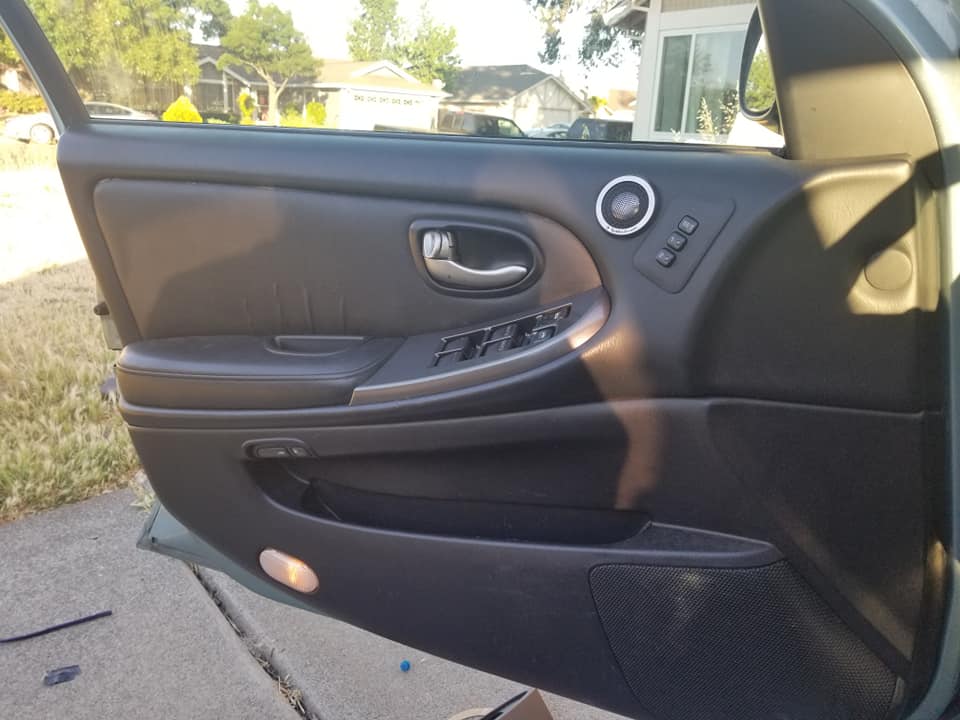
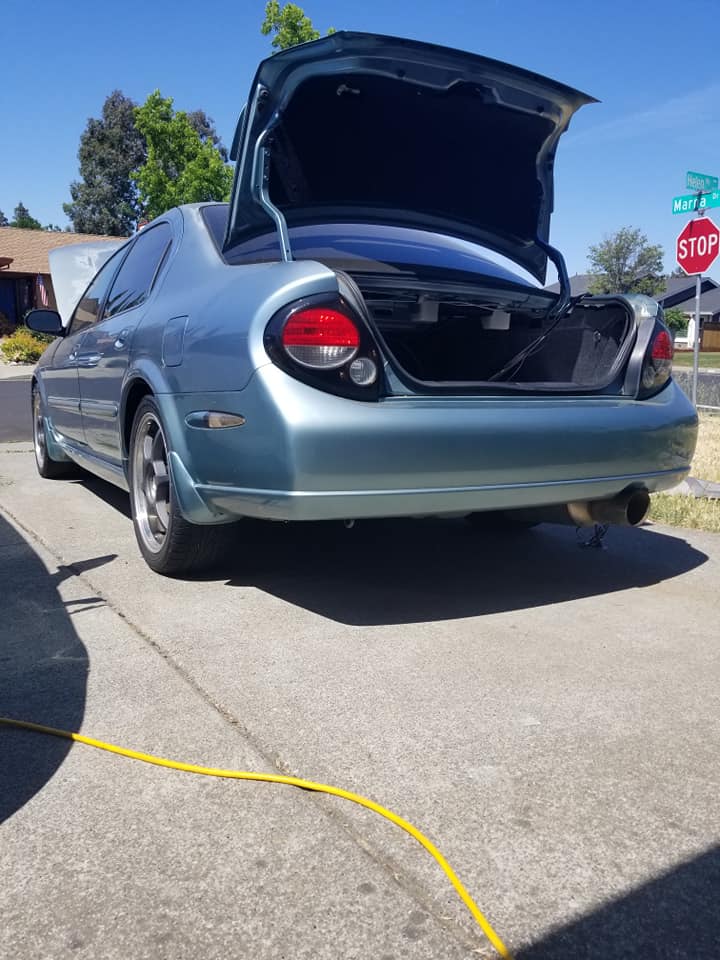
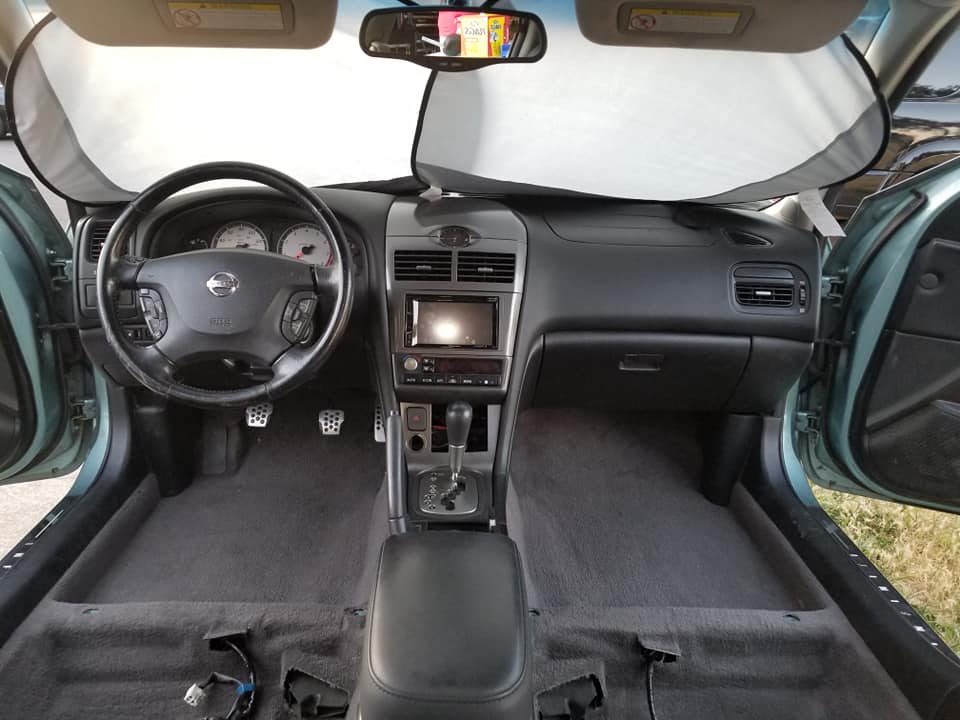
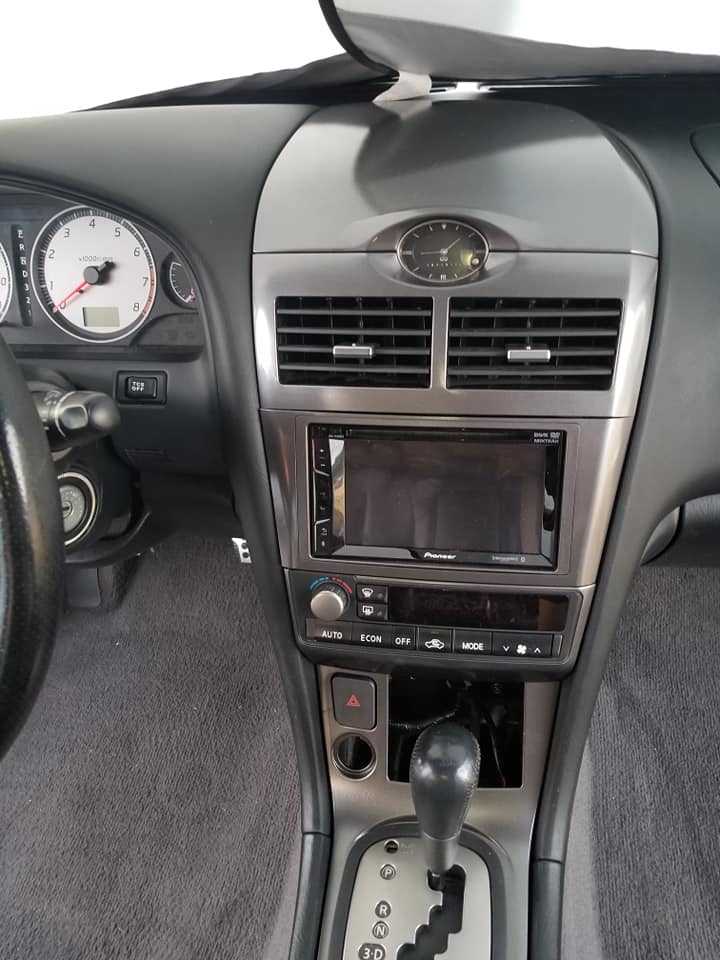
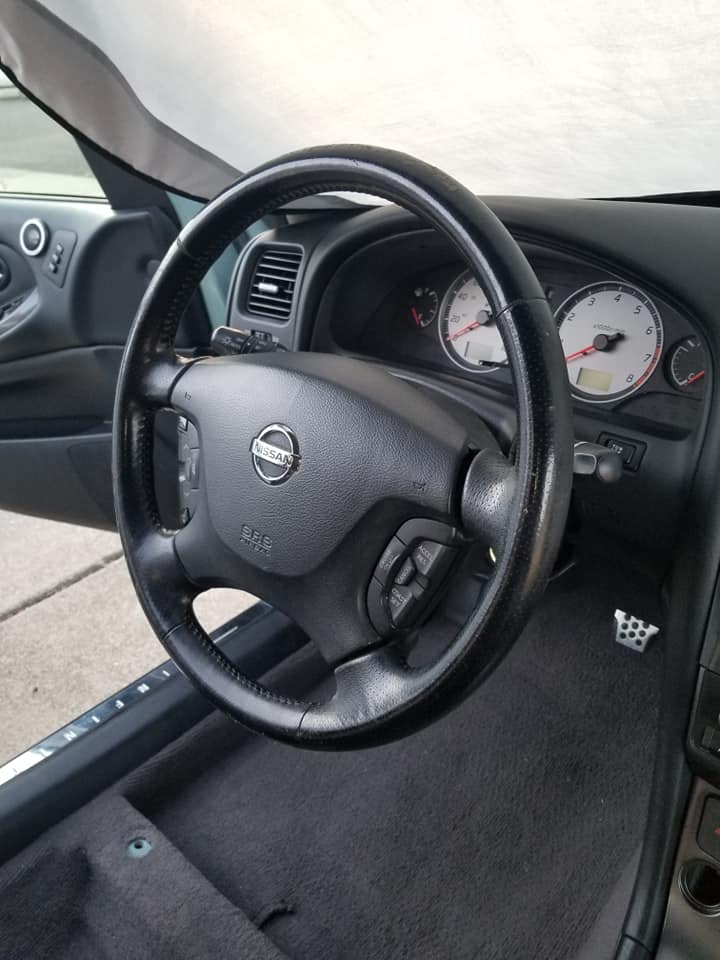
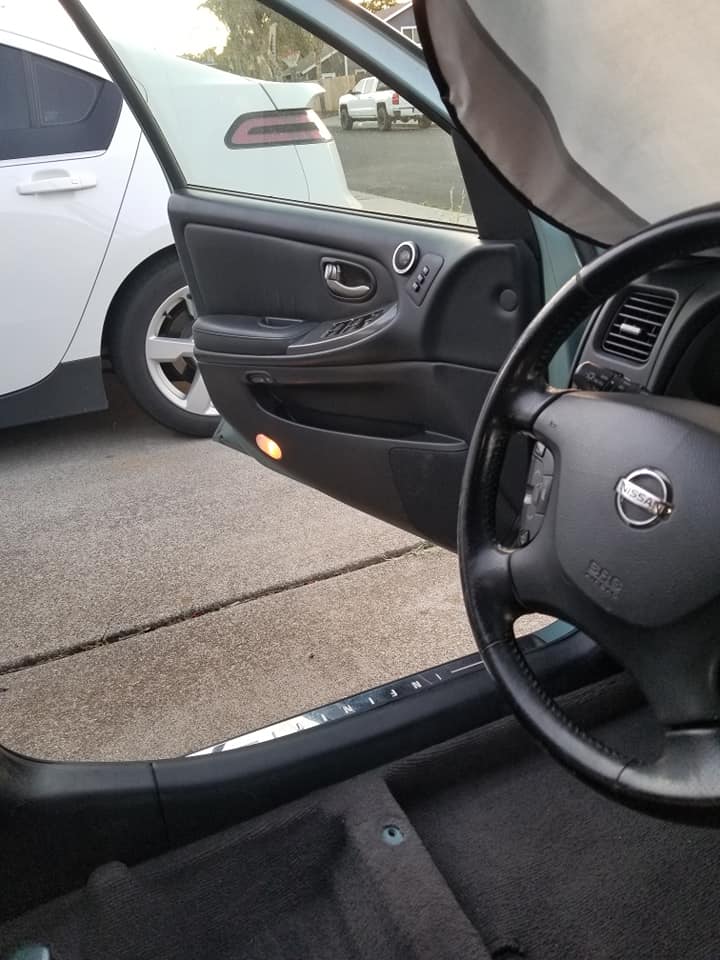
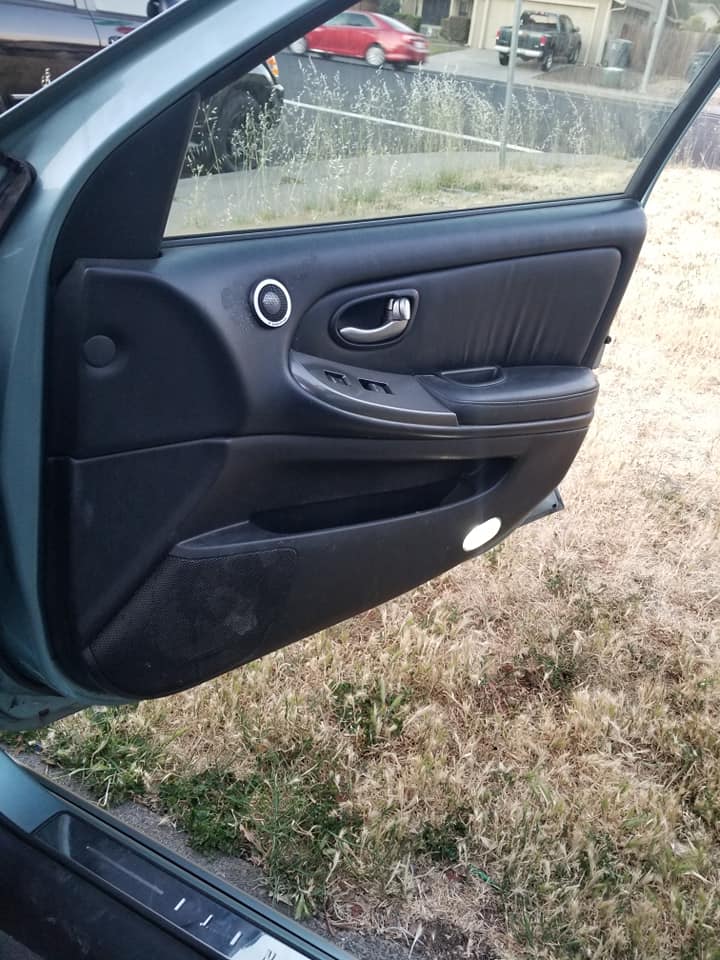
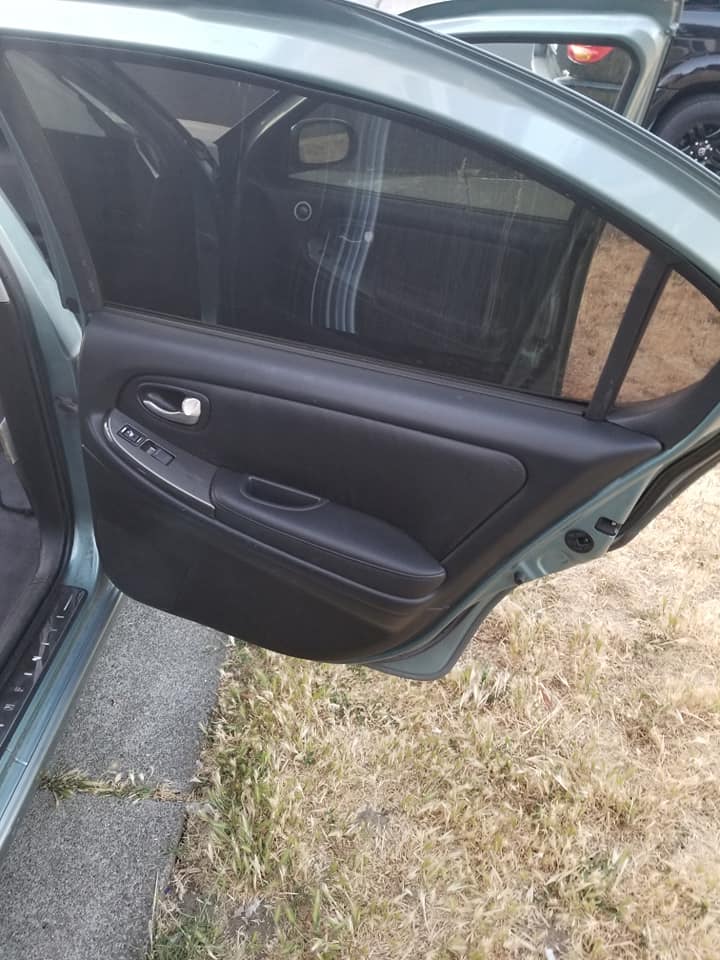
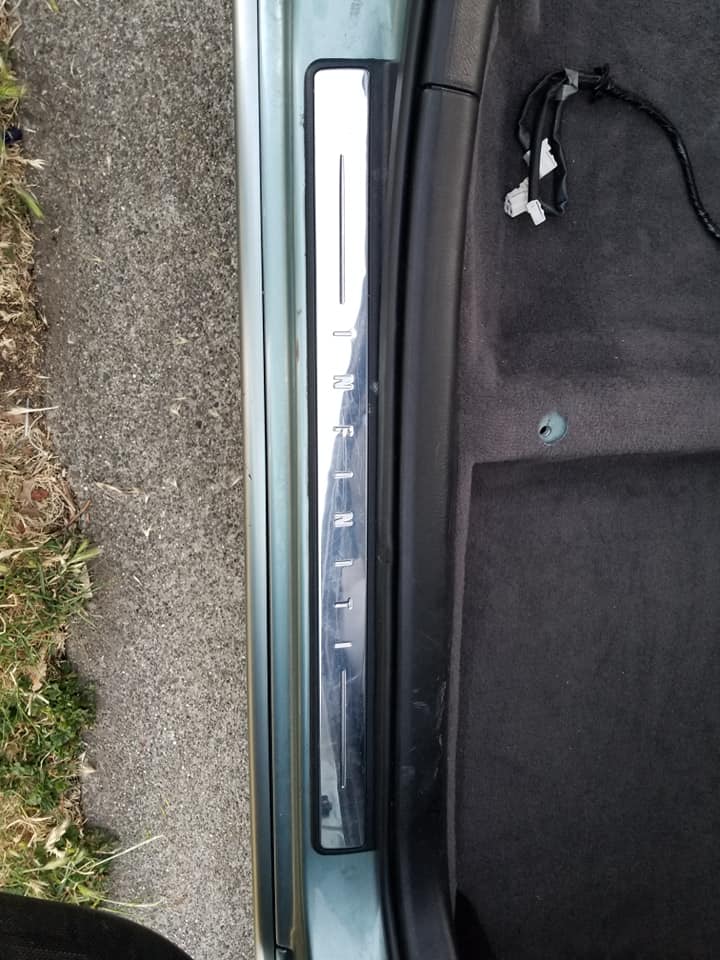
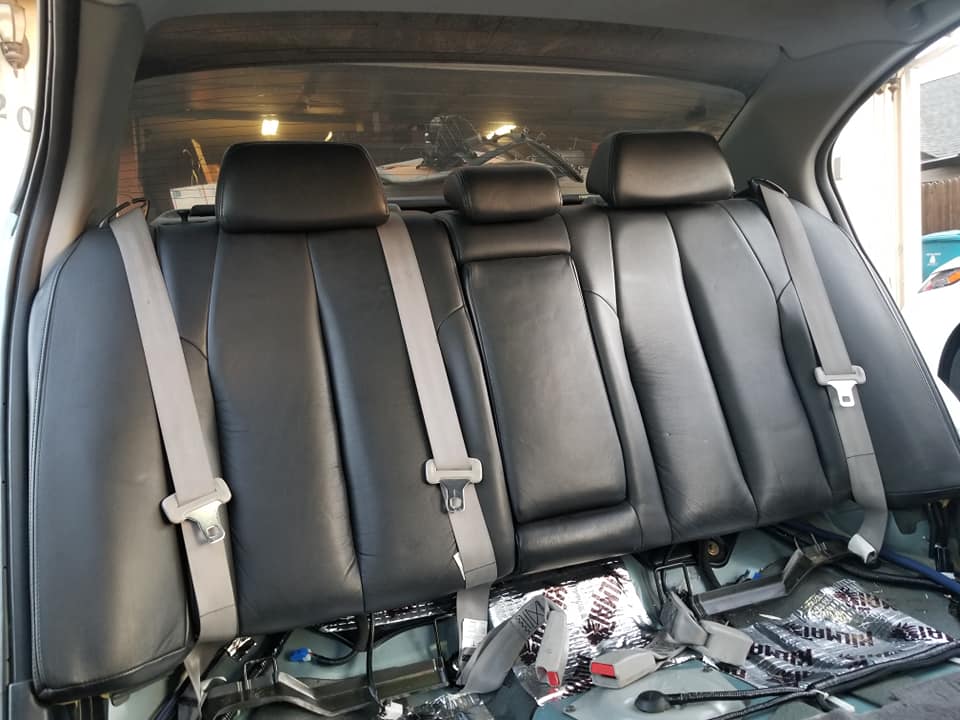
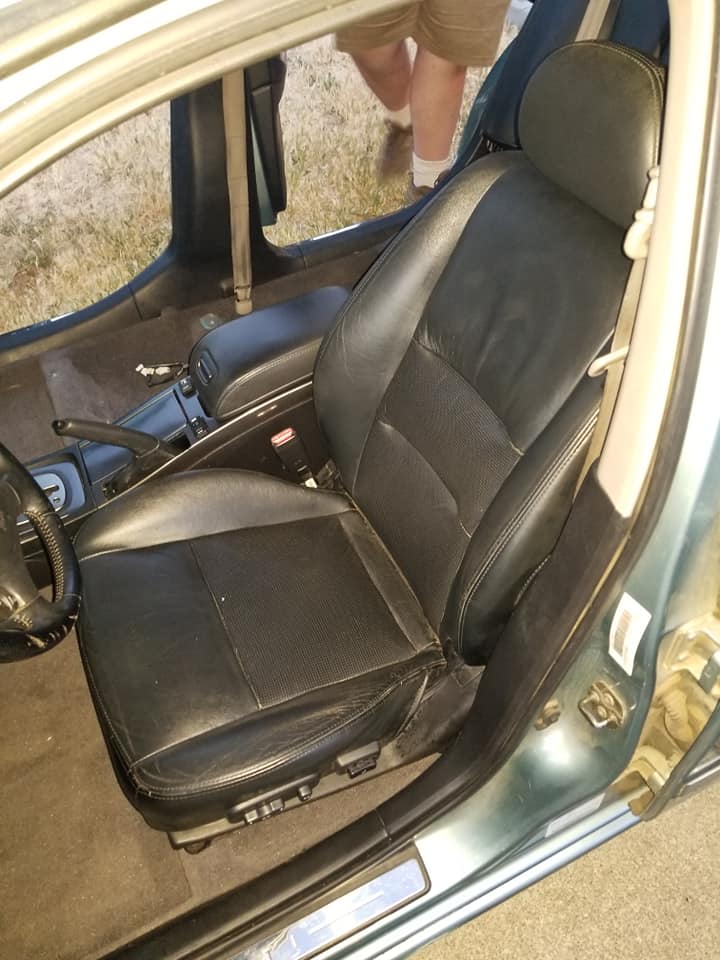
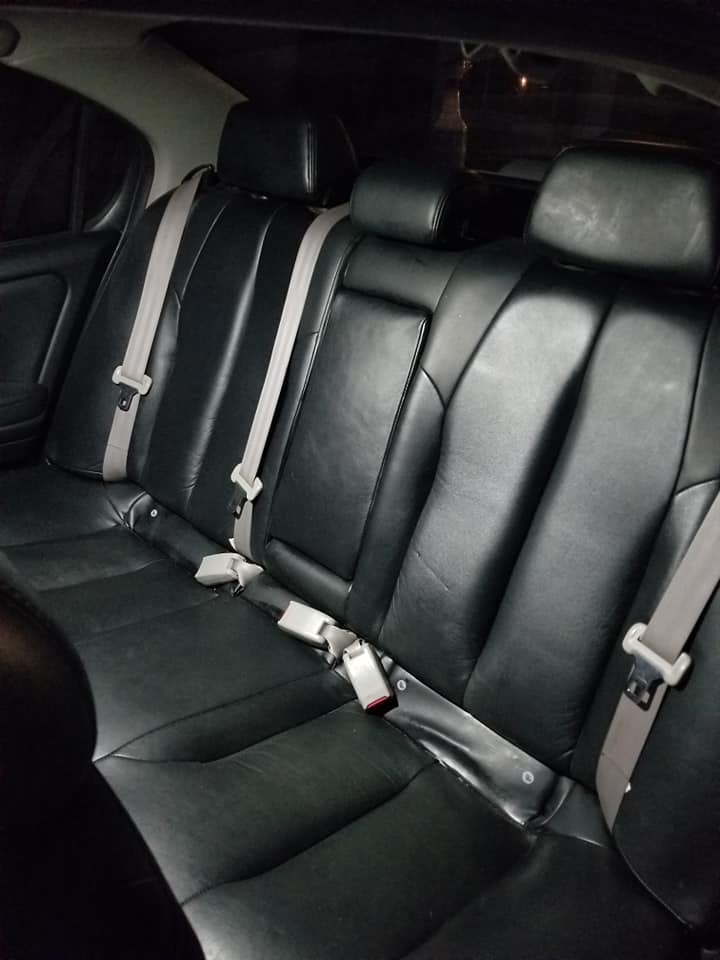
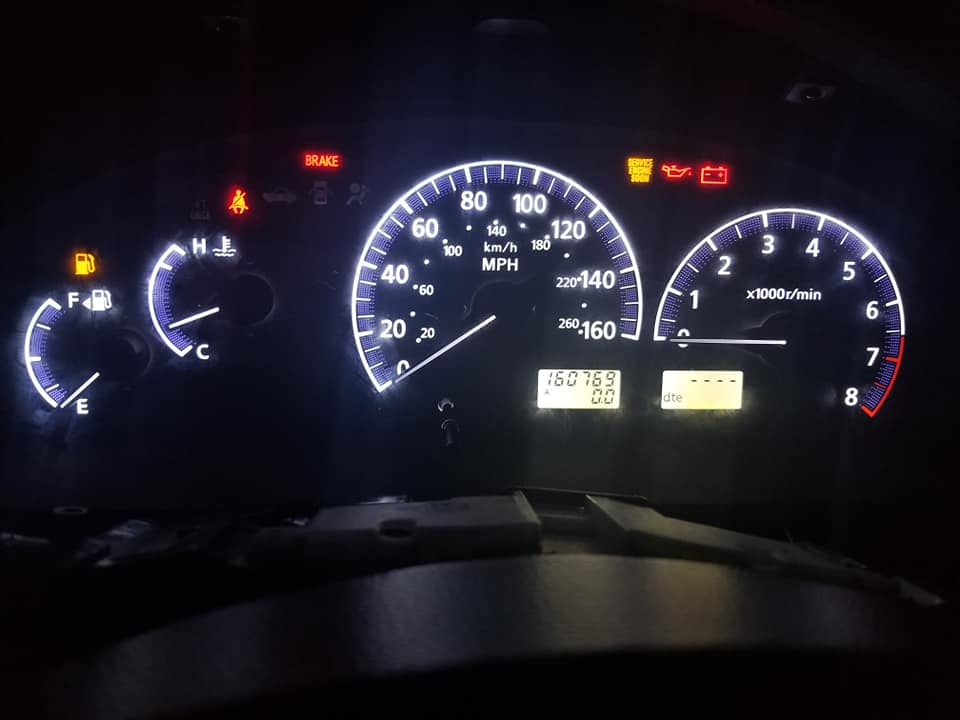
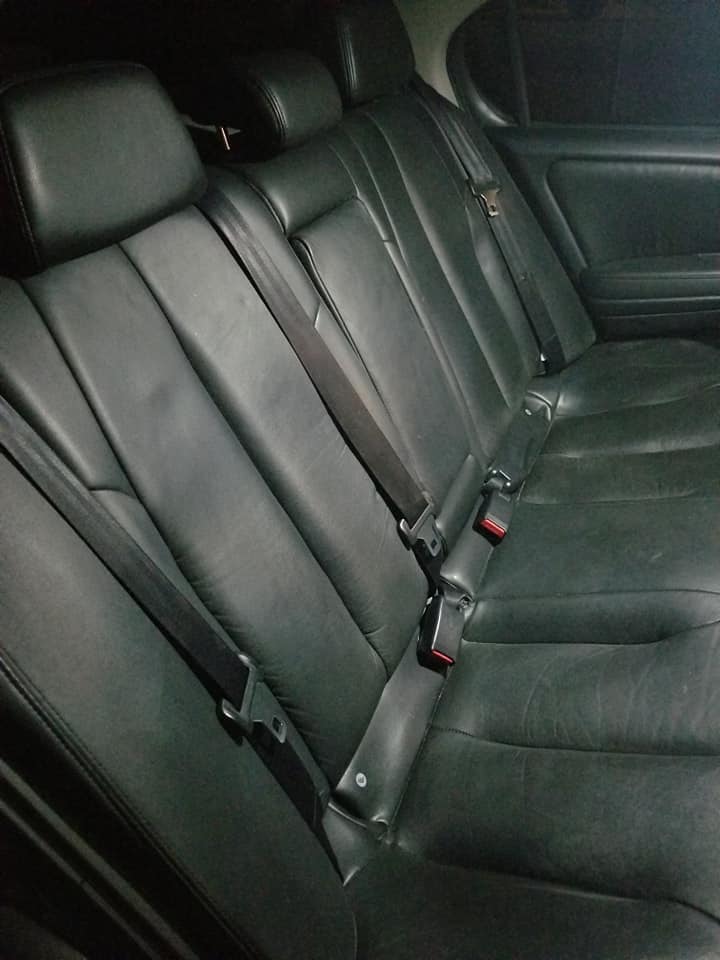
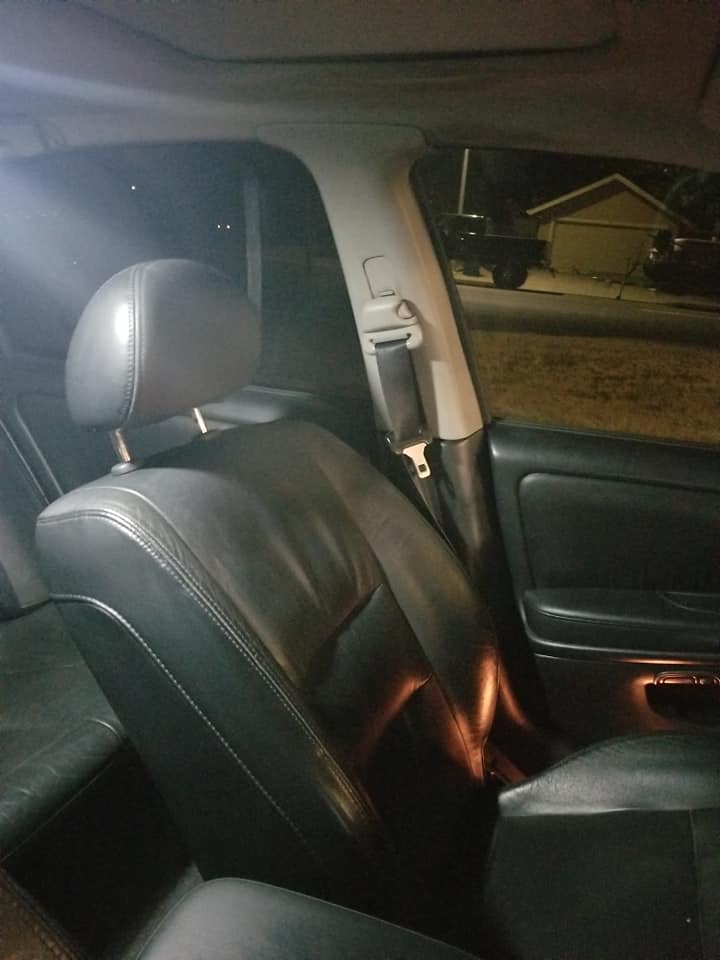
Owner: Marcos Chávez
Media & Photography Credit: Royal Media
Year: 2002
Model: Maxima aka #ELINMIGRANTE
Color: Majestic Blue Pearl (BW9)
Transmission: Manual 6-Speed
Trim: SE




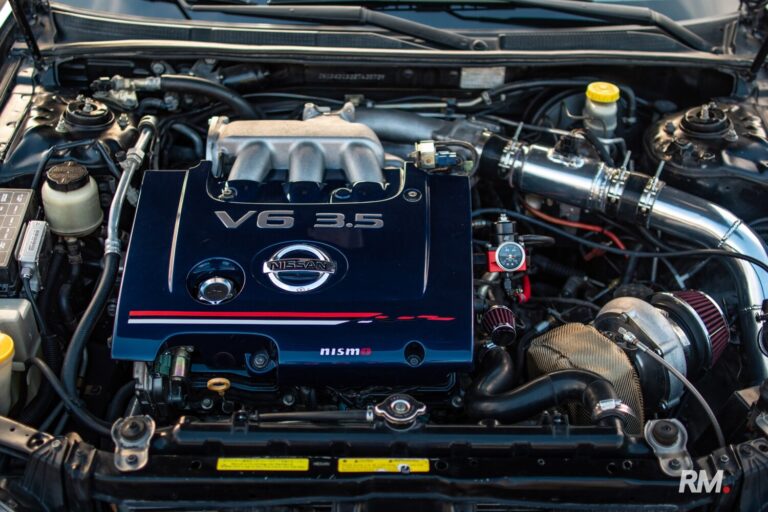
Owner: Marcos Chávez
Media & Photography Credit: Royal Media
Year: 2002
Model: Maxima aka #ELINMIGRANTE
Color: Majestic Blue Pearl (BW9)
Transmission: Manual 6-Speed
Trim: SE
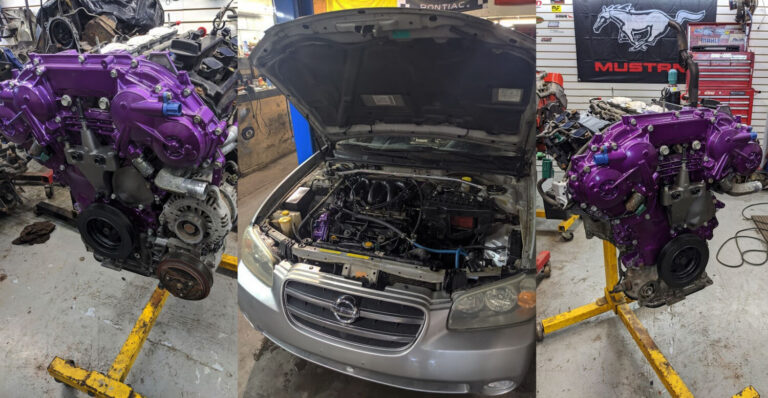
Owner: Felix Lespérance
Year: 2003
Model: Maxima
Current Color: Silver
Transmission: Automatic to 6-Speed Manual HLSD Conversion
Trim: GLE


Due to low engine compression, the car did not make its expected horsepower.Once resolved, this car will make 340WHP+.

Engine
Transmission
Management
Suspension
Exterior
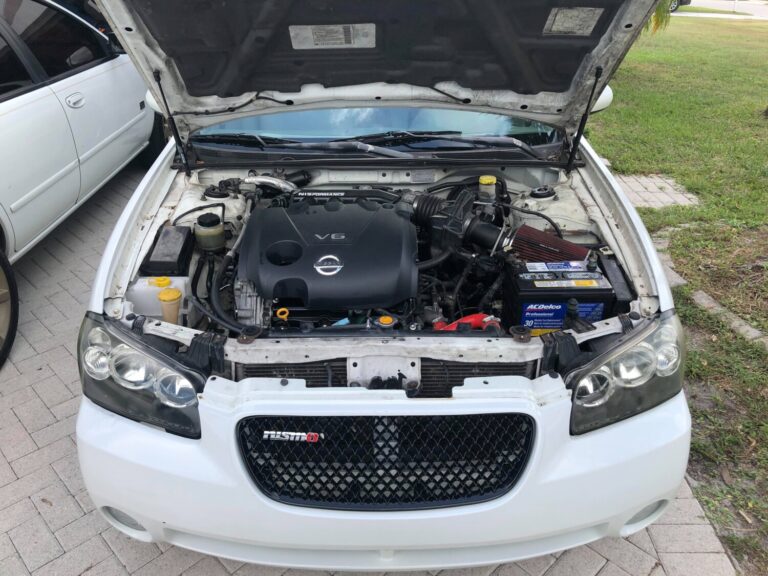
Owner: Joey Edwin
Year: 2003
Model: Maxima
Current Color: White
Transmission: Automatic to 6-Speed Manual HLSD Conversion
Trim: SE
Joey is a high-school 17-year-old true passionate Nissan Maxima enthusiast. He works on his own car and built it with his uncle CJ. He shares his progress with the community.


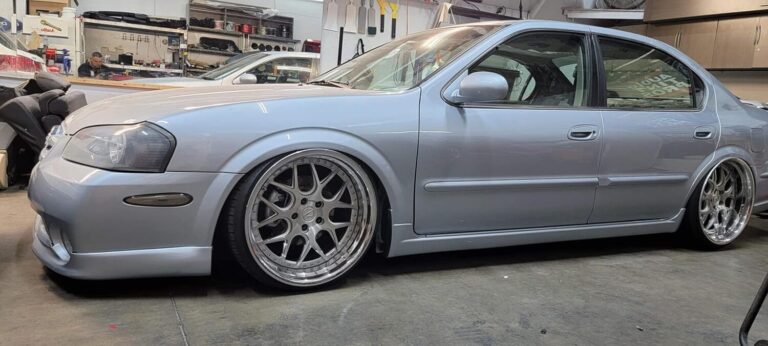
Owner: Ryan Mohammed
Year: 2003
Model: Maxima
Current Color: Silver
Transmission: 4-Speed Automatic
Trim: SE


Community Member Credit: Eddy
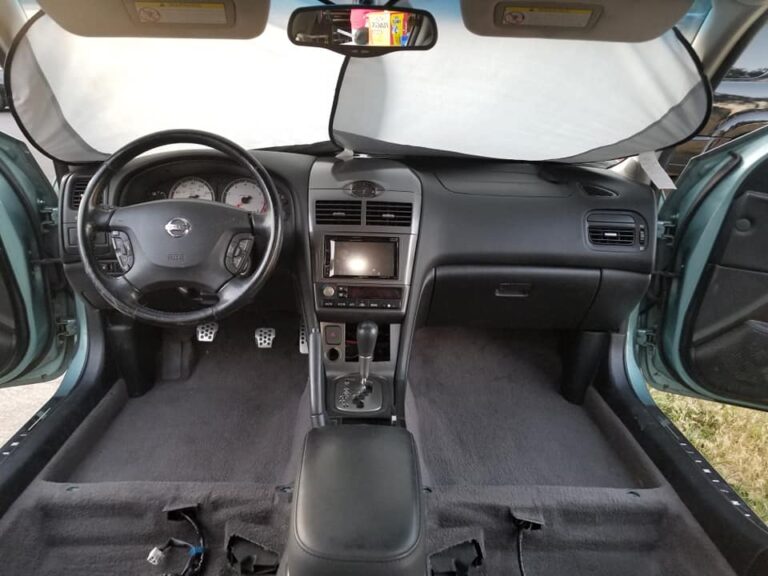
Just verified this procedure worked on my 2002 Nissan Maxima after installing a new model steering wheel and airbag.
2019 8thgen Nissan Maxima Steering wheel and airbag combination.

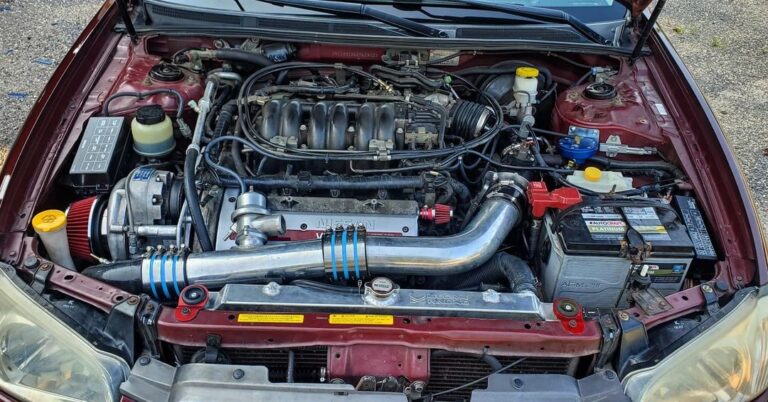
Owner: Isaac Rowe
Year: 2001
Model: Maxima
Color: Merlot
Transmission: 4-Speed Automatic
Trim: SE


Community Member Credit: Edgar Vidales
Notes:
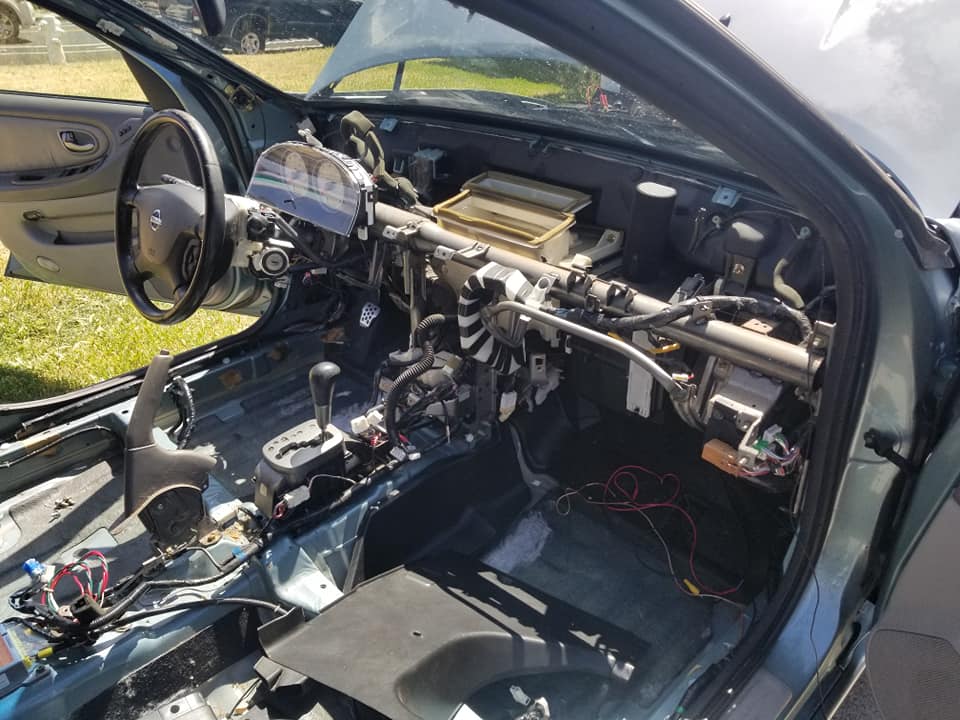
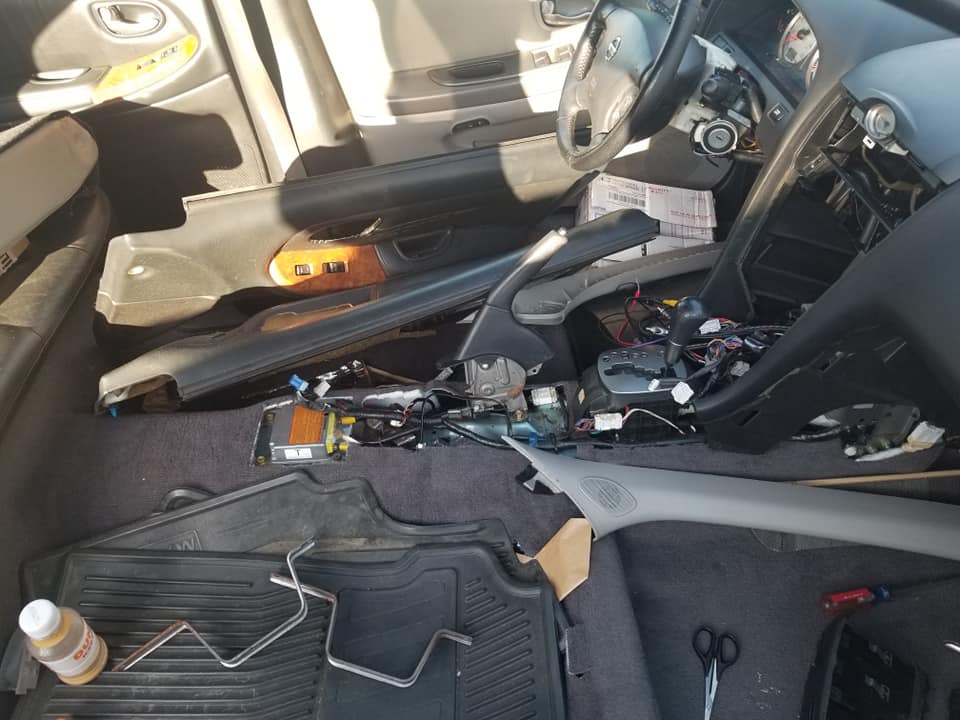
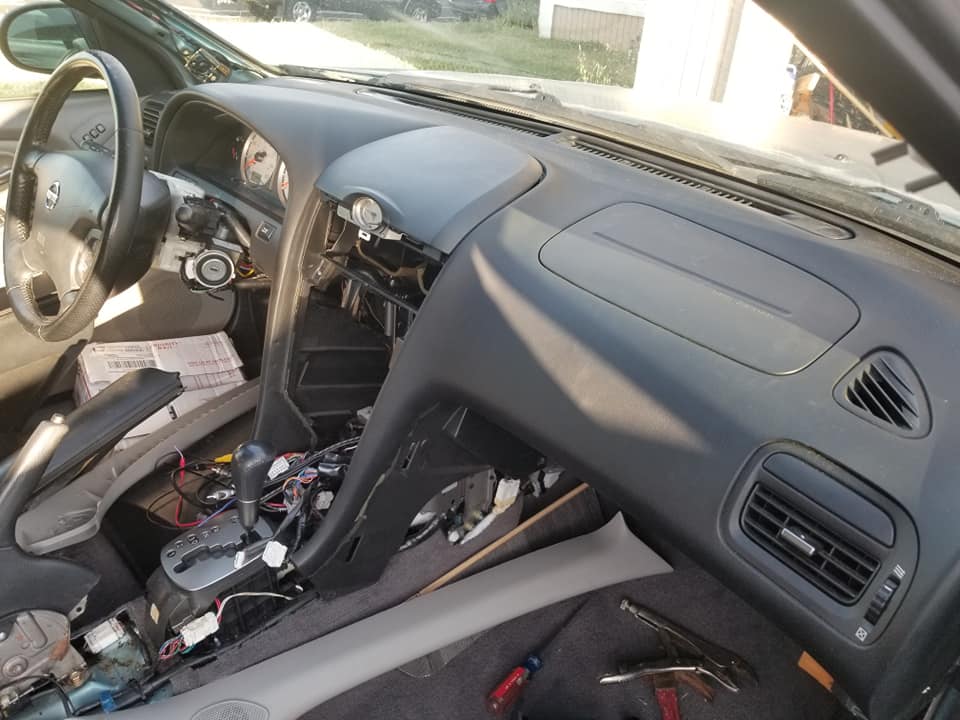
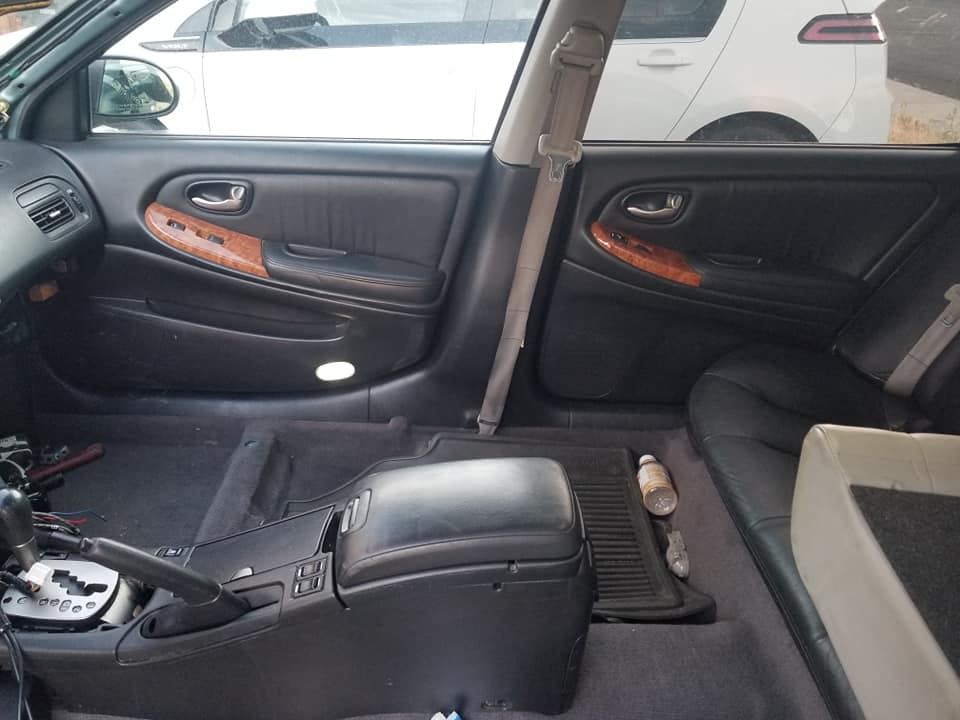
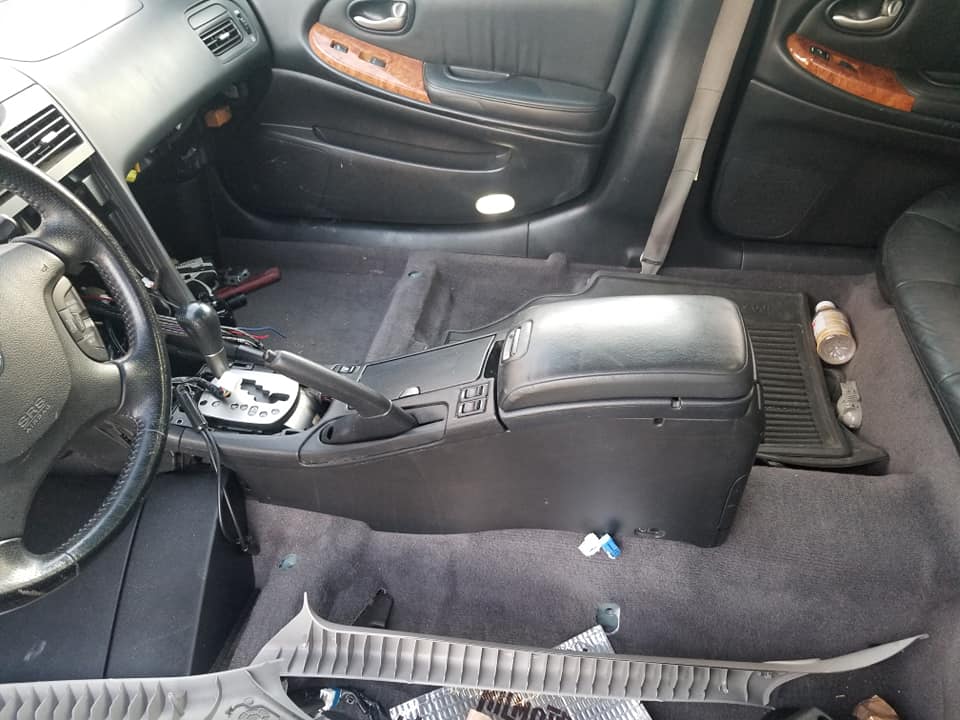
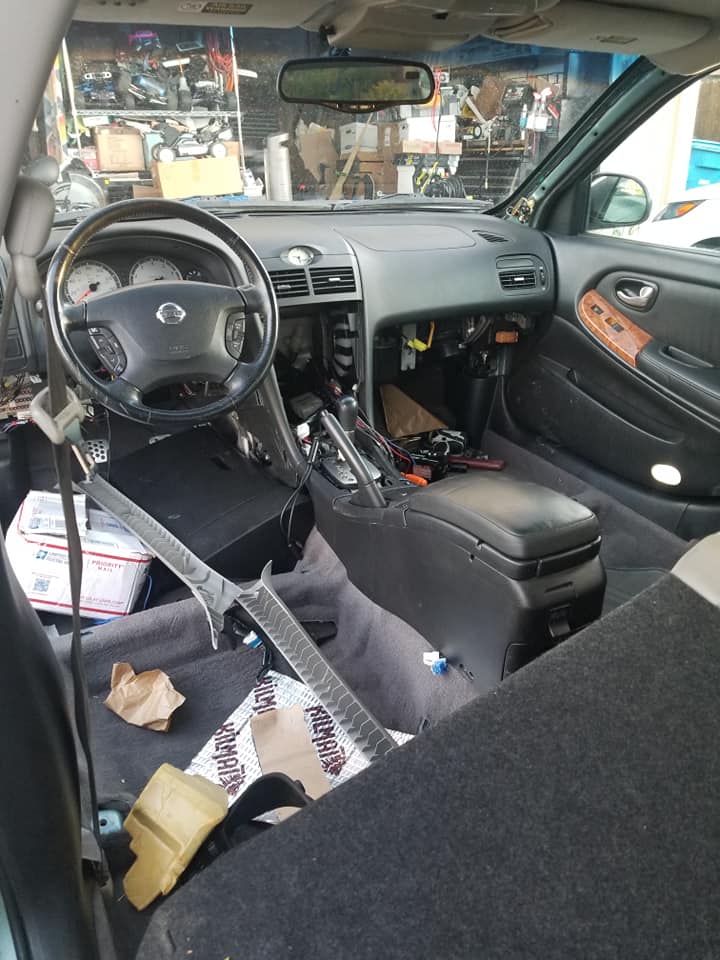
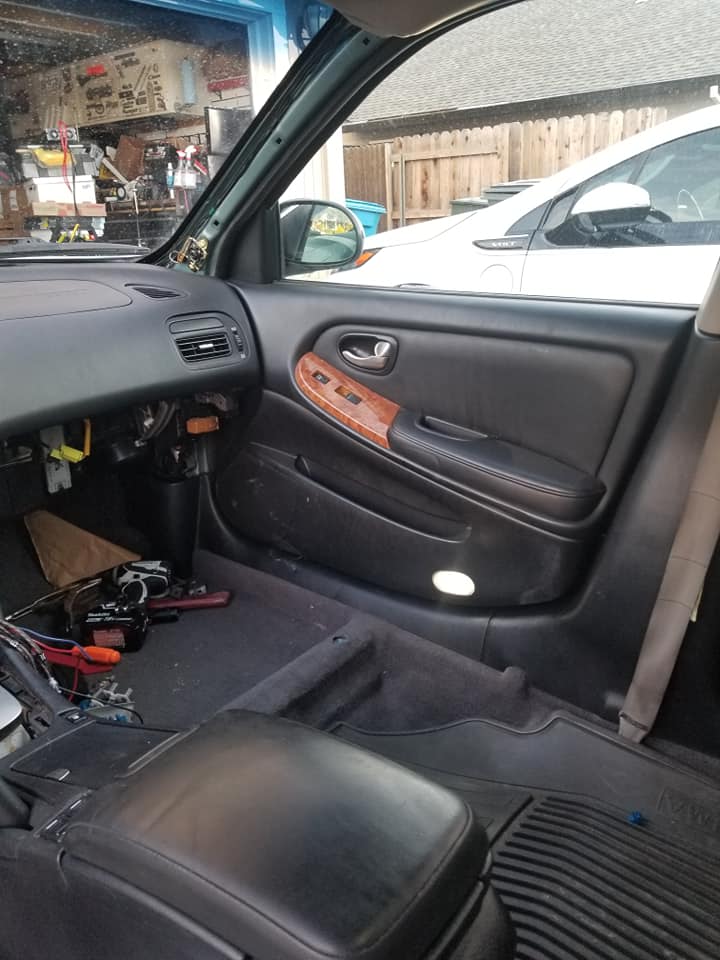
Remove big plastic piece driver’s side where your knees go under the steering column. It’s 2 screws on the bottom corners. Then just pull off by unclipping from top & unplug 1 plug. Remove 3 screws from the underside of the steering wheel plastic. Comes off in 2 pieces & helps to lower your steering wheel. Remove white plastic around the Ignition ring & you’ll see the bulb connected to it.
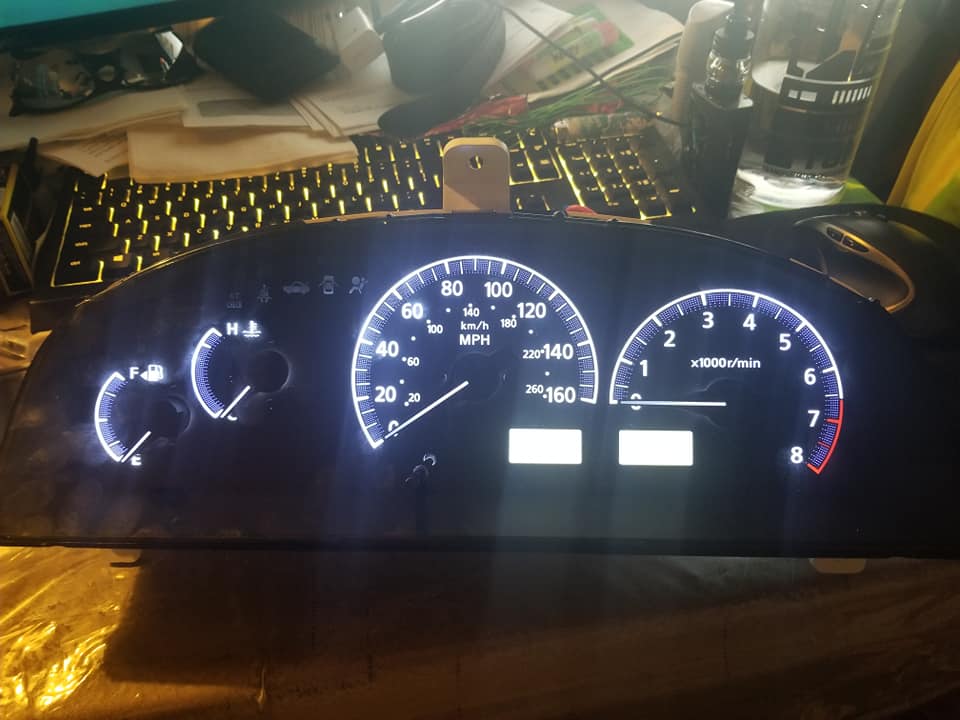
Remove 2 screws holding black plastic around the dash. Pull of black plastic trim (pain in the ass) & disconnect 2 plugs & little vent hose. Remove 3 screws holding gauge cluster. You can now access bulbs on the back & you don’t have to unplug gauges. You can if you want to fully remove the gauge cluster. Bulb sockets just twist off. Install new LEDs & it is polarity sensitive so if they don’t work reinstall flipped
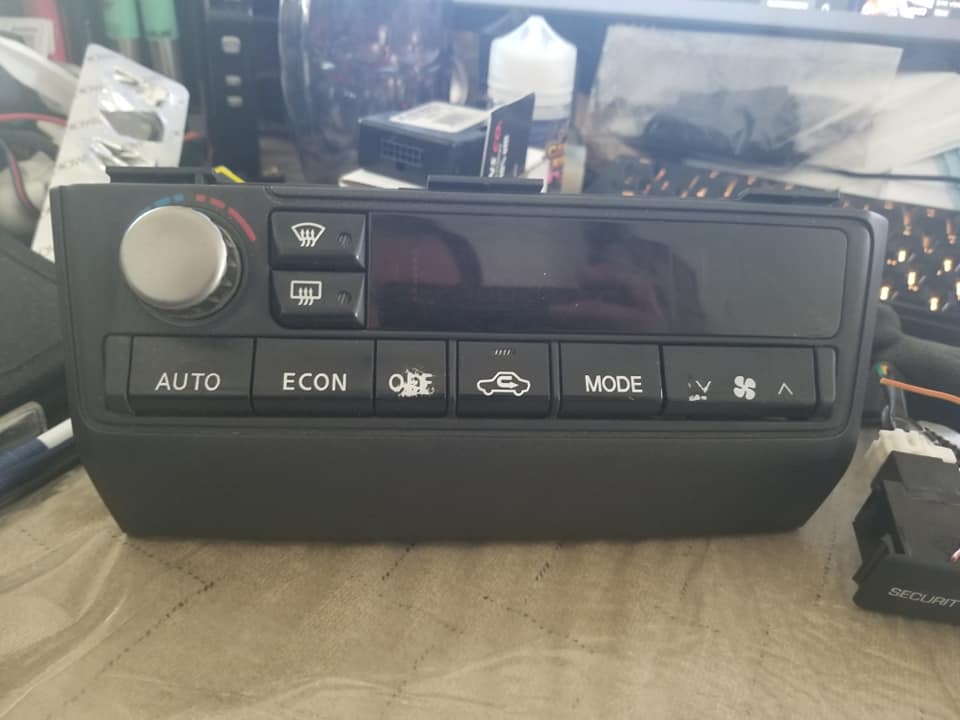
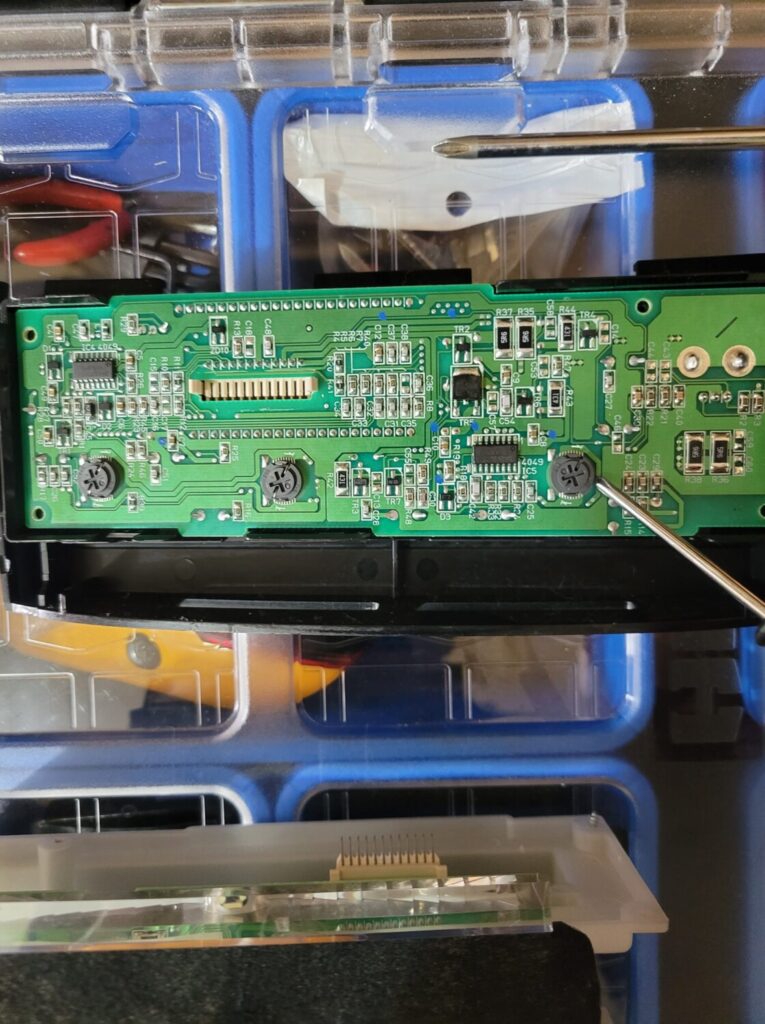
Go through process of removing stereo. Once you have stereo setup off remove climate control from the bracket holding it to stereo. You’ll then remove 4 tiny screws from the back of climate control to take off the white half. You can now remove 3 bulbs size T4 neo-wedge & install new (polarity sensitive). Also, at this point, you can also change the 1 bulb at bottom of climate control size T5 that shines down on the shifter area.
Remove the screw at bottom of the ashtray & remove the trim piece by pulling it off to unclip. Unplug hazards, cig lighter, & bulb socket. Replace bulb. For shifter remove 4 screws holding down the center console(2 front 2 rear) but don’t remove. It just helps to have it loose because you need wiggle room. Now remove the plastic piece around the shifter base & you’ll see white plastic with the bulb in it on the left side.




Thanks everyone for the continued love and support. All photos in the post are added to the gallery below.


Owner: BLACKKILA.GTR
Year: 2003
Model: Maxima
Color: Majestic Blue
Transmission: 4-Speed Automatic
Trim: SE


Performance
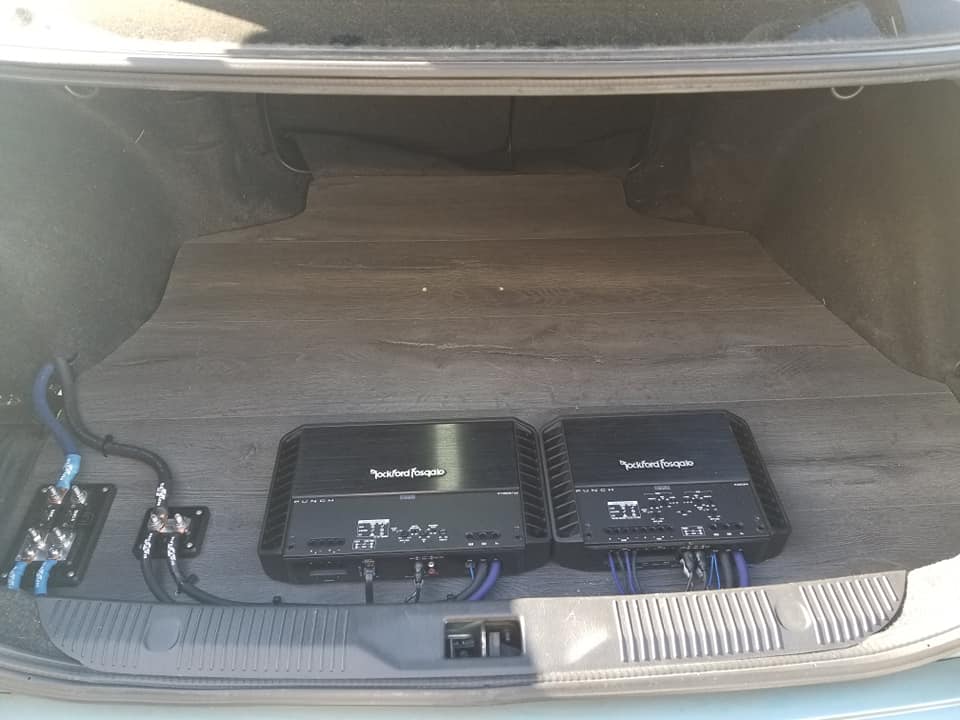
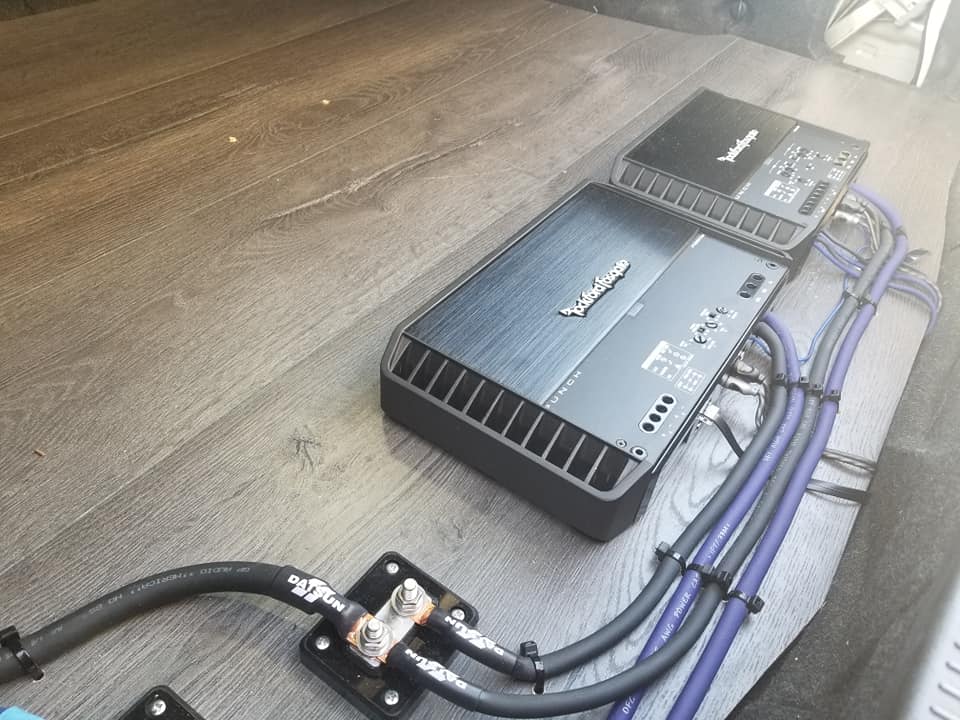
Interior/Audio/Sound
Exterior
Suspension/Handling/Brakes