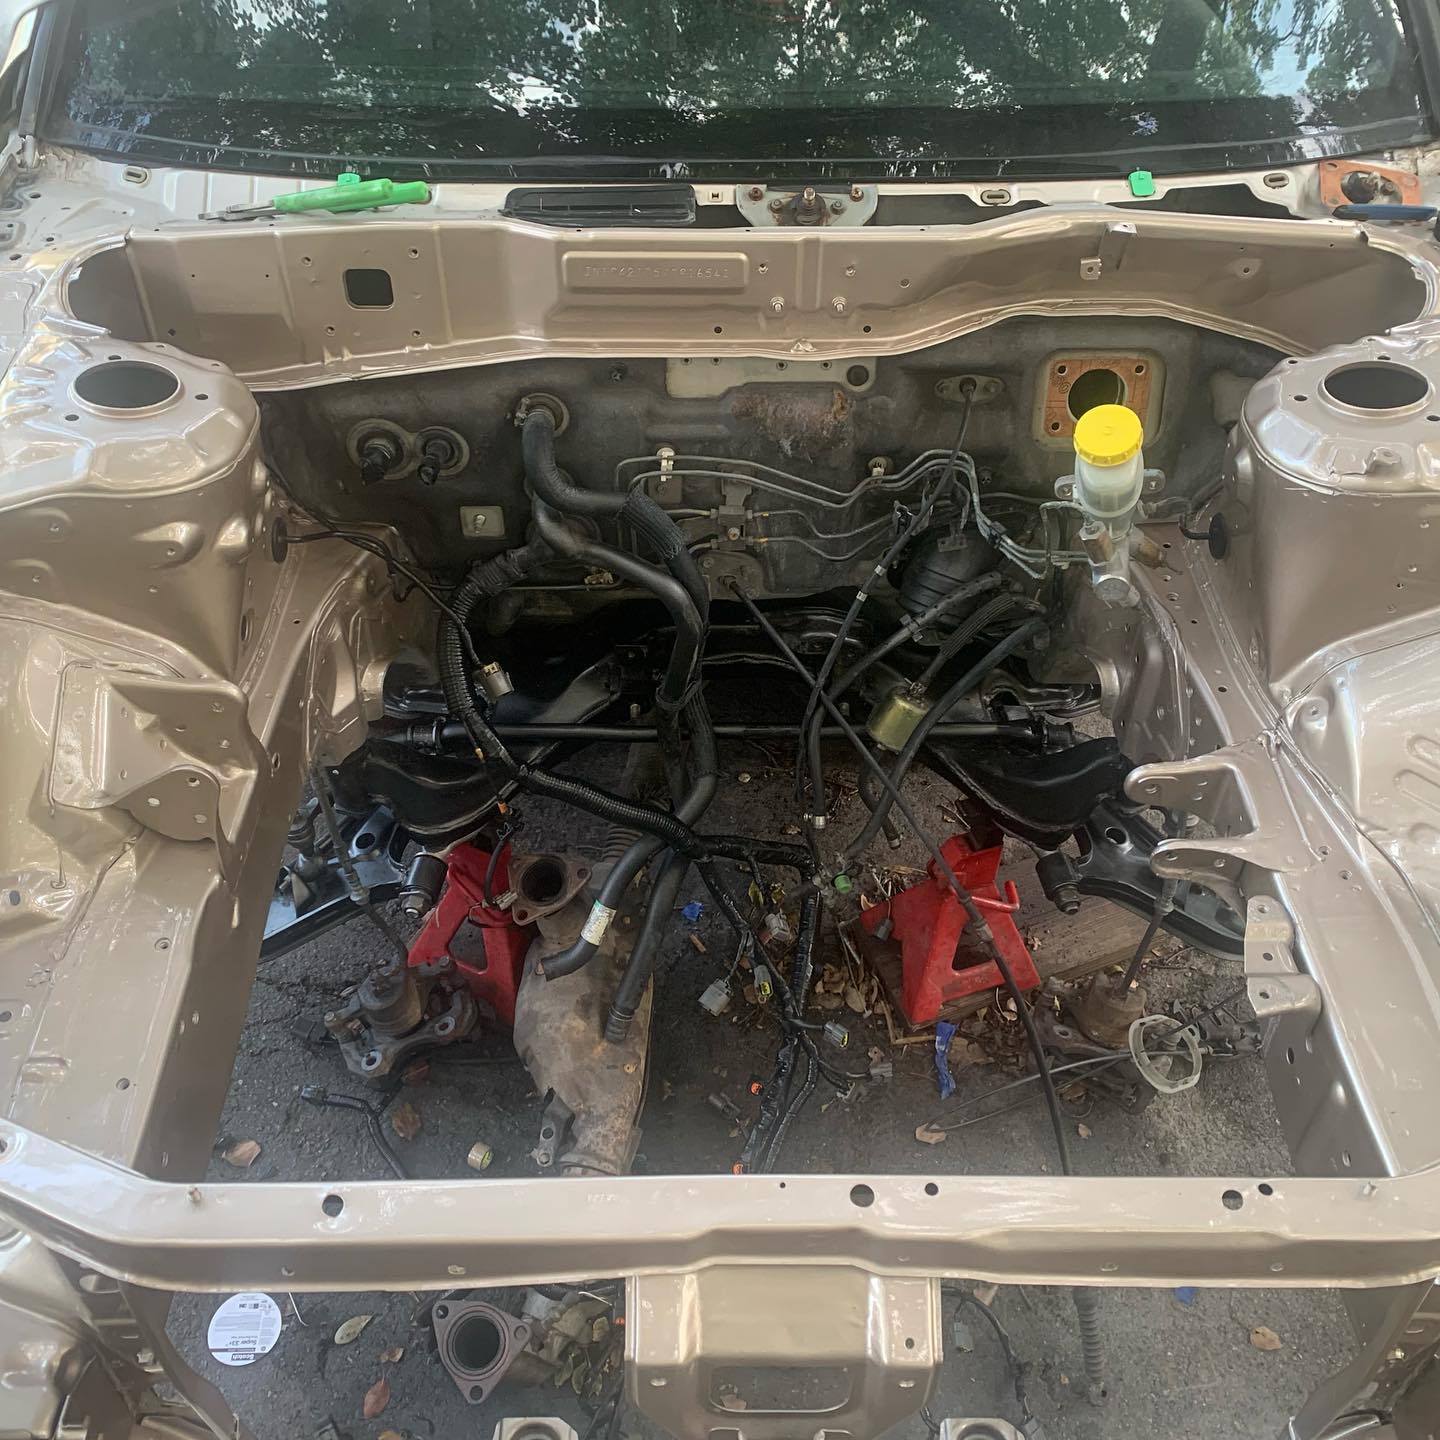
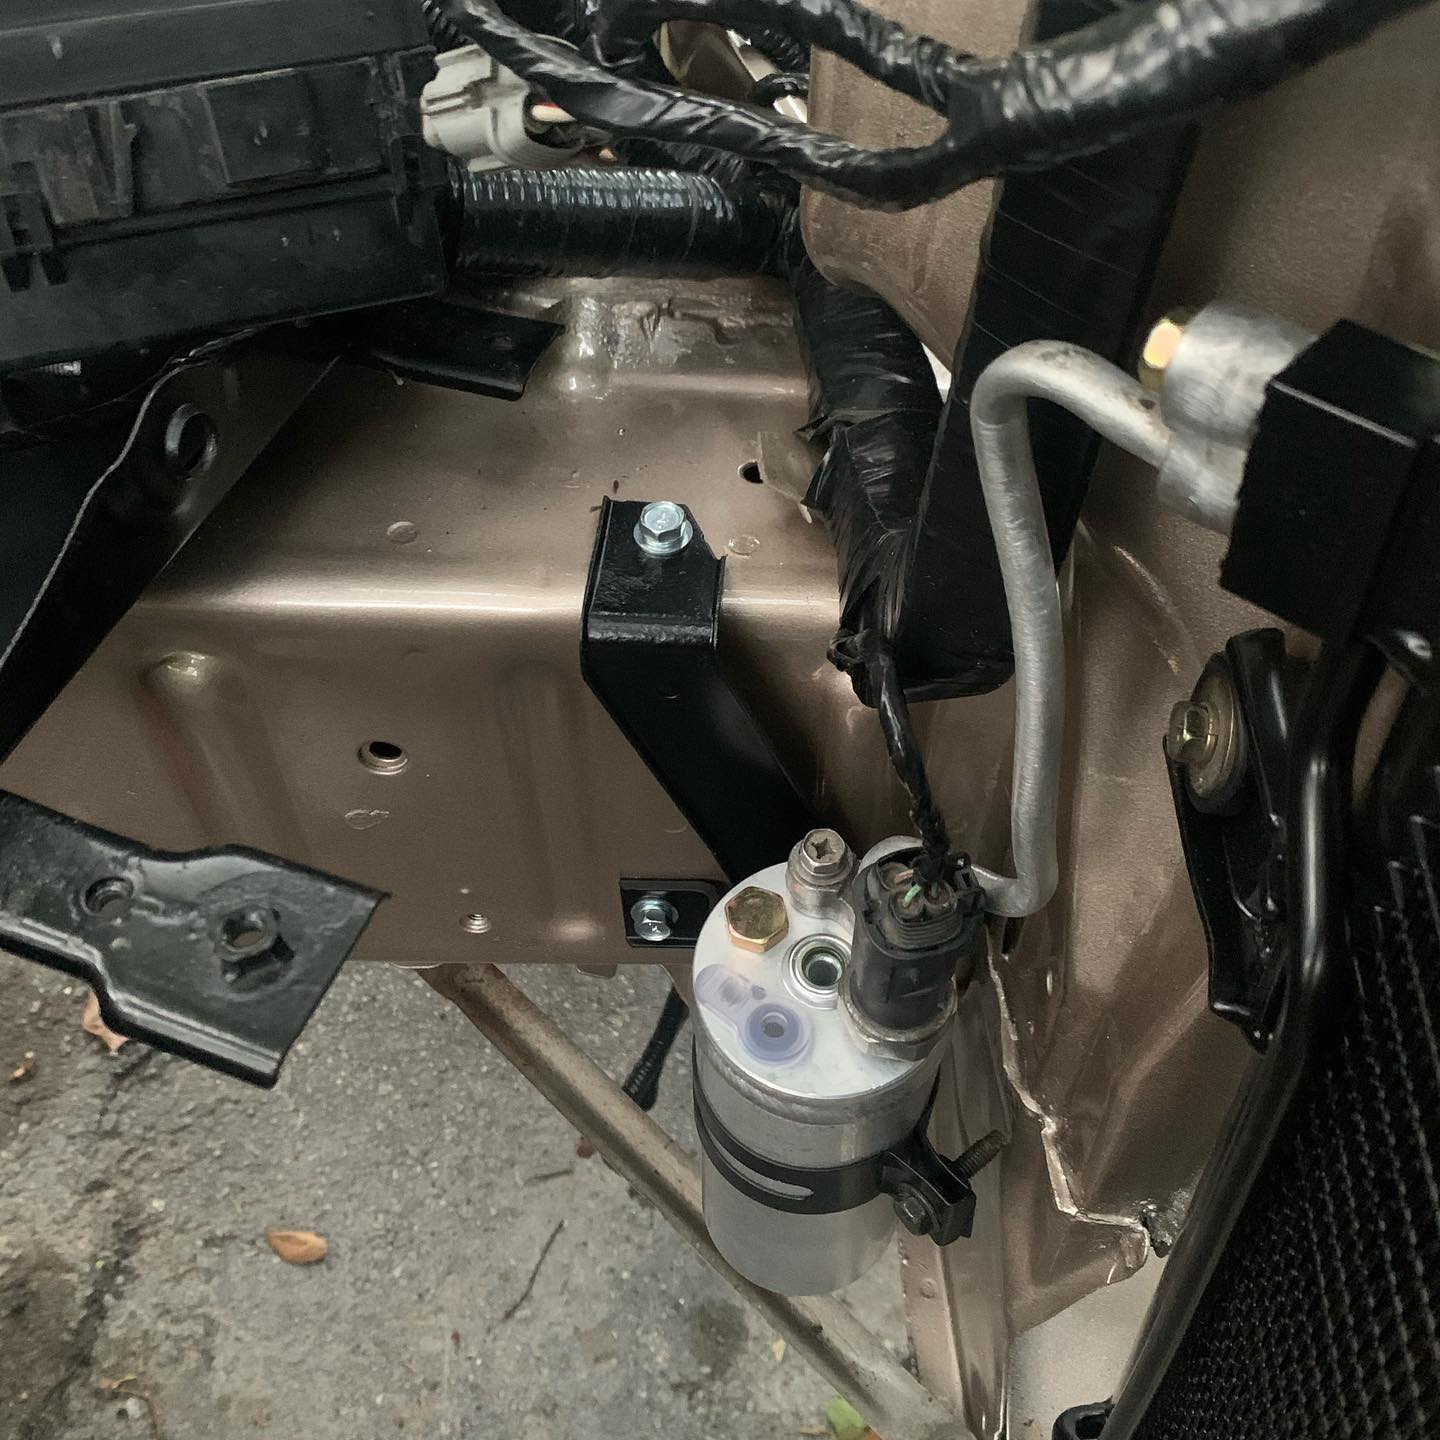
Credit: Tom Perdue




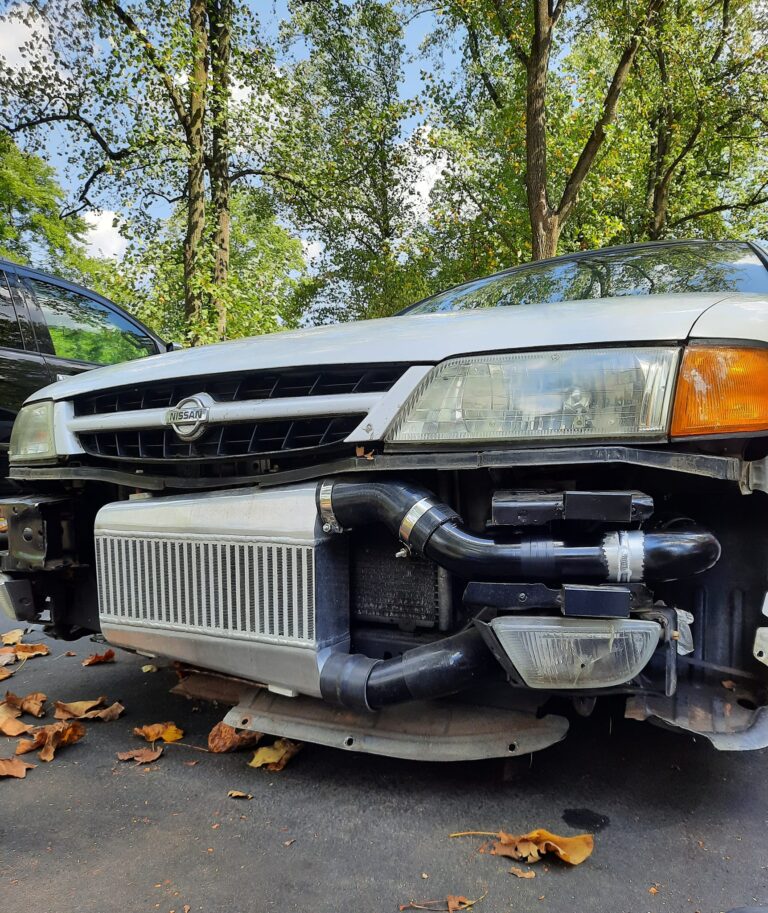
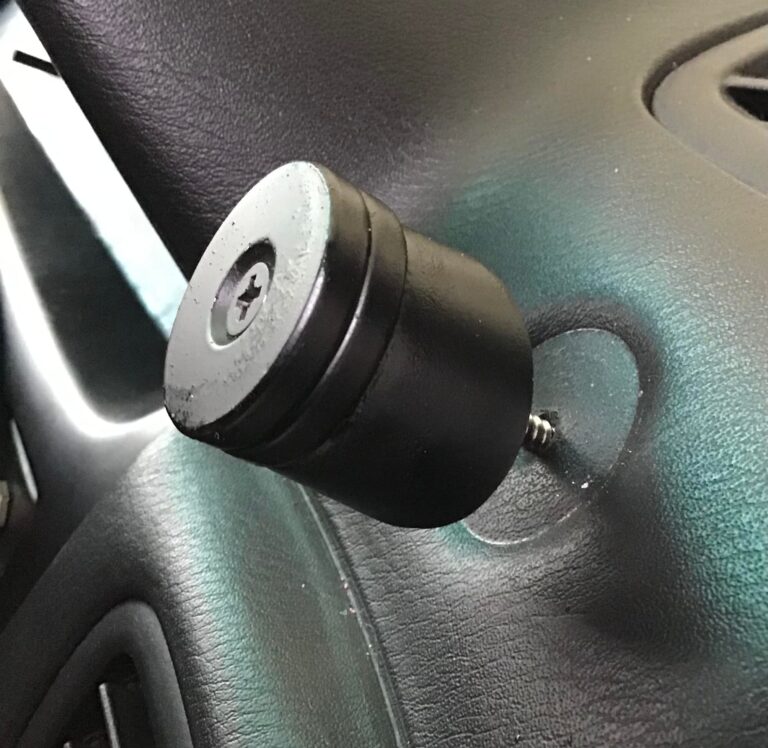
Credit: Samuel Stevens
Things needed :
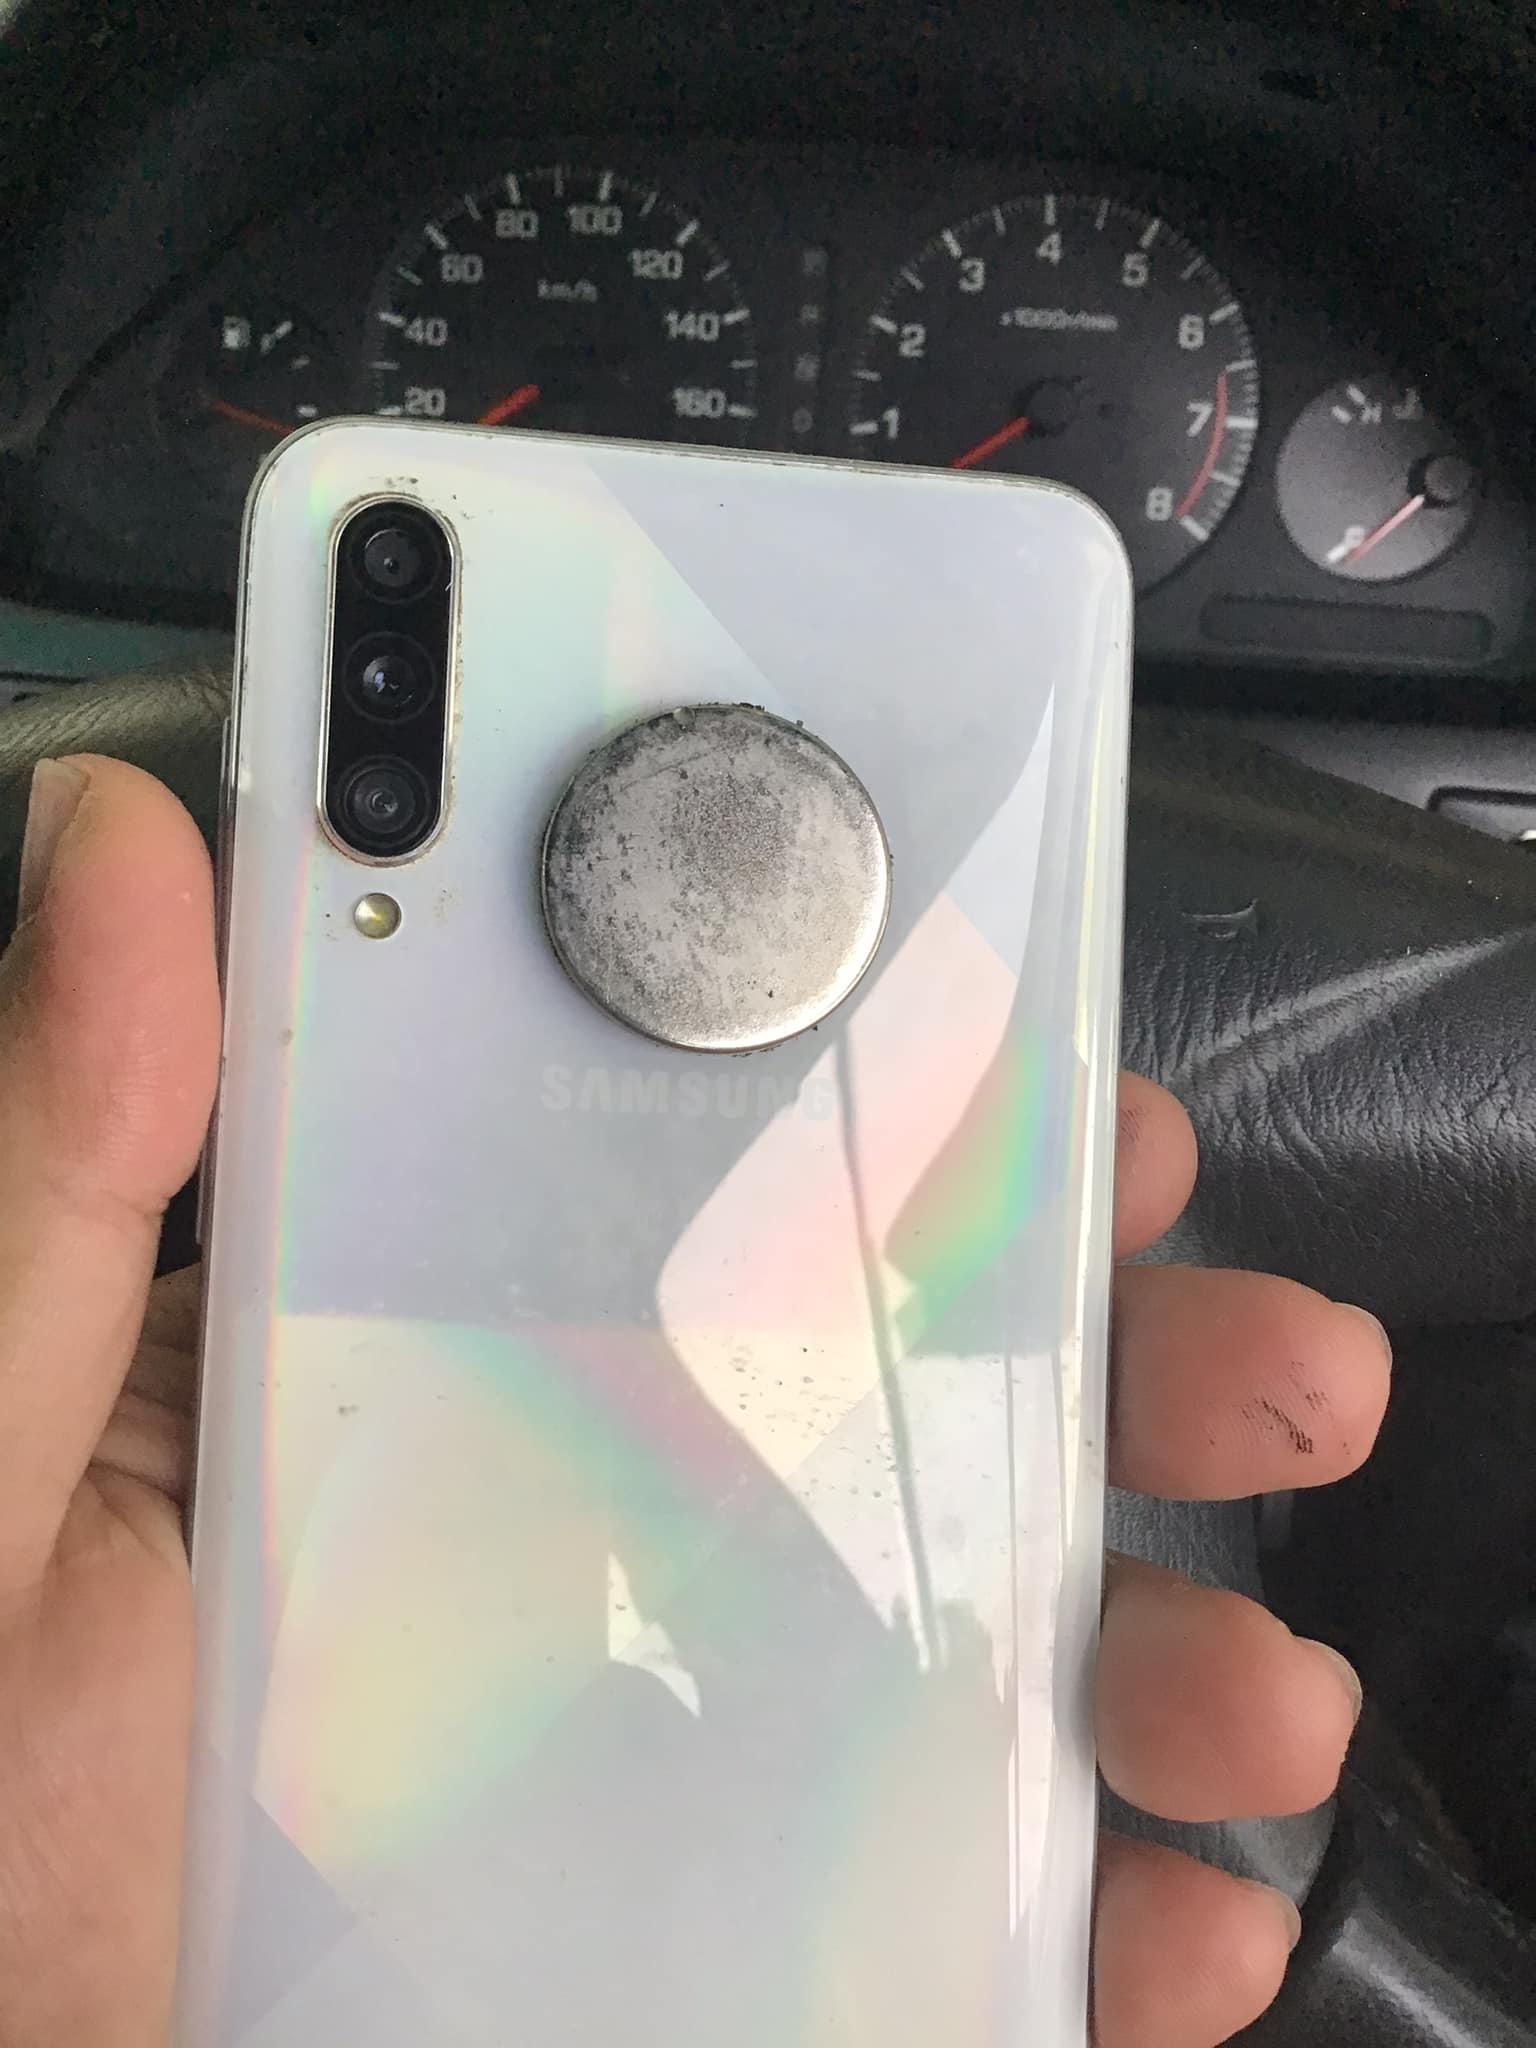
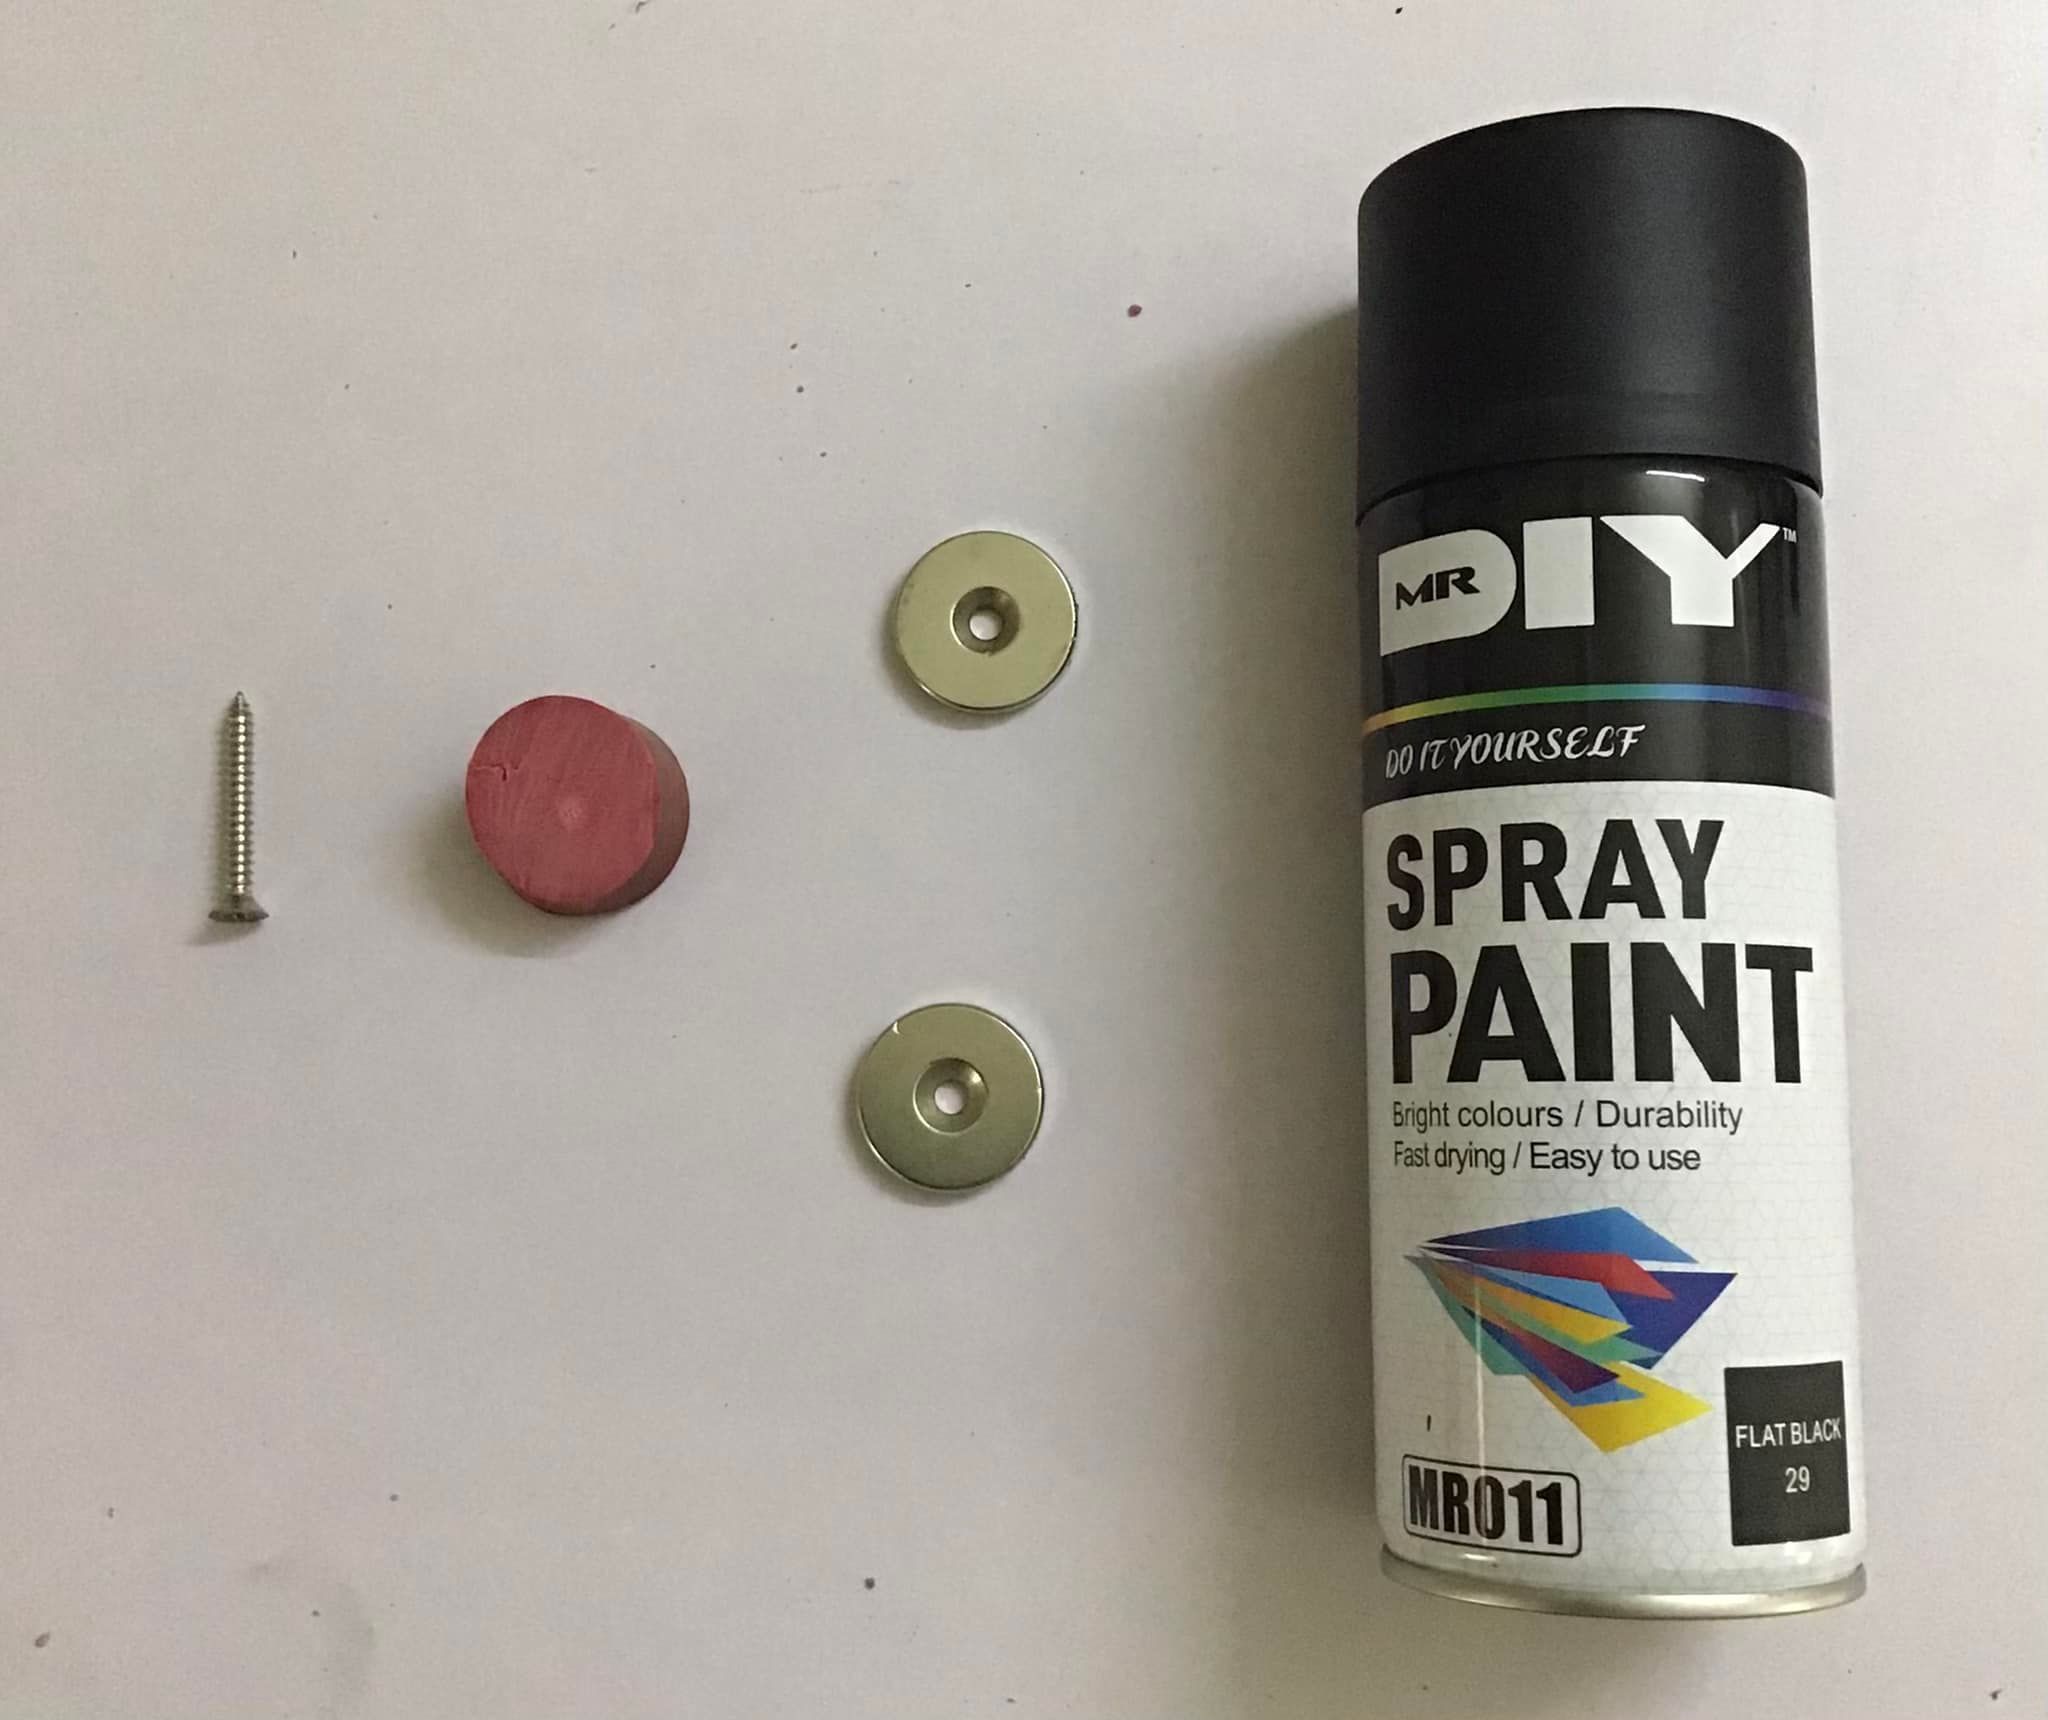
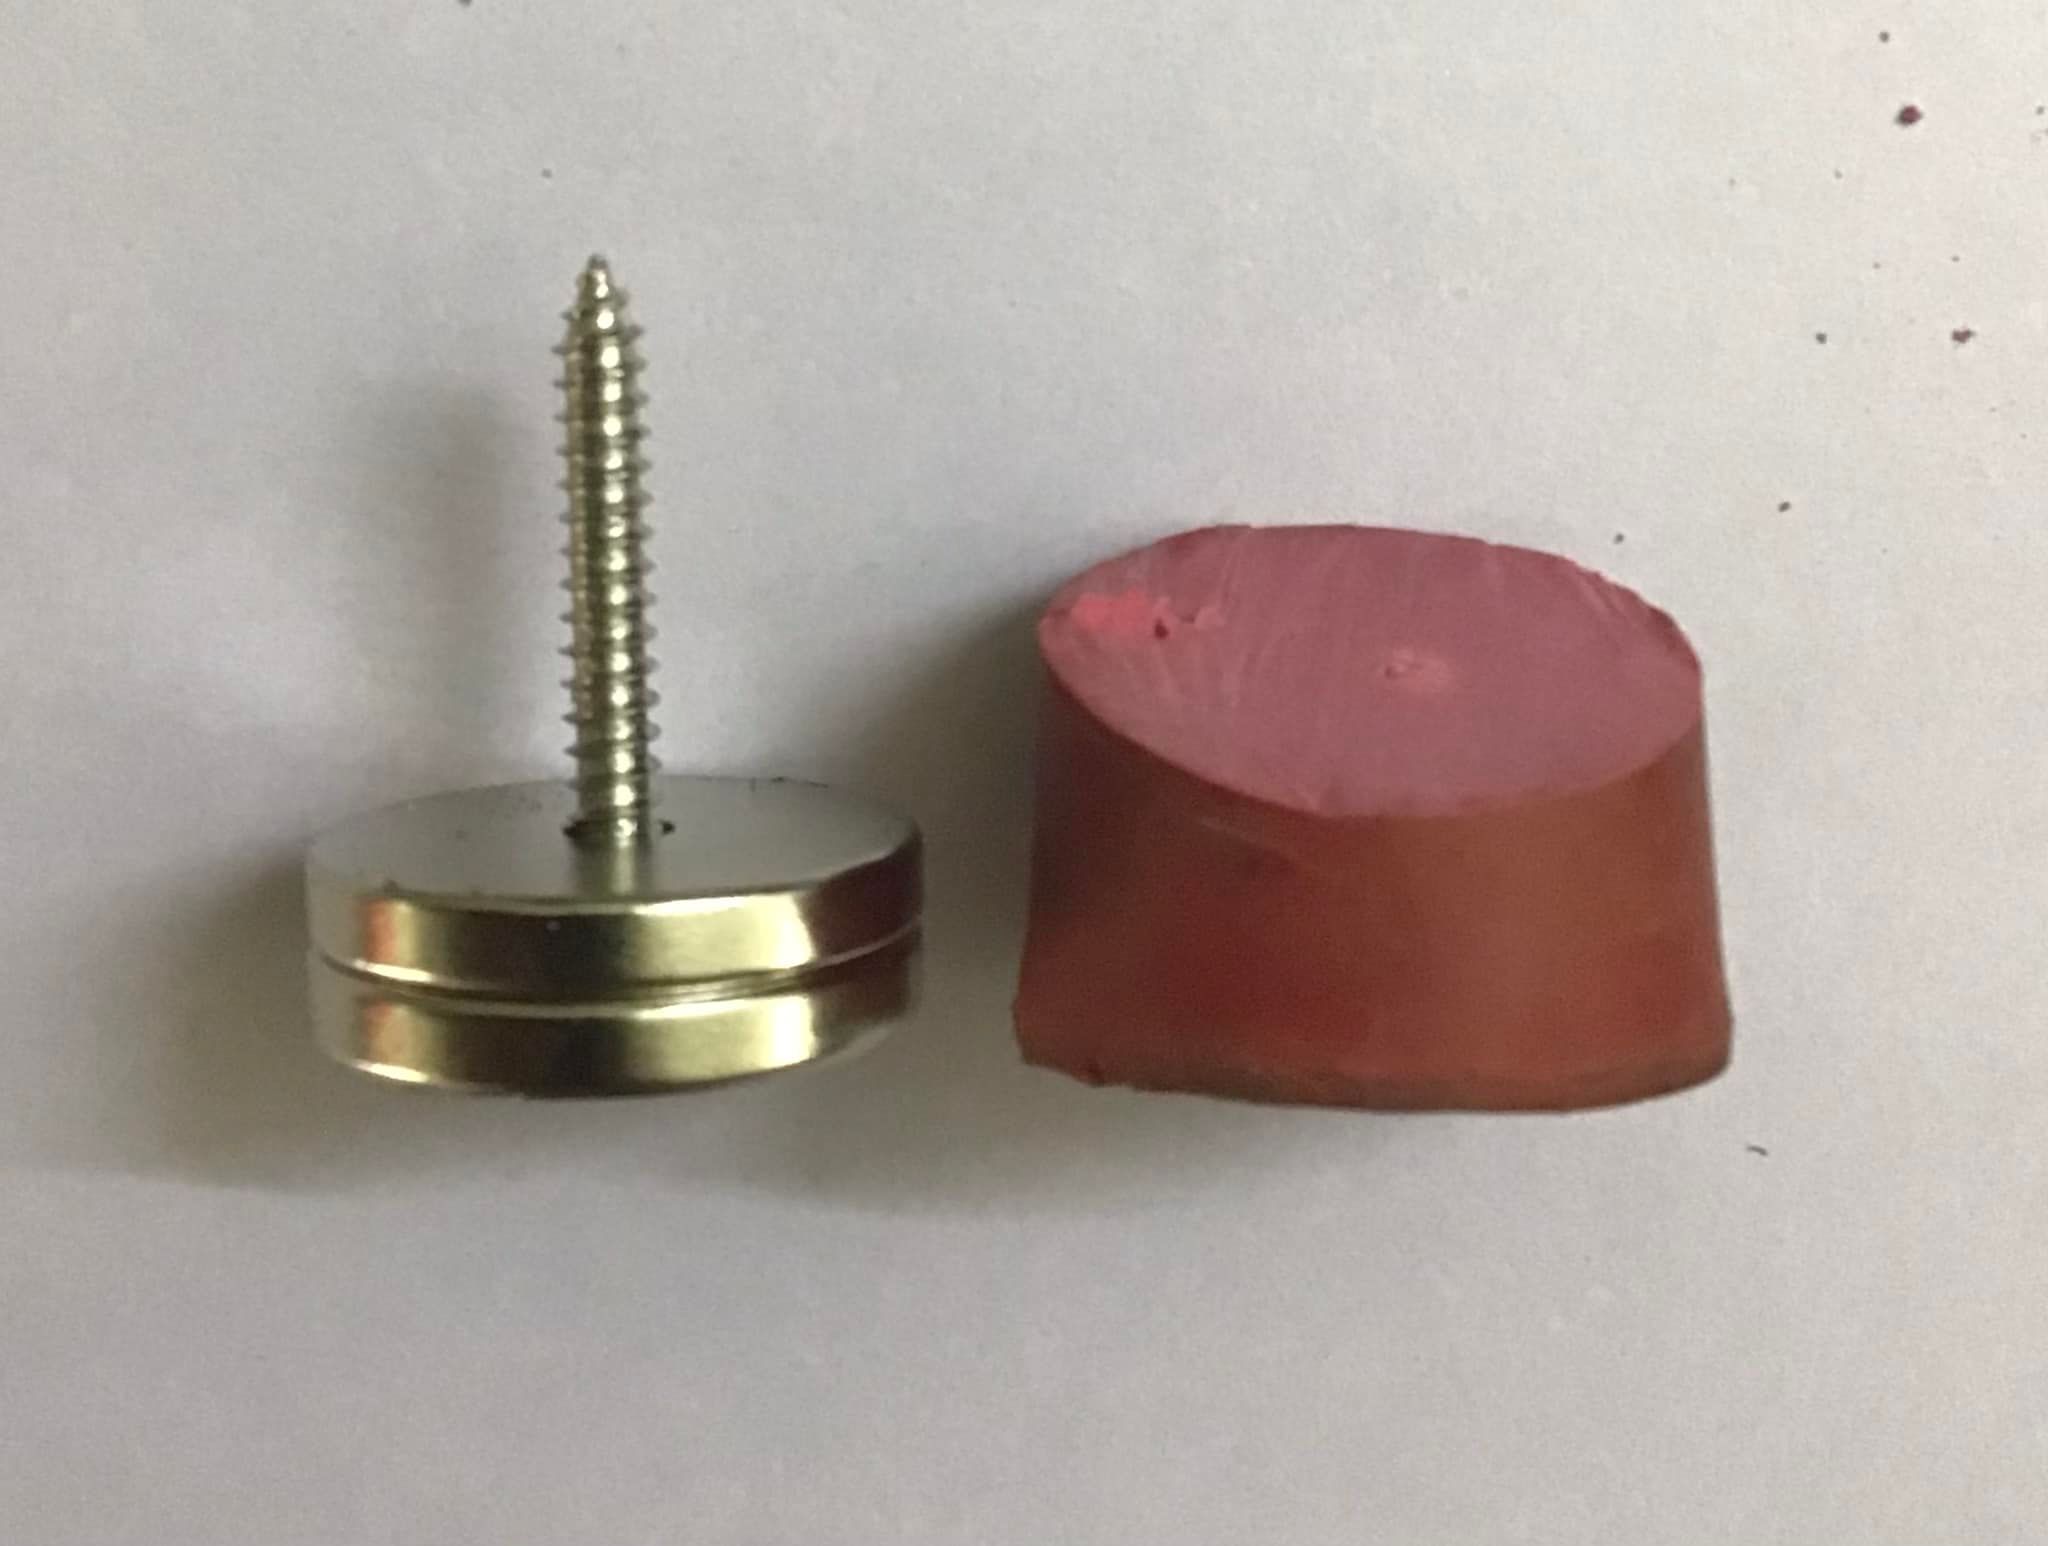
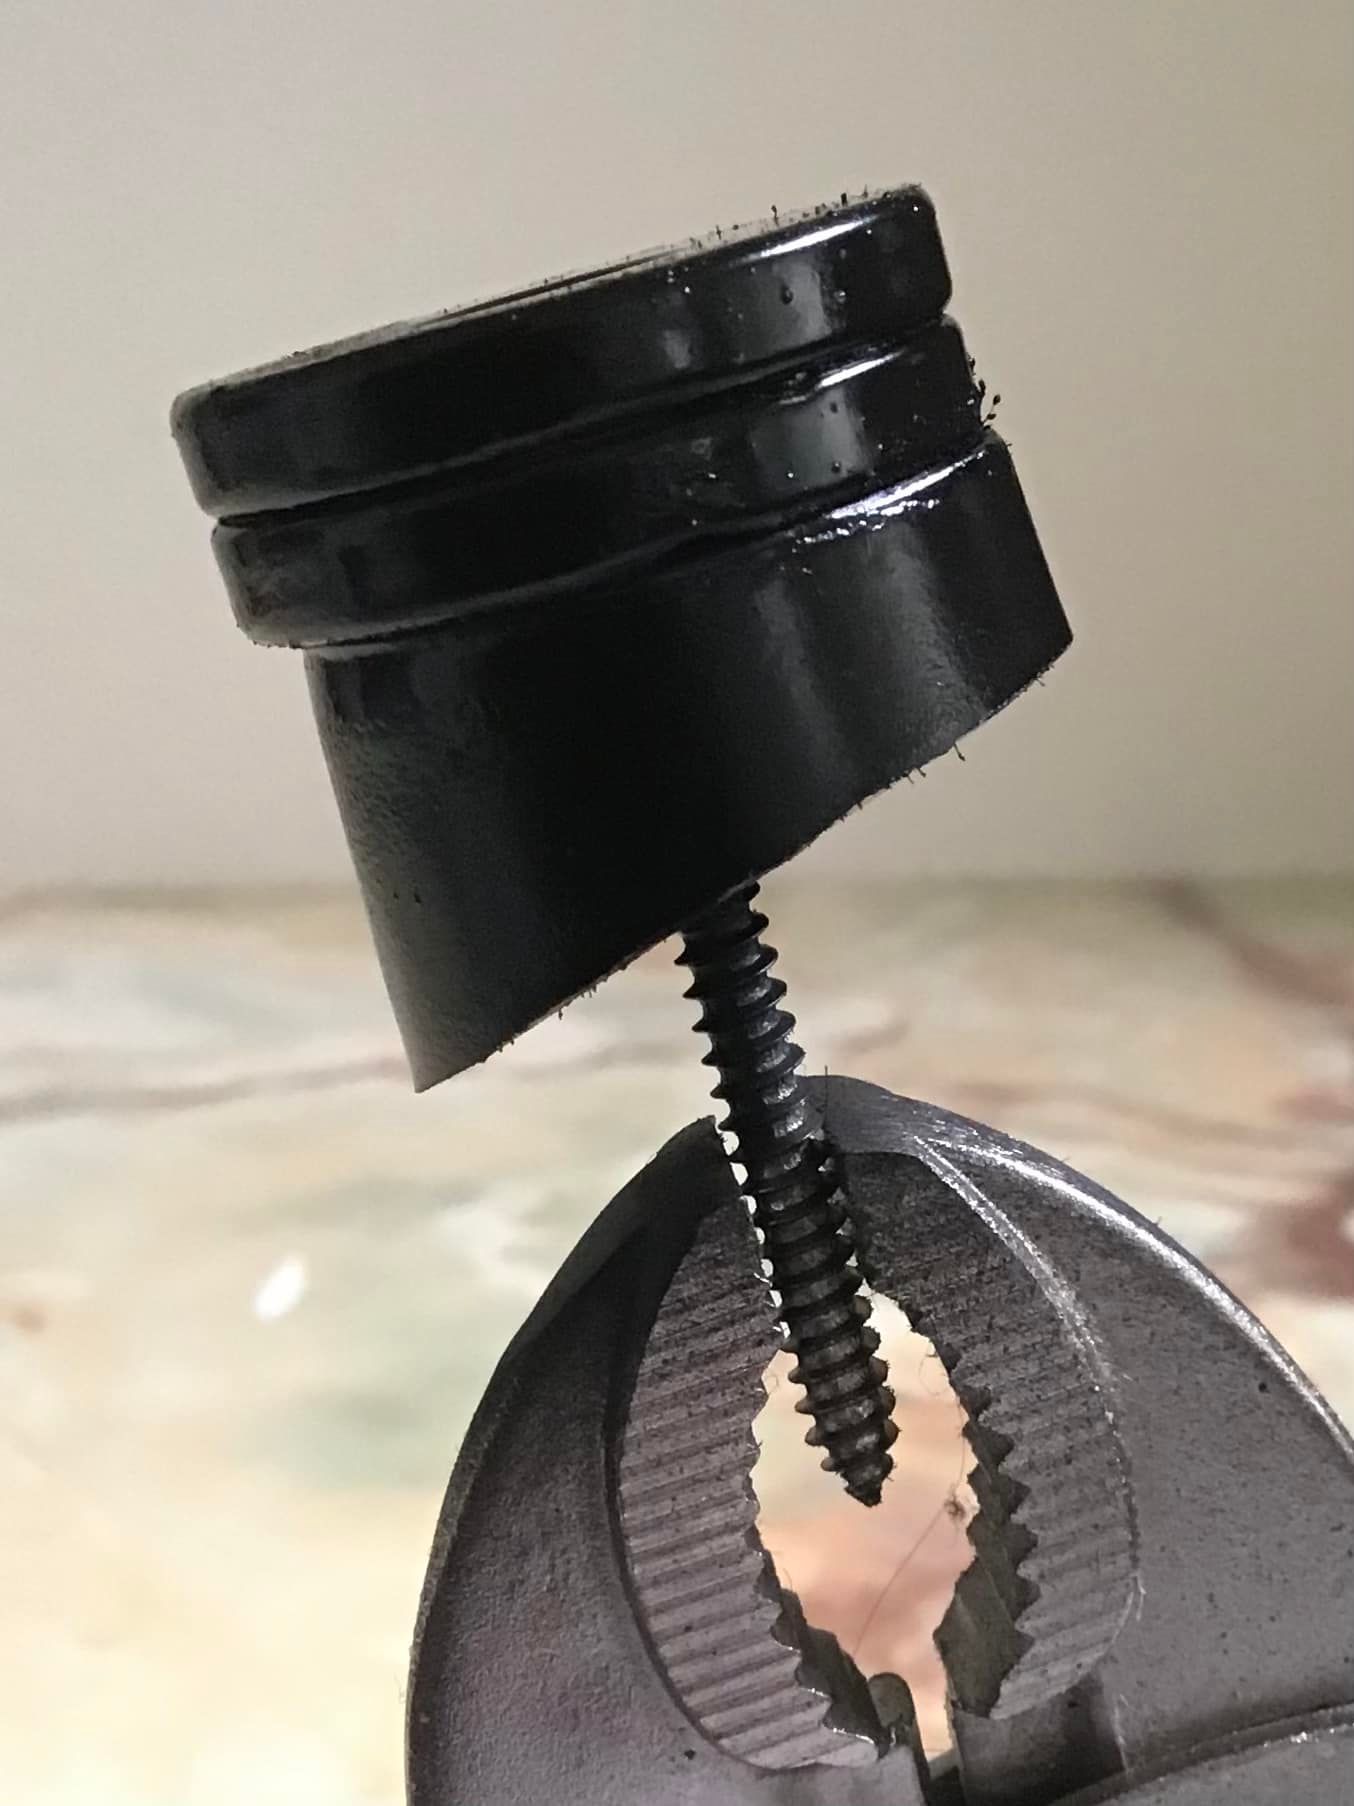

Credit: DBear
This is my description of the “slop” cause of a no-start no-crank condition. I’m putting it here to get it all in one place, so I have an easy thread to link back to.
The symptoms: You turn the key and the starter doesn’t turn over, but the dash lights all go on. (If the dash lights don’t go on, you probably aren’t getting power to the ignition switch, so you should look somewhere else.) I found that if I turned the key enough times, usually I could get it to start. But sometimes it took 10 or 15 tries.
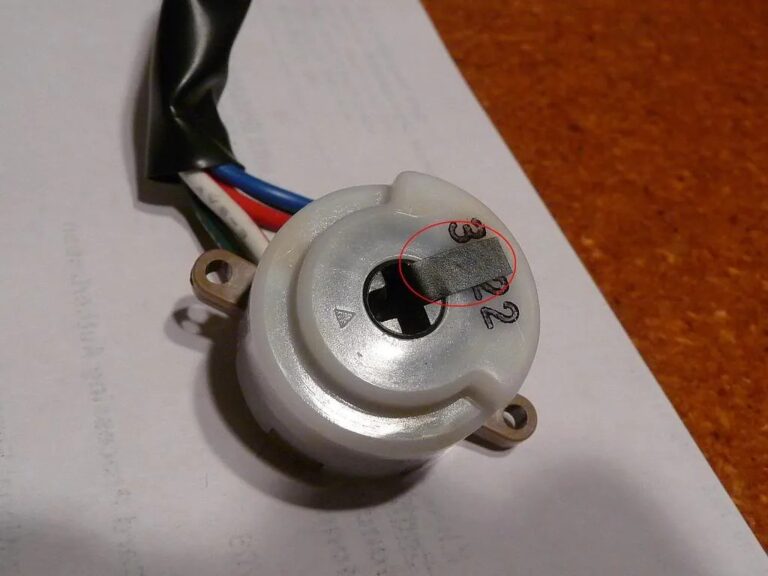
The problem: If you replace your ignition switch, you’ll see that it has a T-shaped slot in the face. (Here’s a good how-to on replacing your ignition switch:
It’s a pretty simple process.) If you look inside the steering column, you’ll see a corresponding T-shaped piece of metal. When you turn the key, the metal piece turns the ignition switch and the starter wire gets juice. But over time, a little slop develops between the piece in the key cylinder and the slot in the switch, and the switch won’t quiiiiiite turn all the way to engage the starter.
This isn’t going to be the case every time you have a no-start no-crank condition. It may well be that your starter is bad or your battery isn’t sufficiently charged. This assumes you’ve already ruled those out as causes. You can check for the problem by taking the ignition switch out of the column (keeping it connected) and using a screwdriver in the slot to start the car. If it starts every time, you probably have the slop problem. However, since the problem is usually intermittent, it may take you a while to decide that it really does start every time with the screwdriver. In the meantime, you’ve made it ridiculously easy for your friendly neighborhood car thief. And you don’t want to use the screwdriver too many times or you may deform the slot. If you have the ignition switch out in the first place, you might as well fix it and put it back in.
The obvious fix, and the one a dealer would no doubt insist on, is to replace the key cylinder. You can do that, but it’s a bit of a PITA the first time you do it, and an unnecessary expense. The alternative is just to shim up the slot in the ignition switch to eliminate the slop.
I first tried a piece of electrical tape down in the side of the slot. Here’s what that looked like.
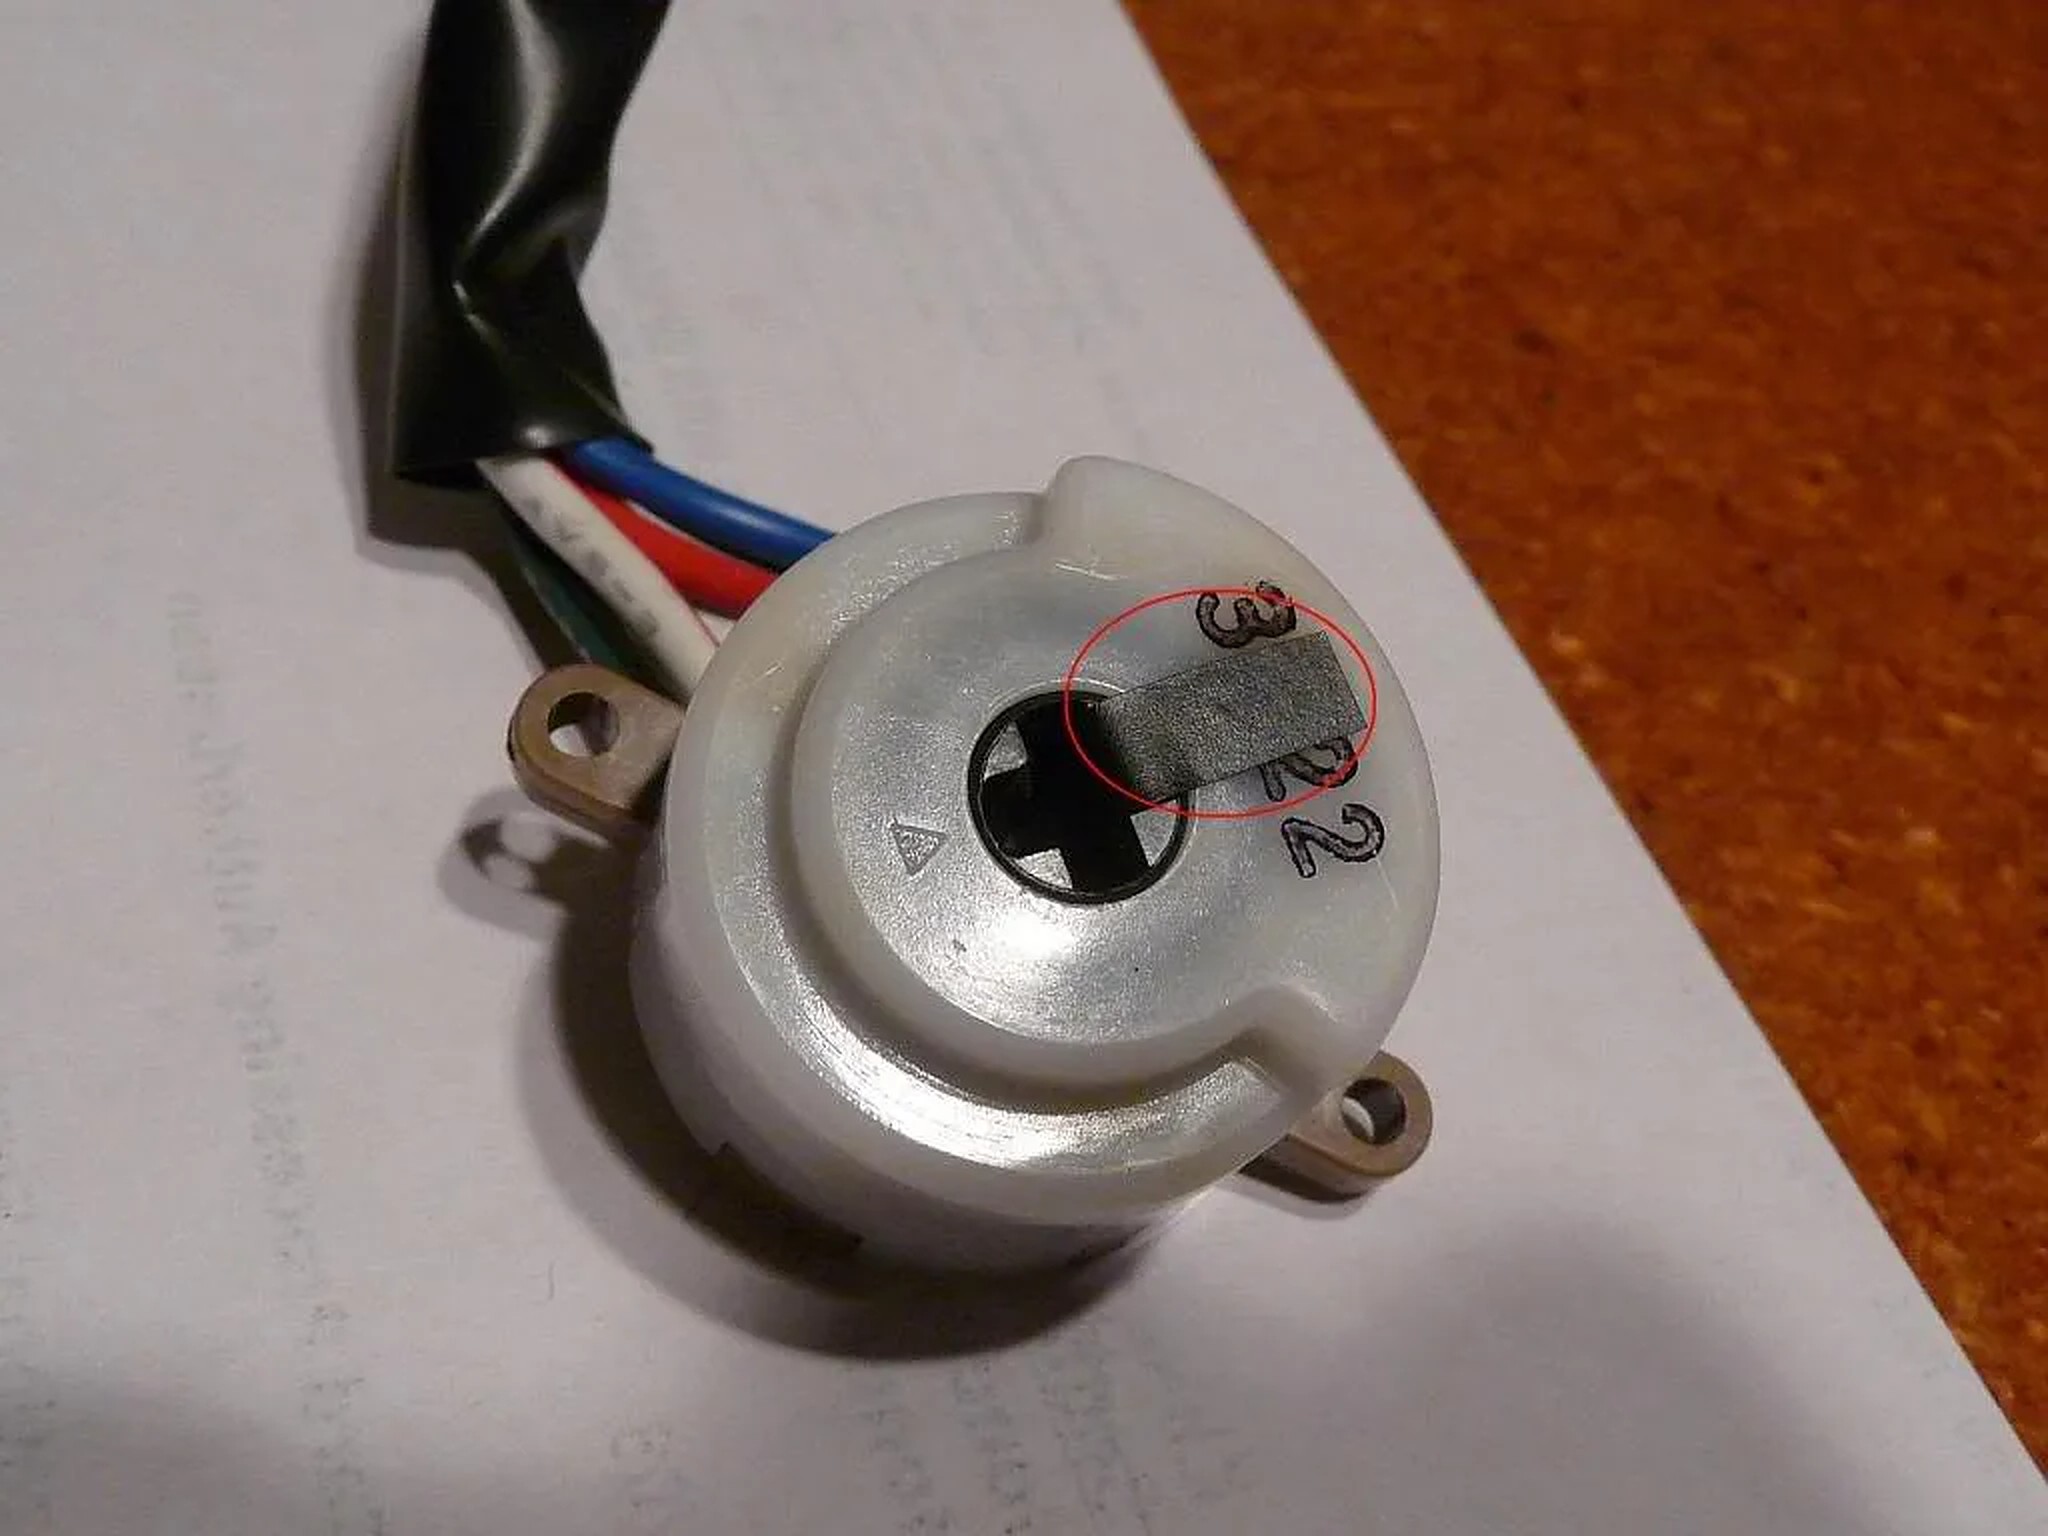
(The circled piece is electrical tape, even though it looks gray.) That worked fine for a while, but eventually the tape worked its way out, probably after a number of hot days. Others have used multiple pieces of duck tape, which might hold longer. But I finally ended up cutting a little piece of coke can to a shape that will fit in the side of the slot, and then super gluing it in. (The shim goes into the side of the slot, not the bottom.) If you look at how I put the tape in, you should get the idea. So far that’s worked beautifully.
Incidentally, this isn’t a matter of a bad ignition switch. When it first happened, I replaced my ignition switch with a new OEM, and it didn’t help. The problem is a result of the piece in the cylinder lock not pushing the ignition switch far enough over to engage the starter. If that’s what’s happening, a new ignition switch is unlikely to make a difference.
Community Member Credit: Eddy
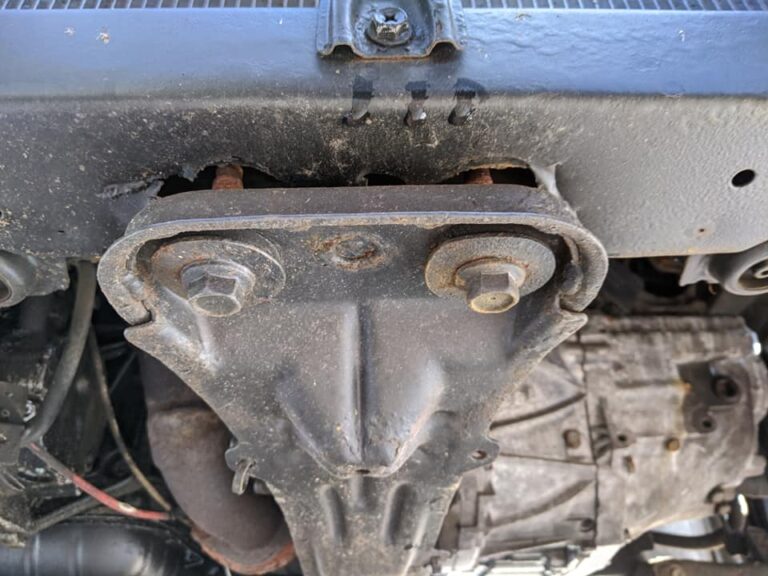
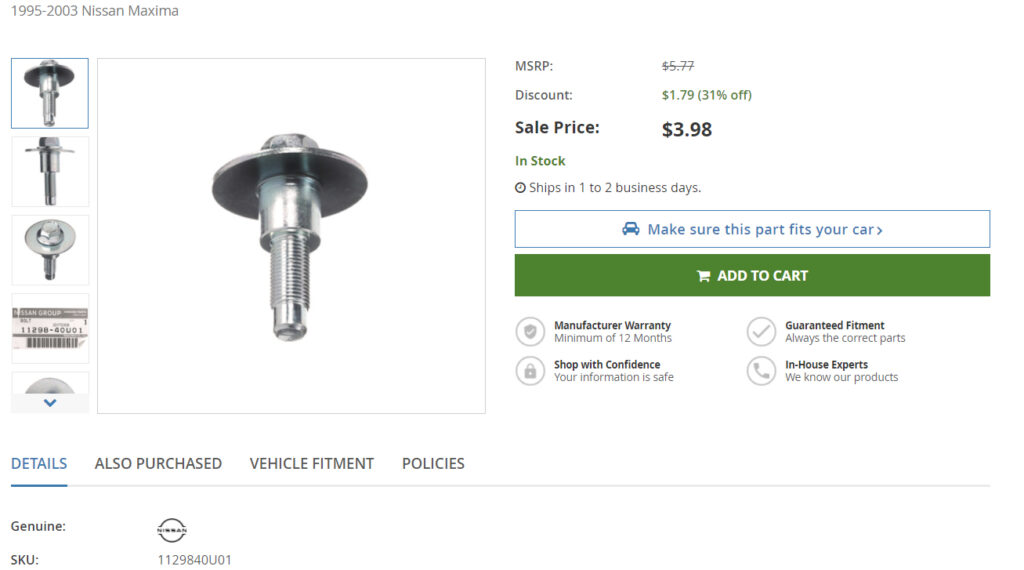
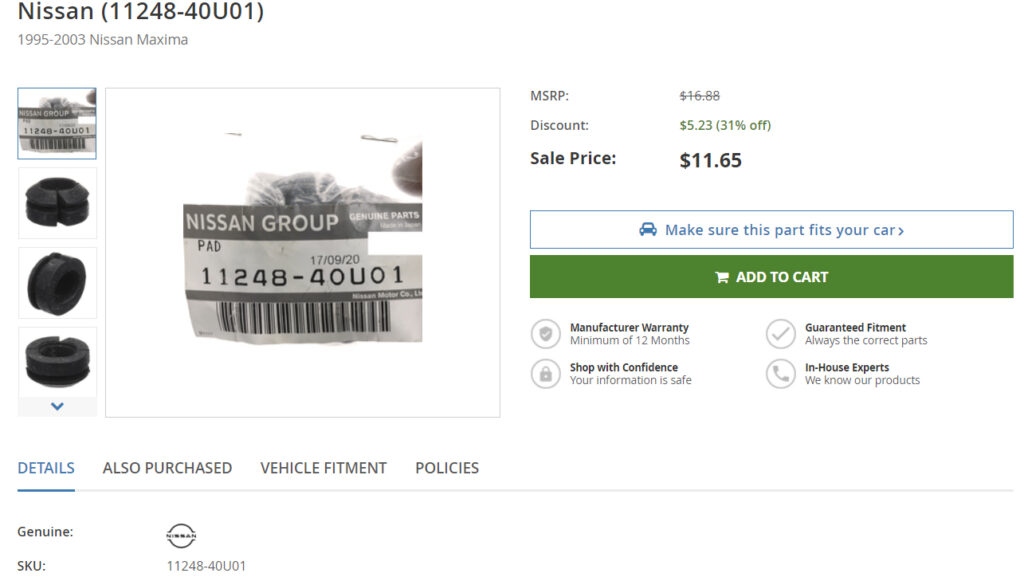
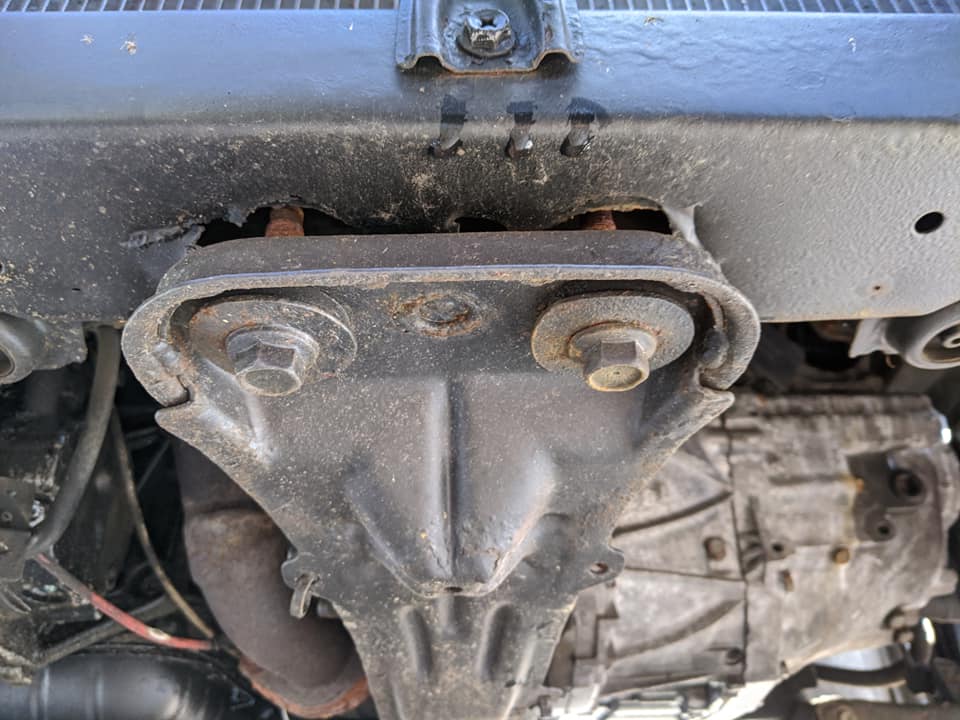
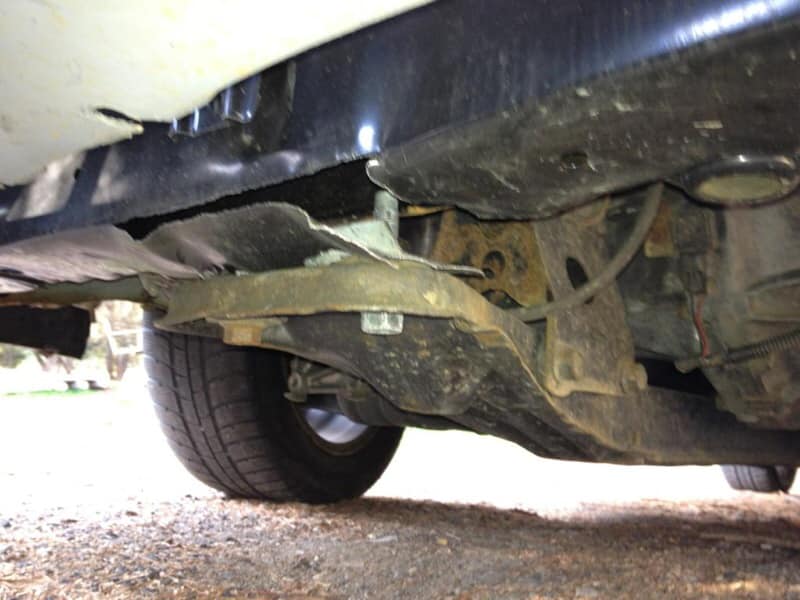
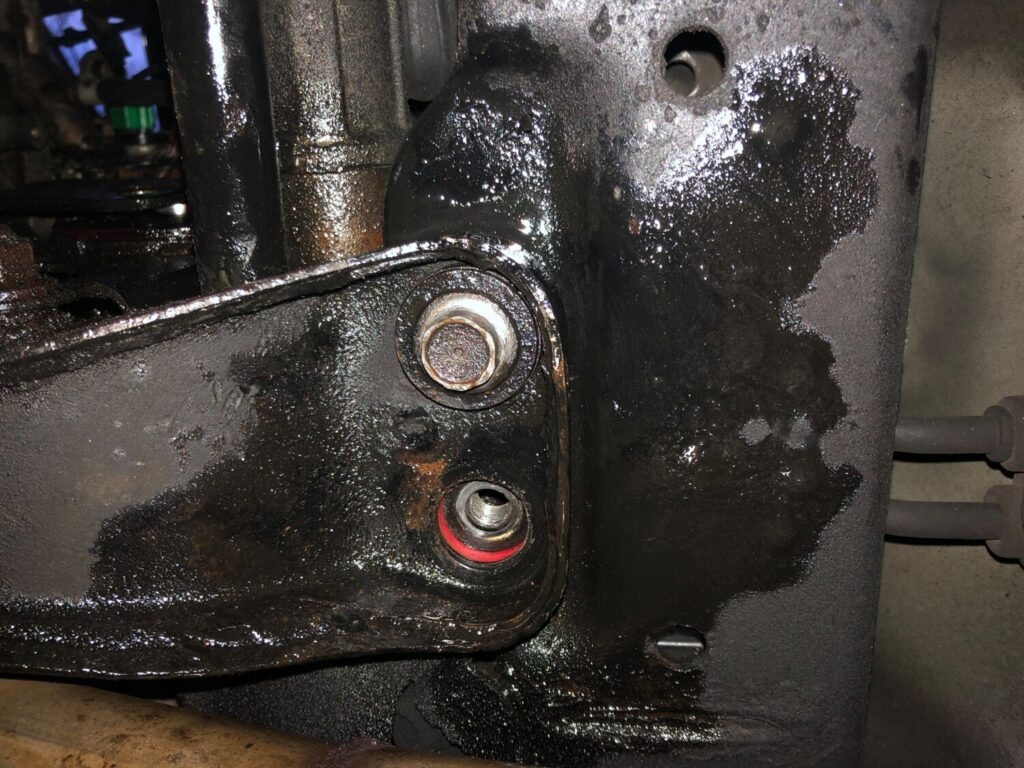
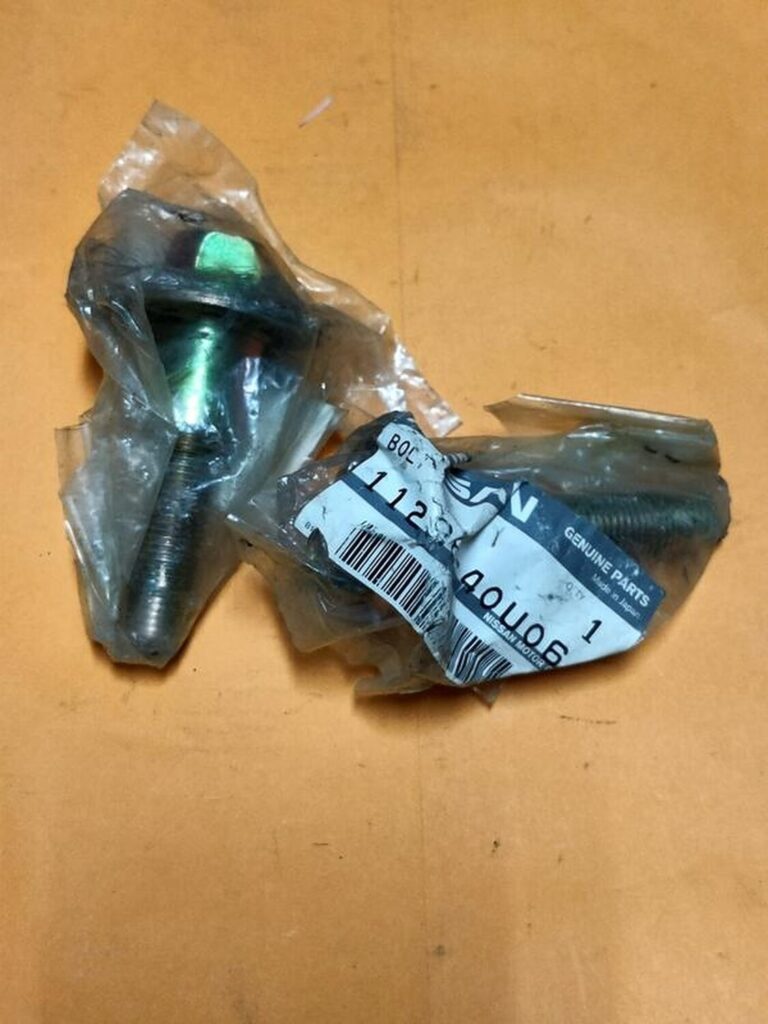
Applies to 1995-1999 and 2000-2003 Nissan Maxima. The cross-member bolts show up as two different part numbers but they are the same exact bolt. You can enter the part numbers online and order from whichever site you prefer.
1995-2003 Nissan Maxima Engine Crossmember Bolt:
1995-2003 Nissan Maxima Engine Crossmember Mount Bushing:
Community Member Credit: Eddy
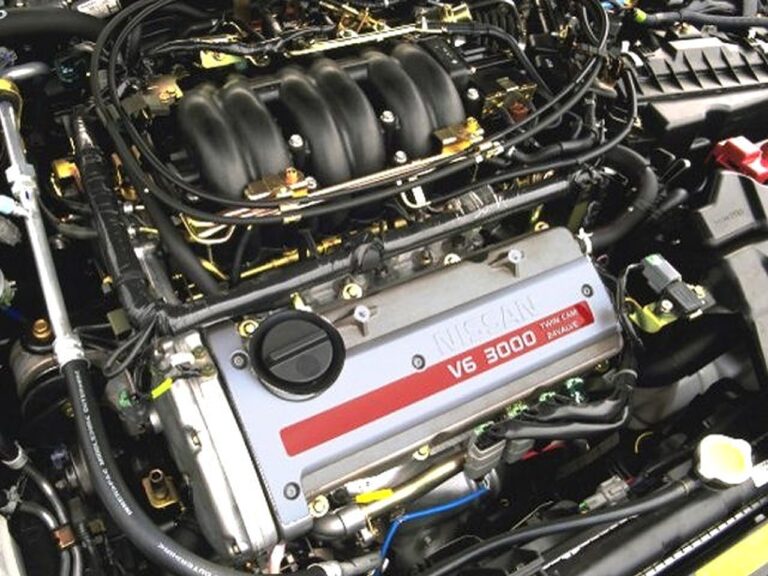
Just a lil knowledge share on VQ engine Info for Nissan Maxima’s. I know many probably never new what the “K” stands for. VQ30DE, VQ30DE-K, VQ30DE-T, VQ35DE.
VQ –– Engine Family
3.0/3.5 –– Liter Displacement
D –– DOHC (Dual Overhead Camshafts)
E –– Multi Point Fuel Injection
————————–
K –– Kaizen (Japanese word which translates to “improvement”. It was only applicable to 00/01 5thgens. Basically an improvement over the 1995-1998 VQ30DE. The firewall plates did not specify the “K” in the name plate. So you will still see VQ30DE.)
————————–
T –– Turbo Version of Engine. Mostly JDM vehicles.
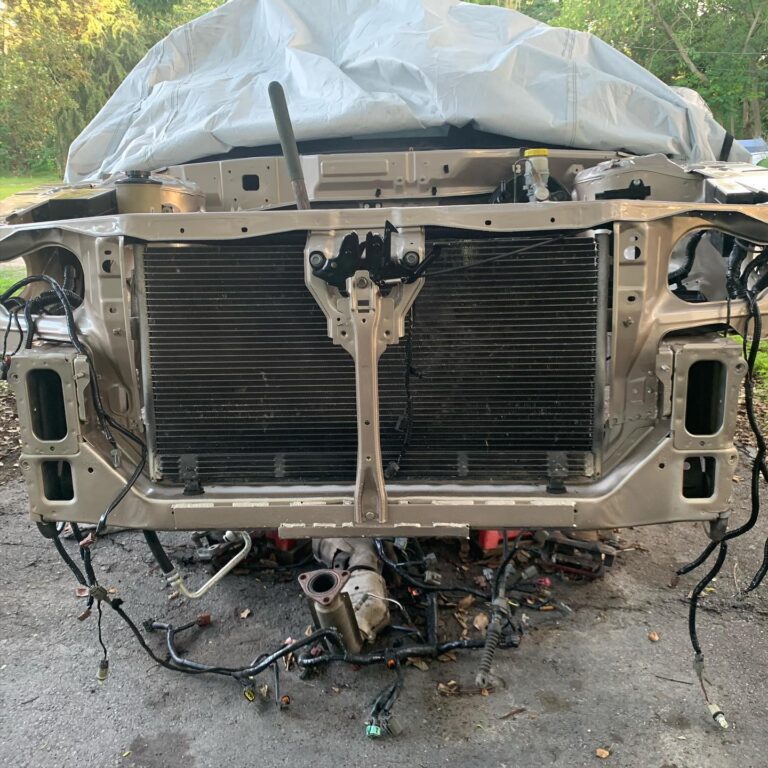
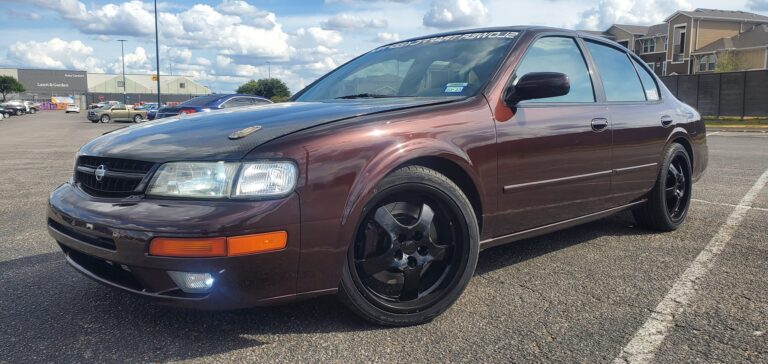
Owner: Thomas L Sauer III
Year: 1997
Model: Maxima
Color: Rosewood Metallic
Transmission: 5-Speed Manual
Trim: SE


Community Member Credit: DennisMik
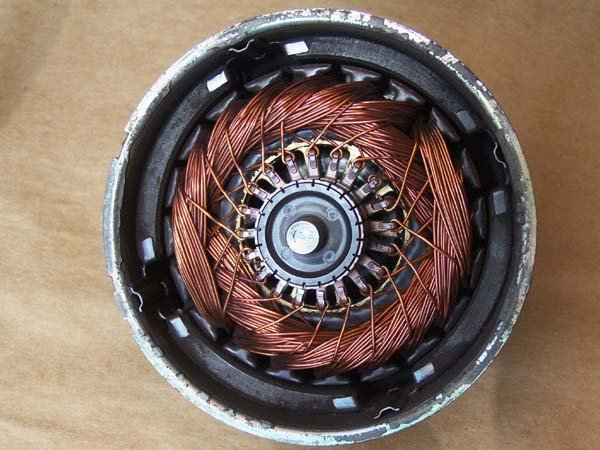
I was cleaning out my garage and I came across an old radiator cooling fan motor that I had replaced on my neighbor’s 2000 Maxima. Since I had nothing better to do (which is why I was cleaning the garage), I decided to take the motor apart and document it with photos.
The motor was replaced because it was very noisy. If you grabbed the fan blade, there was lots of wobble, meaning the bearing was gone.
Photo # 1 – Front view (fan blade side).

Photo # 2 – Rear view
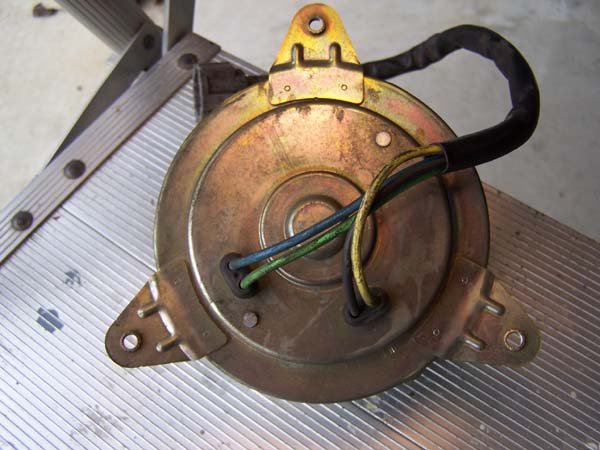
Photo # 3 – Motor split open.

Photo # 4 – Rear cover showing brush holders. Note that there are 4 brushes. That’s because this is a 2 speed motor that uses a dual wound armature to create 2 motors in one.

Photo # 5 – 2 of the 4 brushes. Note that the one on the left is only half the length of the other. I don’t know how long a new brush is, but I bet it would be at least 3 times the length of the brush on the right.

Photo # 6 – Front half of motor with armature in the case.
Photo # 7 – Front motor case with armature removed. There are 4 permanent magnets around the inside of the housing. It was actually fairly hard to pull the armature out of the housing. When I split the motor apart, it was full of a fine soot-like powder that was very similar to the powder you encounter when you work on brakes. Interesting difference with this power is that it was attracted to the magnets. I regret not taking a picture of the powder clinging to the magnets.

Photo # 8 – The commutator of the armature. The severe wear that the brushes caused is probably due to the fact that the rear bearing went bad and allowed the armature to wobble. You can’t tell from this picture, but the armature shaft is also worn to a smaller diameter.

This motor is not constructed to allow repairs. The case pieces are crimped together and when I did split the case open, I ripped 3 of the brushes off of their wires. There doesn’t seem to be any provision to hold the brushes retracted and fit the end plate onto the armature.