Warning, long post but worth it if your a 4th gam Maxima owner!
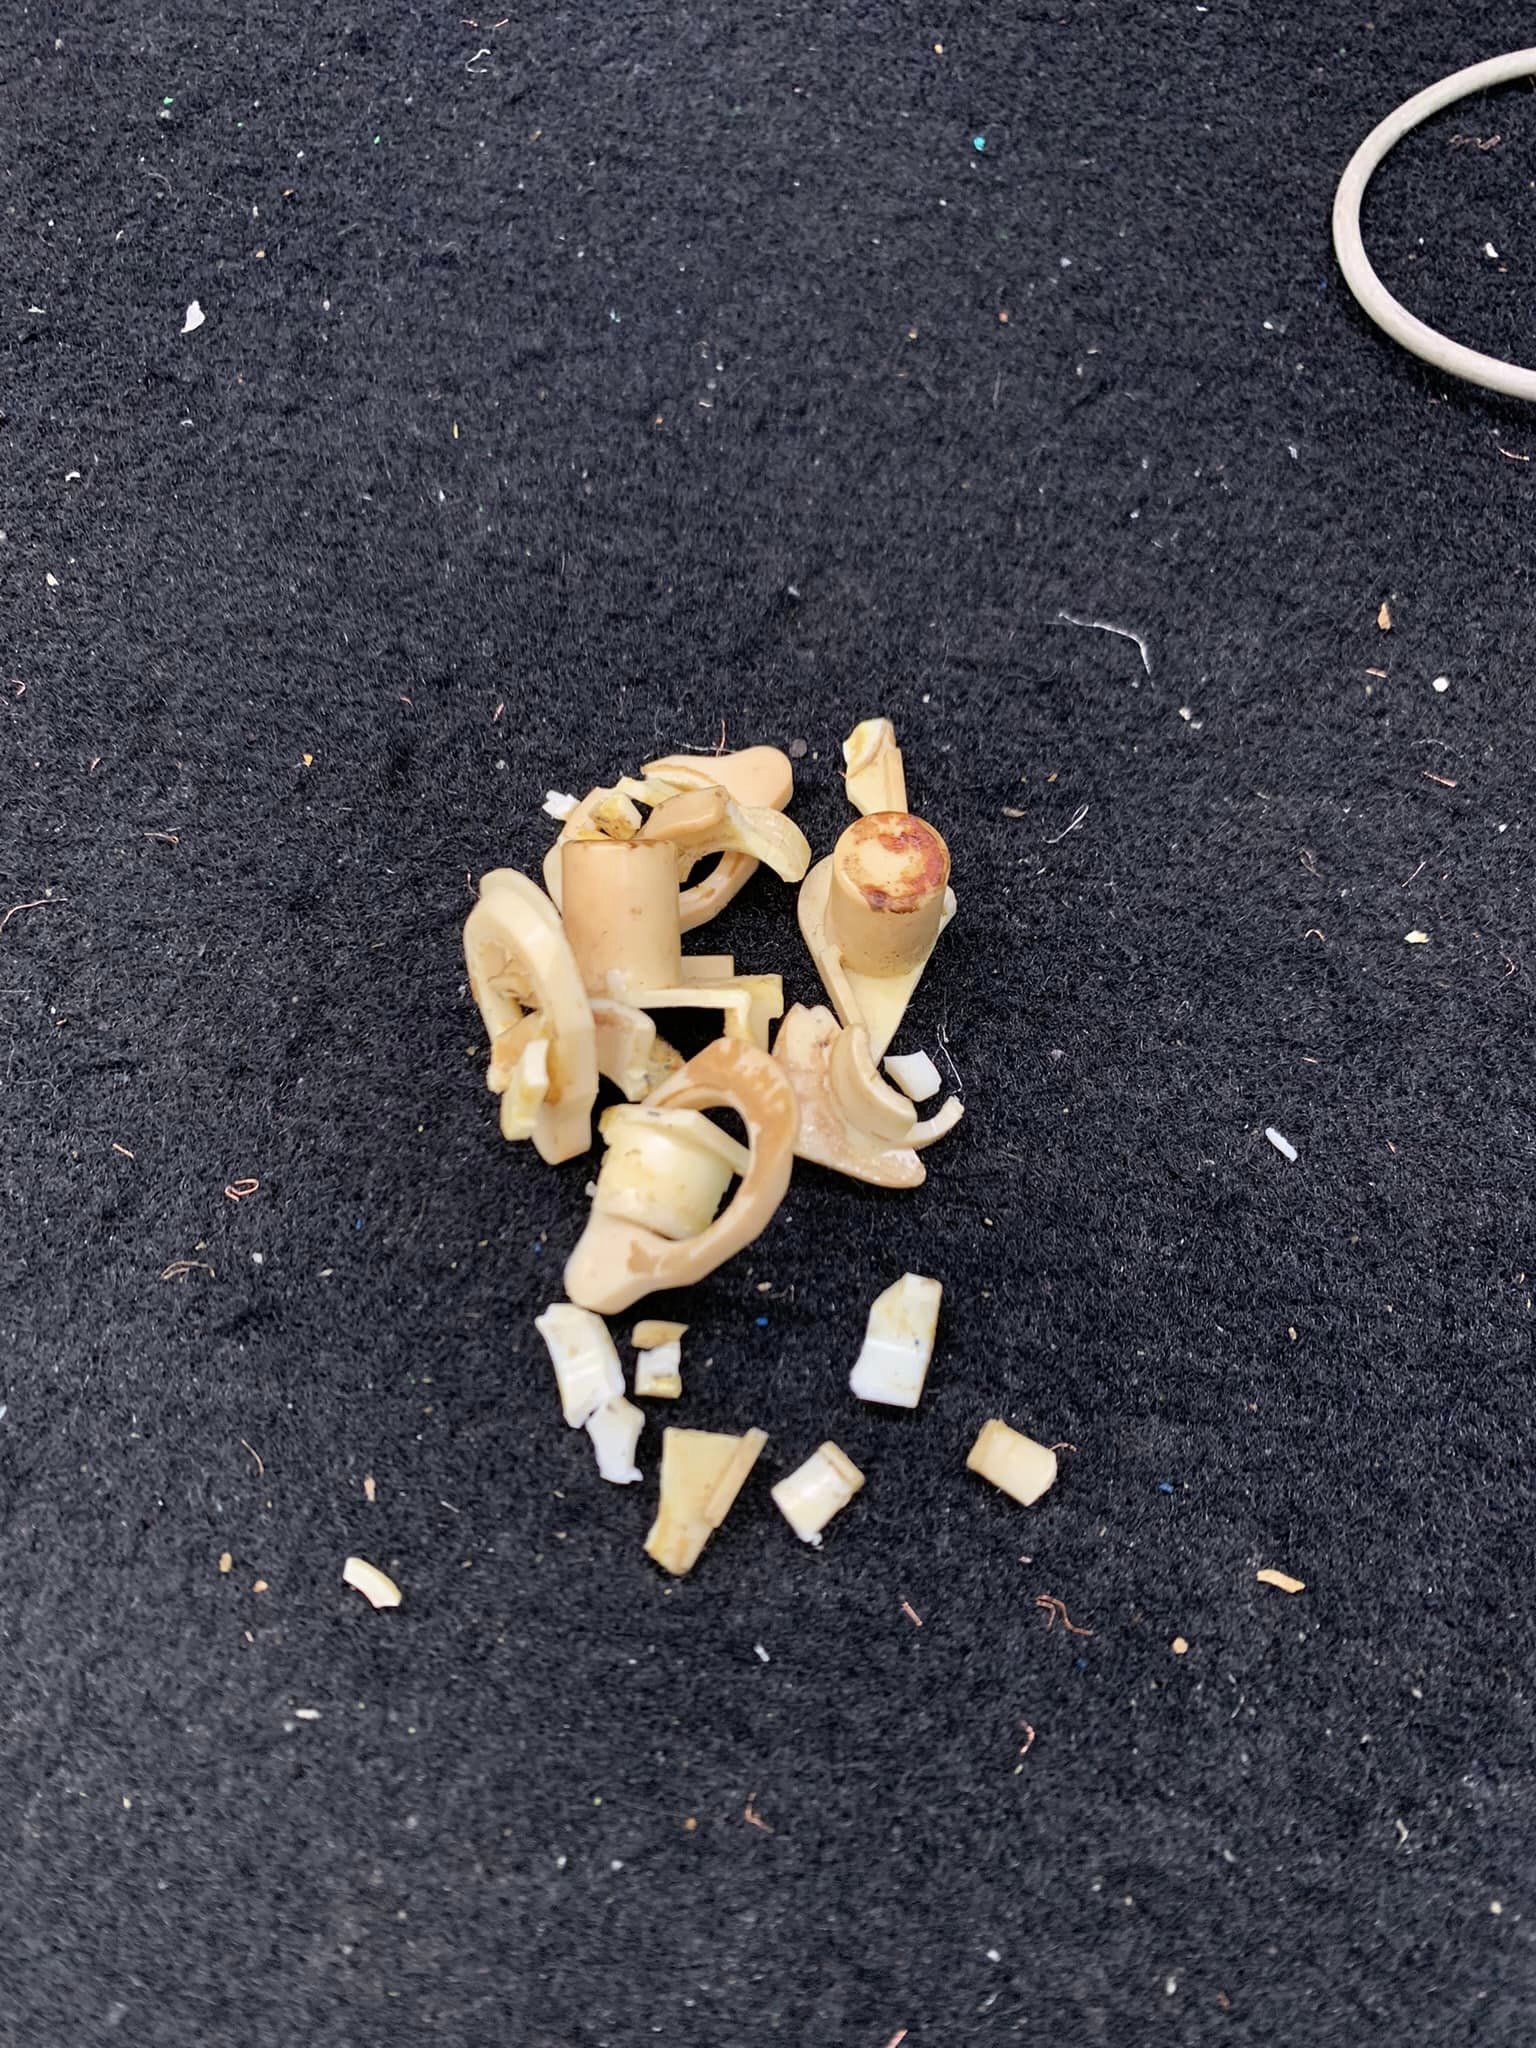
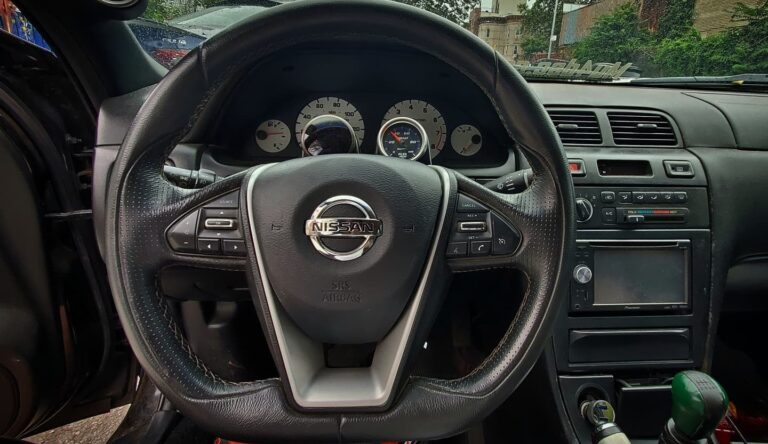
- Any of you 4th gen Maxima guys/gals even have your horn just start blowing out of the middle of no where or take the steering wheel air bag off only to find a pile of white plastic pieces everywhere? This is because the plastic insulation parts have deteriorated, cracked, broke and no longer do their job insulating the air bag section from ground. These parts where ever sold separately and the whole steering wheel itself is no longer available through Nissan. I have had multiple Maximas with this same problem so I figured I’d come up with a cheap and reliable solution using parts that are easy to find.
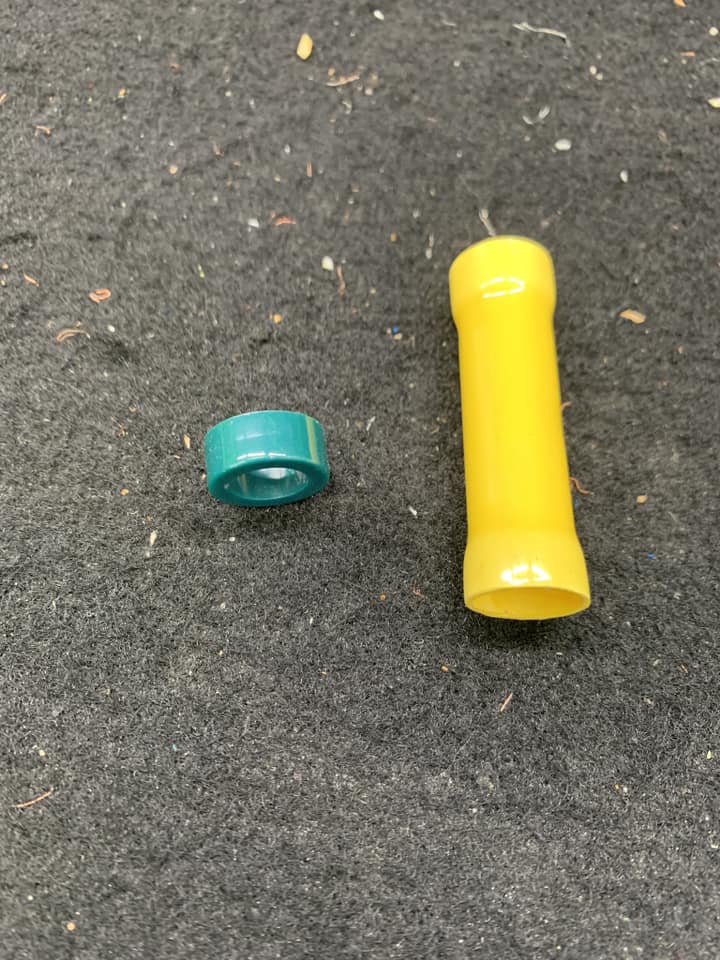
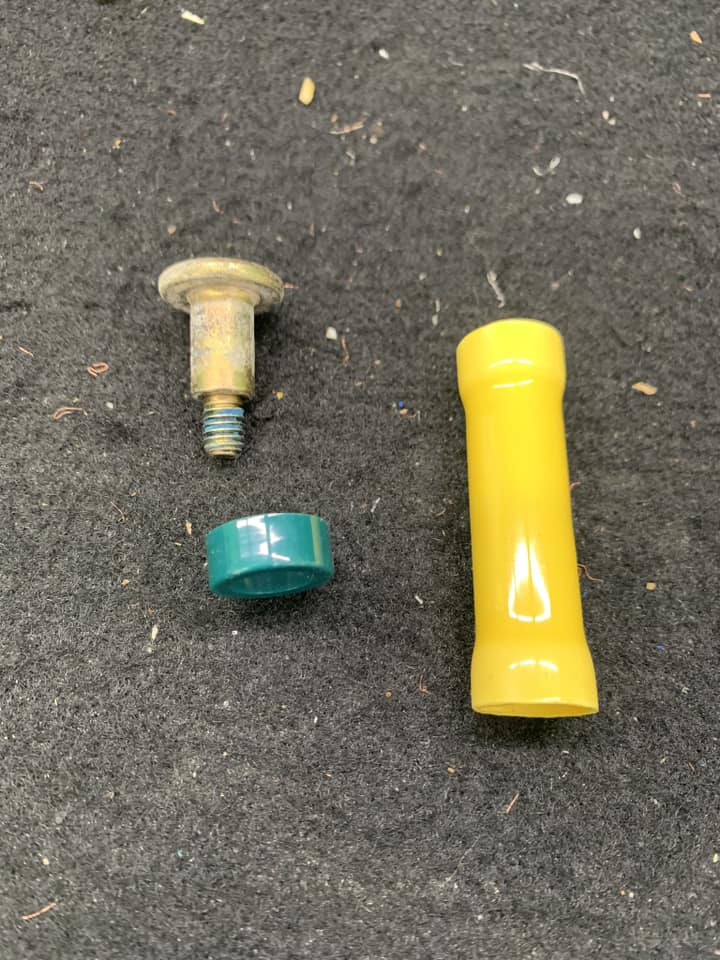
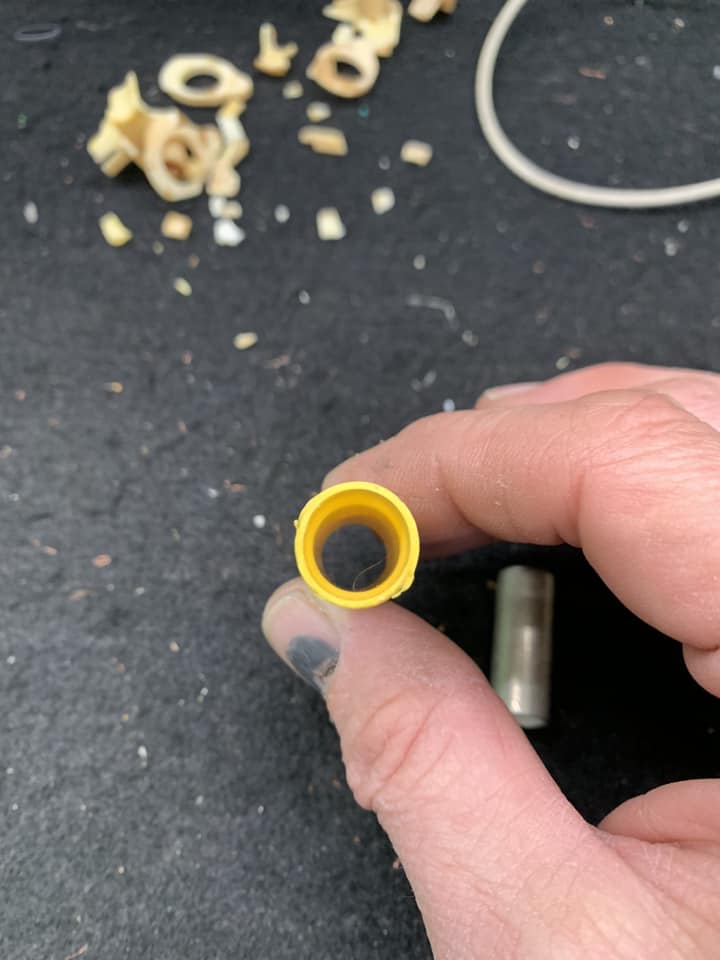
- Since I work at a car audio shop I figured there has to be a way to use parts normal found at a reputable car audio shop to fix this problem. Here is what you’re going to need; 2 yellow 4ga butt connects, 8 1/4” or bigger plastic spacers, Some 1/4” heat shrink
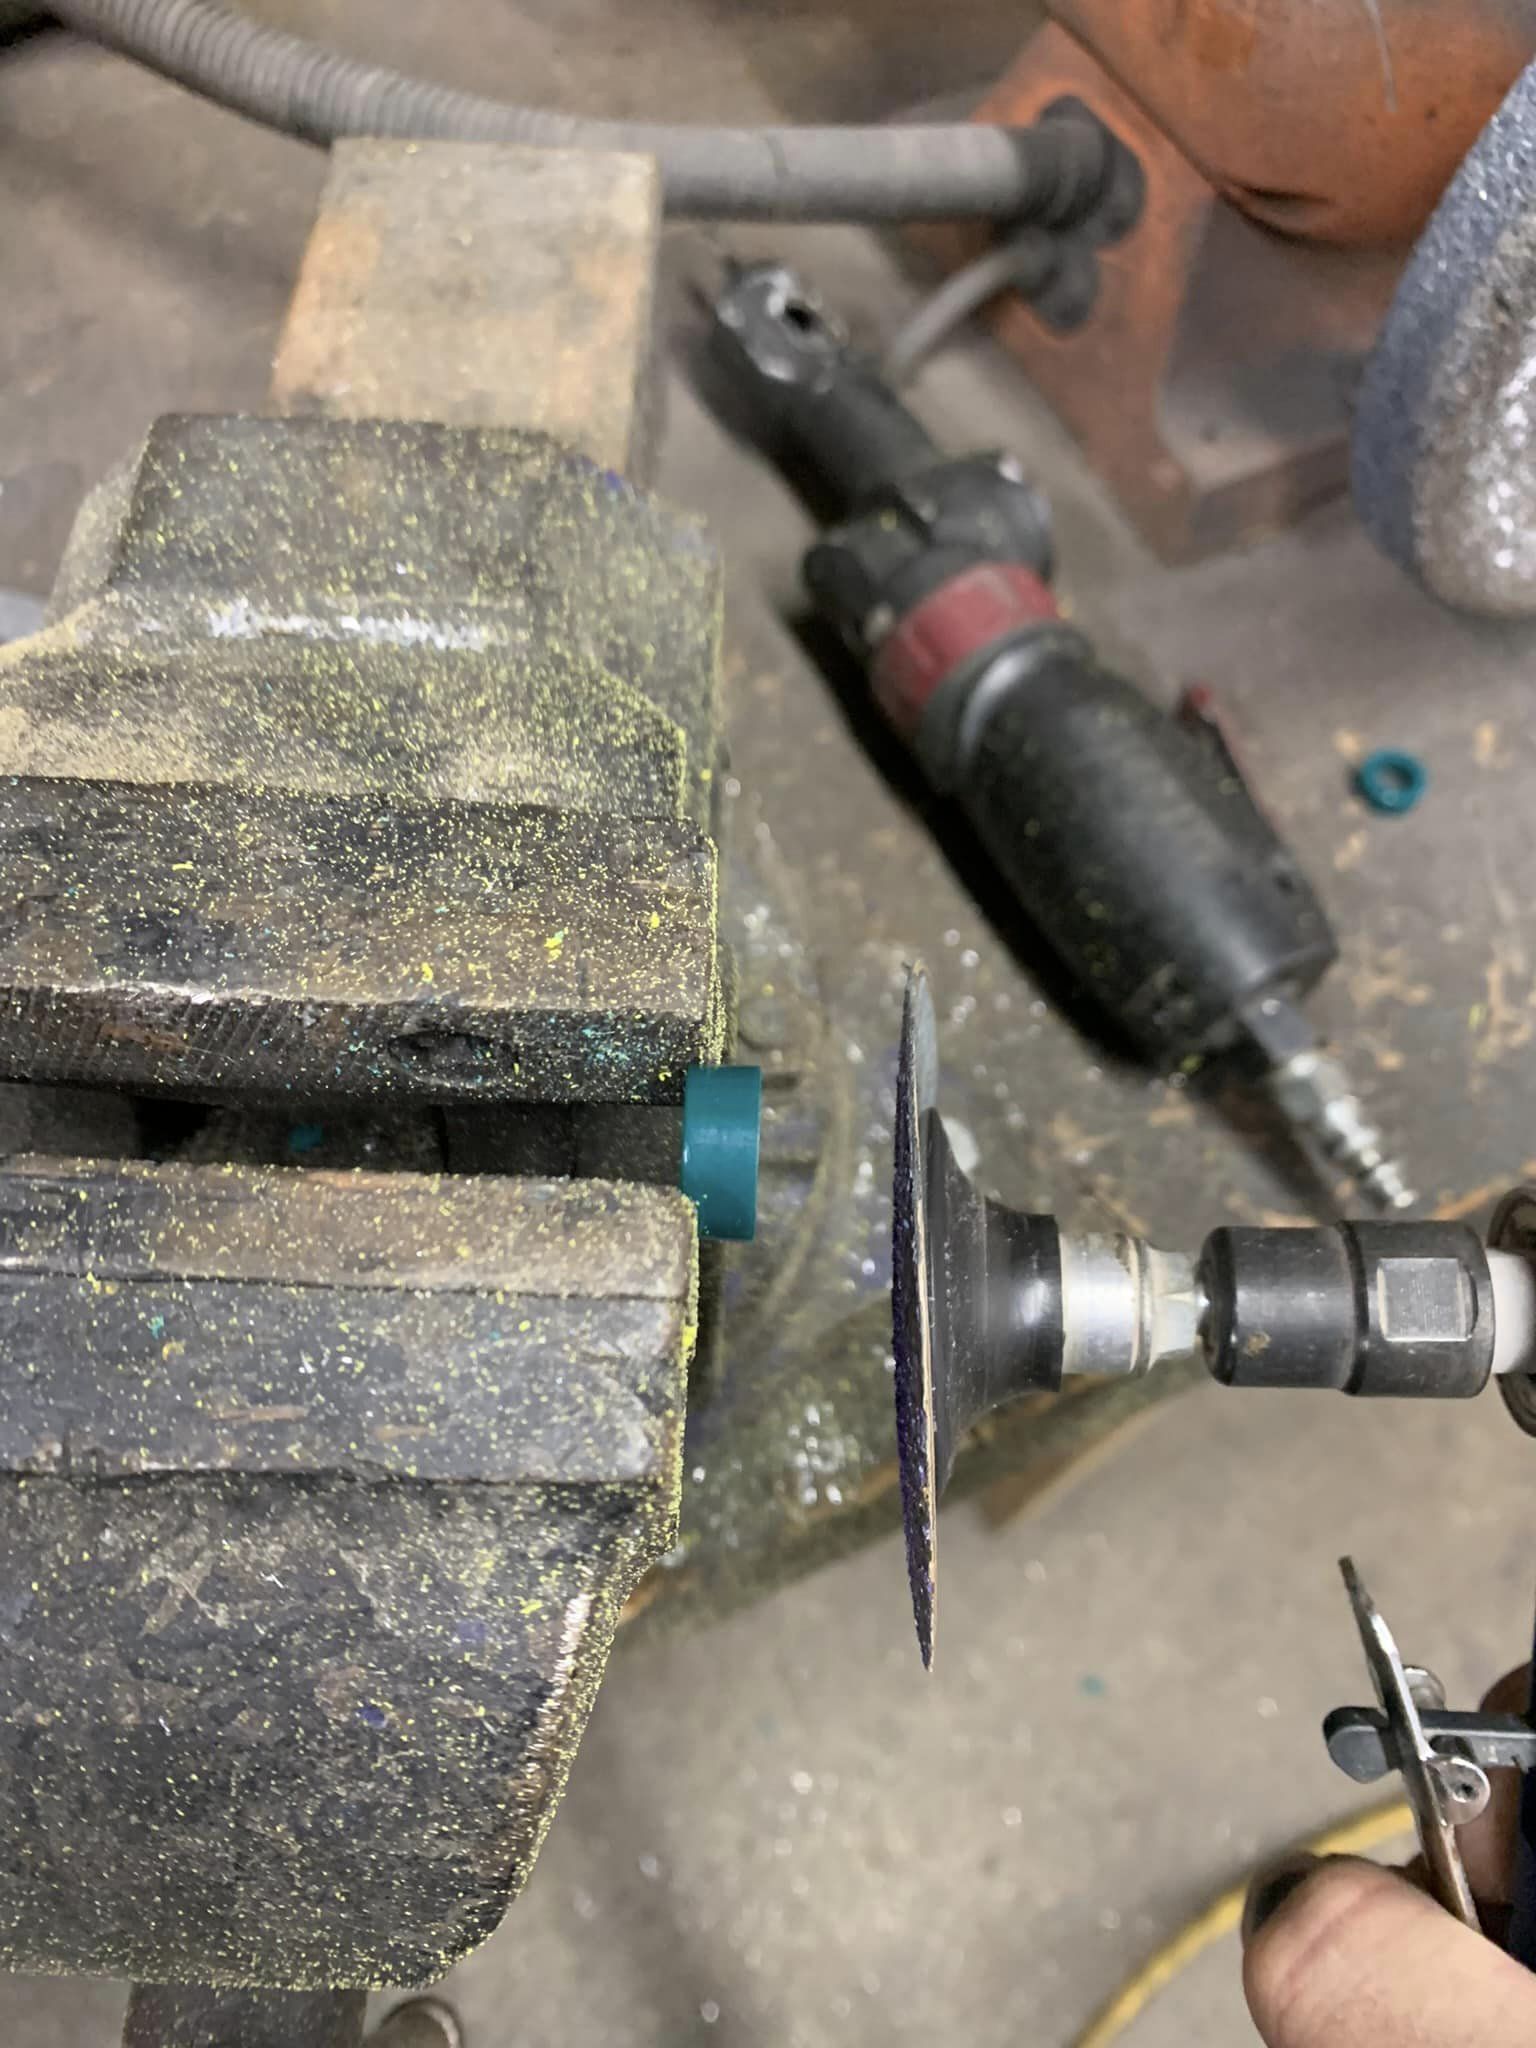
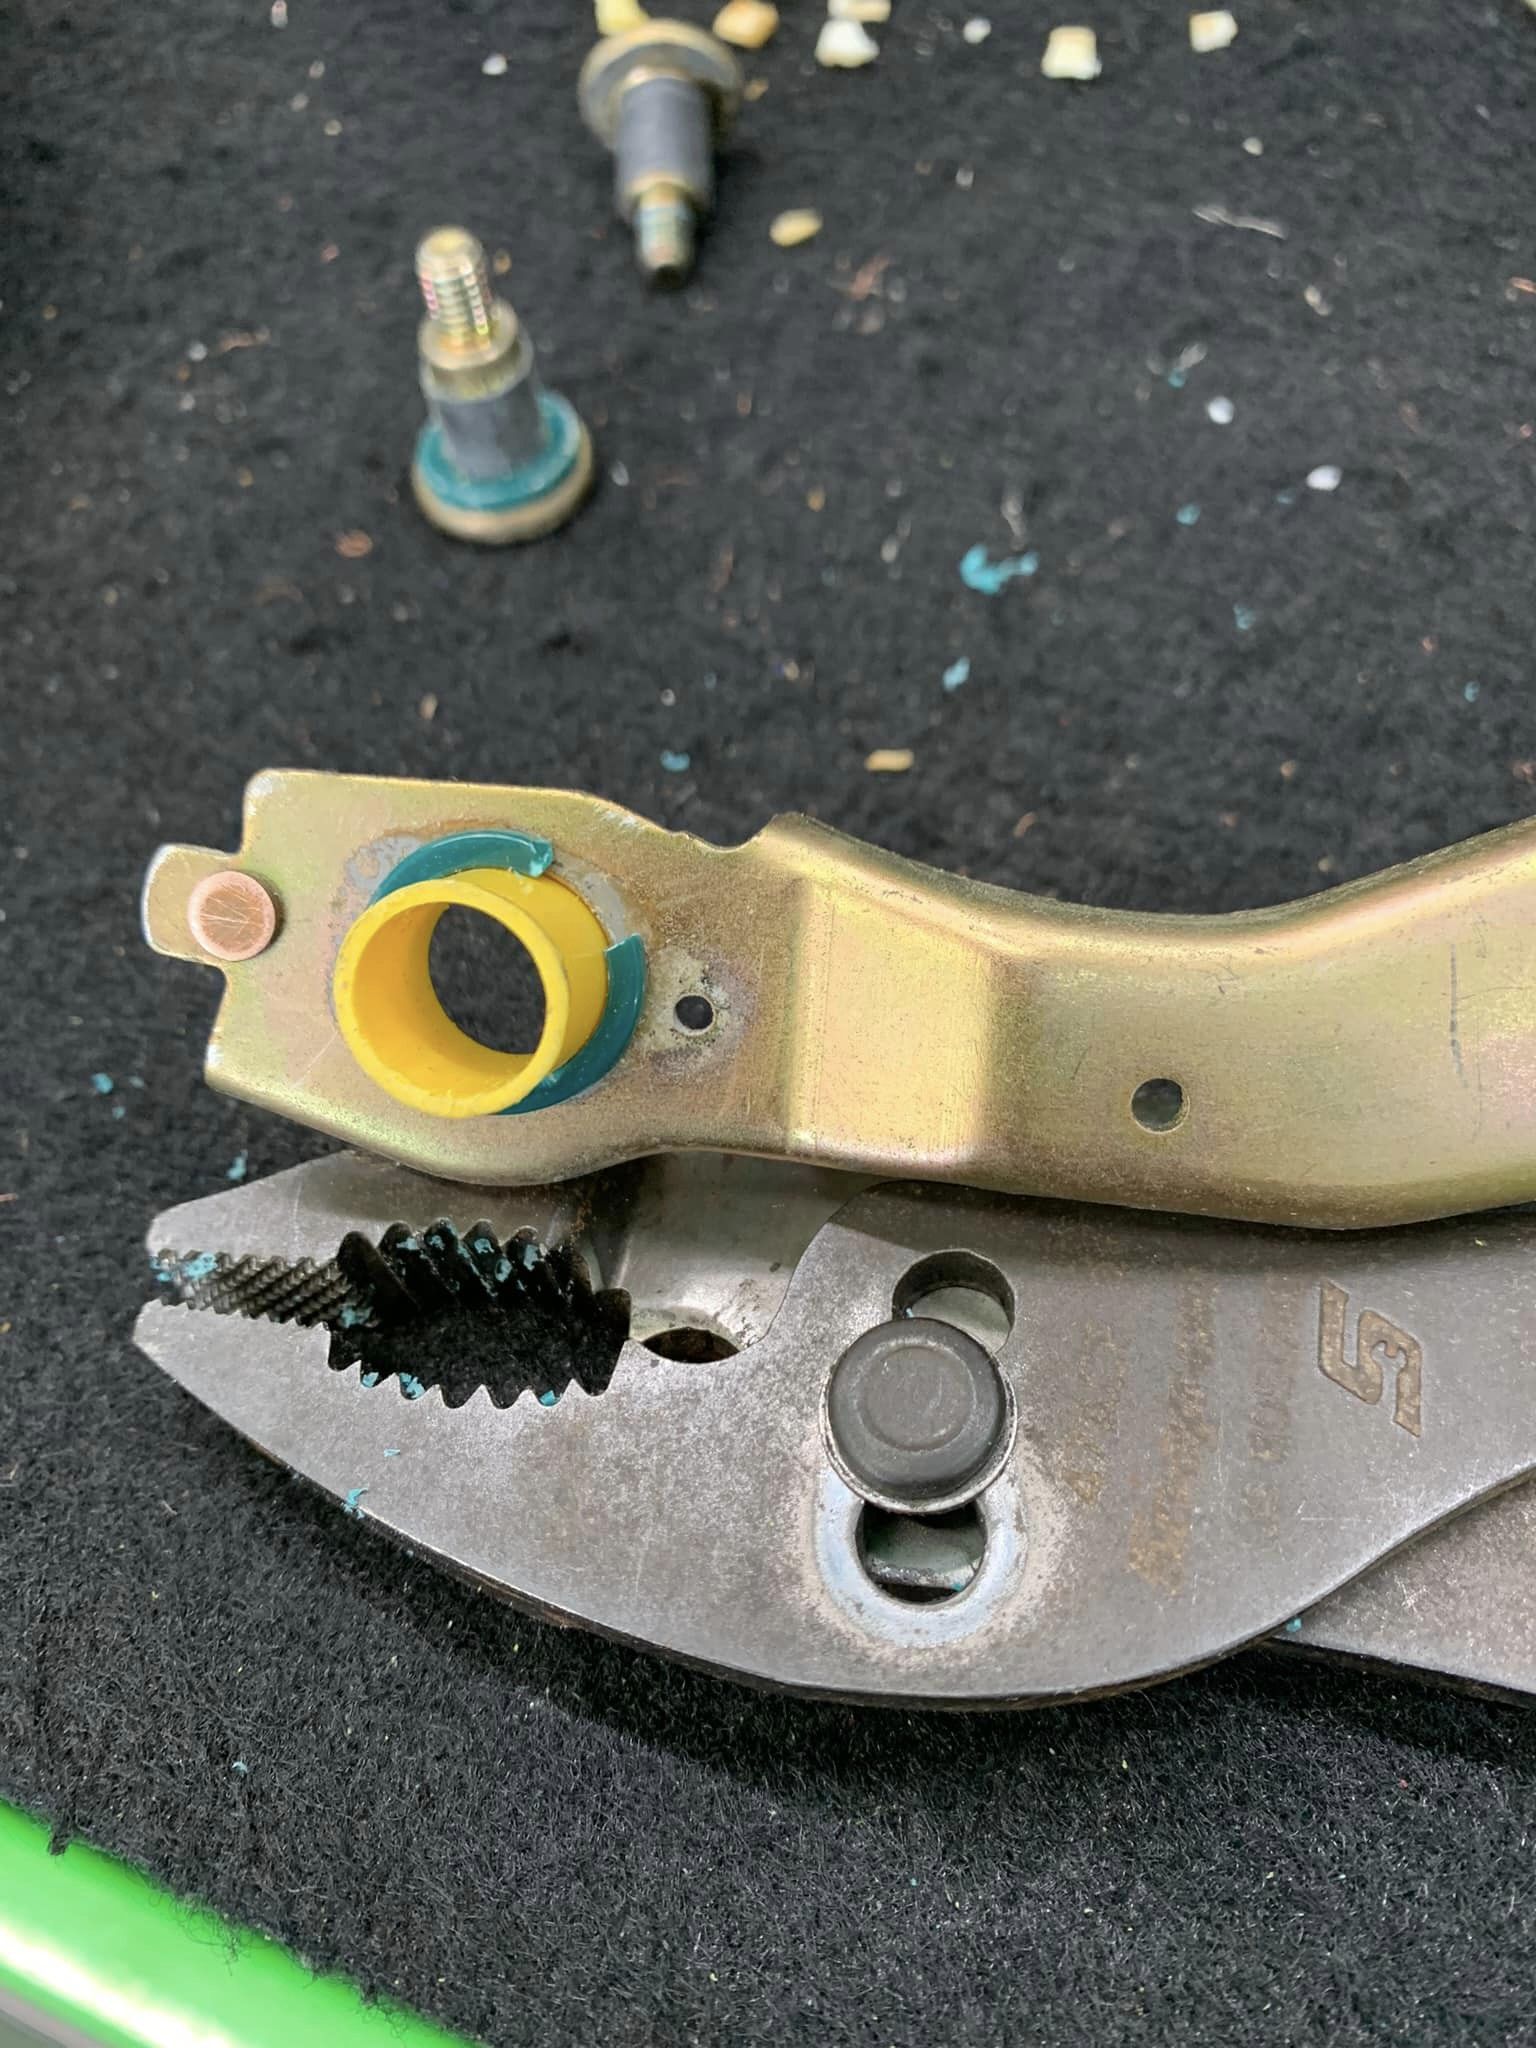
- Basically you are going to file/sand down the plastic spacers to less then 1/8”. You don’t want to go too thin. We don’t want them to crack under the pressure of the horn springs. I used a air sander and found it was actually easiest to hold the spacer between two fingers and sand one side at a time. I only sanded my fingers a couple times, LOL. Before you sand four of the spacers you need to drill them out a little, to about 7/16”. You used a step bit and just went slow. Again, we don’t want them to crack. Once you sand those four down you need to cut a slit in them. I simple pair of wire cutters make quick work of this task.
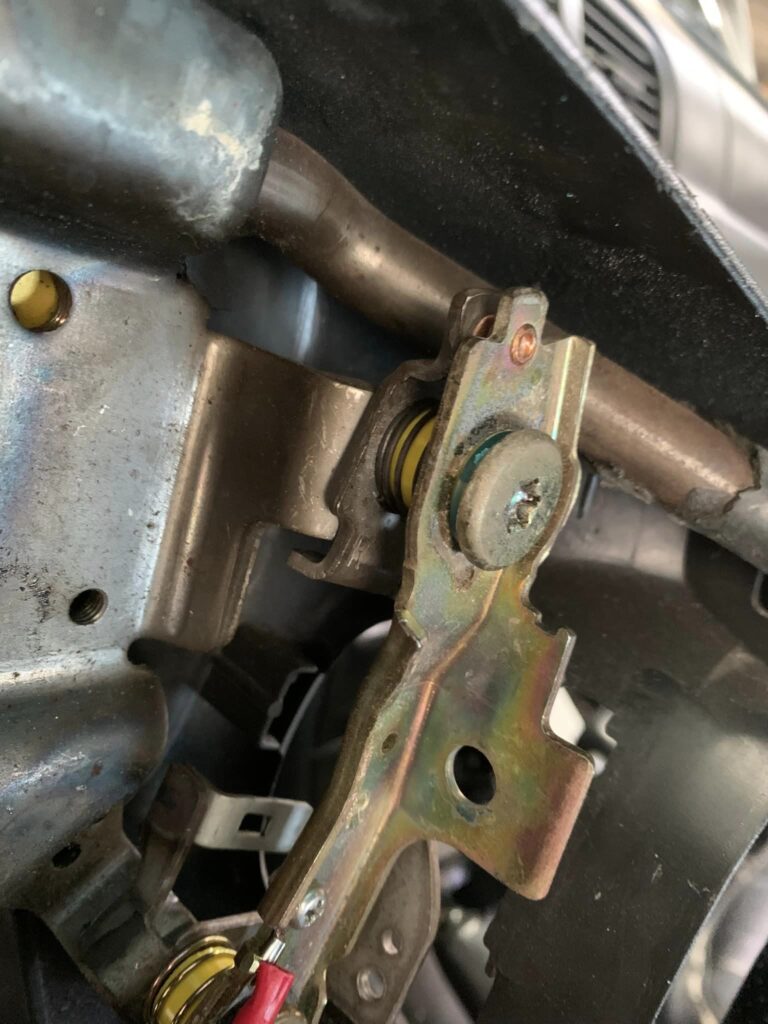
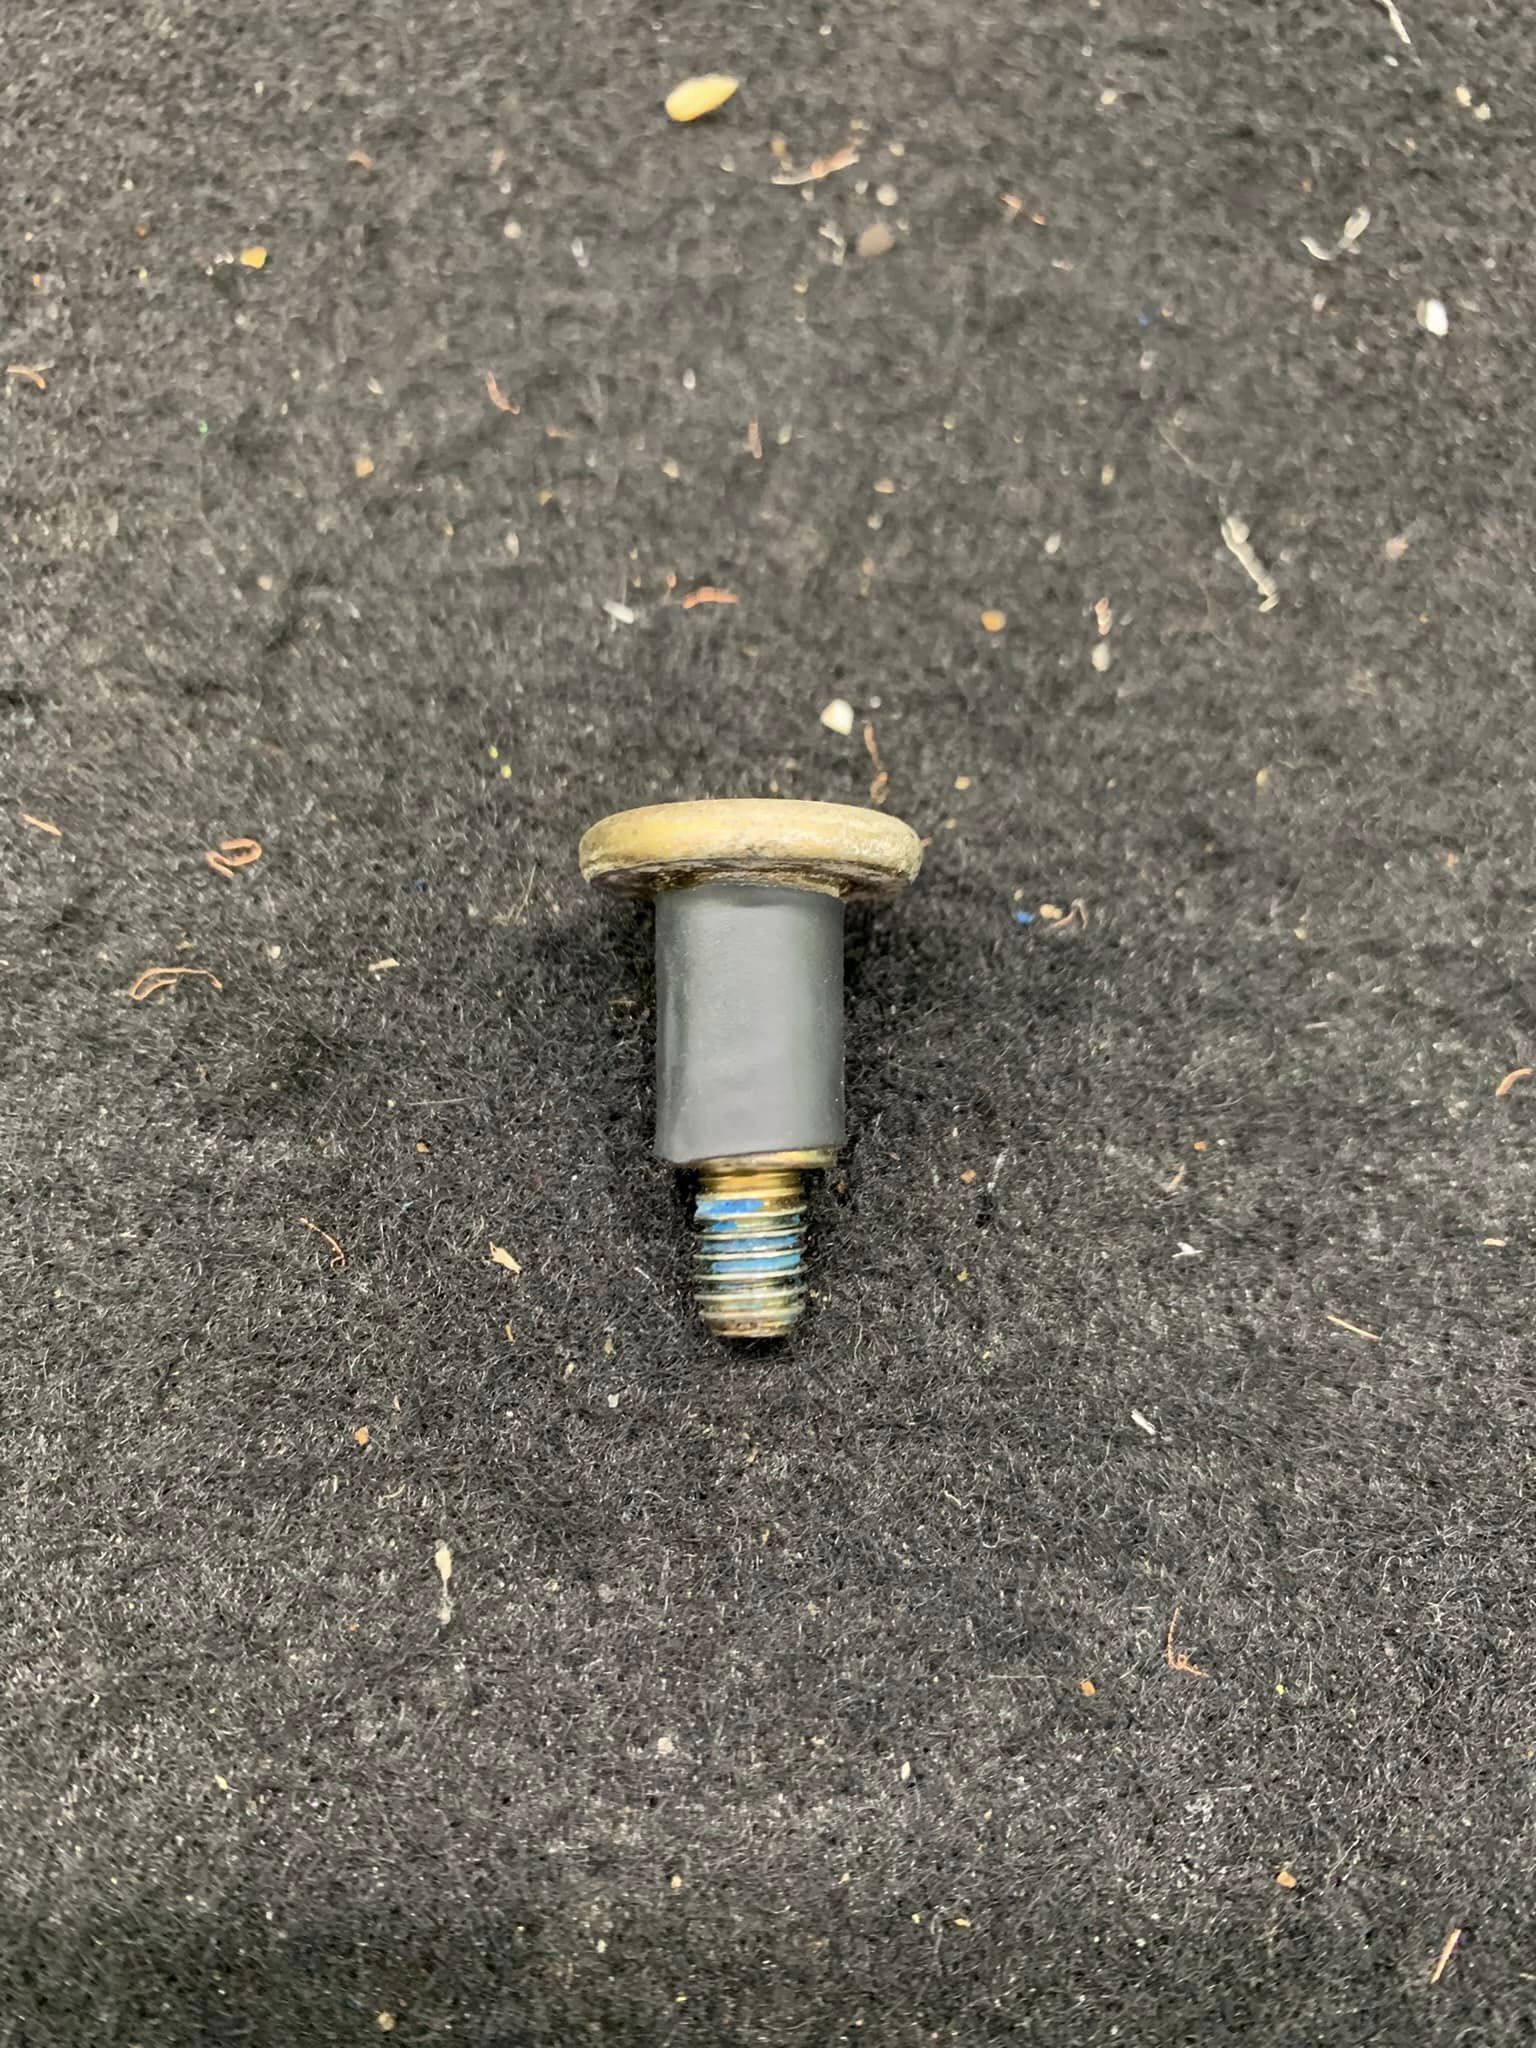
- Take the four torks bolts that hold the air bag bracket’s off. You are going to cut the heat shrink to the same length as the smooth part of the bolts, you don’t want the heat shrink to cover any of the threads. Side them on and shrink them in place.
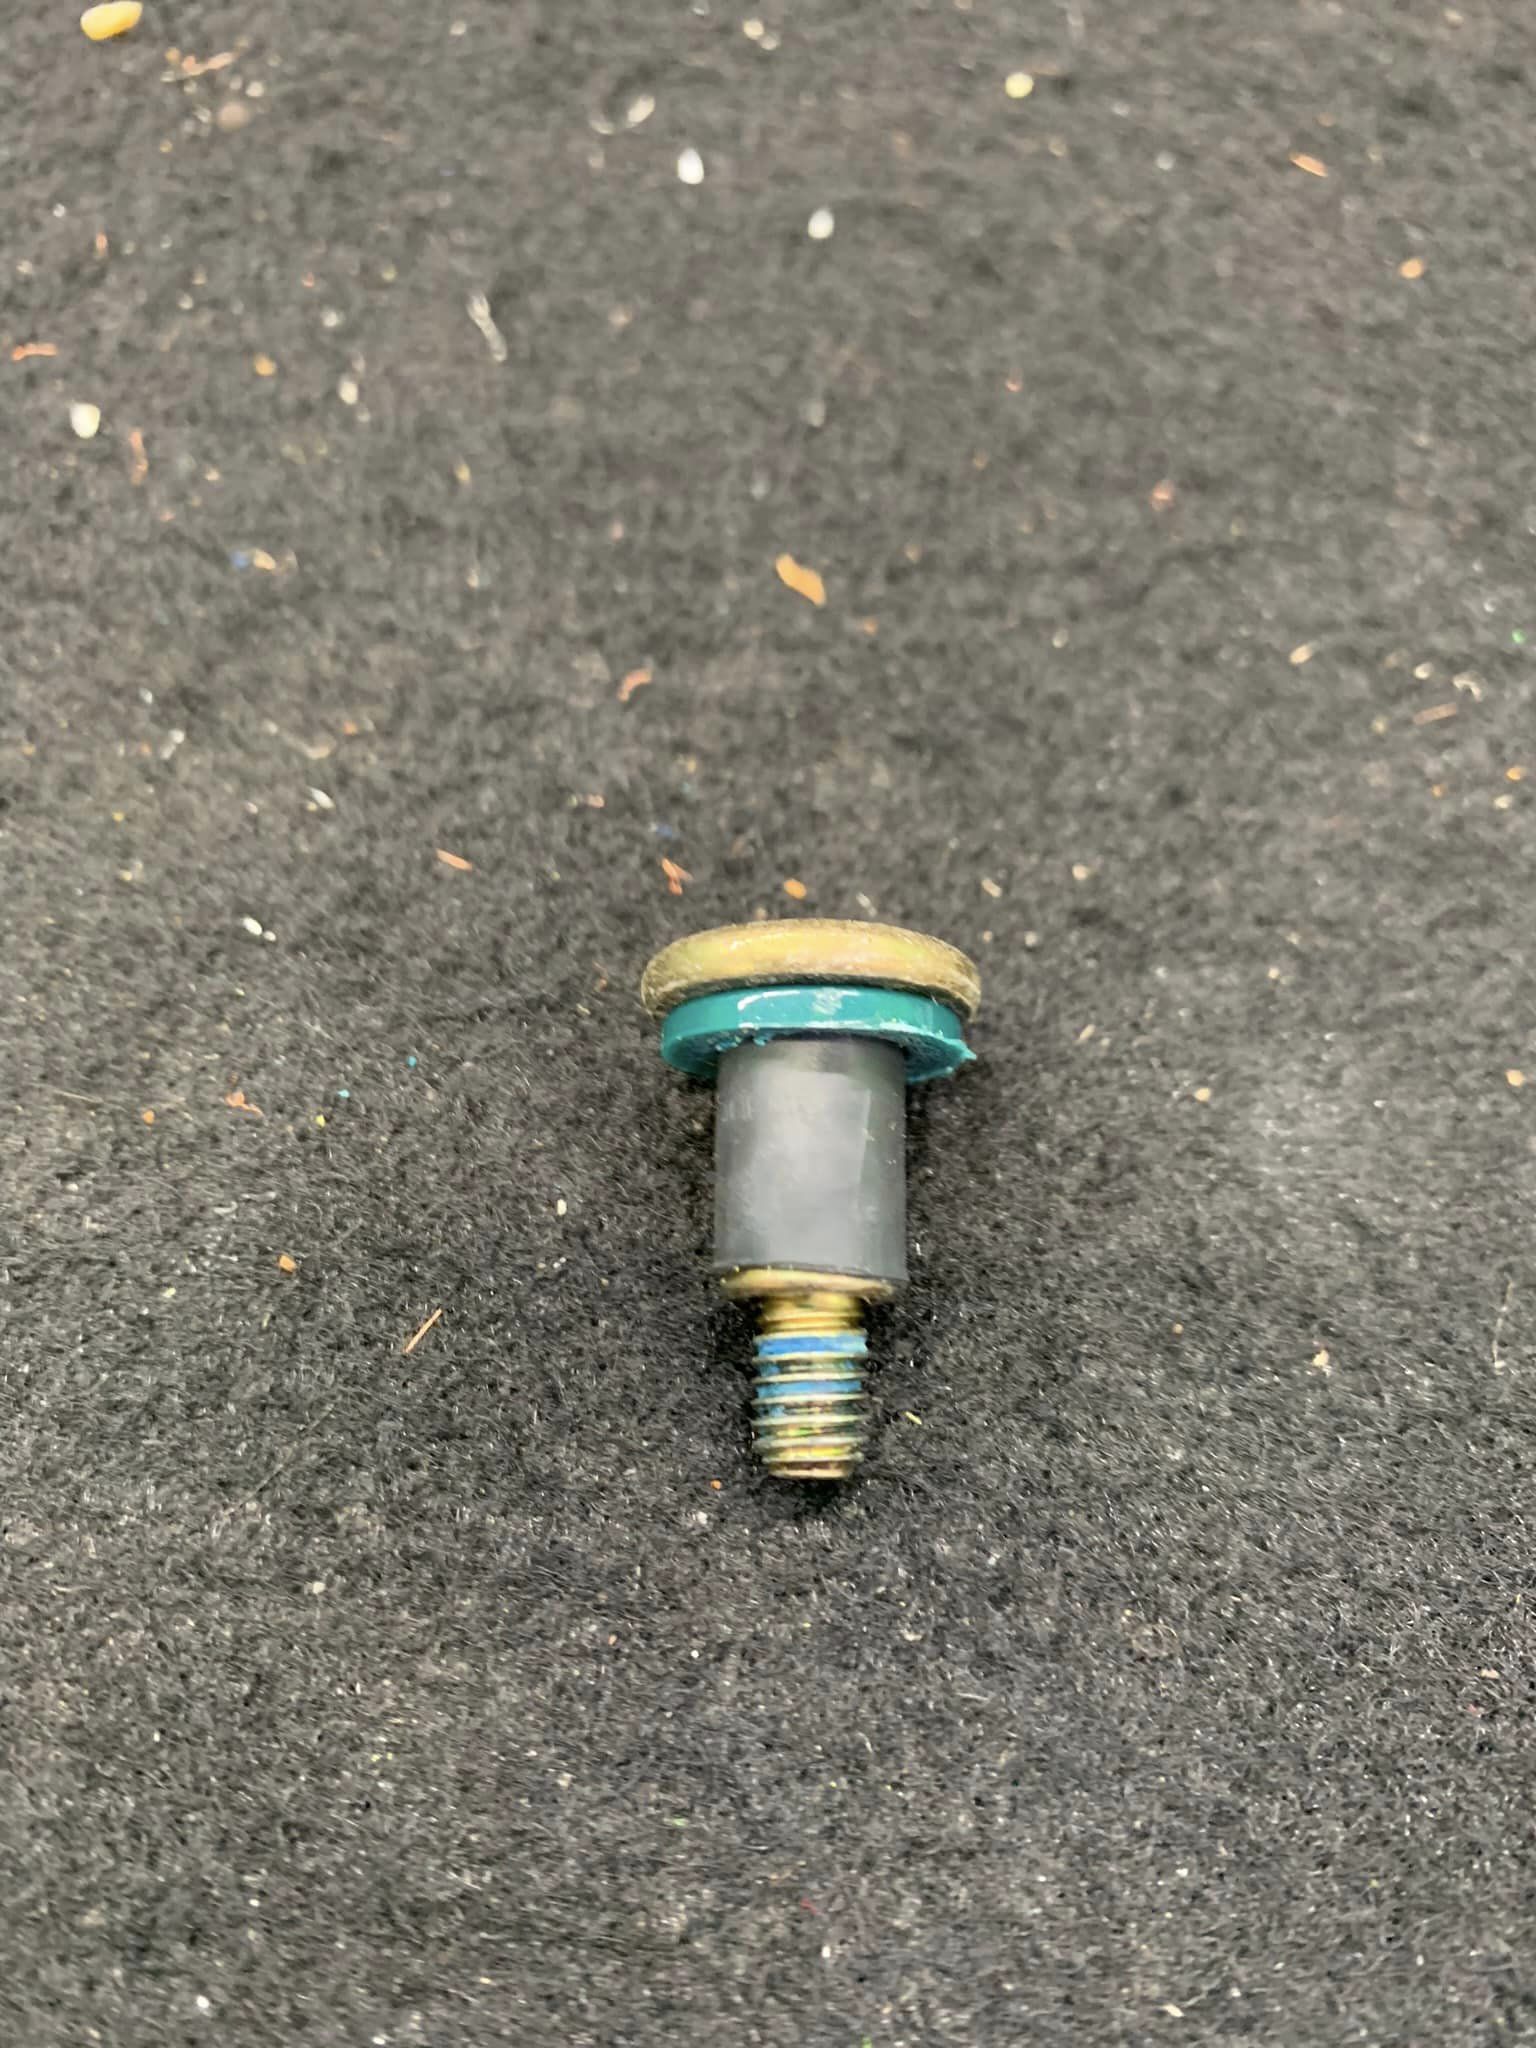
- Next take the four plastic washers you didn’t drill out and slide them onto the bolts. Its going to be a little bit of a tight fit but they will go on.
- Now take the two 4ga butt connects and press the metal connector out of the middle. We only need the outer insulators. I used a couple of sockets to tap them out. Next you need to cut them in half, making four pieces. You will be left with four pieces, each with a big and small end. Next your going to sand the large end of each piece down so it’s the same size as the smooth part of each bolts that’s left after putting the first washer on. Again, you don’t want them to cover any of the threads. Once done slide these onto the bolts and slide the bolts through the mounting brackets.
- Next, take the four washers you drilled out and cut and carefully put them over the center insulator by prying them open a bit, being careful not to brake them. I had no problems as they are pretty durable.
The final step is you are going to have to ”unwind” the spring a bit. They are a little too small to go over the center insulator so unwinding them will make there diameter bigger allowing them to side over the insulator. I took a pair of small pliers and on a few locations around the spring unwound them. Kinda hard to explain but I think you can get the idea here. - Now it’s time to reassemble everything. Just make sure the springs are outside the center insulators and you will be all good. This should last the life of your car for only a few dollars.
- If anyone has any questions feel free to ask!
















 Dyno Video