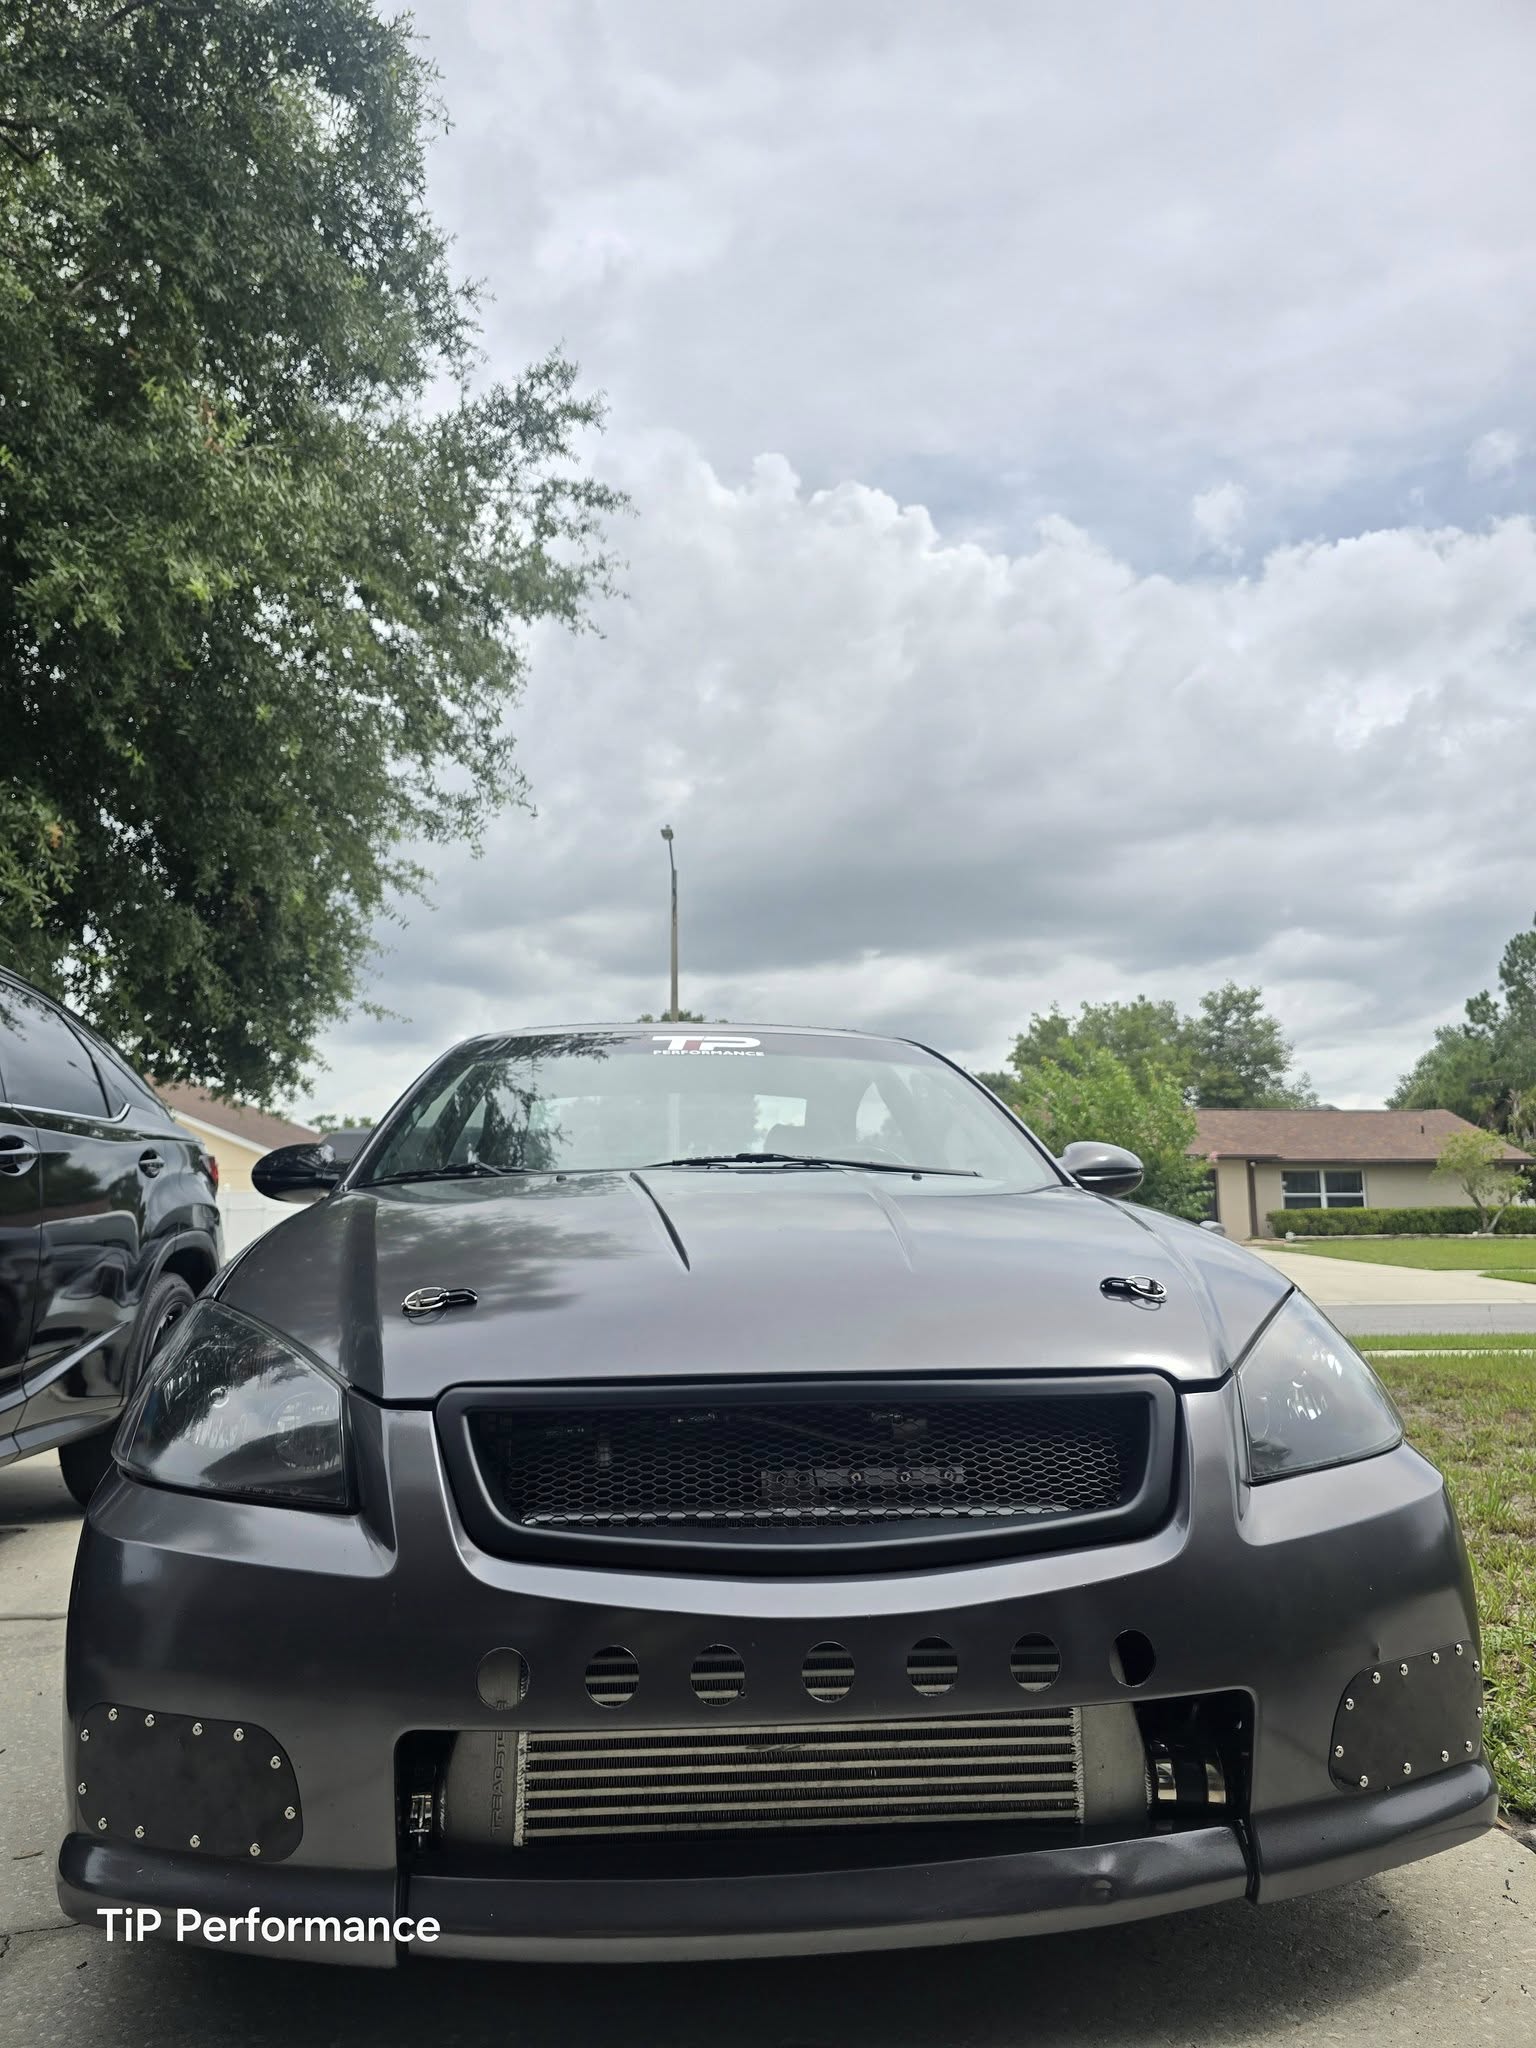
Owner: Terrance H.
Year: 2006
Model: Altima
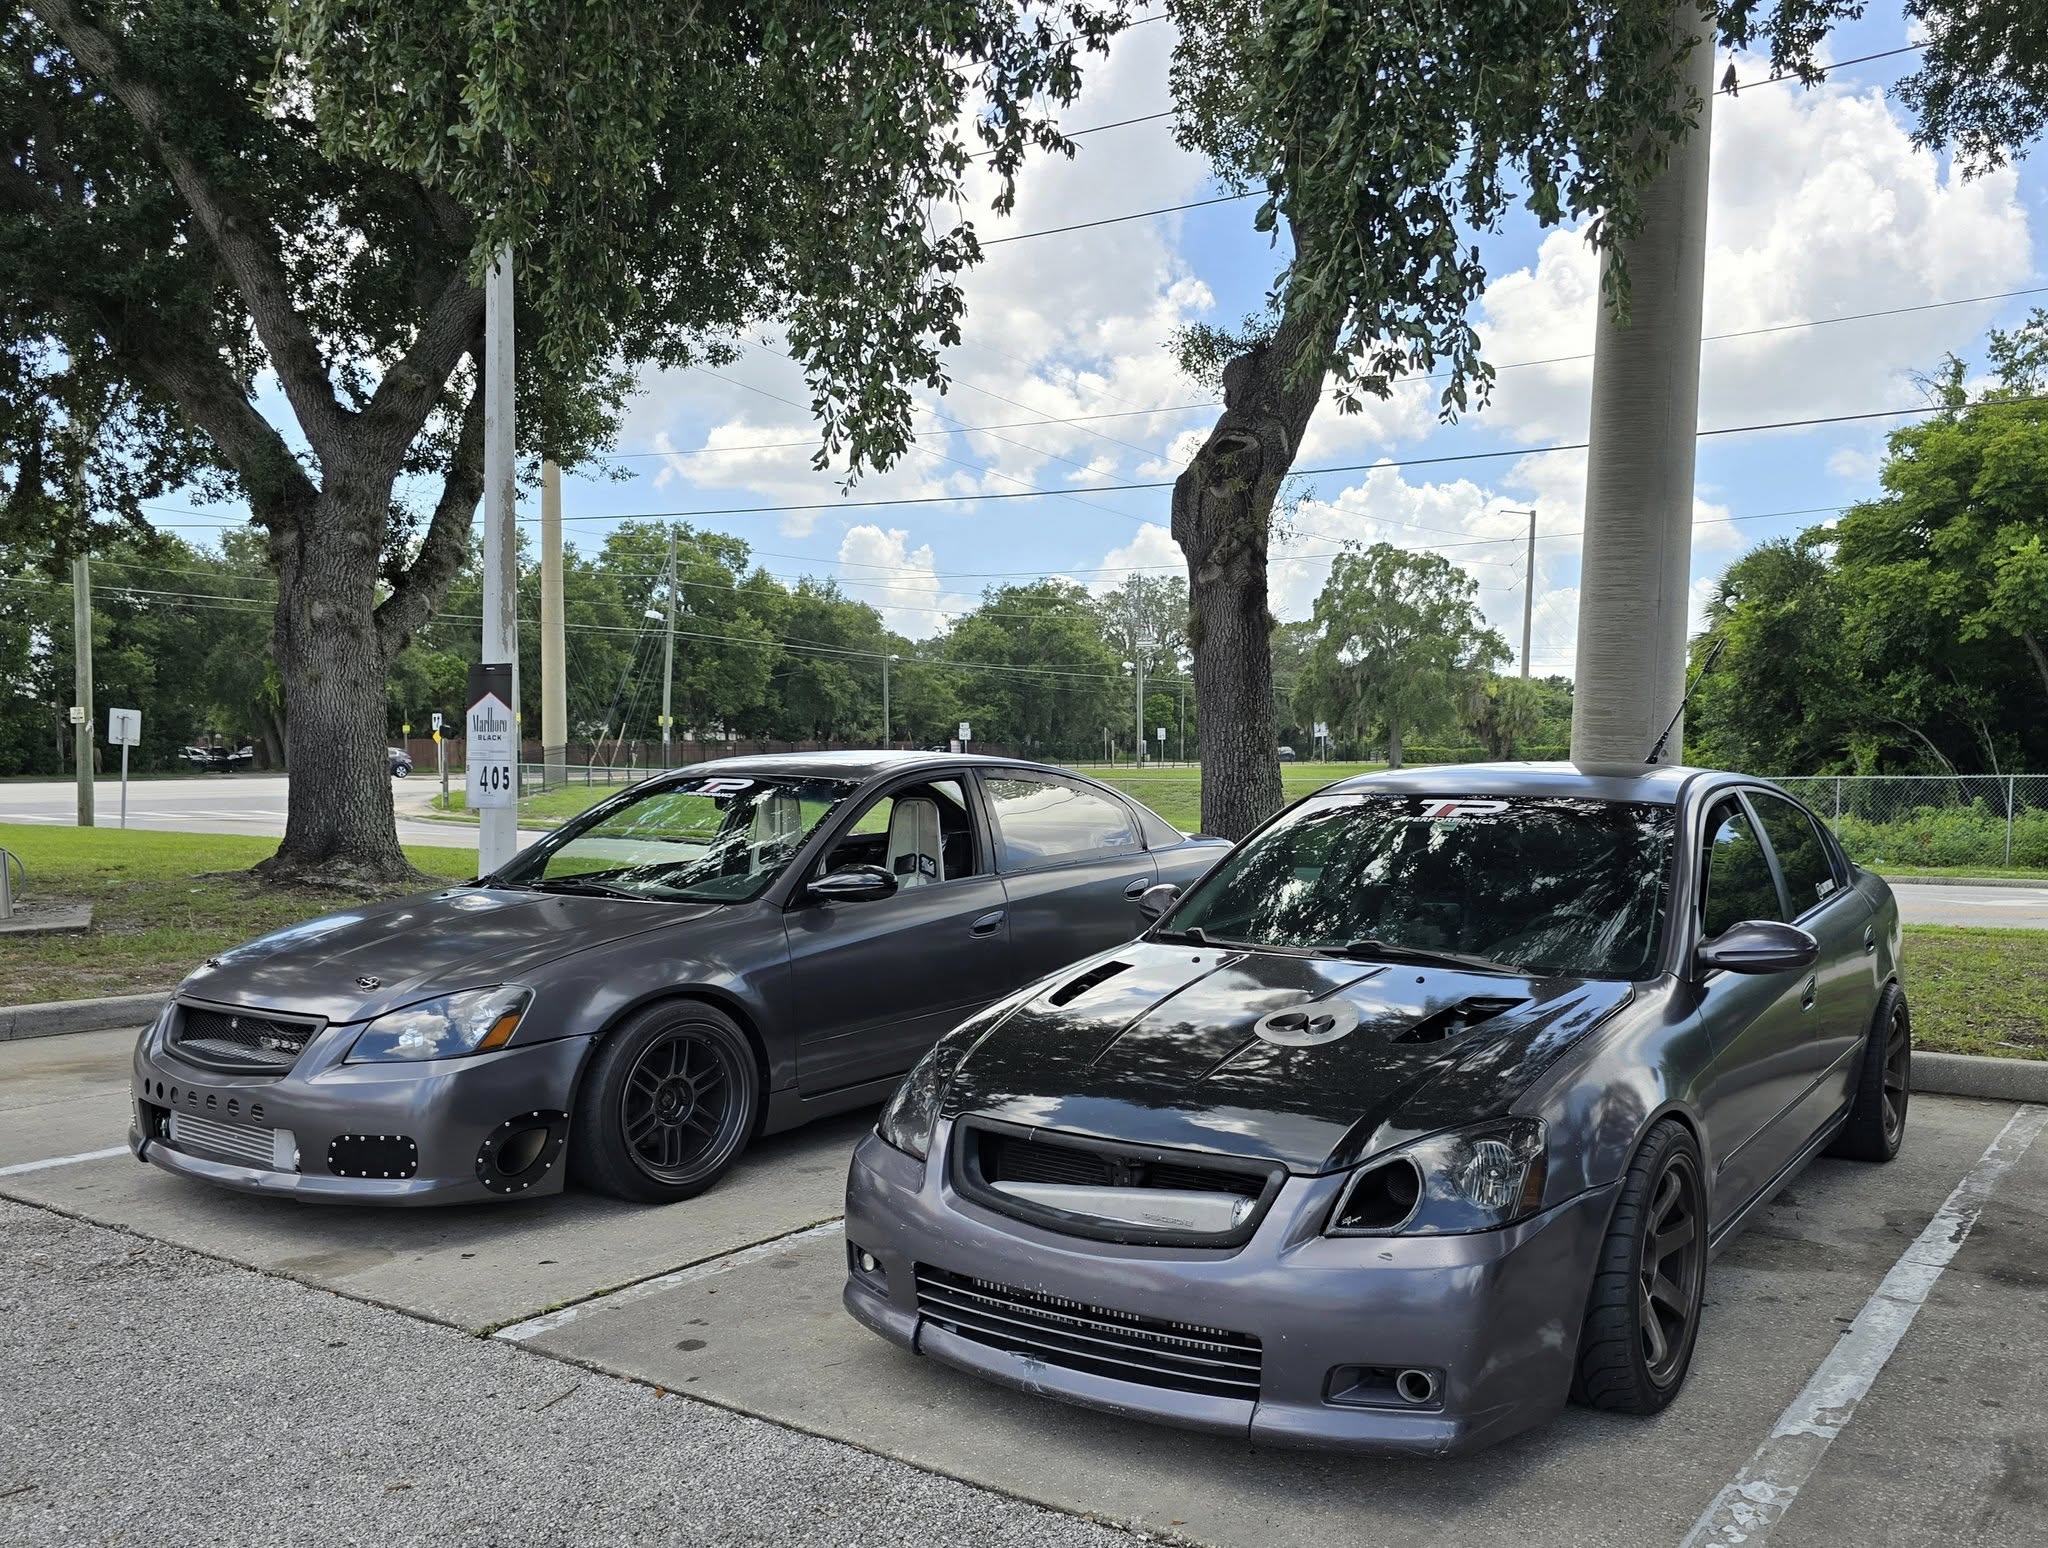
Current Color: Smoke
Transmission: 6-Speed Manual
Trim: SE-R
Similar but different.


![]()


")
Owner: Terrance H.
Year: 2006
Model: Altima
Current Color: Smoke
Transmission: 6-Speed Manual
Trim: SE-R
Similar but different.
![]()


Community Member Credit: TJ Max / ewuzh
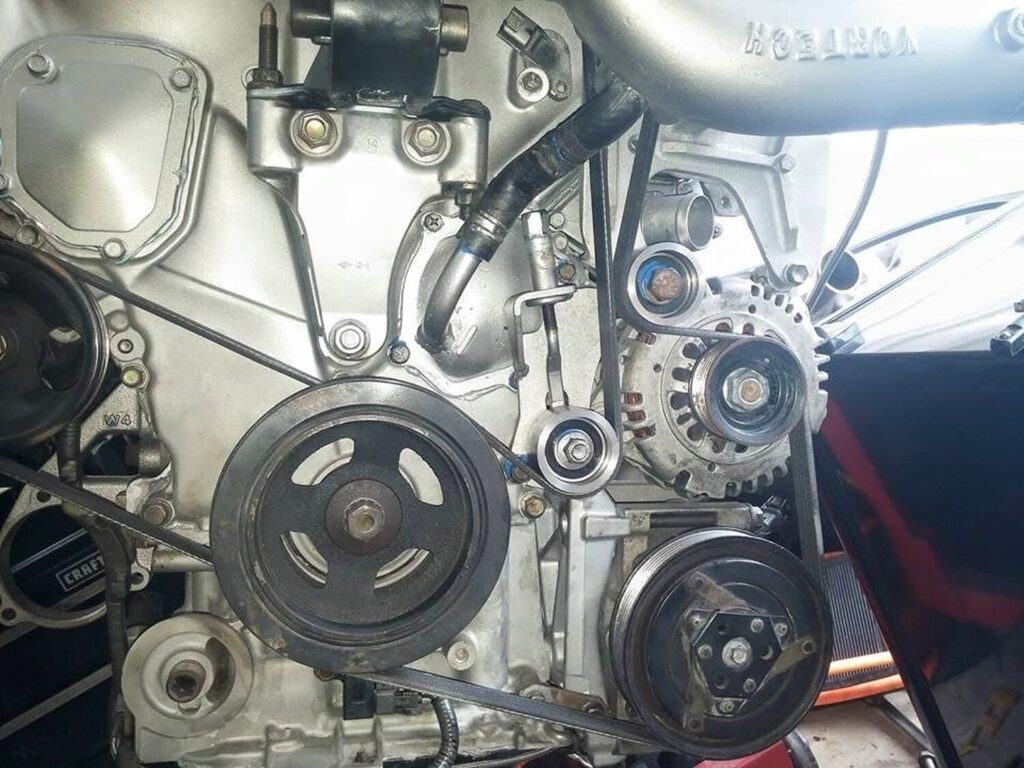
For some reason, the big Allen head bolts that bolt the SC to the plate seemed to be standard, not metric. I figured it made sense since the bolts, Vortech, etc assembly is American-made, not overseas. So it wouldn’t be metric. If you do not have the EXACT Allen keys for these do not even ATTEMPT to turn the bolts, they will strip and you guys would be screwed.
The way I did it was:
1. Jack up car, support on a jack stand, pull off wheel, remove the plastic liner that covers the belt area.
2. Pull off the air filter and disconnect the charge pipe, get it out of the way.
3. Disconnect the SS oil feed line.
4. Remove those 2 17mm bolts through the motor mount (far left on the SC plate).
5. Get those 8mm bolts (or 10mm) that go through the plate and the timing chain case off. Even the ones right behind the pulley. Use a 10 or 8mm open-end wrench to back them out.
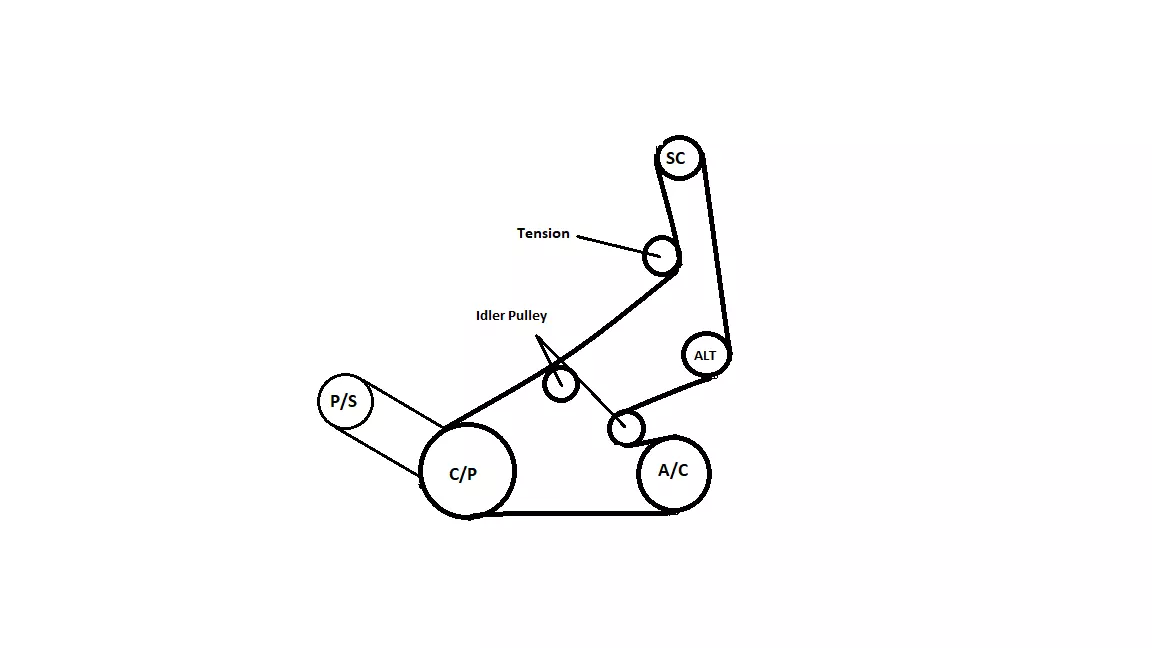
6. Get under the car, use a 14mm wrench to get the nut off the tensioner pulley off, and pull off the tensioner pulley.
7. Remove the 3 bolts holding in the tensioner bracket.
8. Reach up and get a 12mm socket onto that bolt up by the fat radiator hose. (Some find it easier to remove the SC plate with this hose disconnected from the Thermo housing completely) I agree, but I don’t like to make unnecessary messes. Remove that 12mm bolt.
9. Next, come from the top or bottom, up to you (If the rad hose is removed, it is so much easier to get to). And use an angle wrench to get that 19mm bolt off the idler pulley. Once you get this off, there is an Allen bolt underneath it that needs to come out as well.
10. There is one more bolt that goes through the standoff bolt, should be obvious. Disconnect Crank Position Sensor (it is the only wire harness running through/near the SC plate). Go underneath and loosen the hose clamp on the oil drain back J tube. When you finally pull the SC plate off grab that hose and yank it off the drain-back tube.
Hope this helps. Good luck.
Hard to explain this, but I used one of those 6 in one universal screwdriver and pulled the bit/insert out. So now you have an empty screwdriver sorta. I slipped the Allen key in that and used it as a mini breaker bar for those Allen bolts behind the SC plate. I think the sizes were standard 3/4 and 1/2. Don’t quote me on it though.
Tools:
Steps
![]()

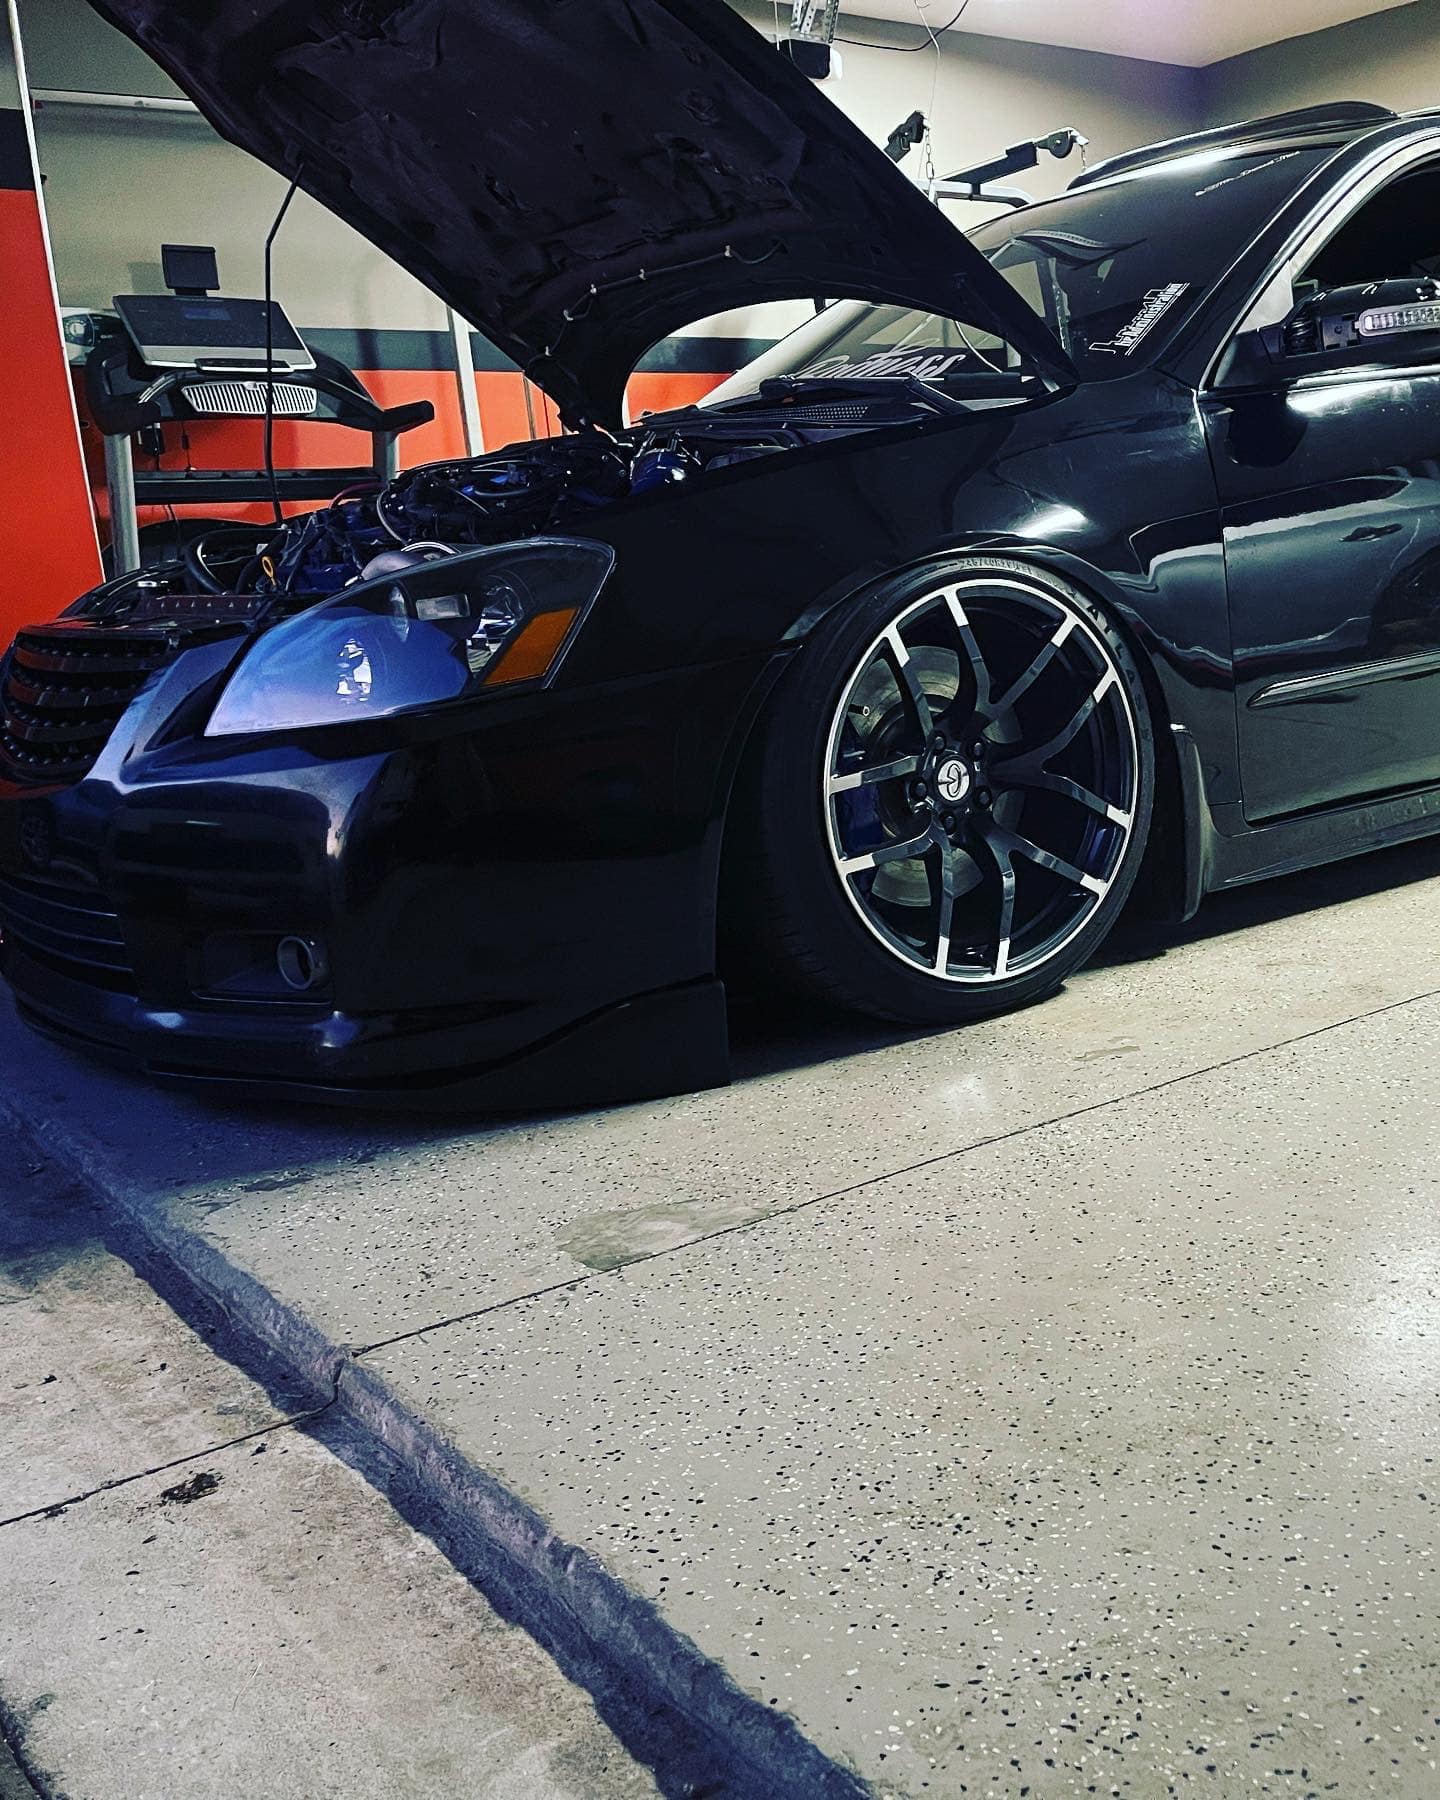
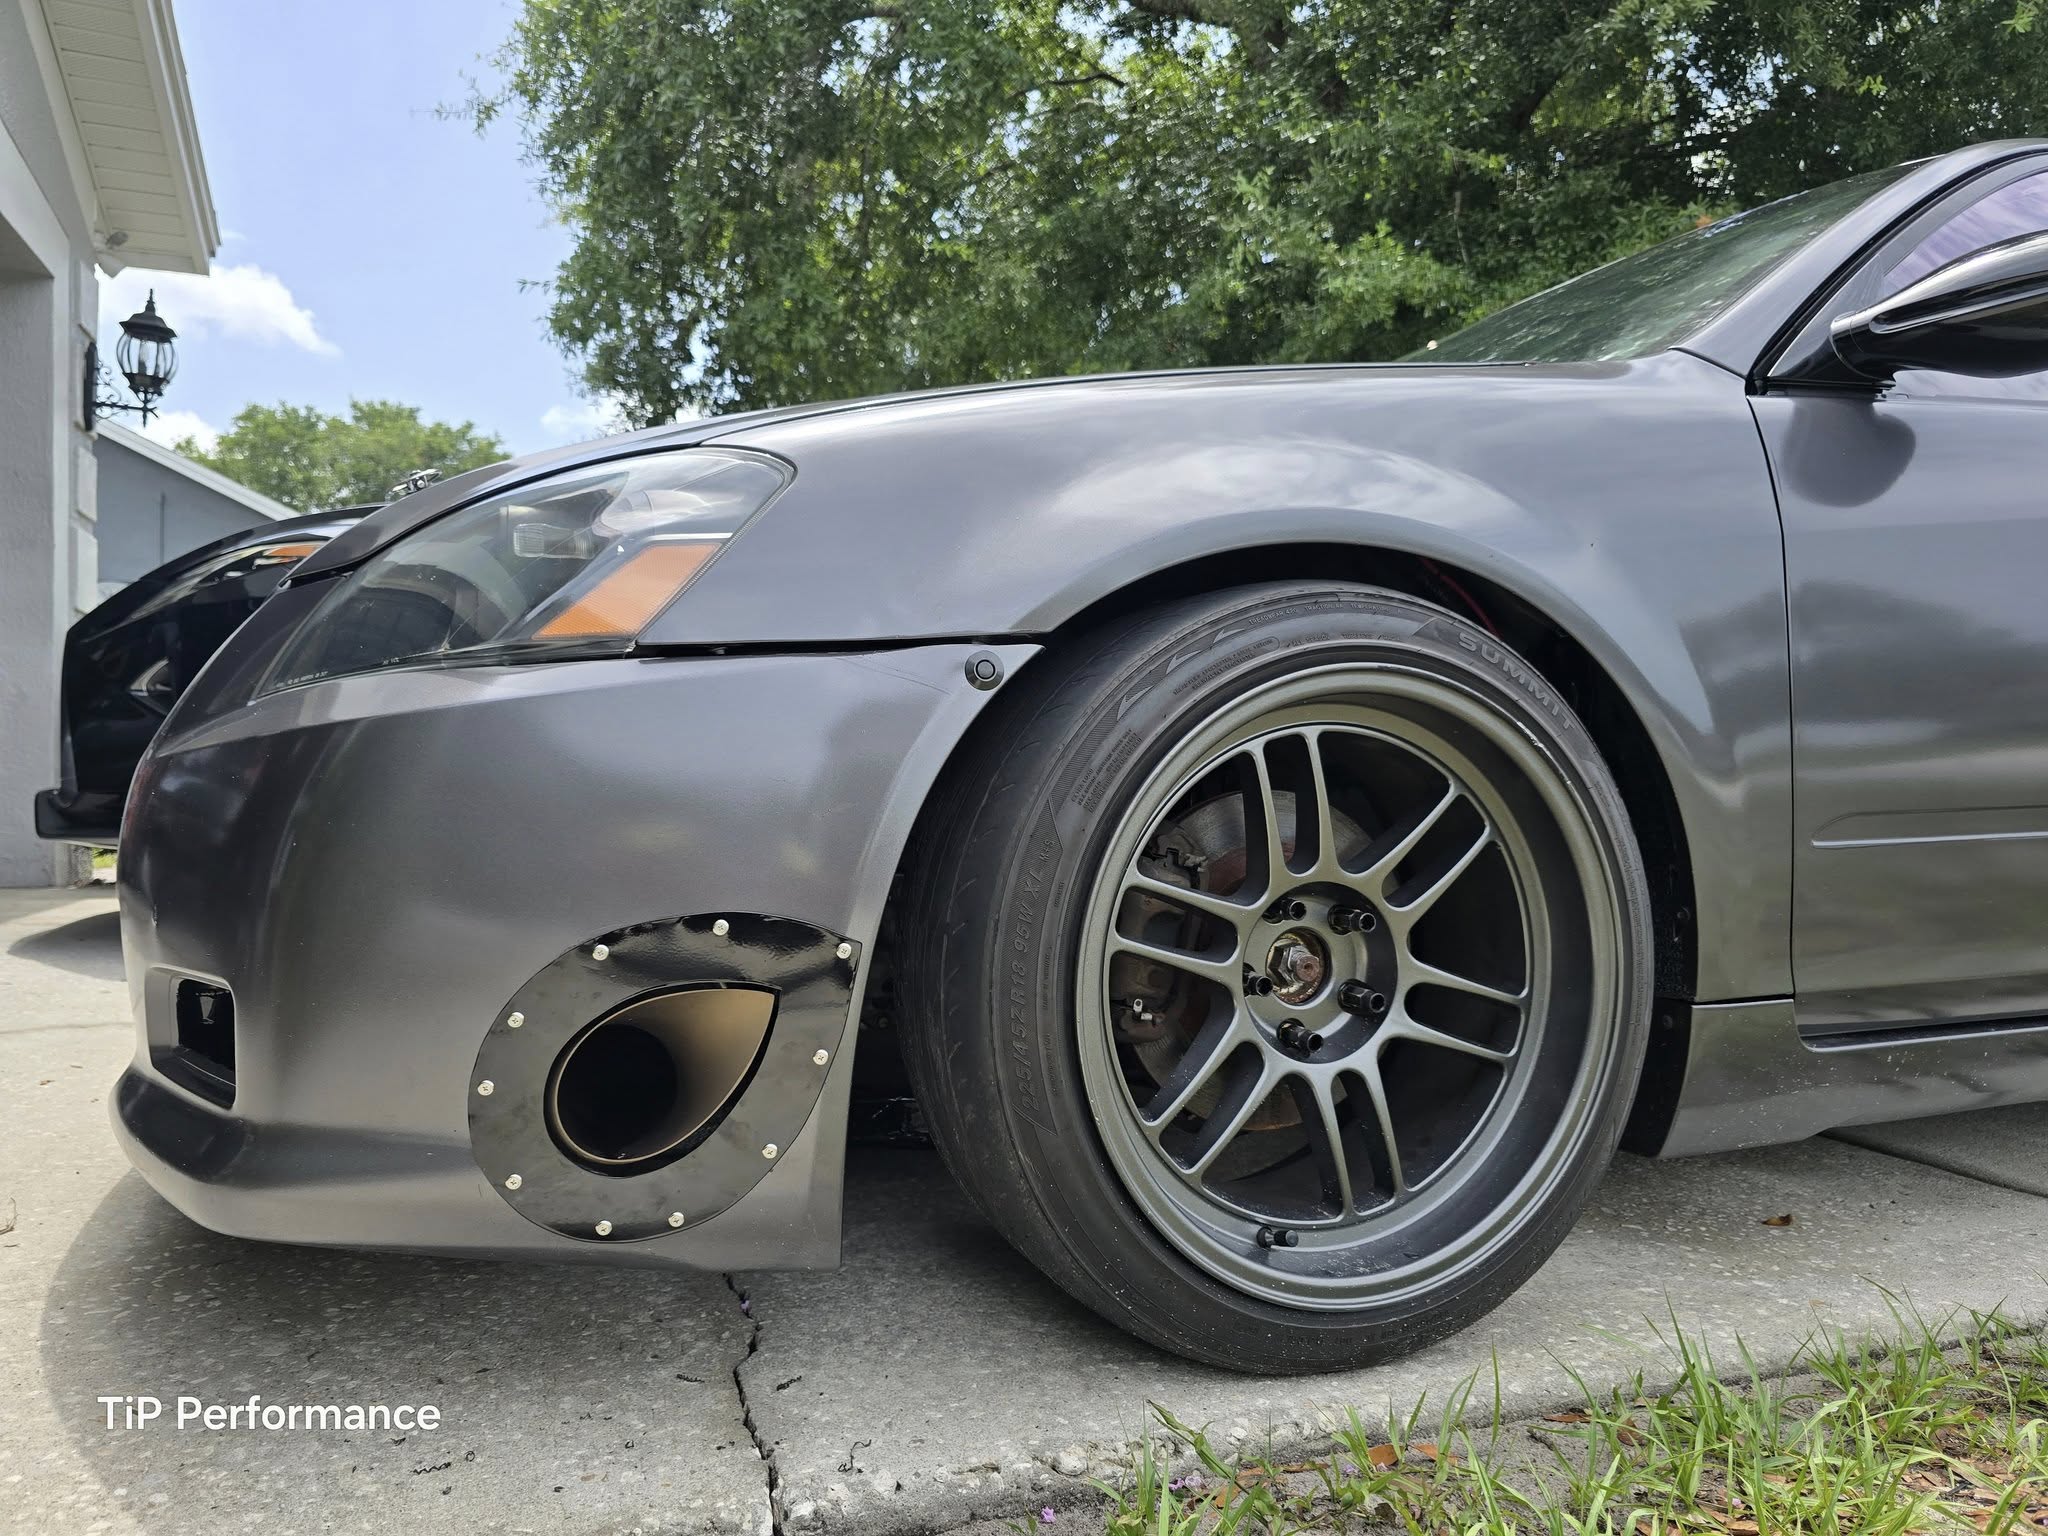
Owner: Andre Nicholson
Year: 2005
Model: Altima
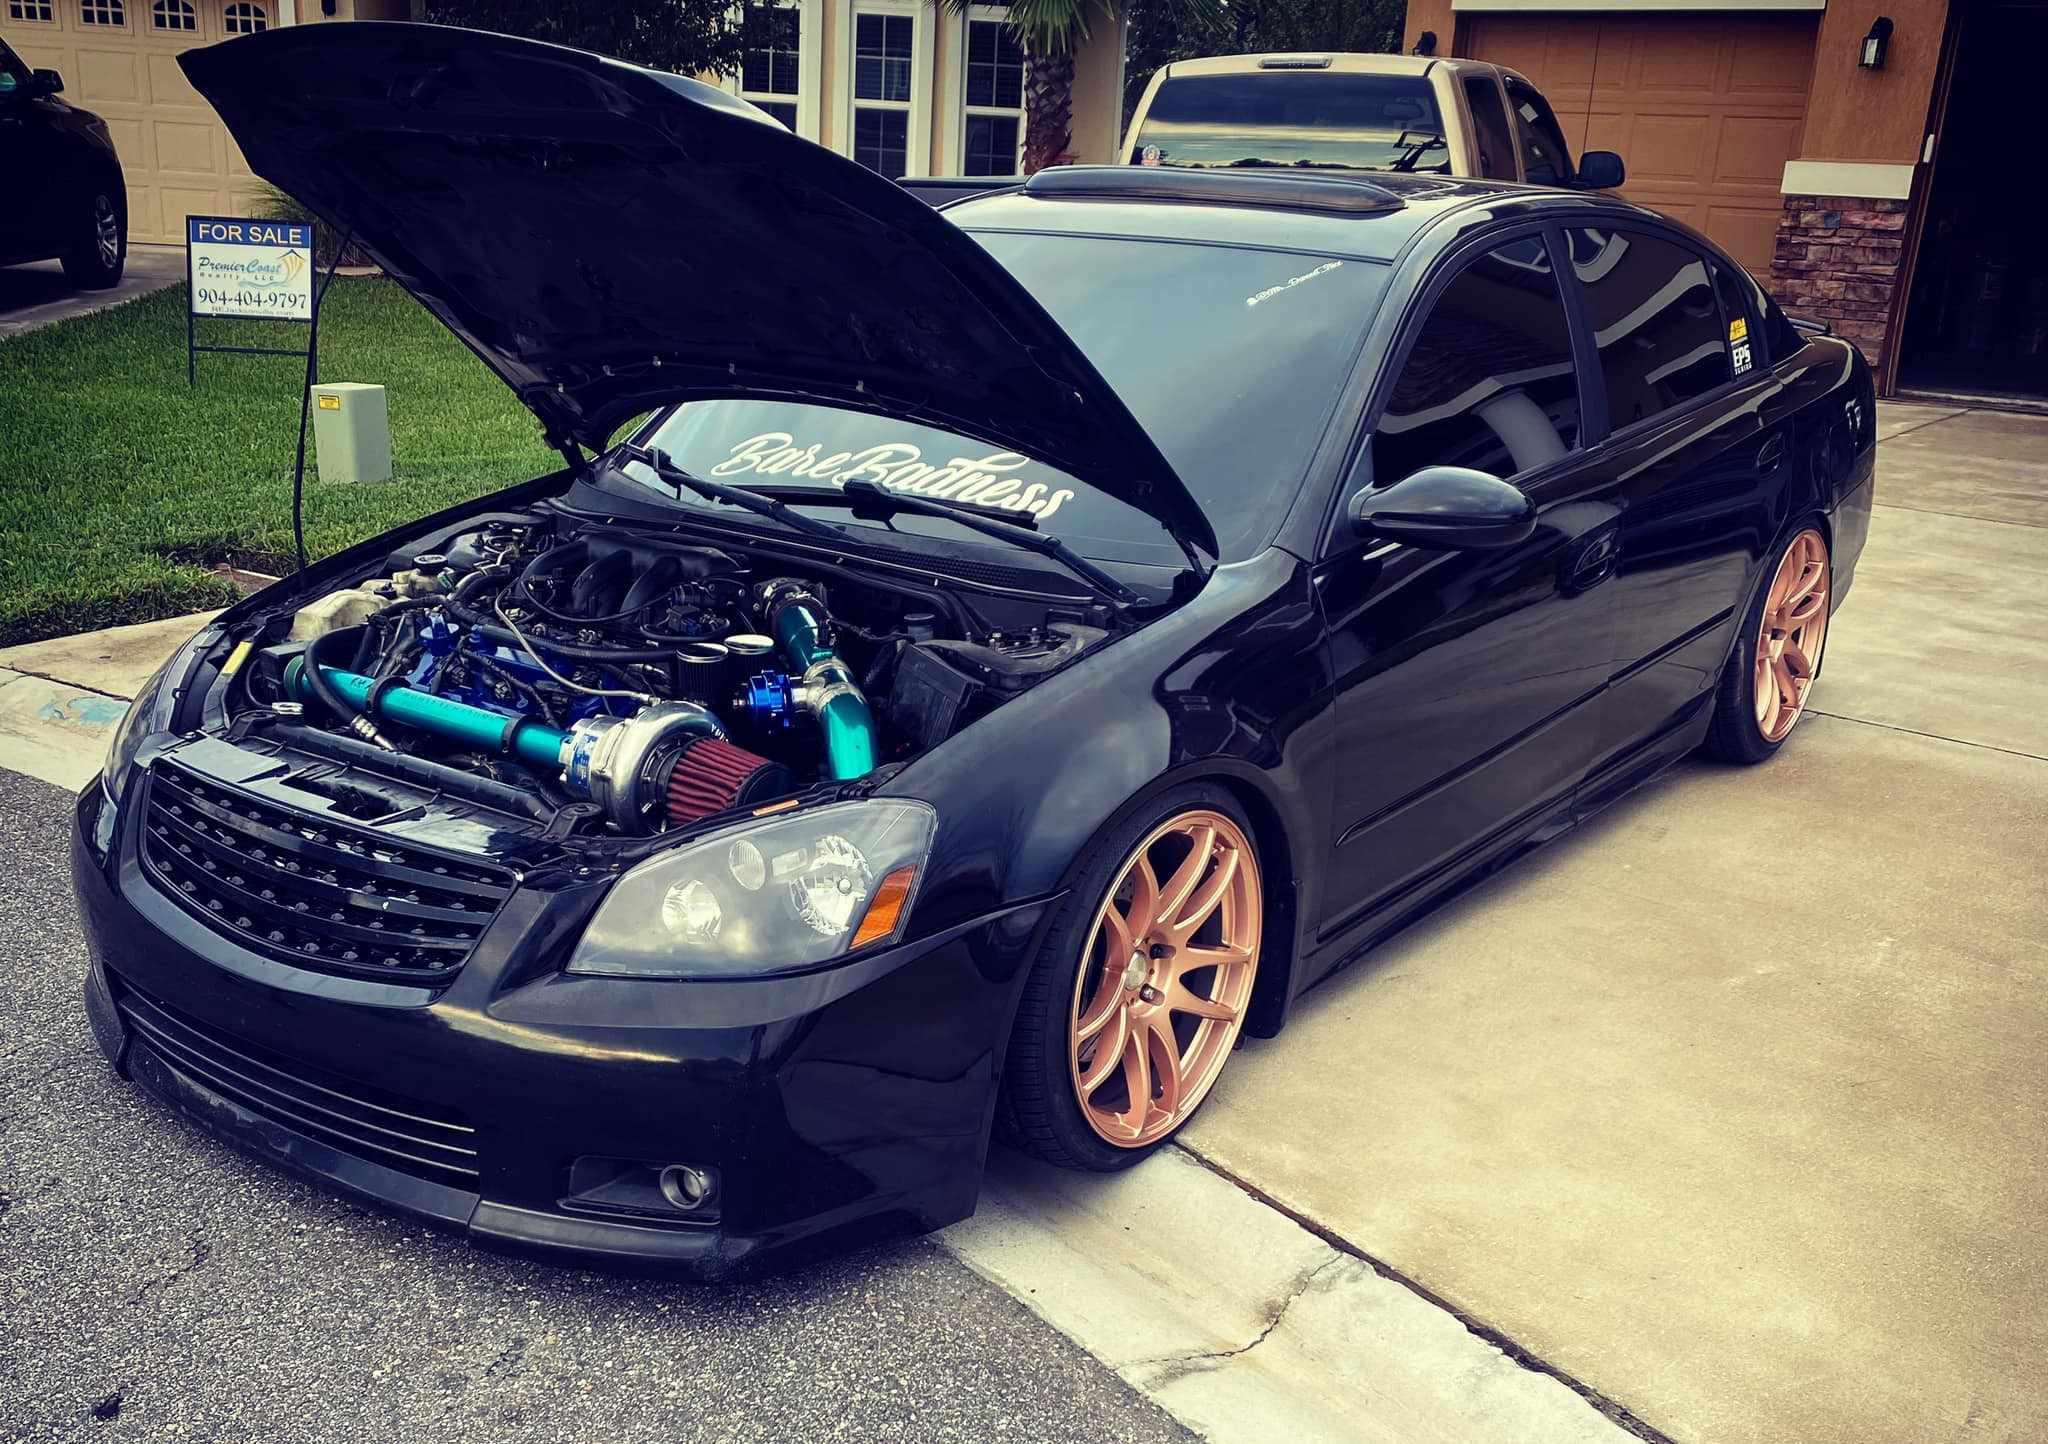
Current Color: Black
Transmission: 6-Speed Manual
Trim: SE-R
Wheels:


![]()


Owner: Andre N.
Year: 2005
Model: Altima
Current Color: Black
Transmission: 6-Speed Manual
Trim: SE-R
![]()
")
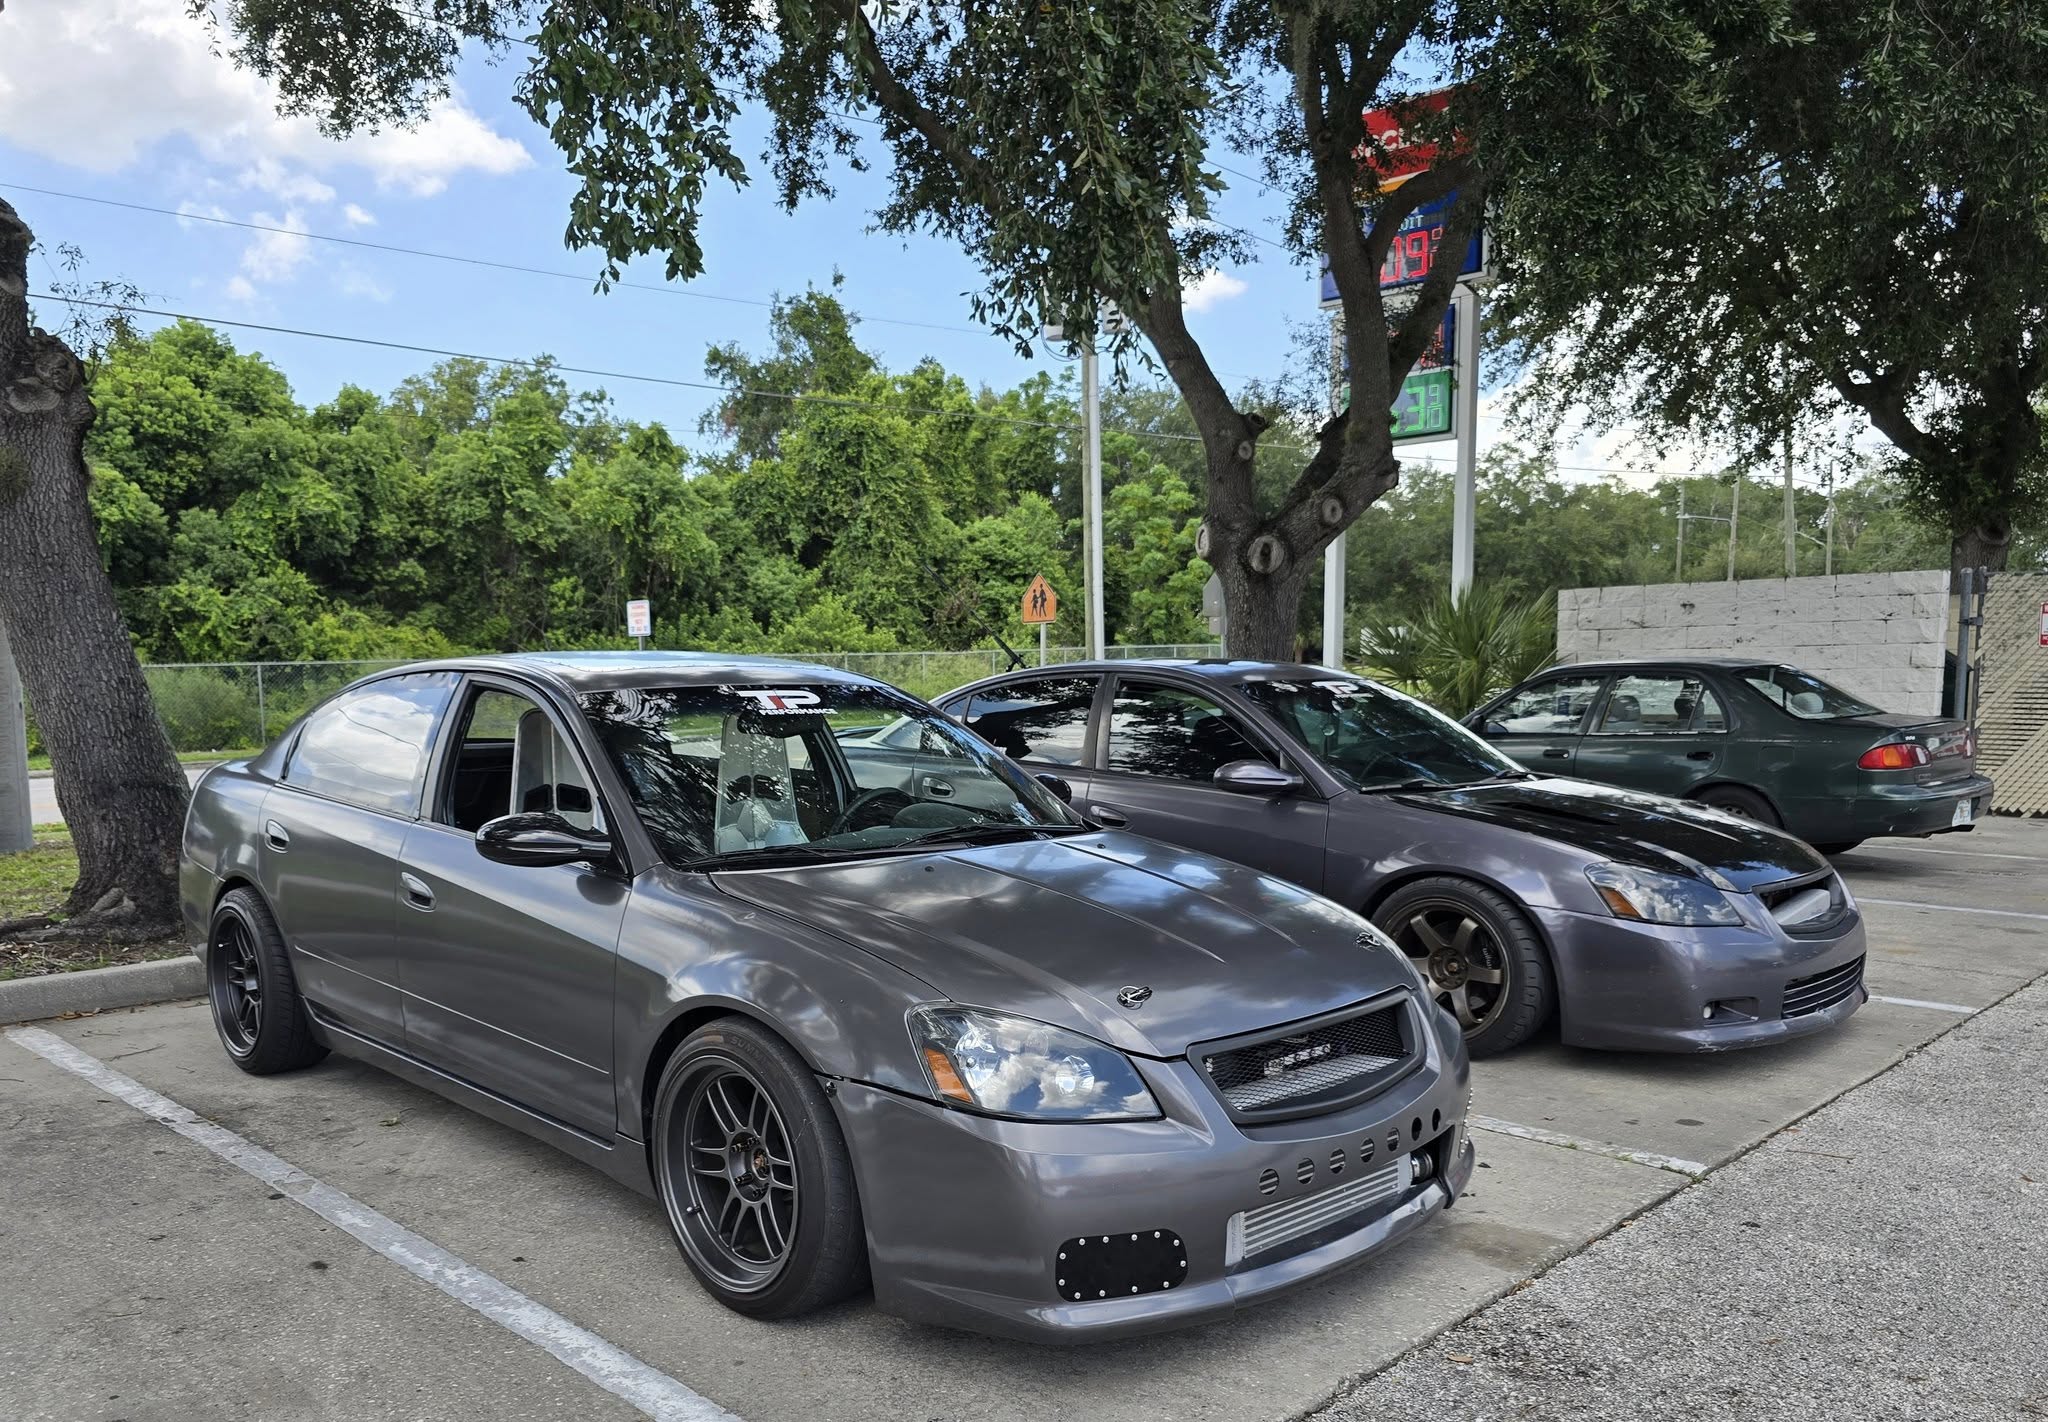
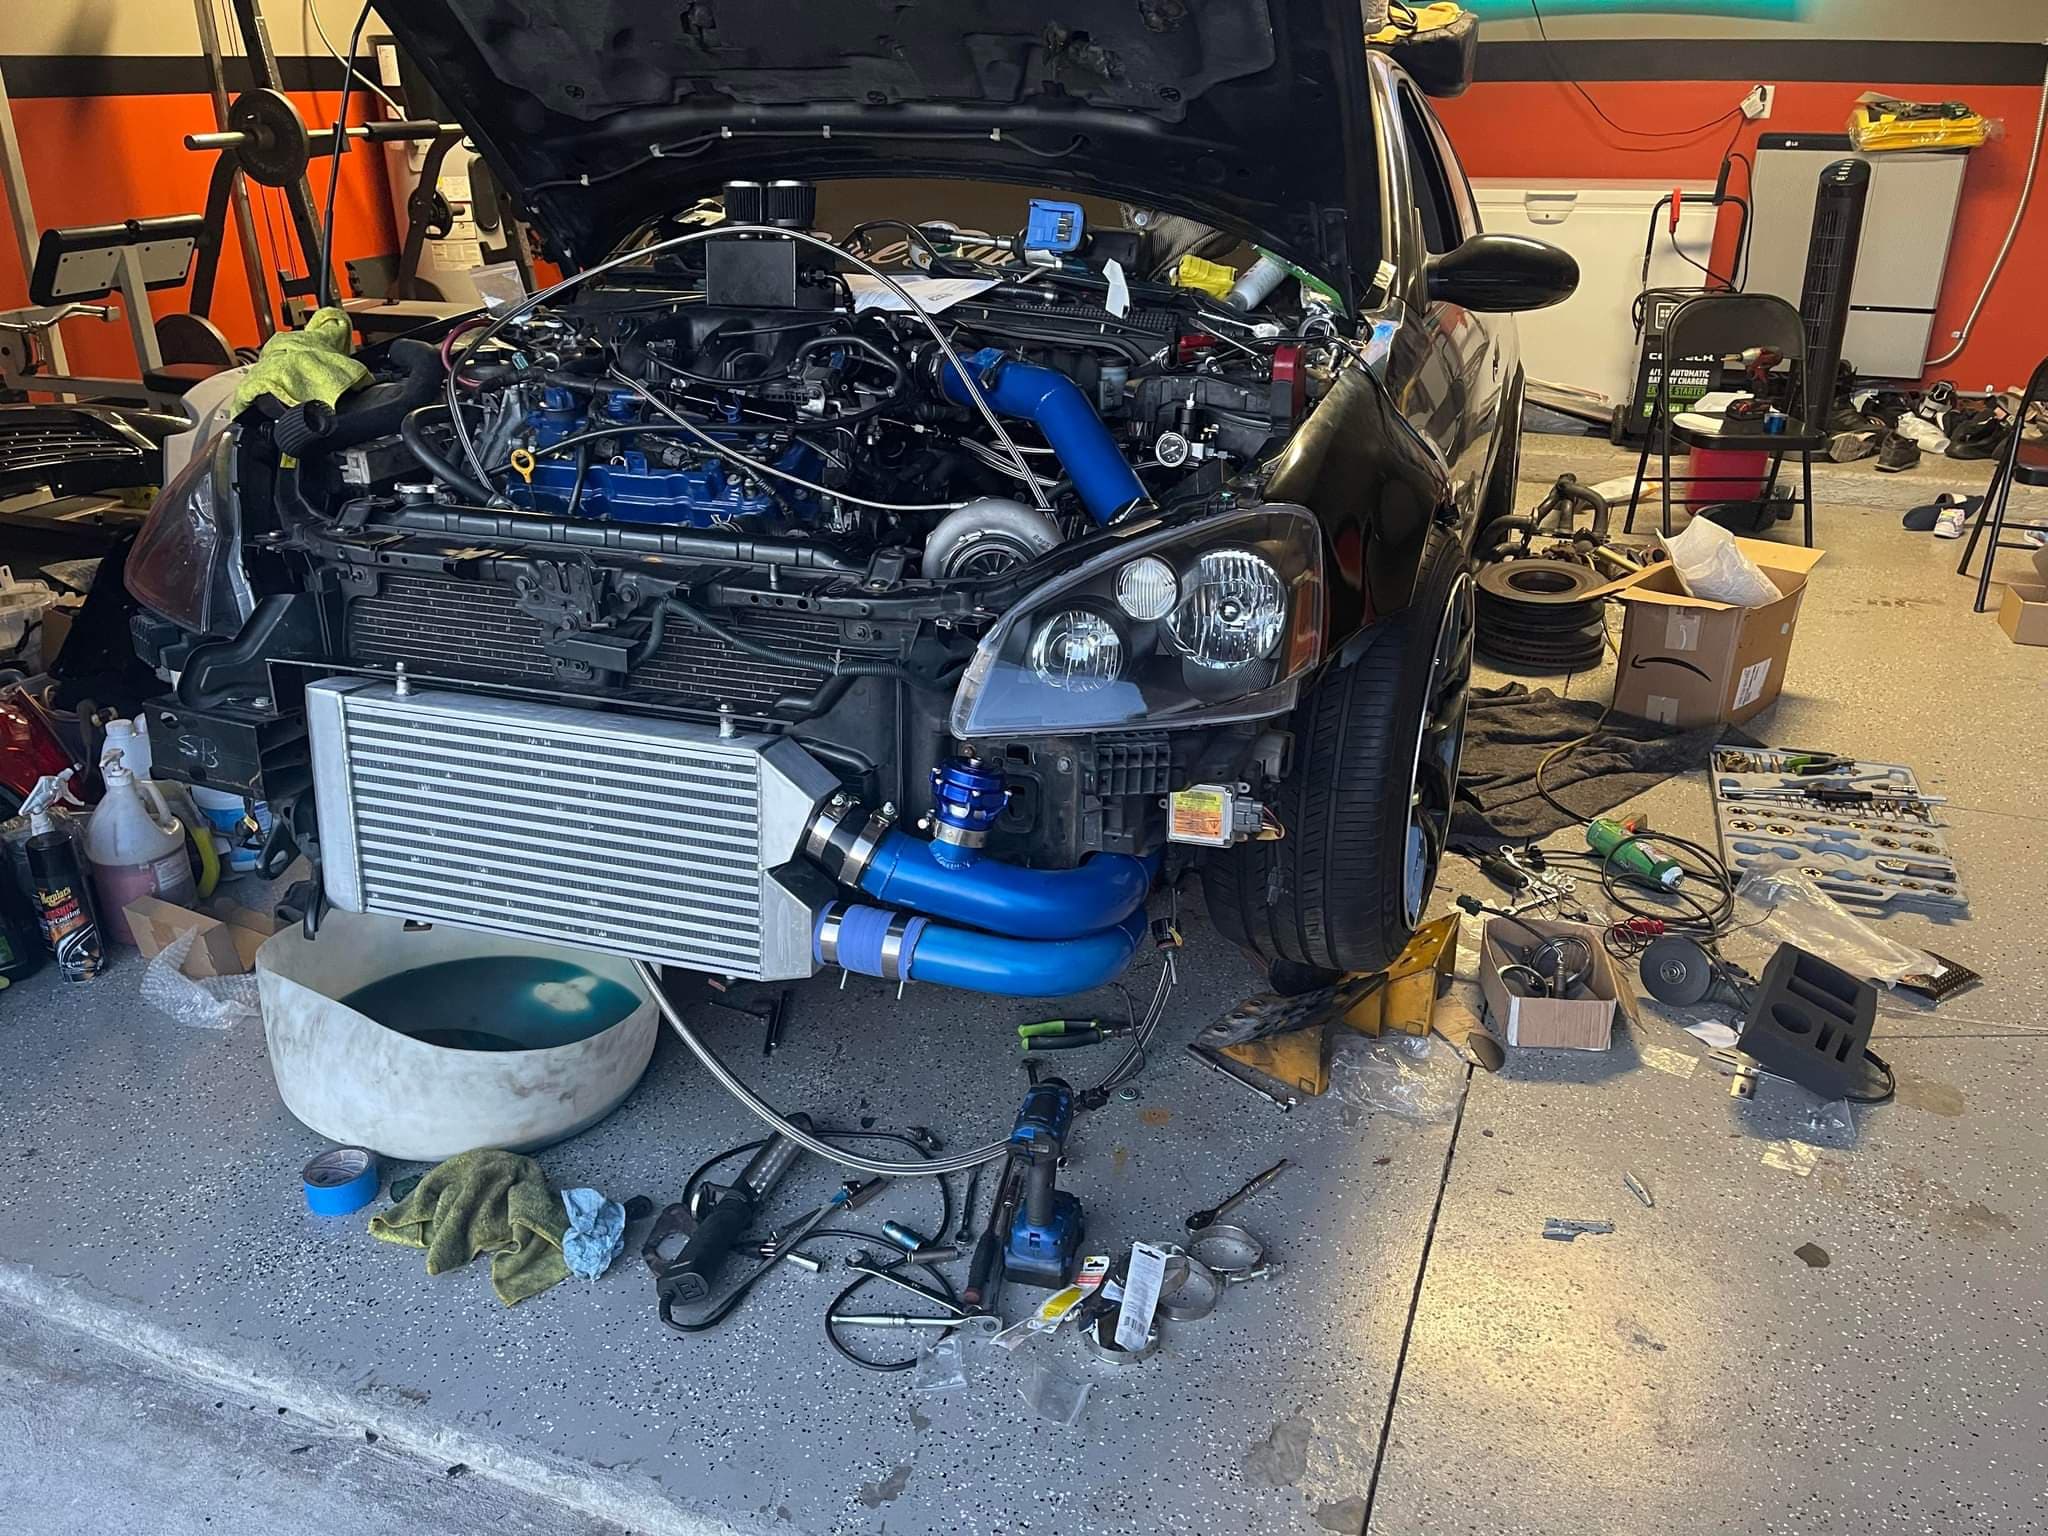
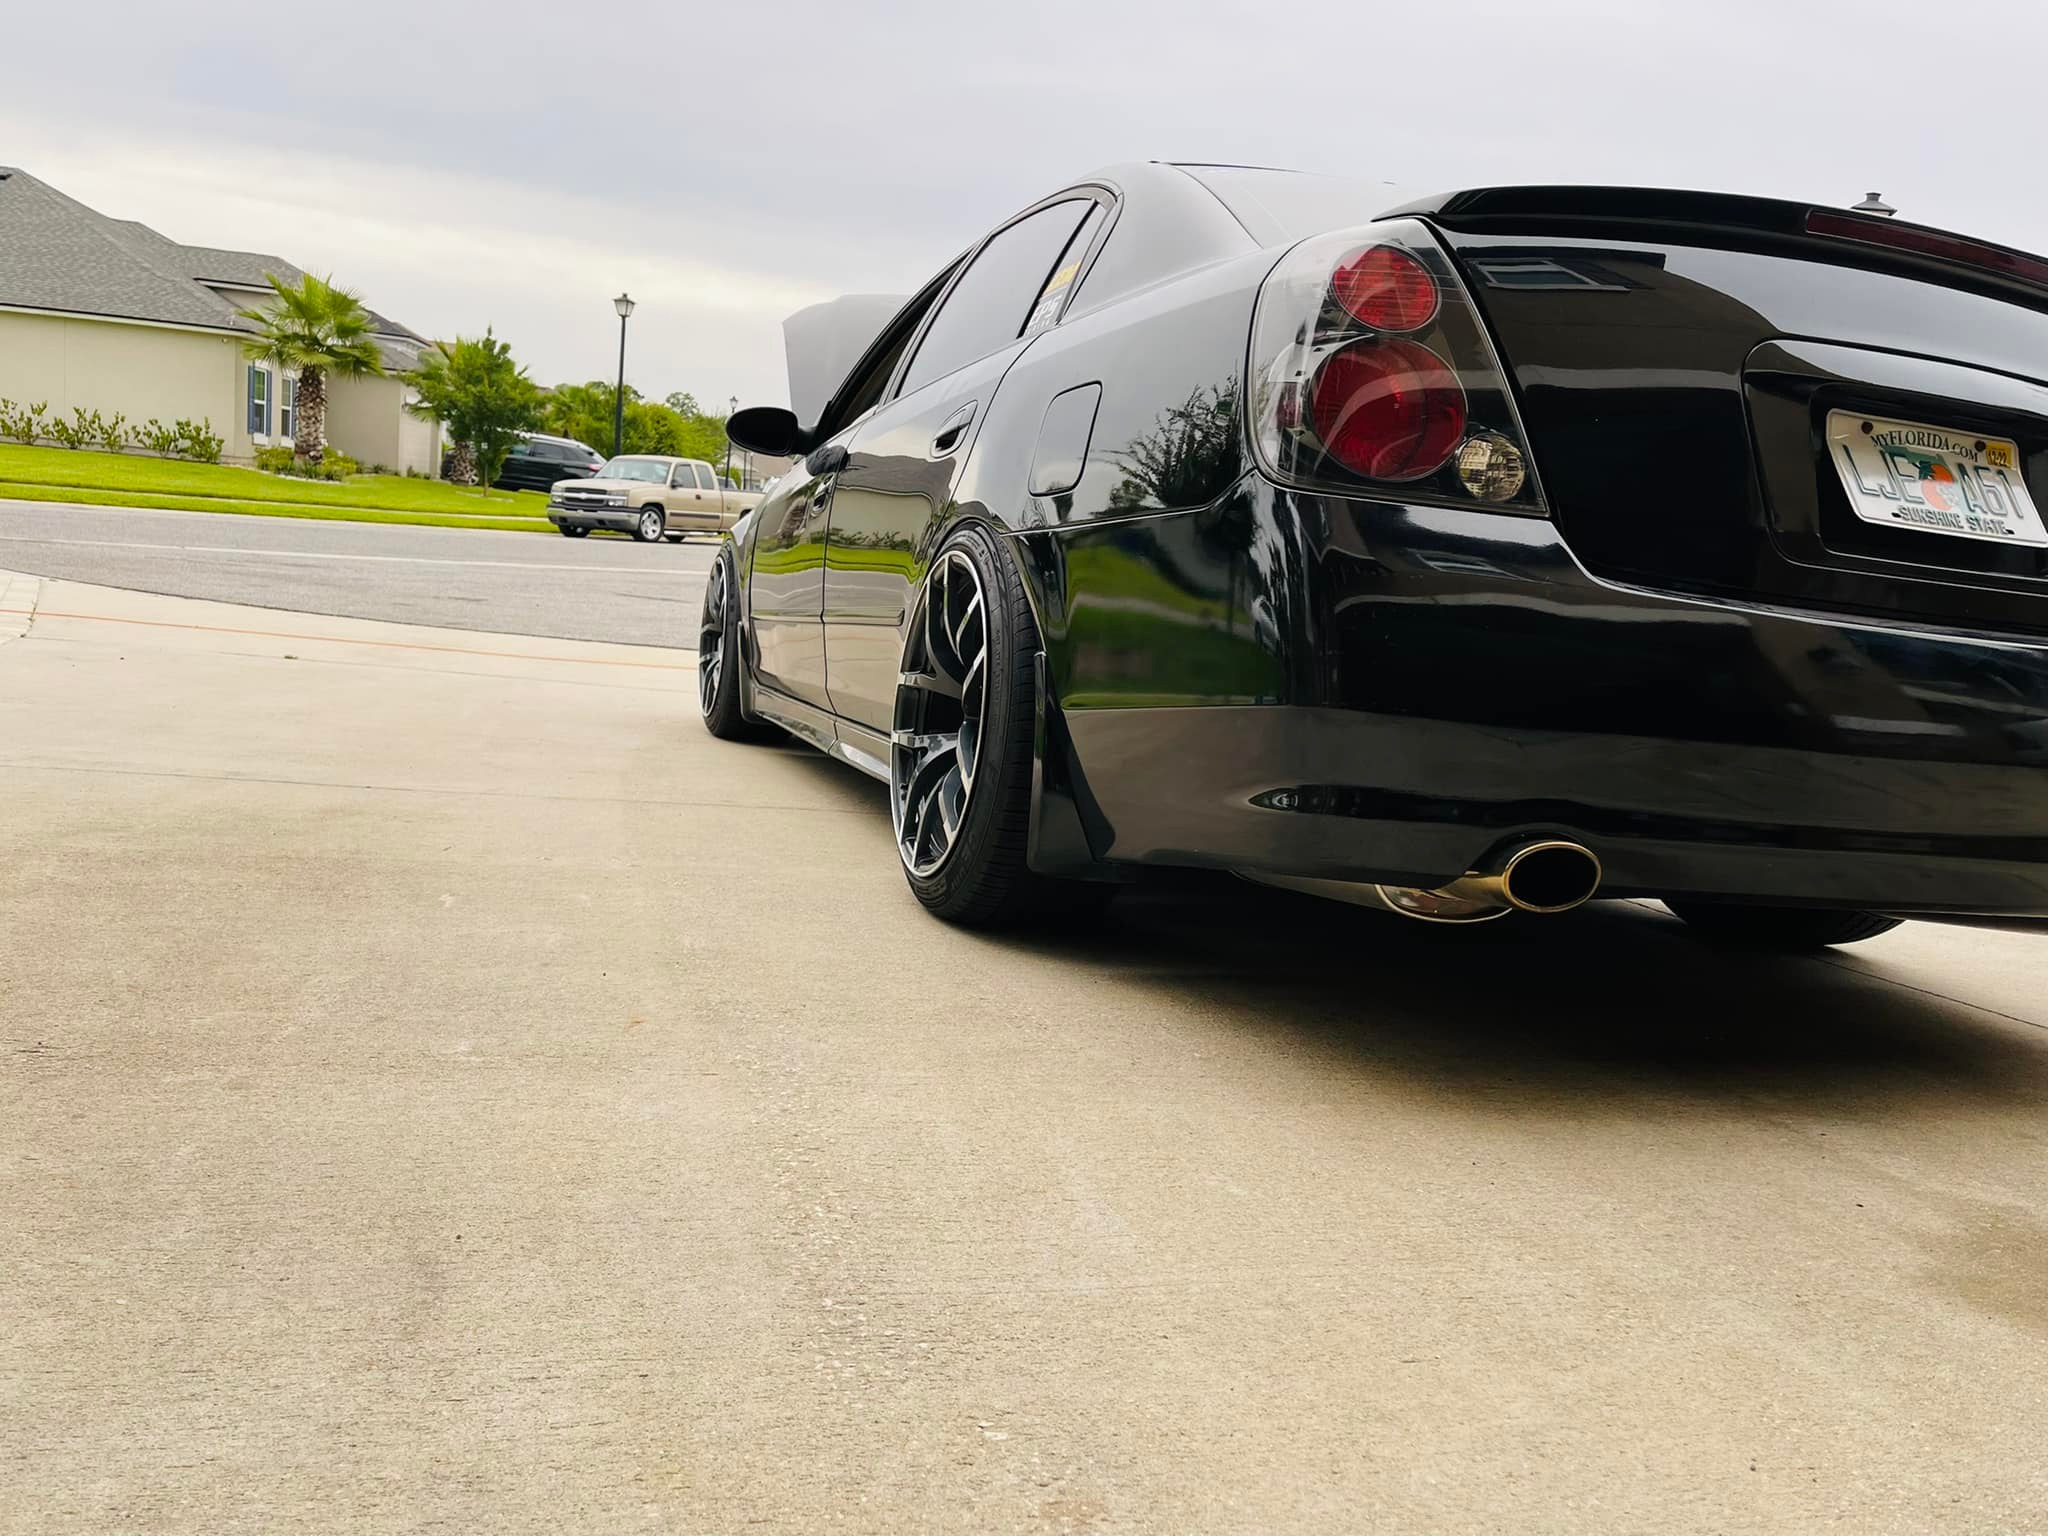
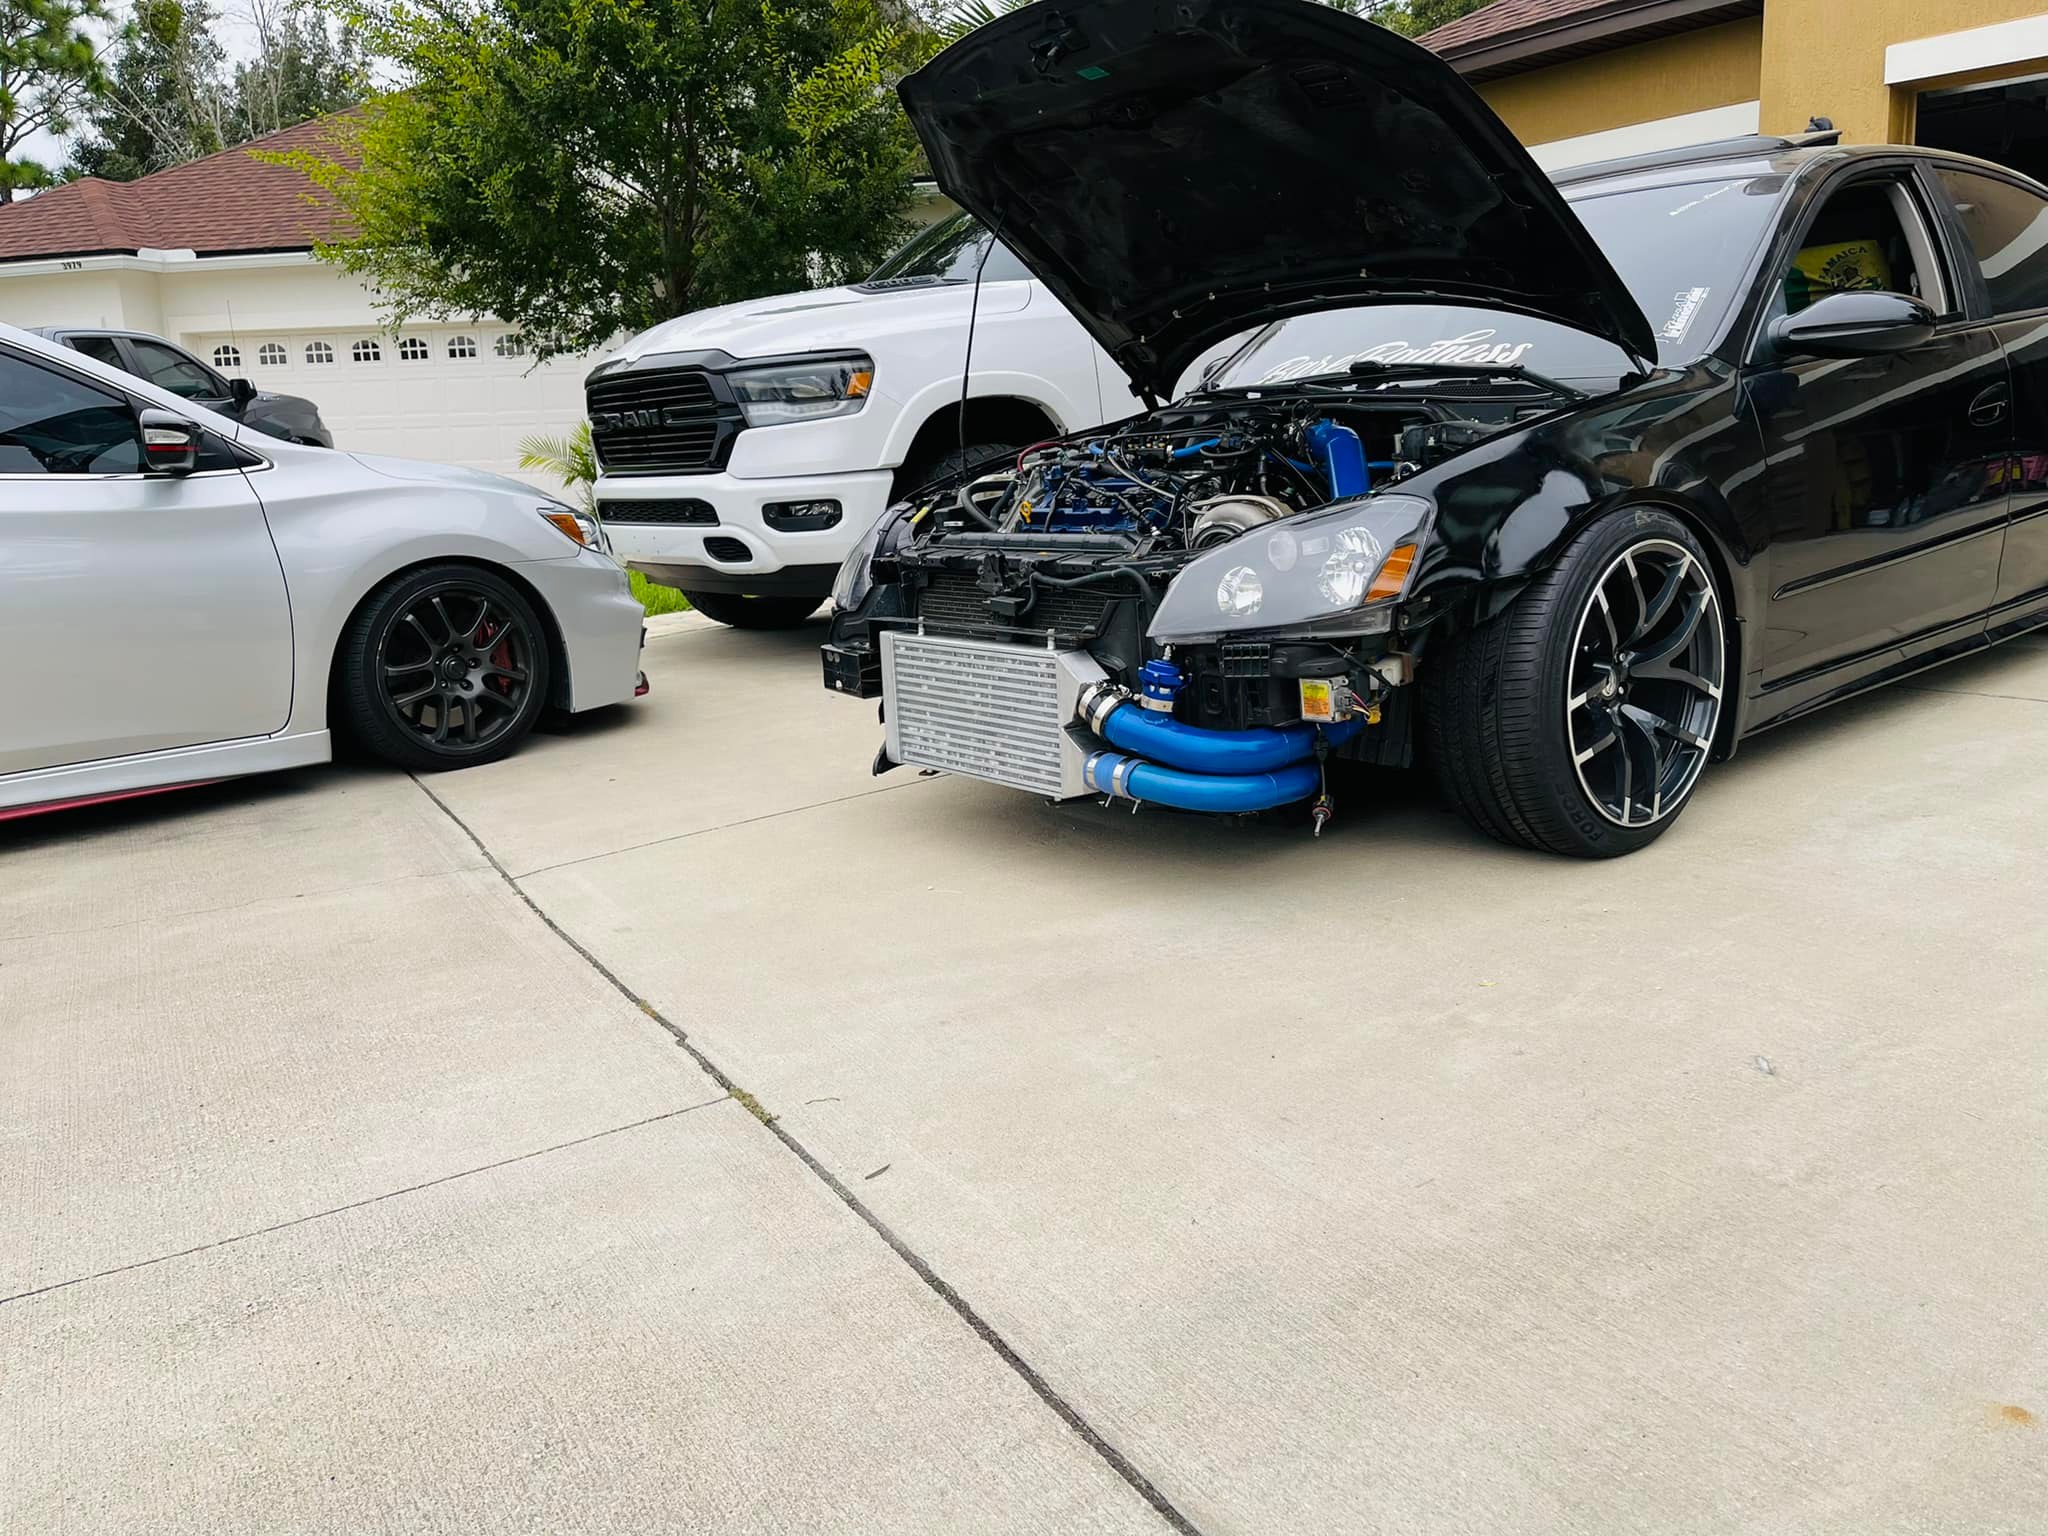
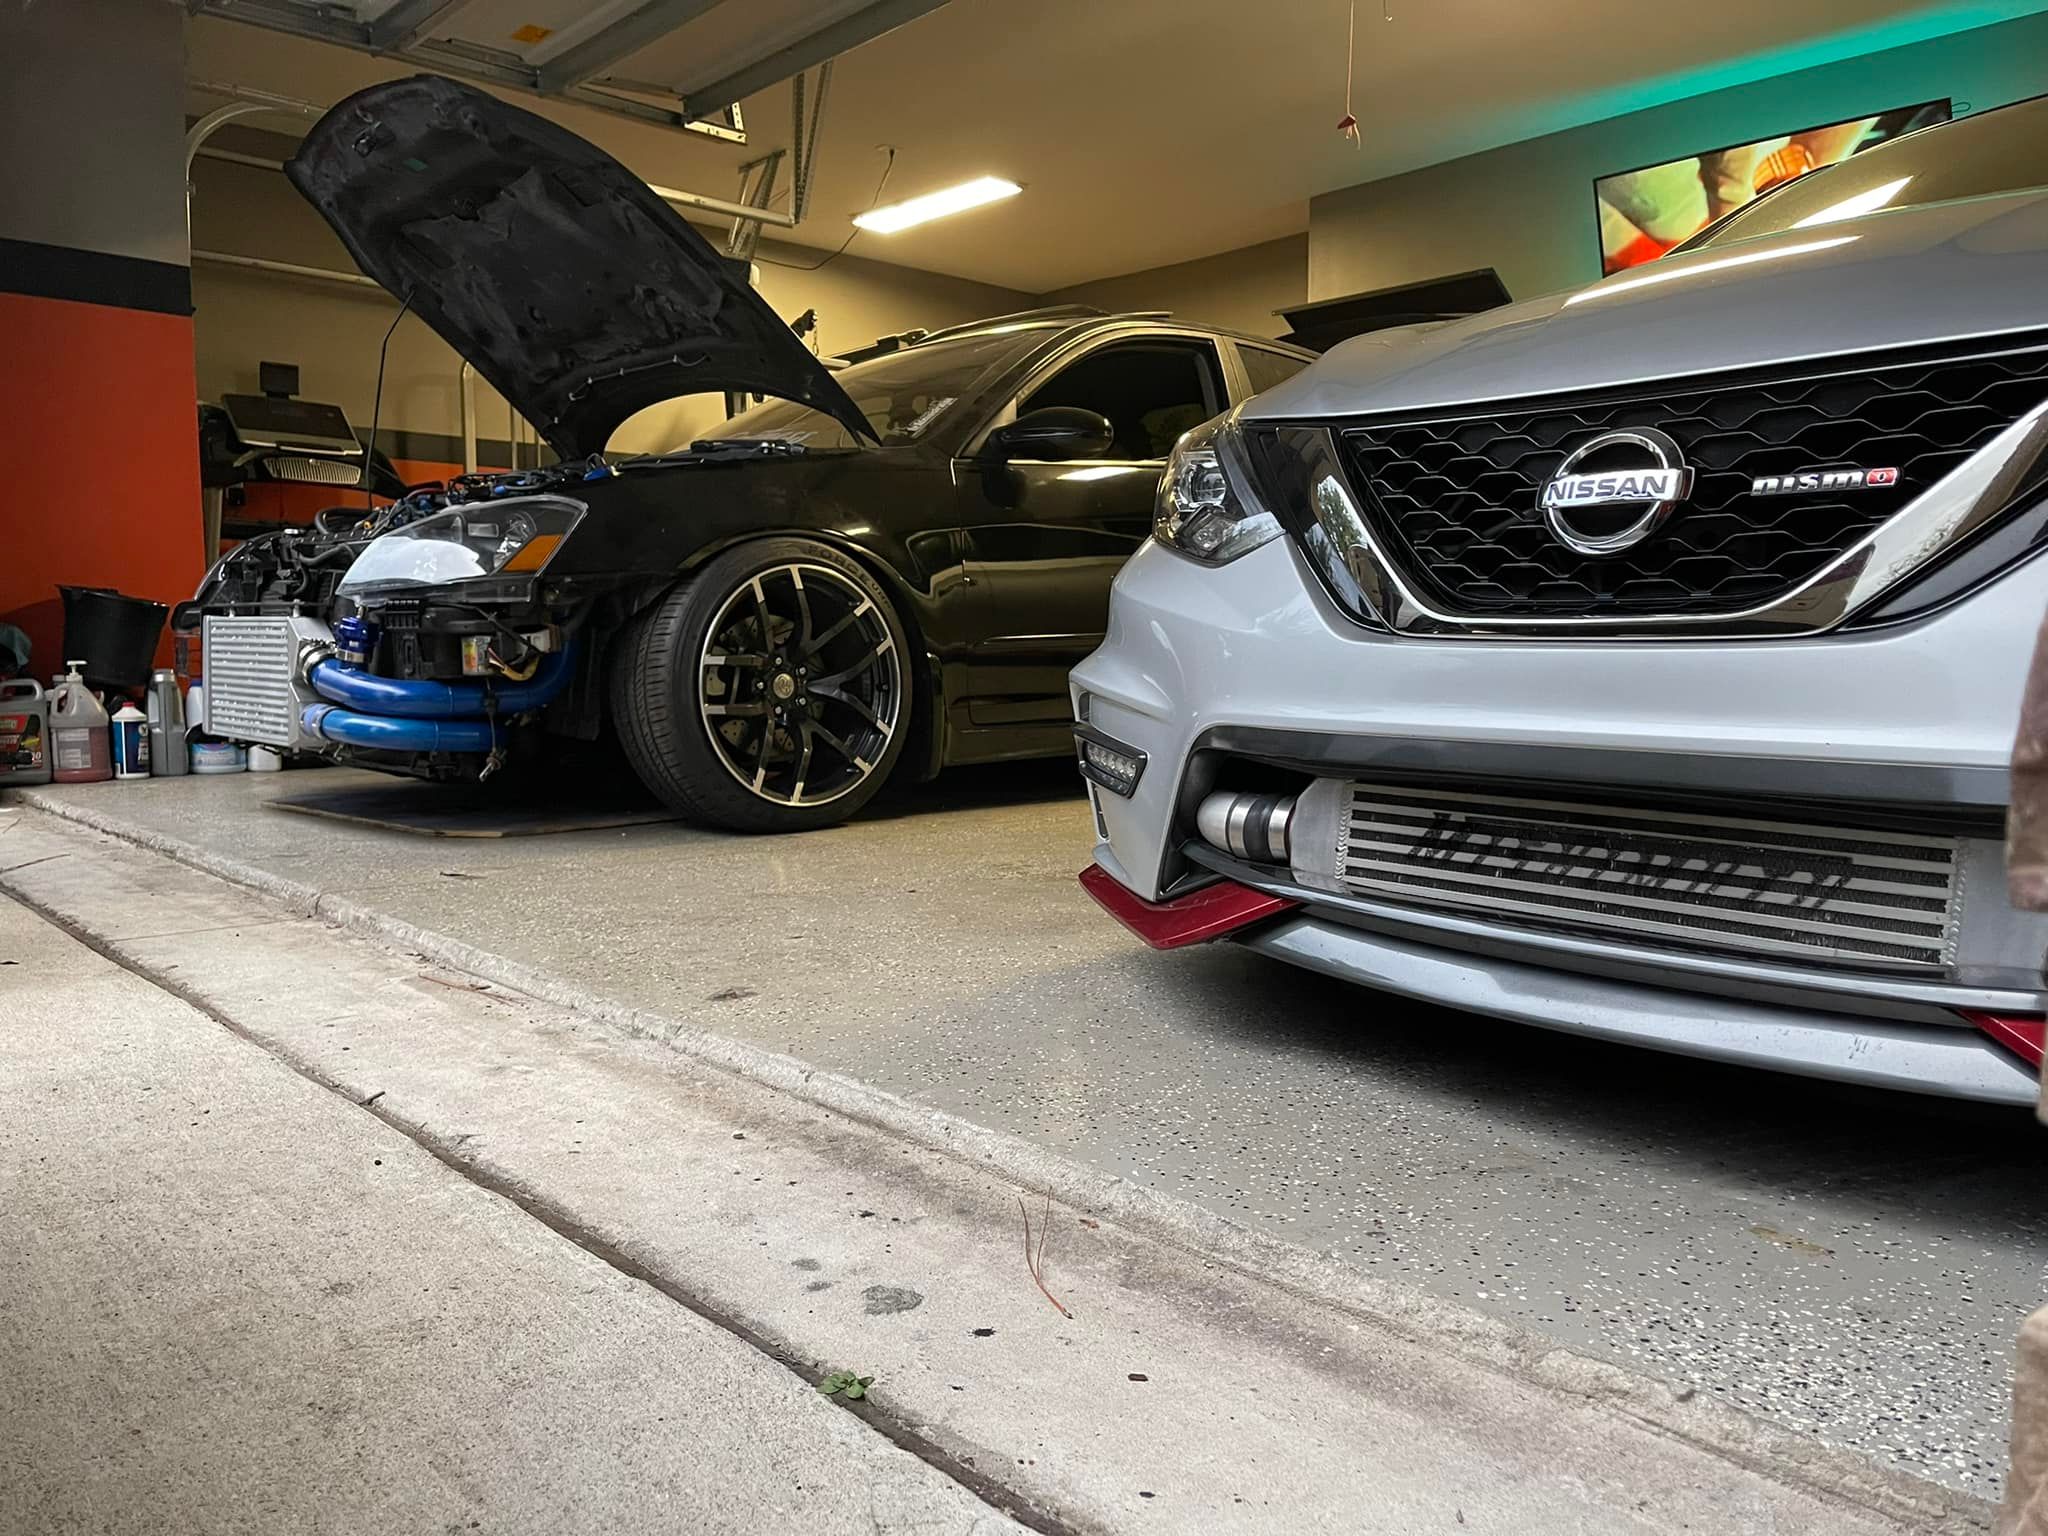
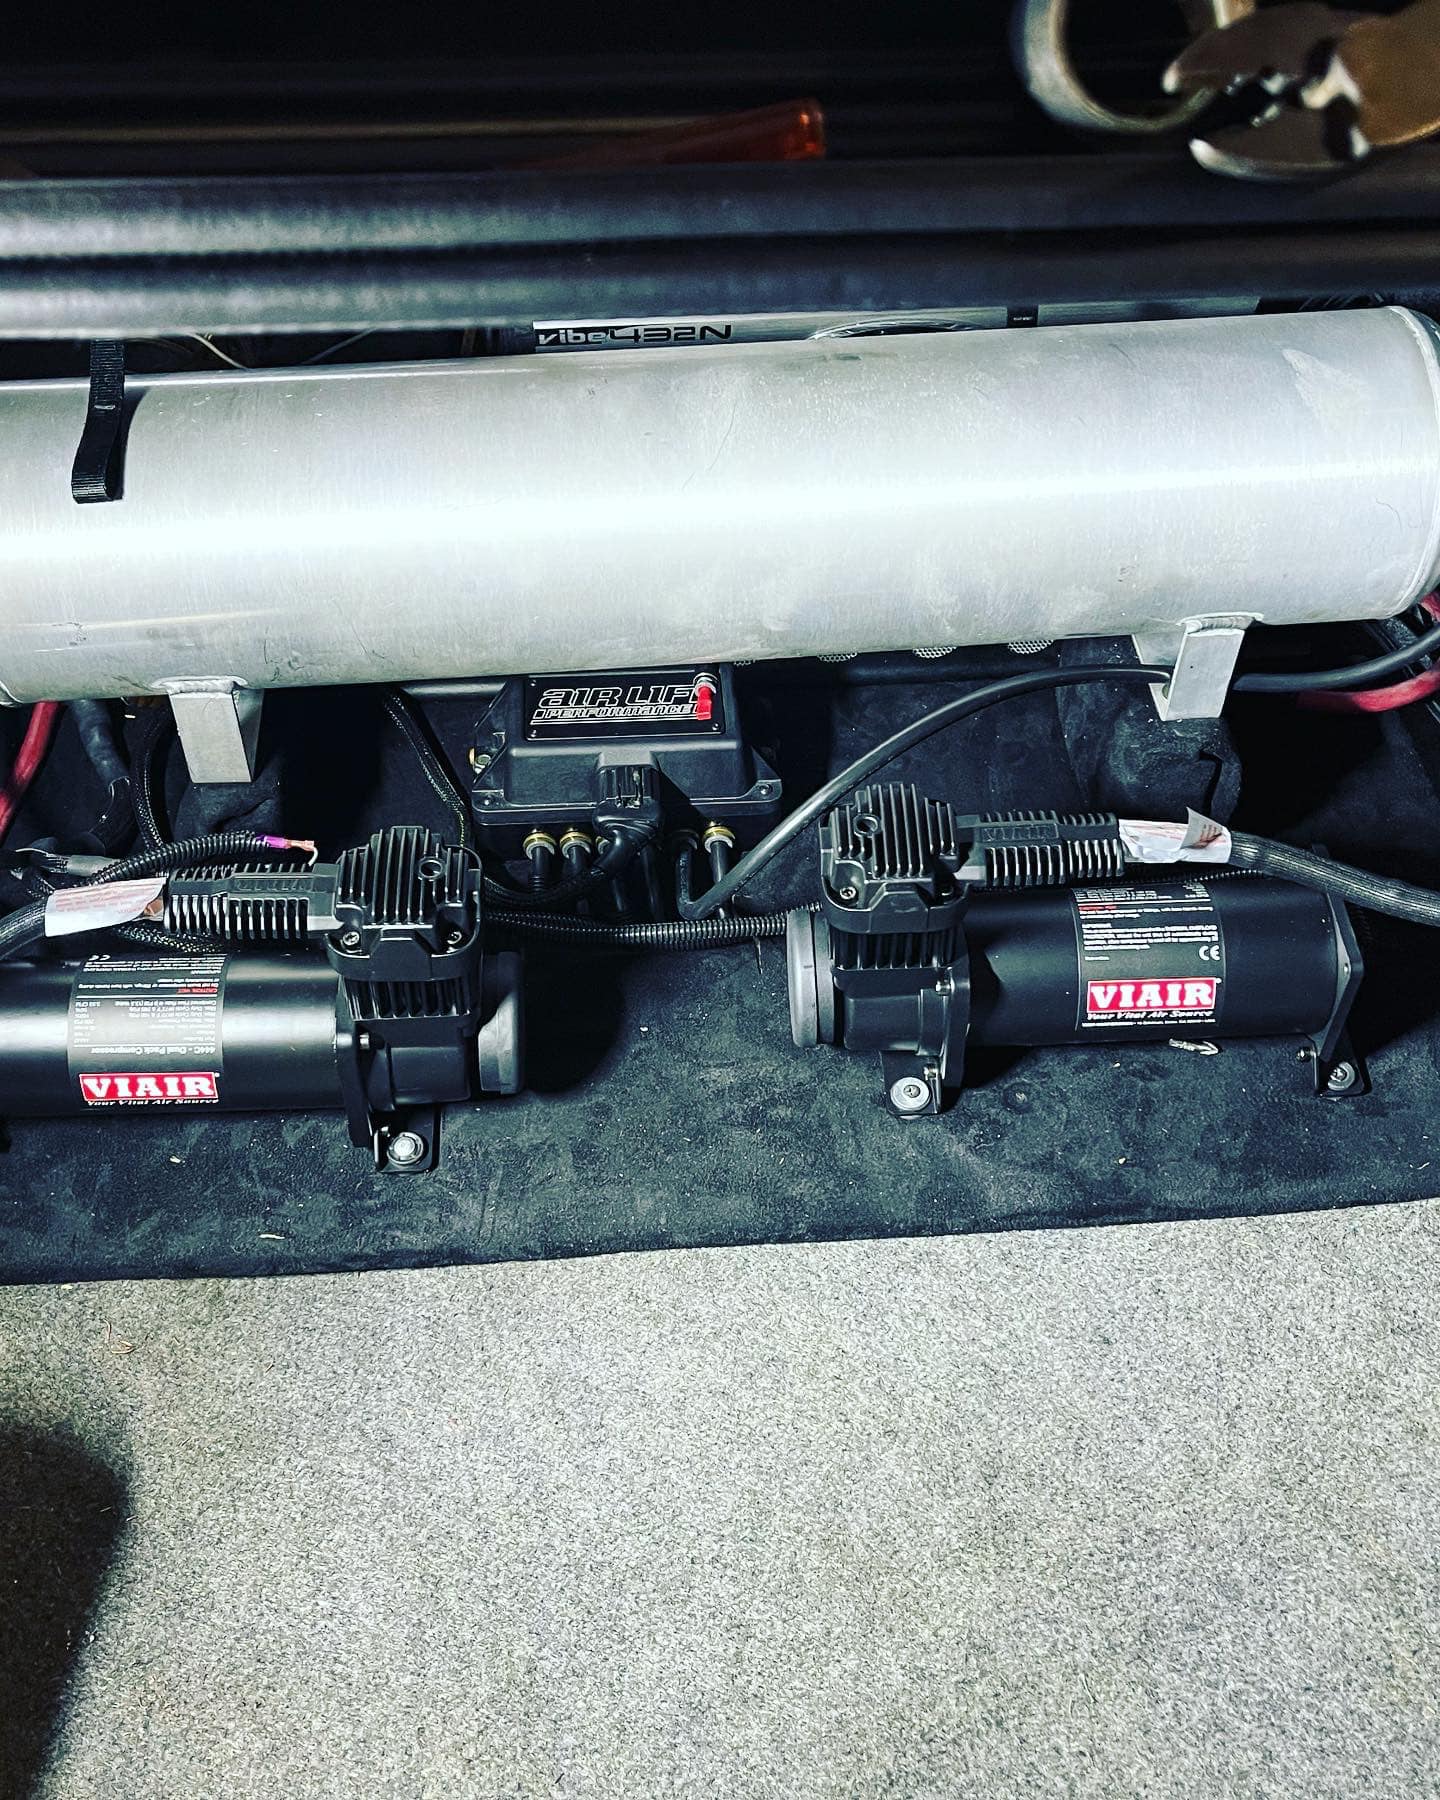
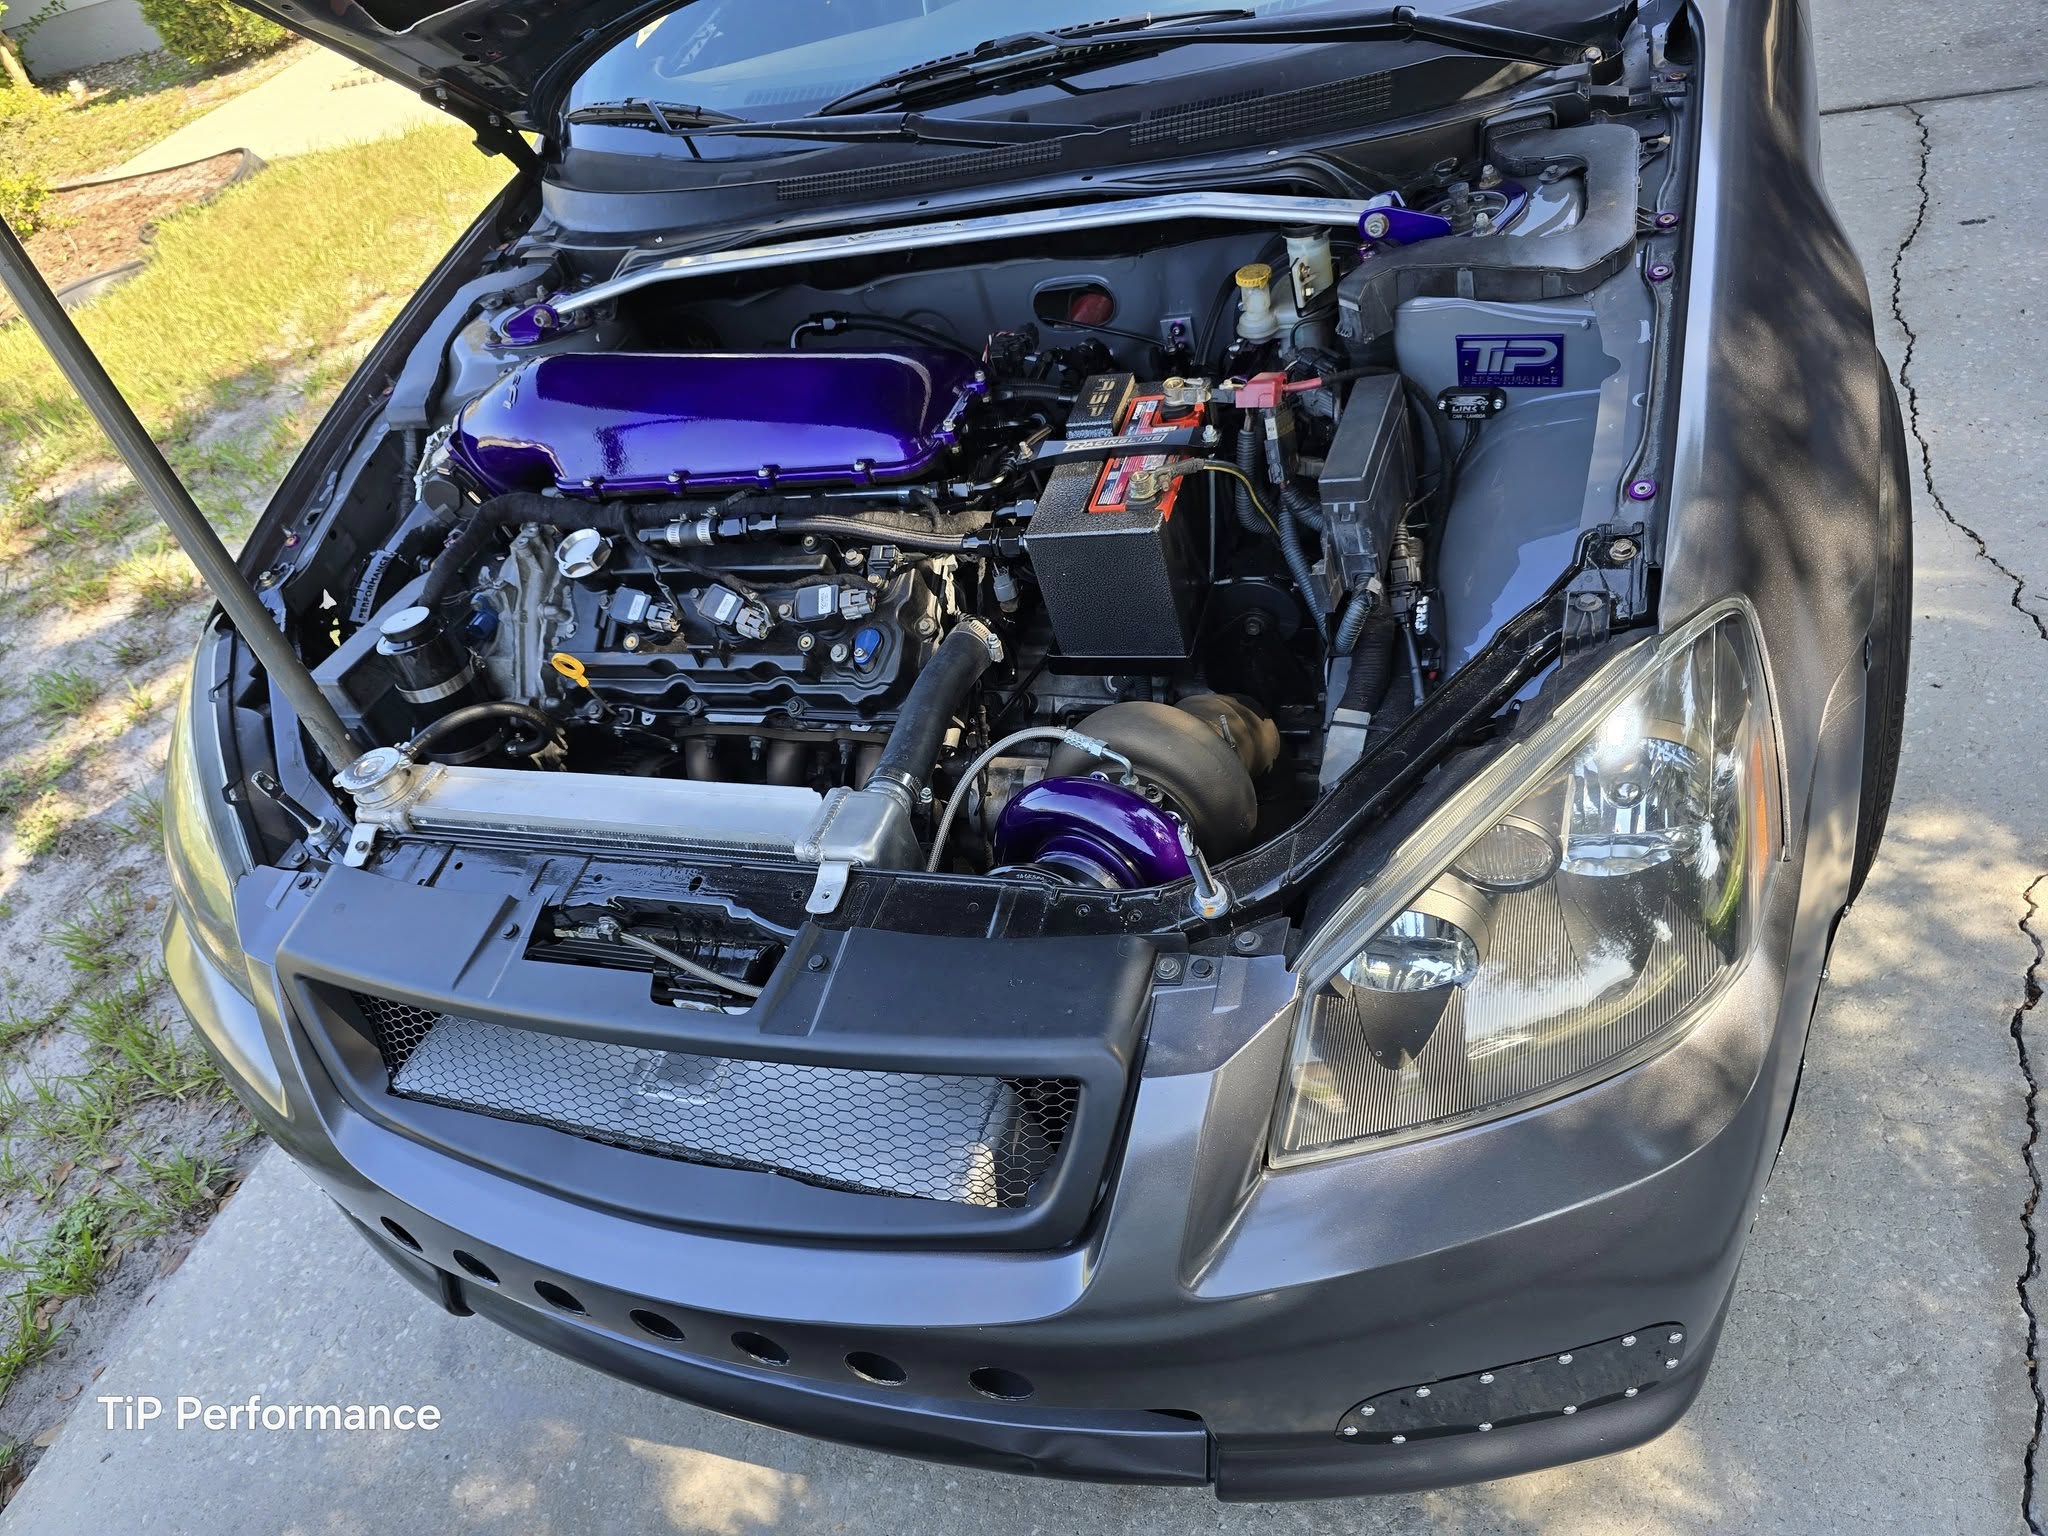
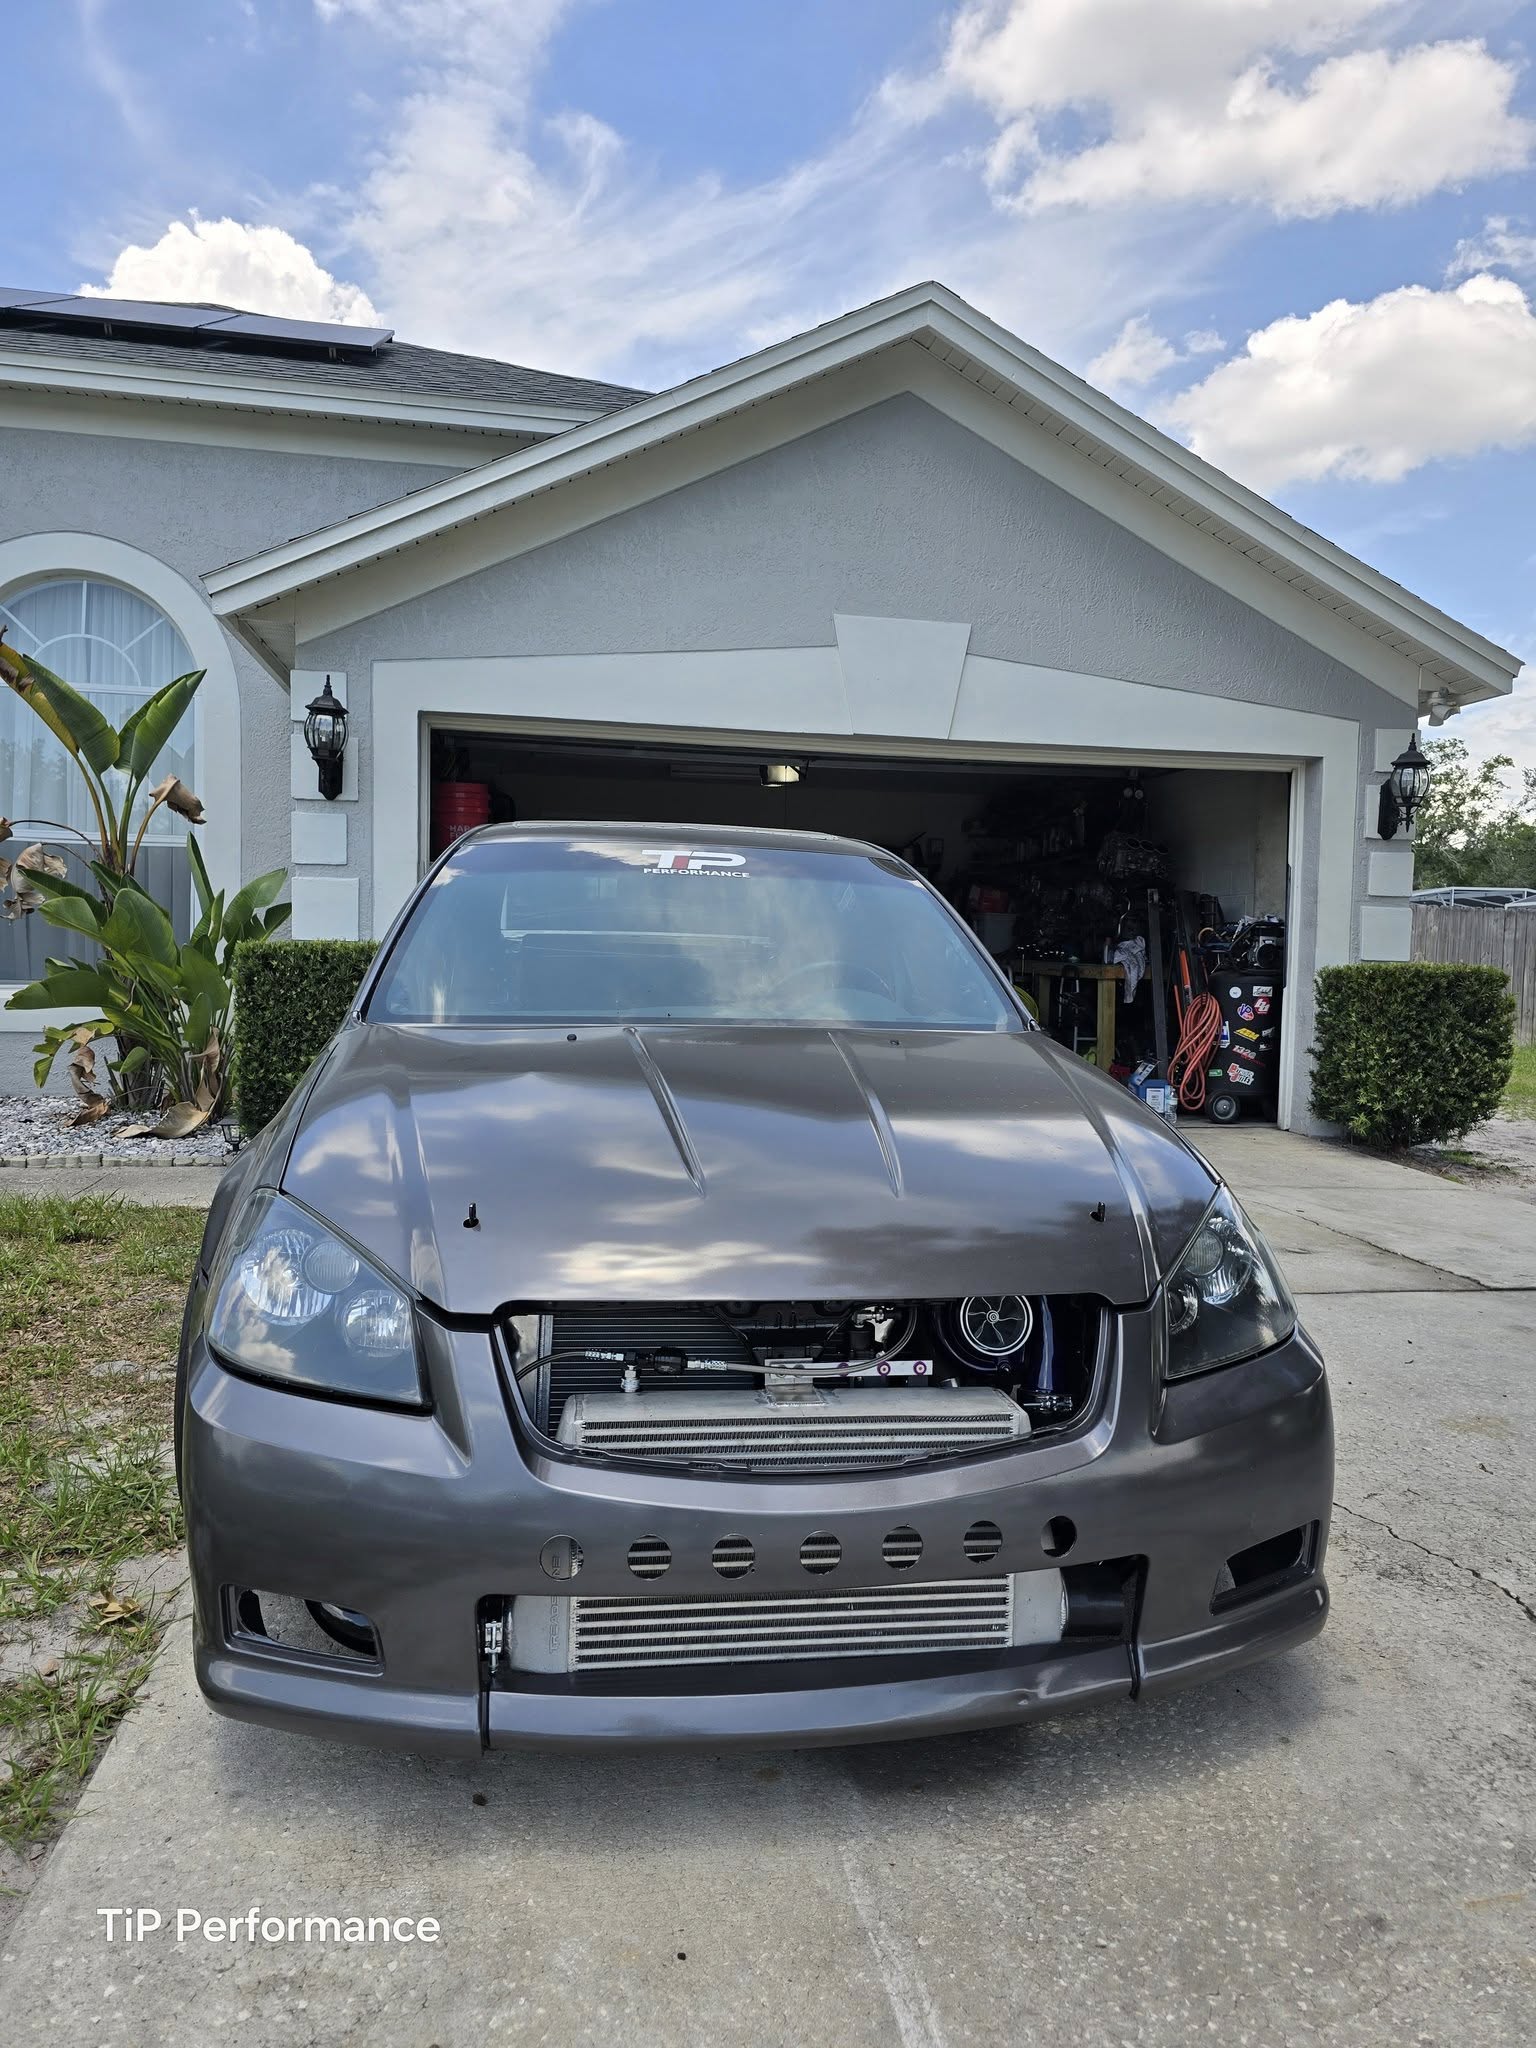
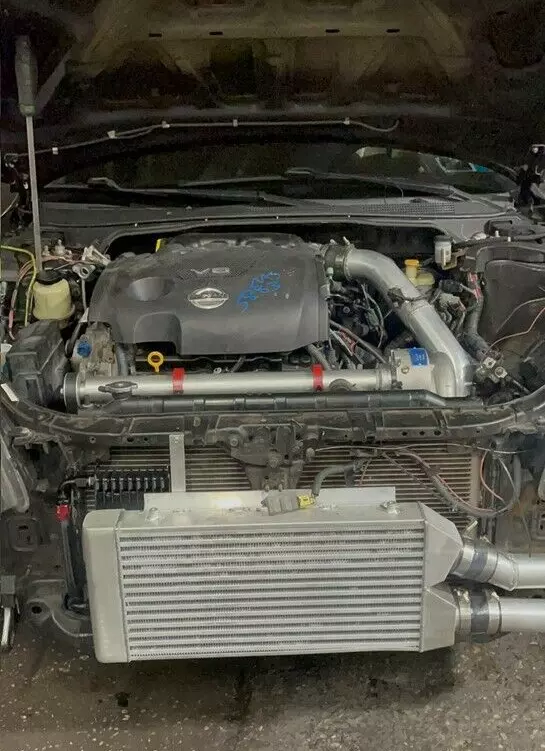
Owner: Terrance Herrera
Year: 2006
Model: Altima
Current Color: Smoke
Transmission: 6-Speed Manual
Trim: SE-R
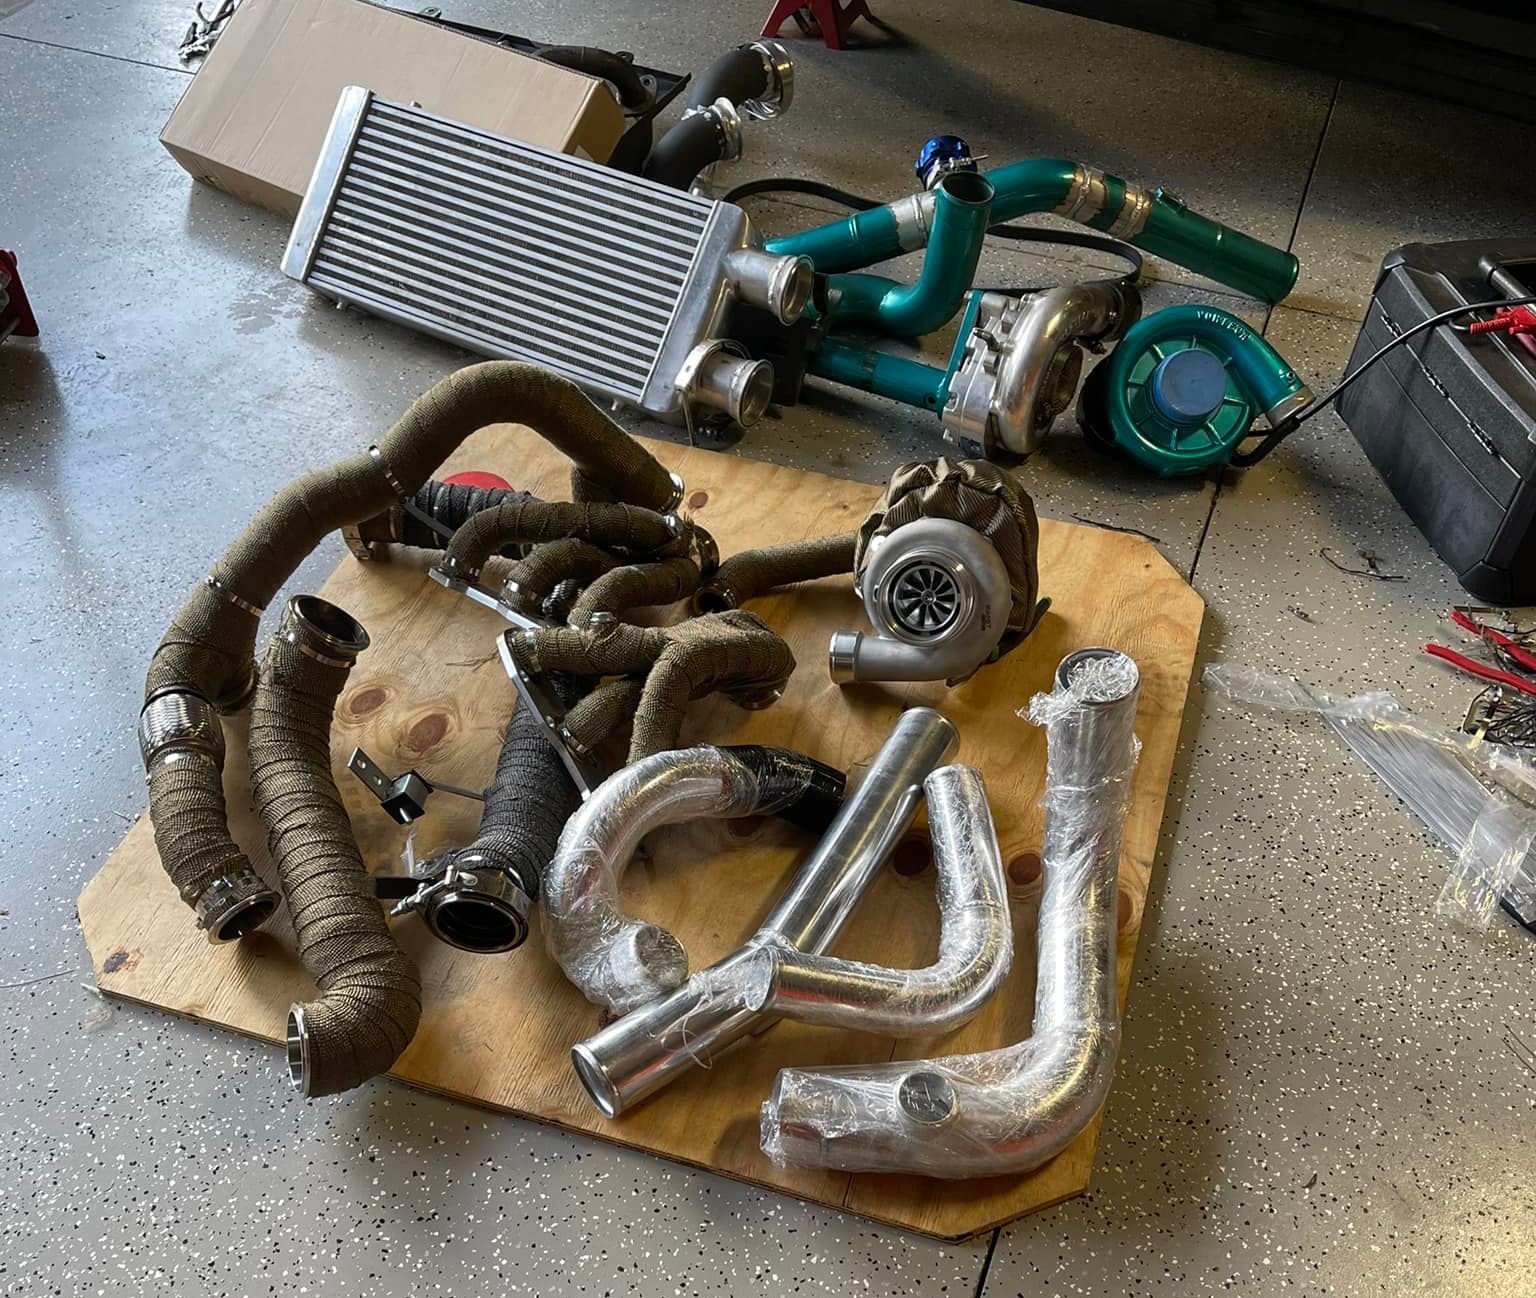
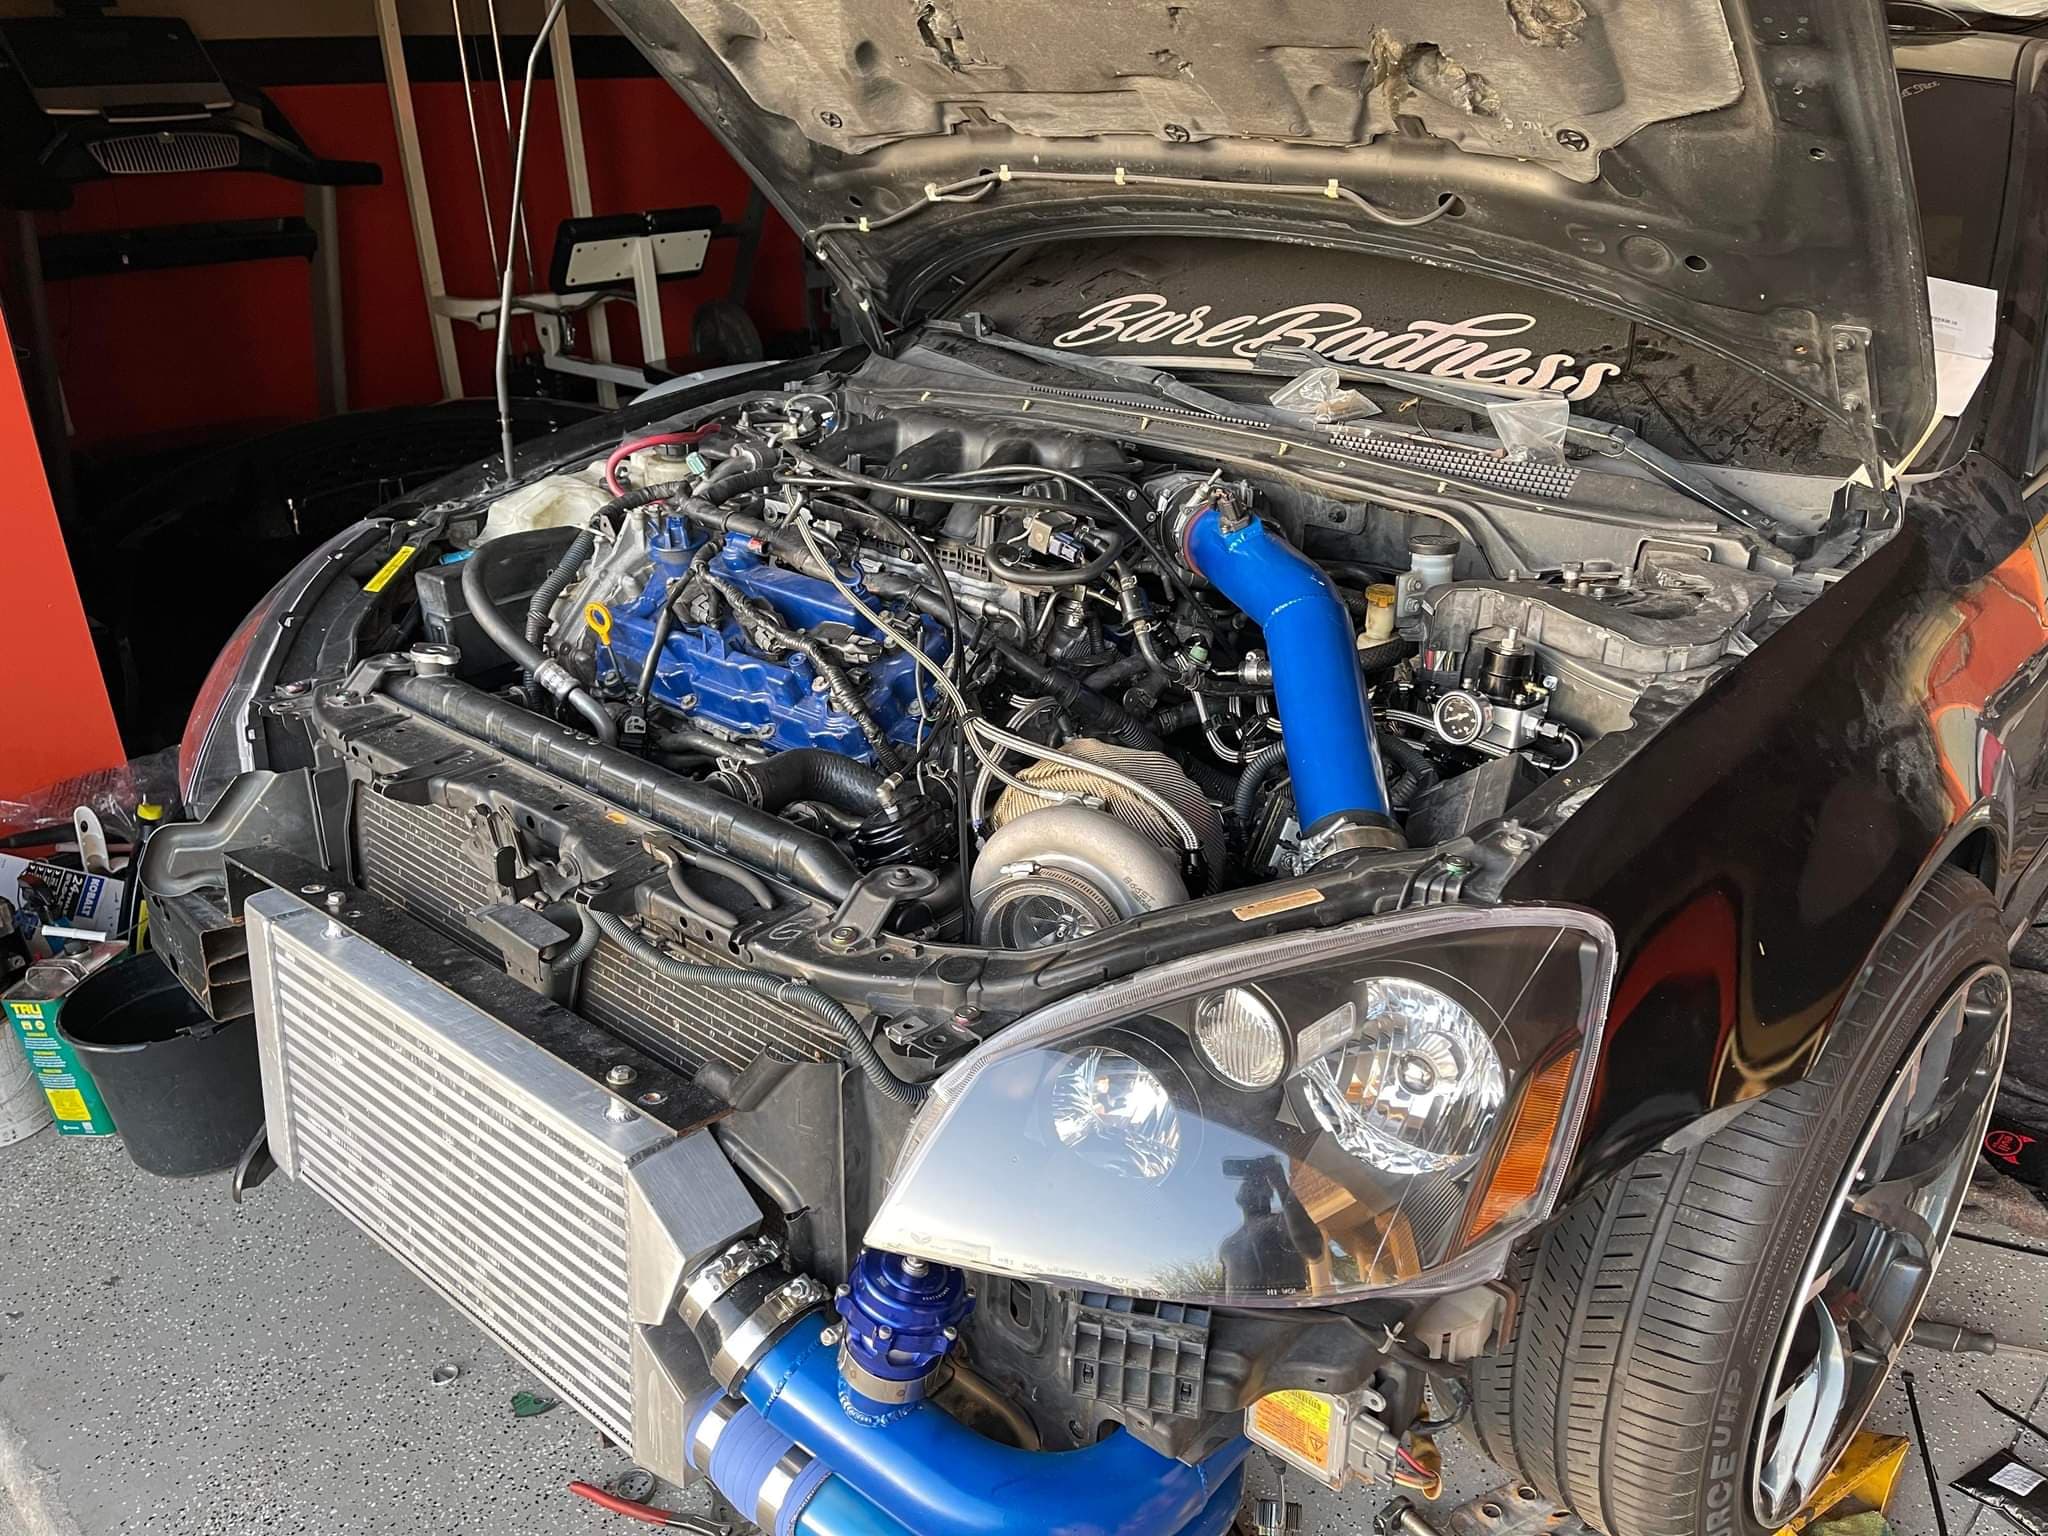
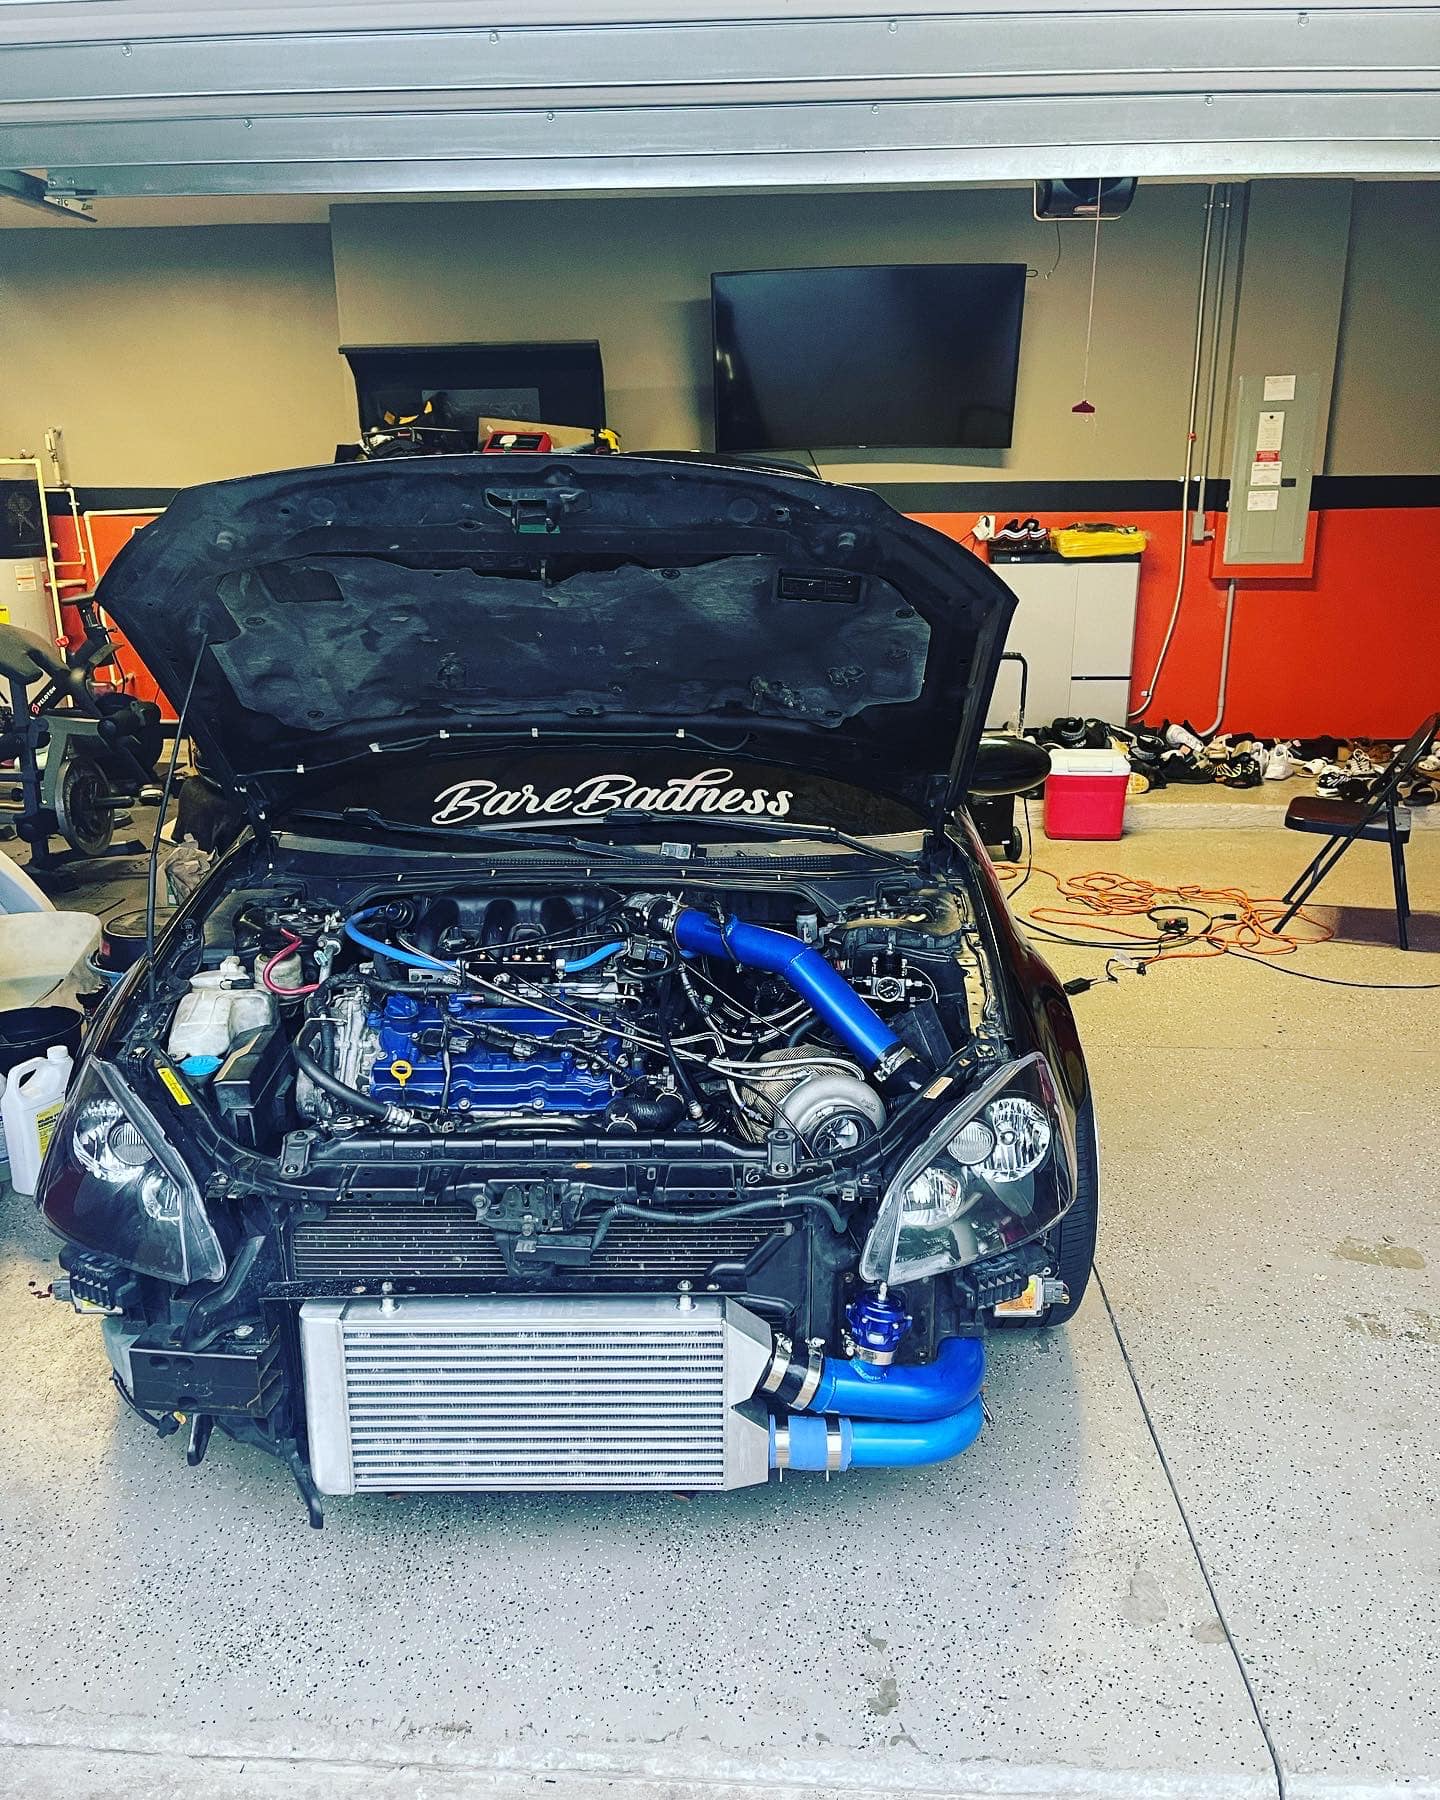
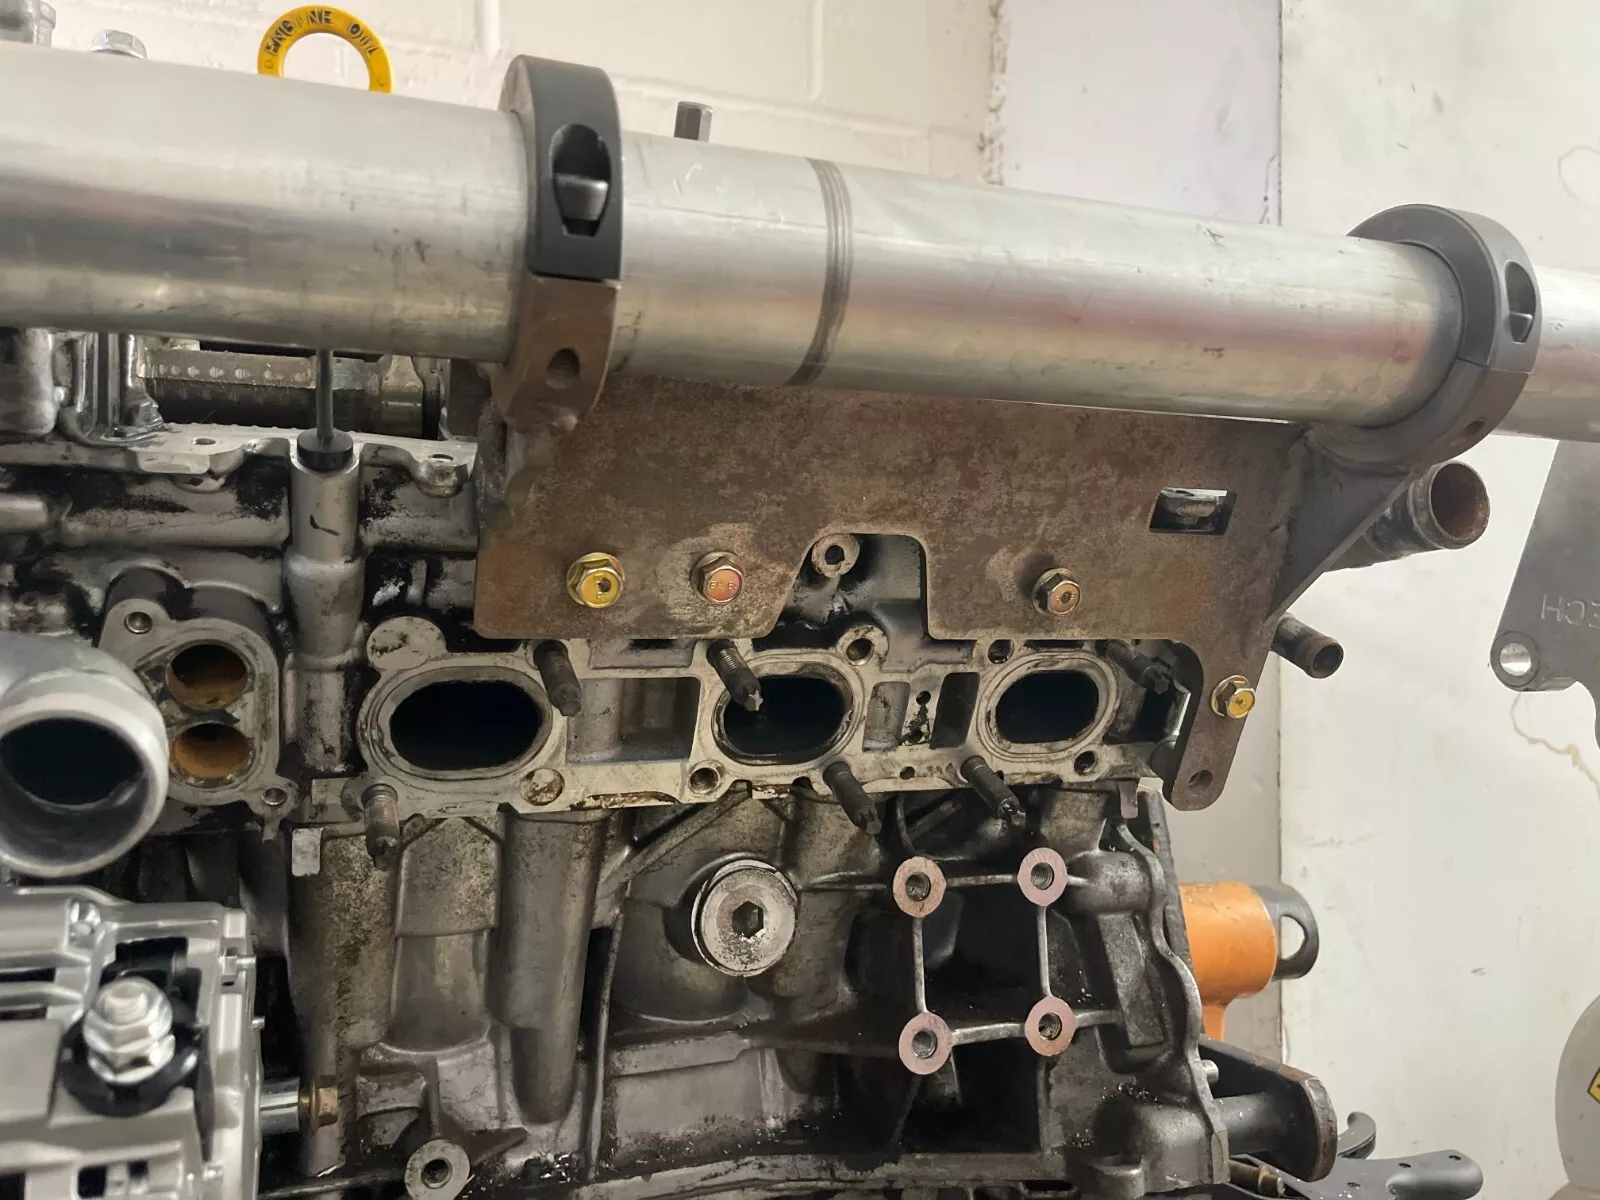
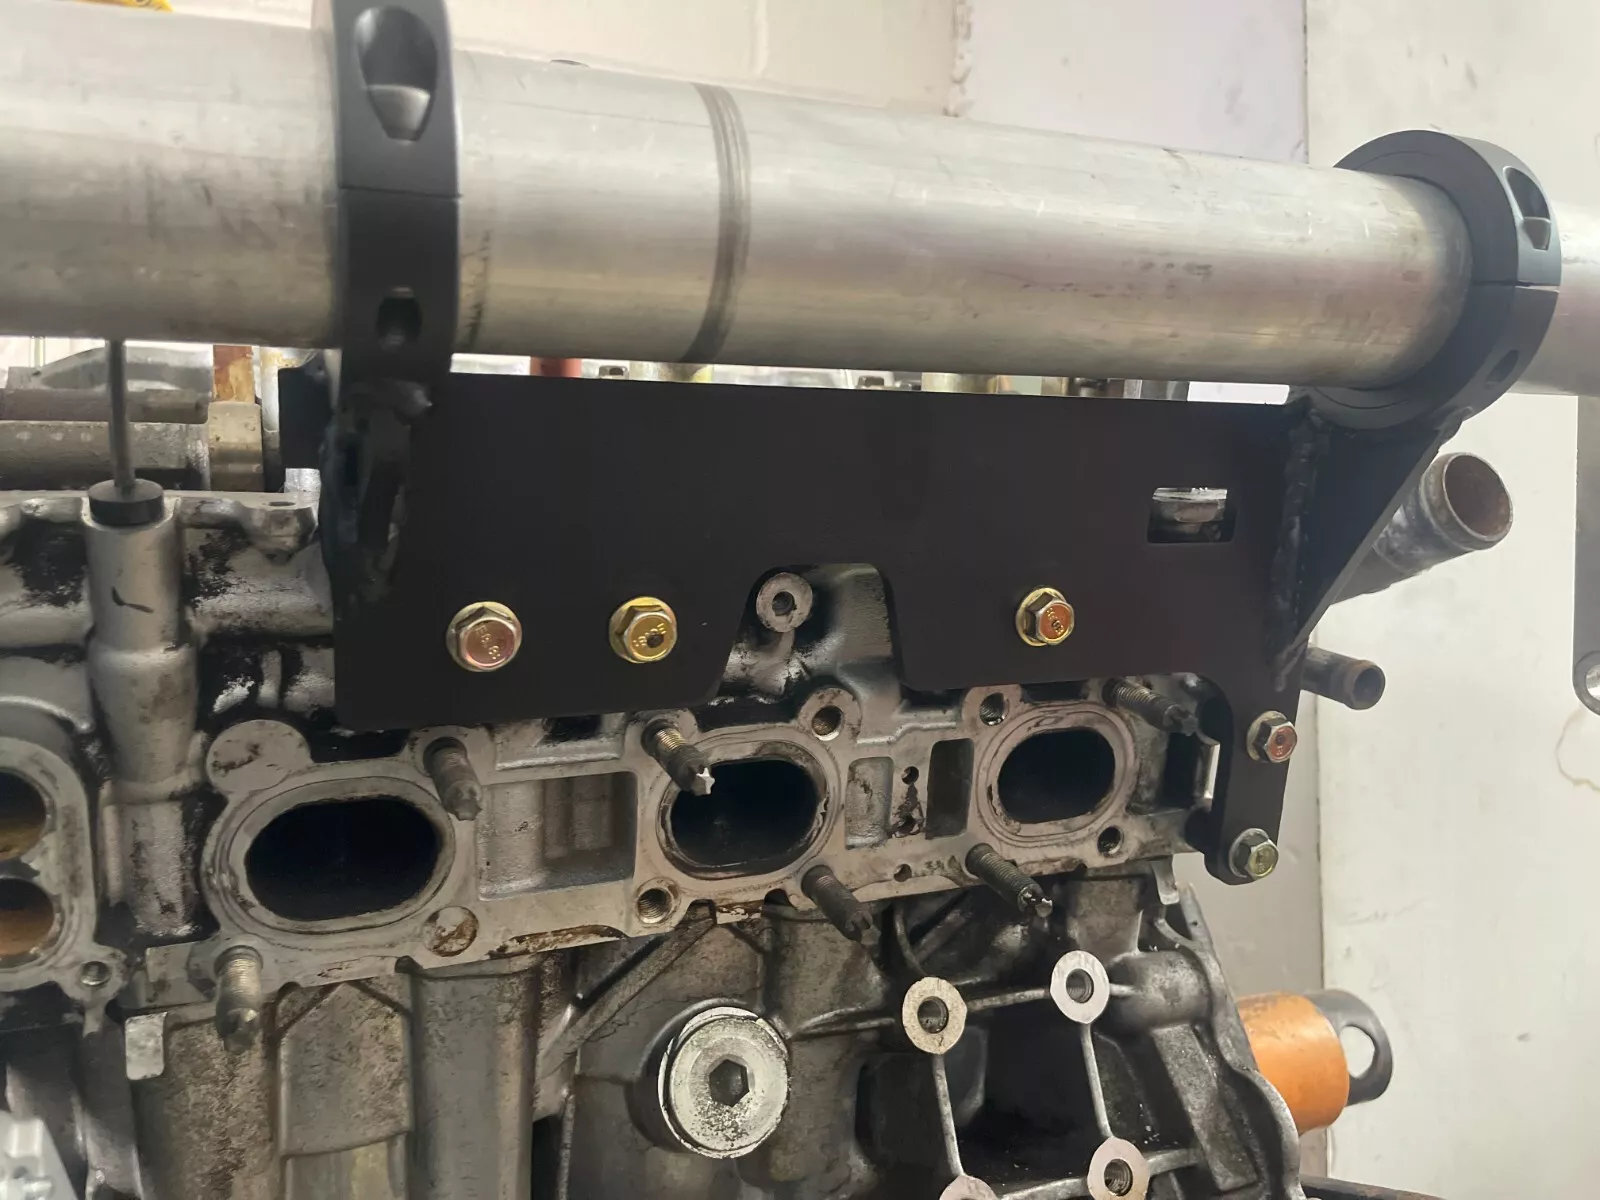
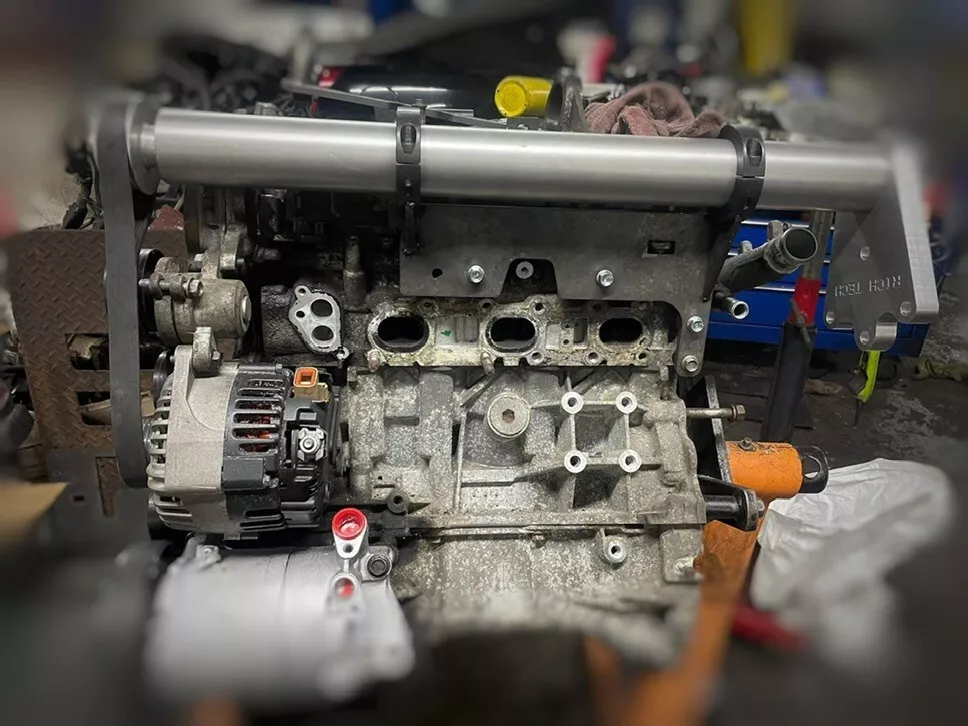
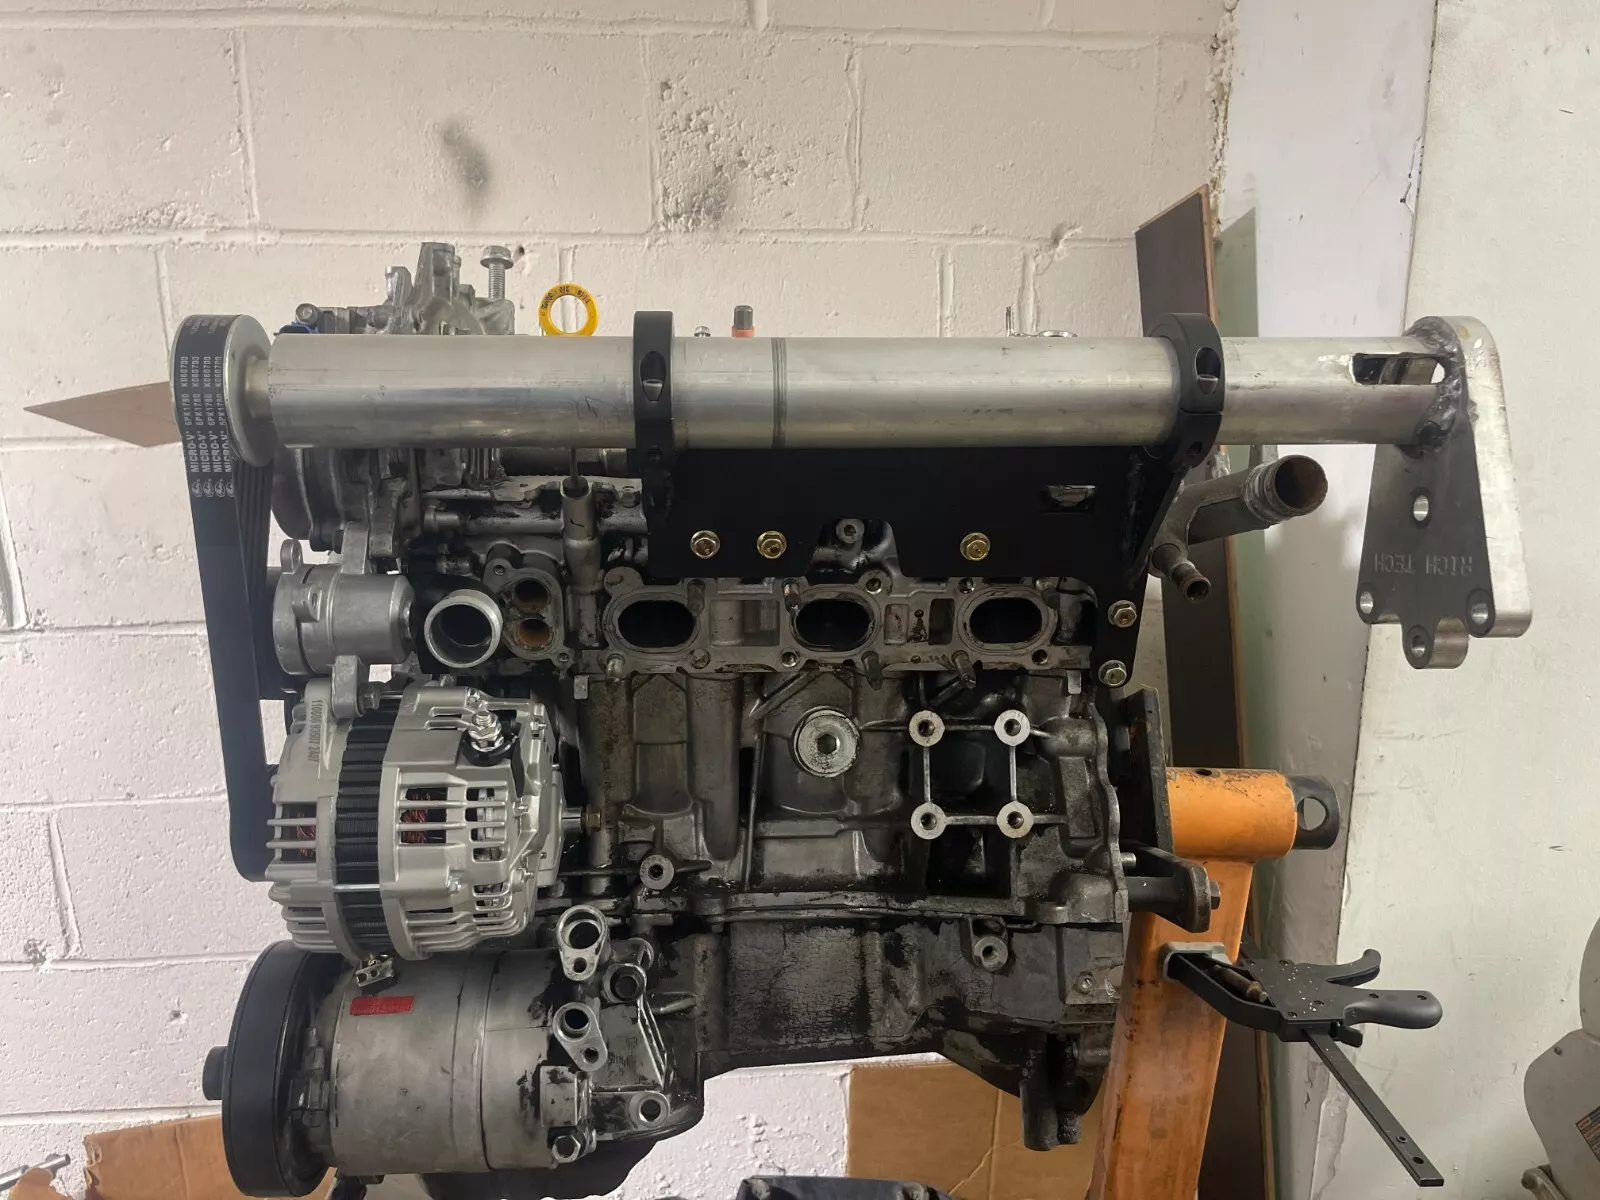
The hi-ram rotation design embodies my vision of isolating the cold-side intercooler piping from the turbo’s hot-side. Consequently, the intake air temperature (IAT) decreases significantly. The build stages will be documented and shared over the next few days, commencing with the stock setup and culminating at this point.
![]()
")
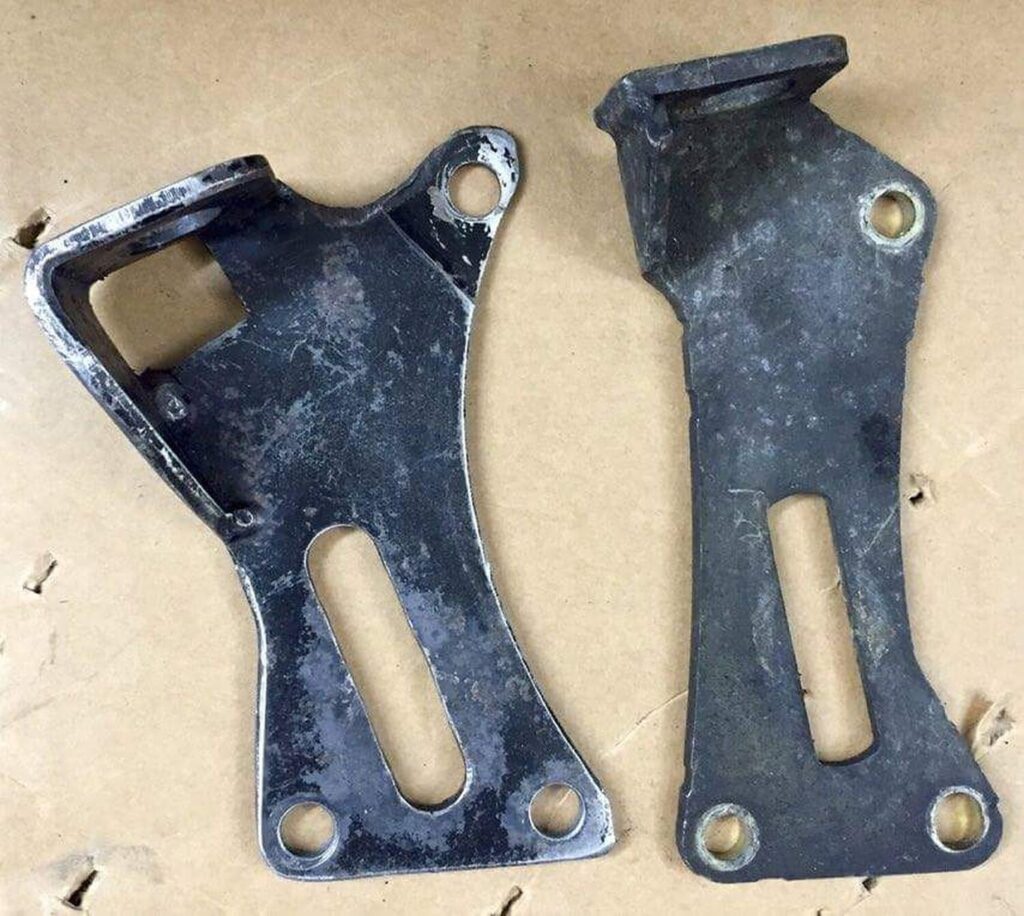
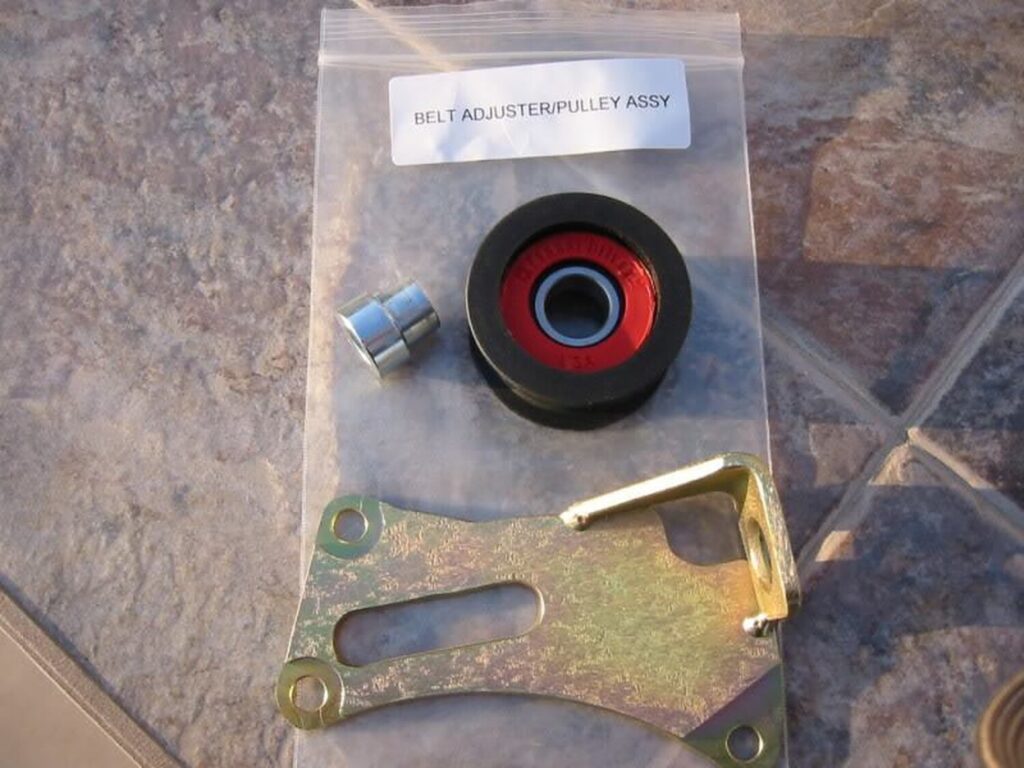
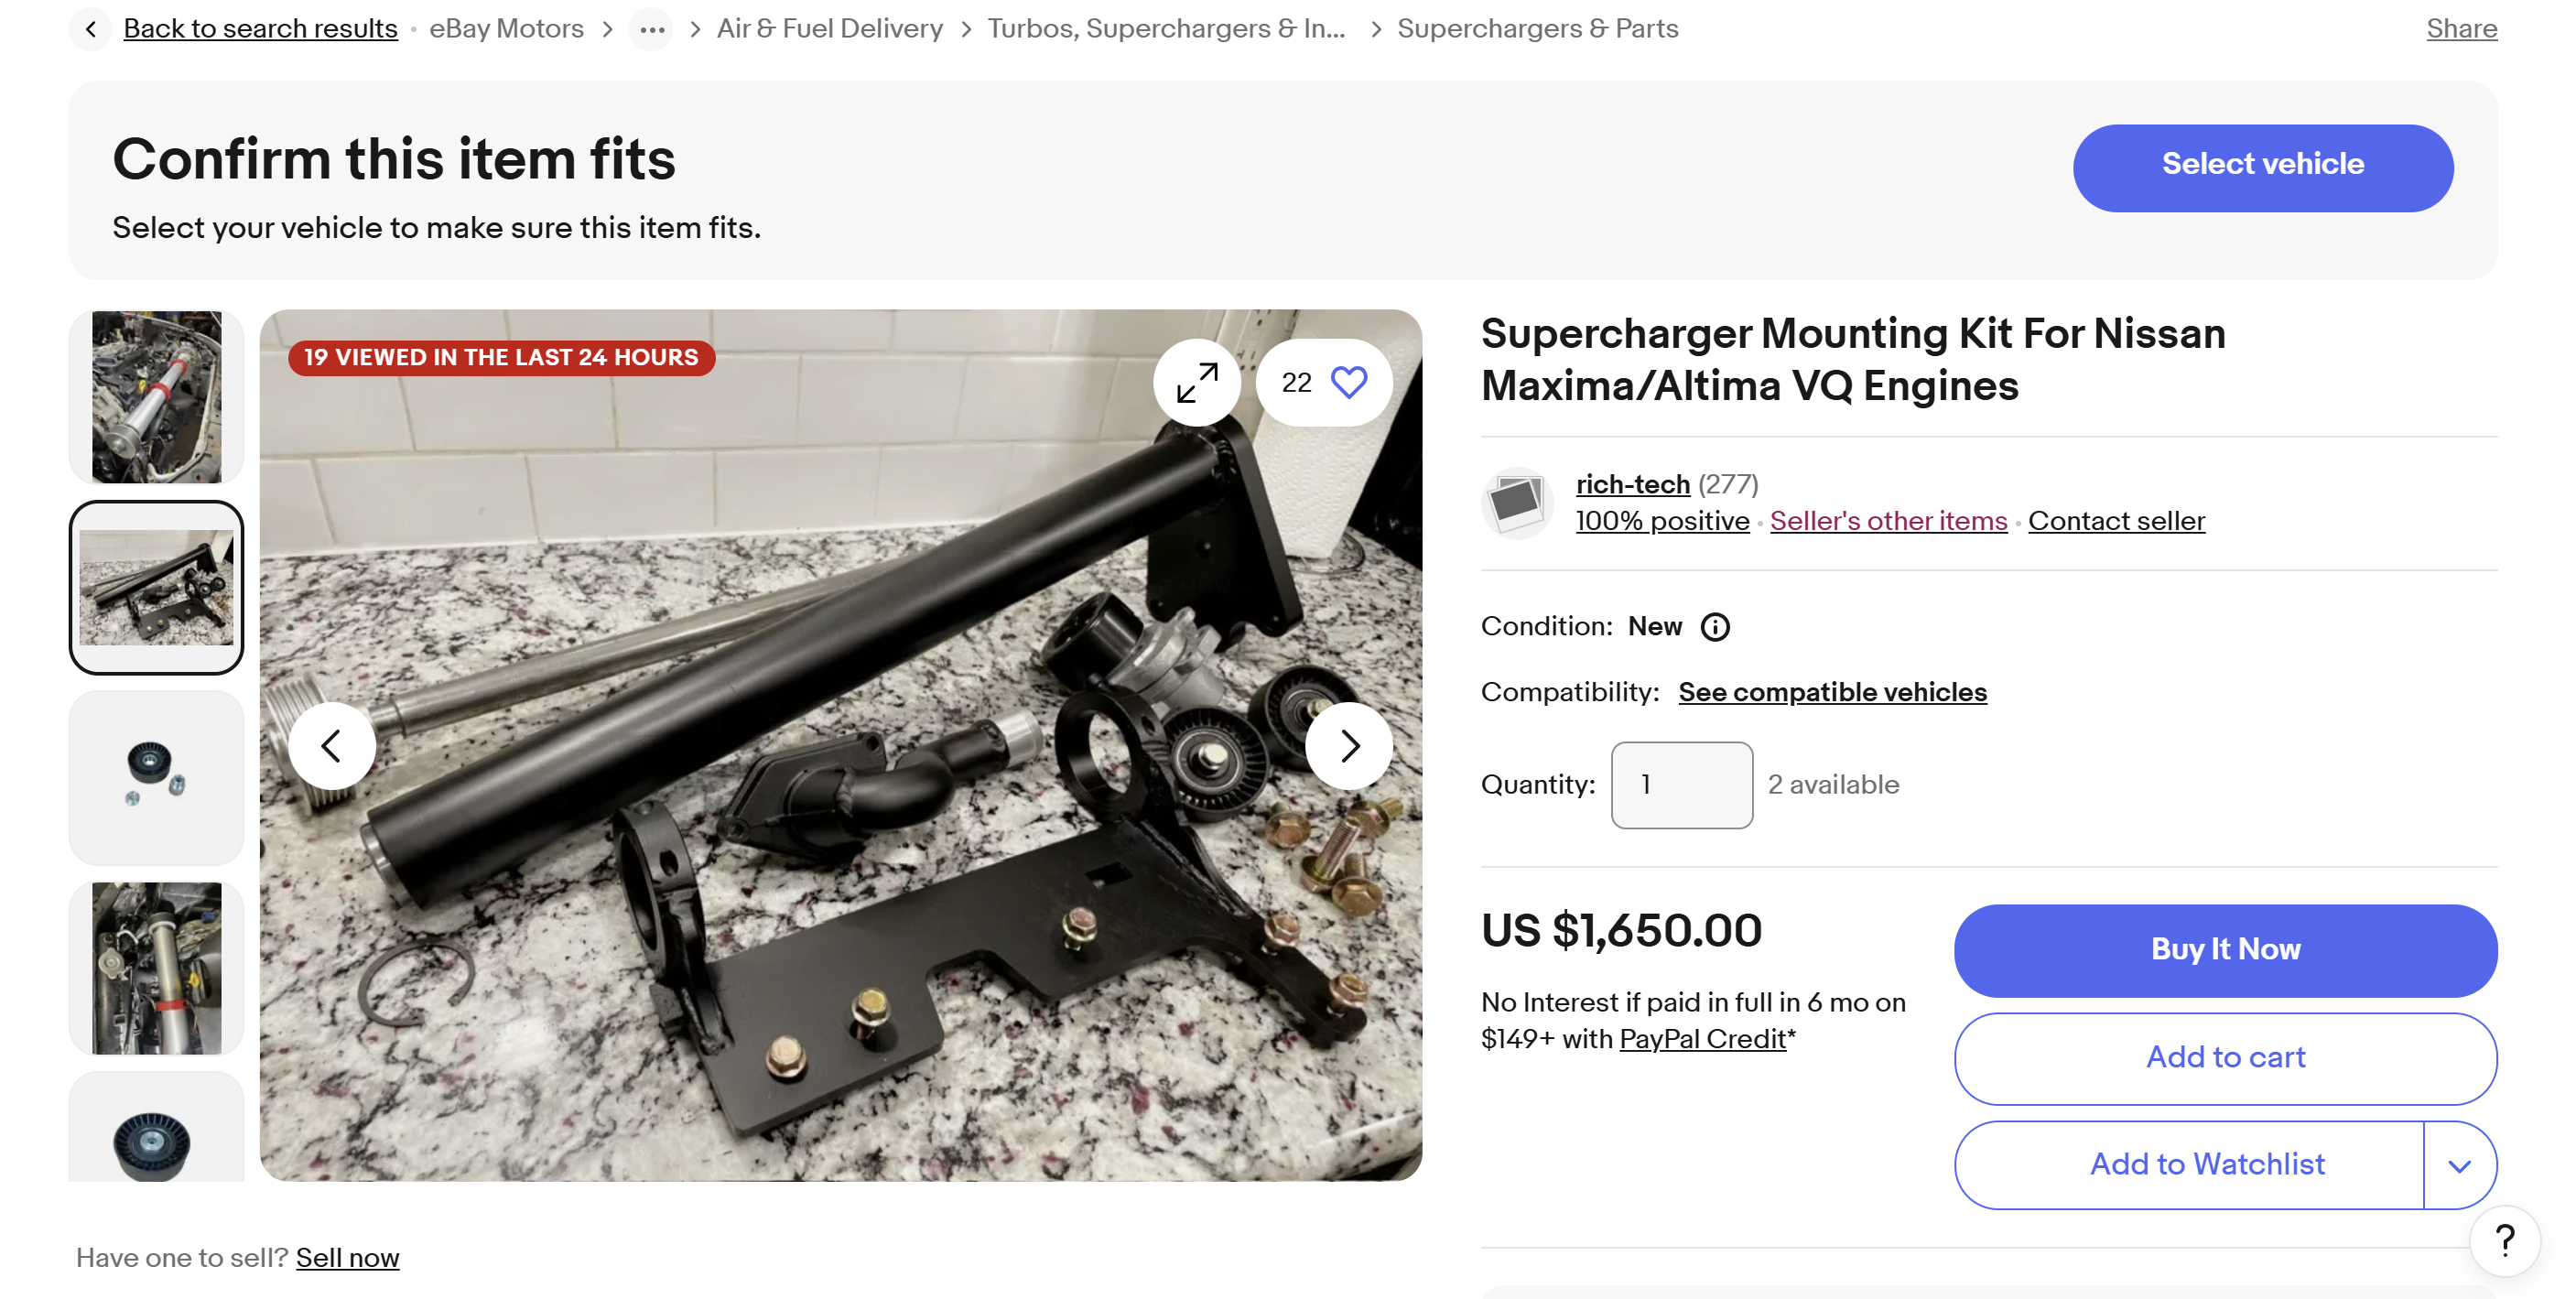
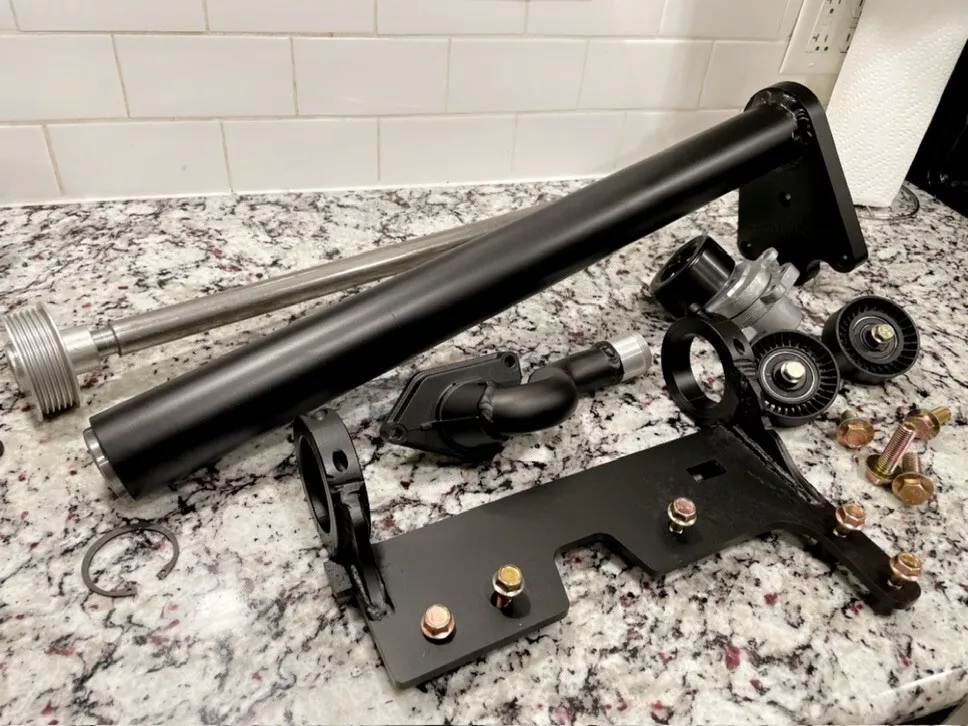
Supercharger Mounting Kit For Nissan Maxima/Altima VQ Engines
Link: https://www.ebay.com/itm/326392000409
![]()


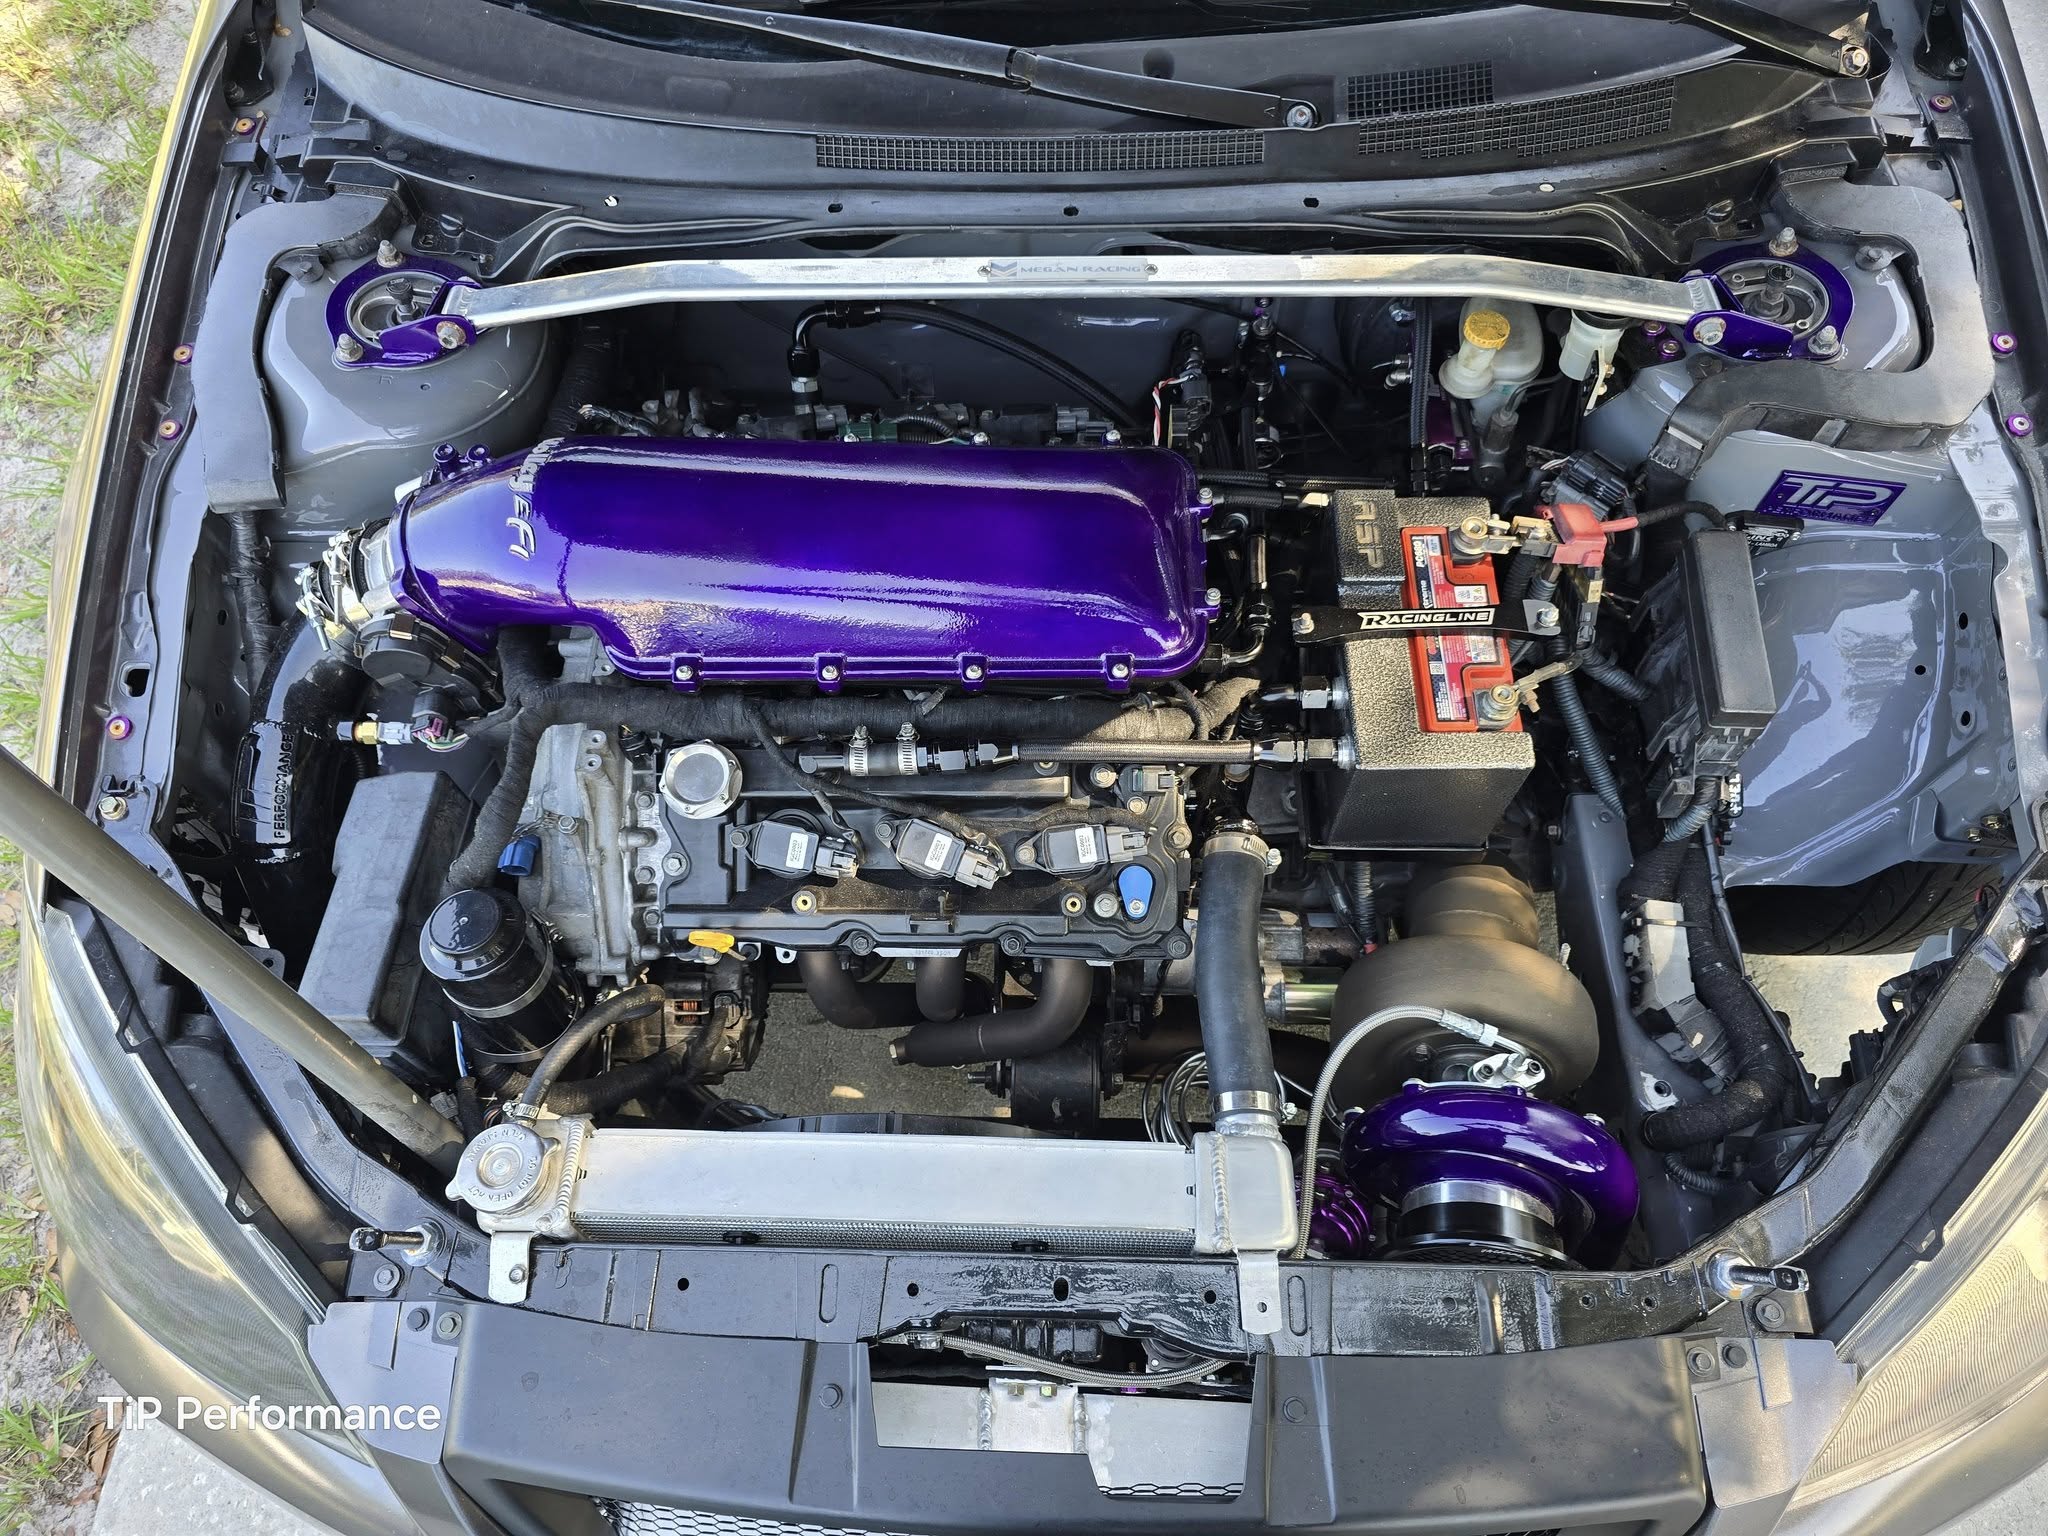
Owner: Terrance Herrera
Year: 2006
Model: Altima
Current Color: Smoke
Transmission: 6-Speed Manual
Trim: SE-R


![]()