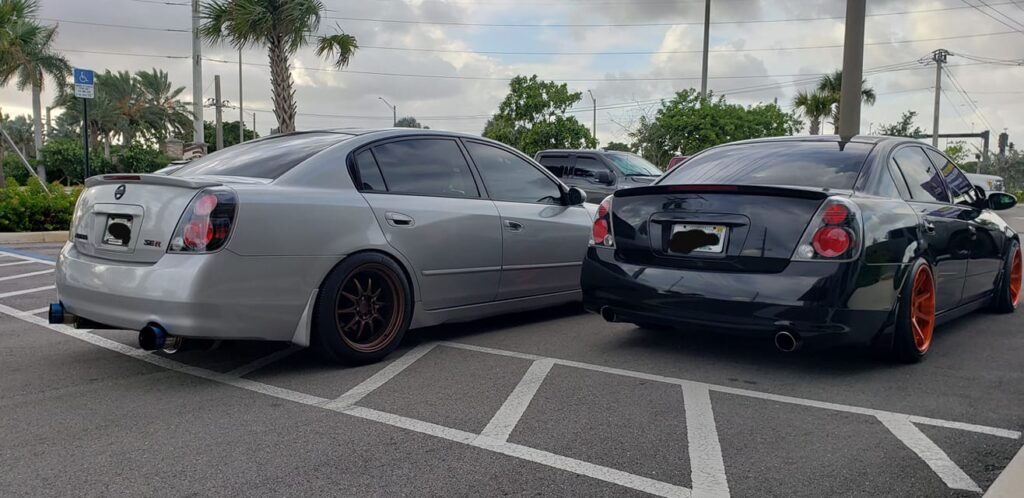
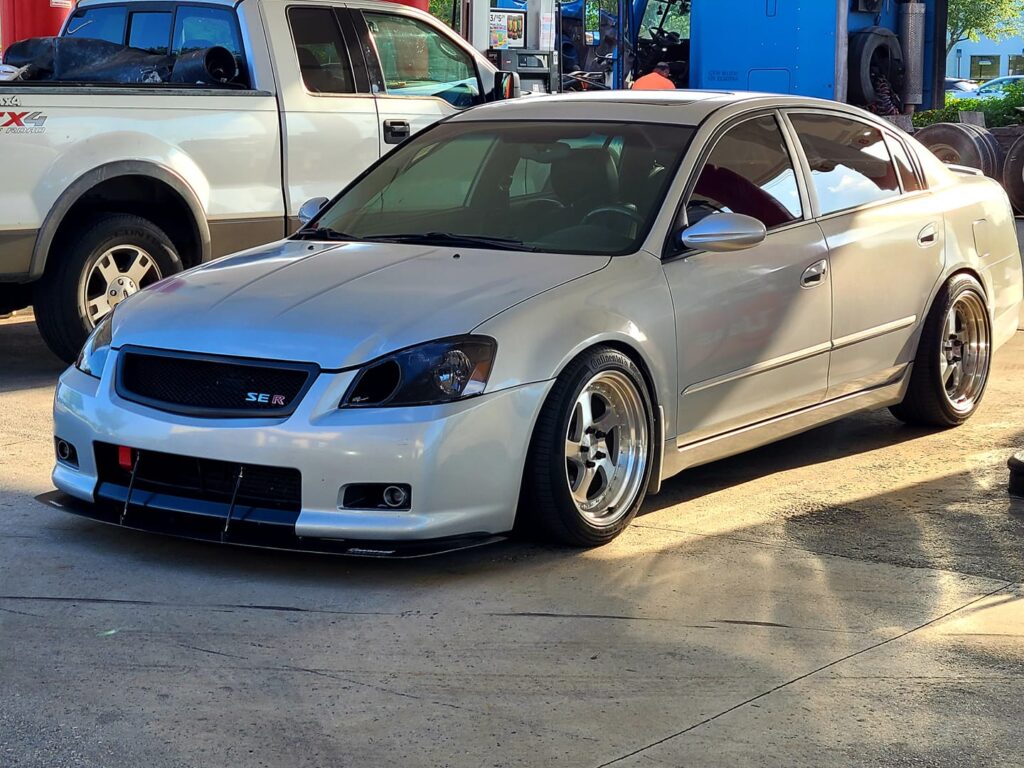
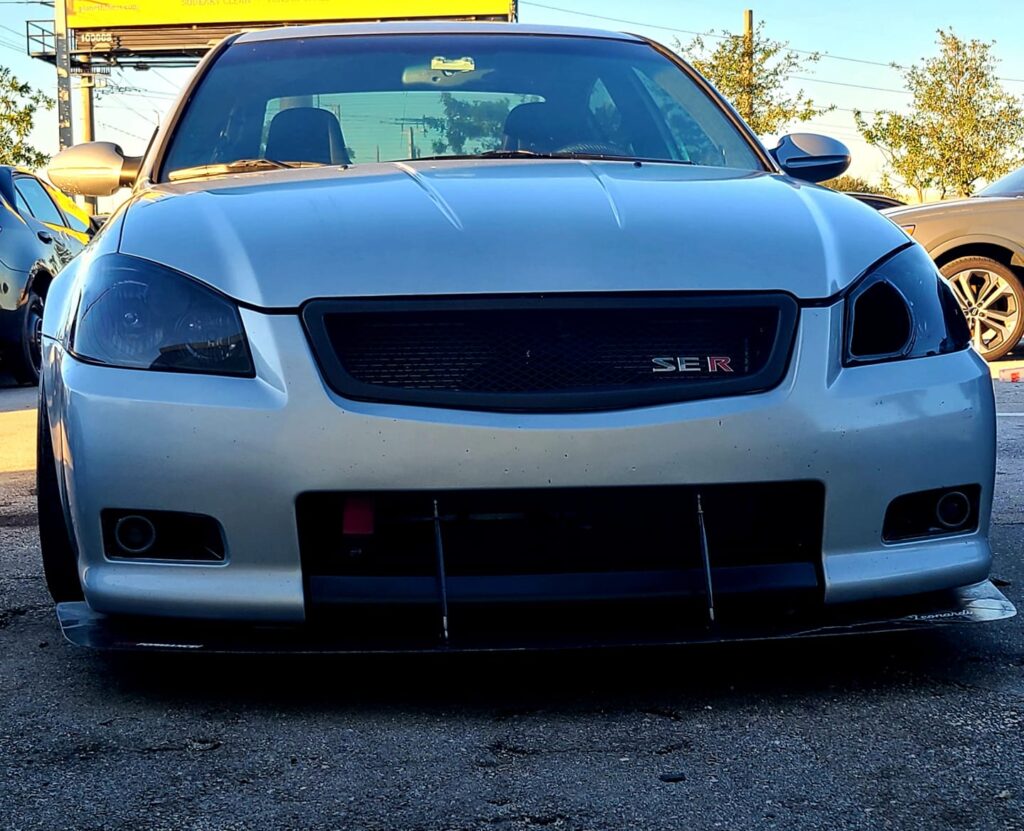
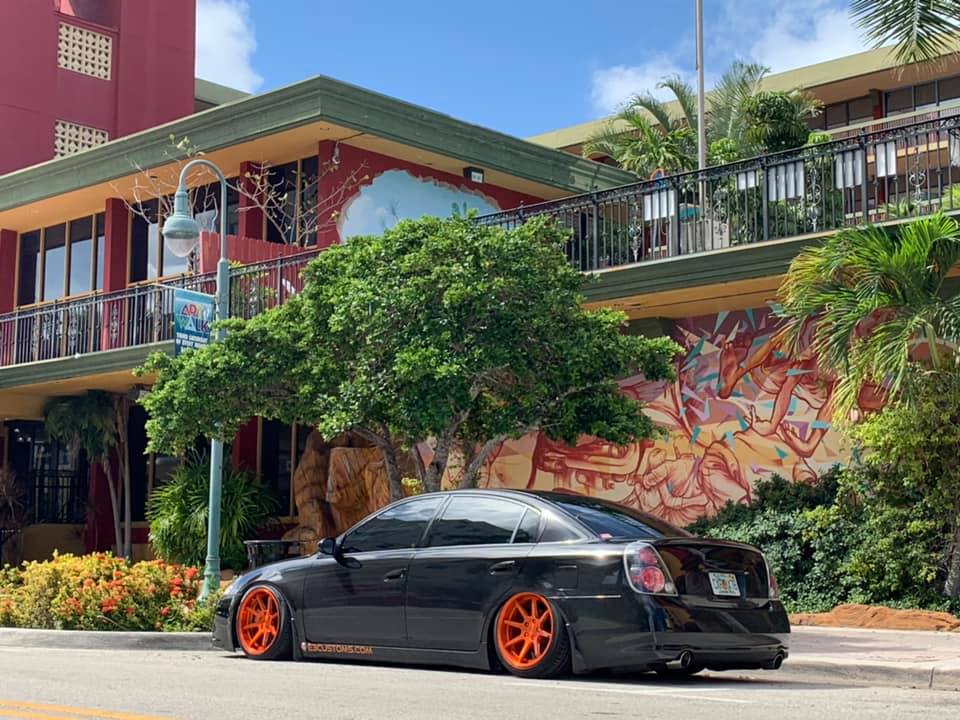
Owner: Kristian A.
Year: 2005
Model: Altima
Color: Silver
Transmission: 6-Speed Manual
Trim: SE-R


![]()


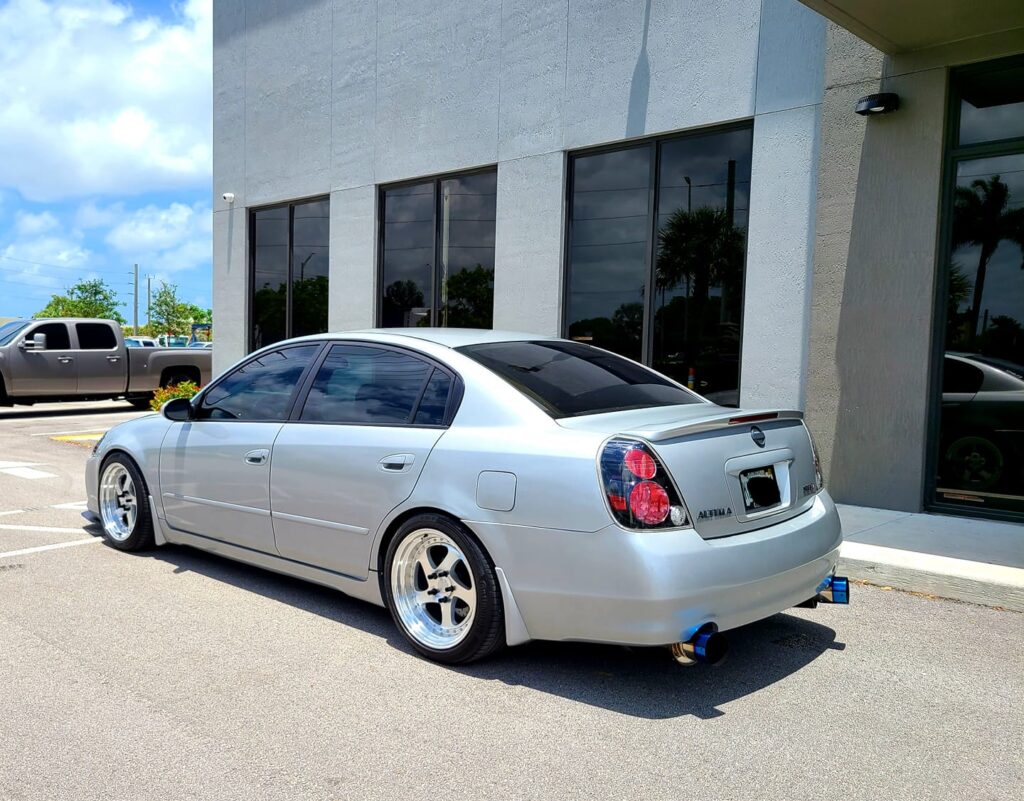
Owner: Kristian A.
Year: 2005
Model: Altima
Color: Silver
Transmission: 6-Speed Manual
Trim: SE-R
![]()
")

Credit: 95maxrider
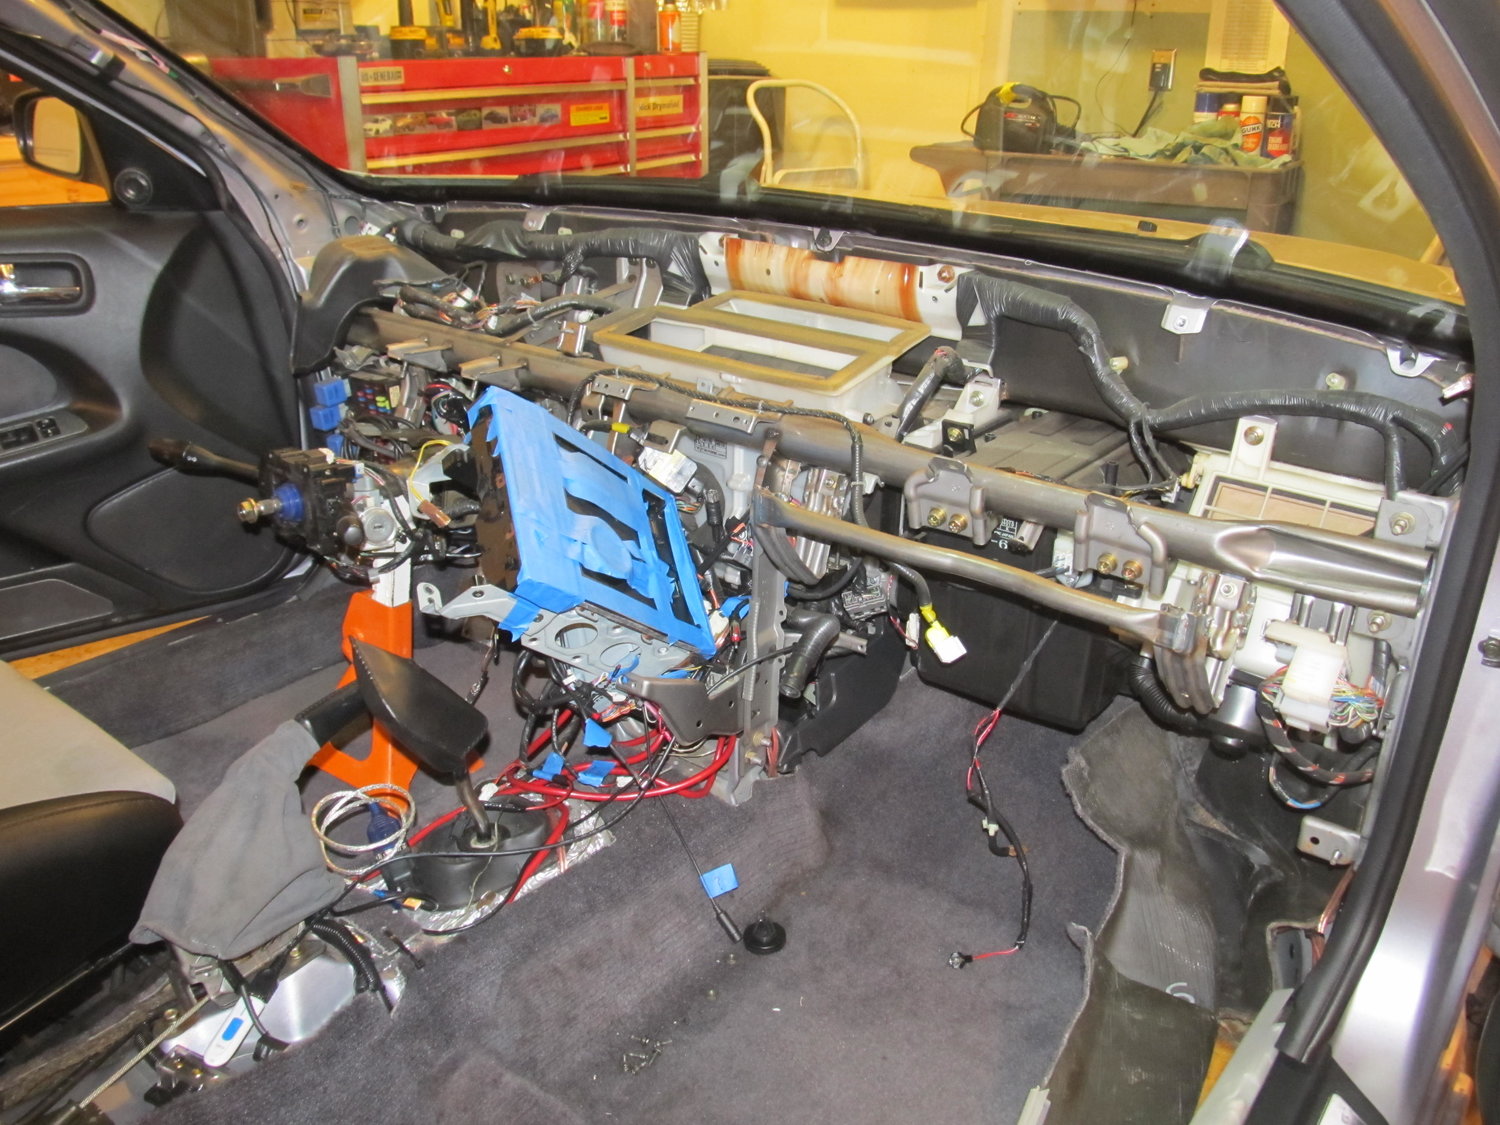
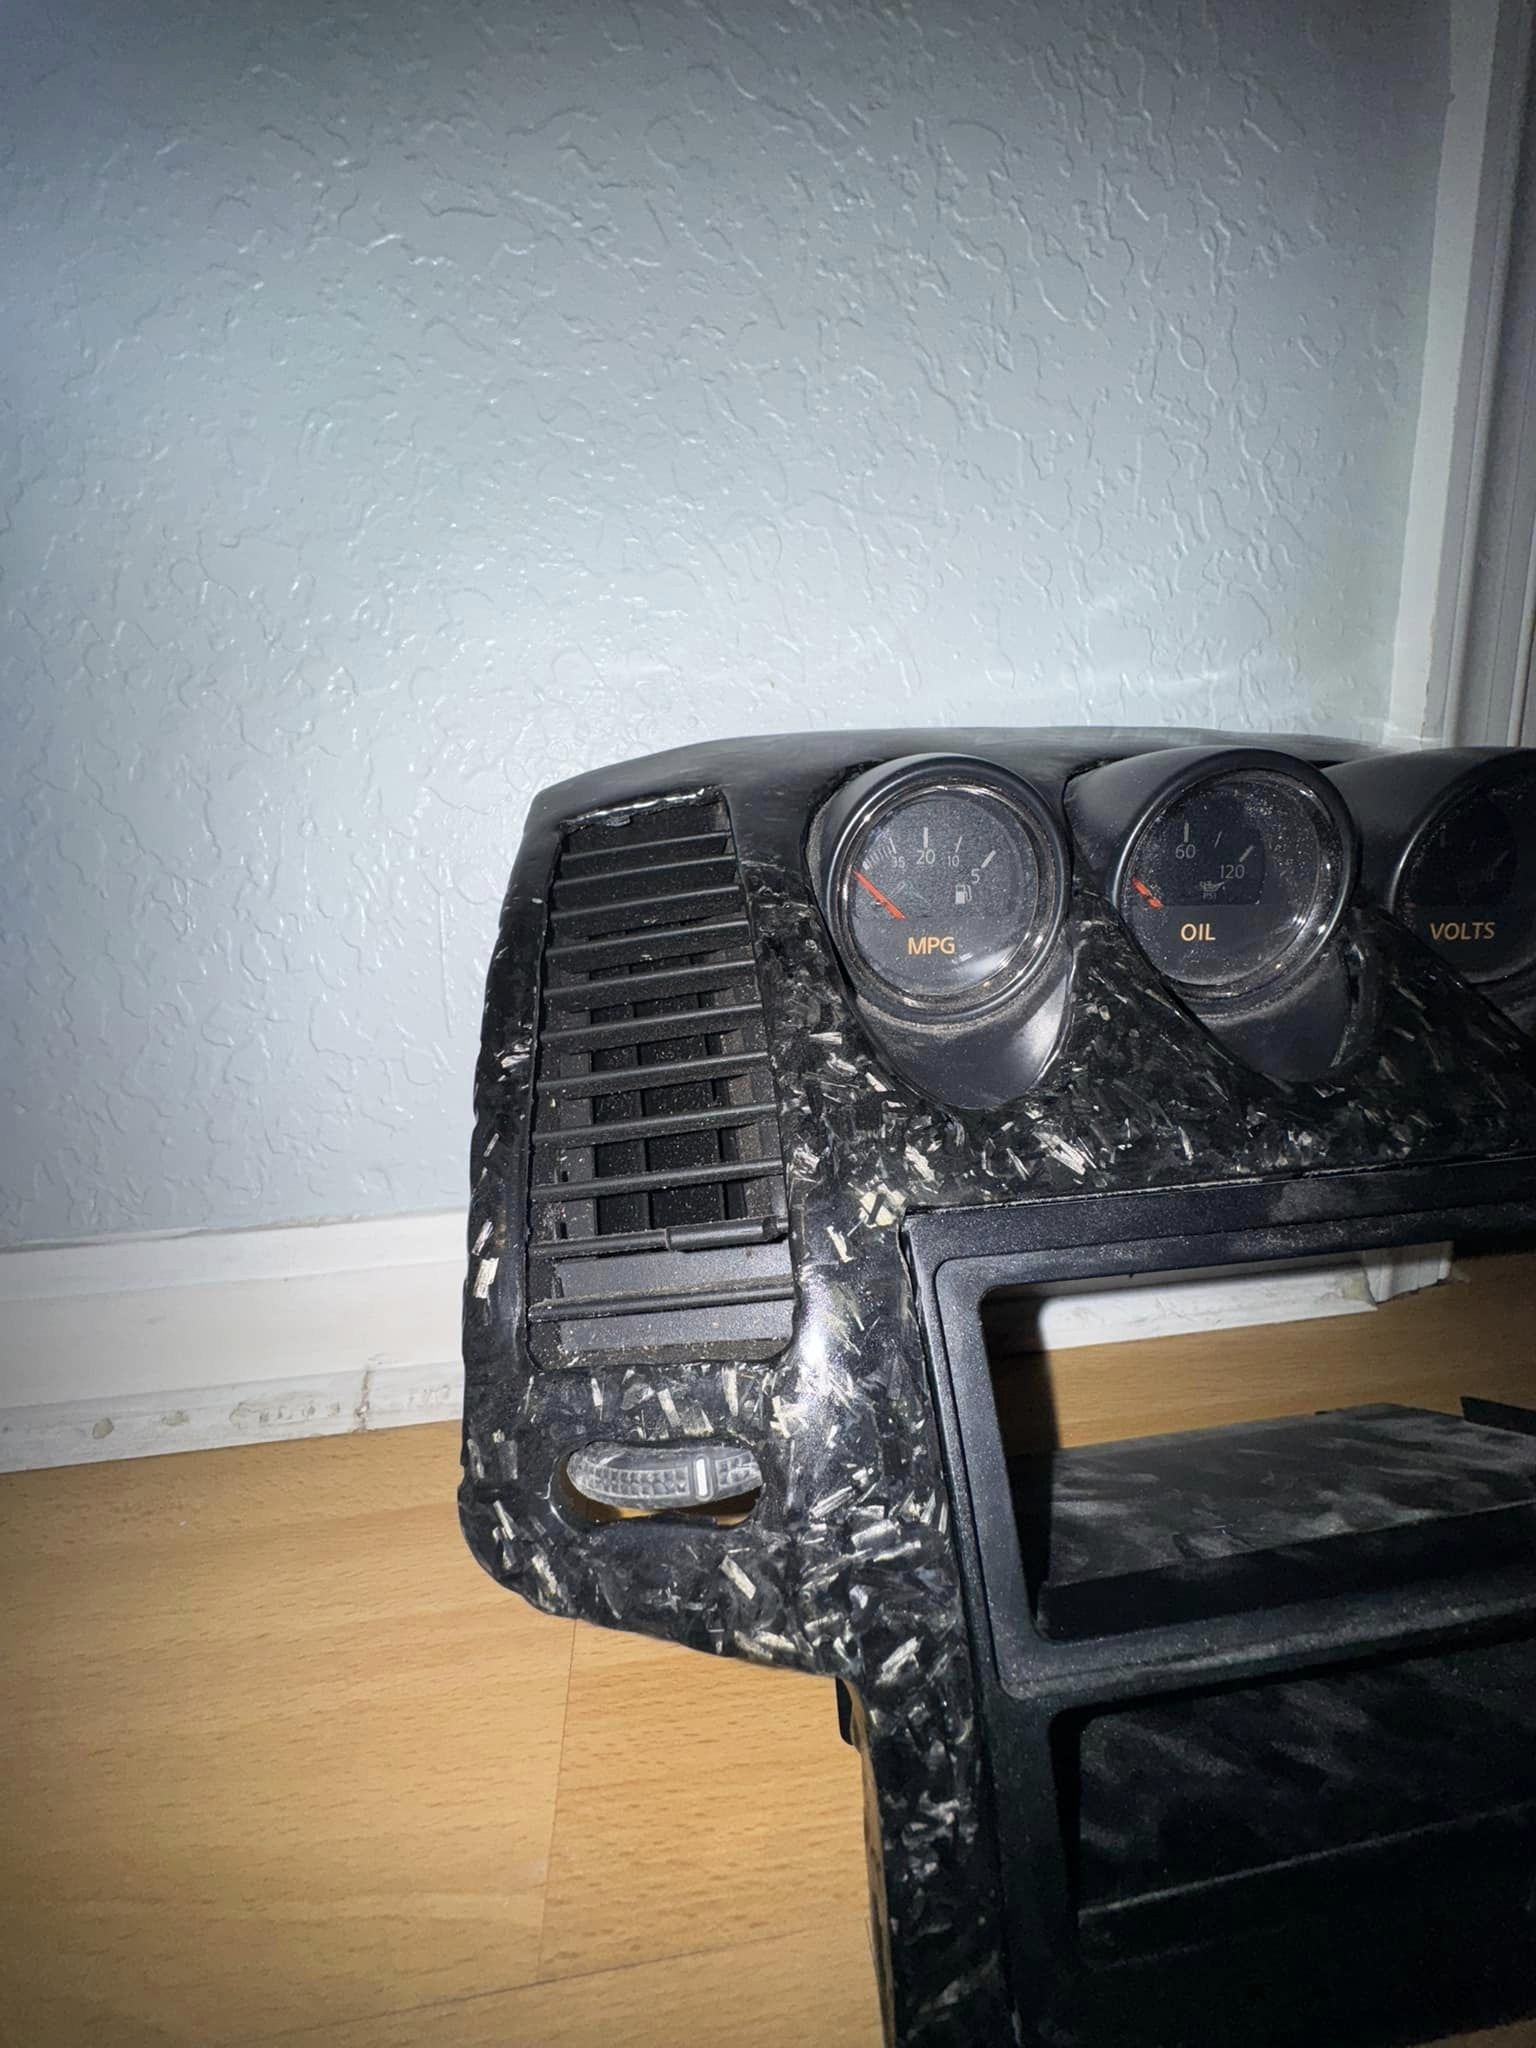
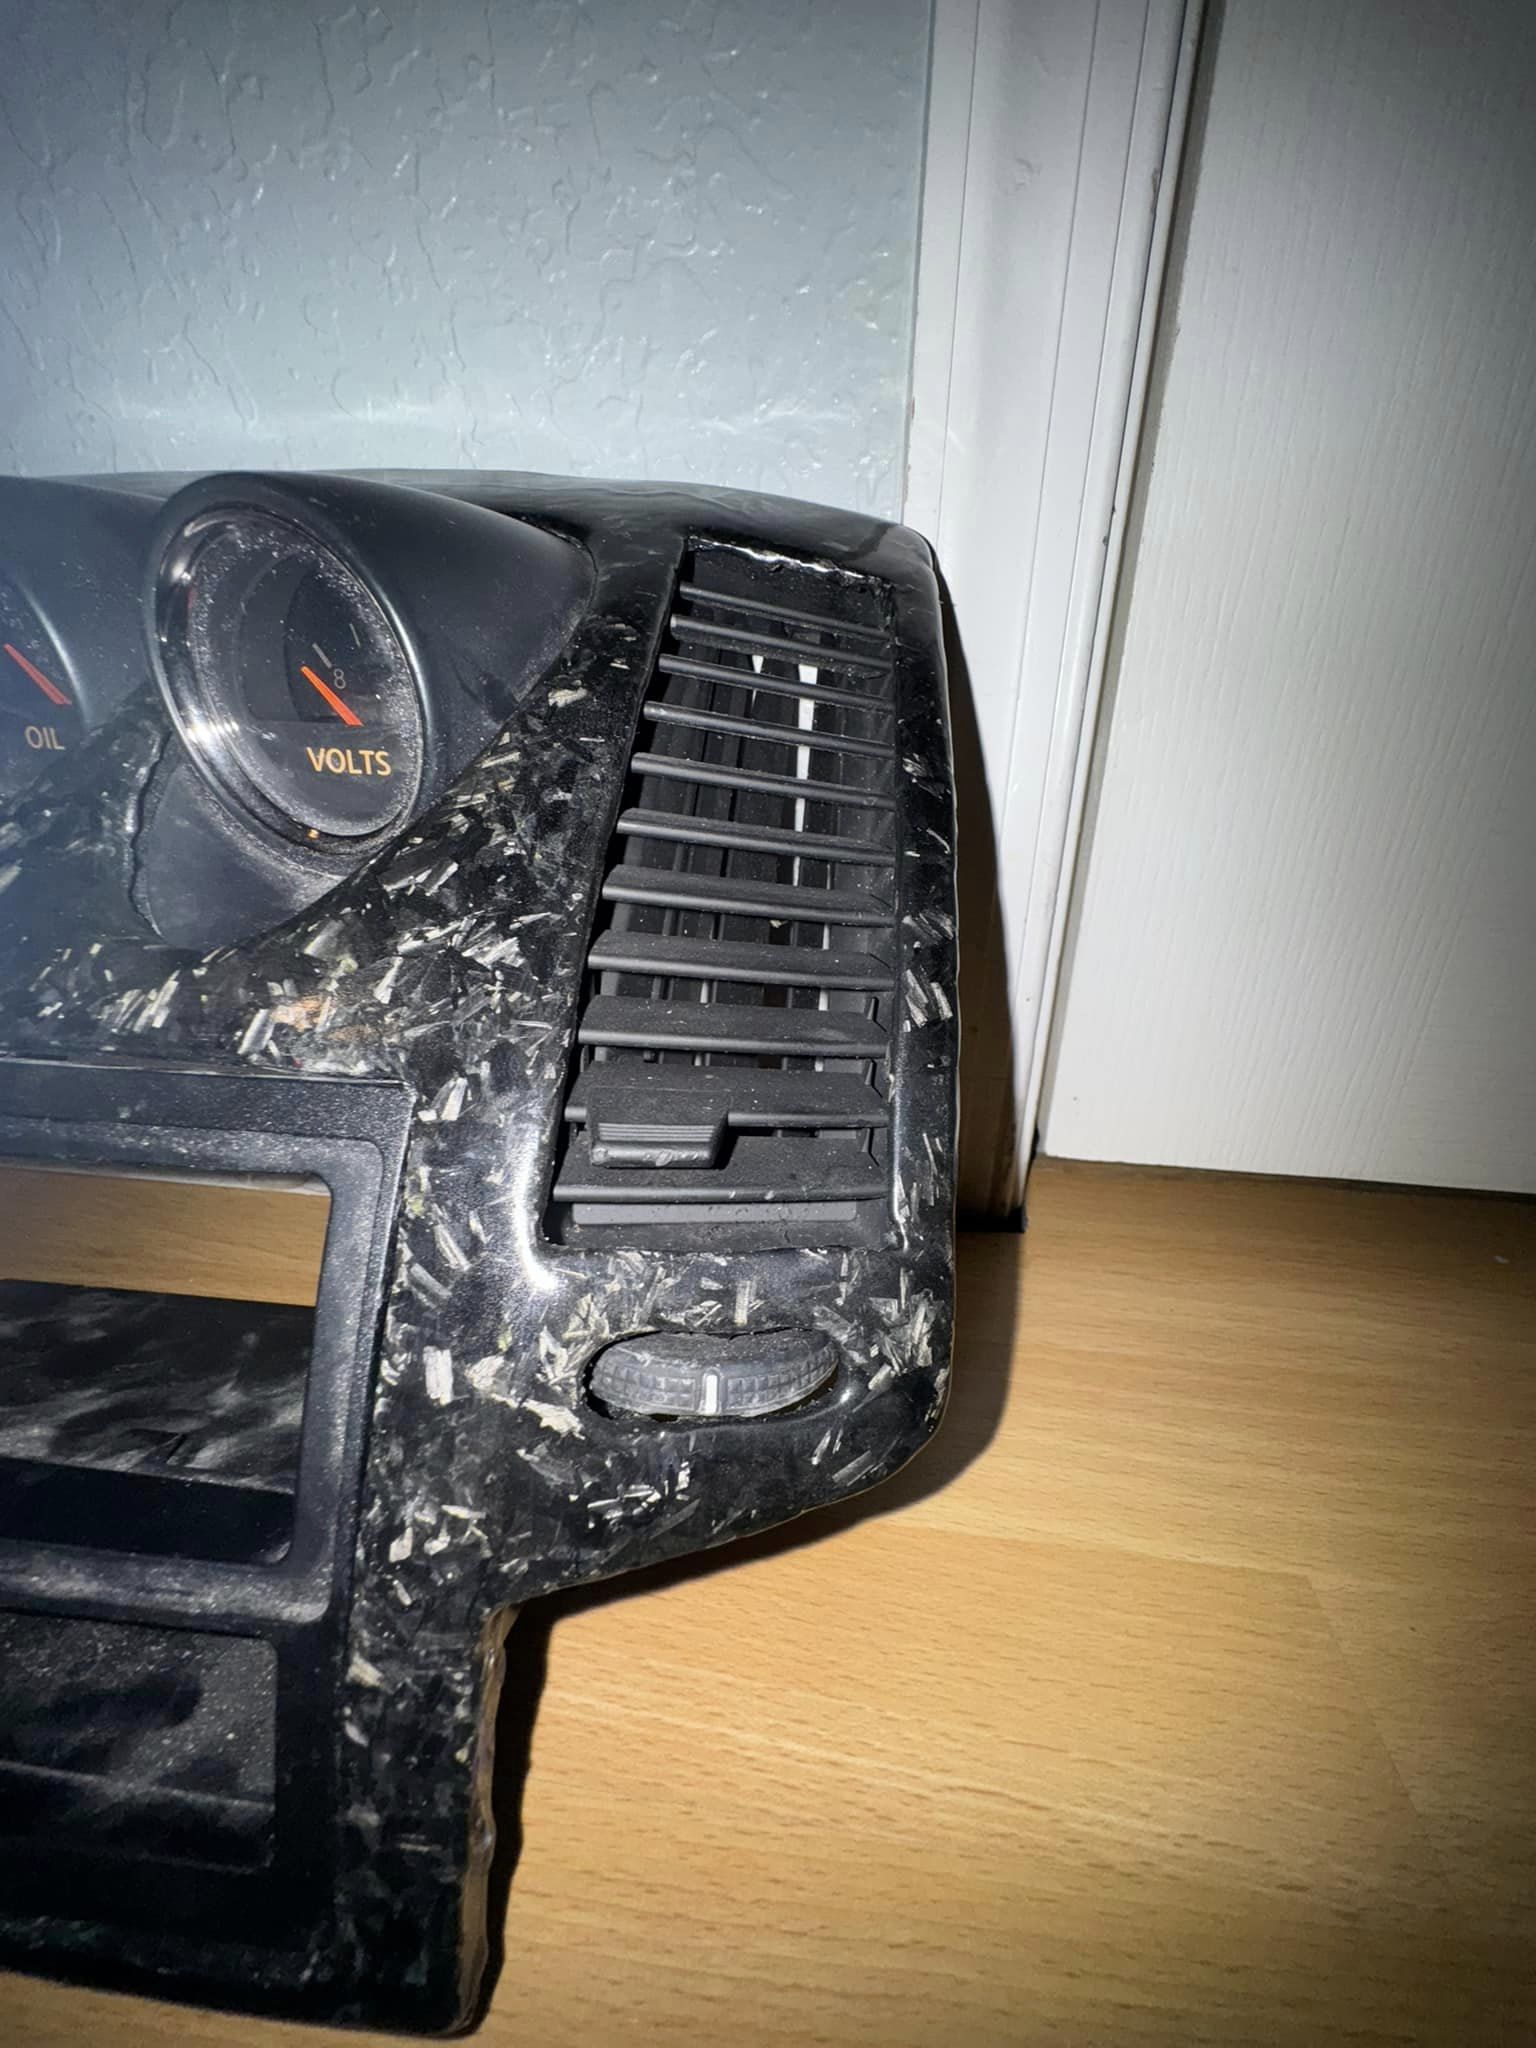
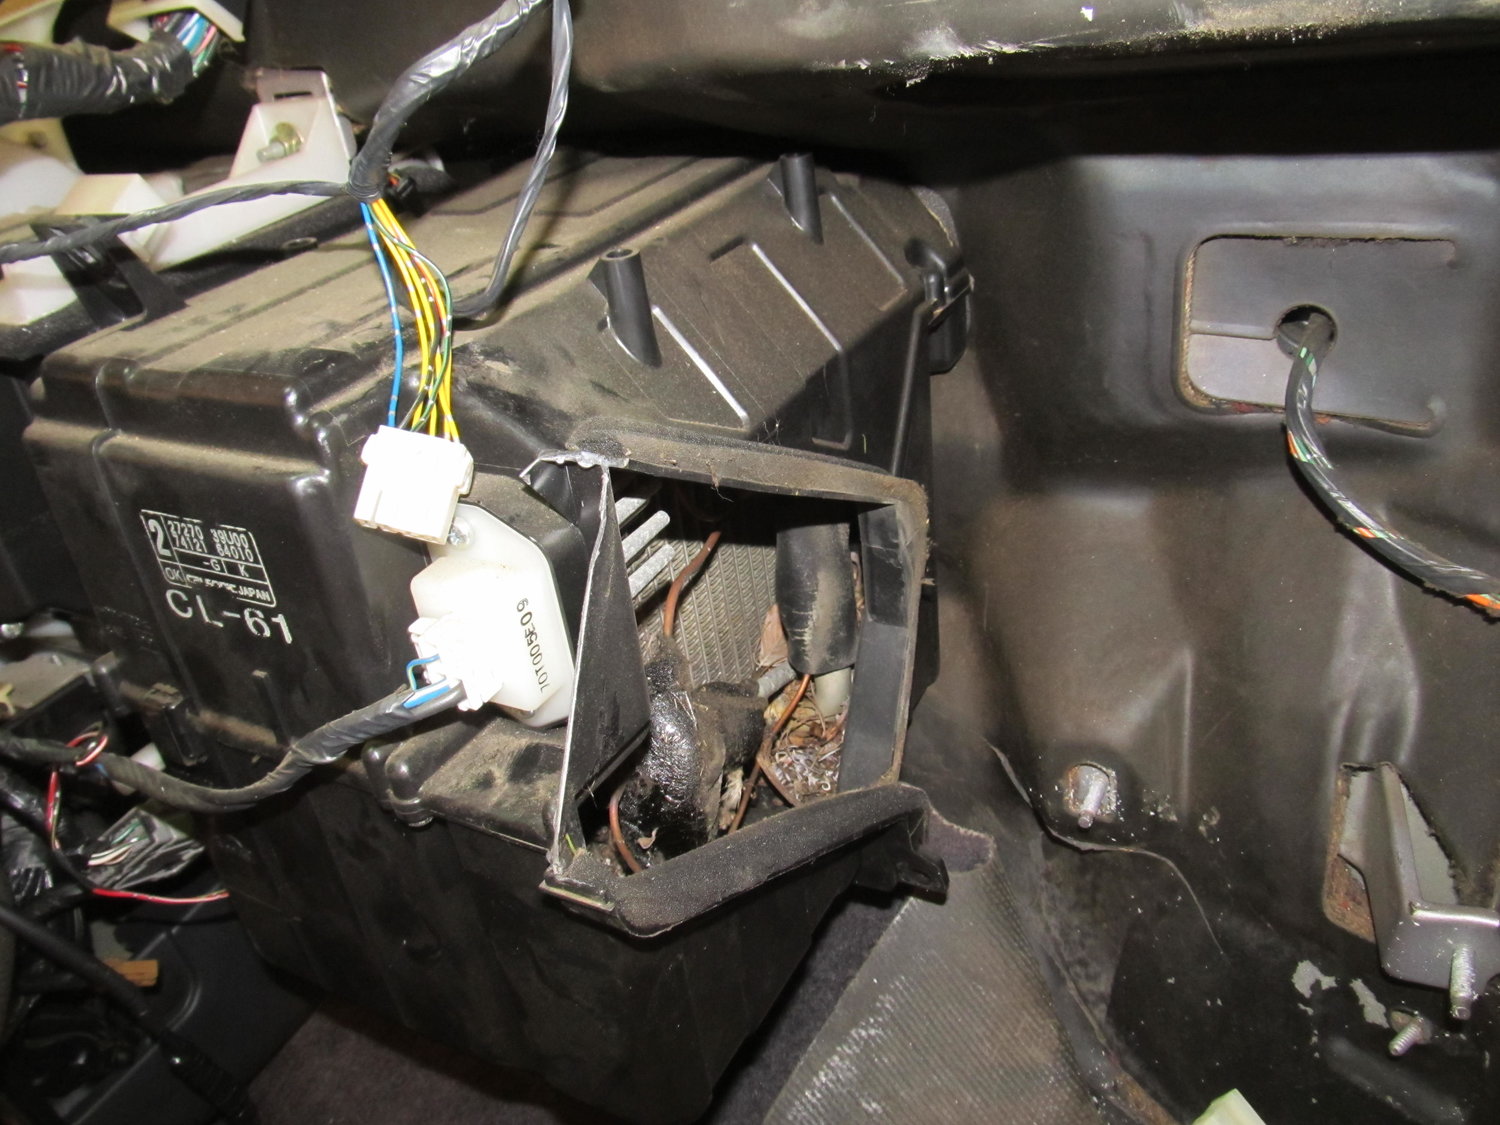
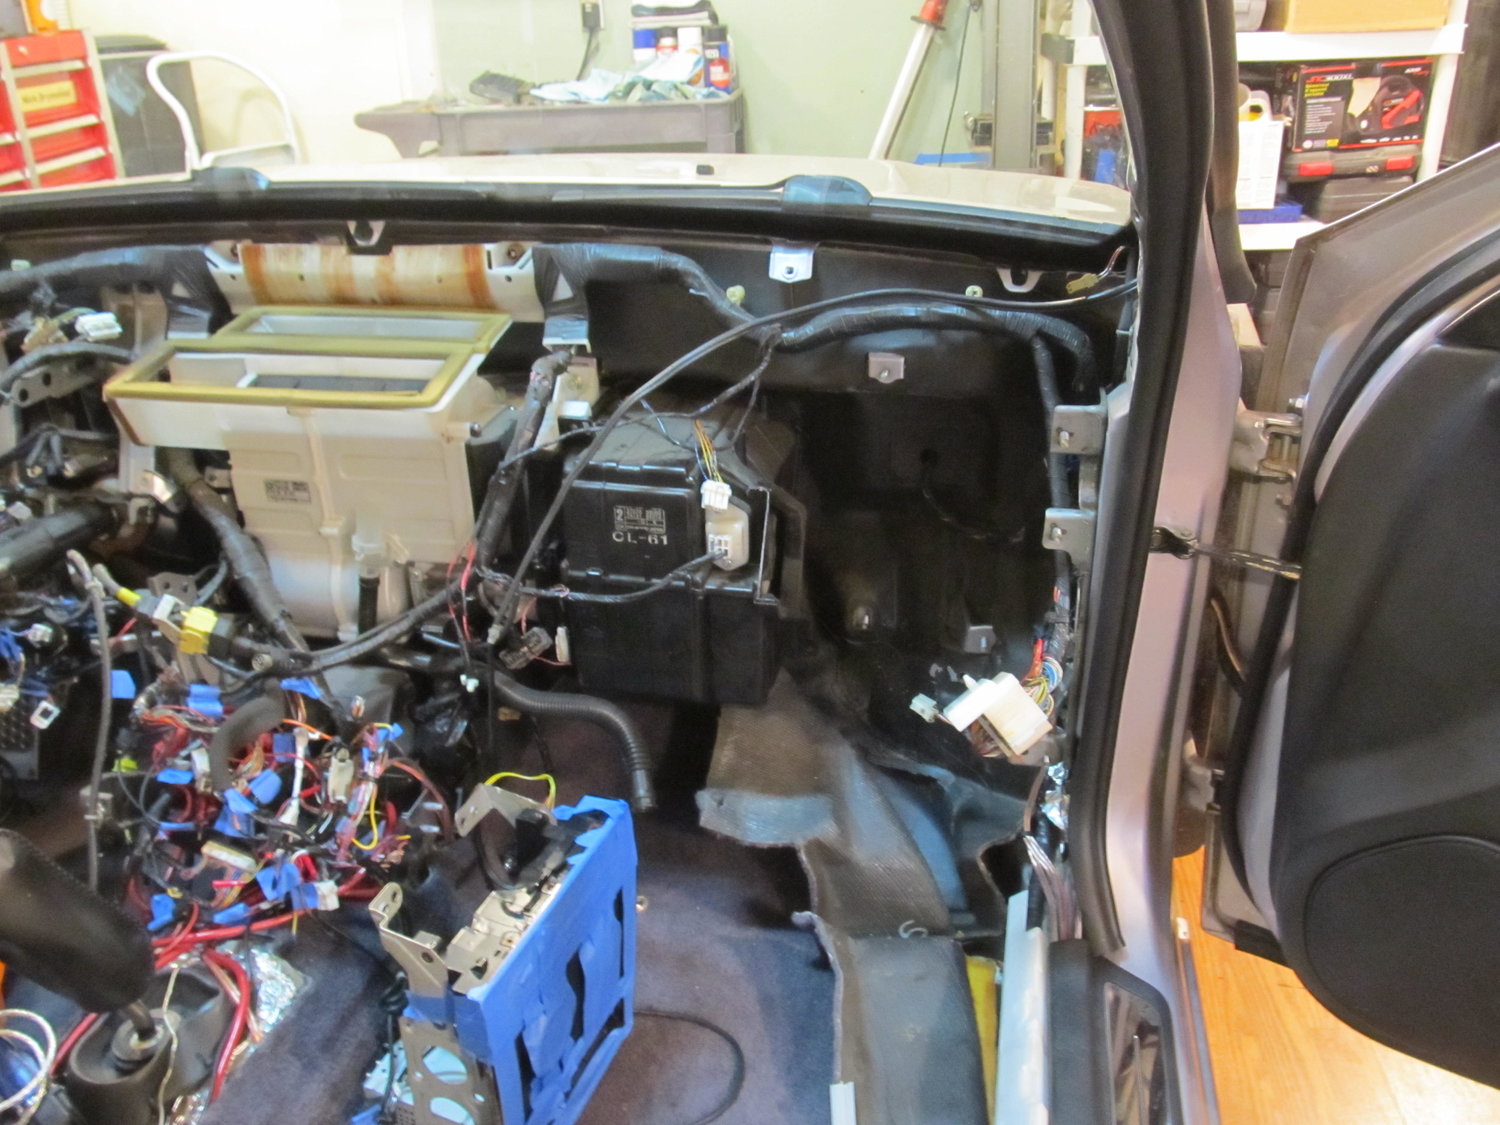
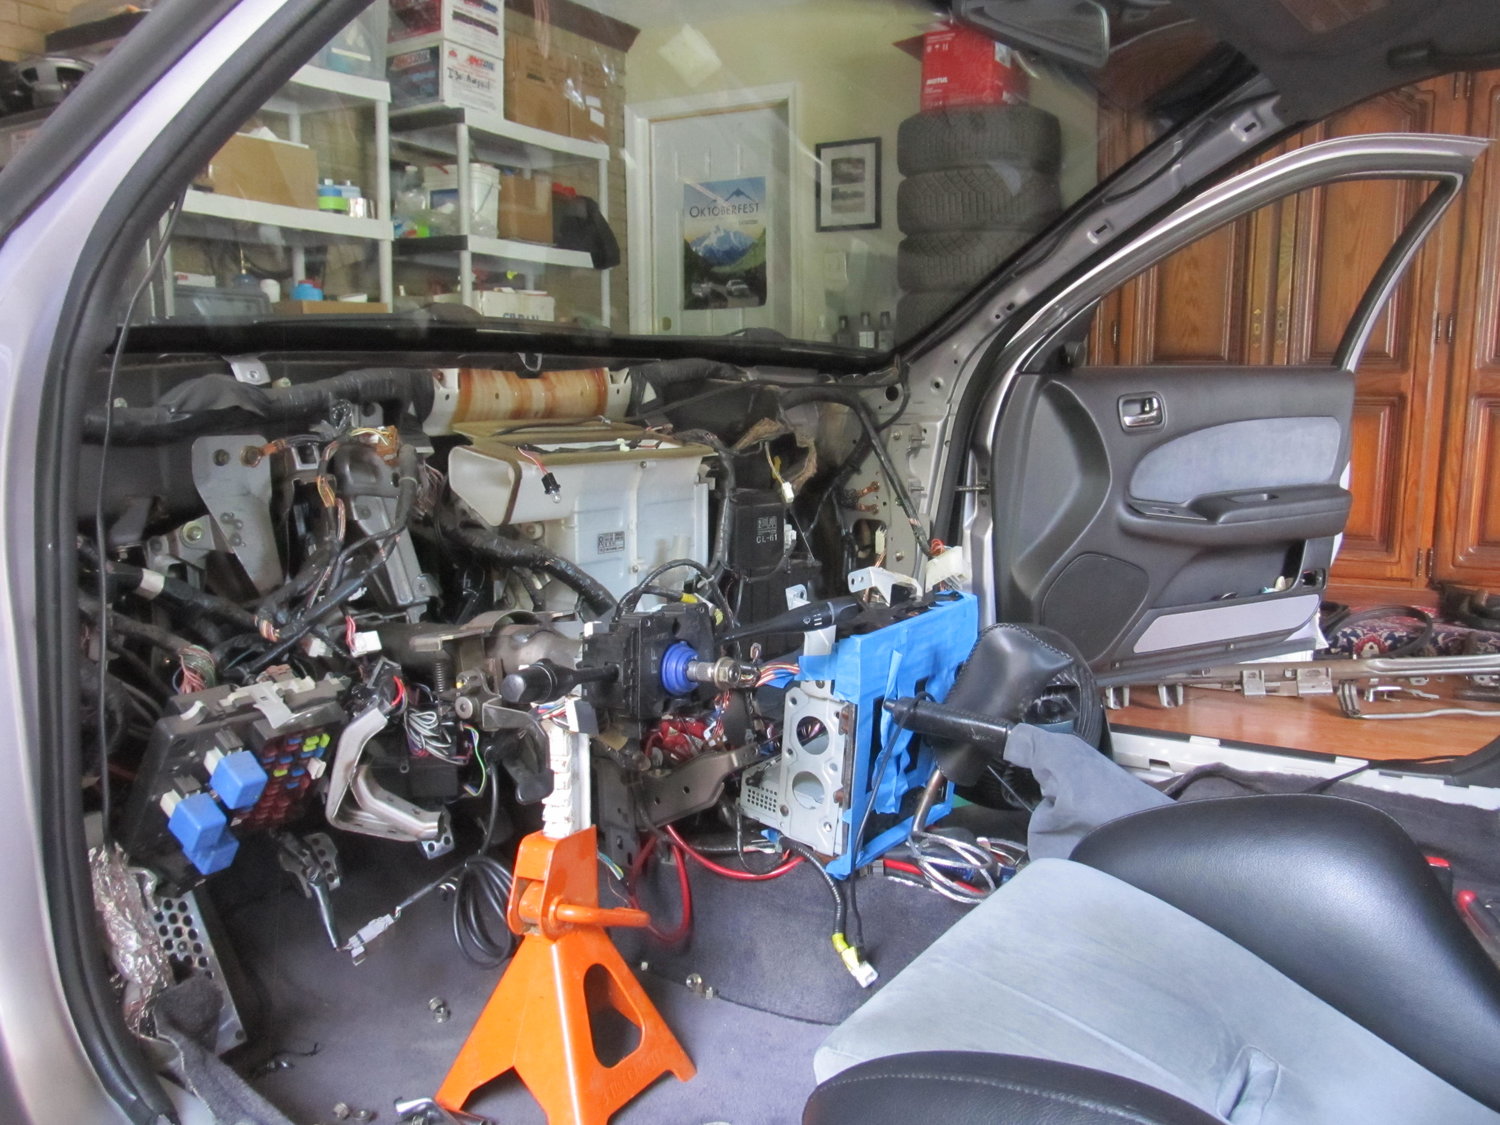
I’m trying to track down a water leak that’s coming down the corner behind the blower motor on the firewall. I’m really hoping I can remove the blower motor (the white thing on the right) without removing the whole heater core (black part on the left). I’m really not trying to drain all my coolant and my AC lines. Does anyone know if it can be done? Without removing the blower motor, I can’t get to any of the seams on the firewall. So close, but so far!
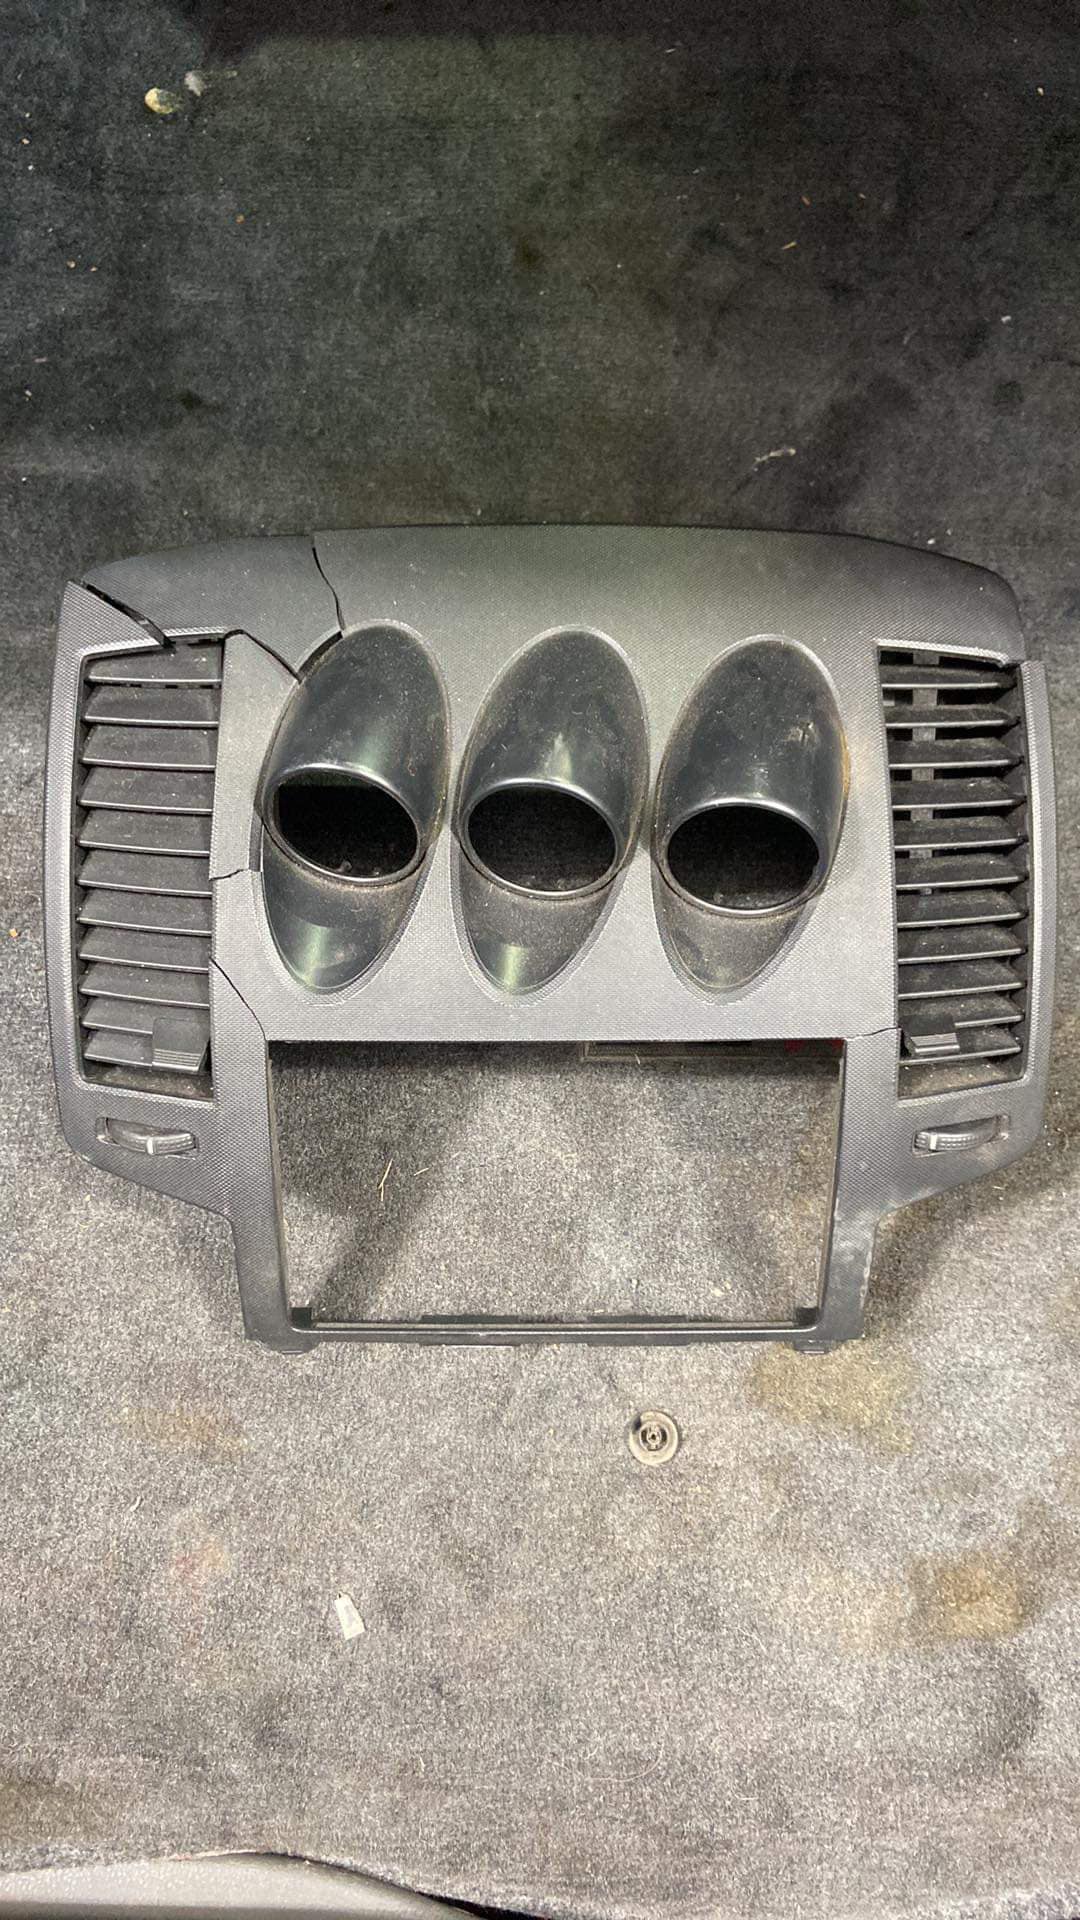
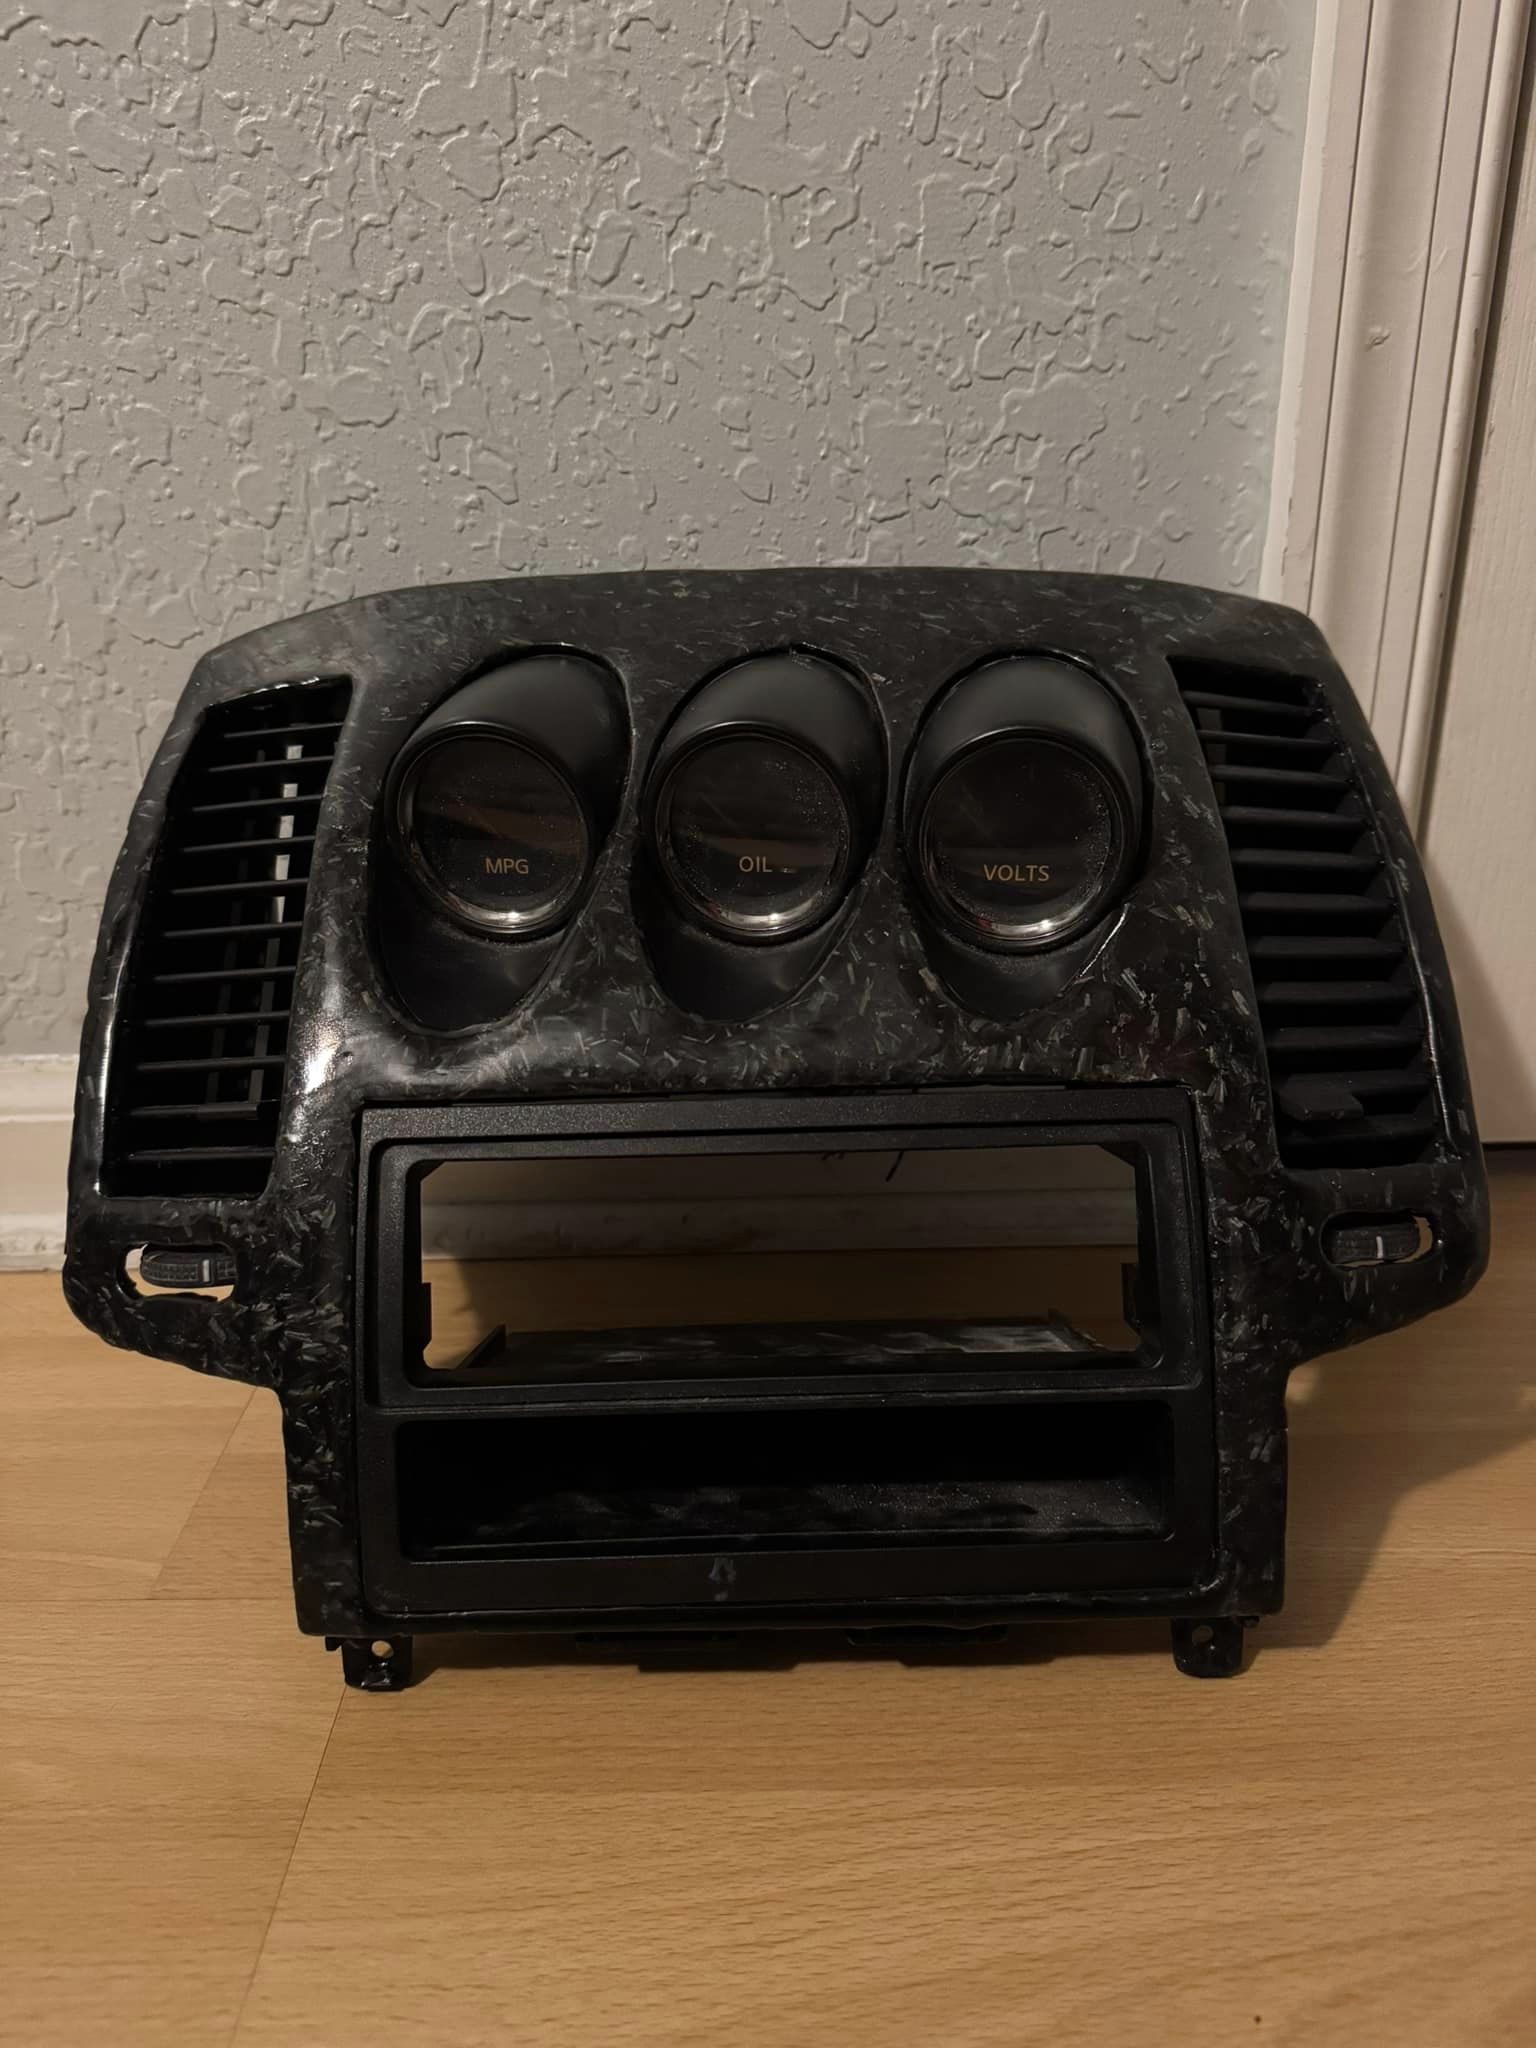
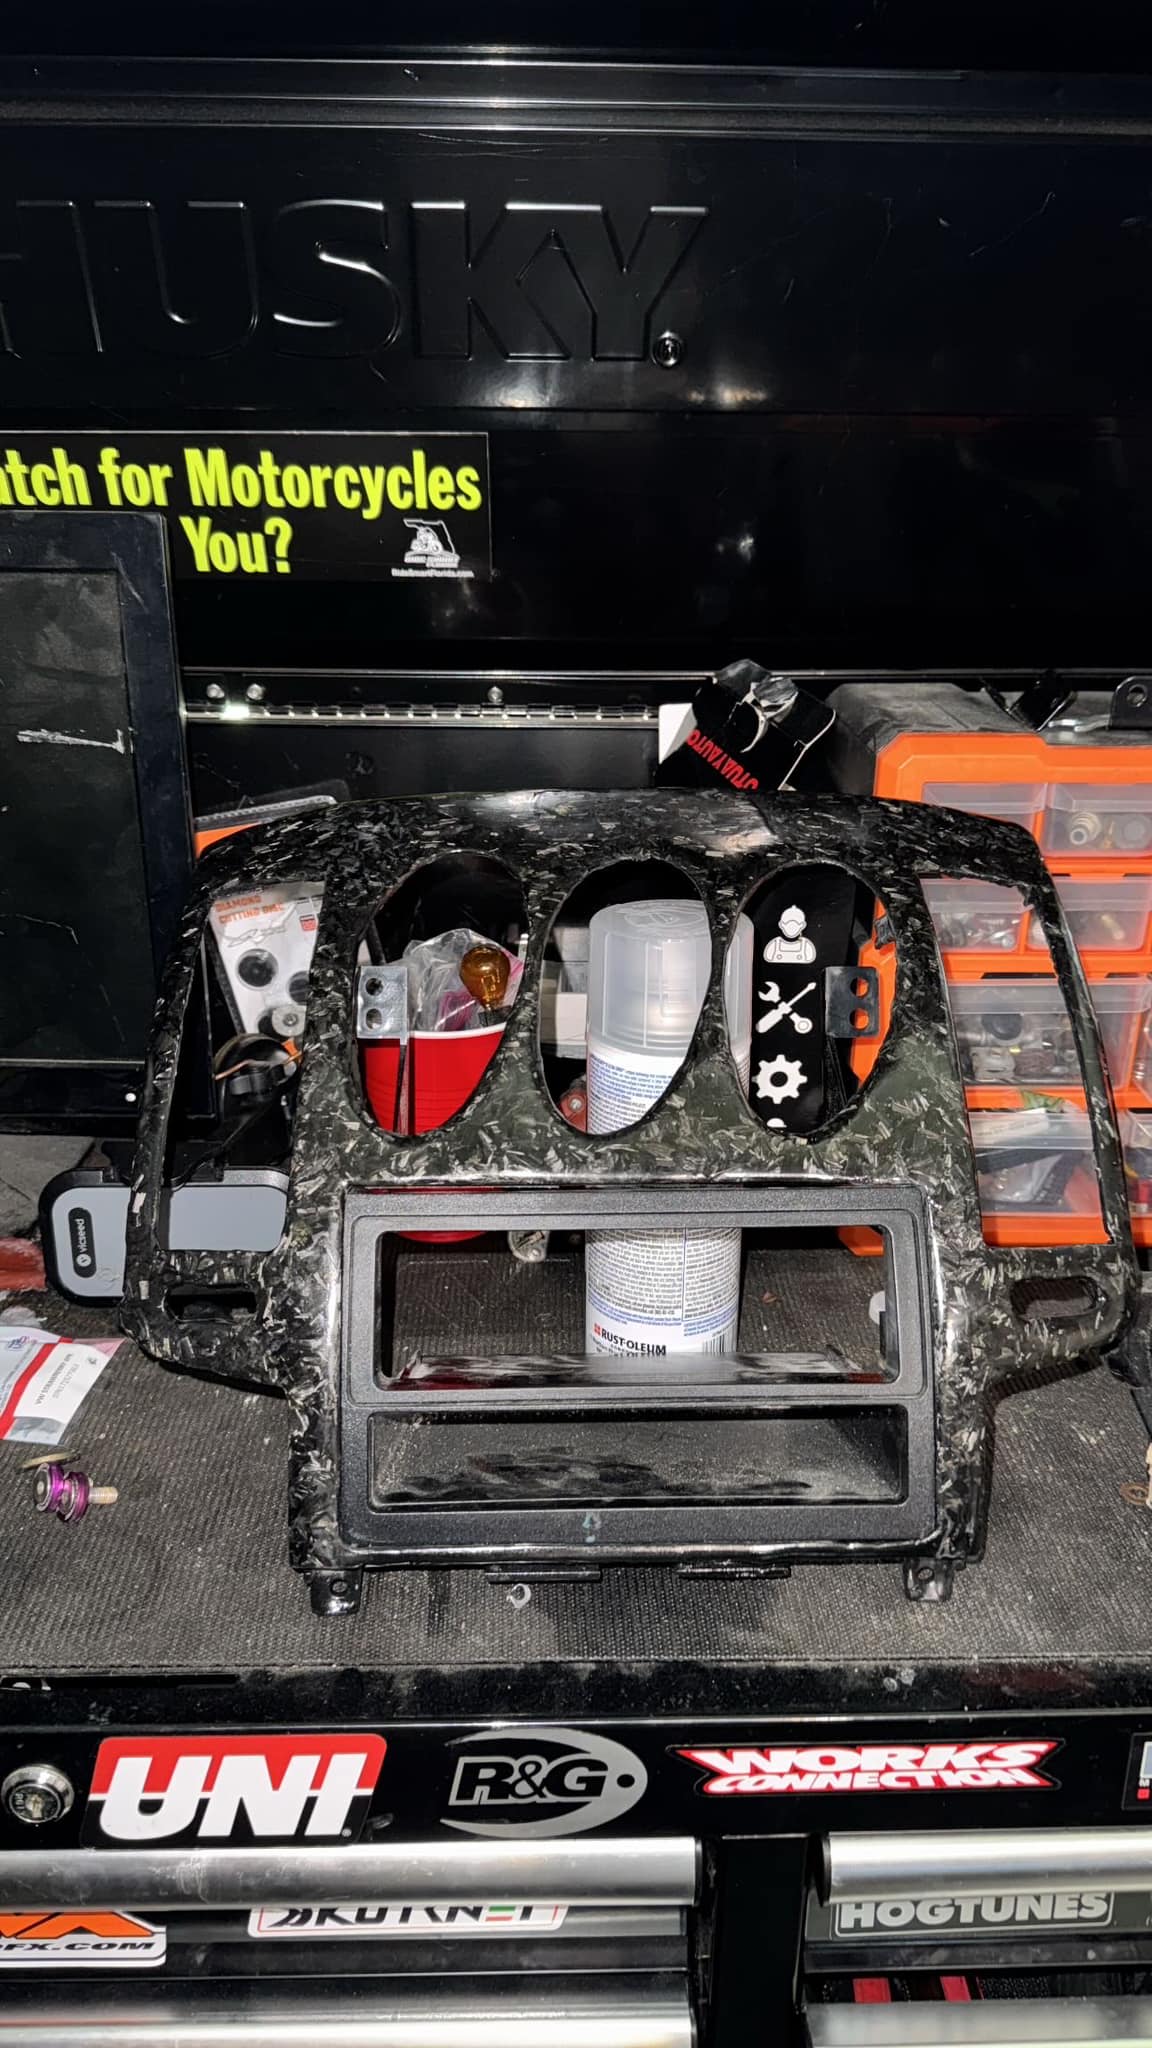
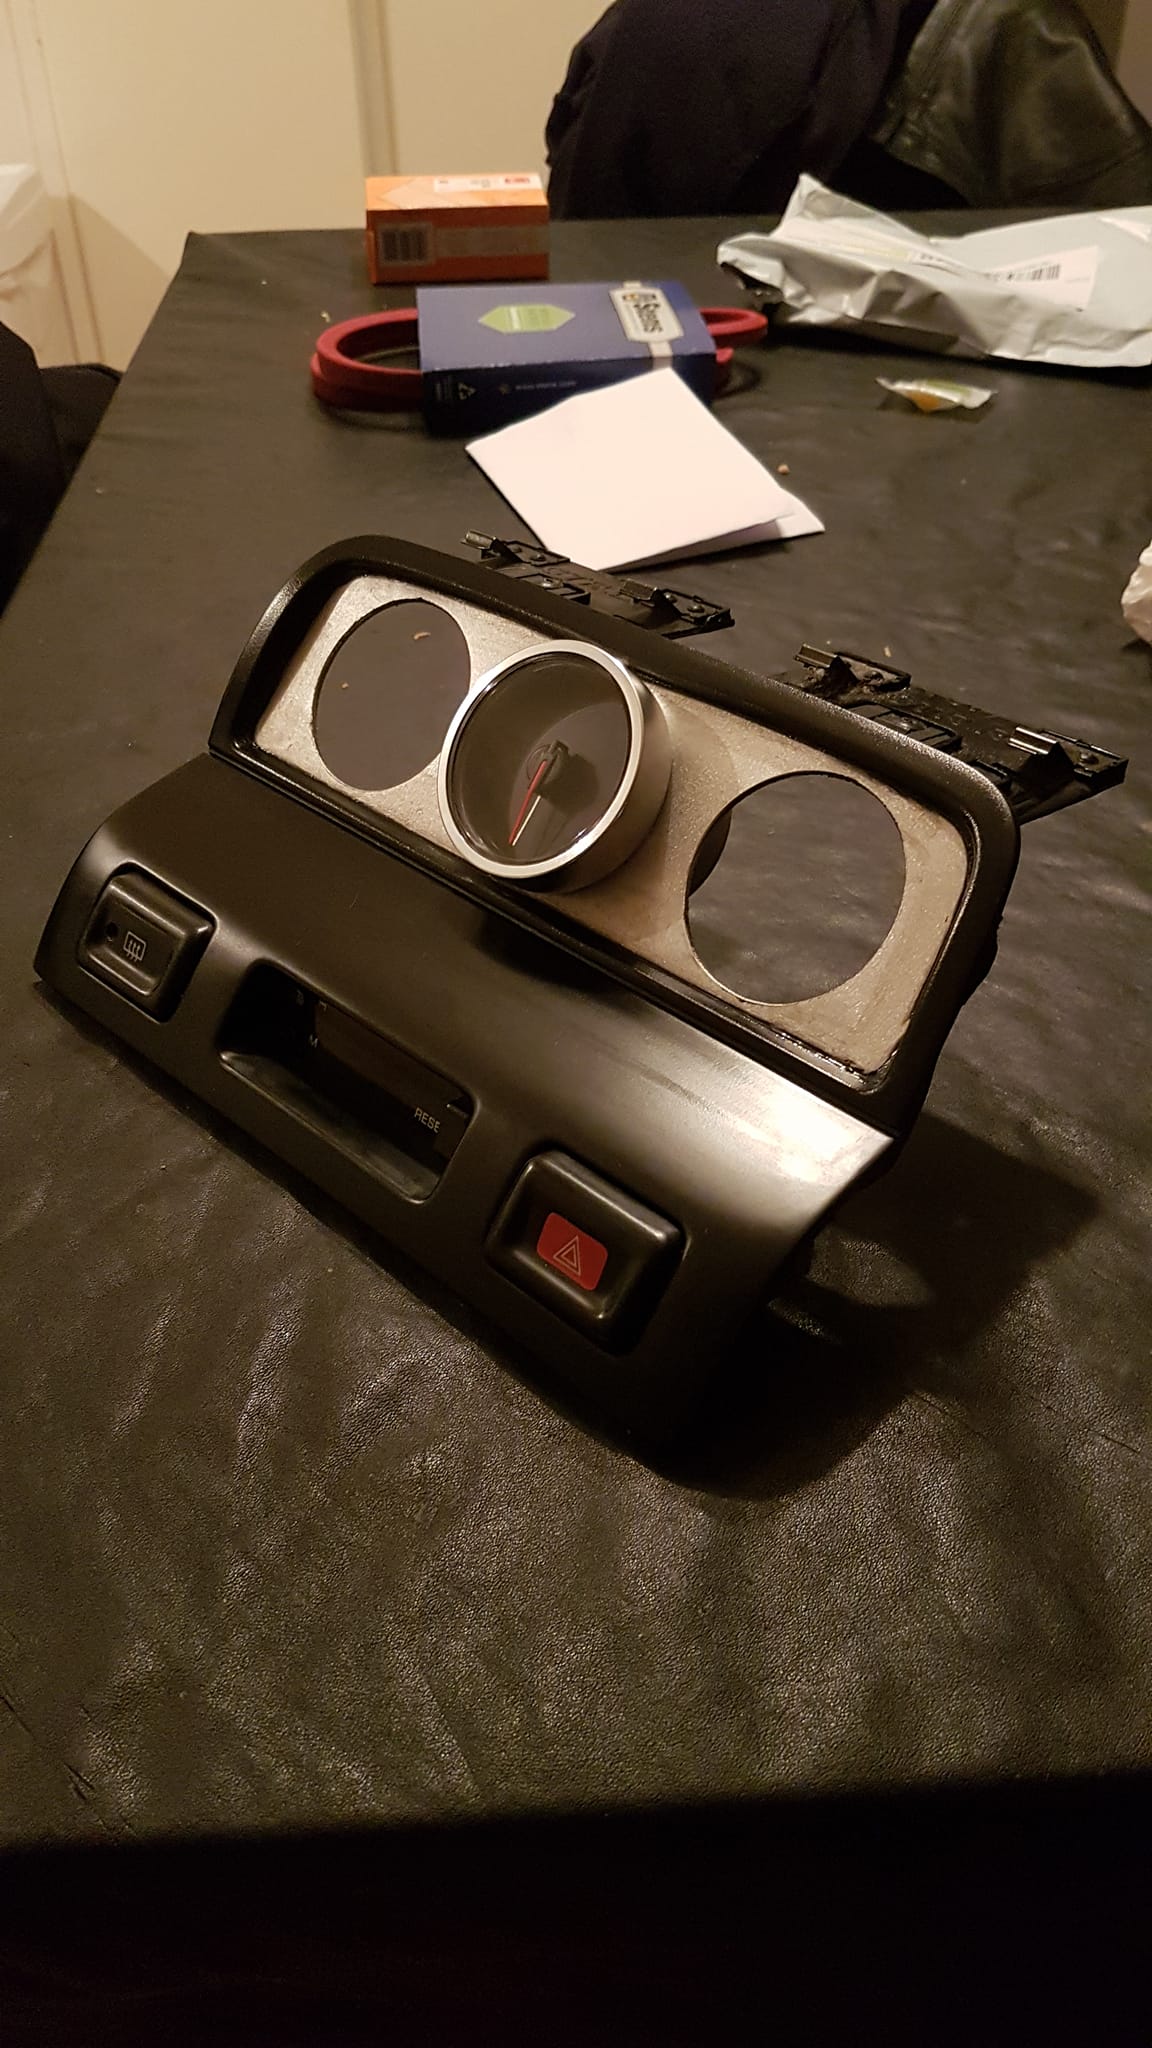
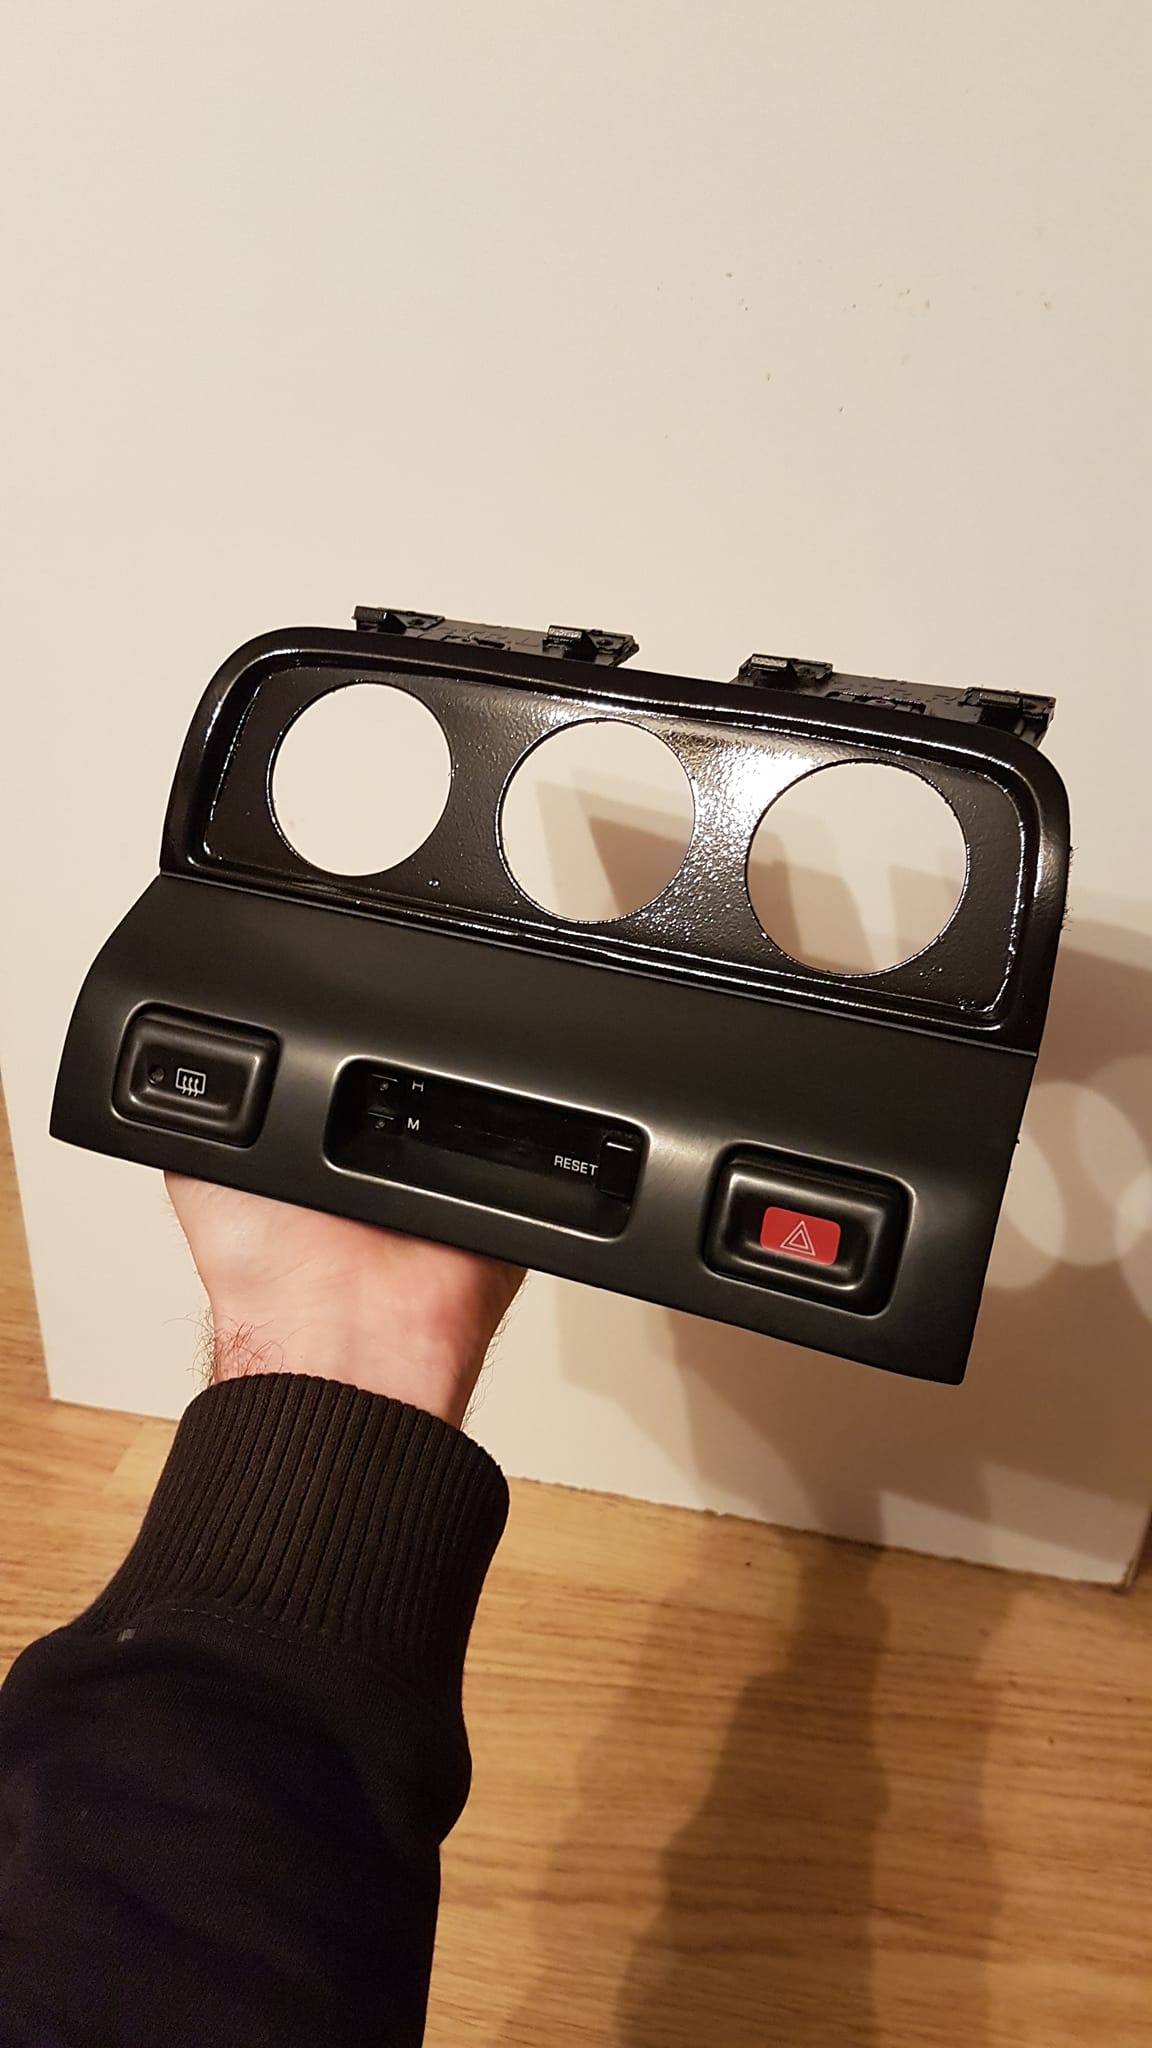
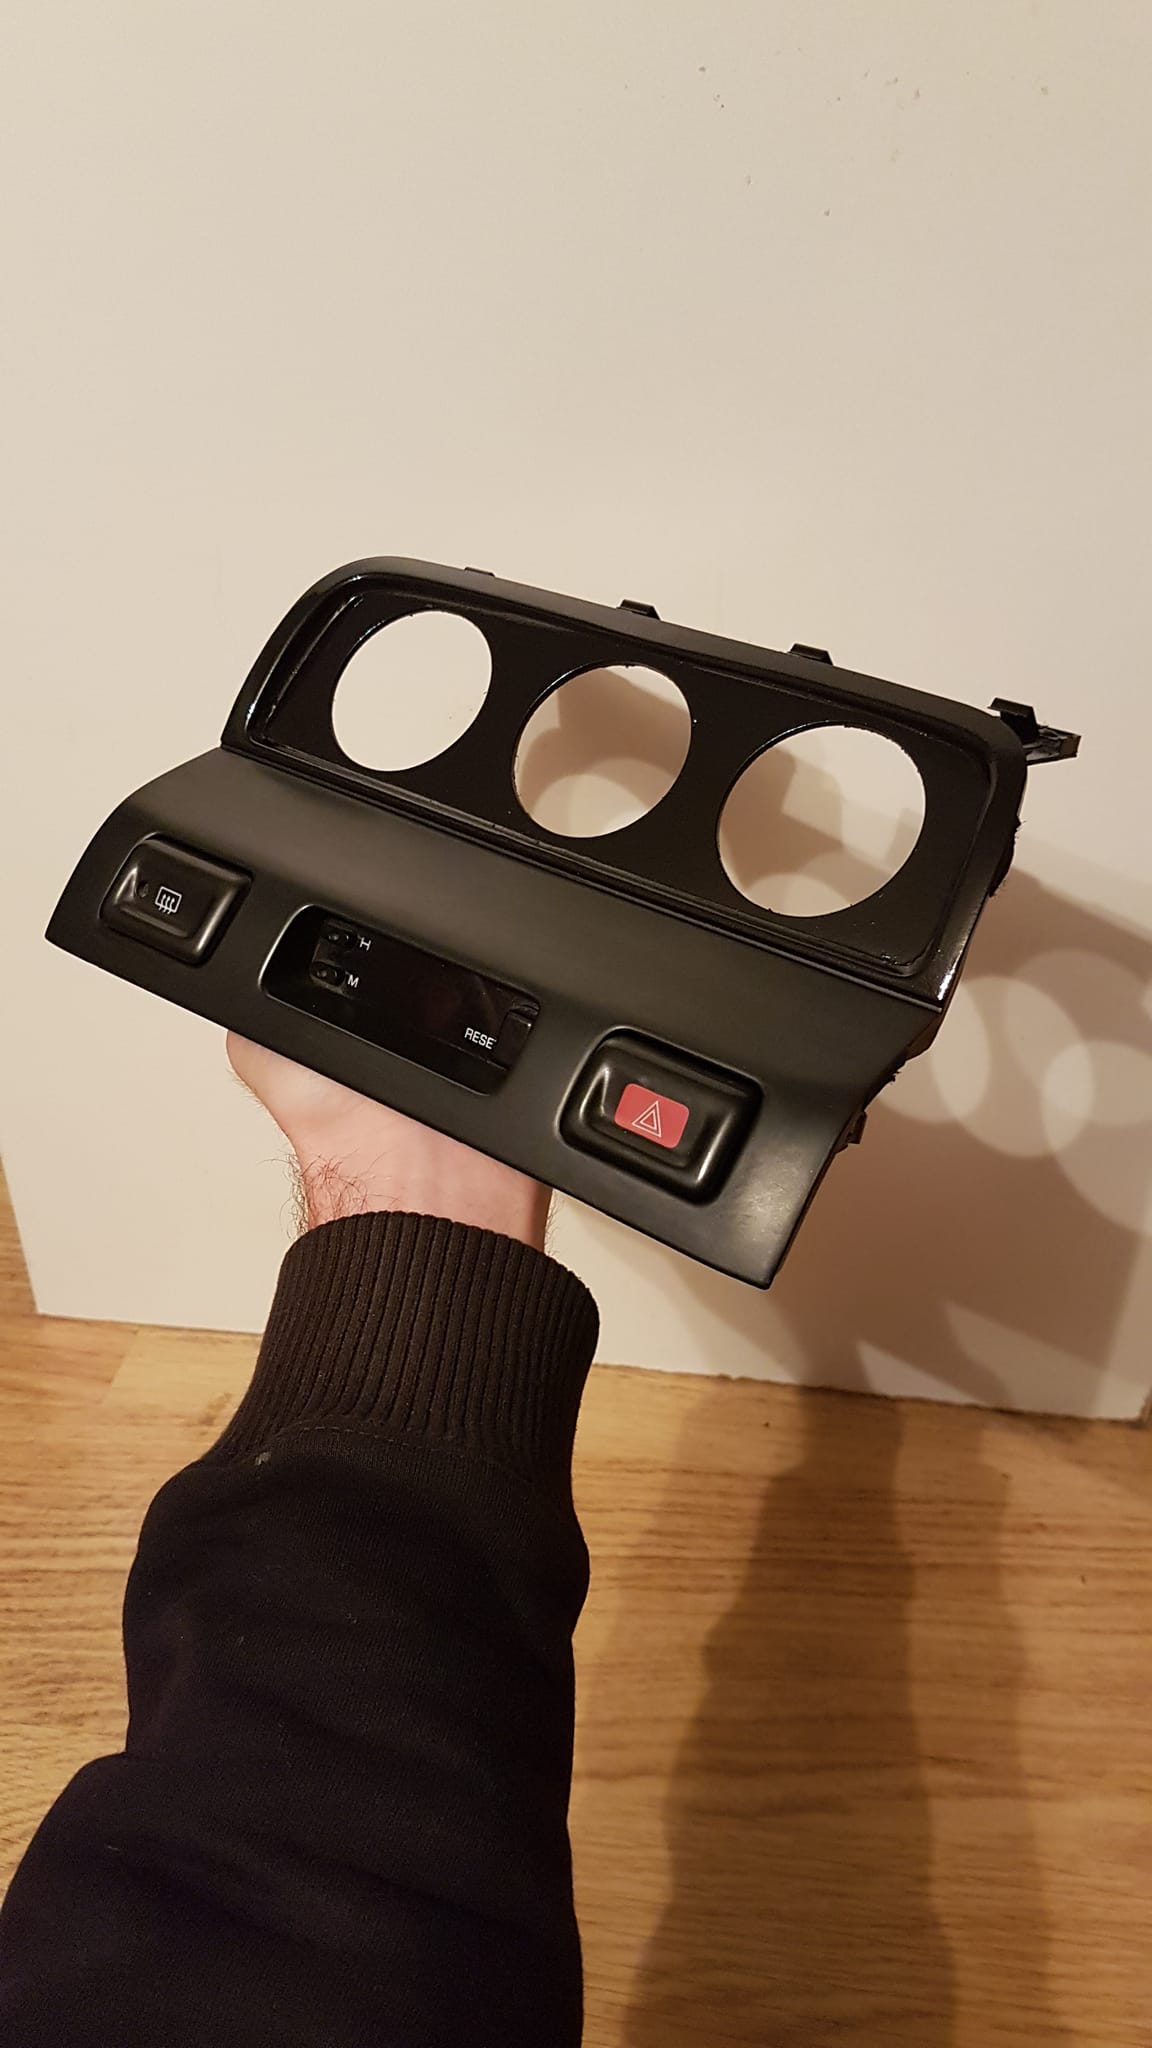
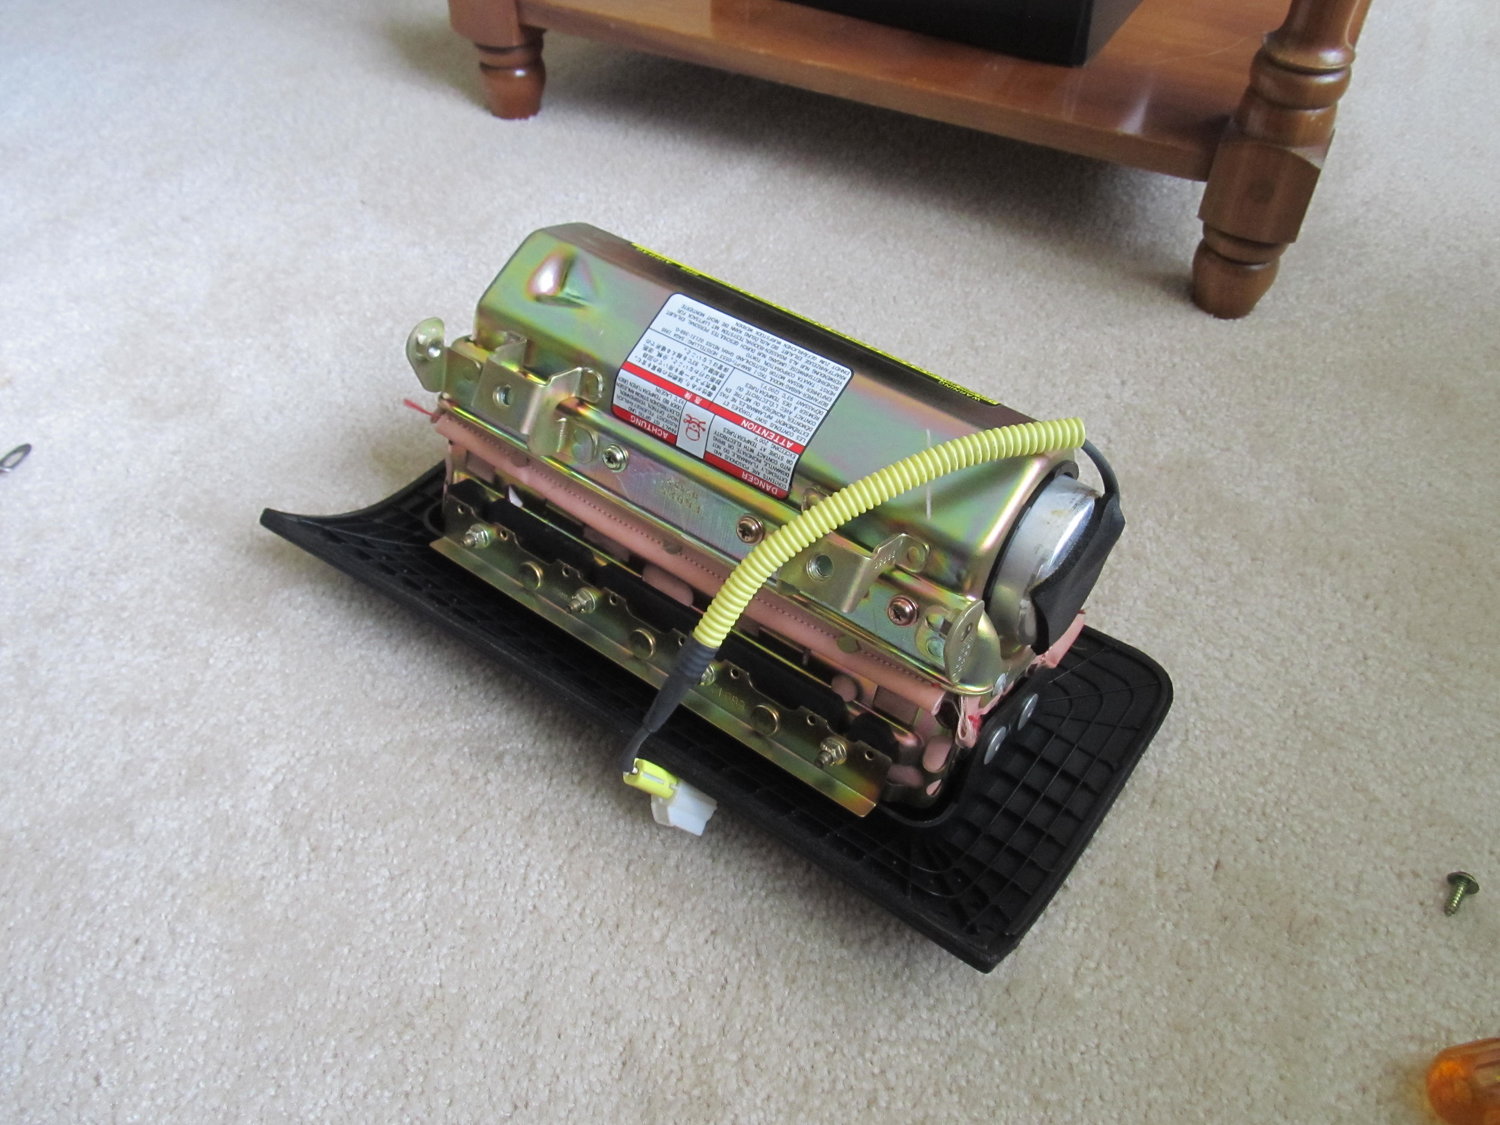
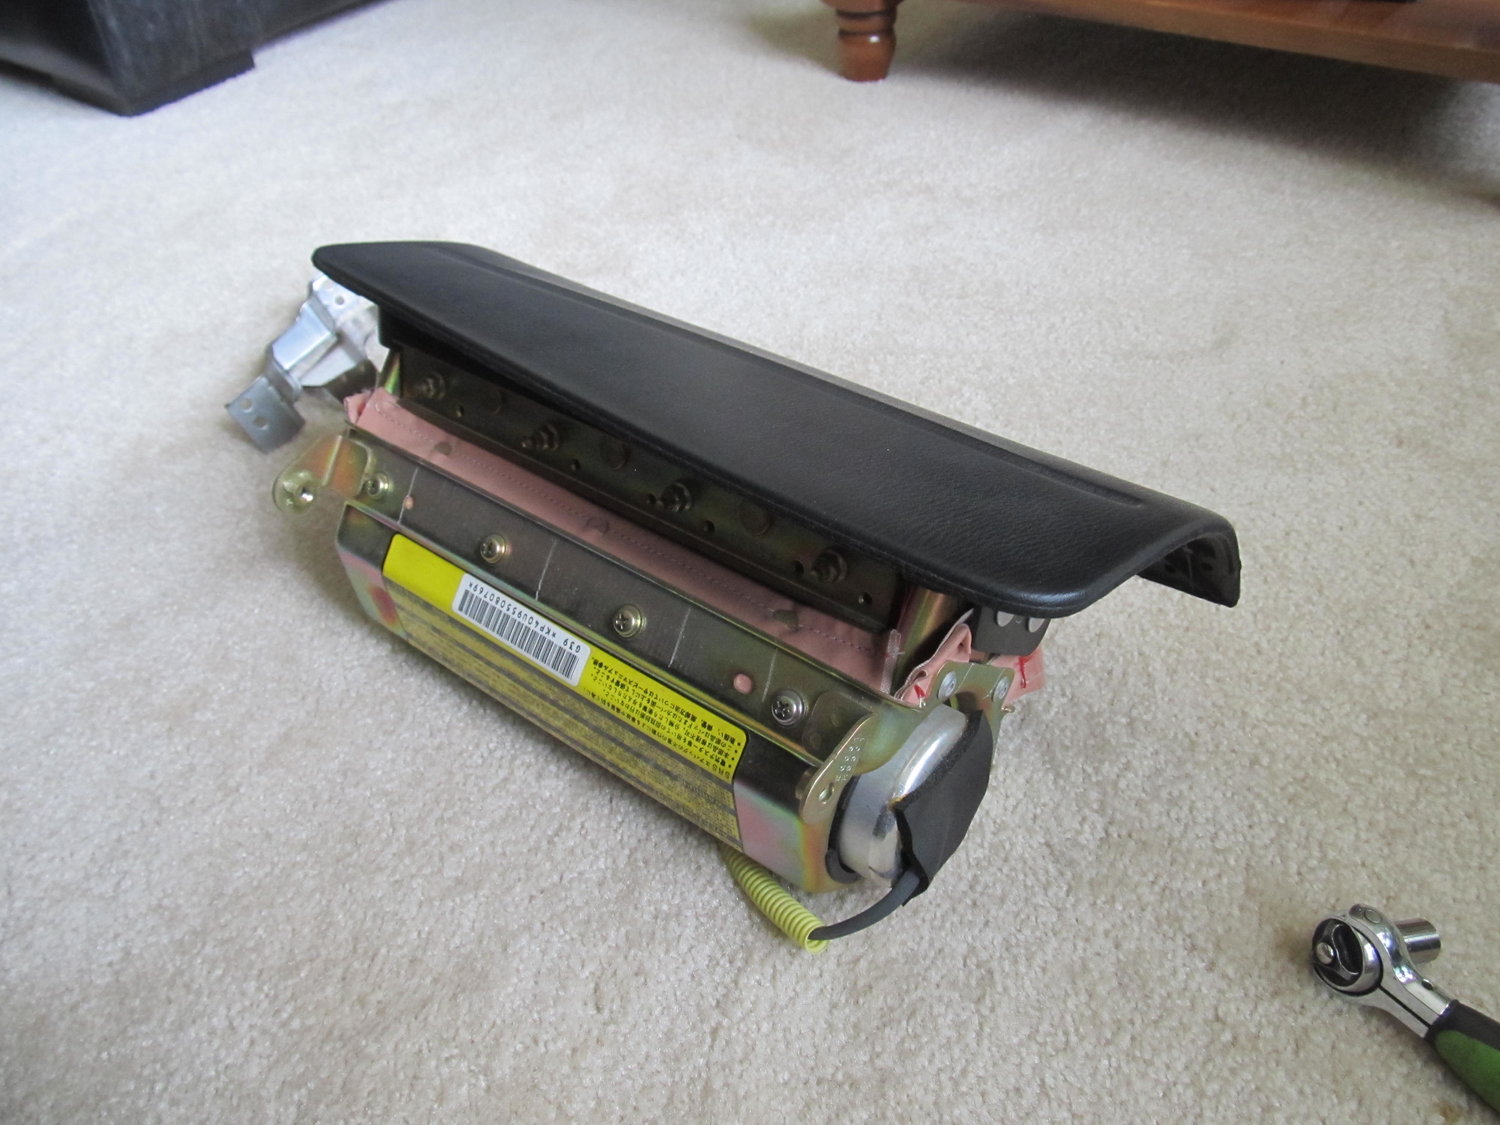
I would also like to remove the PS air bag, as I don’t have one on the DS, which disables the PS one, so I might as well get rid of it. Except it seems to be “one piece” with the outer cover:

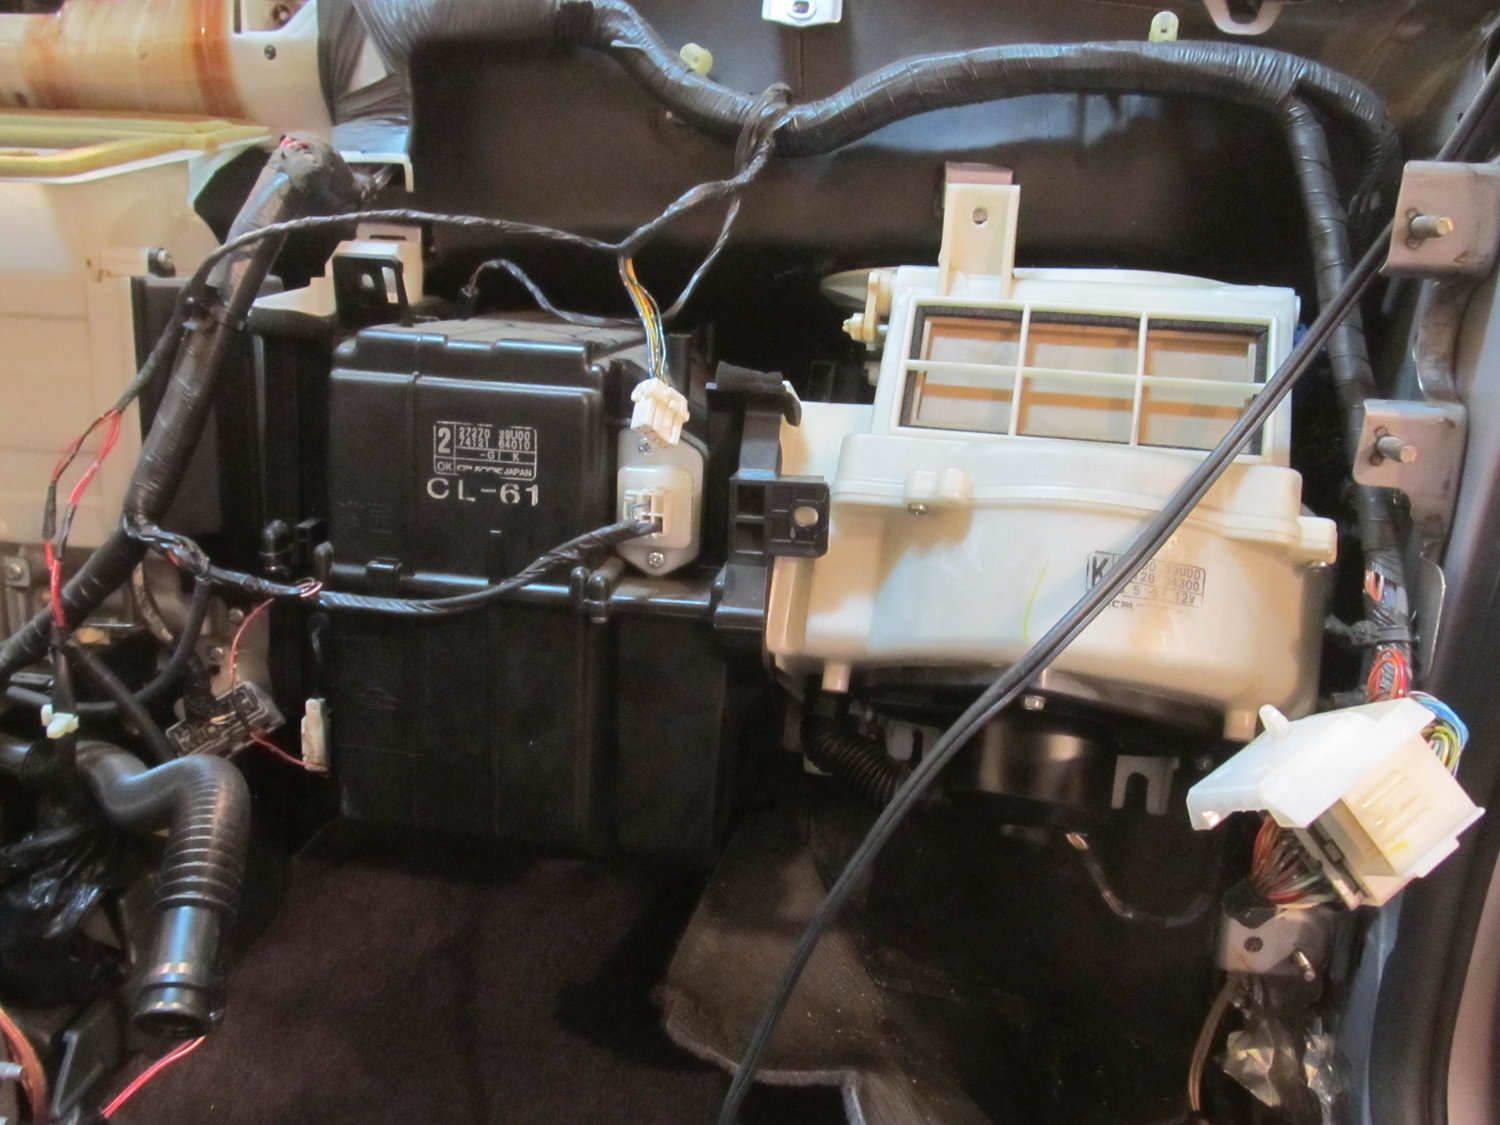
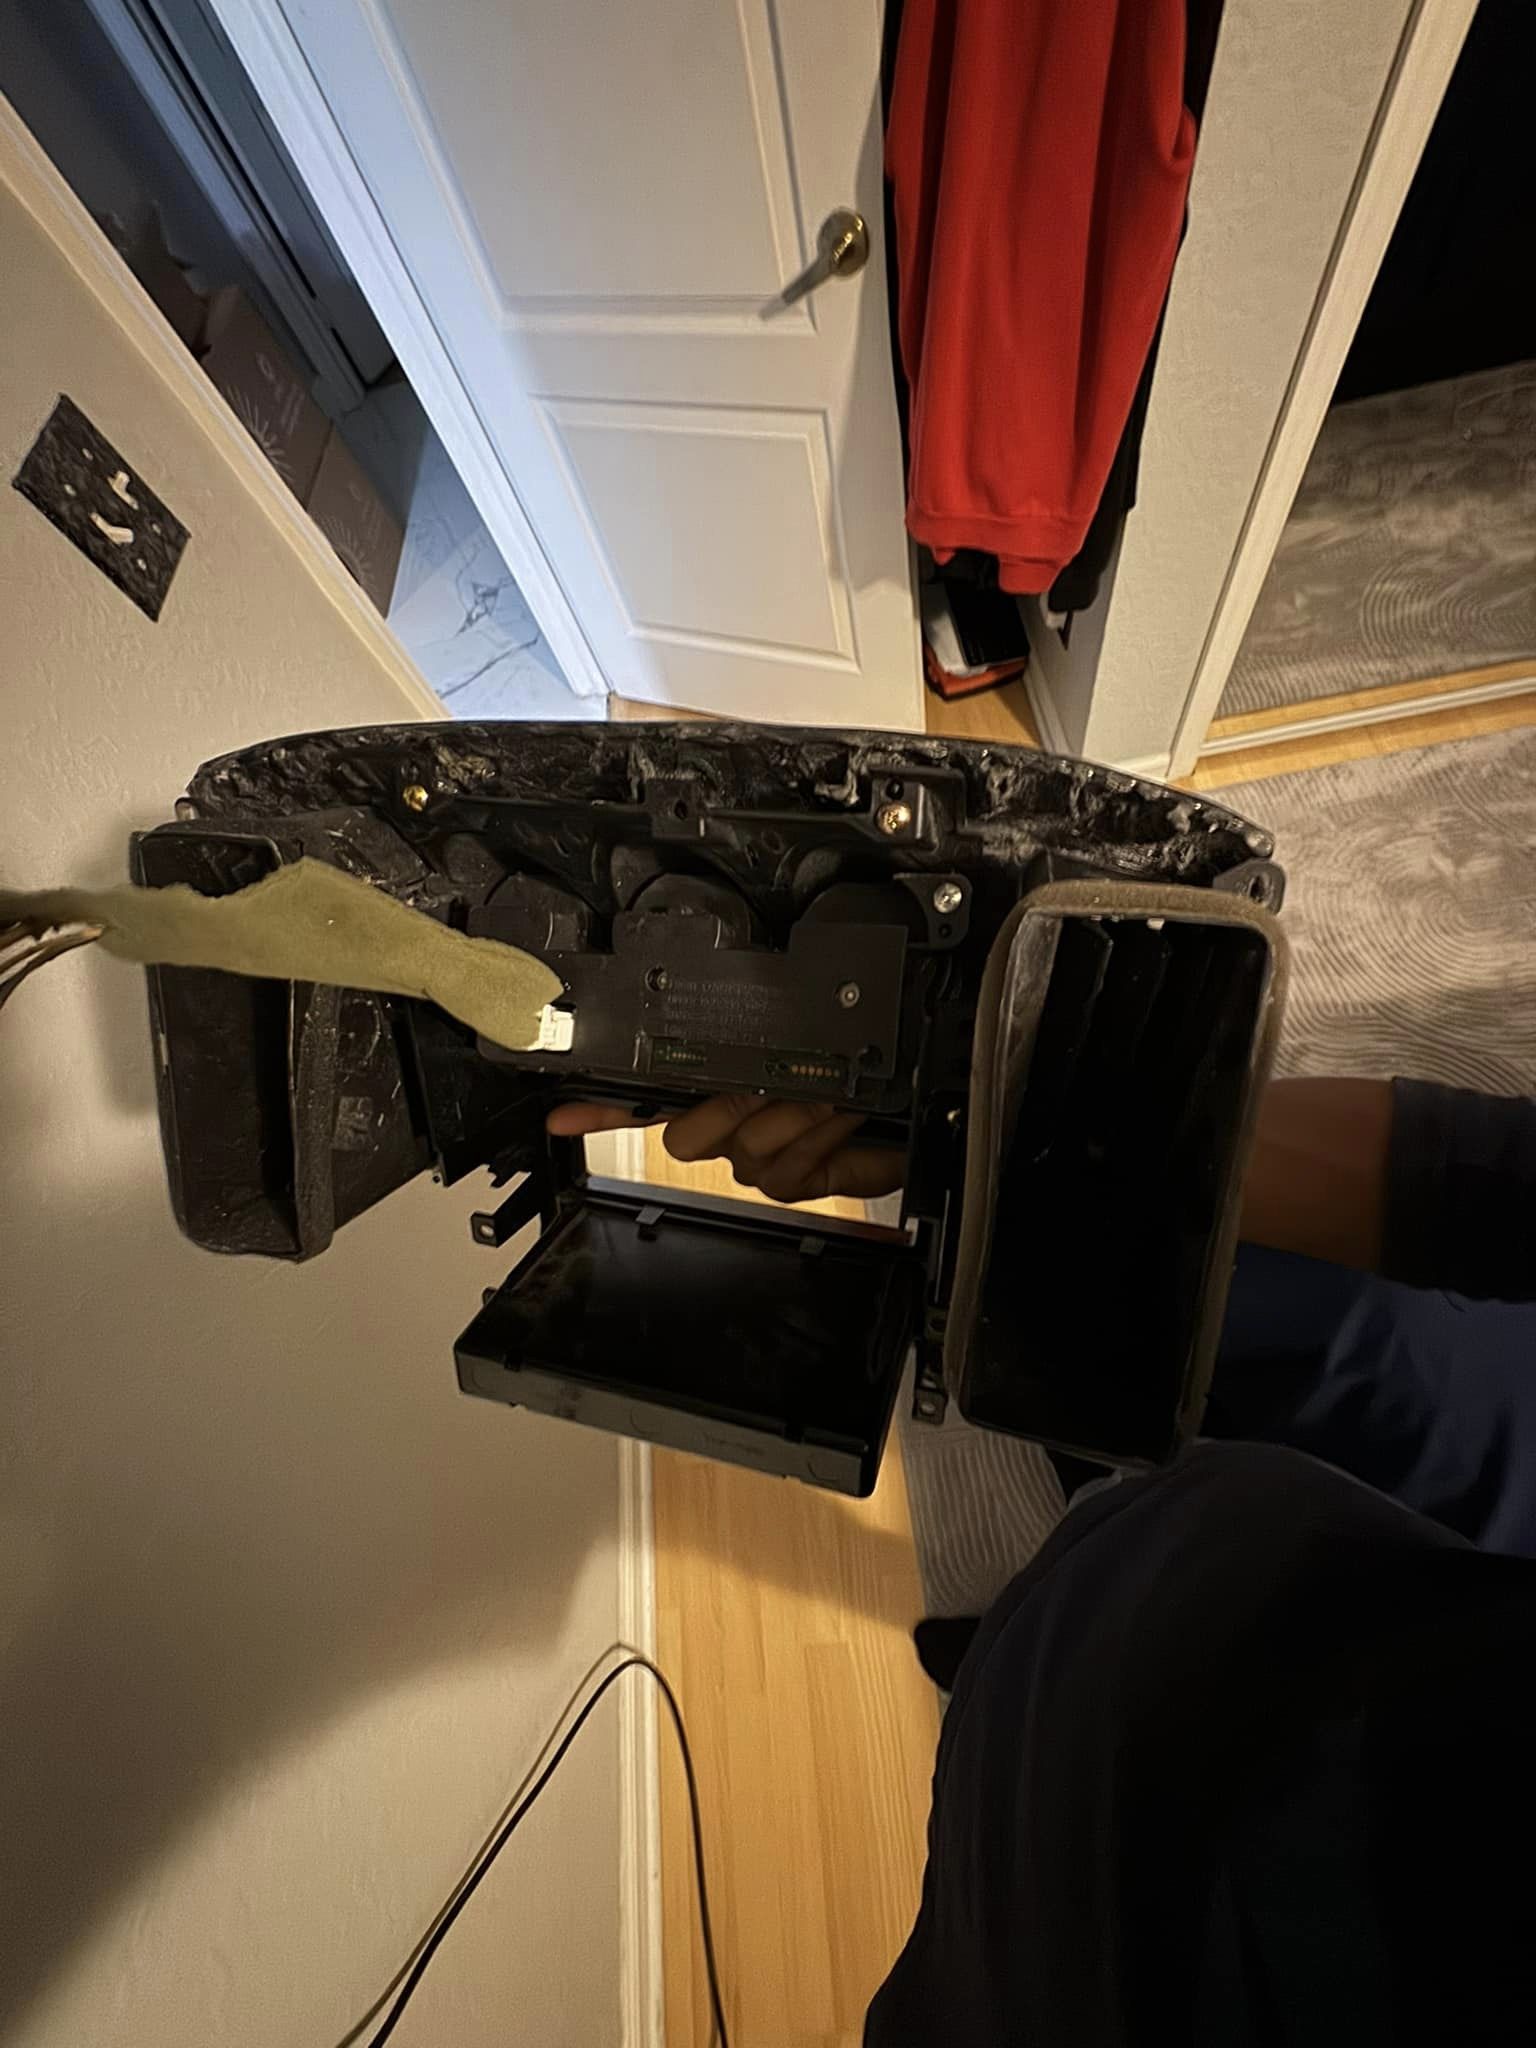
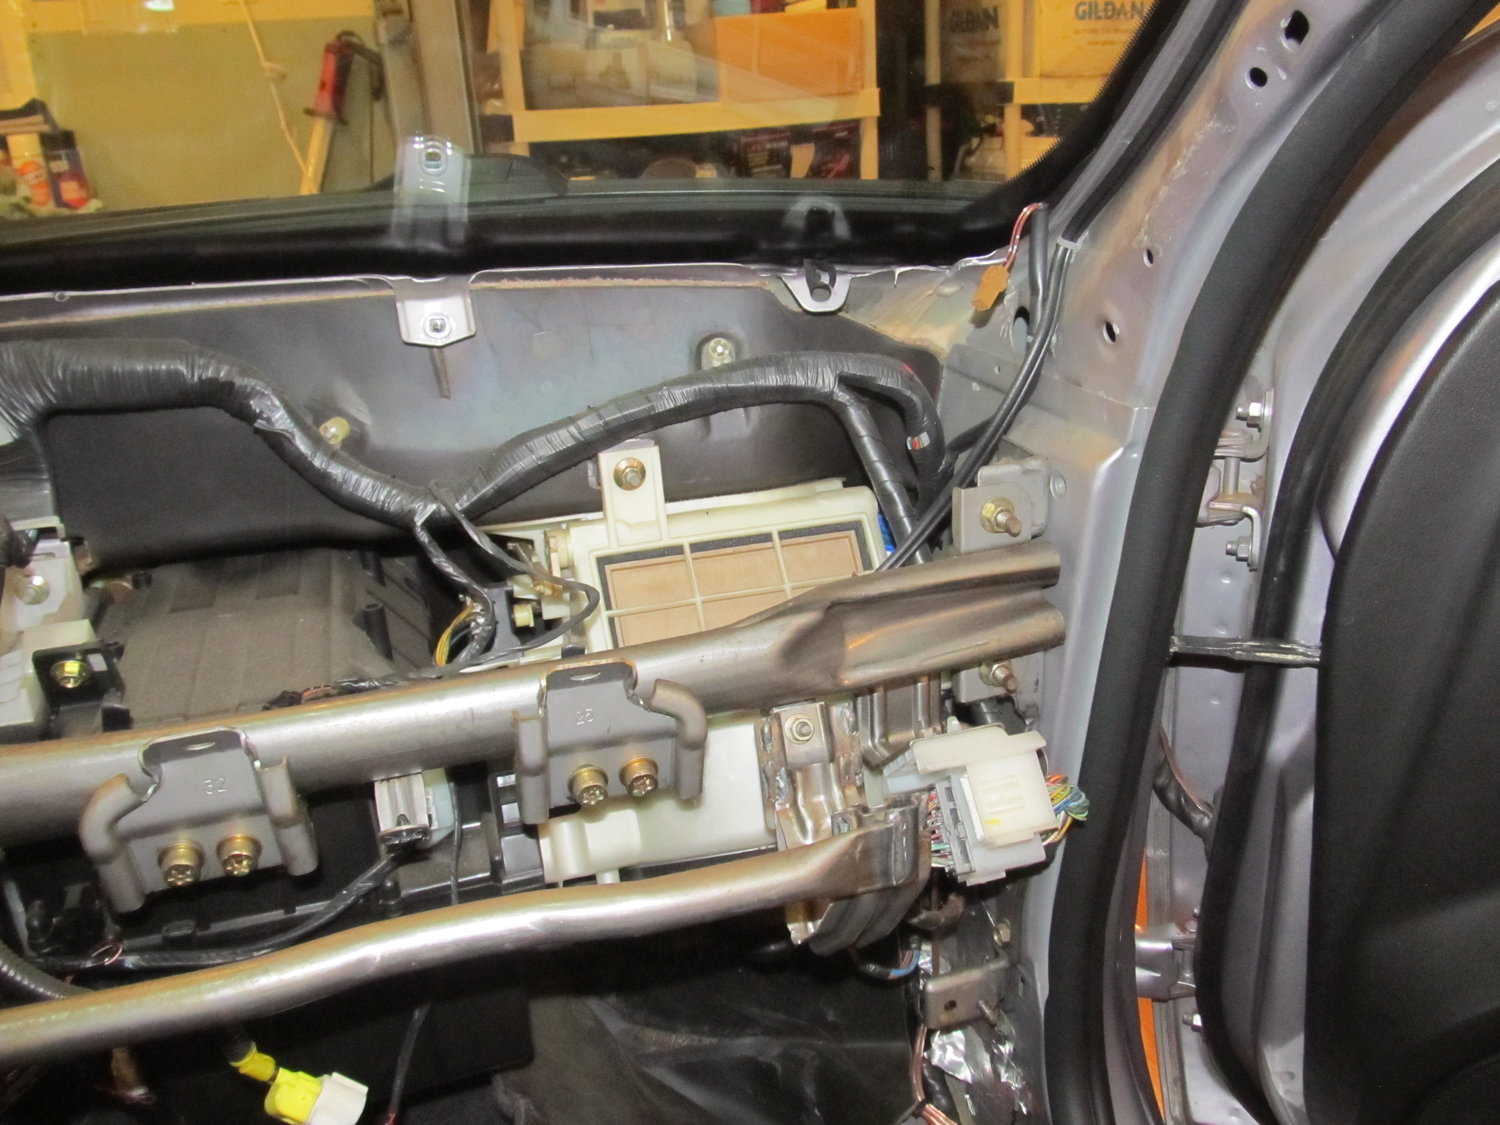
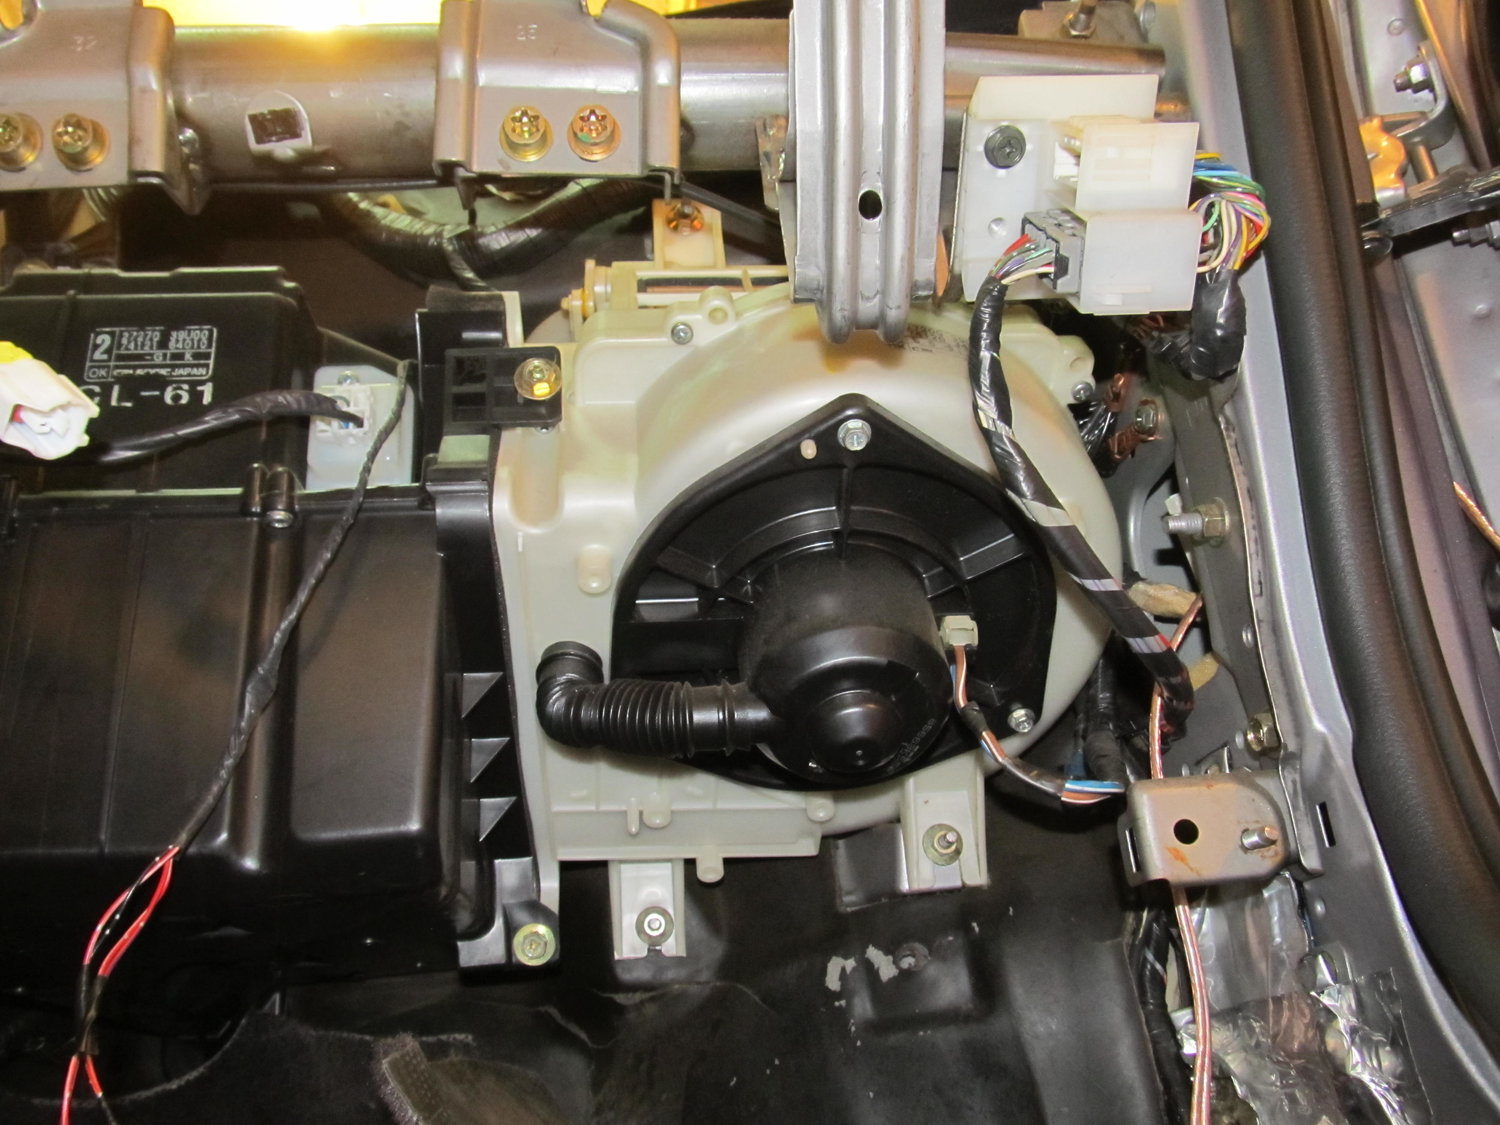
Well I got the blower motor out without removing the AC evaporator in the black box to its left! I was under the impression that the black box housed both AC and heater stuff, but upon looking at the lines from the engine bay, it became clear that the black box only held AC stuff. The main blower assembly in the center is what houses the heater stuff I guess. I do have the ability to recharge the AC, but it’s not something I’m very good at, and I didn’t feel great about venting my whole system to the atmosphere. So I hoped and prayed that I would find a quick and simple way to get out the blower by itself. I went back into the garage this morning pretty worried about what the day had in store. I had the idea that I might want to trim off some plastic from the black box to give me enough room to slide out the blower. I was in there looking at it, and noticed that one of the sides for the black AC box was pretty flimsy. With almost no effort, I was able to snap off a good piece of it. I then followed up with my snips, and with that little bit of plastic out of the way, I could get the blower out! It was a joyous moment to be sure. Here’s what I did:
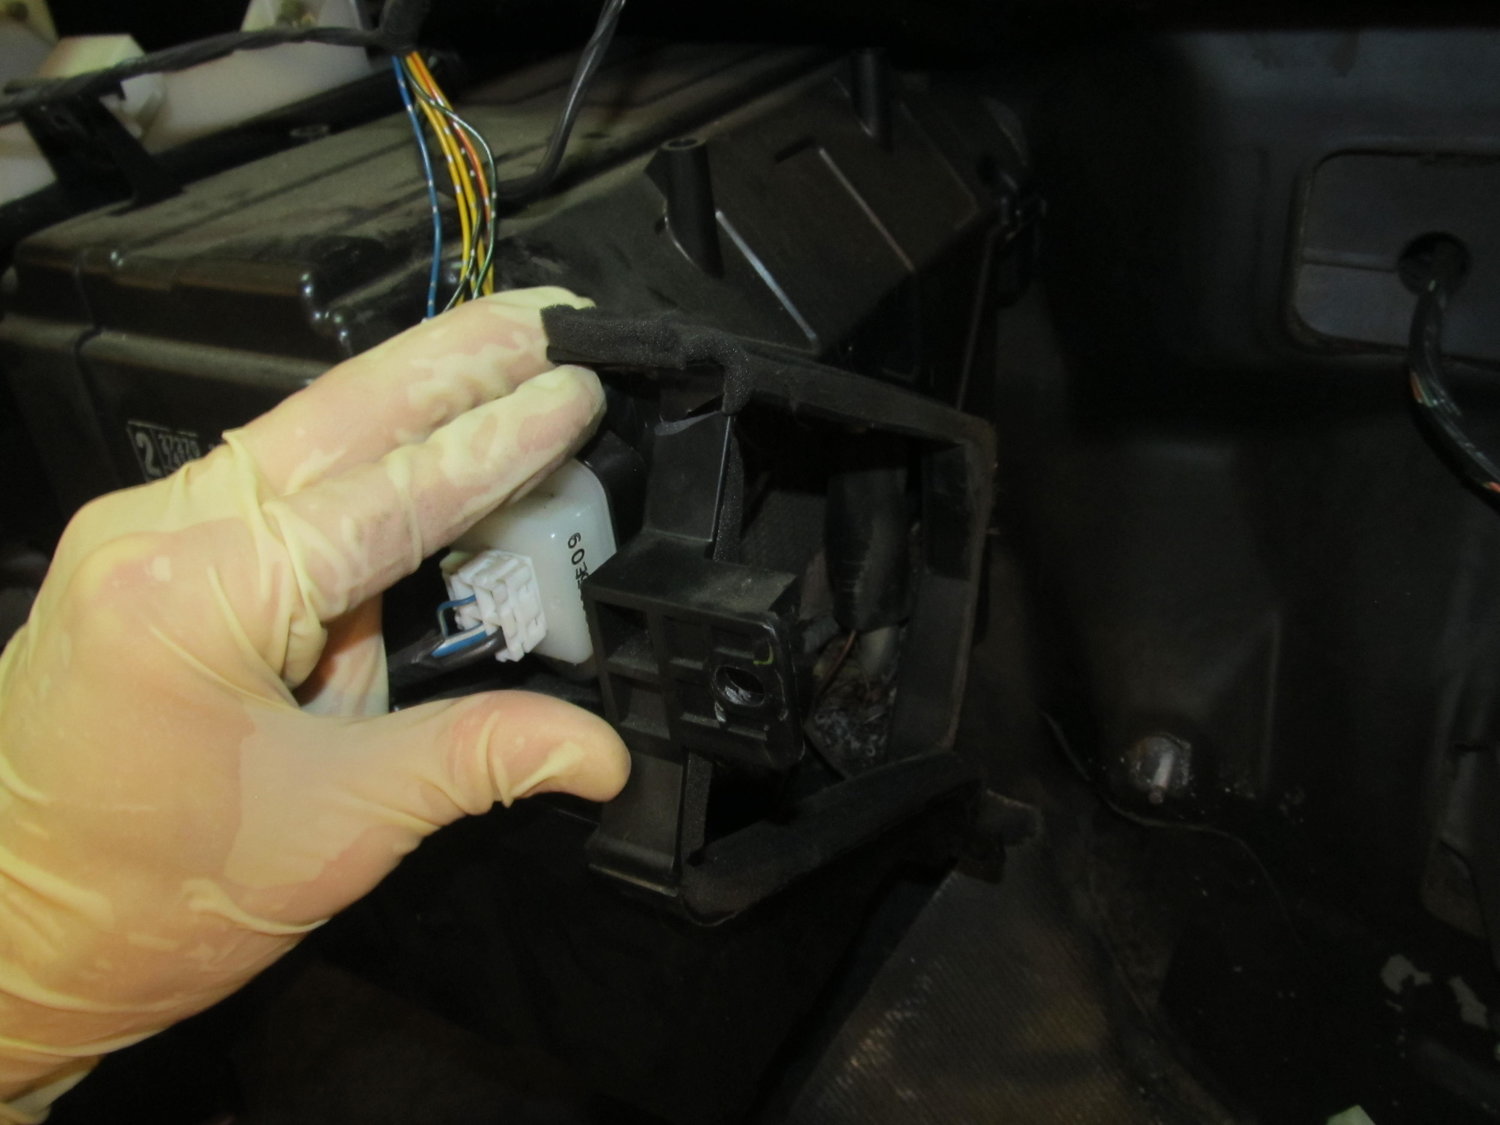
That little bit of plastic was all that was keeping me from getting the blower out!
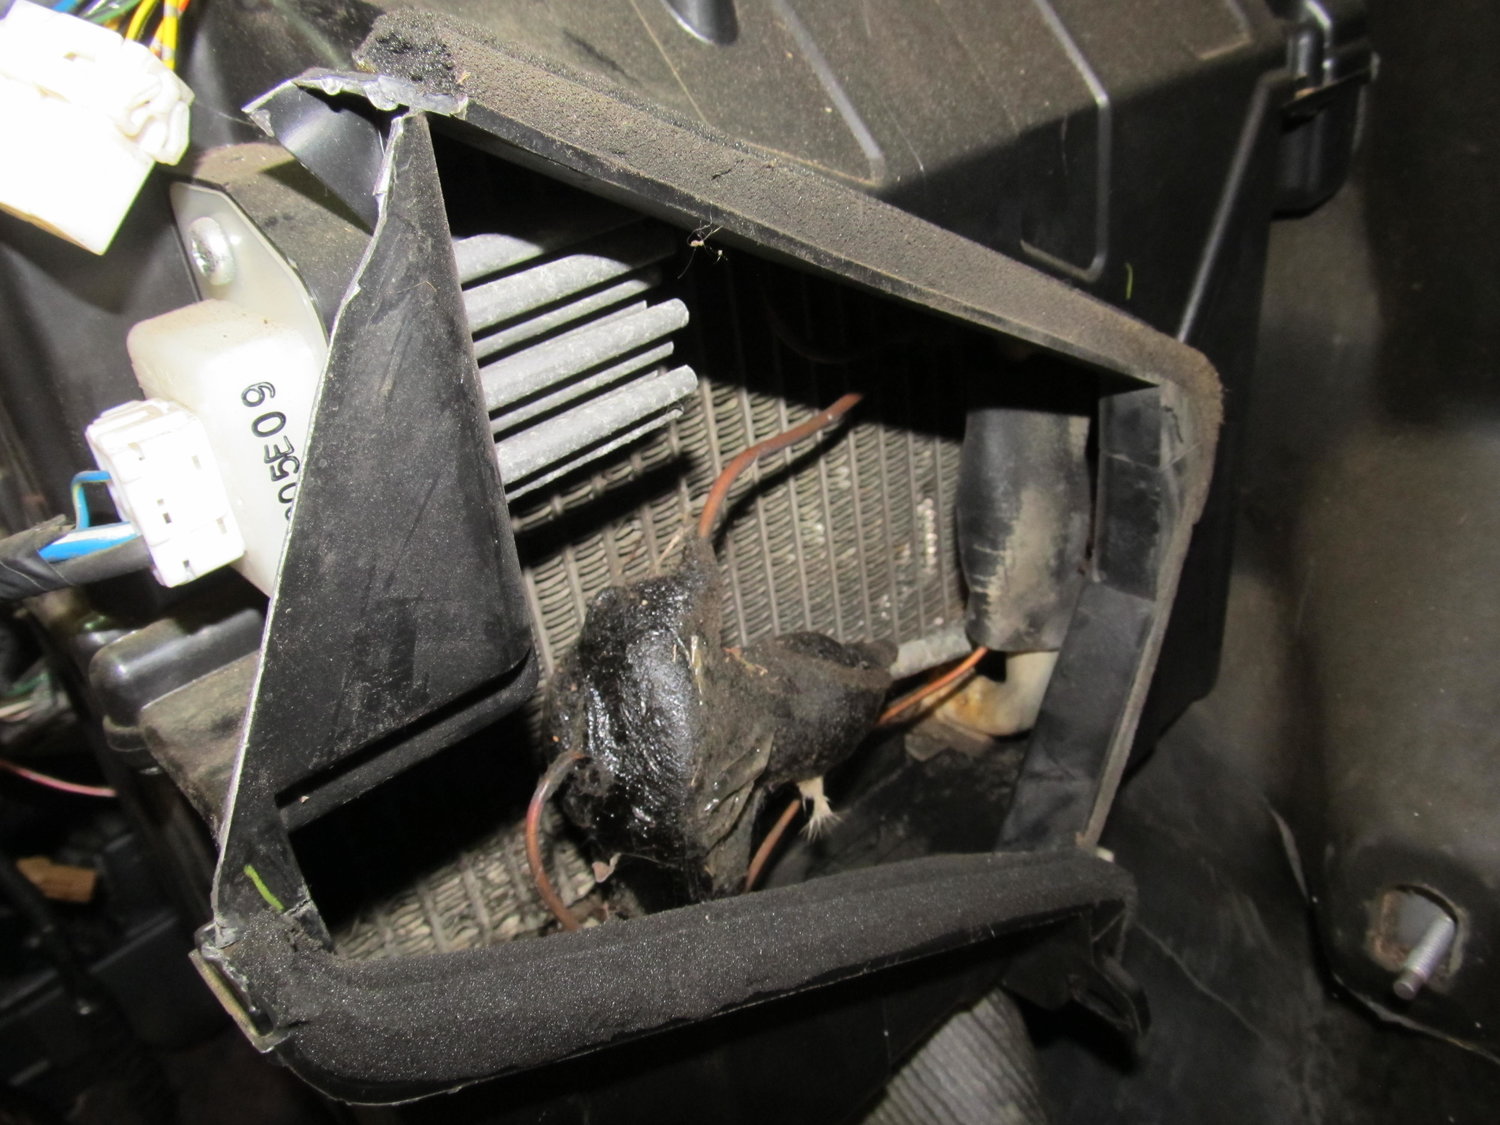
As this out of focus picture shows, there was a good amount of debris in the evaporator housing:
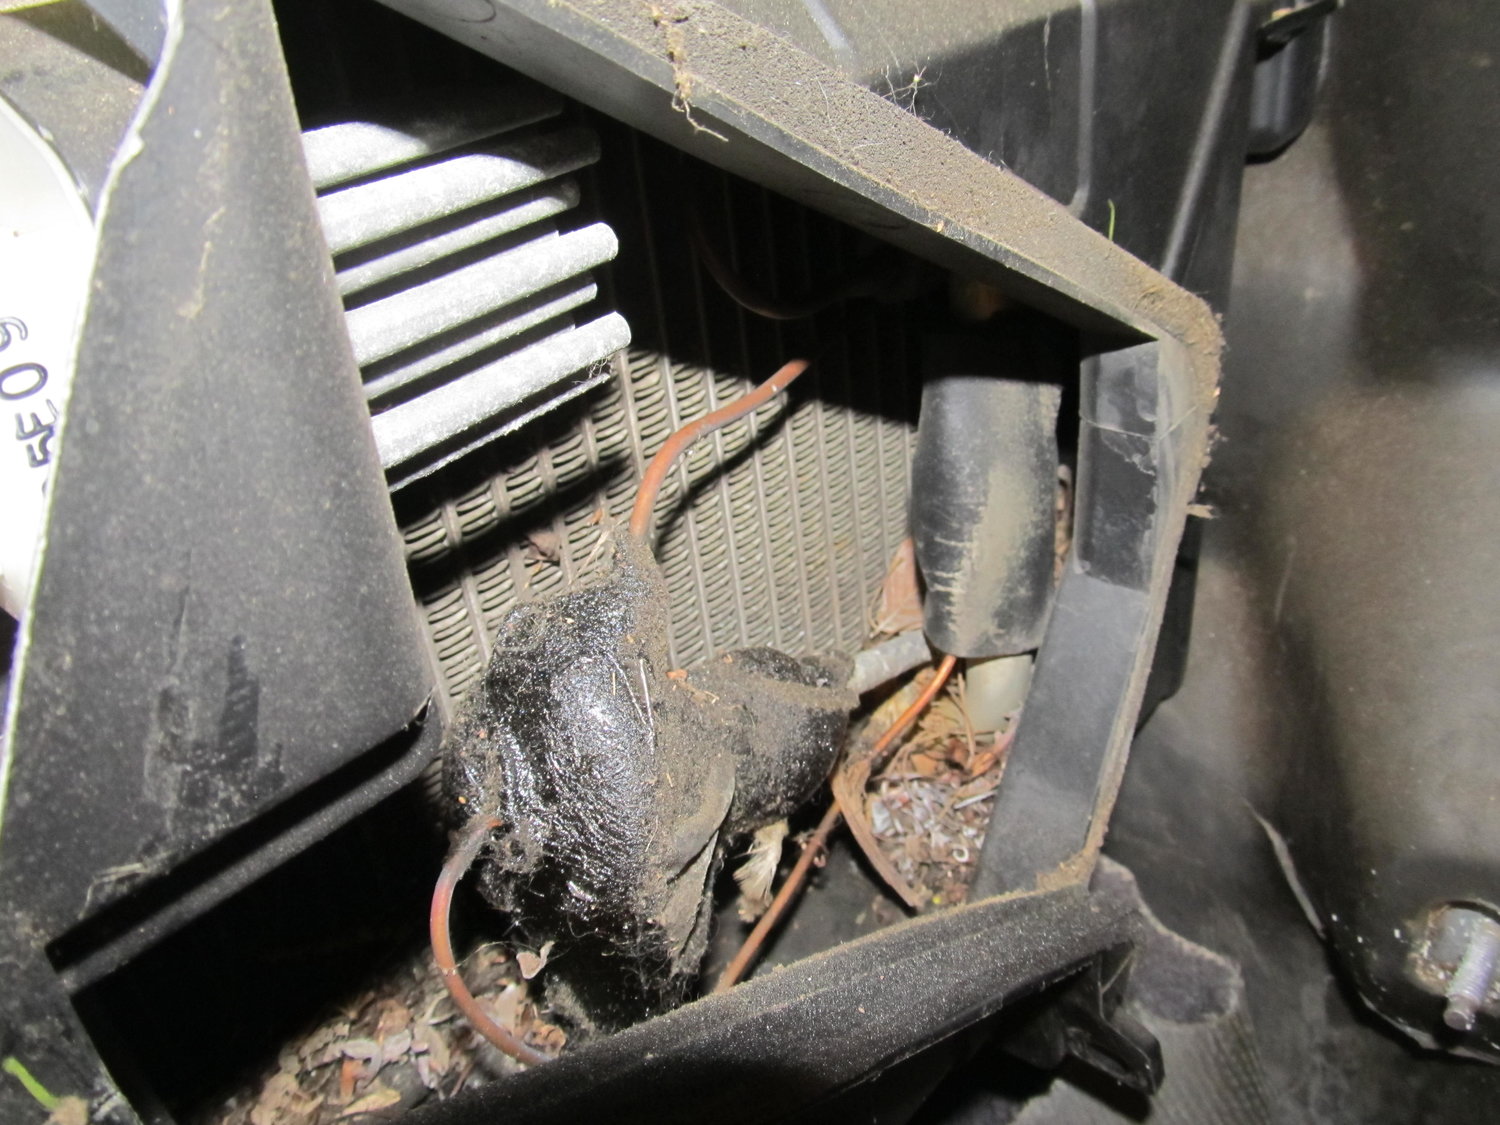
So I spent some time with different picks and my shop vac and cleaned it all out:
The blower was actually very clean:
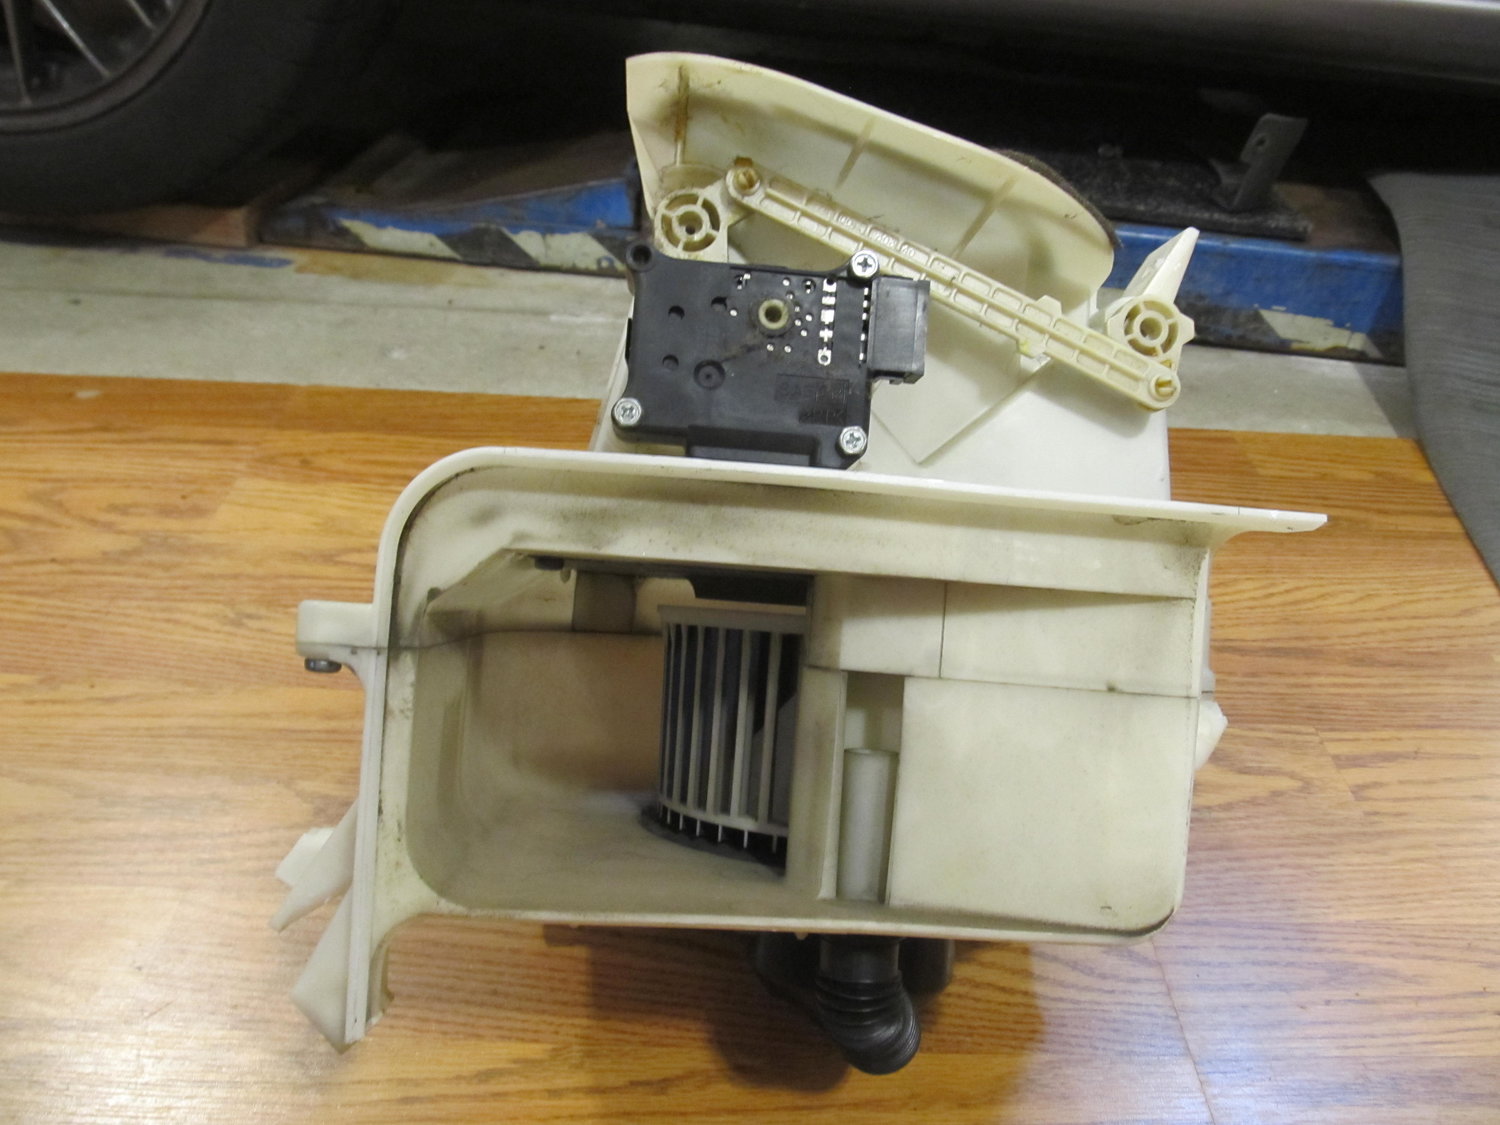
So I was then left with this:
But there was still the factory insulation in the way. I ended up just cutting off a piece so I could get easy access to where I thought the leak was (I’ll reinstall properly when I’m all done). And with that, I was FINALLY able to see the source of my water leak:
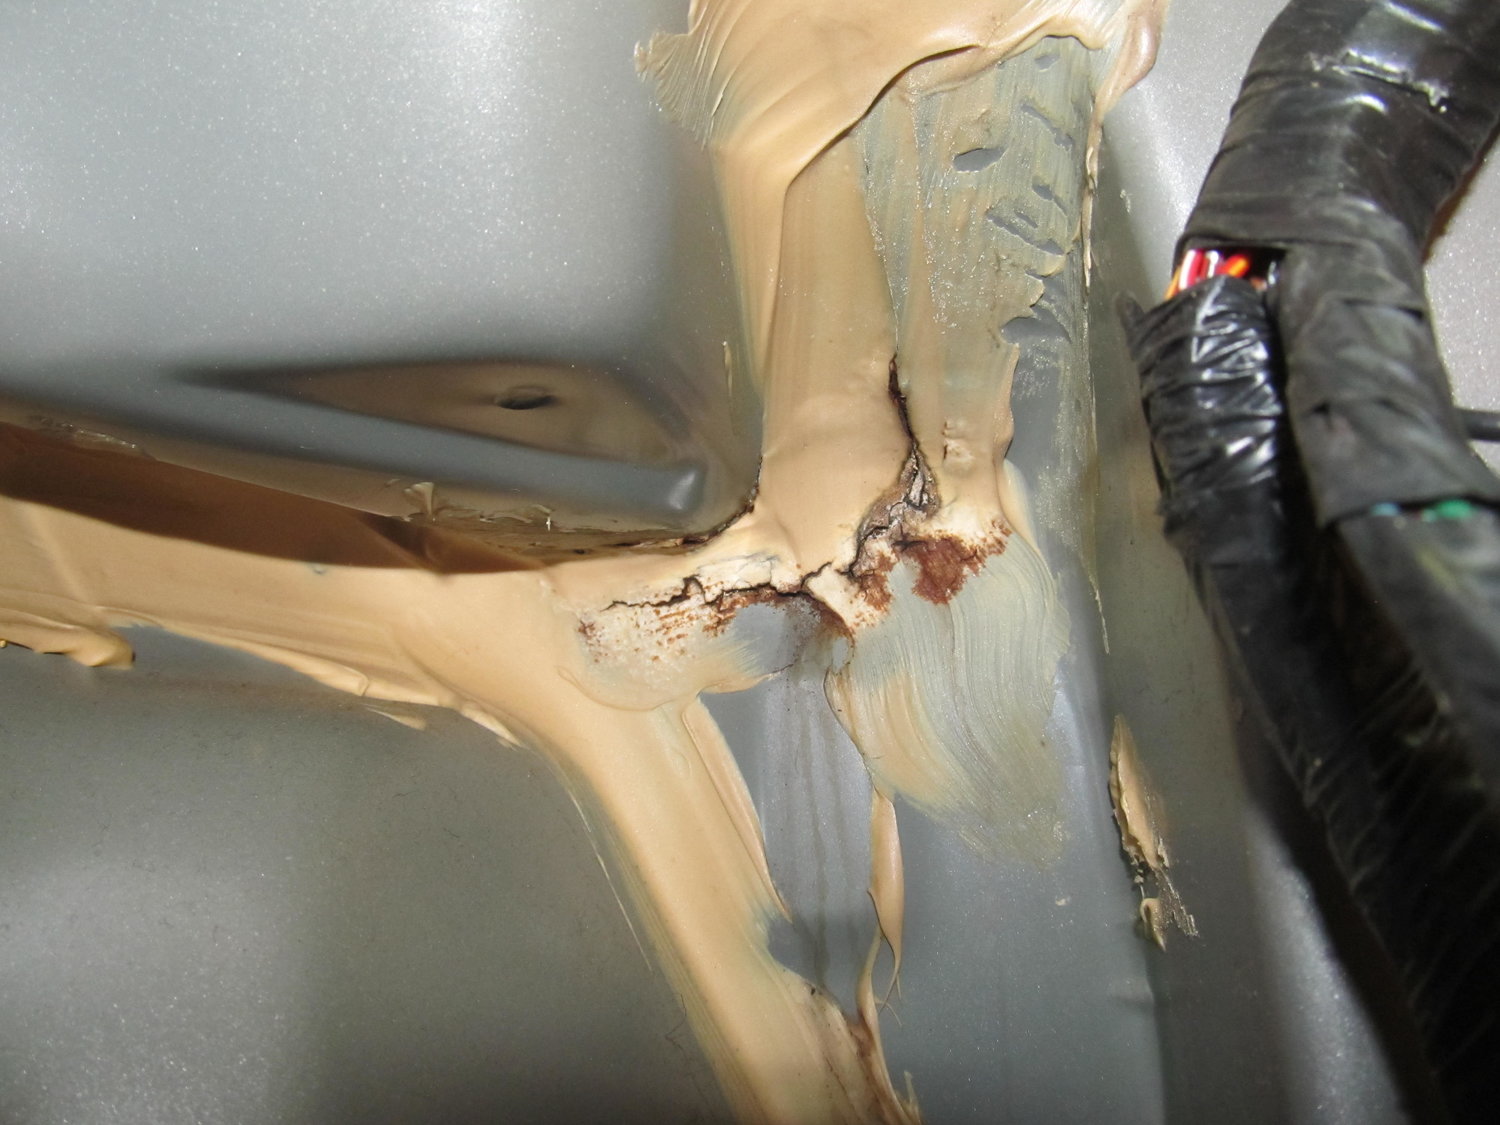
It’s not in the exact same spot as the pics from schmellyfart, but it’s not far, maybe 2″ away. It’s clear that this area has a few body panels coming together, and it’s also right next to the drain for the cowl, so being sealed properly is crucial. If you have a water leak in a 4th gen, I wouldn’t be surprised to find it’s in this area! You can see three water trails coming down from that area, so I’m very confident this was my problem.
I spent quite a bit of time with different wire wheels, both on my big gun and little ones on my dremel, trying to peel back the old seam sealer so I could get a better look at exactly where the water is coming in.
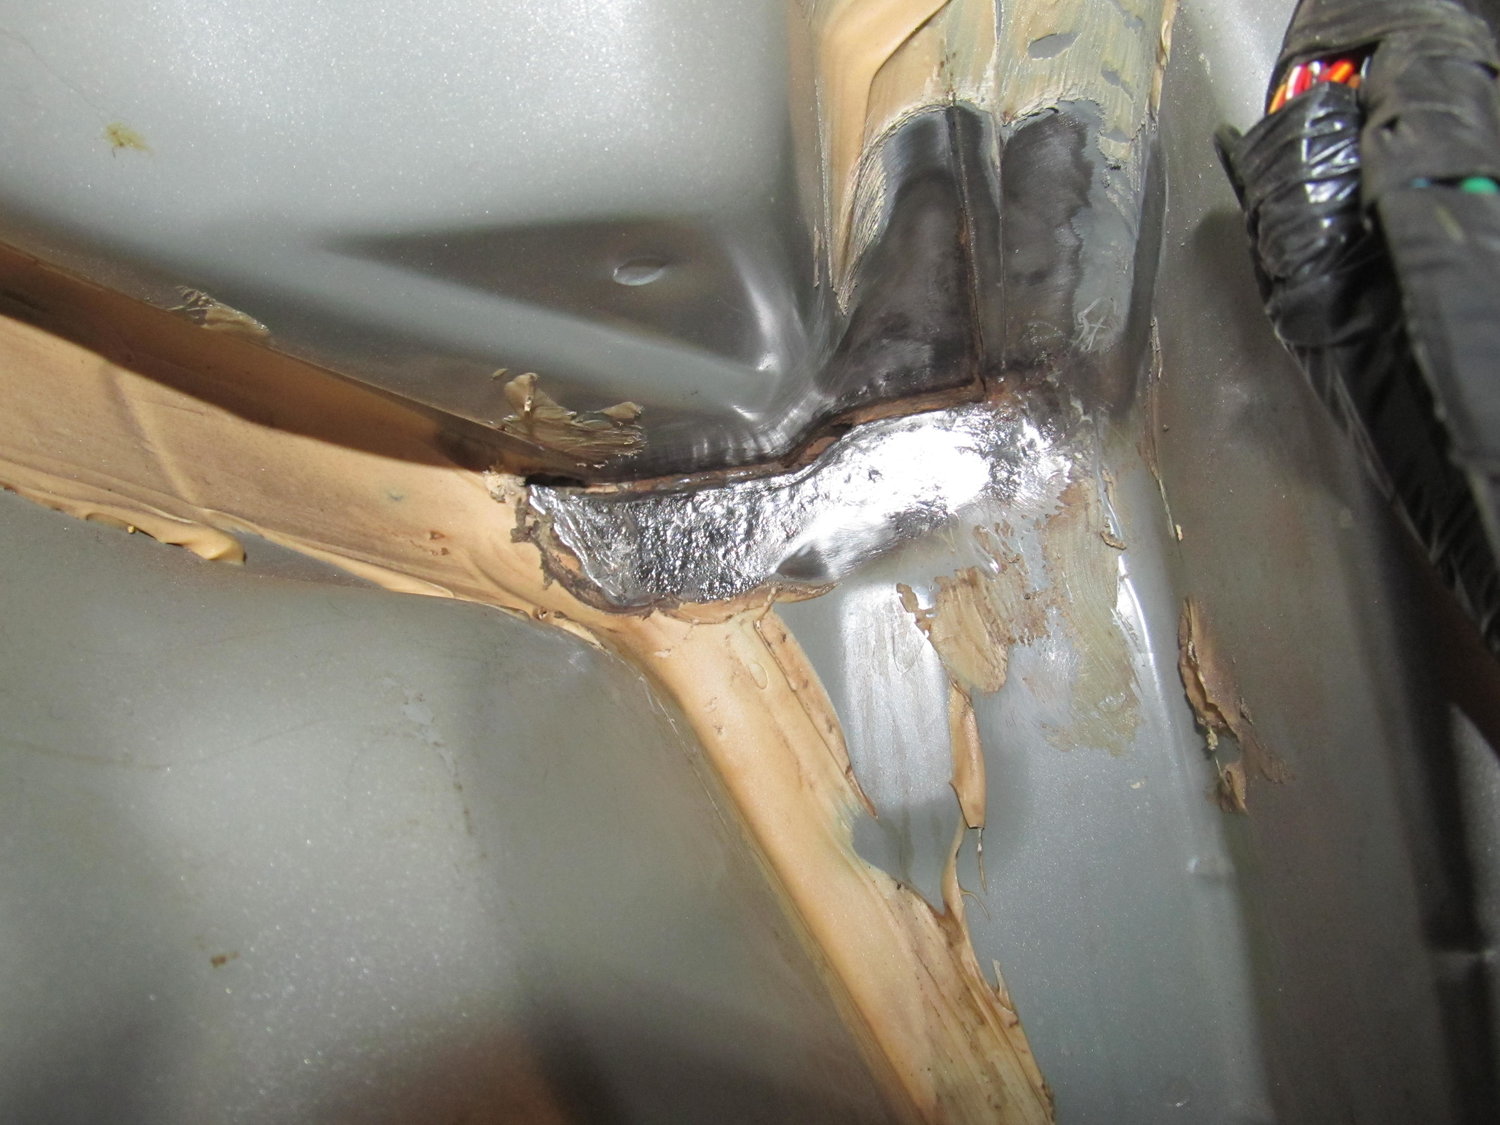
It doesn’t really come through in the picture, but the horizontal area just right of center is actually completely open now. I had to scrape the old seam sealer out of it with a screwdriver, because I didn’t want any of that old cracked stuff getting in the way of my fresh seam sealer. Now I’ll be able to completely refill the gap with new sealer. Access into this area was pretty awkward, and my back was aching after a few hours in there, but I think I’m happy with how clean I was able to get it. When I finally couldn’t get it any cleaner, it was time to prep the surface for the seam sealer:
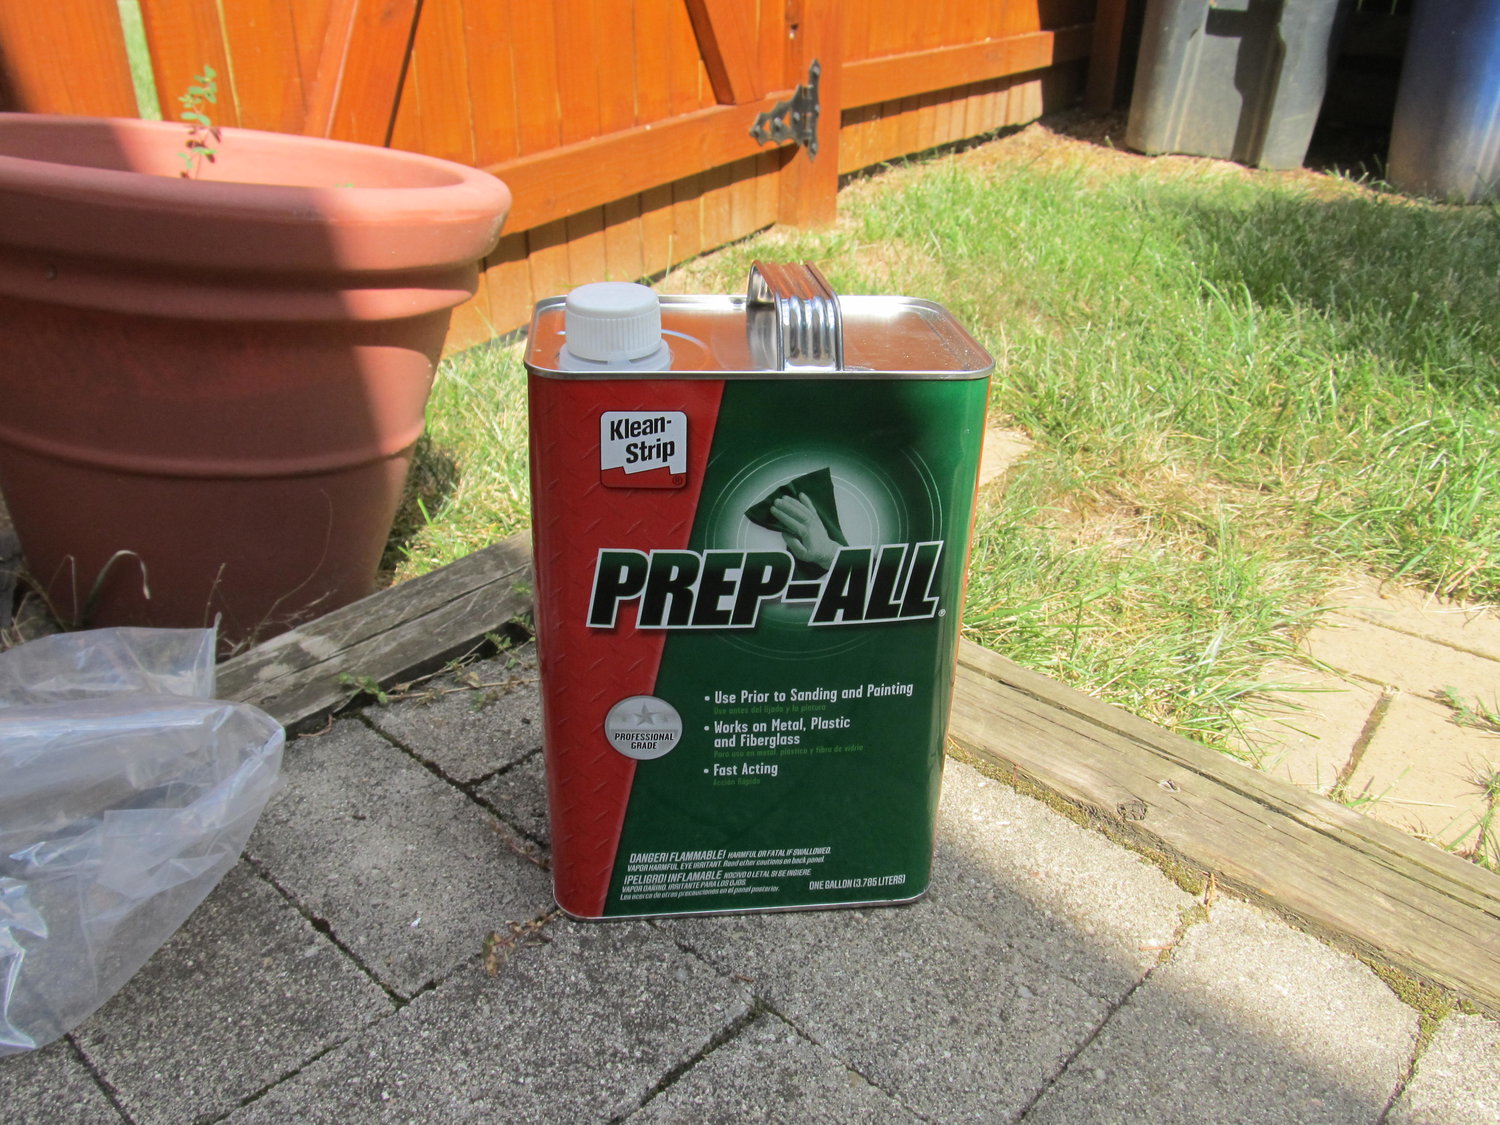
This stuff is SUPER strong, and has tons of warnings all over it. I go full-hazmat when I use this stuff, but professional painters swear by it, so I grit my teeth and bear it. I was considering applying the seam sealer today, but then I thought about it more and realized I would feel much better about it if I bought a new tube of it. My current tube is a few years old, and since I couldn’t get a firm answer on its shelf life, I decided I would rather spend another $20 on new sealer than to have my current sealer fail because it was too old and didn’t adhere properly. It should be here on Tuesday, so I’ll continue after that. But for now I’m feeling pretty damn good that I was able to get the blower out by itself without ruining anything!
I’m left with this to look at, and ponder how many things I’m going to forget to reinstall, or reinstall in the wrong order. I’m not out of the woods yet!
![]()


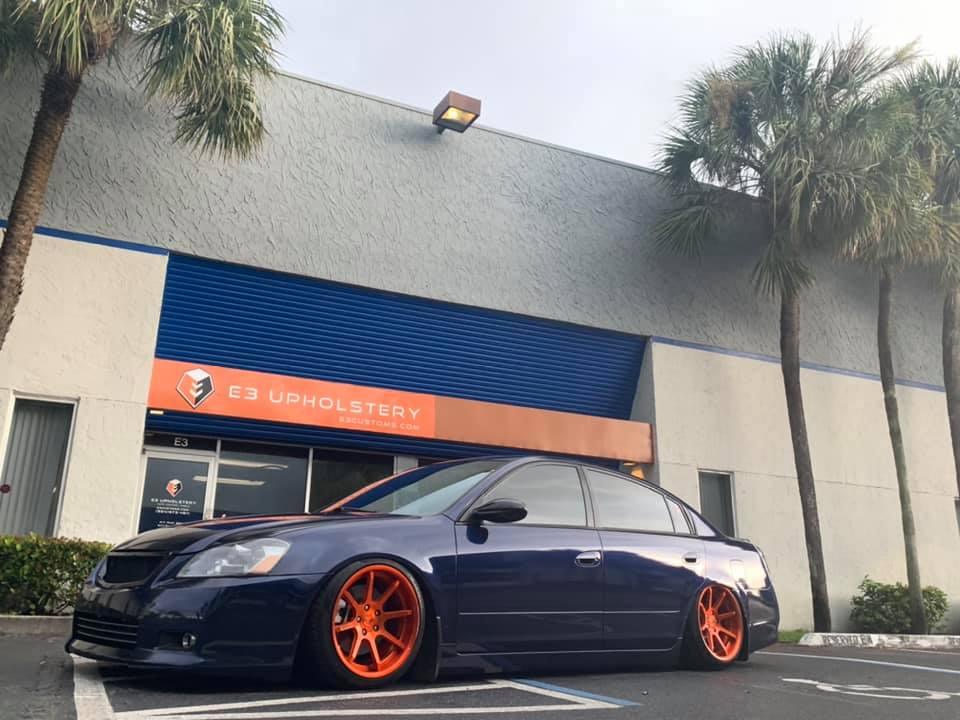
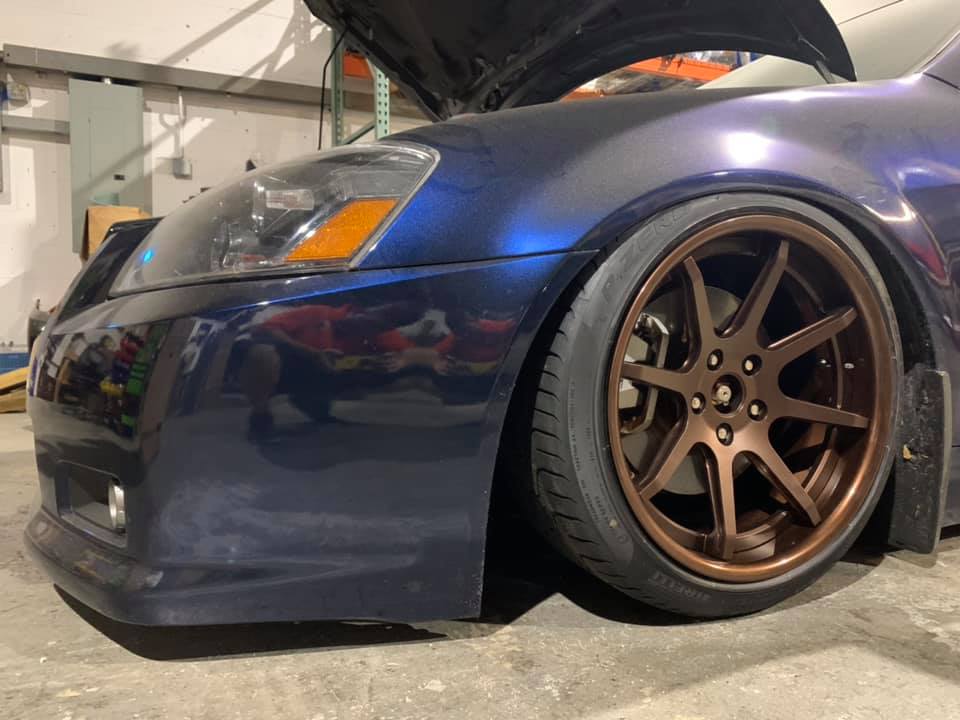
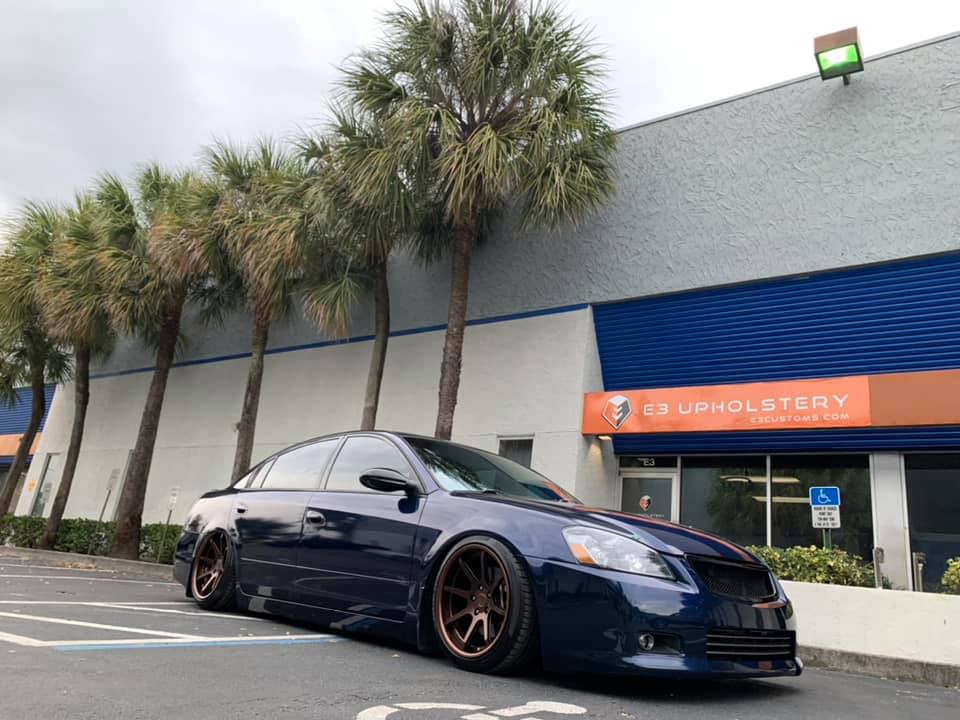
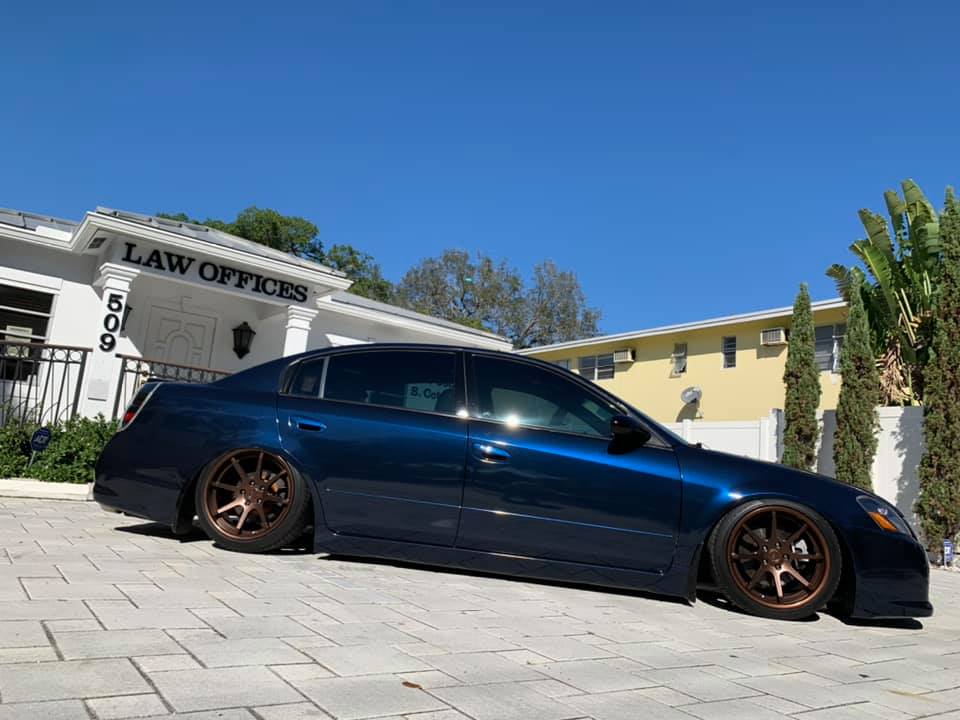
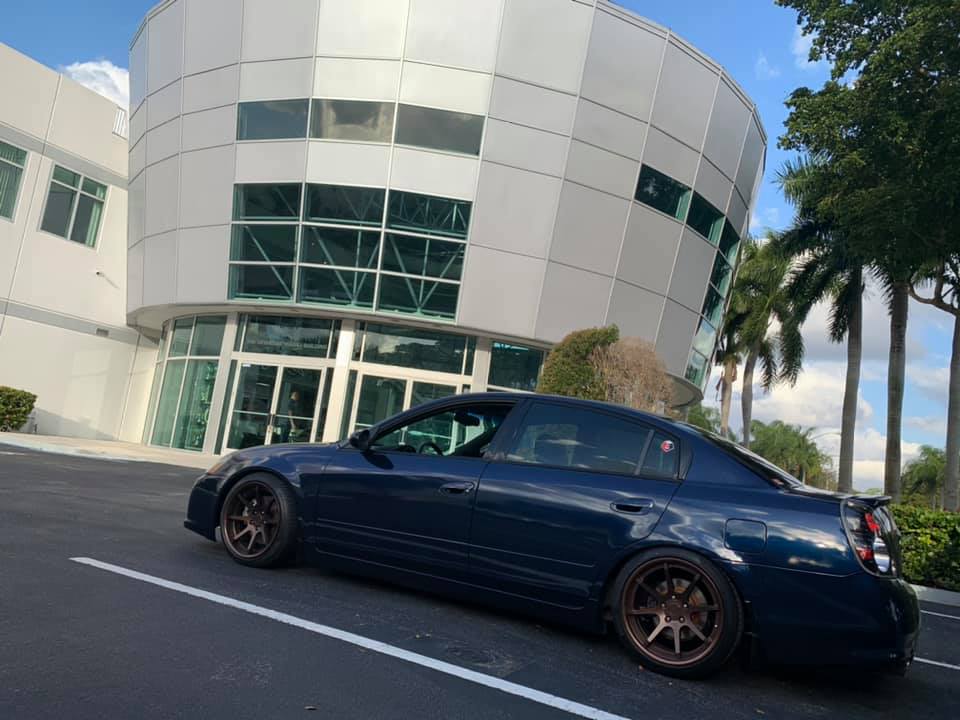
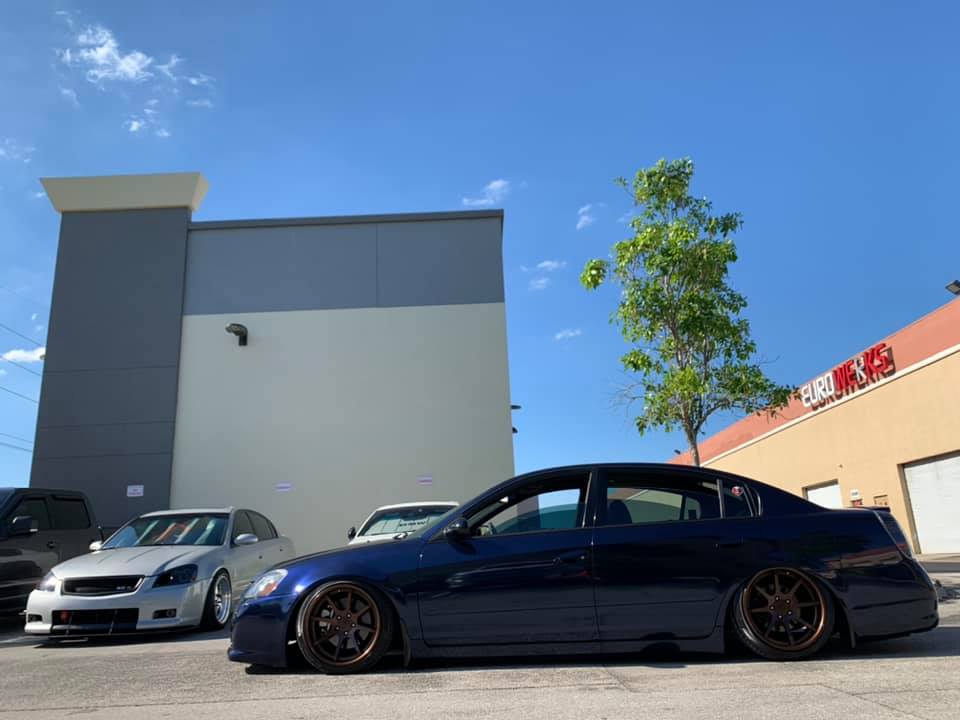
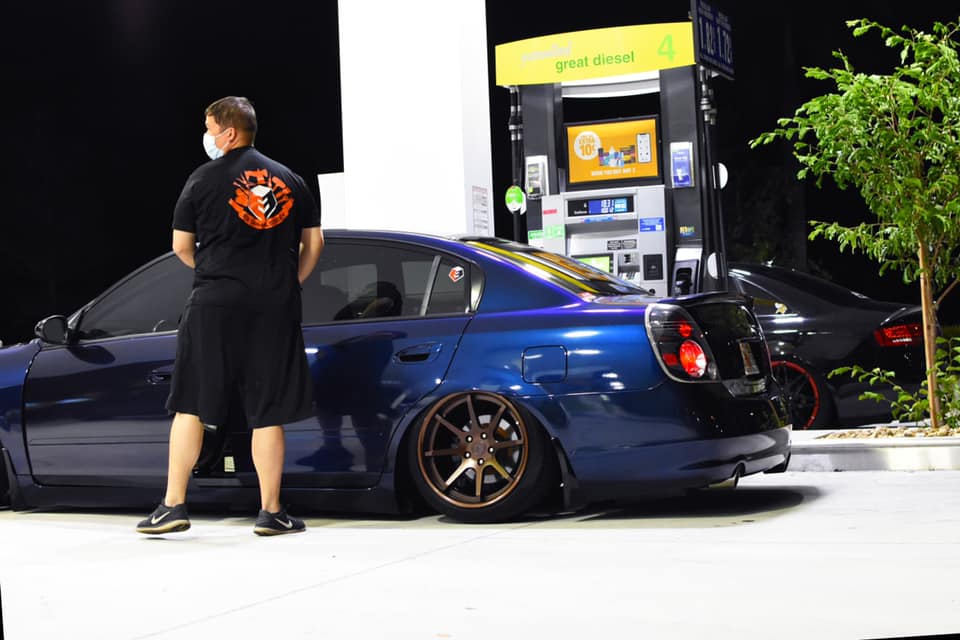
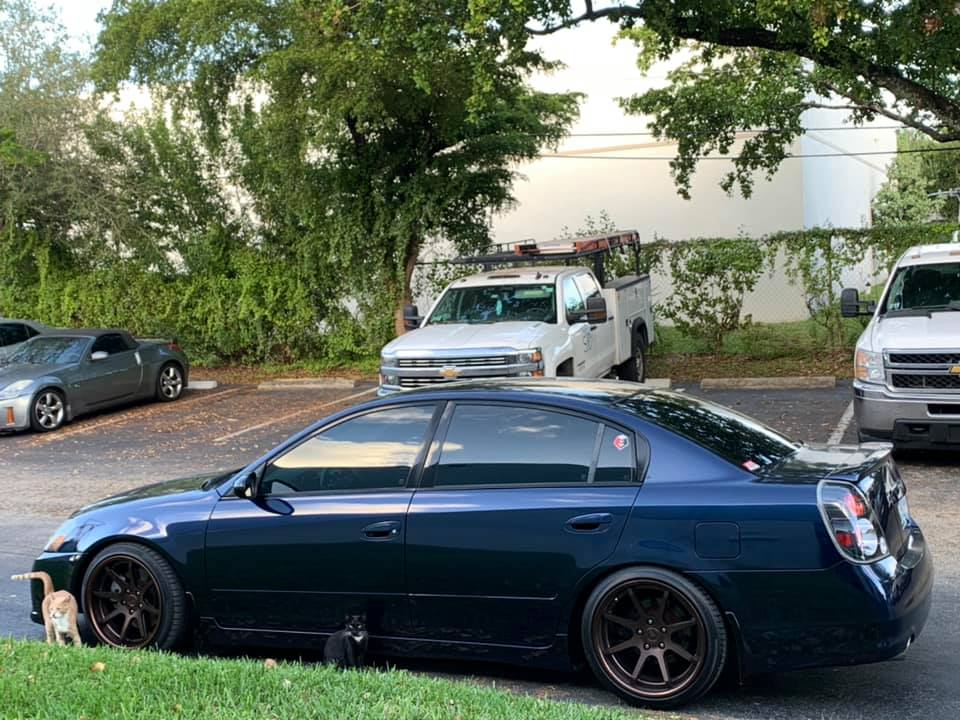
Owner: Eric G’s
Year: 2005
Model: Altima
Color: Black –> Custom Blue
Transmission: Automatic
Trim: SE-R


![]()