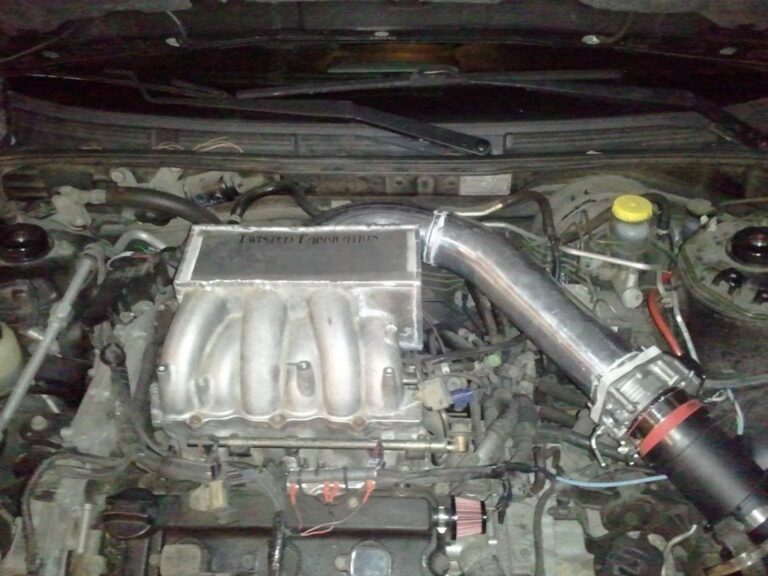
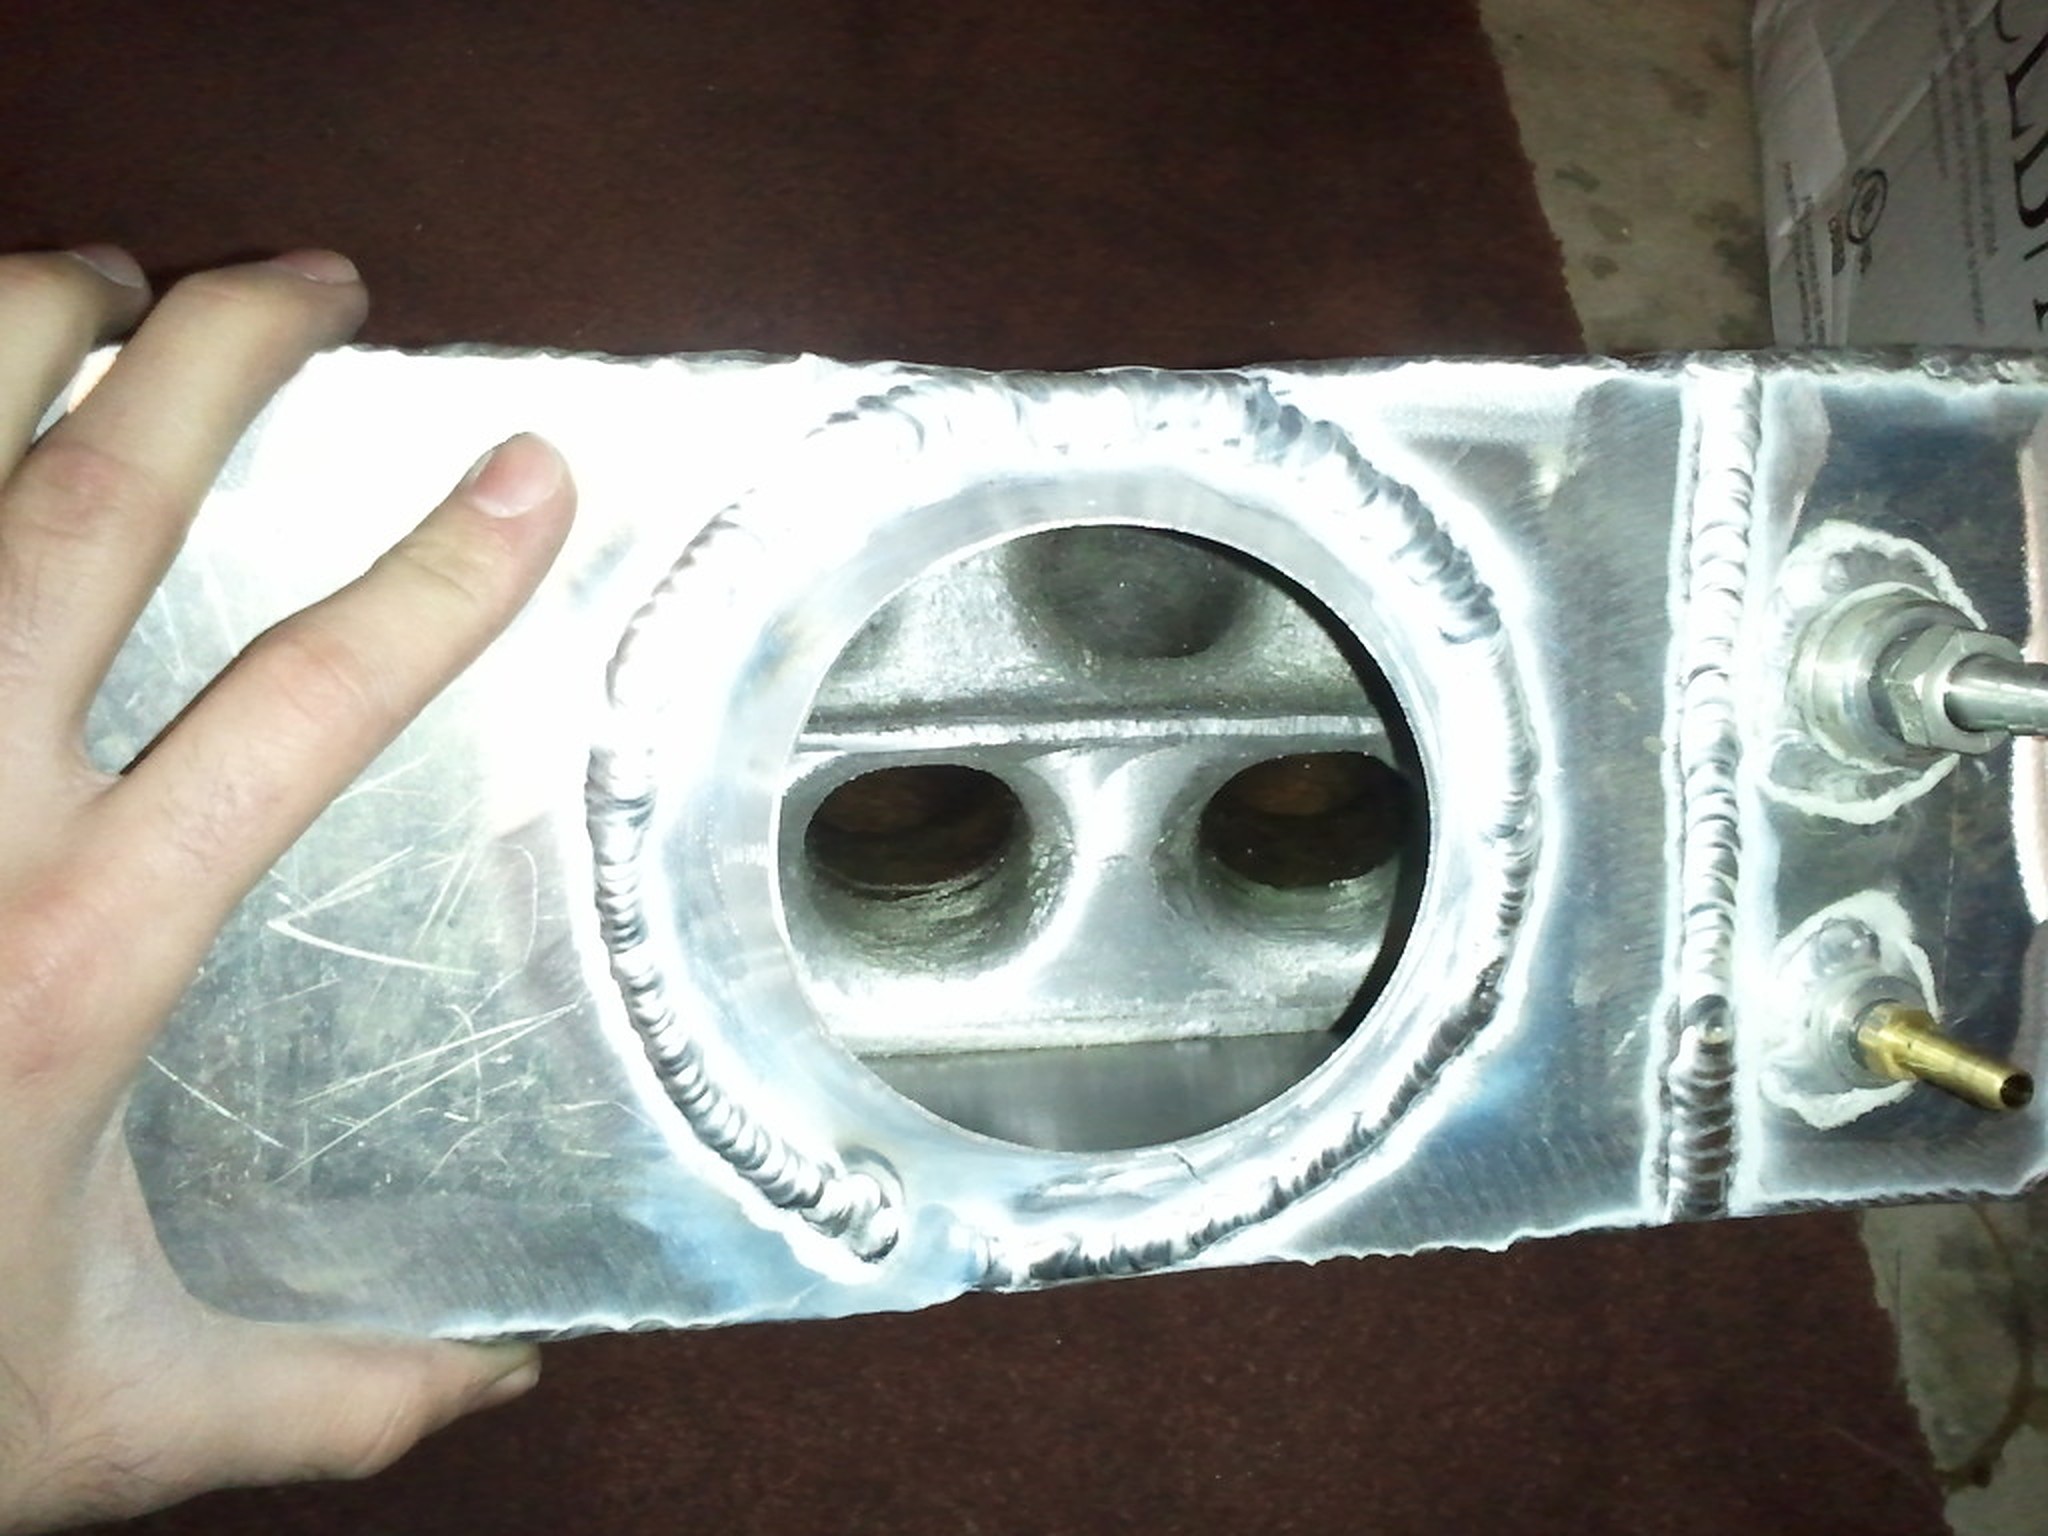
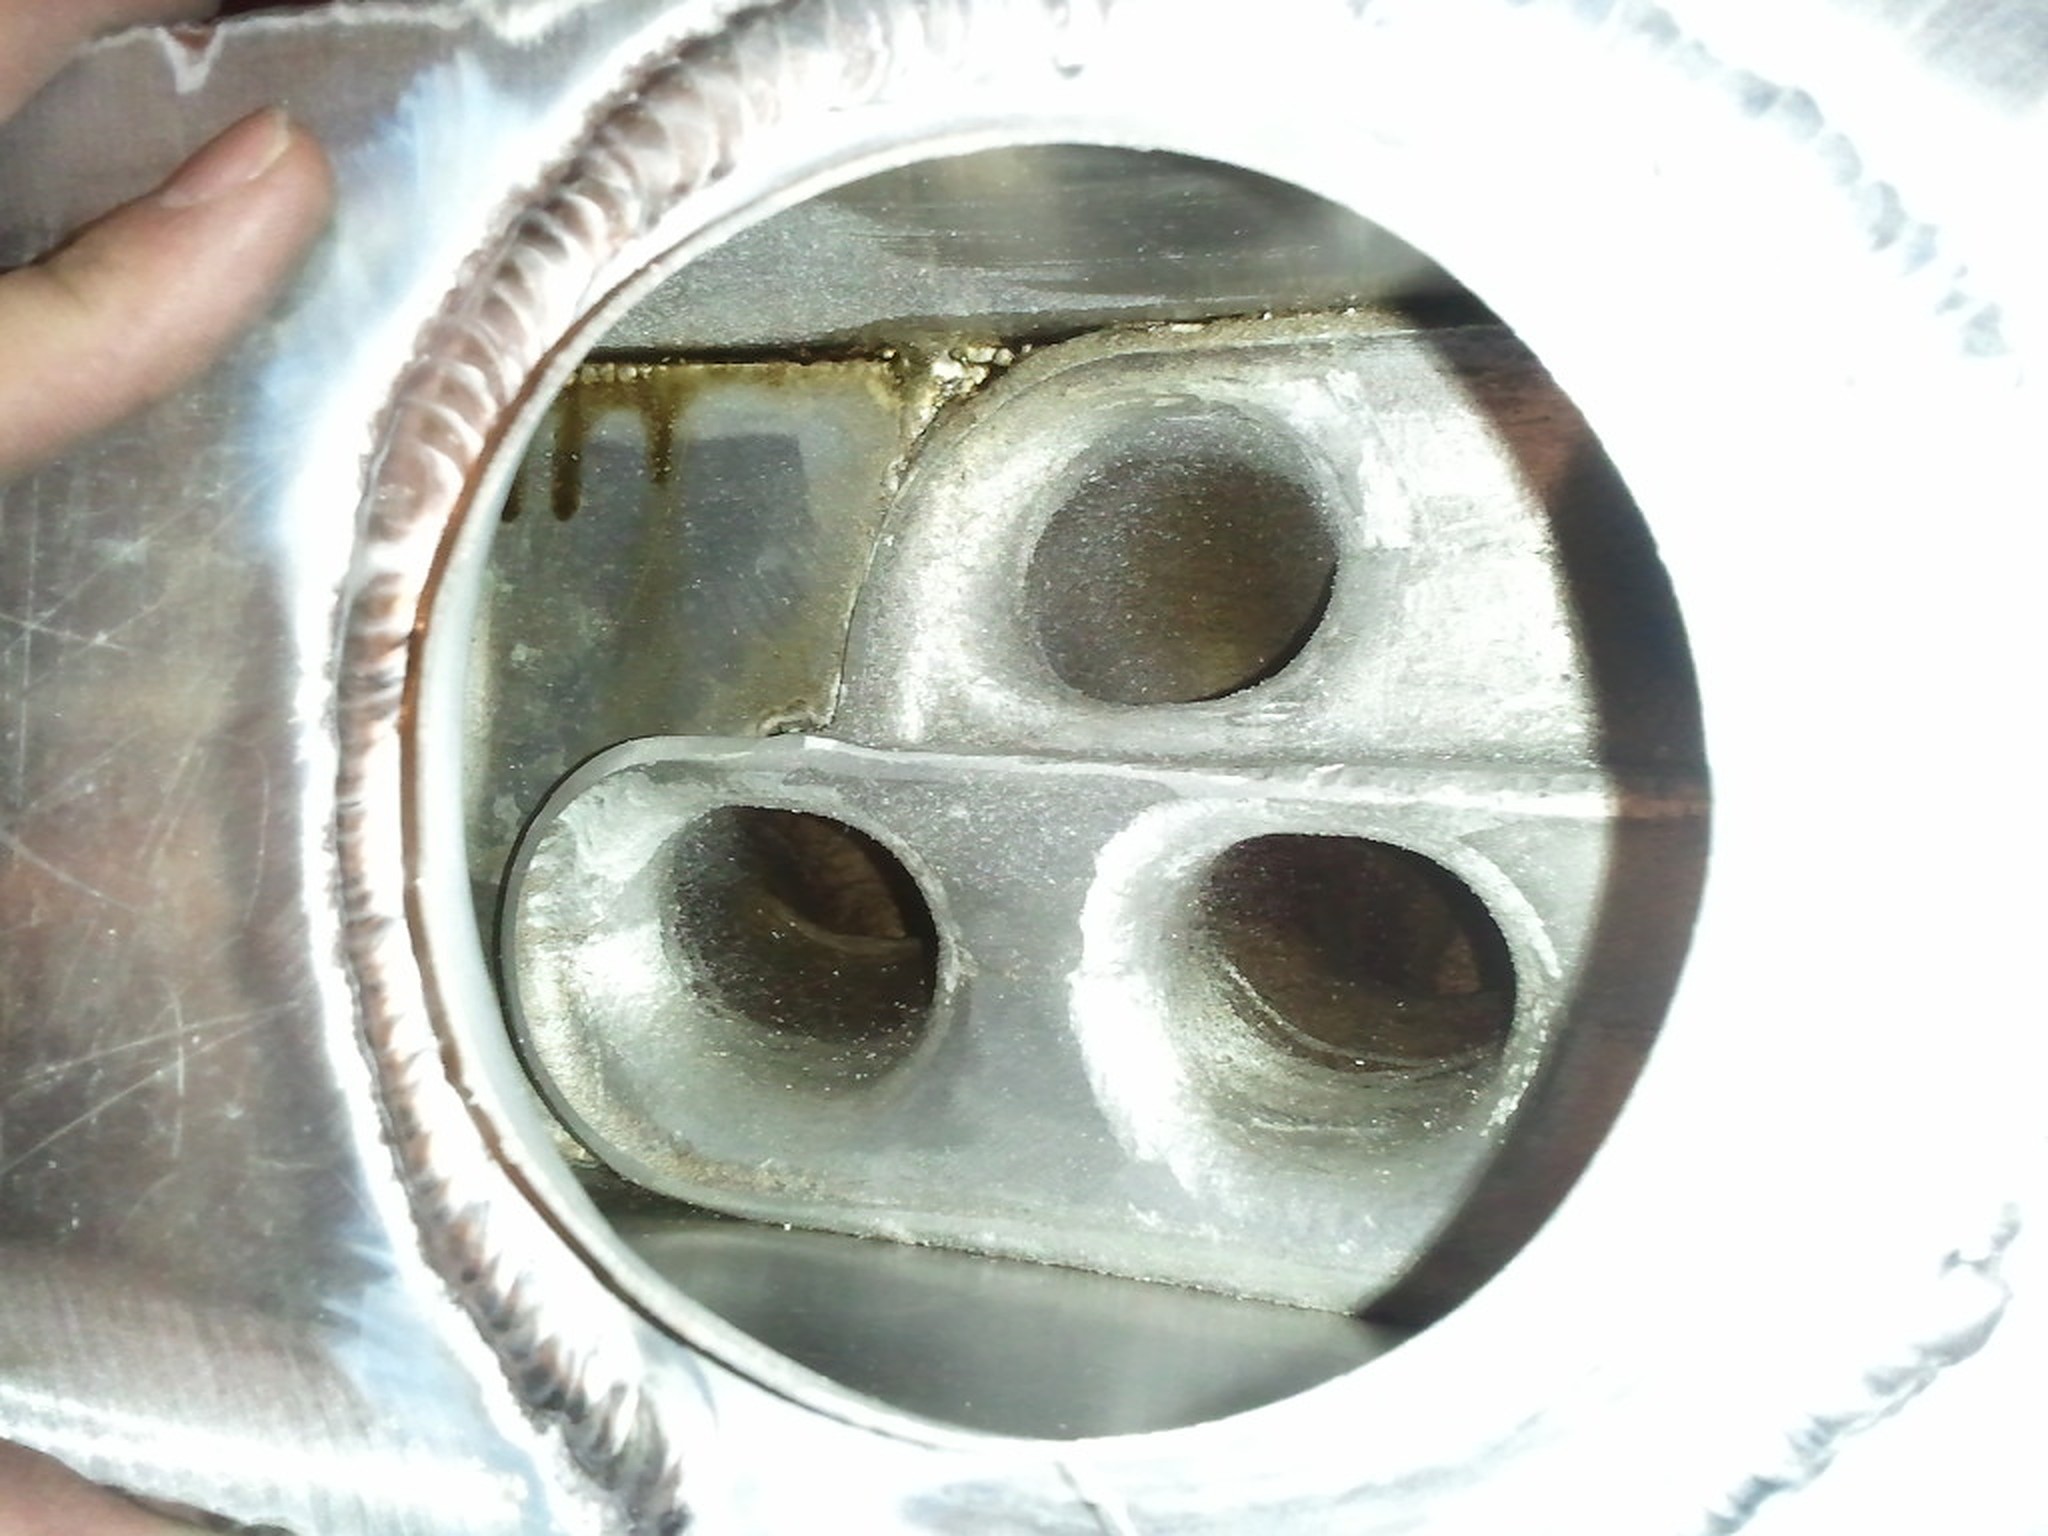
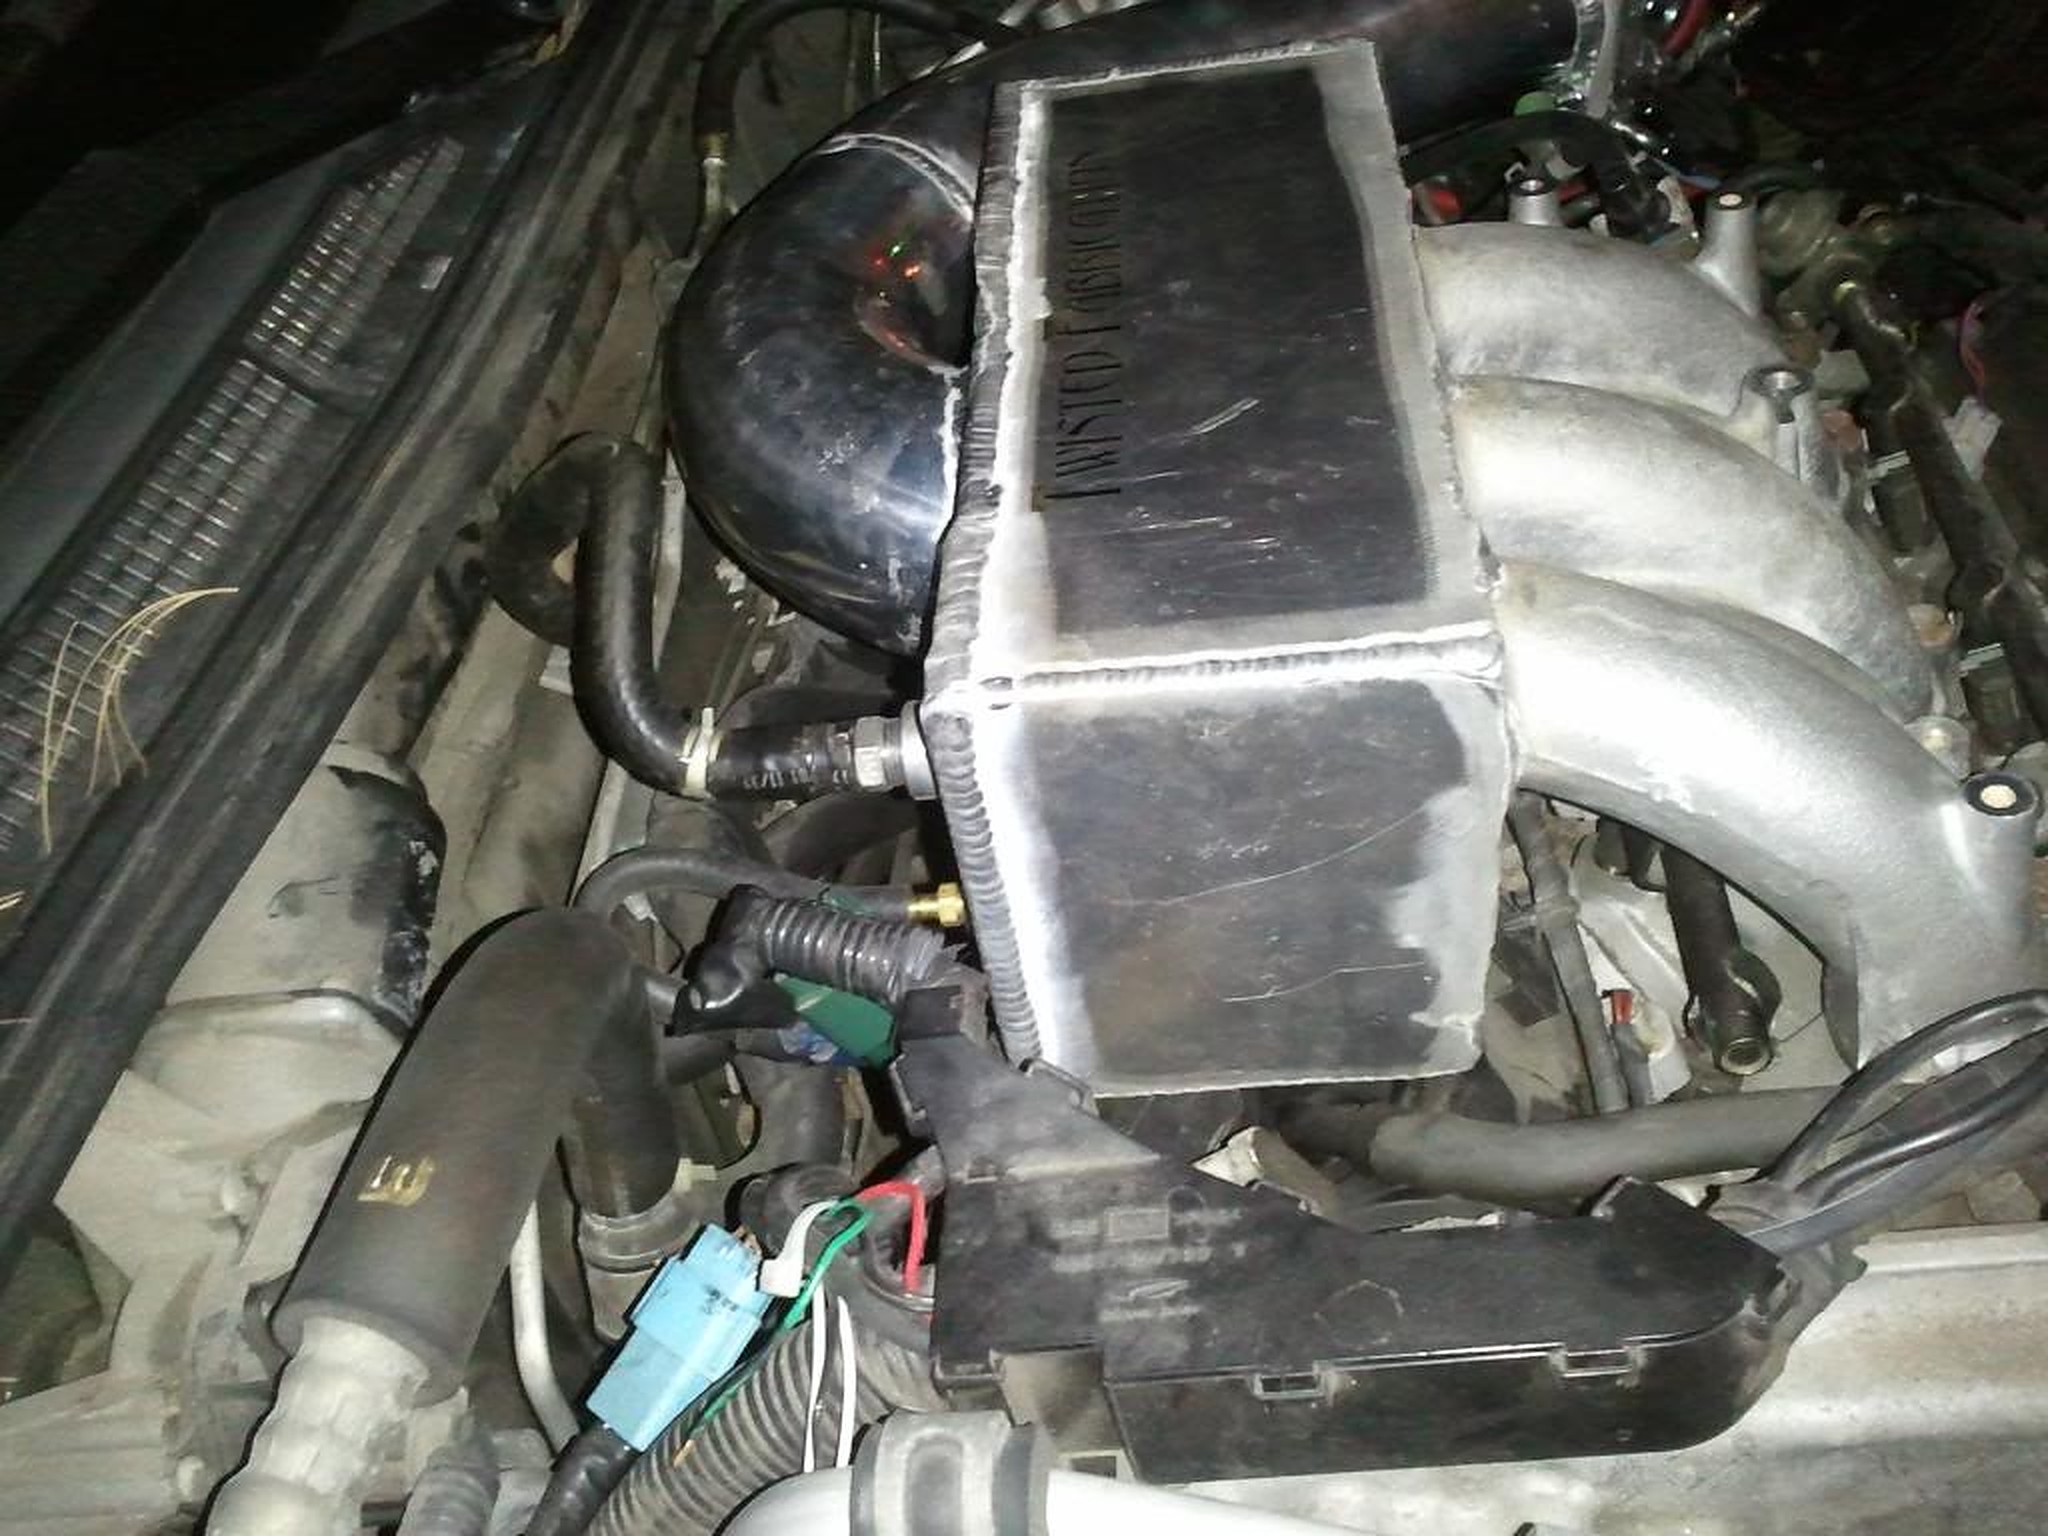
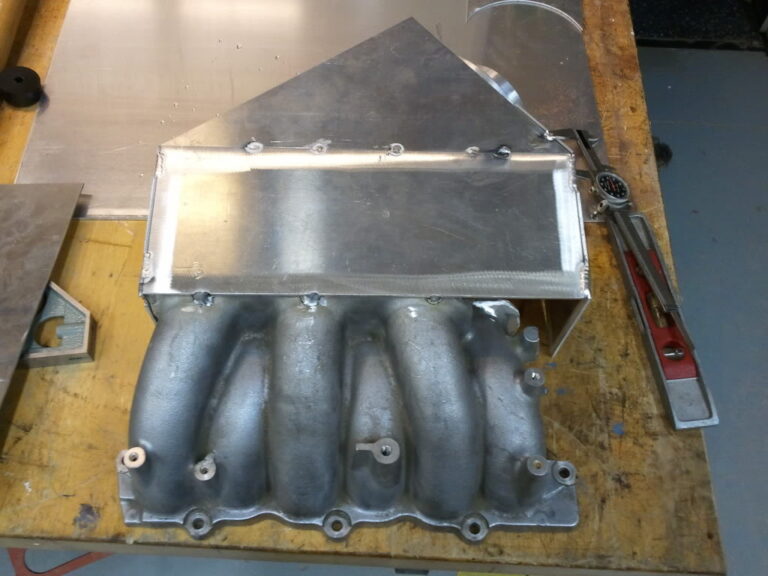
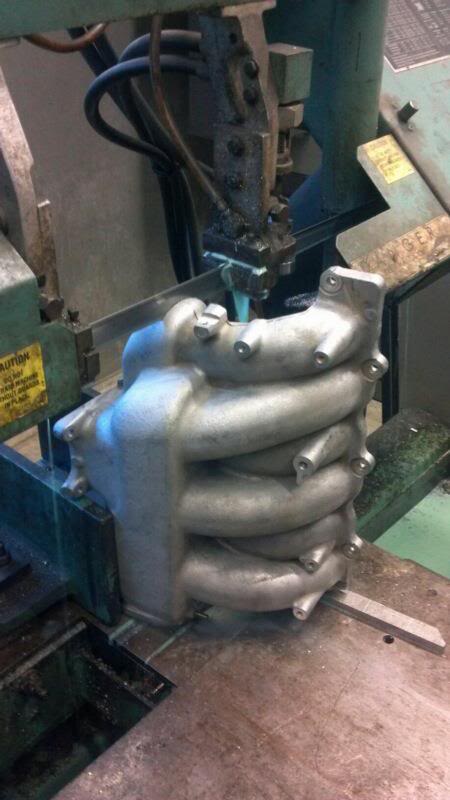
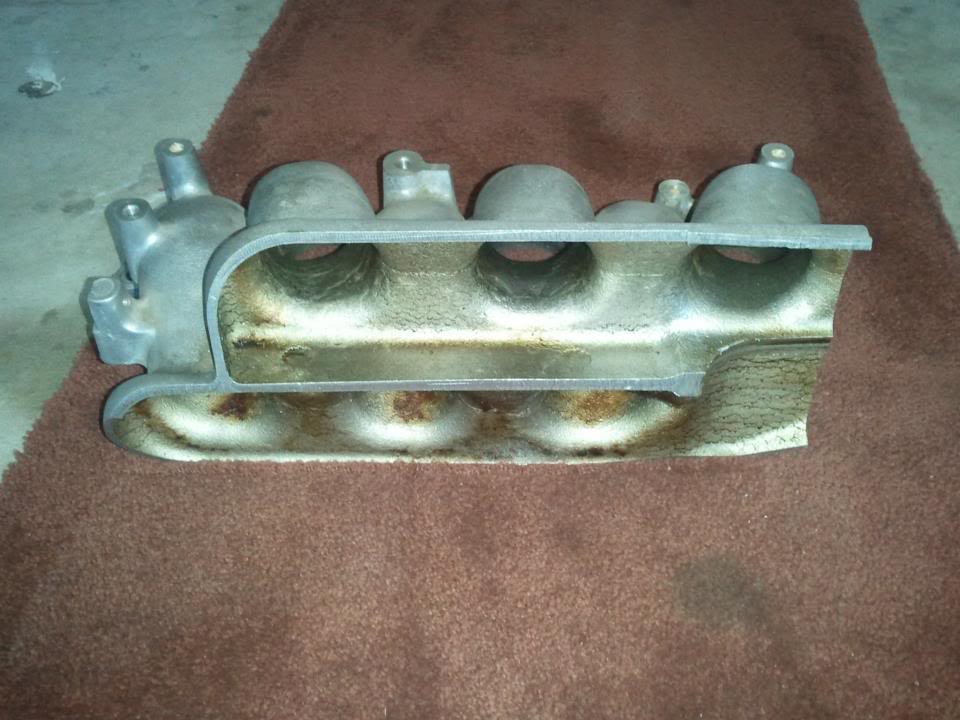
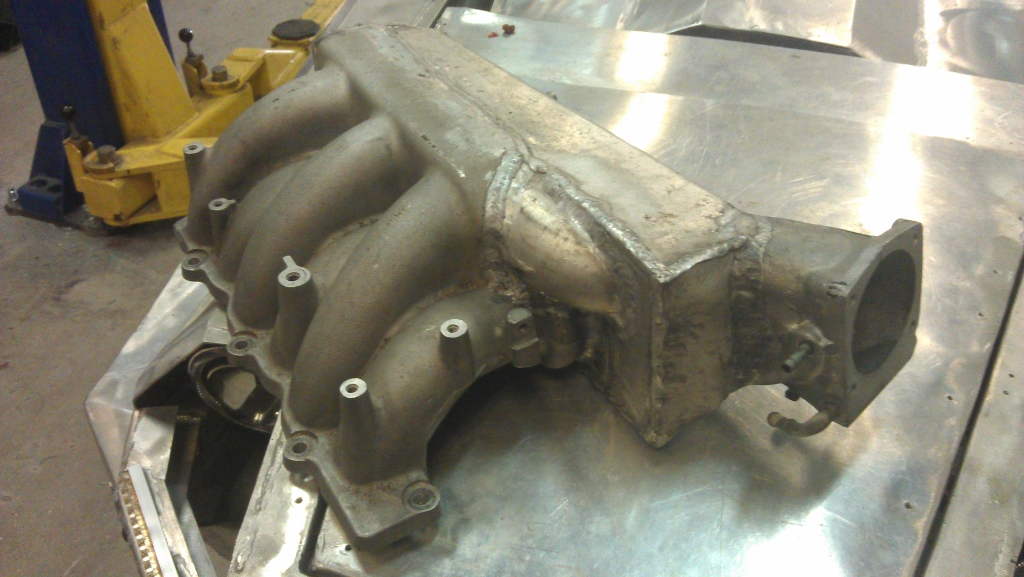
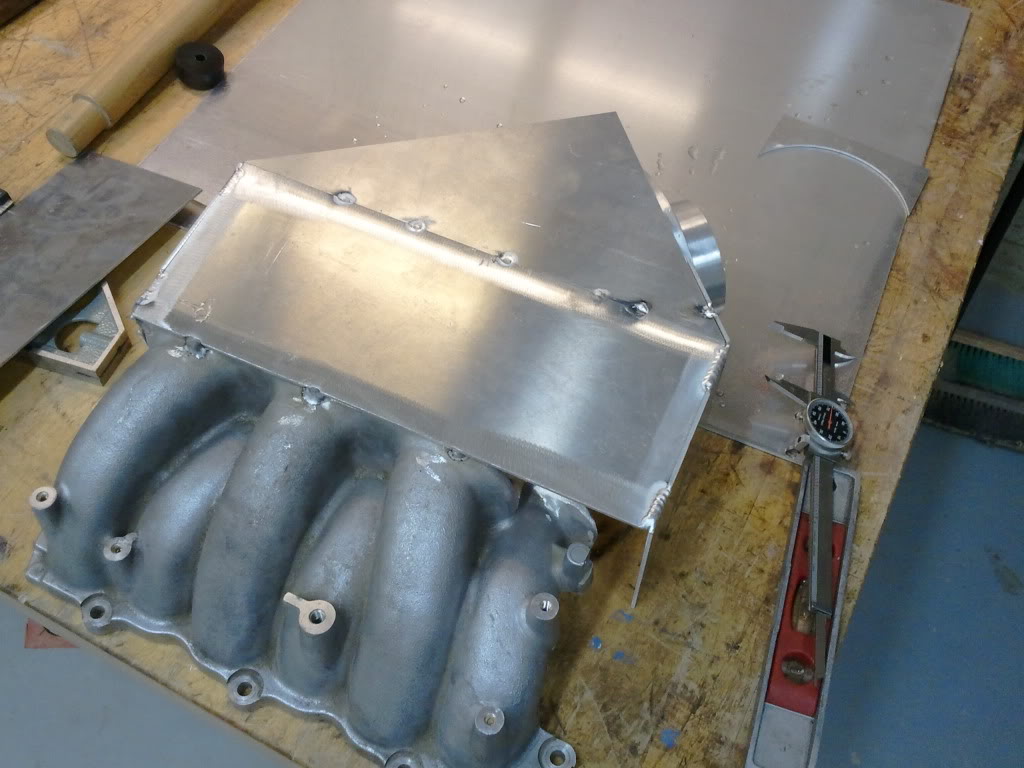
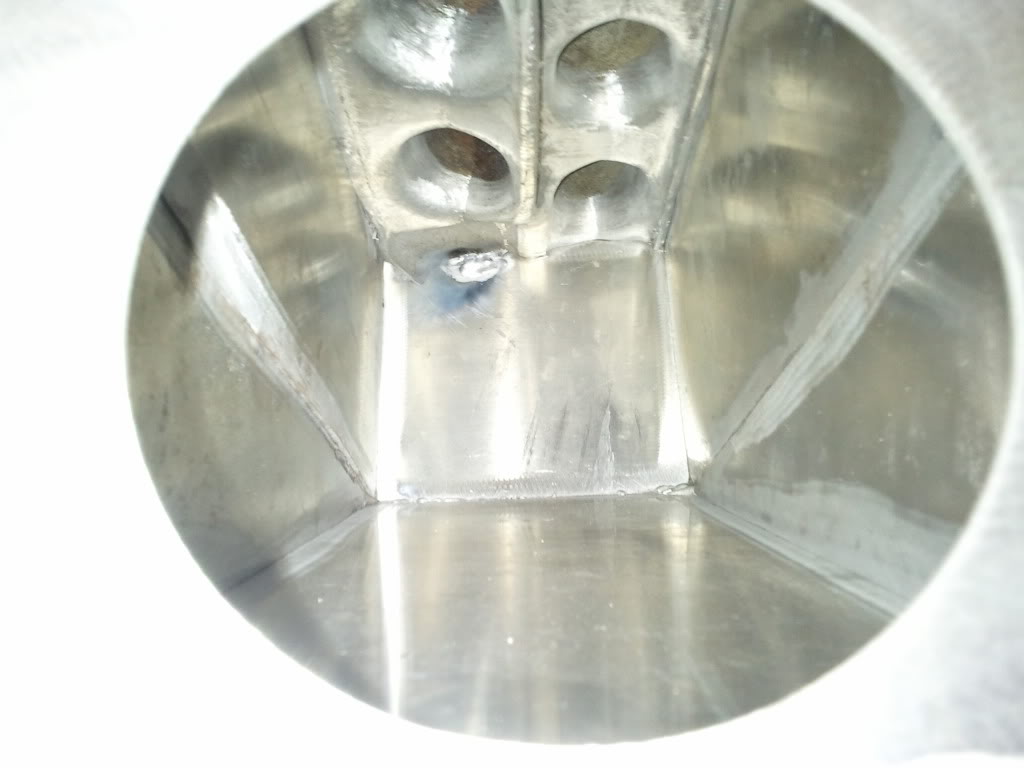
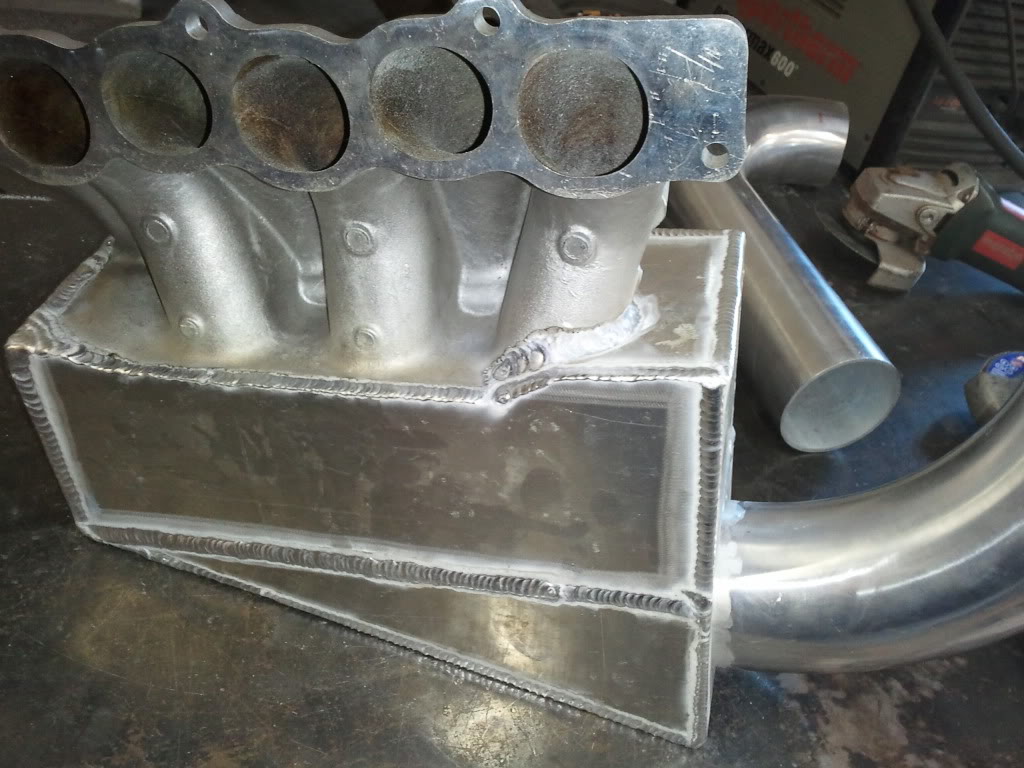
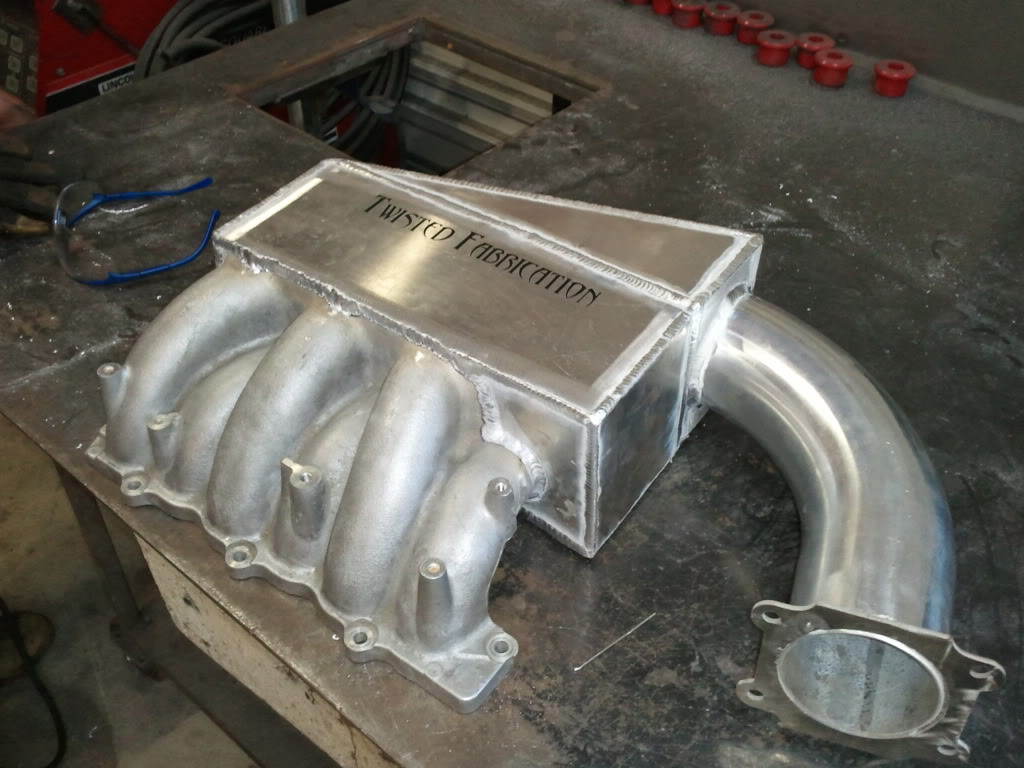
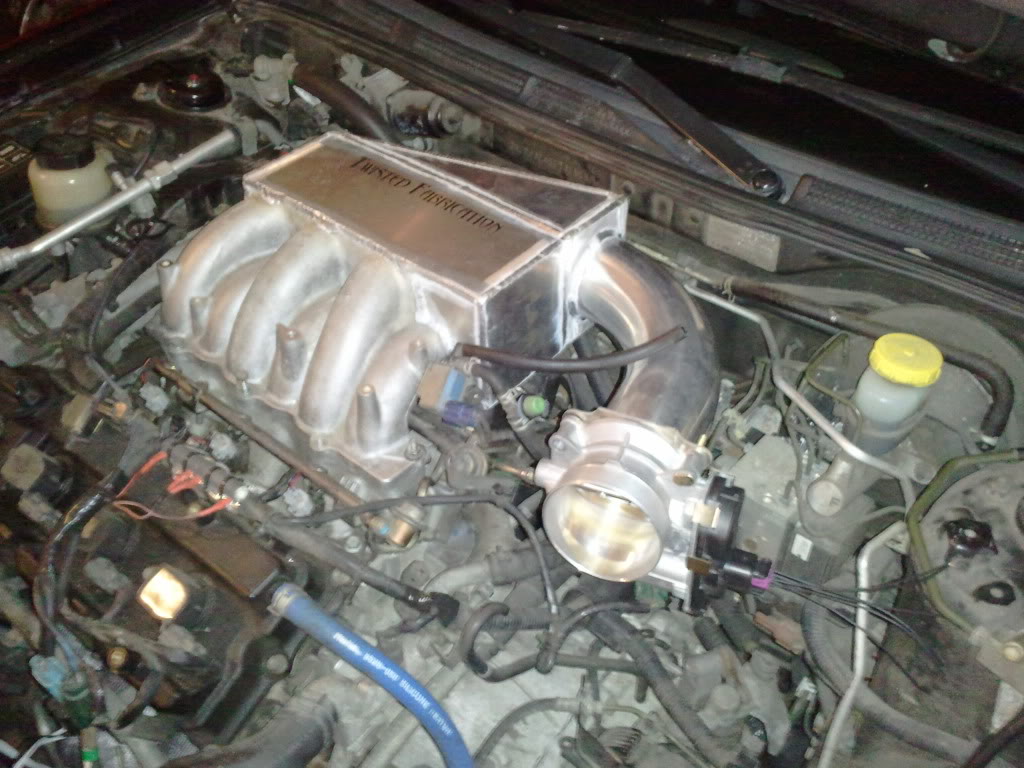
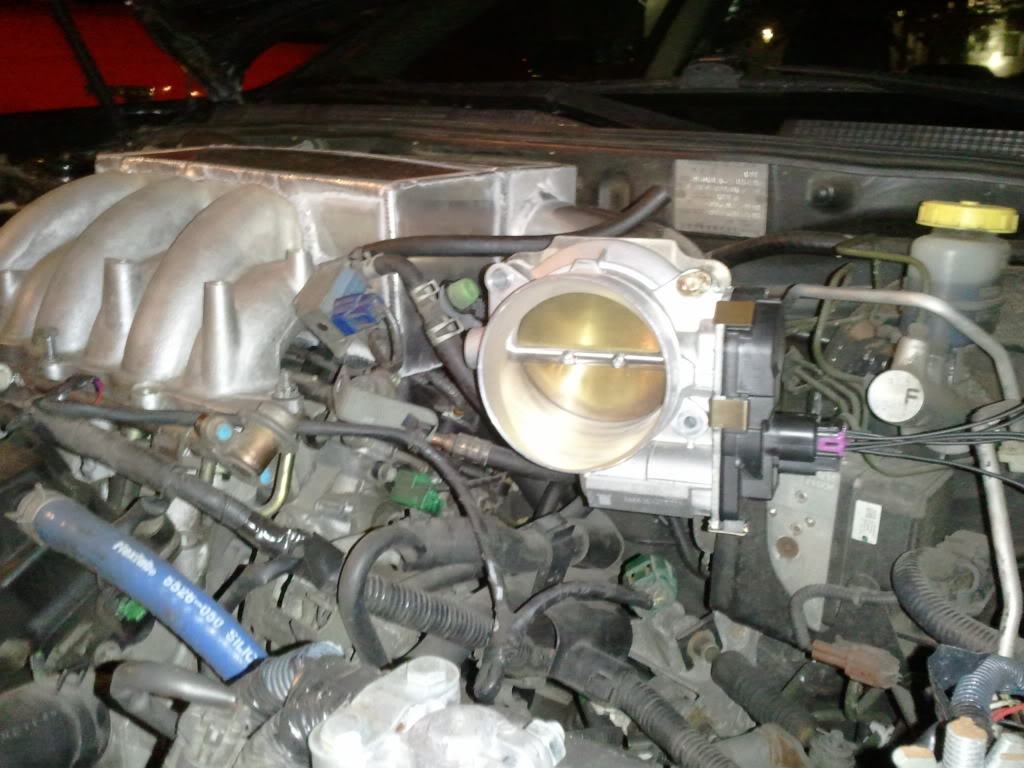
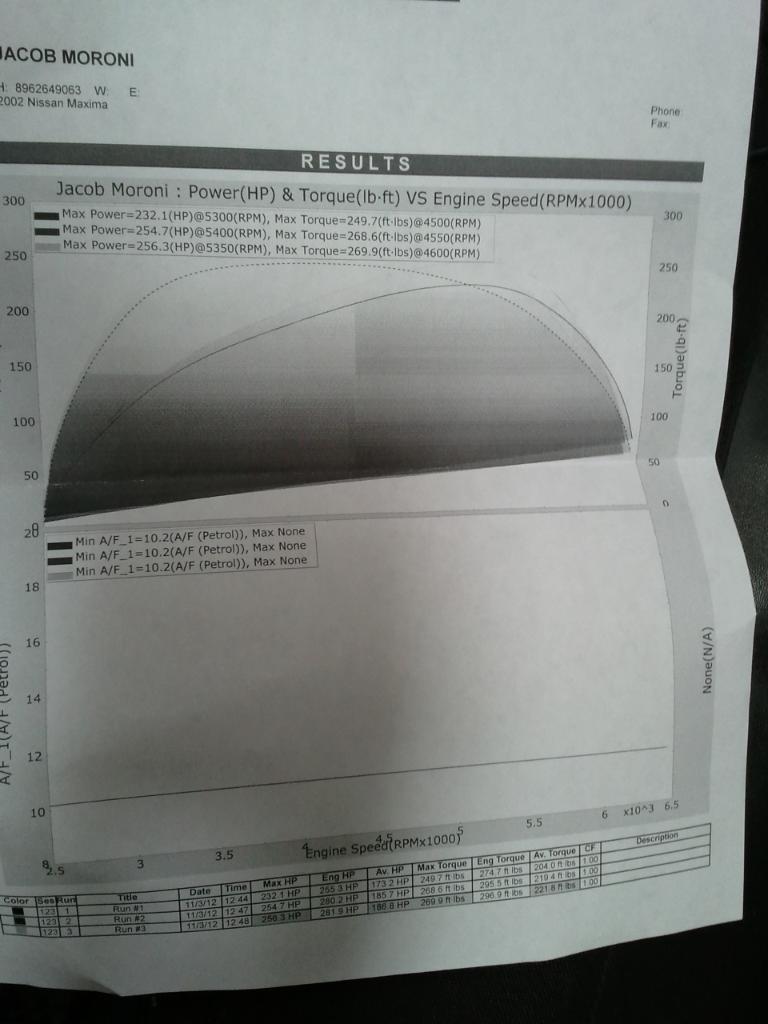
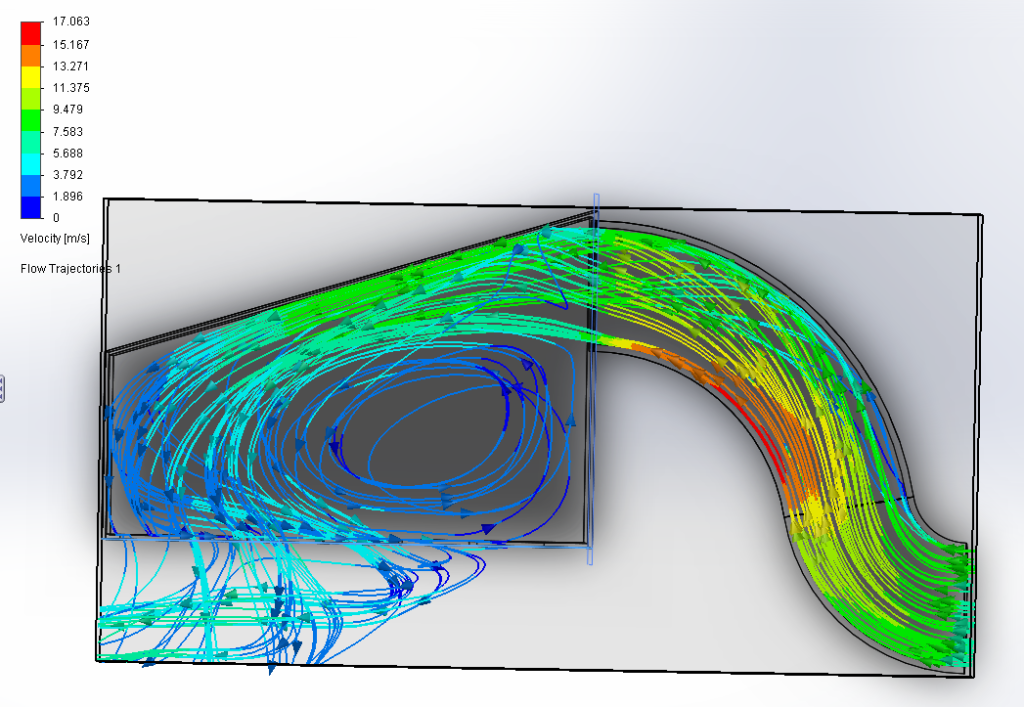
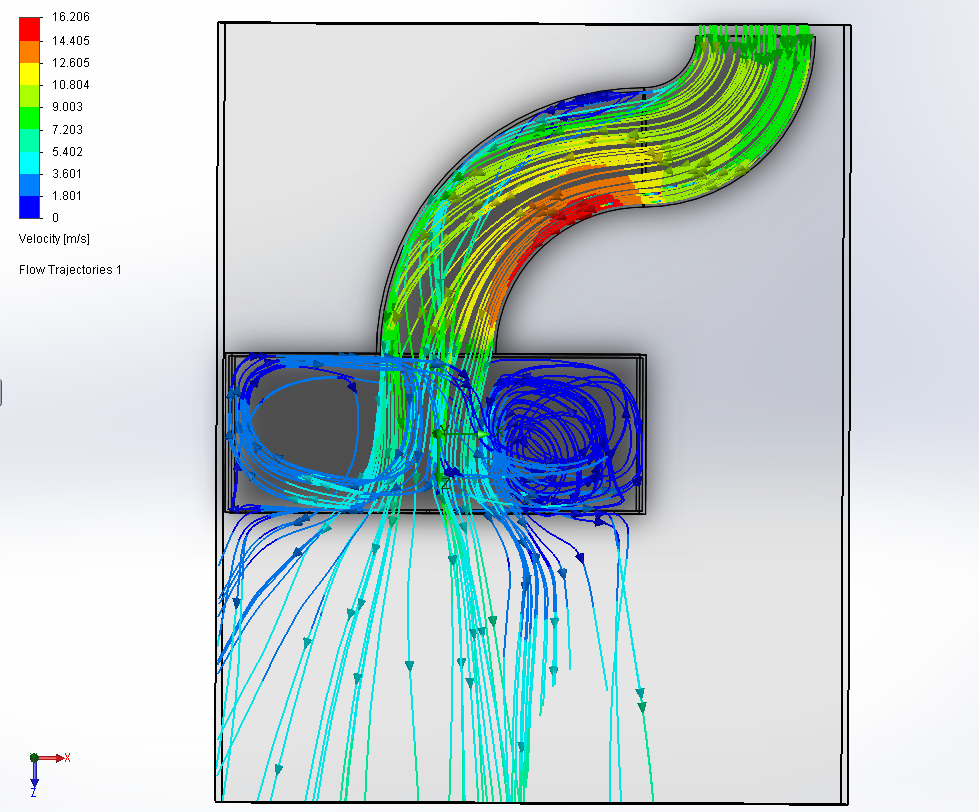
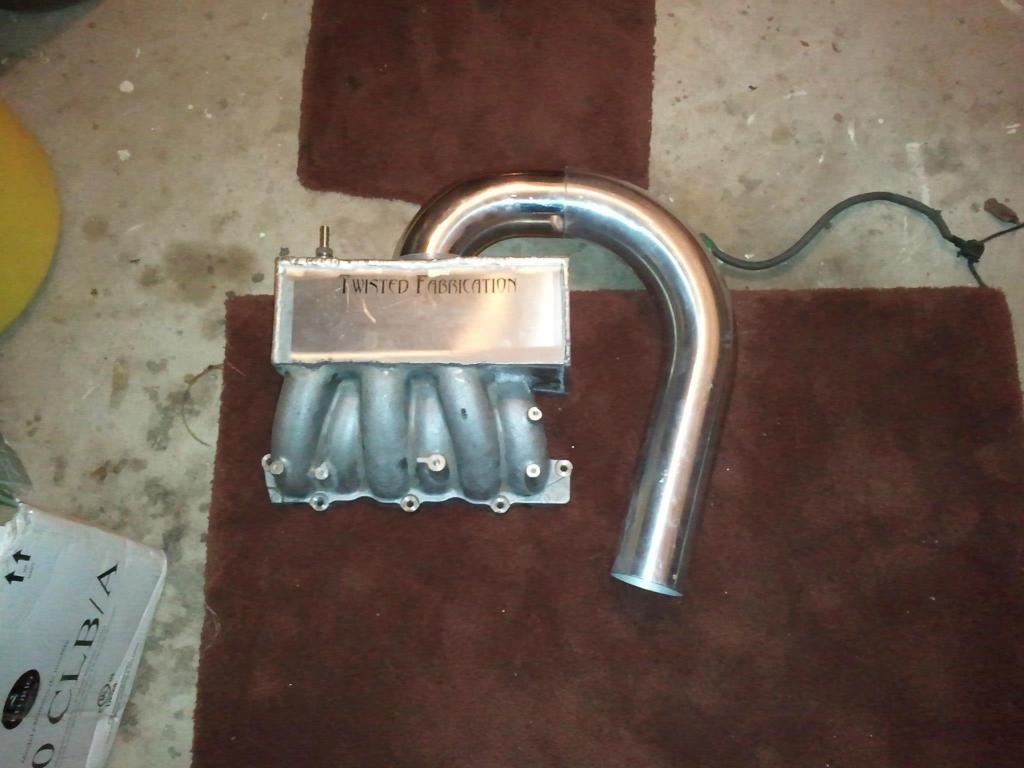
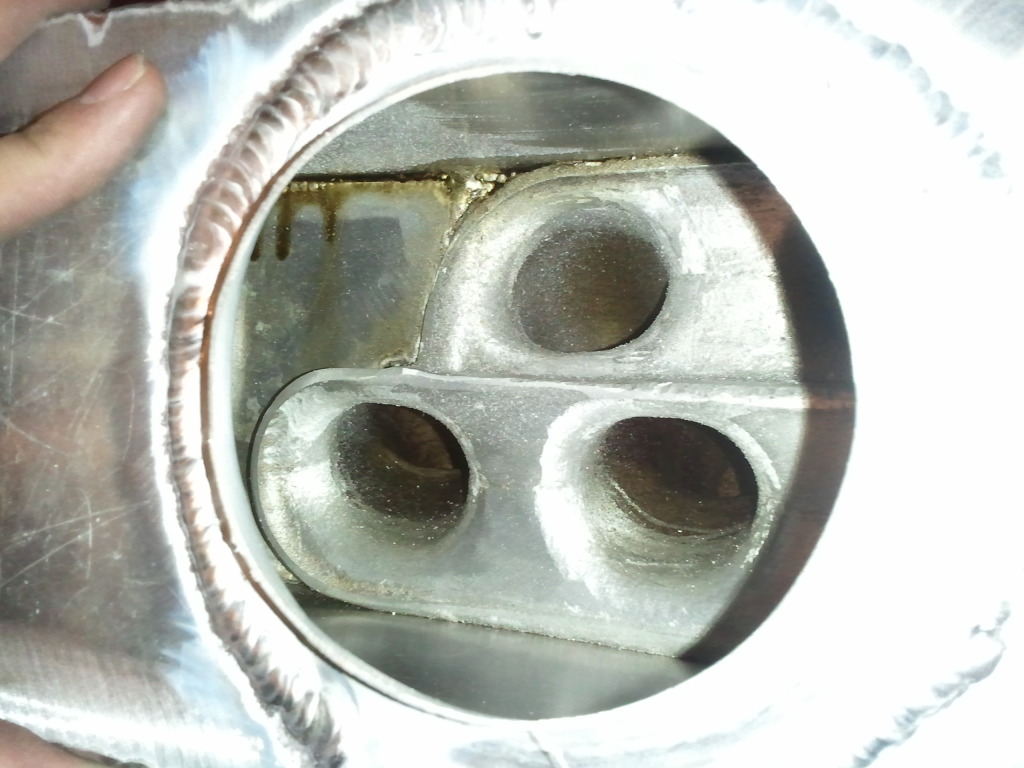
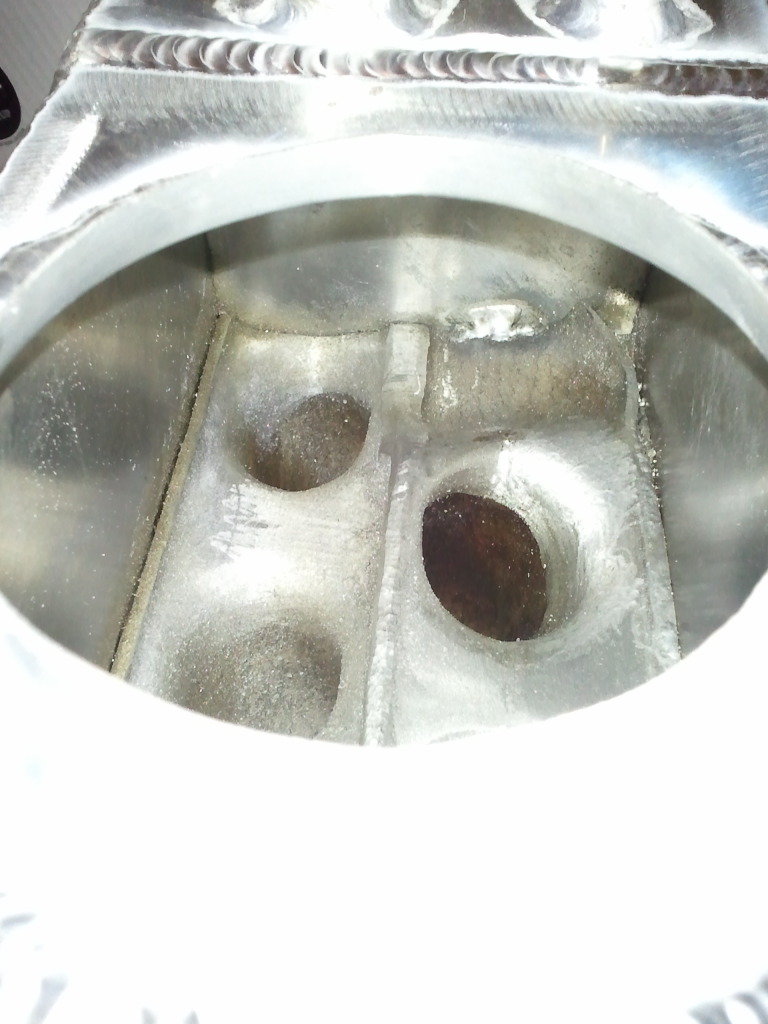
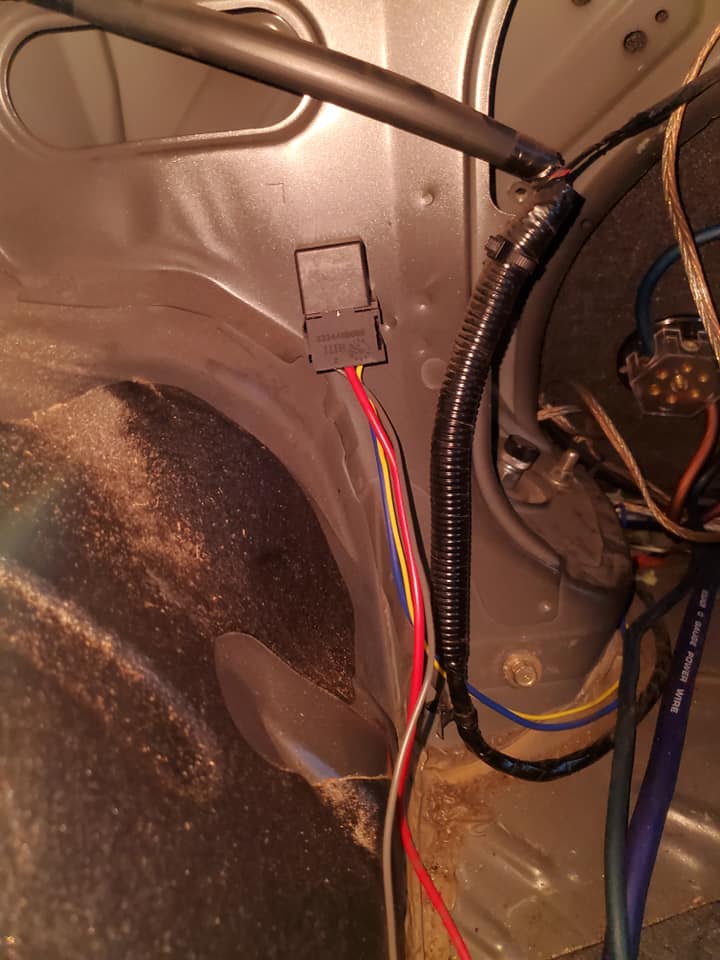
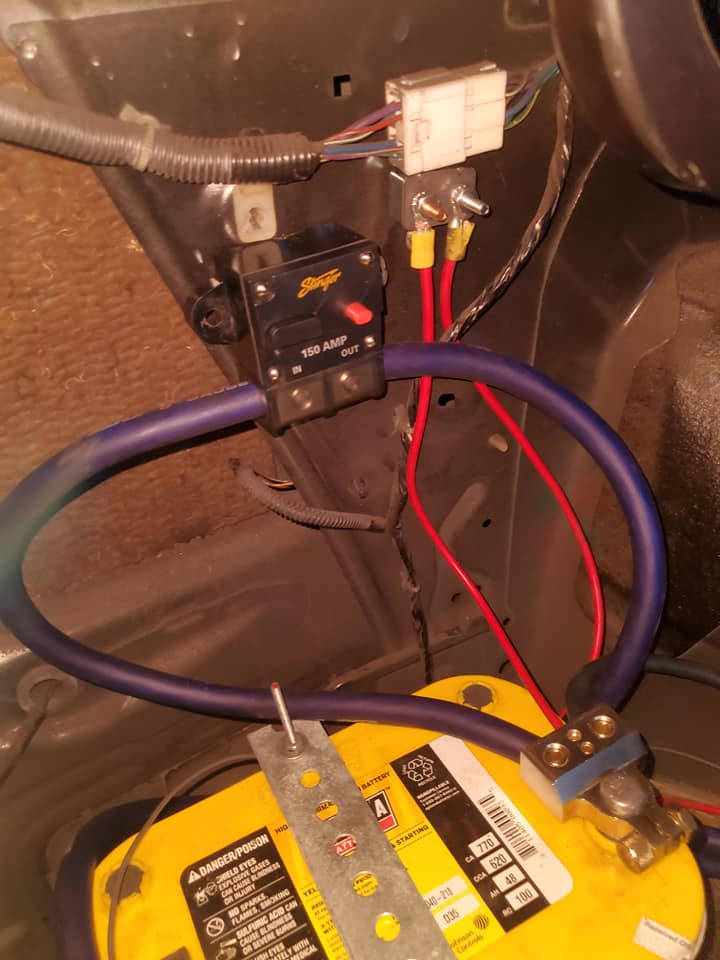
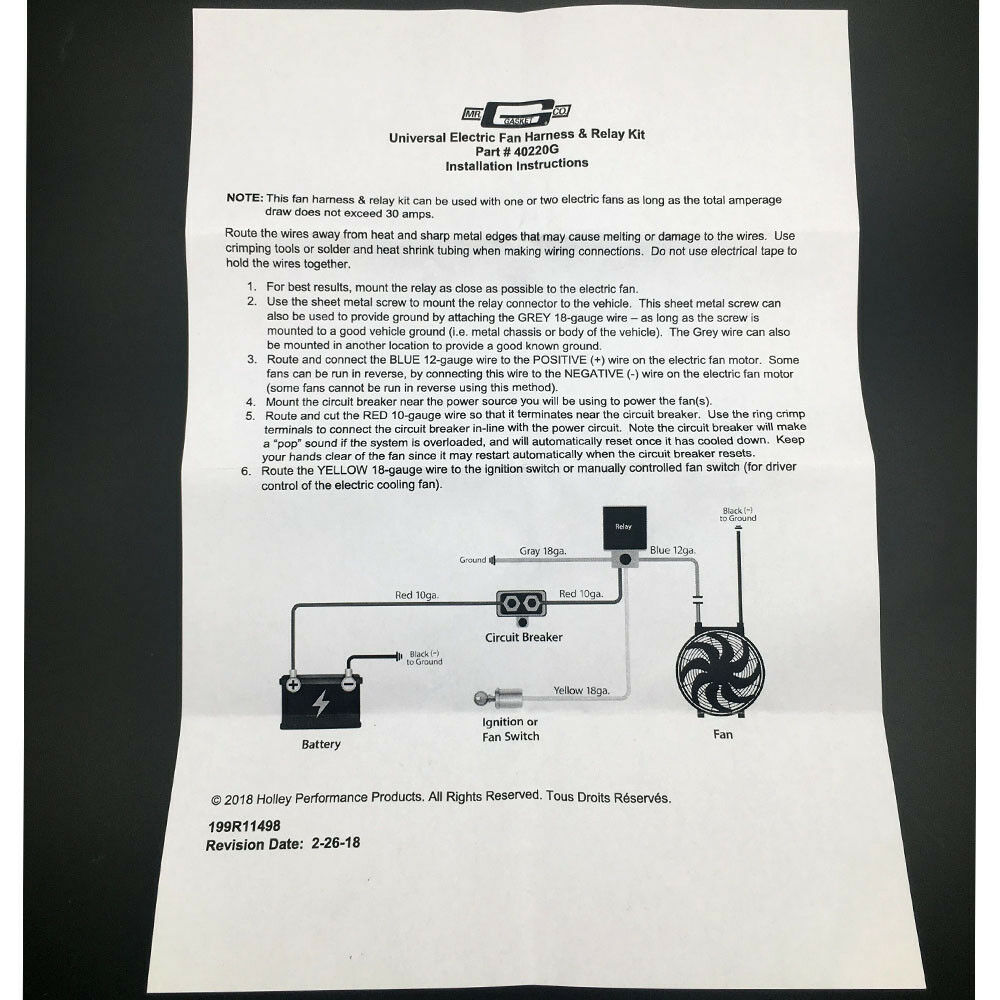
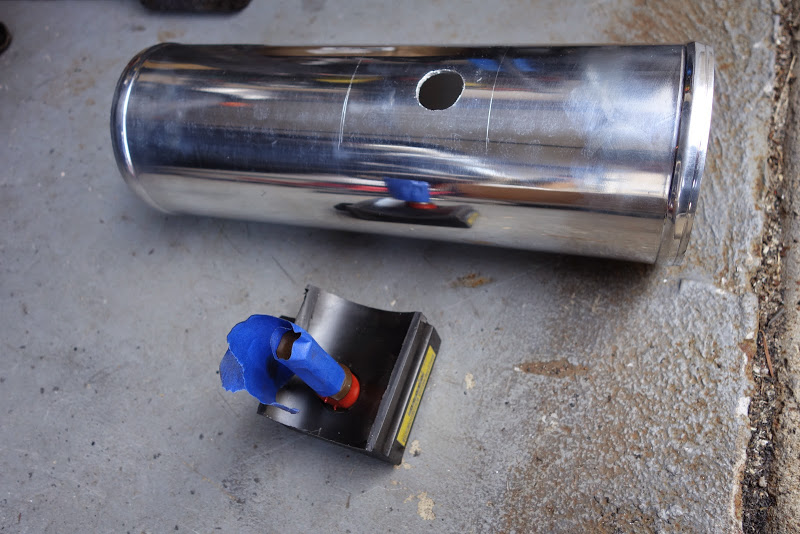
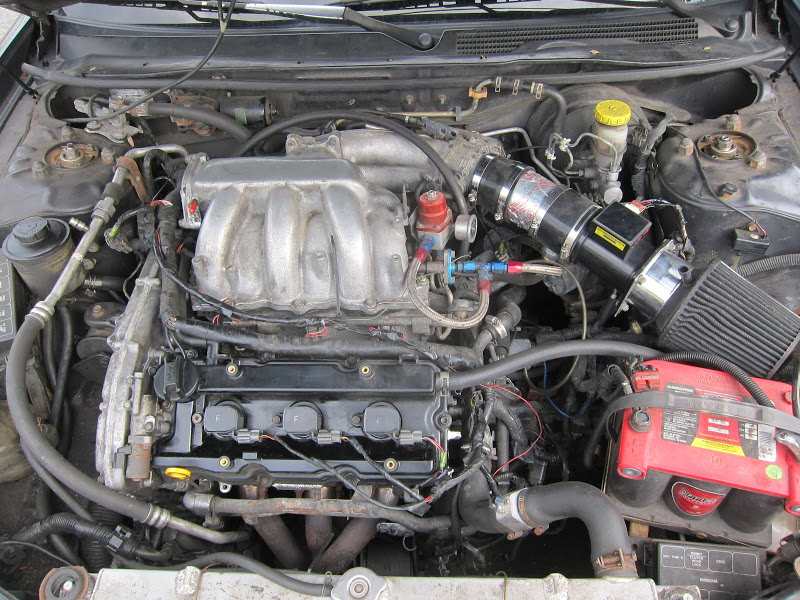
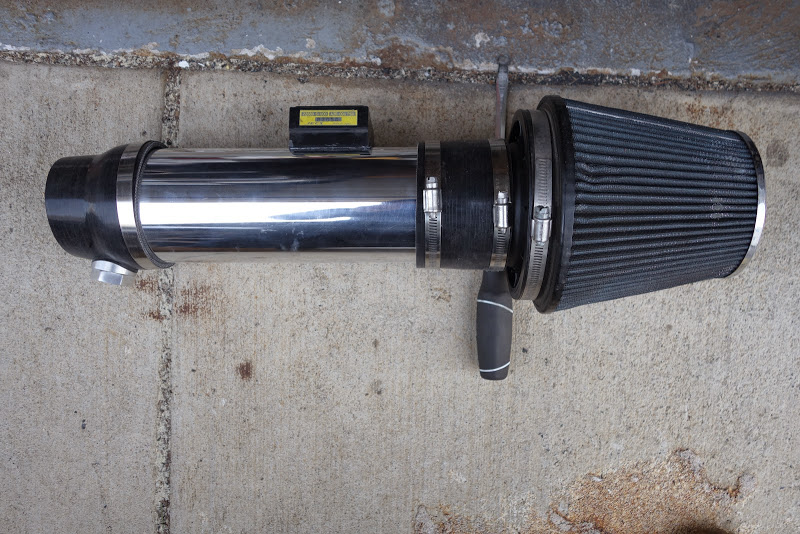
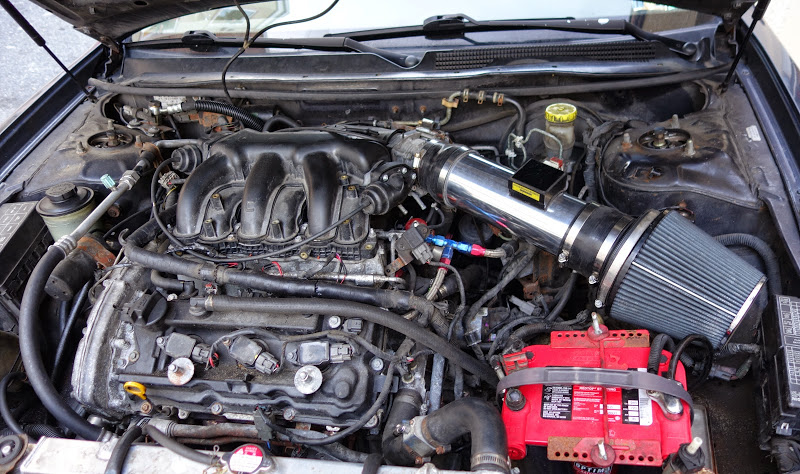
This is “version 2″ of my manifold. The previous design had the inlet coming in from the side and my car made 260whp with that setup. I re-designed it to have the inlet come in from the rear for better flow. I haven’t dyno’d the car on the second version of the manifold but the MAF voltage is slightly higher in the upper RPM’s indicating better flow.
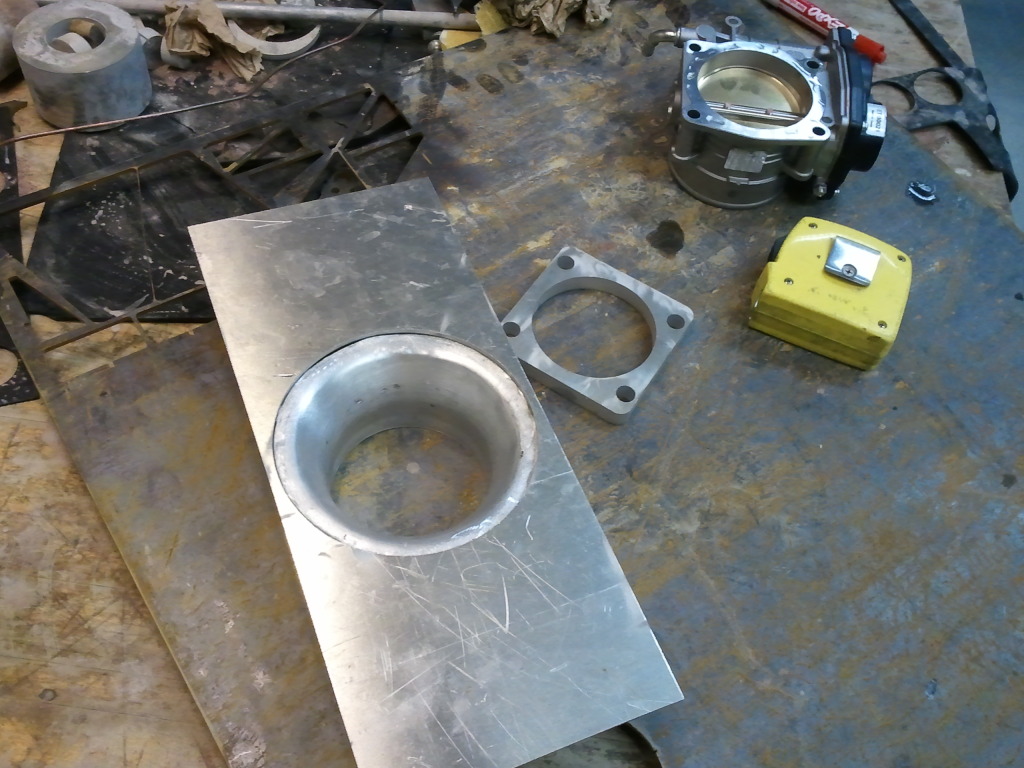
The manifold is made from 1/8″ aluminum, all tig welded by a friend. The piping is 3.5” all the way. The throttle body flange is for a 2009 throttle body. This throttle body will work on the 02-08 as well, you’ll just need the harness. The 09 throttle body is better because it is 75mm as opposed to 70.
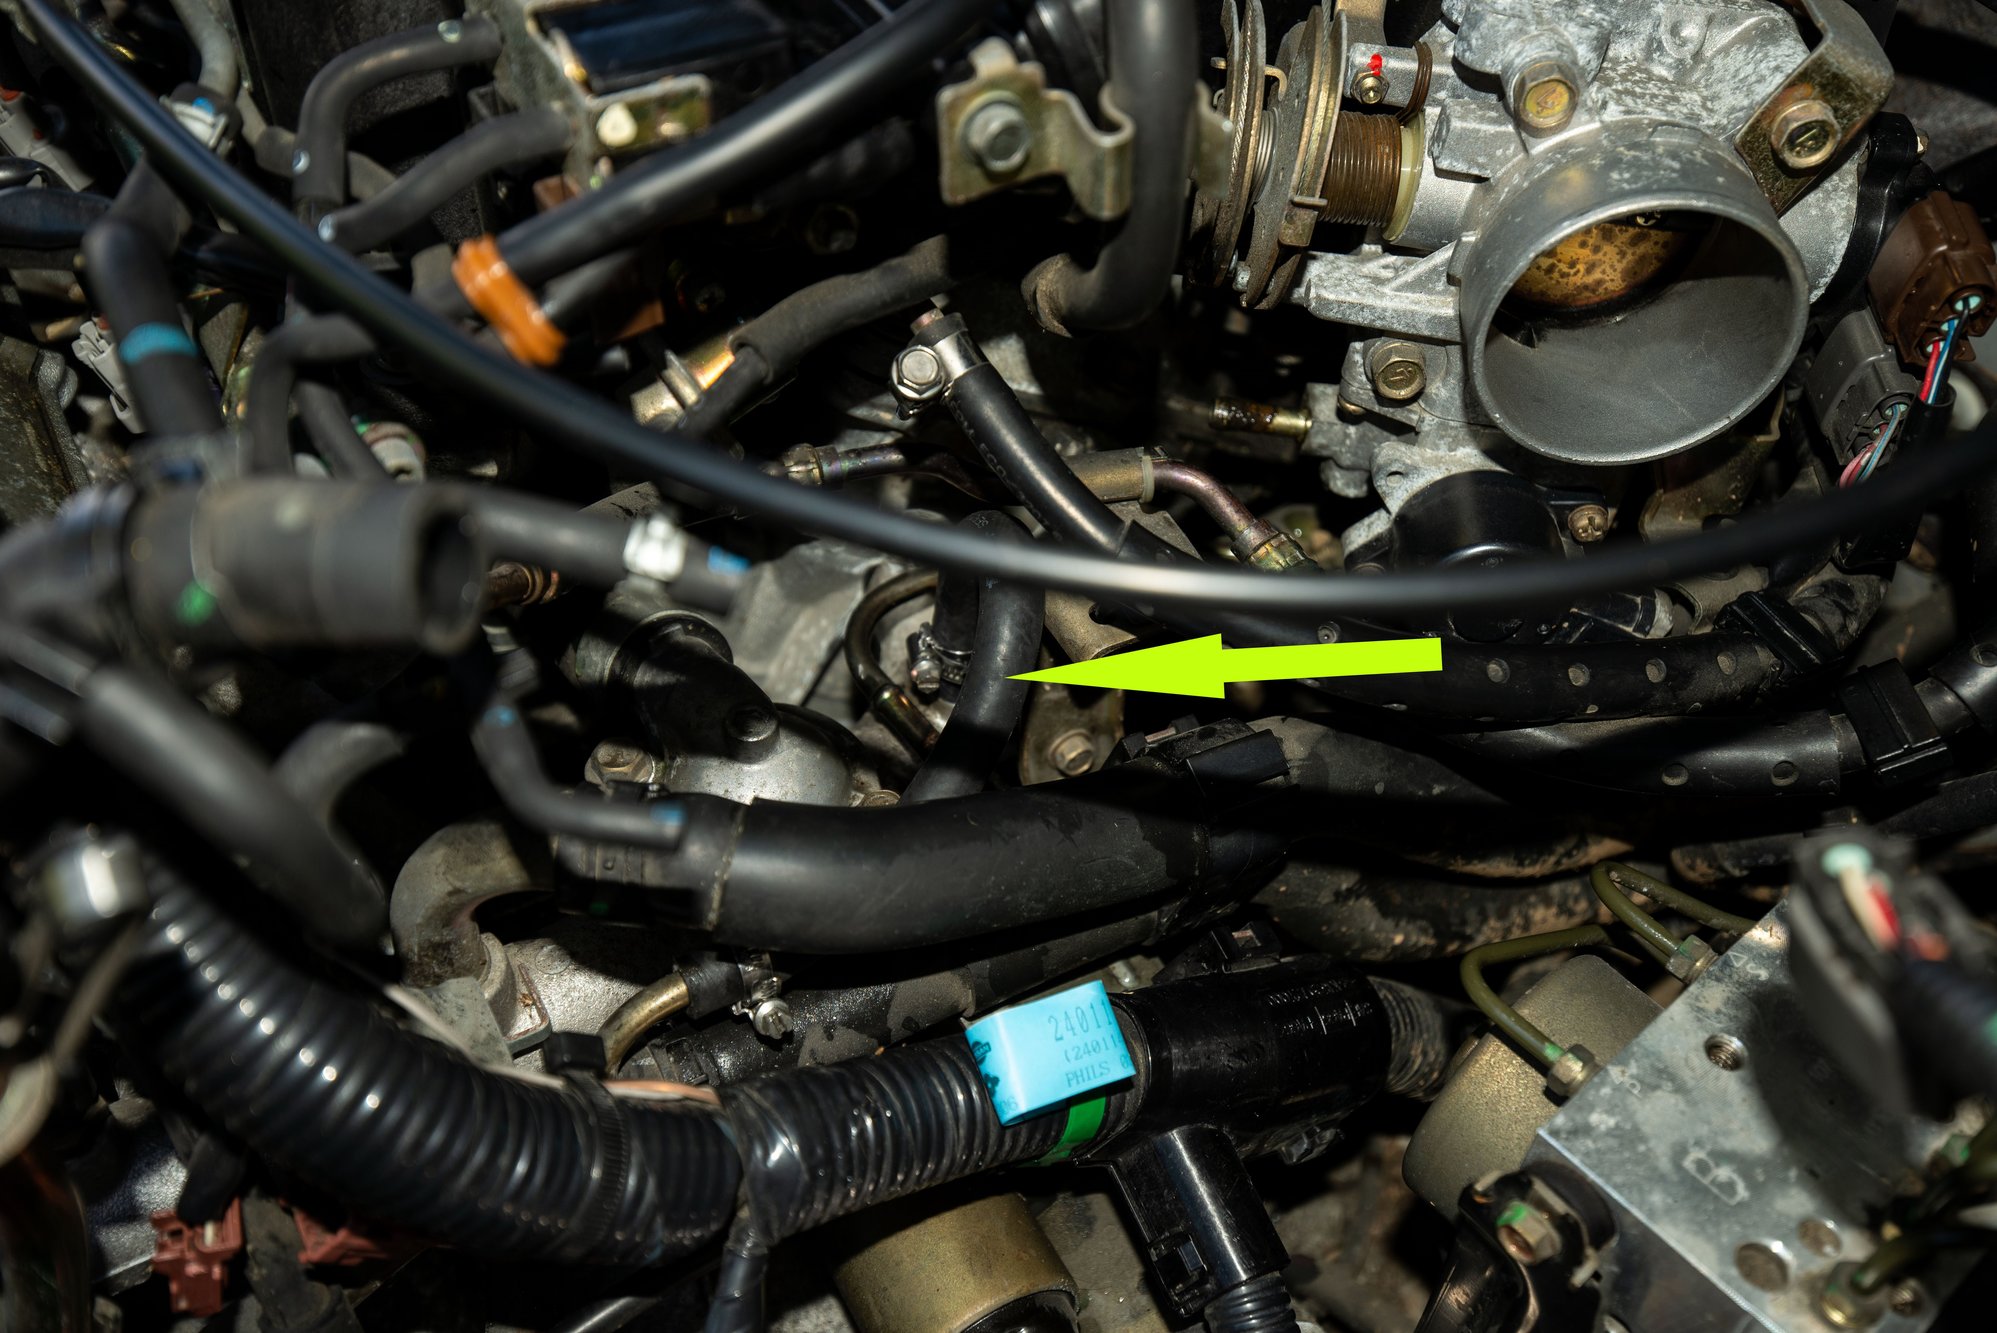
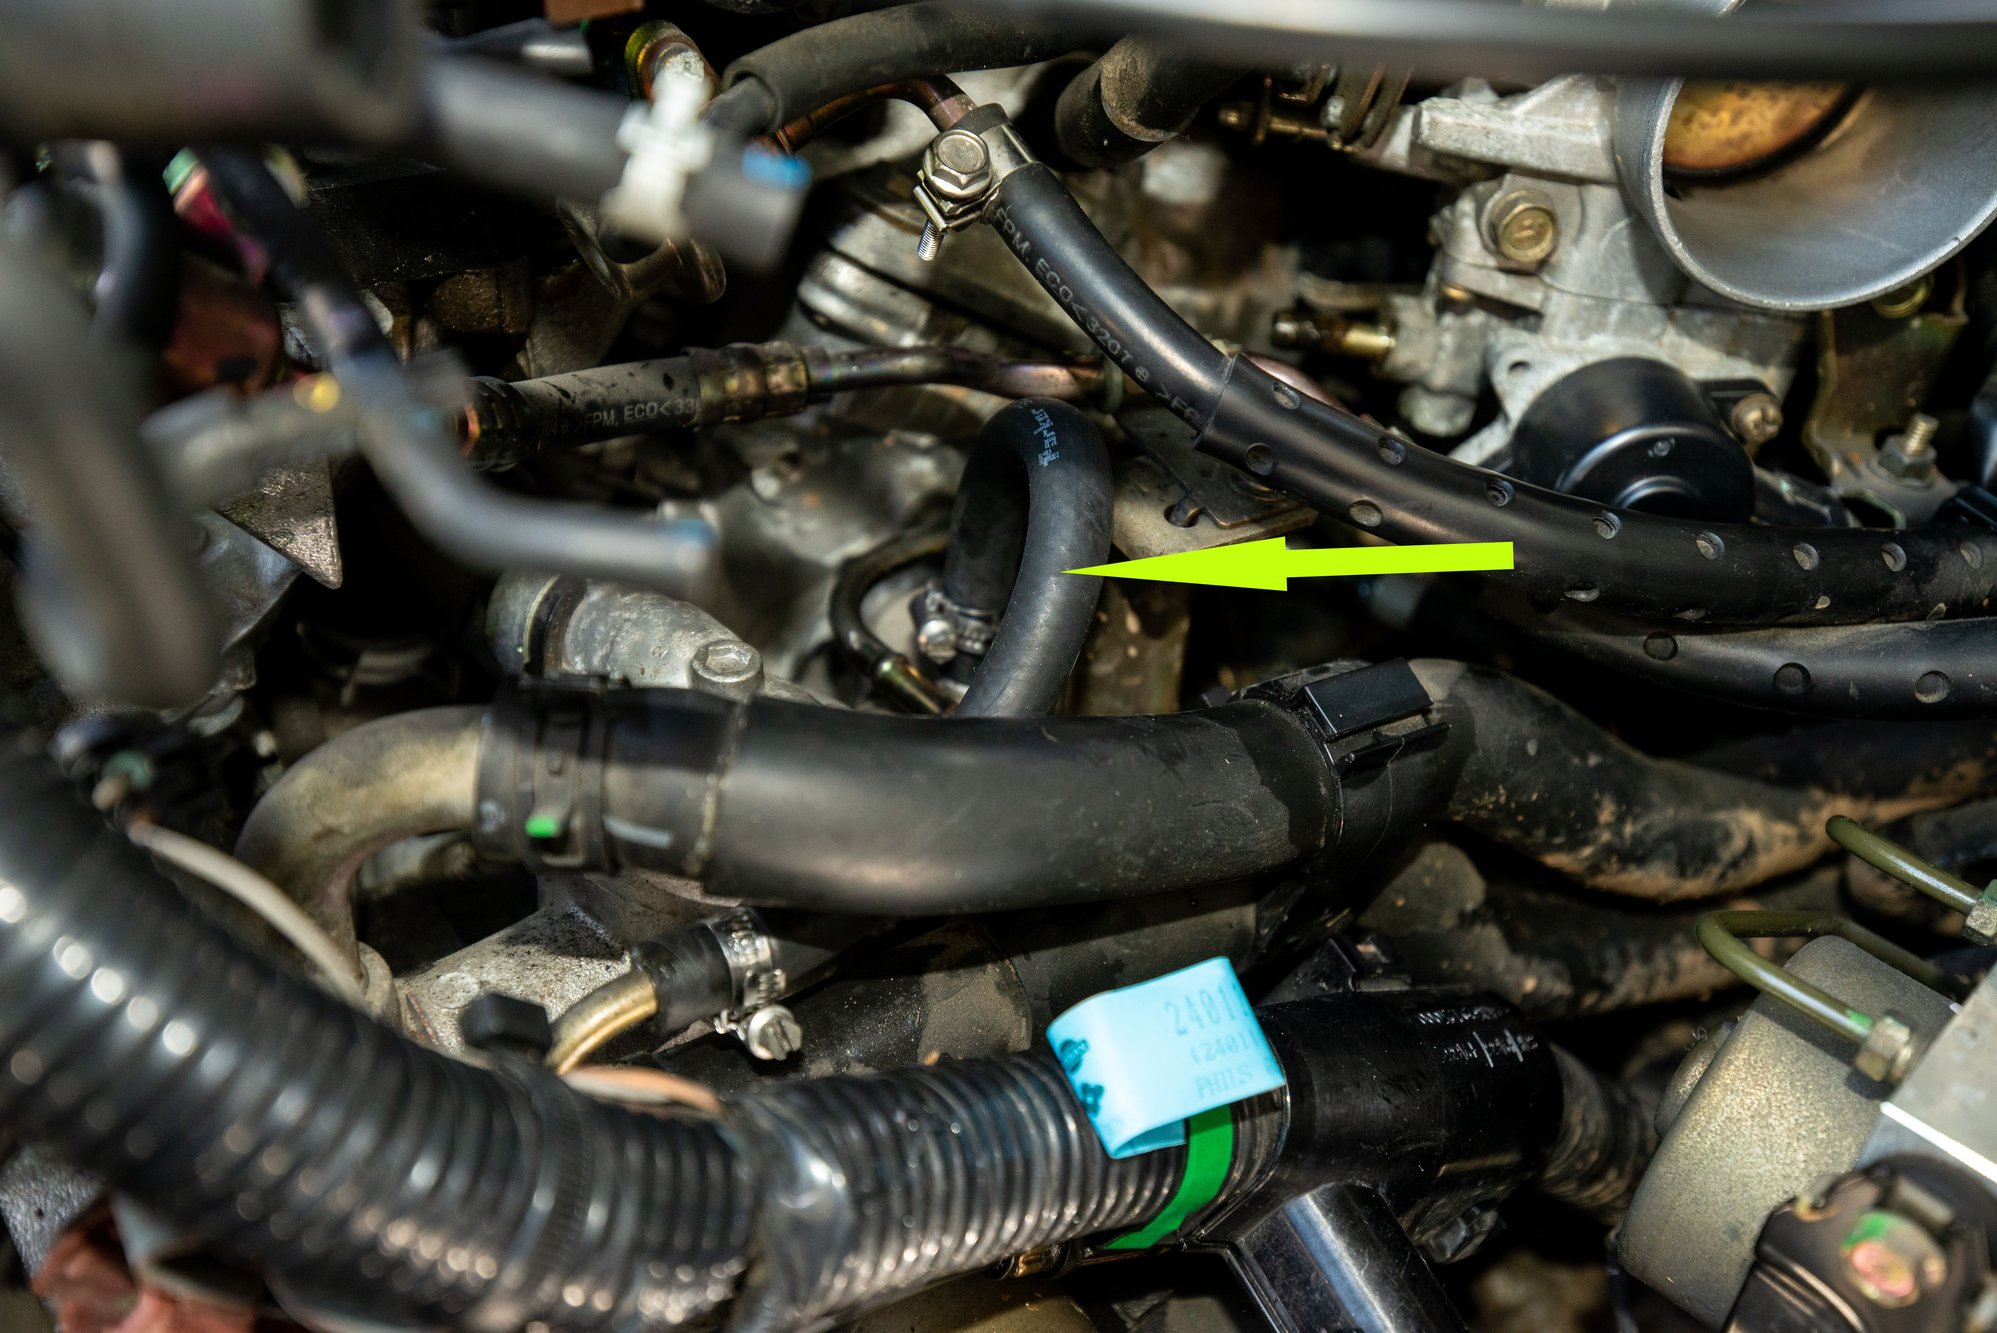
This fits on my 2002 perfectly and clears everything. I had to re-route some vacuum lines (obviously) because of where I made the vacuum ports. As far as throttle body placement, it works in my car, but PLEASE COMPARE PICTURES TO MAKE SURE IT WILL CLEAR EVERYTHING IN YOUR CAR. I had to move my battery to the trunk for the filter to fit. You could probably get away with a silicone bend right before the battery though.
This is a working ECU for a 1995-1998 4thgen Nissan Maxima. This ECU is tuned for 560CC injectors and Z32 MAF. It can be adjusted properly updated from JWT to any mods you have. This upgrade was $595 got this ECU from mitesh patel years ago with another tuned software.
You really need an OBD II code reader/eraser to tackle this problem. I got mine a few years ago from Autozone for like $120, and I can’t even tell you how valuable it has been.
THIS IS HOW I PASSED MY SMOG CHECK – vs. a never-ending code 1320!
You will need:
OBD tool
Printout of System Readiness Drive Pattern for your model (yes it is silly)
Access to a freeway that is not too busy (you will be traveling slower than normal traffic and trying to hold maintained speeds)
You should also try and do this starting with a little less than 1/2 tank of fuel.
** I’ve found that the best freeway system to do this will have 6-8 continuous miles of flat or upwards sloping hills, followed by a downslope. In or around Los Angeles, you can get on the 5 south at Magic Mountain and by the time you reach the top of the hill, it’s the perfect time to downshift and coast.**
Abbreviated Systems reset procedure. (At least for my car!)
Get your car close to your freeway on-ramp. (make sure it is warmed-up)
Reset CEL
Start car and let idle for 1.5 minutes – leave A/C off for now
Get on the freeway, get up to 4th gear and try and hold the RPMs just over 3000 (3100 should be fine) you should be traveling around 60-63 MPH. HOLD THIS STEADY FOR 3 MINUTES>
Shift into 5th, steady speed around 56 MPH, turn A/C on, set cruise control, HOLD FOR 3 MINUTES.
At this point, you should be getting close to the top of the hill, wait until you crest the top, then…
Downshift into 4th, take your foot off the gas and just let it go for 5-6 seconds, then drop out of gear and let it coast for 1 minute without braking for as long as possible.
At this point, 4 of my 5 systems that need to come back online had reset. (I’ve successfully done this on 3 separate occasions.) If you leave your OBD tool hooked up while driving you can check the status by looking at the I/M Indicators. The 5 that we’re looking for are O2 Heater, EGR, Catalyst, O2 Sensor, and EVAP.
Get off the freeway and go to the first smog check place you can find. (probably helpful if you plan that out beforehand)
In California, my understanding is that you can take the smog test with a maximum of 2 system readiness indicators not ready, but no more than that.
So the plan here is to get at least 3 of your 5 SR indicators back online, then get the smog check before the CEL comes back on. You don’t have much of a window to do this, and I would recommend limiting turning off and restarting the car as much as possible. I’ve even let it idle in the front of the Smog place while I went and checked in.
Out of the 3 times, I have done this the CEL has always come back within 10 miles of leaving the Smog Check, 2 years ago, it came on as I was pulling out of the lot. Luckily, I had just passed my test. But I have always had a small window to get it done before the light comes back. It’s actually pretty nerve-wracking sitting in the smog check place praying the damn light doesn’t go on during the test. But if you pass, it’s completely worth it. I feel like framing my last pass certificate.
So I’ve had my “new” 5th gen Maxima (actually same as an i30 here in new Zealand) since last Thursday and based on the information on this forum I’ve attempted the ECM protective measures that many of you discovered with considerable time and effort (pain?), for which I am very grateful.
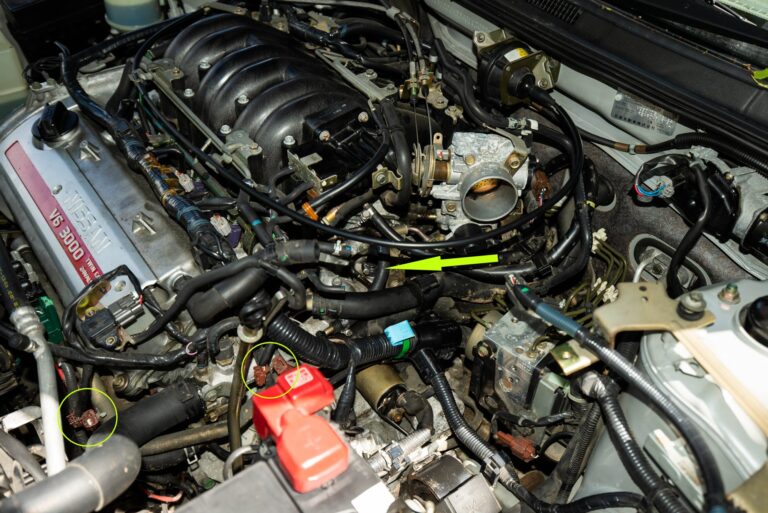
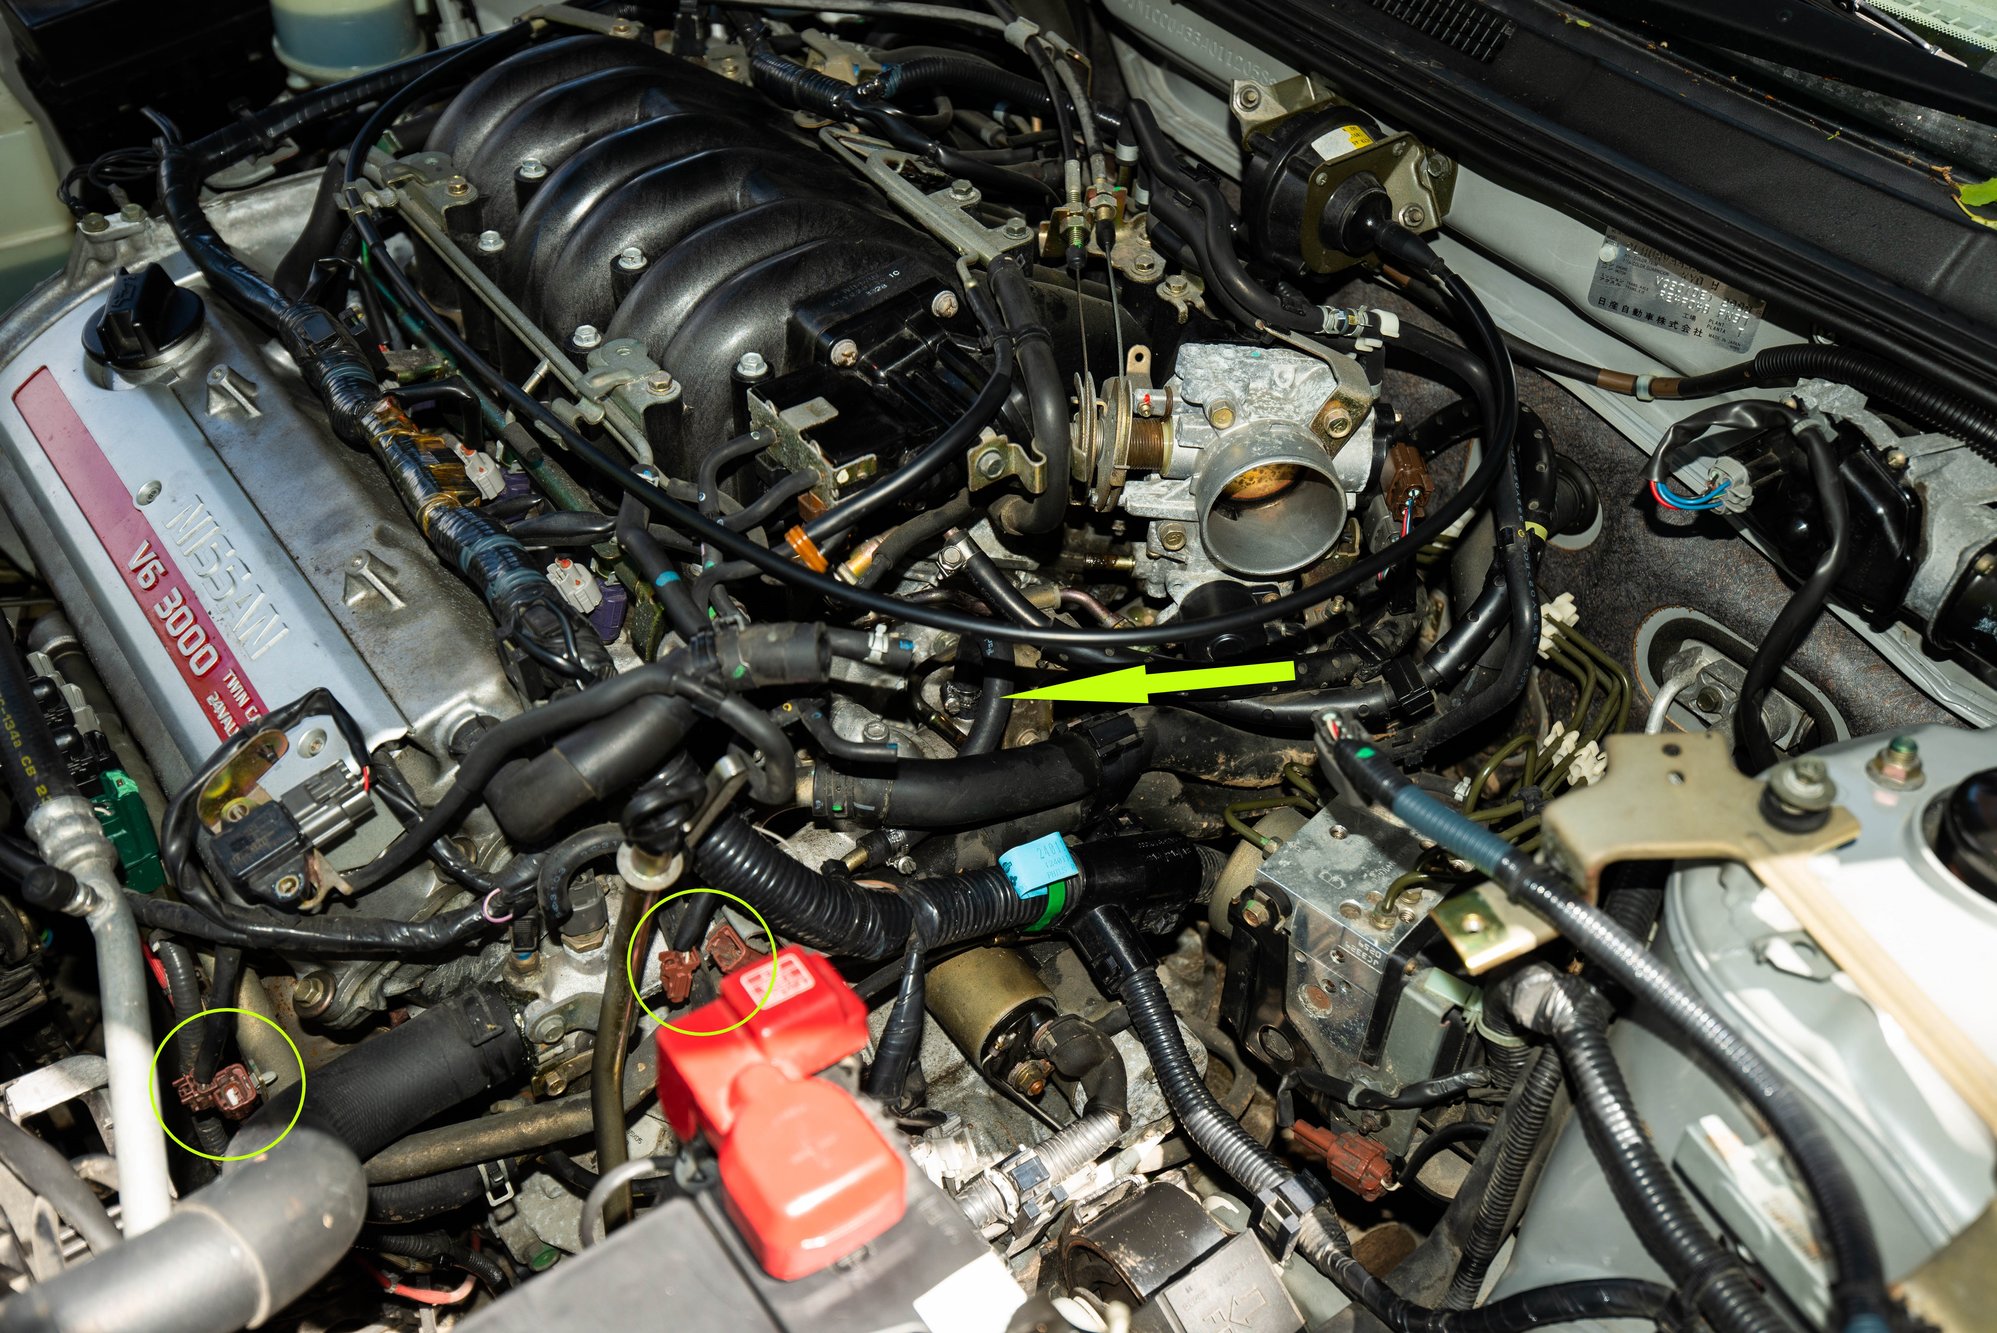
I am not sure if I have done it correctly, but the car seems to be running fine with no leaks. I couldn’t reuse any of the old hoses (or couldn’t figure out how to do it) so I just got a new section of coolant tube and cut it to length and just connected it to where the lines lead back to from the IACV , though I am a little concerned about whether the bend is too tight, being a piece of straight tube and all. I damaged the old hoses anyway, I hate those clips that are used to secure them and it took me quite a while and a few expletives to get them off, in the end I just cut the line directly under the IACV it was damned near impossible to get pliers on the clips in that section.
I disconnected the electronic engine mounts (I think I got the right ones) and taped over the connectors so no friendly mechanic can do me a “favor” later on, then replaced the 15A fuse with a 7.5A in “ENG CONT1”, so hopefully I’ve reduced my exposure to the cooked ECM issue. I will get an IACV replacement at some point, but they are horrifically expensive, an Australian company is selling them in NZ (OEM) for a cool $500.00.
I also replaced the drive belt which was pretty stuffed and noisy, then attempted the power steering pump belt which was not a success, I think I might have stripped the adjuster screw trying to get it off, I realized too late that there is a pivot bolt that must be released first and no amount of trying could get my hand and a spanner in there, so I just tightened the adjuster as best I could and locked it down again, hopefully it holds! that one might be for the mechanic.
After I put it all back together the car runs very quiet (I didn’t realize how noisy a worn belt can be) and at lower idle than before, I think that is because the airbox was not firmly secured/tightened to the throttle body and there may have been an air leak, so that is a bonus.
The car has done 161,000km (100,000 miles) and is exceptionally tidy for it’s age, so I think I’ll plan on keeping it for a while, but I’ll be sad to see my 4th gen go, I’ll have to find a good home for her.
Some pics of what I did below, sing out if I’ve done something wrong, there are many more knowledgeable people here than myself and I’d rather be called an idiot and learn something than kill my car with kindness.
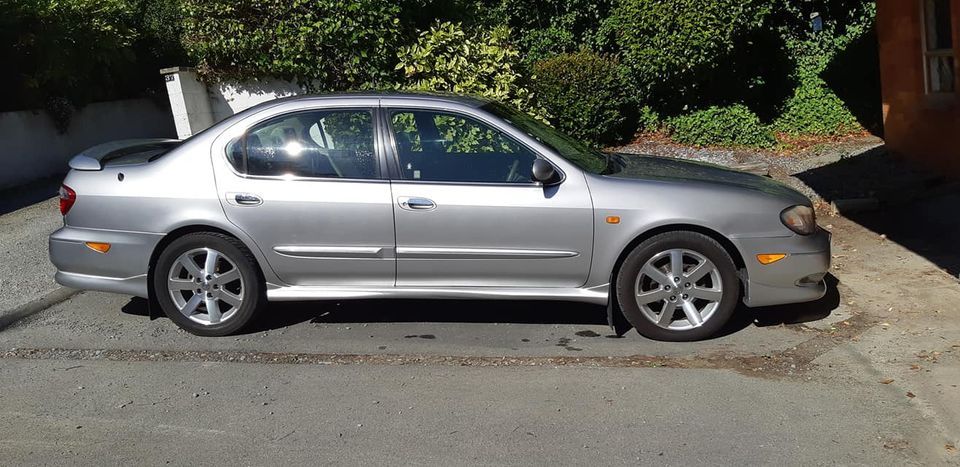
Photos of coolant bypass (and circled engine mounts connectors) and a pic of the car that the previous owner sent me, I could post some more pics if anyone is interested in what the NZ version of these cars is like.
After 255,000 KM I decided to replace my alternator. It was not because it was not working, it was because of a bad bearing and the awful low RPM knocking noise it made that had become louder and louder in the past 18 months.
I was 100% certain it was the alternator. I did this simple test:
Get a long flat blade screw driver eight to ten inches long
Hold the metal part on the end of the alternator (CAUTION: do not jam anything in the alternator!)
Place your ear on the handle of the screw driver
Listen
I heard a very loud knocking sound. Then I placed the screw driver on the compressor for the air conditioning, the idler pulley and they were almost silent.
I called the local Nissan dealer to get a price on a rebuilt alternator. It was $440. (or $387 with a 15% discount) Then I remember an article I read in the Toronto Star about a local place that rebuilds alternators and starters. I called Start Auto Electric and was quoted $260. In both cases they want the old alternator back, so they can rebuild it. Fine with me, I won’t need it.
The rebuilt alternator from Start Auto.
Disconnect the battery. (and clean up the battery connections!)
Loosen the belt pensioner about 810 revolutions (shown by yellow arrow)
Remove the lower right plastic cover from under the car.
Loosen the nut on the idler pulley. (shown by yellow arrow) Push up on pulley, and snug the idler nut. This will give you some slack in the belt to make it easier to remove. Right:
Remove the drive belt by pulling it off the idler pulley.
Remove the air intake snorkel. (if you still have it)
Disconnect one electrical plug for each fan. (yellow and green arrows) You will also have to remove 2 clips from the fan shroud that hold the wiring harness going to the fan on the left.
Remove the two fan shroud screws. (shown by the yellow arrows)
Remove the hose clip, and disconnect the overflow tube from the radiator filler neck, and the fan shrould.
Lift out the fan shroud. Be very careful, the radiator fins are very easily damaged.
The fan shroud. Notice that each fan has a different number of fan blades.
Disconnect the 2 wire plug. On my car the release clip was stuck. I used a small screwdriver to disengage the clip, so the plug can be easily removed. Right:
Loosen the top alternator bolt, but do not remove. We don’t want the alternator to fall. Not shown: Remove the lower alternator bolt and nut. It is located directly opposite to the smaller bolt on the top of the alternator.
Remove four bolts that hold the air conditioning compressor.
Remove the top alternator bolt. It will now rest on the compressor which is sitting in a bracket.
Gently push the compressor toward the back of the engine. This will give you just enough space to remove the alternator as shown. This is very tricky, and it may take quite a while to get the compressor in just the right position so that you have enough space to get the alternator out. Right:
The yellow arrows show the two mounting points for the alternator.
After much “trial and error” the new alternator is in position. Tighten the lower bolt and nut. Tighten the upper bolt. Connect the large cable, and tighten the nut. Push in the 2 wire plug.
Tighten the 4 bolts on the air conditioning compressor.
Install the drive belt, making sure it is properly seated in the middle of all pulleys.
Install the fan shroud, the end caps, connect the two plugs for the fans and connect the overflow tube.
Tension checking points Right:
Tighten the drive belt tensioner (yellow arrow) until the belt deflects 4.2 – 4.6 mm (used belt) or 3.8 – 4.1 mm (new belt) at the “Tension checking points” while pushing in with 22 pounds of force. (I know this seems like a difficult way, but this is from the Nissan factory manual. I think most people guess. I tighten the belts until they just stop squeaking)
With the drive belt at the correct tension, tighten the nut on the idler pulley.
Install the air intake snorkel, and the lower right plastic cover.
Summary
This is not a hard job, but it can be very time consuming. You will need some patience, some good luck, and a little skill to change the alternator on a Maxima.
I have found that I need to clean my throttle body about every 30,000 KM. If I don’t my idle will sometimes fall to below 500 RPM, and the motor catches itself and revs up to 1,000 RPM to then fall back to about 750 RPM. If it is very dirty it stalls. I also noticed my 1st gear launches become very jerky.
You may also notice a loss in lower RPM torque. If the throttle body is very dirty, the idle speed control valve (ISC) can not allow additional air to bypass the butterfly plate in the throttle body. The is the reason for the jumpy idle noted above, as well as a loss in low RPM (1,000 to 3,000 RPM) torque. The ISC has a strong influence on the air/fuel mixture up until about 3,500 RPM.
When you clean the throttle body and butterfly plate, you allow the ISC to do its job. This is not very hard to do, with the cost being about $8 for a tin of “Combustion Chamber Cleaner”
Ihave a Stillen Cone filter from my NX-2000. I was able to drill and tap 3 more holes to reuse it. It fits perfect. Anyways, disconnect the ACT (air charge temperature) sensor shown by white arrow.
Remove the air filter, and disconnect the MAF (mass air flow) sensor.
Remove the clamp as indicated by the white arrow. As shown in the picture, slide it up hose so you don’t forget about it or loose it. Right:
Remove the small black rubber hose as shown by the white arrow. The yellow arrow points the to disconnected rubber hose.
Remove the clamp as indicated by the white arrow, and slide it to where the yellow arrow is for safe keeping. Right:
Loosen the worm gear clamp on the throttle body.
Remove the bolt as shown by the white arrow. Right:
It may take a little work, but now you can remove the oil separator / MAF as one unit.
Now you can see that we have very good access to the throttle body. Right:
Here is a view inside the MAF. The smaller circle in the middle hold the “hot wire” to determine actual air flow.
We have removed the air filter, MAF, and the oil separator. (the big black box) We now have easy access to the throttle body and butterfly plate. Time to clean!
The gray arrow shows the build up of dirt and oil. (No, it is not a shadow) Right:
Here is what I use. It is available at Canadian Tire.
With the throttle wide open, spray the cleaner in, and wipe with a clean white rag. Make sure to remove any dirt and oil from the EDGE of the butterfly plate. The white rag allows you to see how much dirt and oil you have removed, and when the throttle body wipes clean, and the rag stays white, you are done. Right:
I like to use an old tooth brush to clean the throttle body. I hold the throttle wide open, spray in the cleaner, and scrub the throttle body with my tooth brush. (as seen resting on the throttle body) You won’t believe the dirt and oil in there!
Here is the clean throttle body and butterfly plate. Right:
This is the dirt and oil removed. This rag was new.
From here, just follow the opposite if disassembly. Make sure not to over tighten anything. A common belief is that it is better to have it a little too tight, than too loose. From what I have seen, when bolts (especially small 10 mm bolts) are over tightened they strech and are very difficult to remove the next time. My rule of thumb is snug plus 1/4 turn for the small bolts.
Summary
When the car is put back together again, you should notice your idle being more stable, and maybe improved low RPM torque. I know I did, but my throttle body was quite dirty.
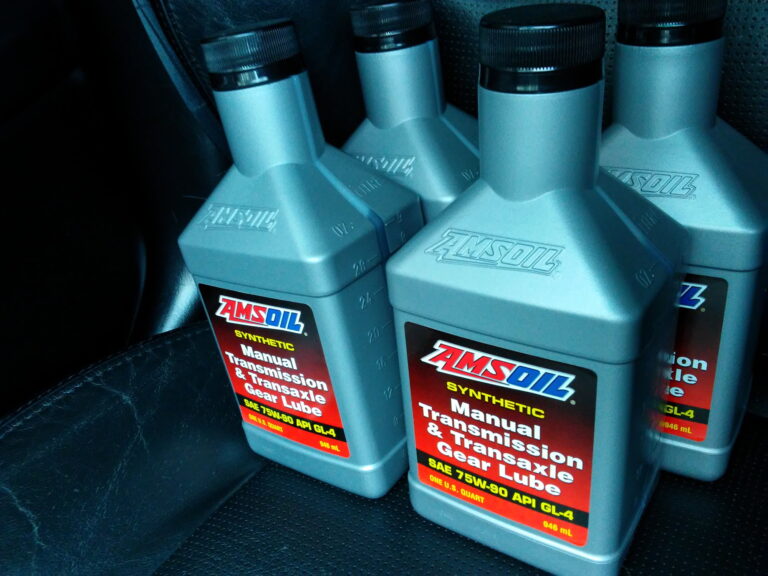
For the average automobile, there are two types of API Service for gear oil:
GL-4
GL-5
The “API Service” has nothing to do with viscosity. Viscosity is basically the “thickness” of the oil at winter (75W) temperatures, or summer (80) temperatures. Some typical examples as 75W80, and 80W90. Consult your owner’s manual for what is best for your vehicle, in your climate, with your driving conditions. An “API Service” is a specification that defines flash point, viscosity, color, pour point, the amount of extreme pressure additives and others.
Generally GL4 is for transmissions from European and Japanese auto manufactures. GL5 is usually for transmissions and differentials from North American auto manufactures.
As with most specifications, the newer the better. So GL-5 is better than GL-4. GL5 has about twice the extreme pressure (EP) additives of GL-4. Due to these additives the transmission must be designed for GL-5.
If you buy GL-5 gear oil, and put it in your GL-4 transmission you are not doing your transmission a favor. In some cases the GL-5 gear oil can be “too slippery” and the synchronizers in the transmission will slightly “crunch”, as they are not rotating at the same speed. GL-5 also has twice the extreme pressure additives of GL-4, and these additives can corrode certain “yellow” metal synchronizers. Think about that!
With this in mind, if you have any transmission work done, insist on GL-4, if your owner’s manual calls for it. My 95 Maxima calls for GL-4, and I had a bearing failure (not related to GL-4 / GL-5, but an excessive preload) When I asked them what kind of oil did they put in the transmission, they said “Esso 75W-90.” I then asked to see the container that it was in, and right on the front it said GL-5. I asked them, “Is it OK to use GL-5 in a car that is designed for GL-4?”, and their answer “Yes, it is one better” They also said that the gear oil they use is approved by Nissan. I called Nissan HO, and asked them if GL-5 can be used, and the tech on the line told me, “GL-4 should be used.” Hmmm.
After paying $1200 to rebuild my transmission, I now had buy GL-4 gear oil and change it myself. Not a big deal, but to my surprise no one, and I mean no one sells GL-4. I tried eight local auto stores, and they all sell GL-5. No GL-4! To make a long story short I found some GL-4 in Rochester, NY and replaced the GL-5. The shifting improvement was immediate. With the GL-5 when I would shift I could feel the syncronizers hitting just before the car went into gear. With the GL-4 it was like just shifting a gear, with the usual amount of “snick” (aka notchiness)
The following is a technical note from Pennzoil, P-21-B which talks about GL-4 & GL-5
(The below text is found on page 2)
GL-5 GEAR OILS ARE NOT INTERCHANGEABLE WITH GL-4 GEAR OILS.
The extreme pressure (EP) additives in most gear oils contain sulfur-phosphorus compounds that can be corrosive to certain “yellow” metal components such as copper and brass synchronizers.
Always follow your owner’s manual for the correct lubrication recommendation.
Simple rule: RTFM (read the friggin manual) and follow it.
The manufacture knows what is best, the dealer may not.