Credit: shawn’s maxima




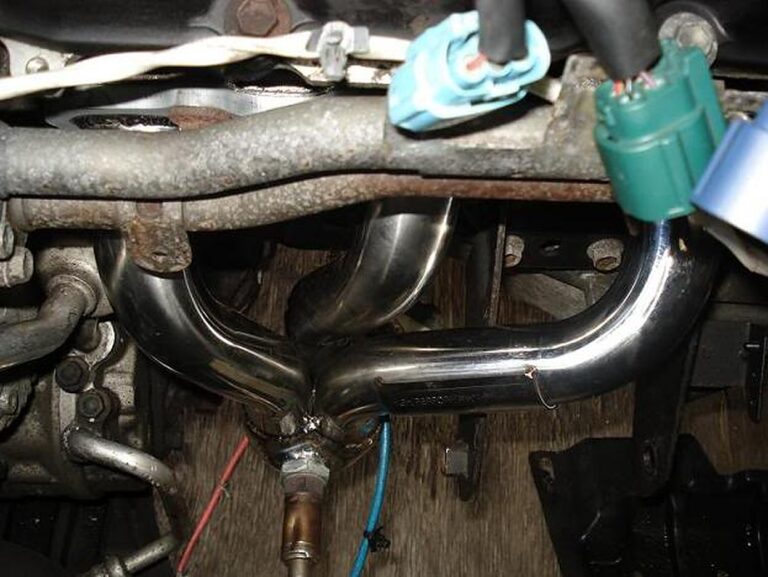
Credit: Eddy
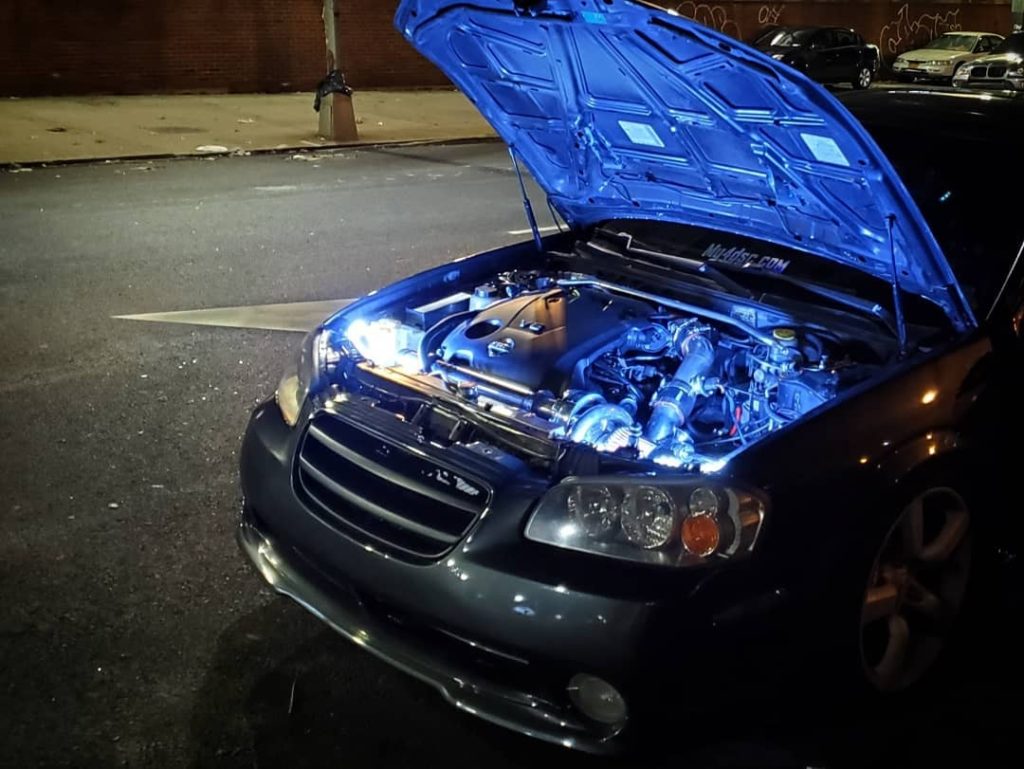
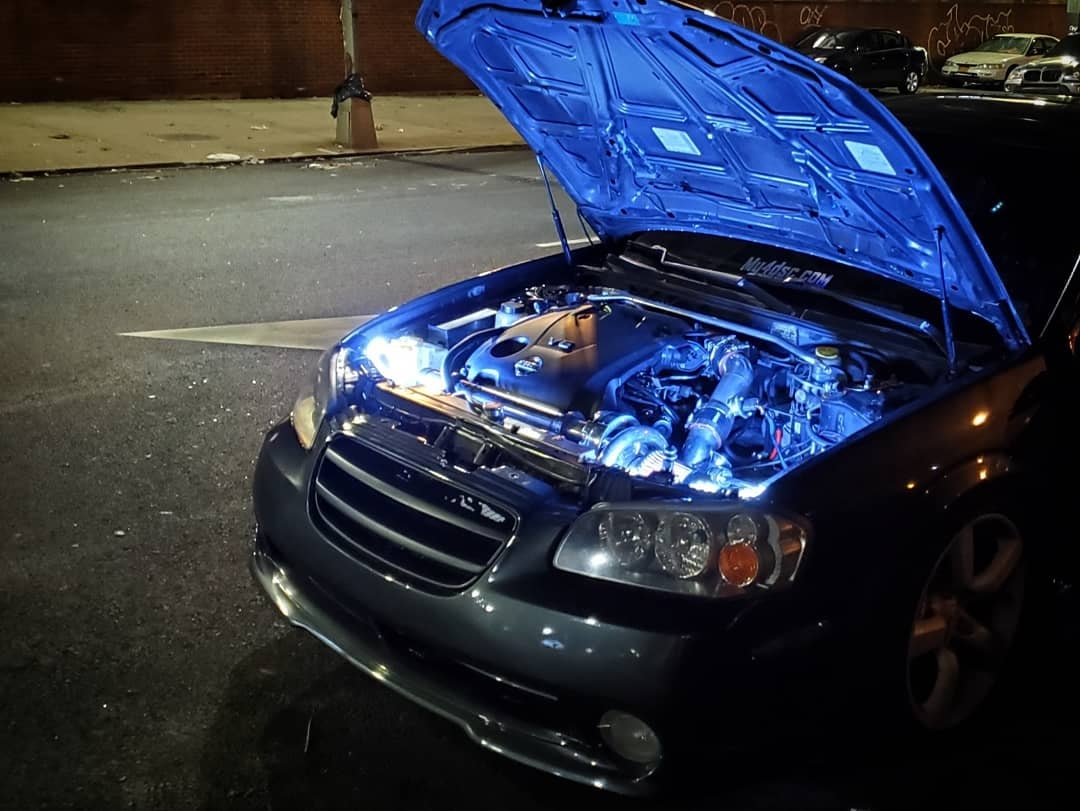
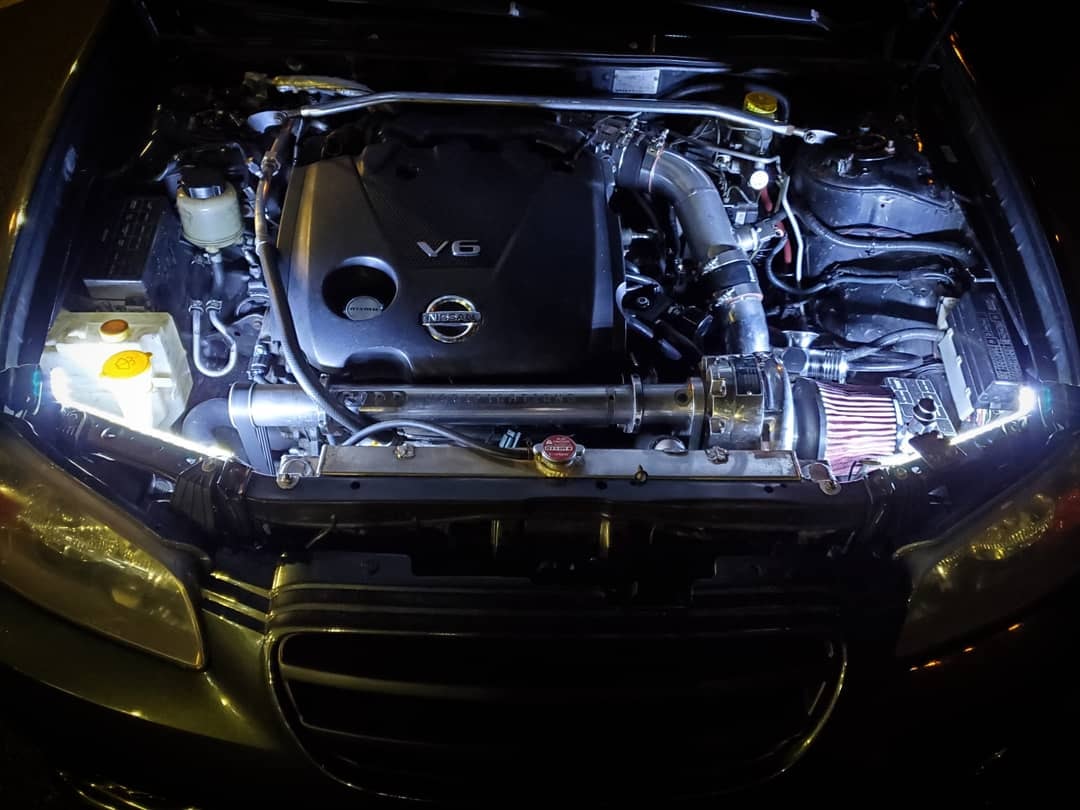
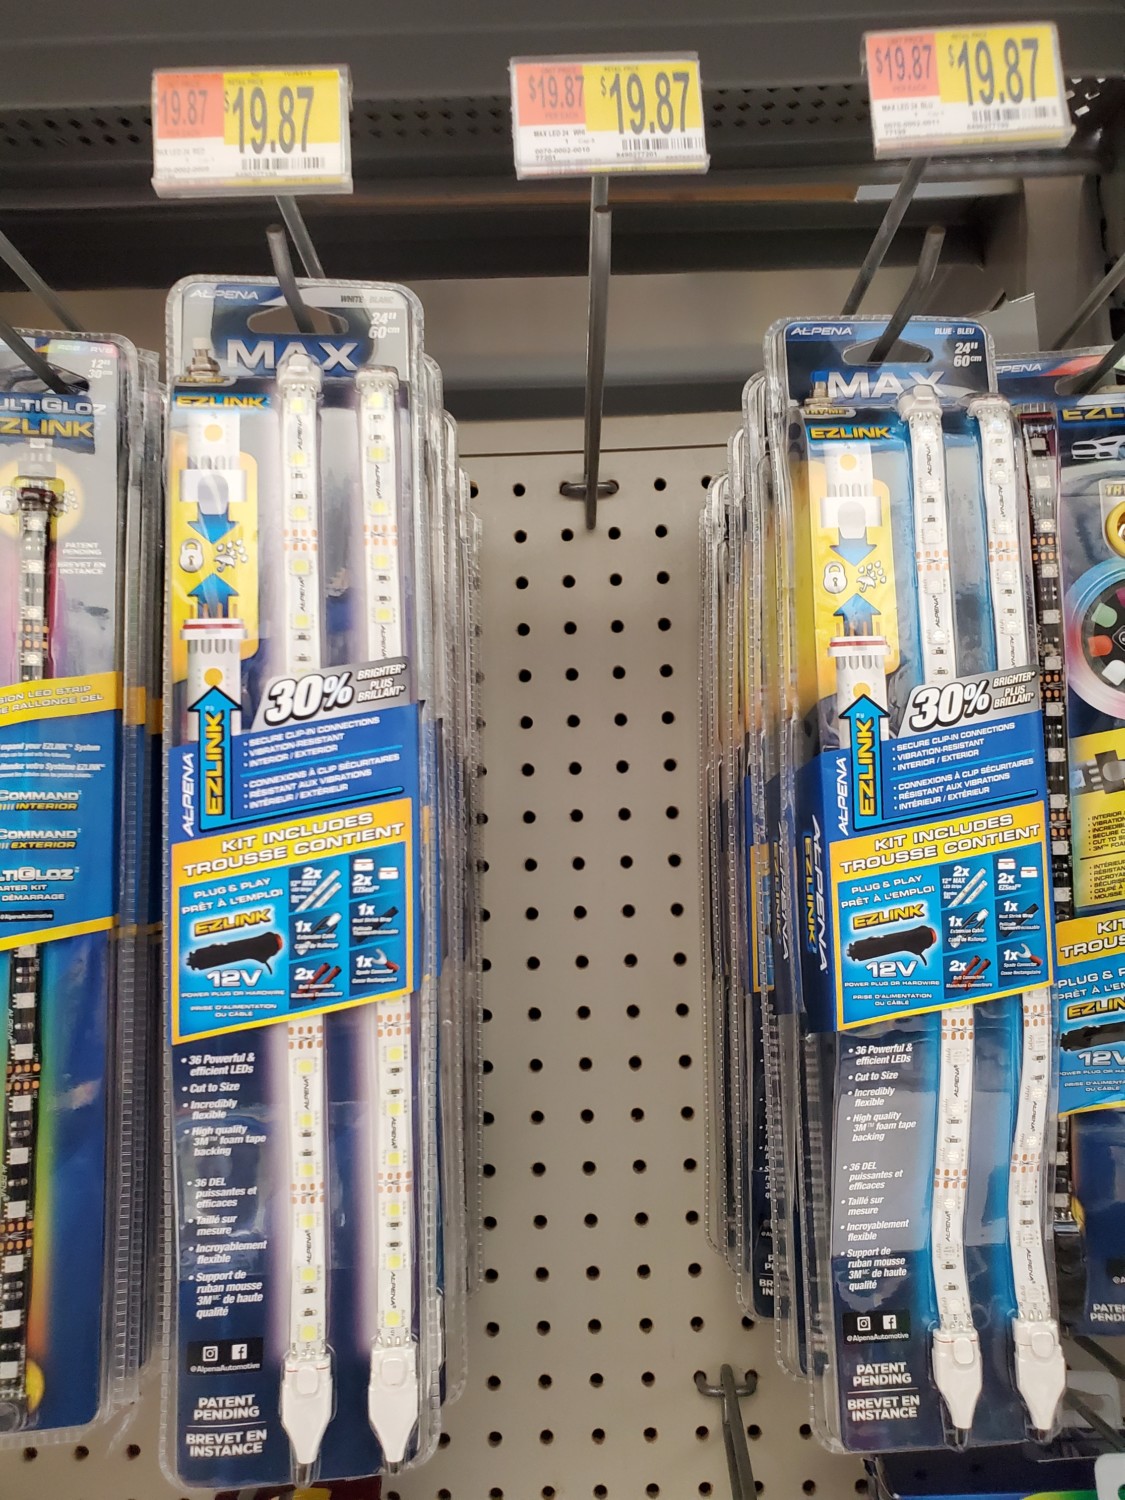
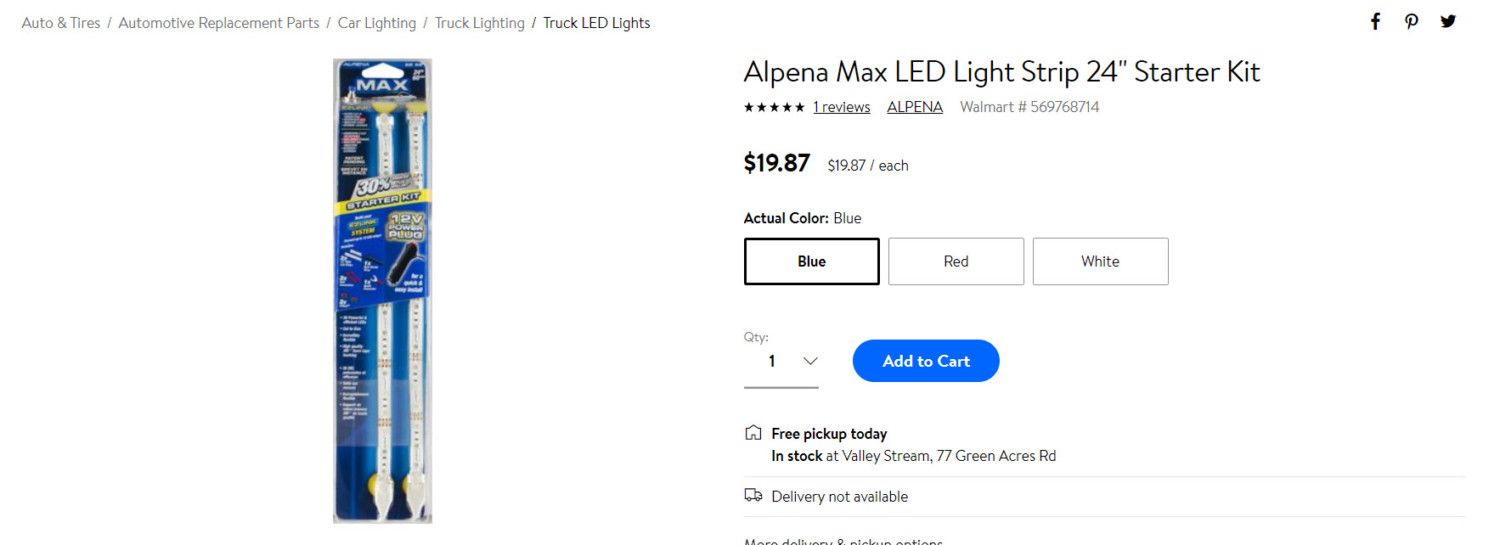
I wanted to add some lightening to my engine bay so I got a set for $20 bucks at Walmart. I mounted the LED strips on the sides so I can better see the supercharger itself and belt. I wired them up to a separate switch to manually turn them on/off as needed.
They also have the same LED strips for $10 bucks at Walmart without the cigarette lighter adapter which you don’t really need. However, they didn’t have those in stock so I went with these. Happy with the overall turnout. Looks really good at night.
Member Credit: DaBoxSE
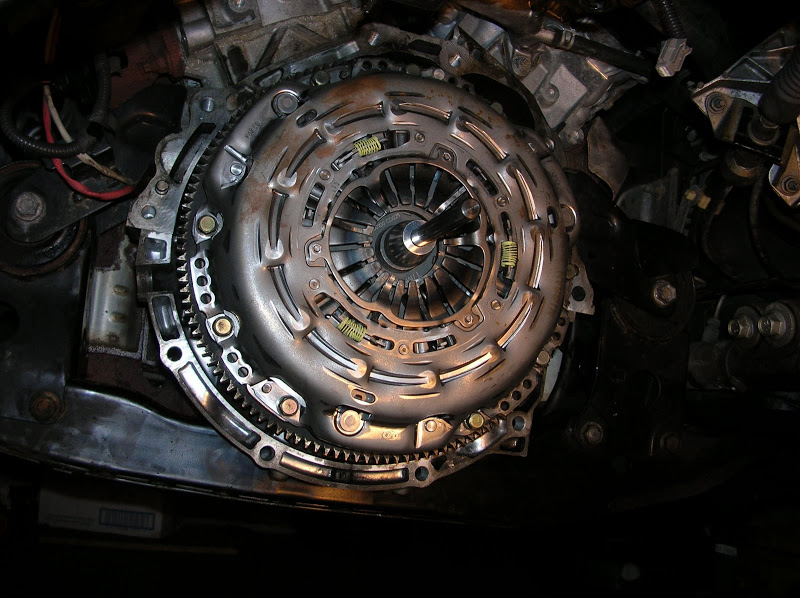
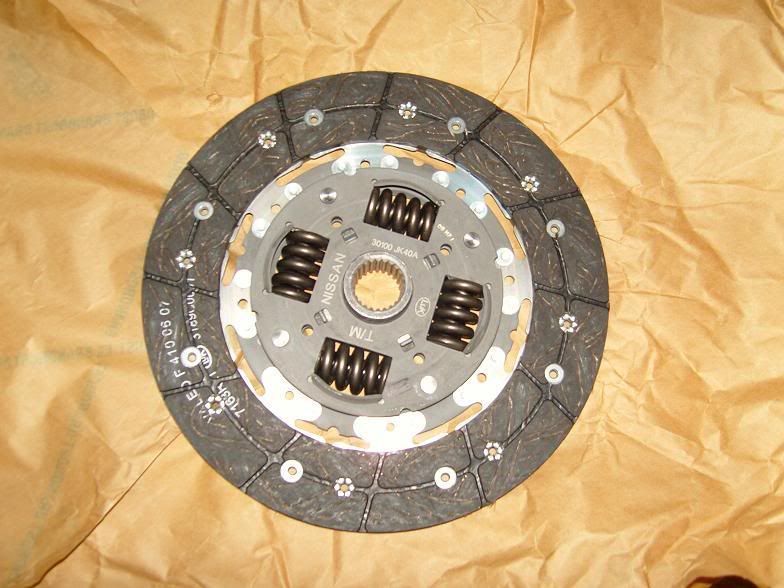
So my buddy and I did and overhaul last week on my car…I finally replaced my grinding transmission, rear main seal and replaced the Clutch. I wanted to put in something better than the stock maxima clutch because I thought it would be pretty weak. Also because I’ve had an Exedy Stage 1 in my 93 VE and loved it. As an alternative to the expensive Stage clutches for the 5.5 gen, I ordered a 350Z clutch from Dave B and prayed it would install no problem. Low and behold, it bolted right up. After putting the car back together, our first start caused a loud knocking sound…We couldn’t explain it, because he had done a ton of other work to the car including removing the Upper oil pan to install the front and rear seals. The noise went away eventually and now it doesn’t make a sound. Very strange.
I gotta say, the 350Z clutch is great! I love it. The pedal is much lighter in feel than the stock maxima clutch, and when engaging it bites, yet smoothly with almost no chatter. I didn’t have to adjust the pedal or anything. The engaging spot is right in the lower middle. The car just feels like it grabs effortlessly and with the cleaned out oil pan, intake manifold and new iridium plugs, the car feels like new. I’m definitely impressed.
Stock on the Left and 350Z on right:
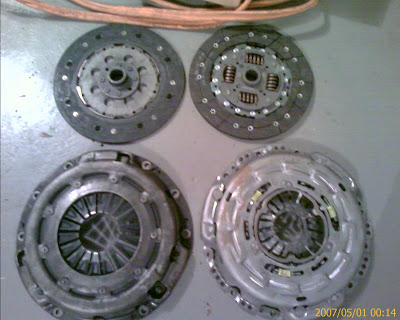
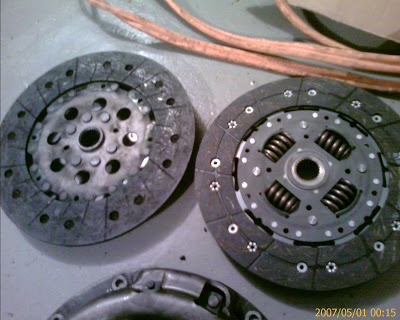
Friction Discs (notice how much heavier duty it is)
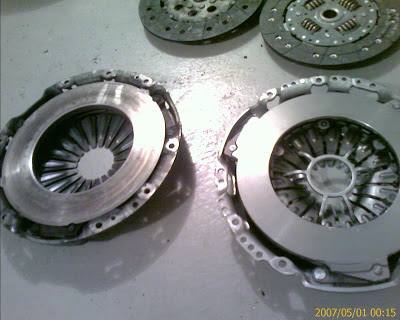
Pressure Plates (they weigh about the same too)
350Z Friction Disc
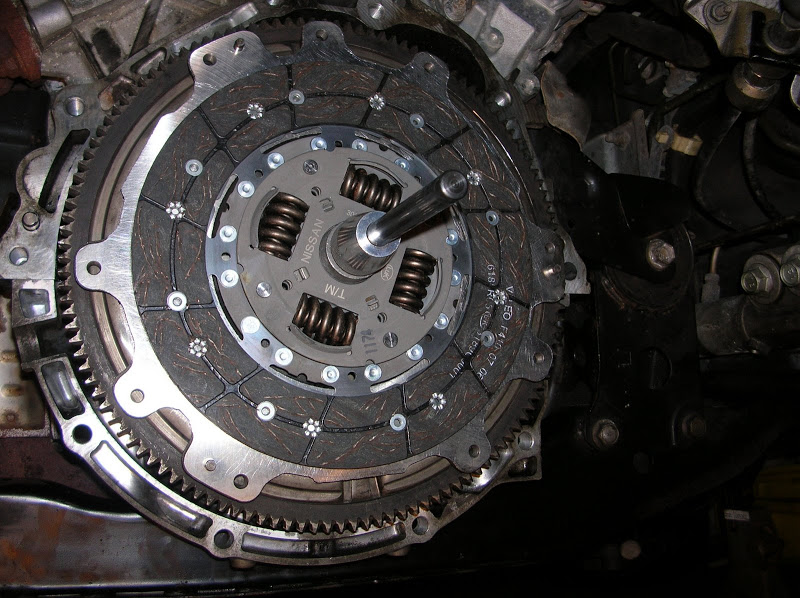
Pressure Plate Installed
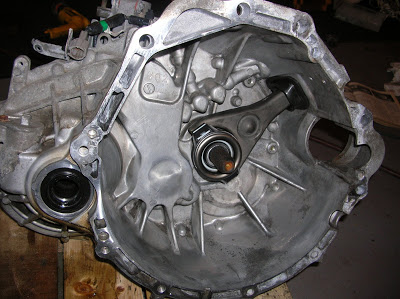
“new” 03 6spd HLSD Transmission – Tried to get an 04, but none available in the time frame I needed it
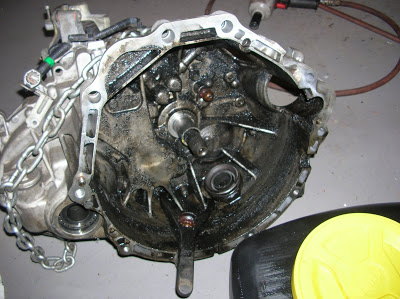
“old” 02 6spd HLSD Transmission – Can you believe this thing was still drivable. (Yes that’s a mix or gear fluid, motor oil and crap)
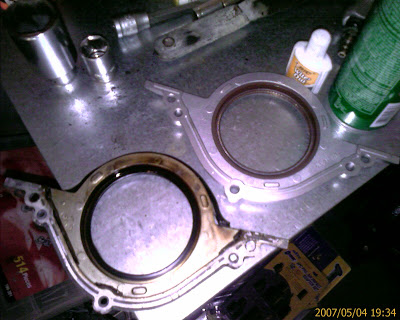
Rear Main Seal
I recently installed an HR clutch with Fidanza flywheel. So not only regular 350z clutch fits the HR clutch fits also. The clutch is very very light compared to stock and engages 10x smoother than stock.


Member Credit: Metal Maxima
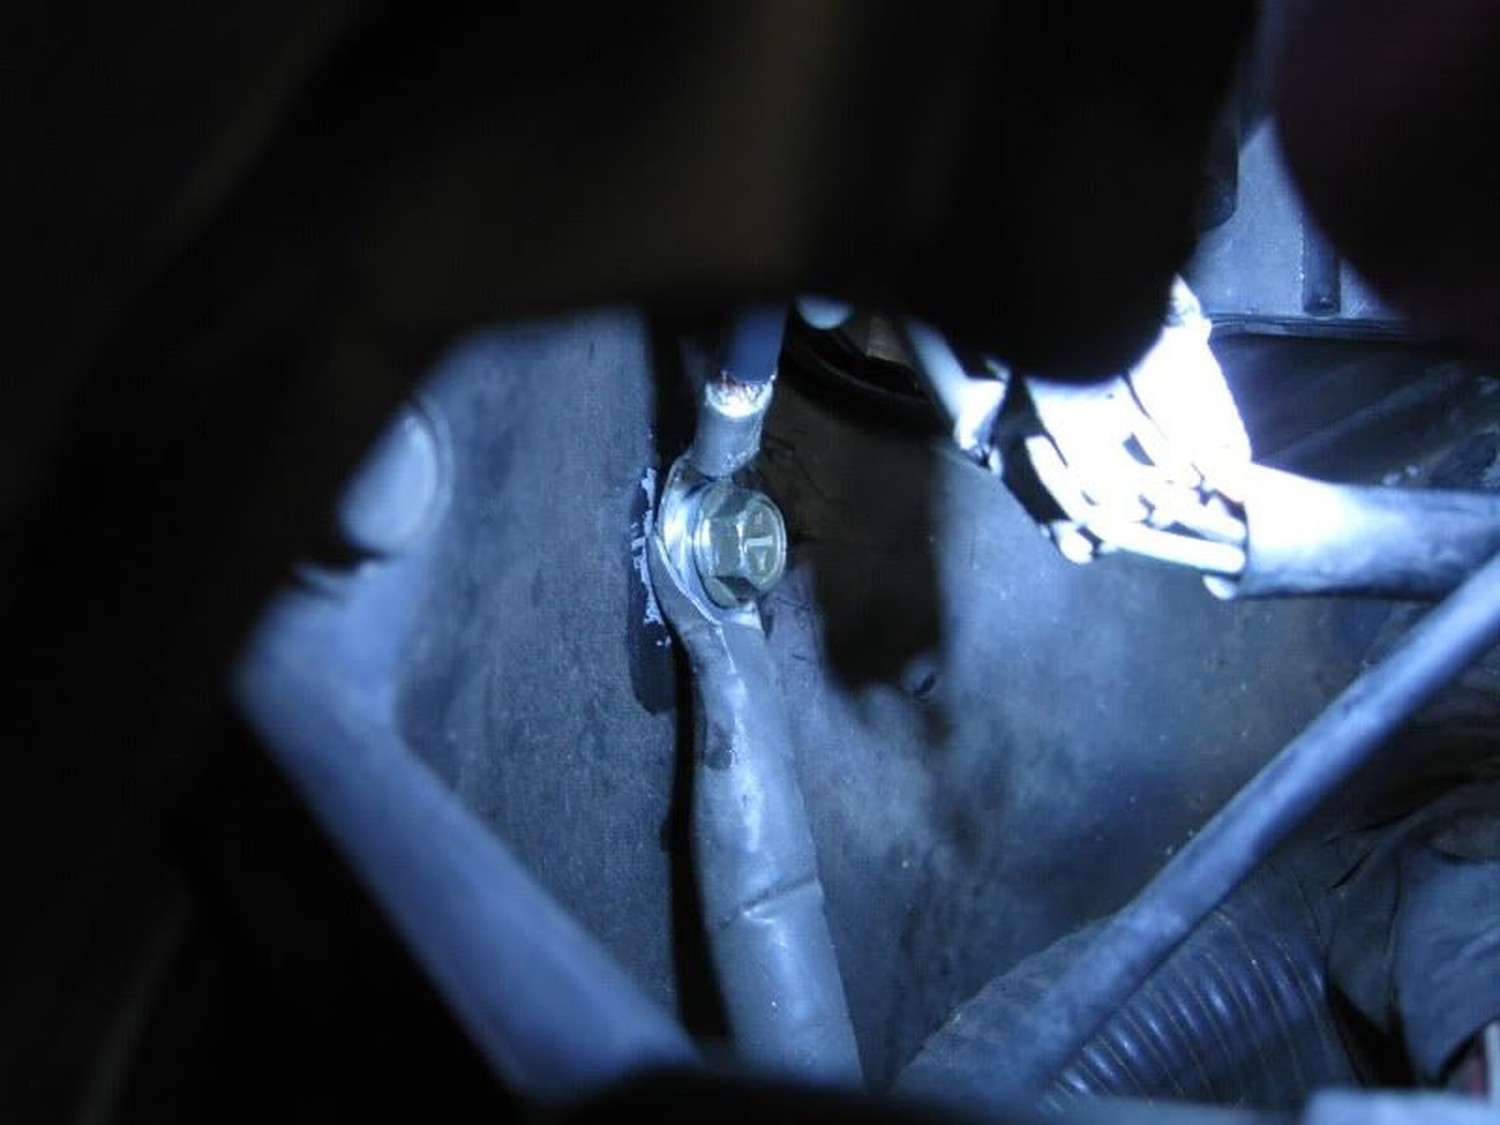
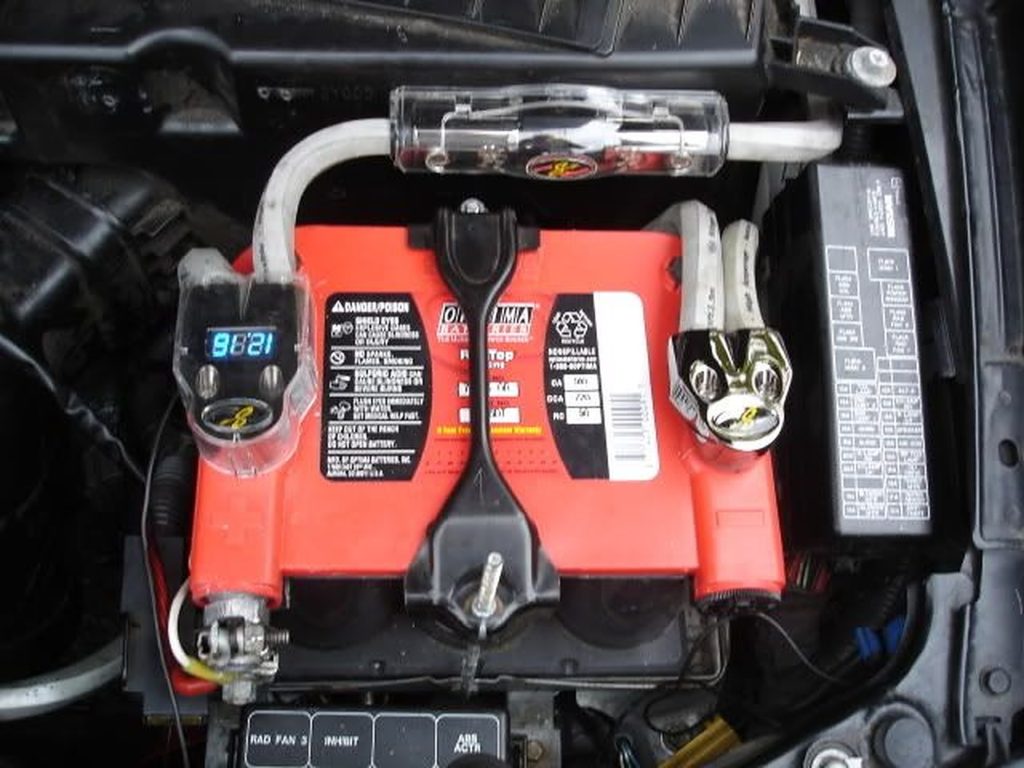
This is the second section of my electrical system upgrade. You can read the first part, how to upgrade the OEM ground wire, here.
This how-to will be covering the details on how to perform the upgrade known as the ‘Big Three’. Essentially, it will yield the following:
1) Reduced dimming and smaller voltage drops
2) More stable voltage and better current flow
3) Less strain on your vehicle’s charging system
The BIG THREE consists of:
(1) Battery negative to chassis
(2) Alternator to battery positive
(3) Engine Block to chassis
…it essentially does the same thing as a conventional grounding kit, however, it does so in a different fashion. I am not a big fan of grounding kits as I prefer this method. People will argue this one way or another, but I swear by this. So, let’s get started!
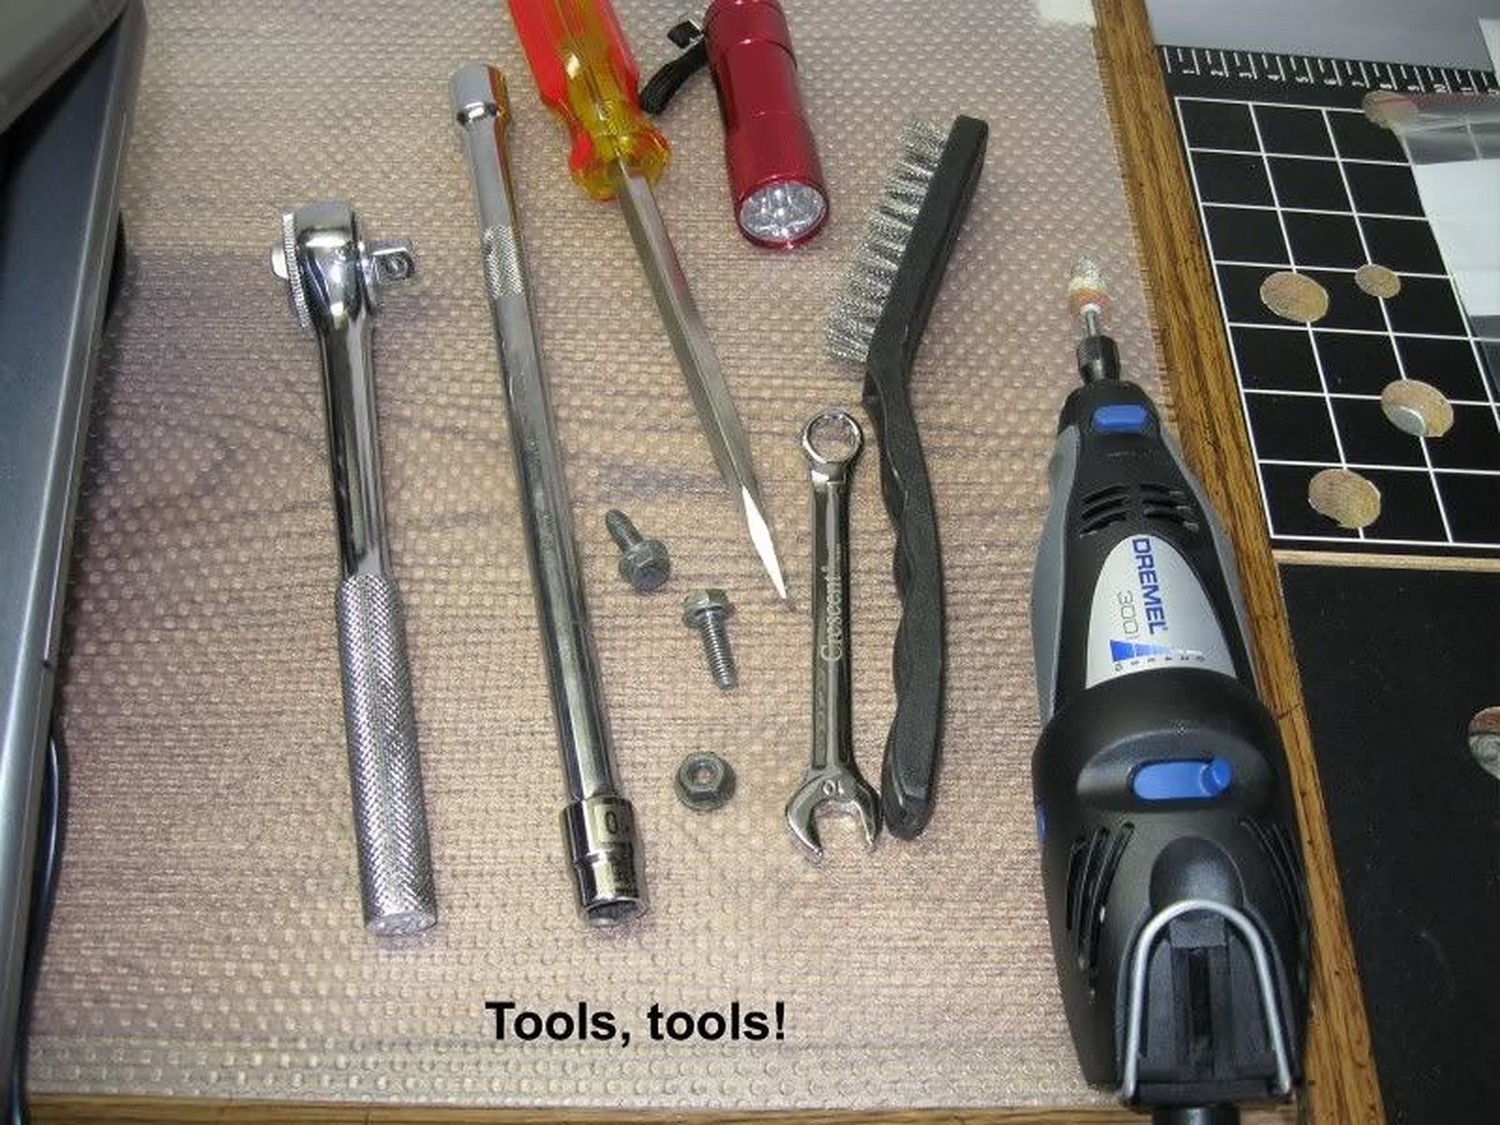
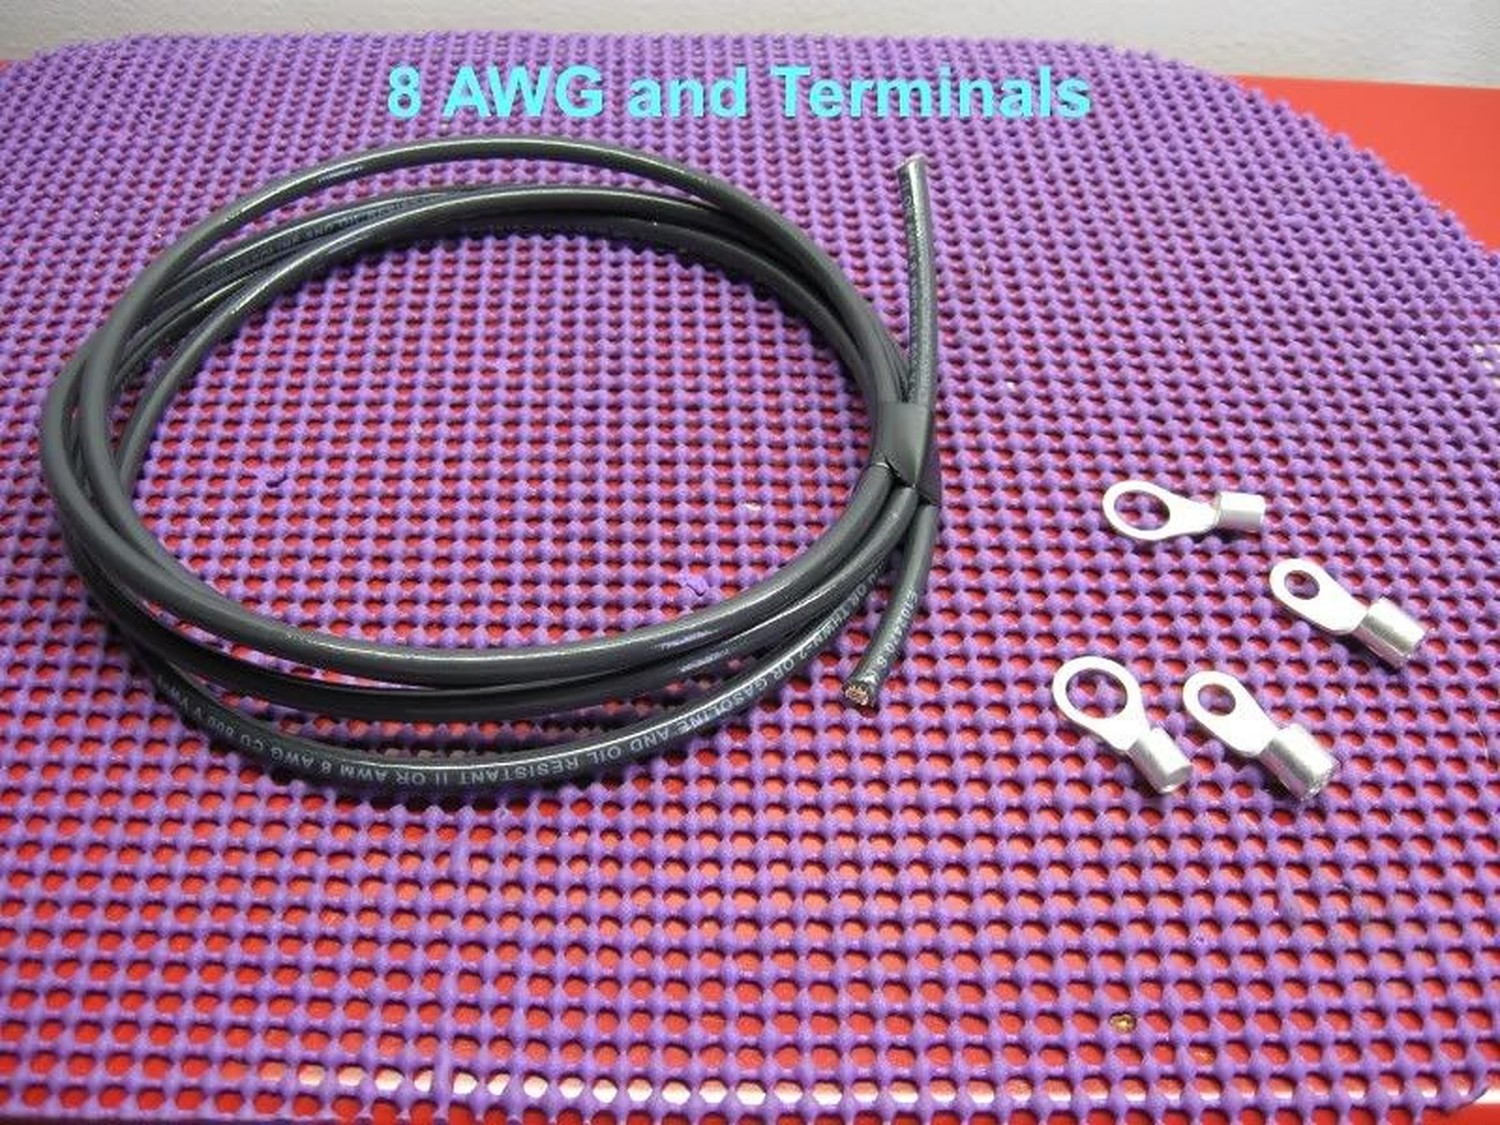
TOOLS/SUPPLIES
STEP I – BATTERY NEGATIVE TO CHASSIS
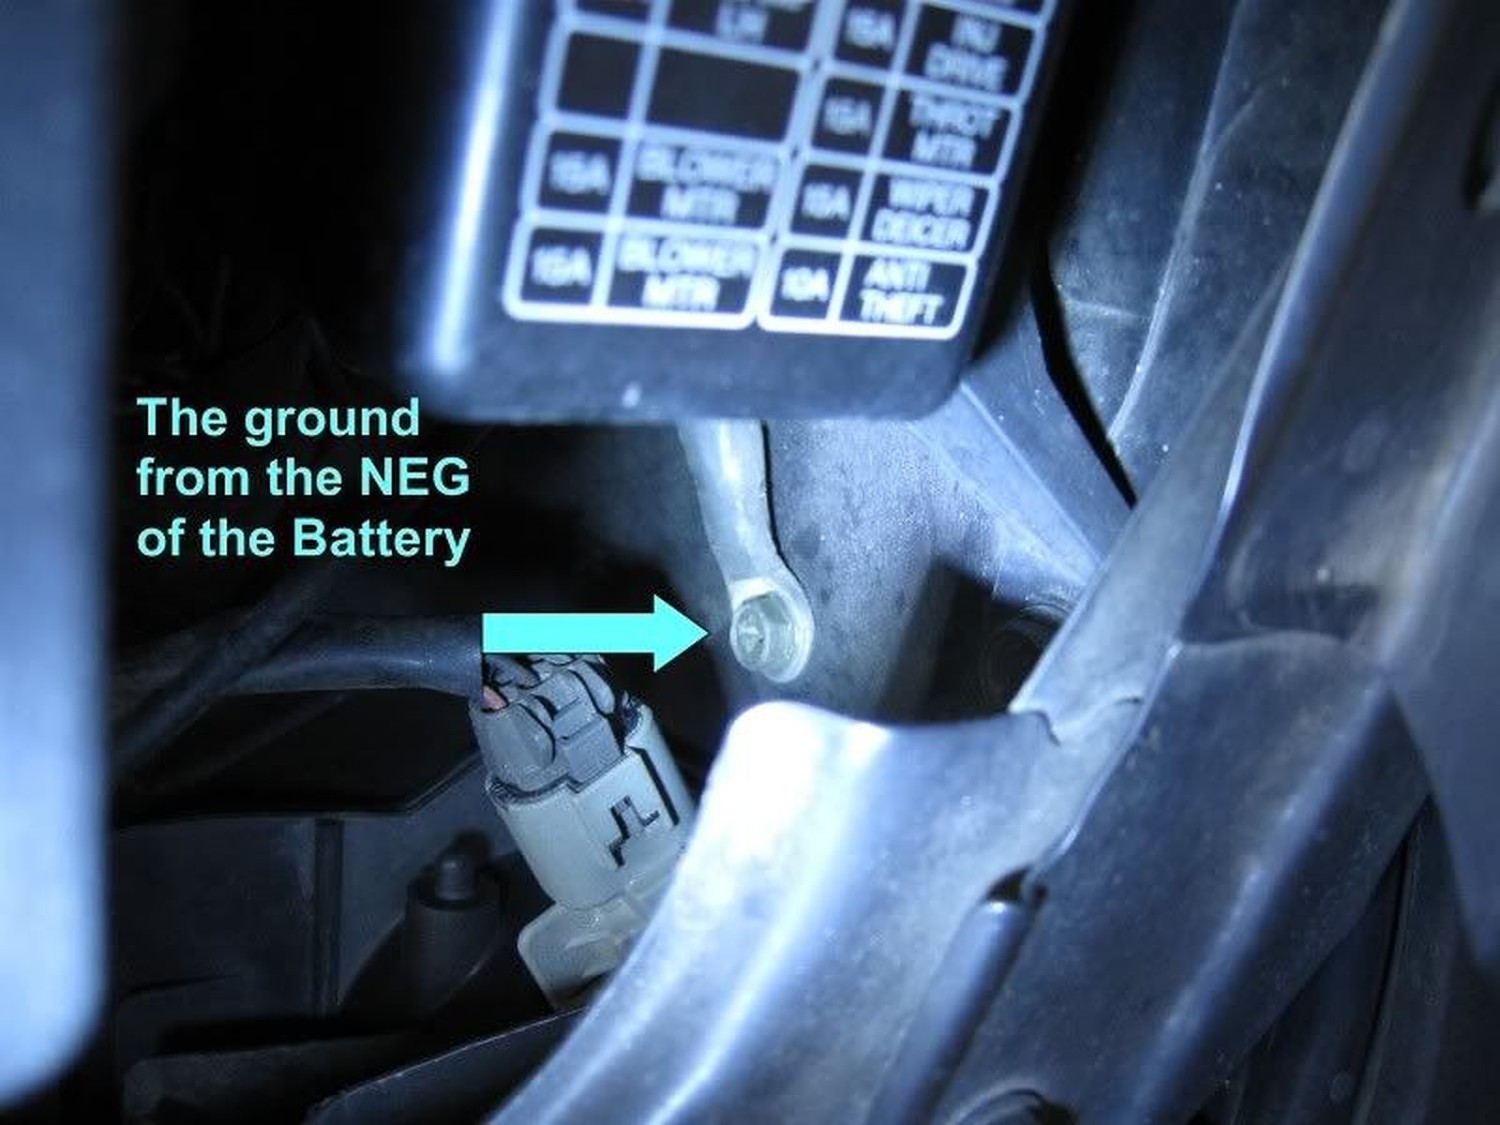
Simple enough. We are going to be making an attachment from the negative terminal of the battery to the chassis. If you peek behind the battery you will see a good place to plant the wire.
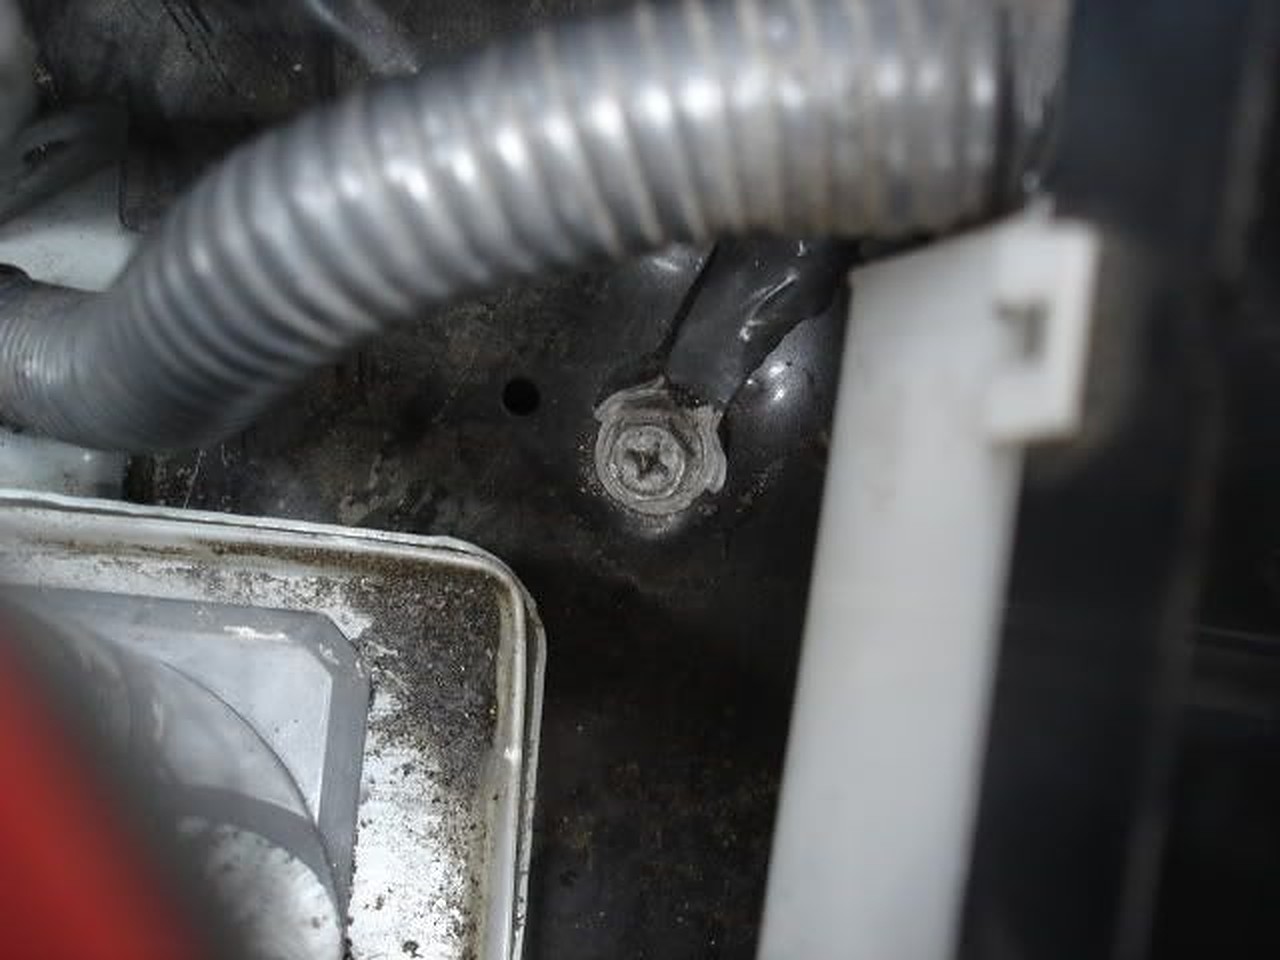
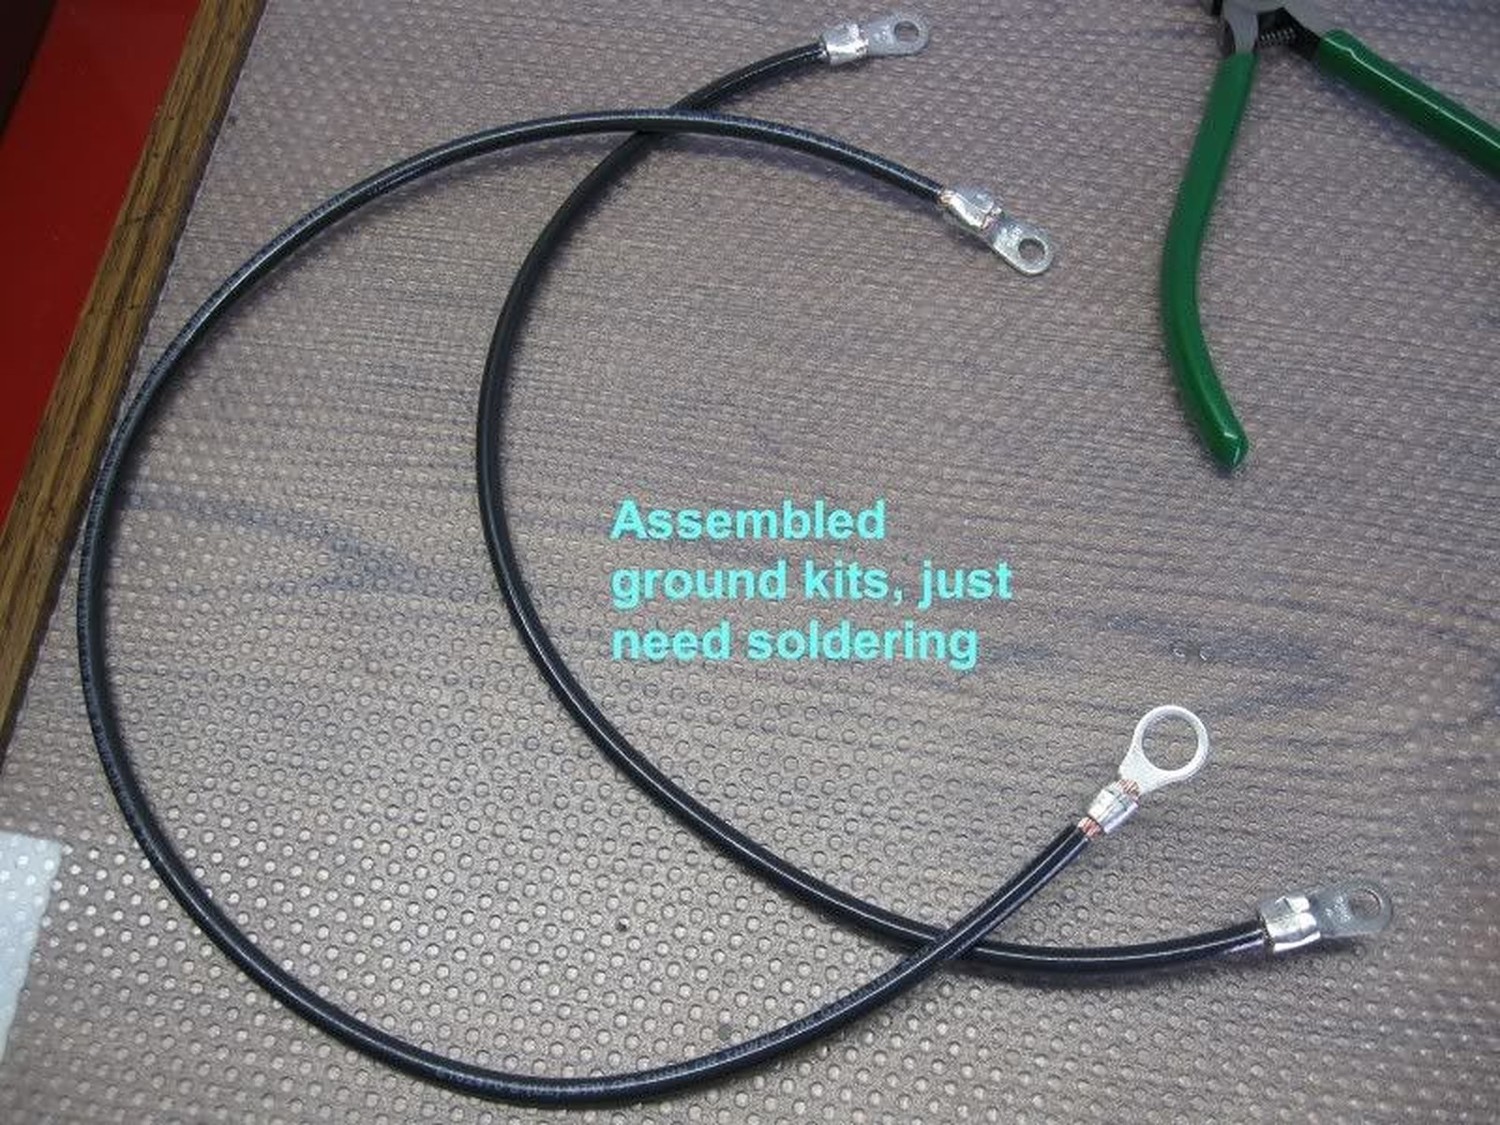
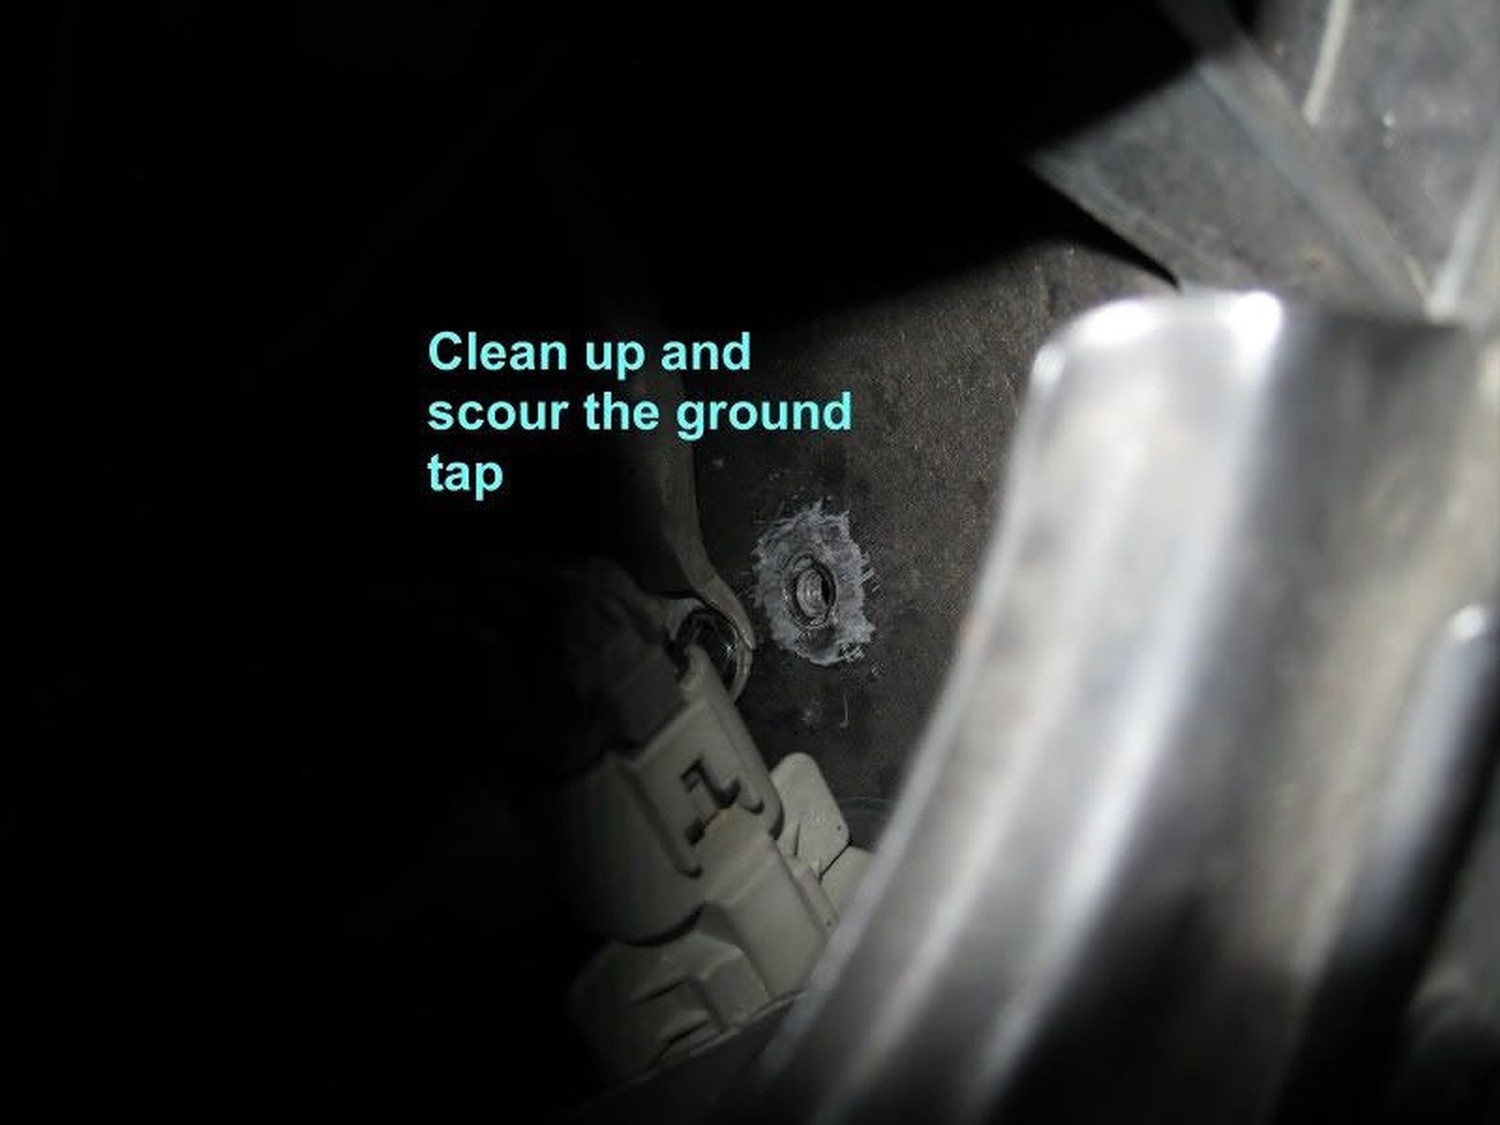
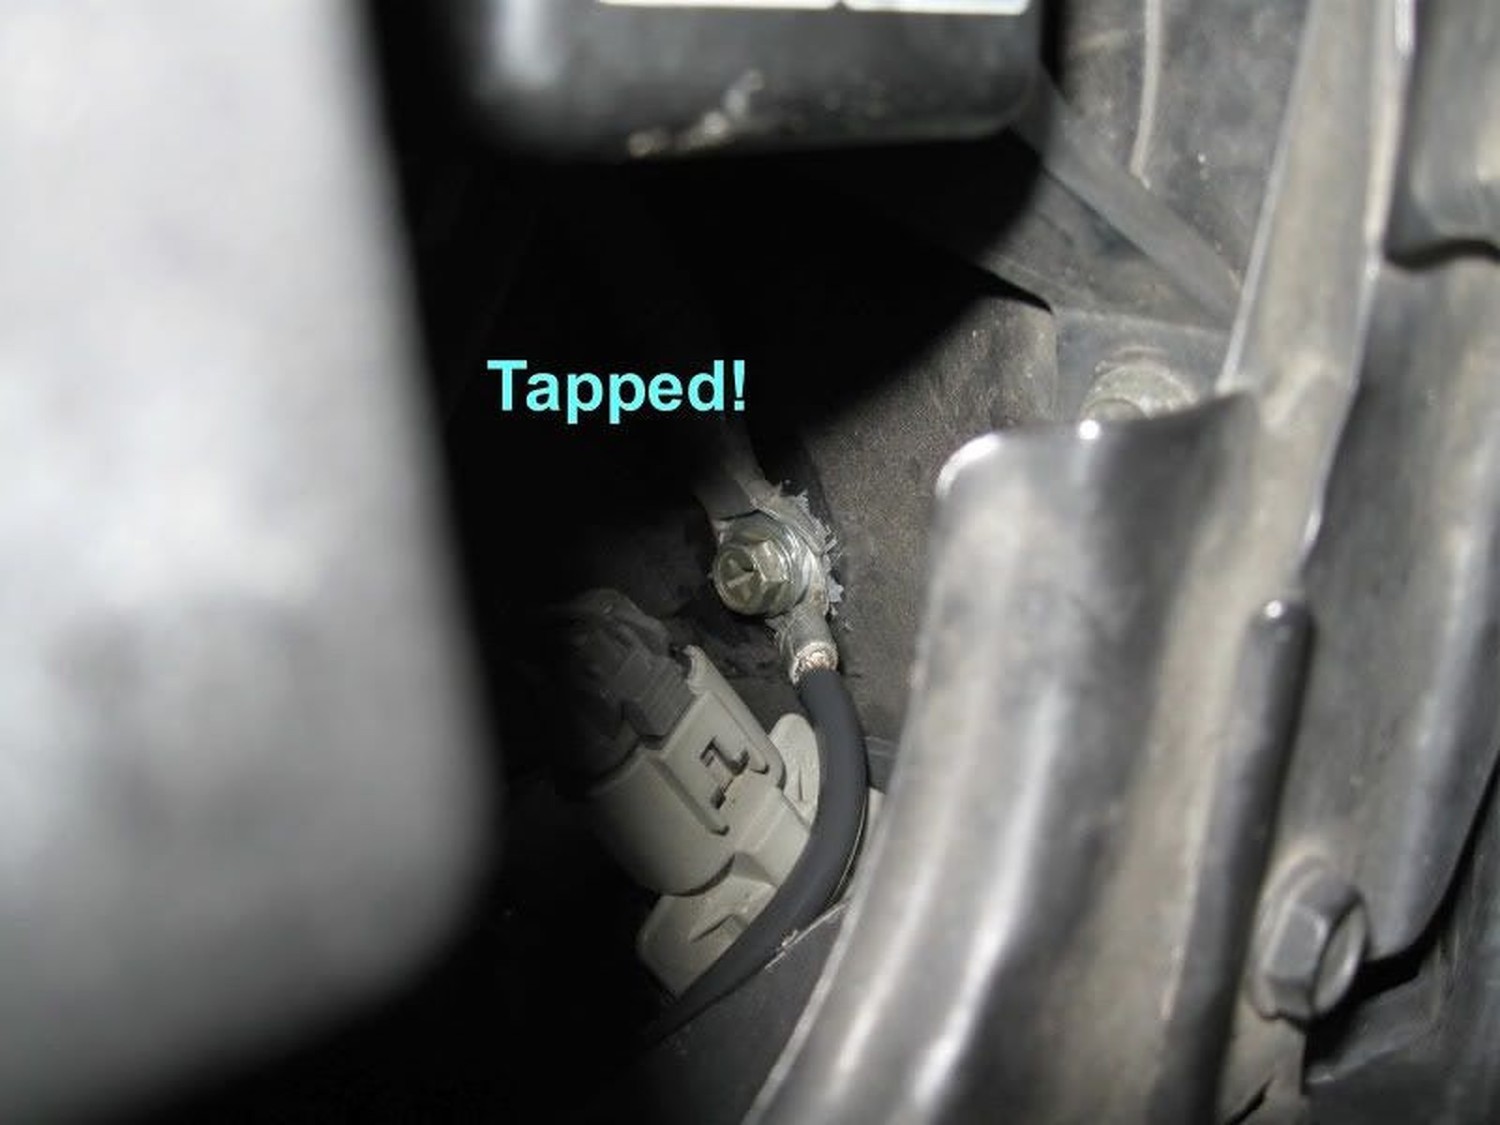
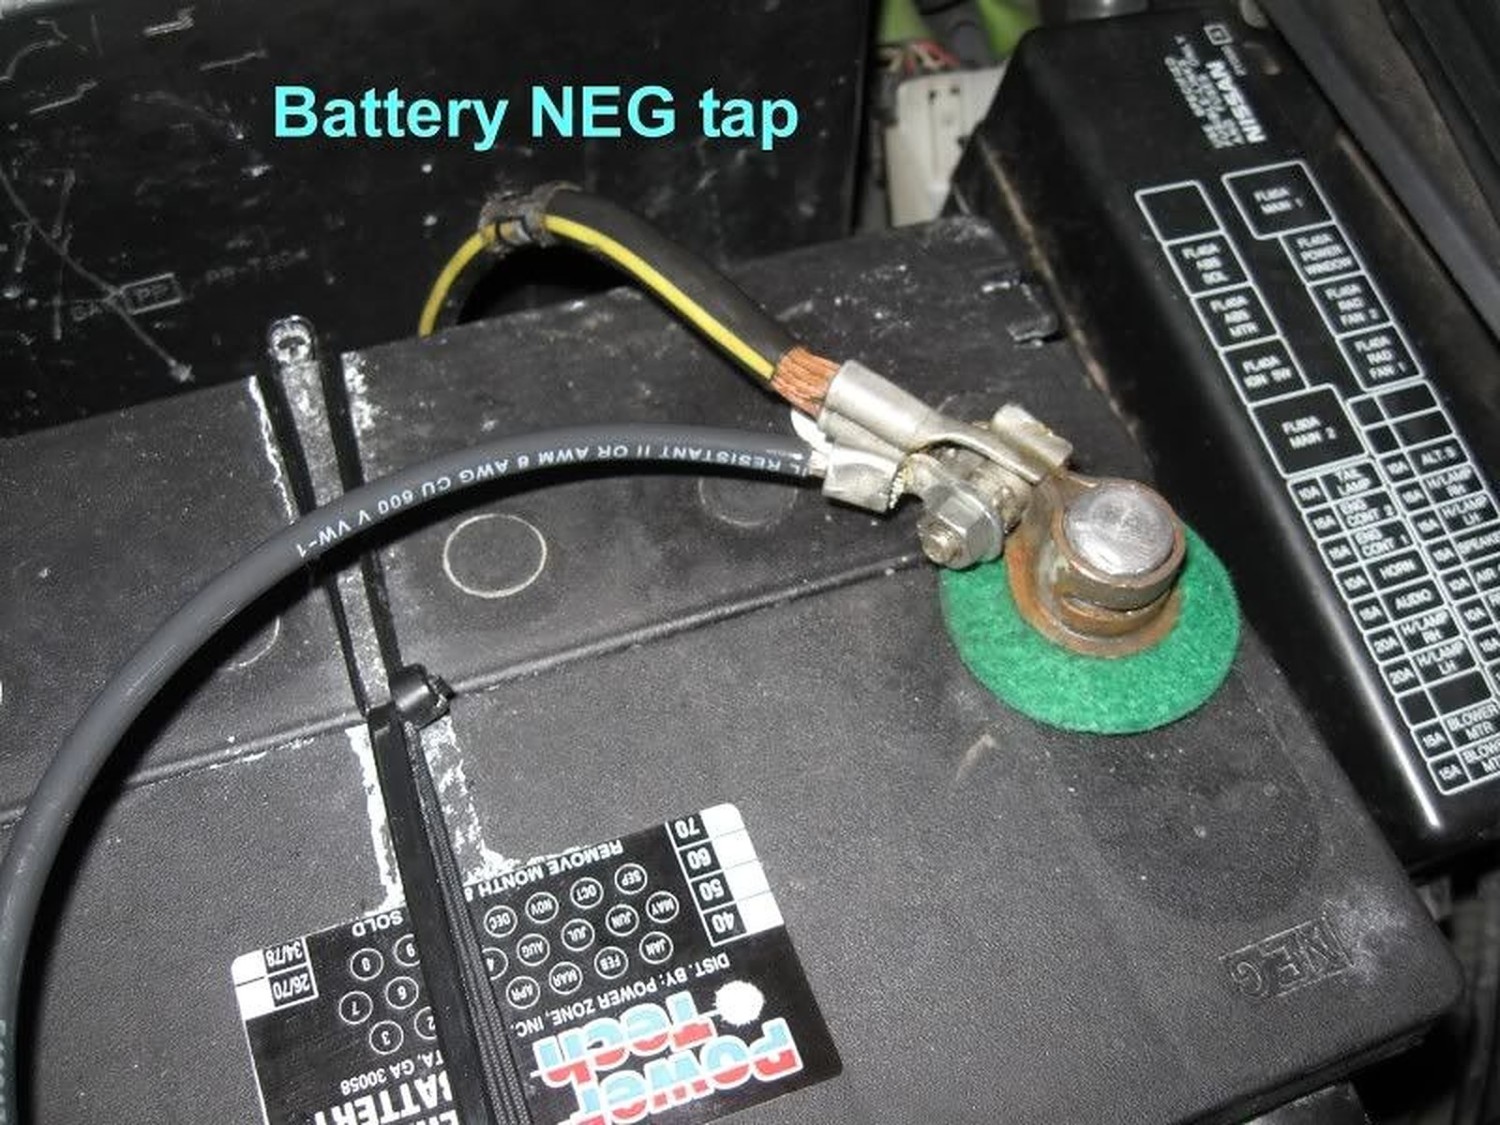
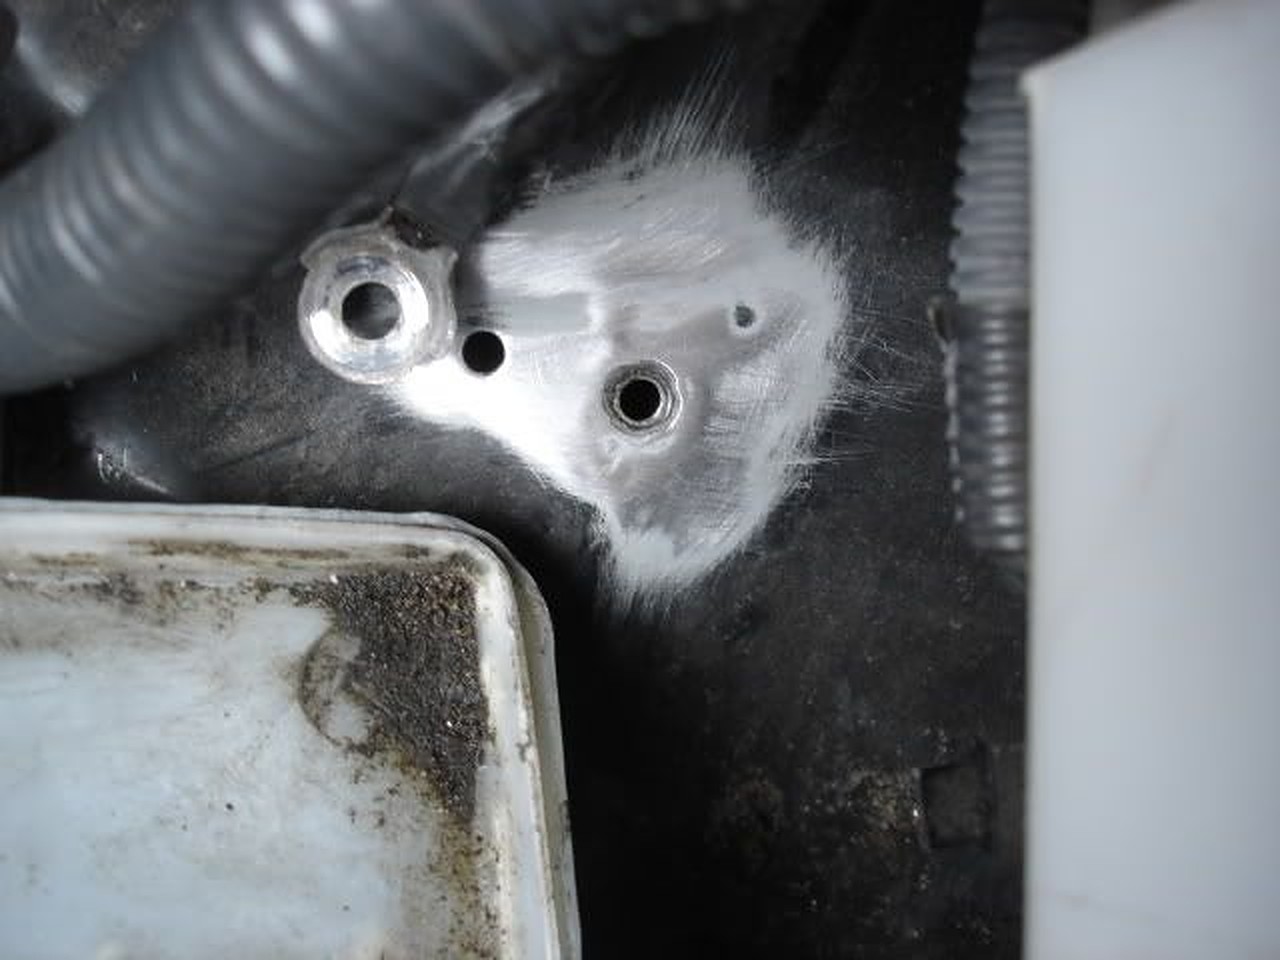
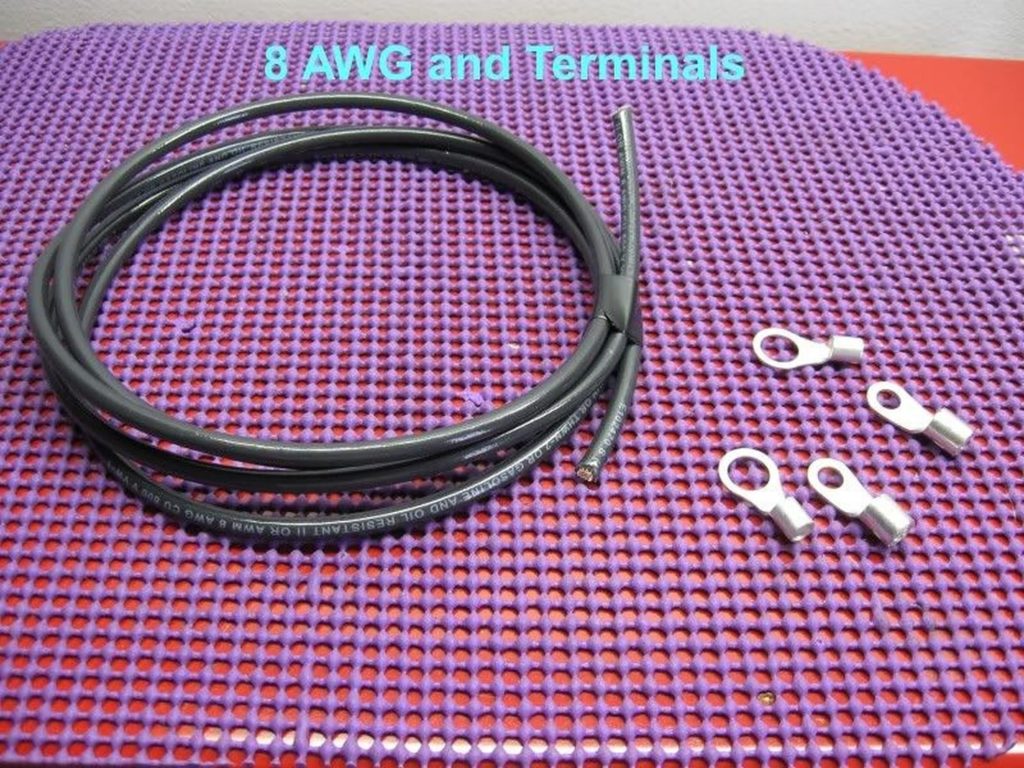
Remove the bolt with your 10mm socket and sand away the spot to bare steel. After that, attach about a 1-ft. length of wire to one of your terminals, crimp, and bolt everything back together.
STEP II – BATTERY POSITIVE TO ALTERNATOR POST
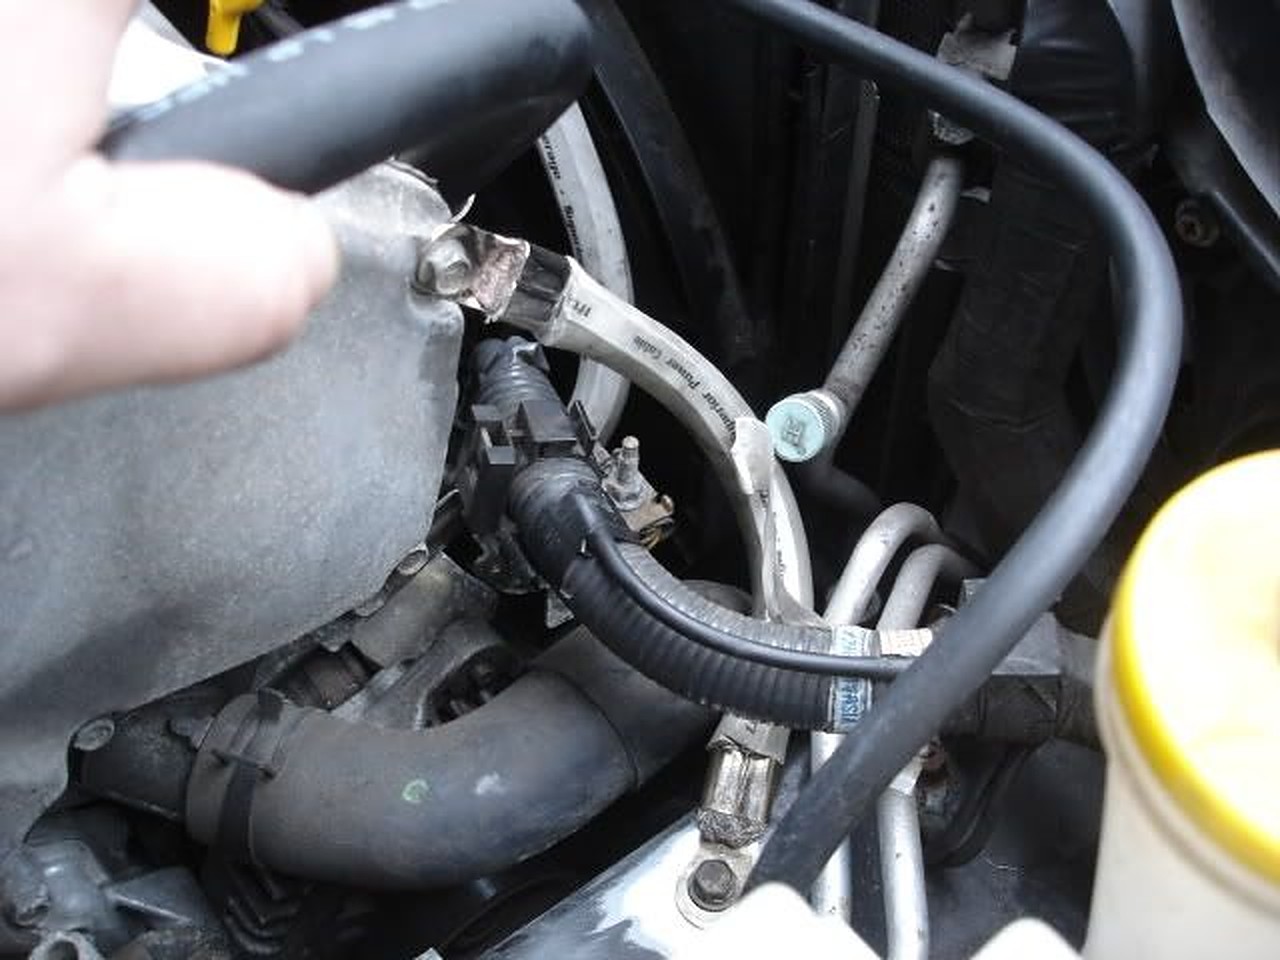
Alright, this one is a bit more tricky. You are going to need about 5ft of wire split into two equal 2.5ft. lengths. We are going to be attaching the wire to the battery positive to a fuse terminal, then fuse terminal to alternator post. You can find the alternator just to the outside end of the engine block on the passenger side. Look for a rubber boot covering a bolt. That’s your alternator post. We’ll start there. Remove the bolt using a 12mm socket.
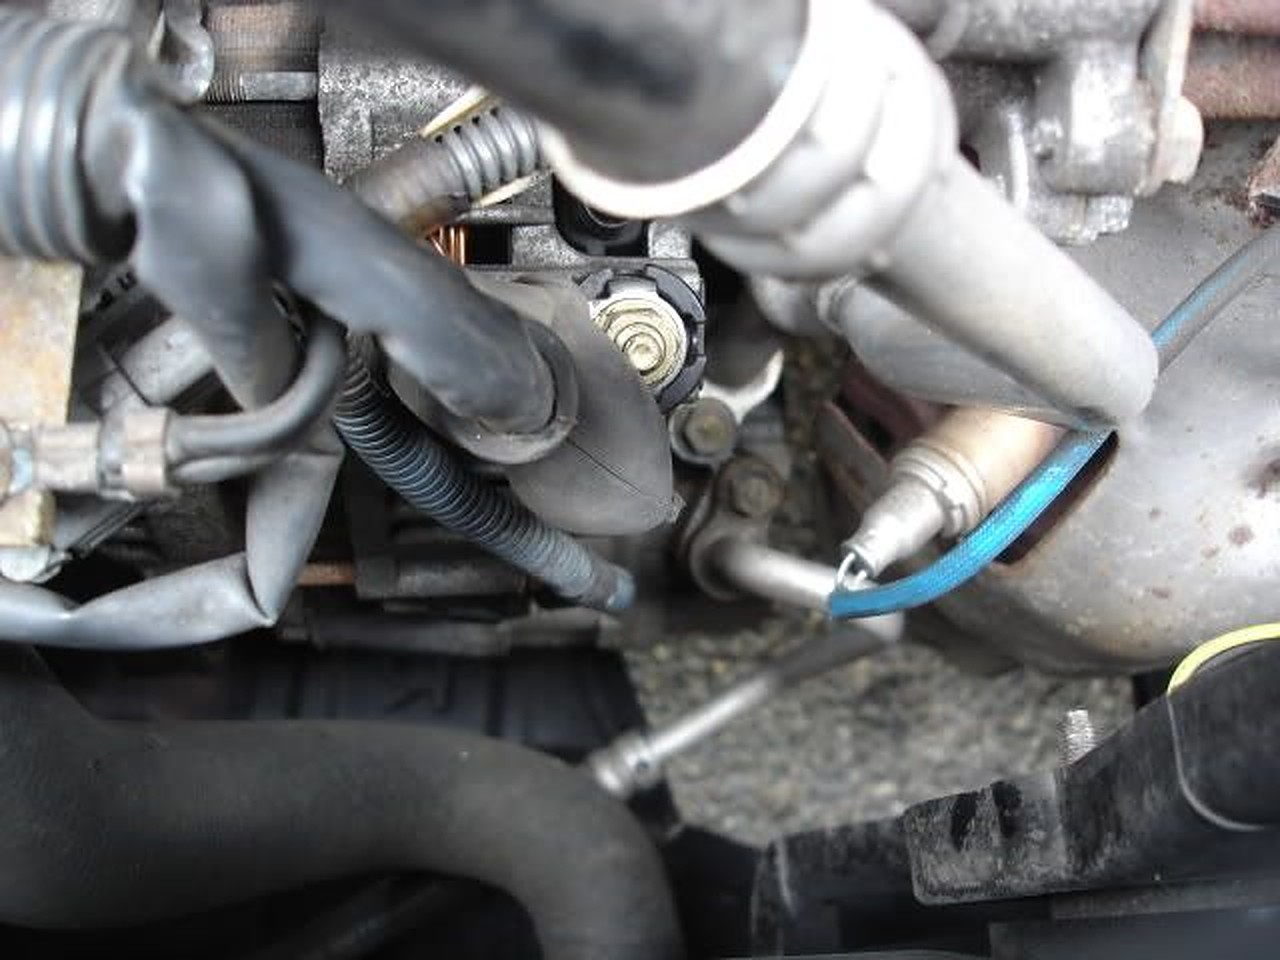
Attach one crimped end of the 1/0AWG wire to the bolt, then screw everything back together.
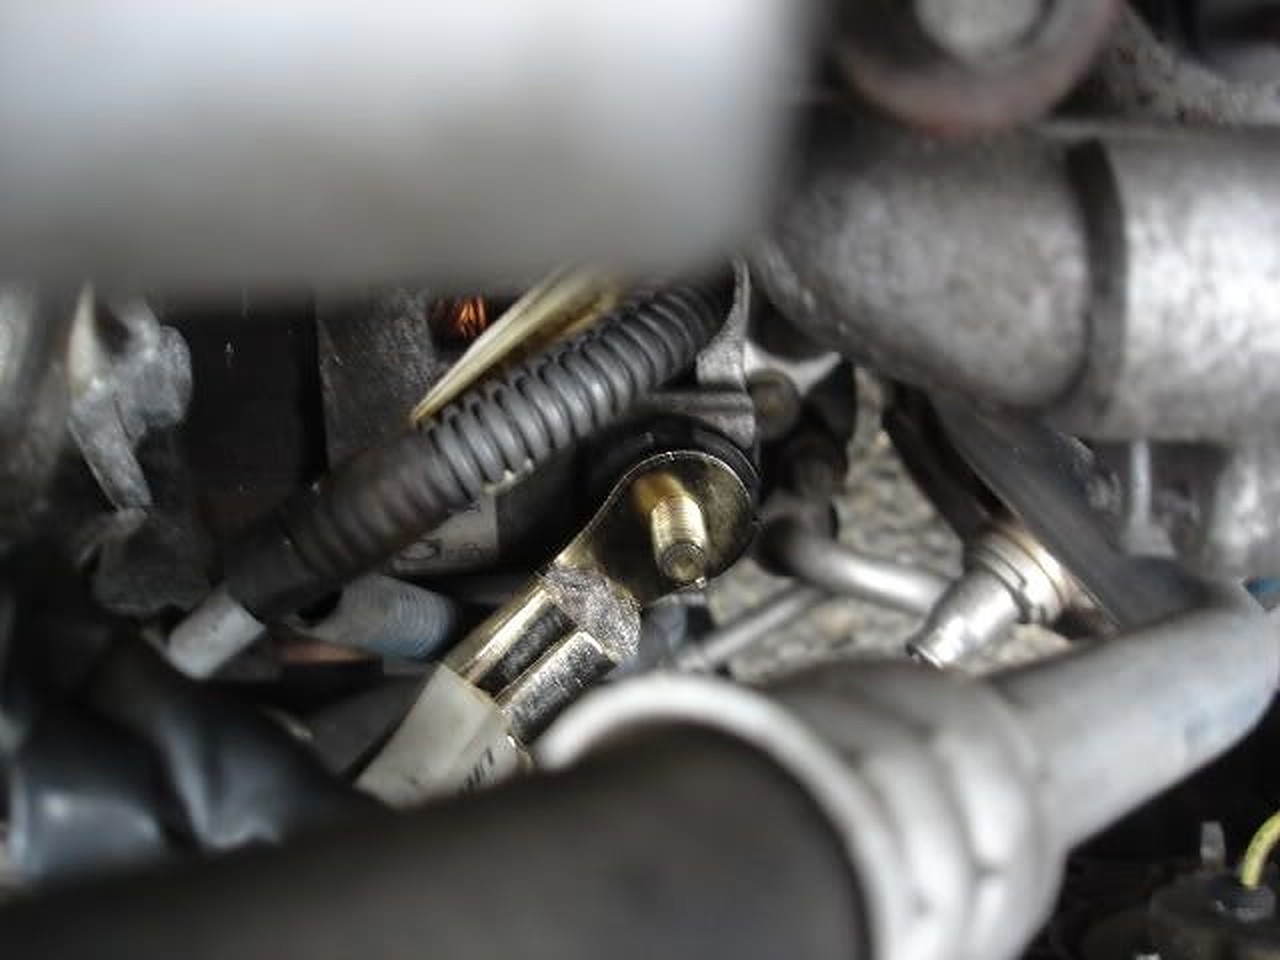
Take the lead attached to the alt. post and run this to the fuse. Take the other length of wire and run this from the opposite end of the fuse and lead it to the battery. We’re almost done!
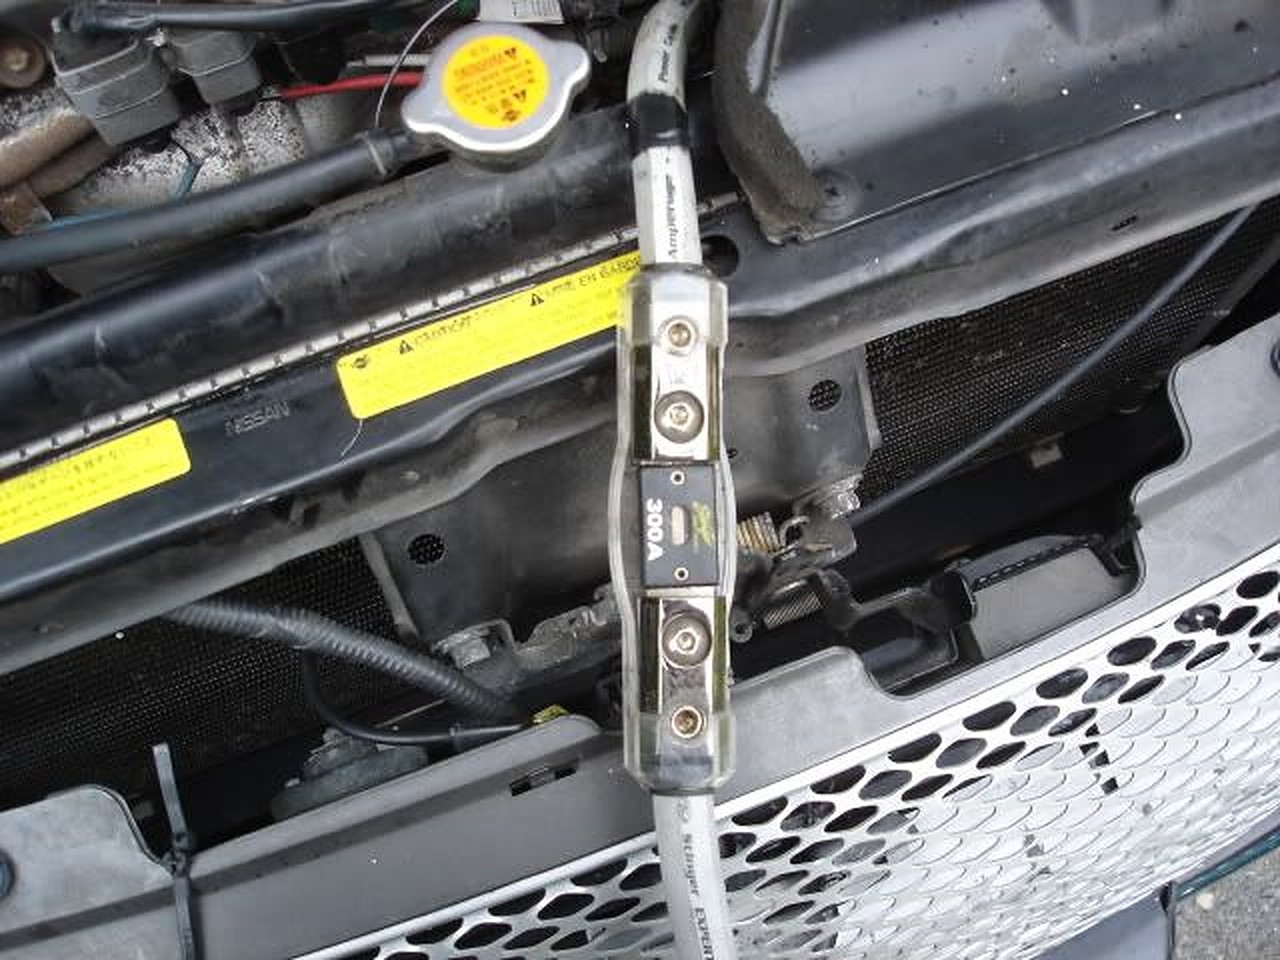
STEP III – ENGINE BLOCK TO CHASSIS
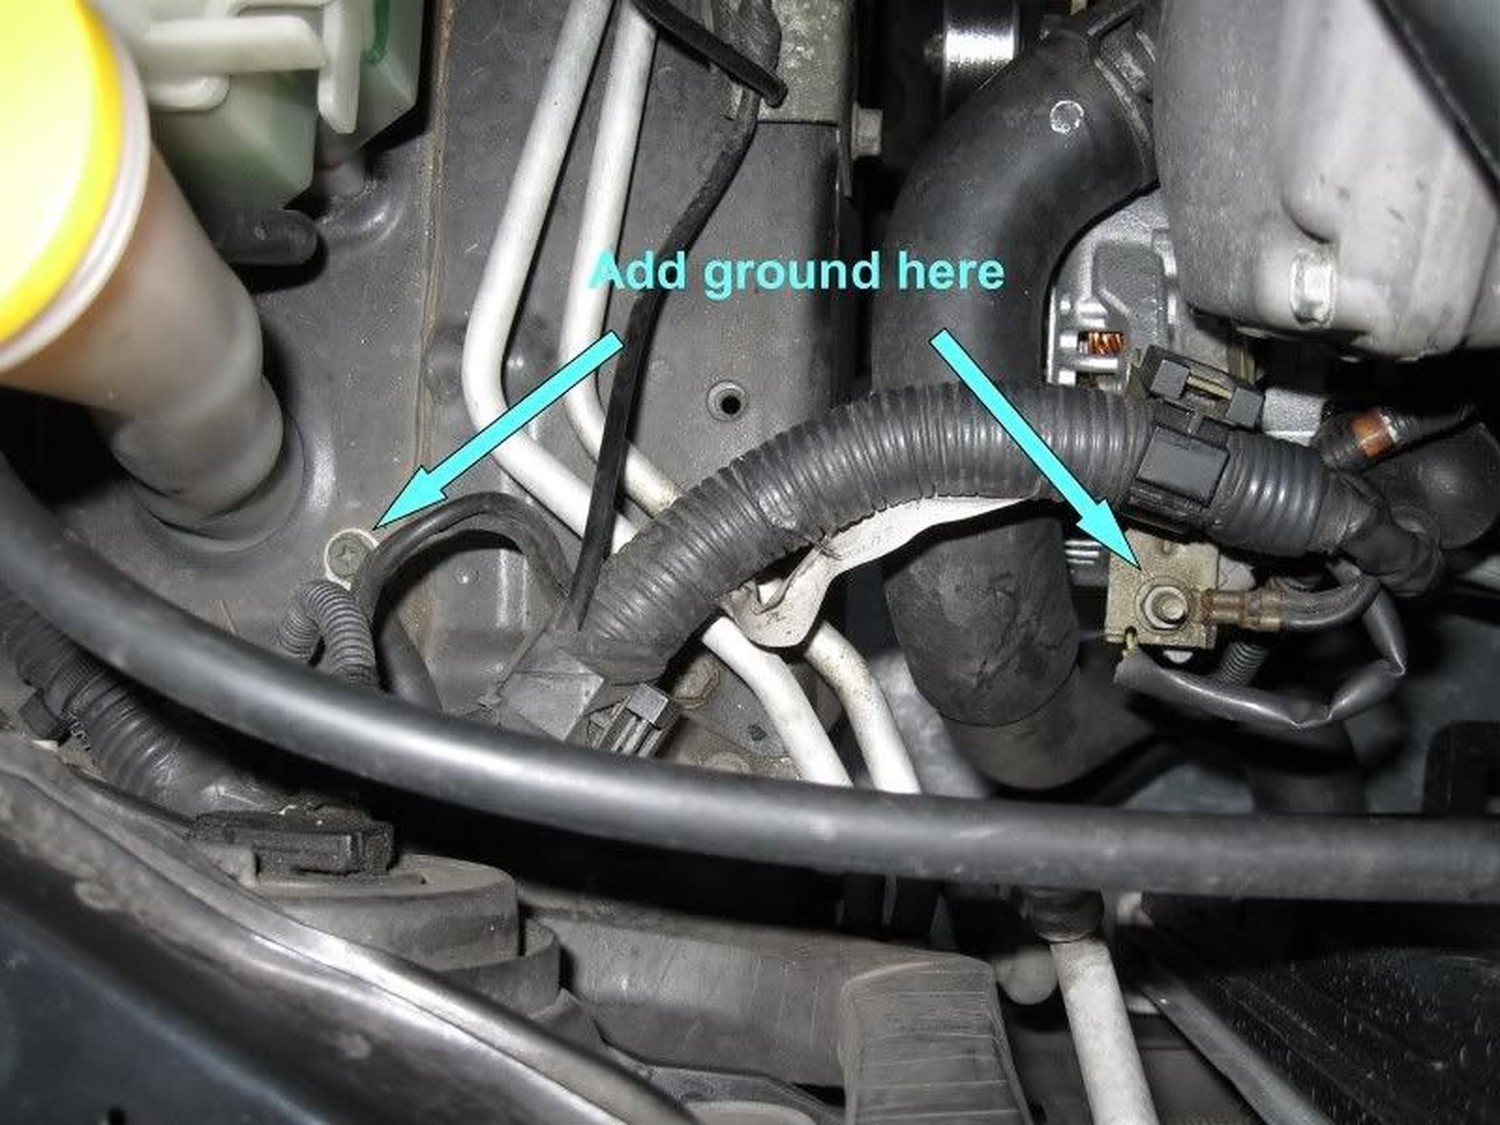
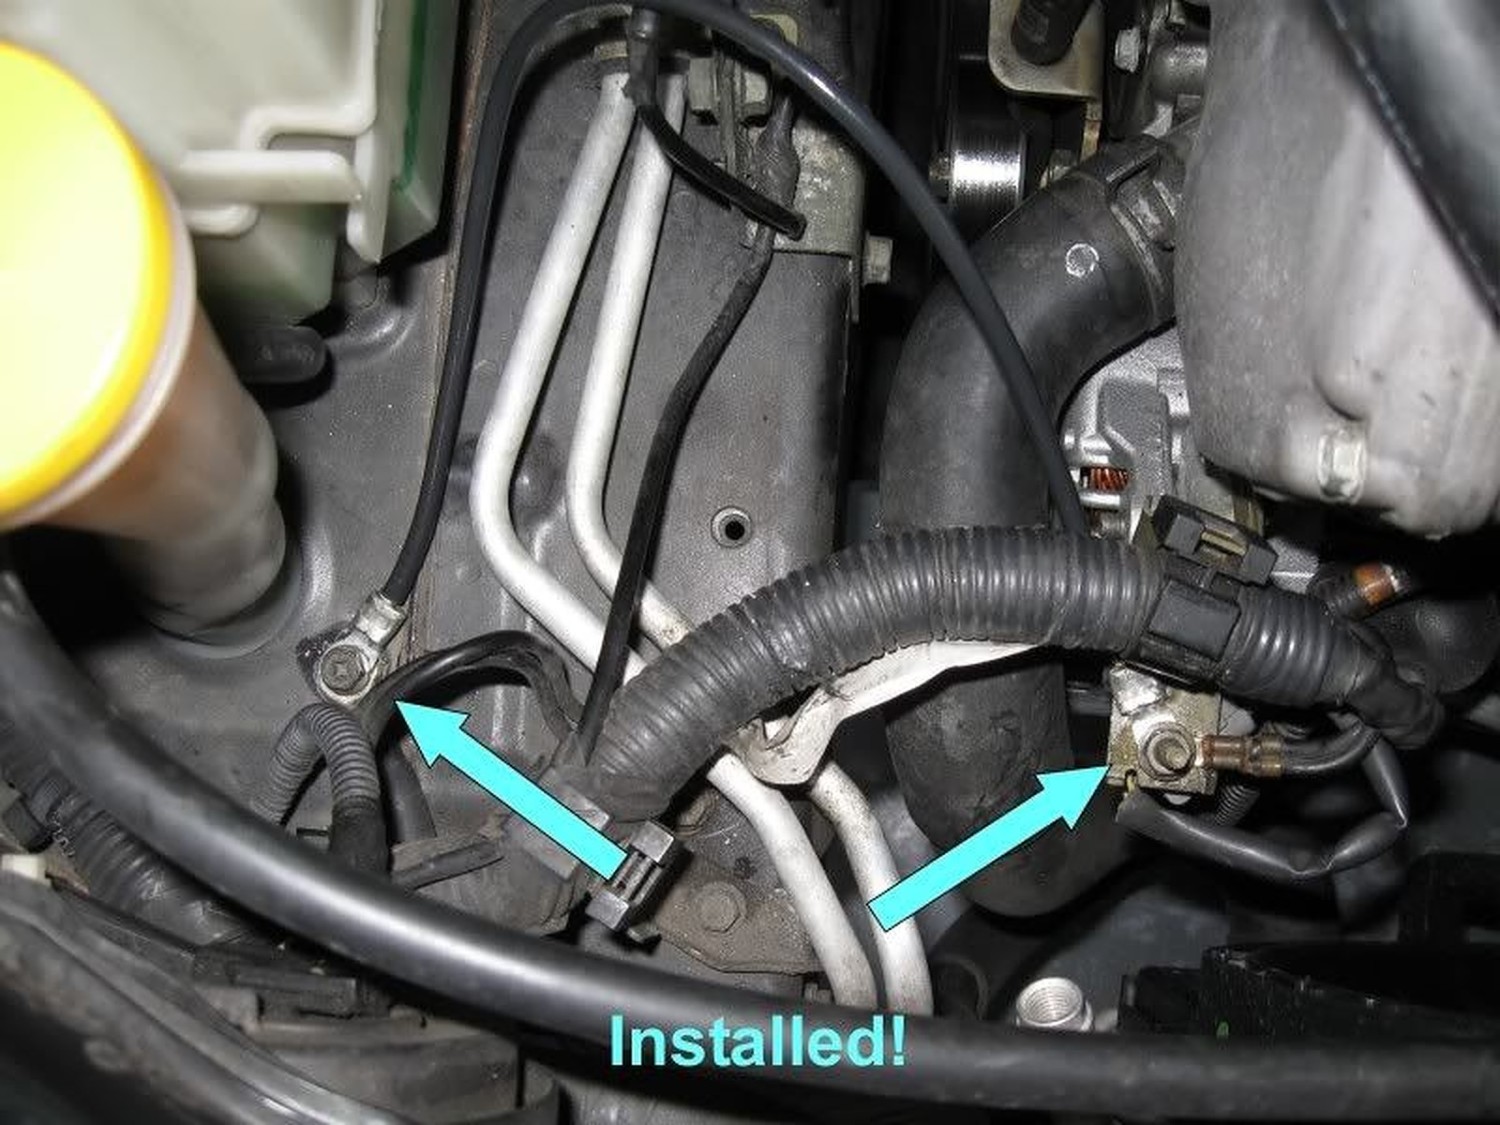
The final step is simple enough. Start off by locating a spot where you want to land the lead on the chassis. I chose an empty bolt hole located by the engine block. Sand away as we have done before.
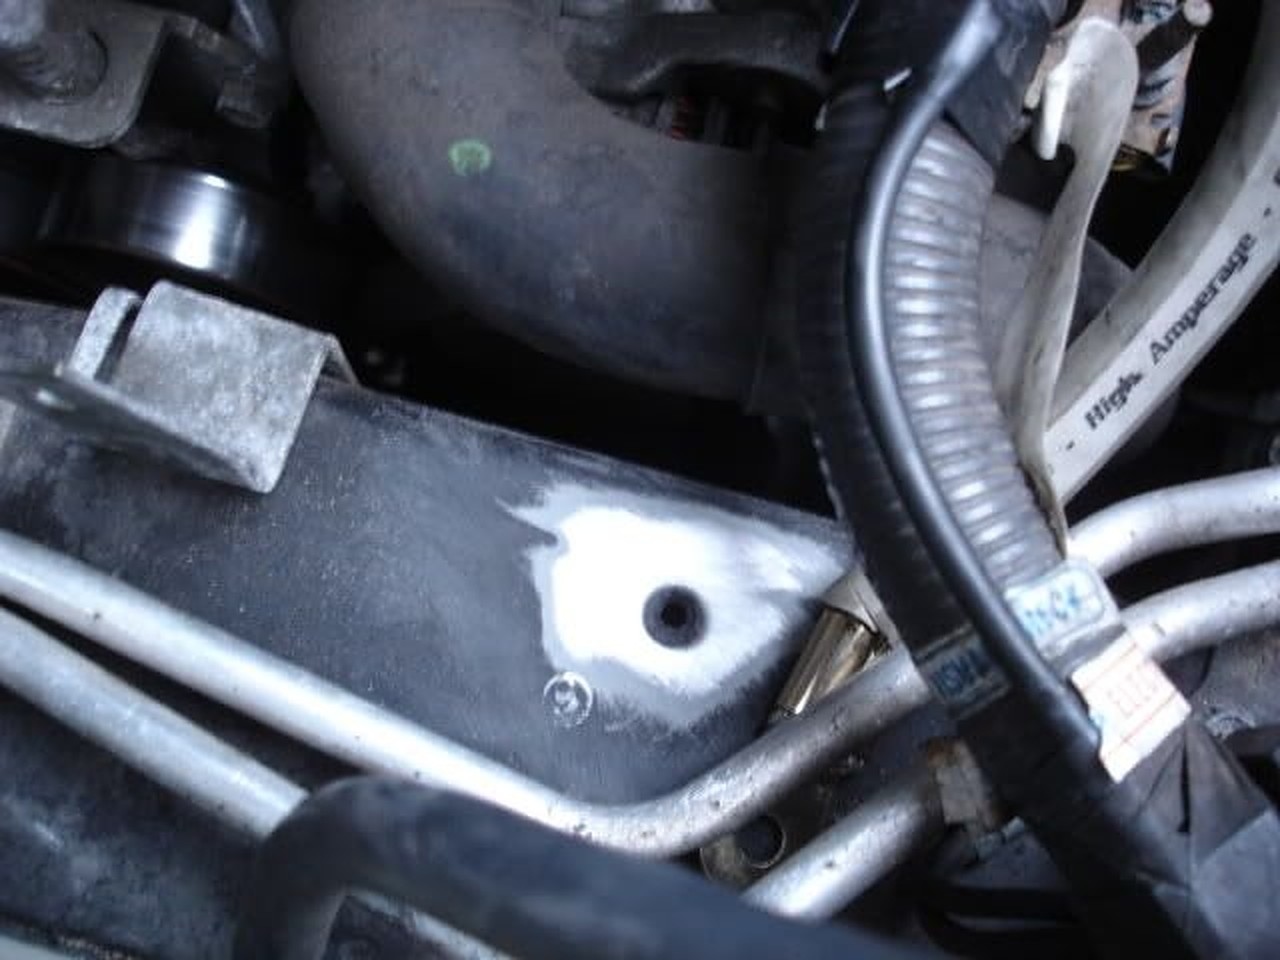
Next, simply ground this to the engine block. I chose one of the 10mm bolts located on the side of the block. You can choose just about anywhere on the block; for instance, you will see two grounding points on top of the block. Golden rule with grounding wires is to keep them as short as possible, so just keep that in mind when doing this…
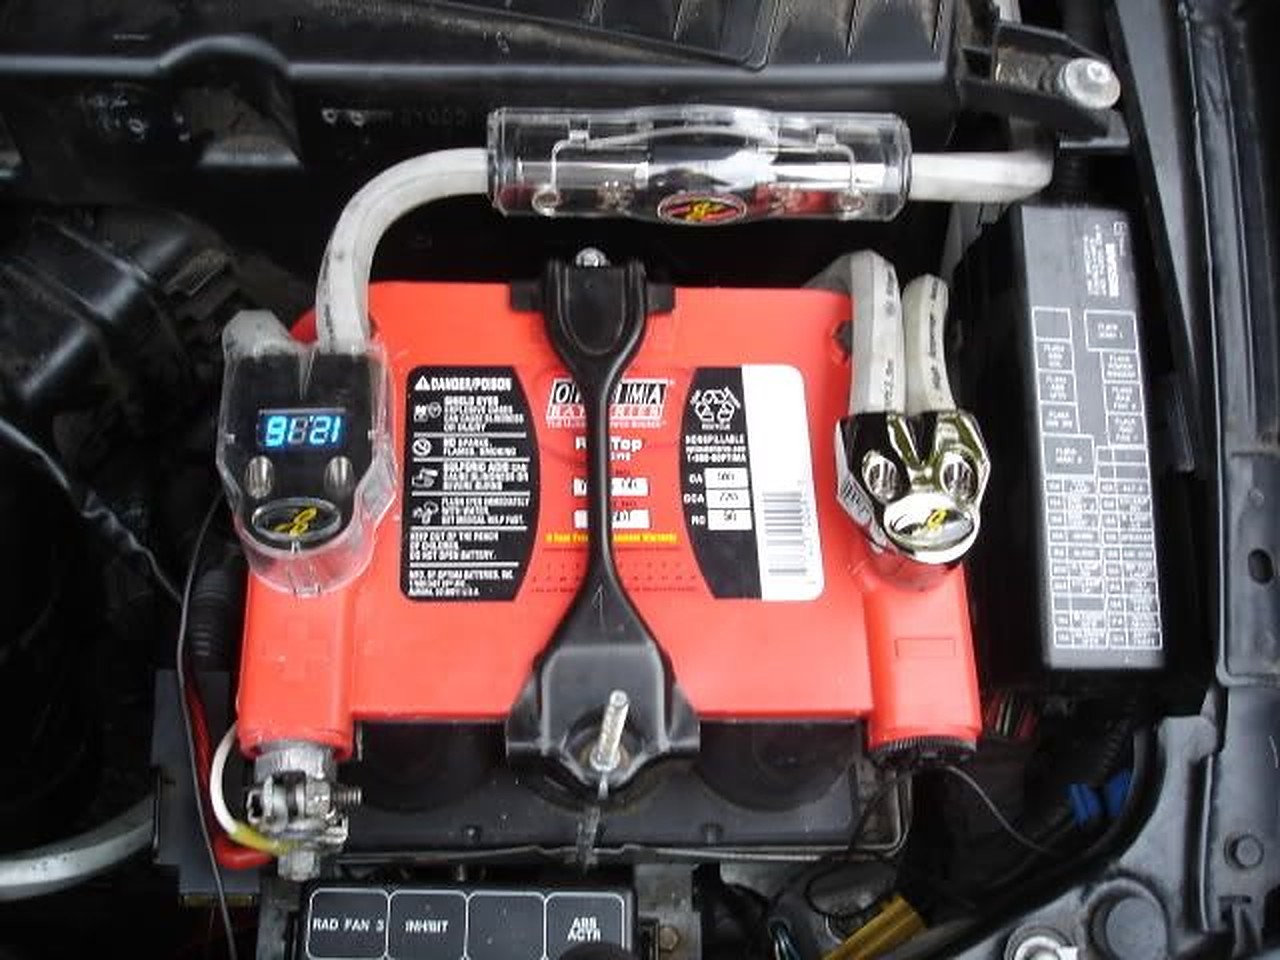
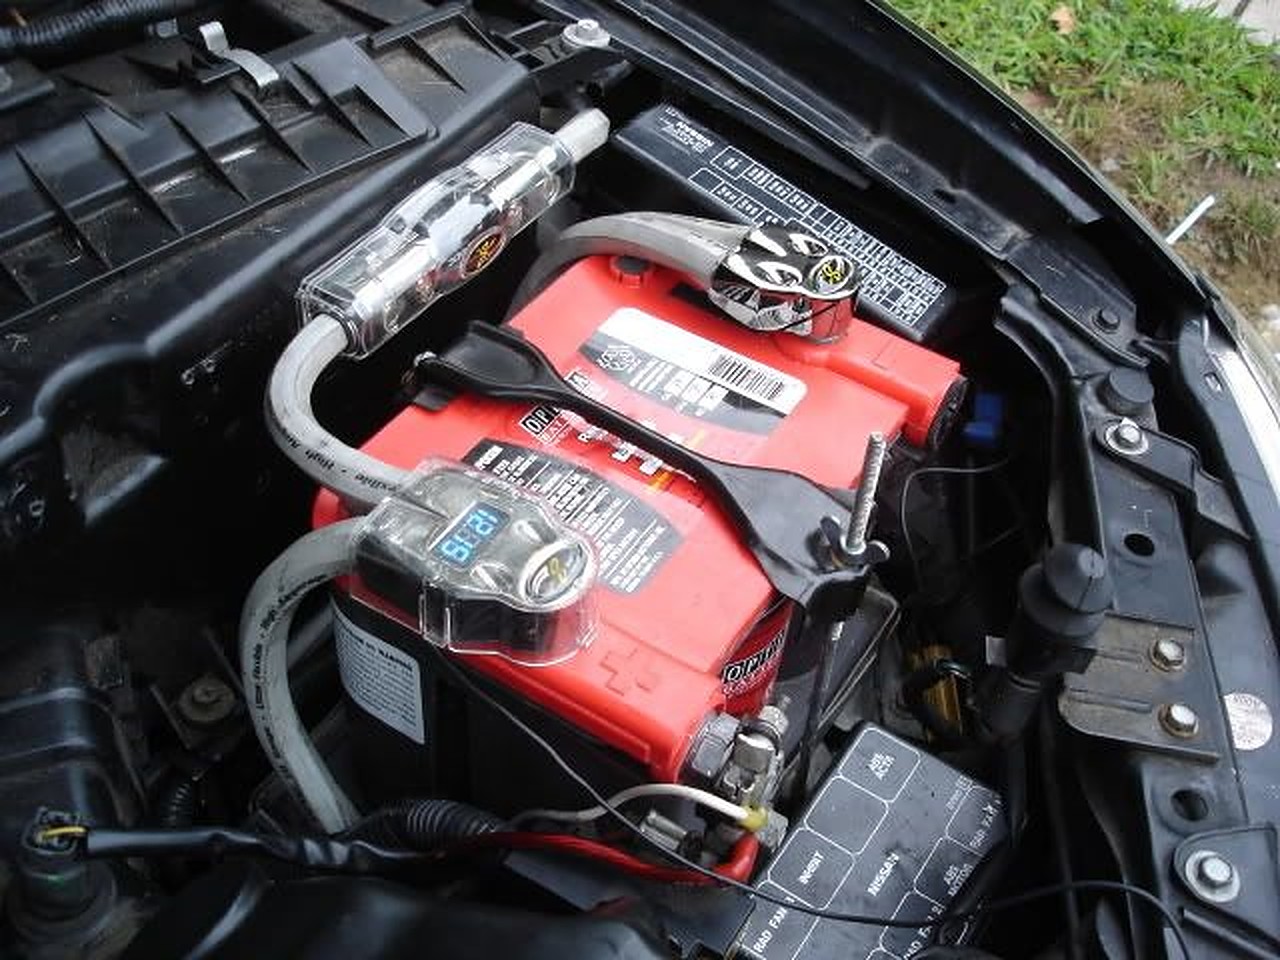
…and now you’re done! Here’s a shot of the battery when all is said and done…pretty bada’ss if I say so myself!
Member Credit: Tyreek Carter
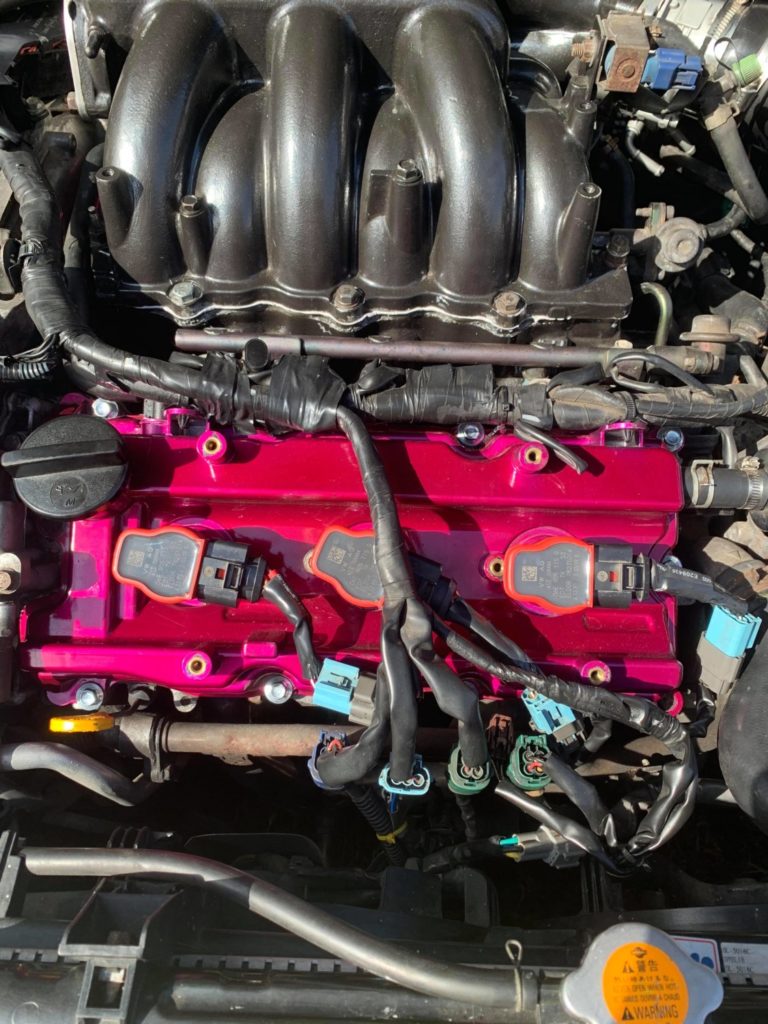
I feel the idle is smoother and the throttle response is definitely better. I want to say I can feel a difference after adjusting a few fuel points on my AFC. Overall, I do like them and feel it was worth it. They are also an alternative to buying aftermarket coilpacks or standard Nissan OEM coilpacks.
Important Note: On the VQ35DE (2002-2008), you will need to use NWP Spacers for the Coil Packs to sit properly. The Gen2 VQ35DE (2009+) do not require spacers. You will also need the adapters to plug them in or make your own by splicing directly.


Member Credit: joesae01max & Calvin Cross (Install Pics)
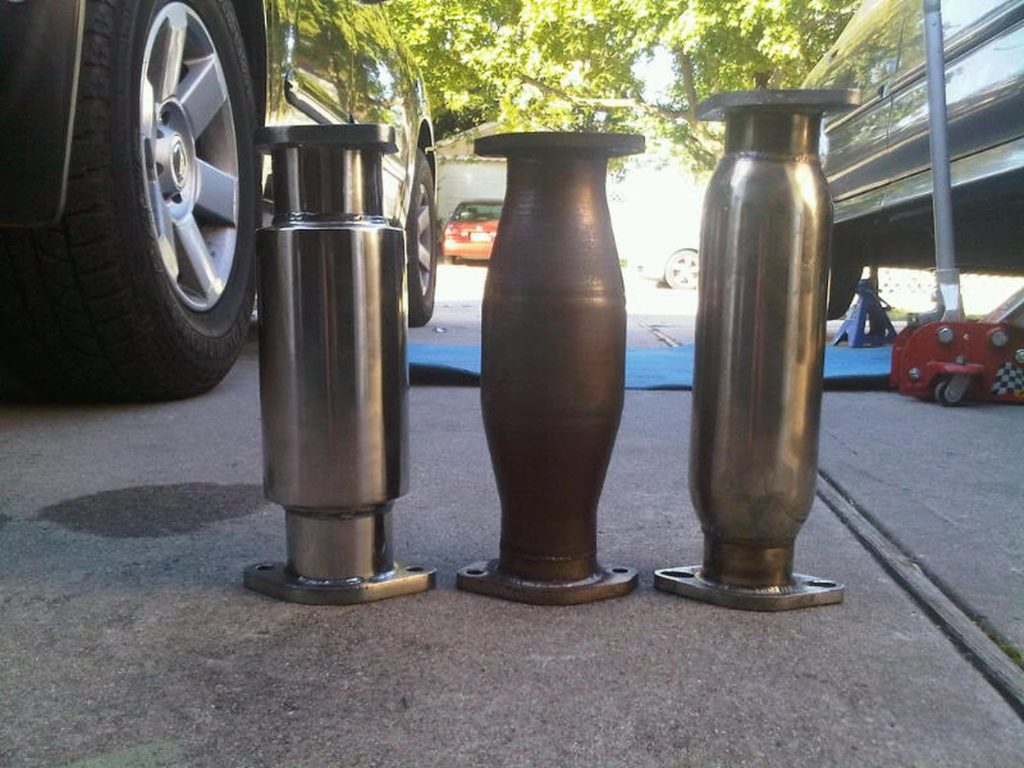
So I bought a Megan test pipe from a fellow .org member and let me tell you the Fitment was HORRIBLE. It was like 1″ longer than OEM. I was not pleased with it at all. I remember someone here used a 240sx test pipe and it was the same exact size as OEM. So sure enough, I looked it up and its 12 3/8th”. I ordered it that same day off eBay and got it yesterday. IT fit Like a glove.
Here are some pics for comparison to help anyone out. Left is 240sx 3″ Pipe……..middle is Cattman Fastcat……..Right is the Dreaded oversized Megan Test Pipe.
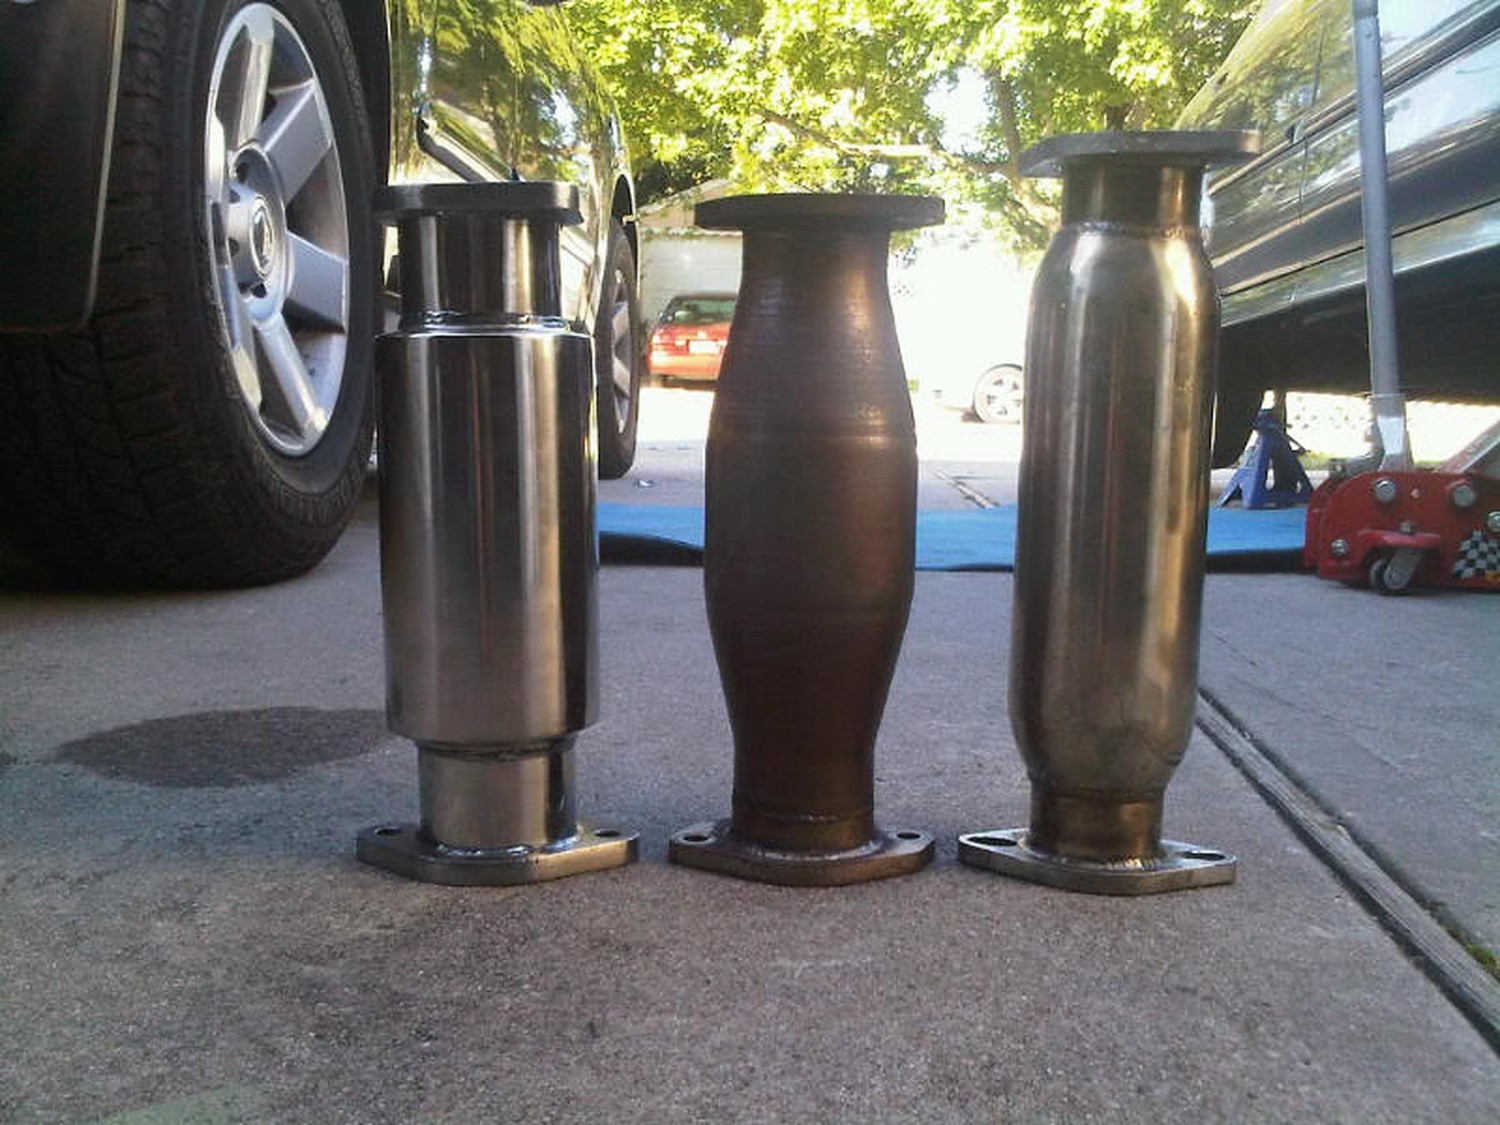
Notice how the 240 pipe is the same exact size as the Cattman fast cat. 

 This is the test pipe on eBay. The pricing will vary from time to time. We’ve seen them anywhere between $40 and $60 bucks.

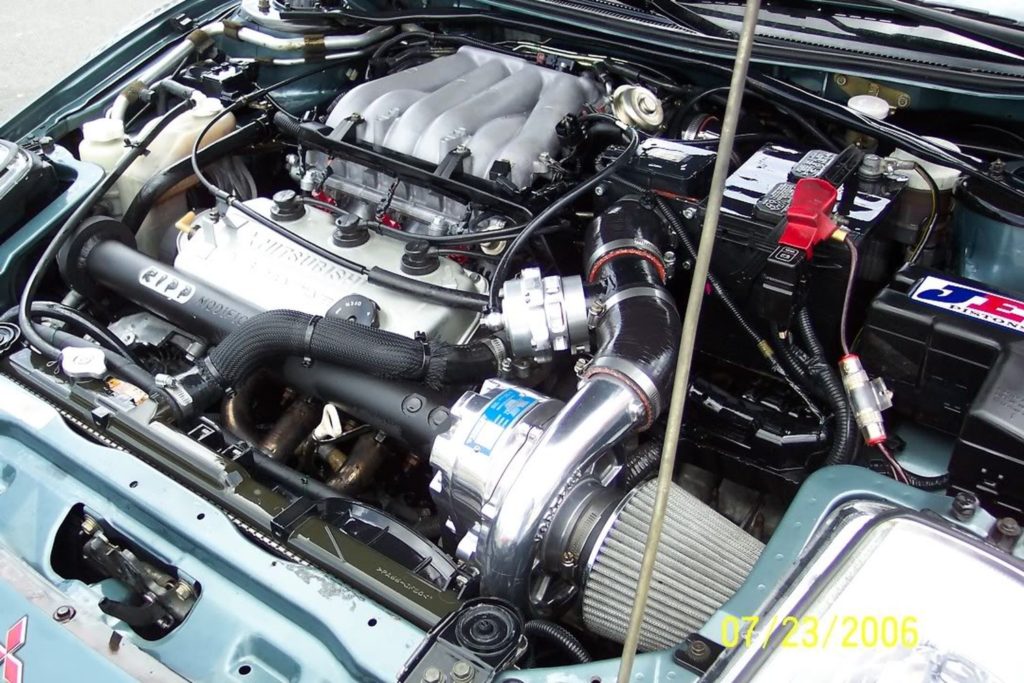
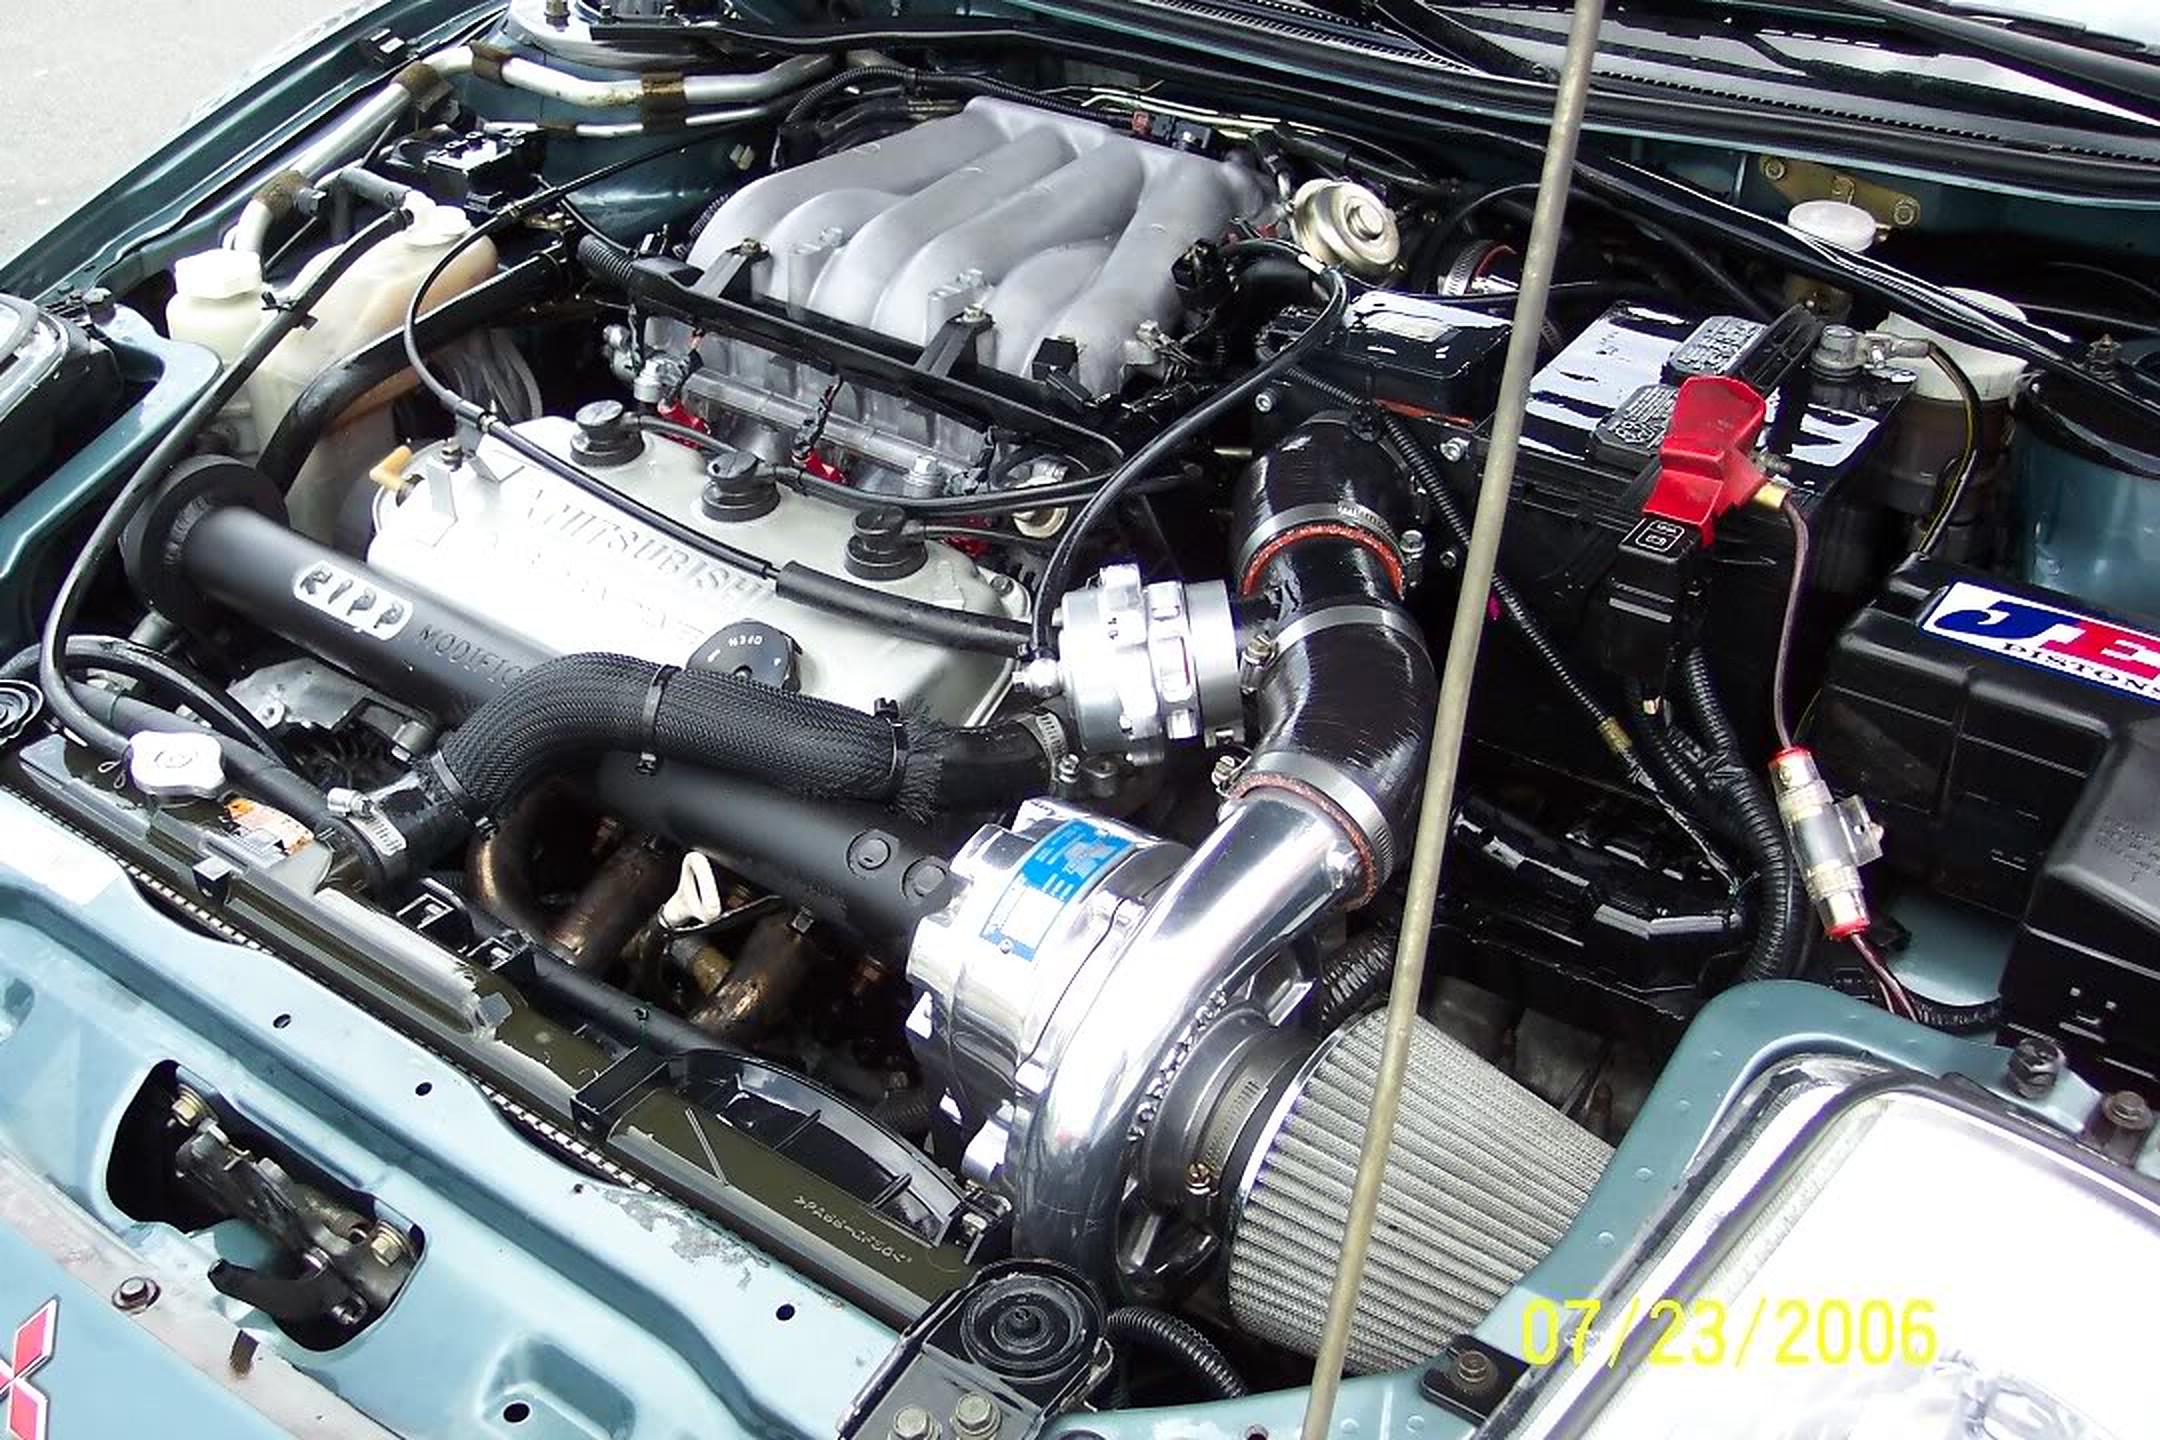
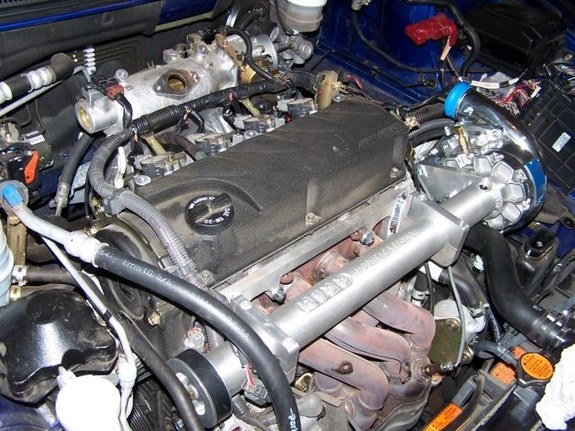
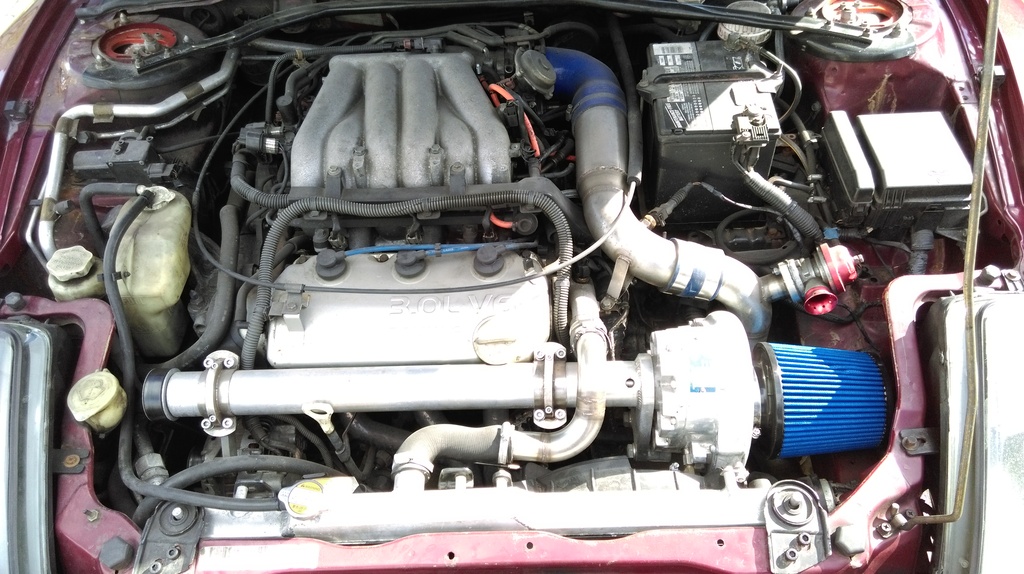
RippMods Vortech Supercharger Gallery – Eclipse 3G/4G. These are the superchargers commonly used on the VQ35DE Nissan Maxima’s. Creating a gallery to showcase how they look.






Member Credit: EddyMaxx
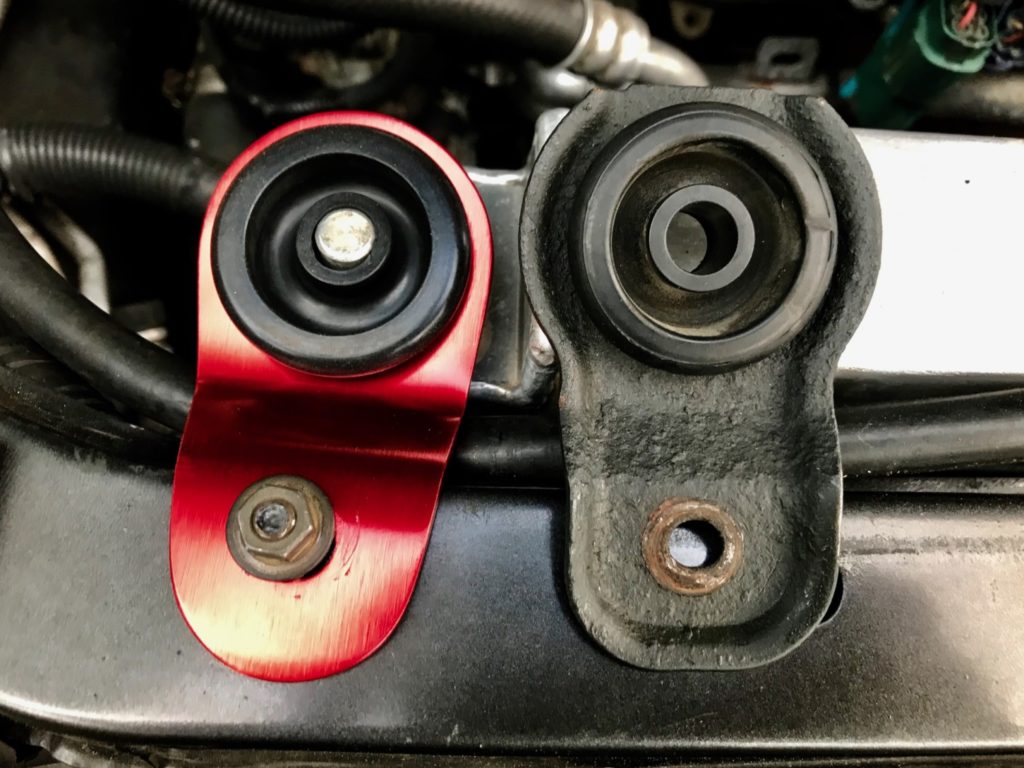
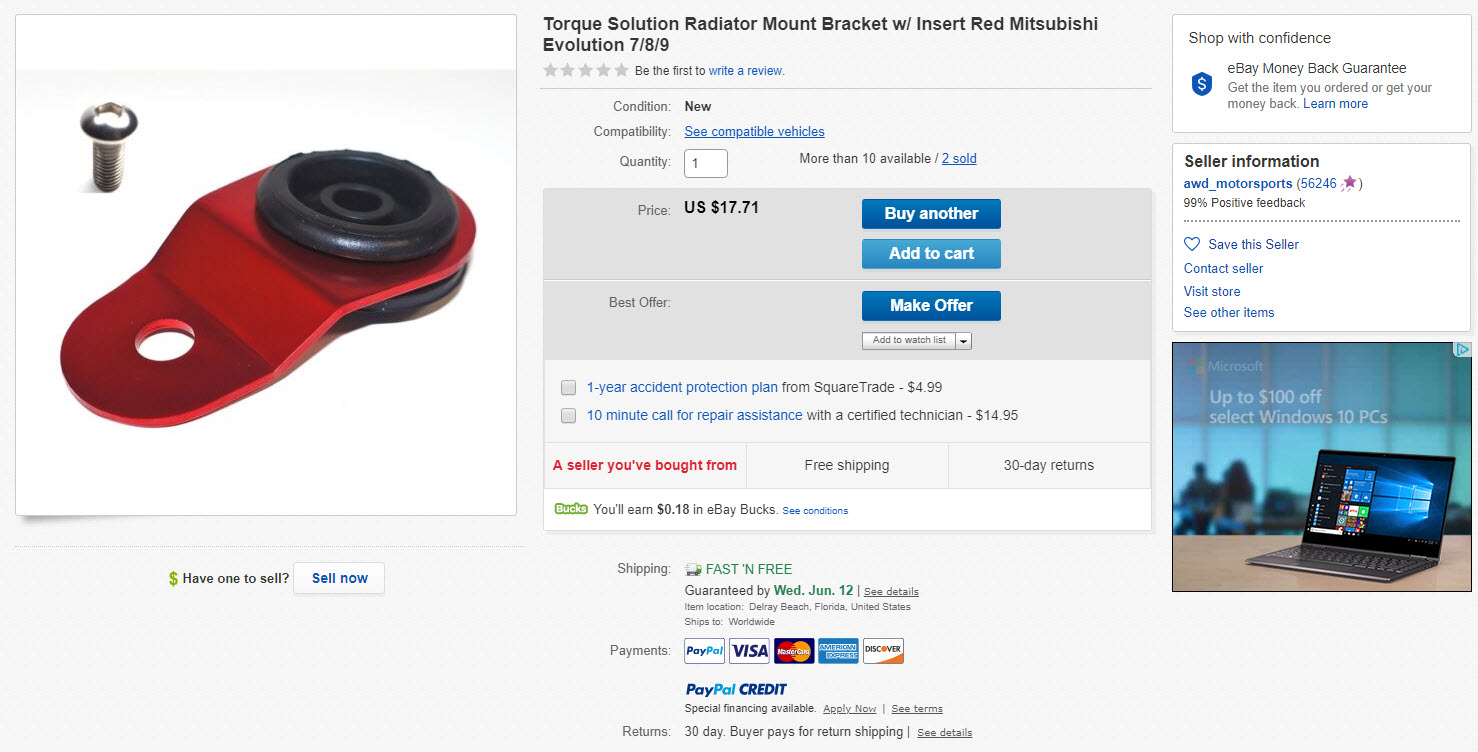
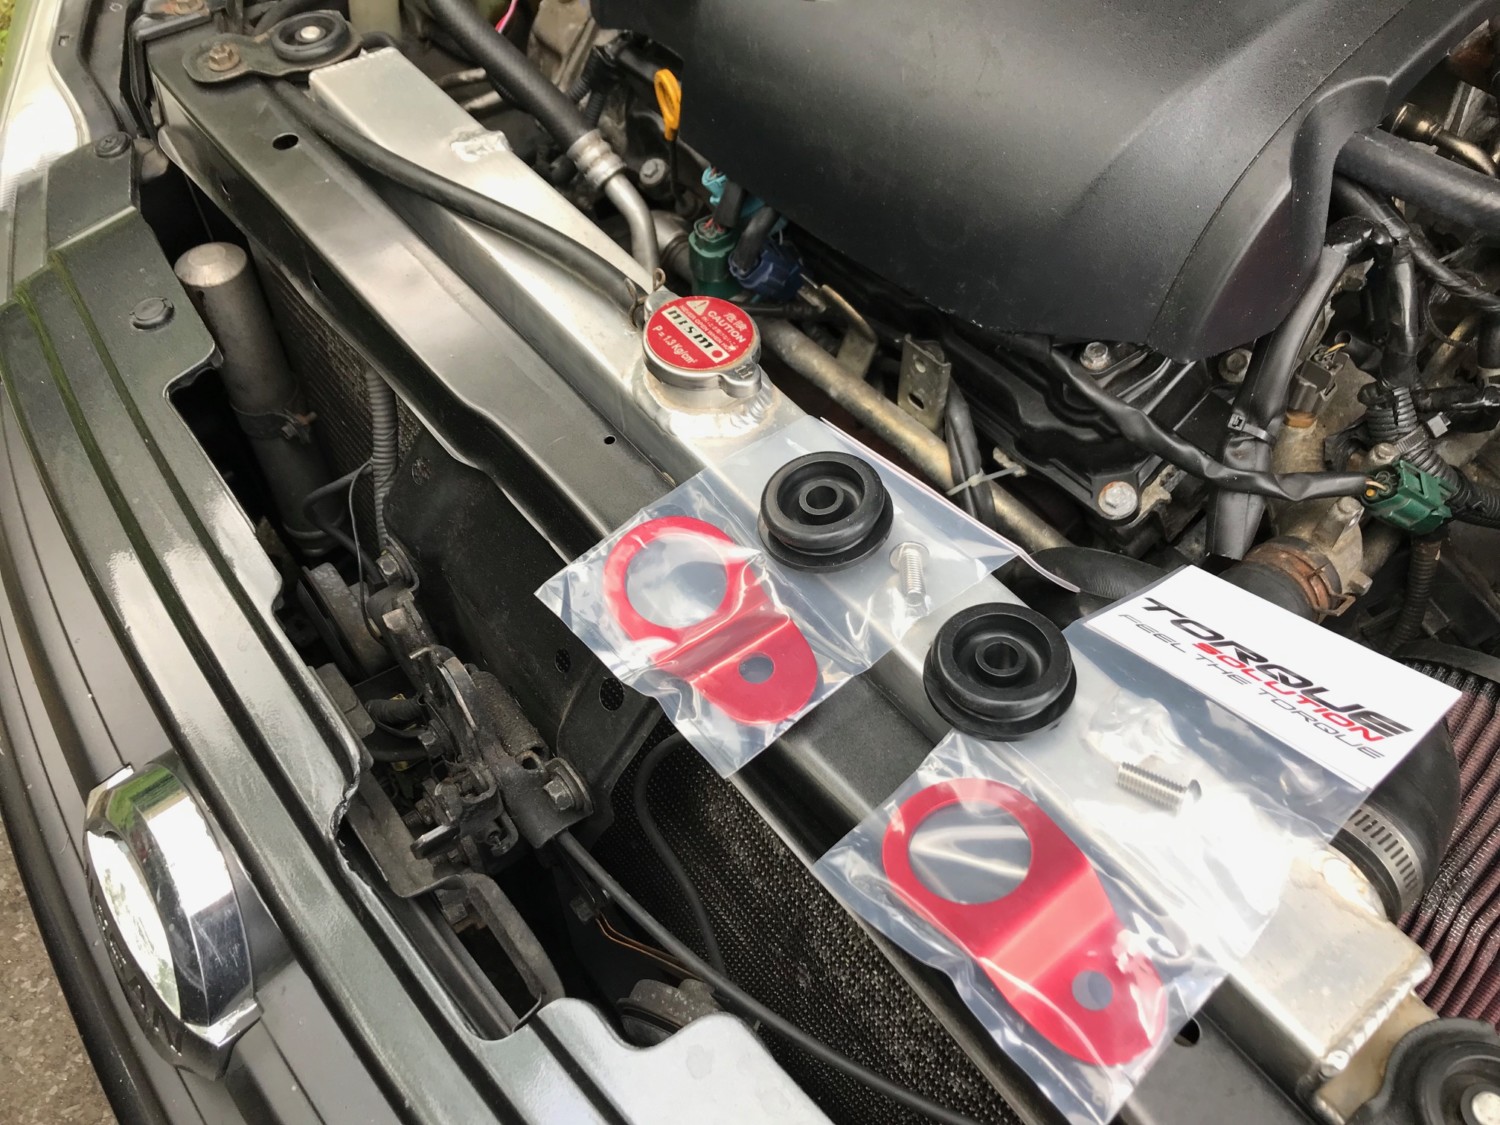
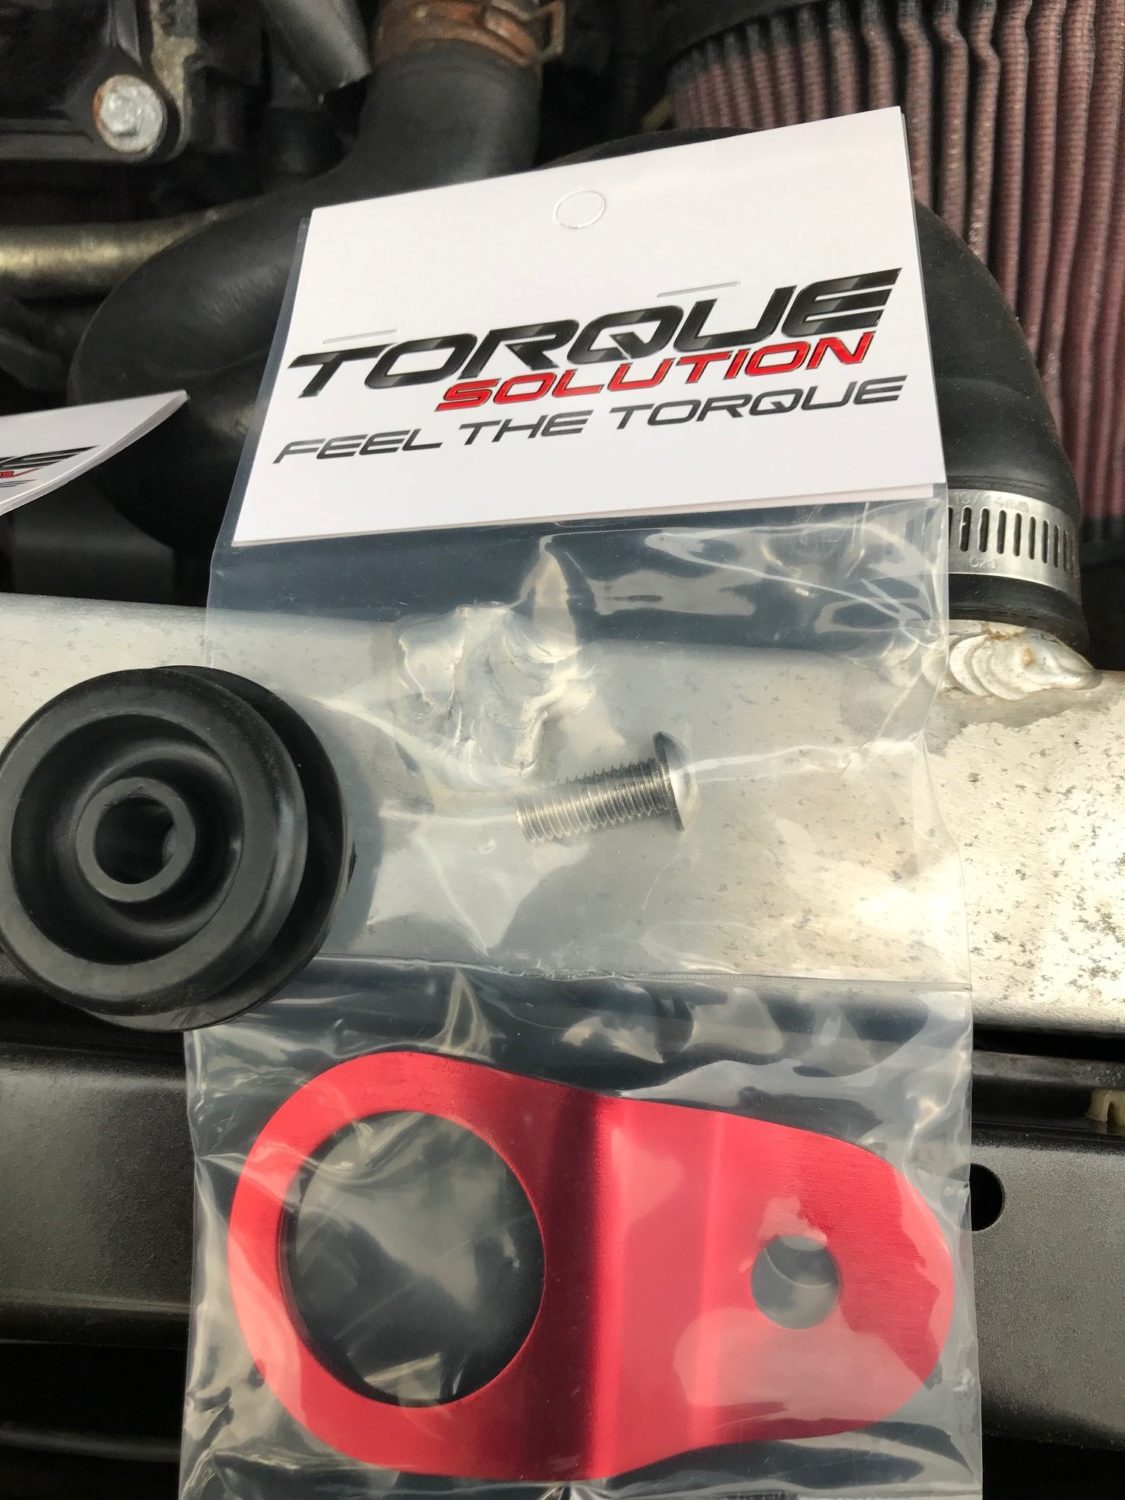
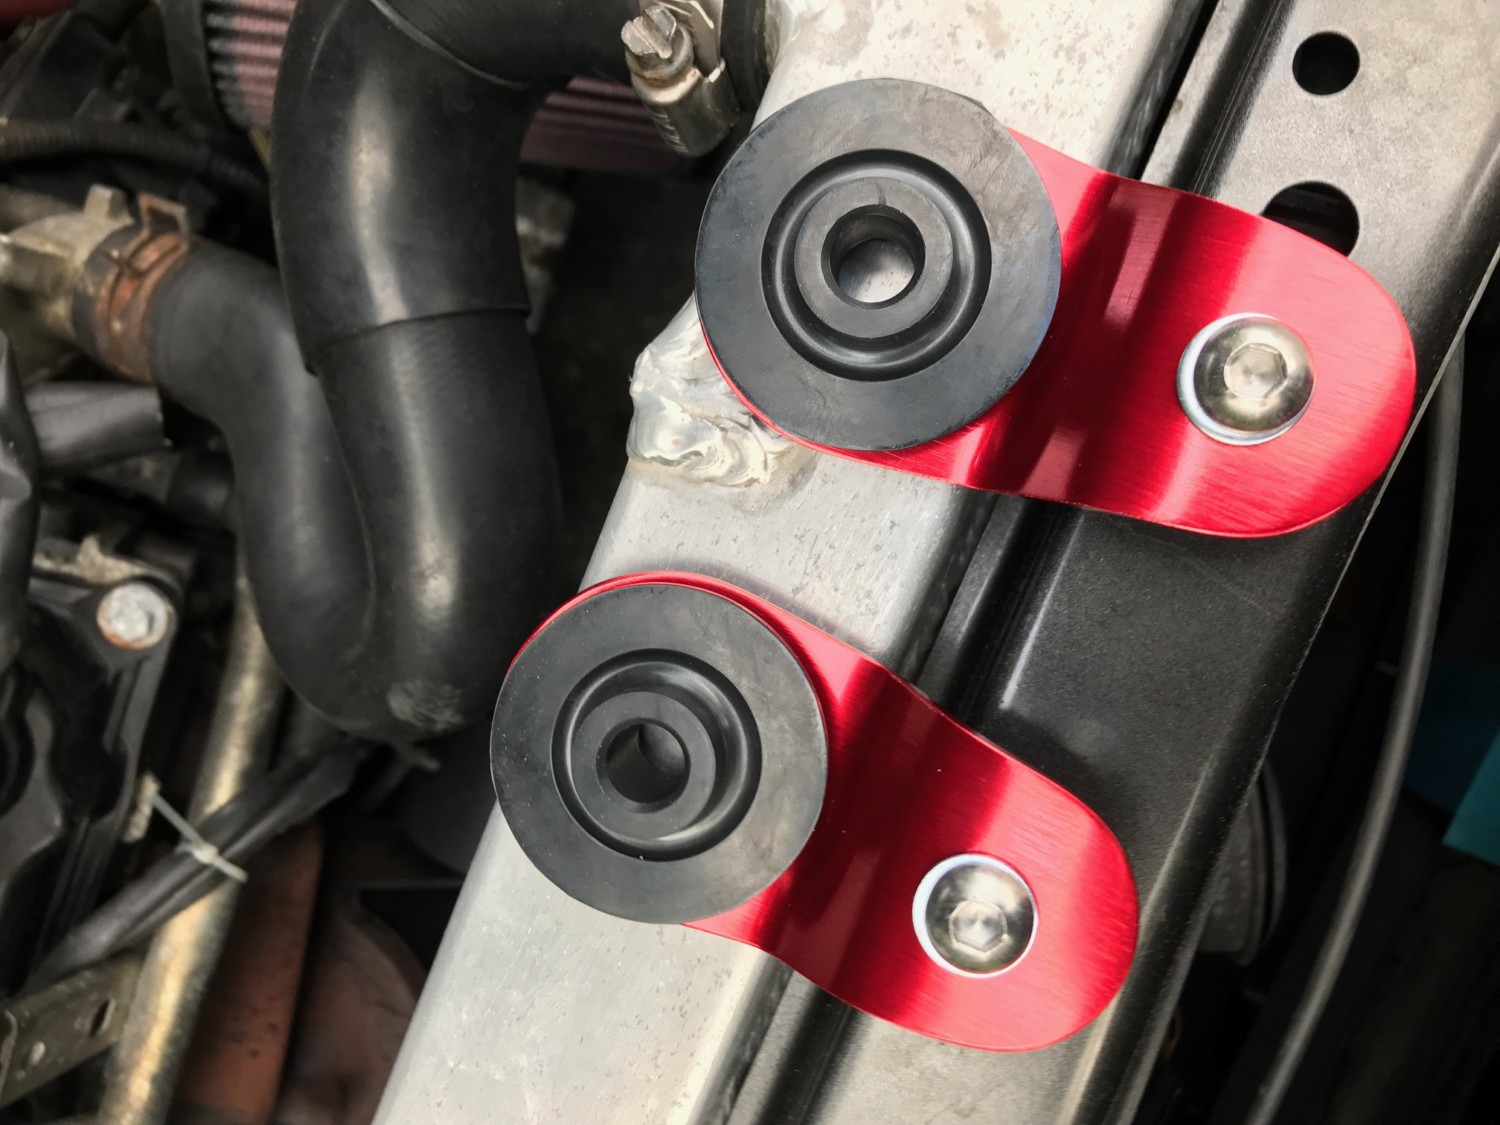
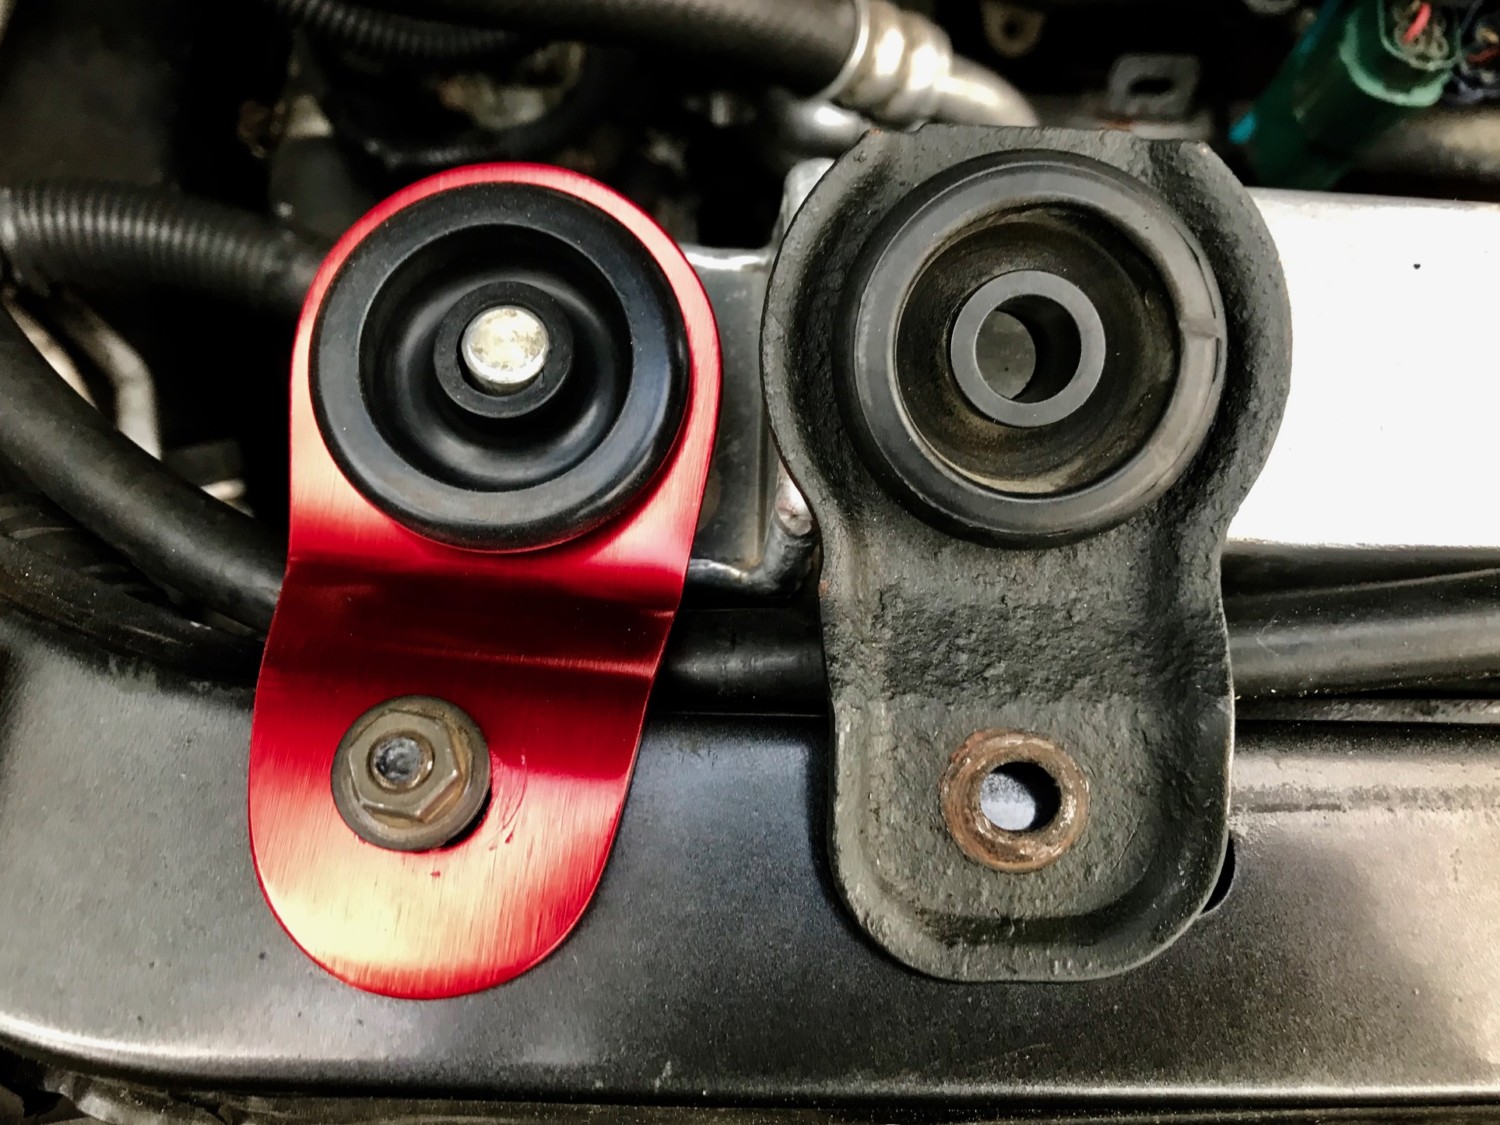
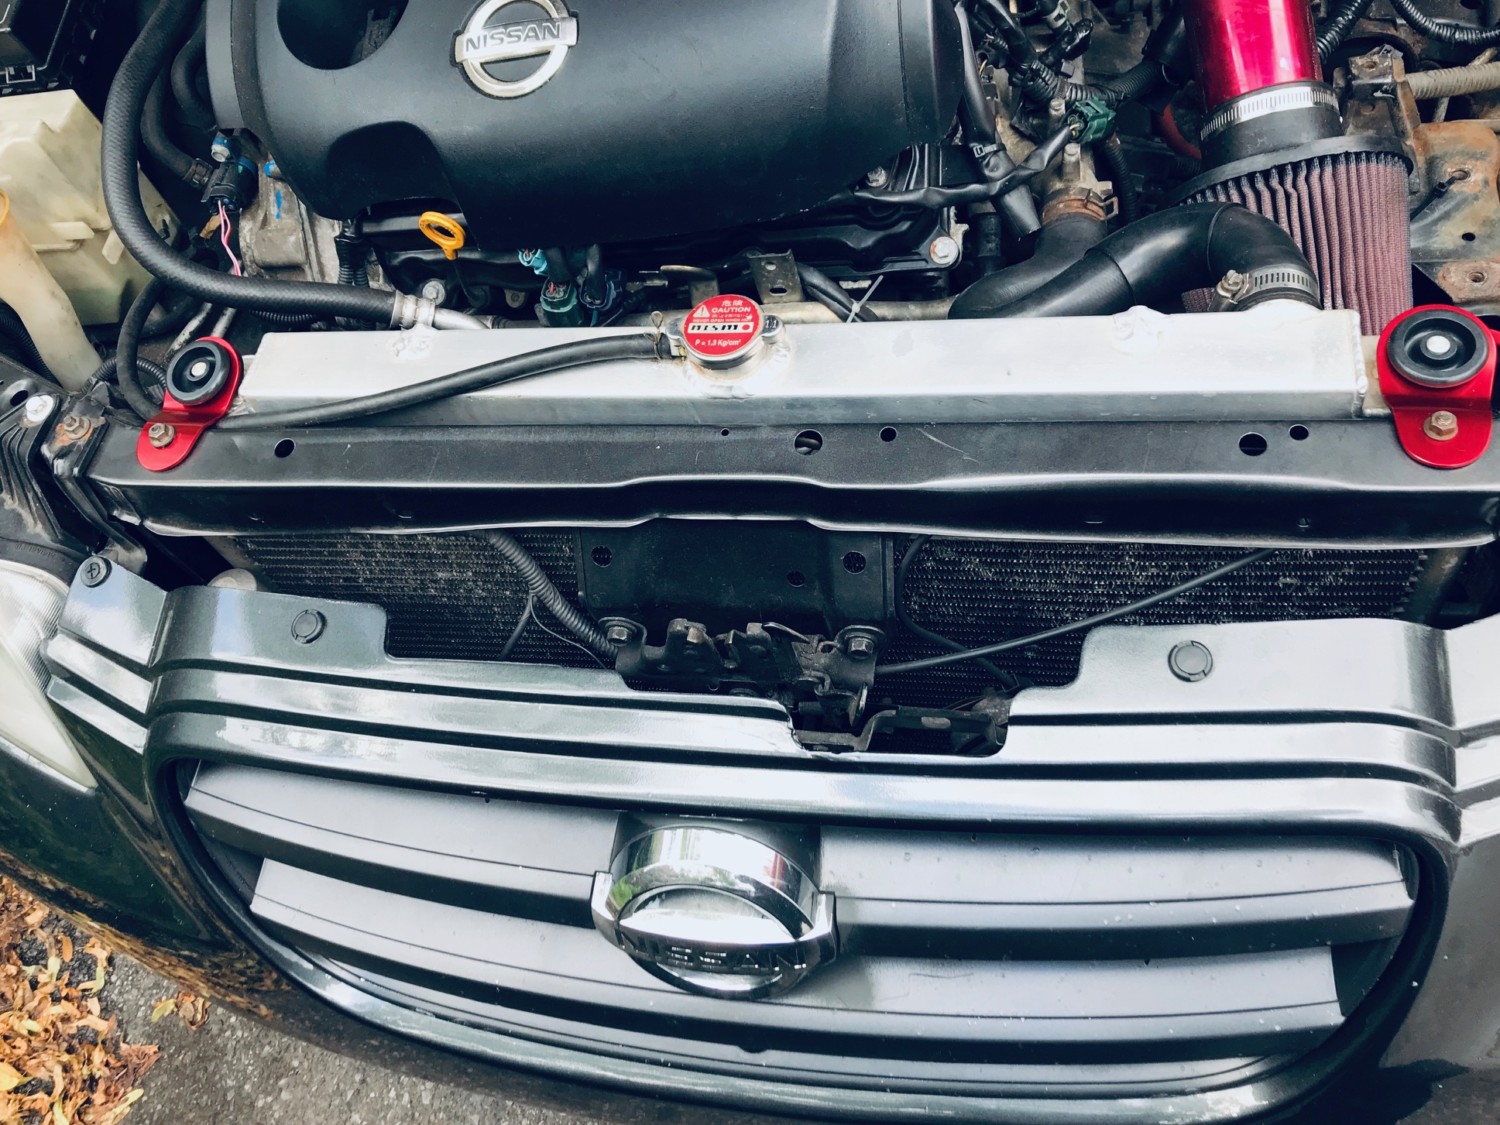
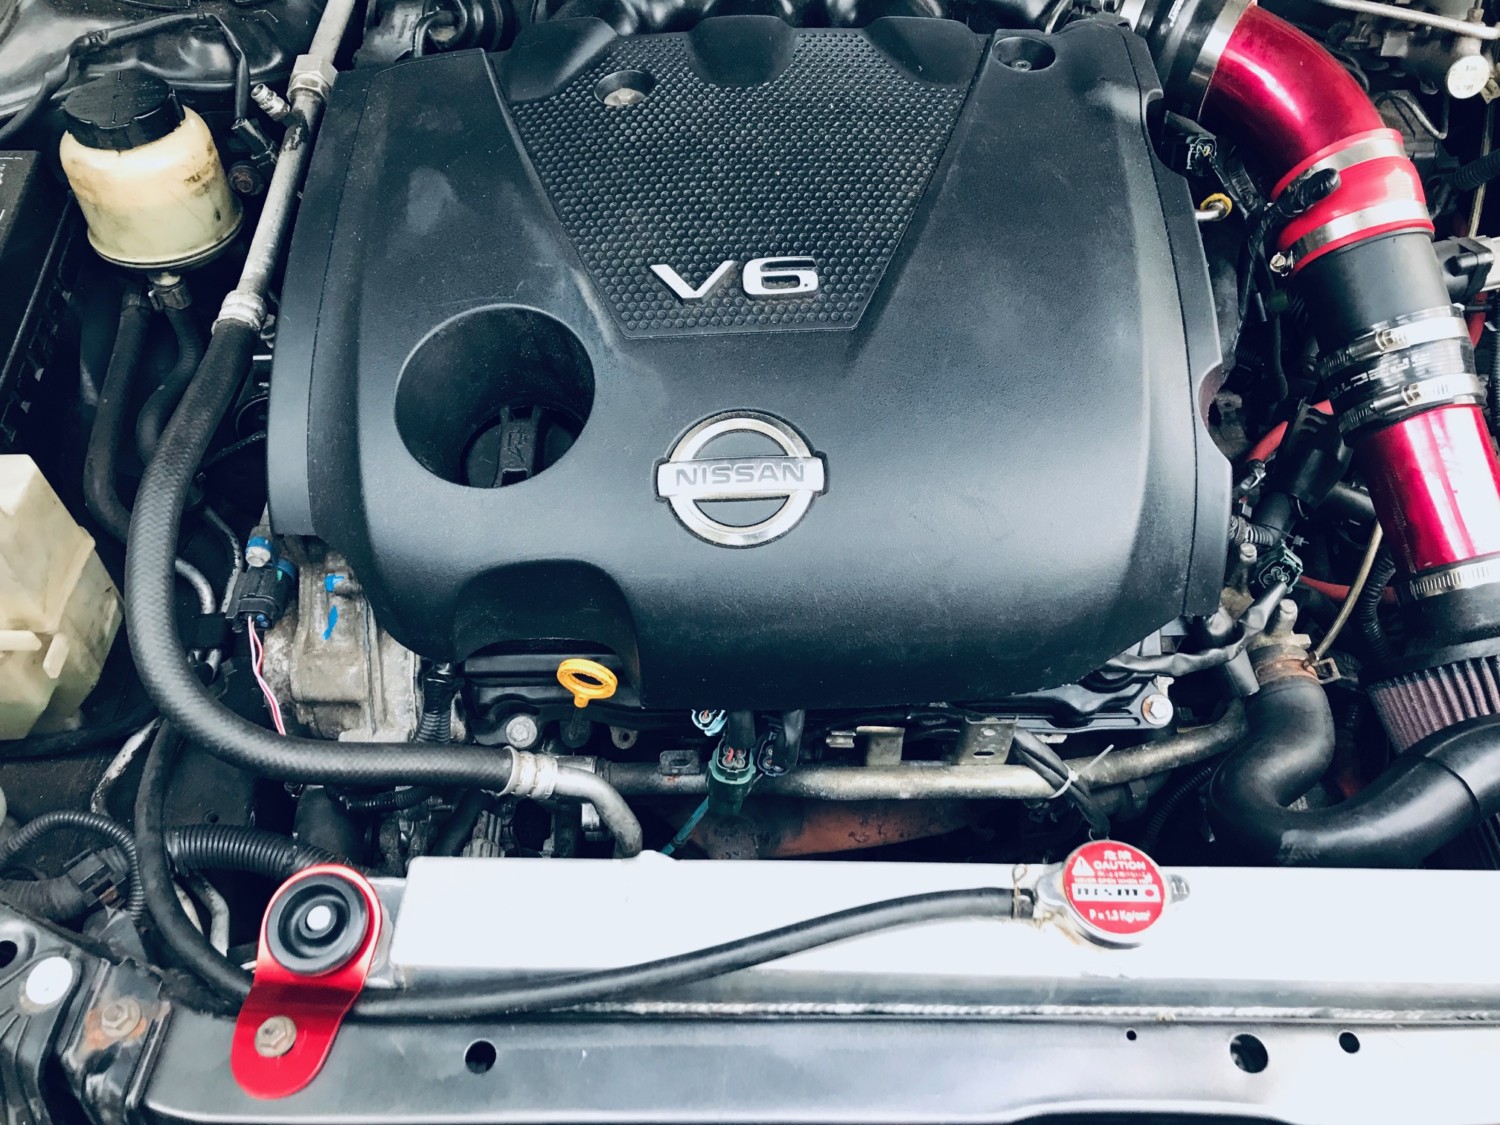
A while back I noticed a fellow member (Jose Vargas) with some EVO brackets on his 5thgen Maxima. I decided to do the same to my car. These are lightweight aluminum mounts that fit great and are great OEM replacements. They also come with OEM rubber inserts and will not rust. They have them in other colors too. I personally chose RED.
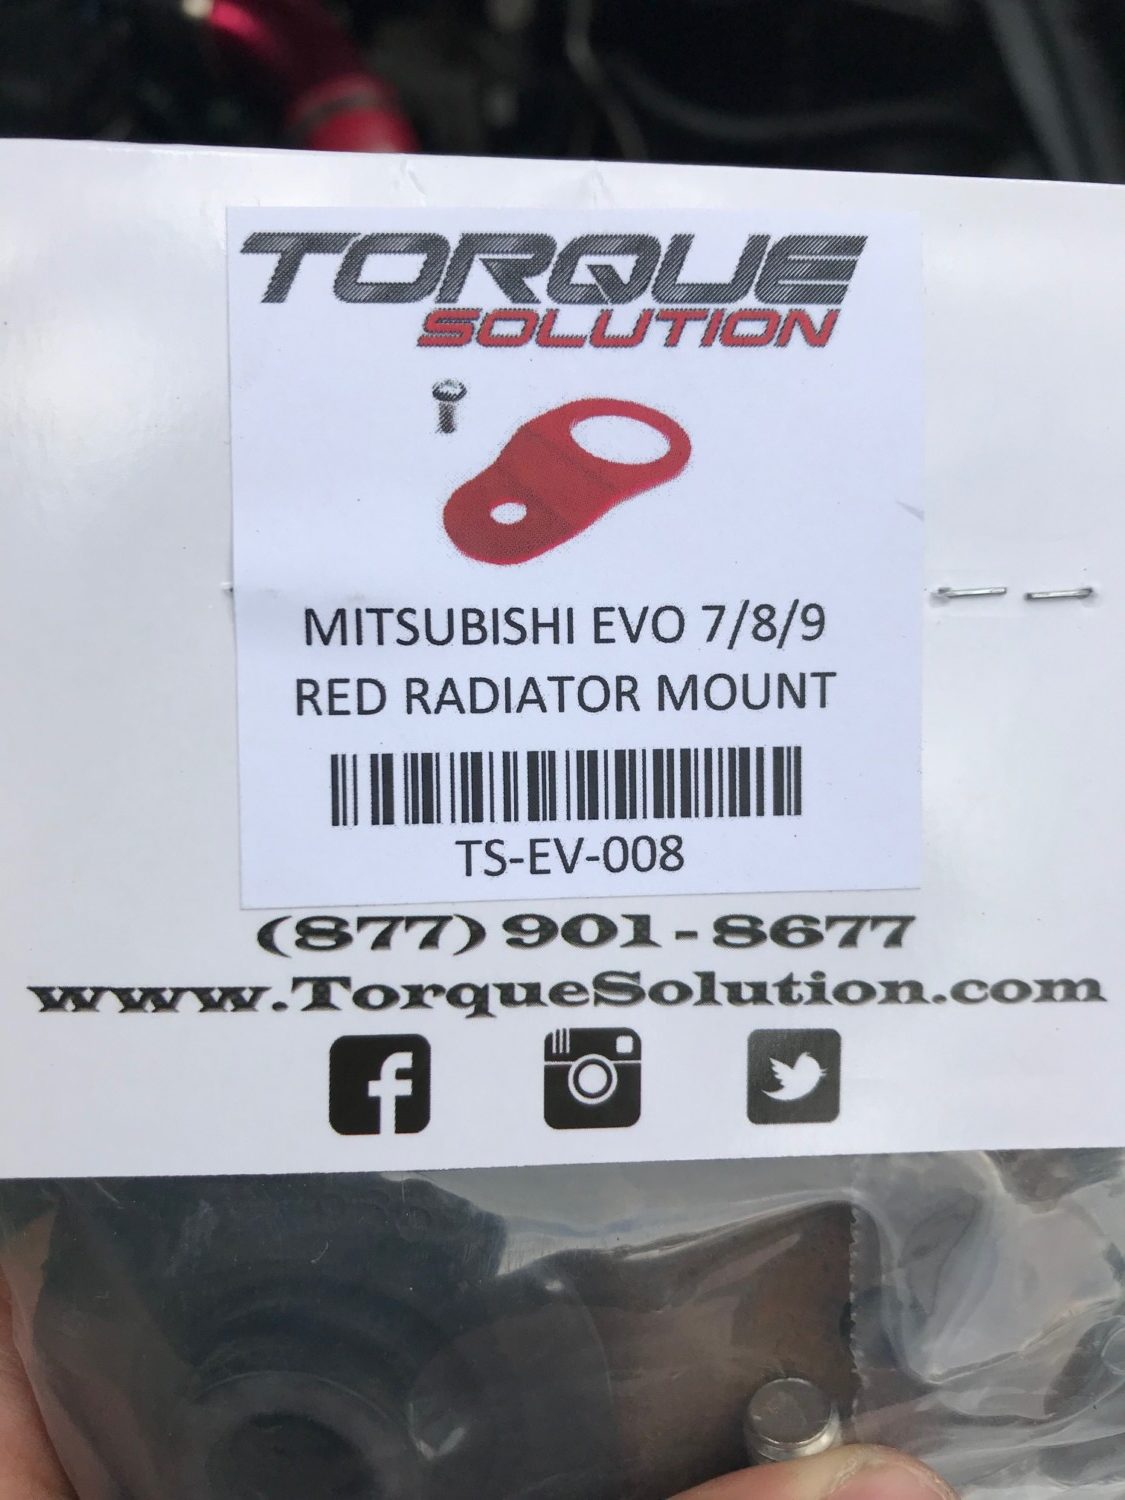
Product Name (search eBay): Torque Solution Radiator Mount Bracket w/ Insert Red Mitsubishi Evolution 7/8/9
Part #: TS-EV-008i
Price: $17.71 (you need two of them so it will be $35.42)
eBay Link: https://ebay.us/RhuIlF
Member Credit: xlack
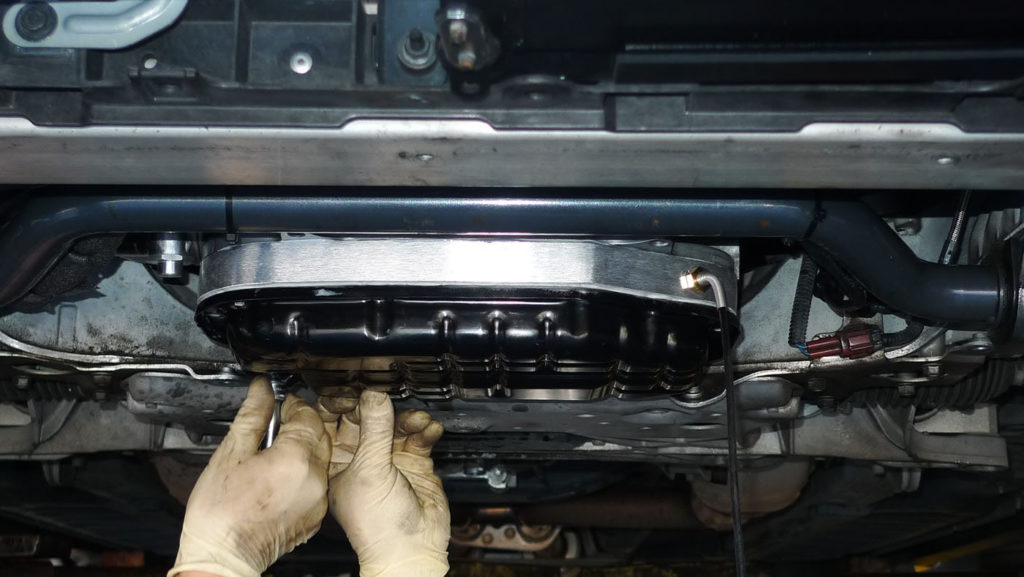
This is from a G37 but the procedure pretty much identical to Nissan Maximas.


OEM Oil Pan completely stripped of silicon residue:

JWT Oil Pan Spacer:

New silicon applied:

Brush used to remove silicon remains: 


This bolt has to be bended in order for the oil pan spacer to fit. (guy from 370z forum had it cut off, but is not necessary):


Bolt is knocked back into position: