Tag

Engine Bay Mods

Browsing

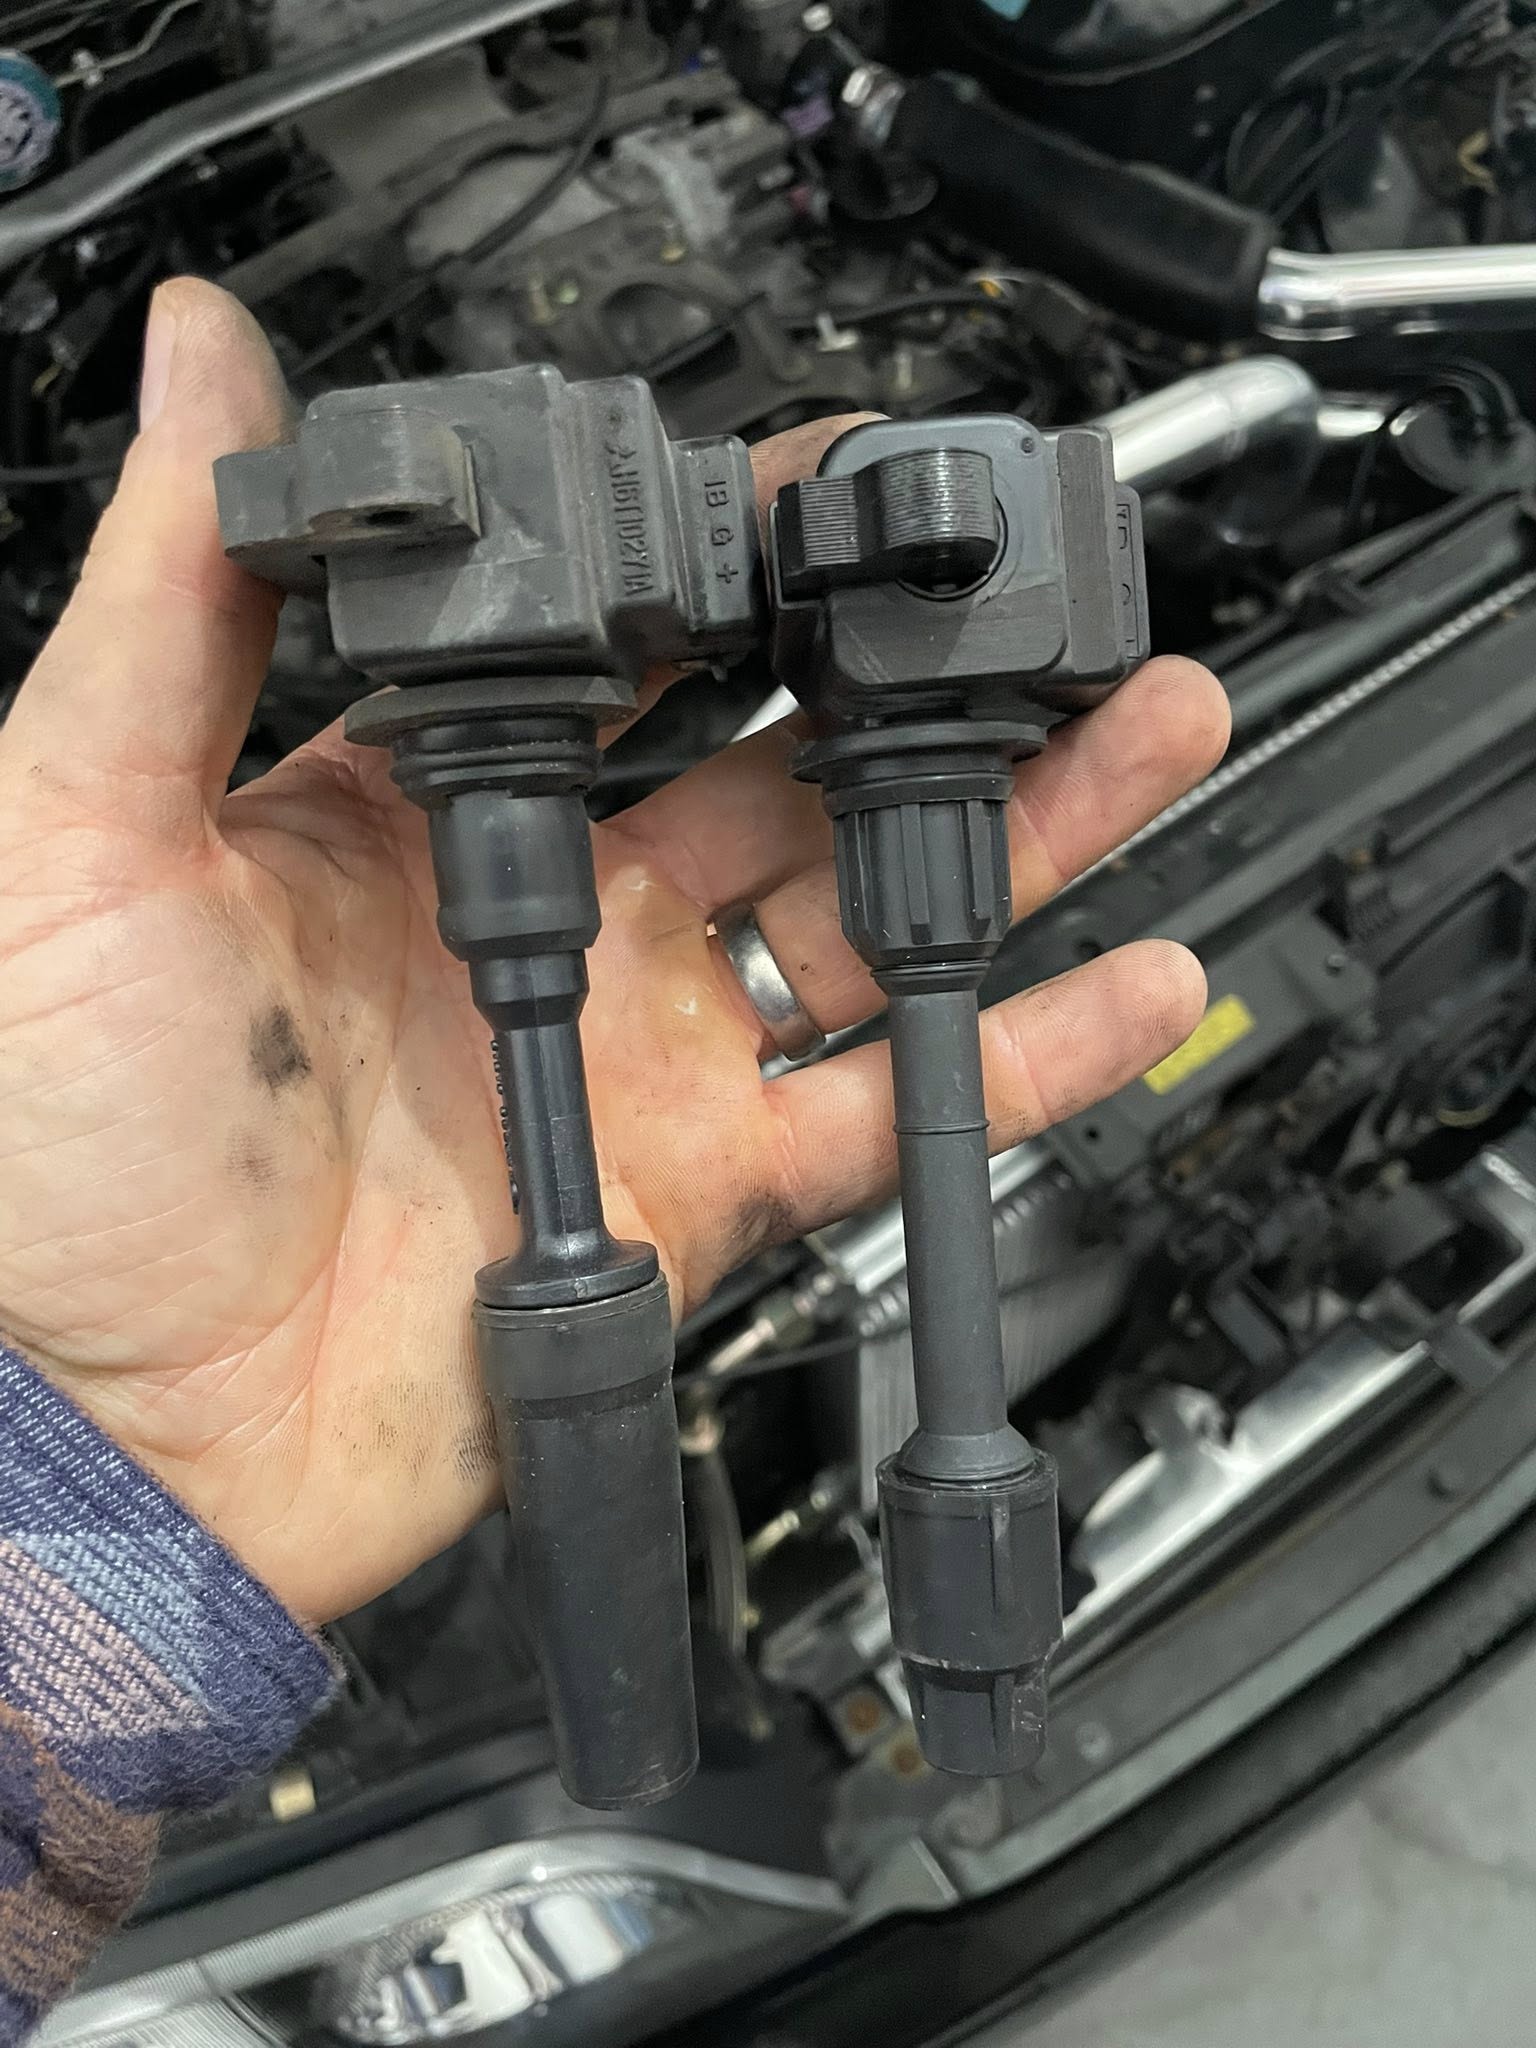
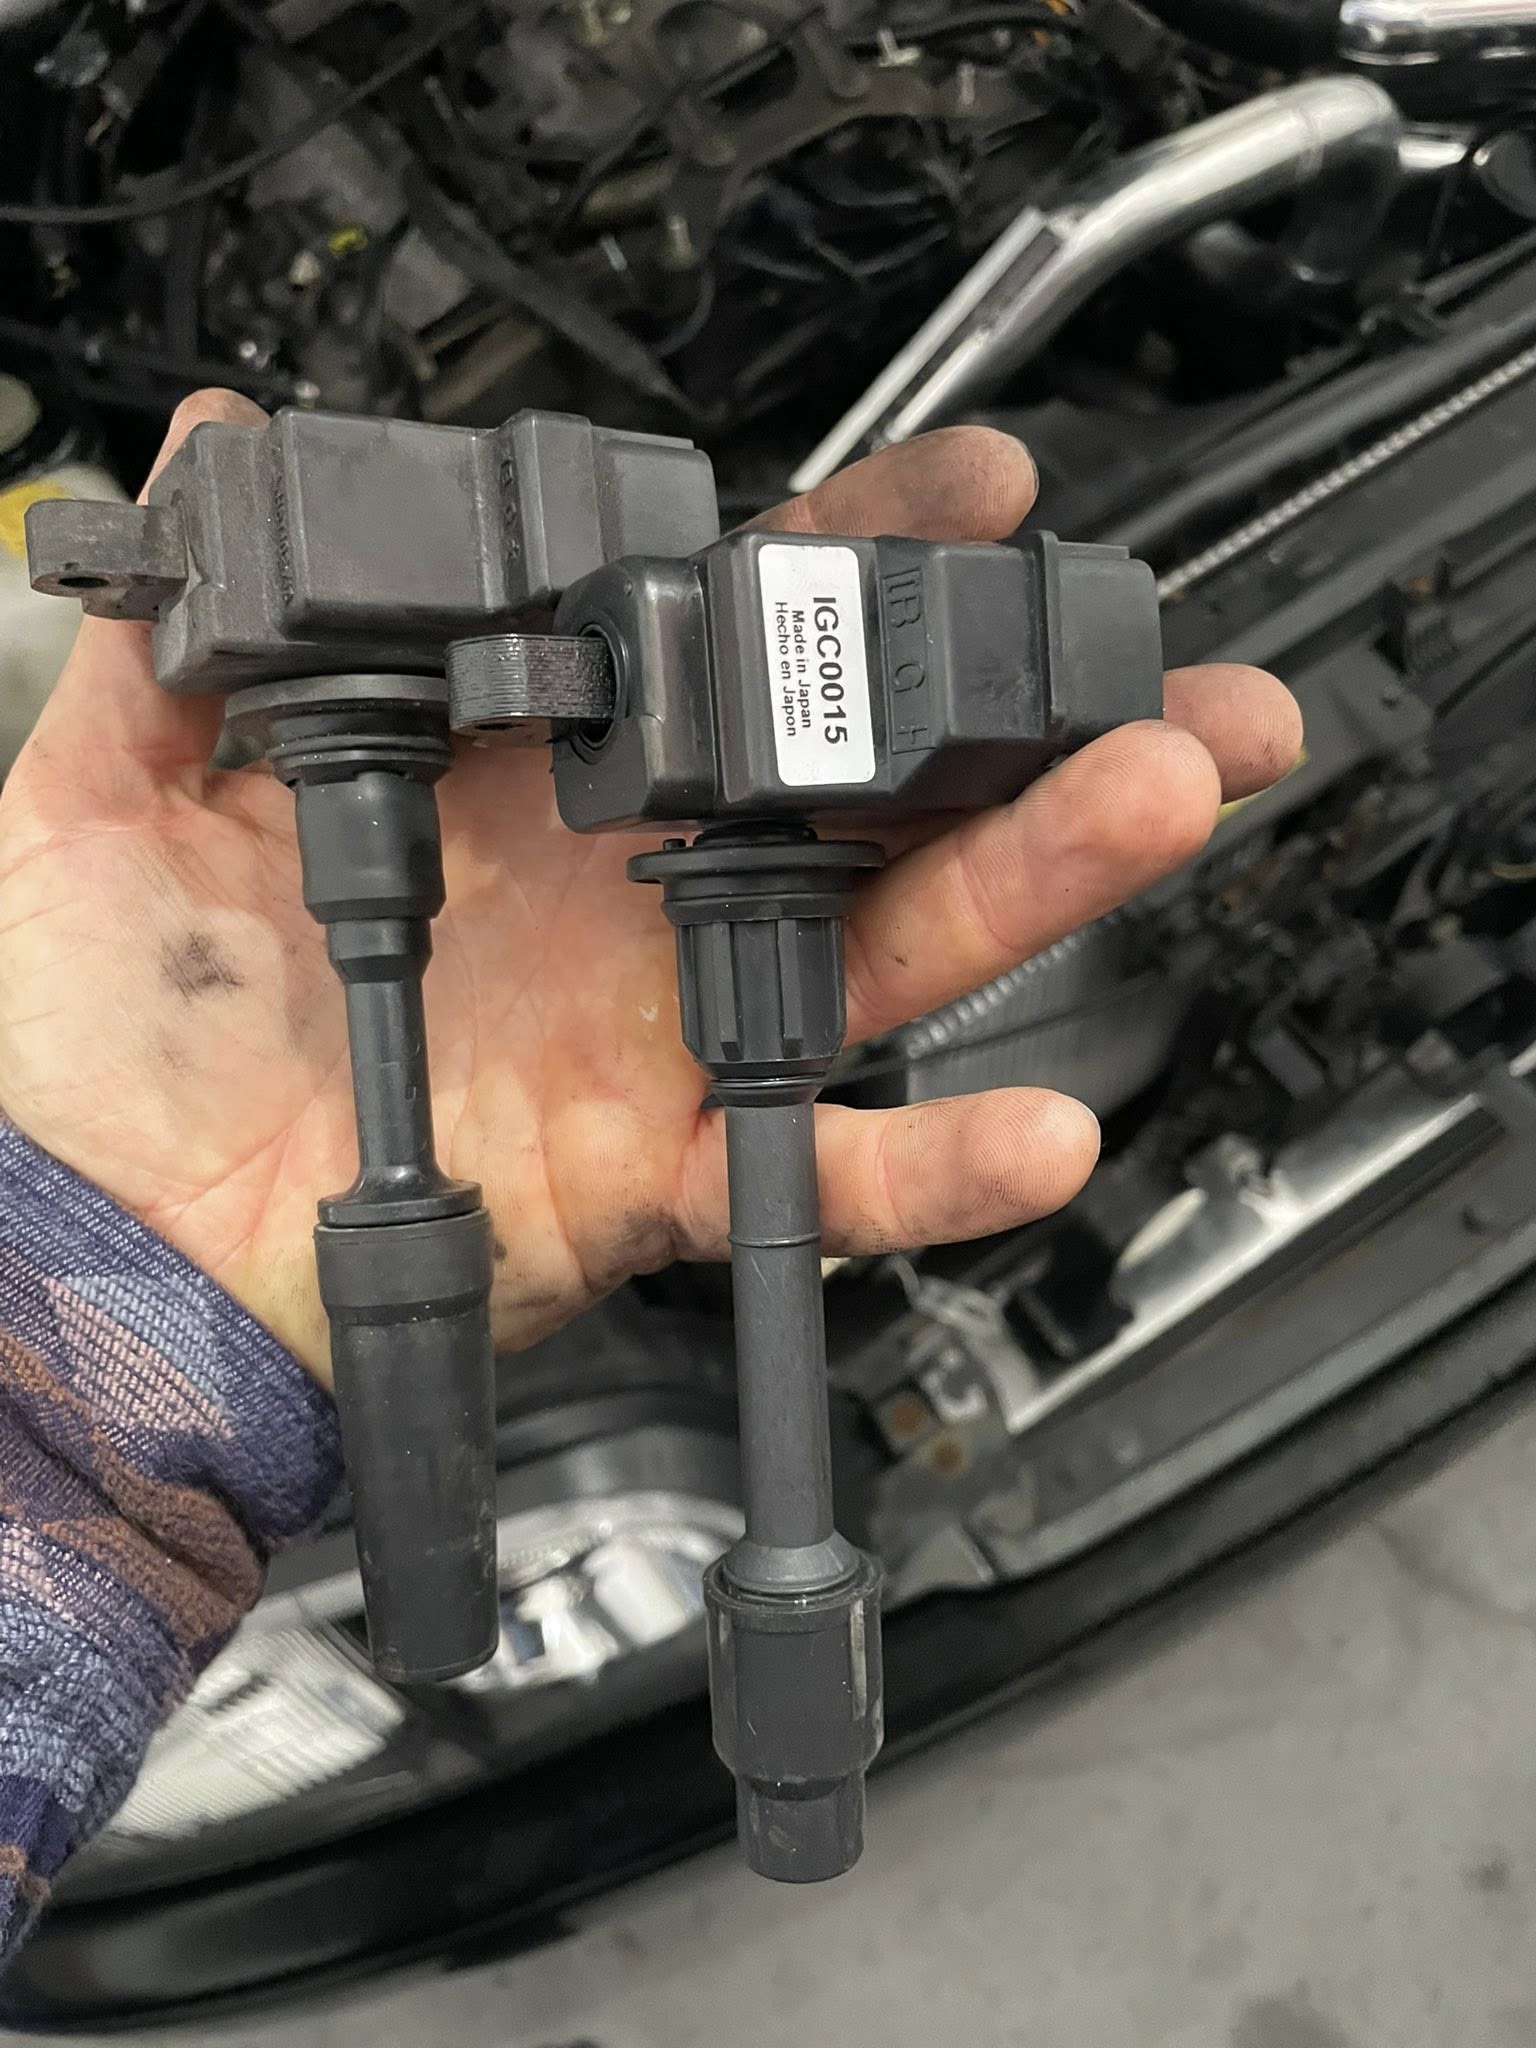
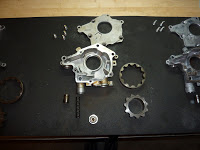
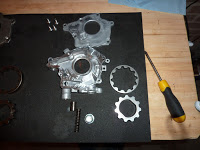
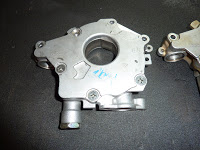
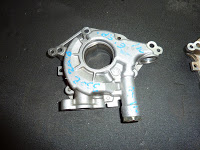
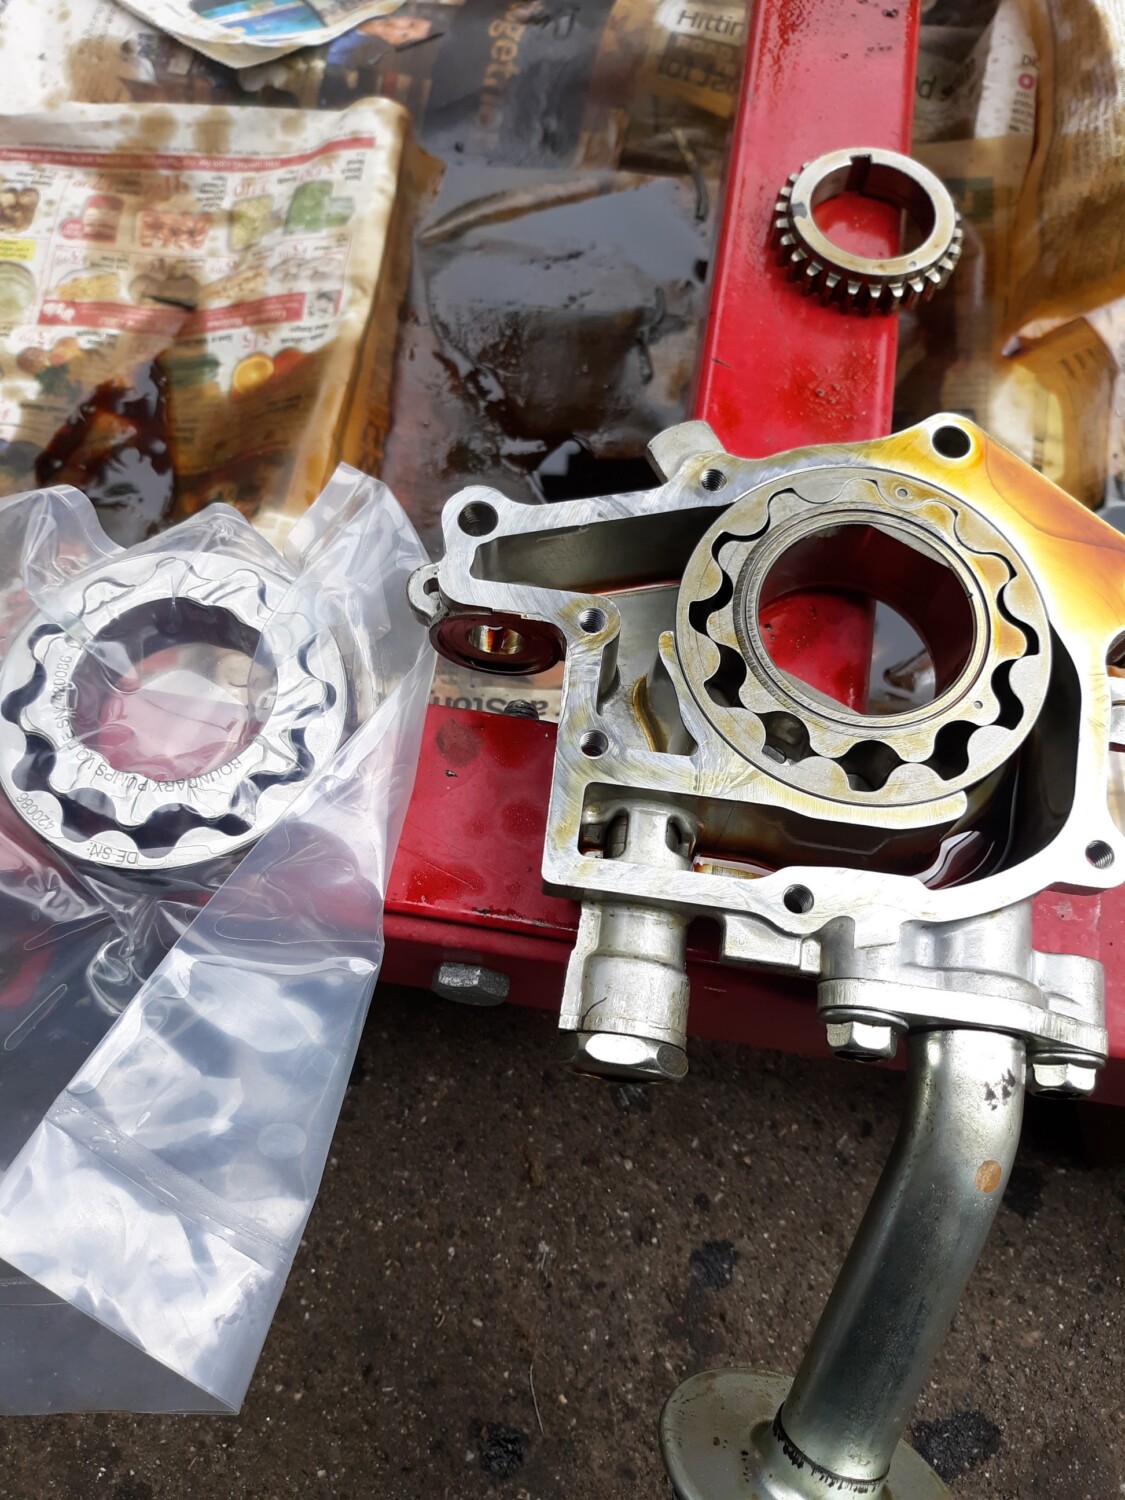
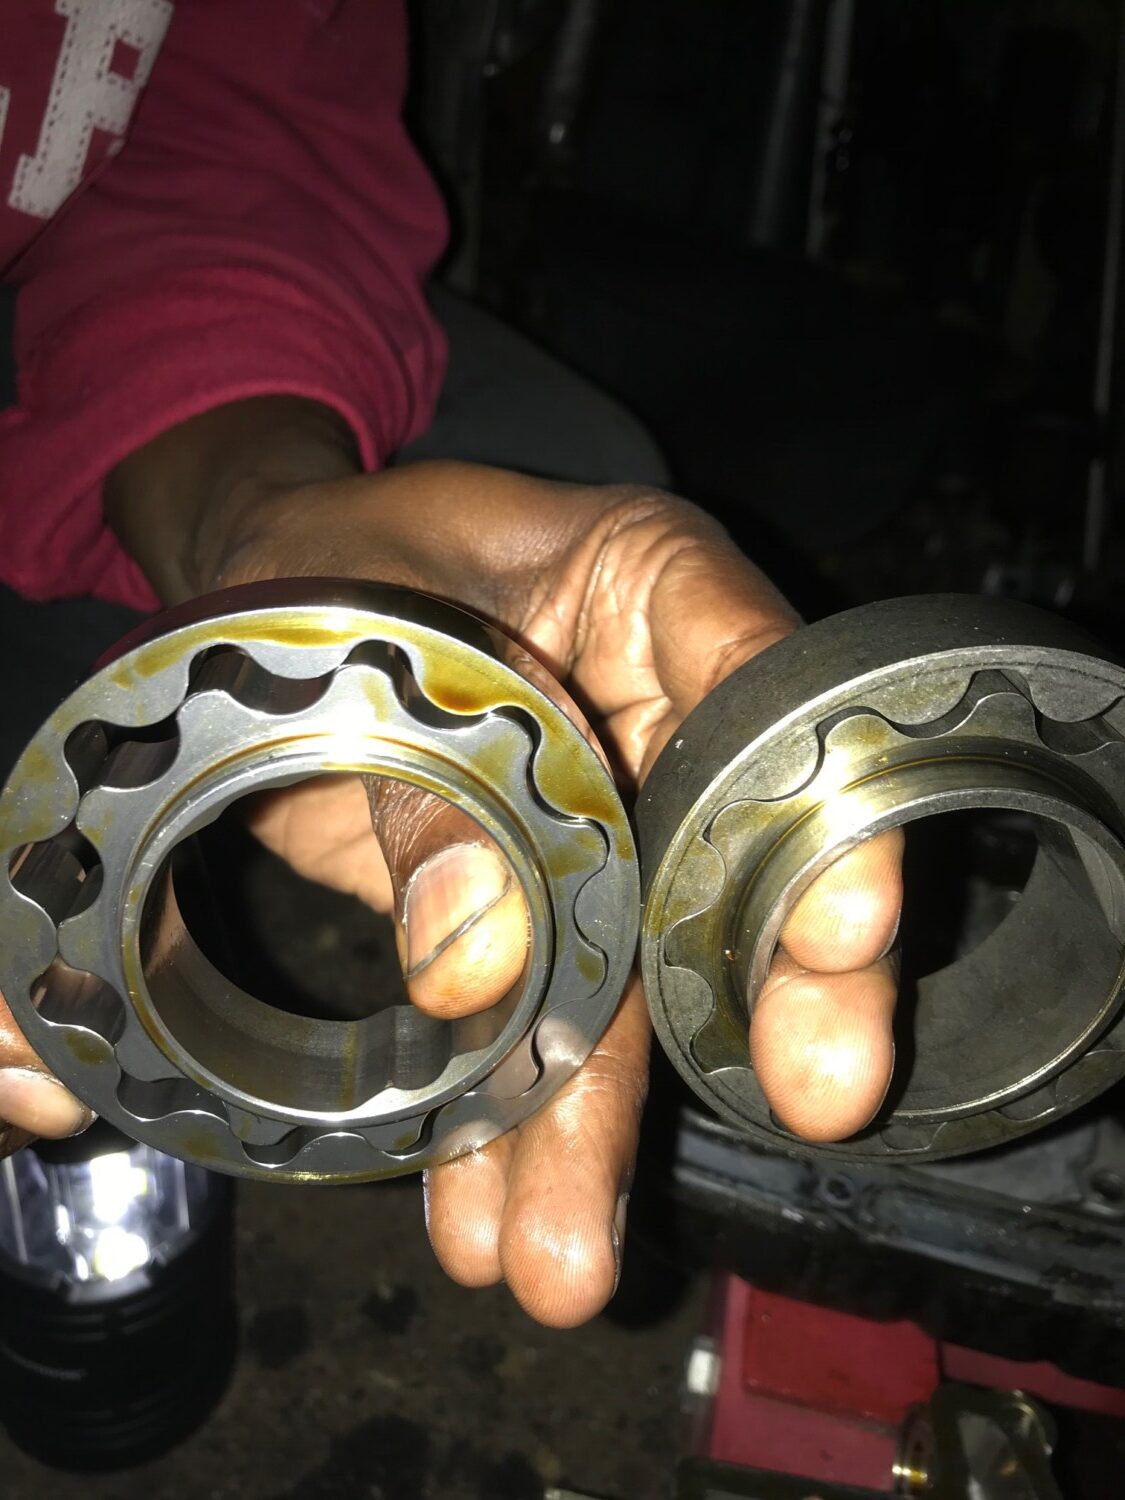
Credit: Nisformance We are comparing the 2009 Maxima oil pump, with the 2002 Maxima oil pump, and the 2006 RevUp 350Z.

Without having to take the 09 motor apart I decided to buy a new oil pump.  This is to find out what pump is in the Newer FWD VQ’s.

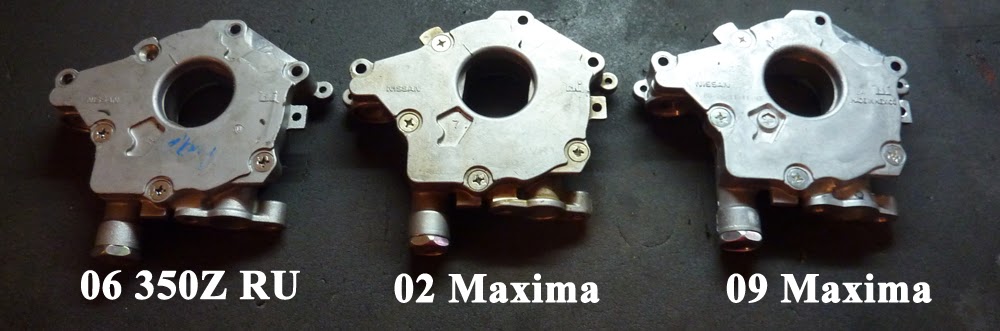
2002 Maxima Oil Pump

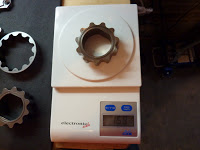
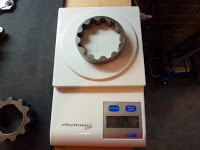
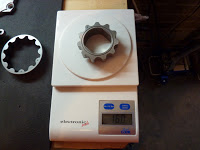
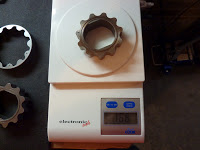
Outer Gear weight- 132 g
Inner Gear weight- 158 g

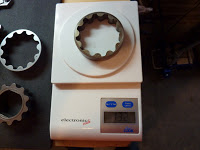
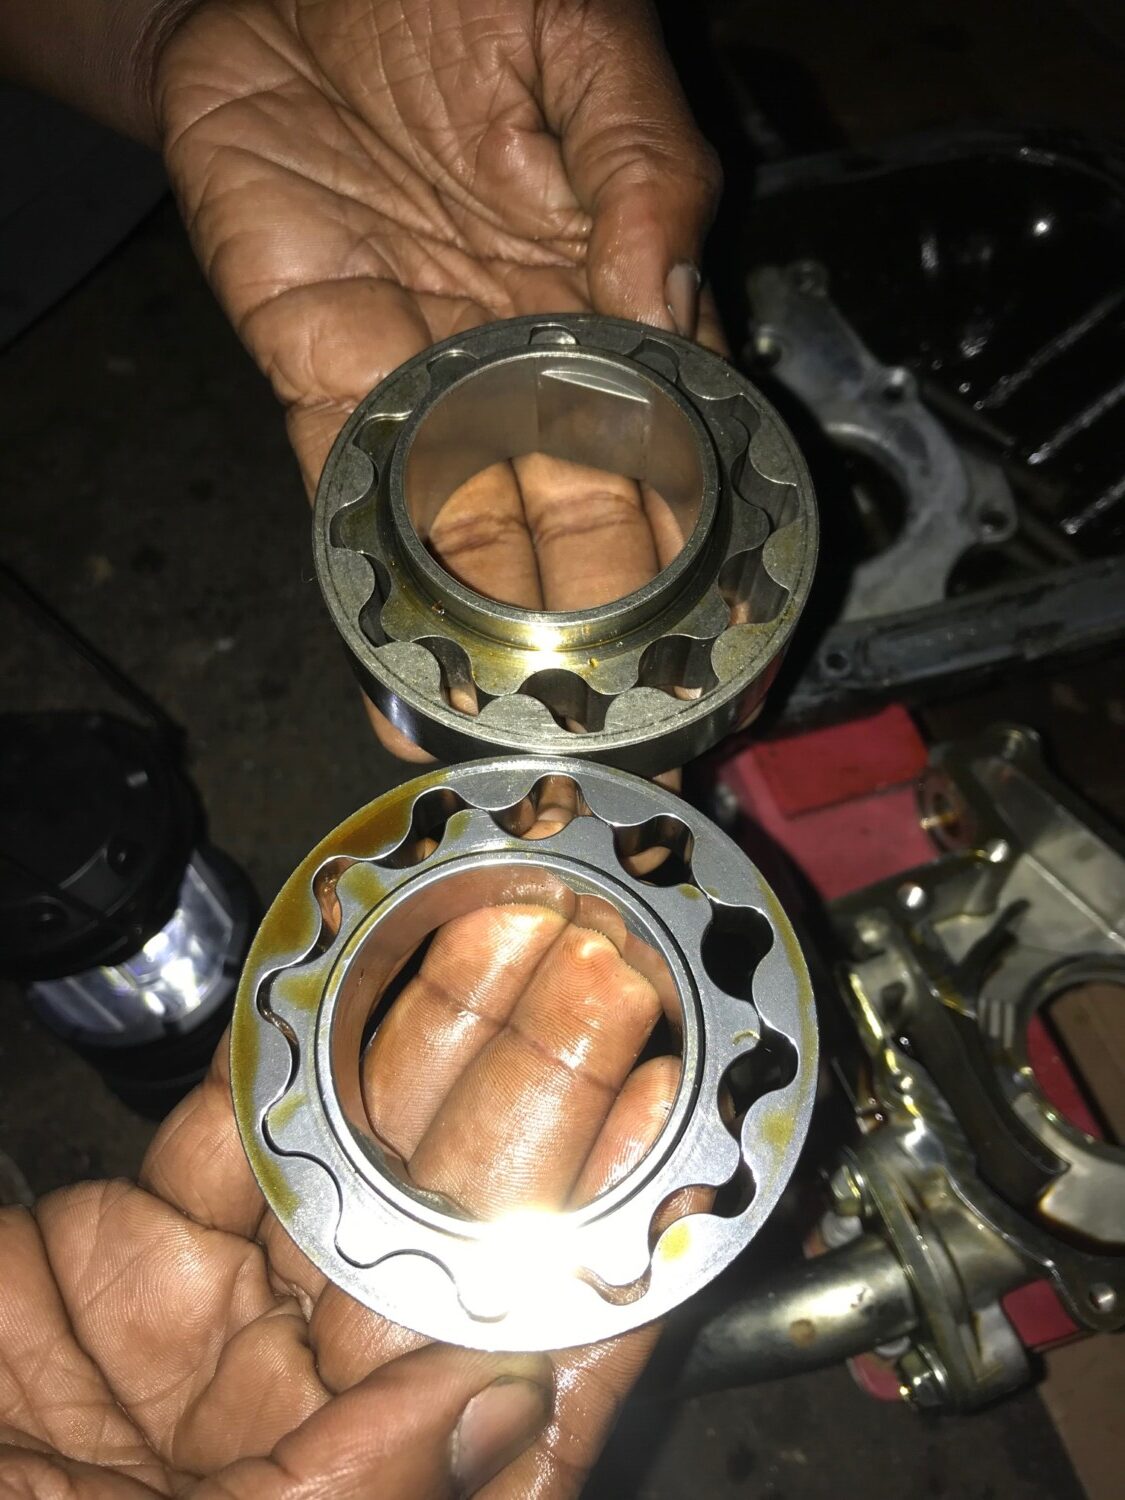
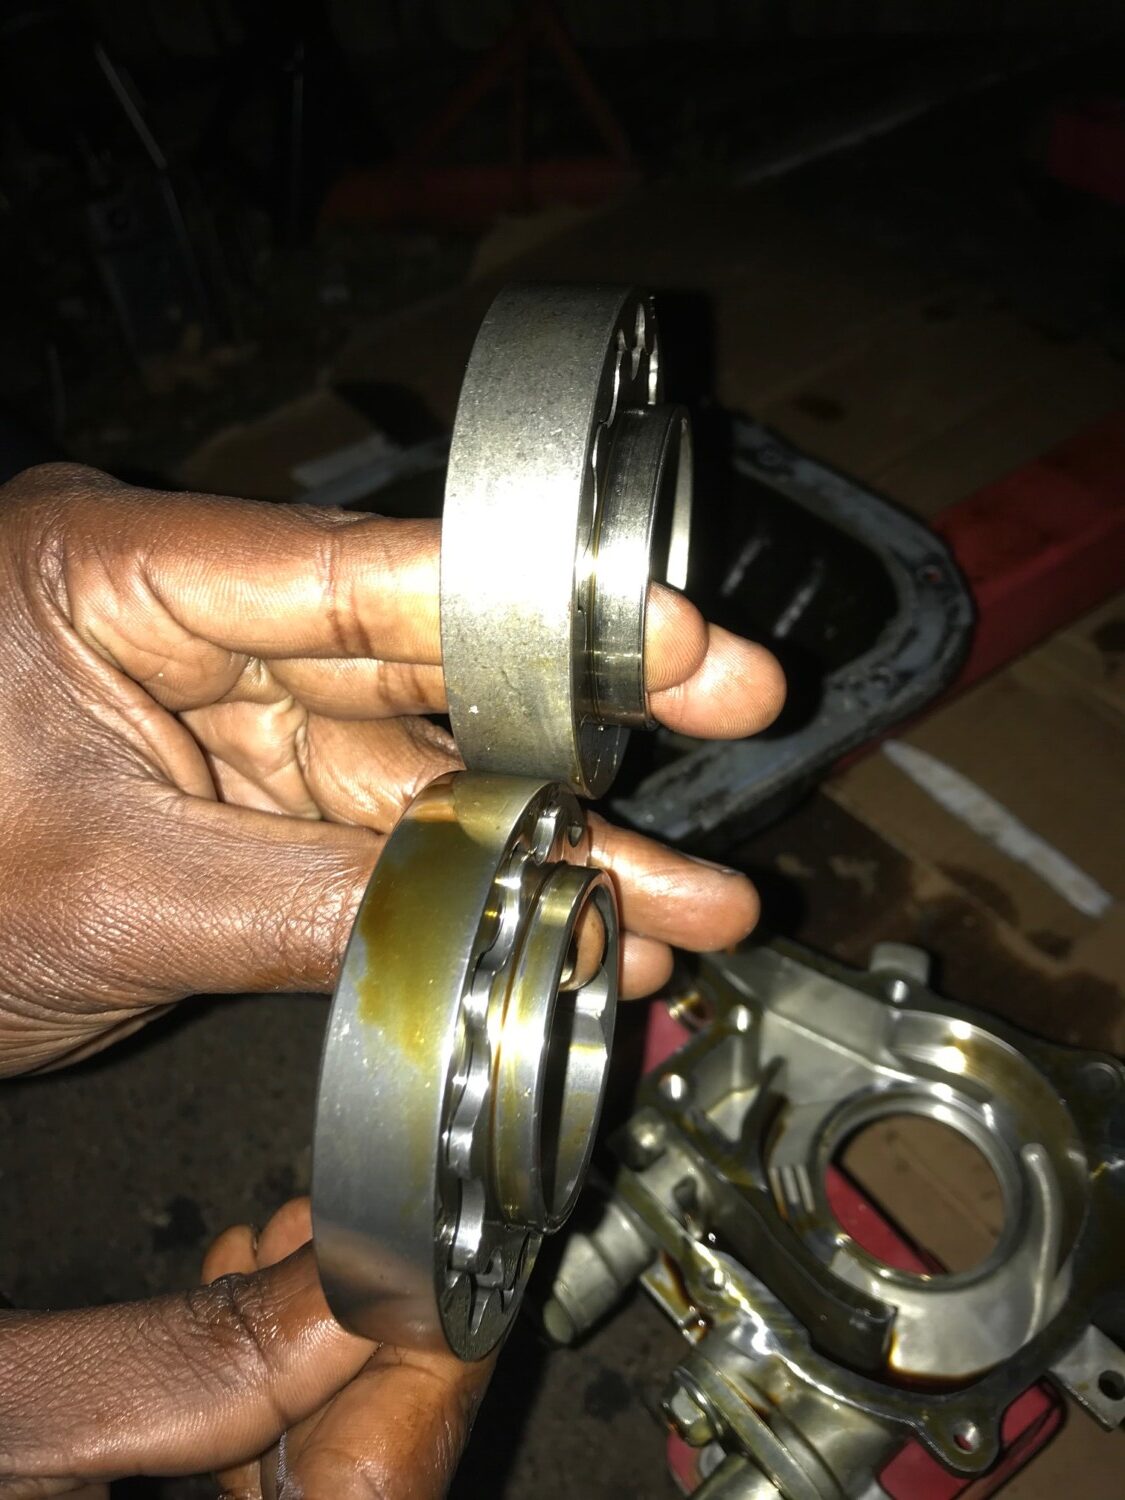
Has dots on the gears.
P/N 15010-8J101 $205.67

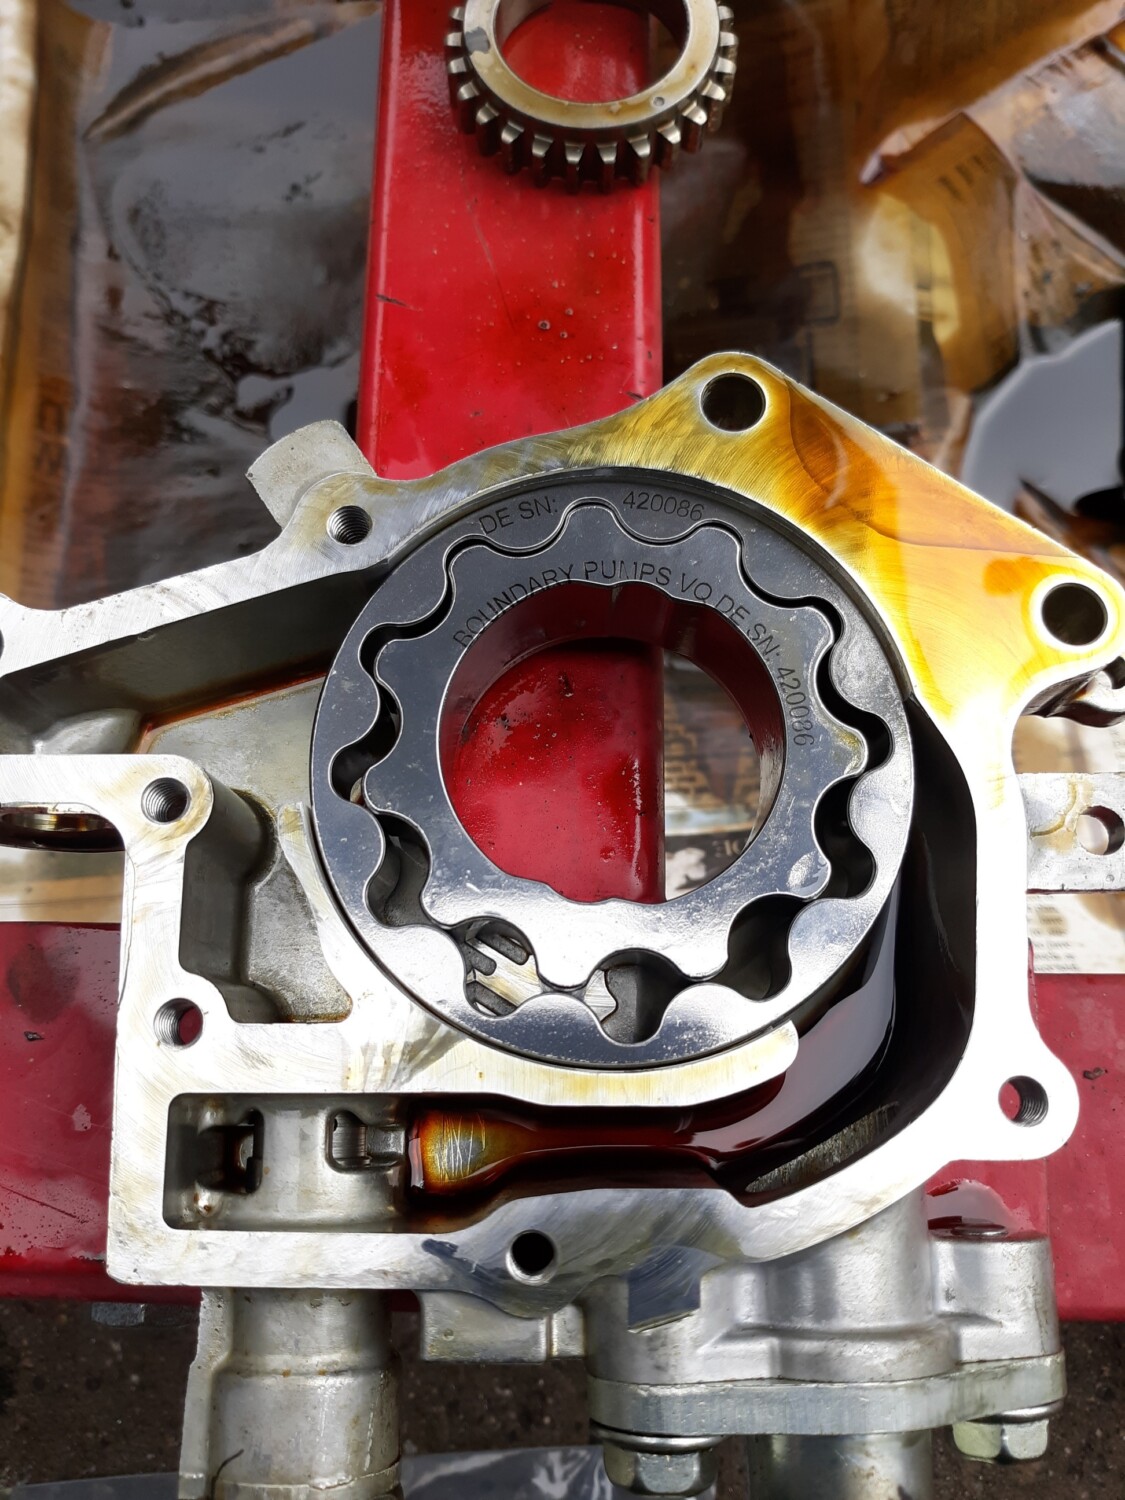
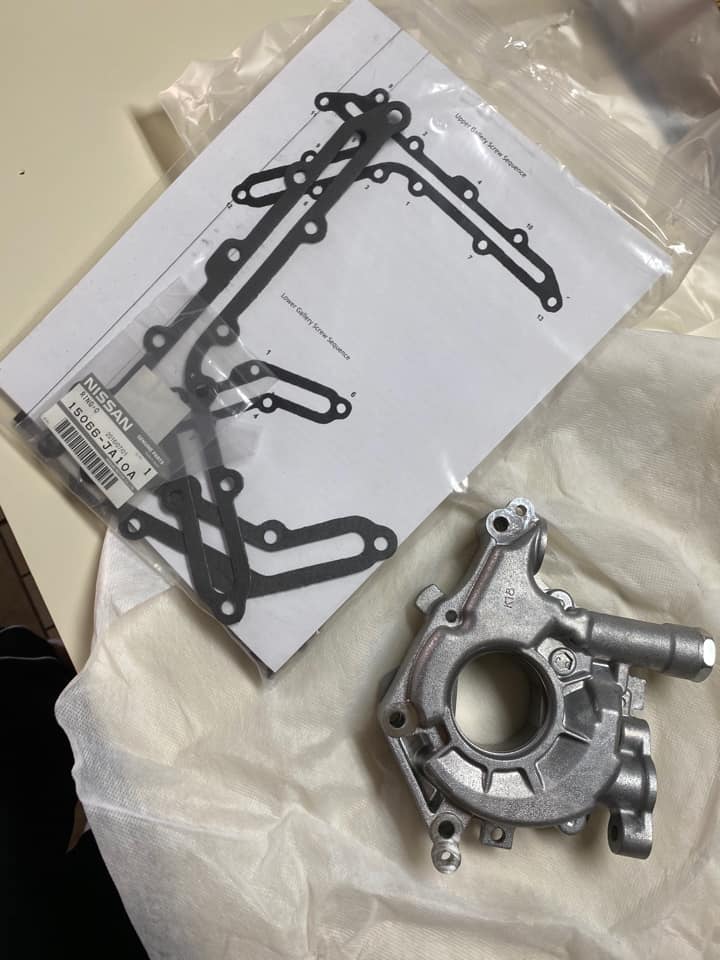
2009 Maxima Oil Pump

Outer Gear weight- 126 g
Inner Gear weight- 160 g

Has dots on the gears, Made in Mexico.
P/N 15010-7Y00A $31.17

2006 350Z RevUp Oil pump

Outer Gear weight- 134 g
Inner Gear weight – 166 g

Has arrows on the gears
P/N 15010-AC700 $183.64

Summary

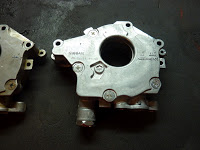
The 2009 Maxima oil pump is $31.17! I was amazed by the price of this oil pump. All of the other VQ pumps range from 180-220. So why is this oil pump so cheap? Well the casting looks cheap with lots of flaws. One thing i noticed is there is a lot of play in the pump you can simply shake it and hear the gears hitting the case. Now this pump is brand new and the others are not. This 09 pump is the only one that has the “looseness” like that.

The weights are as follows:

02 Maxima O- 132 I- 158
09 Maxima O- 126 I- 160
06 ZRevUp O- 134 I- 166

All weights are in Grams.

As you can see the outer gear on the 09 has the biggest difference, this might be why the pump cost so little. The inner gear is not so big of a difference but its still 6g lighter than the rev up

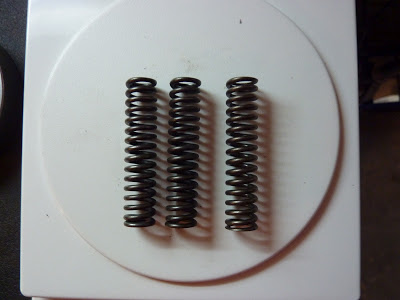
All of the springs look the same, they all have 15 coils. And feel the same but I don’t have any way to test the springs.

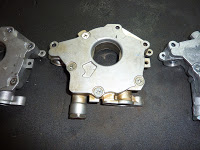
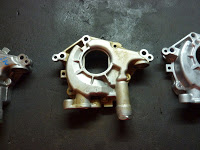
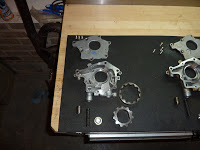
Left to right- 06Z, 02 Max, 09 Max.

Loading

Of course, my ’02 valve covers are leaking at the spark plug tube seals, so I decided to upgrade. I went to the dealer and picked up a set of fresh ’04 3.5 Maxima valve covers.

Part Numbers (2004 Valve Covers):

  • 13264-7Y000
  • 13264-7Y010

Valve Cover Gaskets (required):

  • 13270-EA20A
  • 13270-EA21A

Bonus: The new valve covers come with a PCV valve already installed—so you can save yourself another $8. I didn’t realize that at first and ordered one separately, but at least I’ve got a brand-new spare now.


Loading

Credit: Sam J.

The kit does include its own sandwich plate, but I opted not to use it. The included plate felt cheaply made and, more importantly, it wasn’t thermostatic—meaning it doesn’t regulate oil temperature. The GReddy plate provides much better quality and functionality.

Parts Used:

  • Evil Energy 19-Row Oil Cooler Kit (Amazon)
  • Mishimoto 32mm Sandwich Plate Spacer
  • GReddy Thermostatic Sandwich Plate

Left to right in the picture: Mishimoto spacer, GReddy sandwich plate, and OEM Nissan oil filter.

Loading

Community Member Credit: TJ Max / ewuzh

For some reason, the big Allen head bolts that bolt the SC to the plate seemed to be standard, not metric. I figured it made sense since the bolts, Vortech, etc assembly is American-made, not overseas. So it wouldn’t be metric. If you do not have the EXACT Allen keys for these do not even ATTEMPT to turn the bolts, they will strip and you guys would be screwed.

The way I did it was:

1. Jack up car, support on a jack stand, pull off wheel, remove the plastic liner that covers the belt area.

2. Pull off the air filter and disconnect the charge pipe, get it out of the way.

3. Disconnect the SS oil feed line.

4. Remove those 2 17mm bolts through the motor mount (far left on the SC plate).

5. Get those 8mm bolts (or 10mm) that go through the plate and the timing chain case off. Even the ones right behind the pulley. Use a 10 or 8mm open-end wrench to back them out.

6. Get under the car, use a 14mm wrench to get the nut off the tensioner pulley off, and pull off the tensioner pulley.

7. Remove the 3 bolts holding in the tensioner bracket.

8. Reach up and get a 12mm socket onto that bolt up by the fat radiator hose. (Some find it easier to remove the SC plate with this hose disconnected from the Thermo housing completely) I agree, but I don’t like to make unnecessary messes. Remove that 12mm bolt.

9. Next, come from the top or bottom, up to you (If the rad hose is removed, it is so much easier to get to). And use an angle wrench to get that 19mm bolt off the idler pulley. Once you get this off, there is an Allen bolt underneath it that needs to come out as well.

10. There is one more bolt that goes through the standoff bolt, should be obvious. Disconnect Crank Position Sensor (it is the only wire harness running through/near the SC plate). Go underneath and loosen the hose clamp on the oil drain back J tube. When you finally pull the SC plate off grab that hose and yank it off the drain-back tube.

Hope this helps. Good luck.

Hard to explain this, but I used one of those 6 in one universal screwdriver and pulled the bit/insert out. So now you have an empty screwdriver sorta. I slipped the Allen key in that and used it as a mini breaker bar for those Allen bolts behind the SC plate. I think the sizes were standard 3/4 and 1/2. Don’t quote me on it though.

Simpler Version

Tools:

  • Socket set (swivel socket would make things easier)
  • open ended wrench set
  • low profile 10mm wrench for that one PITA timing cover bolt behind supercharger pulley
  • socket extensions
  • allen wrench set (large ones, particularly metric 5, 6, 7, 8 and up) forgot which one it is
  • common sense
  • patience

Steps

  1. remove charge pipe
  2. remove intake filter
  3. release belt tensioner
  4. unscrew oil feed line
  5. unbolt supercharger plate from side of engine
  6. undo the hose clamp on the oil drain hose
  7. pull supercharger w/ plate off engine
  8. unbolt supercharger from plate
  9. remove belt and lay new belt in place
  10. installation is the reverse of everything (do not overtighen oil feed line or else it will crack and leak like a mofo)

Loading

Credit: Christopher H.

This is the spark plug and coil pack setup for the Y33 Cima VQ30DET.

  • Spark Plugs: NGK 6282
  • Coil Packs: Hitachi IGC0015

Notes on install:

  • Easy swap — only need to move the BOV out of the way.
  • Apply a bit of anti-seize to the plug threads. Hand-tighten, then give it a half-moon turn to snug.
  • Add a dab of dielectric grease inside each coil boot.
  • Run a short ground wire jumper between coils, with the end tied to the chassis, for confirmed grounding.

Loading