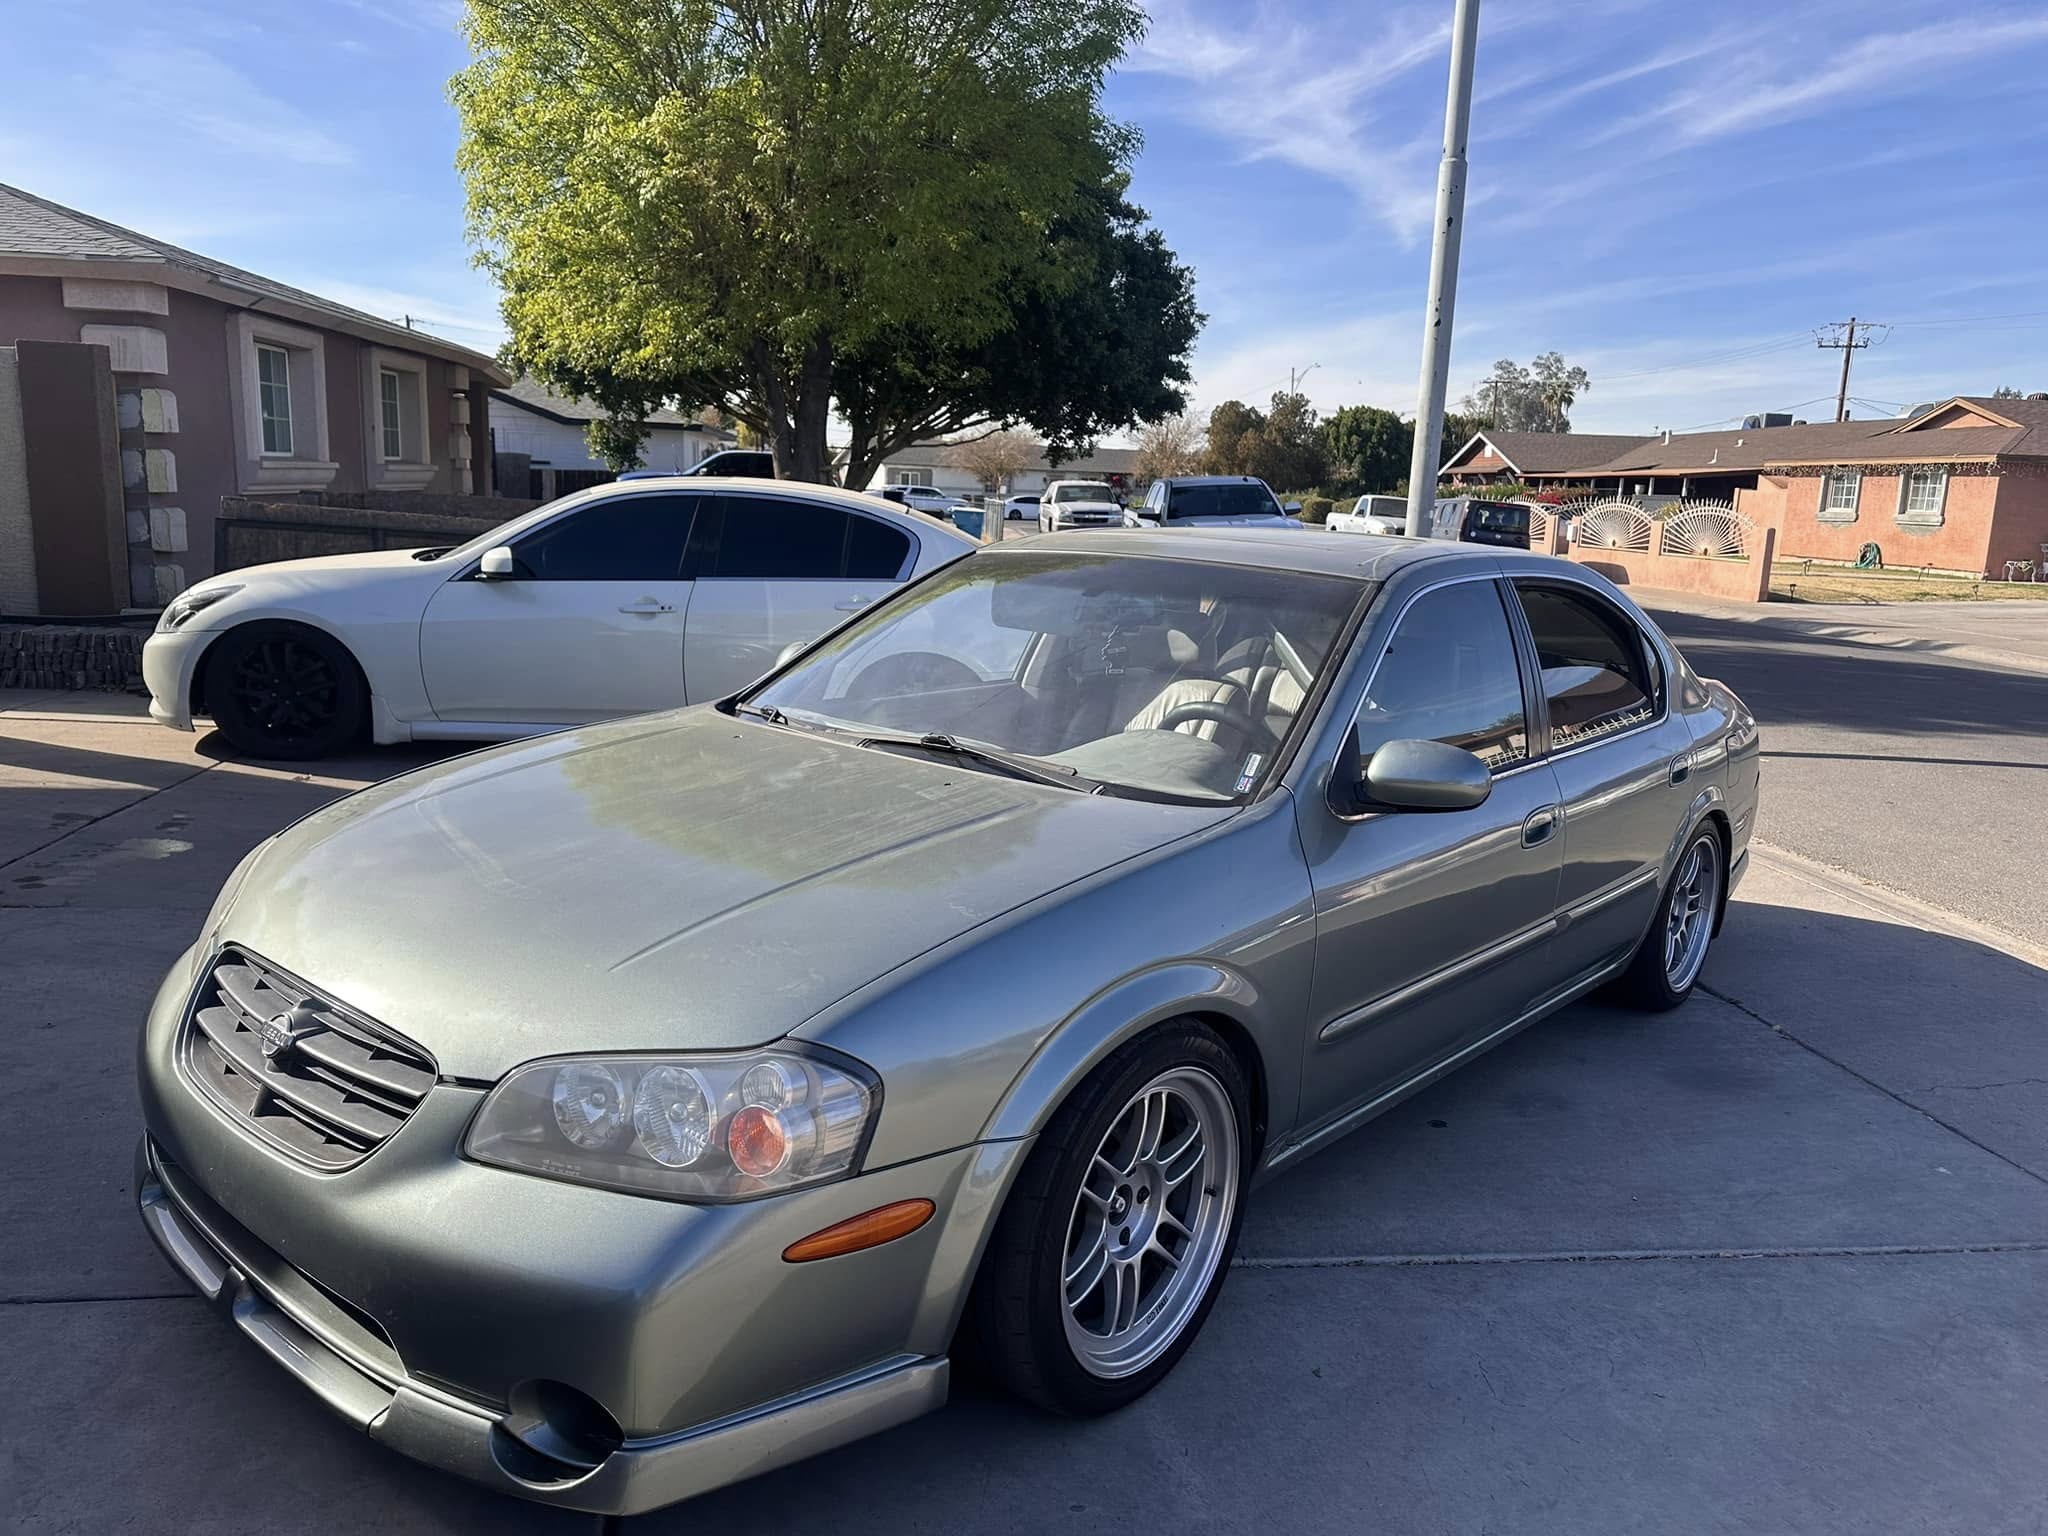
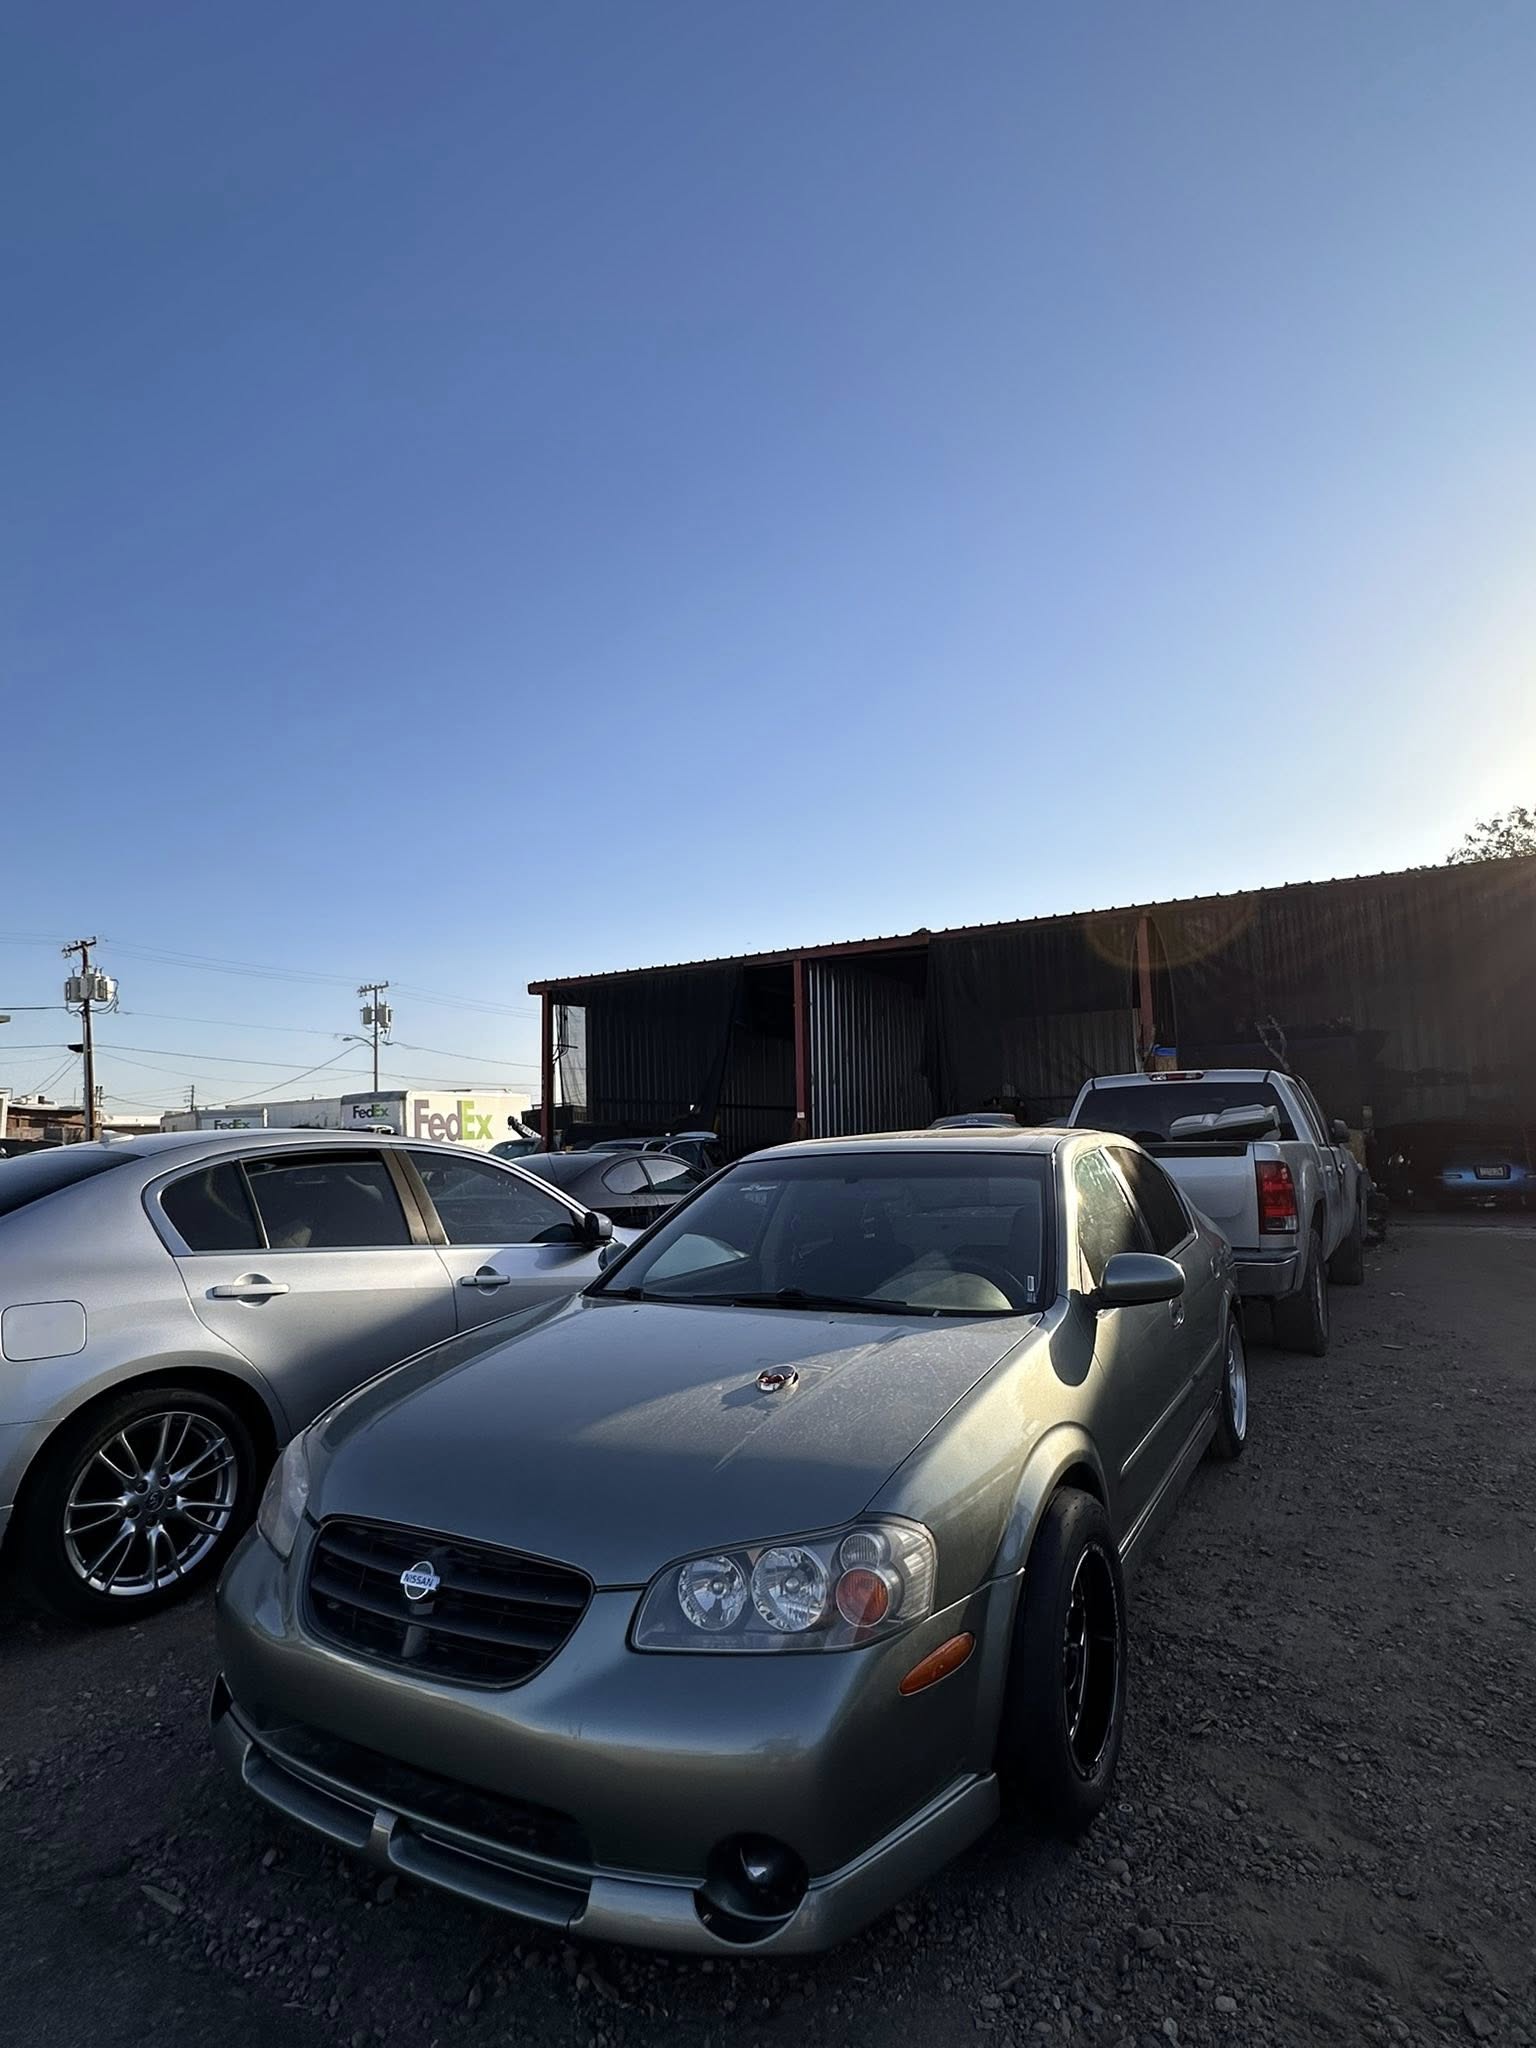
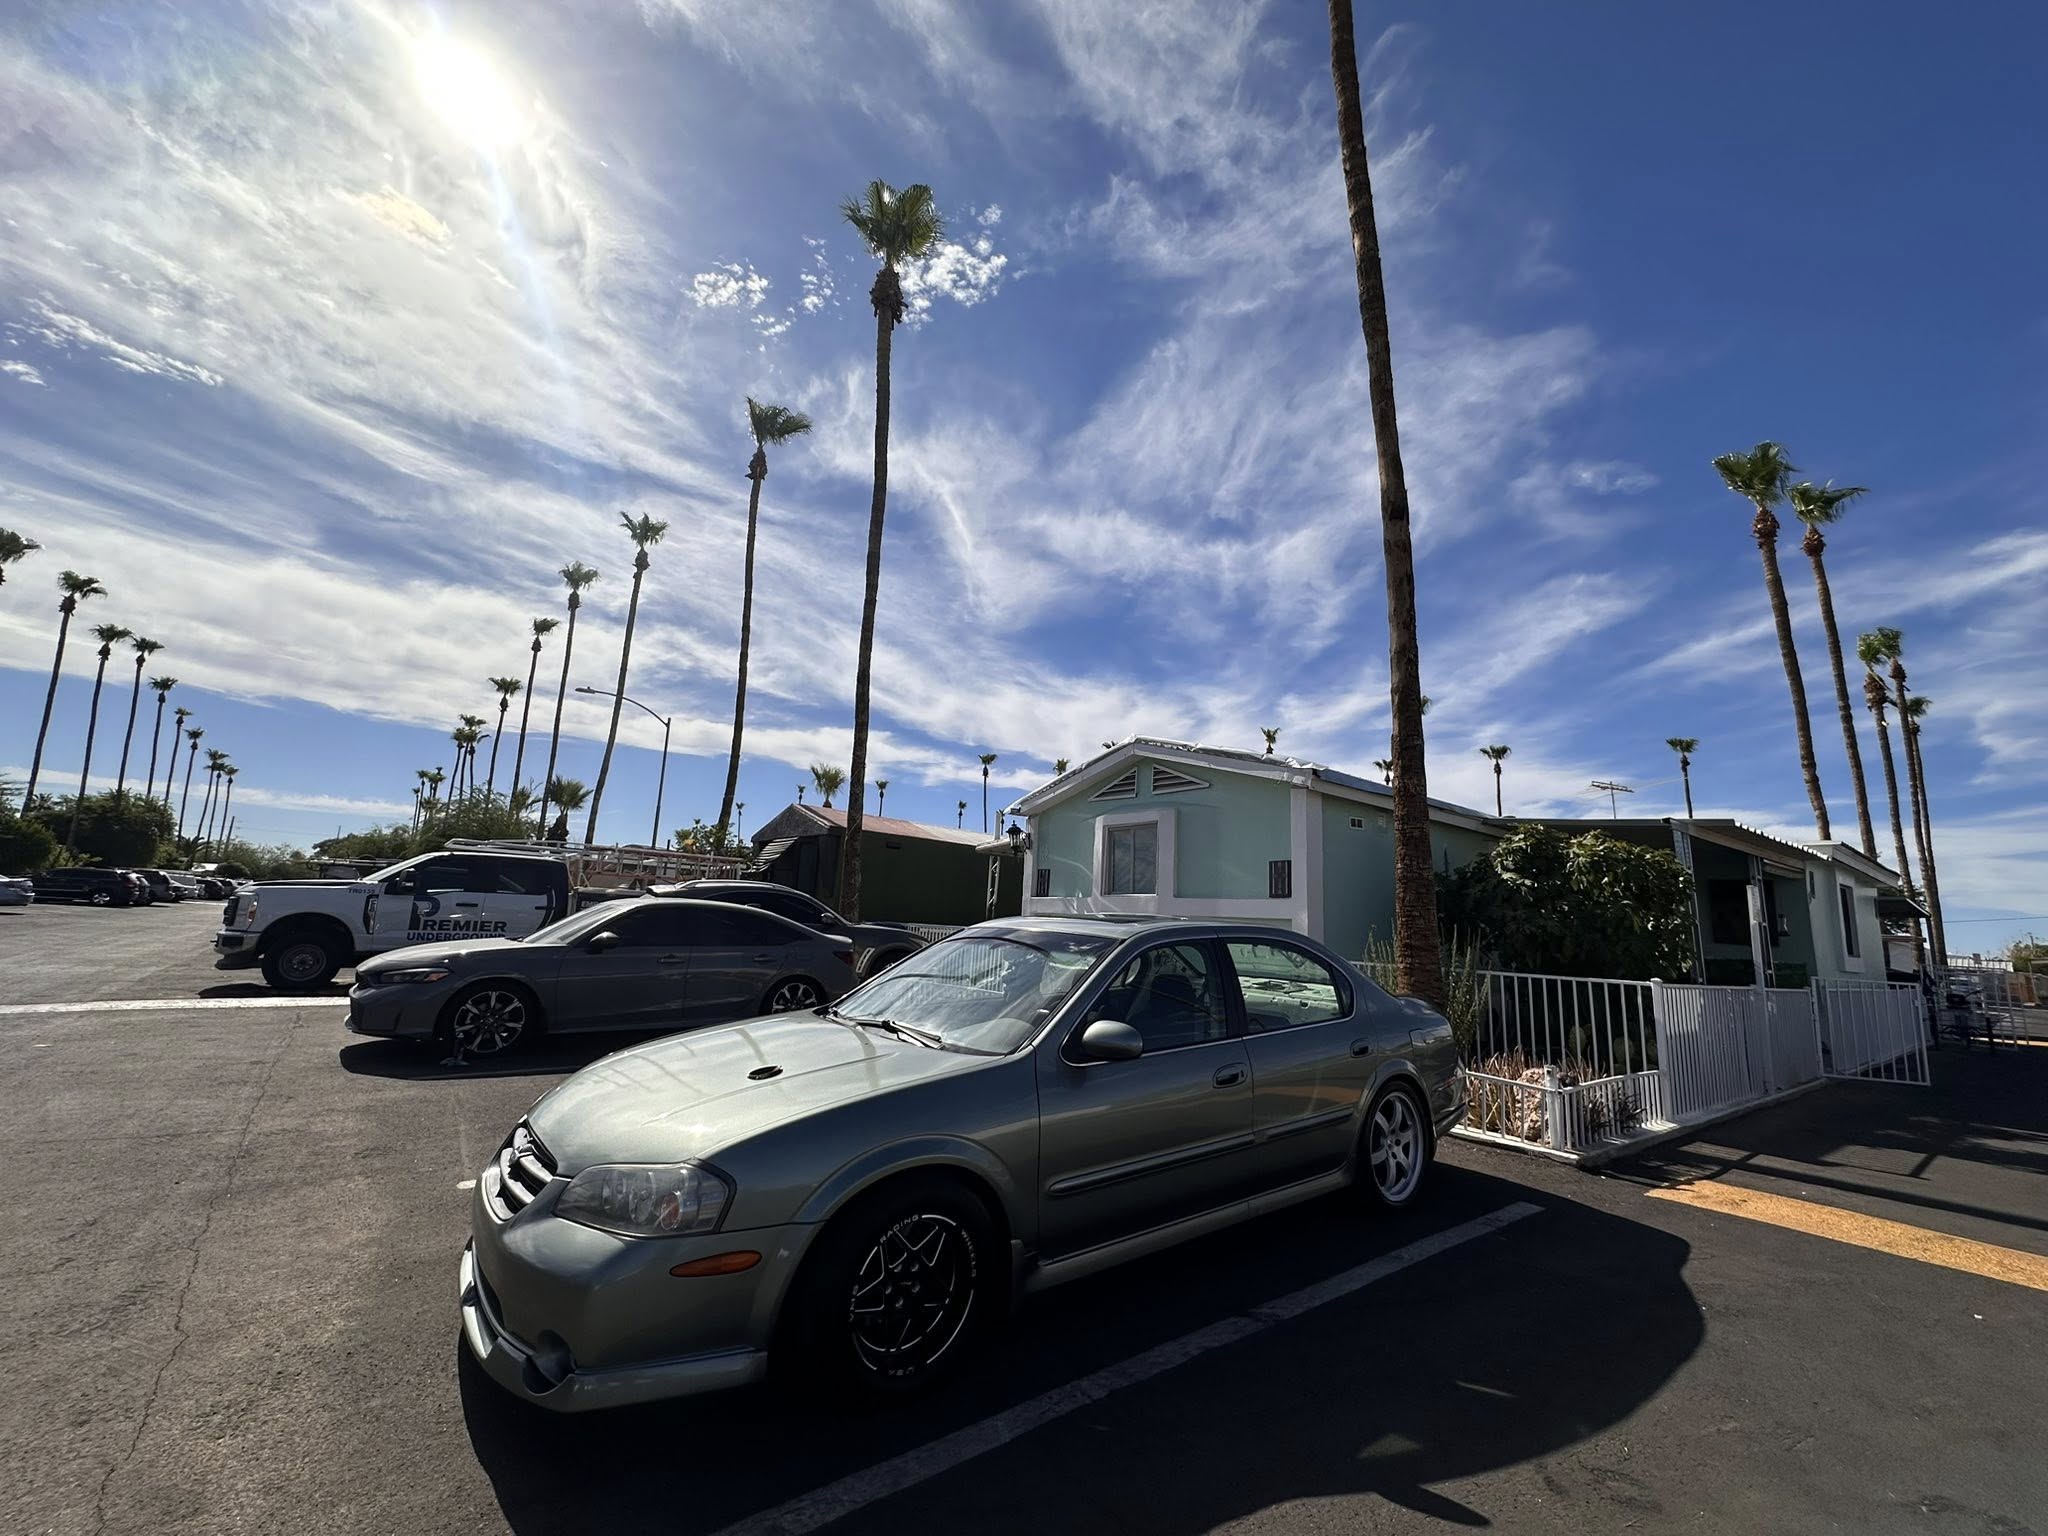
Owner: Francisco Macias
Year: 2002
Model: Maxima
Color: Sunlit
Engine: Gen2 VQ35DE
Transmission: 6-Speed Manual
Trim: SE


![]()


")
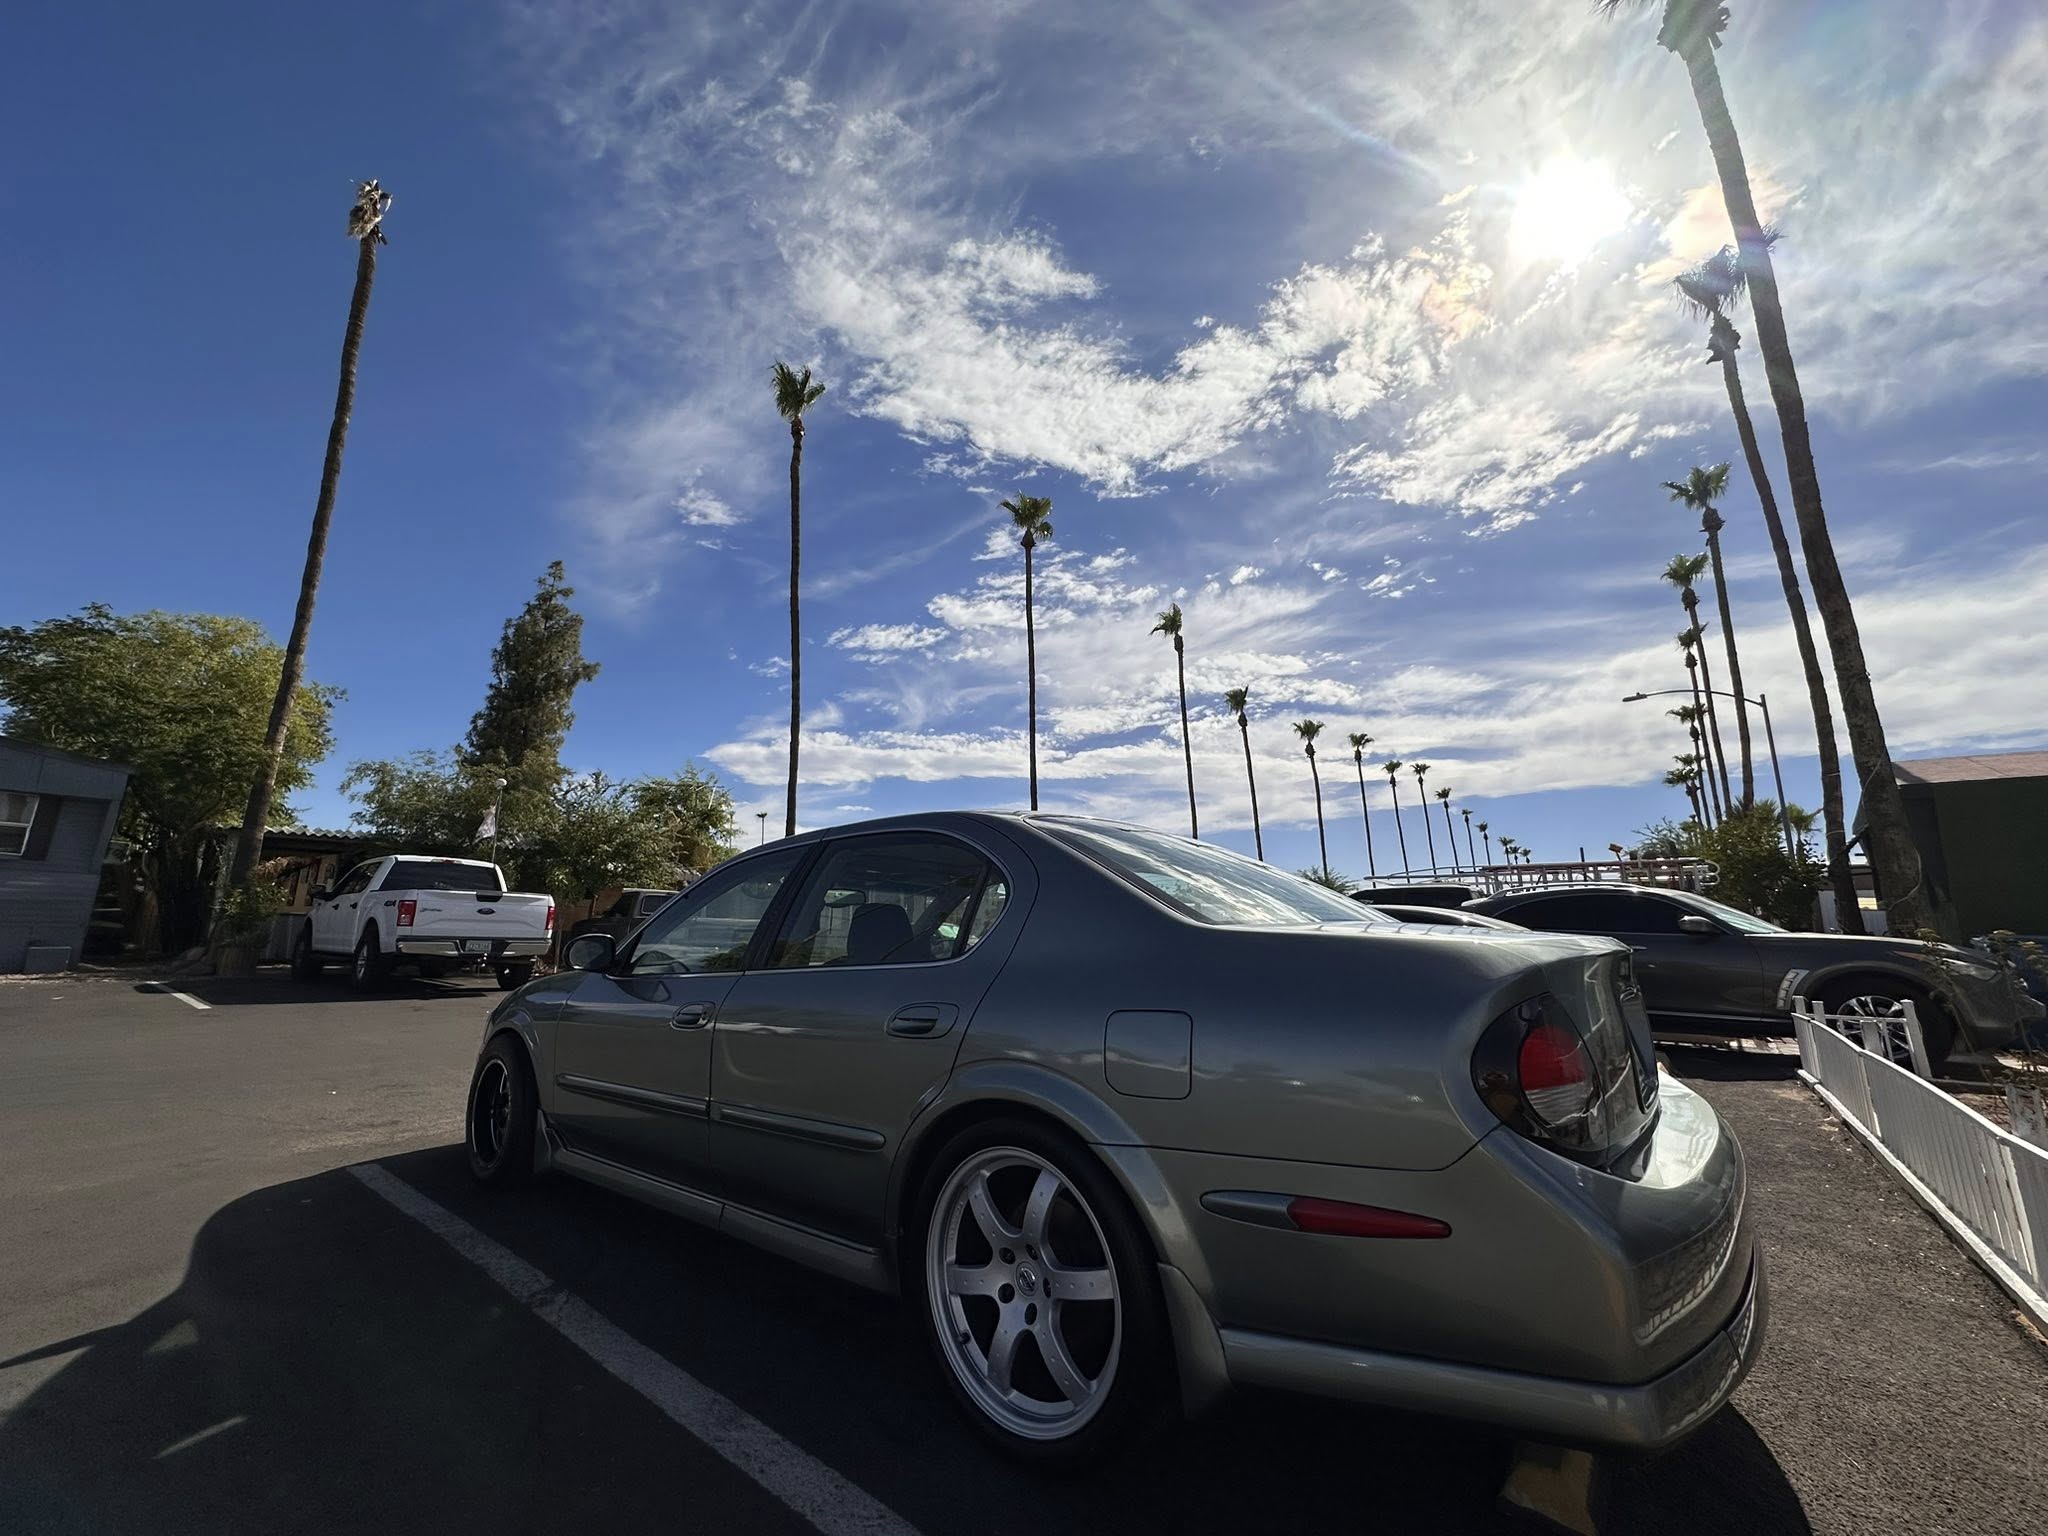
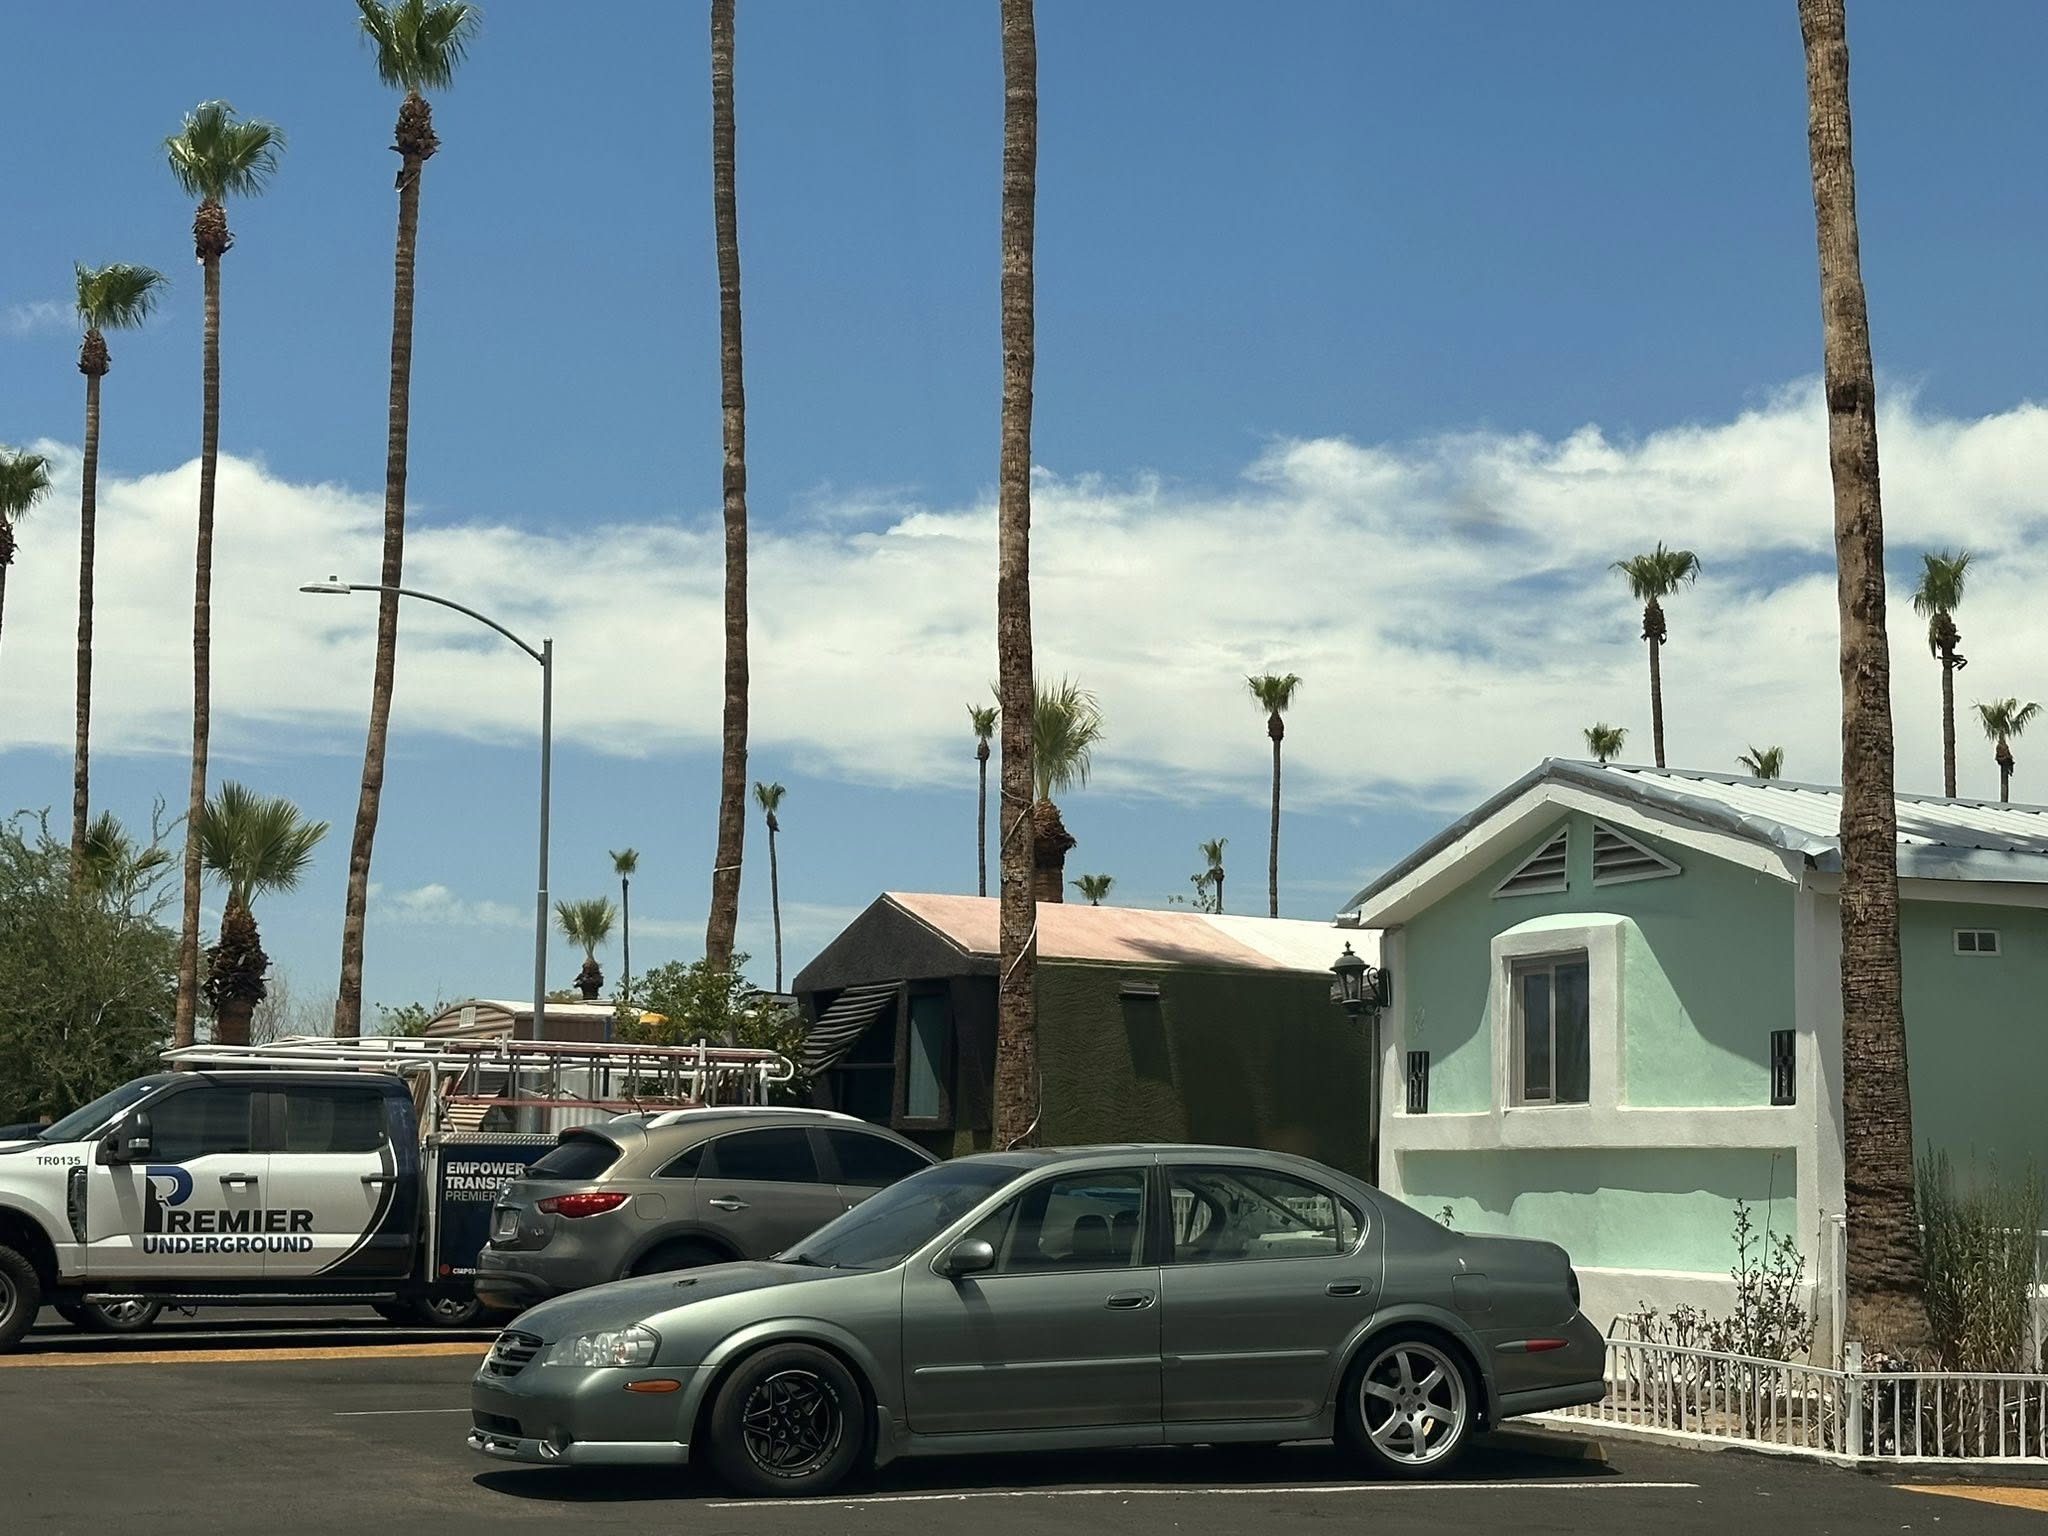
Owner: Francisco Macias
Year: 2002
Model: Maxima
Color: Sunlit
Engine: Gen2 VQ35DE
Transmission: 6-Speed Manual
Trim: SE
![]()
")
Credit: Roux Himura
Website: https://www.garage23.net/
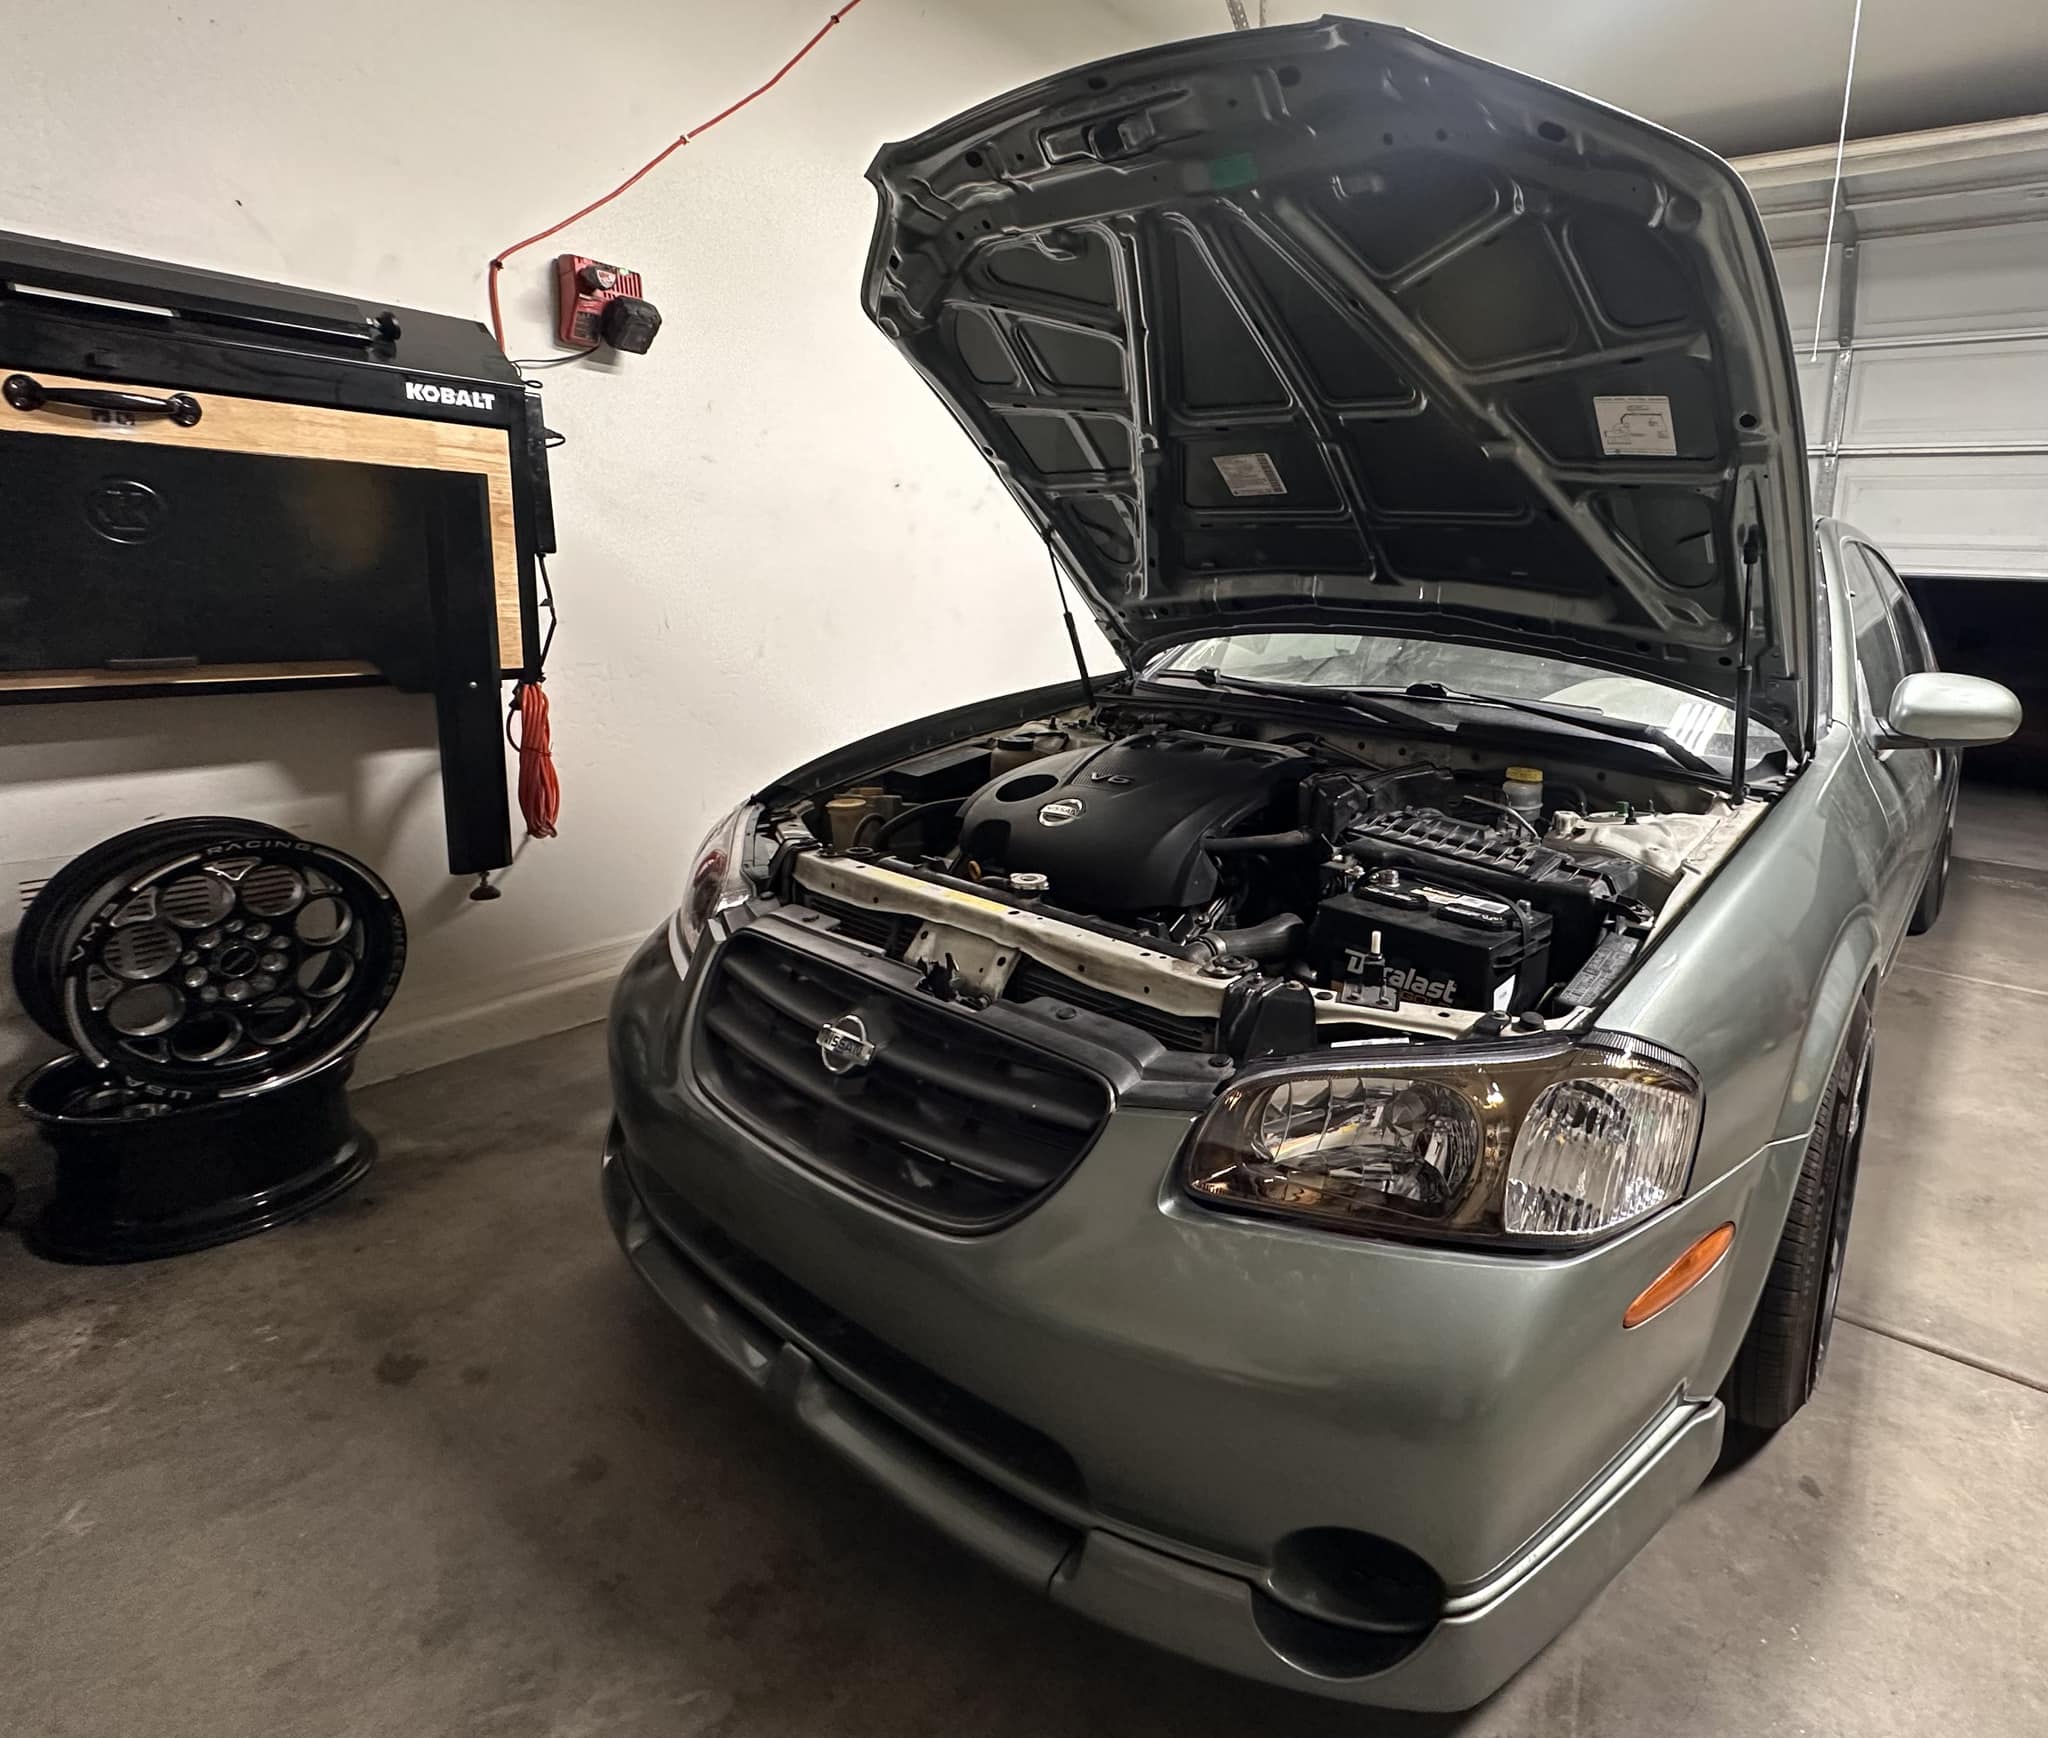
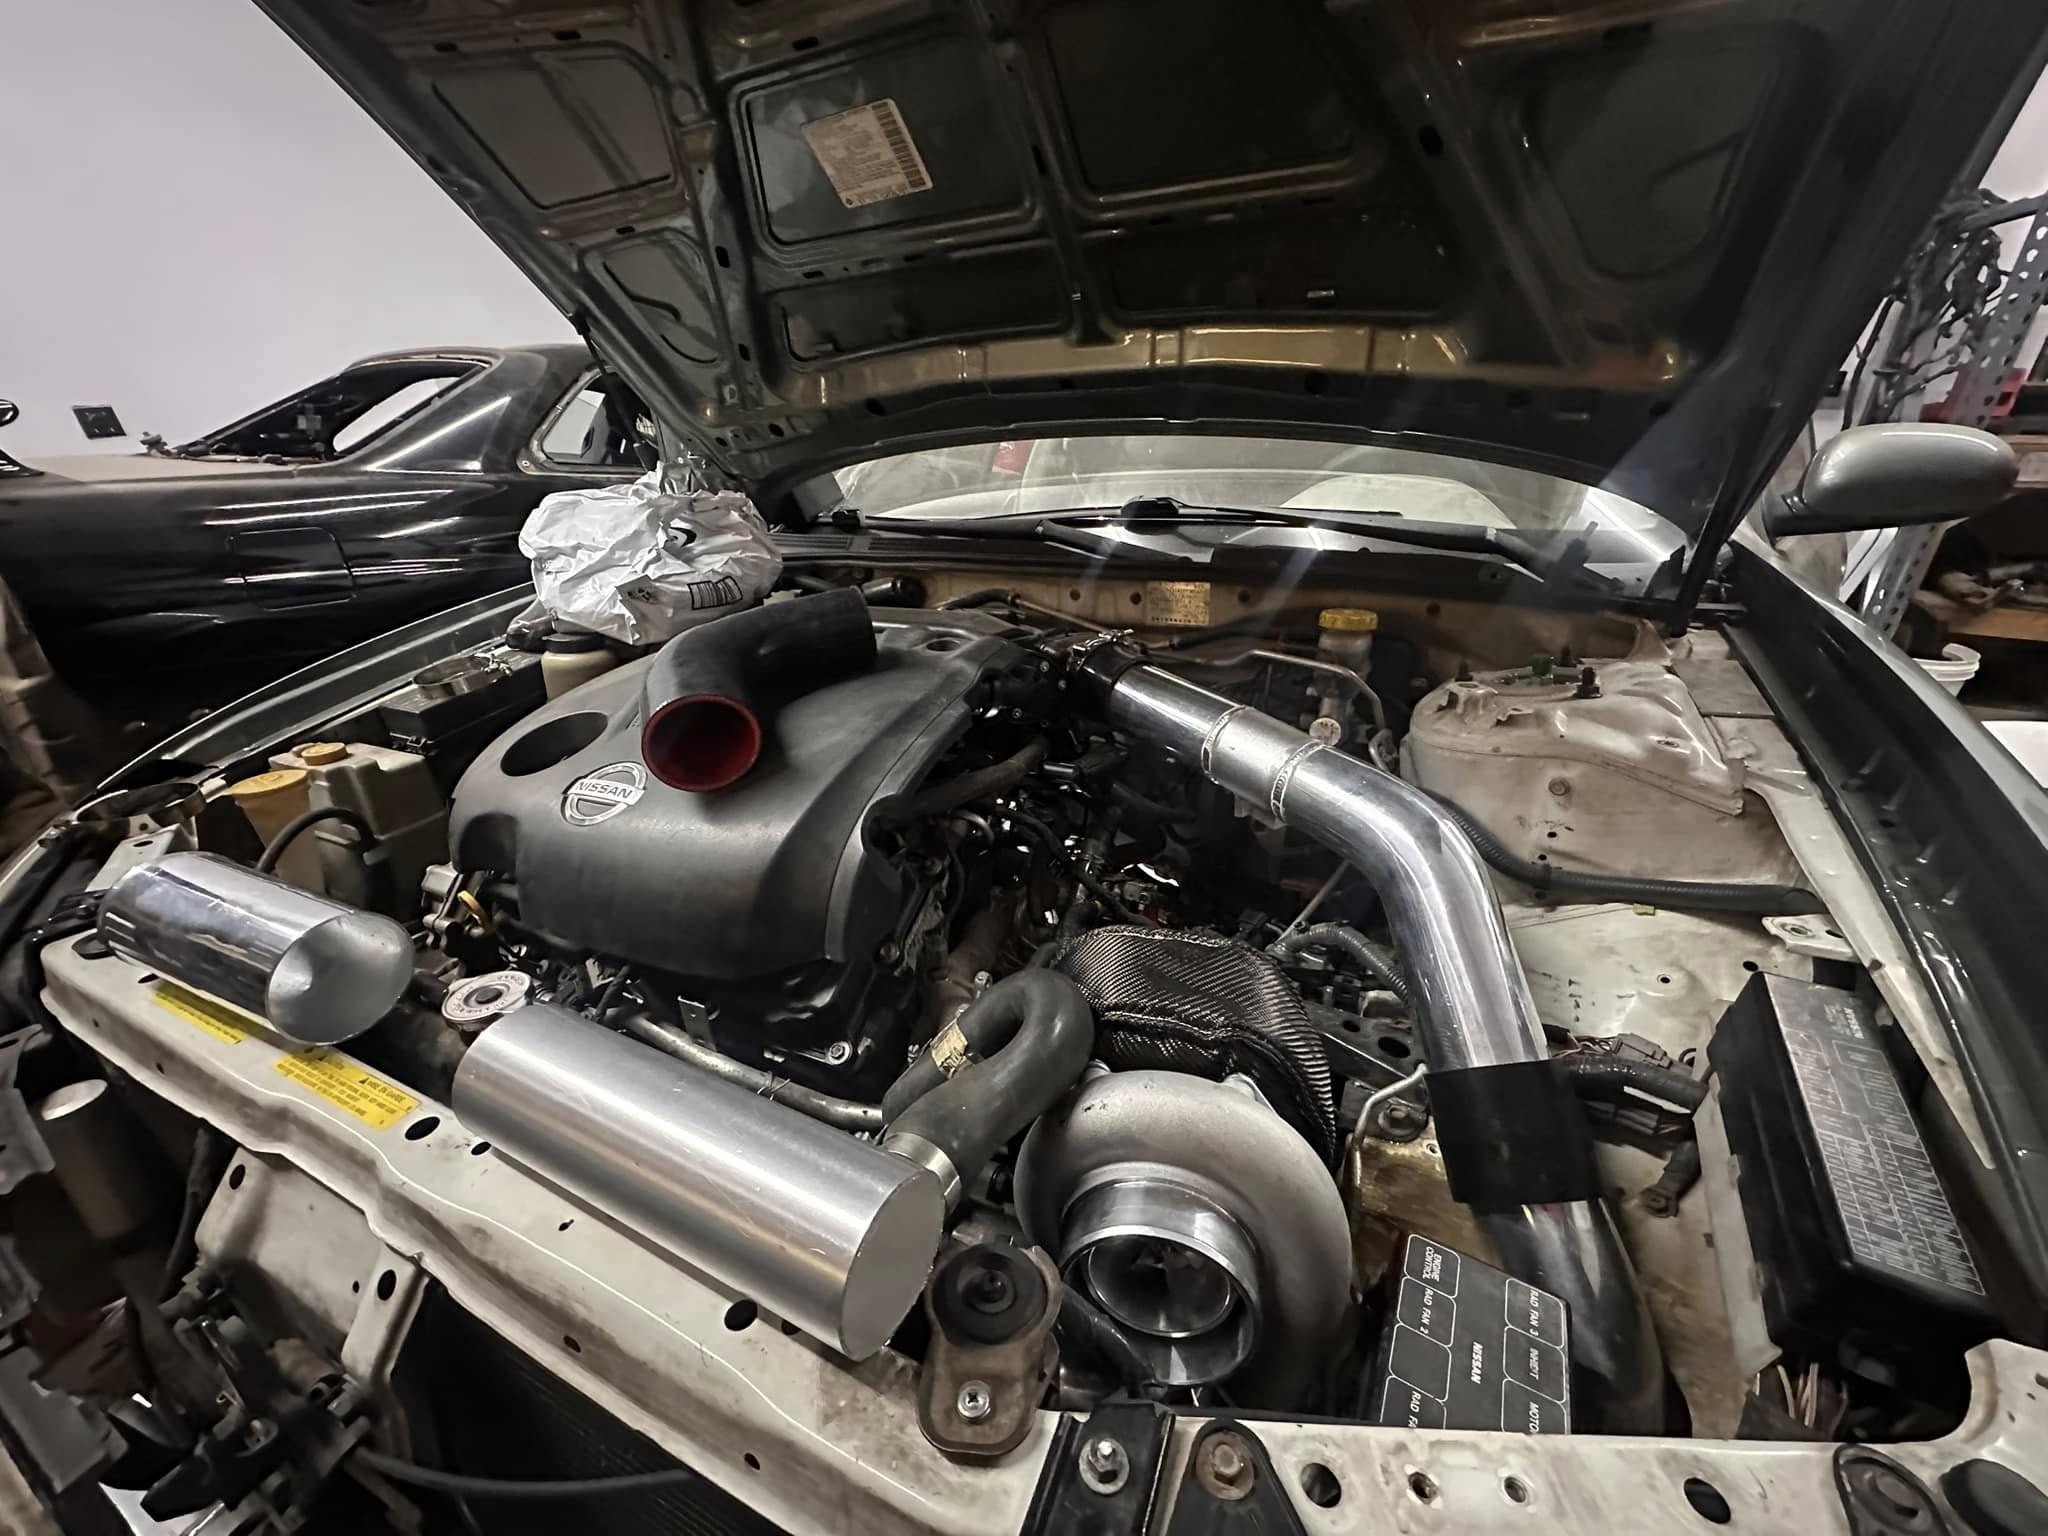
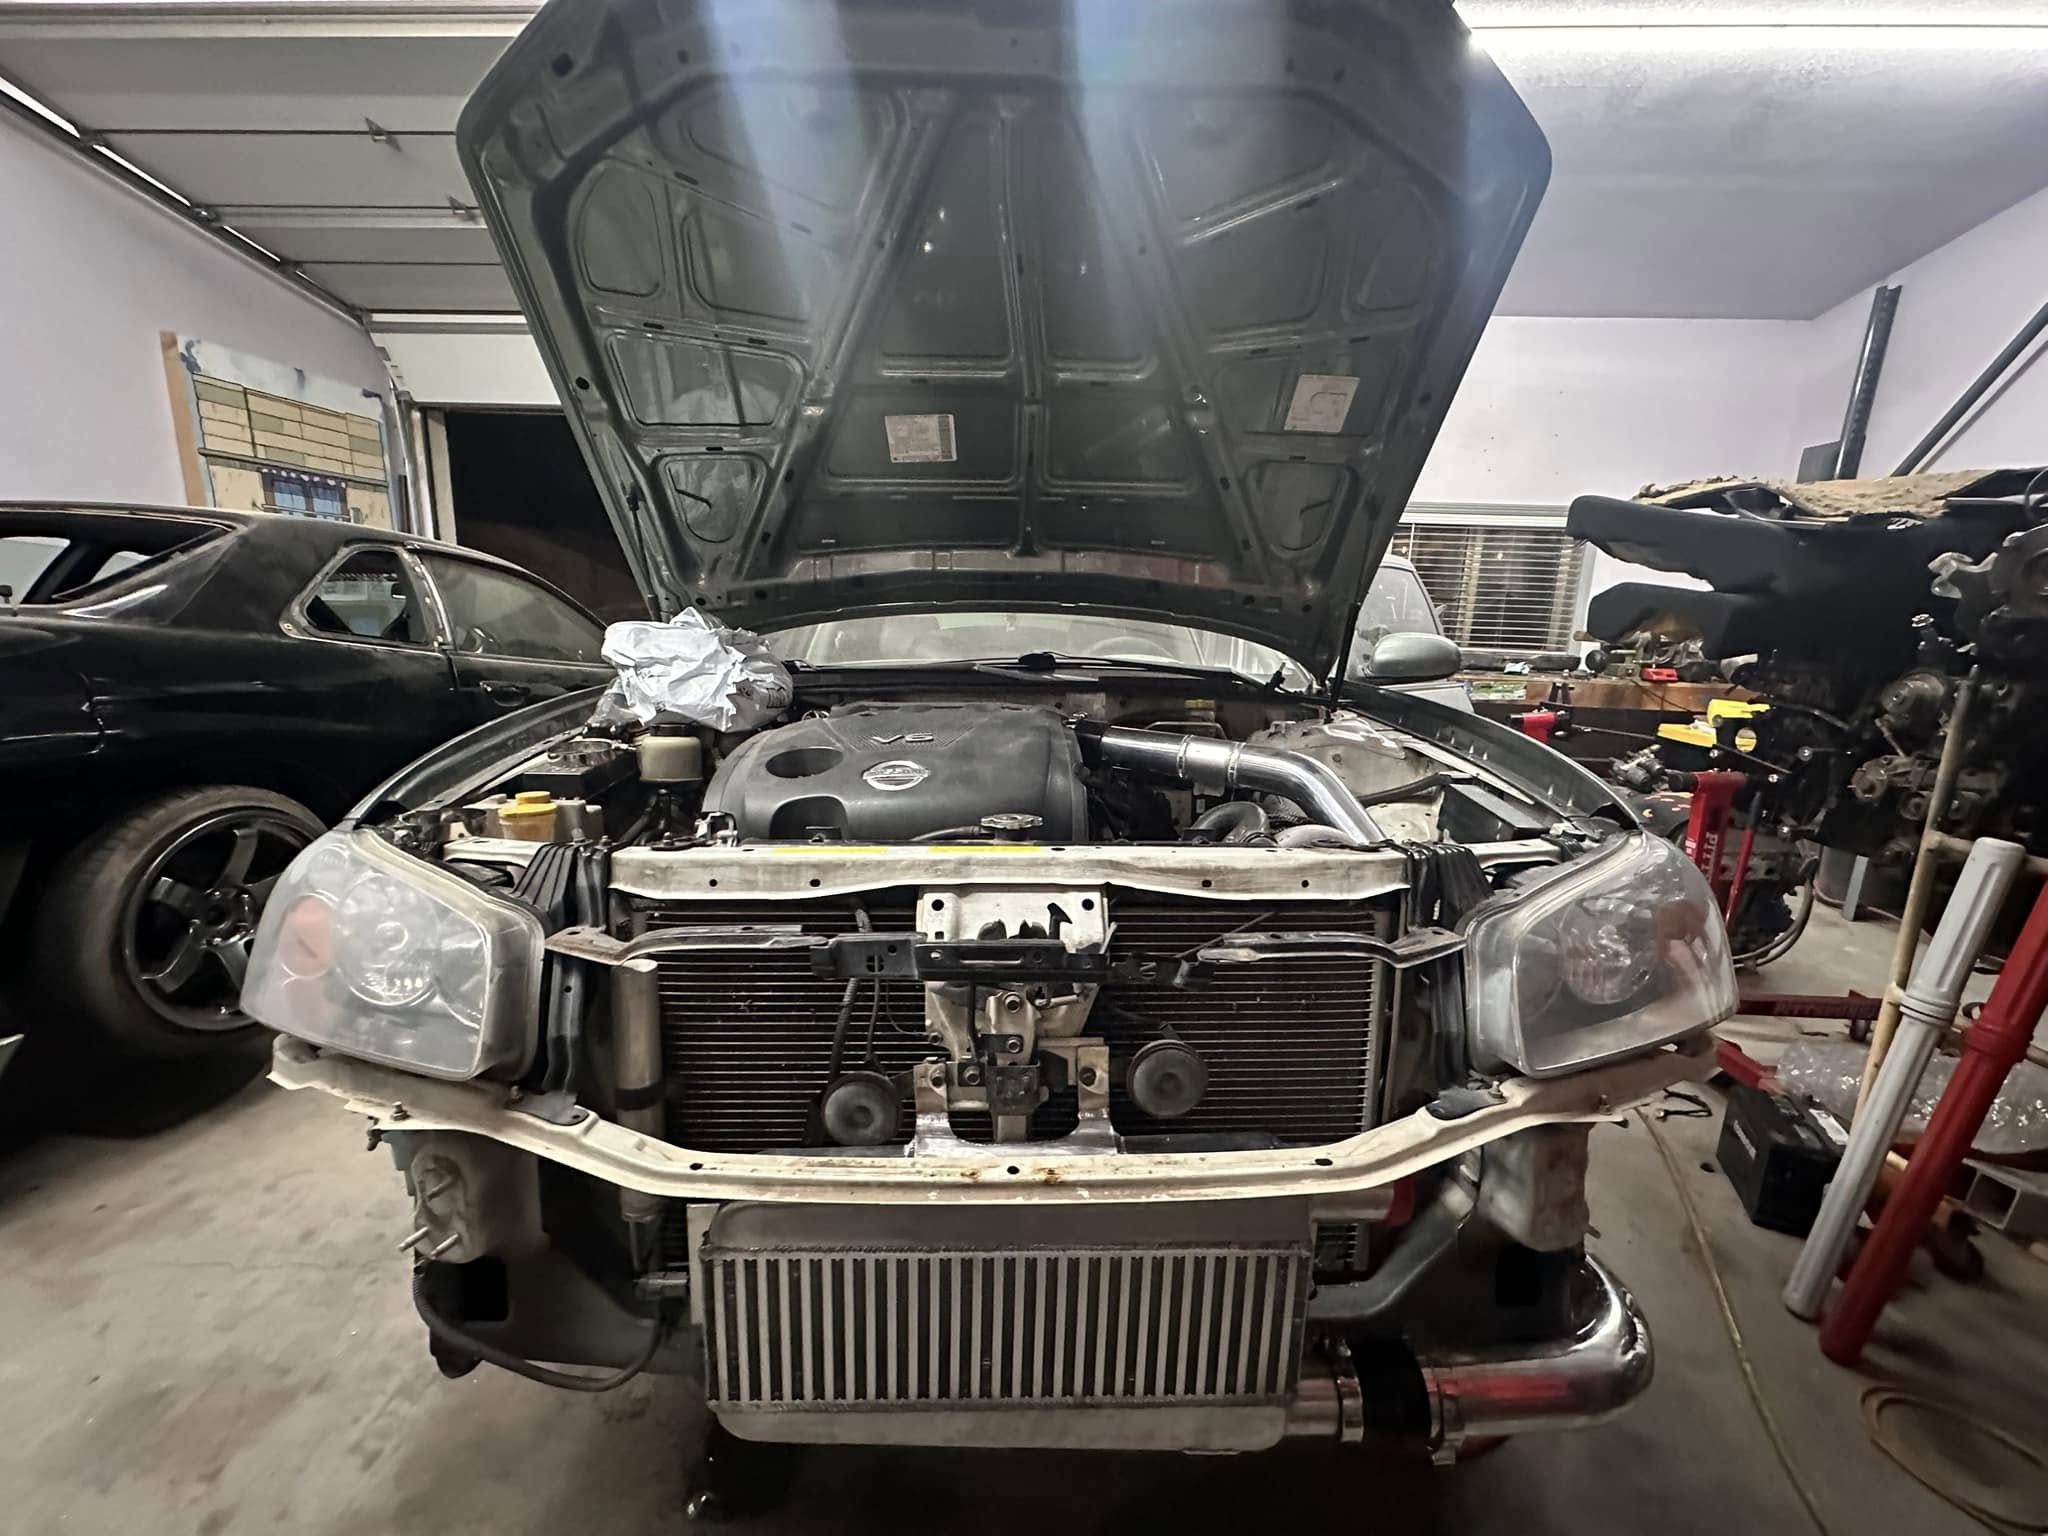
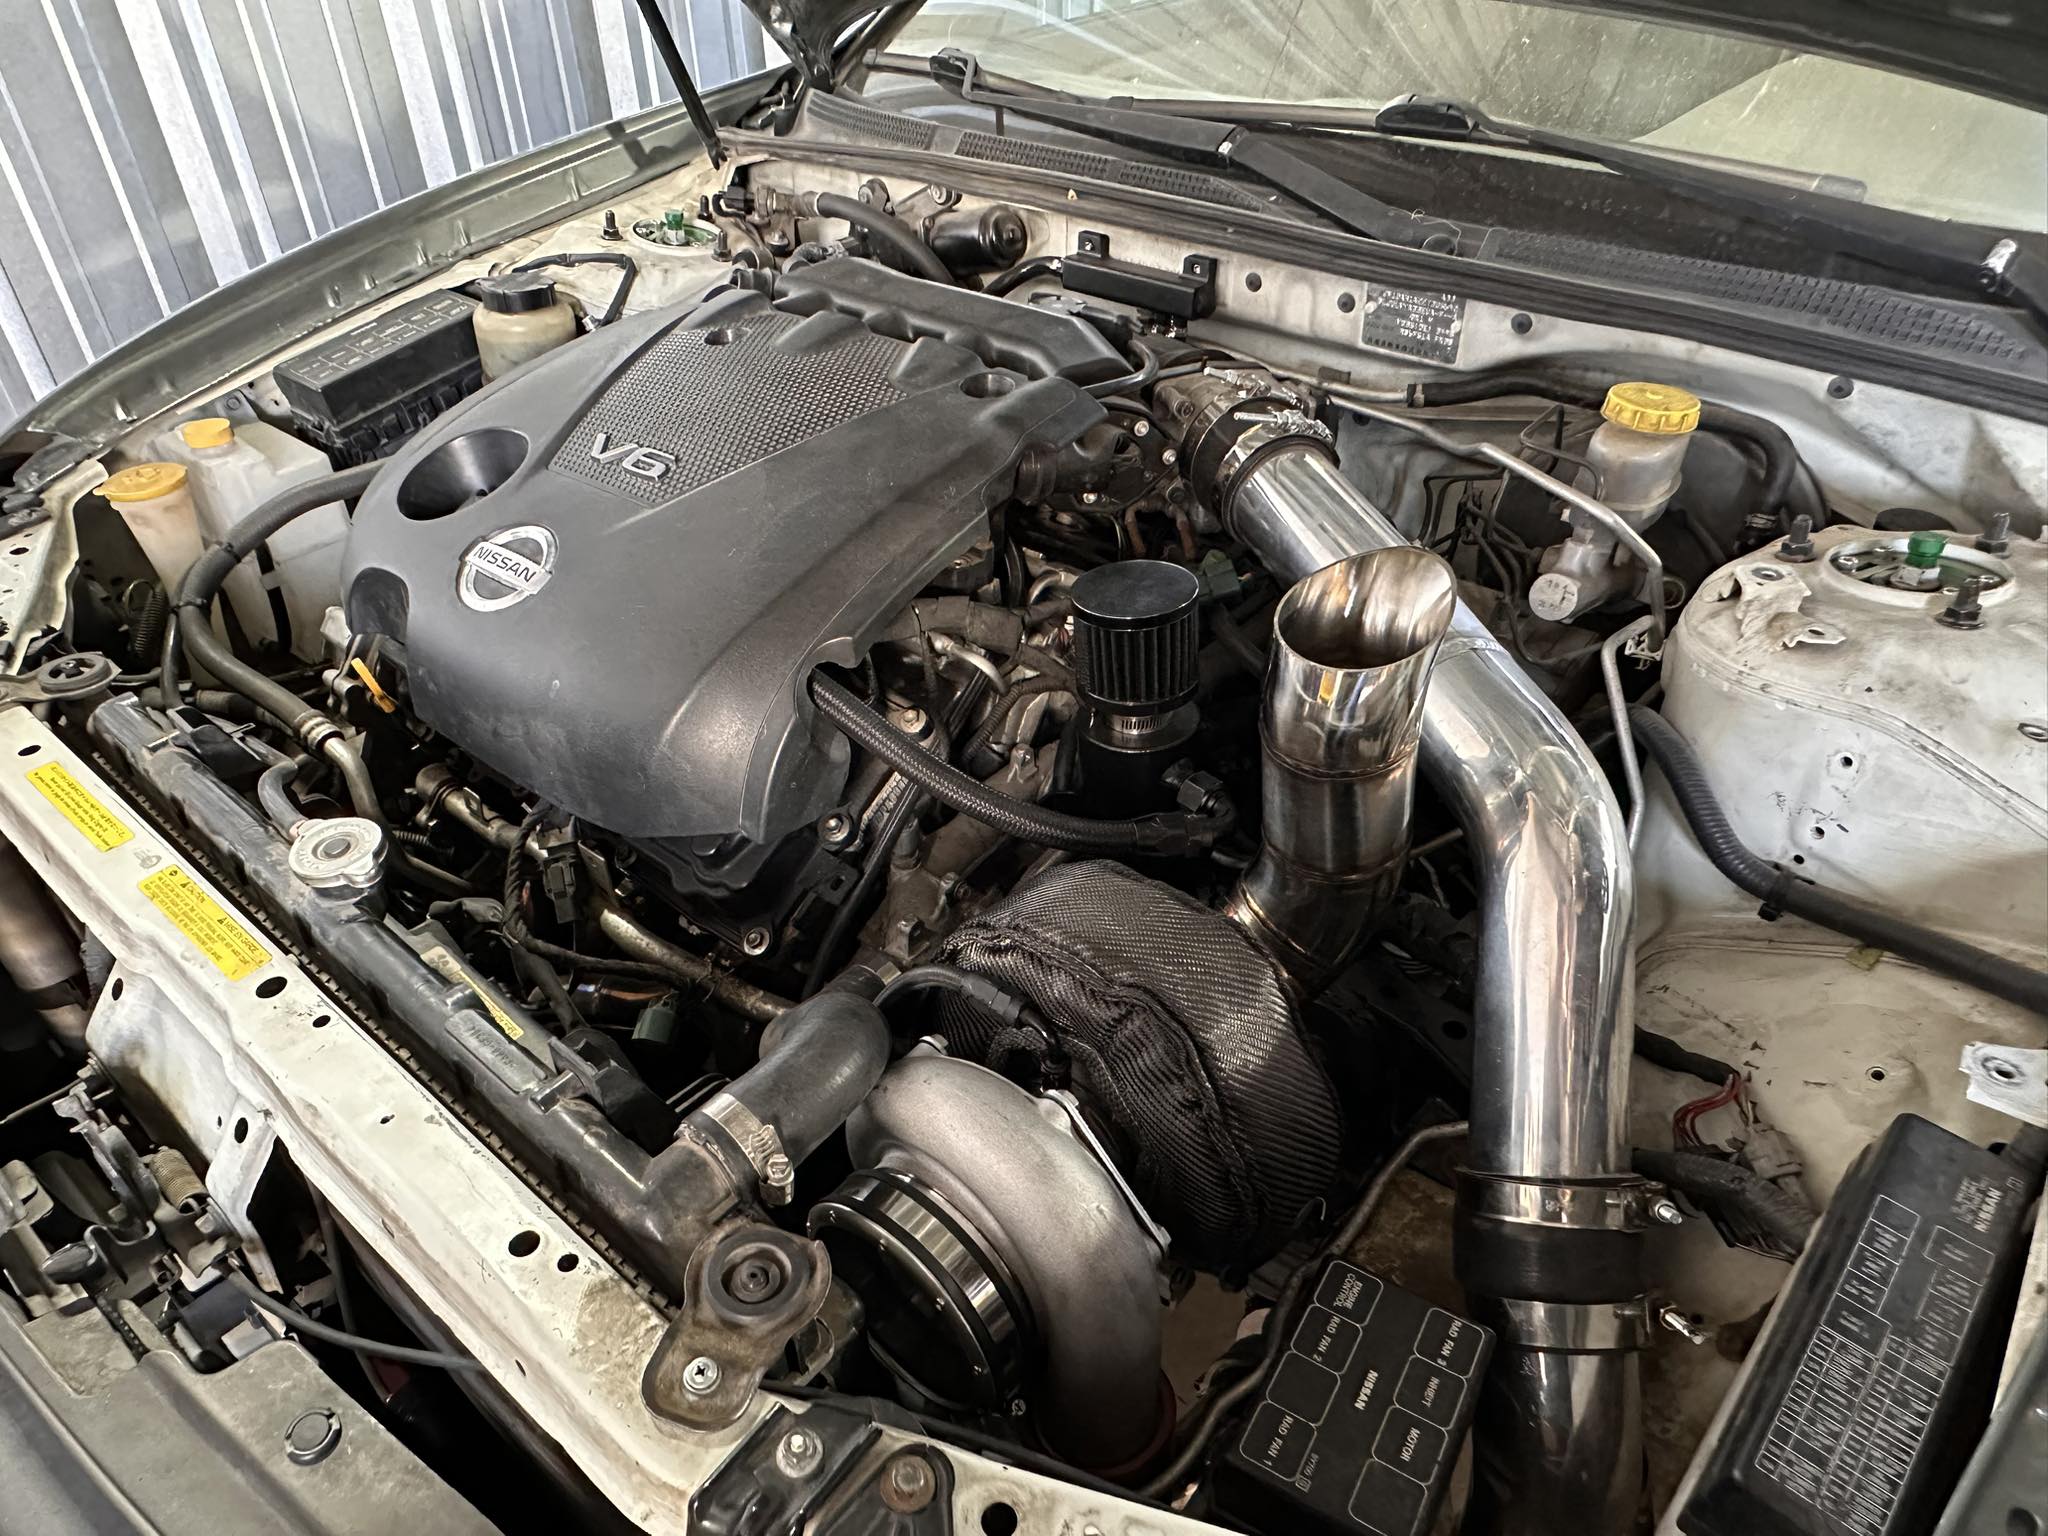
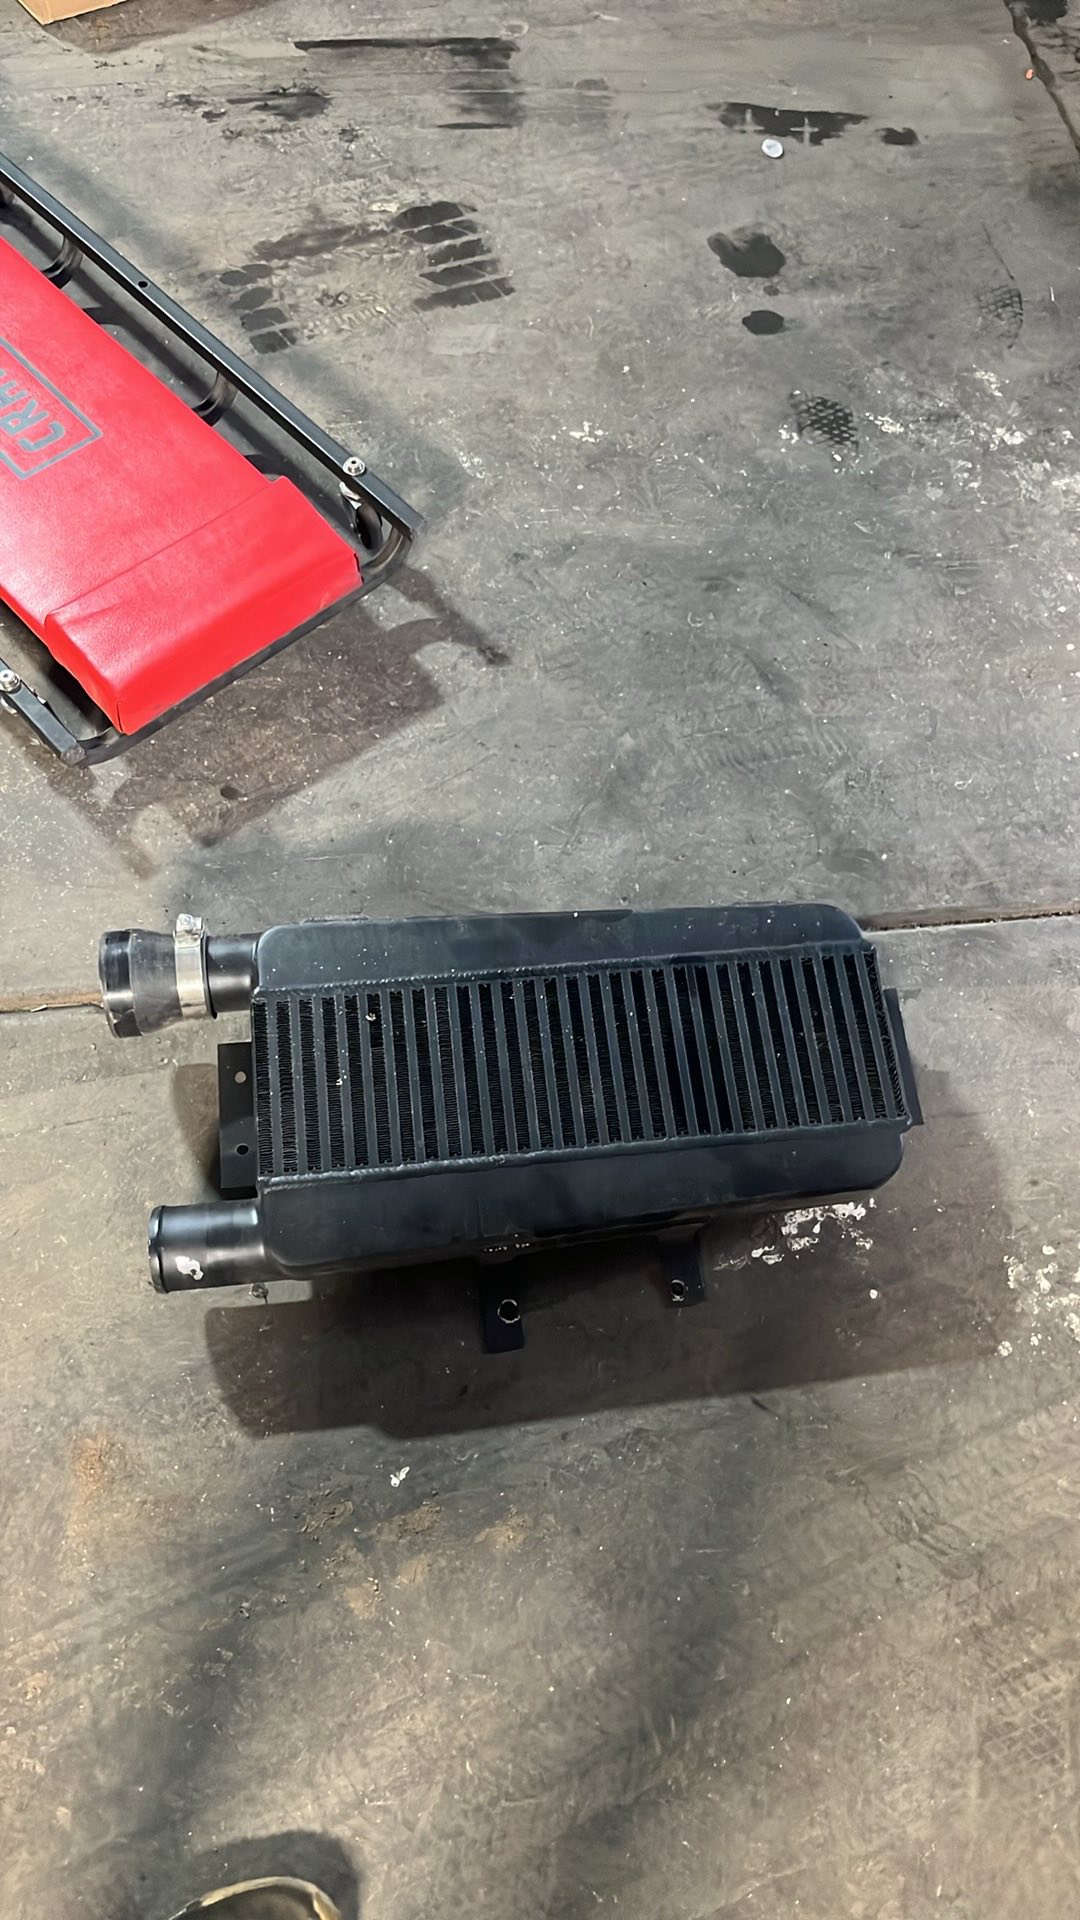
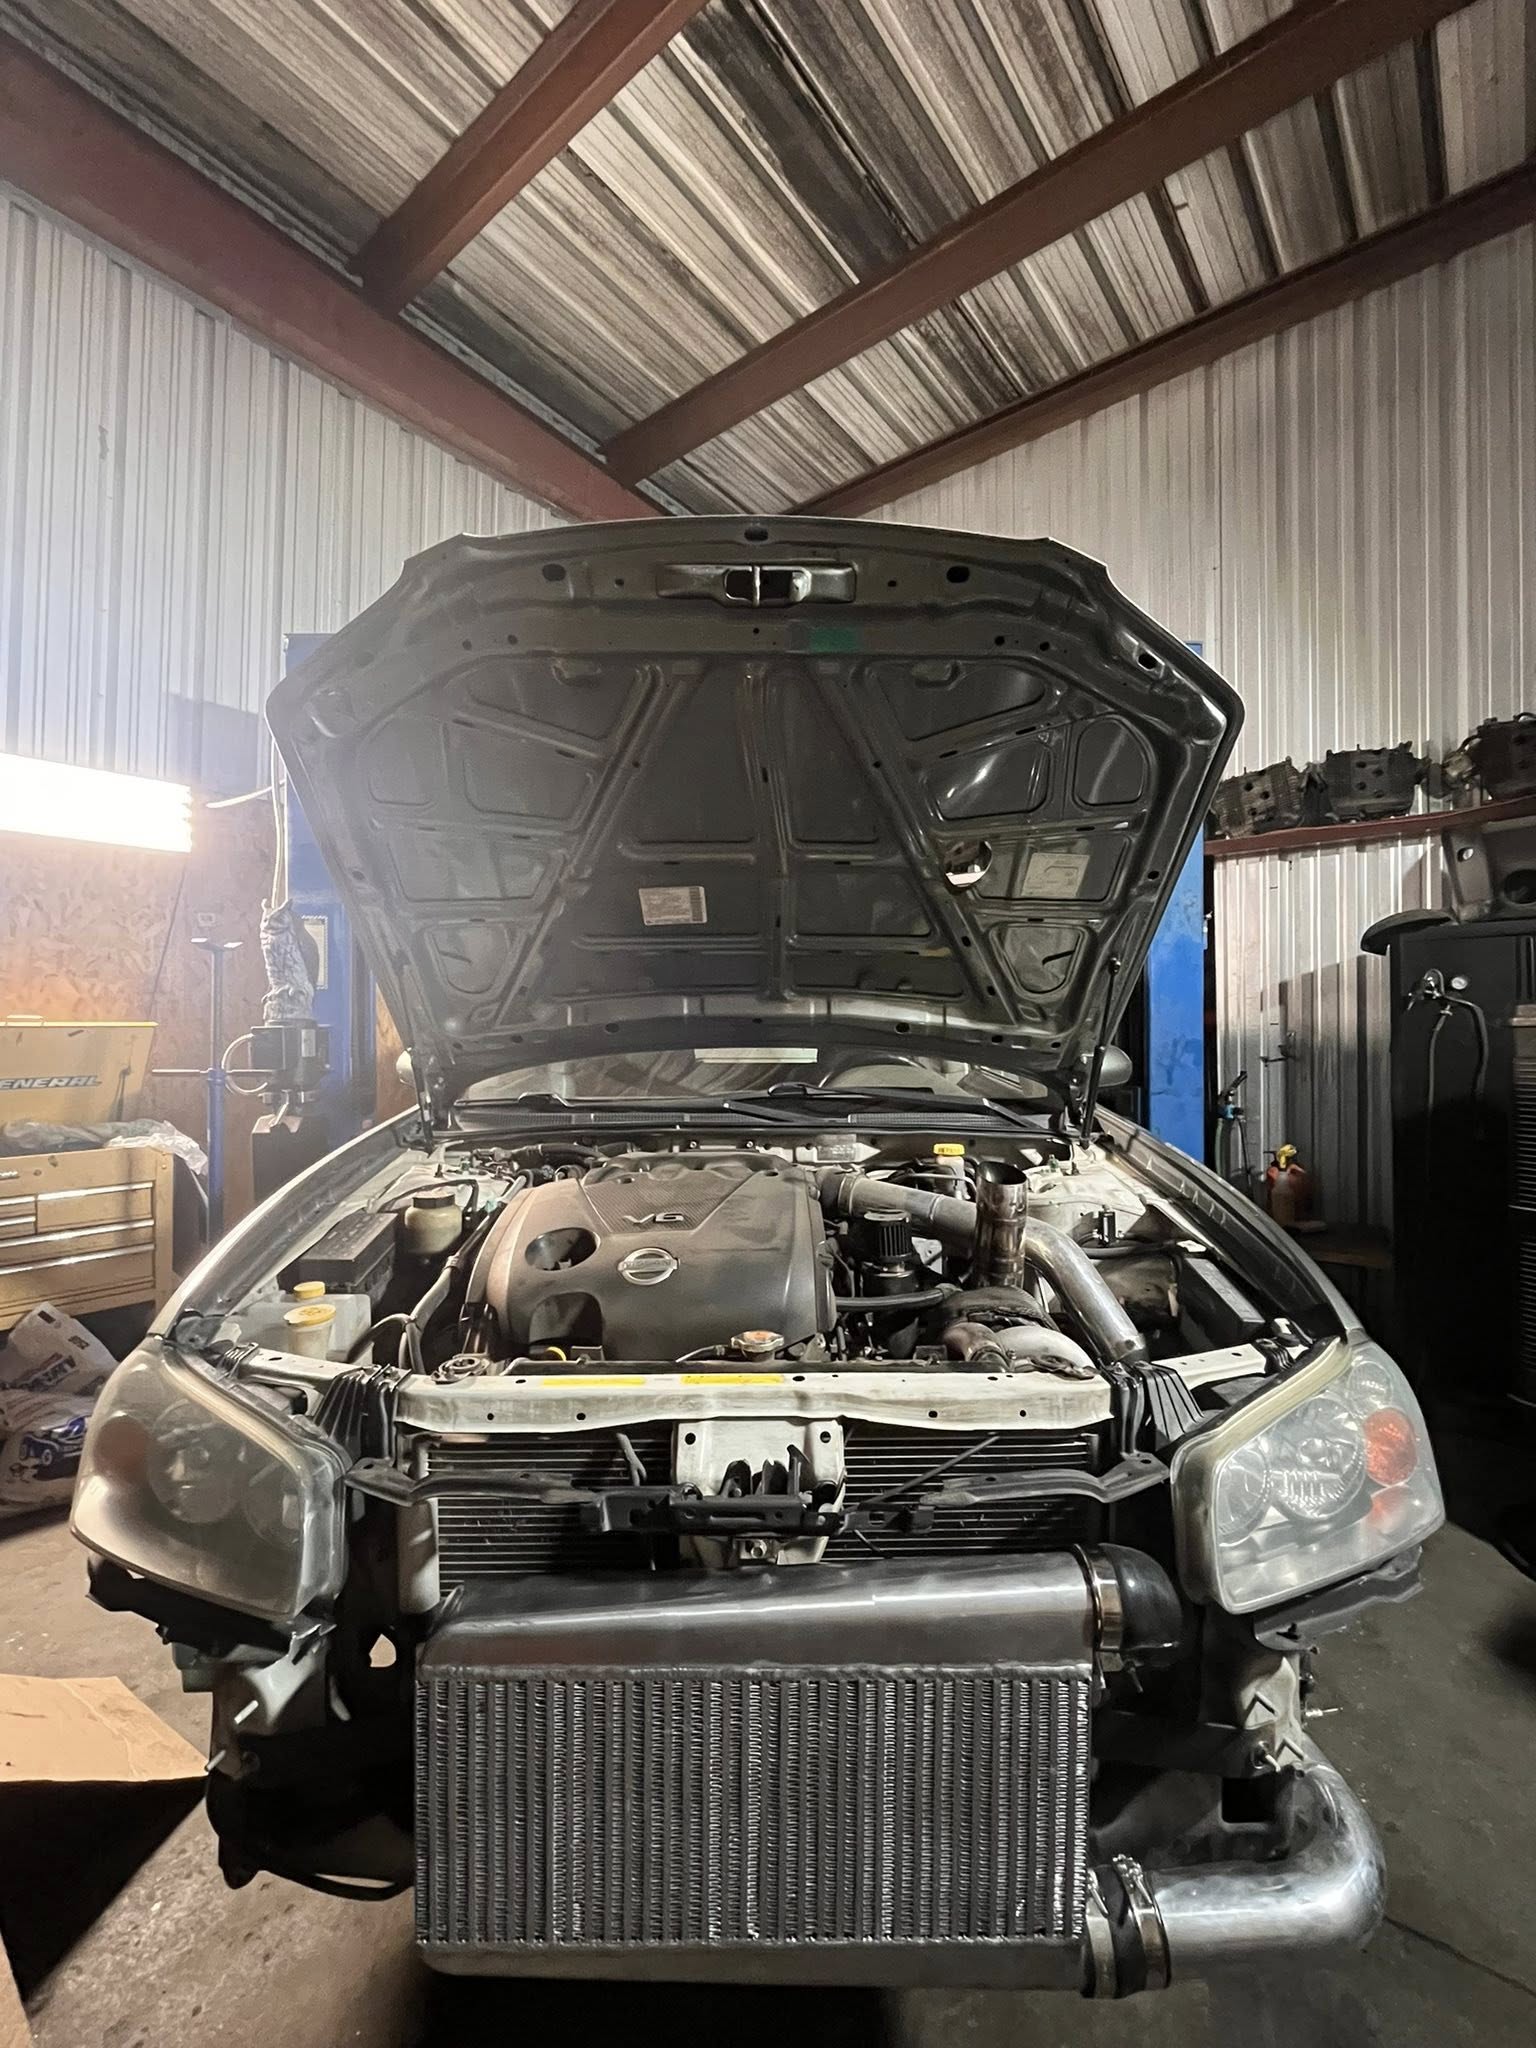
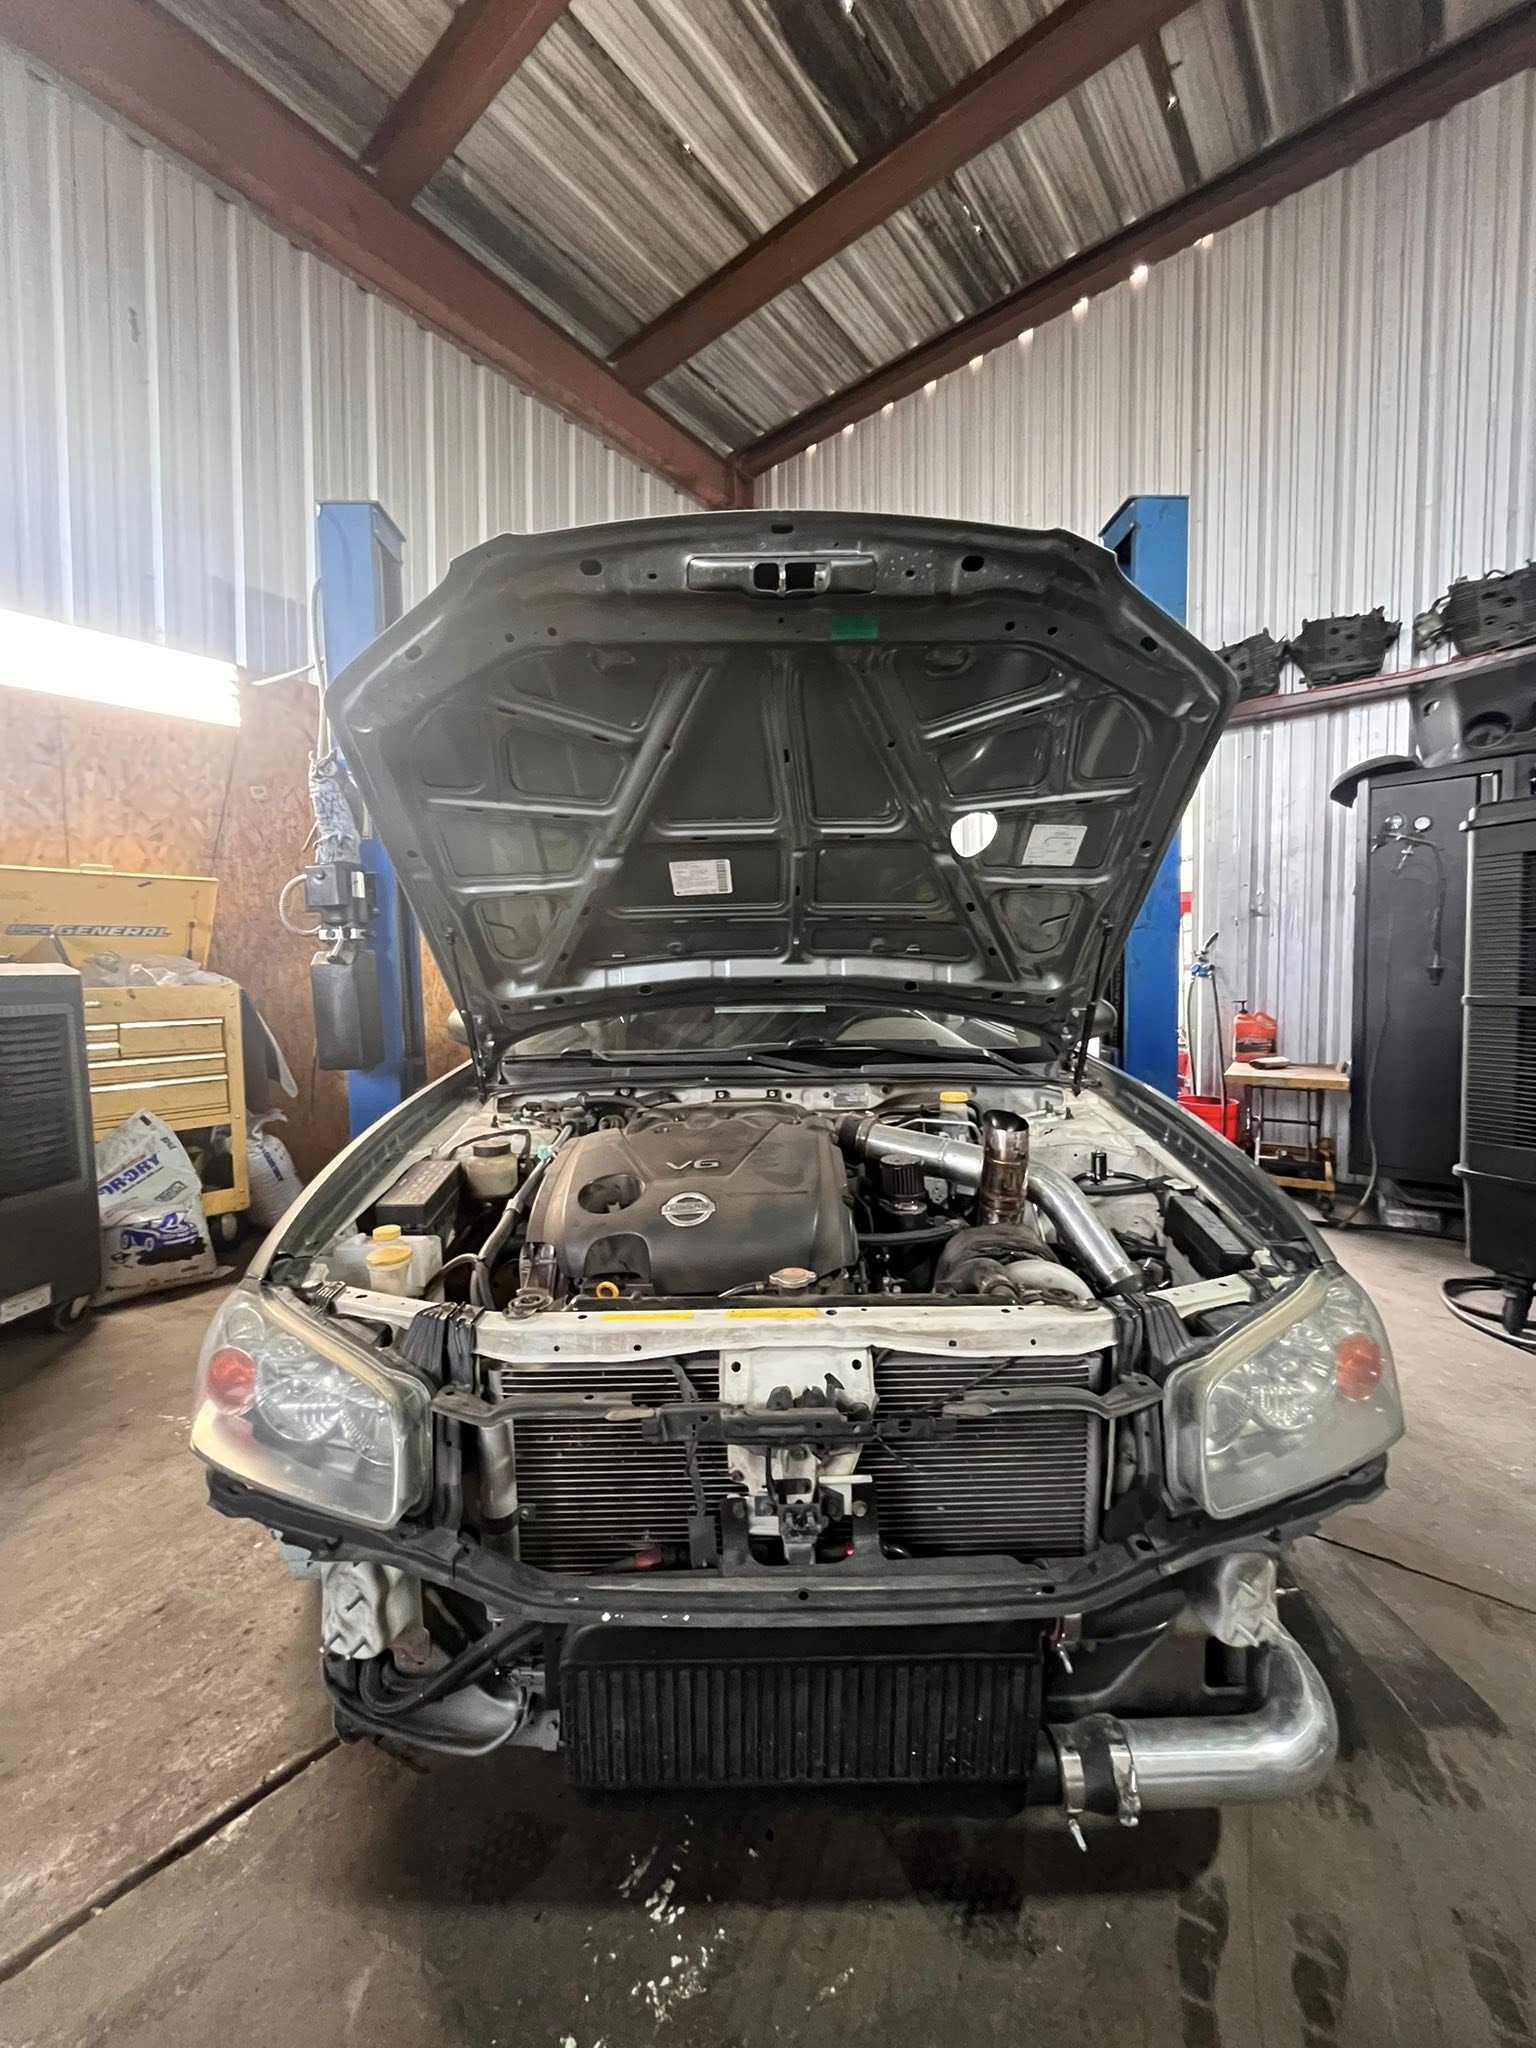
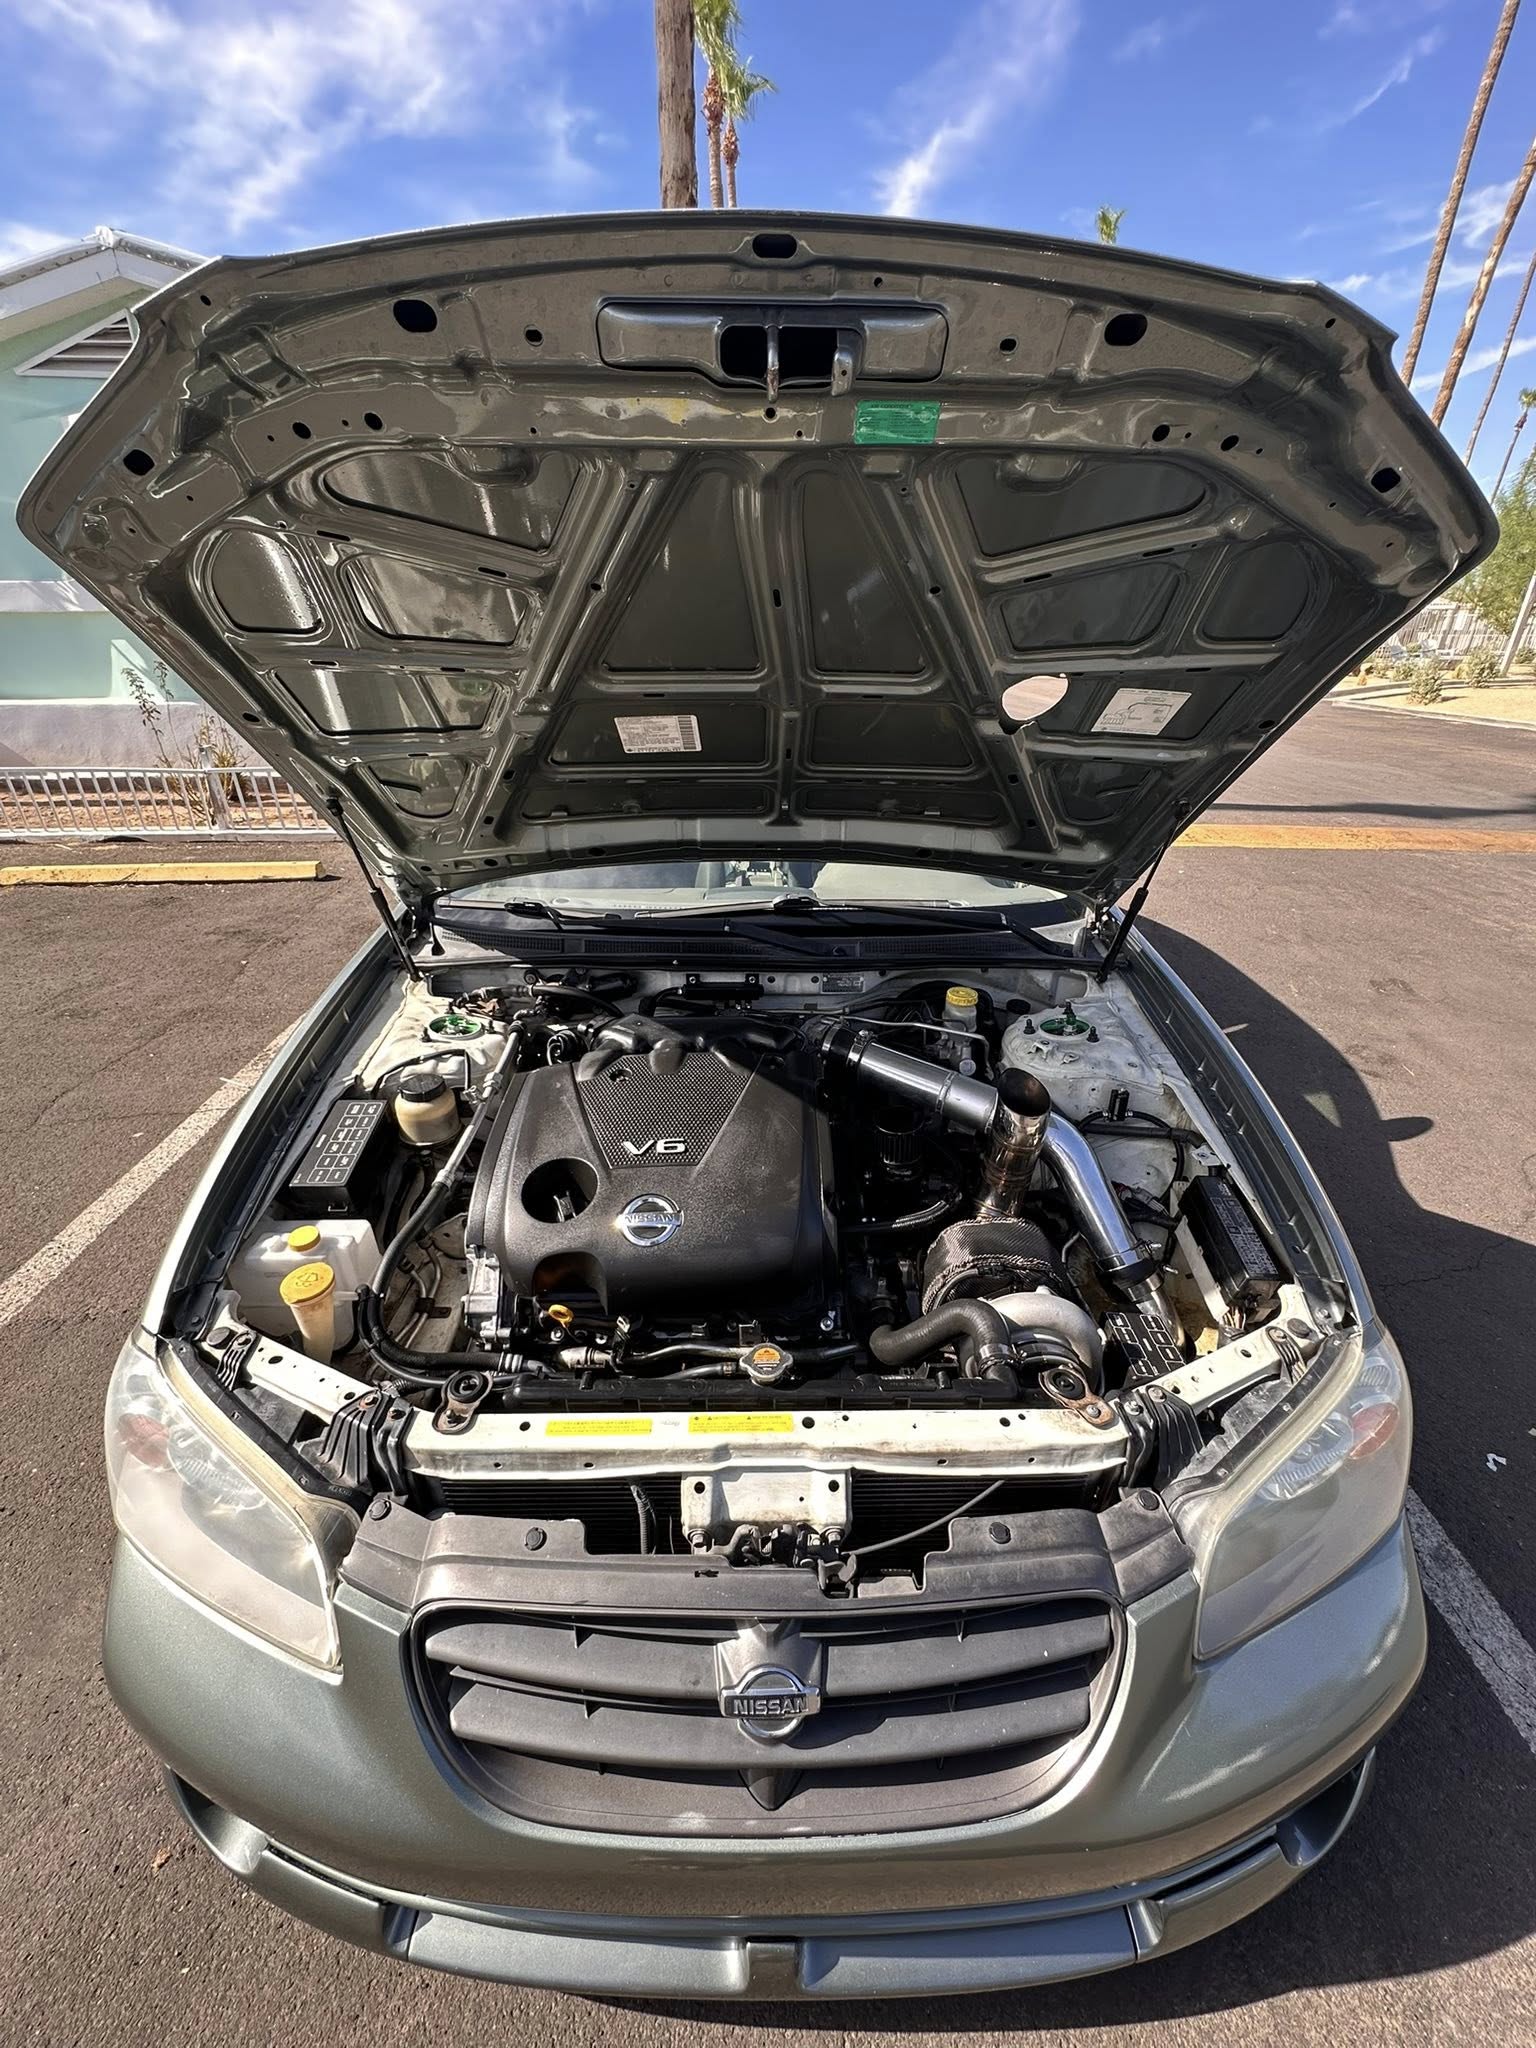
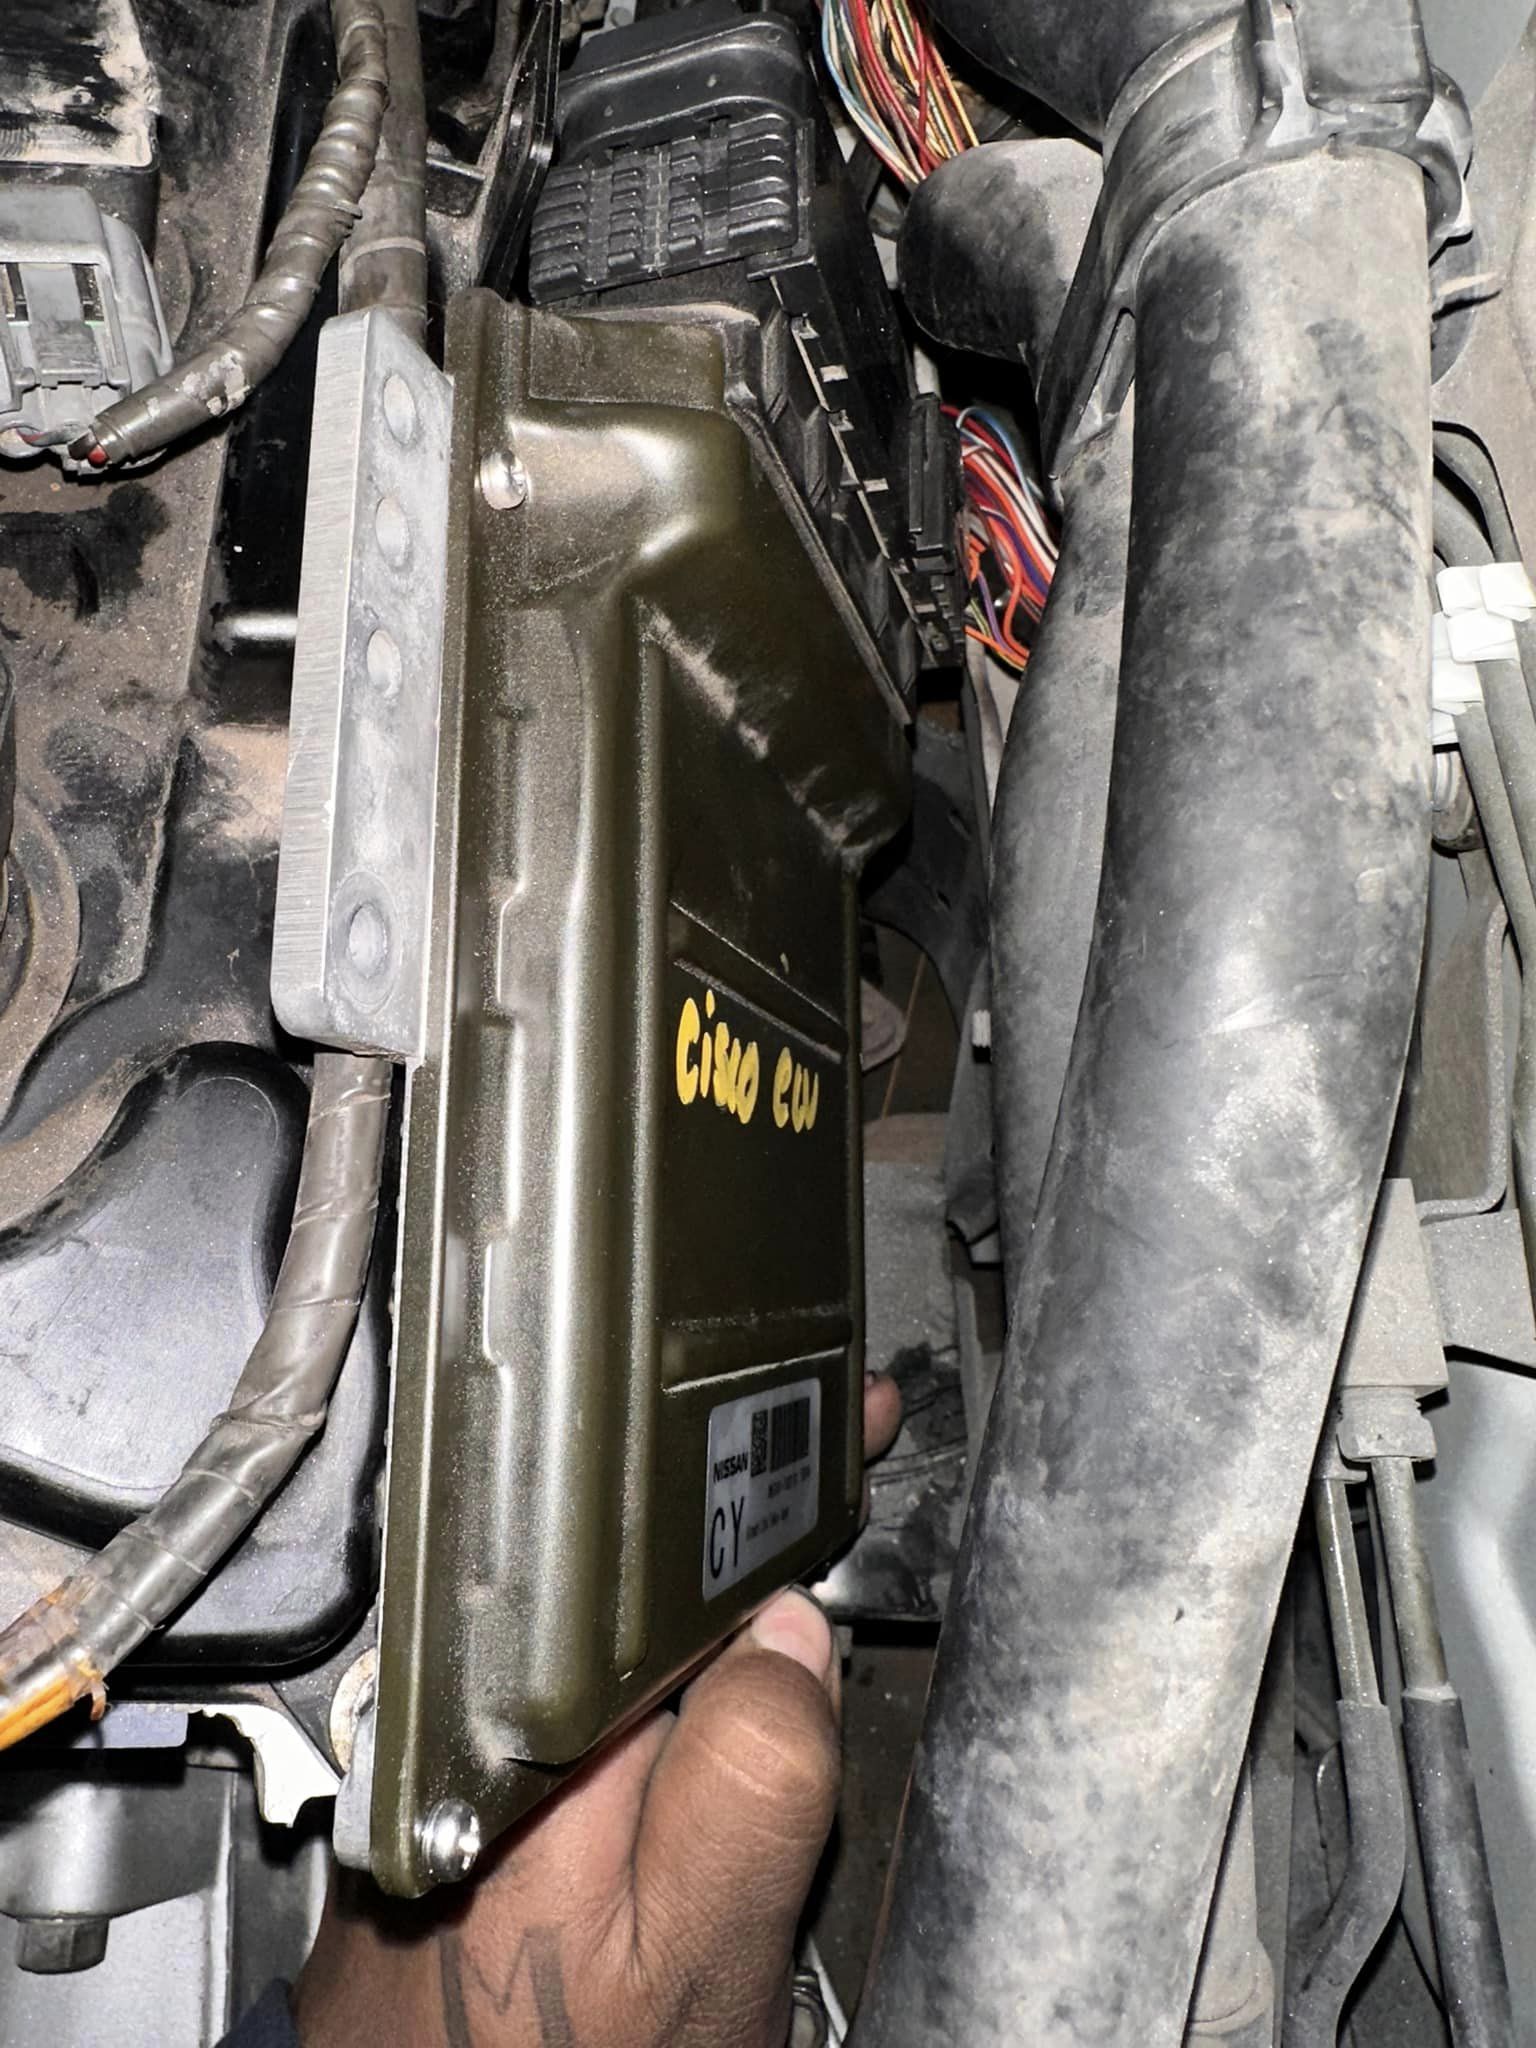
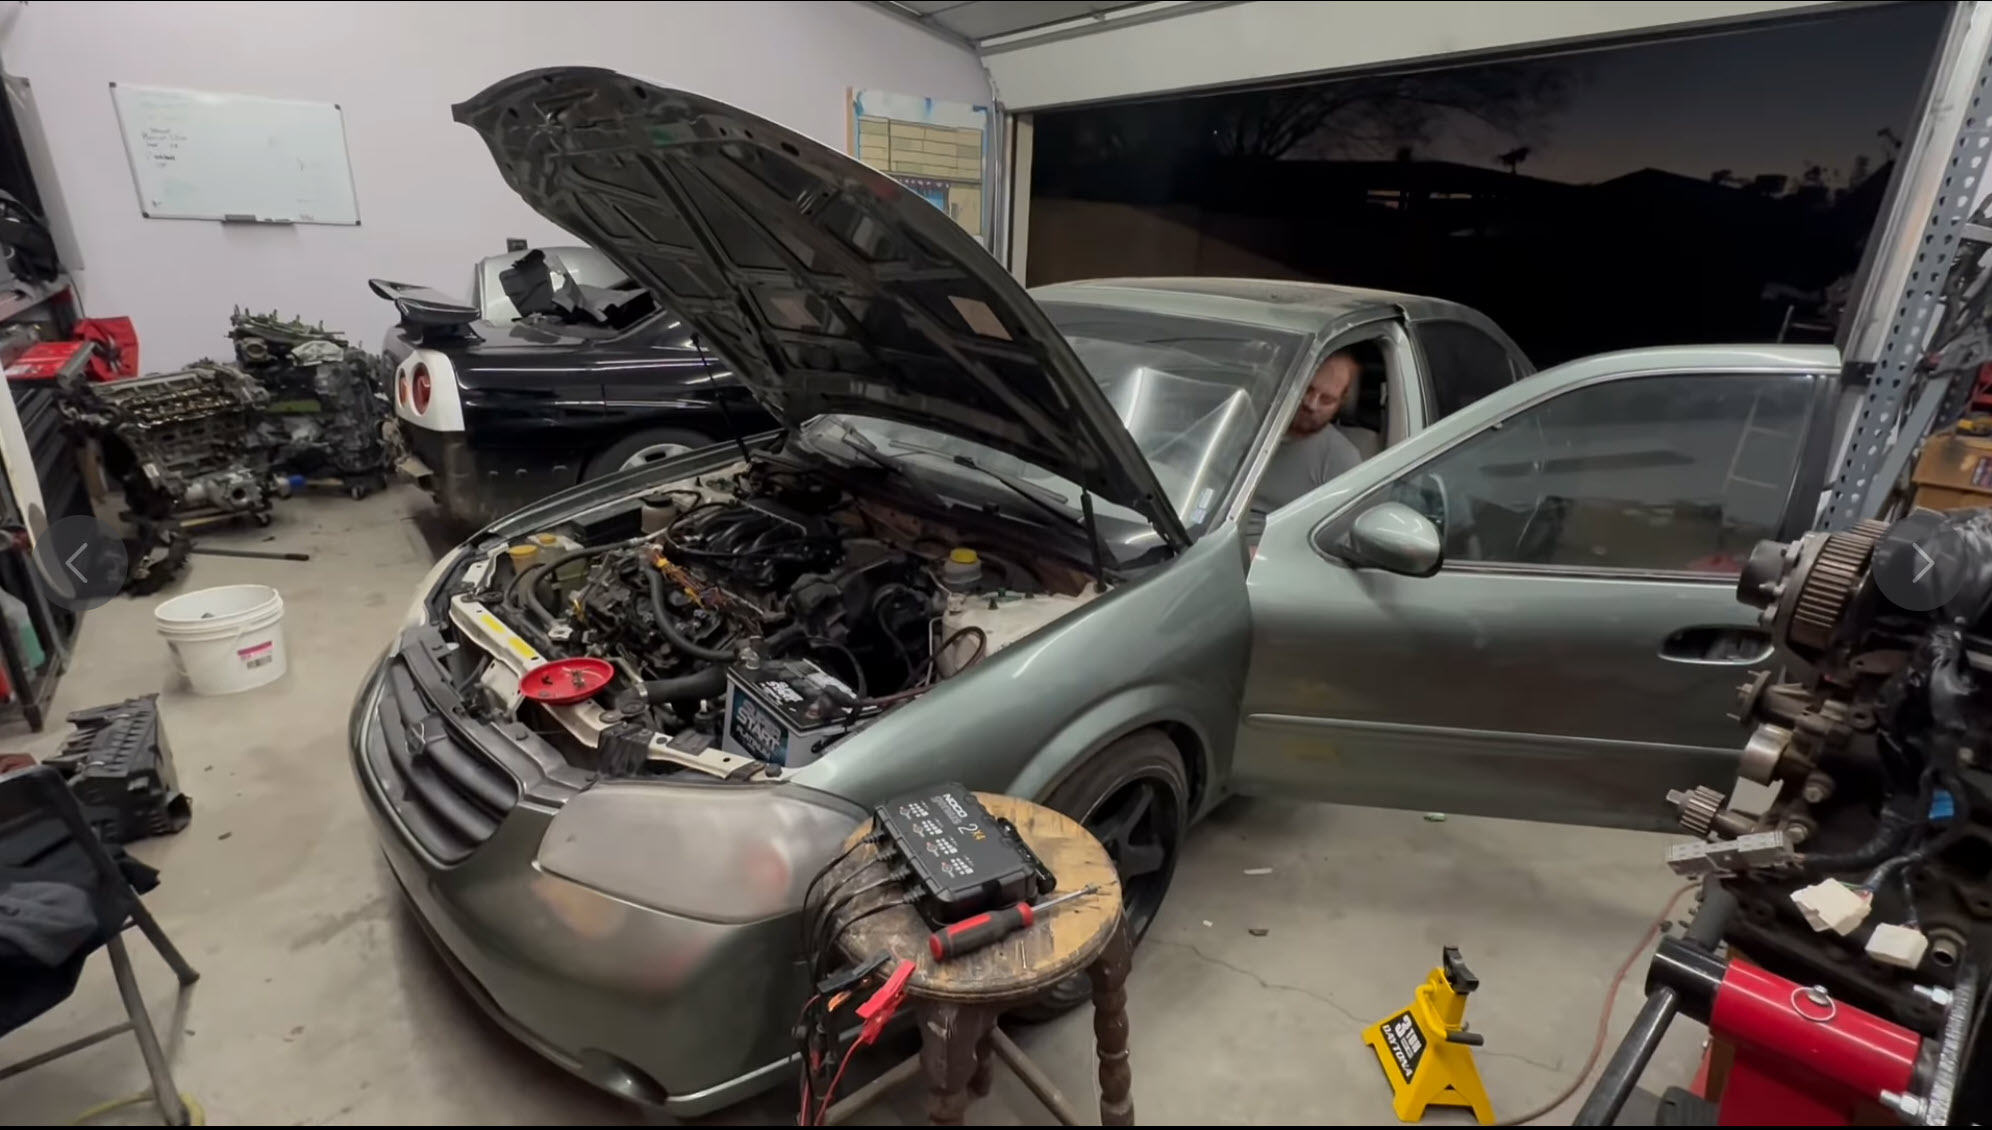
Whats up guys! Today we have one hell of a side quest. one of our friends from a local shop had heard of our 96 Altima Build and offered to hire us to do the same to his 2002 maxima. Installing an UPREV compatible ECU has for a long time been considered impossible but my thought was “If I got it to work on a 96 Altima, a 2002 Maxima has to be easier” and in a sense it is because a lot of the necessary wiring is already in place such as E throttle relay which I had to add in the Altima. After a lot of time studying the service manuals I got all the pinouts figured out (available on Garage23.net) and started on the conversion. Many hours later it was time for the first start and Success! It came to life! Hope you enjoy and please Subscribe for more Content. Thanks! Arigato! Gracias! Merci!


![]()

Credit: Francisco Macias
For anyone wondering: Yes, you can get Uprev to work on a 5.5 Gen Maxima! We made it happen by using a 350Z ECU paired with a full Altima SER engine harness.
Check out more on Garage23’s Instagram
![]()

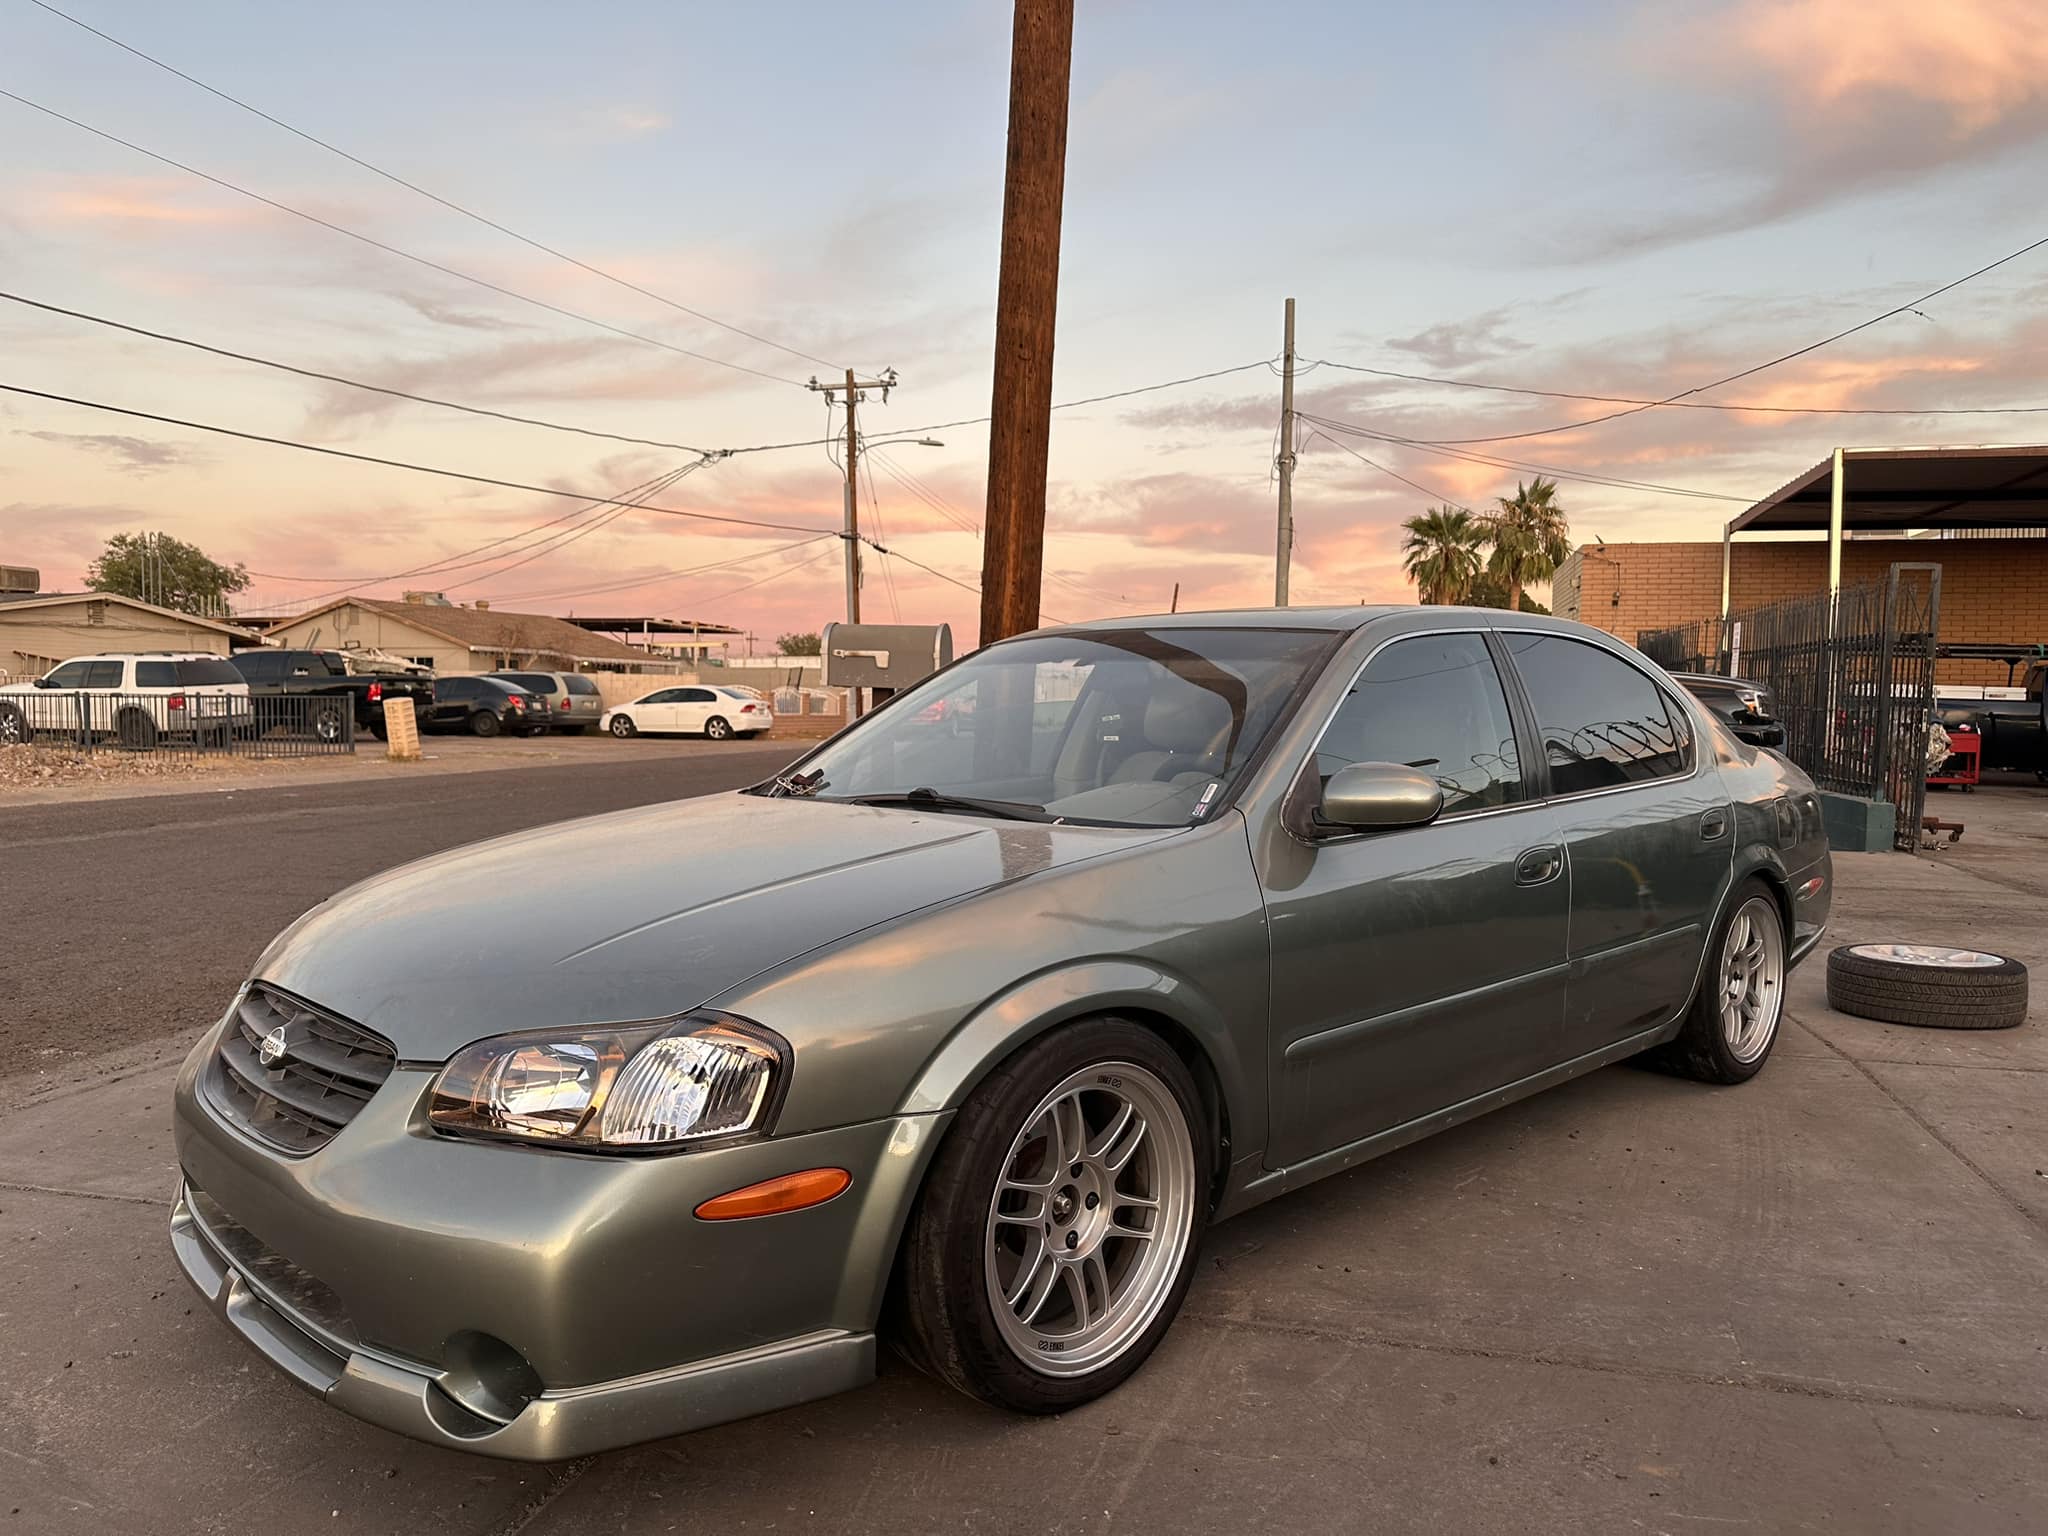
Credit: Marvin J Ramirez
Notes:


![]()

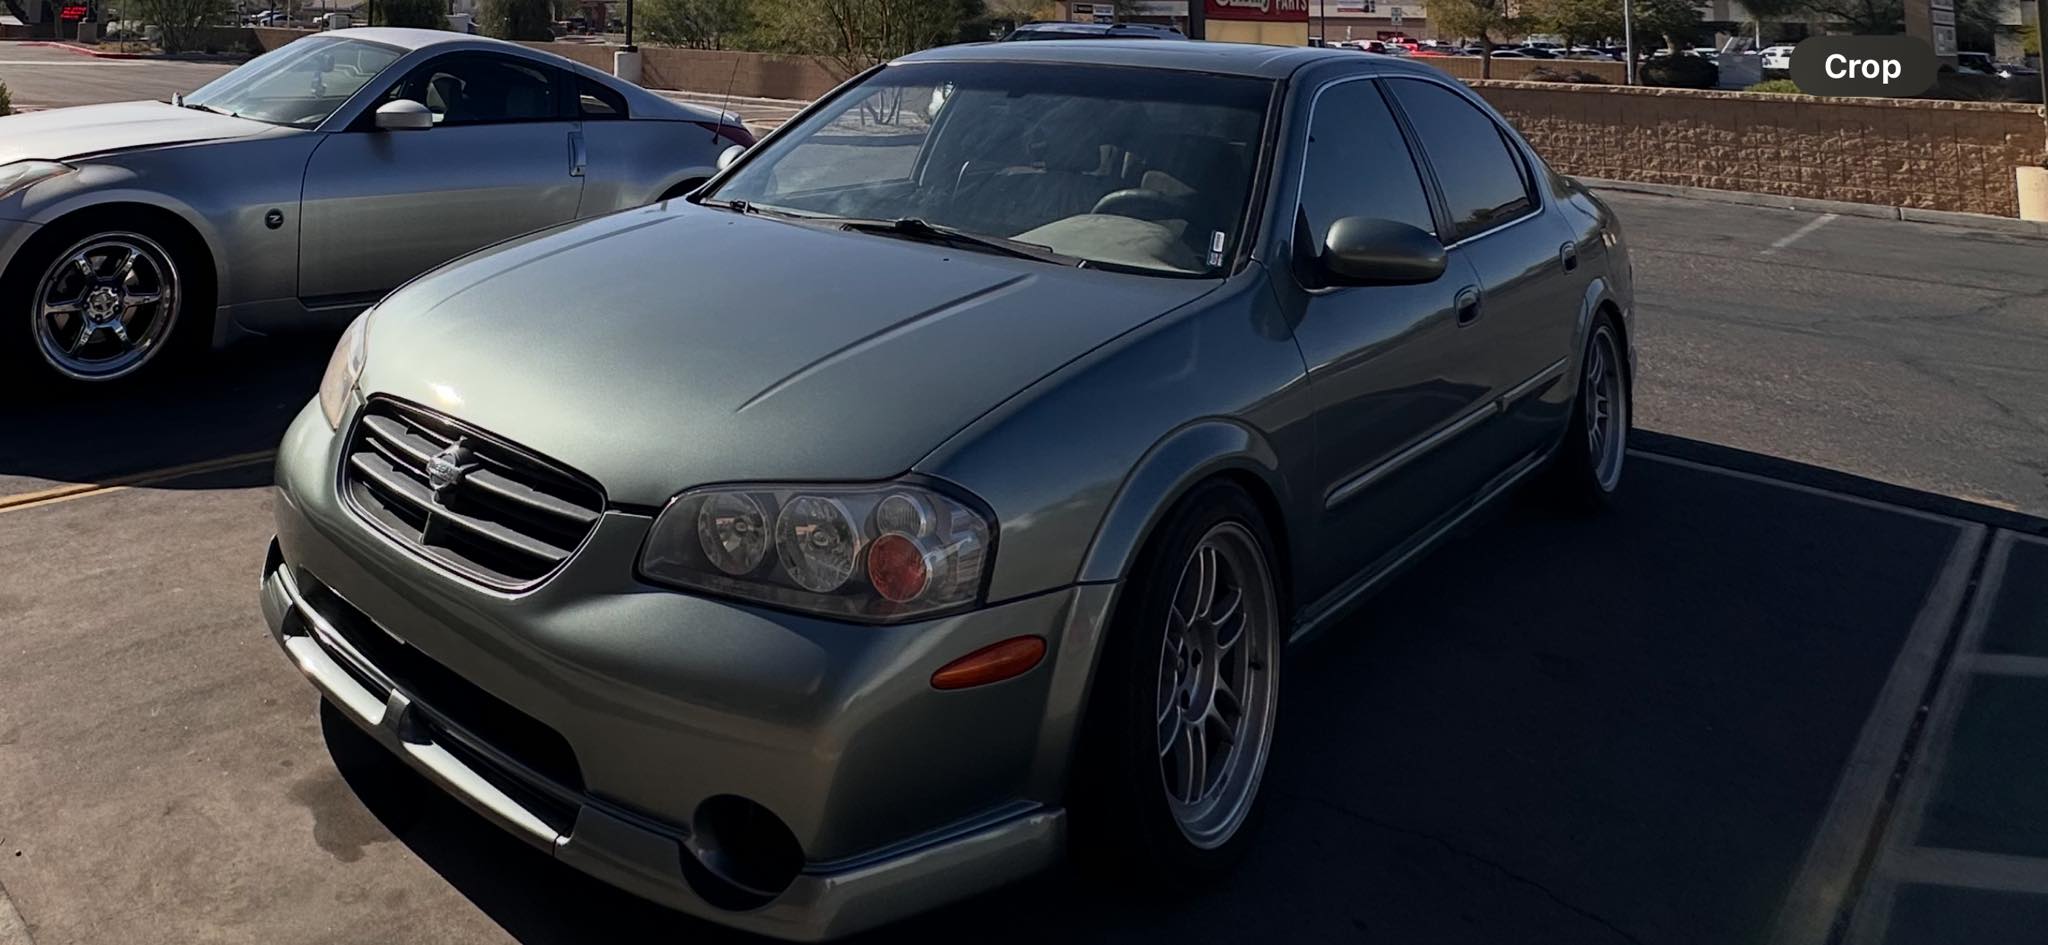
Credit: saig
So I did the test. I unplugged only the connector to the old one and plugged it to the 98 I30 ECU (from JY), and lay it on passenger floor. Without any programming, I was able to start my engine, drove the car around the block for 30 minutes. Engine ran fine, no warning light of any thing. I briefly took the car to freeway for 5 minutes and it performed well. My remote works fine too.
![]()

Yes, this 10mm bolt is considered a ground for the ECM.
Applies to:

![]()


Community Member Credit: The Wizard
| Manufacturer Part Number | Year | Transmission | Spec | Engine | Nissan Part Number |
| A18-E24 ER5 | 1995 | Automatic | Cali | A32-VQ30DE | 23710- |
| A18-B42 EE8 | 1995 | Automatic | Fed | A32-VQ30DE | 23710-40U10 |
| A18-B42 EM1 | 1995 | Automatic | Fed | A32-VQ30DE | 23710-40U12 |
| A18-B42 EL1 | 1995 | Automatic | Fed | A32-VQ30DE | 23710-40U13 |
| A18-E11 EQ1 | 1995 | Automatic | Fed | A32-VQ30DE | 23710-40U14 |
| A18-E11 ER1 | 1995 | Automatic | Fed | A32-VQ30DE | 23710-40U17 |
| A18-H80 E3S | 1995 | Automatic | Fed | A32-VQ30DE | 23710- |
| A18-B41 EL0 | 1995 | 5-Speed Manual | Fed | A32-VQ30DE | 23710- |
| A18-B41 EM0 | 1995 | 5-Speed Manual | Fed | A32-VQ30DE | 23710- |
| A18-E10 ER0 | 1995 | 5-Speed Manual | Fed | A32-VQ30DE | 23710-40U04 |
| A18-H79 E3R | 1995 | 5-Speed Manual | Fed | A32-VQ30DE | 23710-40U06 |
| A18-E12 EQ2 | 1995 | 5-Speed Manual | Cali | A32-VQ30DE | 23710- |
| A18-B41-EL0 | 1995 | 5-Speed Manual | Fed | A32-VQ30DE | 23710- |
| A18-B42-EL1 | 1995 | Automatic | Fed | A32-VQ30DE | 23710- |
| A18-E11-ER1 | 1995 | Automatic | Fed | A32-VQ30DE | 23710- |
| A18-C85-EX9 | 1995 | Automatic | Fed | A32-VQ30DE | 23710- |
| A18-C85-EY1 | 1996 | Automatic | Fed | A32-VQ30DE | 23710- |
| A18-L00 0E1 | 1996 | Automatic | Fed | A32-VQ30DE | 23710-54U16 |
| A18-C84 EY0 | 1996 | 5-Speed Manual | Canada | A32-VQ30DE | 23710-54U01 |
| A18-C84 EX8 | 1996 | 5-Speed Manual | Fed | A32-VQ30DE | 23710-54U03 |
| A18-H92 E4B | 1996 | 5-Speed Manual | Canada | A32-VQ30DE | 23710-54U05 |
| A18-E65 EZ7 | 1996 | 5-Speed Manual | Outside US | A32-VQ30DE | 23710-56U62 |
| A18-L01 0E2 | 1996 | 5-Speed Manual | Outside US | A32-VQ30DE | 23710-56U66 |
| A18-C84-EX8 | 1996 | 5-Speed Manual | Canada | A32-VQ30DE | 23710- |
| A18-F55 E0N | 1997 | 5-Speed Manual | Fed | A32-VQ30DE | 23710- |
| A18-J08-E5Y | 1998 | Automatic | Fed | A32-VQ30DE | 23710- |
| A18-G70-E5U | 1998 | 5-Speed Manual | Fed | A32-VQ30DE | 23710- |
| A18-N10-Z90 | 1999 | Automatic | Fed | A32-VQ30DE | 23710- |
| A18-N11-Z91 | 1999 | Automatic | Fed | A32-VQ30DE | 23710- |
| A18-N12-Z92 | 1999 | 5-Speed Manual | Fed | A32-VQ30DE | 23710- |
| A18-J50-4E6 | 1999 | 5-Speed Manual | Fed | A32-VQ30DE | 23710- |
| A18-N07-Z87 | 1999 | 5-Speed Manual | Fed | A32-VQ30DE | 23710- |
| A18-N04-Z84 | 1999 | 5-Speed Manual | Fed | A32-VQ30DE | 23710- |
![]()

Credit: eng92
This may be common knowledge but I did not see it in the stickies. There are three basic steps involved:
1) On the ECU connector, move the wire from pin 107 to pin 105.
2) Change out your 4-wire zirconia type rear O2 sensor for a 3-wire titania type.
3) Also must add rear O2 sensor signal ground from ecu pin 112 to engine grounds F18 and F19 on intake manifold collector.
Please be aware that you cannot sub a 3-wire zirconia type sensor in place of the 3-wire titania. The two types work completely differently. The zirconia type generates a voltage depending upon O2 levels. The ECU expects to see a fluctuating voltage from 0-1.0 V.
The titania type sensor changes in resistance depending on O2 levels. The ECU measures the voltage drop across this resistance. It expects a voltage fluctuating between 0-2.2V. If the ECU does not see the specified voltage fluctuation after a given time period, it will throw the P0136 code and give you a CEL.
Some of you may have discovered that the rear O2 sensor bung on a 98 is an 18mm thread while the one on a 96 is 12mm.
There are three options for sensor replacement:
I believe I found one through Oxygensensors.com. It is Walker p/n: 250-23881. It is a universal type, so you will have to cut the connector off of your factory sensor.
I know someone is going to ask the question: Will this work on a 99???
Short answer: I do not know.
Long Answer: I know the 99 uses a four-wire 18 mm zirconia type like the 98. The nissan p/ns may be different but that just means the connector or length of wire attached to the sensor is different. You would be replacing it with a universal so that does not matter.
I have FSMs for 96 and 98, not 99. The pin-out on the ECU may be different. If someone wants to supply me with the schematic for the rear O2 sensor circuit, I can let you know.
I apologize for the long post, but since there is a GD for JWT ecus going on right now, I figured this would be useful info for some of us 98s.
*********UPDATE*********
New O2 sensor finally arrived on Friday – installed it Sunday night
Problem – I am not picking up any voltage output from it on my OBD2 scanner.
A quick check of the 96 ECU schematic reveals the problem. The ECU requires a separate signal ground for the rear O2 sensor to be on pin 112.
Damn 3 wire sensors – the four wire types have a built in signal ground so no separate wire is necessary.
Time to hit the wrecking yard again. Probably the best place to get some of those “fancy” female terminals that go inside the ECU harness connector.
*********UPDATE*********
CODE P1220 GONE AS WELL
CODE FREE AND READY FOR EMISSIONS TESTING
Wired the FPCM and dropping resistor in on Saturday. Had to tun two new wires from the ECU to the left rear quarter where the modules are located. Some minor re-wiring of the body grounds and fuel pump were also required.
For all you 98s, this step should only be necessary if you have a 95/96 ECU out of a cali-spec or Canadian maxima and are getting the P1220 code.
Spare ’96 ecu will arrive at Technosquare today.
For any of you 98 cali-spec owners looking to convert to a 95/96 ecu, I have a whole harness full of ecu pins available. I can pop a couple in an envelope with ~24″ of wire attached and mail them out.
*********UPDATE*********
Just an update that may save some people some money.
Before going out and buying the titania 02 sensor:
1) On the ECU connector, move the wire from pin 107 to pin 105. There should be no existing wire in 105.
2) Ground ecu pin 112 (this is the rear 02 sensor ground)
I believe Dandymax just carried out the above two steps and it got rid of the P0136 for him. If it doesn’t work for you, then you will have to buy the sensor.
![]()

Credit: Ronny Parra
This is a working ECU for a 1995-1998 4thgen Nissan Maxima. This ECU is tuned for 560CC injectors and Z32 MAF. It can be adjusted properly updated from JWT to any mods you have. This upgrade was $595 got this ECU from mitesh patel years ago with another tuned software.


![]()
