This bracket kit allows you to install Gen 1 2004-2007 Cadillac CTS-V 4 piston calipers onto the front of your 1989-1994 Nissan 240sx using a 324mm (12.75″) 350z track pack rotor.
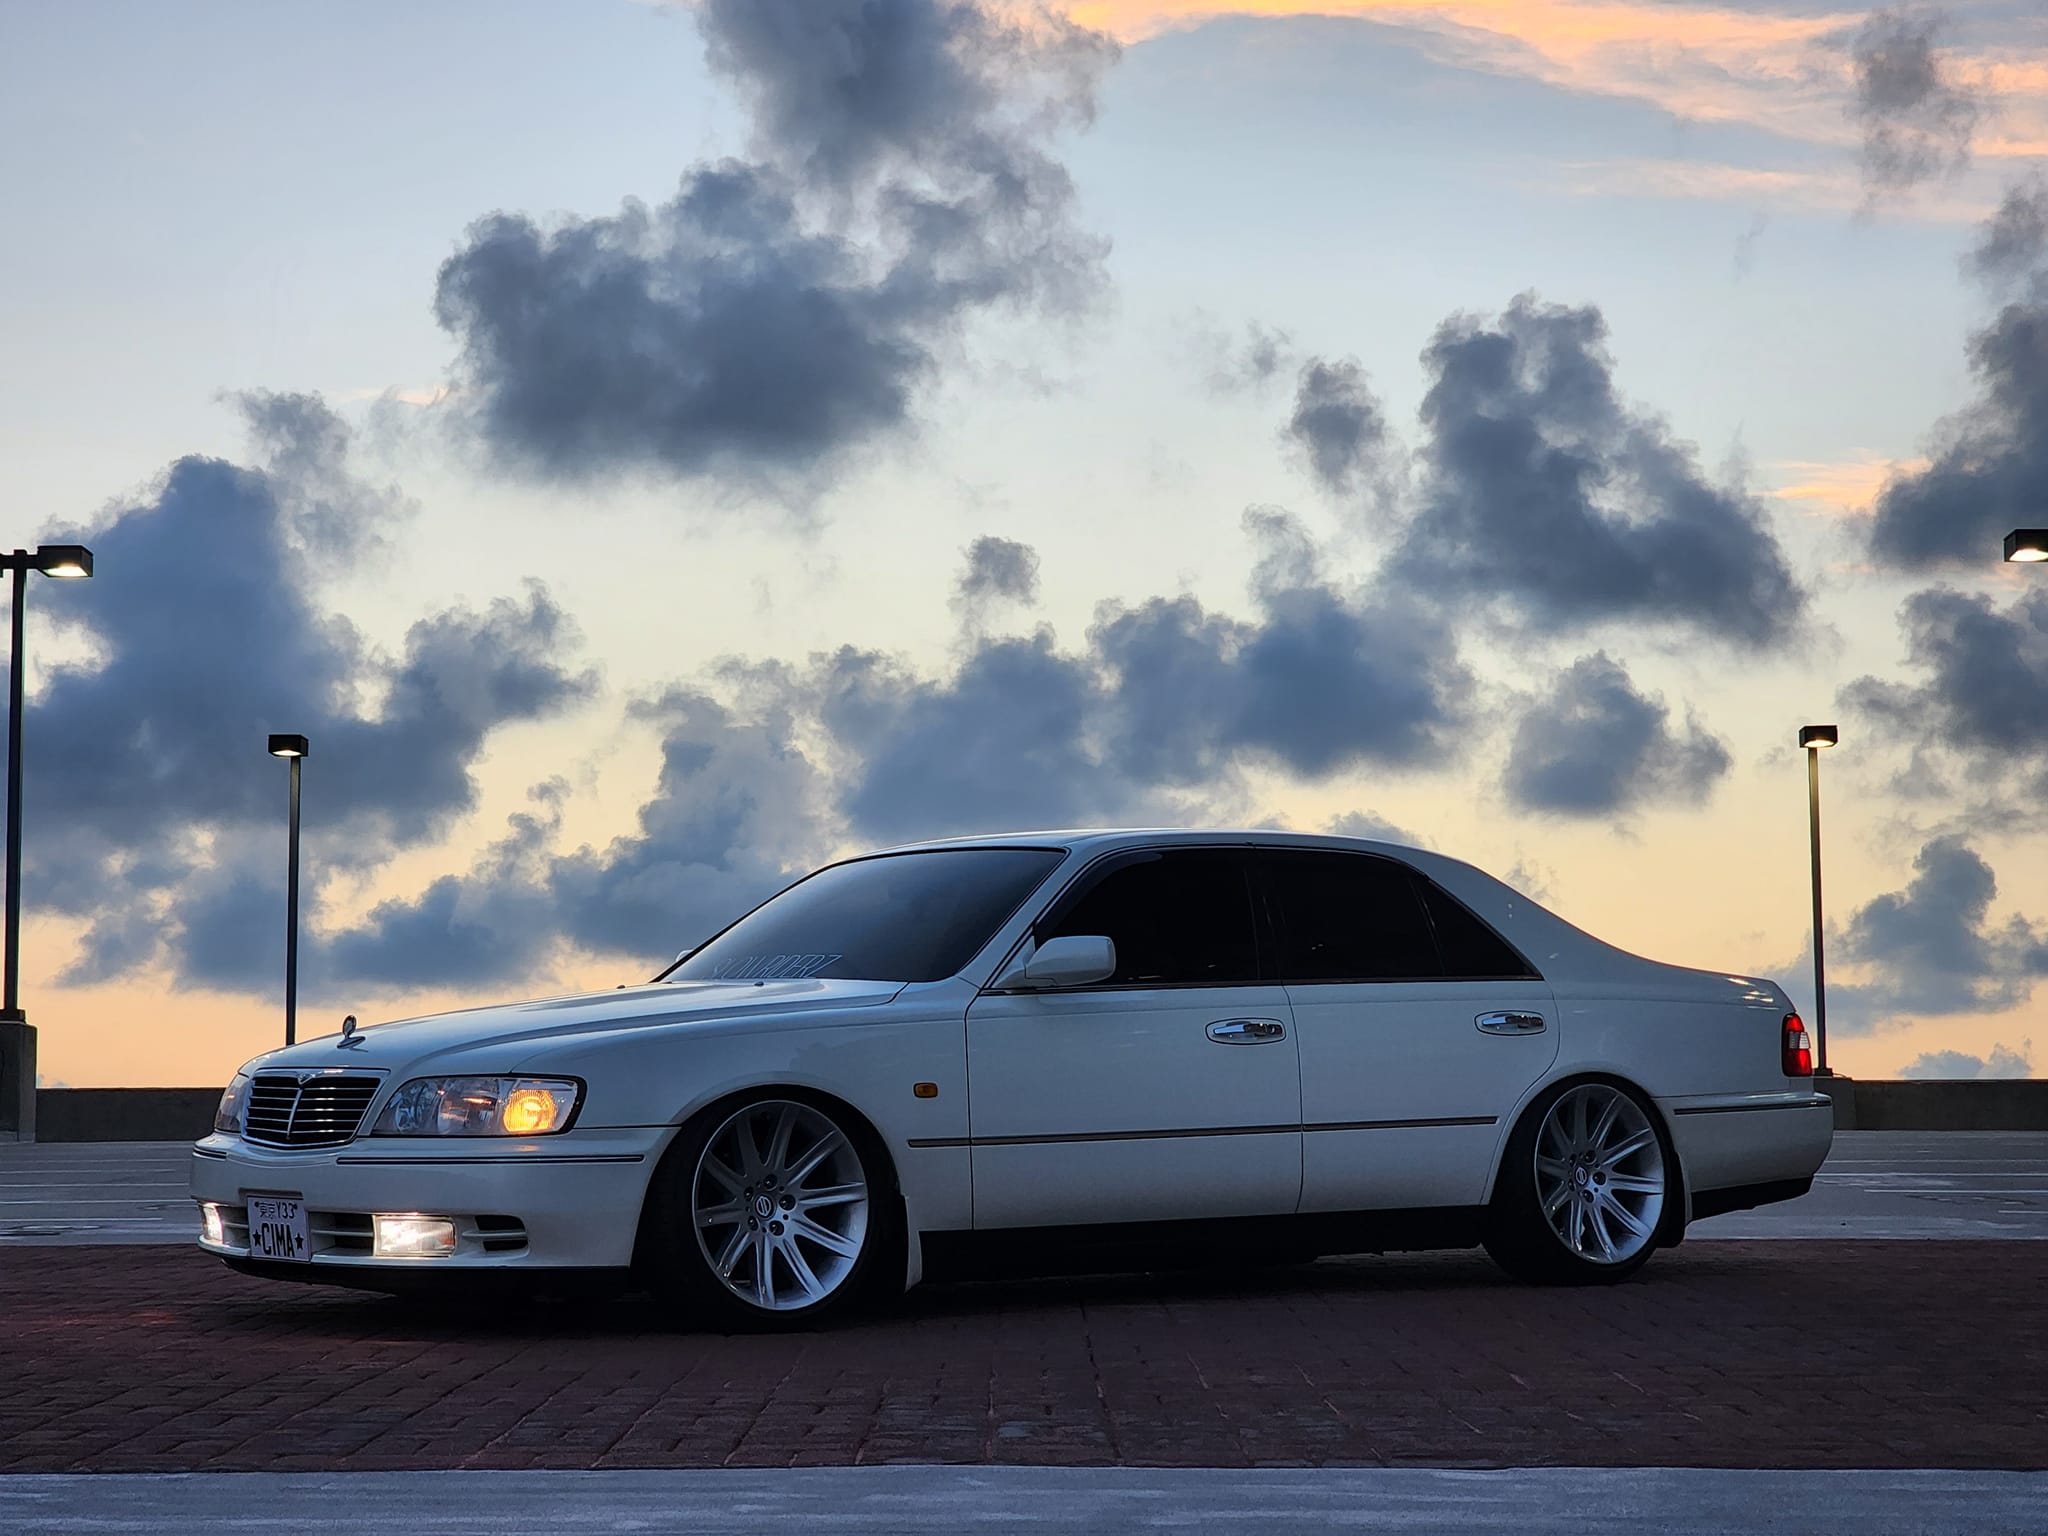
This is the process for replacing the tie rods on a Y33 Cima (’96 VQ30DET). The driver’s side boot was broken, so I did both sides. Q45 tie rods fit just fine, and a universal boot from Amazon worked as a replacement.
Steps:
Mark the locking nut.
Loosen the locking nut.
Remove the crown nut.
Bop out the tie rod.
Remove the old boot and tie rod.
Turn the steering wheel to expose as much of the steering rack worm gear as possible.
Pack grease onto the rack.
Install the new boot.
Thread the new locking nut back to your marking.
Install the new tie rod.
Slide everything back in place.
Tighten the crown nut just past the cotter pin hole.
Install the cotter pin.
All done — repeat the same steps on the other side. Then, of course, notice your rear CV axle boot is gone… and on to the next adventure.
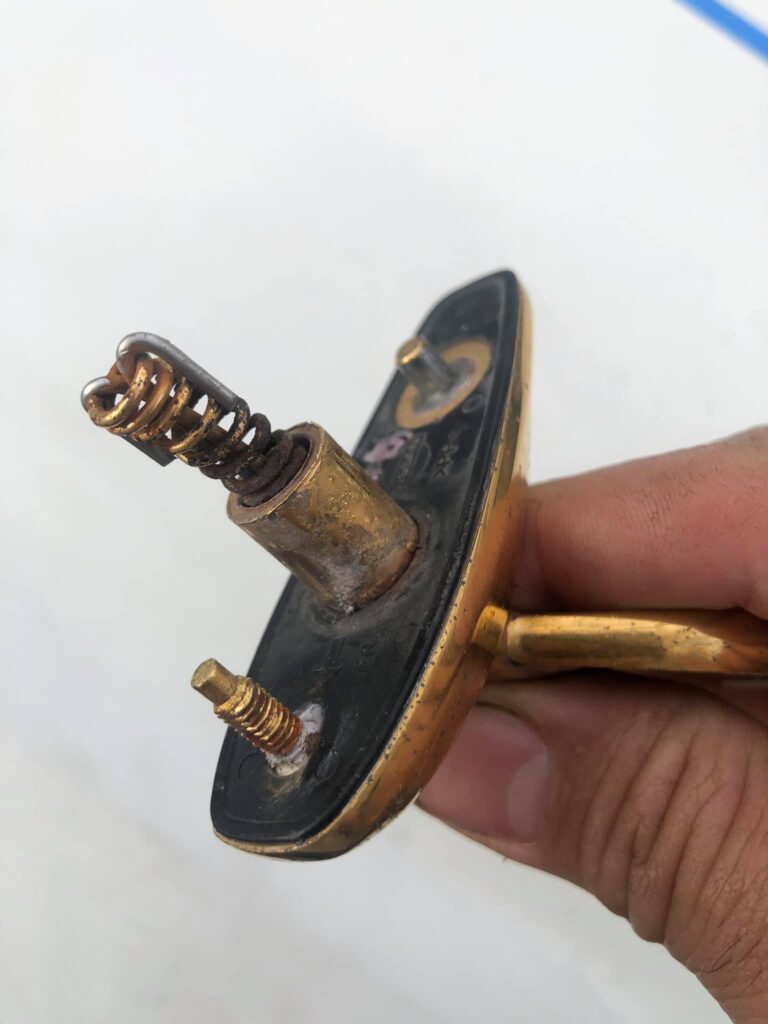
This is the location of the Y33 Cima VQ30DET fuel filter in case anyone couldn’t find it. I’ve seen a few threads on it but never saw a photo. It’s mounted with a simple three-bolt bracket and two bolts for the clamp. I kept the OEM hard lines and replaced the jumper rubber hoses (6 mm), and also replaced the fuel filter itself with a fresh one..
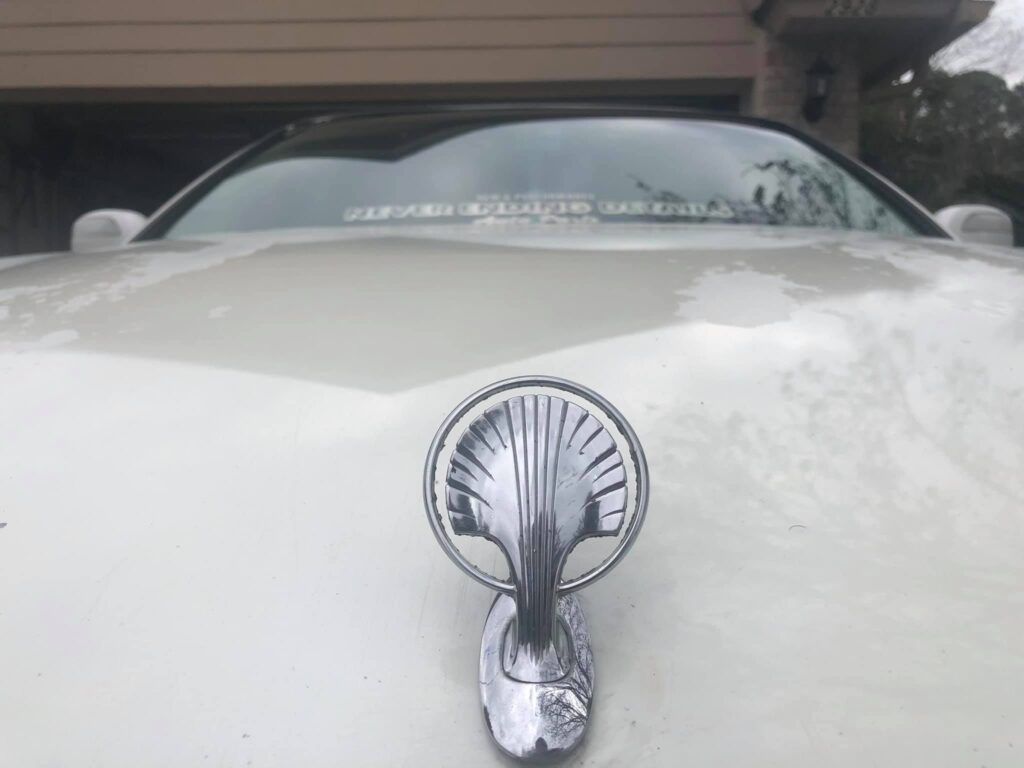
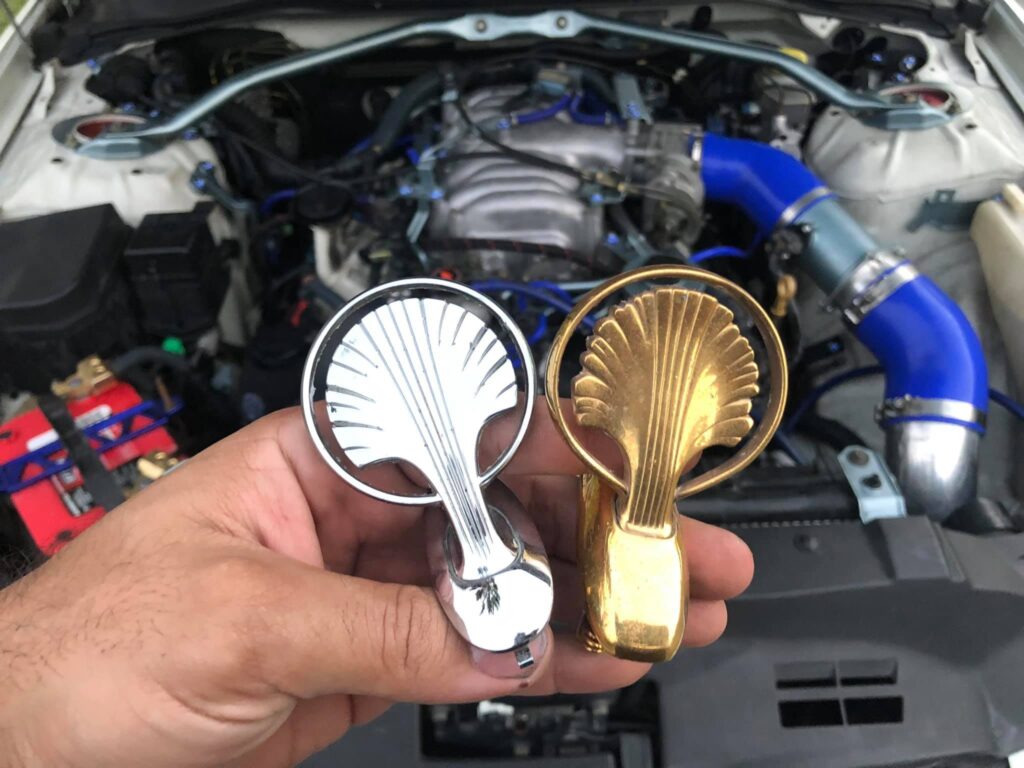
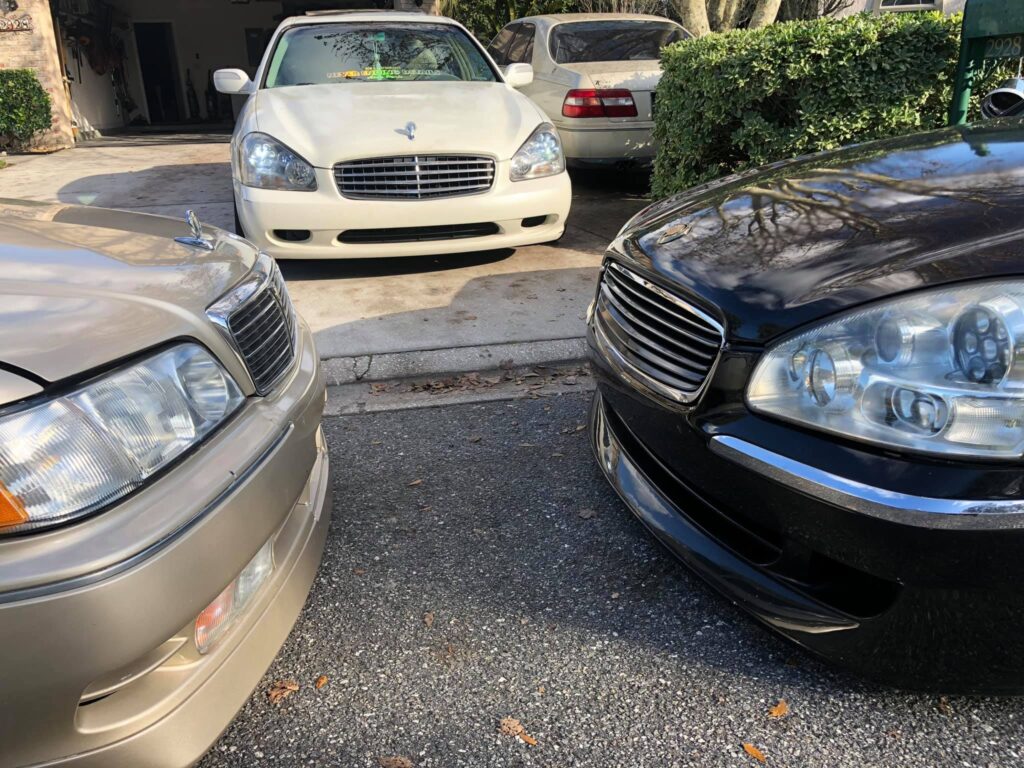
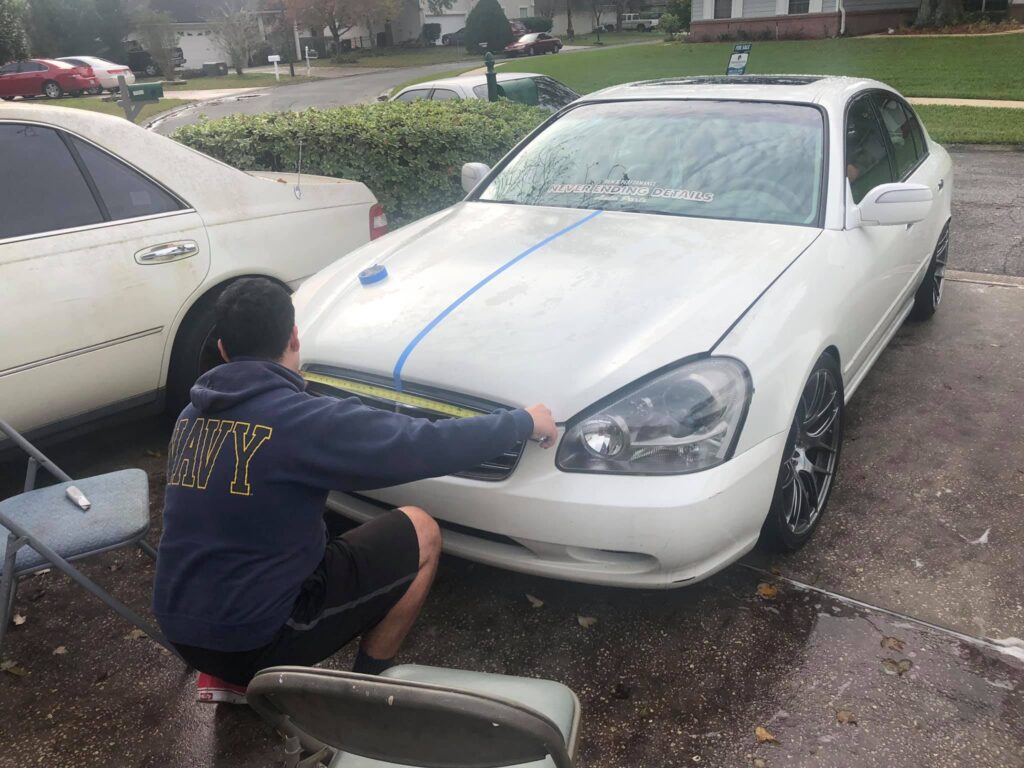
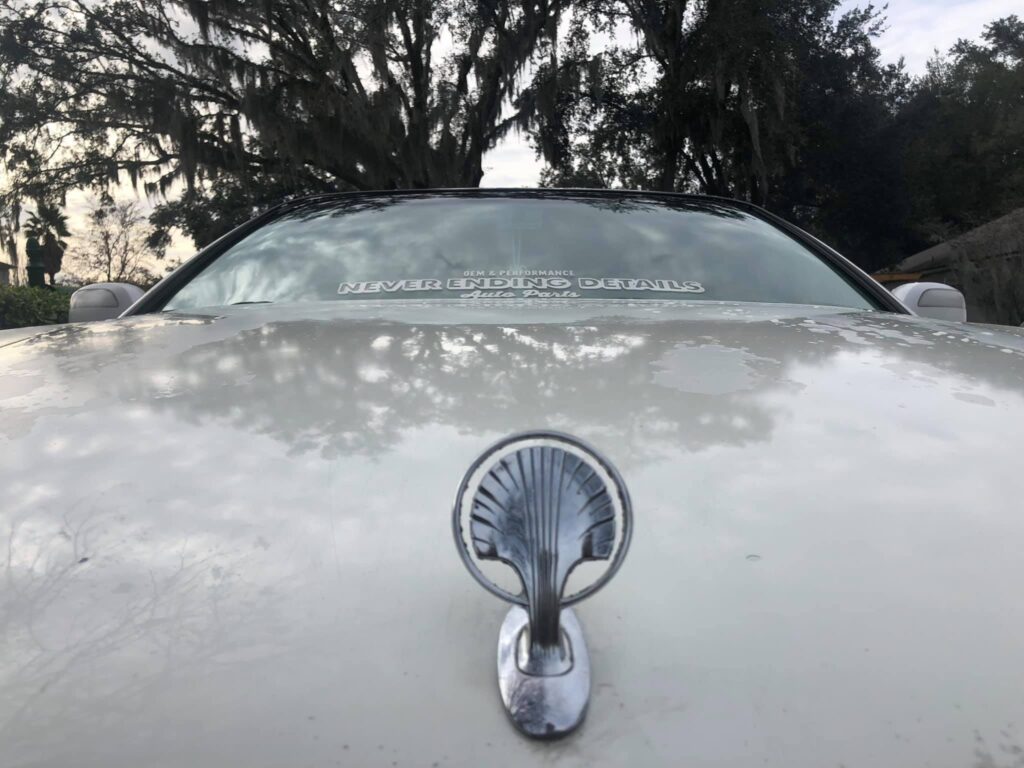
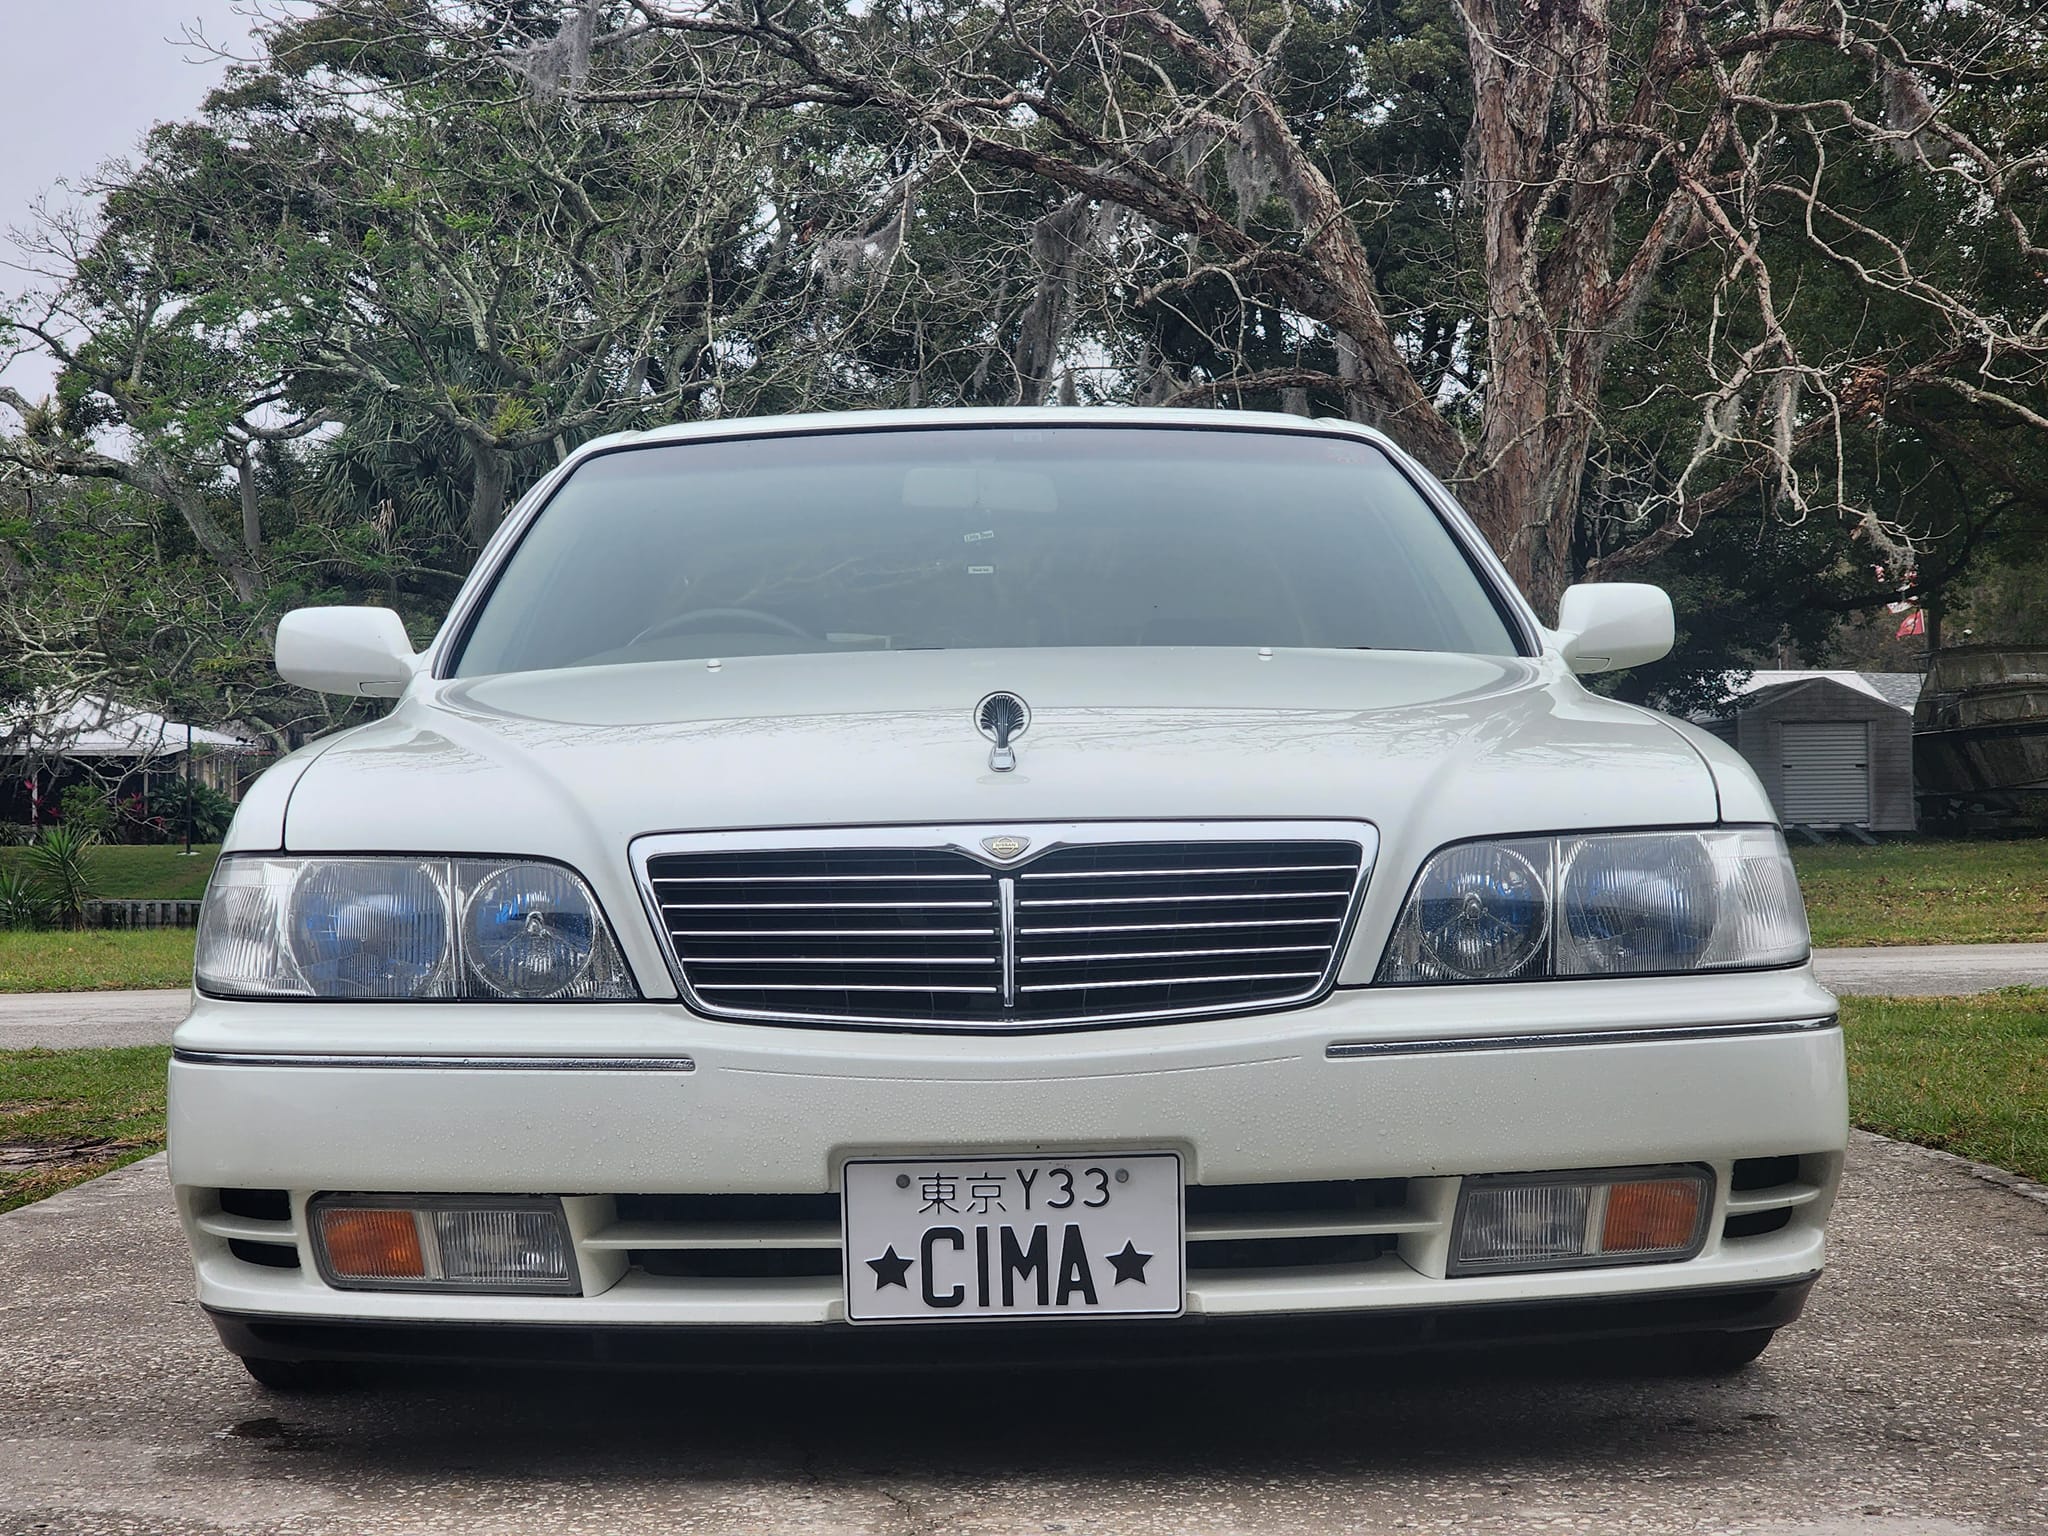
Thanks to Jason Dever I was able to get a F50 (silver) and Y33 (Gold) Cima Hood Mascot for my 2002 Q45 Project Aquatica!
When I did my research there wasn’t a write up on how to add the hood mascot (at least one that I could find) so I figured I would do it myself with the help of Rosales Alexander.
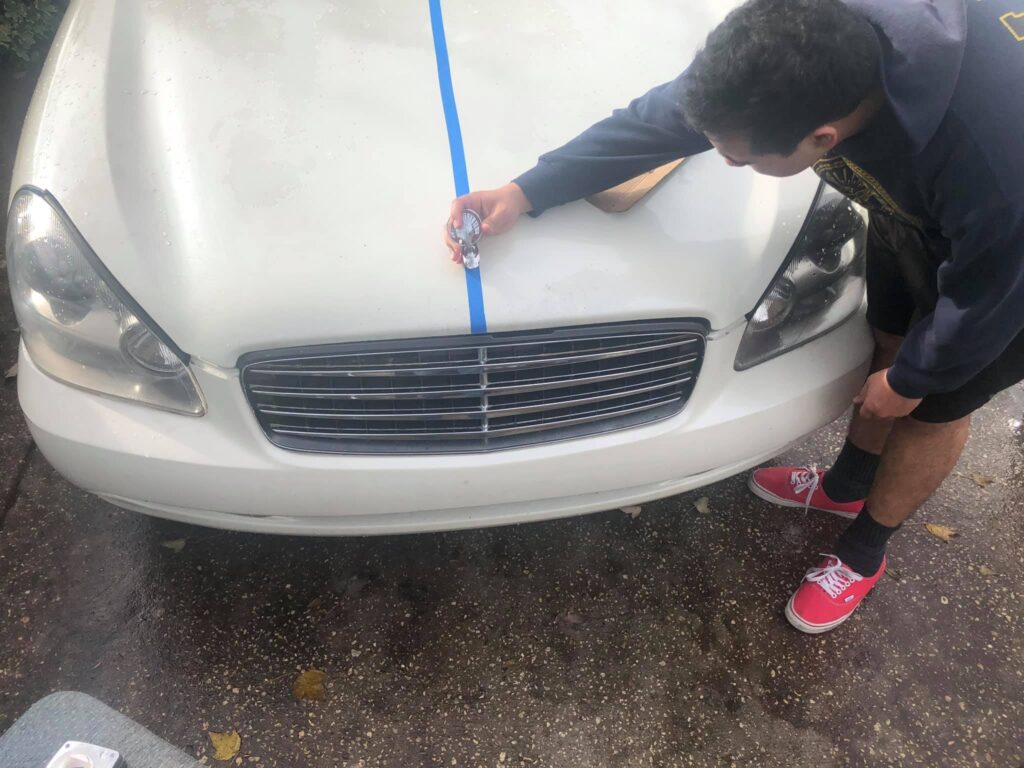
Started with cleaning the hood first
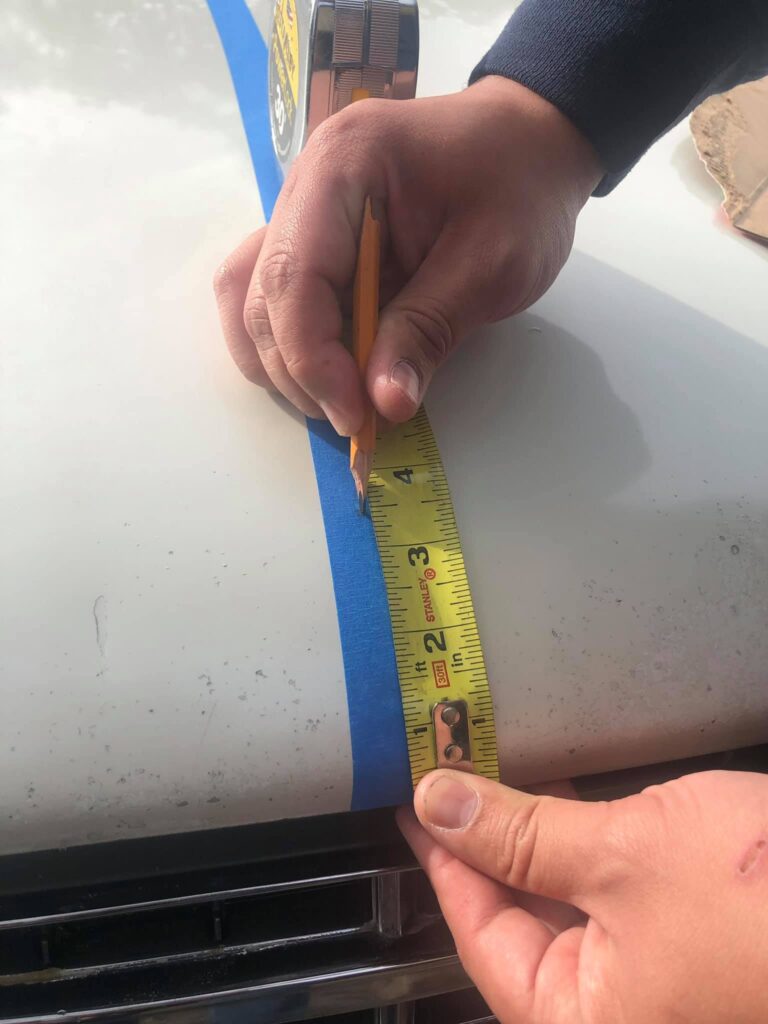
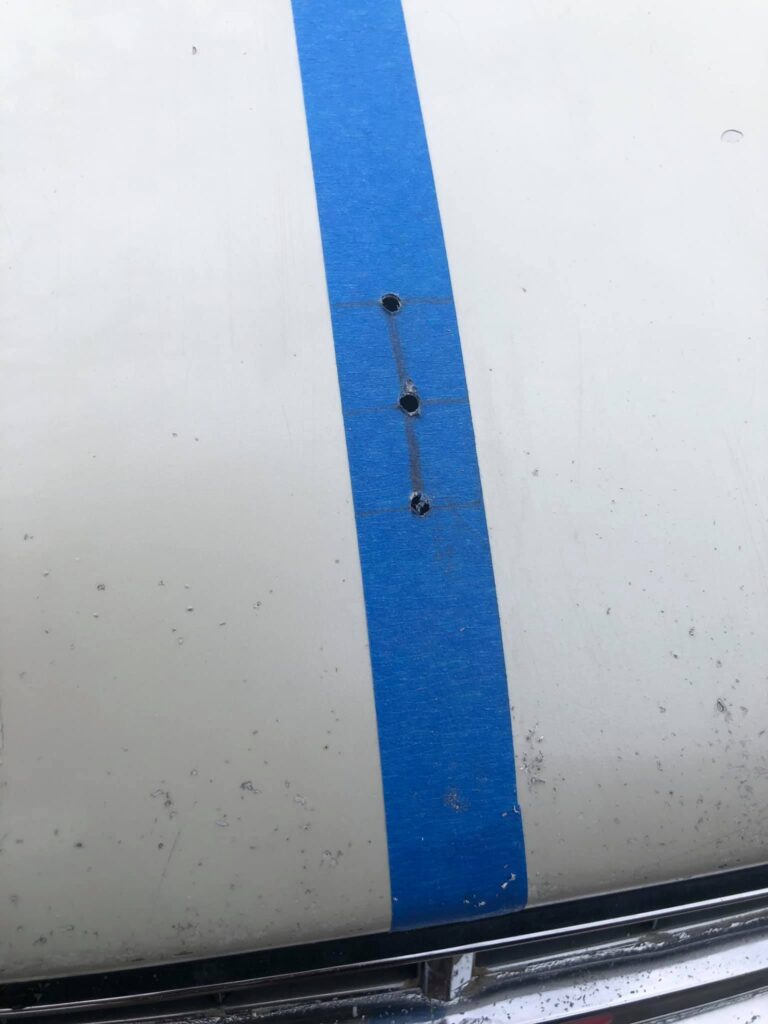
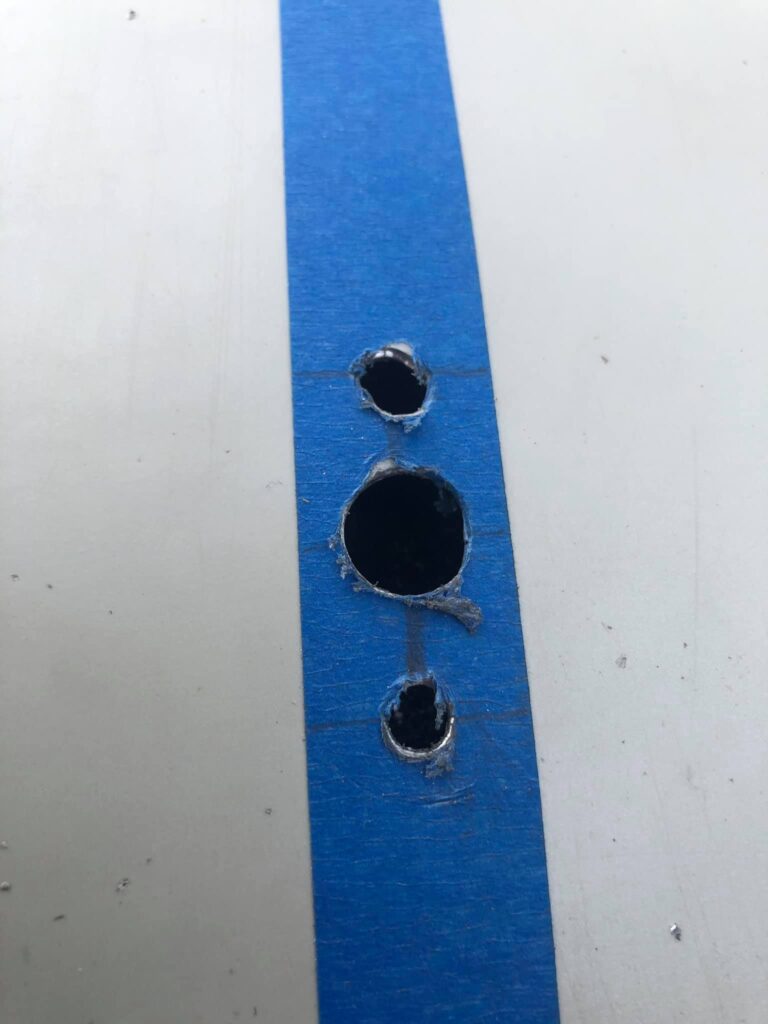
Put a tape down the center of the hood to help with marking the 3 holes versuses writing on the hood.
Measure exactly 3.2” inches from the base of the hood to the base (front tip) of the hood mascot. MEASURE MULTIPLE TIMES! Remember the rule of thumb is to measure the center 3 times and cut once, YOU ONLY GET ONCE CHANCE TO CUT THE HOLE IN YOUR HOOD!
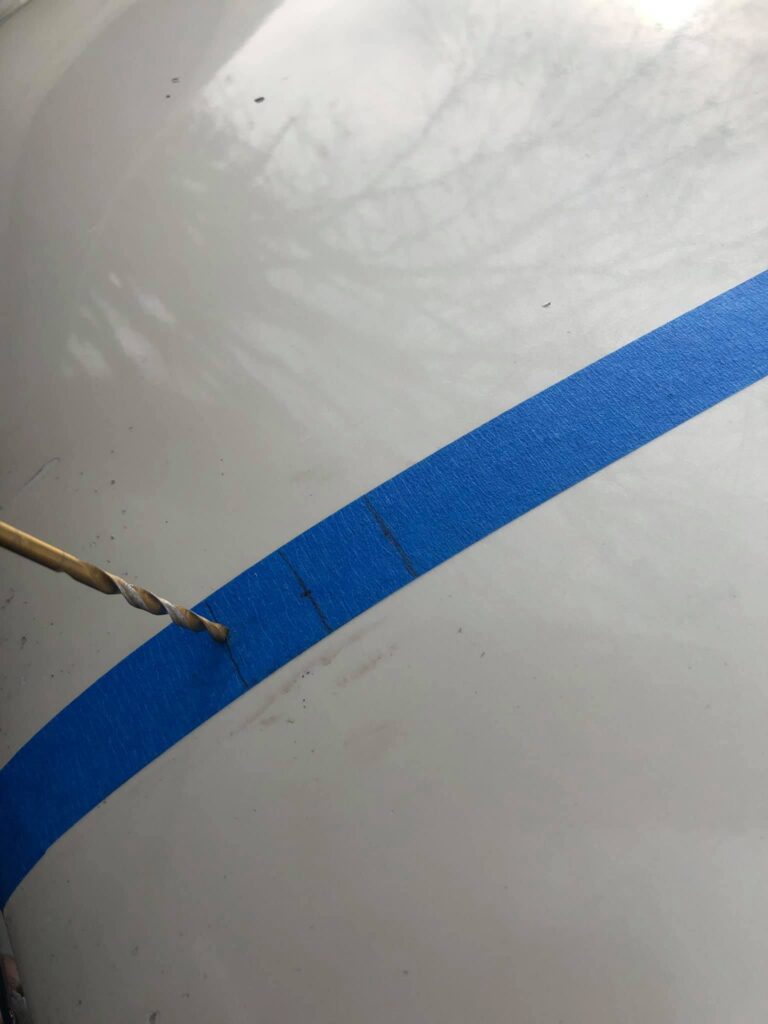
Then on the tape with the hood mascot measure each of the 3 holes you will have to drill.
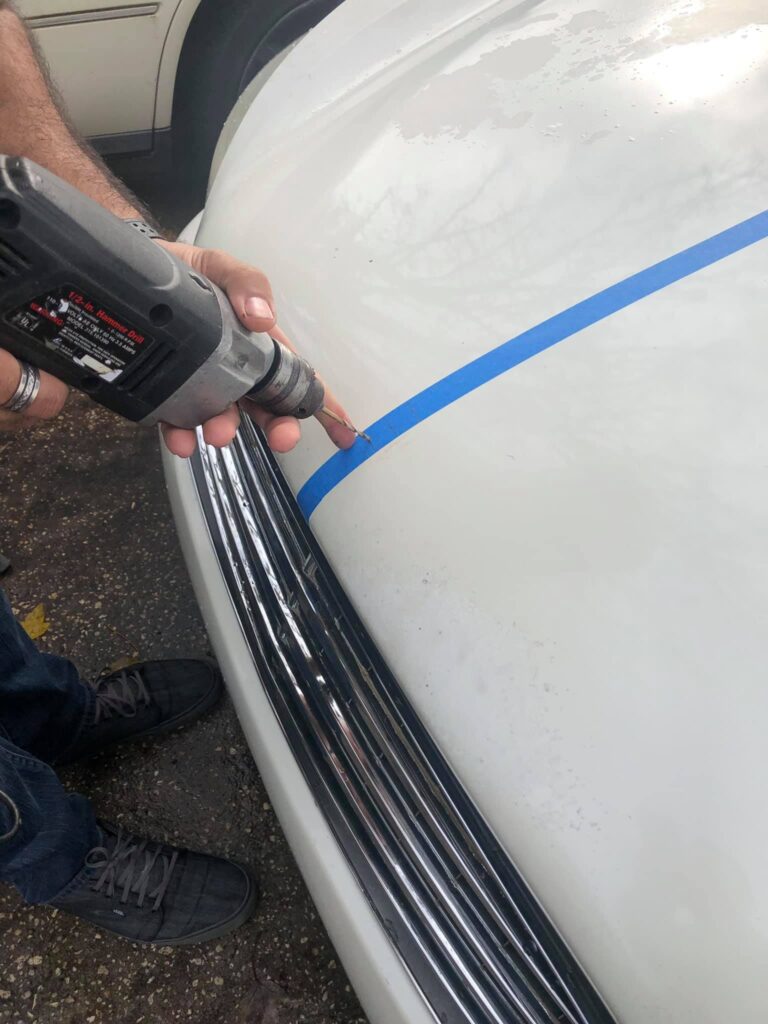
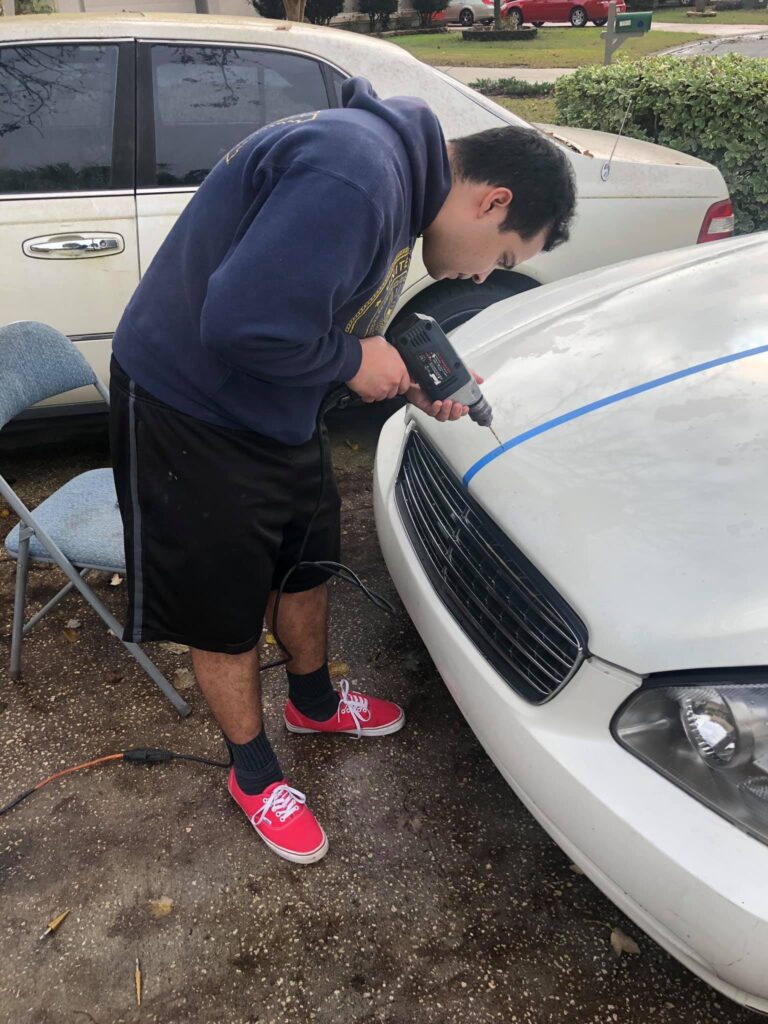
Once all 3 holes are measured, use a small drill bit and drill a starter hole into the hood.
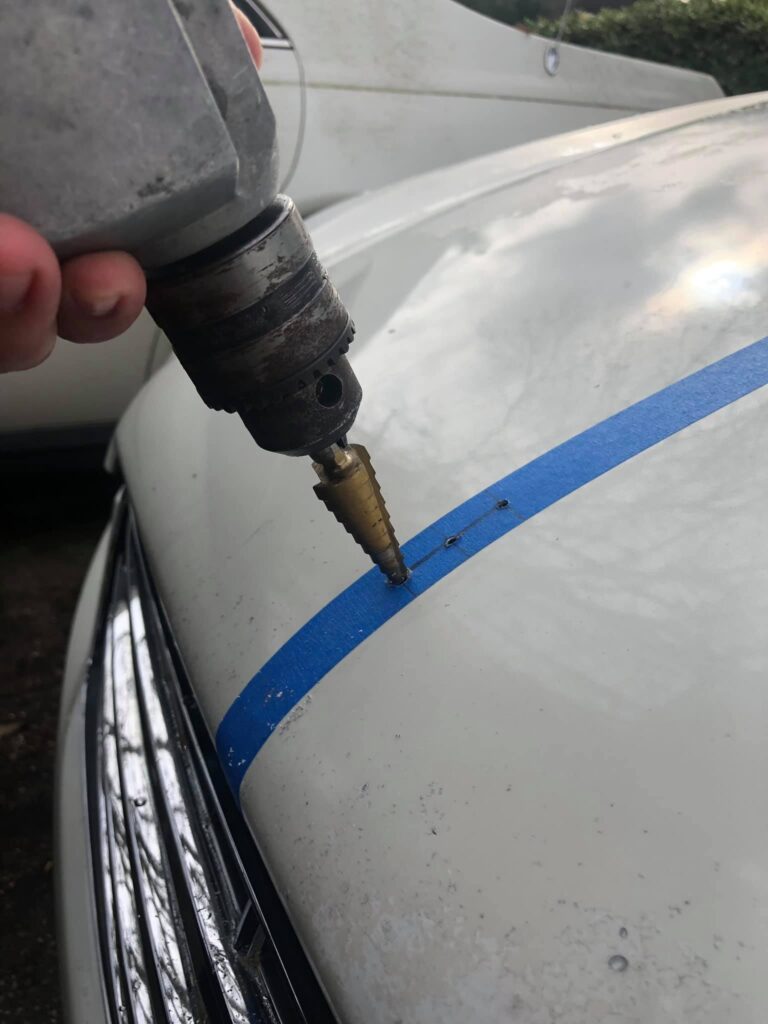
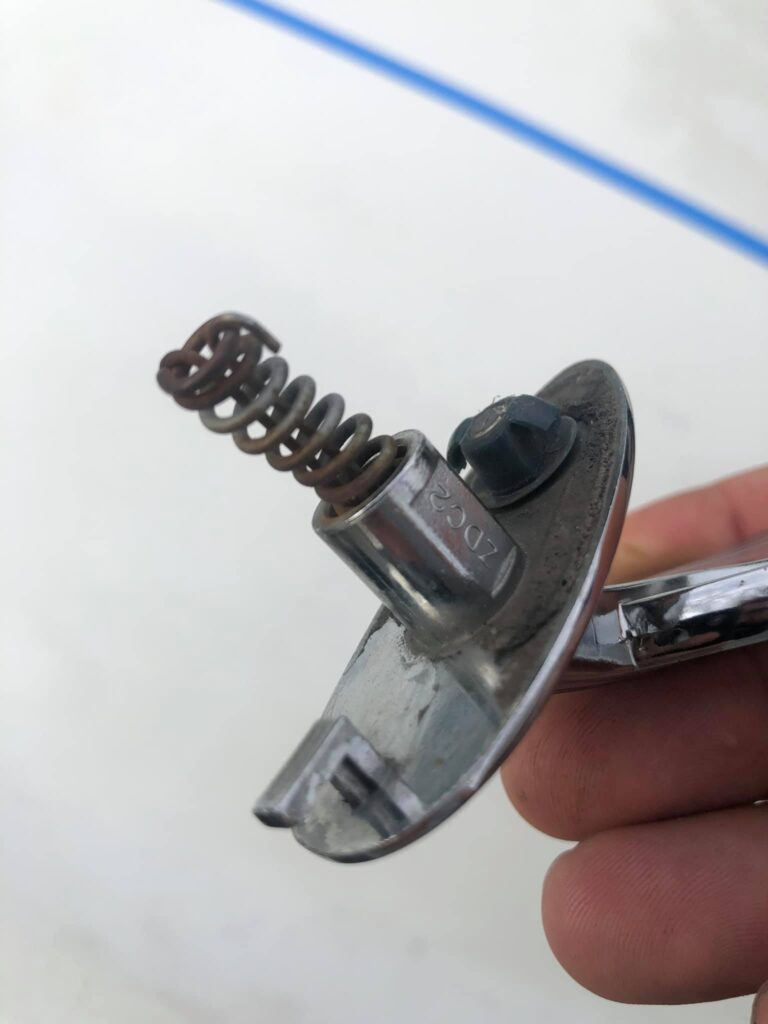
Then switch to a step drill but and gradually make the holes bigger. You want to make a hole that’s real tight to the hood mascot pins.
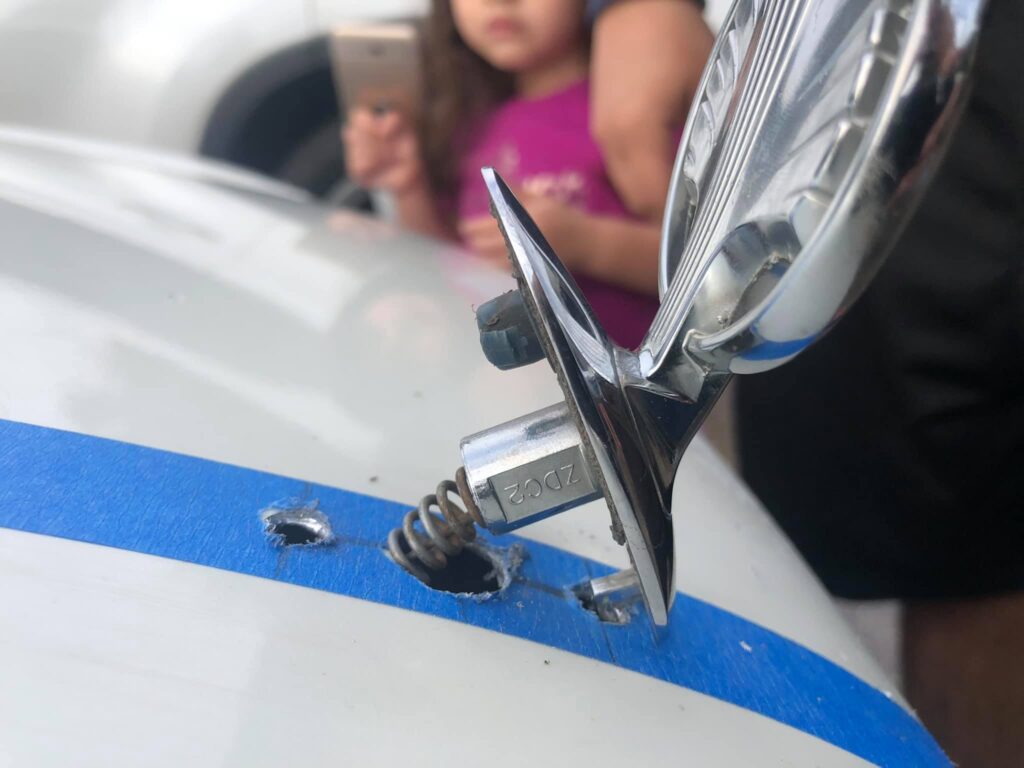
Test Fit the hood mascot fits into the holes.
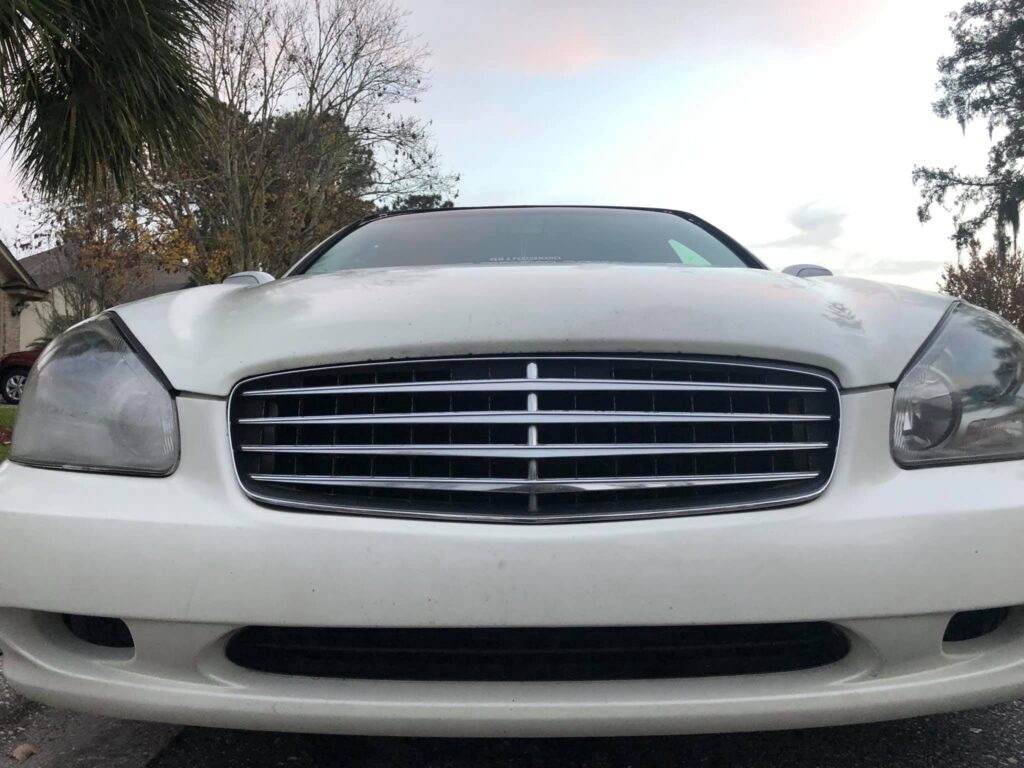
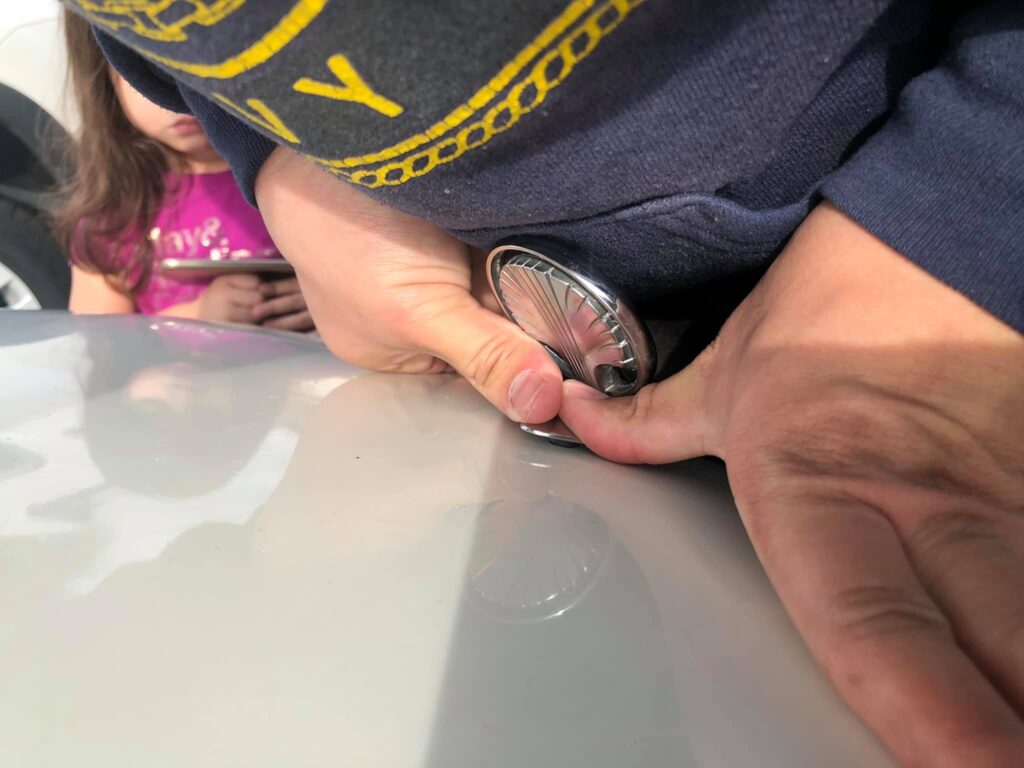
Remove the tape, clean the hood and push your hood mascot onto your hood with pressure and make sure you hear the clip “click” into the hood.
With these easy steps you can add a hood mascot to your F50. (These steps are the same exact steps used on a Y33 with the exception of having to clip into the hood, the Y33 uses a small nut to screw into the hood mascot).
Enjoy.
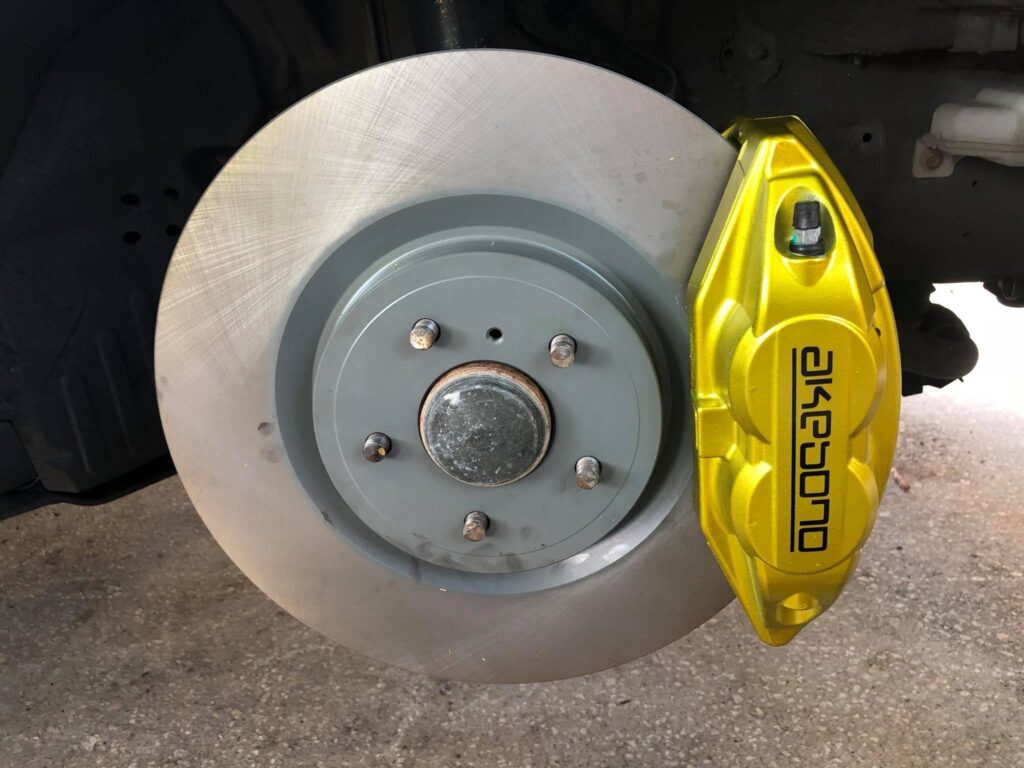
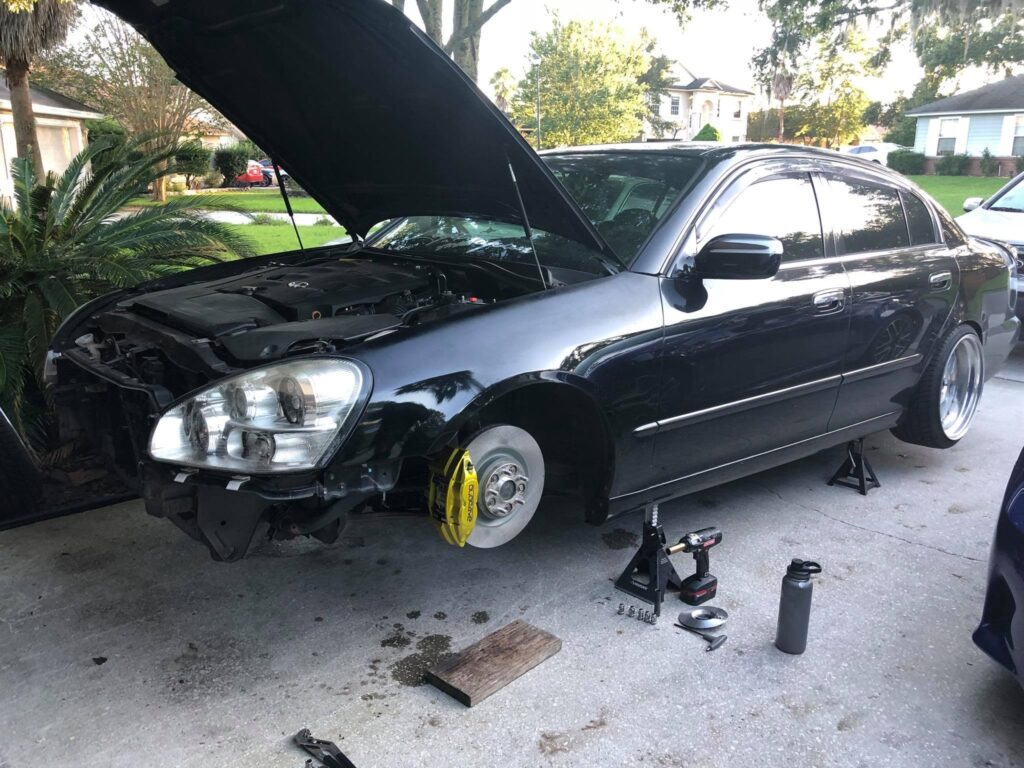
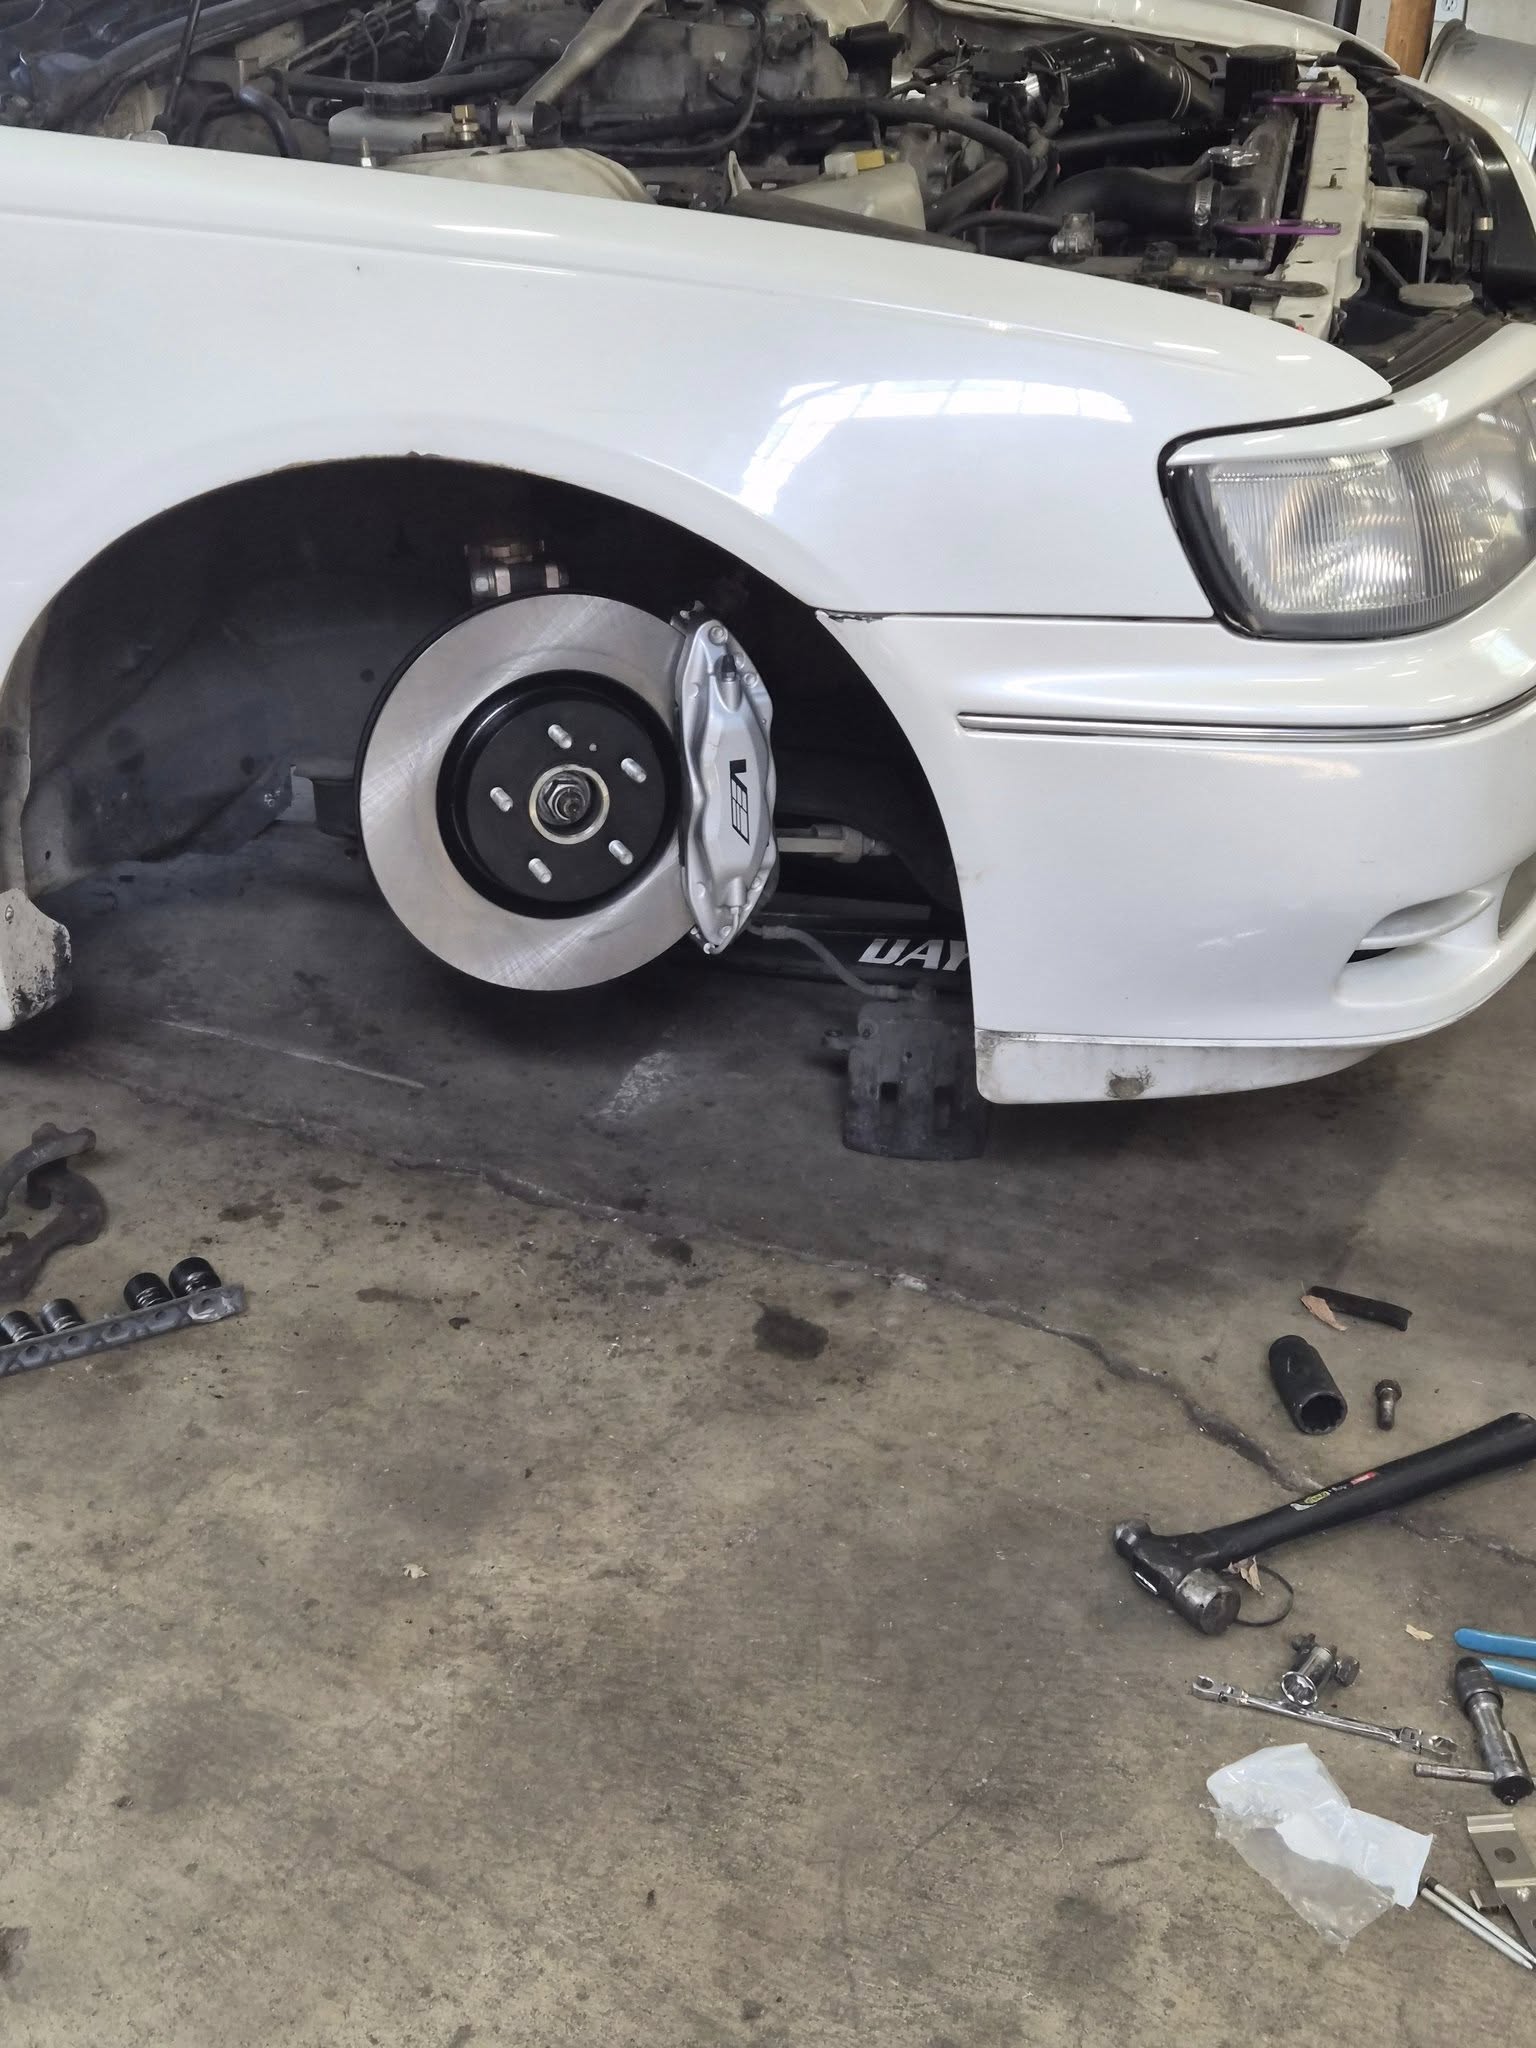
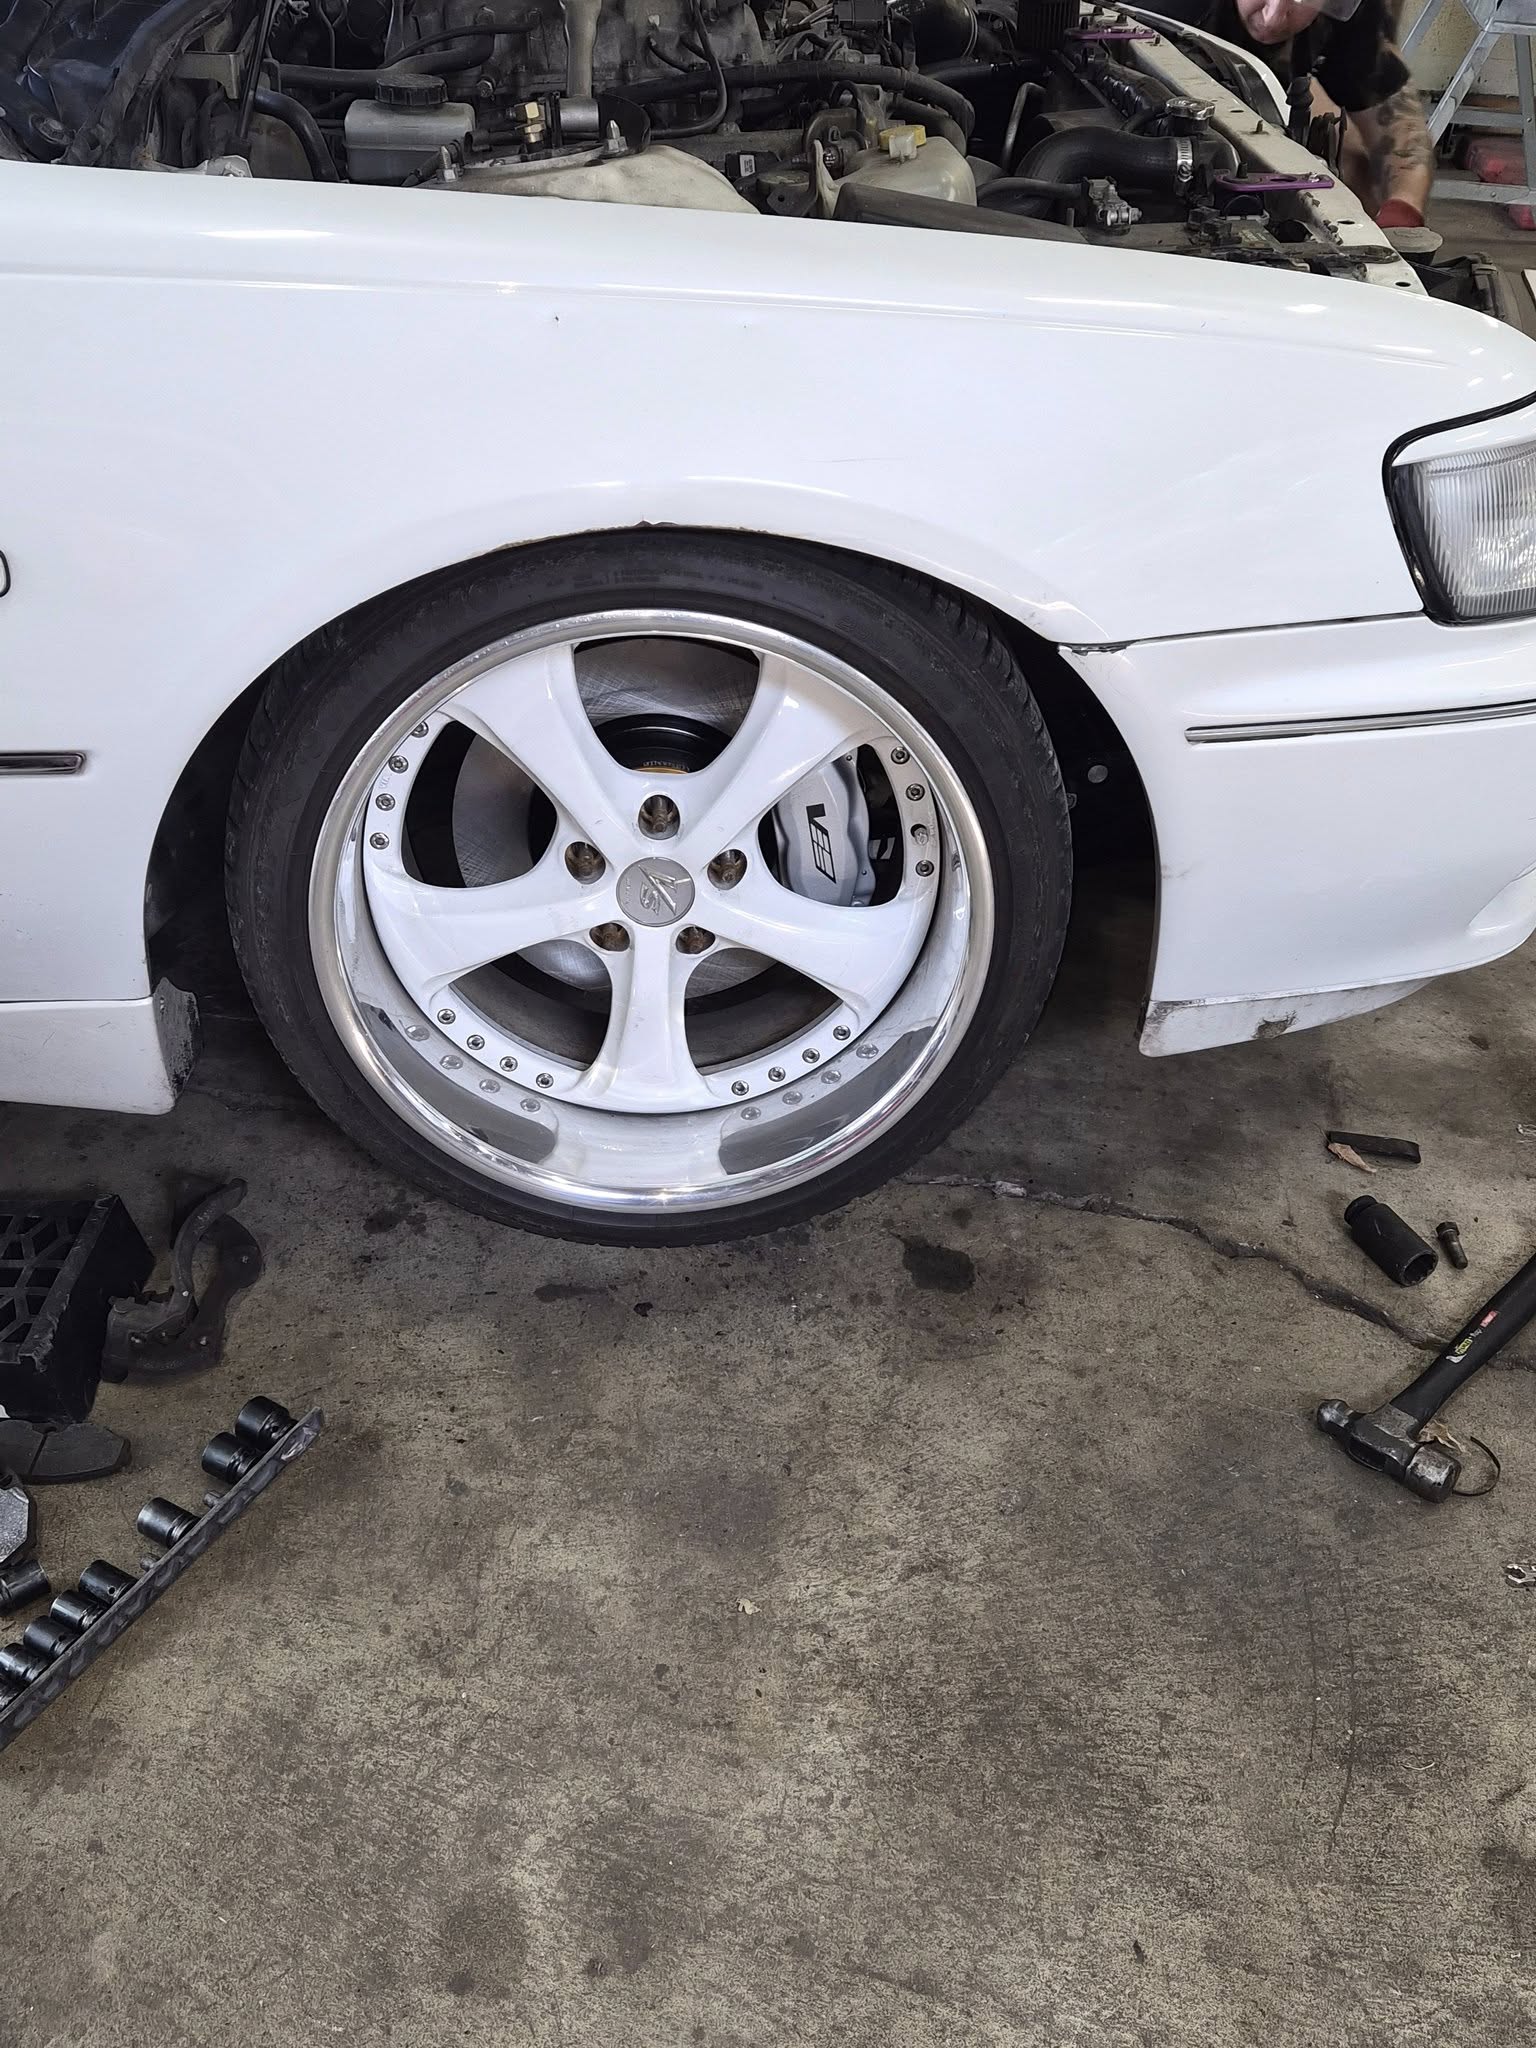
Ryan Watson got some new 370Z/G37 Akebono 4Piston 14” Rotor Upgrades with StopTech SS lines on his 2004 Infiniti Q45. Today ima show you step by step on how to do this upgrade to your F50 (This applies to all 2002-2006 Q45’s).
Parts needed for the swap are:
2009+ 370Z or 2009+ G37 Akebono Sport calipers.
2009+ 370Z or 2009+ G37 Sport Rotors
2009+ 370Z or 2009+ G37 Sport SS Brake lines.
350Z/G35 Akebono Caliper Brake Adapters
Brake Fluid
Brake Cleaner
I set up the picture in reverse order from Finish to Start. So you wanna start off by:
Remove the 2 – 14mm bolts holding your stock calipers on to your rotor brackets. Then slide the Caliper off and put them to the side.
Remove your stock brake pads. (some people leave them on and just remove the whole rotor bracket off with them.
Use a 22mm or 7/8 socket/wrench to remove the 2 – 22mm bolts holding on to your rotor brackets off your spindle. Then remove the bracket all together.
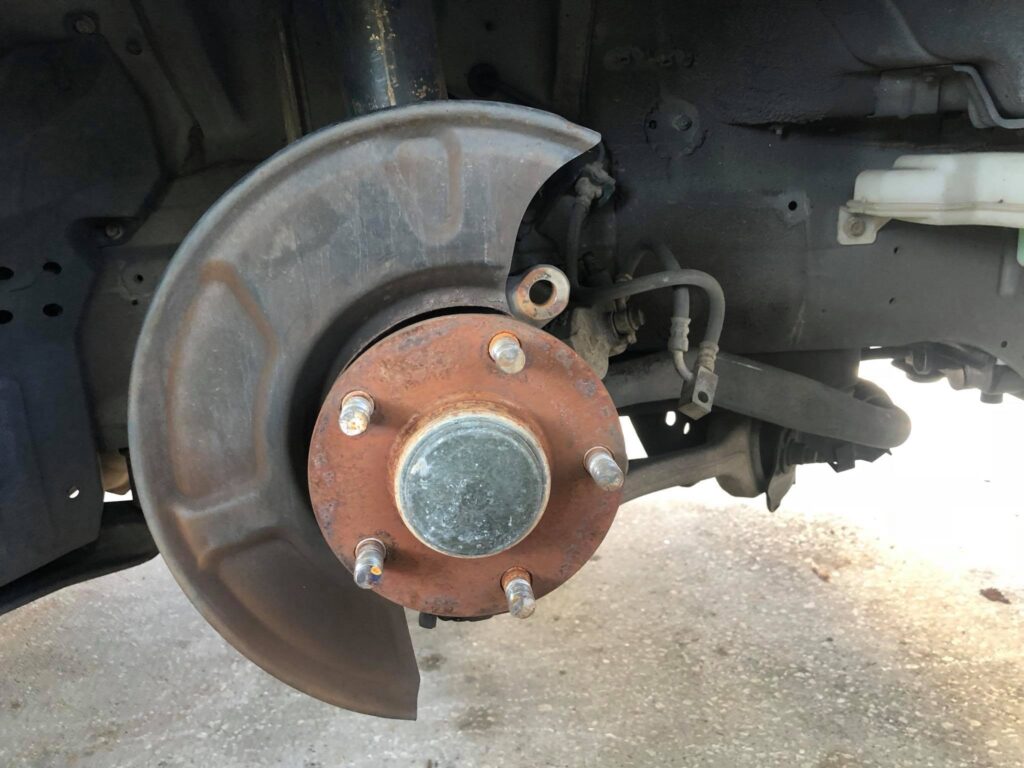
Remove the Rotors (11.4” inch diameter rotor).
Before putting on the brake calipers adapter, you will need to setup your washers. Each bolt uses 1 crush washer. The brake adapter comes with 2 washers for each spindle bolt.
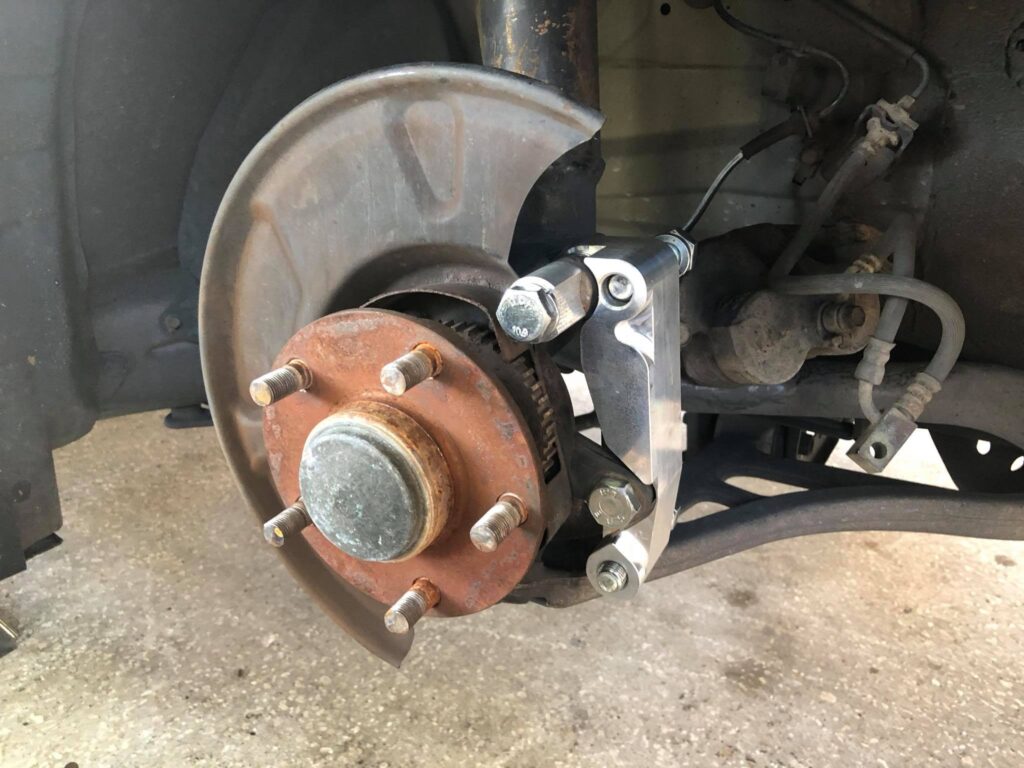
Mount your brake caliper adapters on using the new hardware supplied.
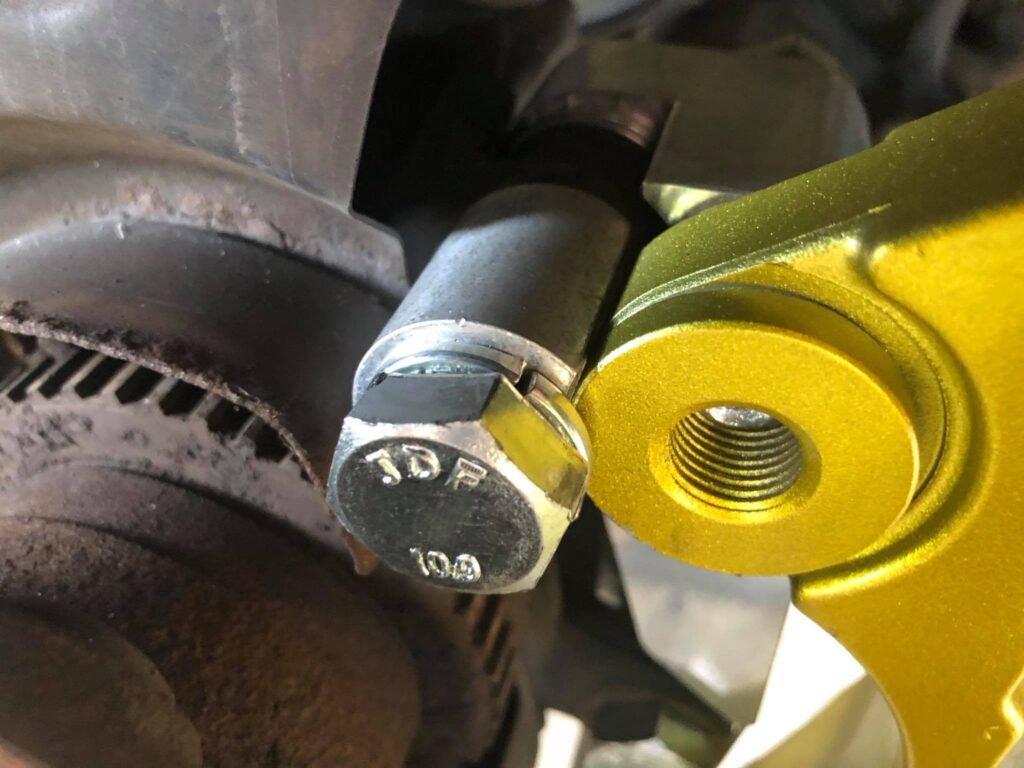
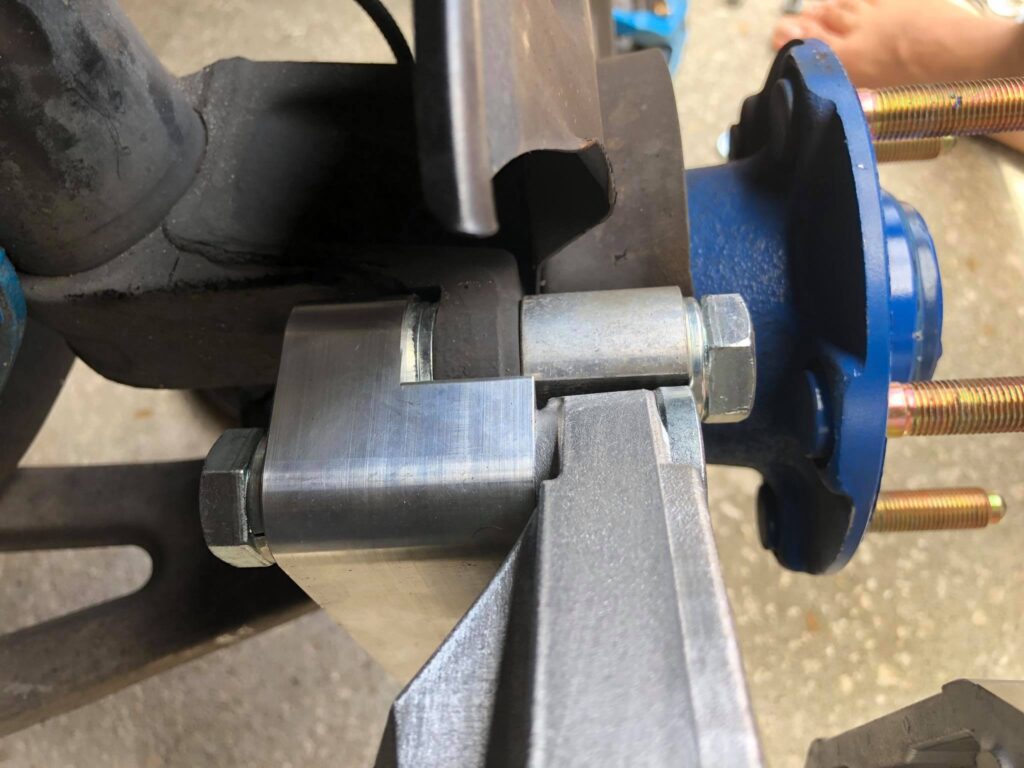
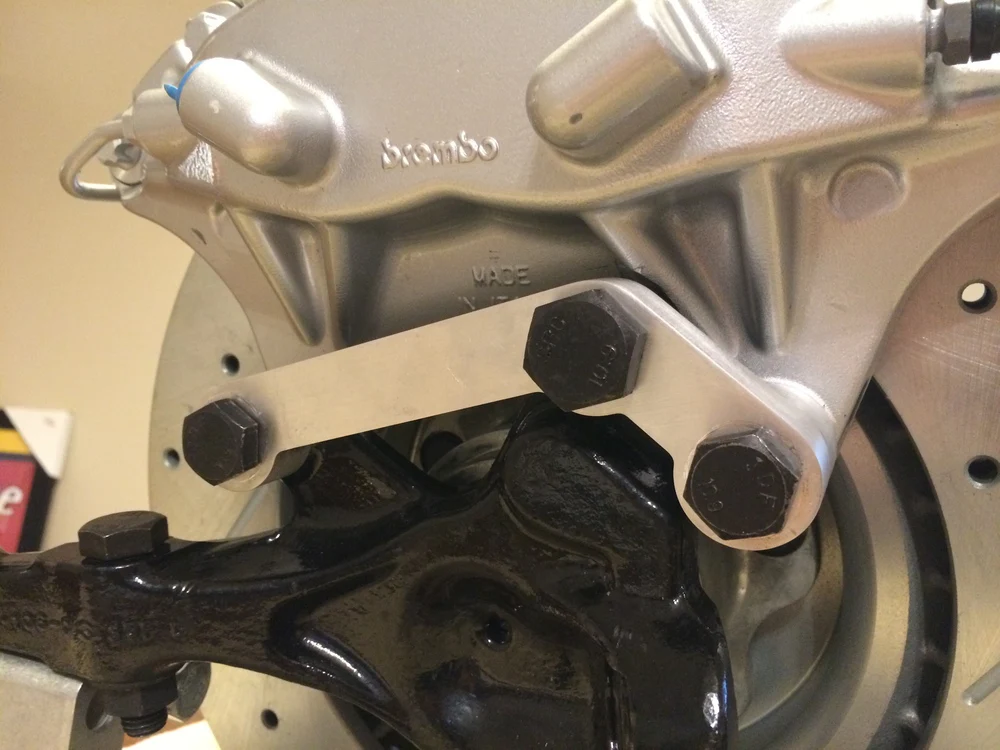
THIS PART IS IMPORTANT, the kit only comes with 2 washer per spindle bolt. YOU WILL NEED 3 WASHERS IN ORDER TO MAKE THE ADAPTER FLUSH WITH YOUR SPINDLE! RE-USE THE WASHER THATS ON YOUR 22mm SPINDLE NUT! (from step #3). THE WASHERS GO BEHIND THE SPINDLE, INBETWEEN ADAPTER AND SPINDLE. If your vehicle did not have the washer, you will need to get a 3rd washer. (If you do not add the 3rd washer the caliper won’t be aligned to the spindle and it will make your rotors scrape the caliper and a loud grinding noise).
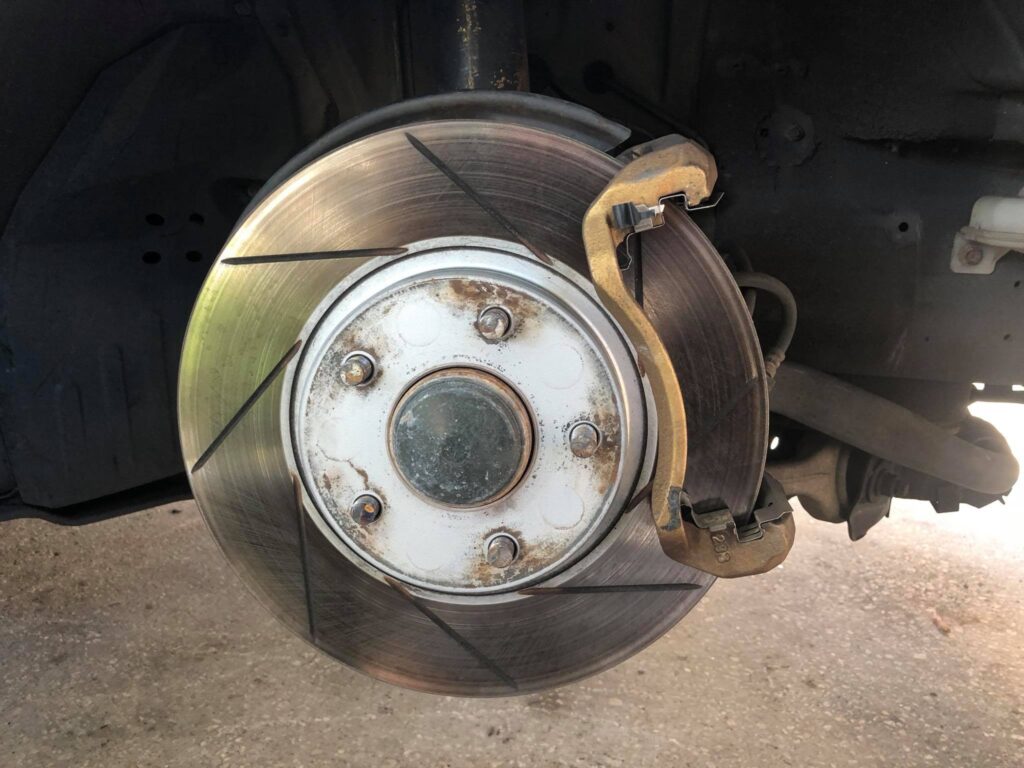
There is a Half Moon included in the kit. You will have to Align the half moon with the caliper to properly mount the caliper on to the Adapter. You will do this by mounting the caliper WITHOUT THE ROTOR. Then tighten the 22mm bolt on.
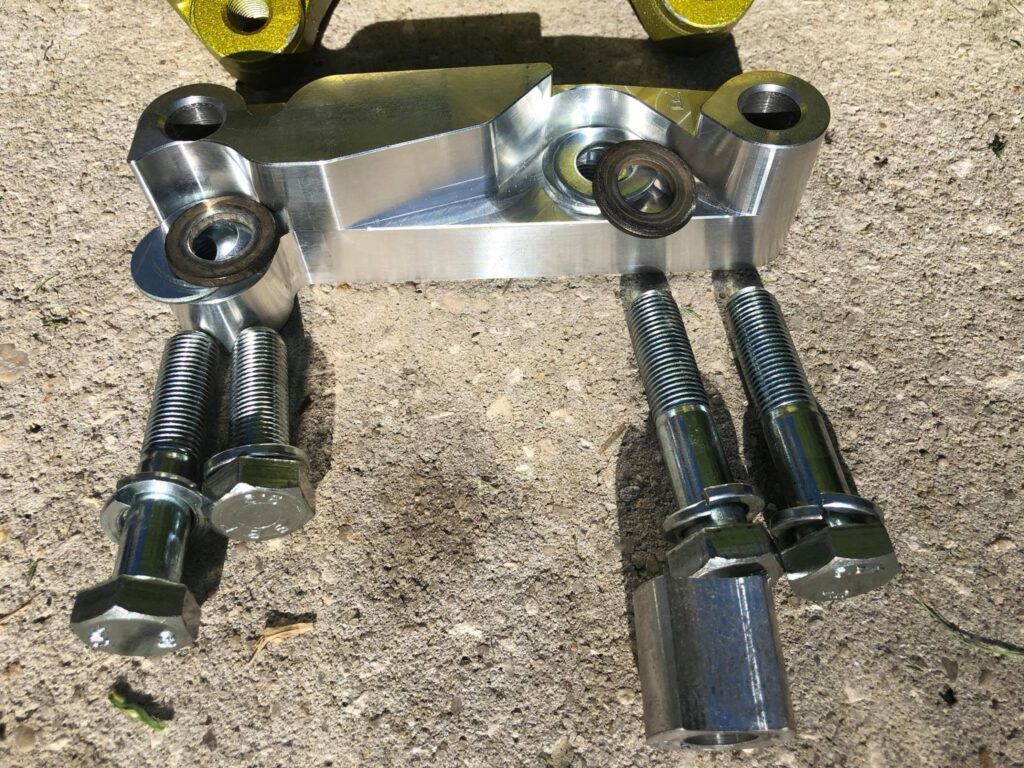
The Adapter comes with a shorter bolt, the shorter bolts goes on the bottom bolt for the Spindle.
Bend and push the Heat shield. Just far back enough so it doesn’t rub against the rotor.
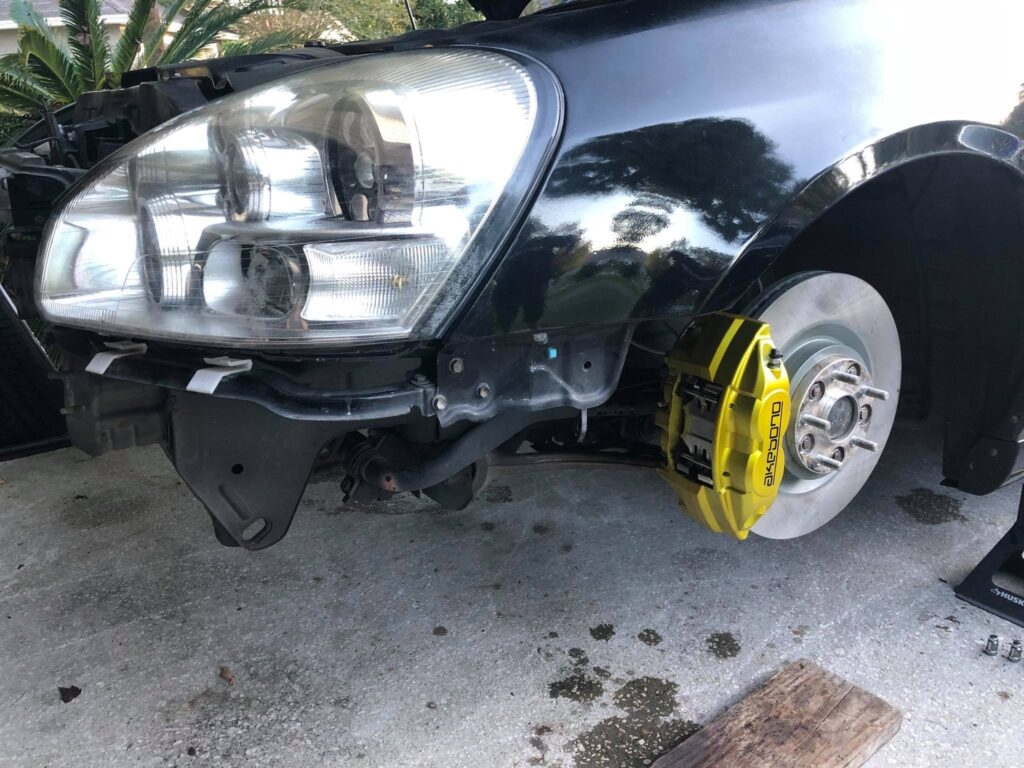
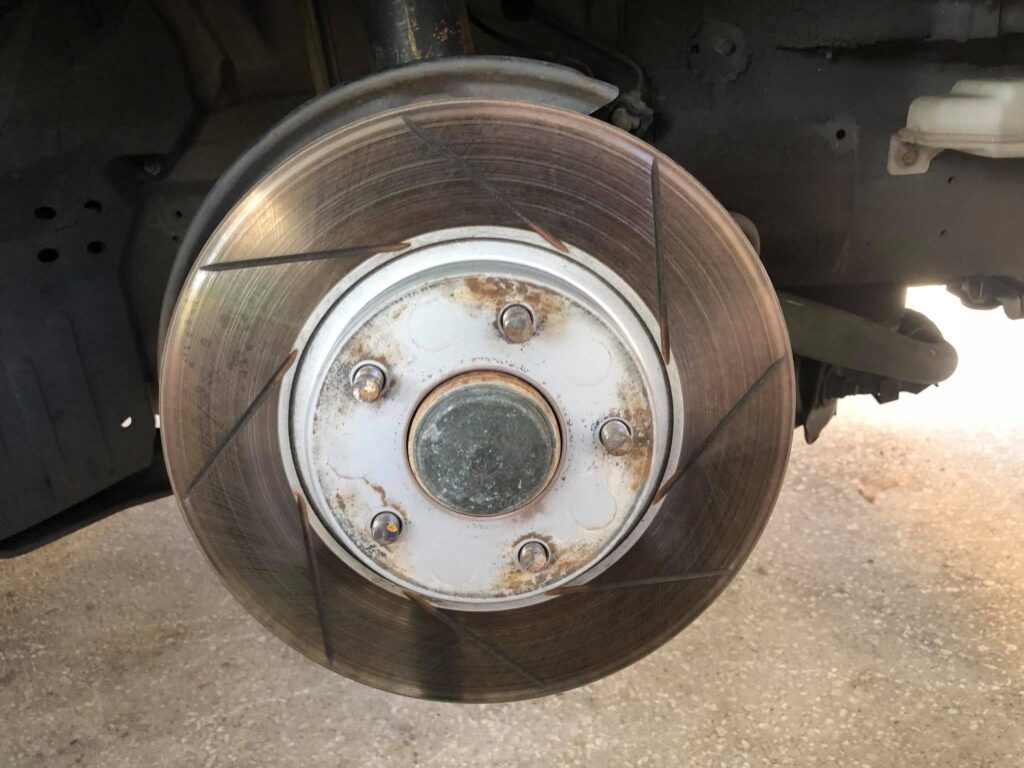
Install your Rotors. (14” inch diameter rotor)
Install your calipers using the new bolts with the adapter kit.
Remove the C Clíp on your brake line hardline.
Separate the Soft brake line from your Hard brake line by using a 10mm wrench.
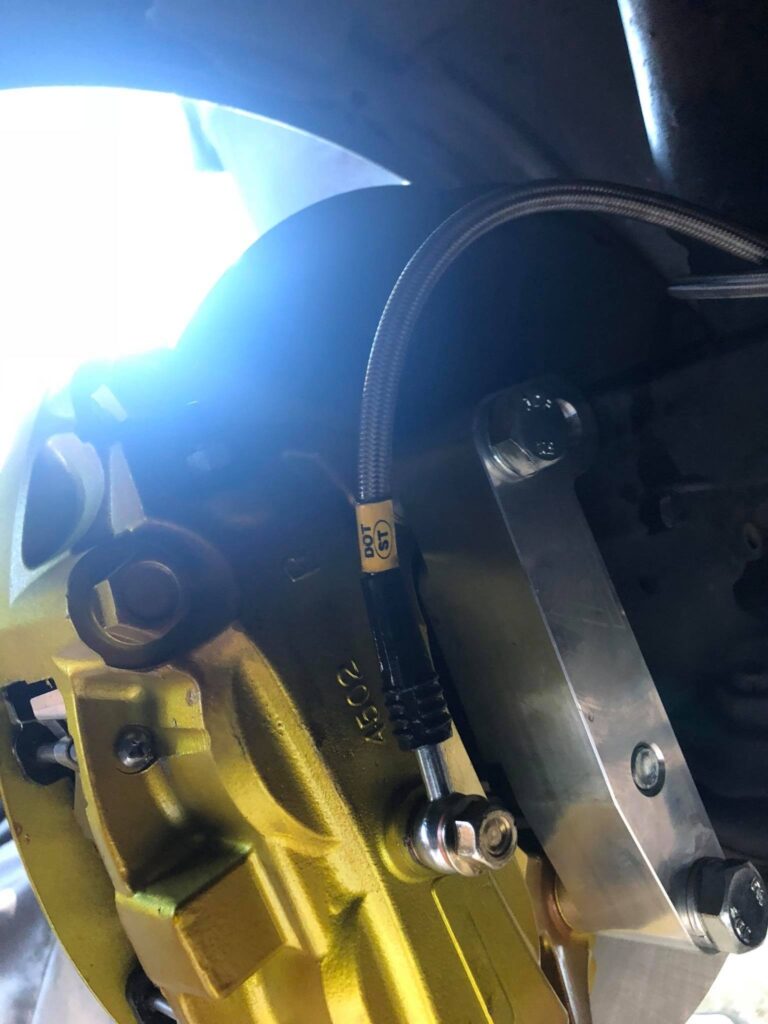
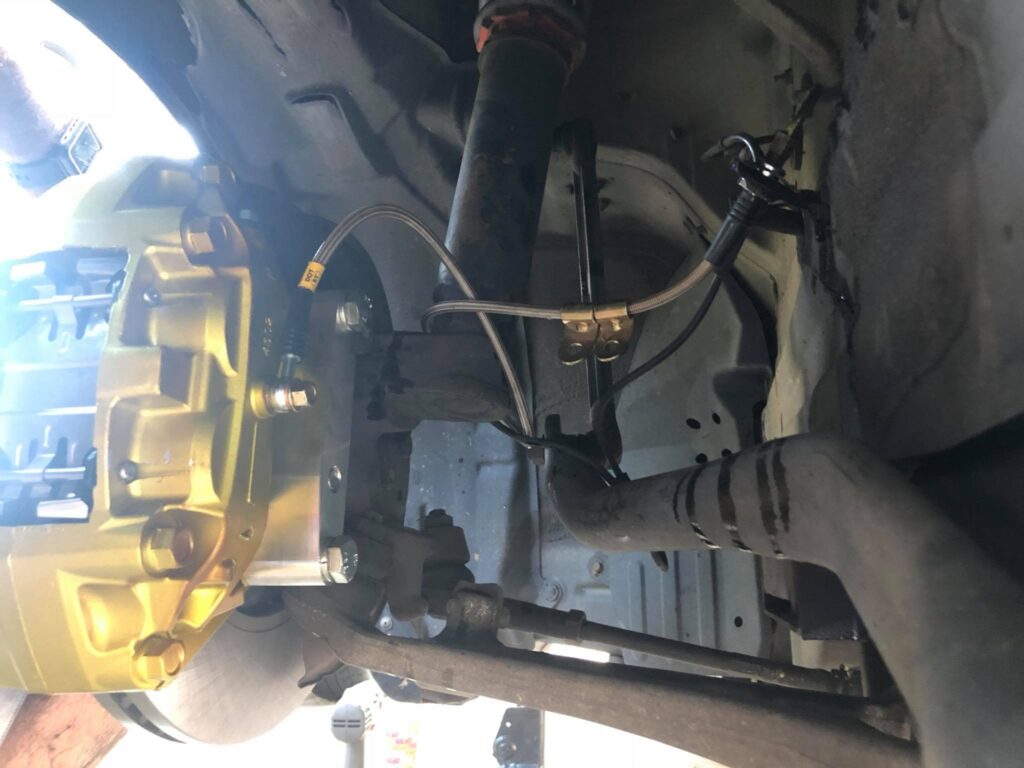
Install your new SS 370Z/G37 brake like on your Hard Brake line using a 10mm wrench and 12mm on the caliper side. 2 copper washers on each side of the Banjo bolt.
Install your brake pads, Brake pad hardware, pins and clips.
Bleed all 4 brake calipers starting from the back passenger side, back driver side, Front passenger side and finally front driver side. (The Akebono calipers has 2 bleeders. Start bleeding the outside bleeder first and then bleed the inside closest to the engine last.)
Use Brake cleaner to clean your rotors from any grease on your fingers that may have gotten on the rotors.
Enjoy your new Akebono brakes!
Remove the 2 – 14mm bolts holding your stock calipers on to your rotor brackets. Then slide the Caliper off and put them to the side.
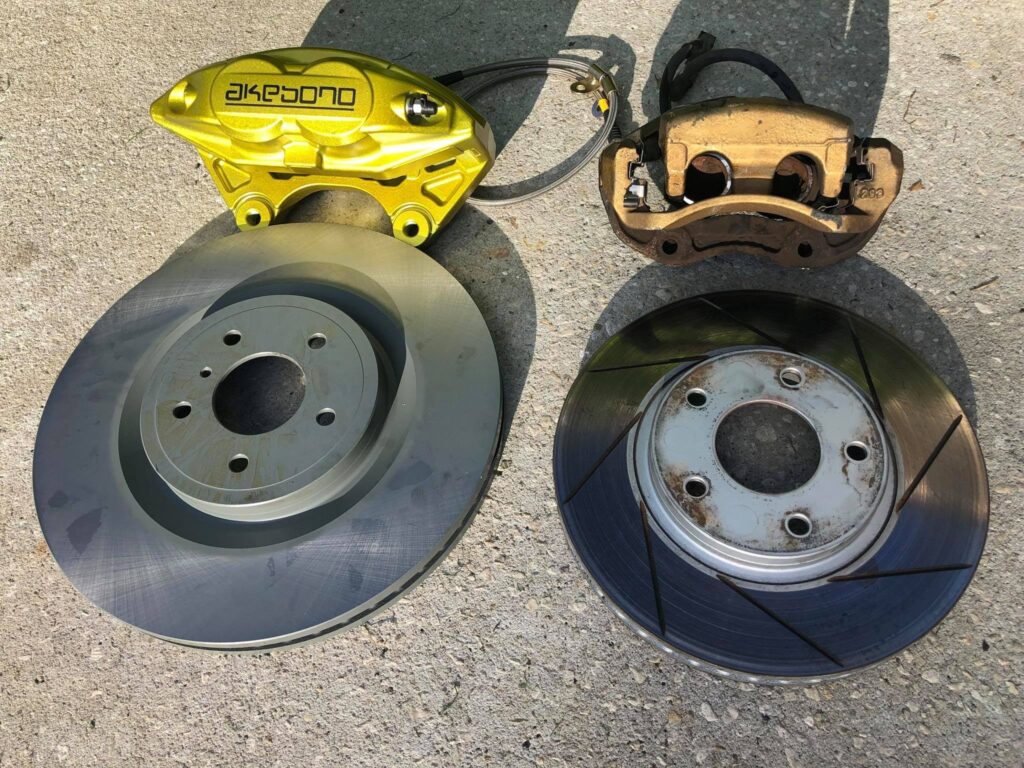
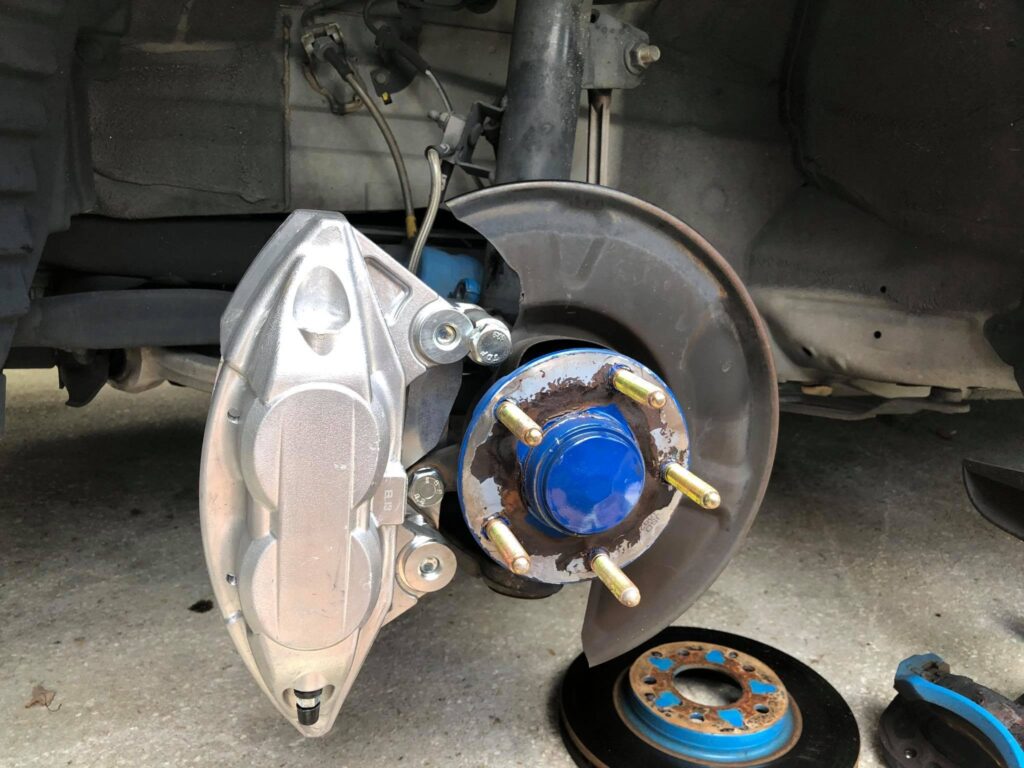
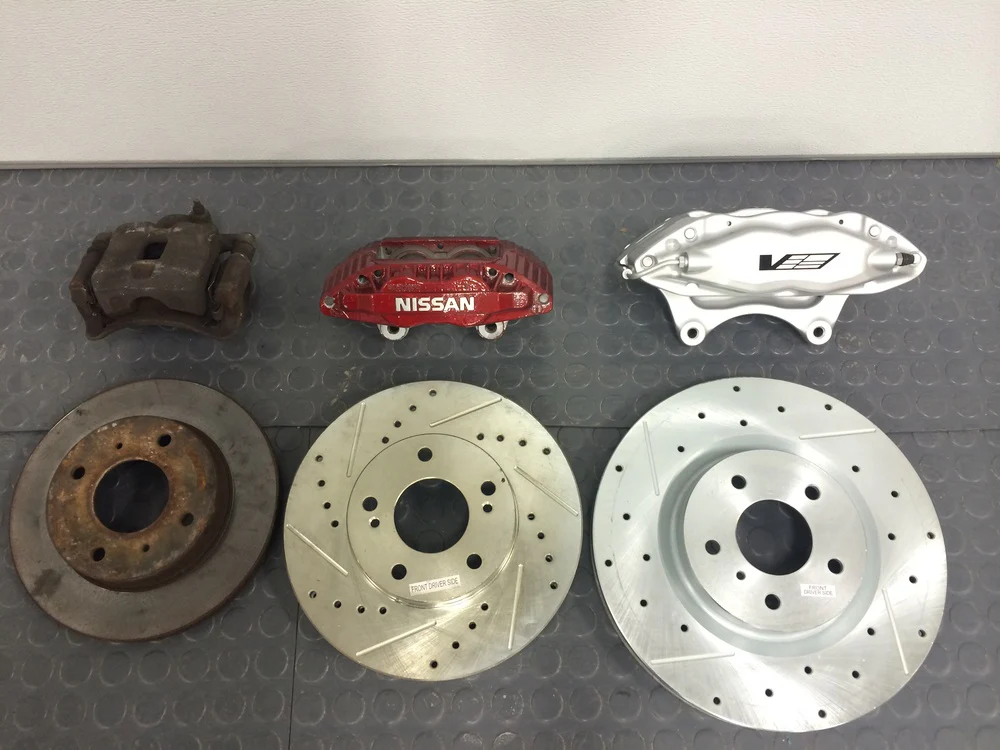
Side by Side comparison of the old F50 setup with the new Akebono Calipers and rotors.
Bleed all 4 brake calipers starting from the back passenger side, back driver side, Front passenger side and finally front driver side. (The Akebono calipers has 2 bleeders. Start bleeding the outside bleeder first and then bleed the inside closest to the engine last.)
Install your brake pads, Brake pad hardware, pins and clips.
Install your new SS 370Z/G37 brake like on your Hard Brake line using a 10mm wrench on the hard line and 12mm on the caliper side. 2 copper washers on each side of the Banjo bolt.
Remove the C Clíp on your brake line hardline. Separate the Soft brake line from your Hard brake line by using a 10mm wrench.
There is a Half Moon included in the kit. You will have to Align the half moon with the caliper to properly mount the caliper on to the Adapter. You will do this by mounting the caliper WITHOUT THE ROTOR. Then tighten the 22mm bolt on.
Mount your brake caliper adapters on using the new hardware supplied.
Mount the caliper without the rotor so you can align the half moon spacer. The Adapter comes with a shorter bolt, the shorter bolts goes on the bottom Bolt for the Spindle.
THIS PART IS IMPORTANT, the kit only comes with 2 washer per spindle bolt. YOU WILL NEED 3 WASHERS IN ORDER TO MAKE THE ADAPTER FLUSH WITH YOUR SPINDLE! RE-USE THE WASHER THATS ON YOUR 22mm SPINDLE NUT! (from step #3). THE WASHERS GO BEHIND THE SPINDLE, INBETWEEN ADAPTER AND SPINDLE. If your vehicle did not have the washer, you will need to get a 3rd washer. (If you do not add the 3rd washer the caliper won’t be aligned to the spindle and it will make your rotors scrape the caliper and a loud grinding noise).
Before putting on the brake calipers adapter, you will need to setup your washers. Each bolt uses 1 crush washer. The brake adapter comes with 2 washers for each spindle bolt. See less
Bend and push the Heat shield. Just far back enough so it doesn’t rub against the rotor.
Remove the Rotors (11.4” inch diameter rotor).
Remove your stock brake pads. (some people leave them on and just remove the whole rotor bracket off with them.
Use a 22mm or 7/8 socket/wrench to remove the 2 – 22mm bolts holding on to your rotor brackets off your spindle. Then remove the bracket all together.
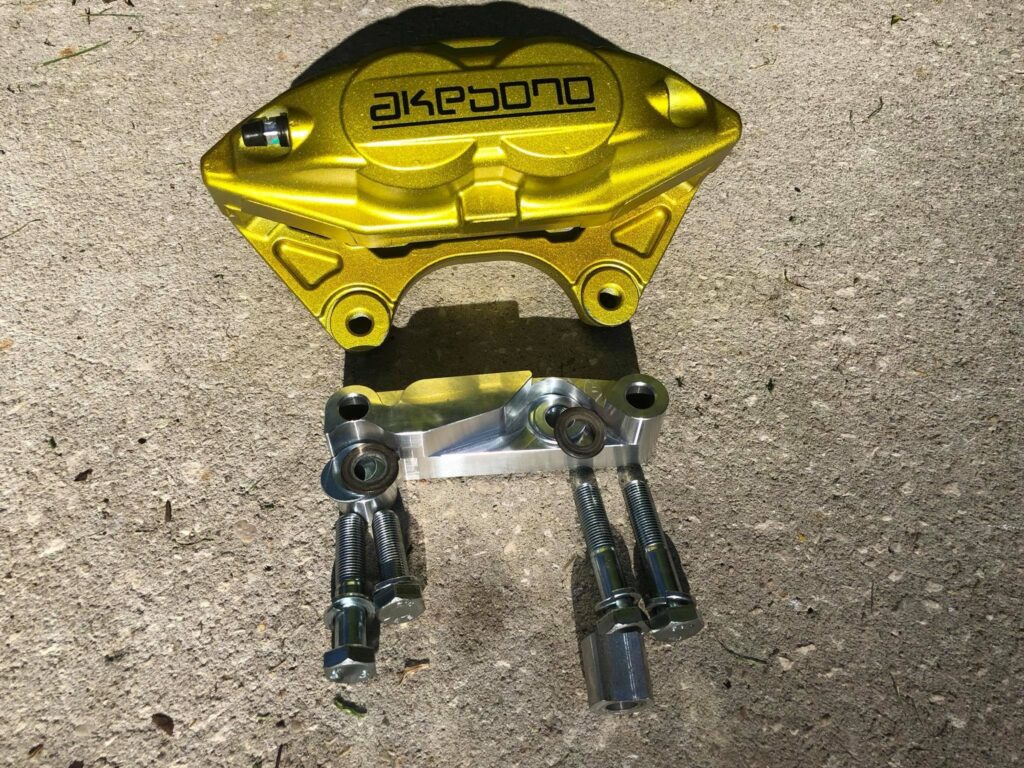
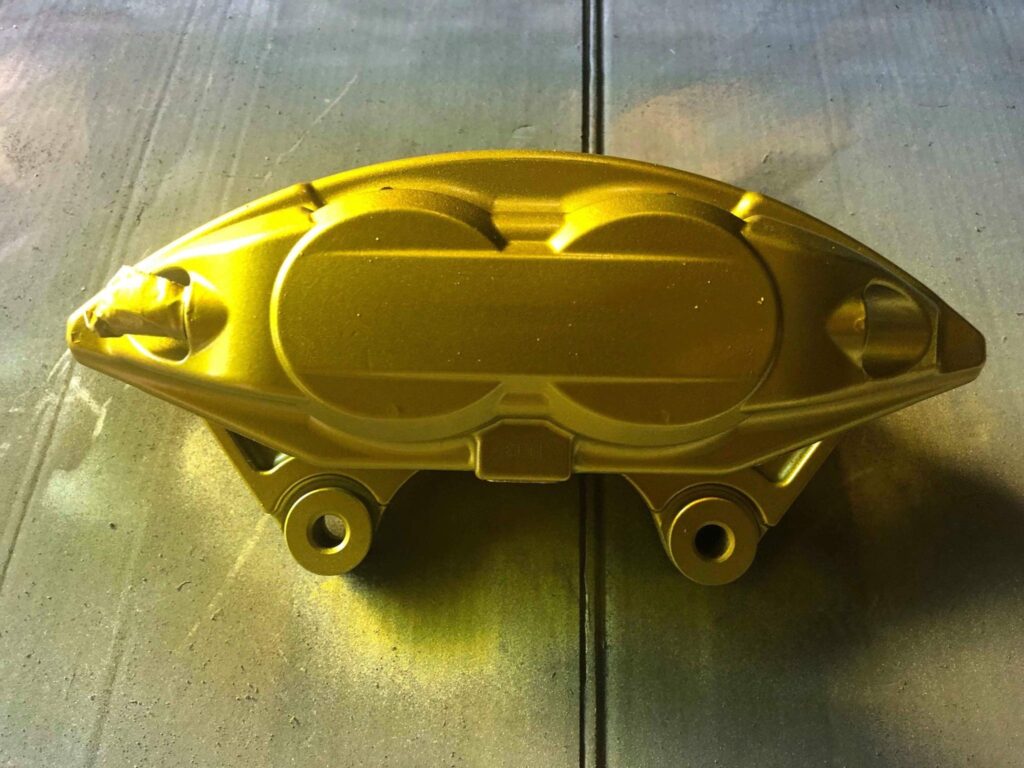
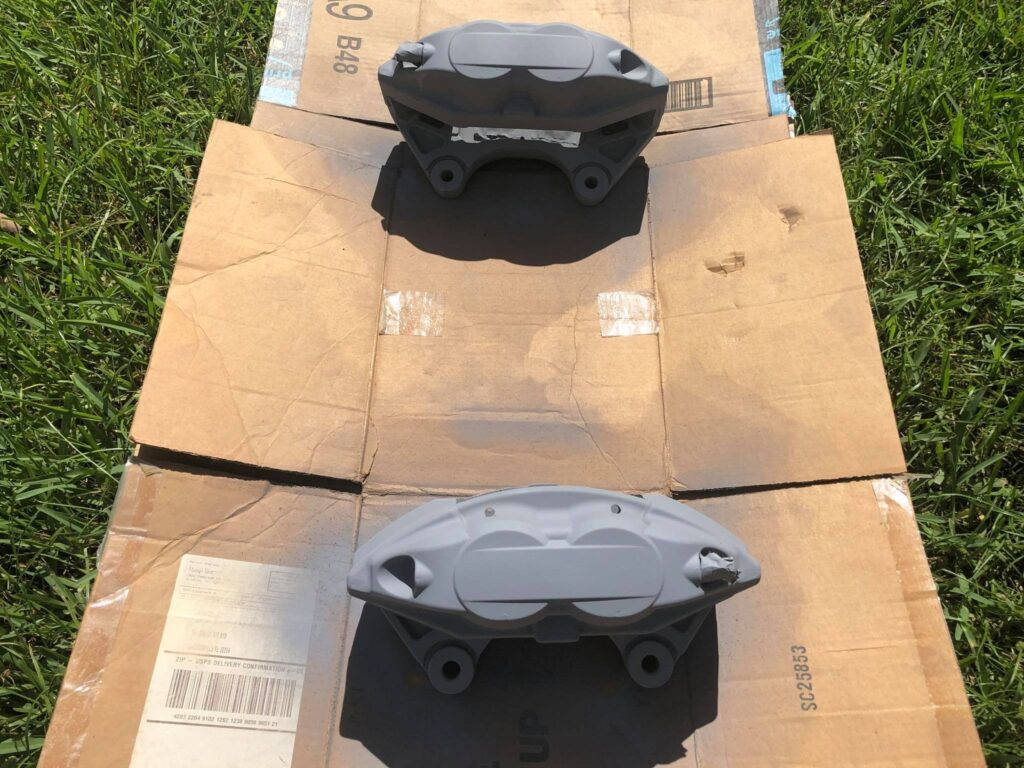
Calipers were painted Anodized Gold using High Temp Paint.
Calipers started the painting process with high temp primer.
Test Fitting the calipers on a different F50 prior to paint caliper painting.
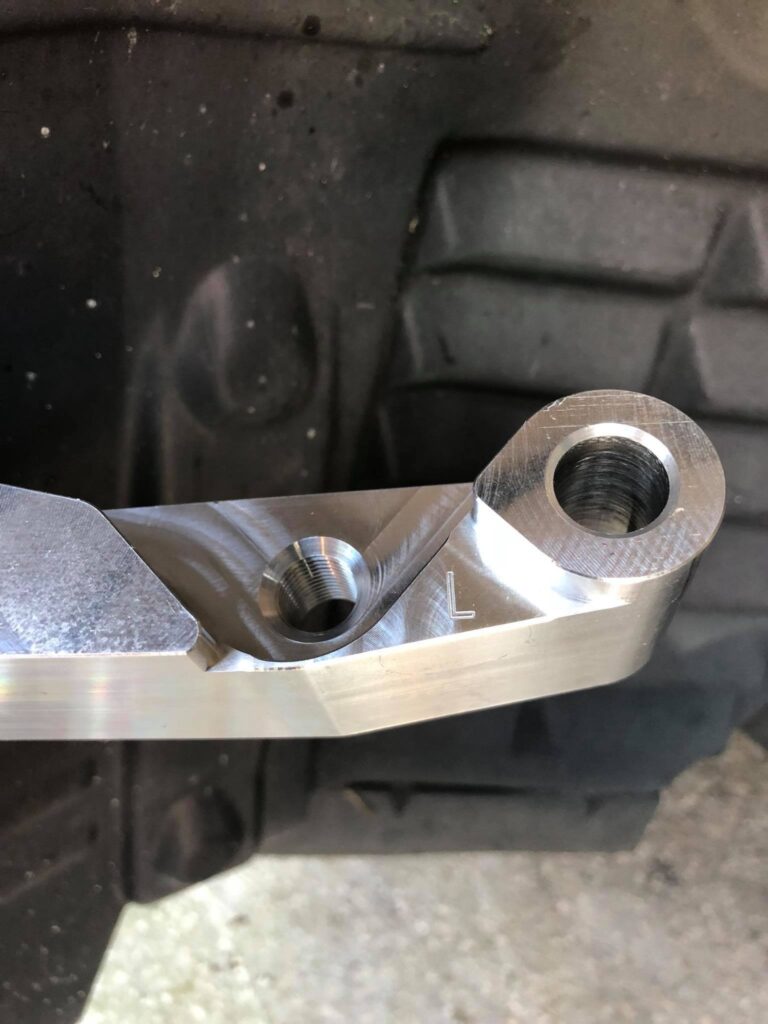
Each Caliper Adapter bracket is mark “L” and “R” for each side.
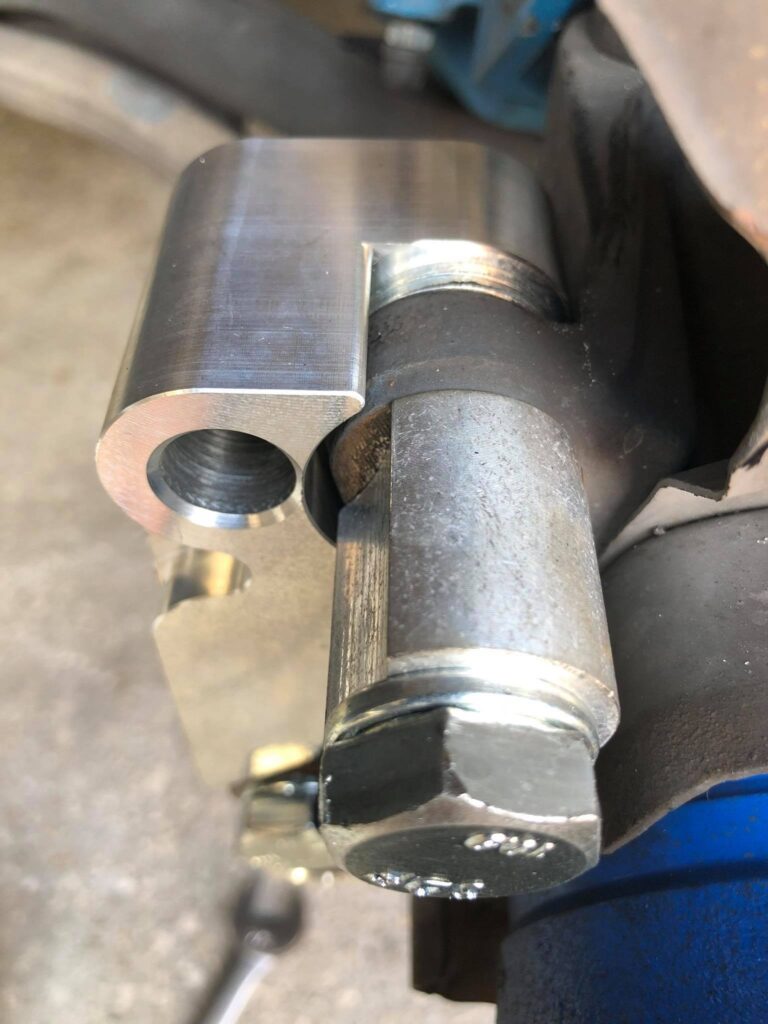
The 3 washers go BEHIND the spindle.
See in this picture the caliper Adapter brackets does not line up with the spindle using the 2 washers provided in the kit. You have add a 3rd washer to line it up with the spindle.
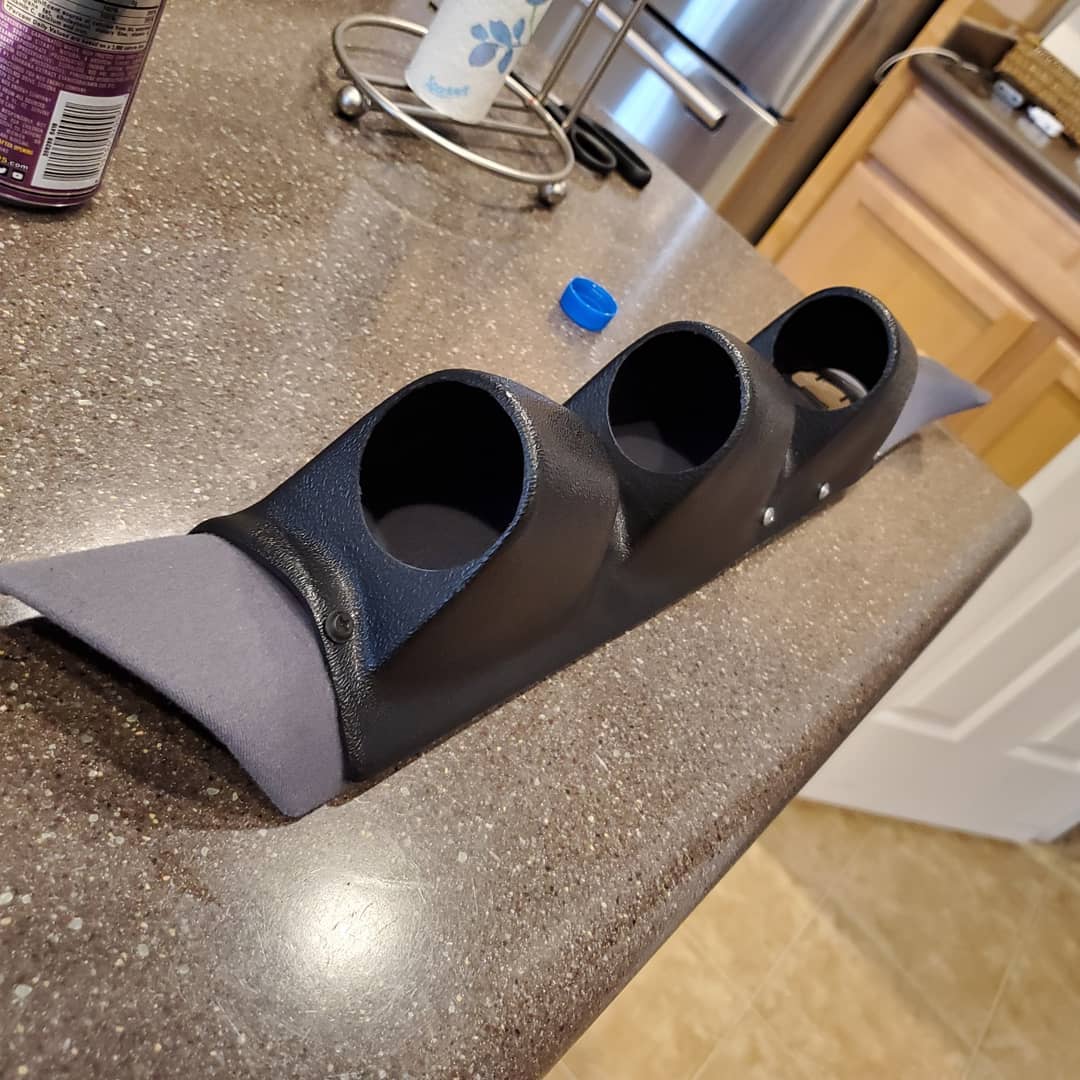
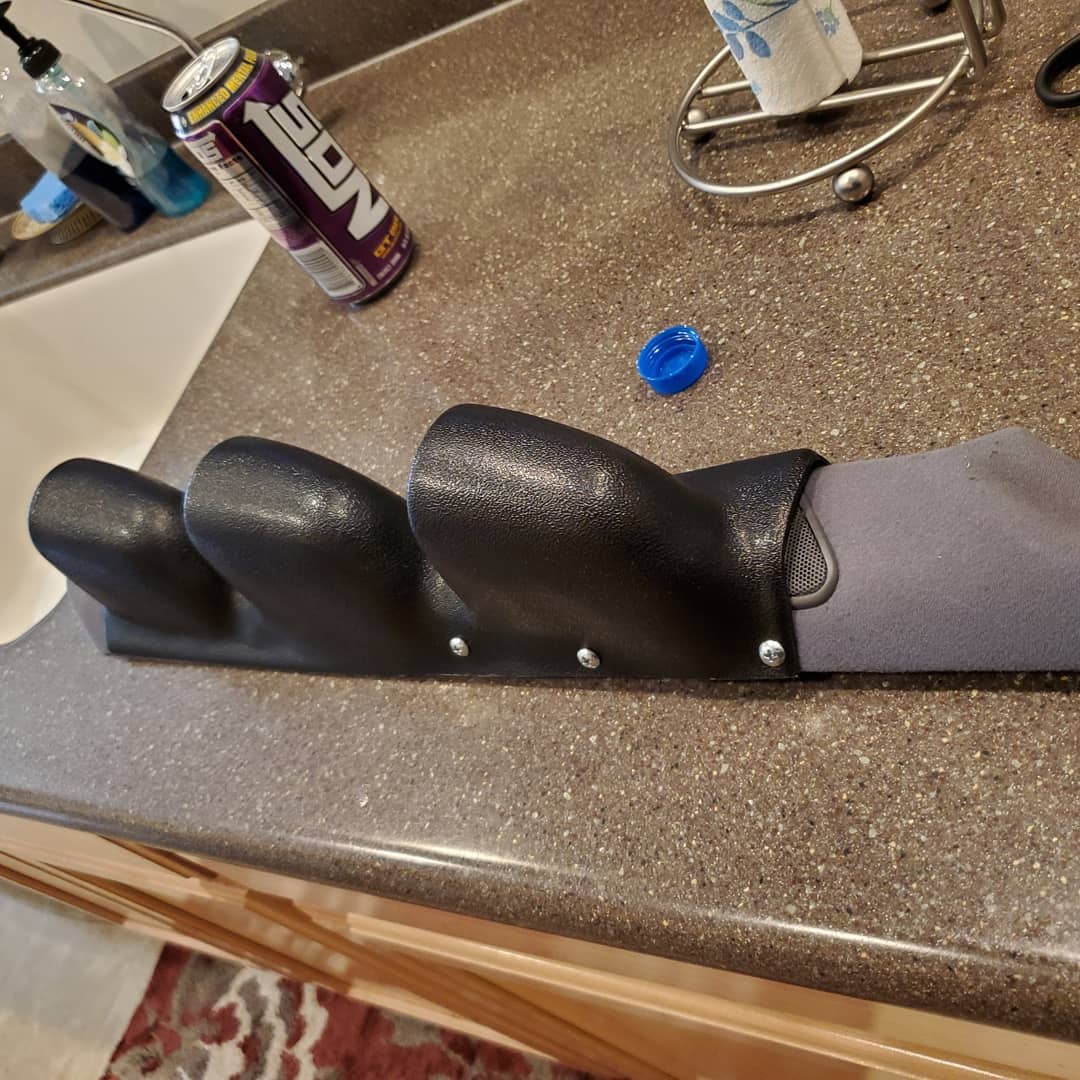
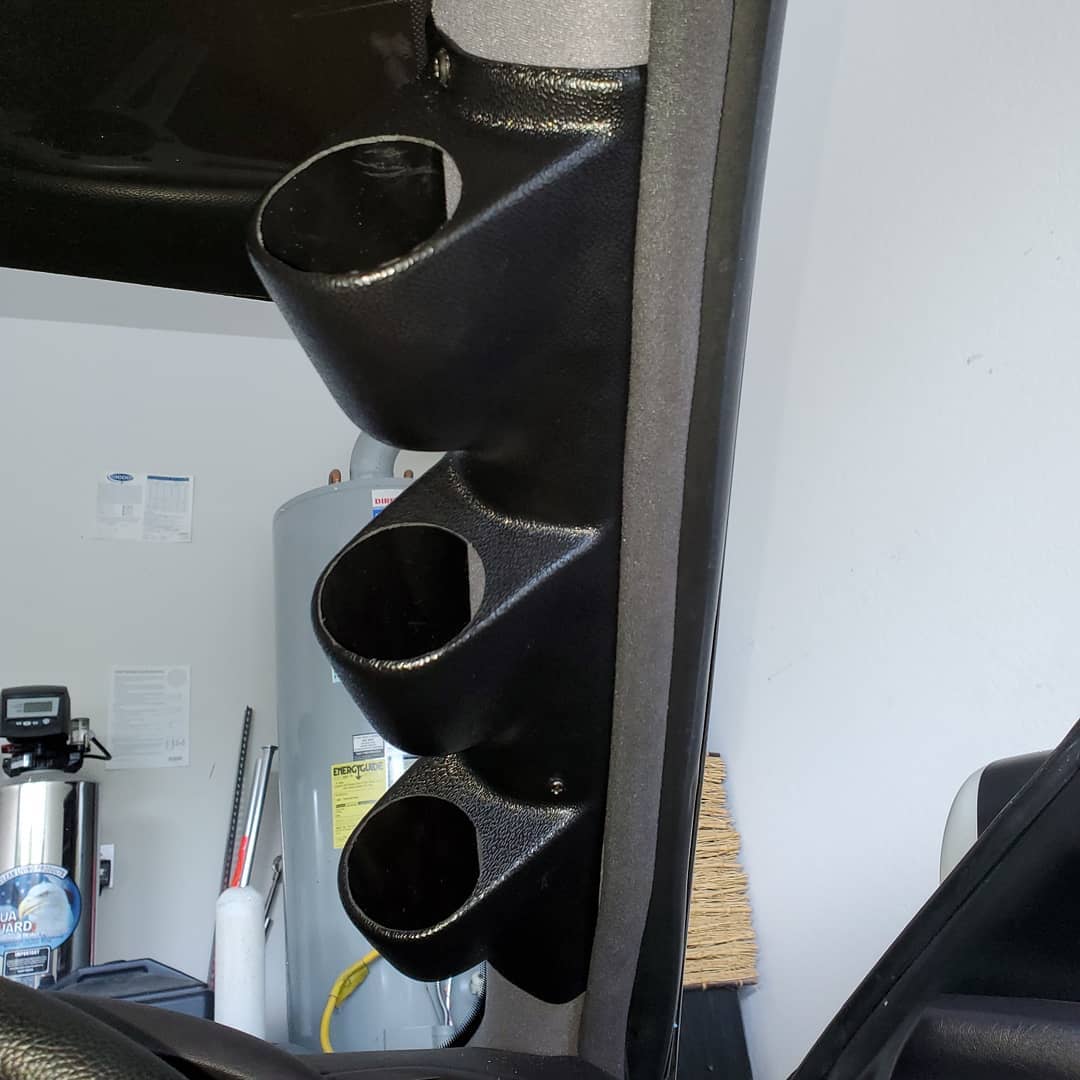
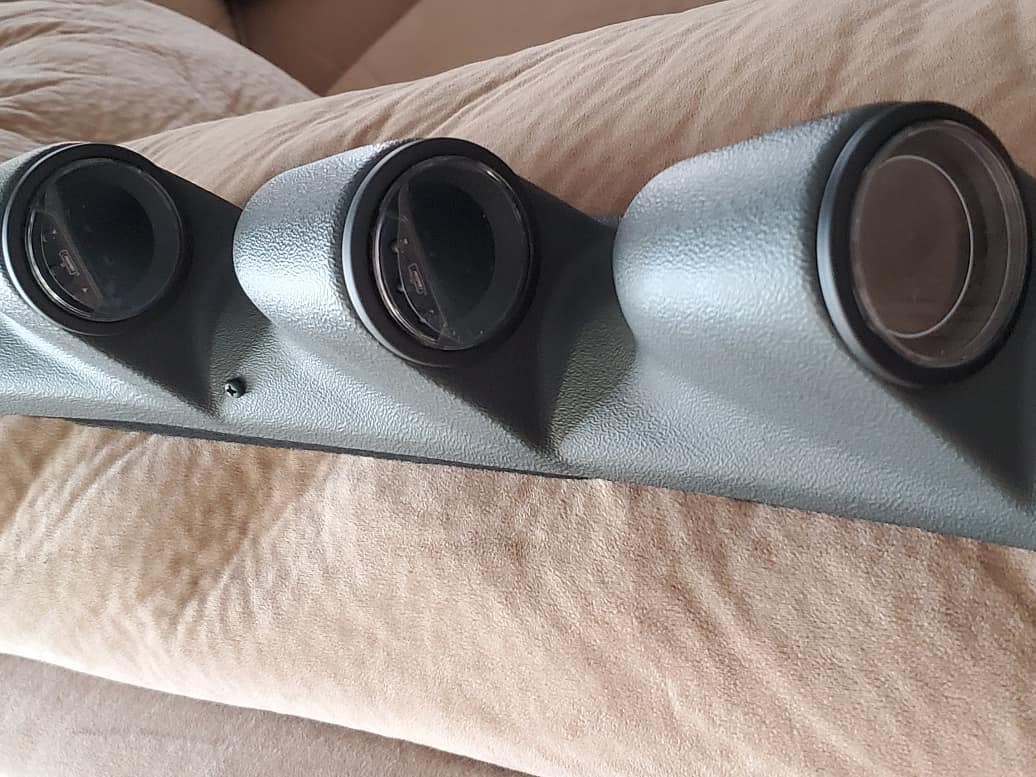
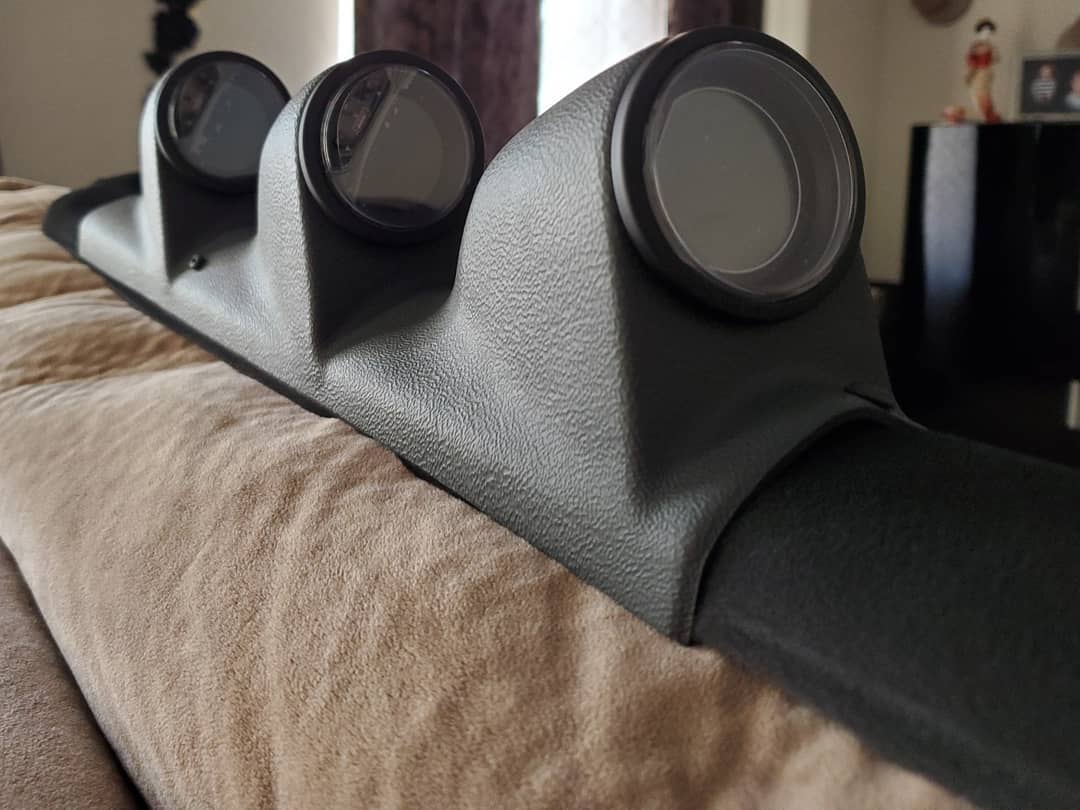
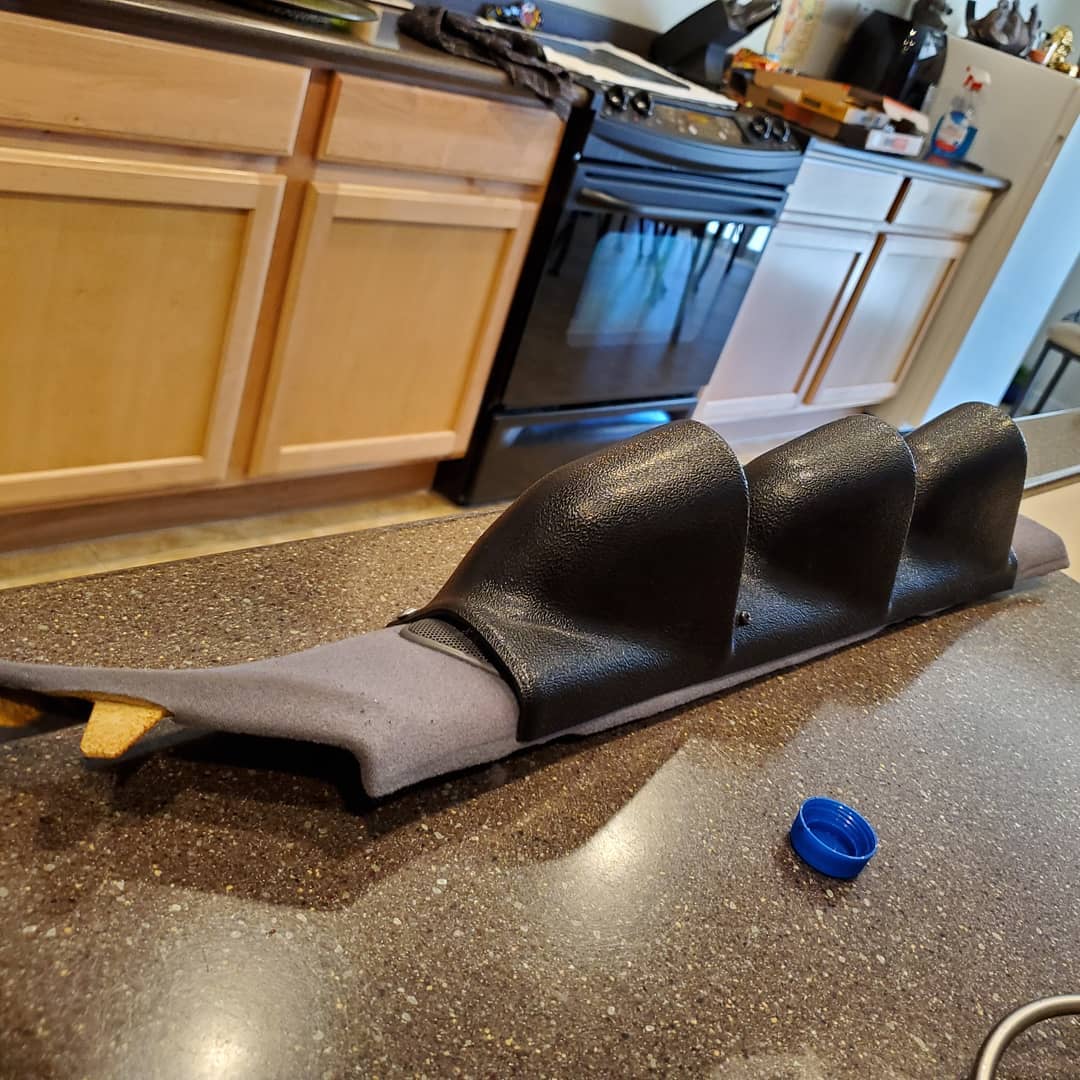
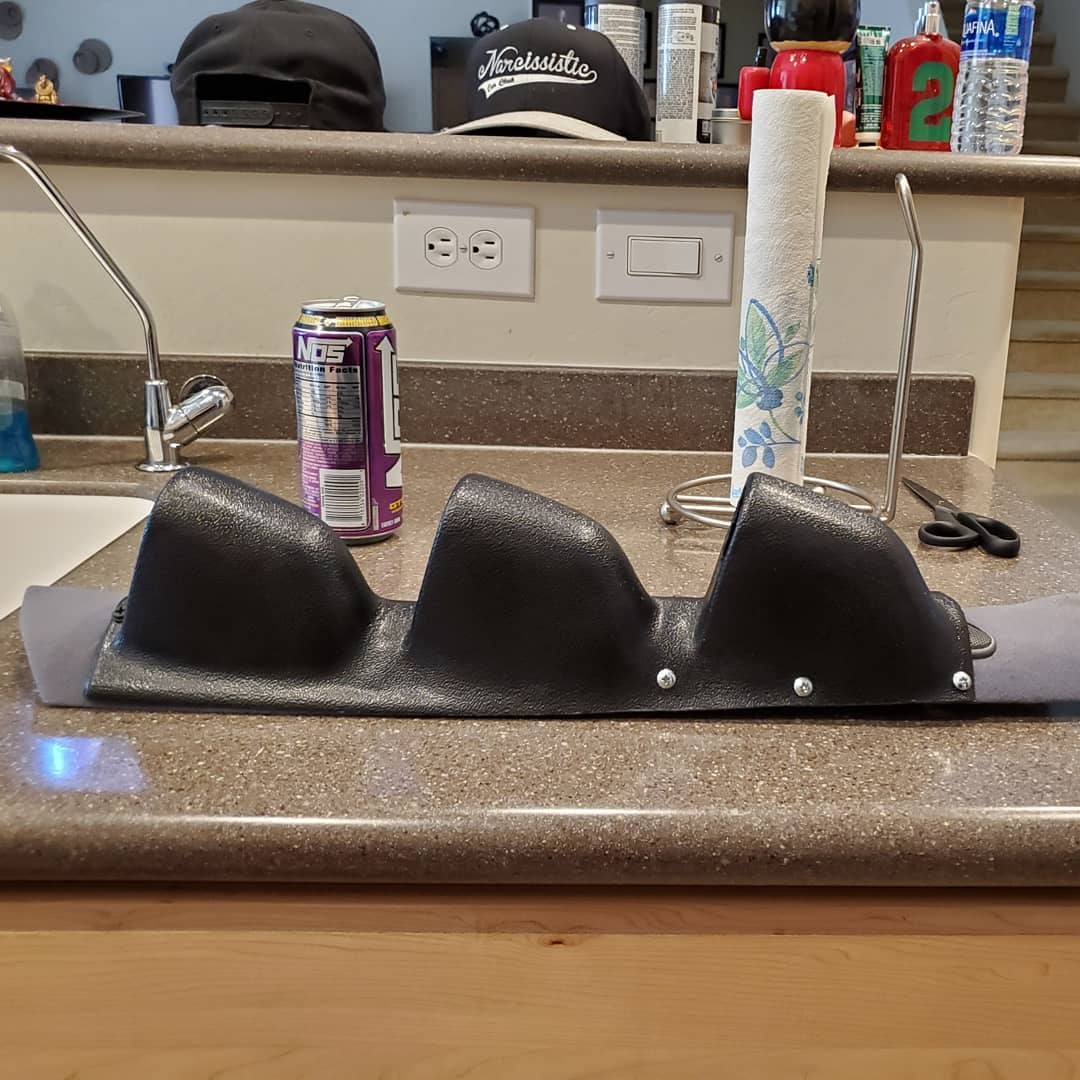
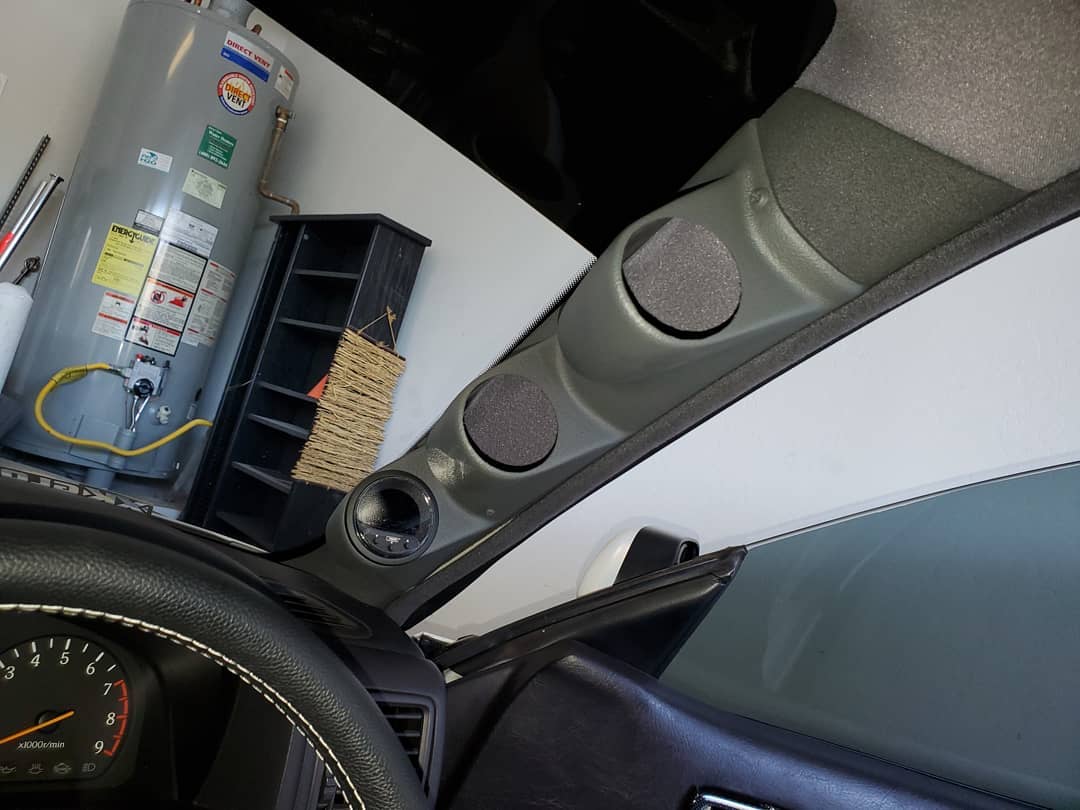
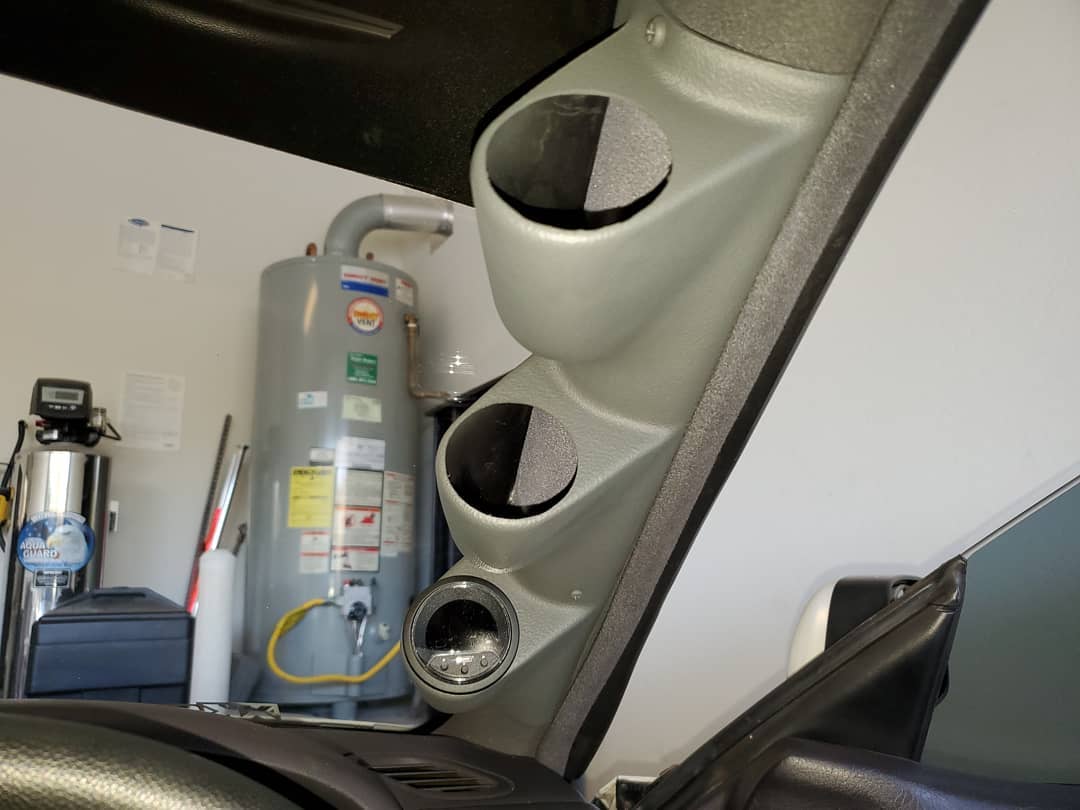
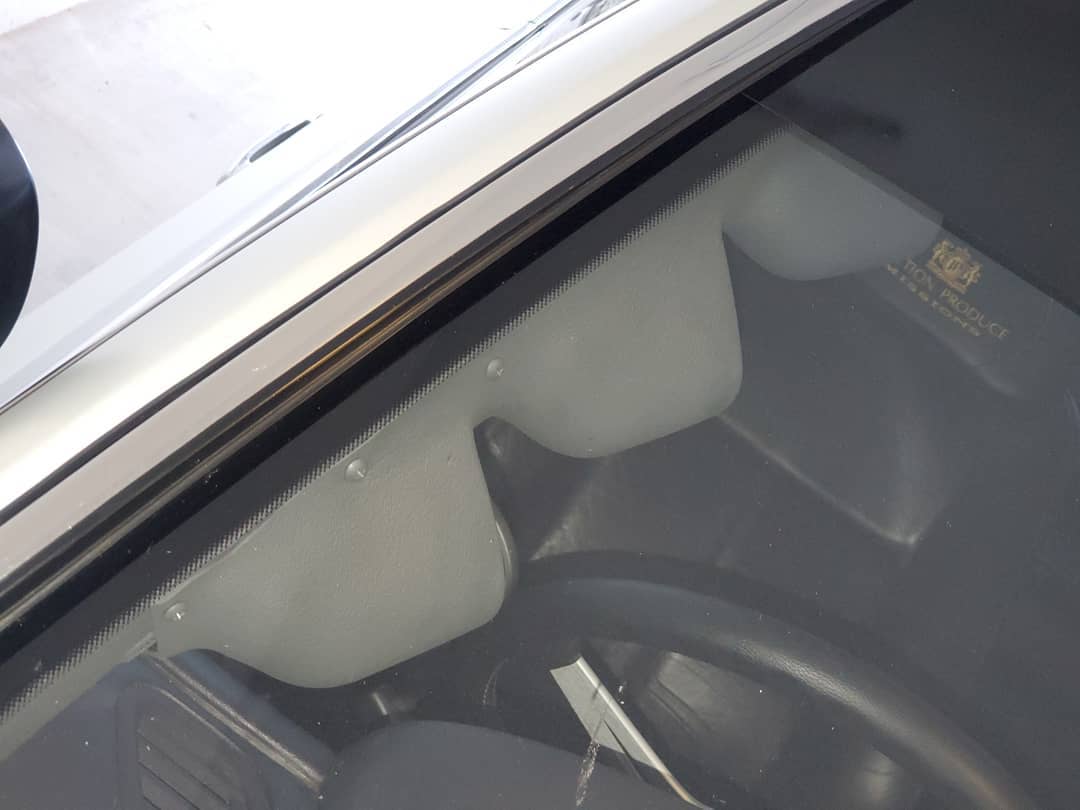
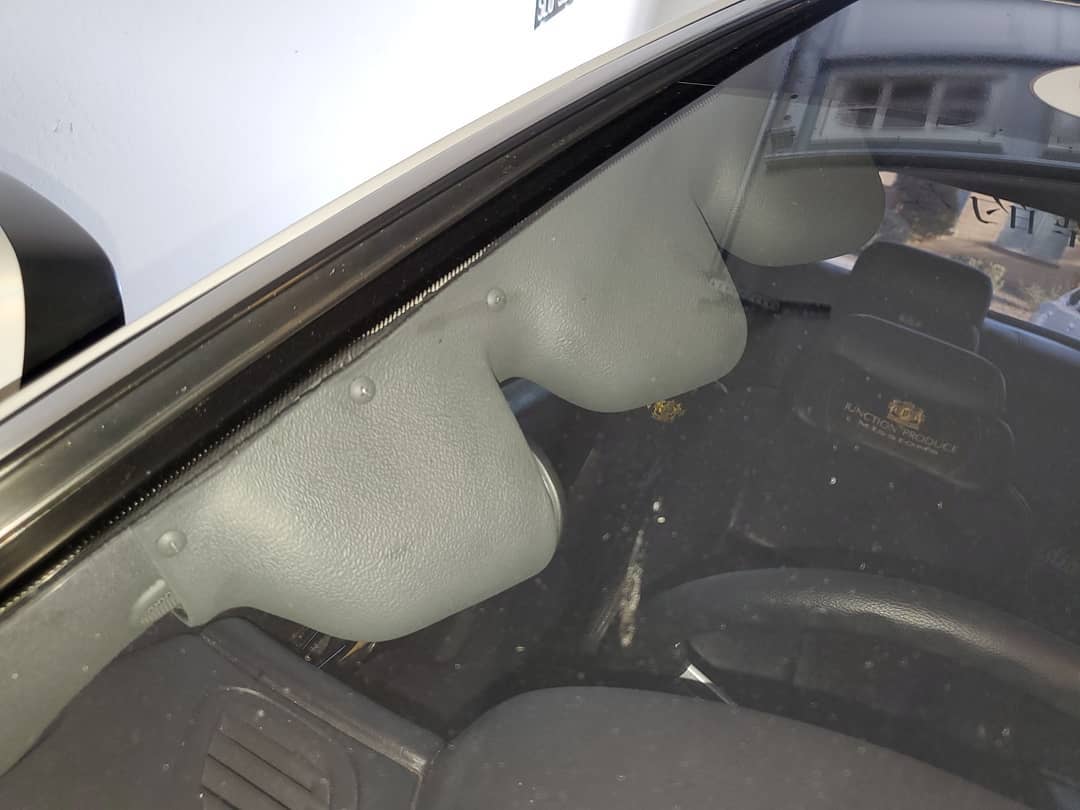
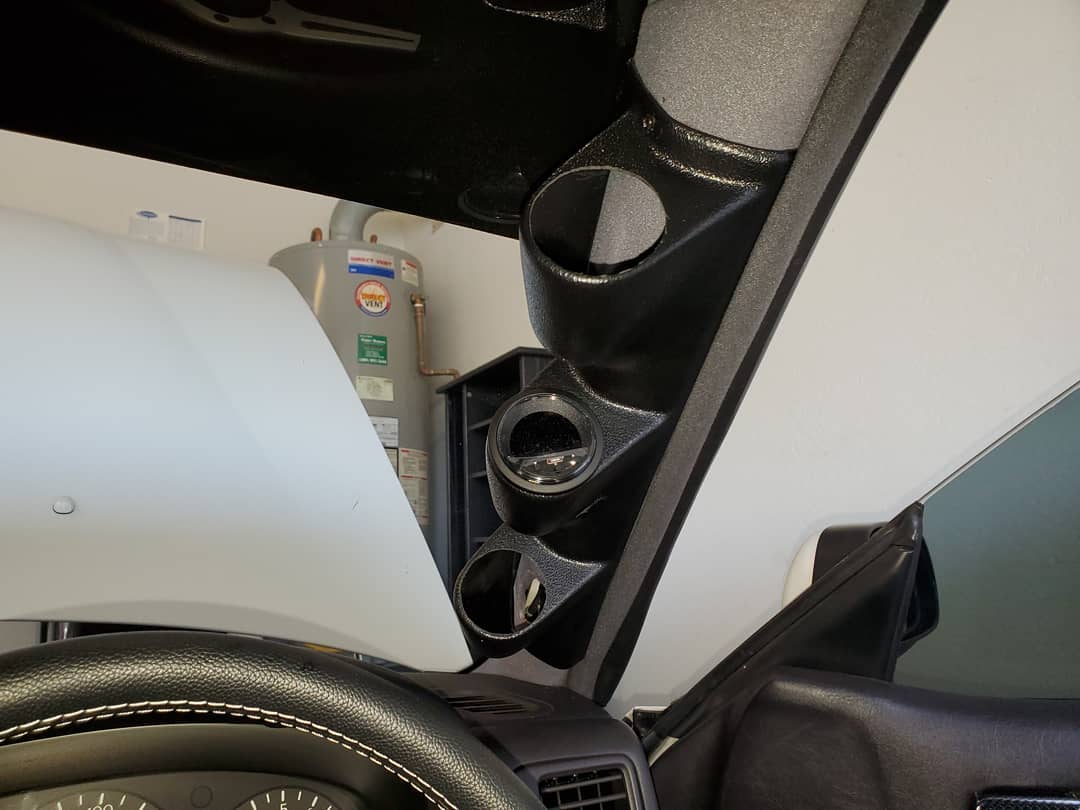
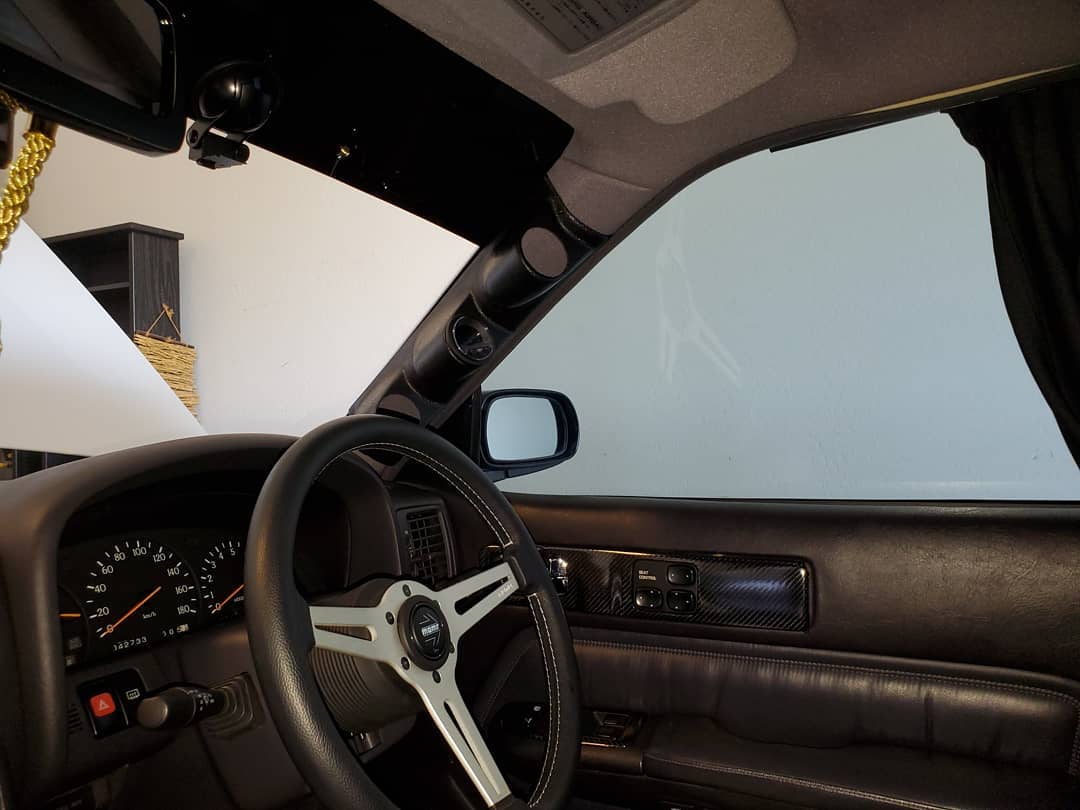
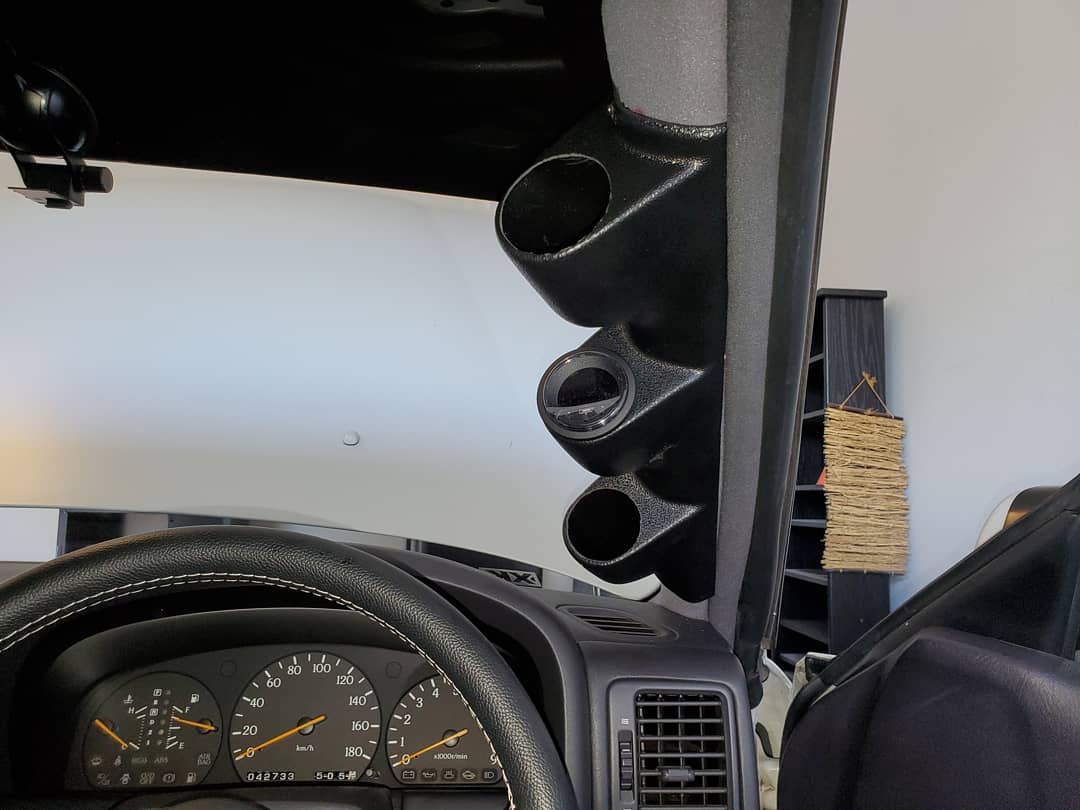
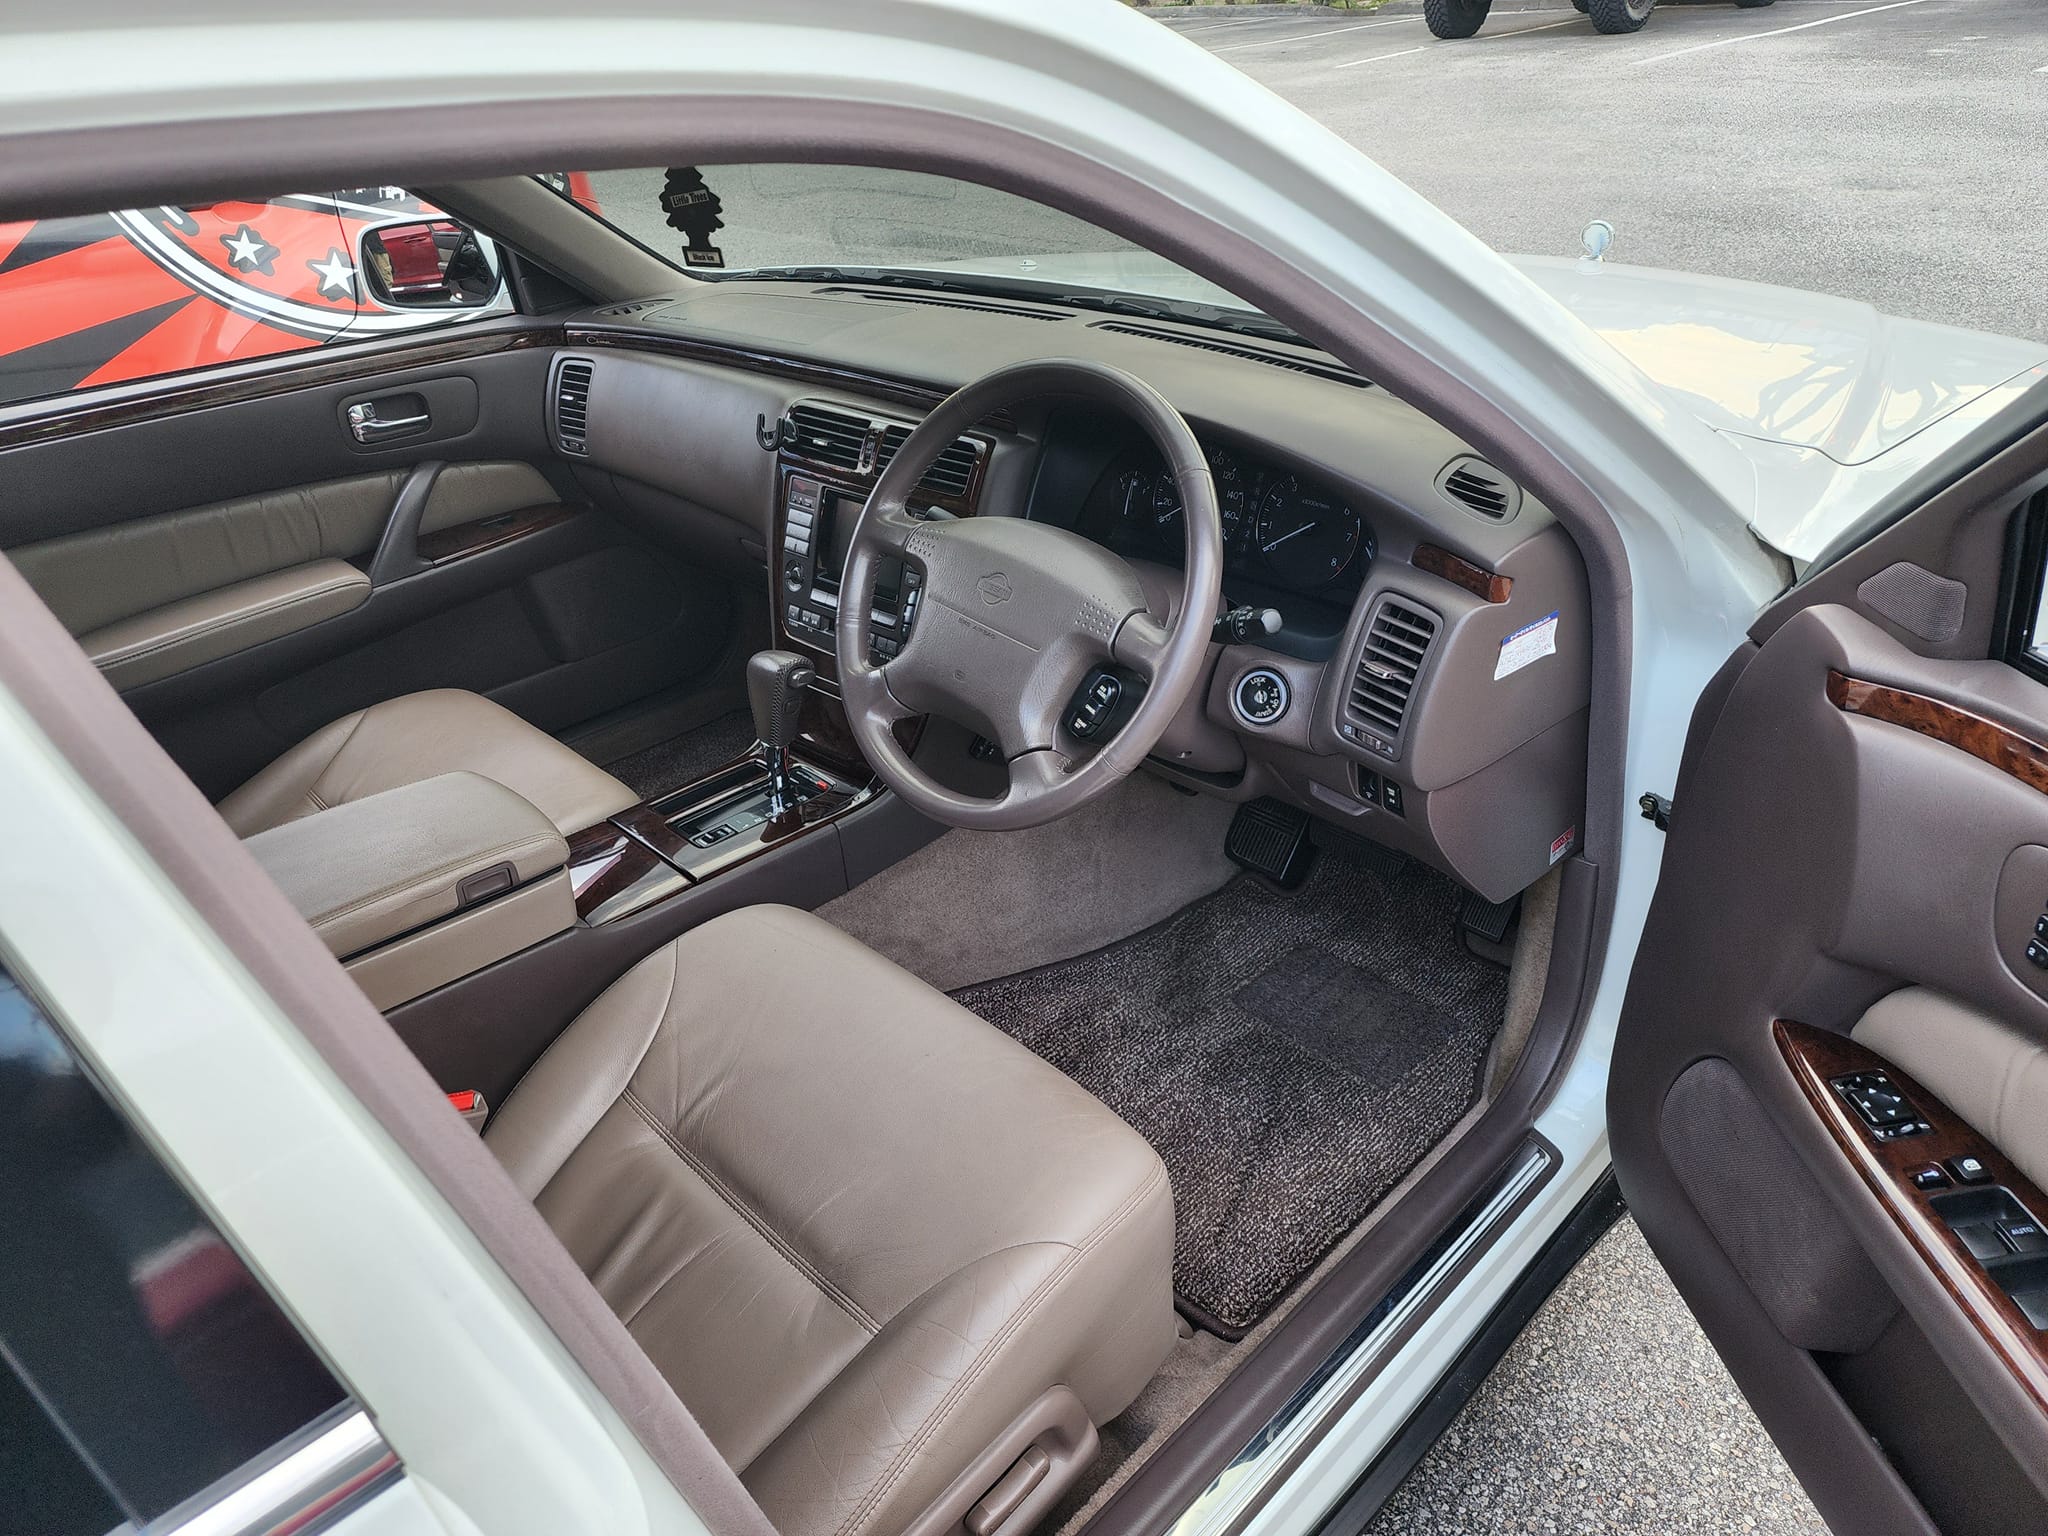
Testing the fit of the universal RHD @glowshift triple gauge pod with the Prosport Gauges Evo Series gauge/boost controller, paired with @kaizen_y32 sensors for oil temperature and pressure, voltage, boost, wideband, water temperature, and fuel pressure.


")


")