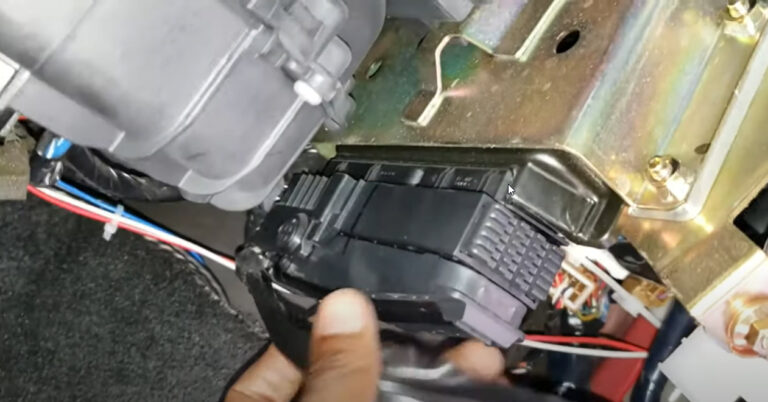
There are various scenarios that can trigger a flashing Airbag light. These scenarios range from unplugging the seats and installing alarms all the way to messing with steering wheel and audio controls. The procedure below is directly from the Nissan Service Manual. If this procedure DOES NOT work, you might want to take it to a mechanic or Nissan Dealer to check it out (as it may be faulty and needs repair).
Timing is key to get this right!
Turn ignition switch from OFF to ON.
Air Bag warning lamp will be on for 7 seconds and then turns off,
Turn the ignition switch OFF within 1 second after the lamp turn off.
After ignition switch is turned OFF, wait for more than 3 seconds.
Repeat steps 1 to 3 two more times. (Perform 3 times in total.)
There so many short throw shifters on the market, however, only Ralcorz has a shifter available that stands out amongst all others. These shifters are made from the highest quality aluminum and hardened steel. Every Ralcorz Short Shift kit is precision-made for each application. A premium sport shifter engineered for the enthusiast. This Sport Shifter has all of the features you need.
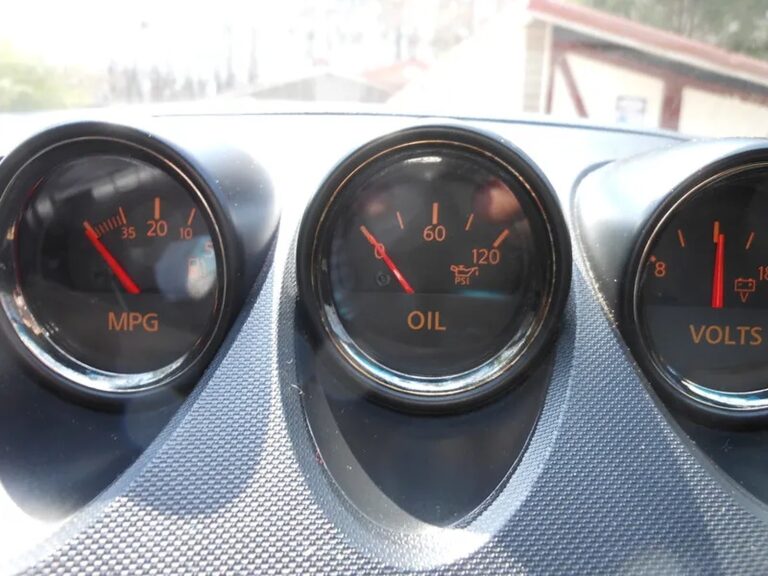
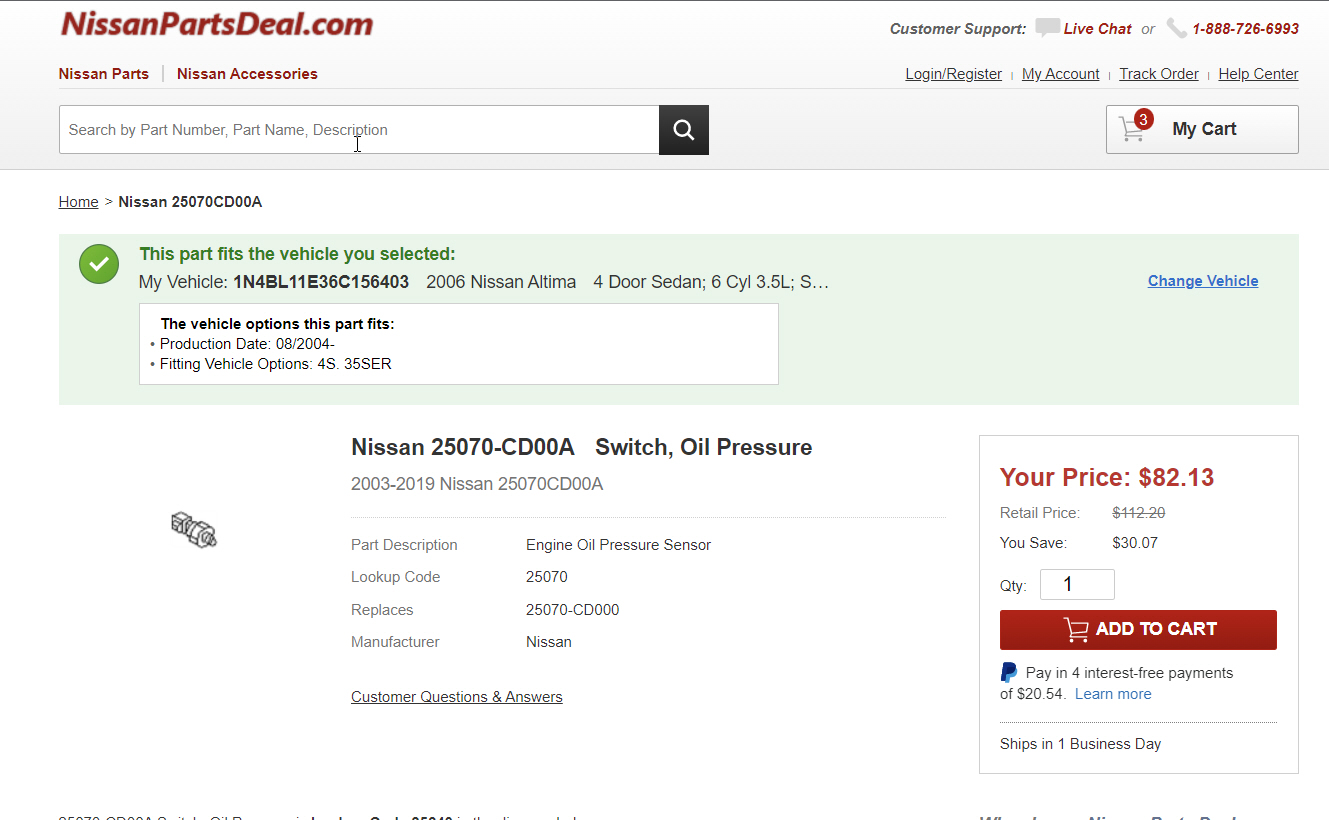
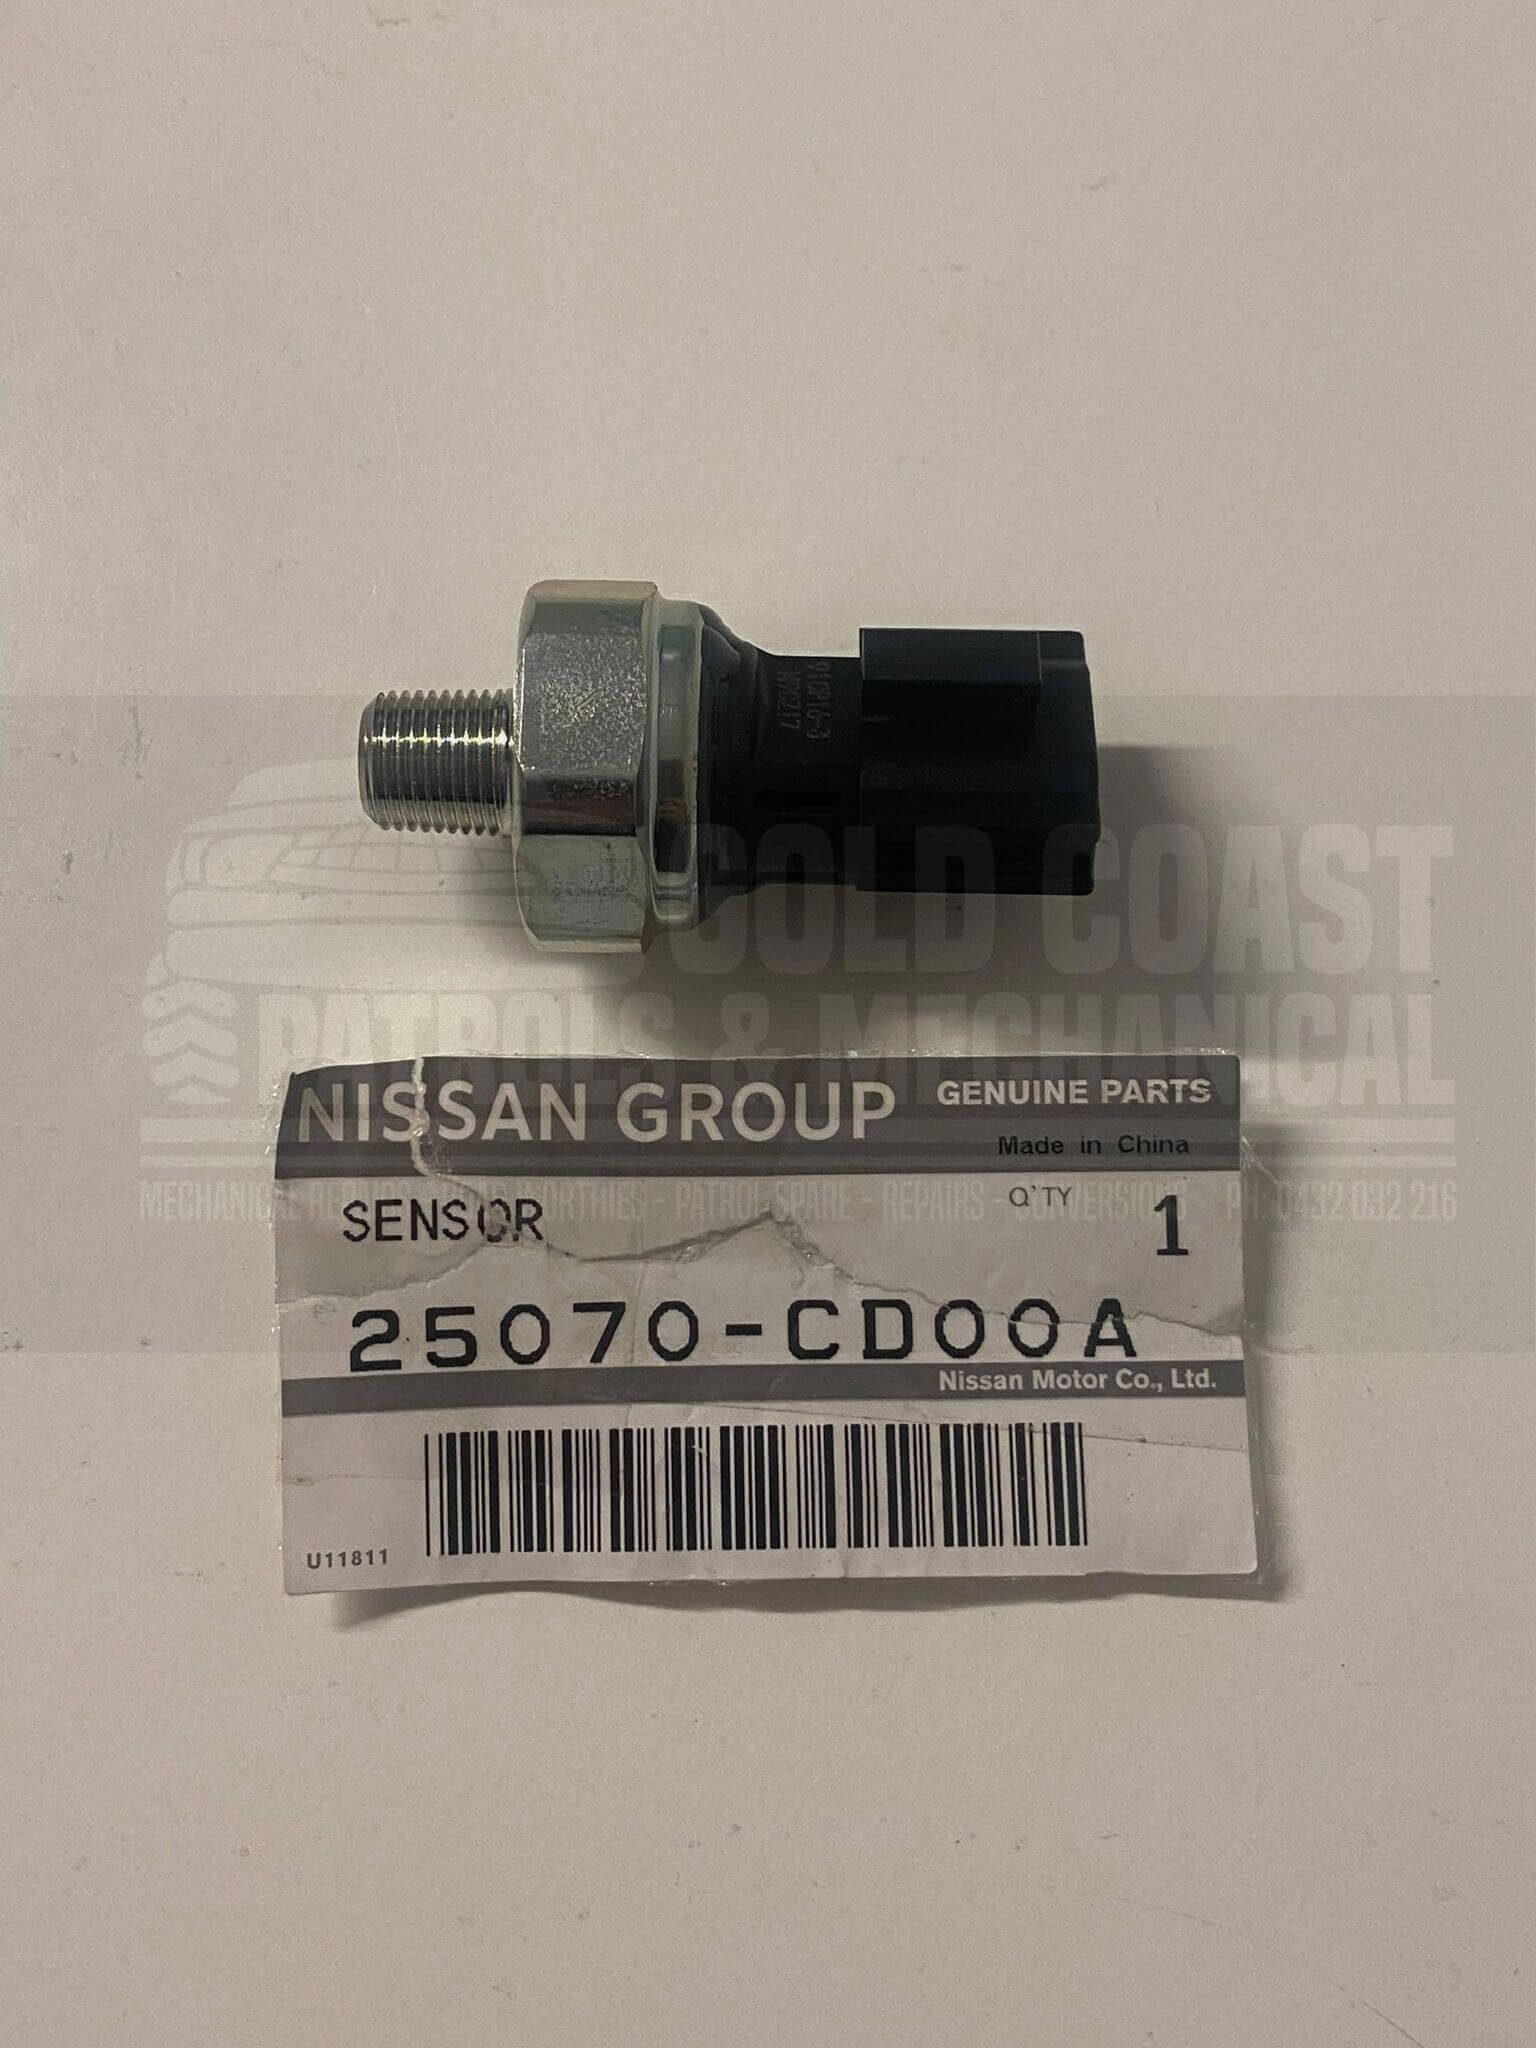
So I finally buckled down and added info in here for how to change your oil sending unit also known as an oil pressure sensor. Hoping this helps some of you guys out. The beginning of my problems was when I noted 0 psi on my oil pressure gauge (stock on SE-R) after running diagnostics and checking to wire I discovered that the sensor was bad.
The sensor can range in price for you VQ guys depending upon a SE-R or just SE. The difference between the two is 2 (SE) and 3 prongs (SE-R) for the oil pressure gauge.
So I finally buckled down and added info in here for how to change your oil sending unit also known as an oil pressure sensor. Hoping this helps some of you guys out. The beginning of my problems was when I noted 0 psi on my oil pressure gauge (stock on SE-R) after running diagnostics and checking wiring I had discovered that the sensor was bad. The sensor can range in price for you VQ guys depending upon an SE-R or just SE. The difference between the two is 2 (se) and 3 prongs (SE-R) for the oil pressure gauge.
Given that I drive an SE-R I had to pony up the extra cash for the $80+ unit
Ok onto the install. There’s a lot of bad info out there telling you that the only way to remove it is going through the passenger wheel well after removing the wheel. I originally did this then found out I wasted my time. We have a grease pit in our garage. If you guys are lucky enough to have a lift or pit in your garage this will make installation a breeze. If not pull out your jack stands or ramps and set your car up for an oil change. By draining your oil you can avoid a mess when you unthread the sensor.
You will need:
Oil changing materials socket, drain pan, filter, new oil
Deep 24mm socket to accommodate the sensor to fit inside when threading
1/2 in drive small breaker bar( I found a ratchet too big and didn’t give enough space to fit, I tried extensions and articulated drives as well without success. They just didn’t work)
Onto the pics:
Breaker bar 24mm socket and sending unit
Location of sensor is above oil pan and drain plug to the right side ( sensor is still plugged in and wire loom can be seen.
After unplugging sensor and using socket to remove I used Teflon pipe tape on the new sending unit threaded it in by hand and used the socket the rest of the way. Be careful not to overtighten and set the sensor so that the harness and plug can be easily removed if needed later.
That’s it! A pretty easy fix to something that would cost over $140 to have done at the dealer. Once the car was on the pit and I had my tools the job was done in under 25 mins.
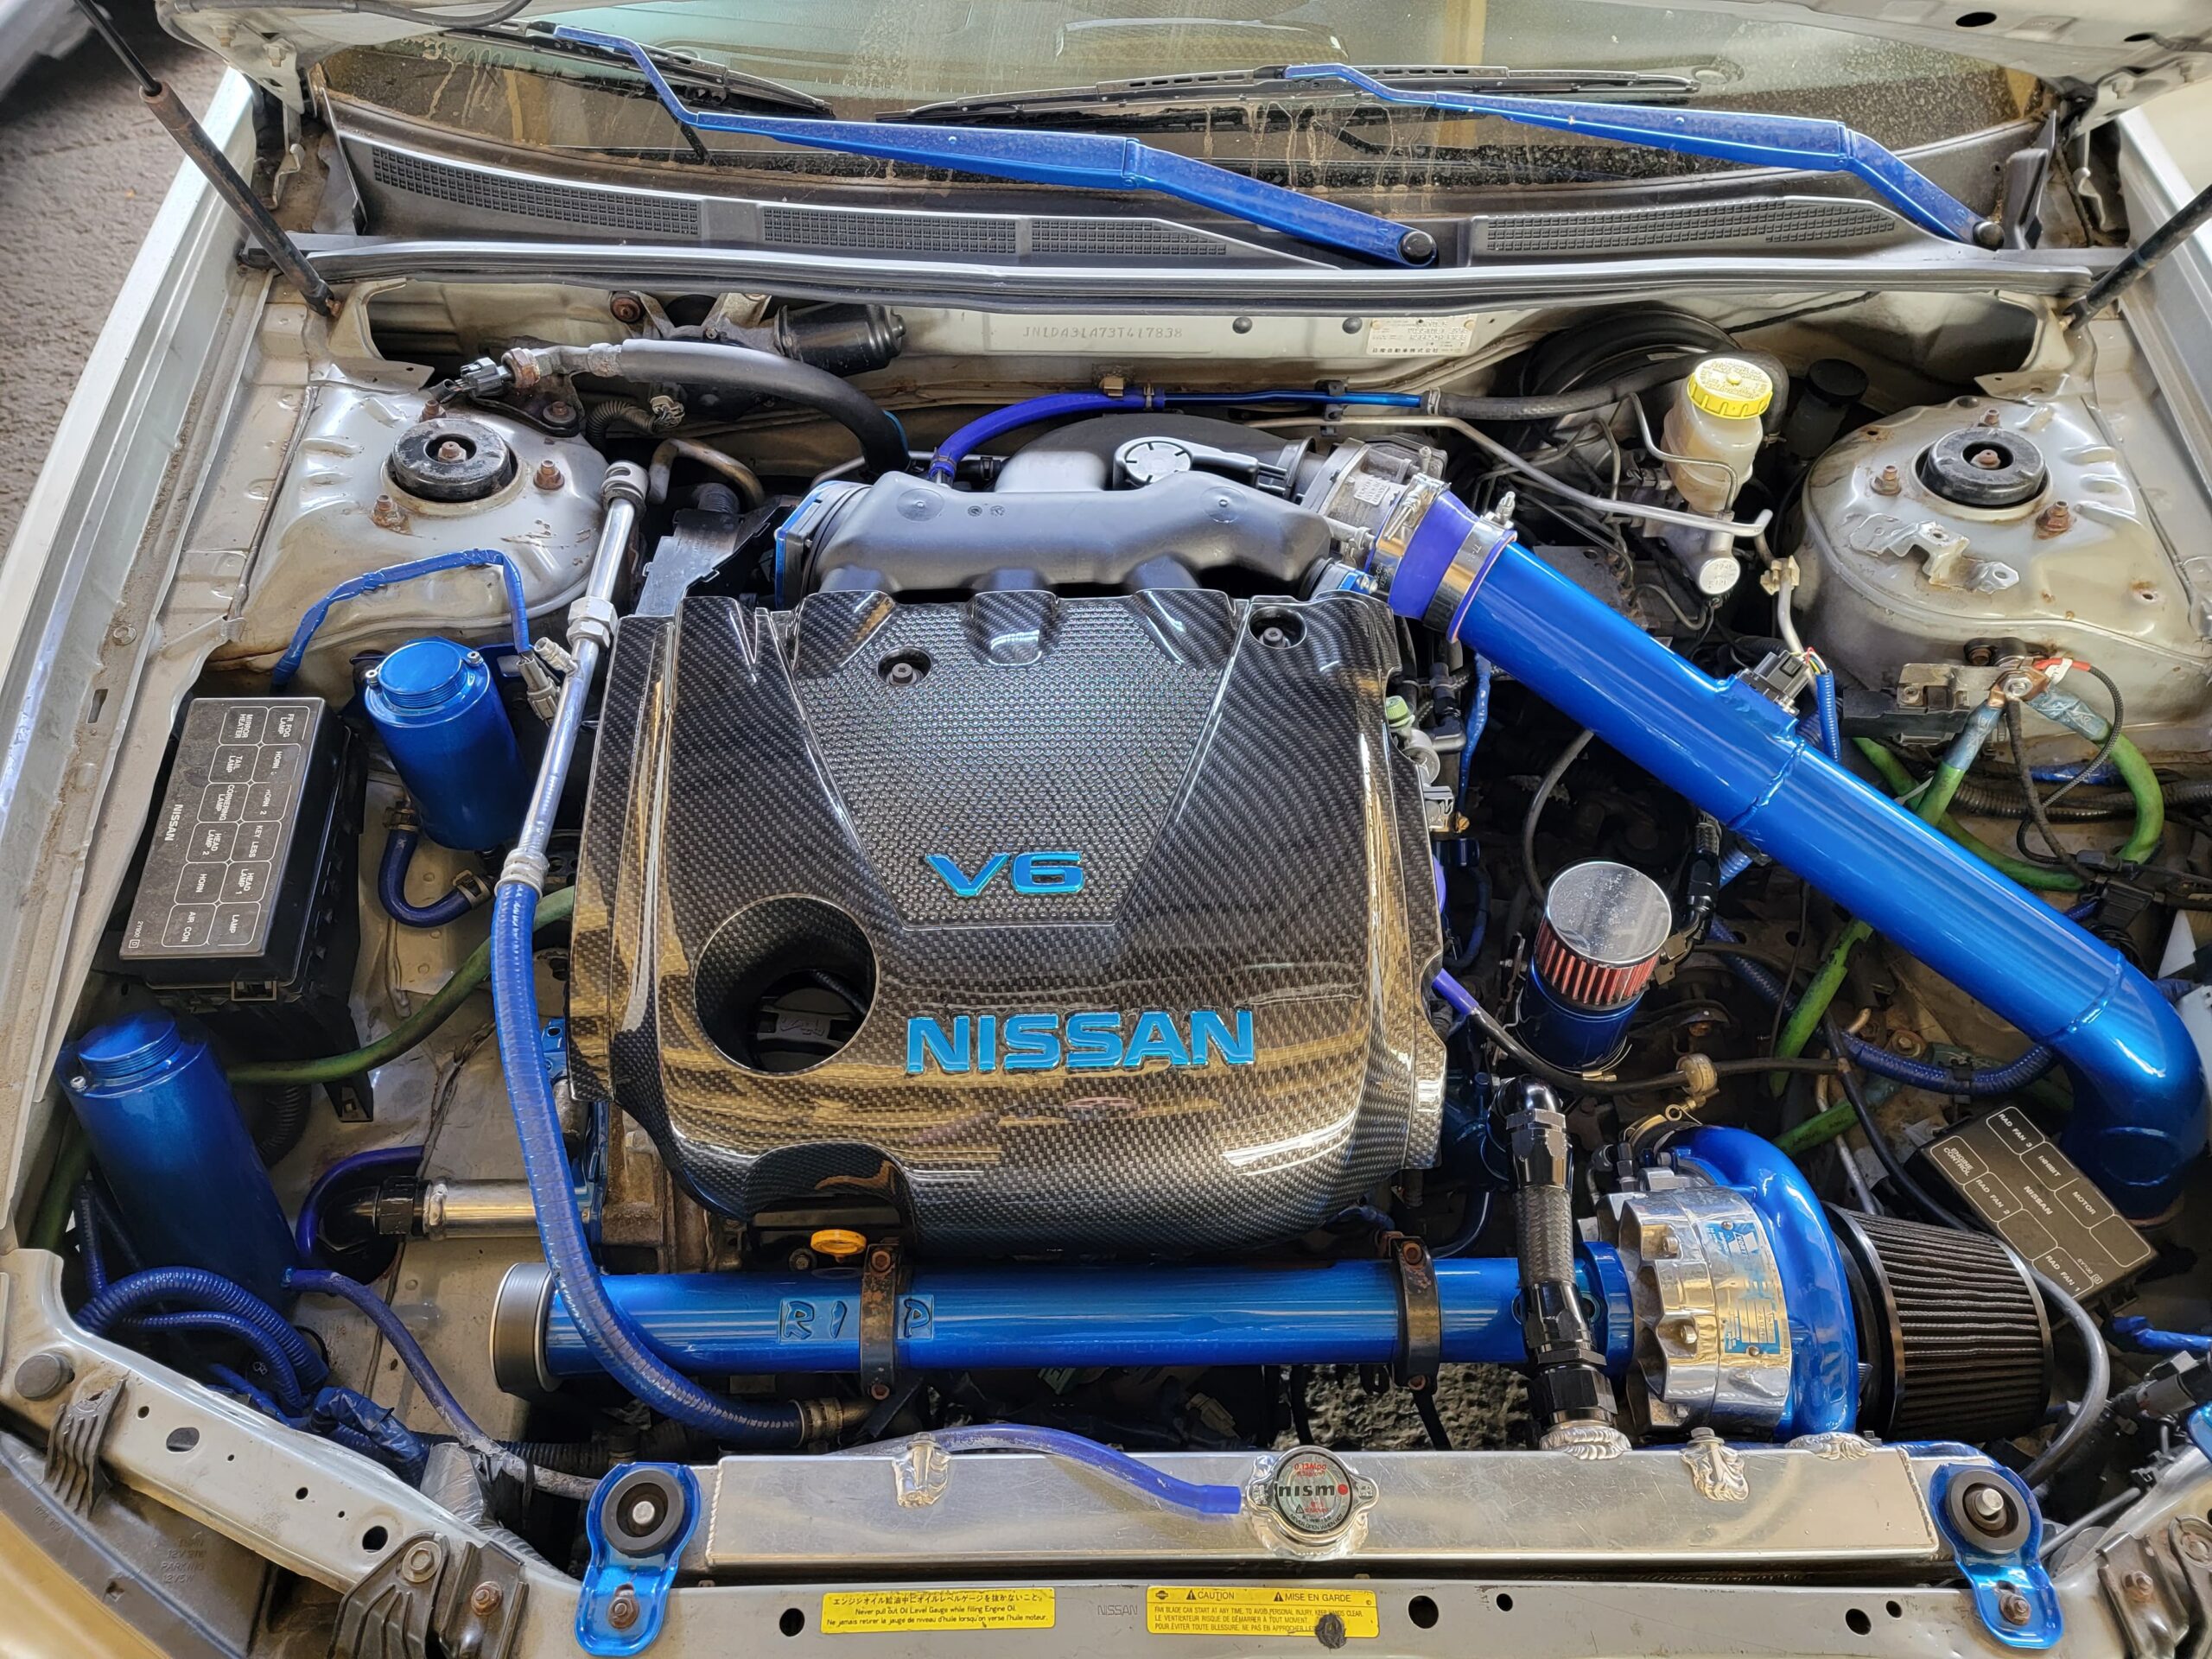
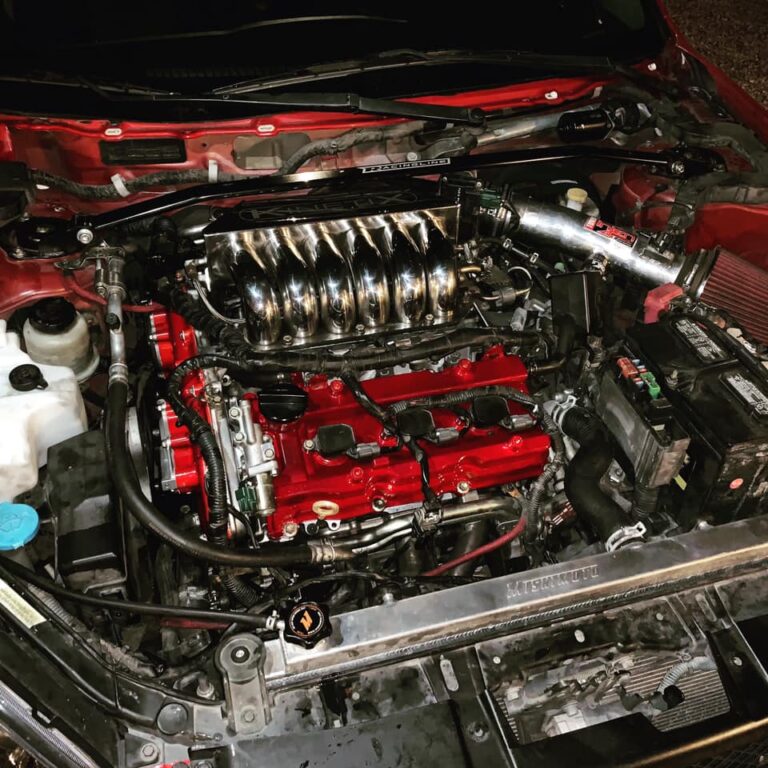
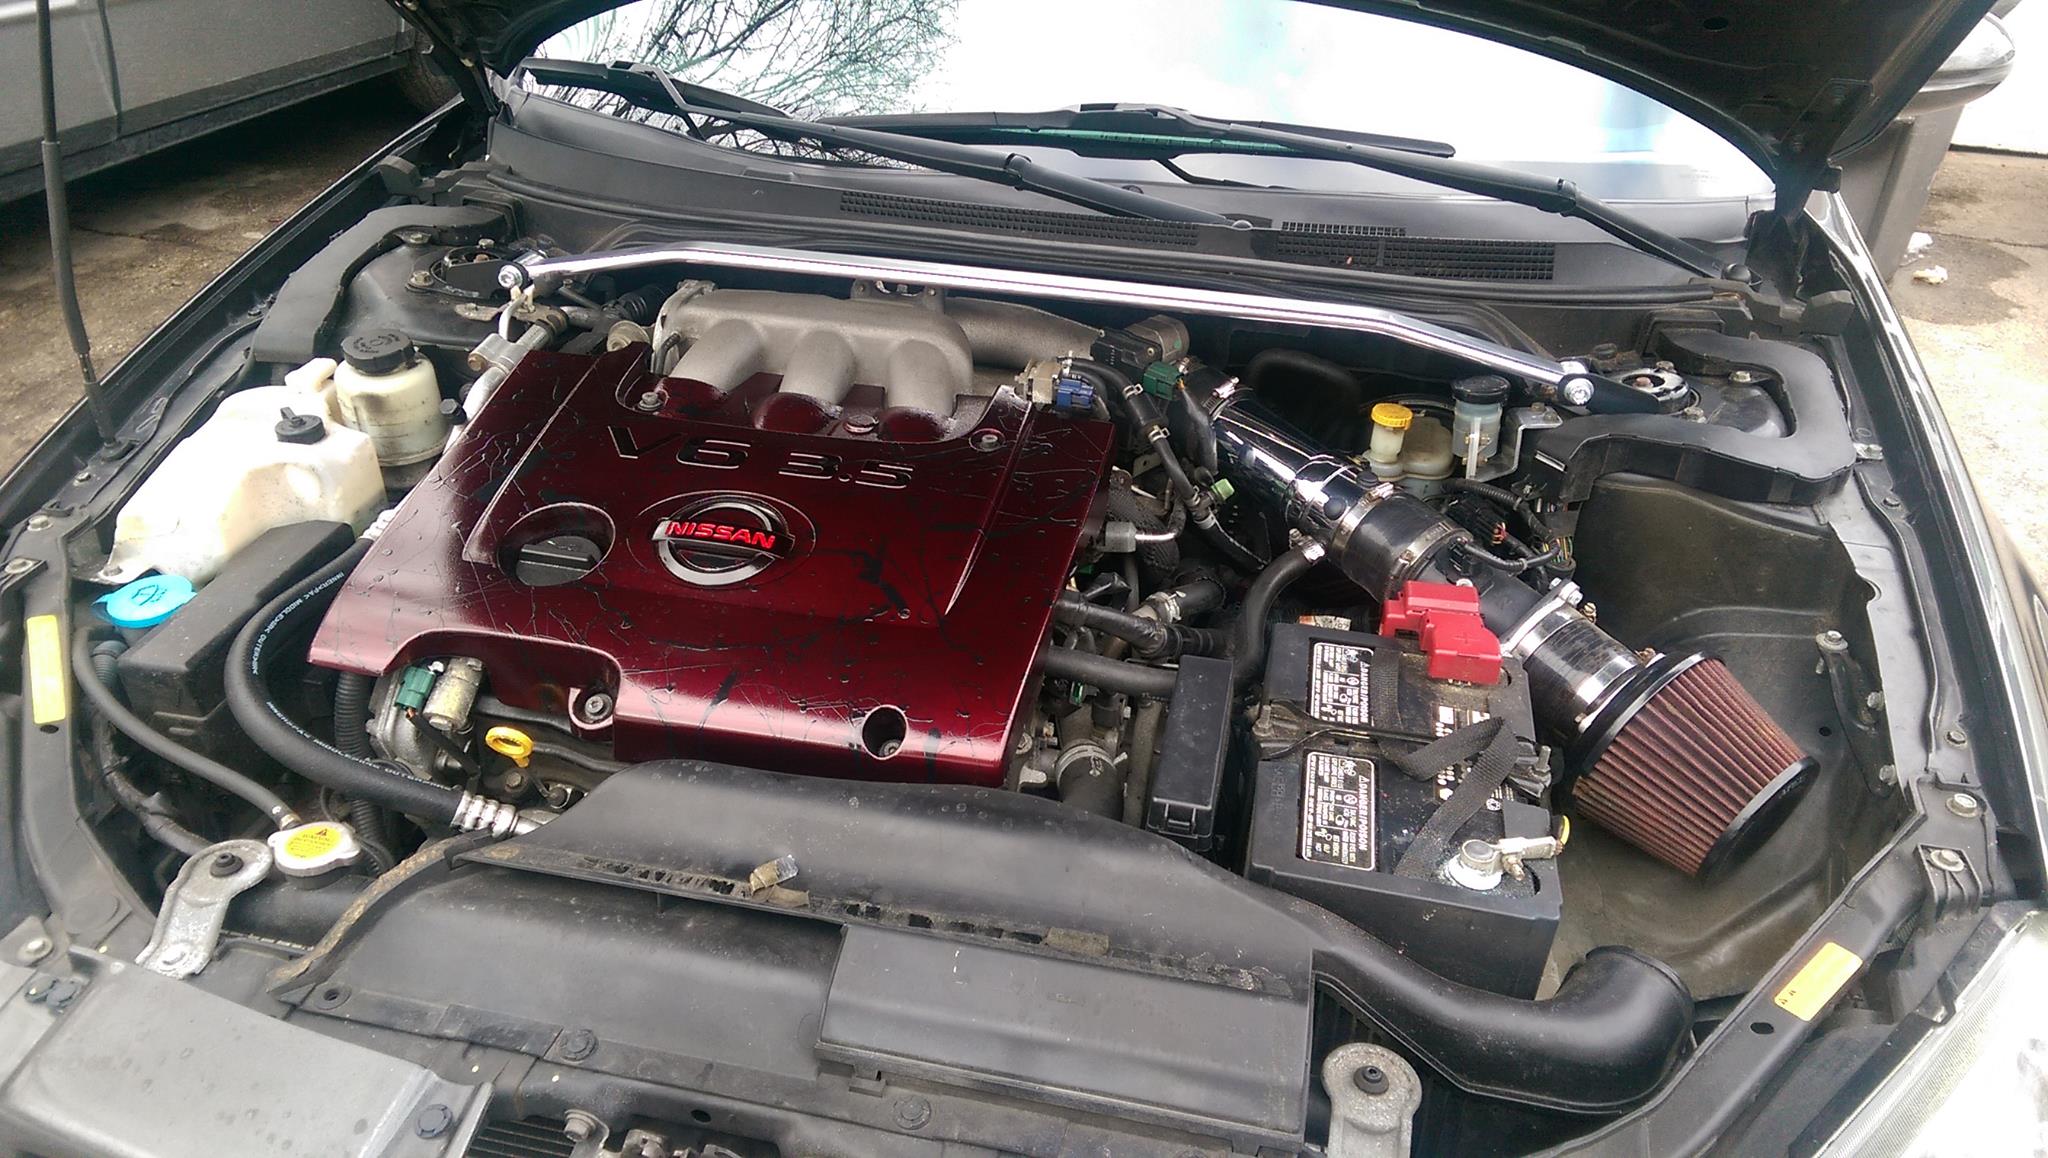
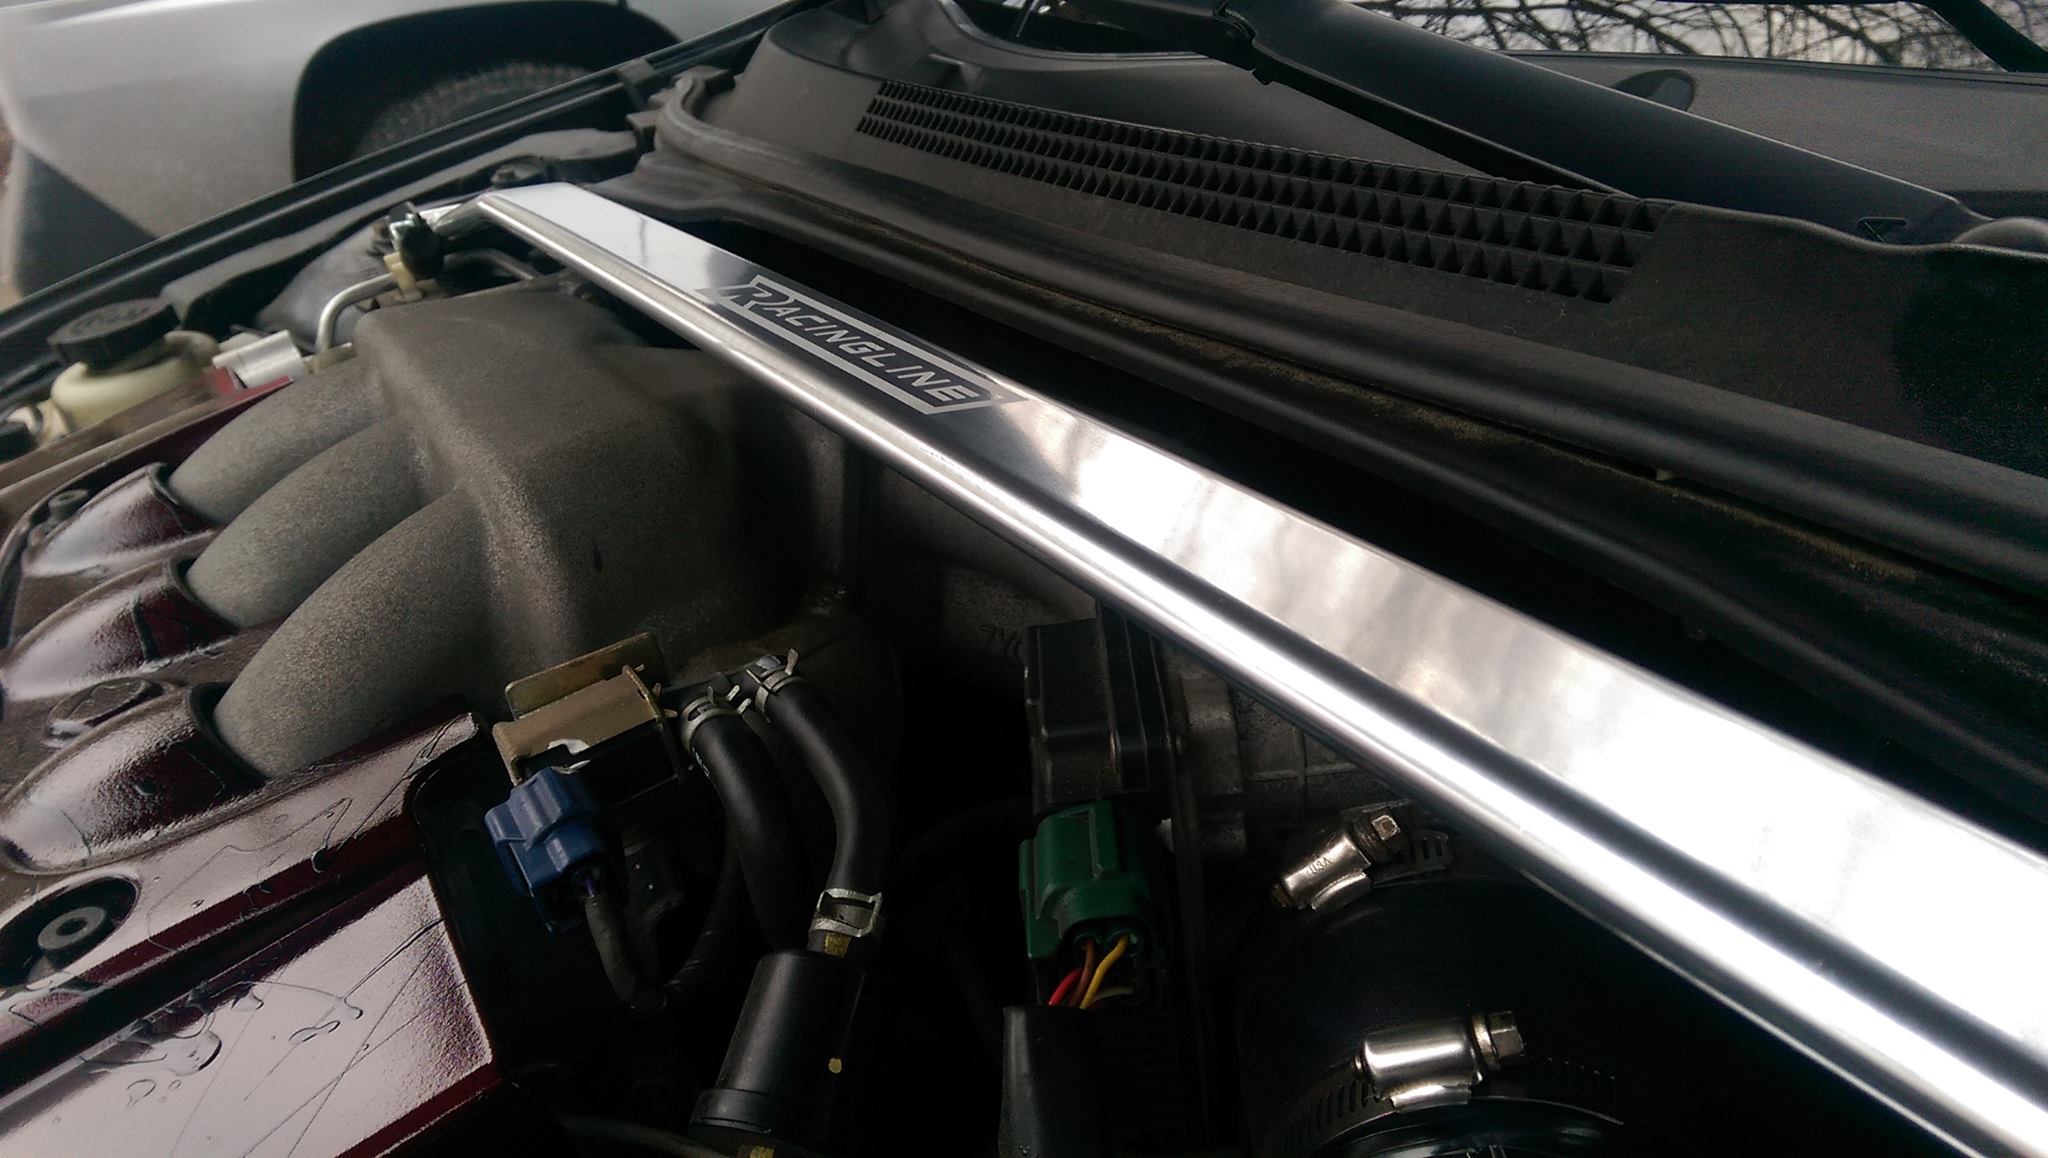
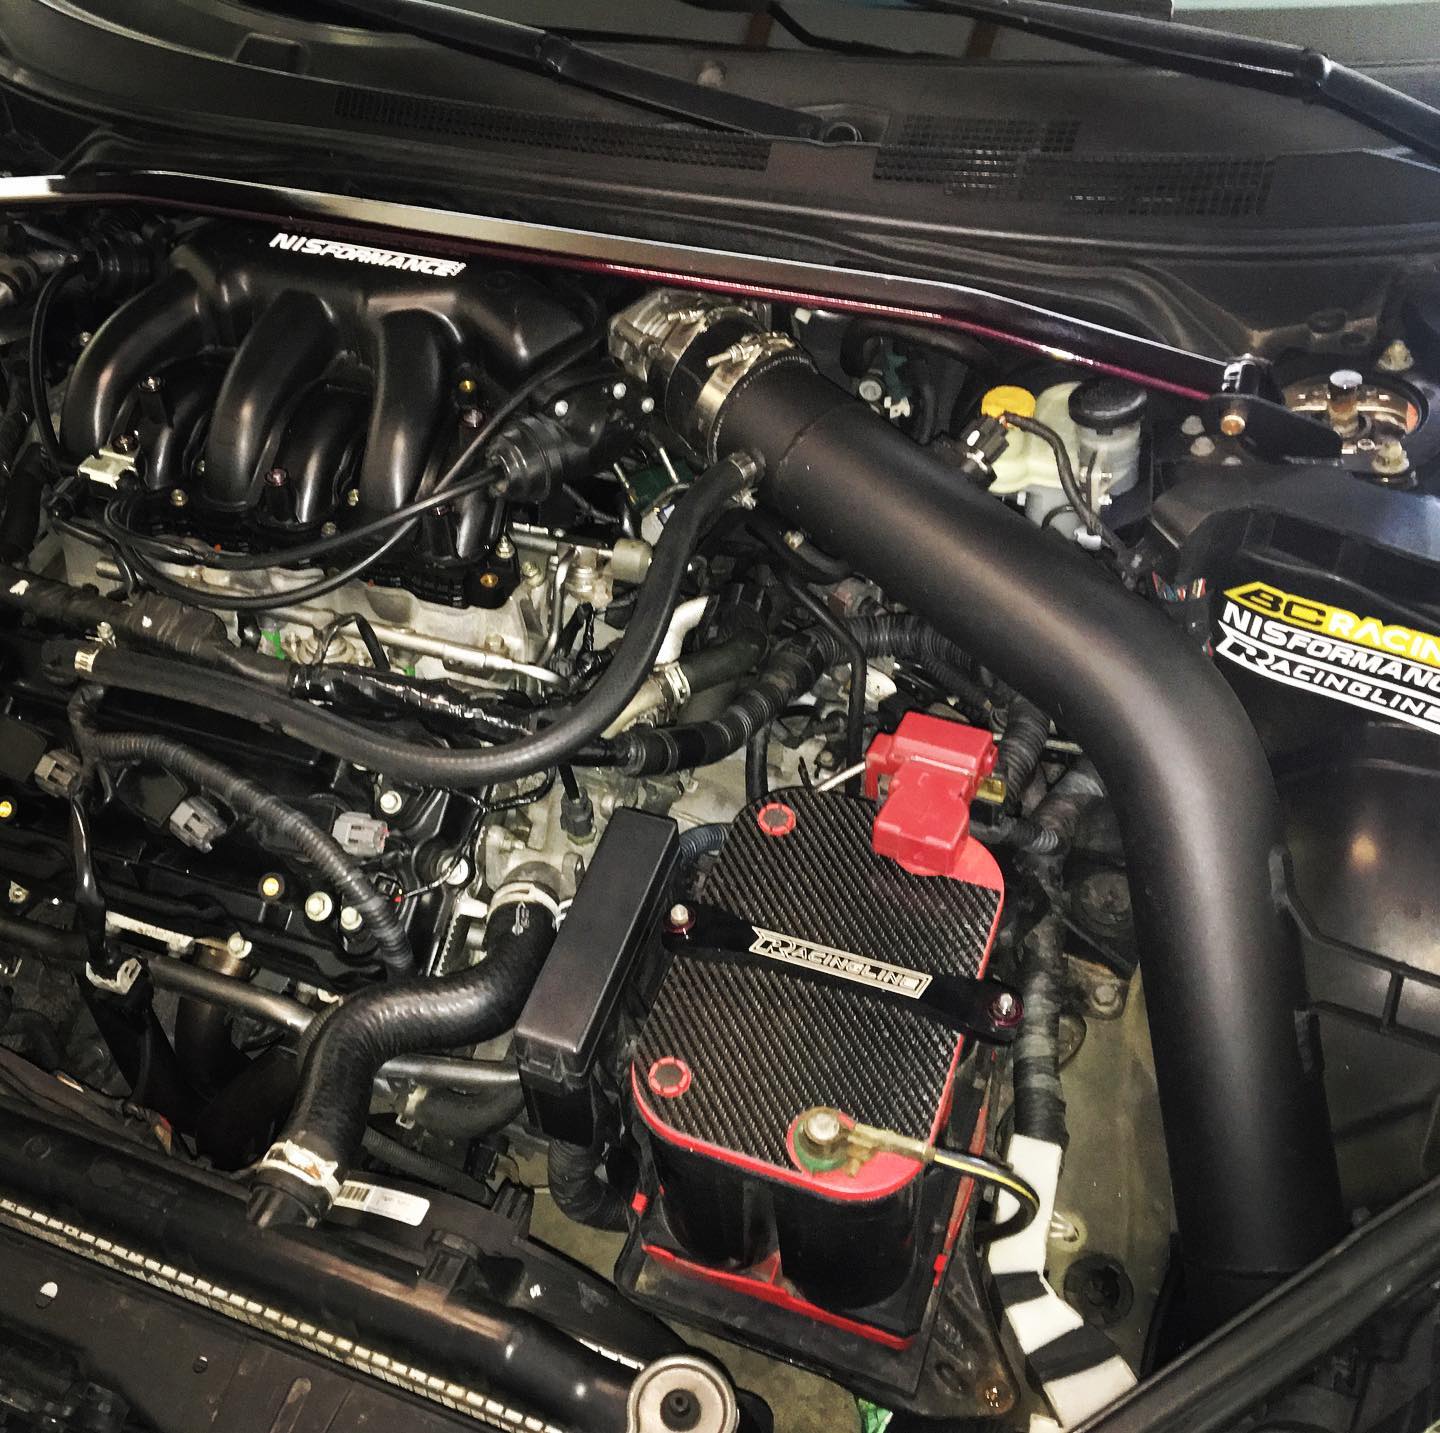
This fits perfectly with the right amount of clearance. It does not touch the 8thgen Manifold or the Master Cylinder. It’s very close but does not touch.