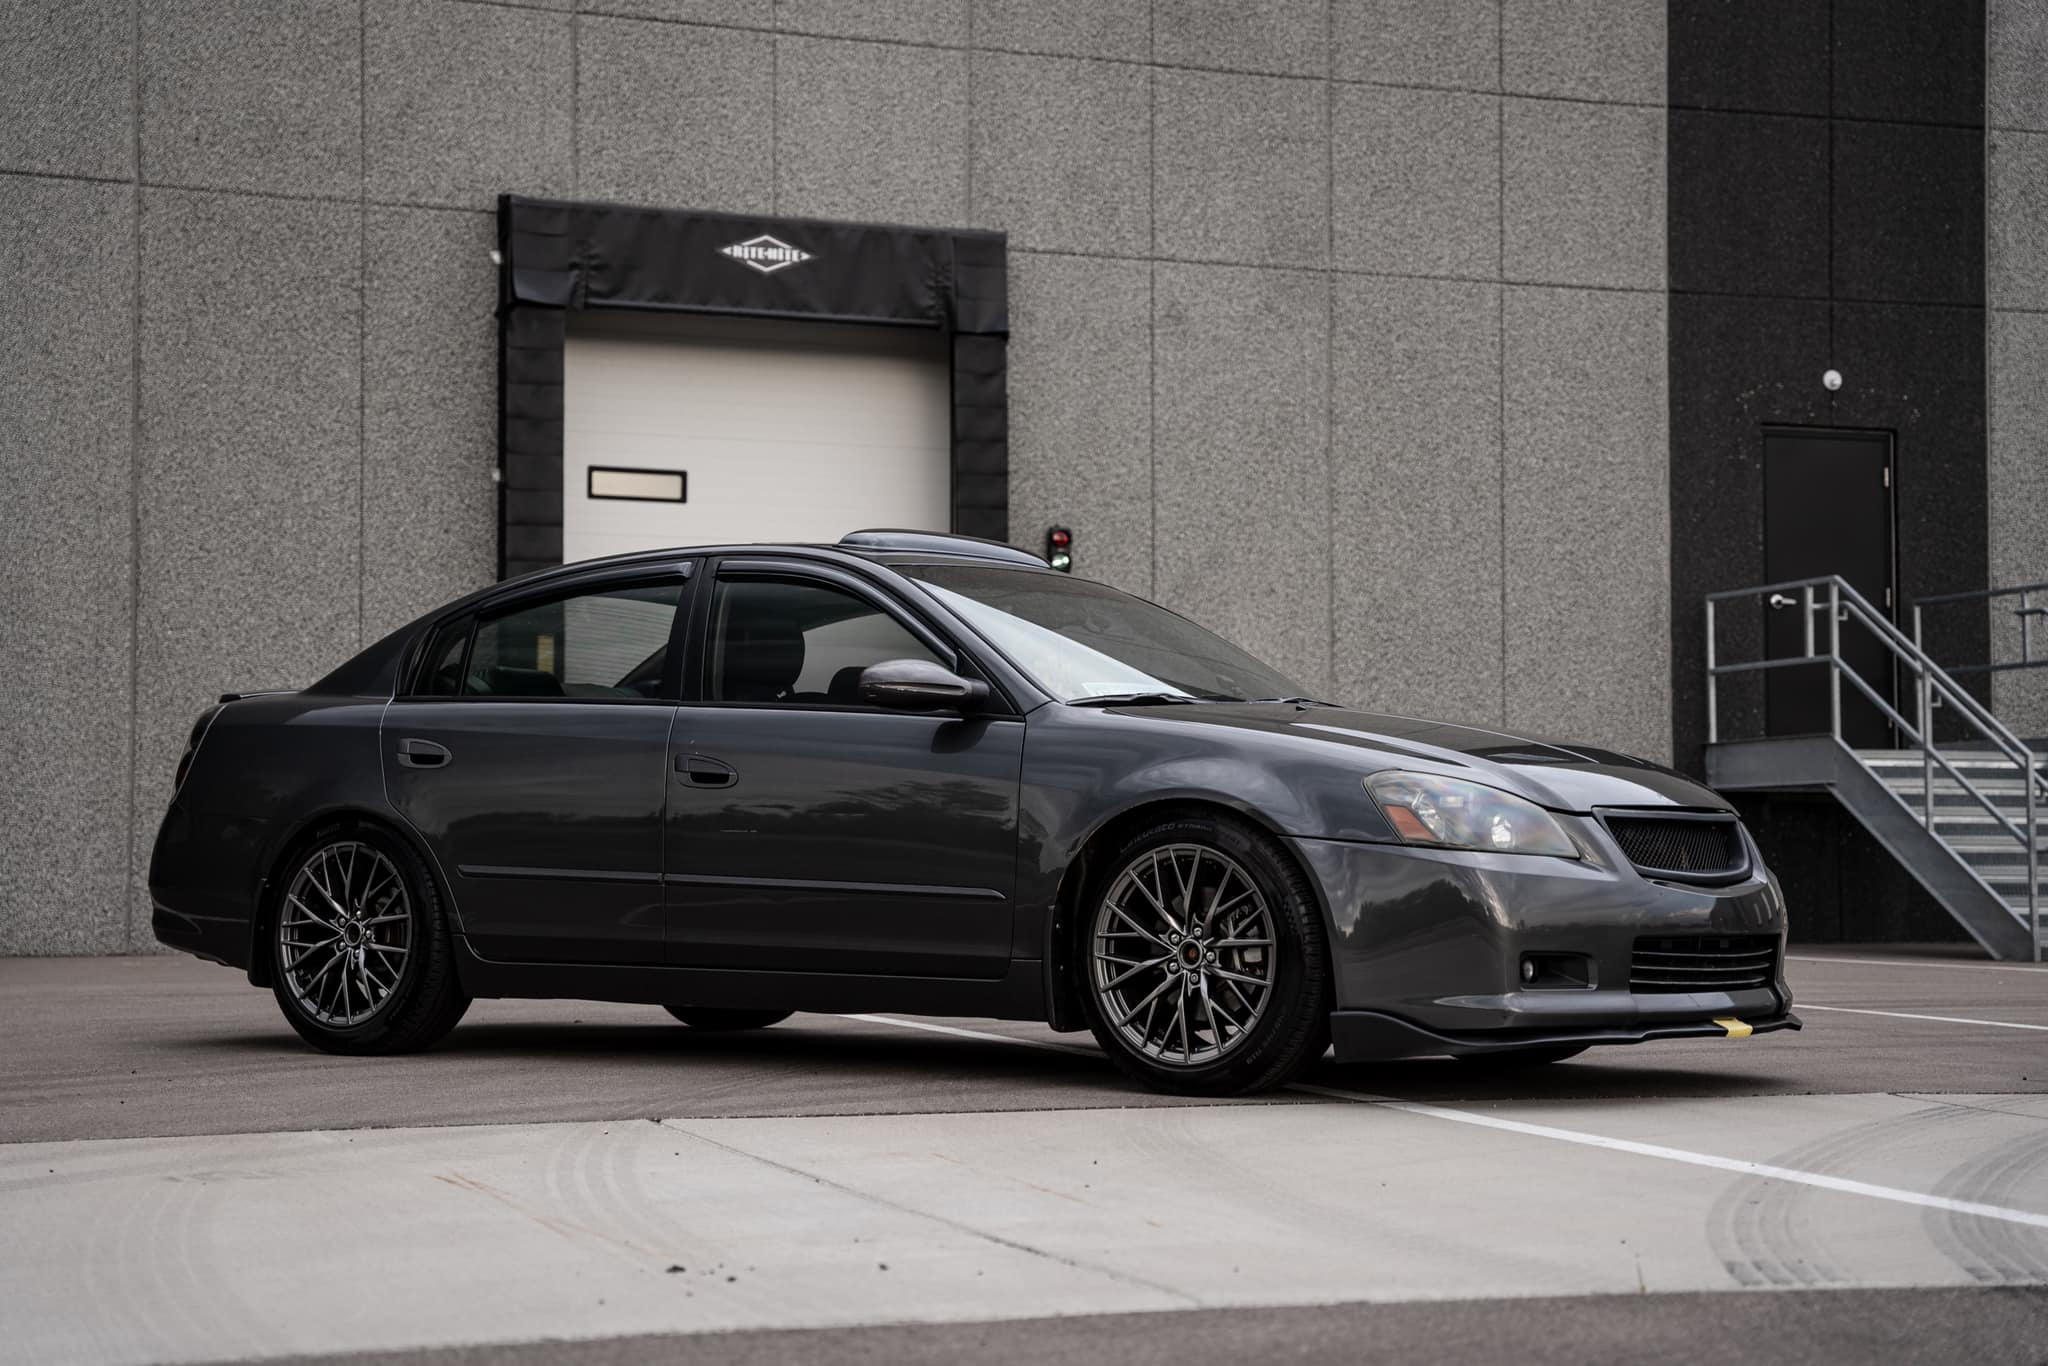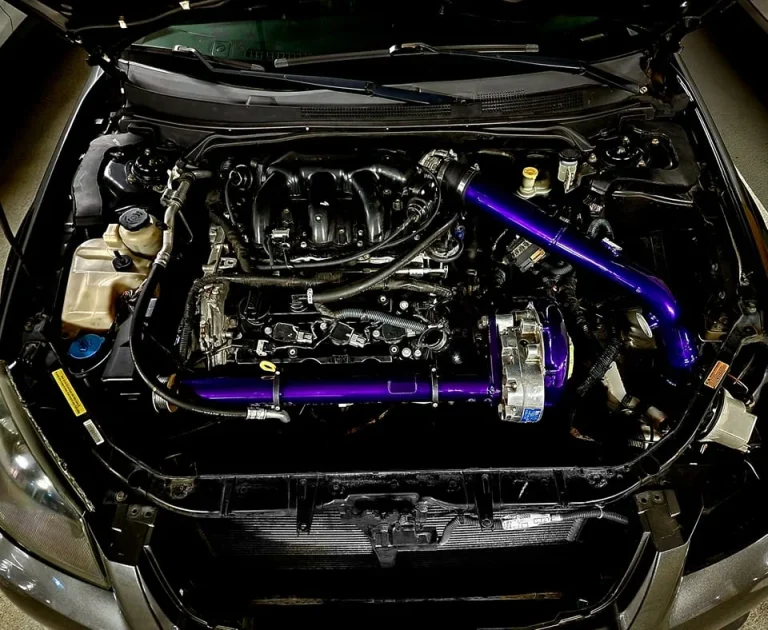

Owner: Charles Freeman
Year: 2005
Model: Altima
Color: Black
Transmission: 6-Speed Manual
Trim: SE-R


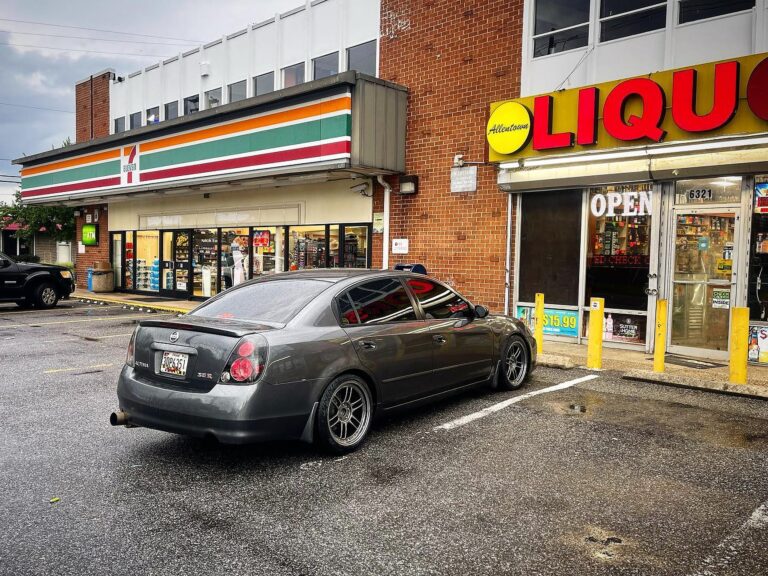
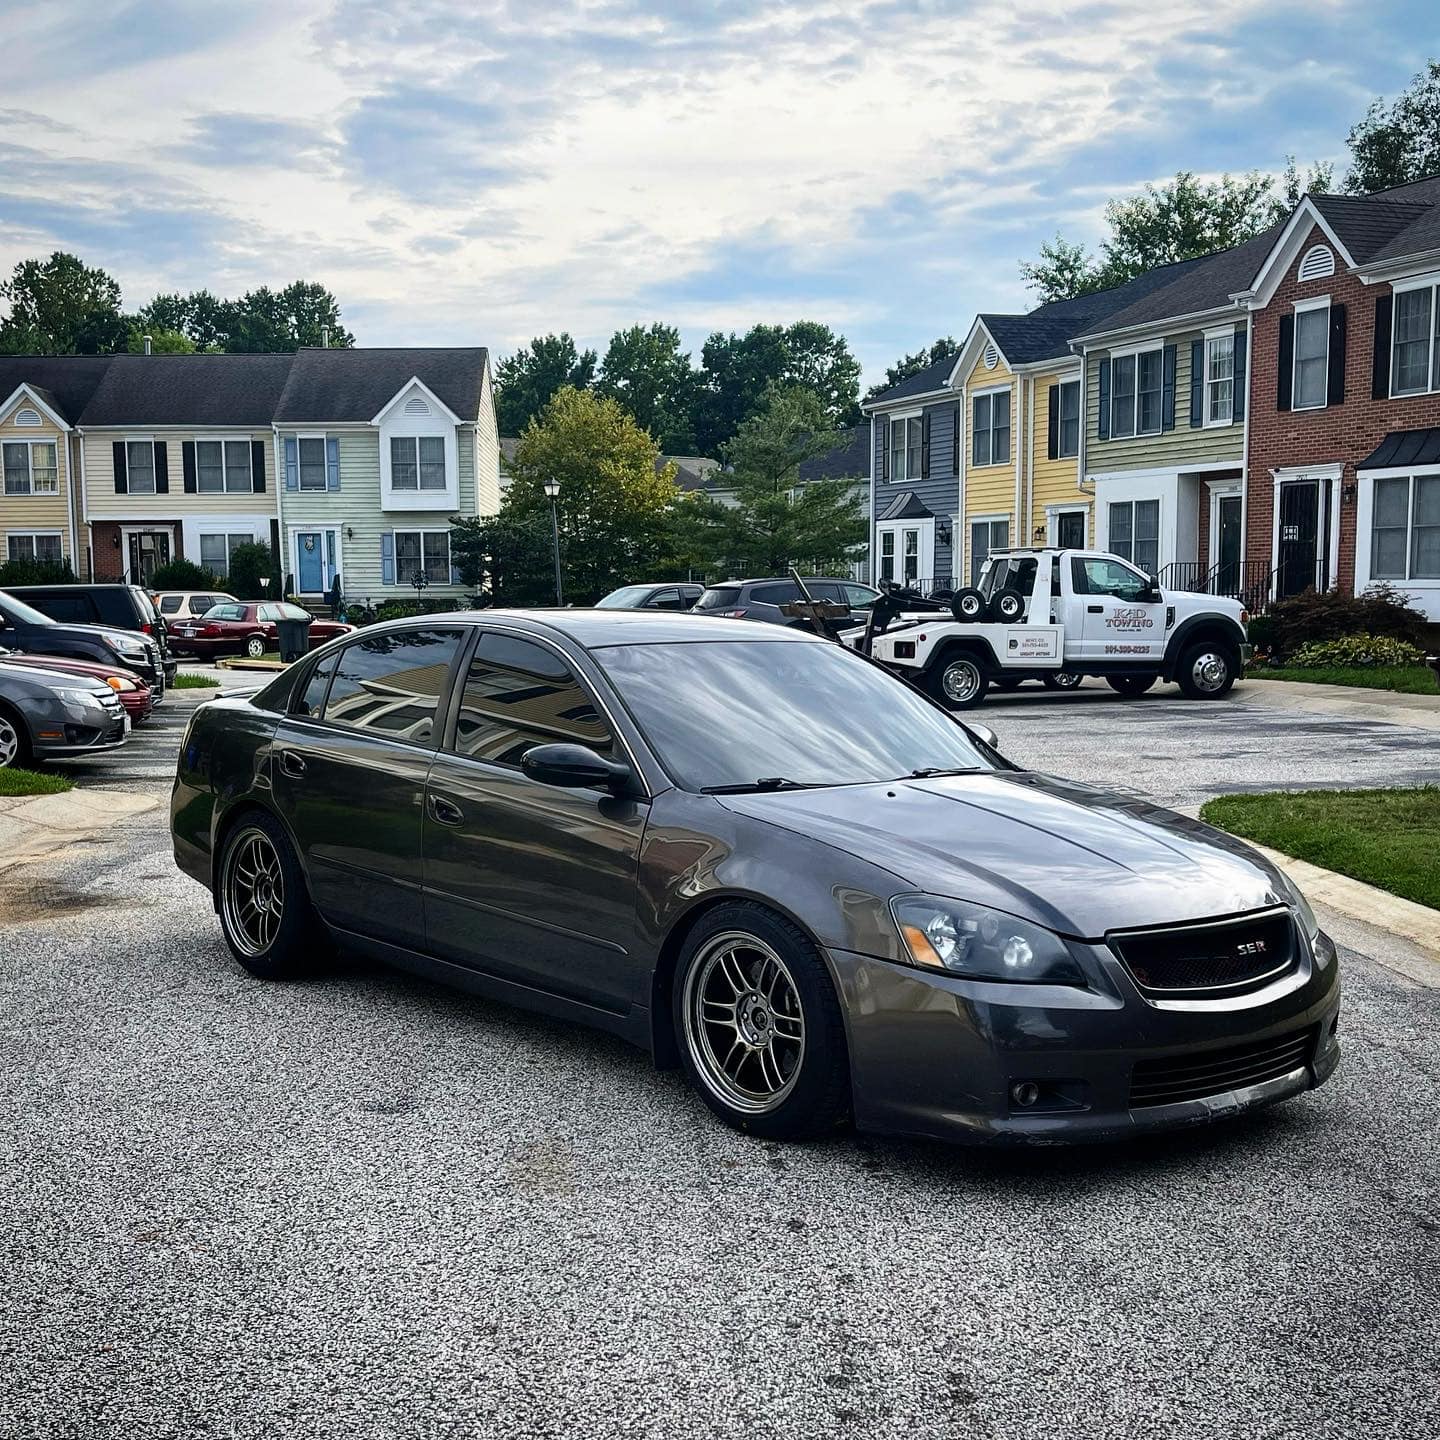
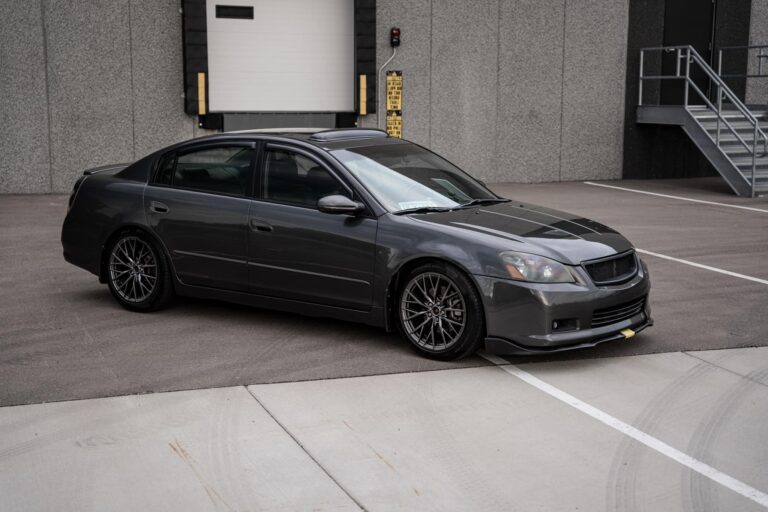
Owner: Terrence Fowler
Year: 2005
Model: Altima
Color: Charcoal
Engine: Gen3 VQ35DE
Transmission: 6-Speed Manual
Trim: SE-R


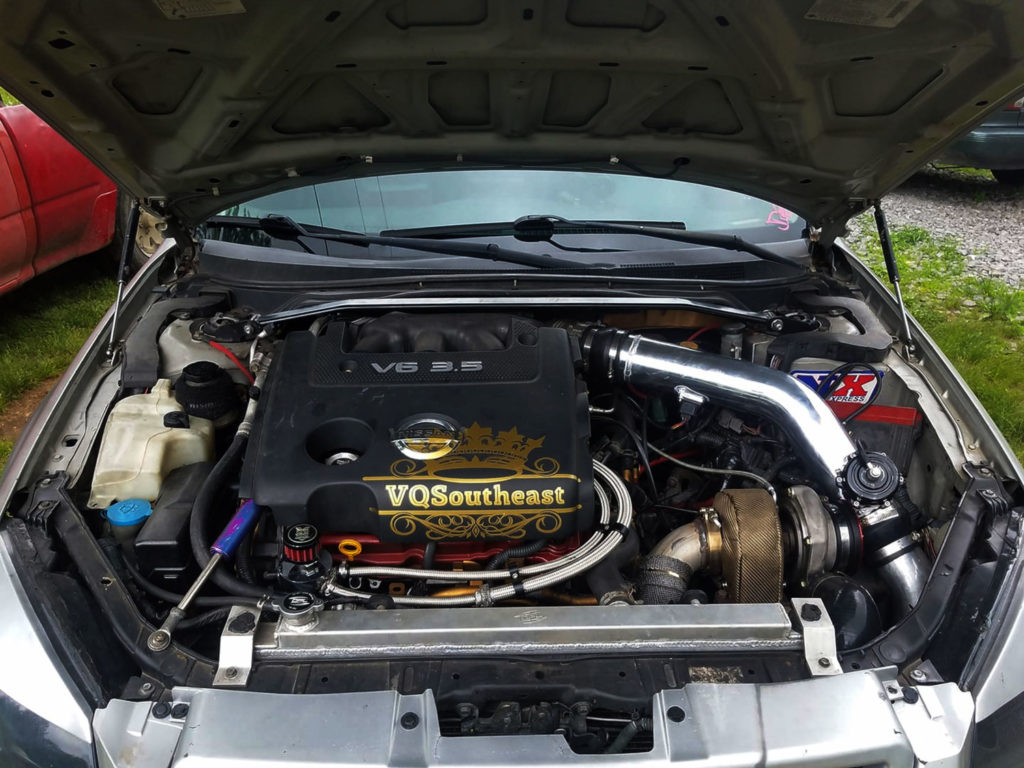
Owner: Caleb Anderson
Year: 2005
Model: Altima
Color: Silver
Engine: Gen2 VQ35DE (FWD HR Swap)
Transmission: 6-Speed Manual
Trim: SE-R


Mod List:
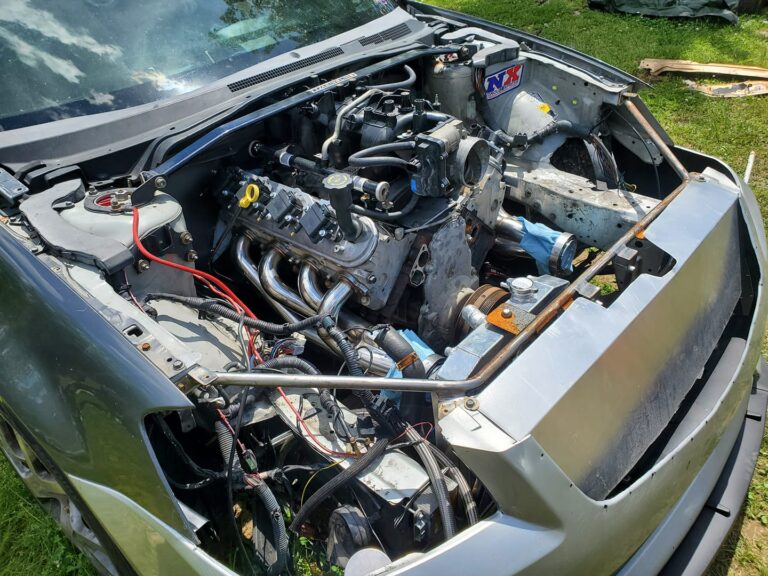
Owner: Caleb Anderson
Year: 2005
Model: Altima
Color: Silver
Engine: LM7 5.3L LS1
Transmission: GM TH400 Automatic Transmission
Trim: SE-R
YouTube Channel: https://www.youtube.com/user/calebanderson132
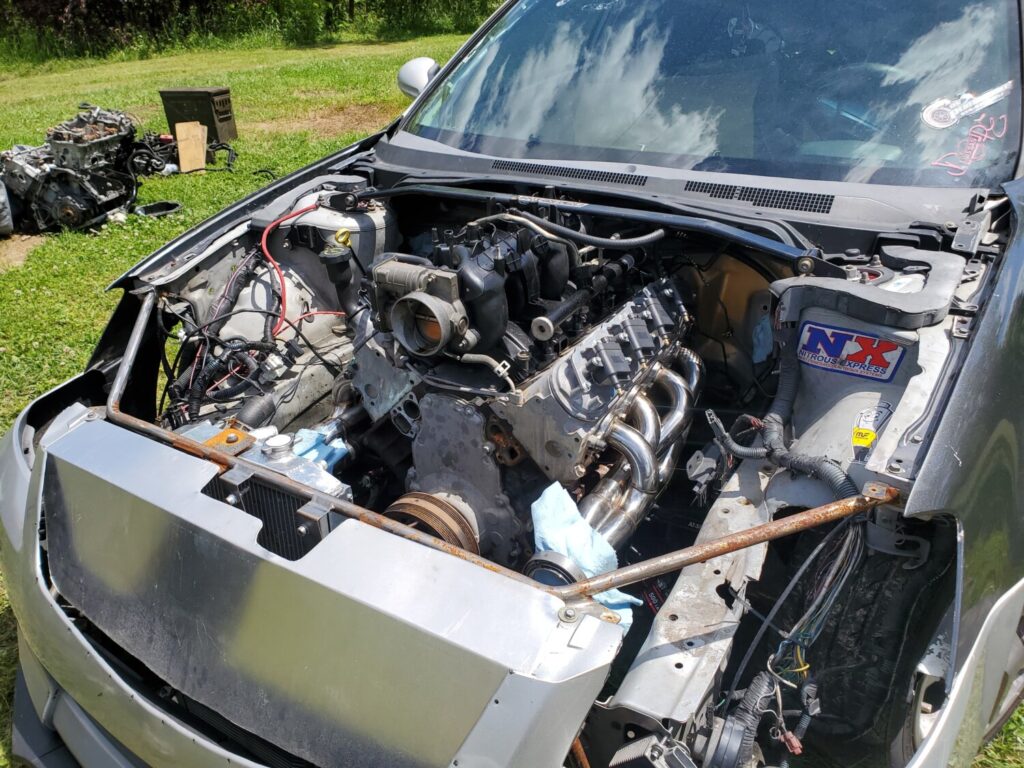

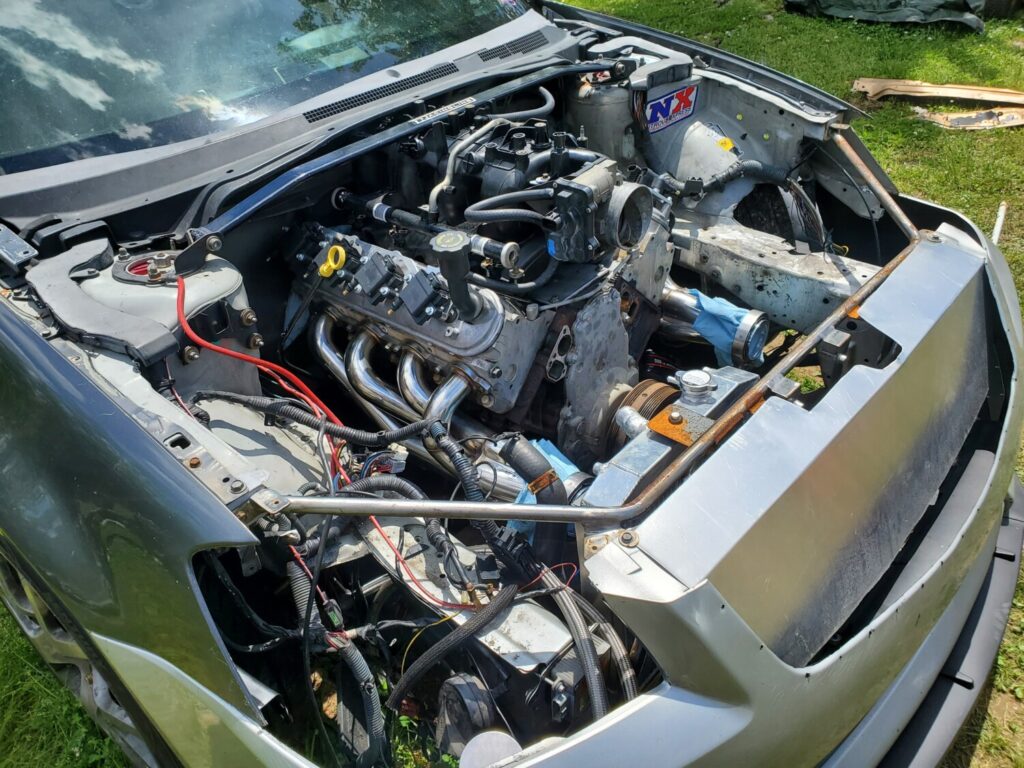
Member Credit: VQpwrdSE-R
So I finally buckled down and added info in here for how to change your oil sending unit also known as an oil pressure sensor. Hoping this helps some of you guys out. The beginning of my problems was when I noted 0 psi on my oil pressure gauge (stock on SE-R) after running diagnostics and checking wiring I had discovered that the sensor was bad. The sensor can range in price for you VQ guys depending upon an SE-R or just SE. The difference between the two is 2 (se) and 3 prongs (SE-R) for the oil pressure gauge.
Links for units:
Given that I drive an SE-R I had to pony up the extra cash for the $70 unit
Ok onto the install. There’s a lot of bad info out there telling you that the only way to remove it is going through the passenger wheel well after removing wheel. I originally did this then found out I wasted my time. We have a grease pit in our garage. If you guys are lucky enough to have a lift or pit in your garage this will make install a breeze. If not pull out your jackstands or ramps and set your car up for an oil change. By draining your oil you can avoid a mess when you unthread the sensor.
You will need:
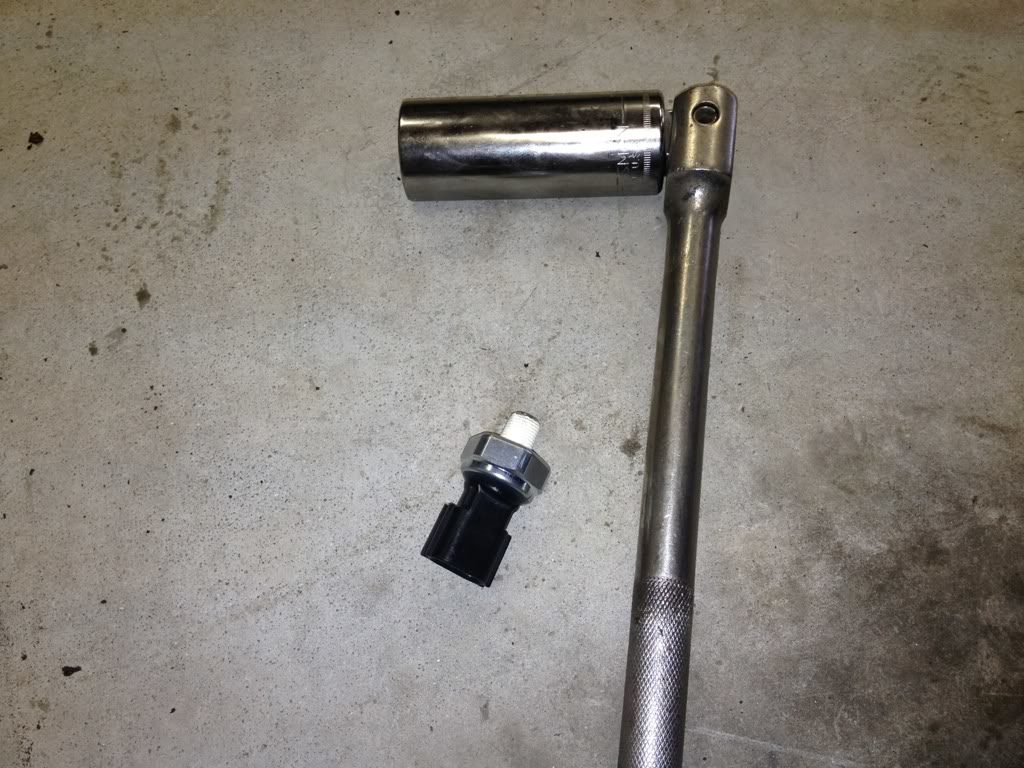
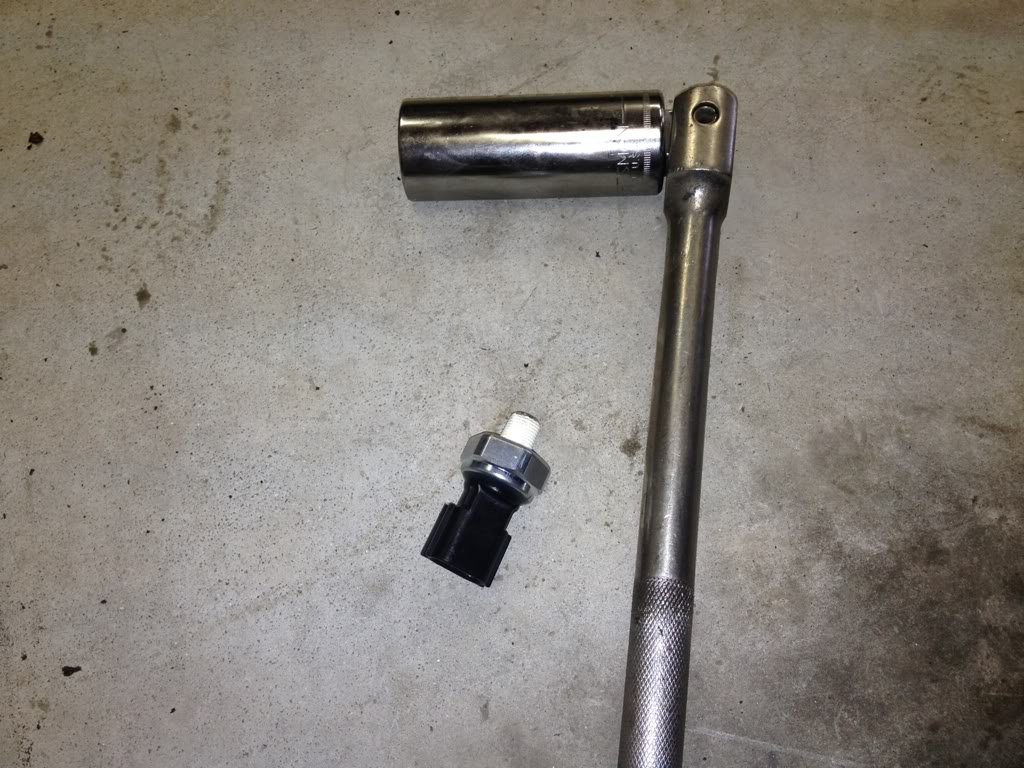
Breaker bar 24mm socket and sending unit
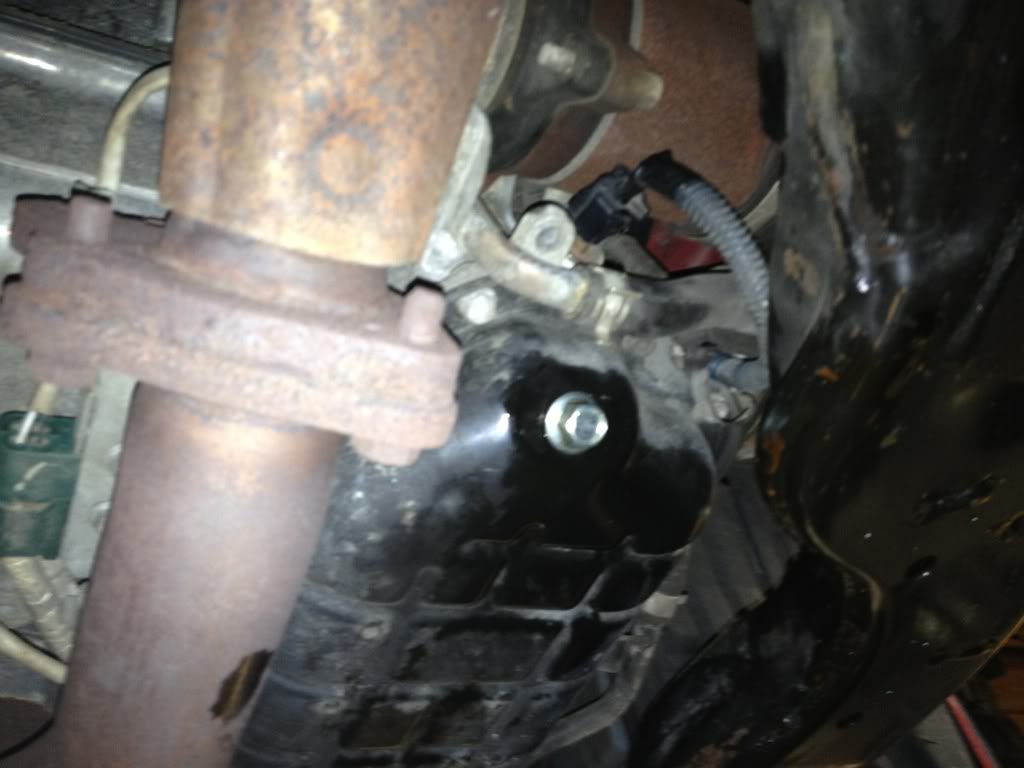
Location of sensor is above oil pan and drain plug to the right side ( sensor is still plugged in and wire loom can be seen.
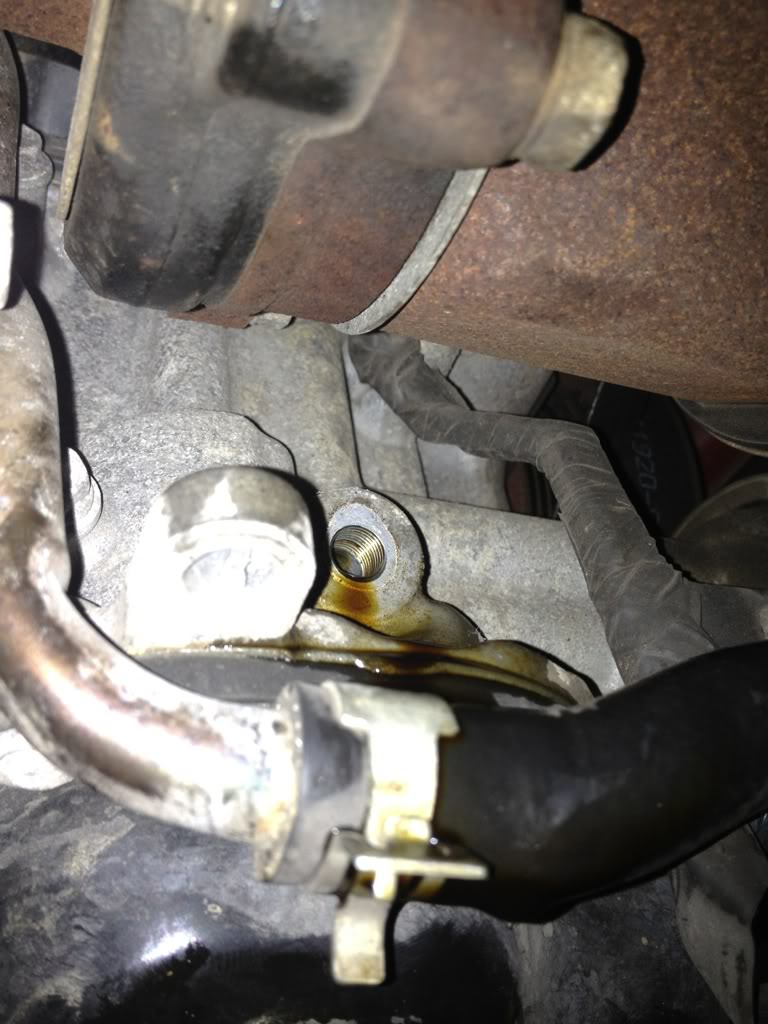
After unplugging sensor and using socket to remove I used Teflon pipe tape on the new sending unit threaded it in by hand and used the socket the rest of the way. Be careful not to overtighten and set the sensor so that the harness and plug can be easily removed if needed later.
That’s it! A pretty easy fix to something that would cost over $140 to have done at the dealer. Once the car was on the pit and I had my tools the job was done in under 25 mins.
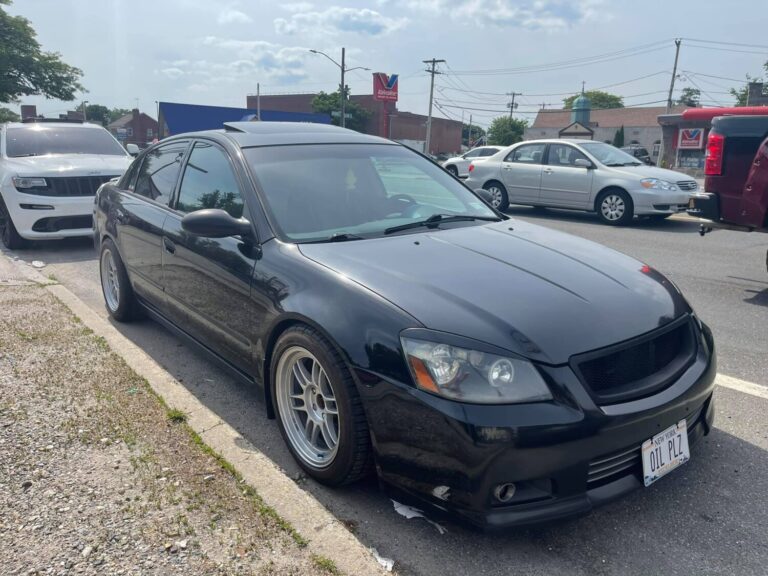
Wheel Specs: 17×10 +38
Tire Specs: 275/40/17
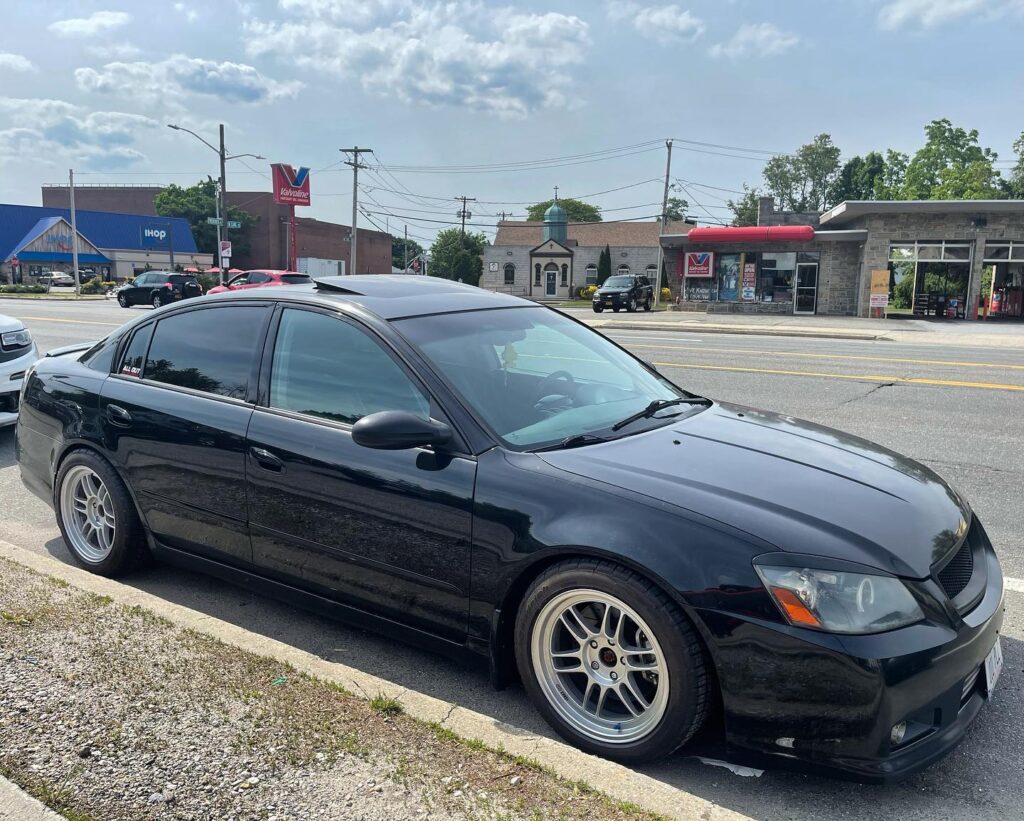


Wheels: 18×9.5 +38 2
Tires: 45/45/18
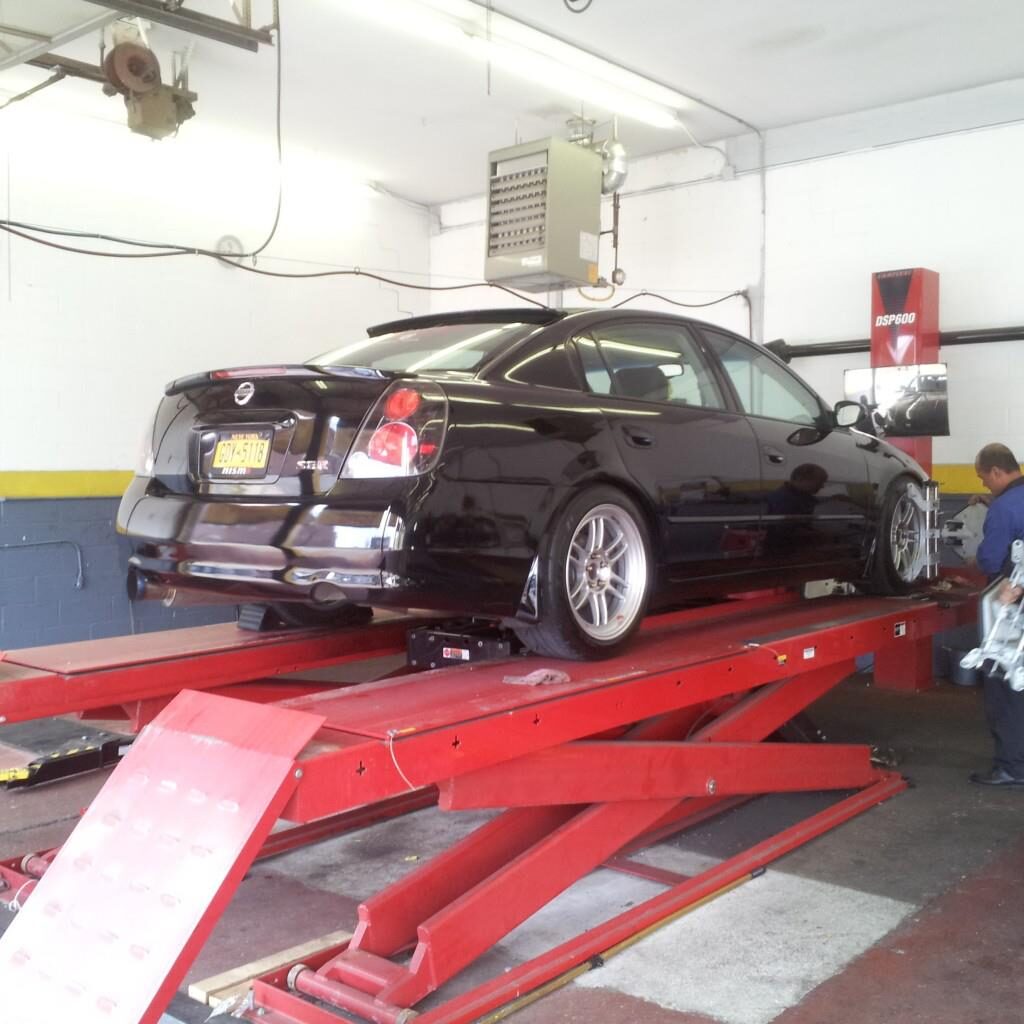


Wheels: Front 17×9 / Rear 17×9.5


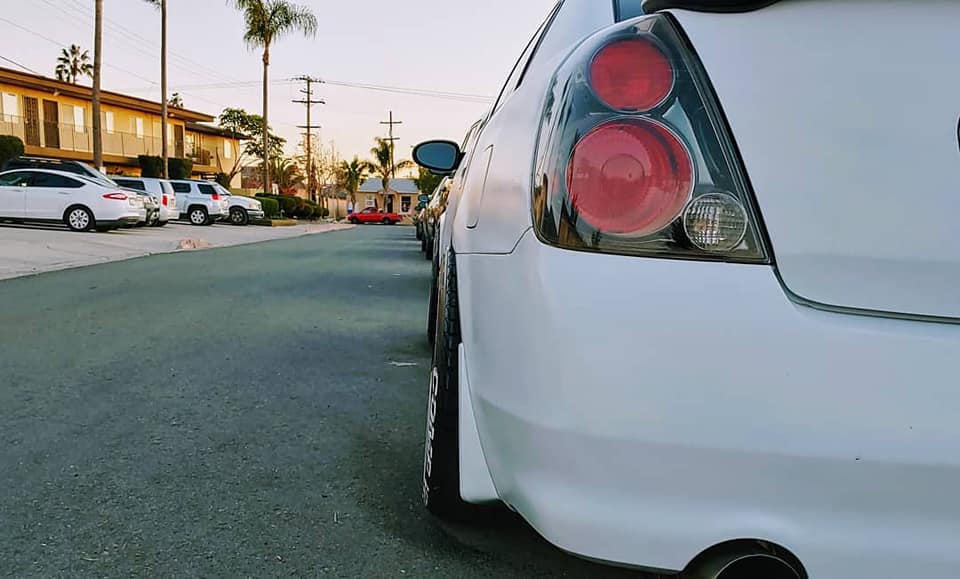
Wheels: 18×9.5 +15

Wheels: 18×9.5 +38 All-Around
Tires: 245/45/18 All-Around

Community Member Credit: Eddy
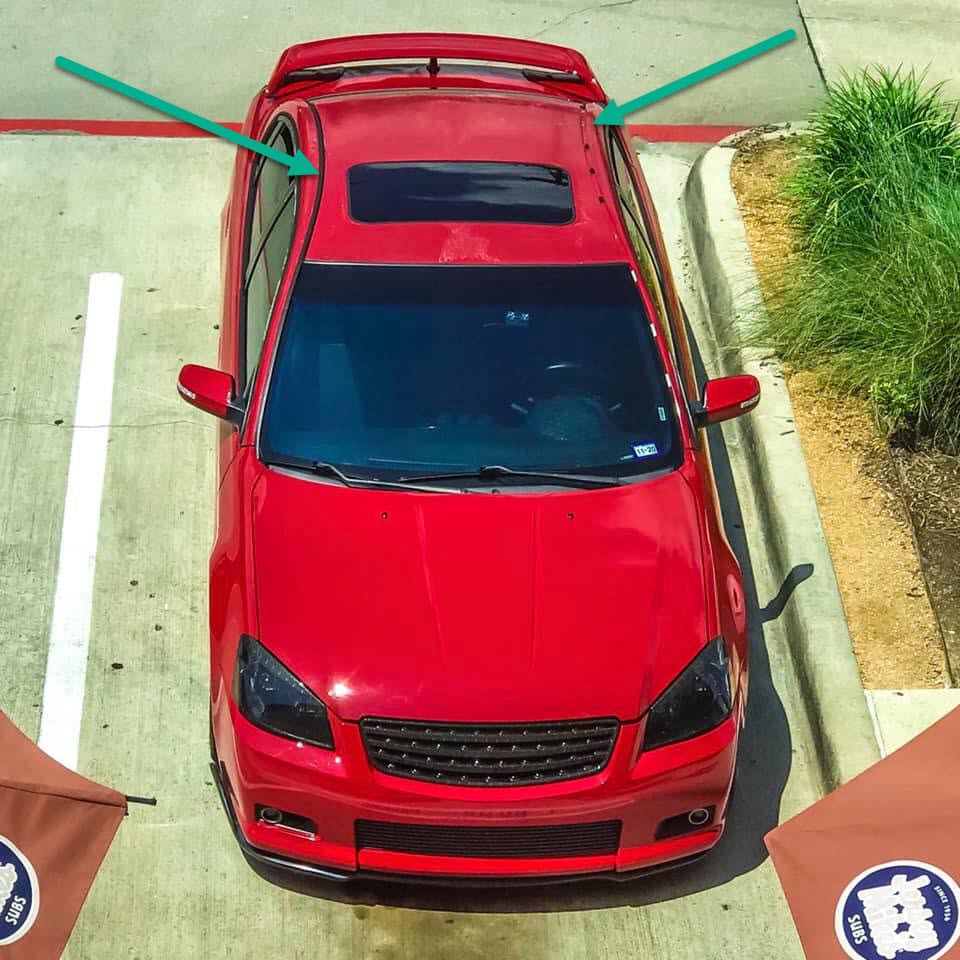
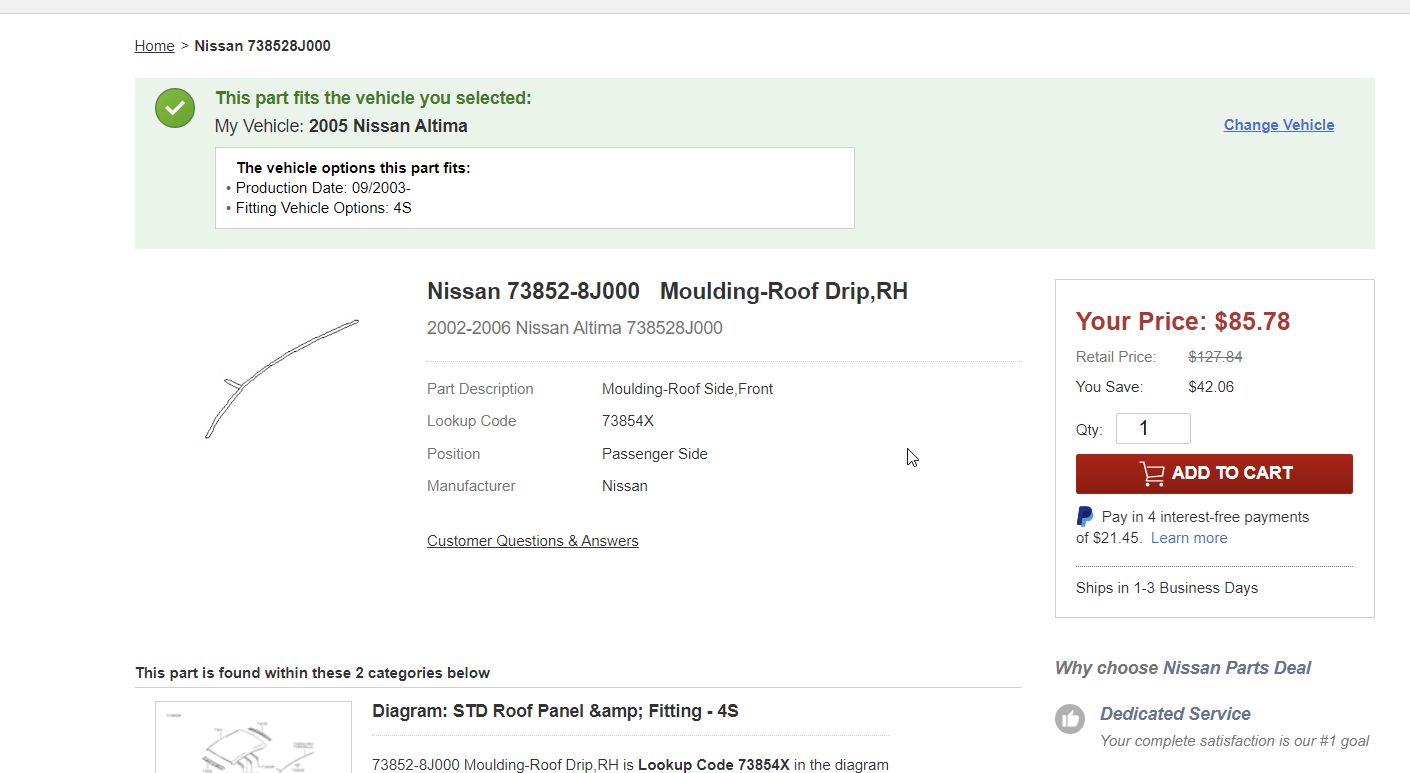
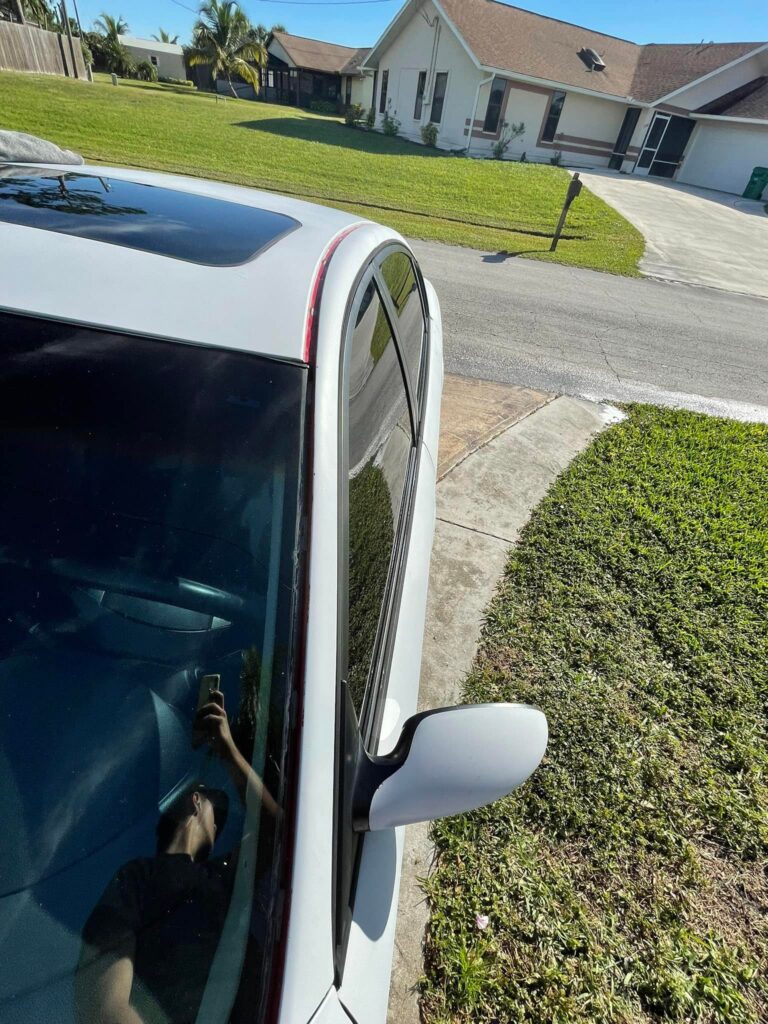
If your roof trim is missing clips or has completely fallen off, then below are the part numbers you need. They usually break off while at the car wash or power-washing your car at home.
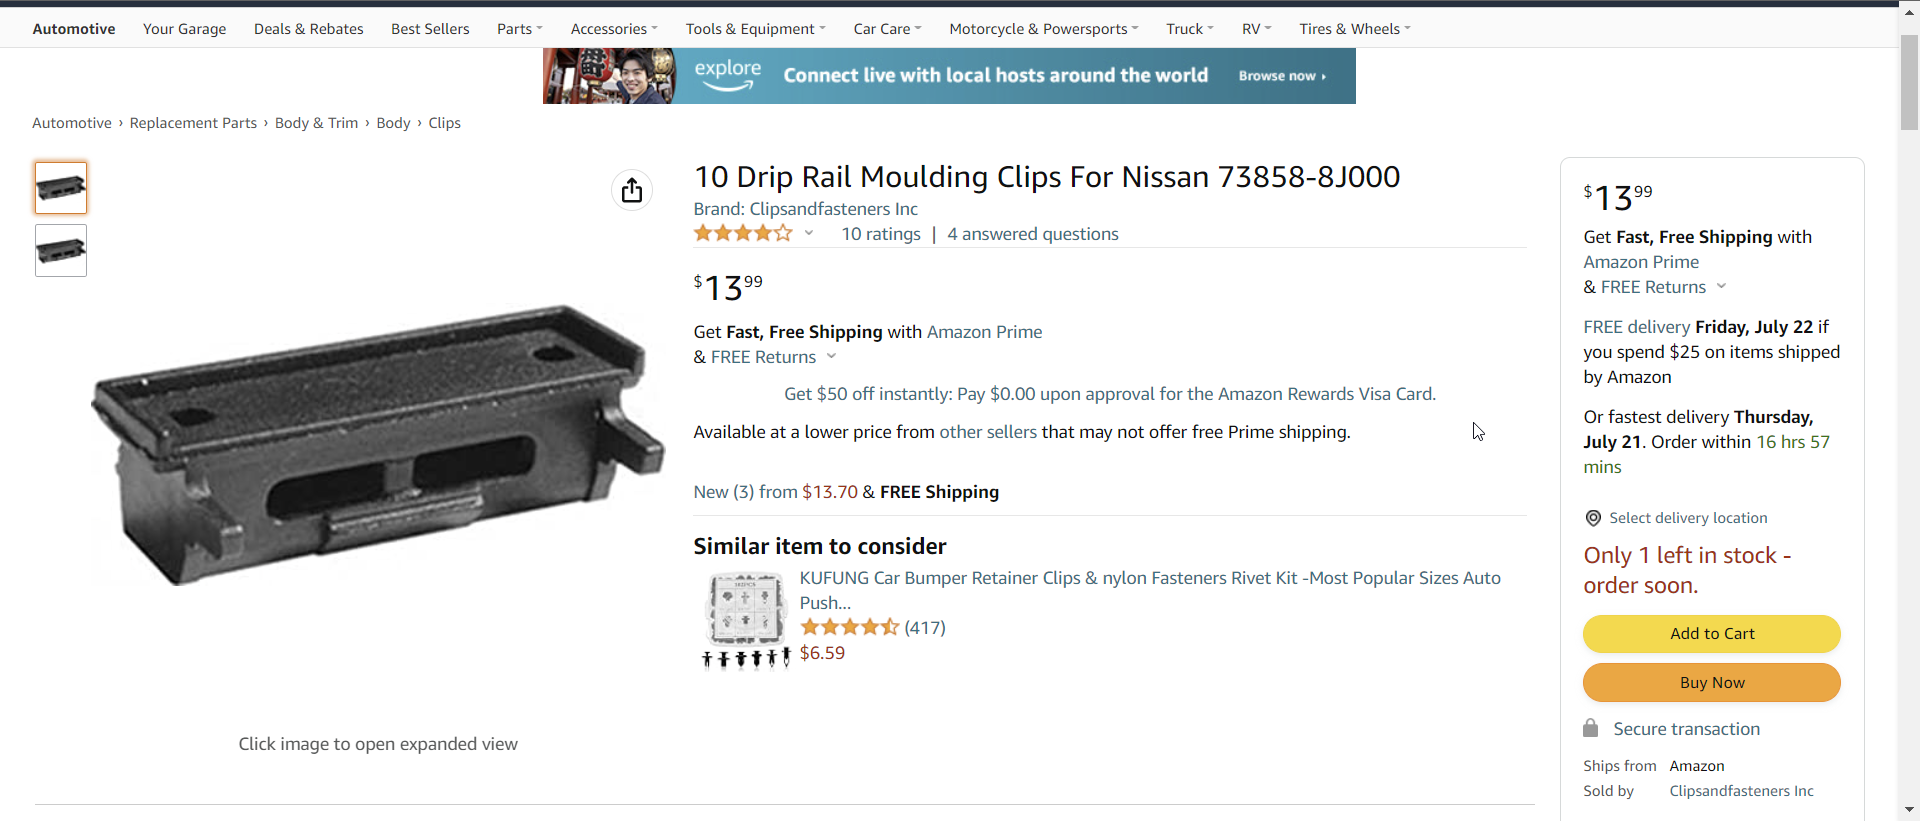
I recommend getting the aftermarket clips from Amazon. You get 10 of them for less than $20 bucks whereas the dealer its almost $10 bucks each with tax. They are exactly the same.
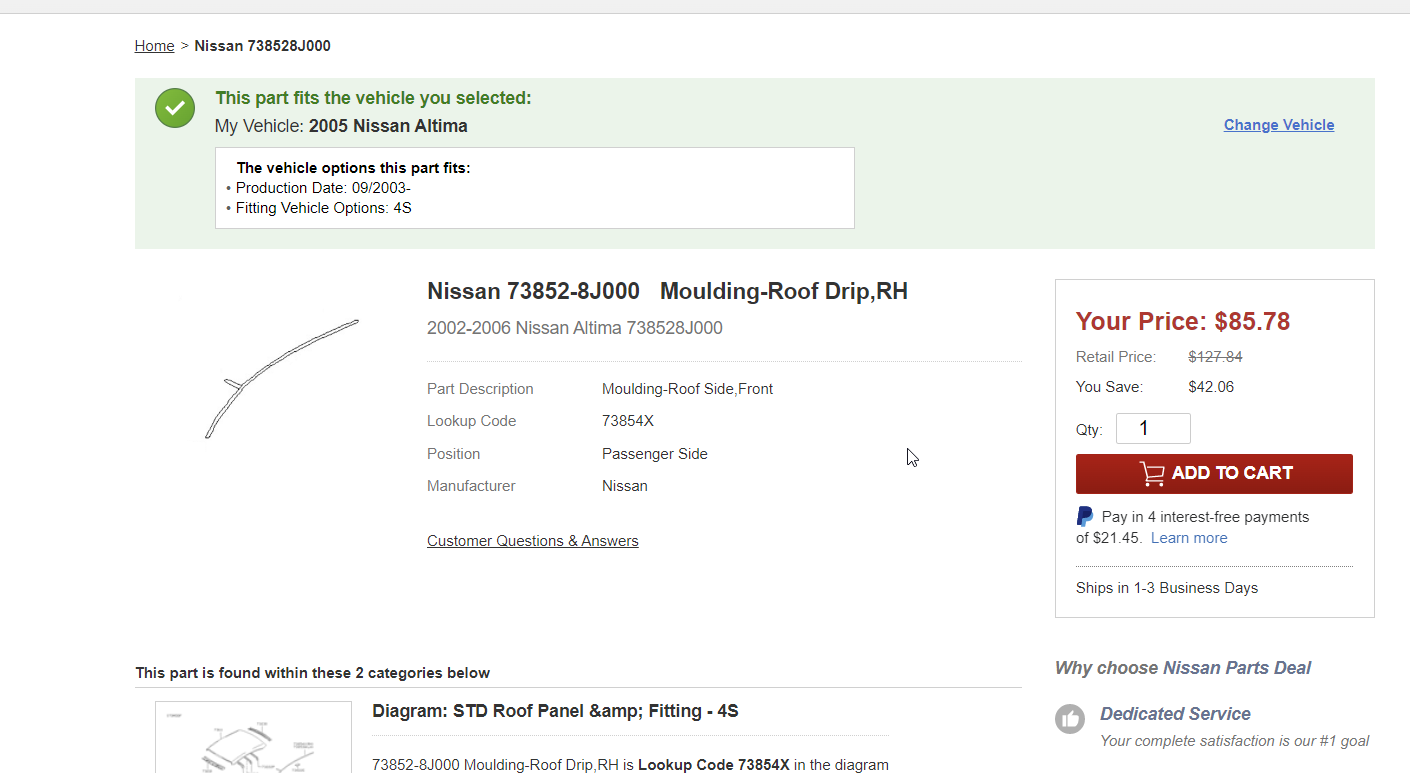
Driver Side LH:
Passenger Side RH:
Molding Rail Clips: