Credit: Daniel Brown


Parts:




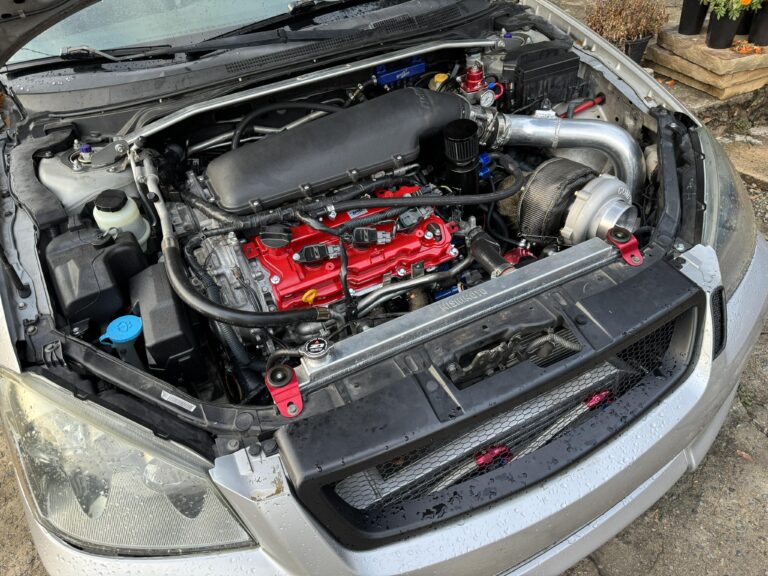
Owner: Saulo Garcia
Year: 2005
Model: Altima
Color: Silver
Transmission: 6-Speed Manual
Trim SE-R


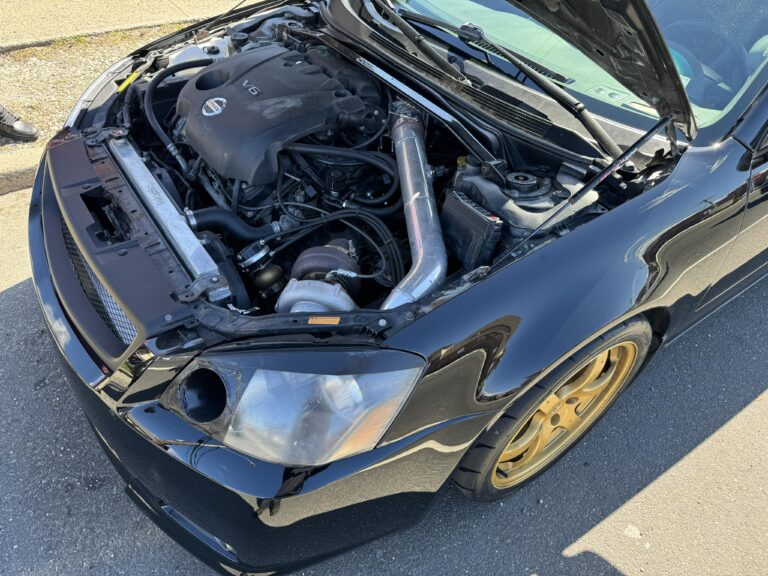
Owner: Christopher Kassie
Year: 2005
Model: Altima
Color: Black
Engine: Gen2 VQ35DE
Transmission: 6-Speed Manual
Trim: SE-R
My old SE-R is now owned by a friend of mine. All Out Motorworks built the car. It produces 510 WHP on E85 at 9 PSI and is tuned using UpRev.


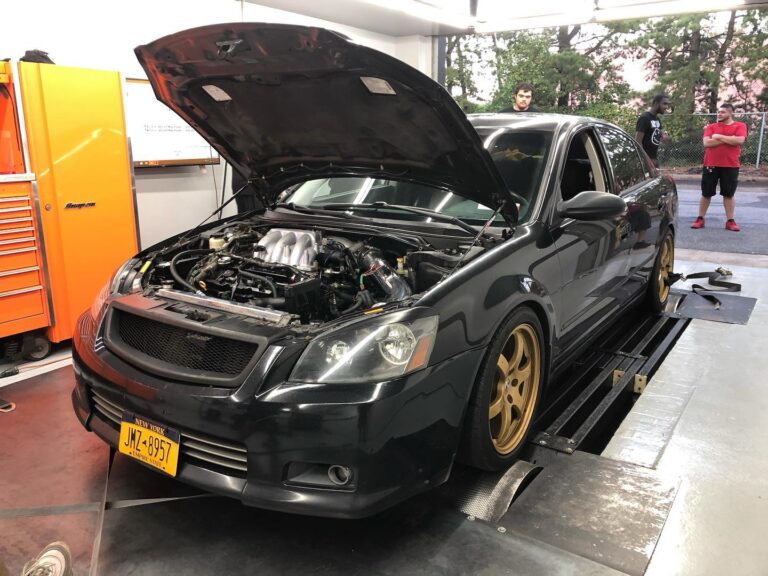
Owner: Christopher Kassie
Year: 2005
Model: Altima
Color: Black
Transmission: 6-Speed Manual
Trim: SE-R
Tuned by AdminTuning


Credit: Shawn G. / EddyMaxx
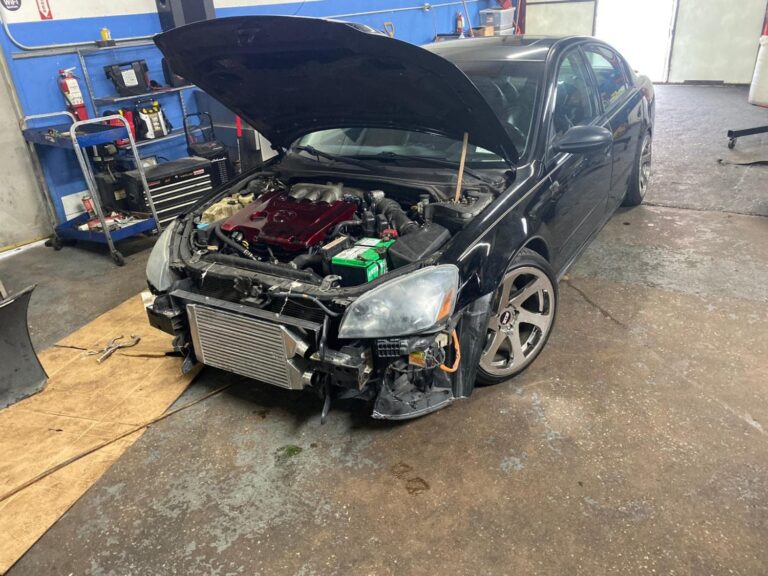
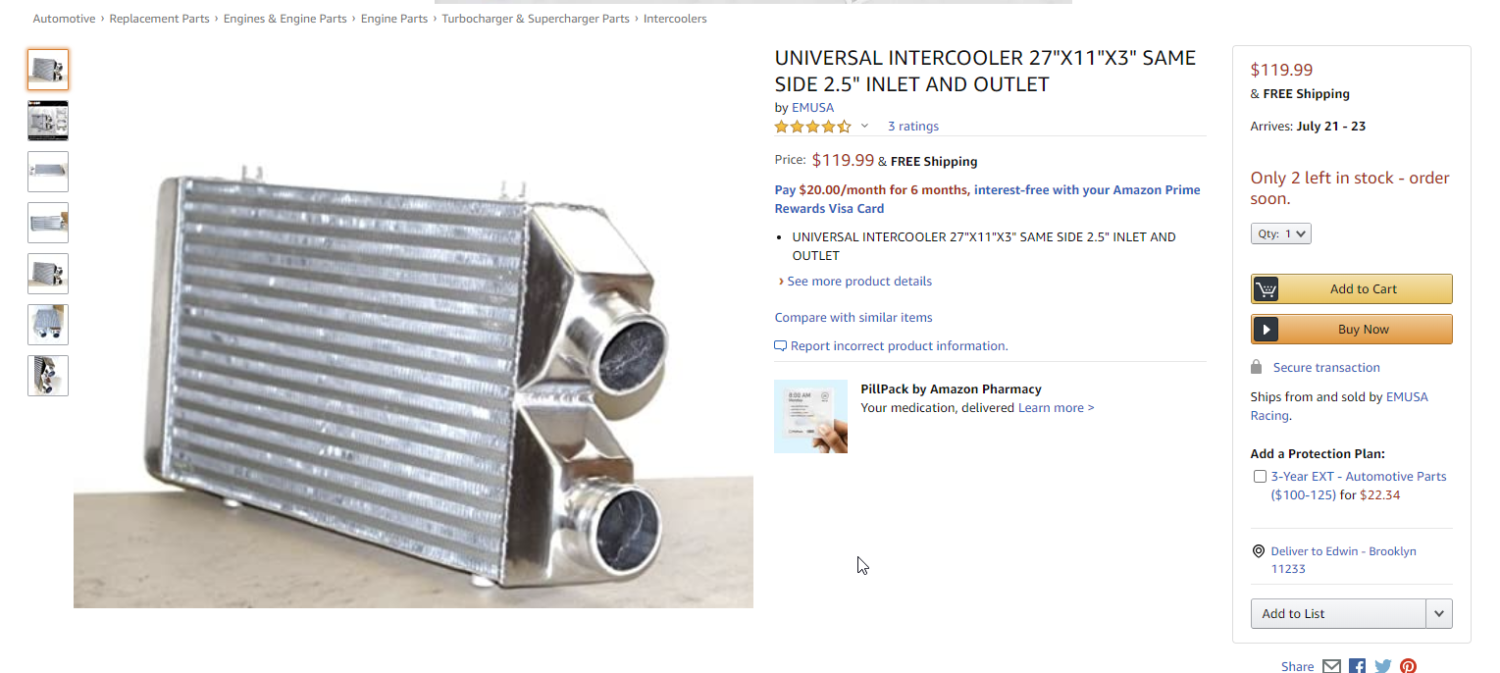
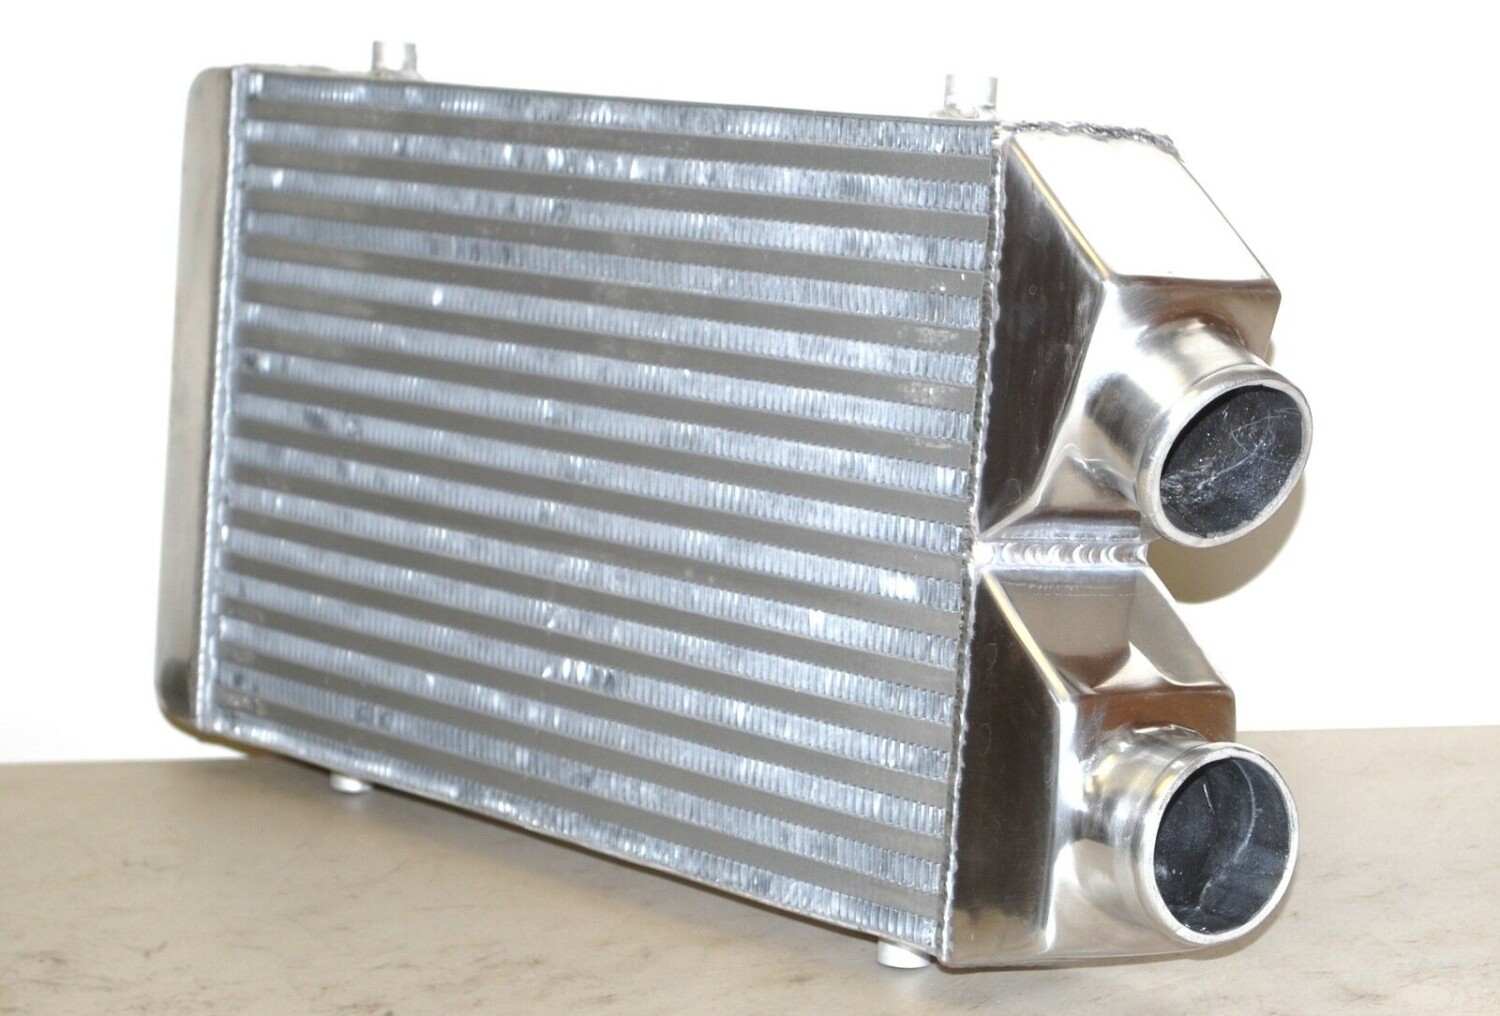
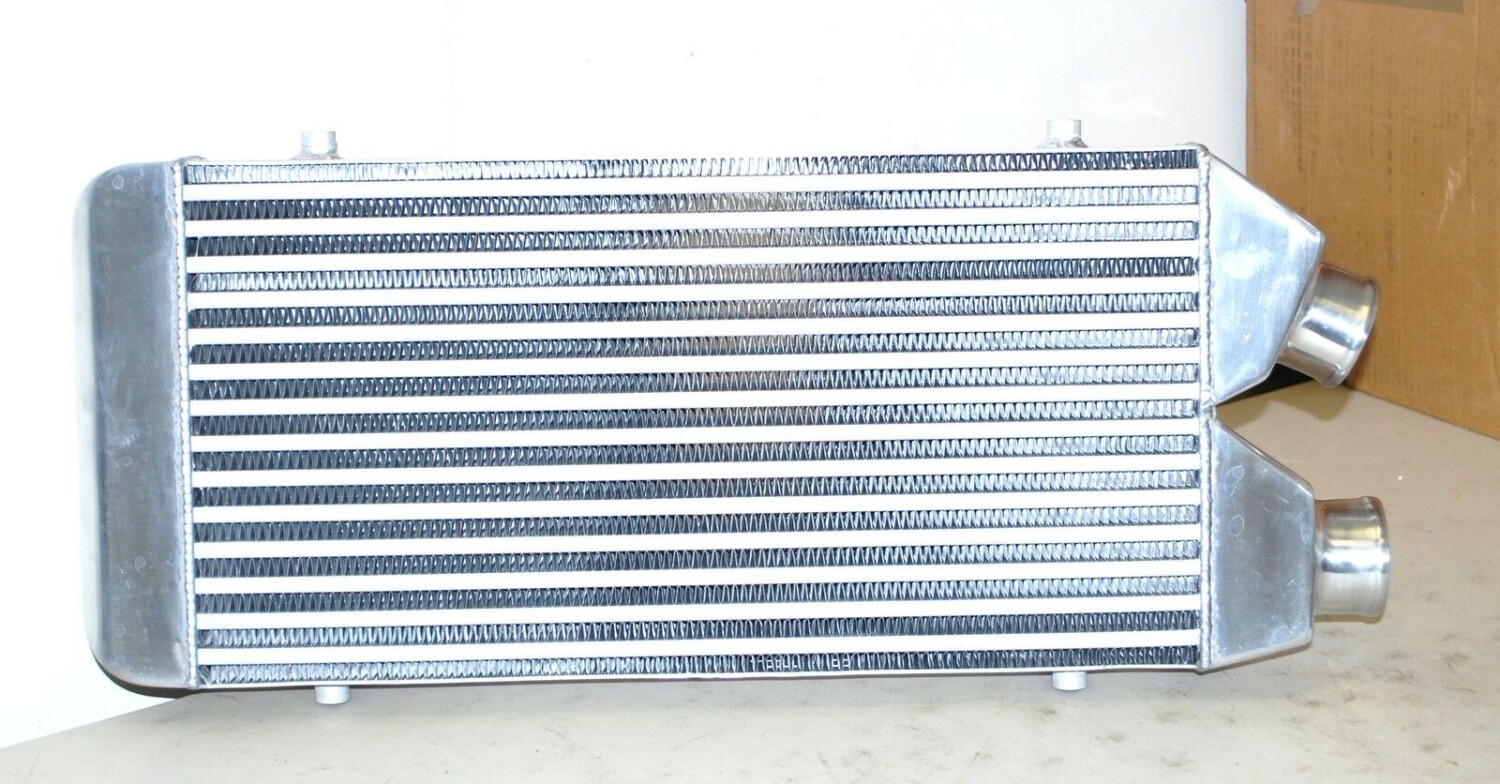
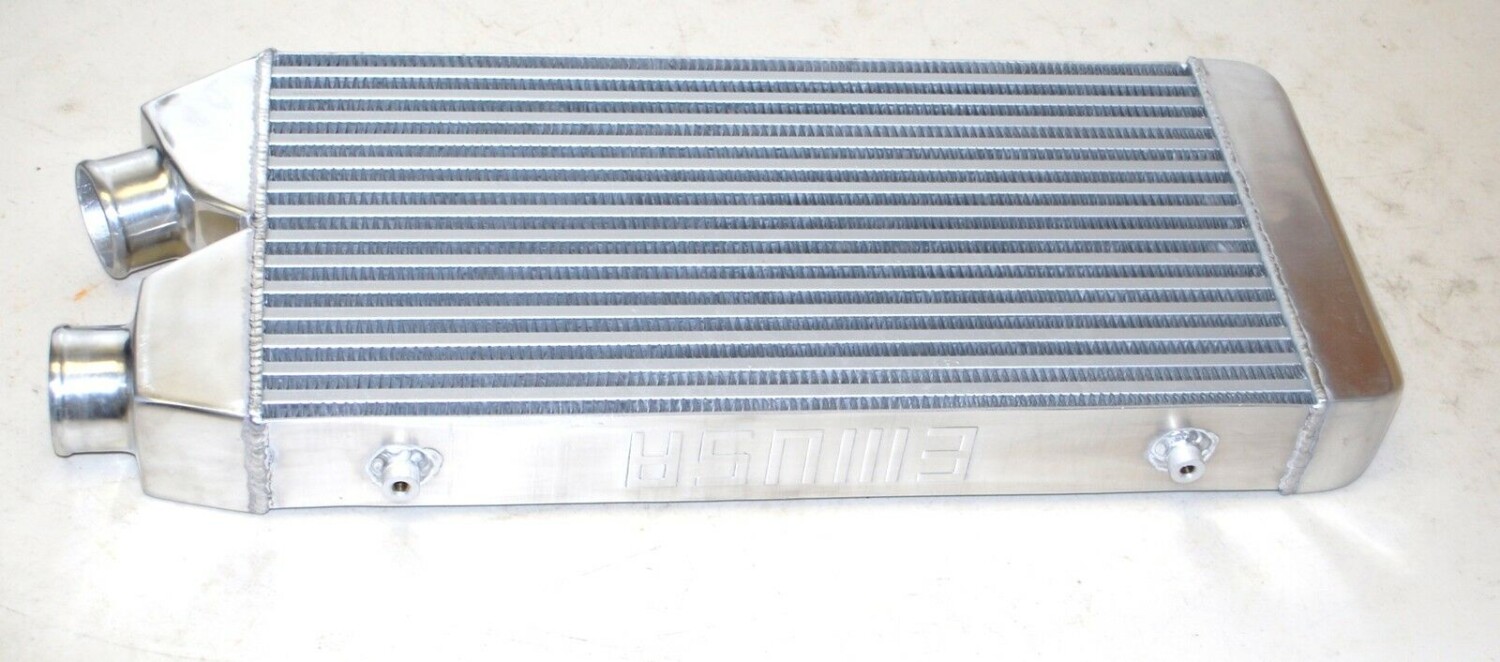
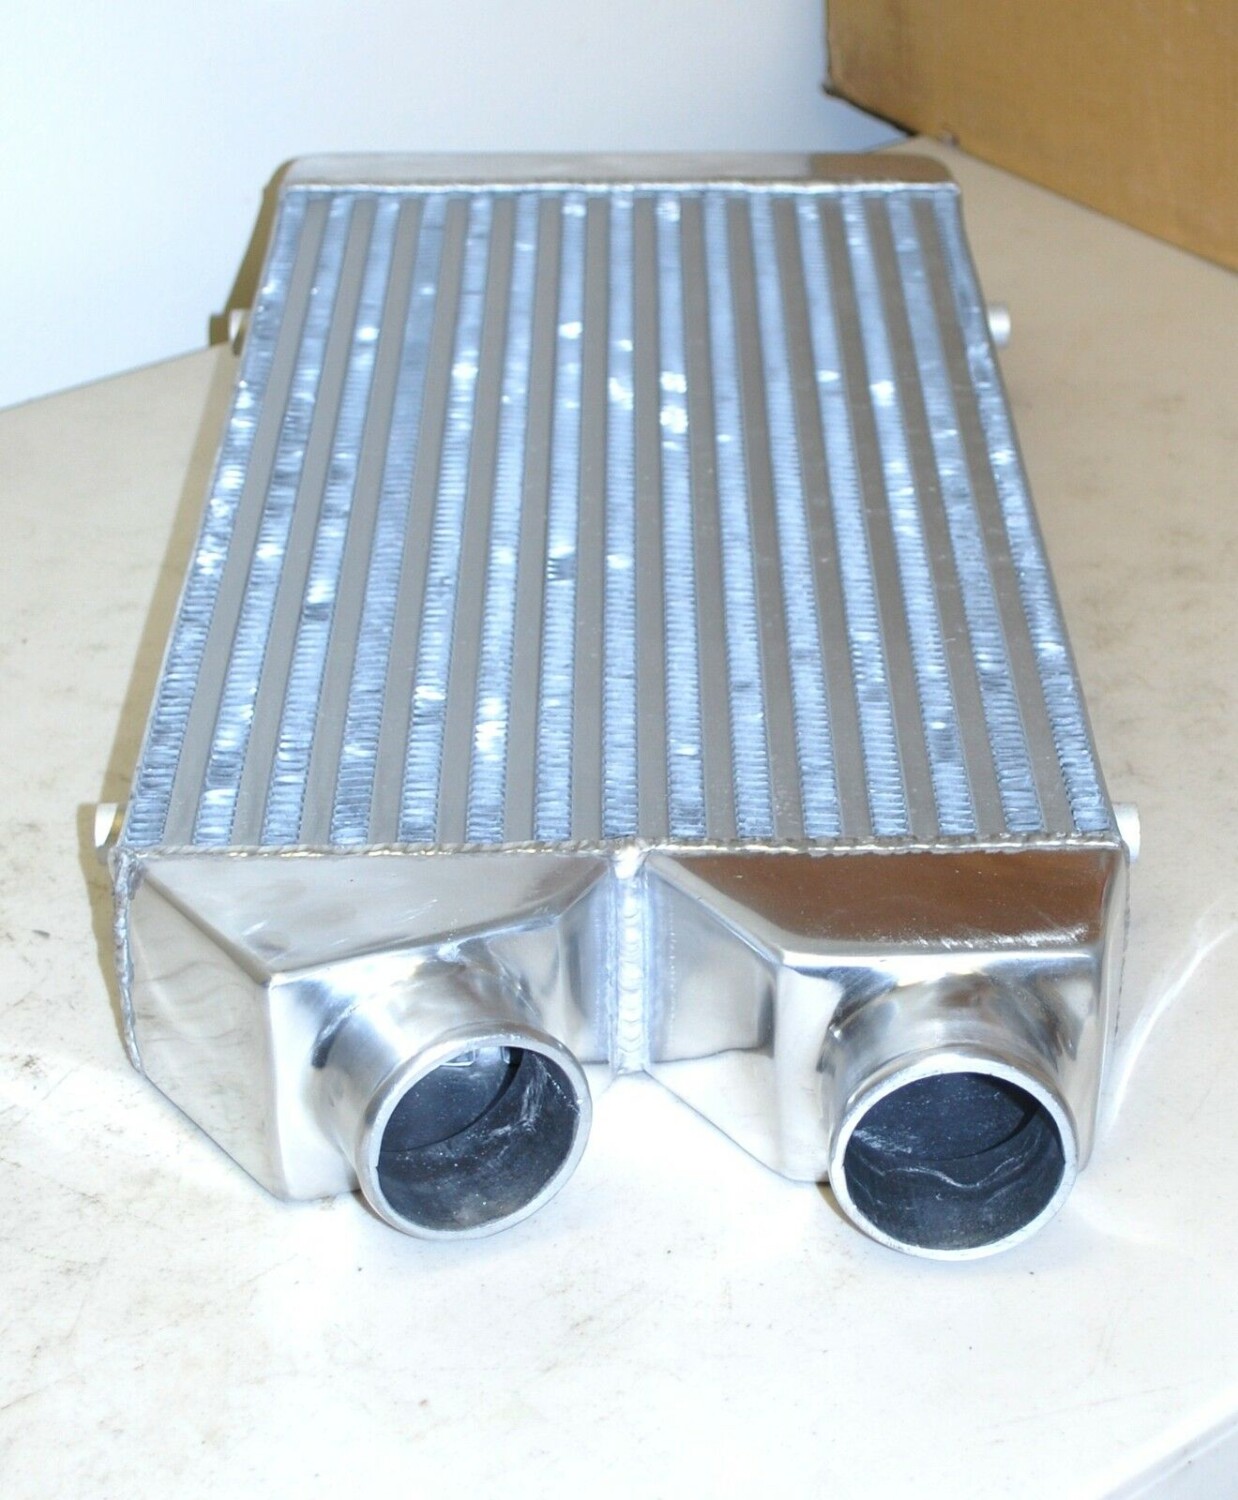
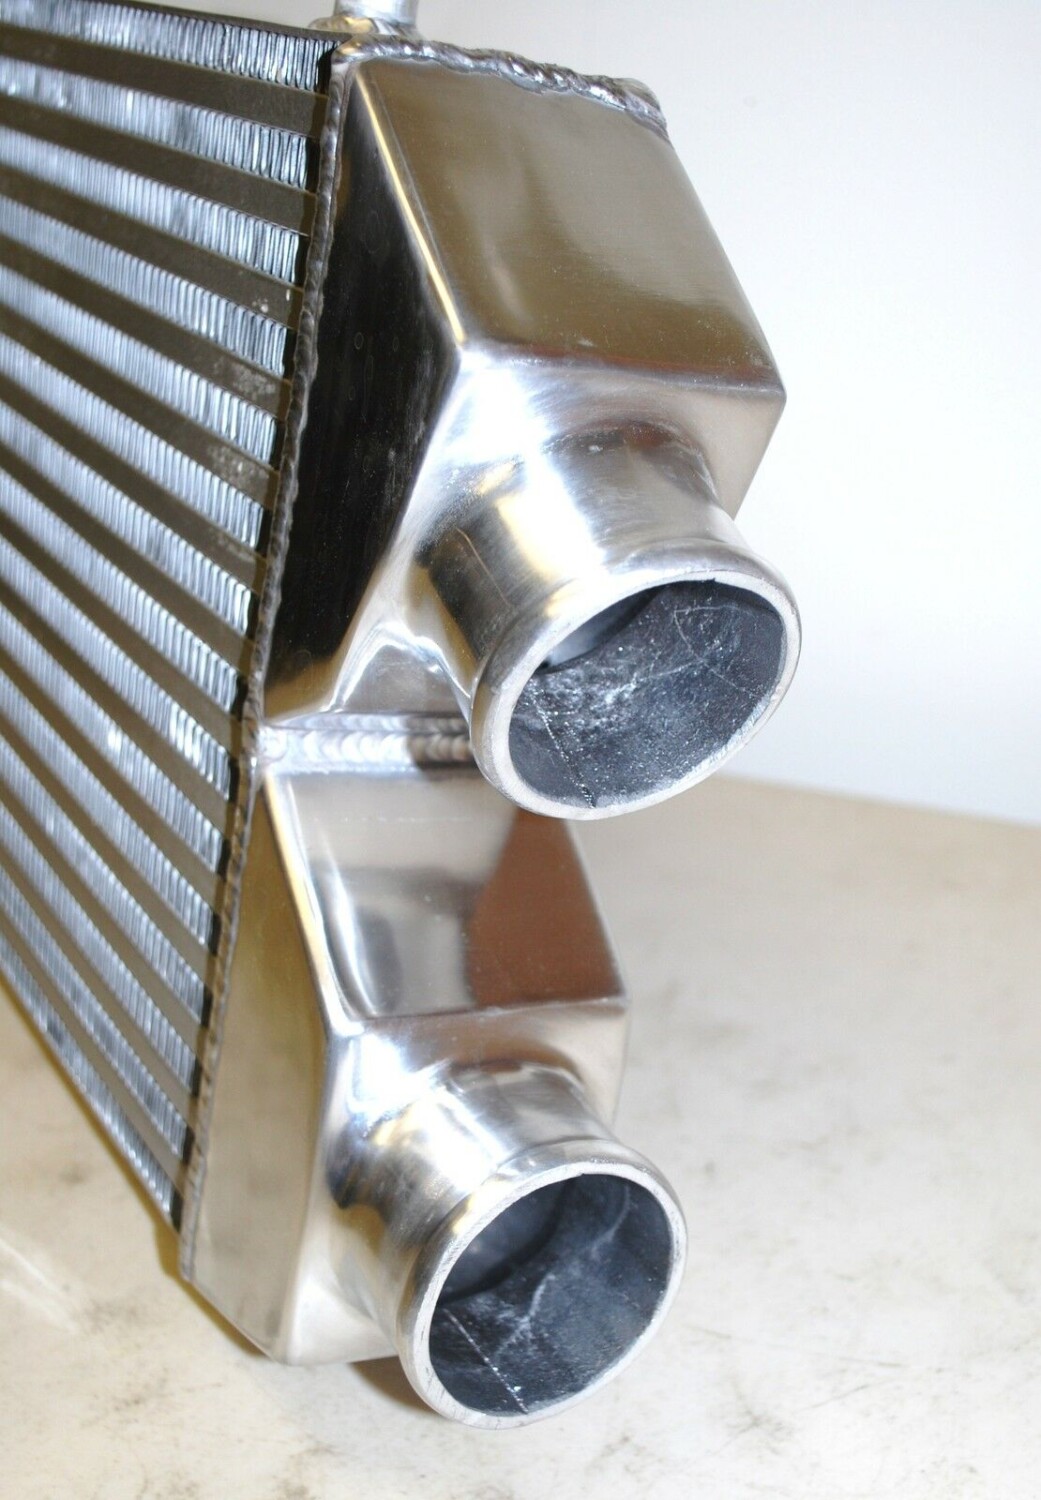
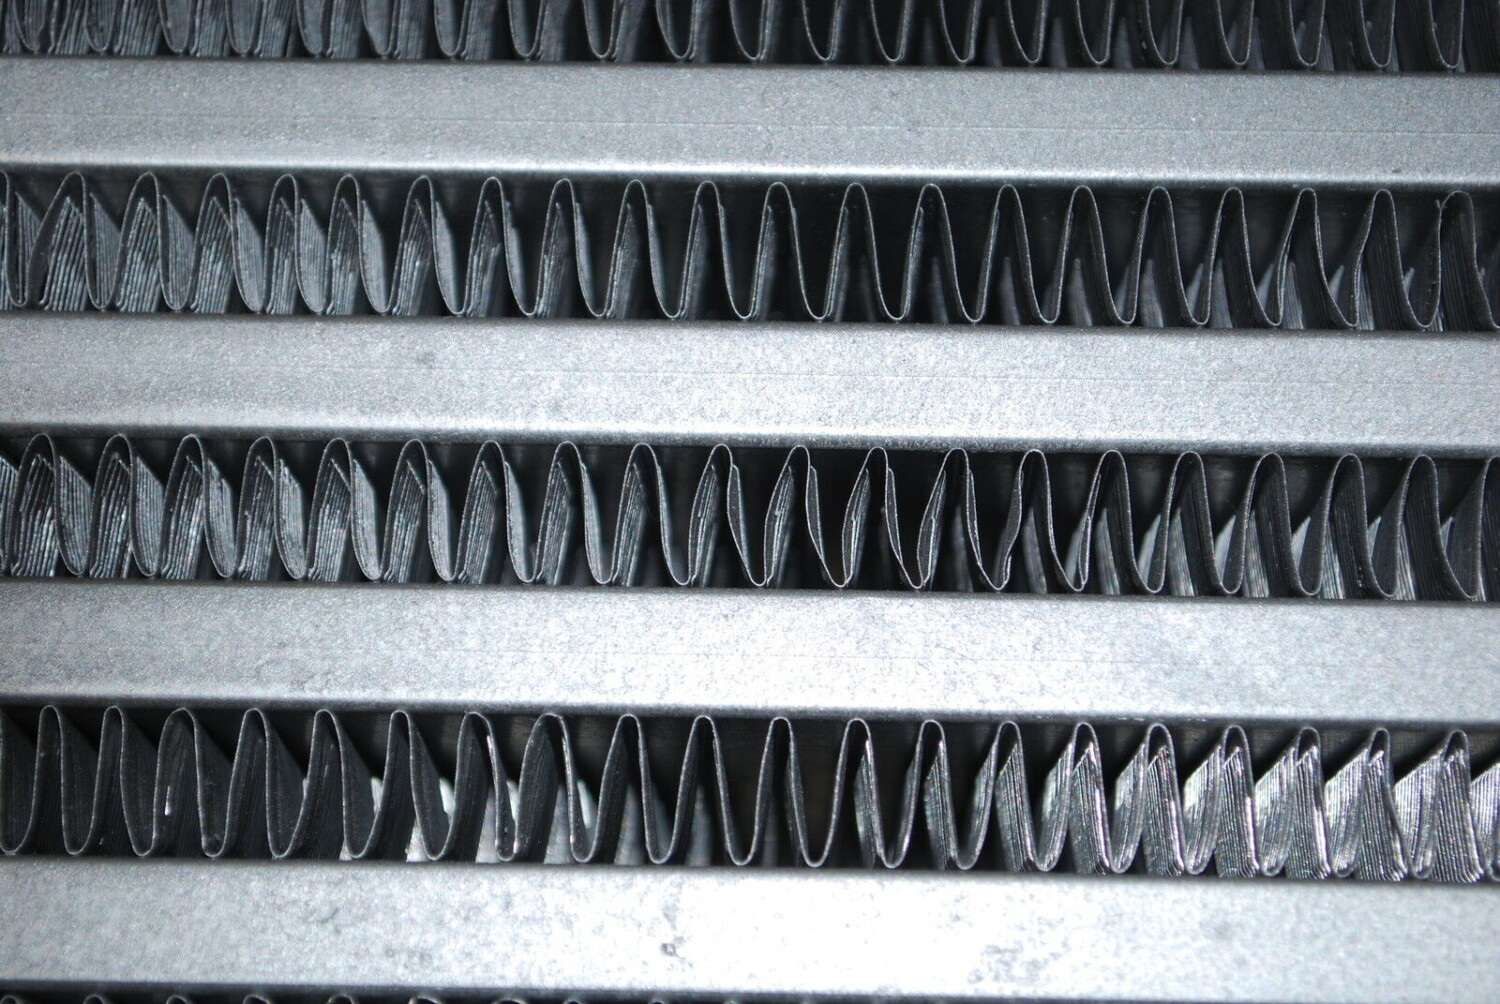
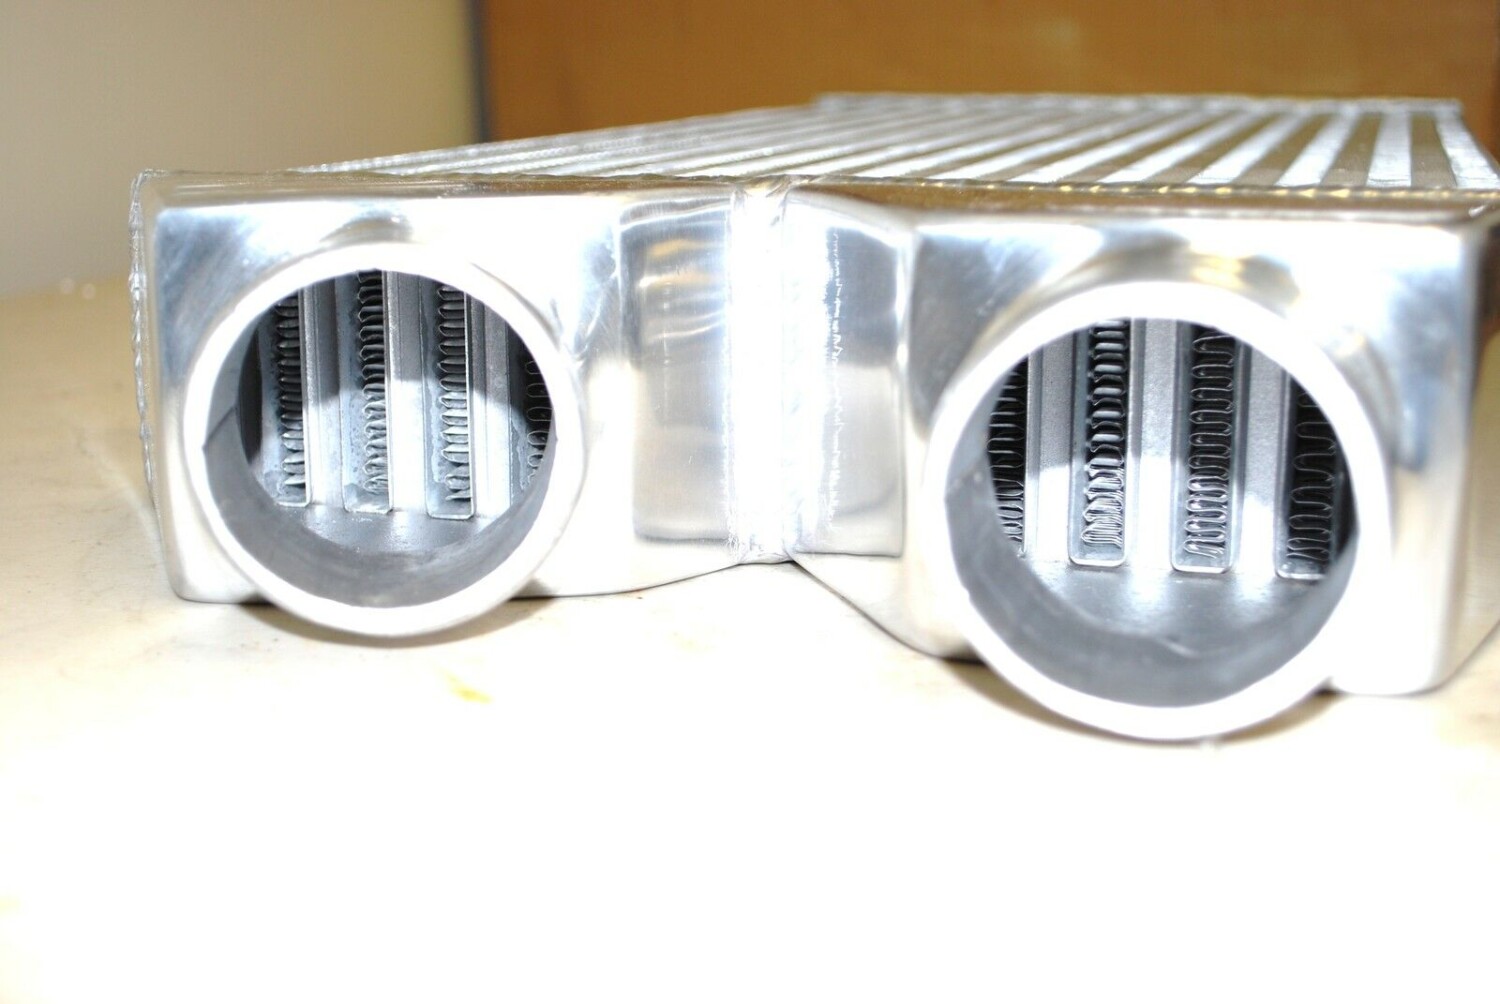
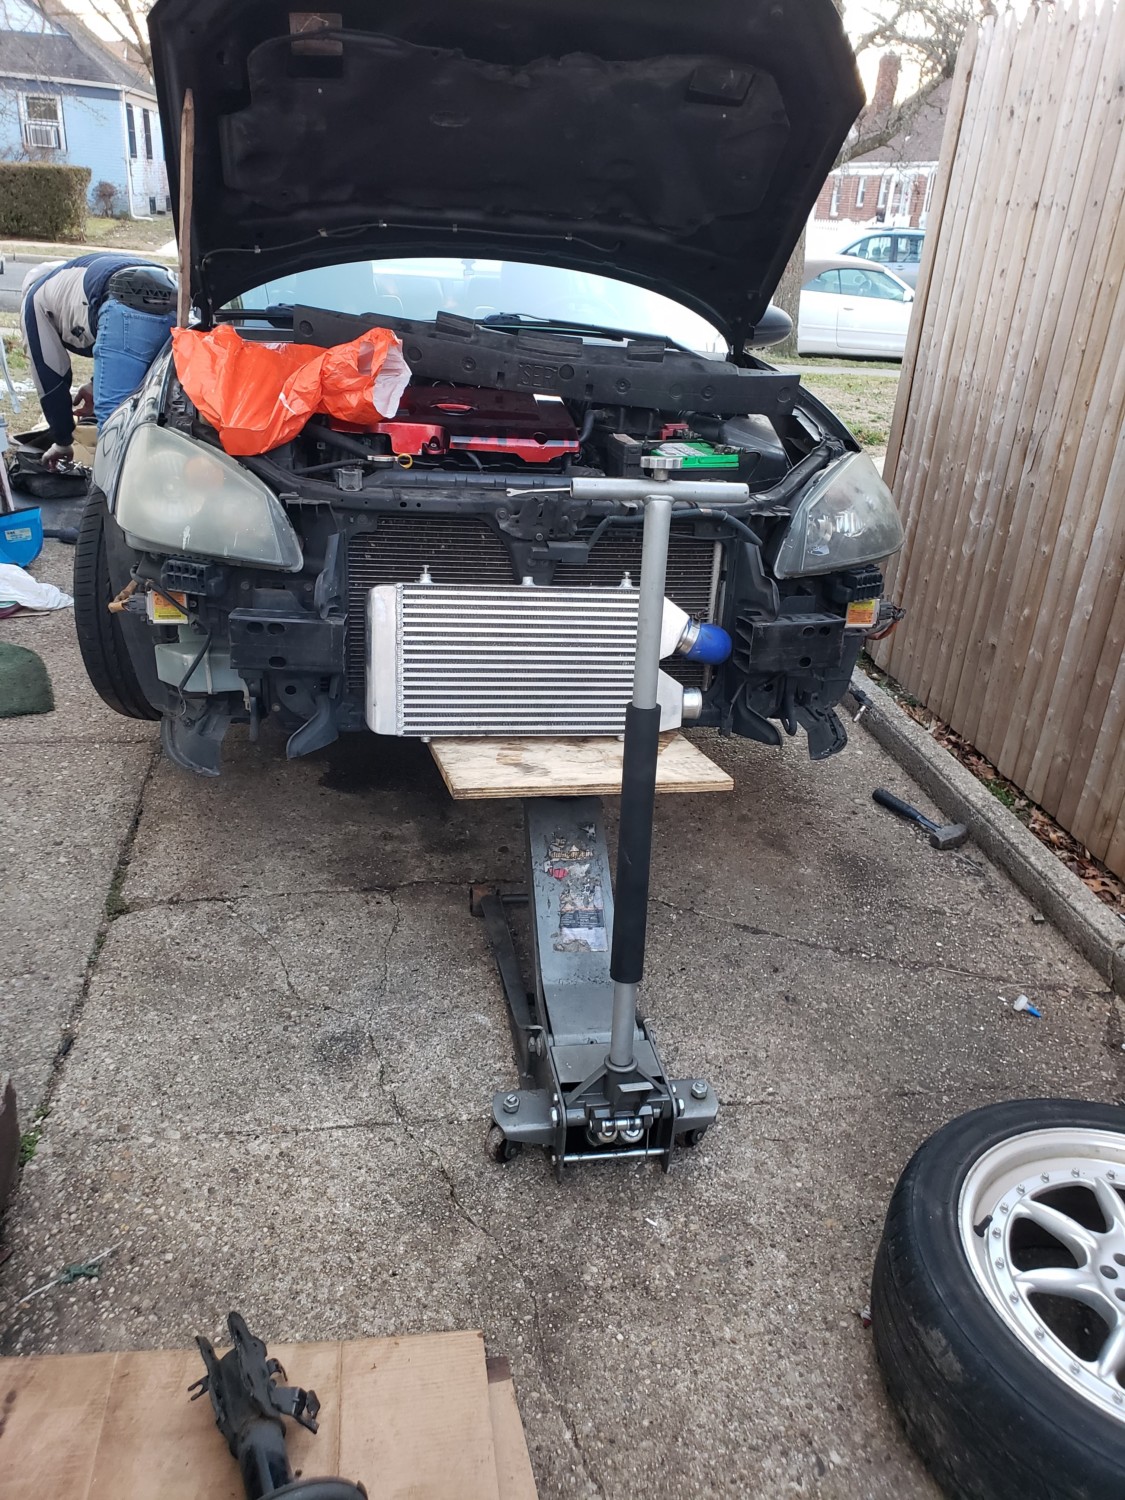
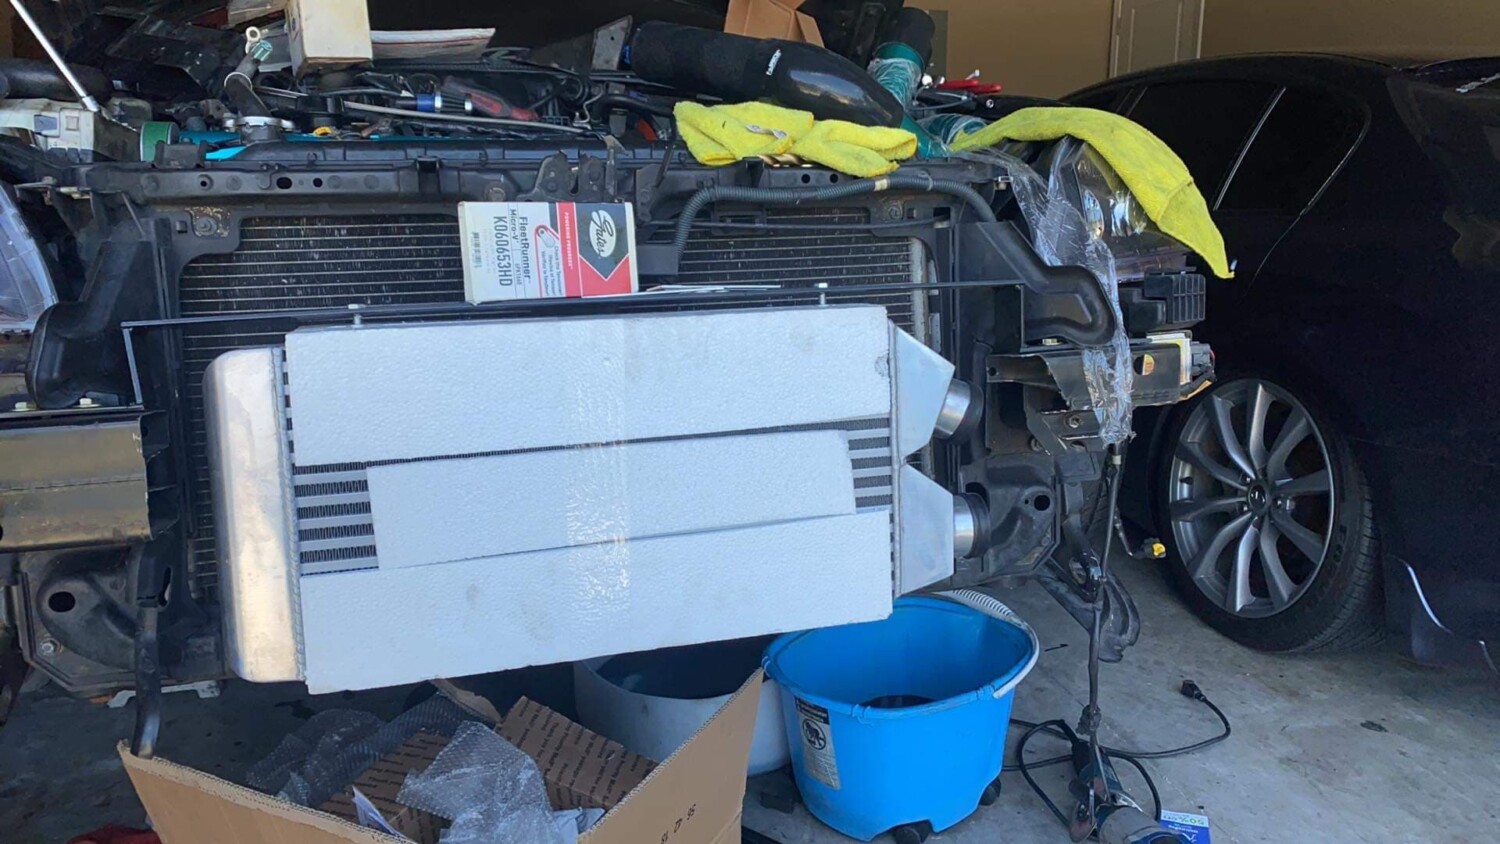
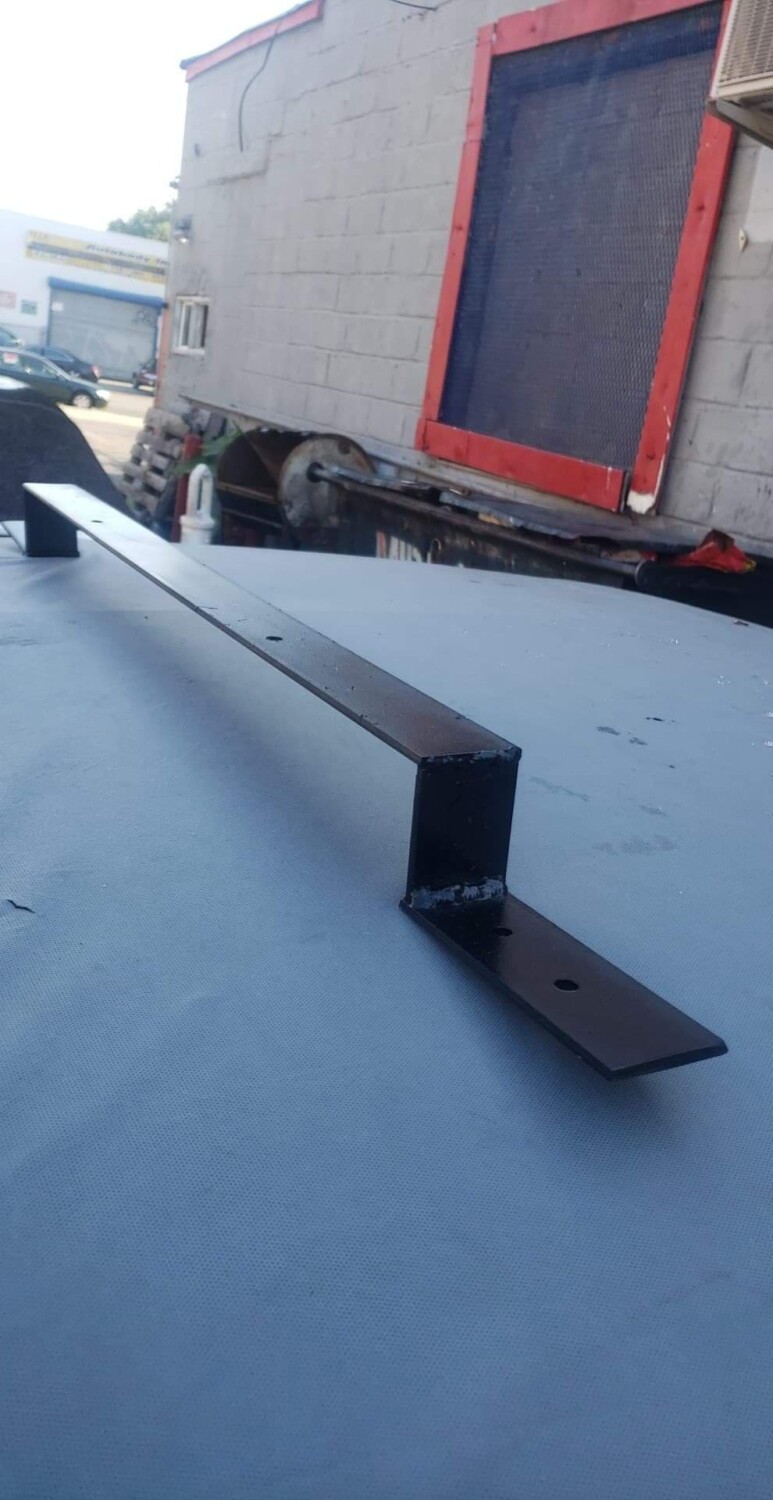
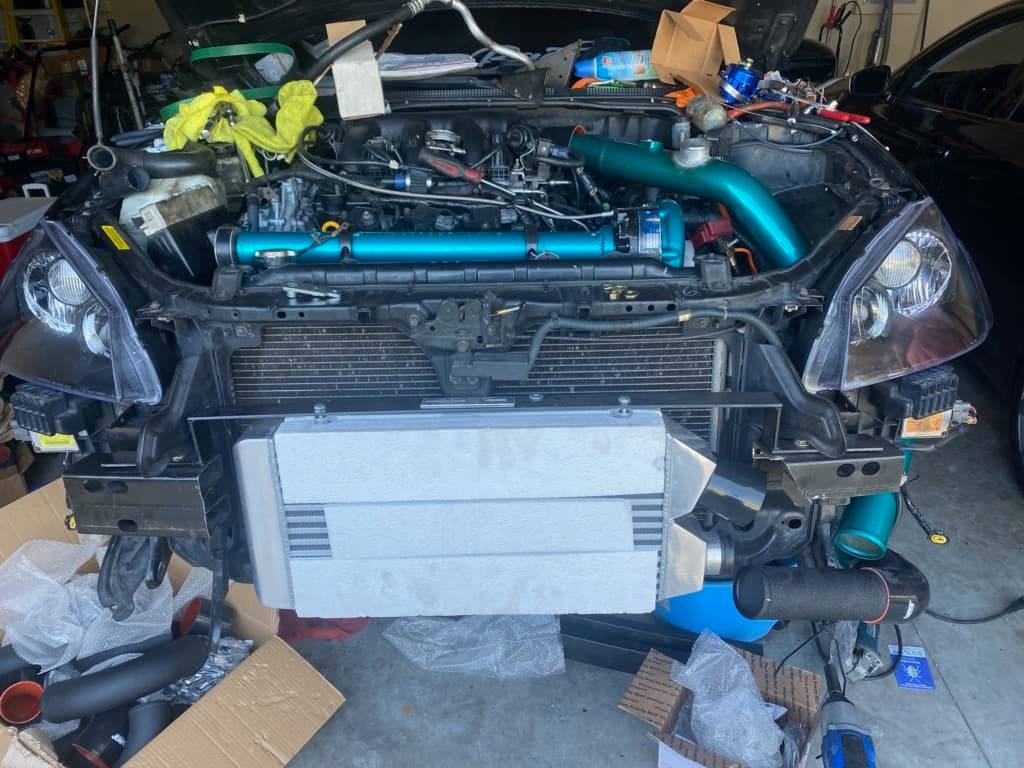
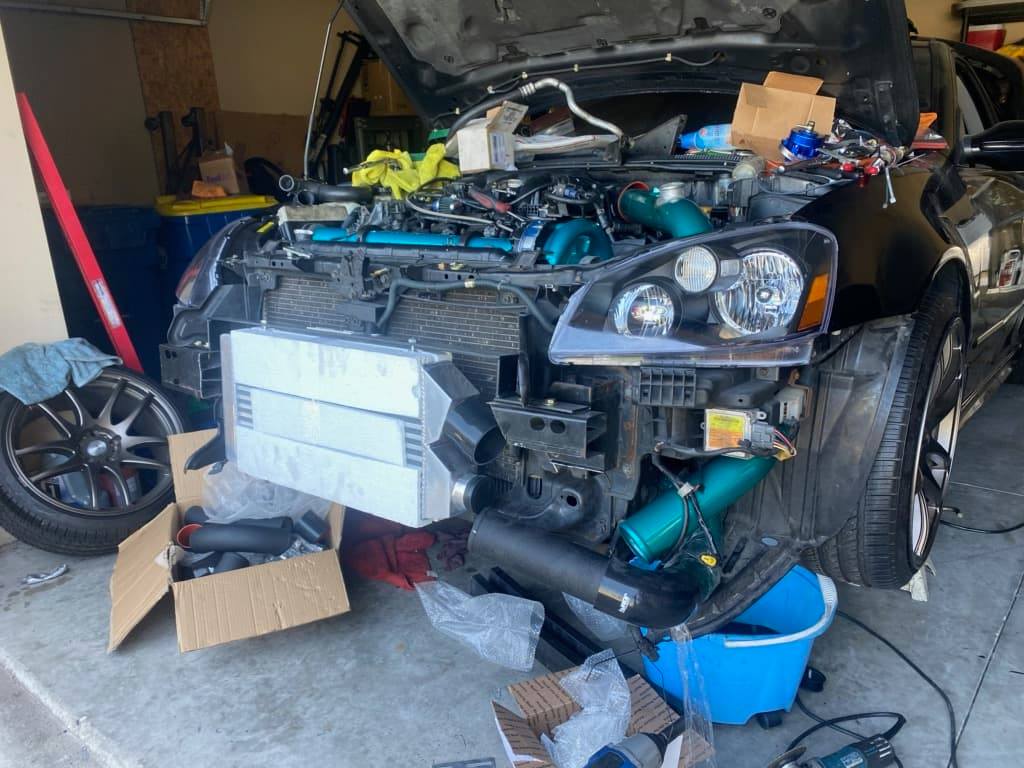
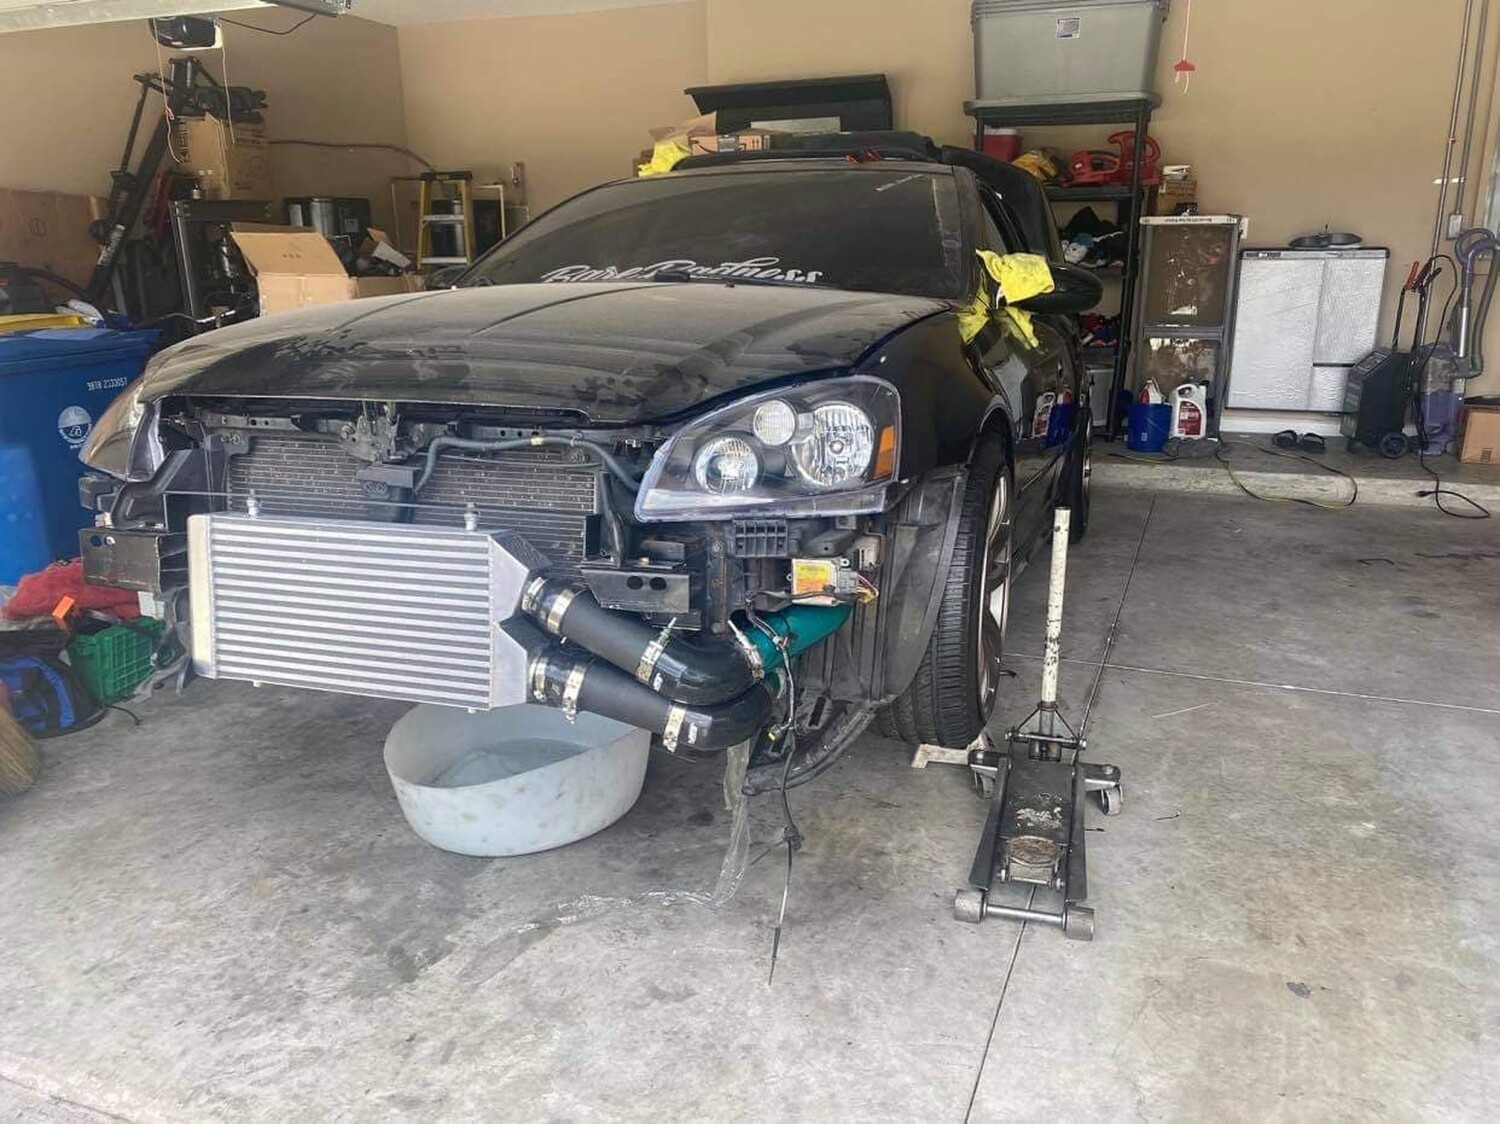
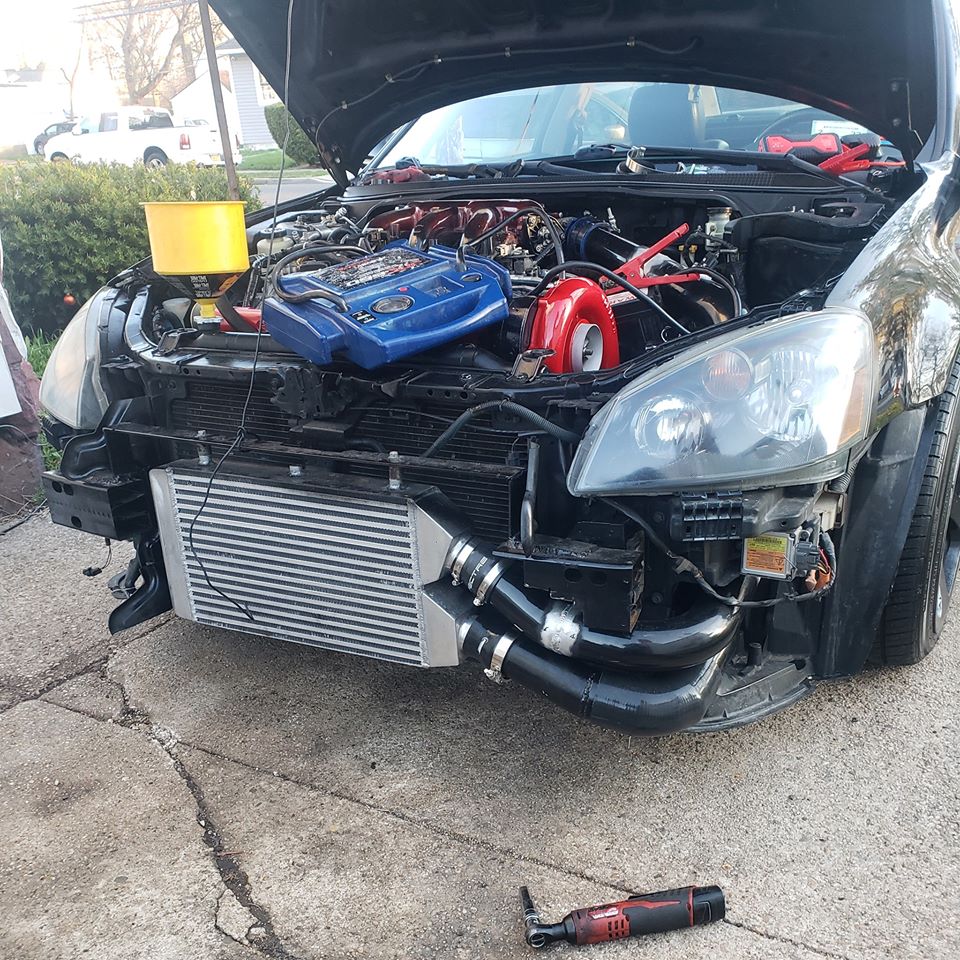
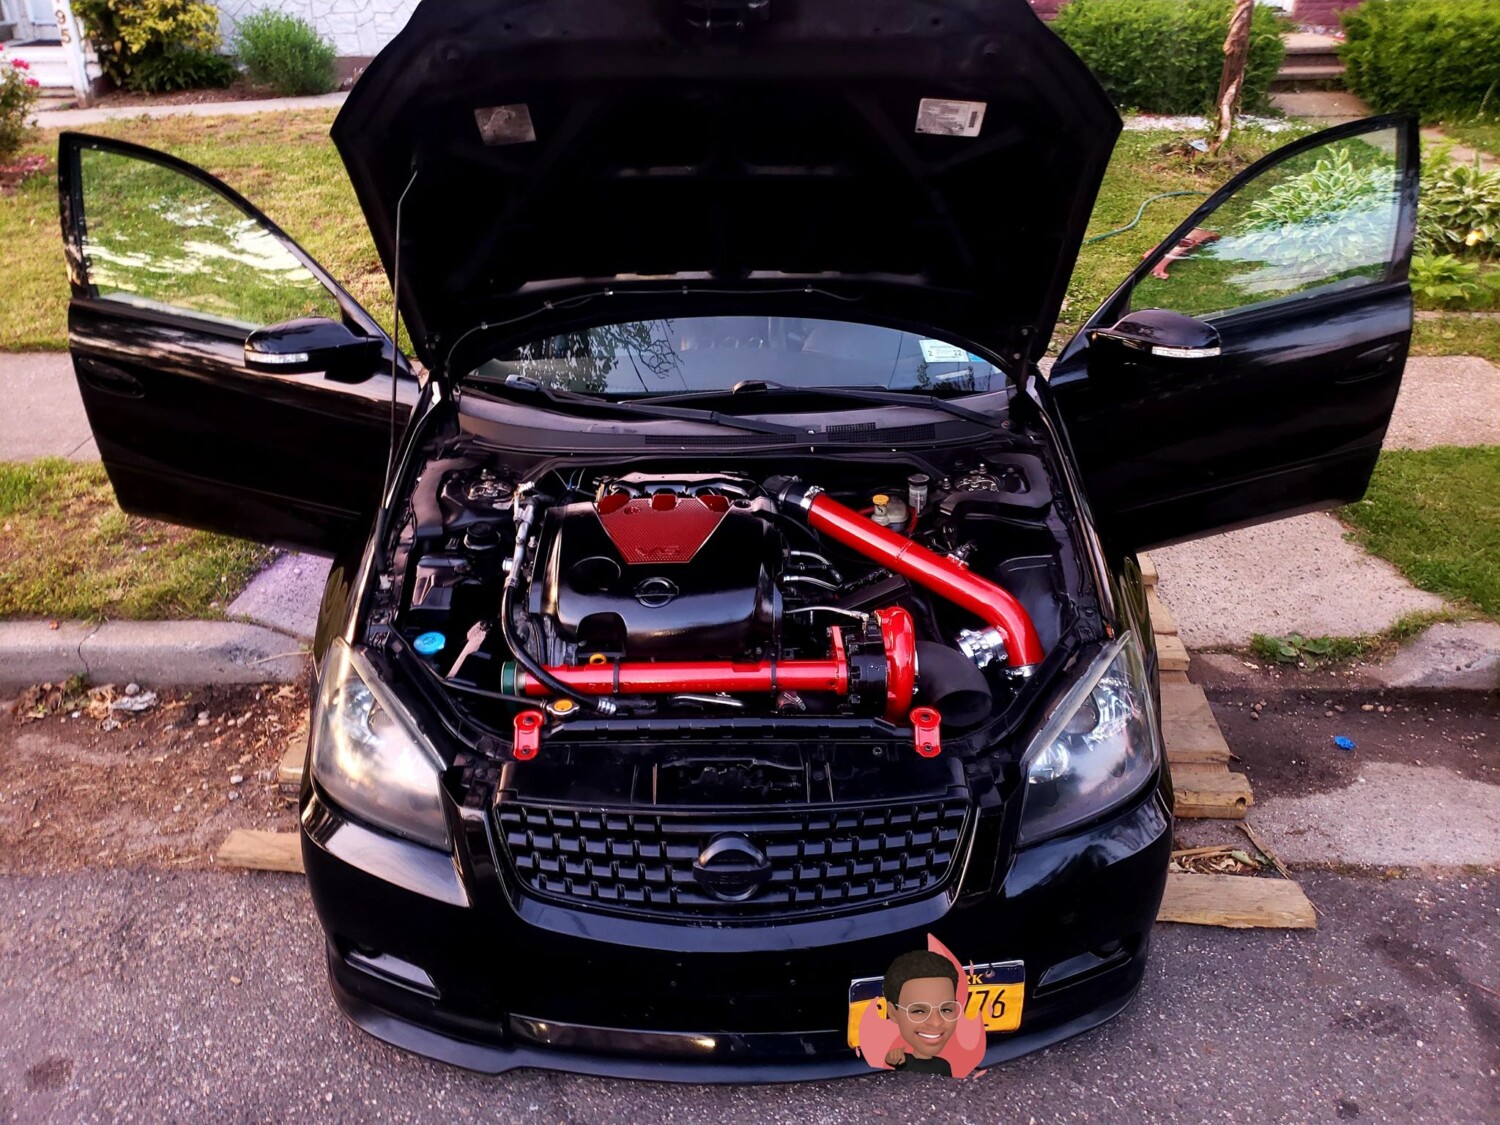
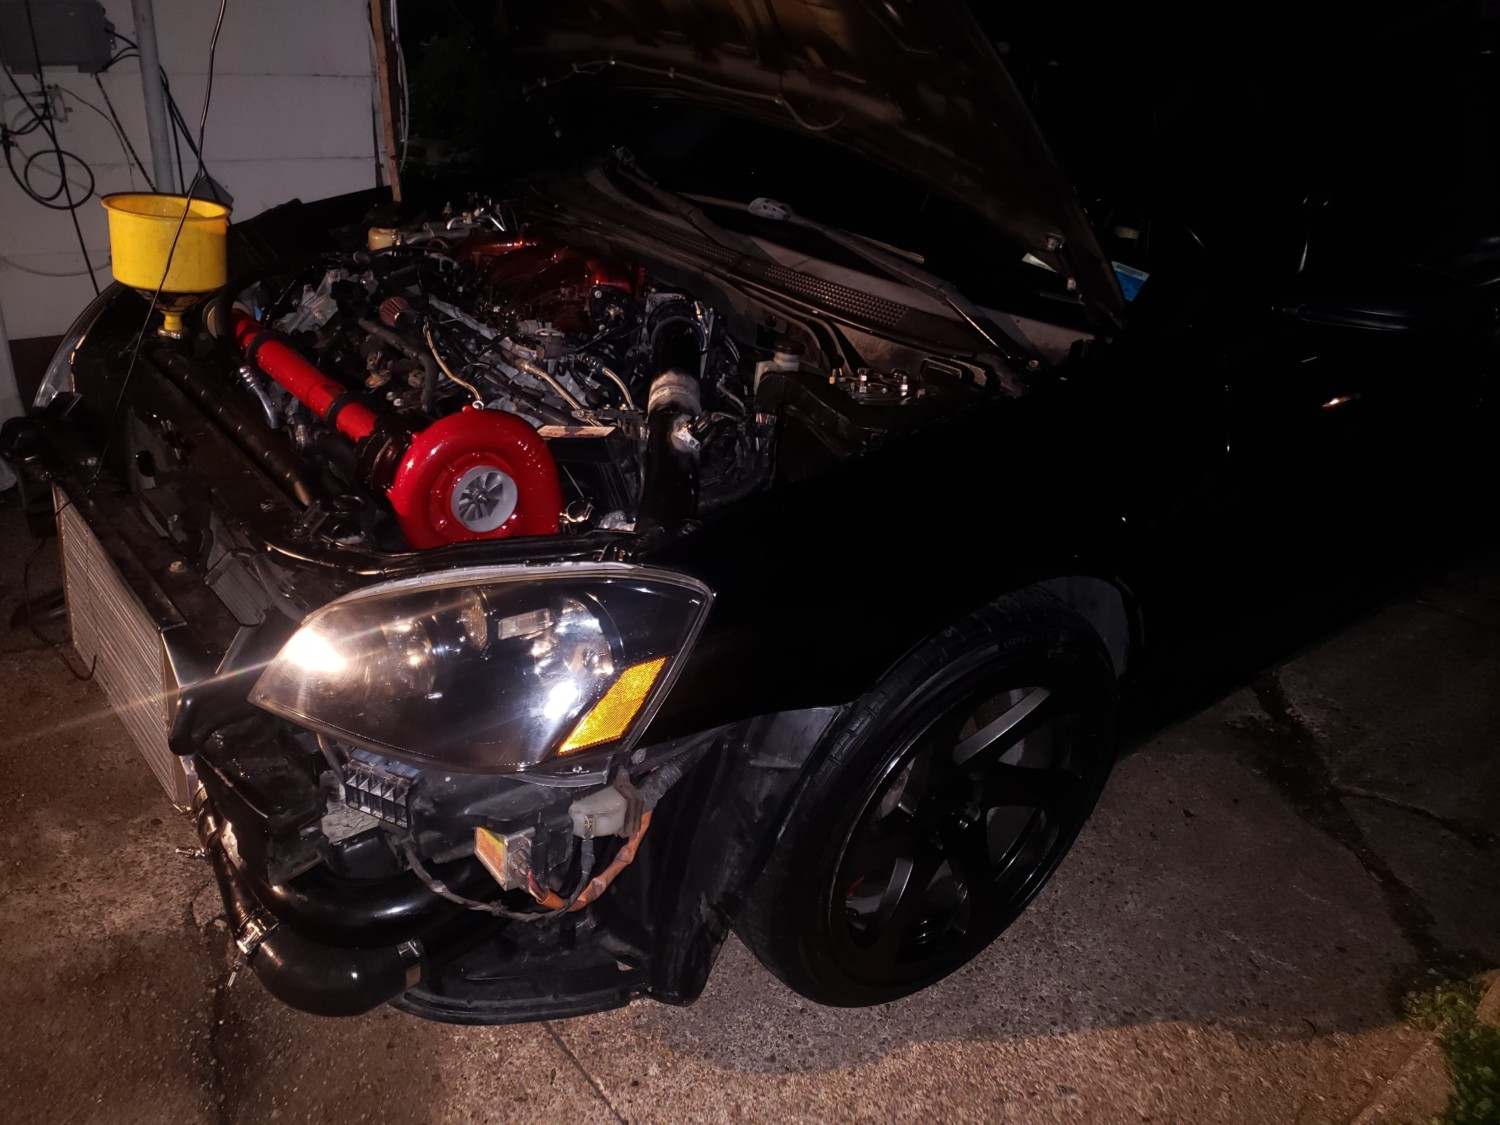
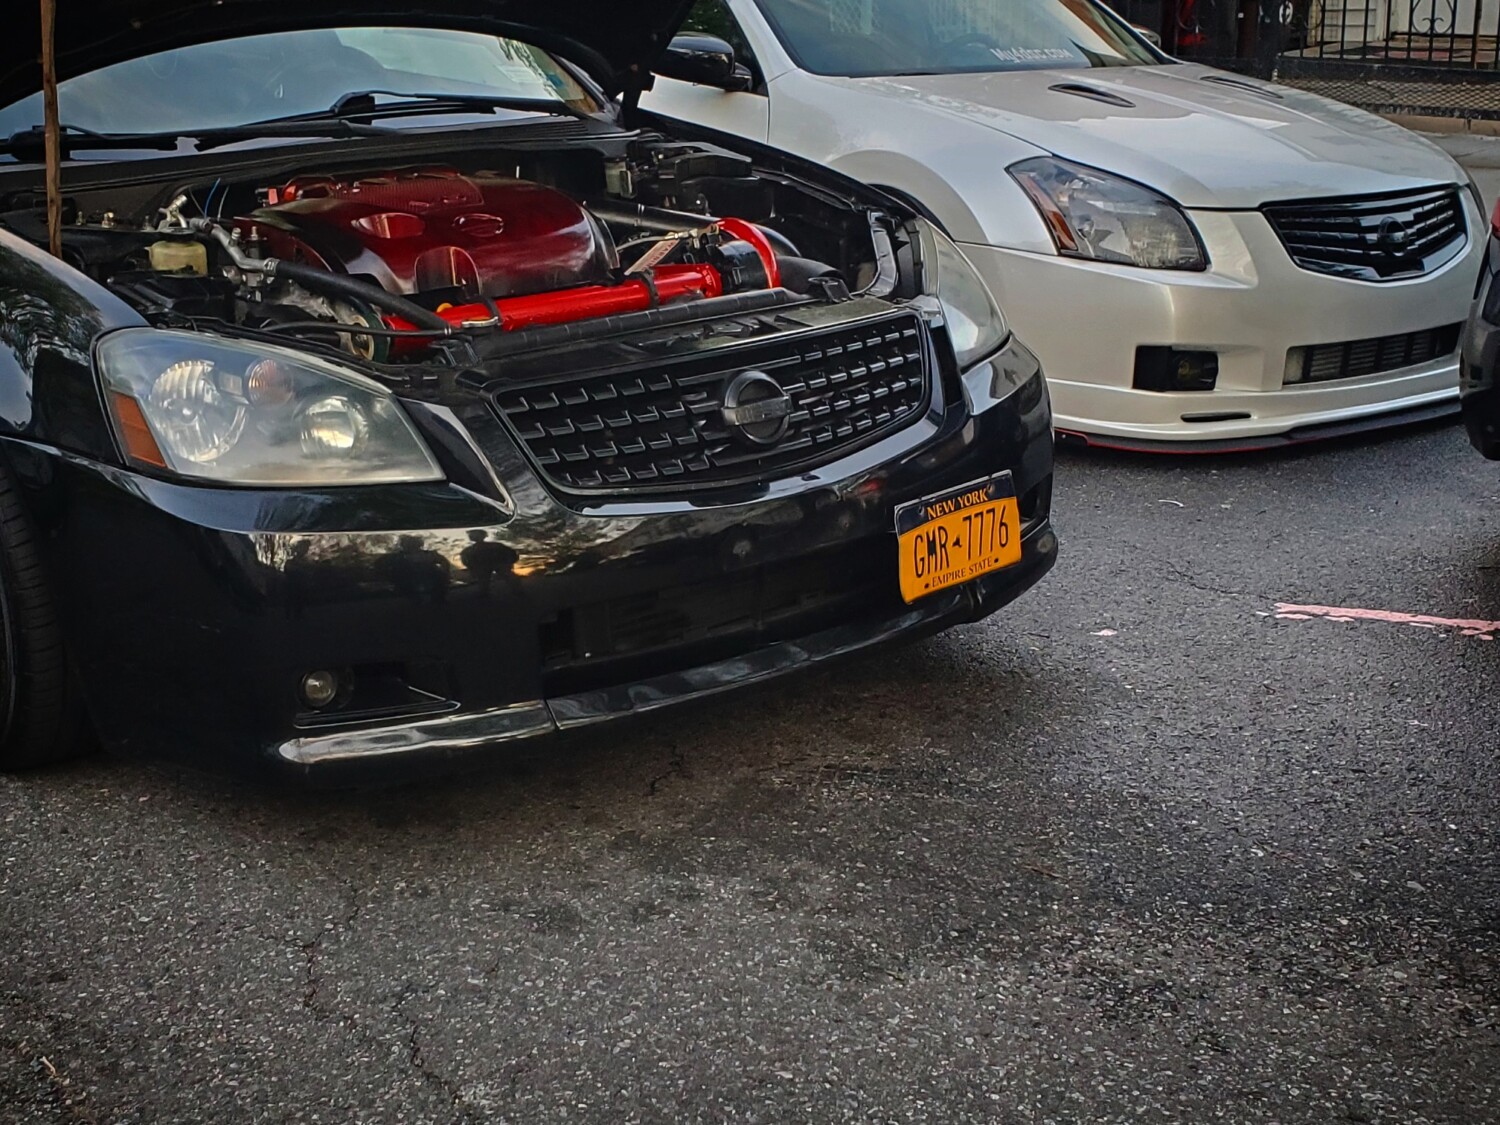
For those looking at boosted setups and want an intercooler, below is one that fit good. It needs to be same-side because trying to route piping on the passenger side will be very rough. Plus with this setup, you can retain your fog lights. It just requires modifying the crash bar for it.
Manufacturer: EMUSA
Price: $119.00 + Tax ($130.00)
Amazon Link: https://www.amazon.com/gp/product/B077QH74JC/ref=ox_sc_act_title_1?smid=A1K0UU5ZLPKT3U&psc=1
Intercooler Specs:


Owner: Car Projects PR
Year: 2005
Model: Altima
Color: Custom Yellow
Engine: VQ35DE
Transmission: 6-Speed Manual
Trim: SE-R


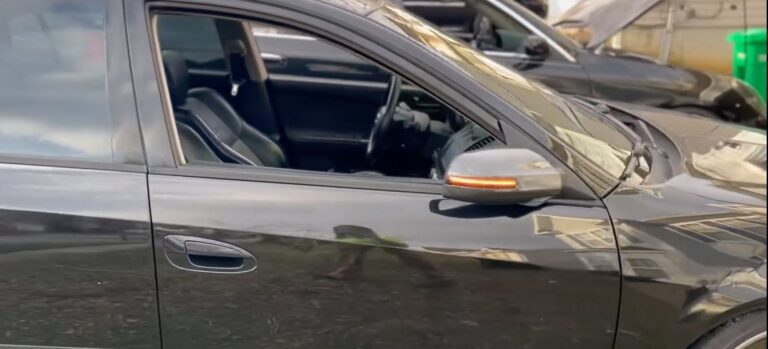
Credit: Jiancarlo Smith
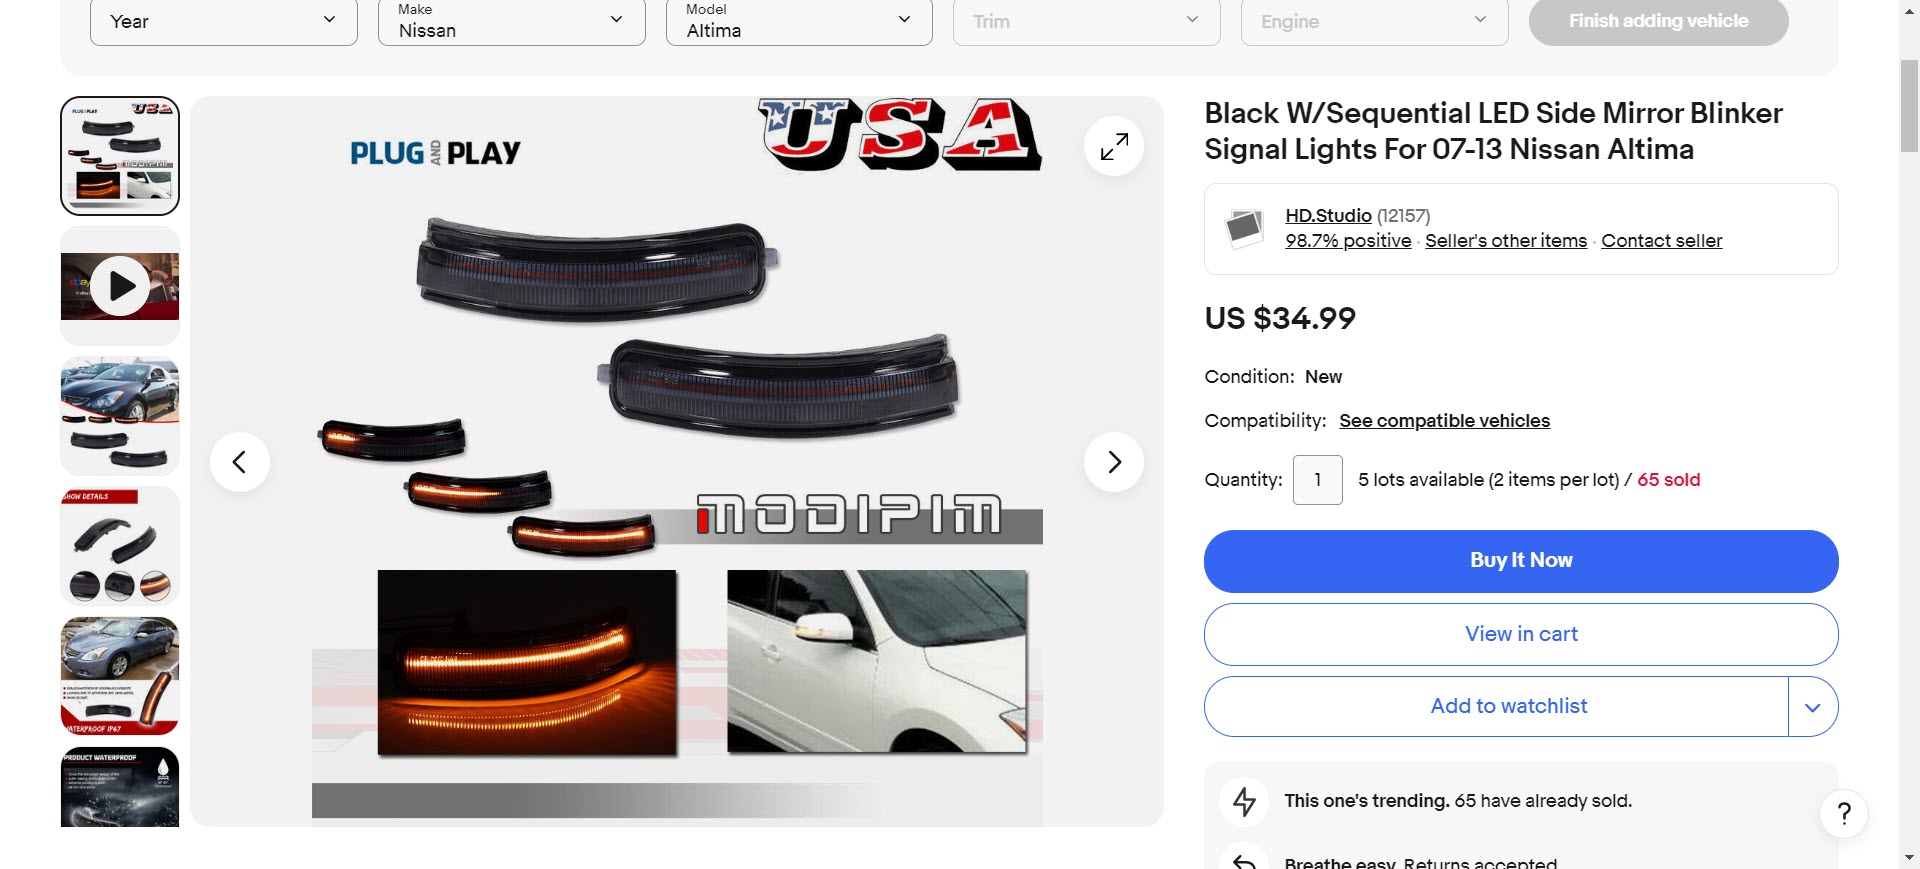
Order Link 1 (Clear): https://www.ebay.com/itm/305277361973
Order Link 2 (Black): https://www.ebay.com/itm/305277351701
Price: $34.99
Description: Sequential LED Side Mirror Blinker Signal Lights For 07-13 Nissan Altima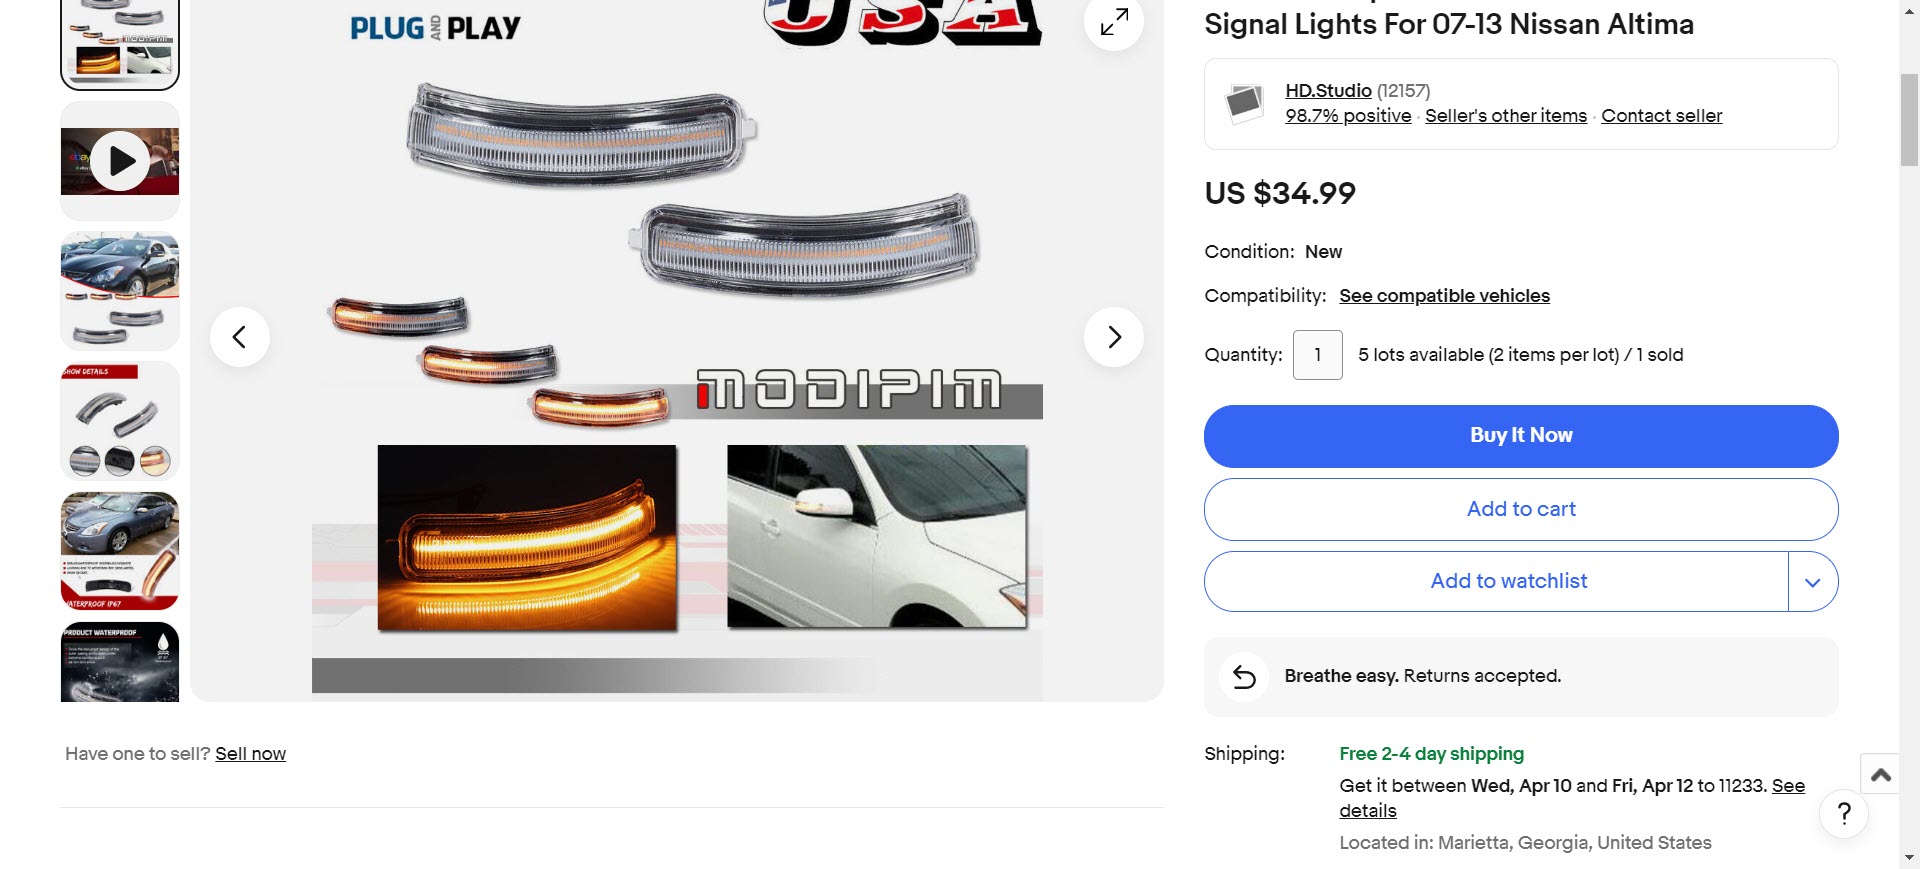
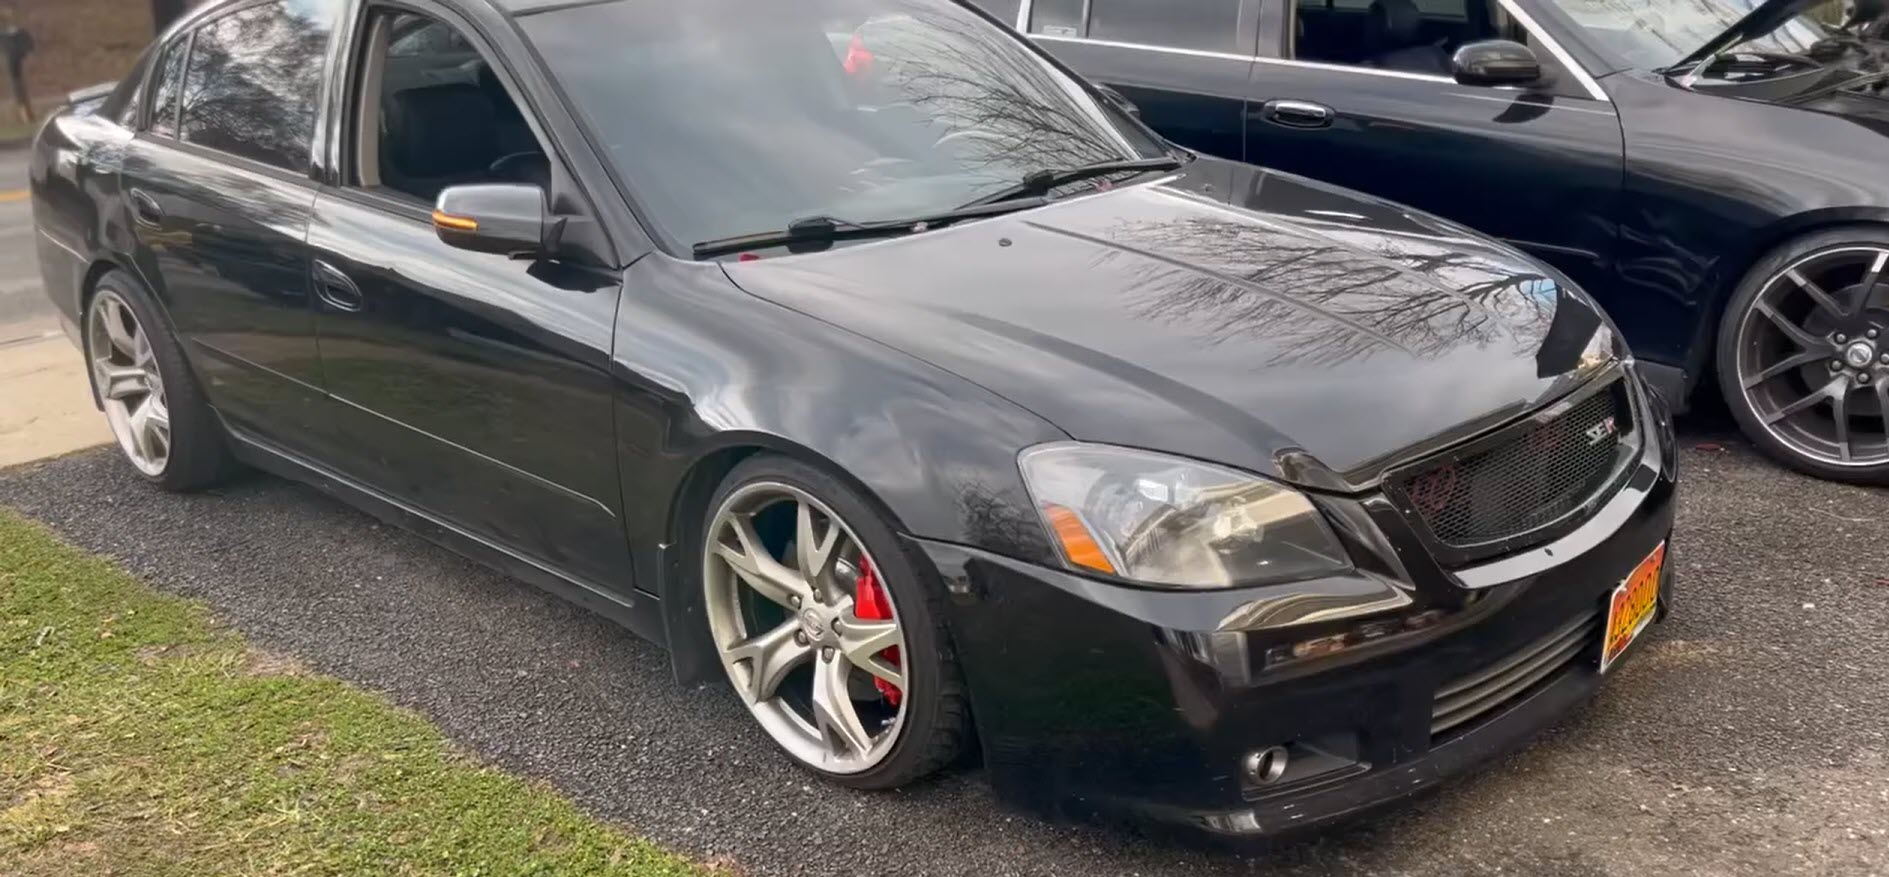
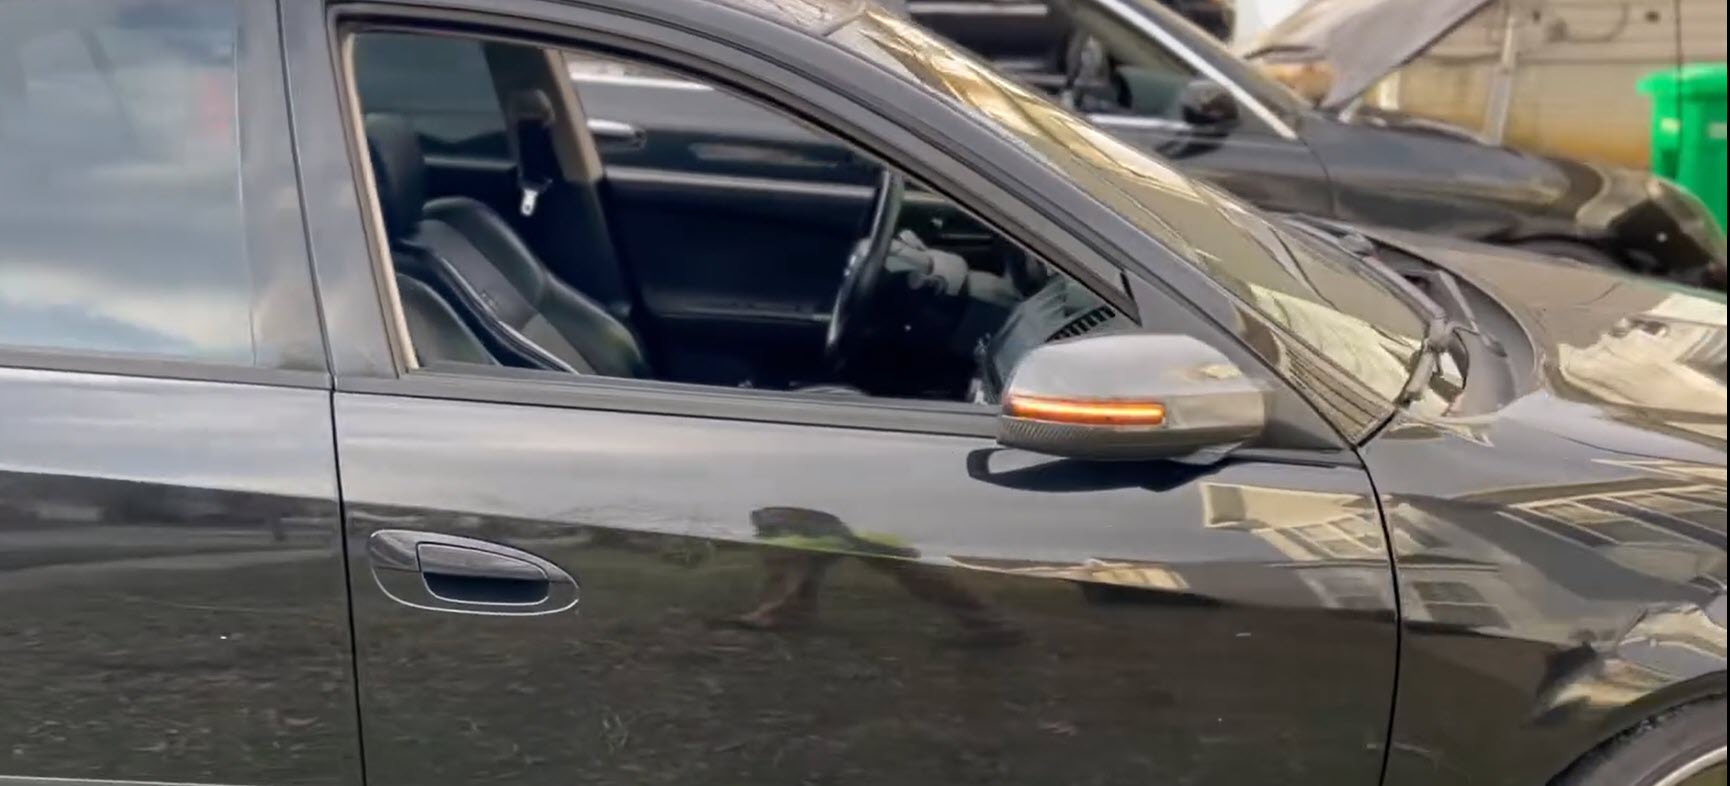

Owner: Marvin Booth
Year: 2006
Model: Altima
Color: Silver
Engine: VQ35DE
Transmission: 6-Speed Manual
Trim: SE-R


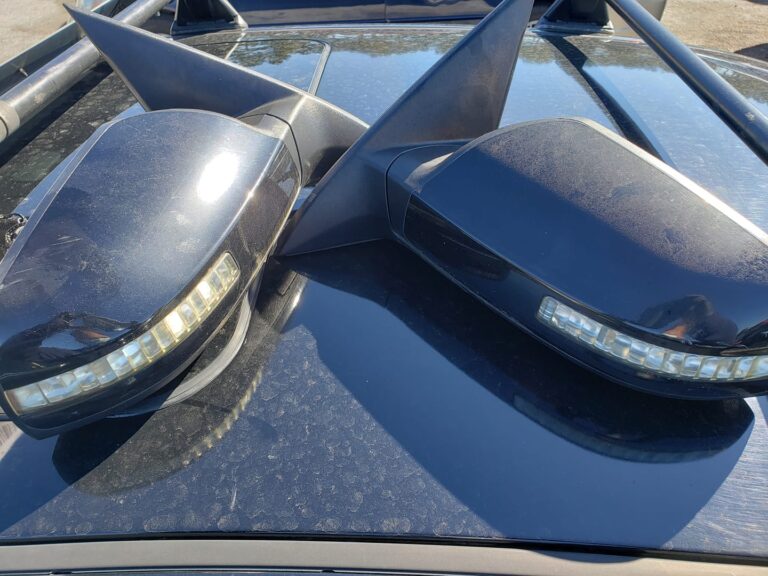
Community Member Credit: Winard Porter
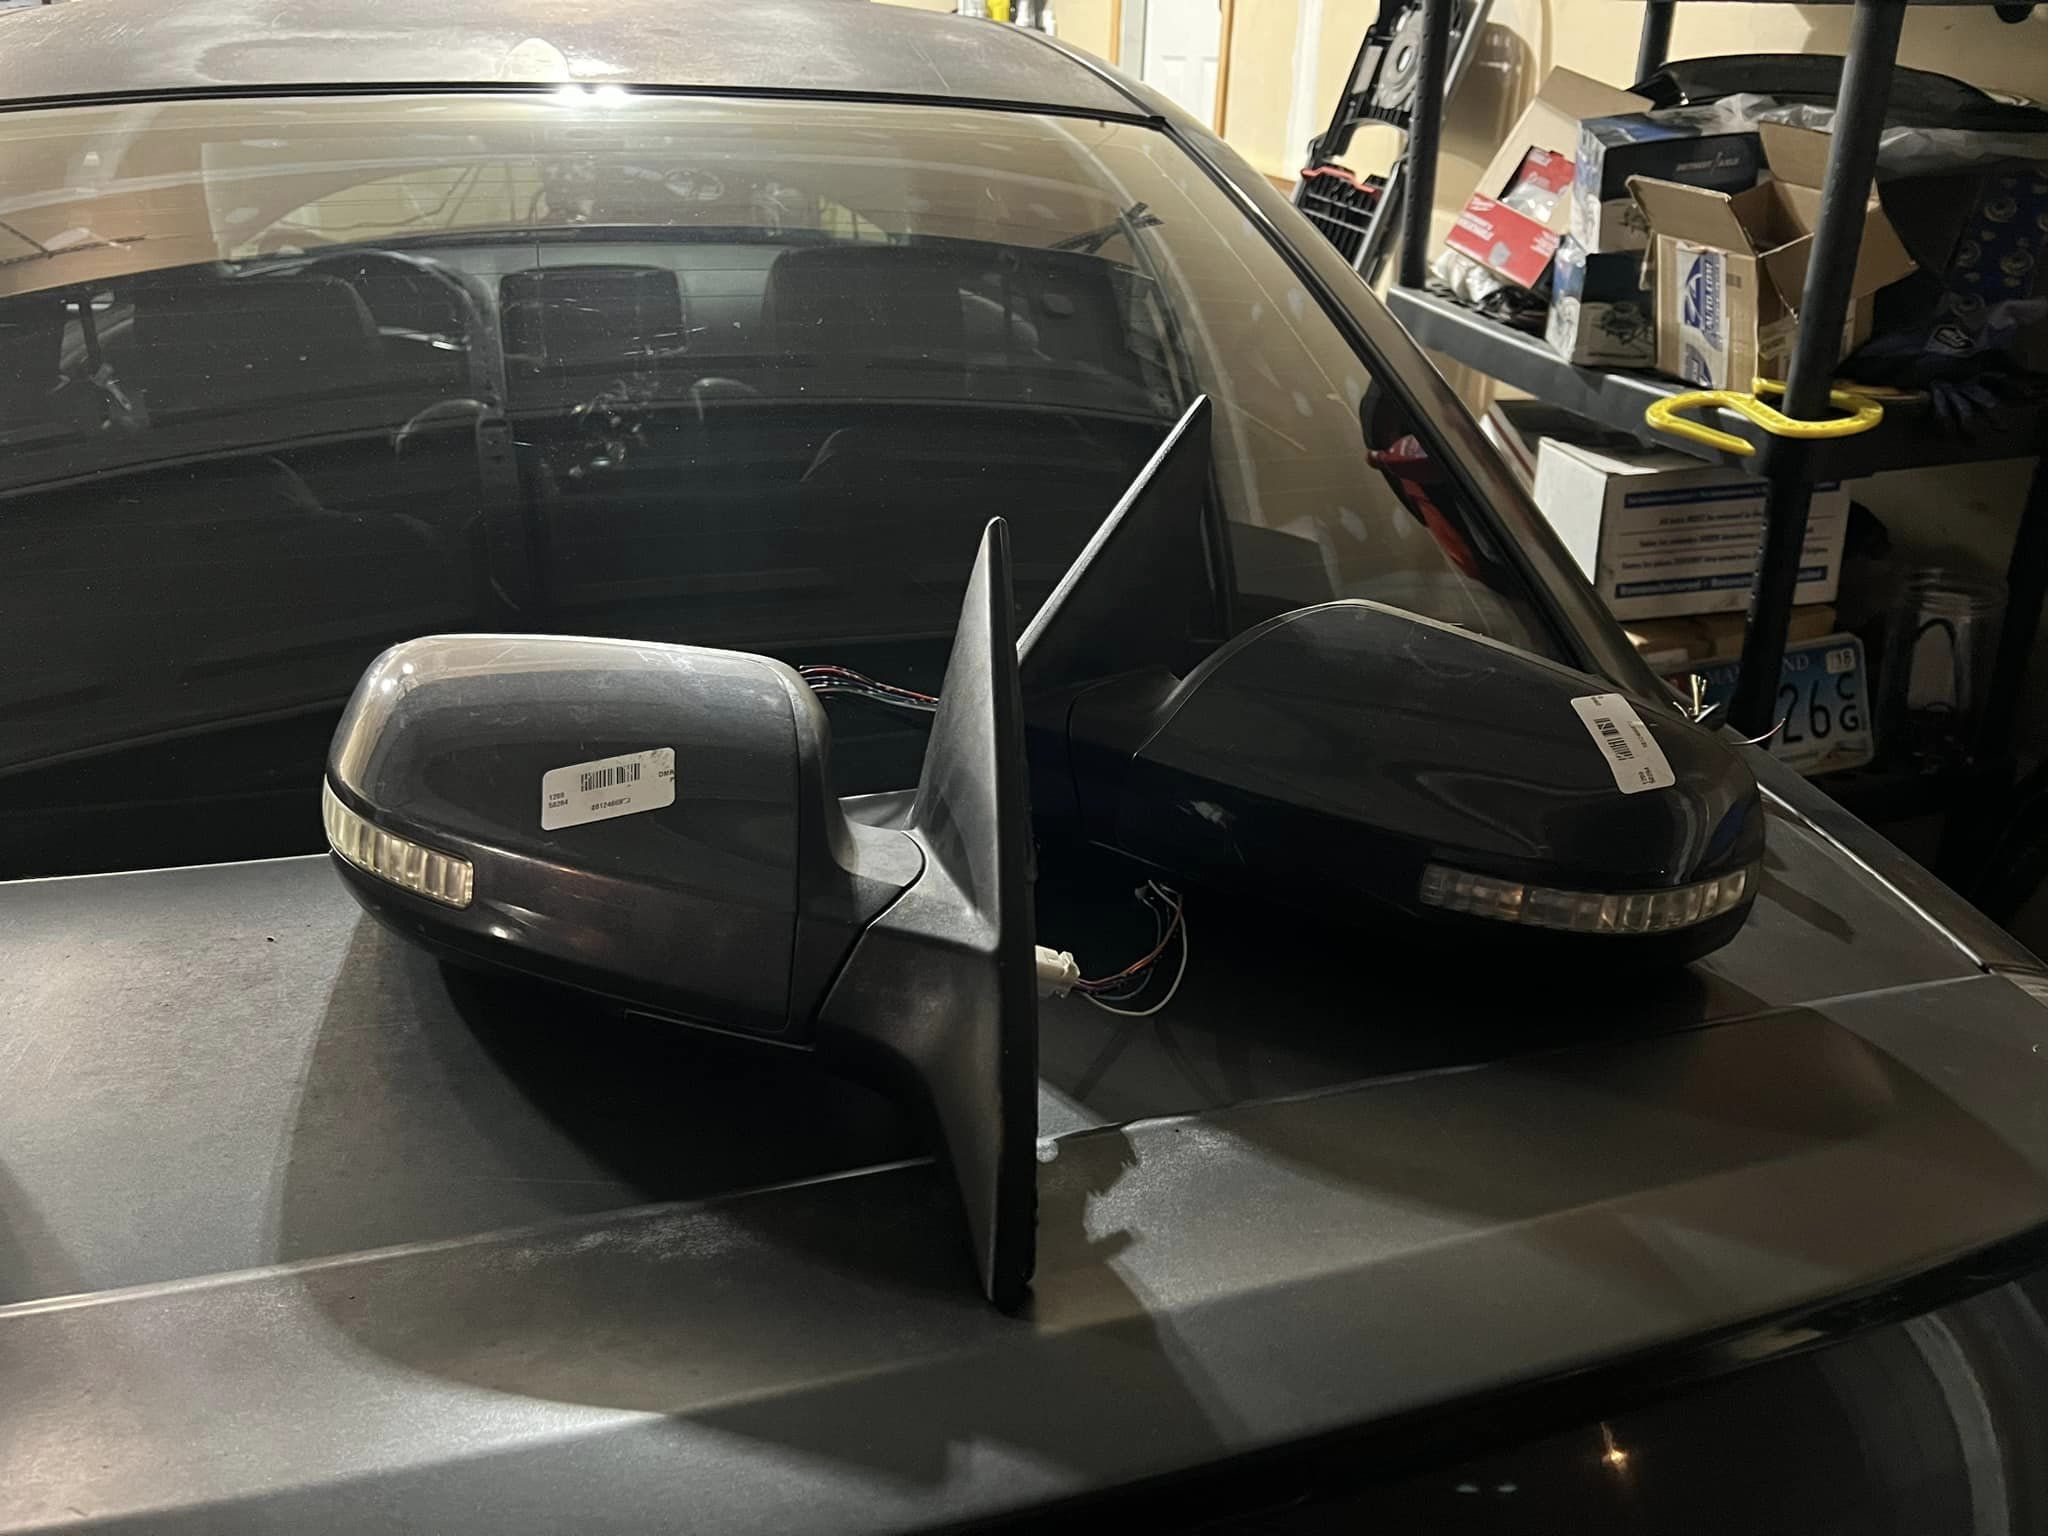
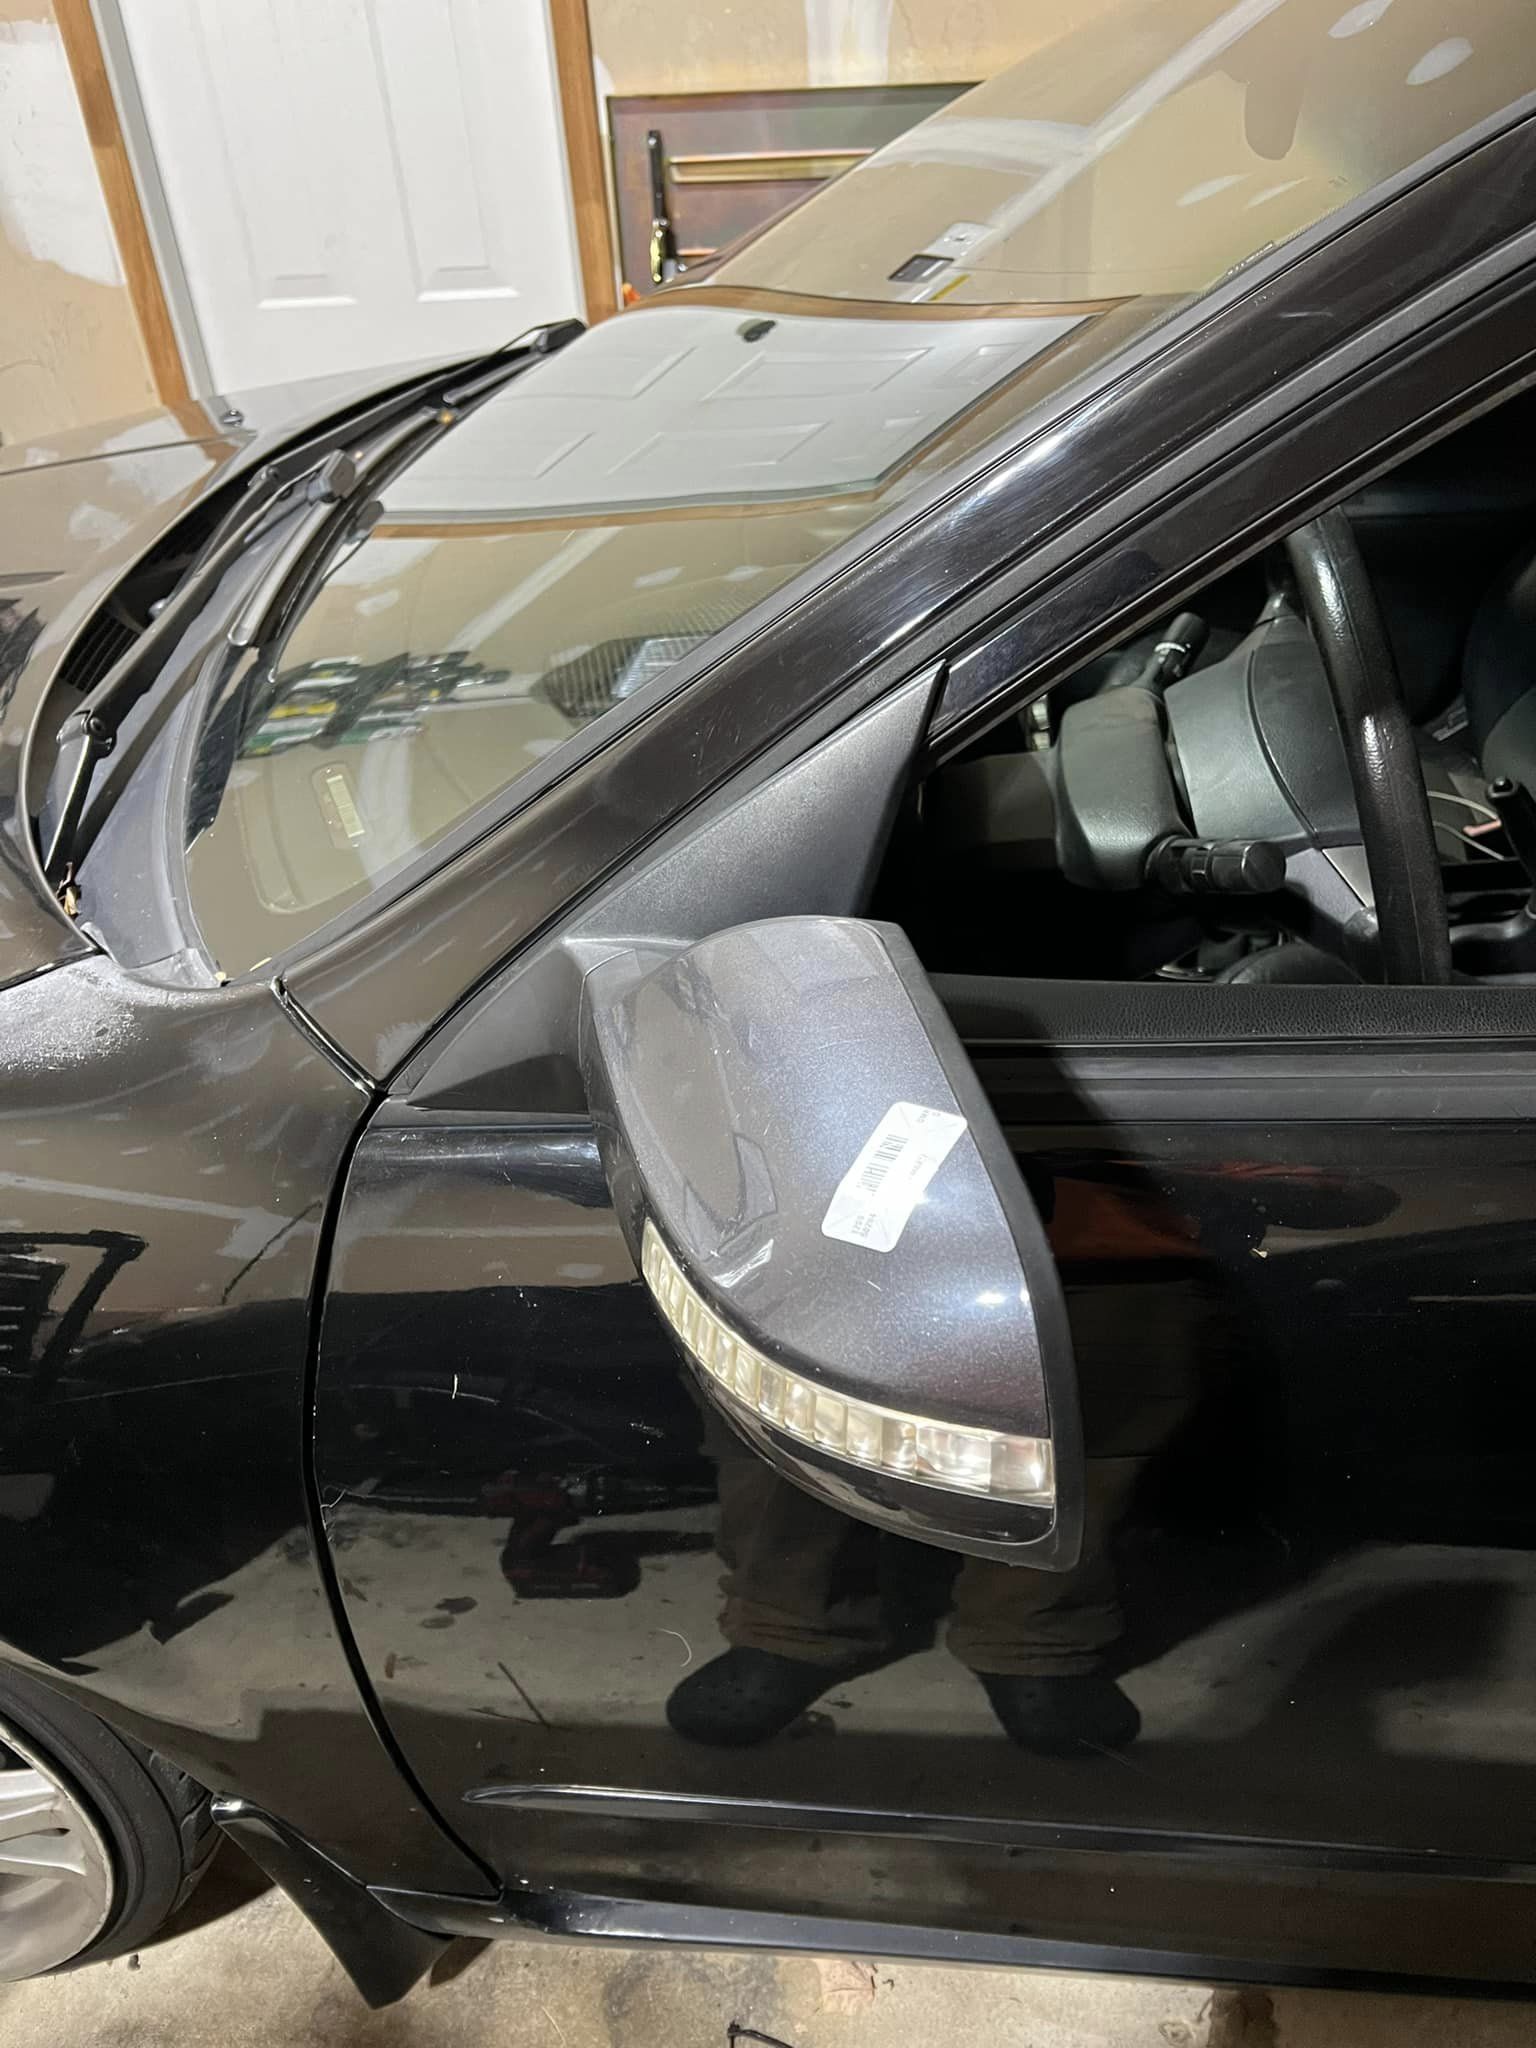
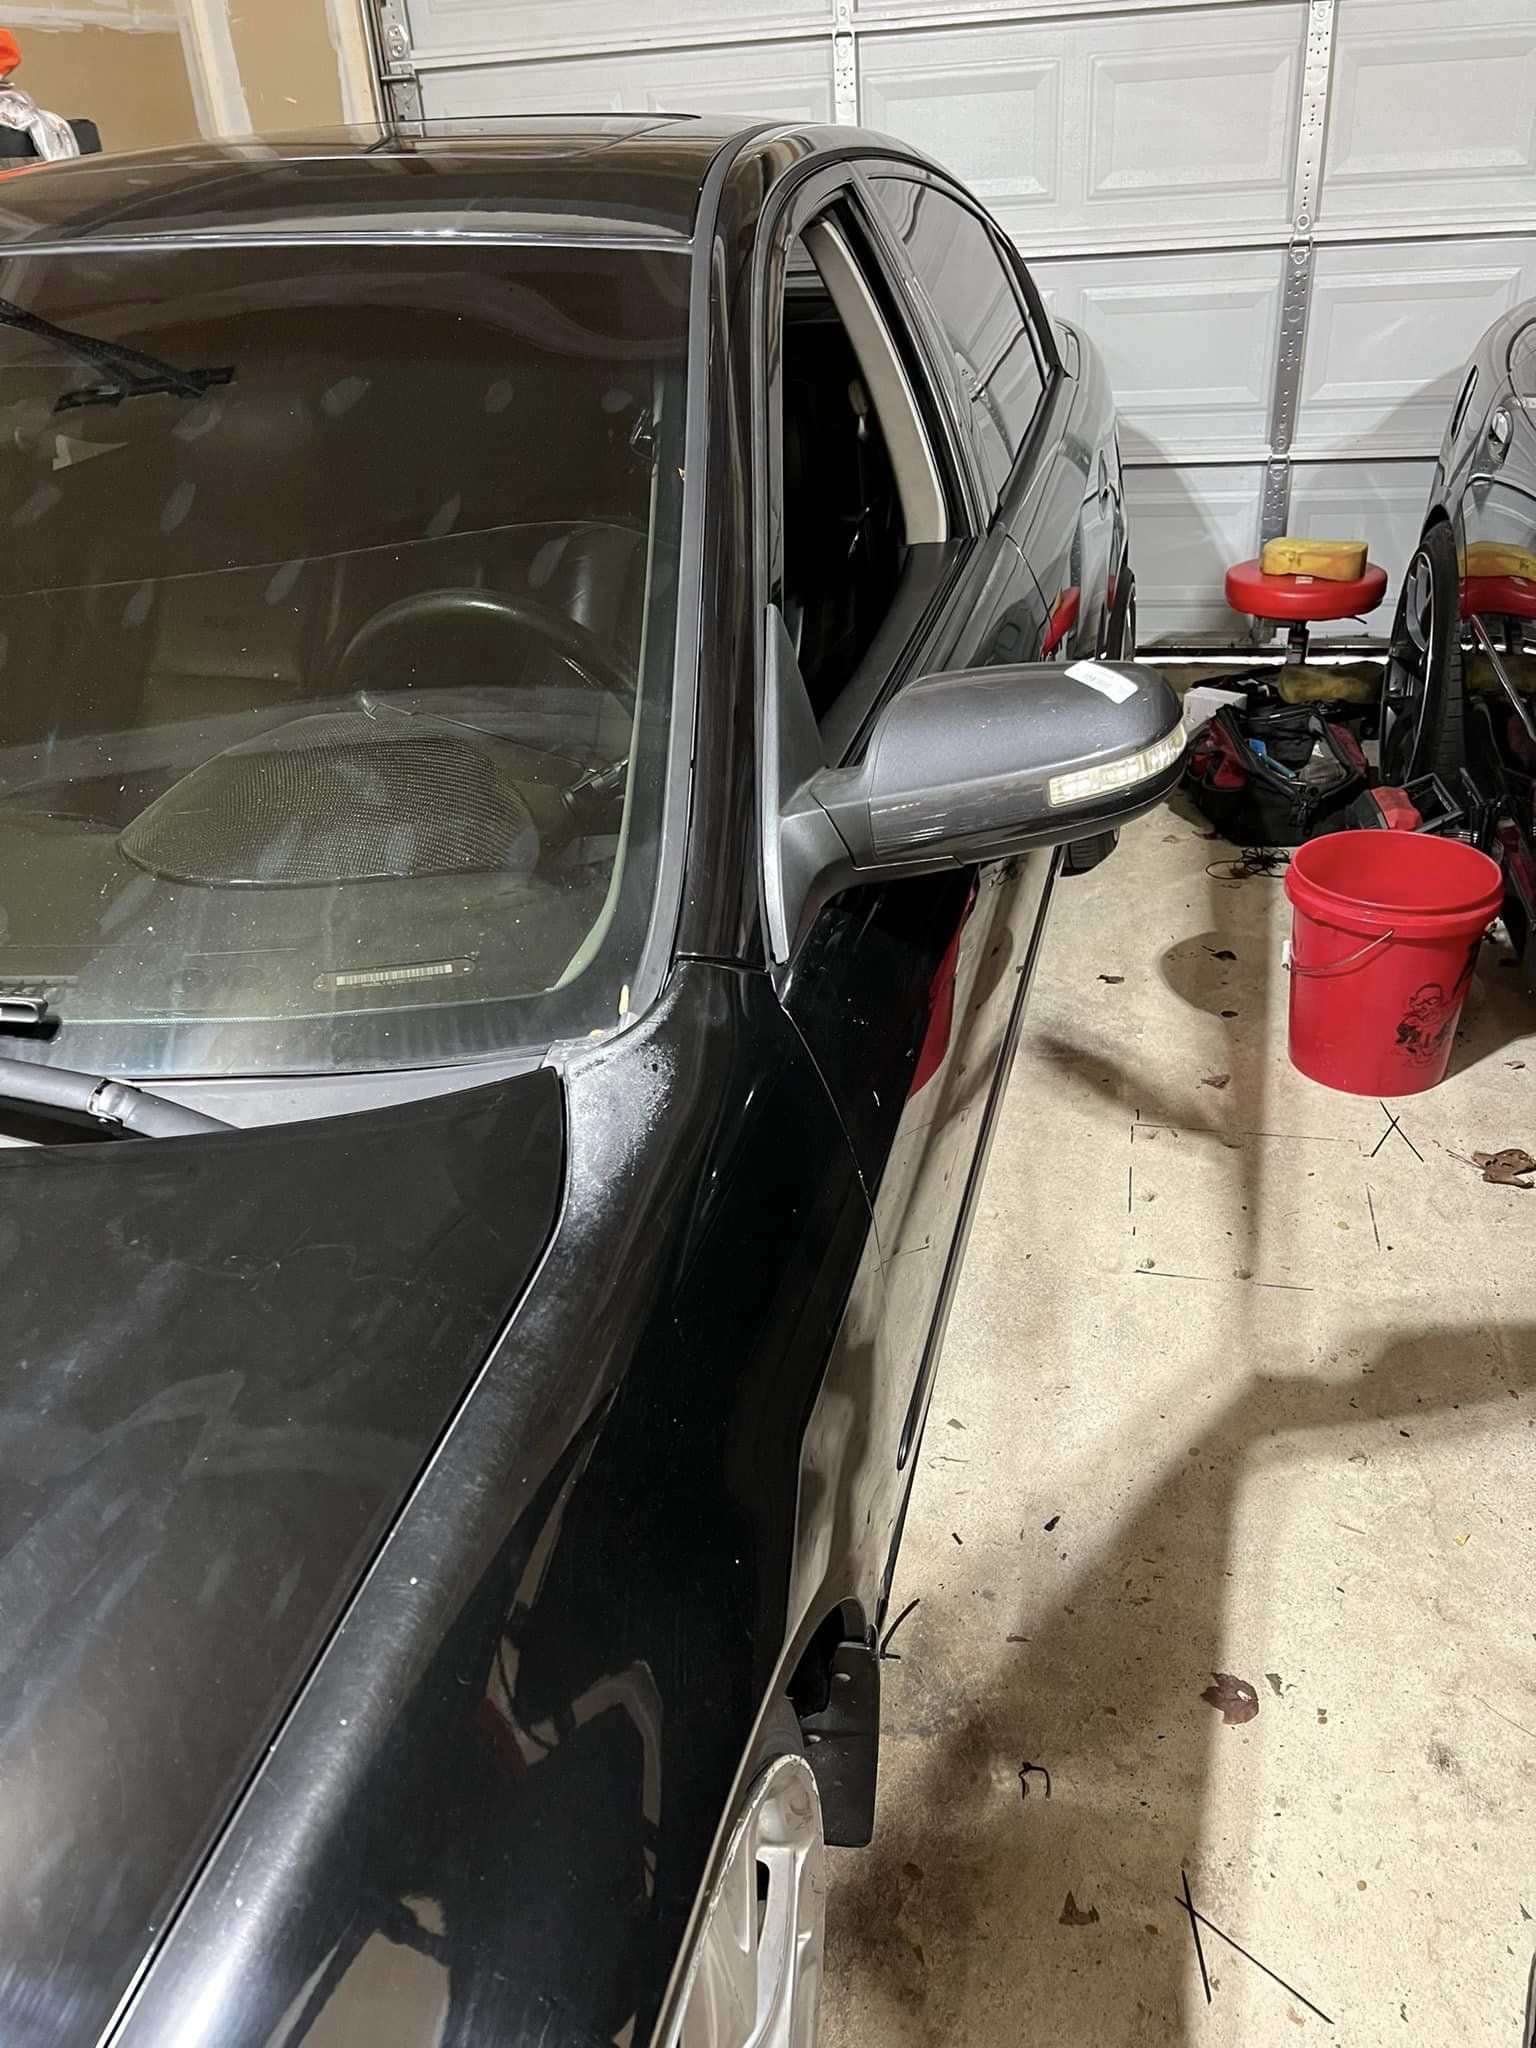
So due to the fact that there was little to no info on here regarding the mirror swap, I decided to do a write-up on the process as i experienced it. Please note, you do this at you own risk.
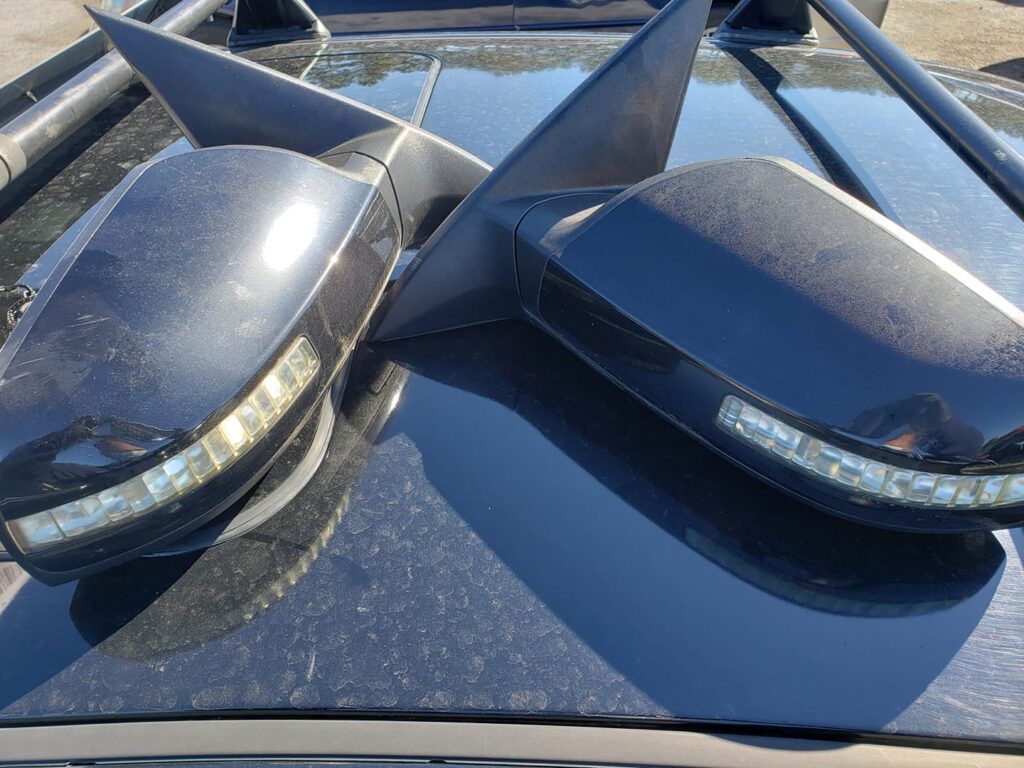
Tools Needed:
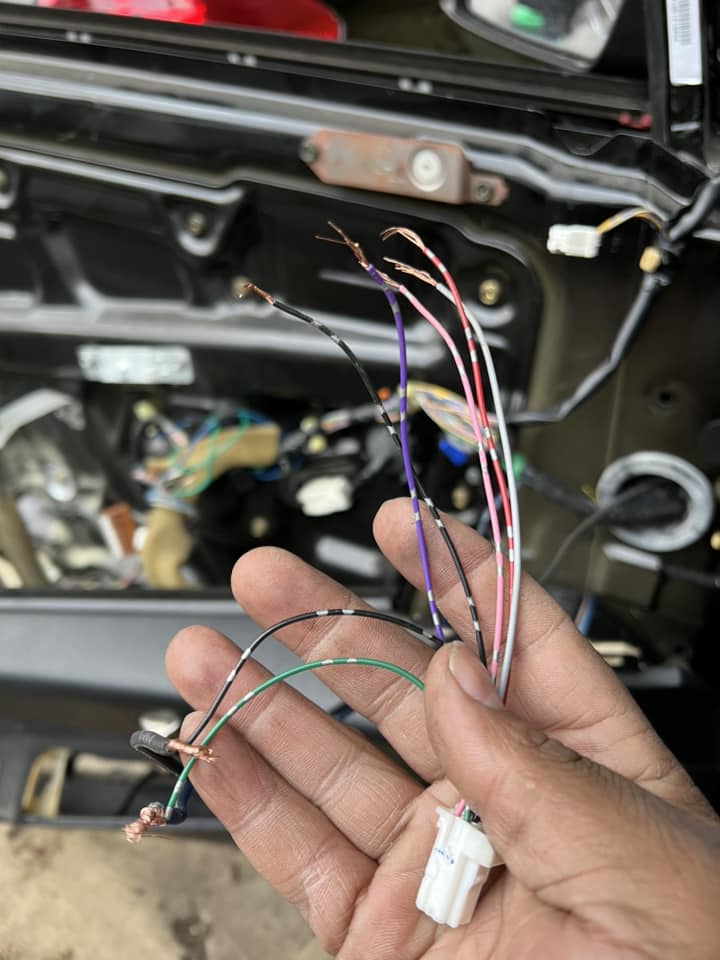
Remove door panel by removing the 3 screws. The panel is also held with clips. Pull the ends of the panel to pop the clips out. Be careful not to yank the puddle light connector when removing. Once panel is out, you can completely detach it from the car by removing the actuator cables or you can leave those intact and rest the panel to the side.
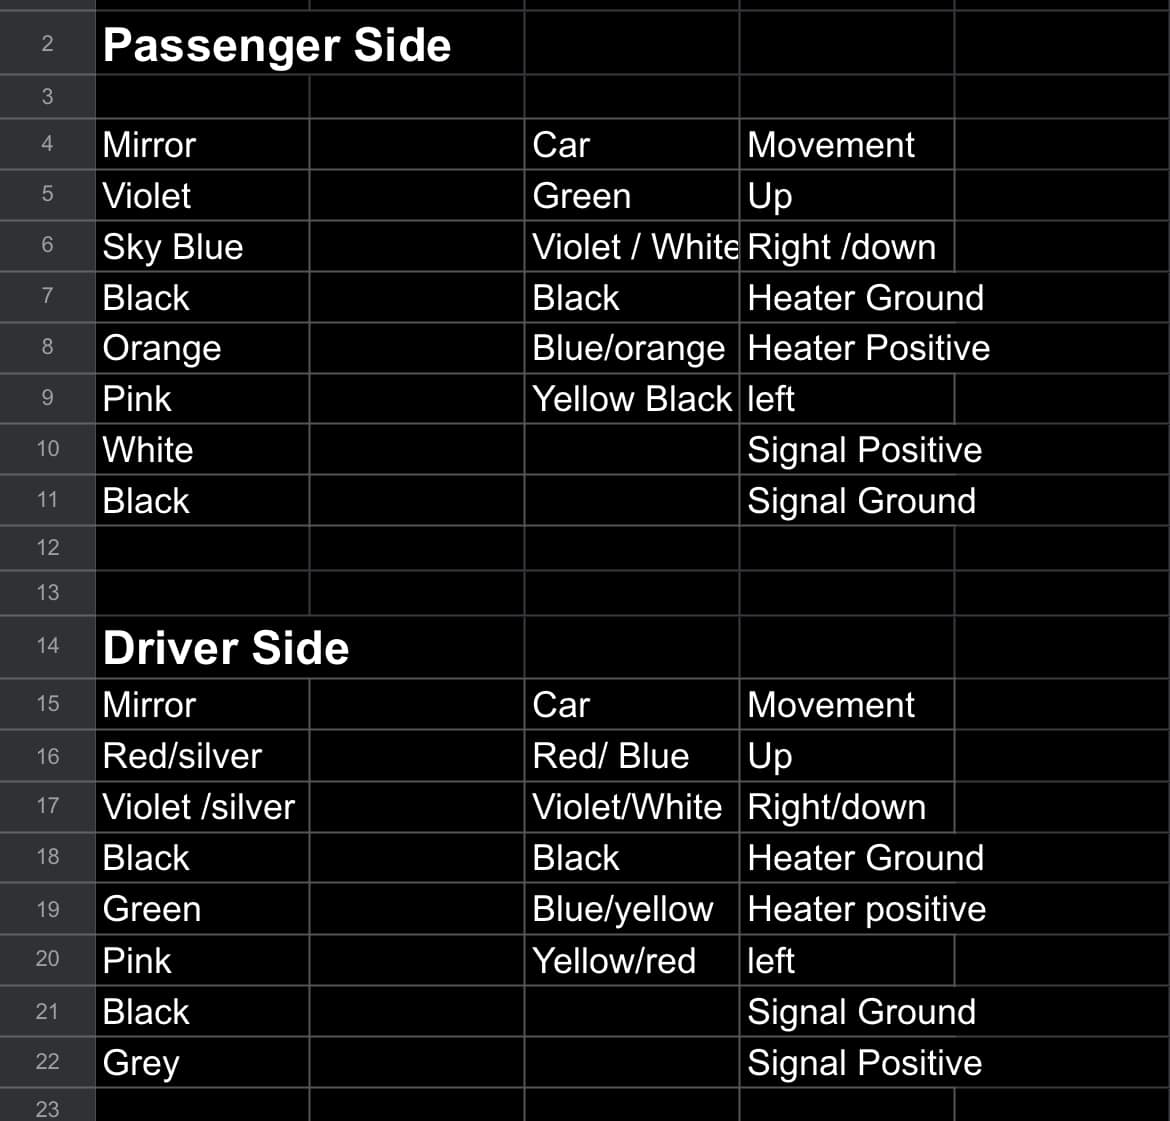
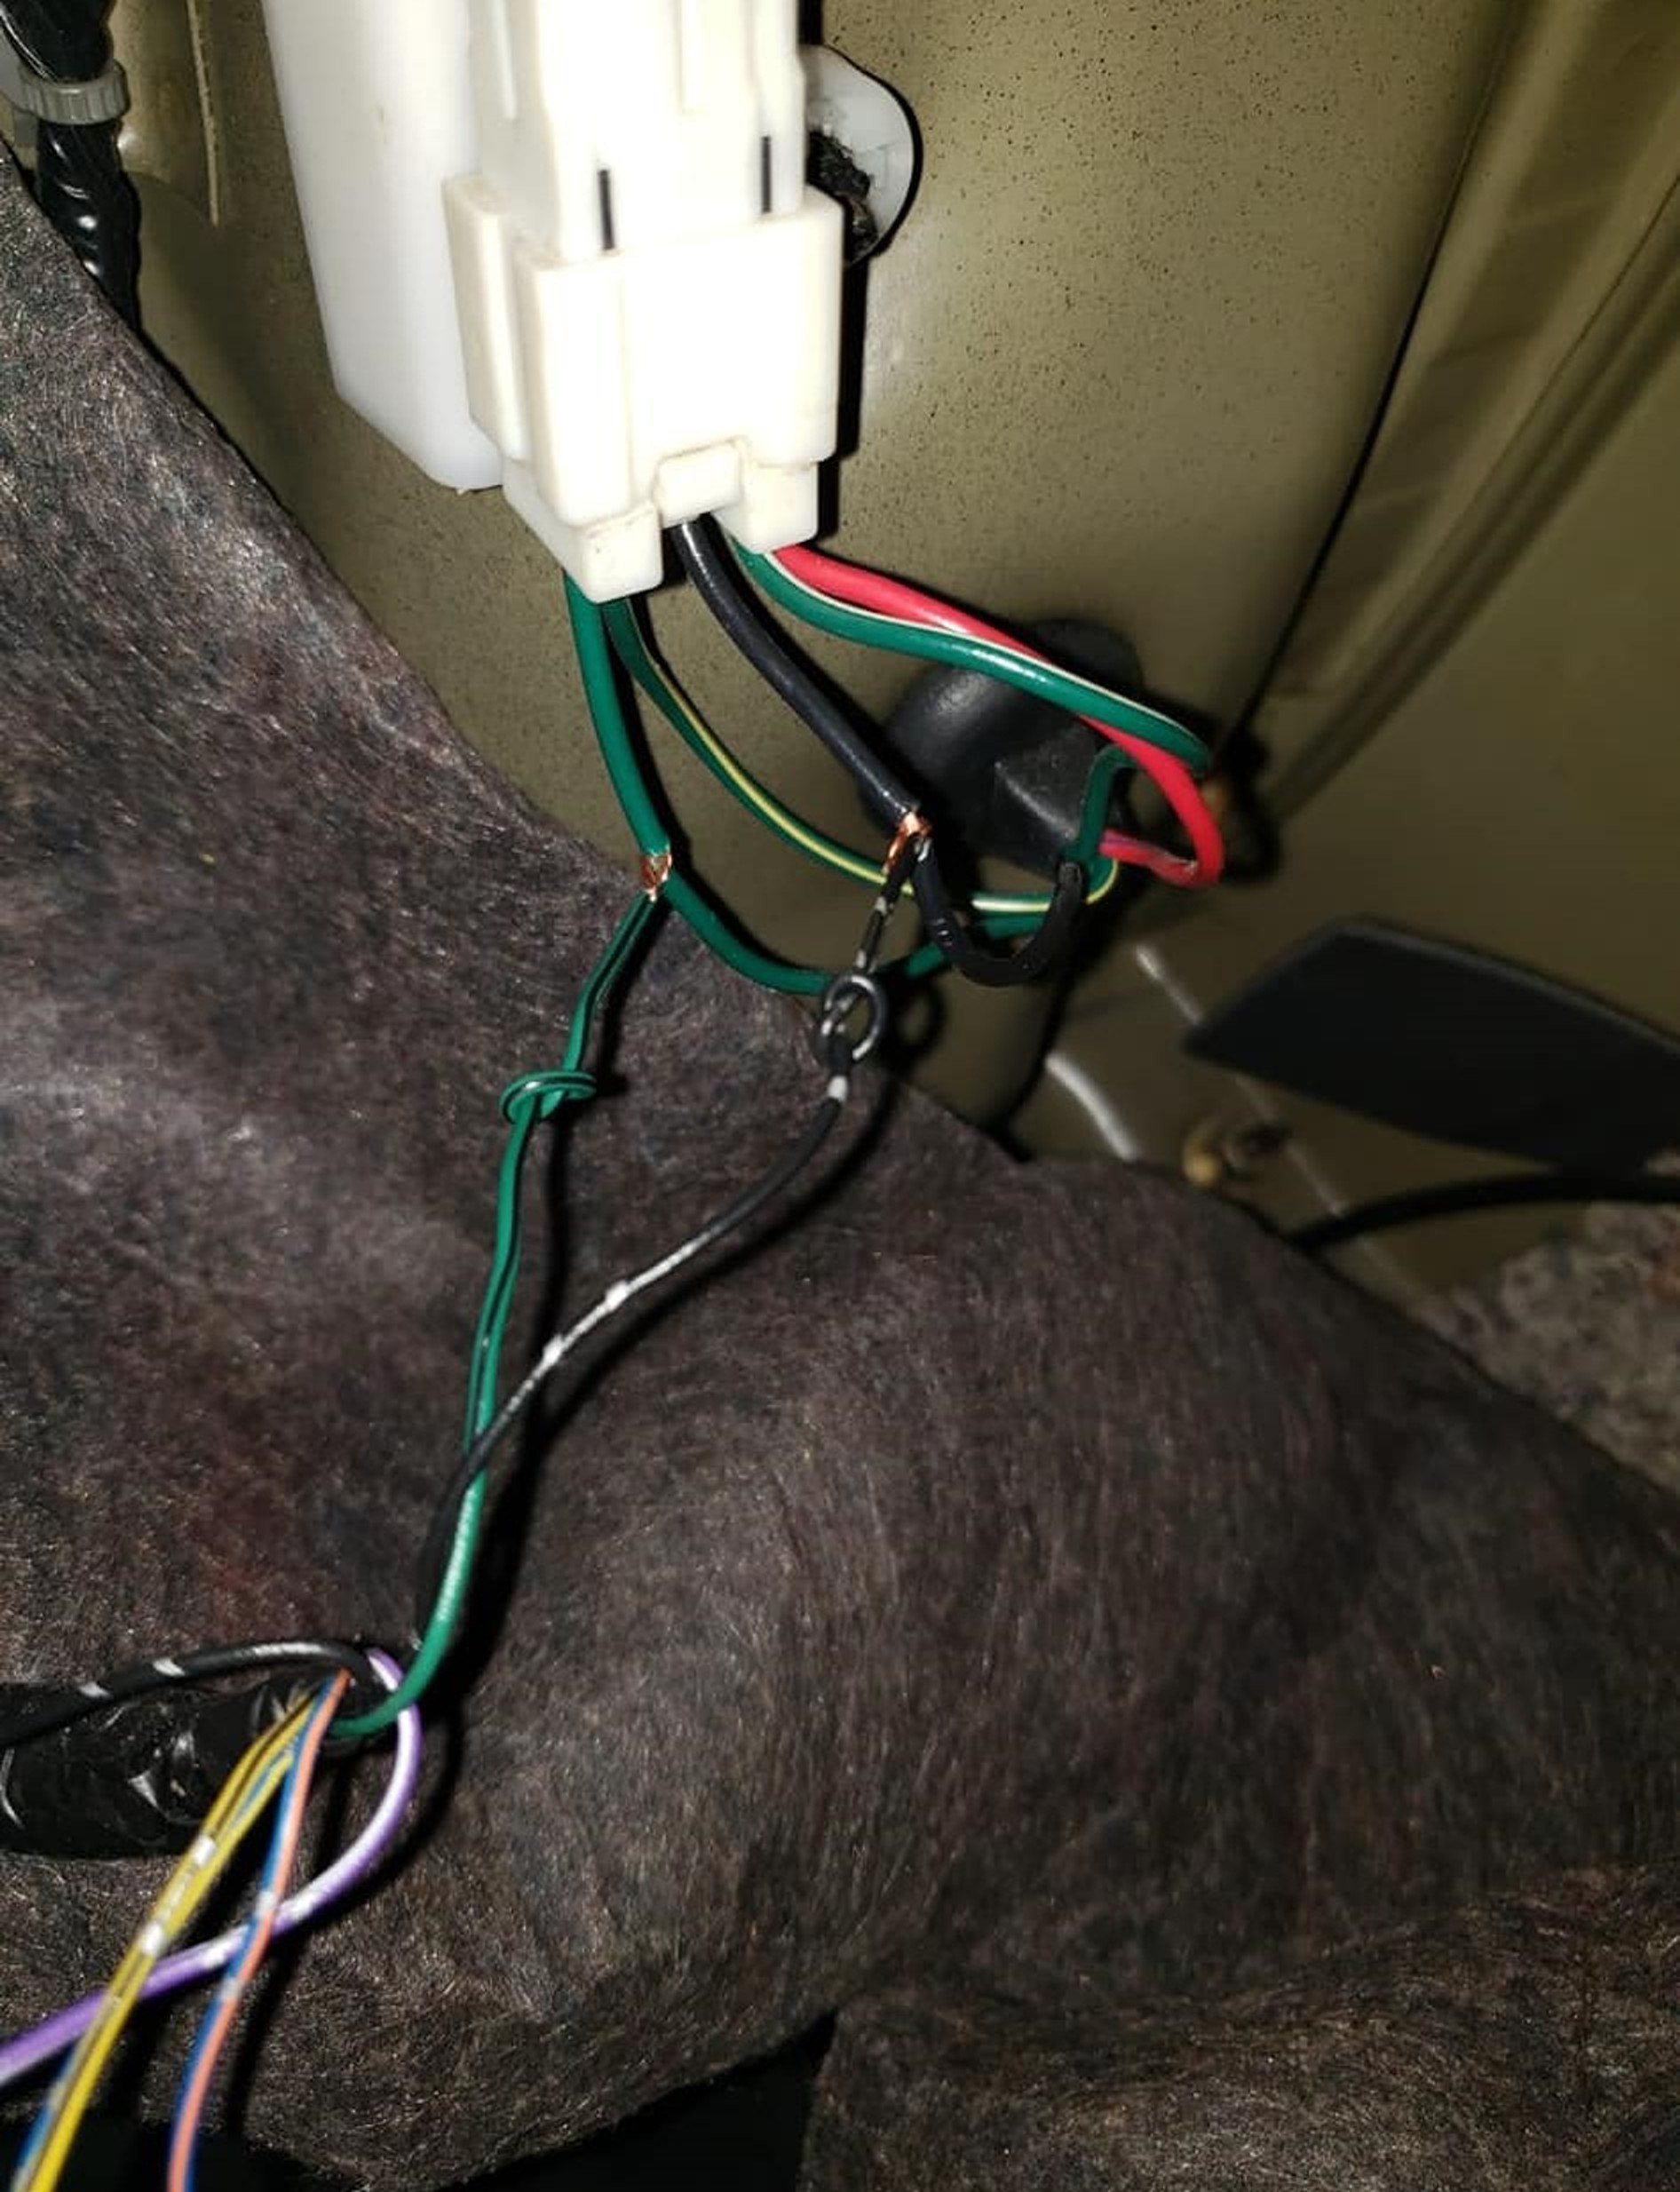
Locate the mirror harness. You will be splicing into the harness using the above wiring schematic. Repeat as needed for both sides.
Note: I kept the stock wiring intact just in case i decide to go back to the original mirrors, its plug and play.

Drivers Side

Passenger Side

Once the wiring for the mirror movement is complete. Proceed to wiring the power and ground for the signal lights. I ran mine from the rear turn signals. You will be tapping into the black and green wire at the harness. Once you tap in, you will need to route the wire to the front. I ran mine through the panels and through the grommet at the door.


Once all wiring is done, you will now need to mount the mirrors.
Note: This is not a perfect mount. It will not be as clean and flush as the stock mirrors were mounted. But if aligned properly, it can be made to fit neatly. I am including a picture of how my passenger side was mounted to give you an idea.
Once mounted, you will notice a small portion of the mounted portion will need to be shaved off as it touches the mounting on the car when the door closes. I used my Dremel here.


In order for it to fit flush, you have to trim the bottom part and the little triangle insert on the opposite side.
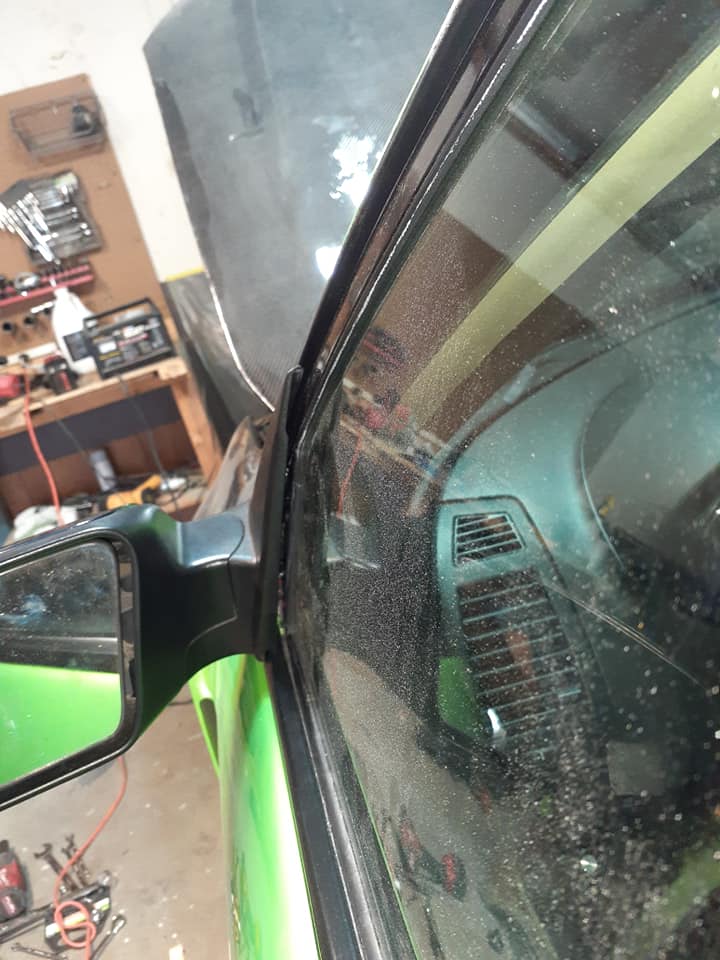

Flush
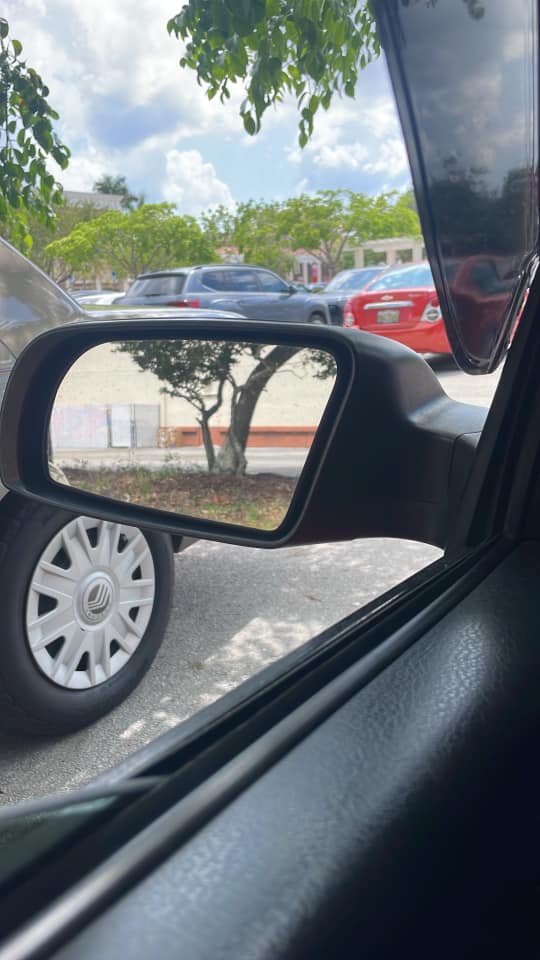

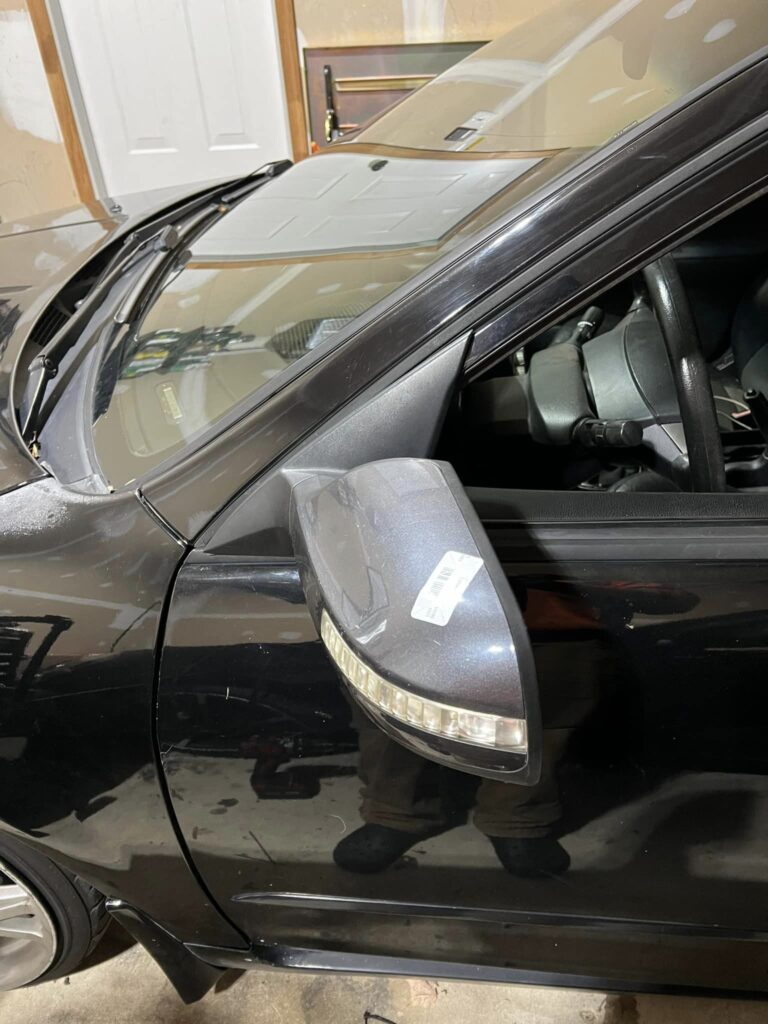
Credit: Jiancarlo Smith
I’ve created a write-up for installing the driver’s side mirror, using a different diagram. Included are photos and a spreadsheet documenting the process. The mirrors are from a 2010 Altima. I chose to route the signal wires to the trunk for convenience and easier concealment, despite other possible routes.
Please note: If you’re not confident in drilling or wiring, it’s advisable to seek help from someone experienced. I hope this information is useful.