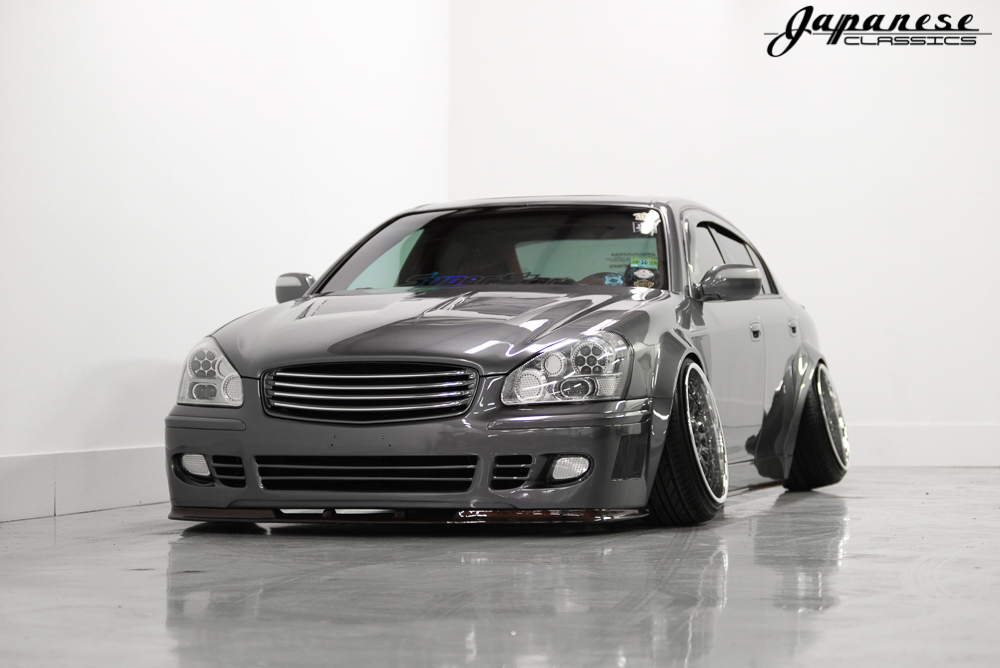
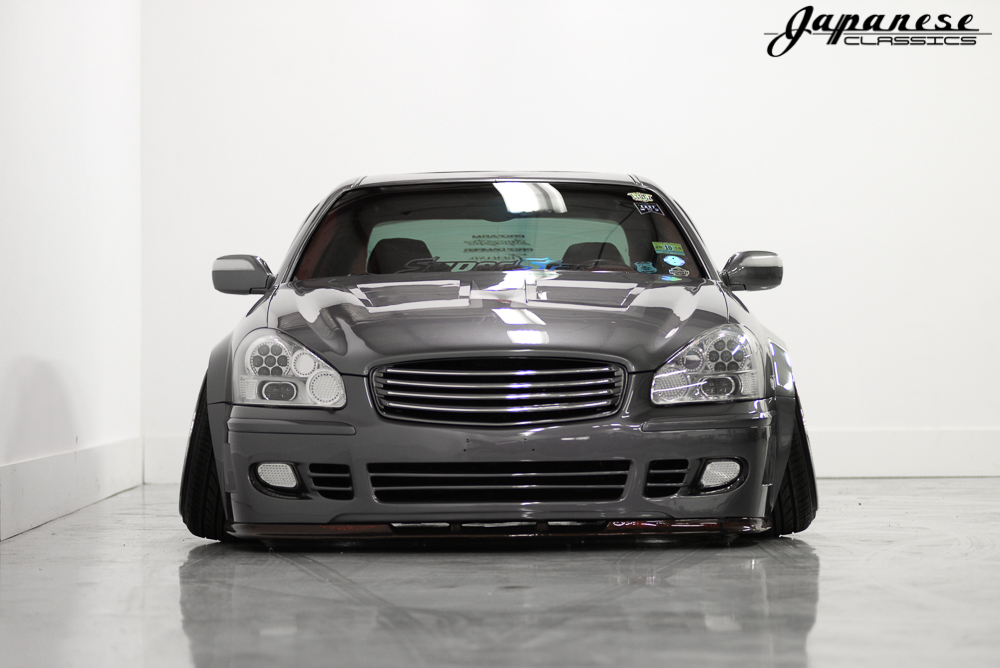
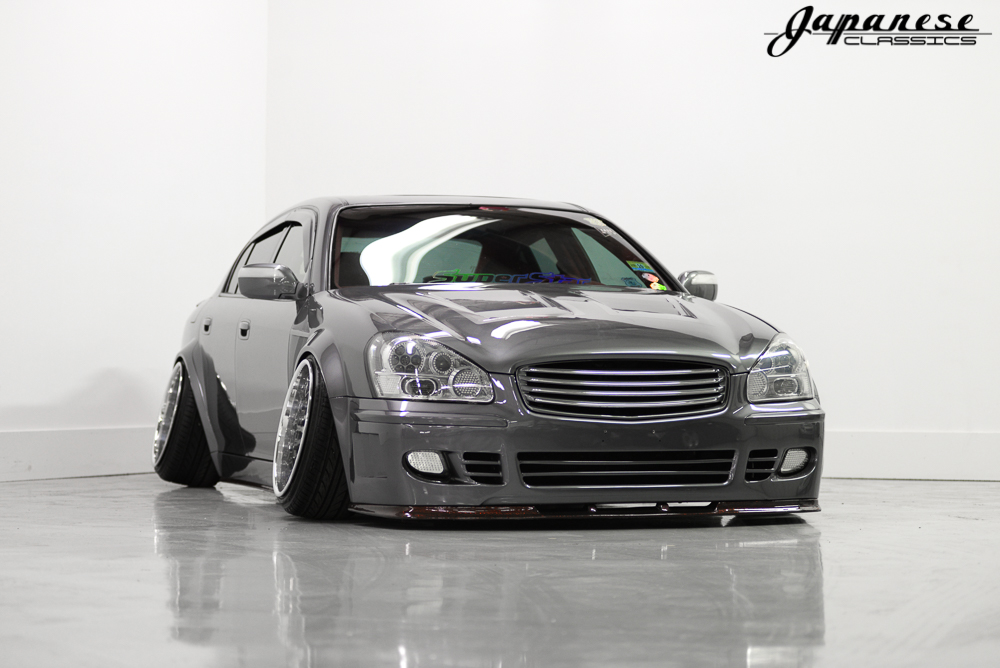
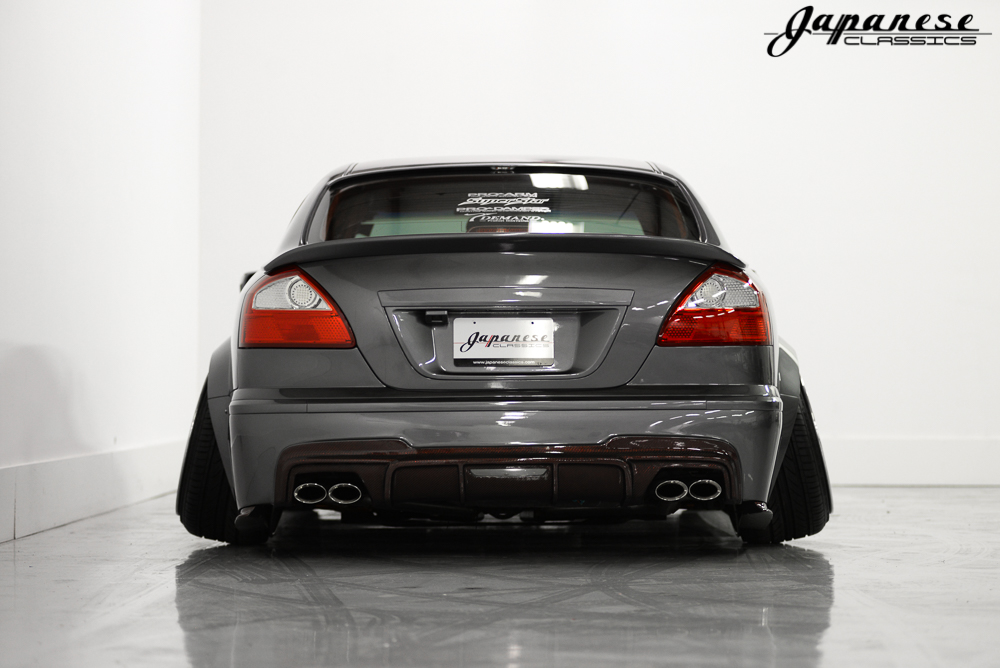
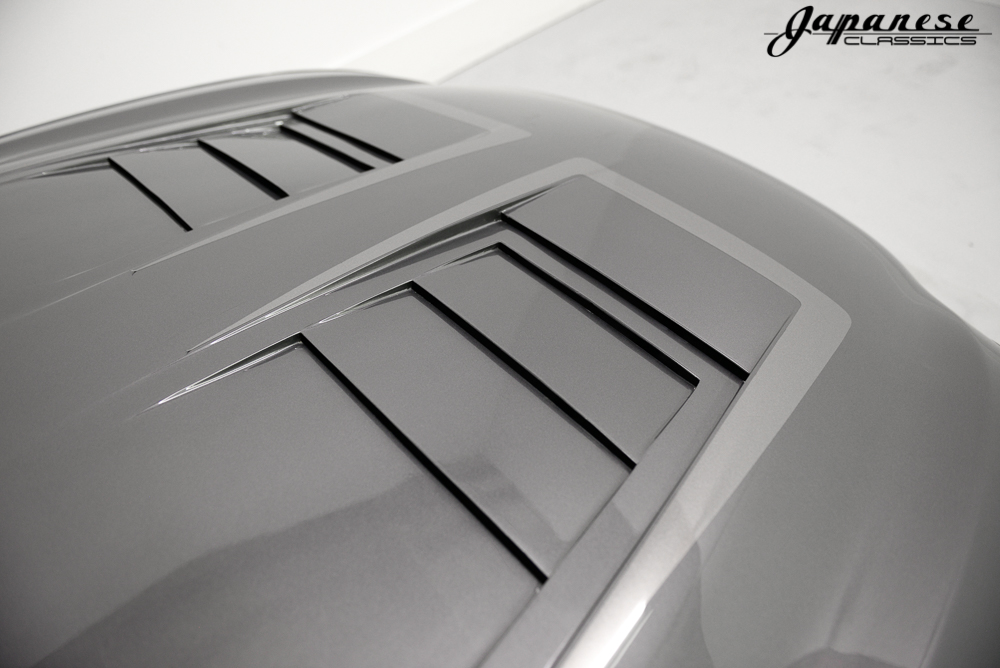
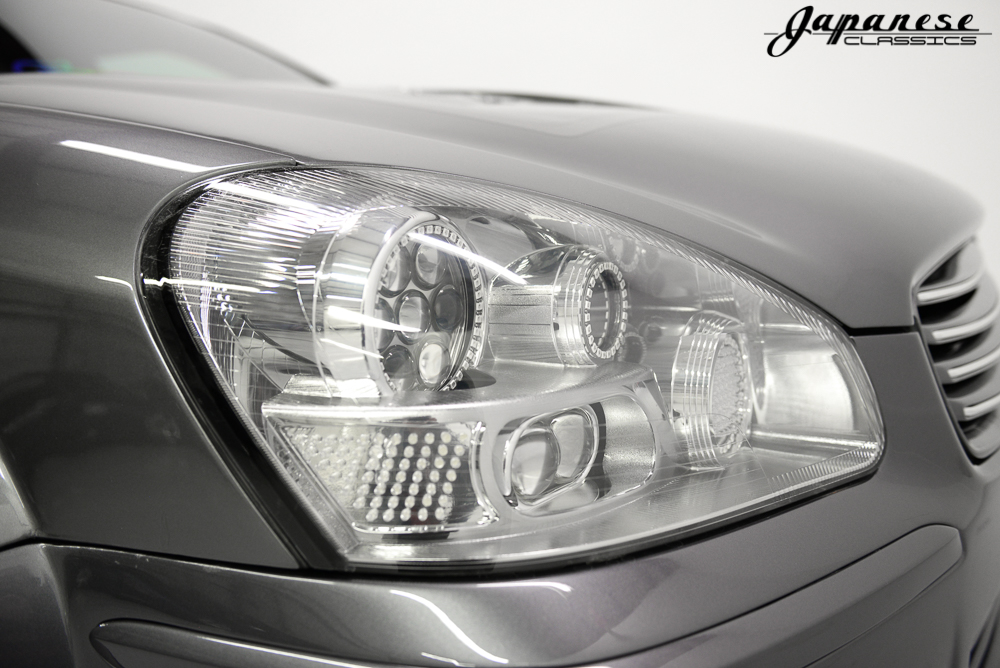
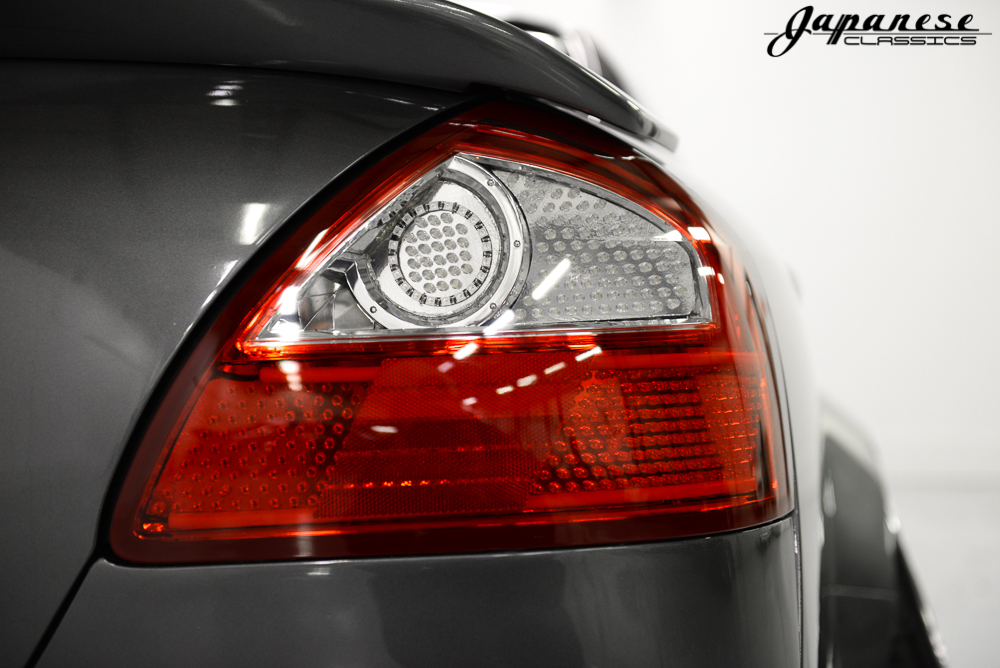
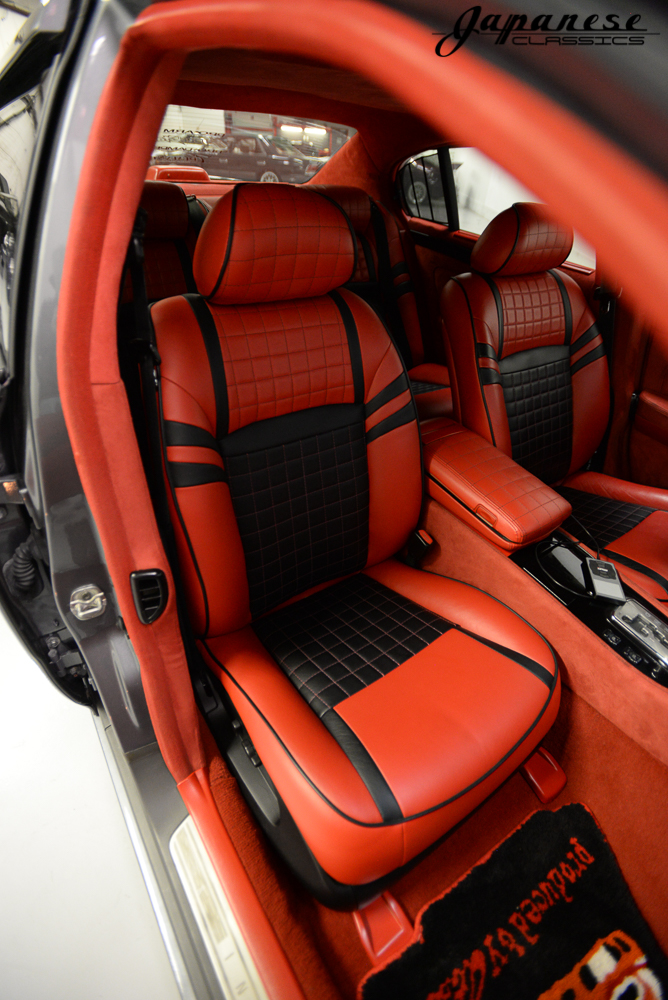
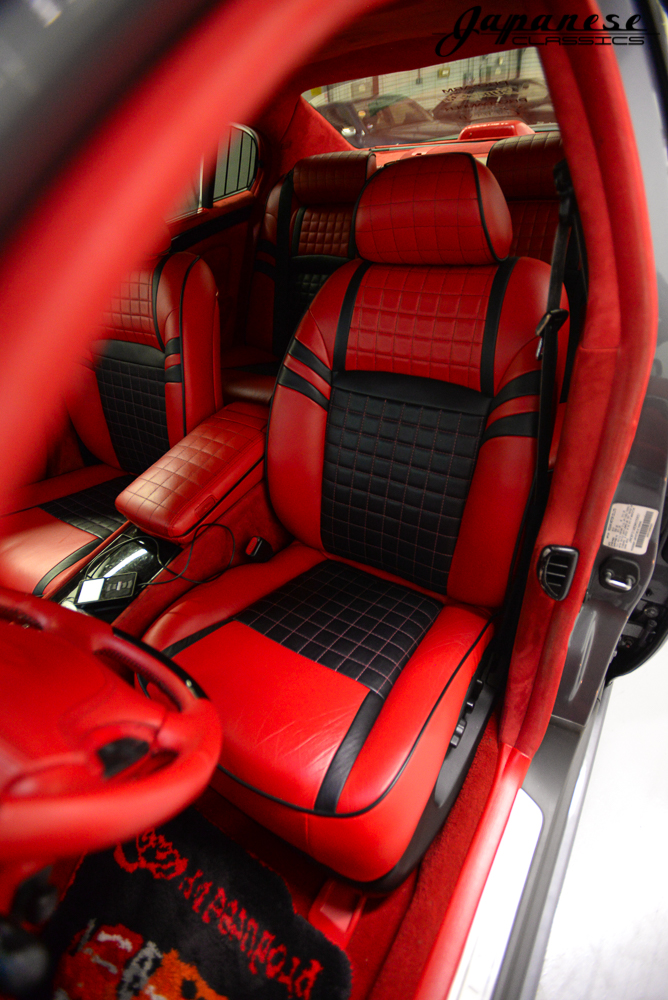
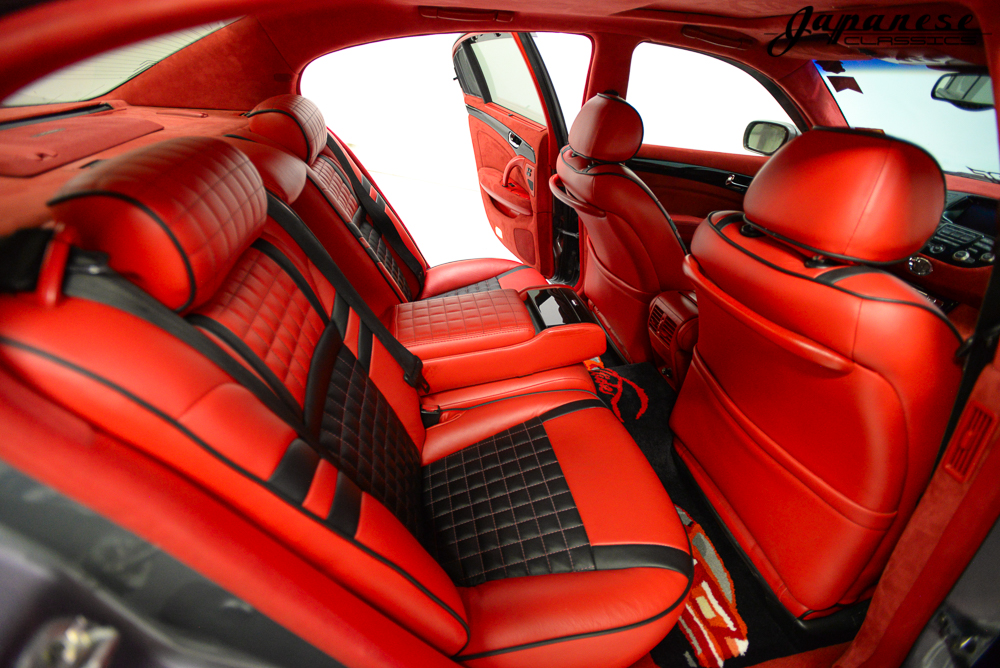
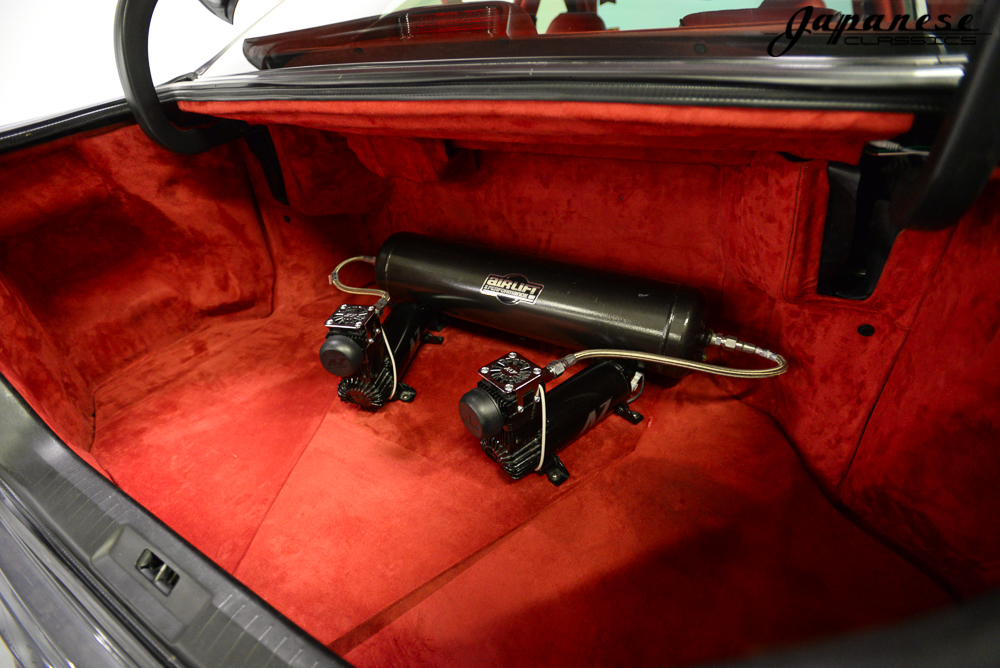
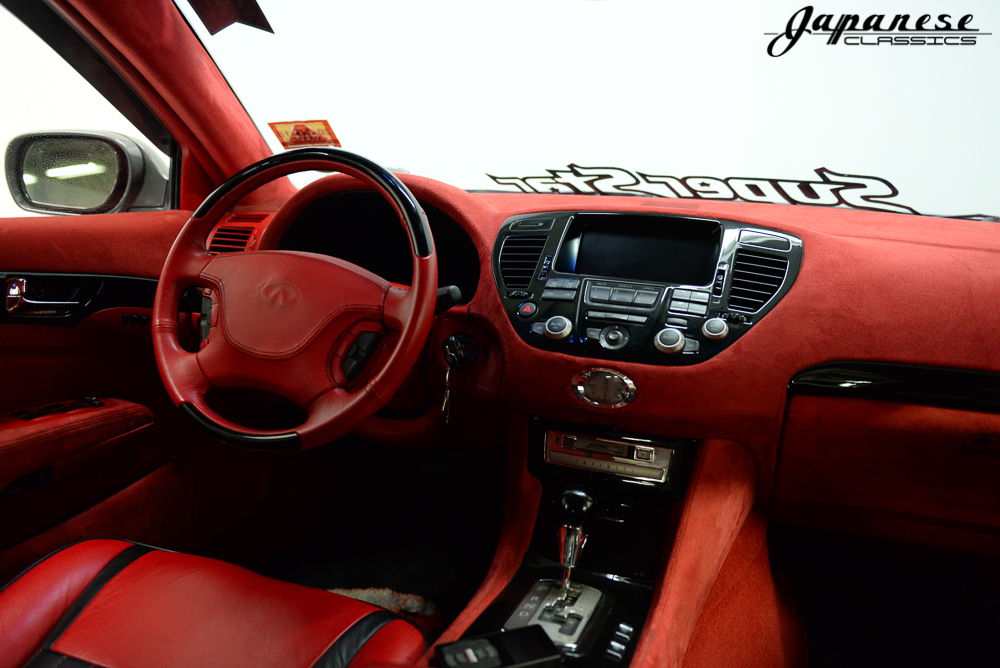
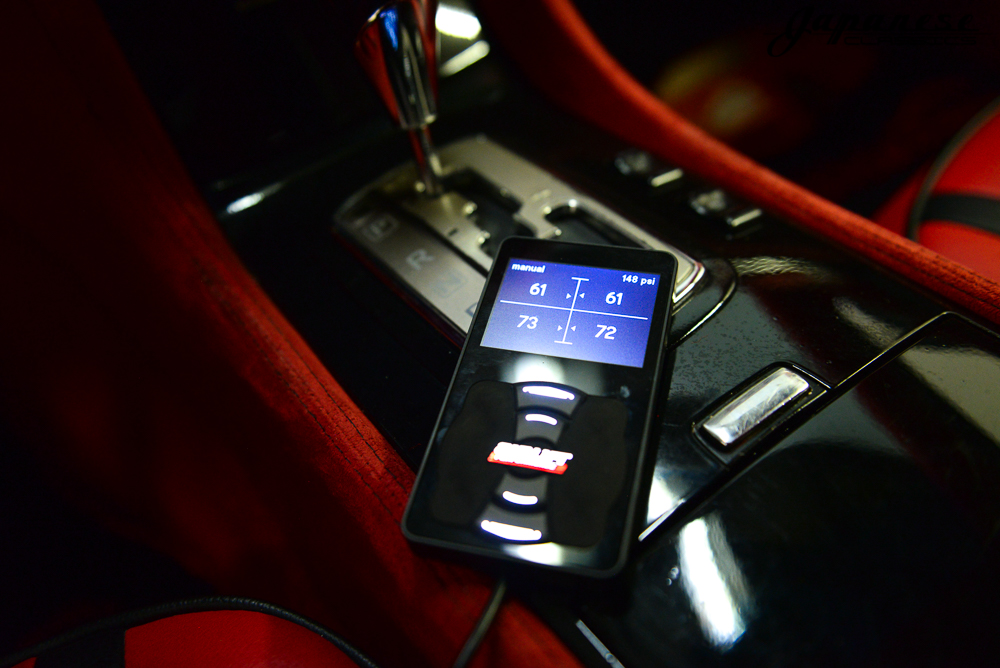
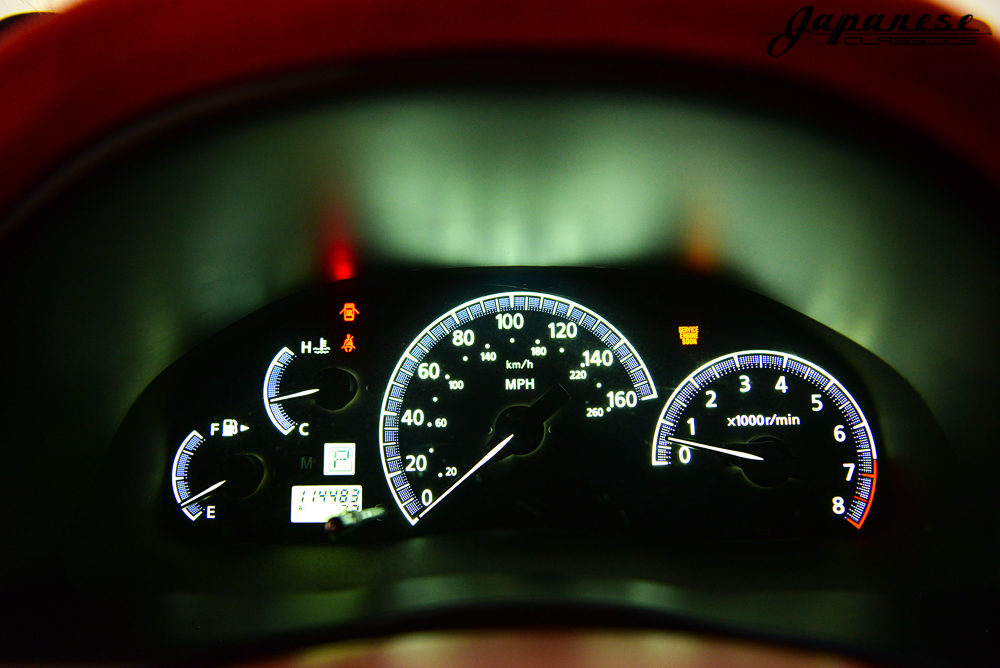
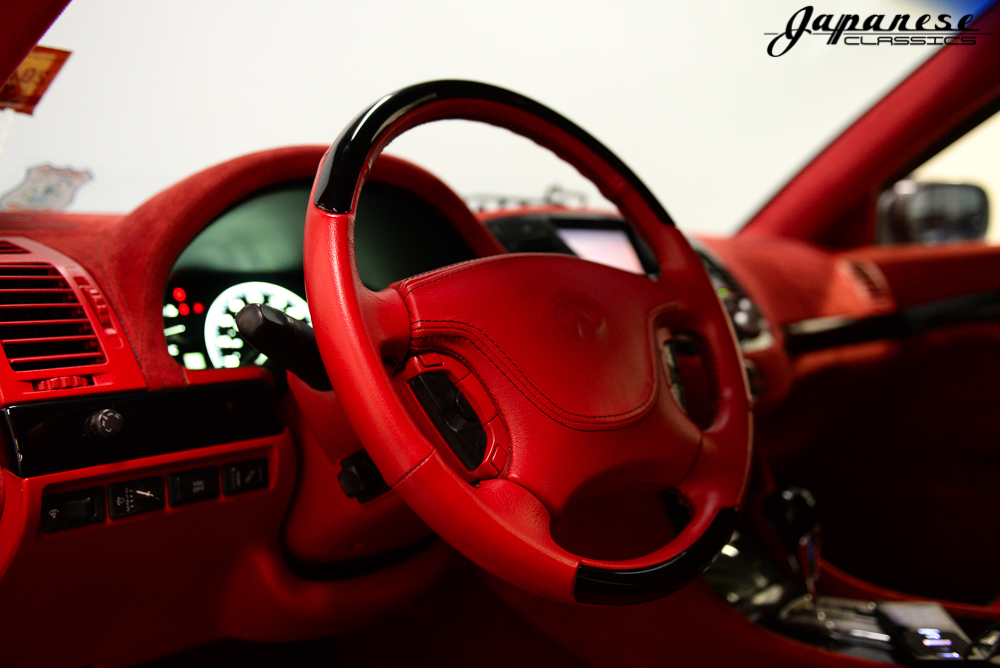
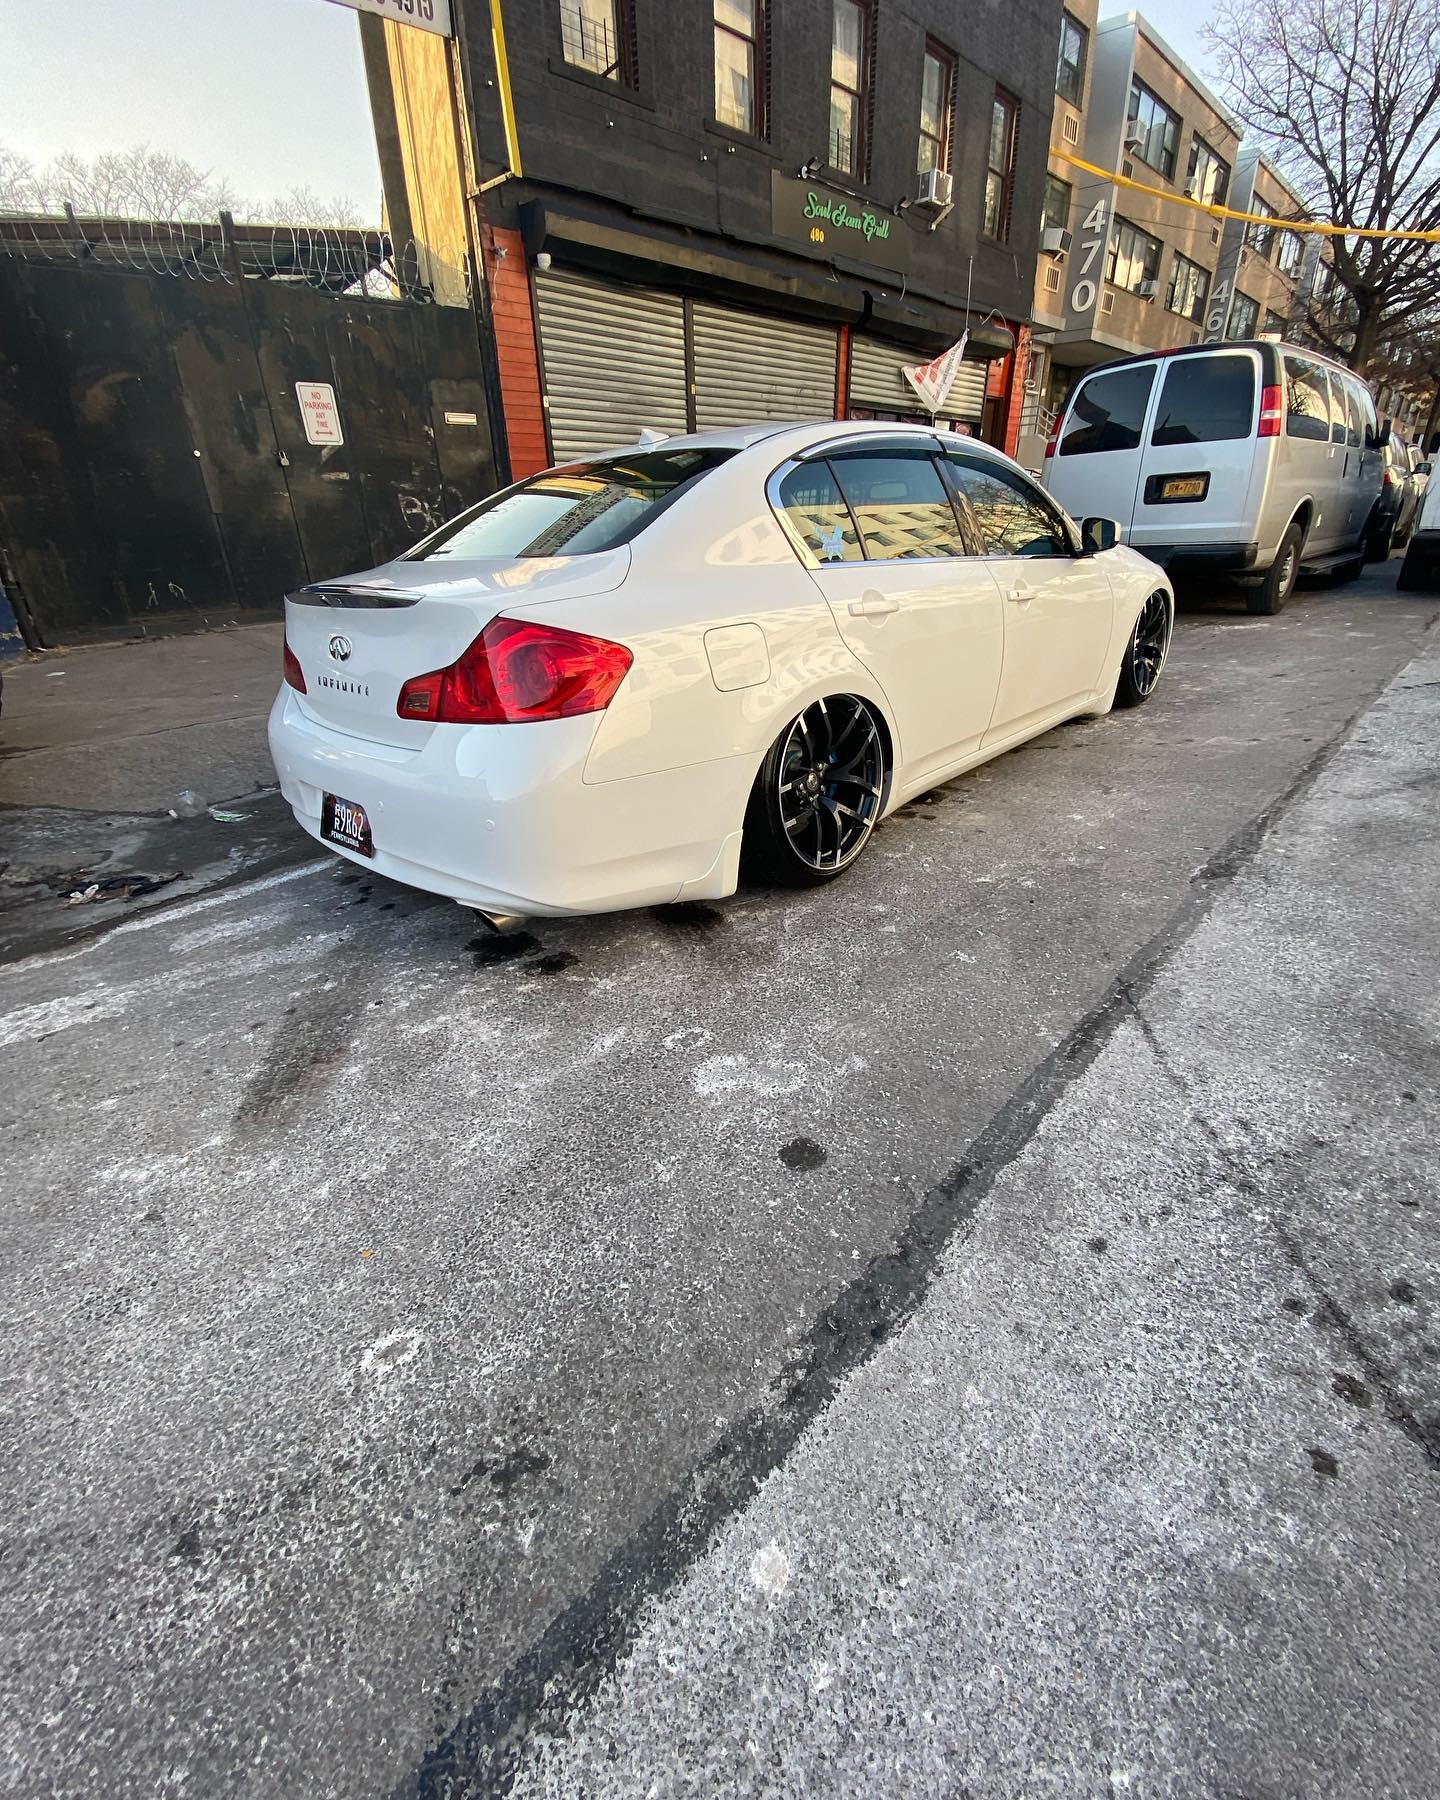
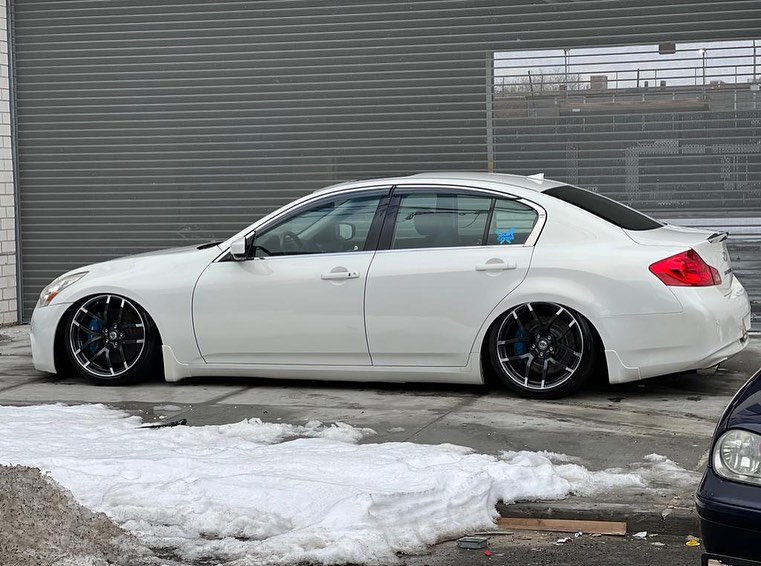
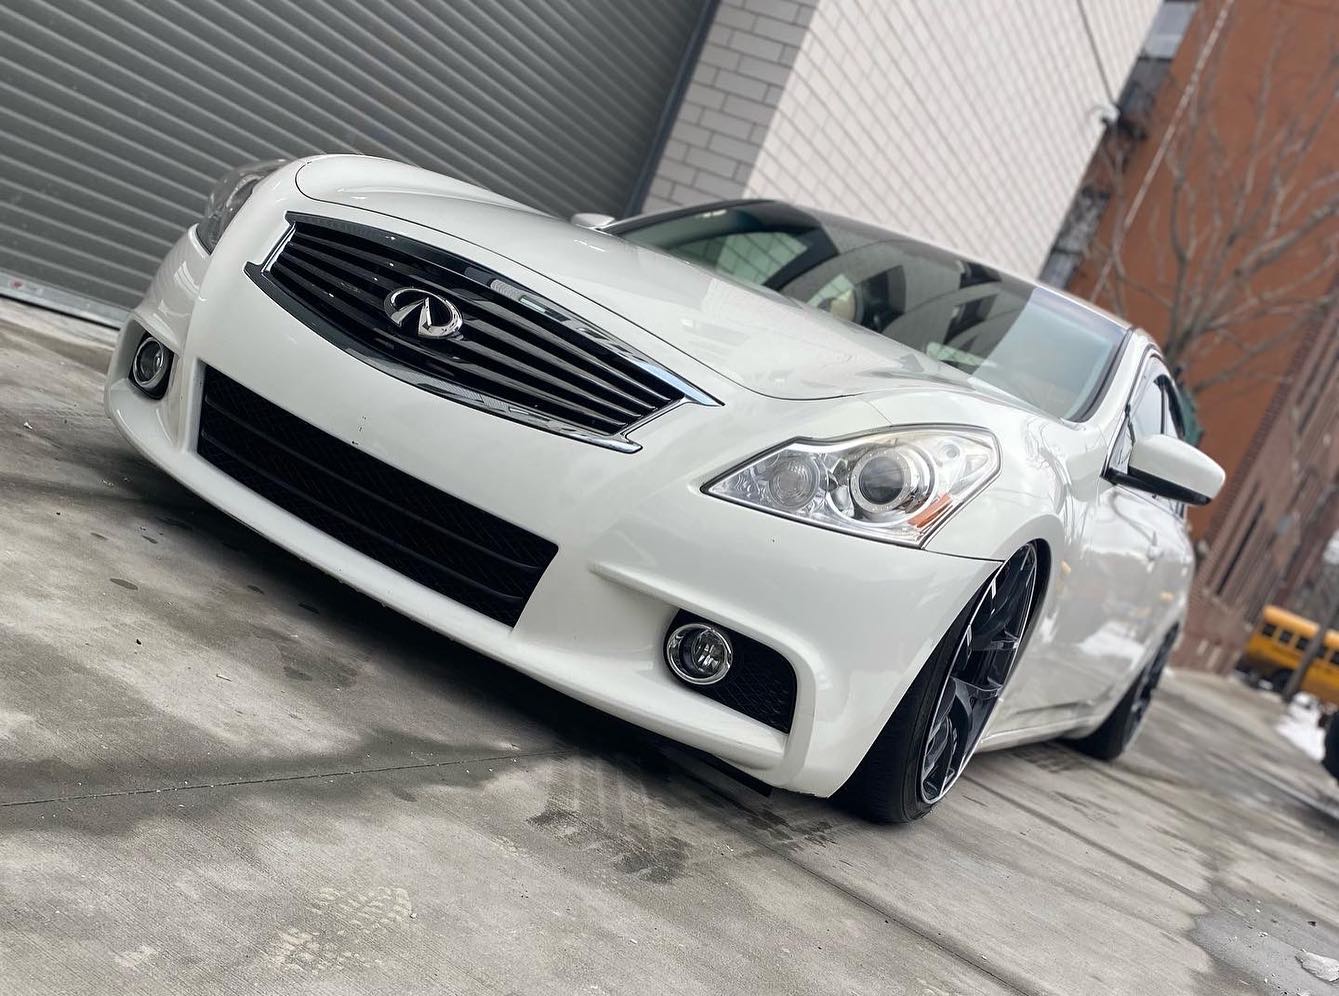
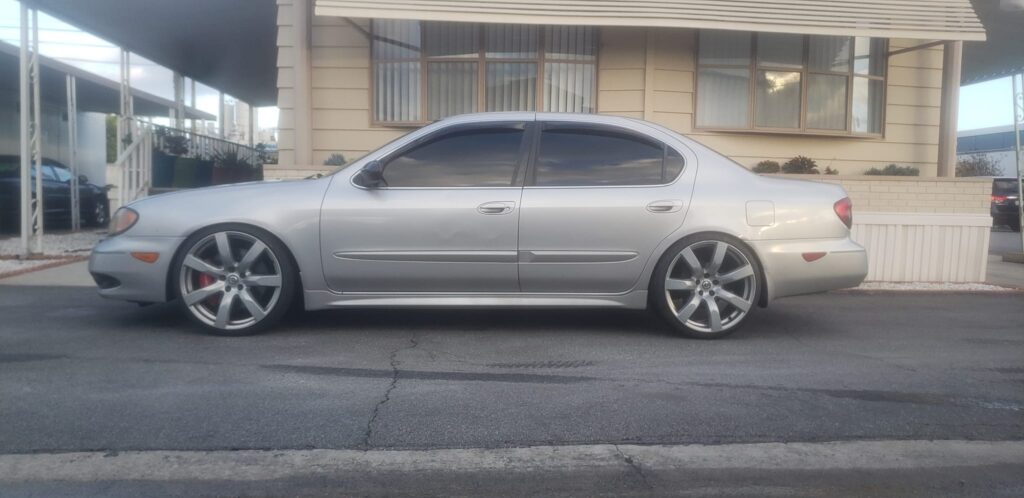
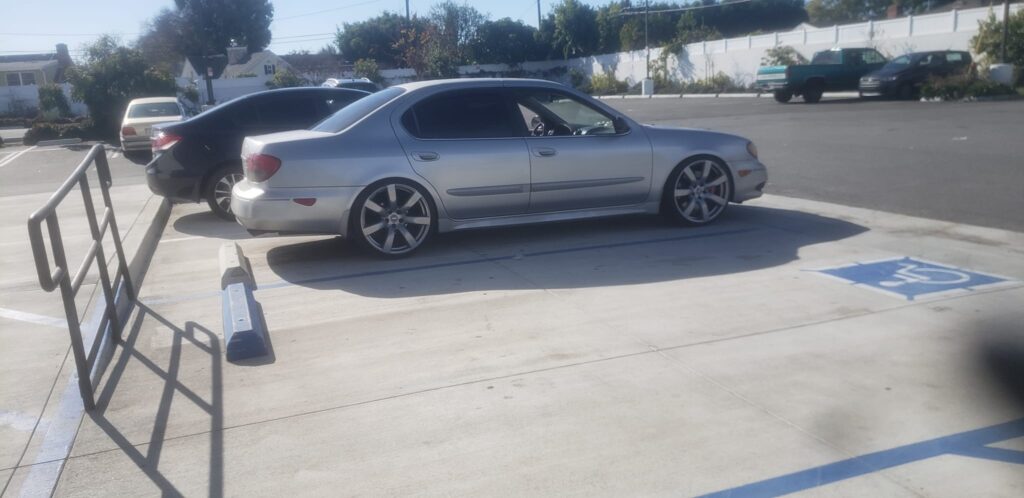
Price Reduction: 2002 Infiniti Q45 F50 (USDM) – Award Winning Show Car, VK45DE, A/T, Mode Parfume Aero (one off), BC Coilovers + Bags, T-Demand Arms, One Off Fenders, One Off Hood, One Off LED Headlights, One Off LED Tail lights and Fog Lights, too much to list! Originally built by Super Star Customs in GA. Here’s your chance to own a true to form vipcar in the US at a fraction of the build cost! Offered at $18,995
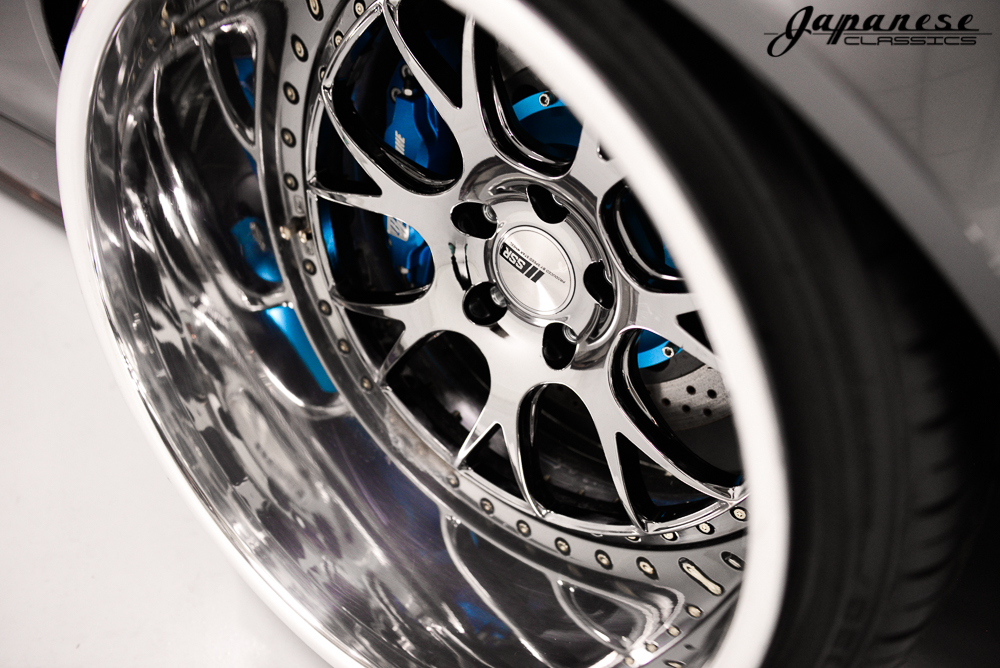
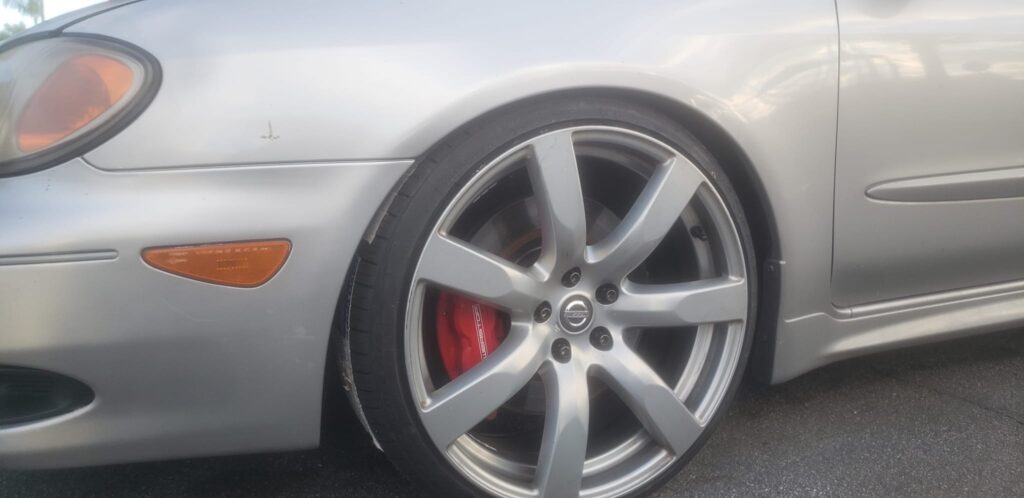
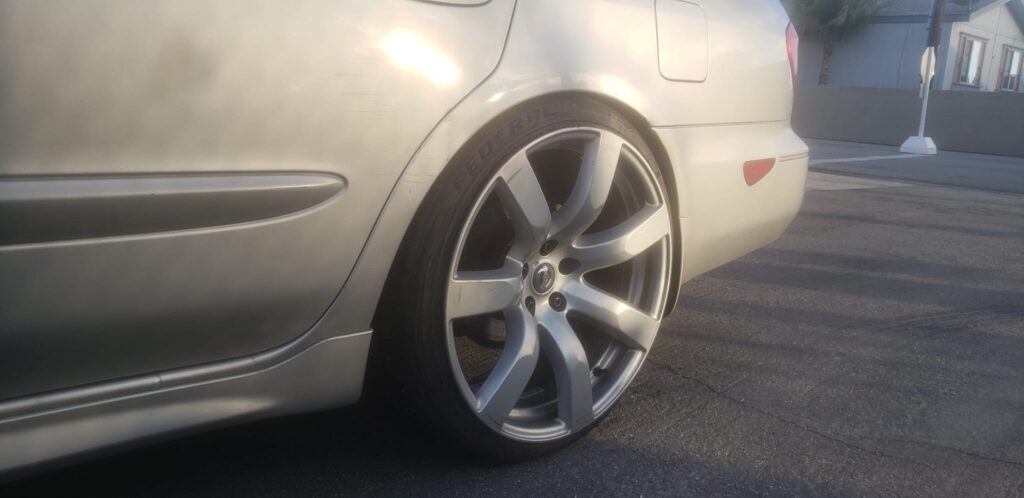
Wheels:
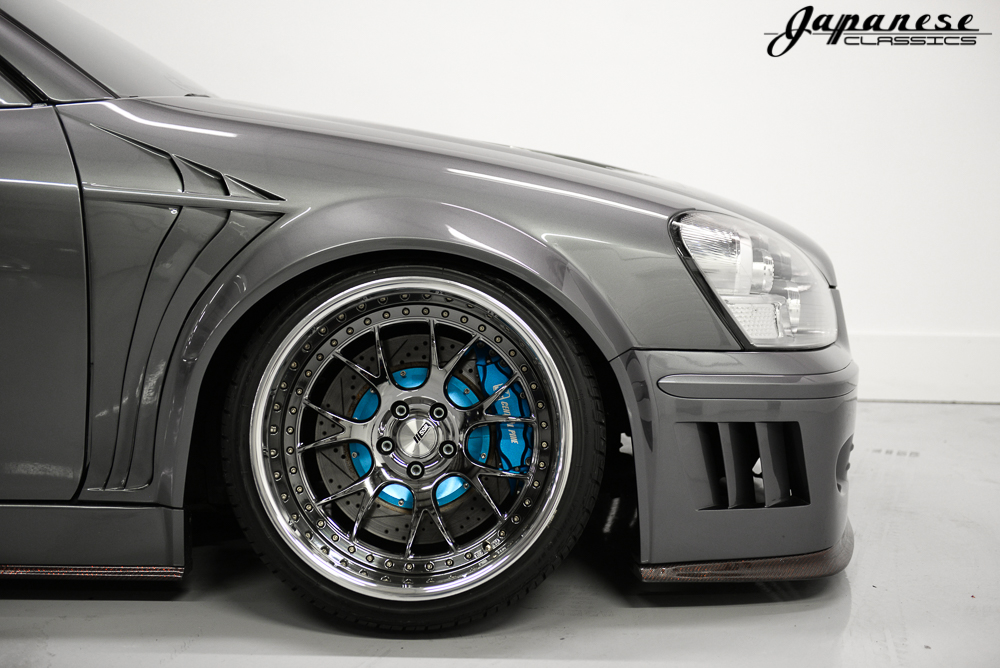
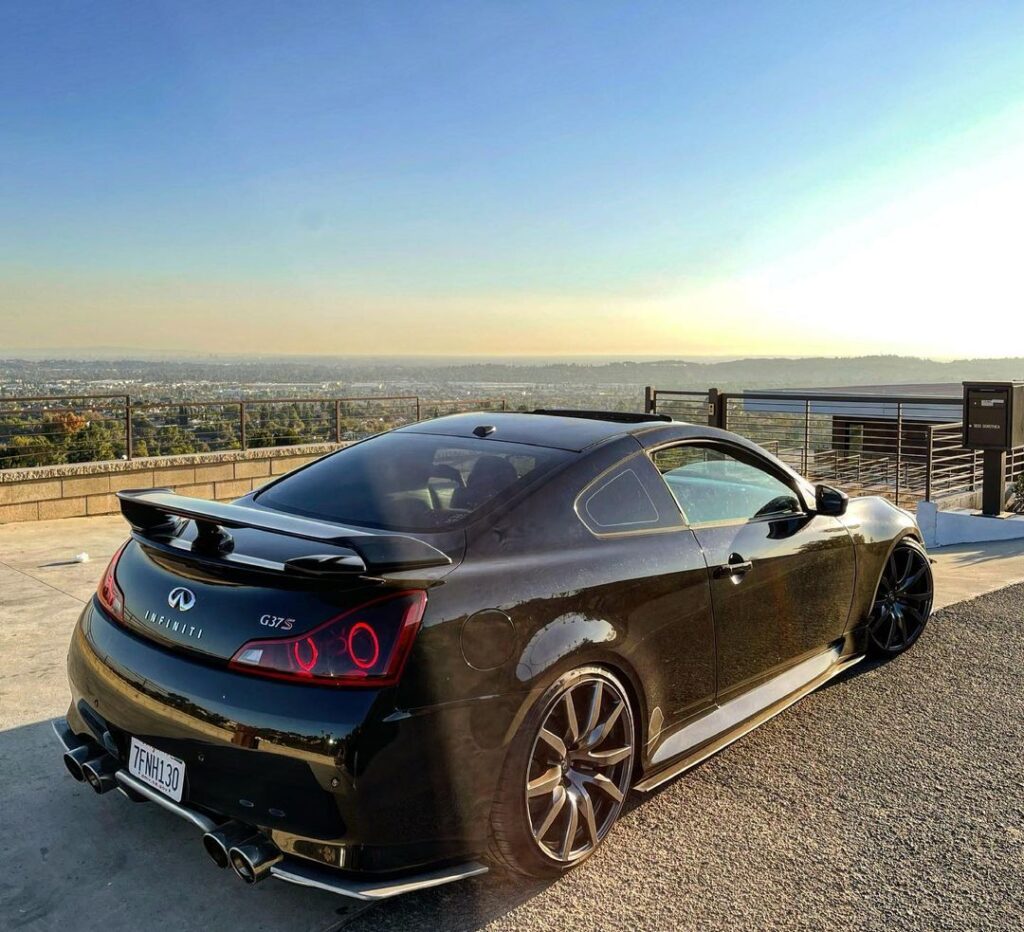
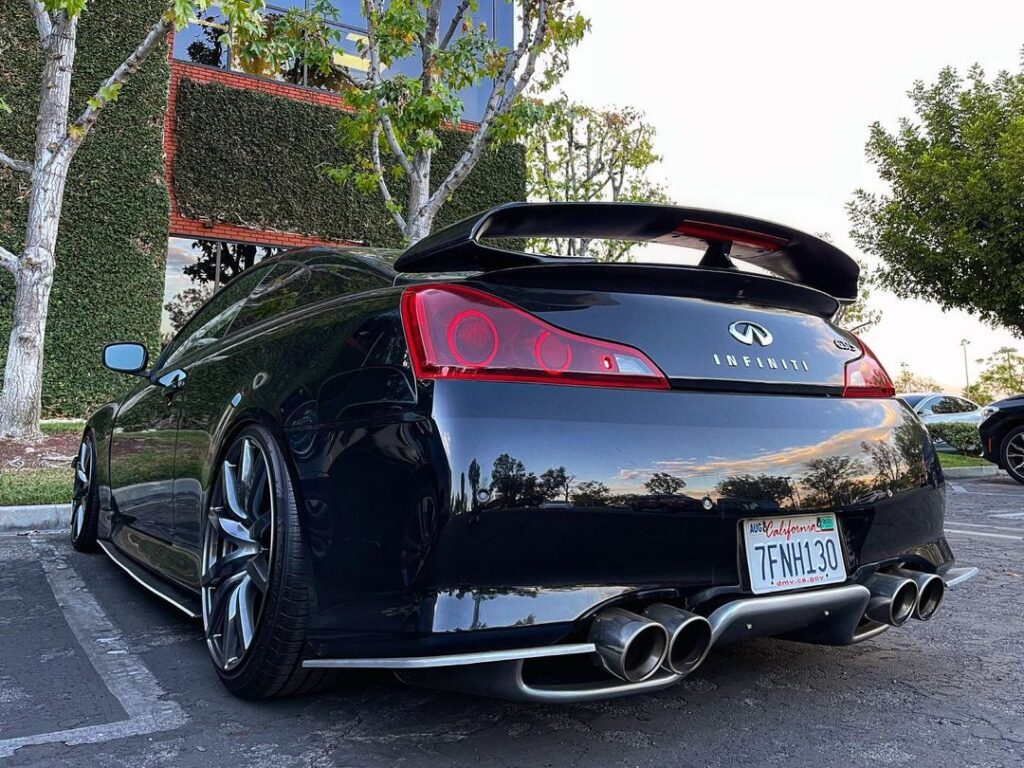
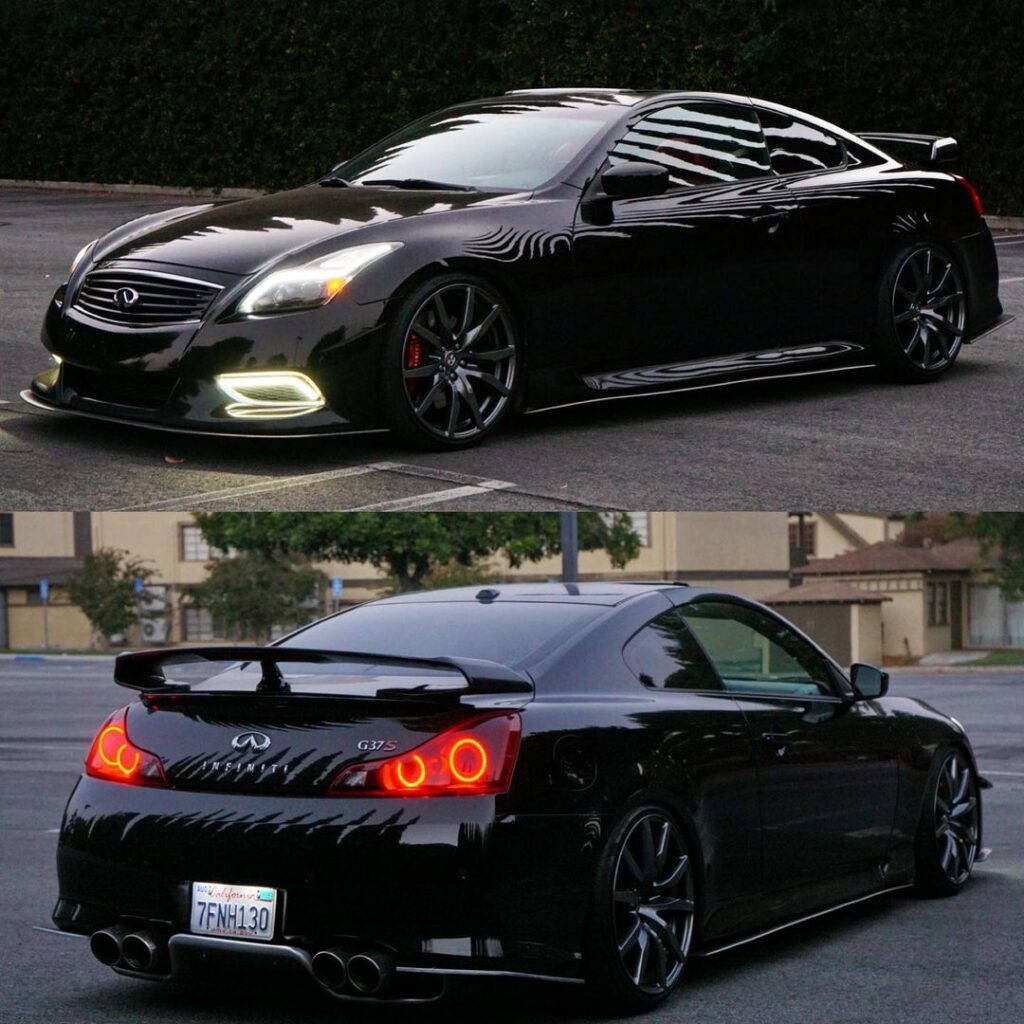
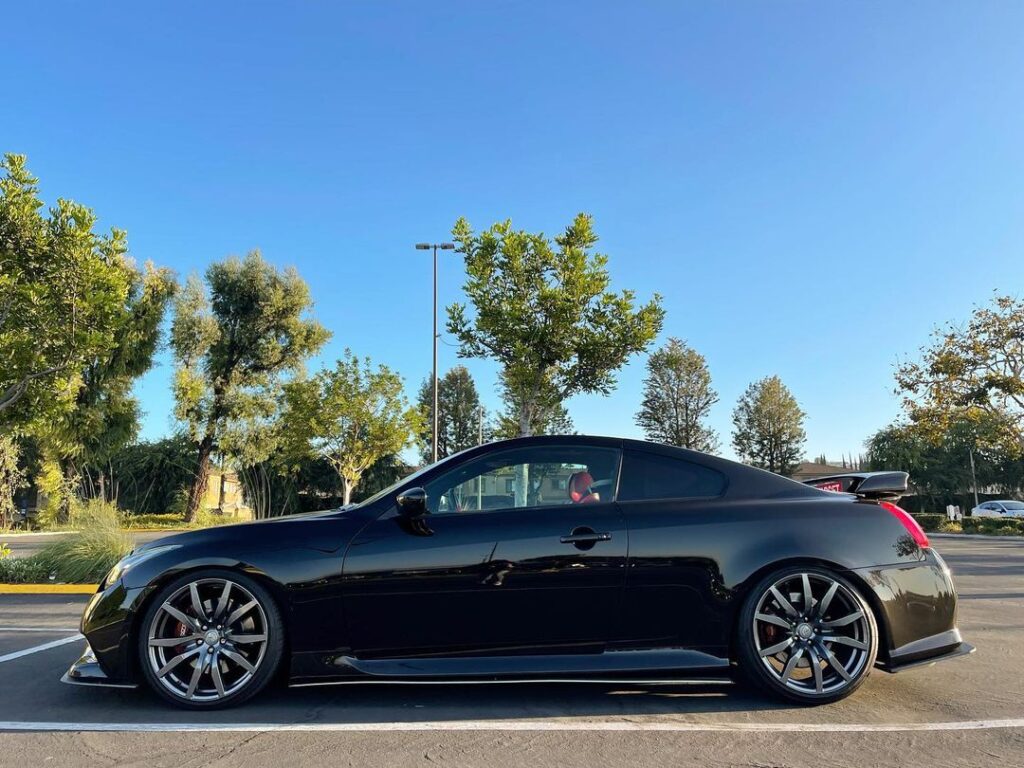
Brand: SSR MS3
Wheels: Front: 19×11 -57 and Rear: 19×12 -91
Tires: Delinte D7 Thunder Front: 235/35 and Rear: 265/30
I had to change mine yesterday and had the devil’s own work trying to find out how to change it. 2hrs and lots of swearing, dirt, and scratches later, I figured others would appreciate a picture tutorial so here it is:
Supplies you need:
– Phillips screwdriver
– Flat screwdriver
– 10mm hex (socket would be best)
– H3 55w bulb
1. Turn your wheel towards the side you’ll be working on.
2. In your wheelwell, find 2 clips that secure the fender lining on and pry out their “stems,” they look like this:
3. Unbolt the 10mm bolt right behind your tie-down tab.
4. Unscrew the phillips screws along the lower edge of your bumper
5. Push the lining back into the wheelwell to access the corner light/fog lamp
6. Unbolt the 10mm bolt and remove the corner light shown below:
*caution – do not mess with the 8mm hex/phillips bolt – that secures the fog lamp reflector inside the housing
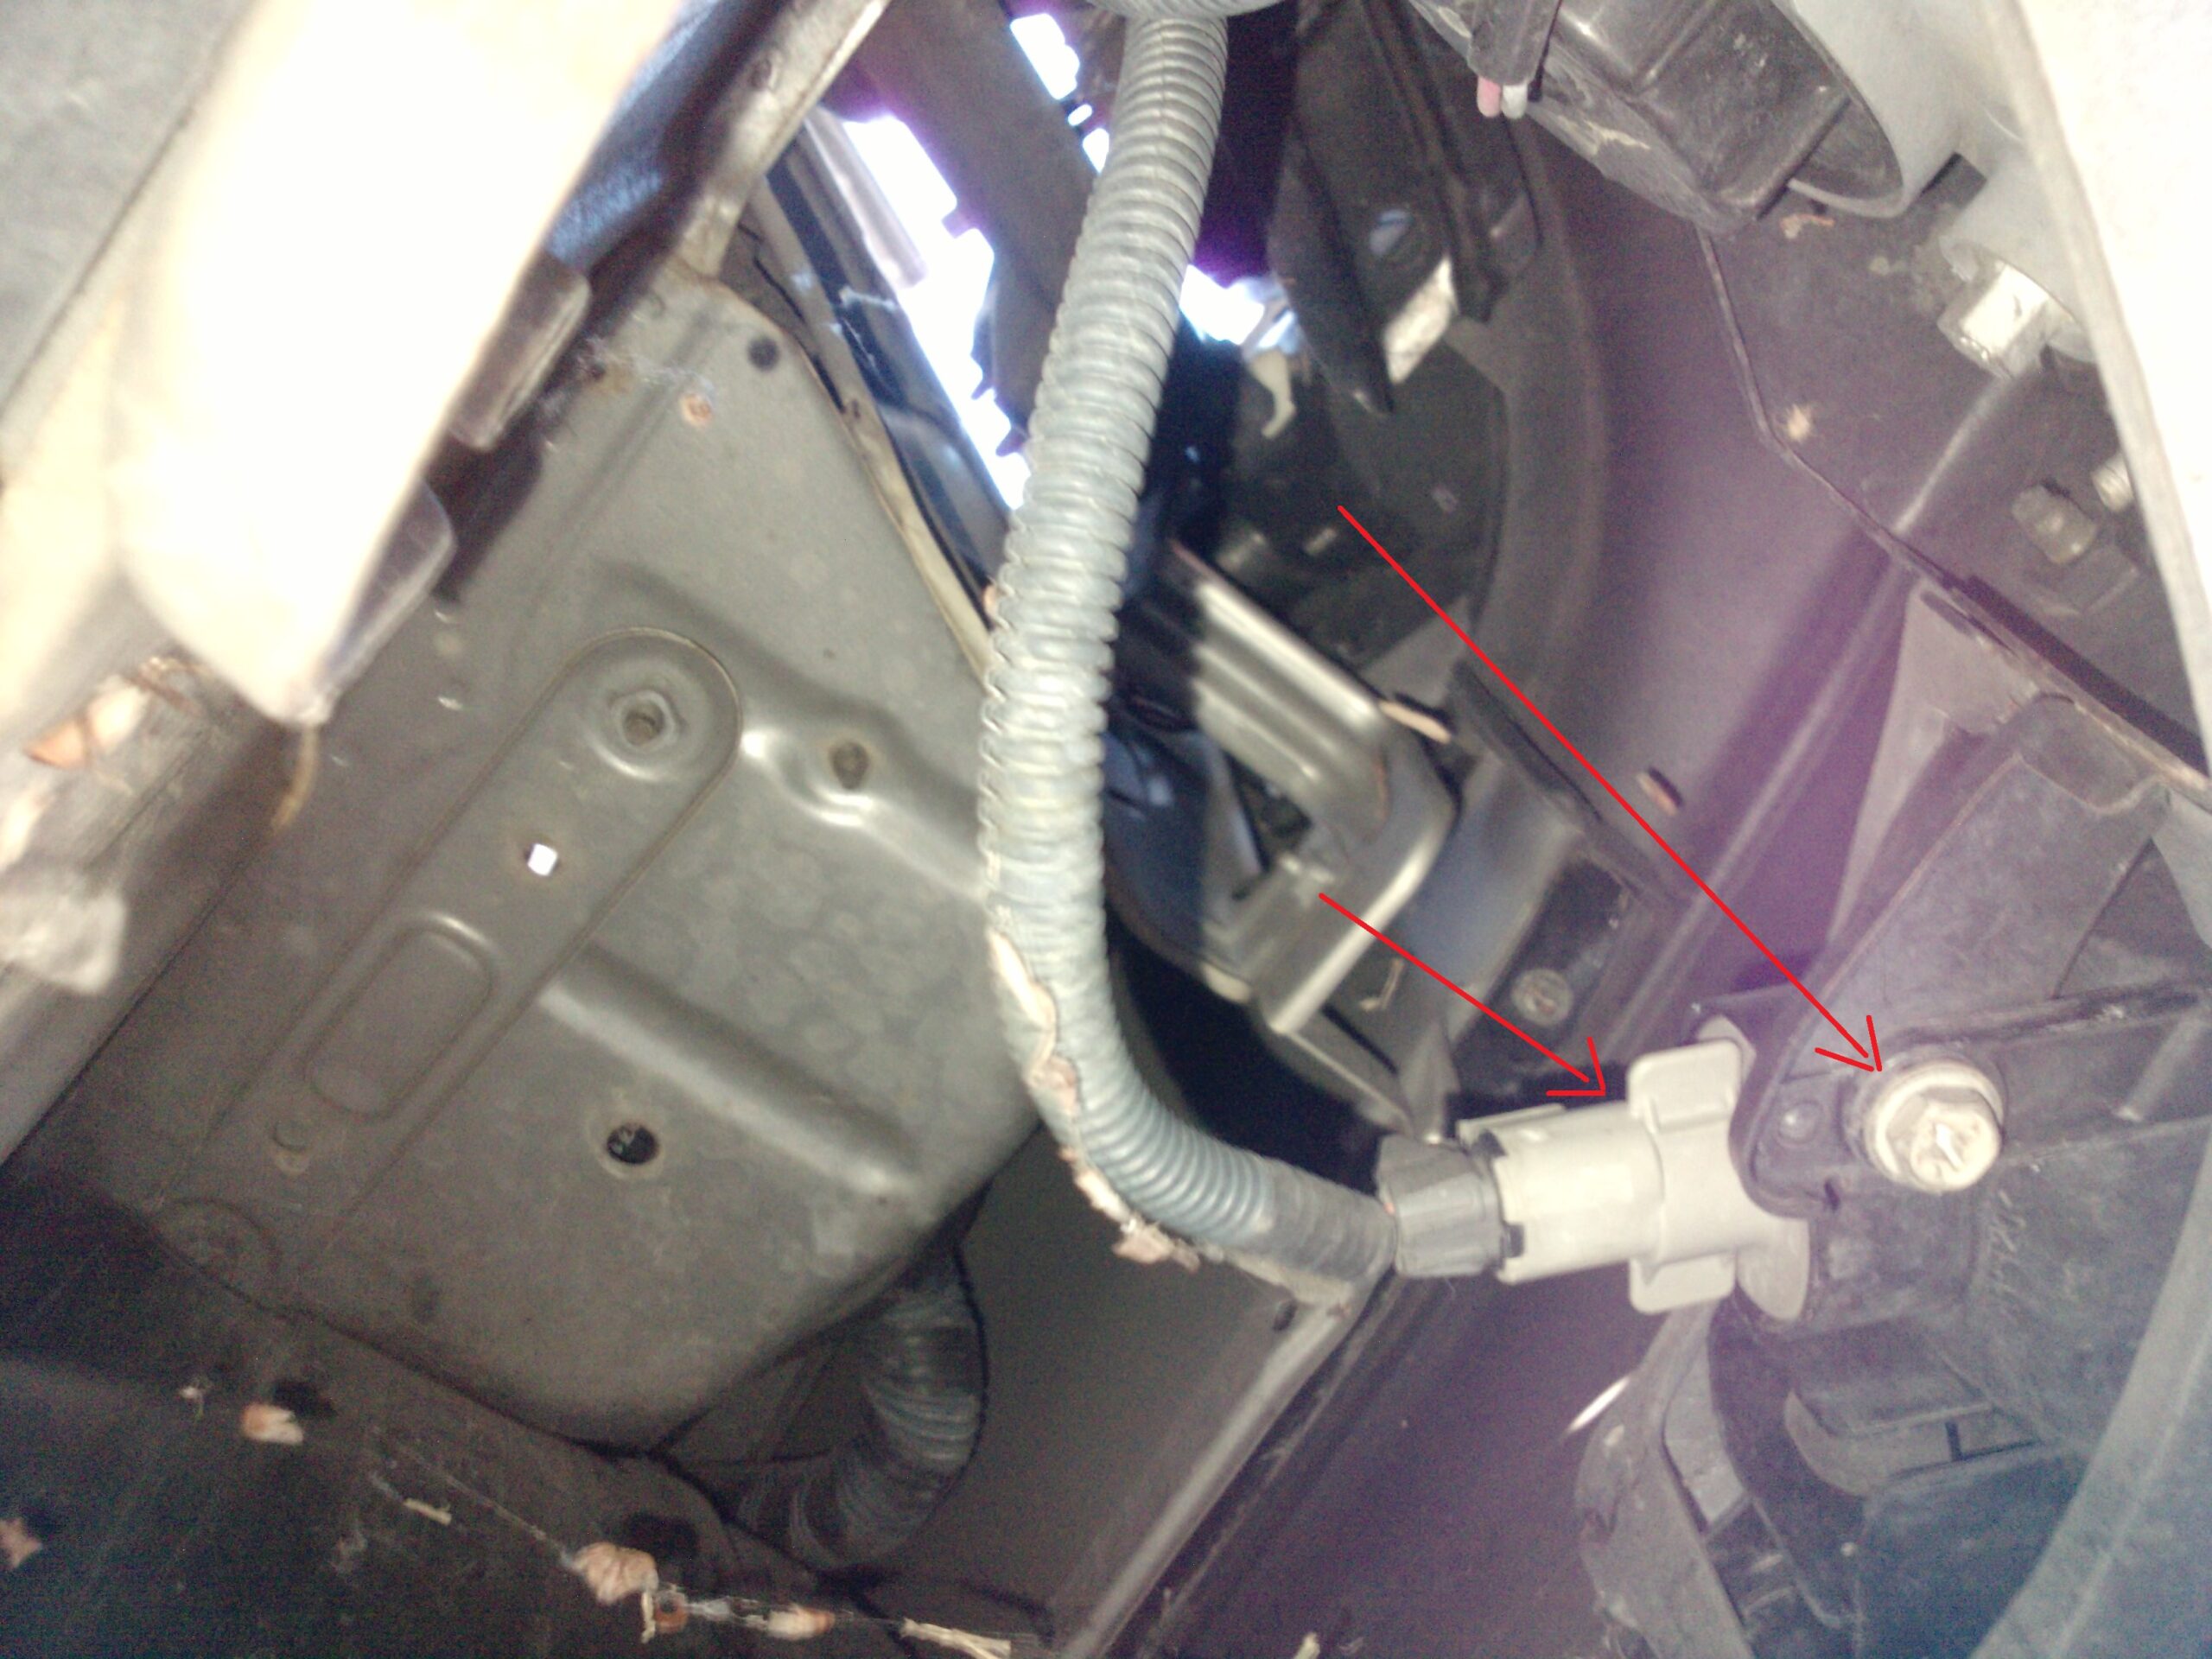
7. From the outside, take your flathead and pry the corner light forward (of the car)
8. This exposes the bolt that holds the fog lamp housing to the bumper shown below, unbolt this:
9. Pull the fog lamp assembly forward then out (from centerline) to remove
10. Unclip the harness found at the pointy end of the fog lamp to remove it from car
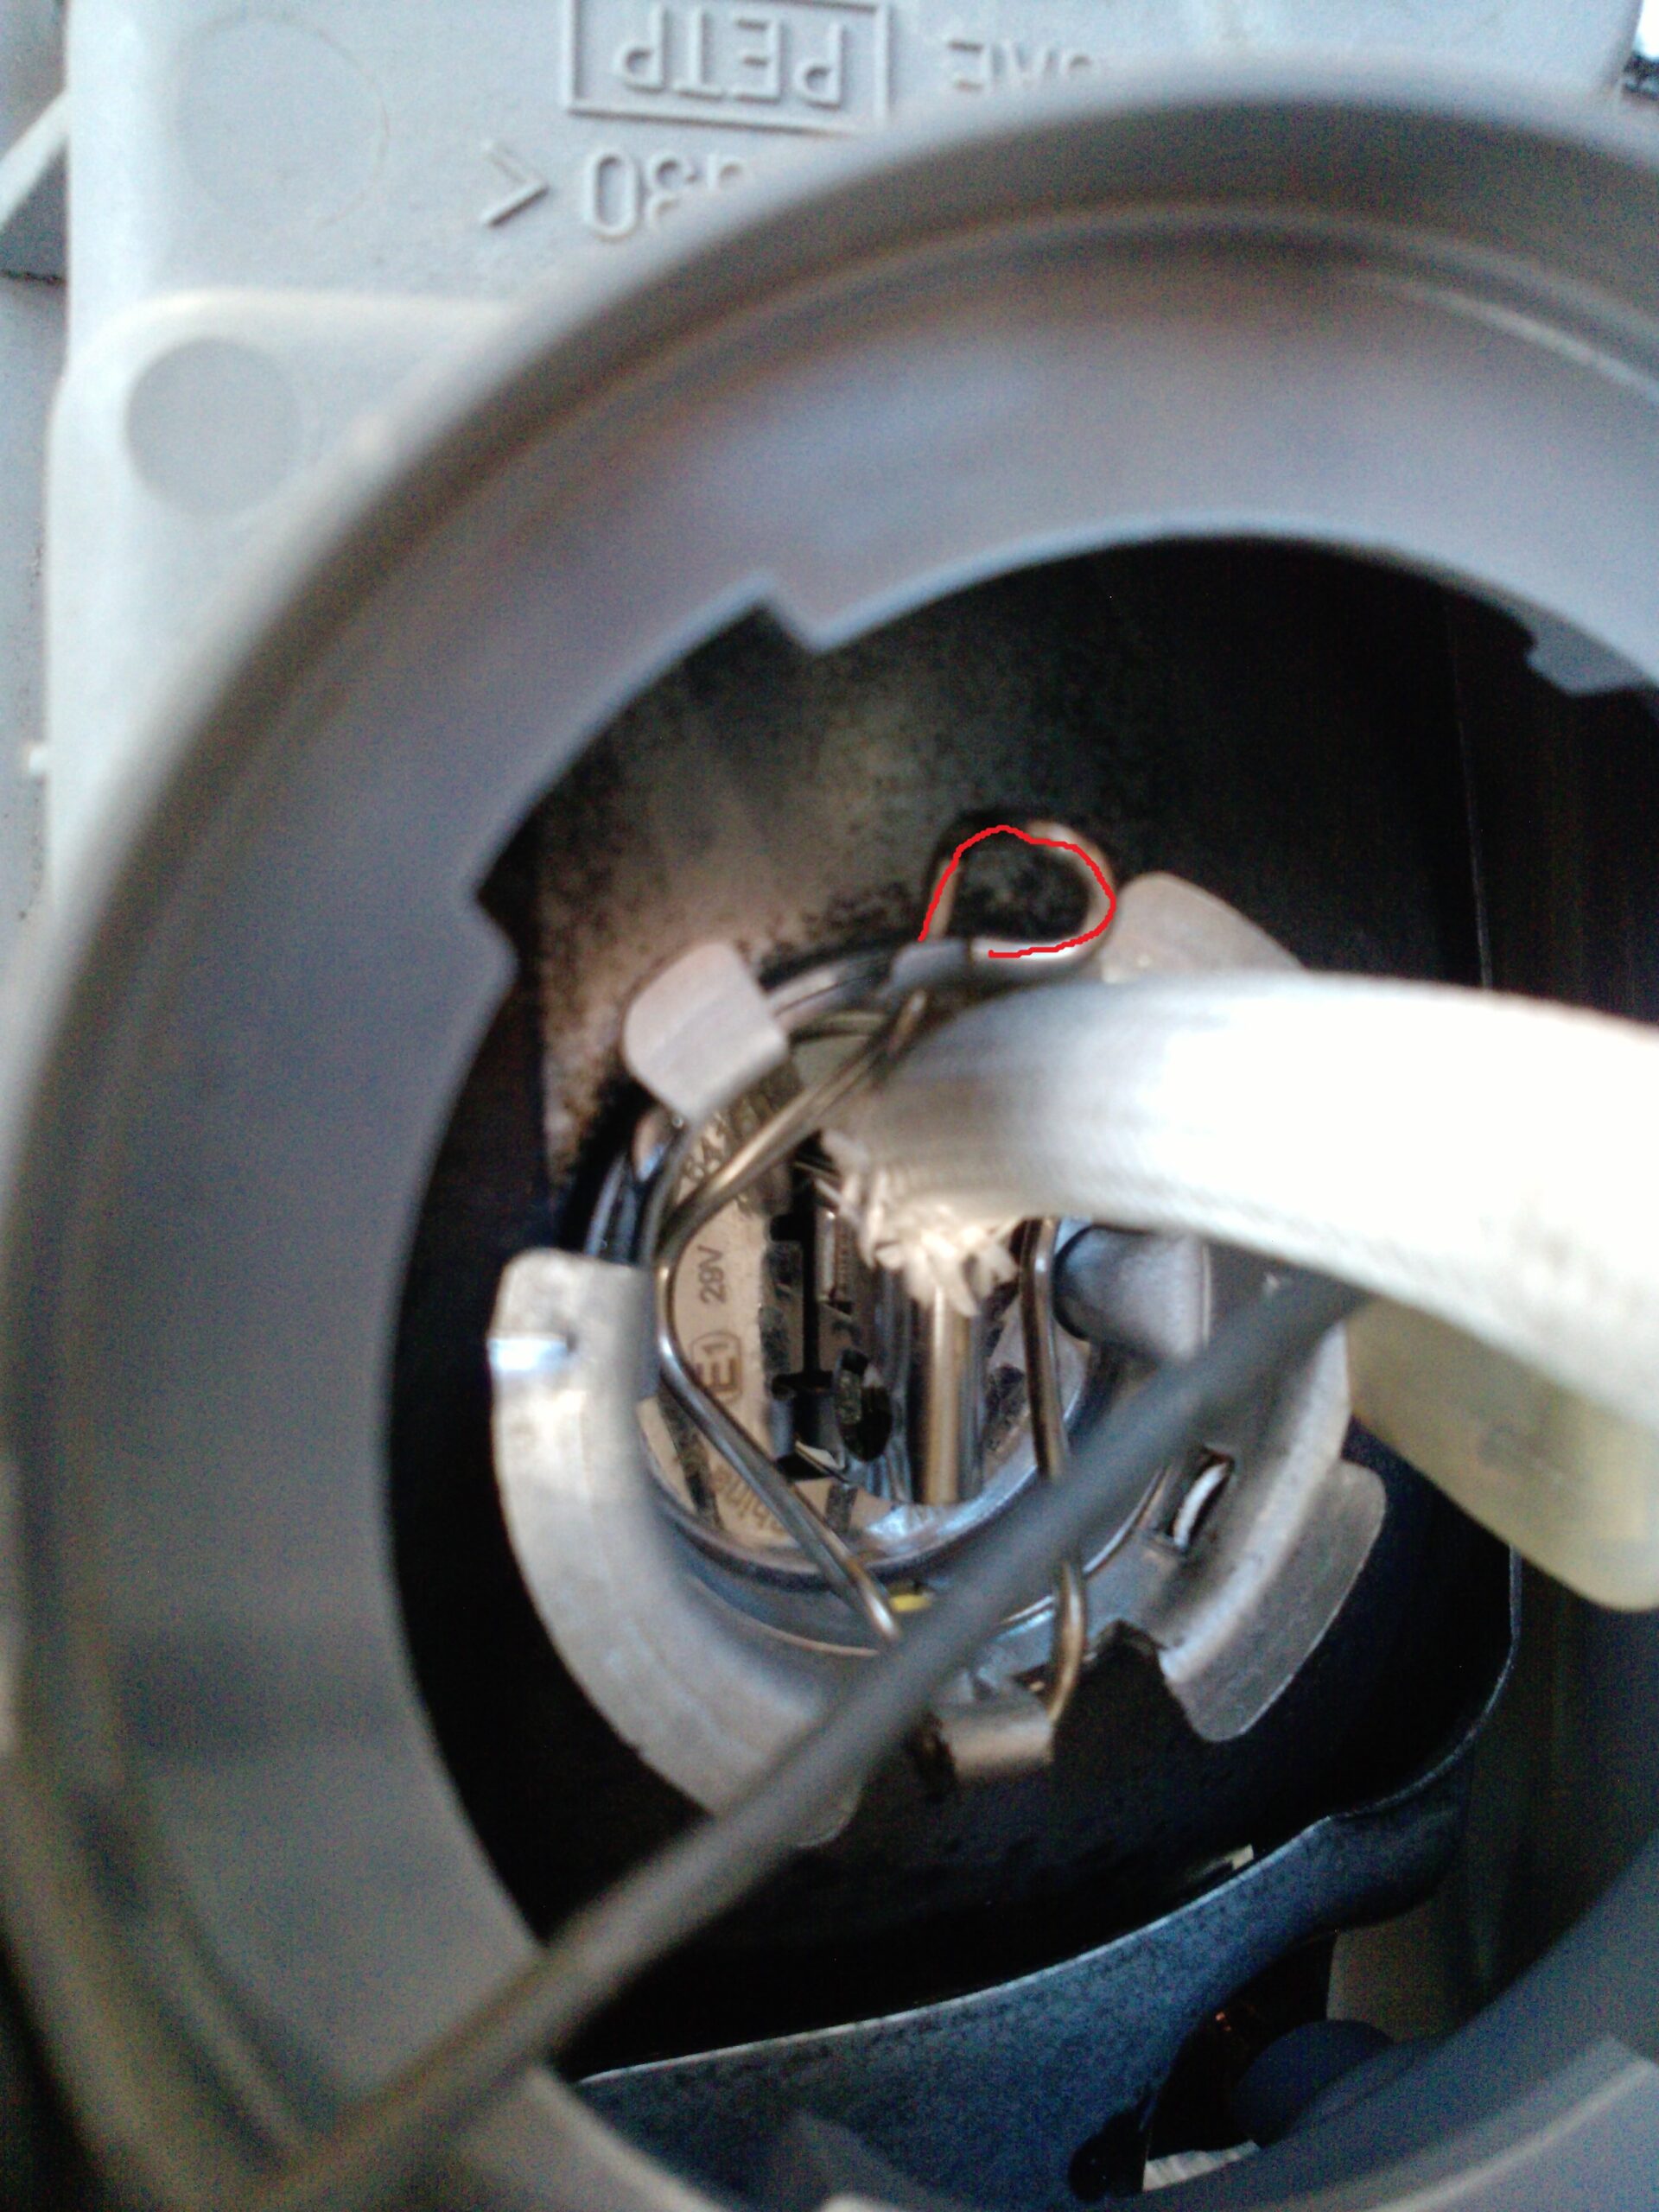
11. There is a wire clip (partially outlined) that secures the clip, undo this wire clip to remove bulb from fixture:
12. Push back the rubber sleeve and unplug the bulb Installation is reverse of removal
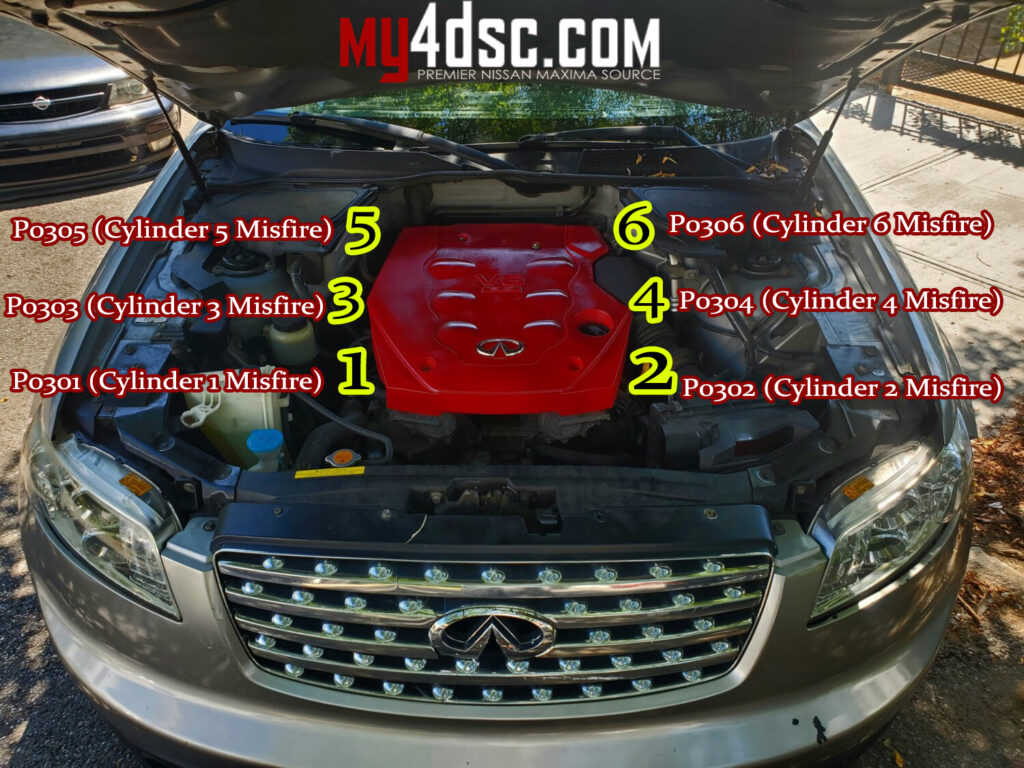
Here are DIY instructions on how to replace the OEM seals on your Nissan VQ engine.
At R&D Factory, we service many Nissans and Infiniti’s daily and run into the same valve cover/spark plug o-ring leak. About 75% of the vehicles that we serve have the same problems. Even though it’s money out of customer’s pocket after spending so much money on these valve covers we were thinking there has to be a way to cut the cost so here we are. R&D has come out the kit will come with both driver and passenger side valve cover gasket, six o-ring gaskets, and simple instructions on how to replace them. Your warranty should and will cover leaking valve cover o-rings grommets. we do advise you to check for a leak before your warranty is over…. the whole idea of us making these o-rings grommets were for those who have leaking o-rings grommets yet their warranty is already over. We do drill out the old o-ring grommets with the hole saw size 2 inch. It is slightly bigger than the existing hole and slightly smaller than the o-ring
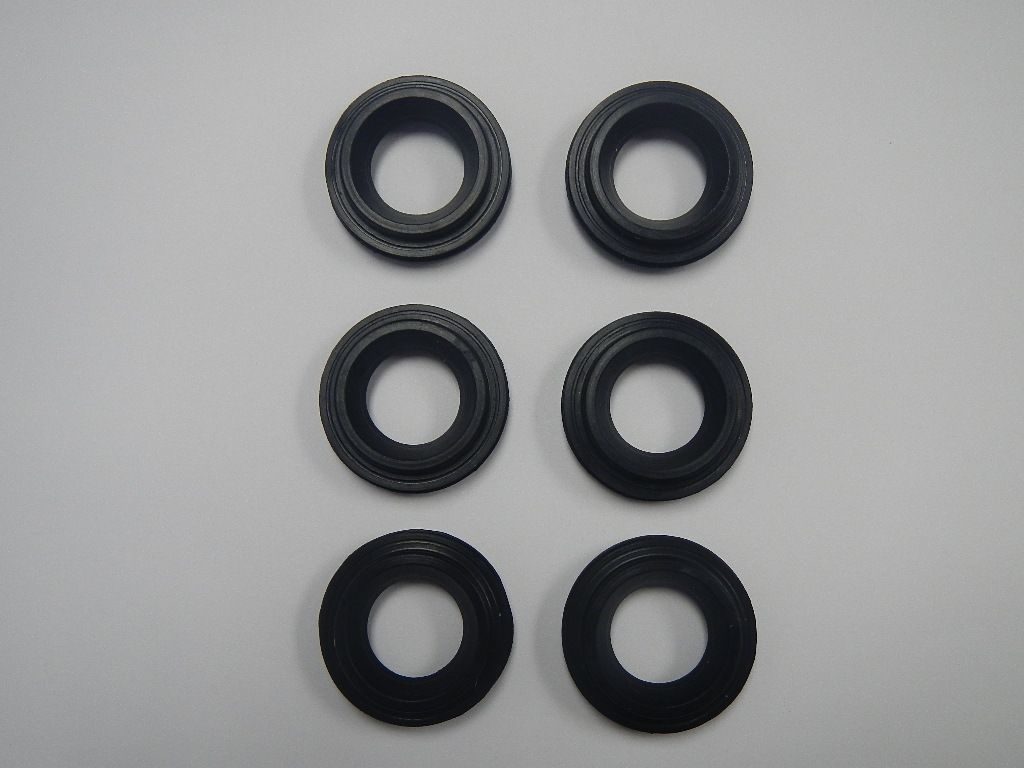
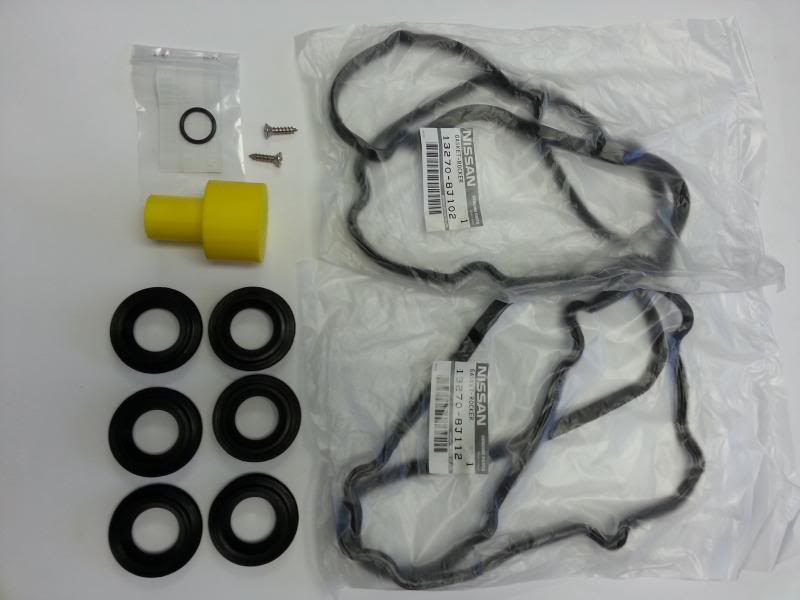
Part Needed
$75 for 6 Grommets (O-ring gasket)
$120 for 6 Grommets (O-ring gasket) and OEM valve cover gaskets (both side), PCV Valve o-ring
Instructions
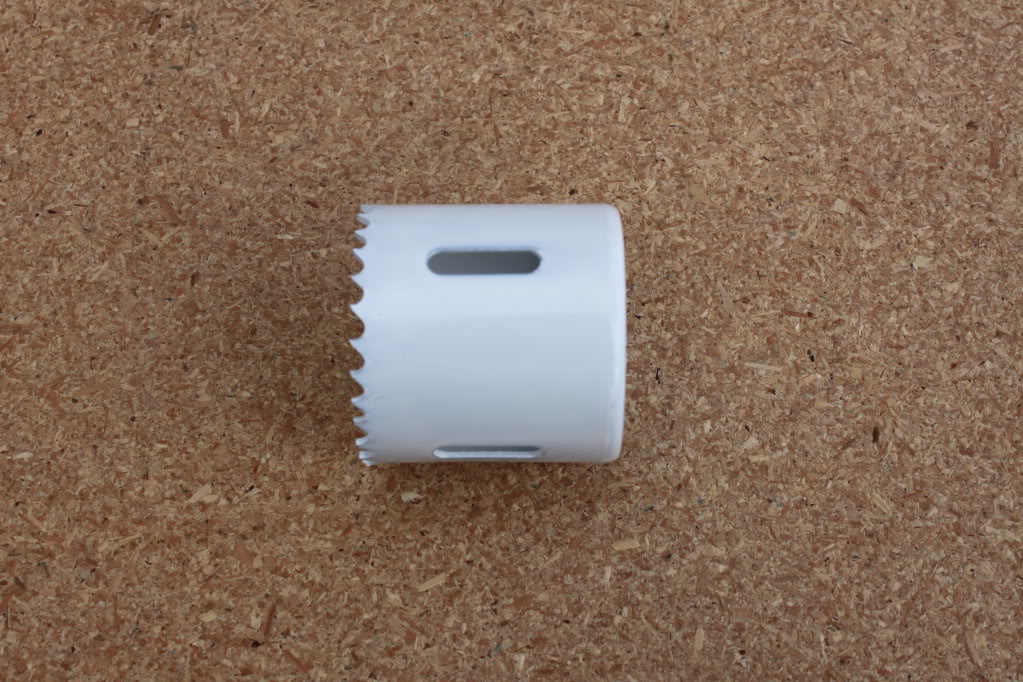
1- THIS IS A SIMPLE HOLE SAW (SIZE 1 7/8 INCH) THAT YOU CAN BUY FROM MOST HARDWARE STORE. WE GOT OURS FROM ACE HARDWARE AND IT WAS $7-11
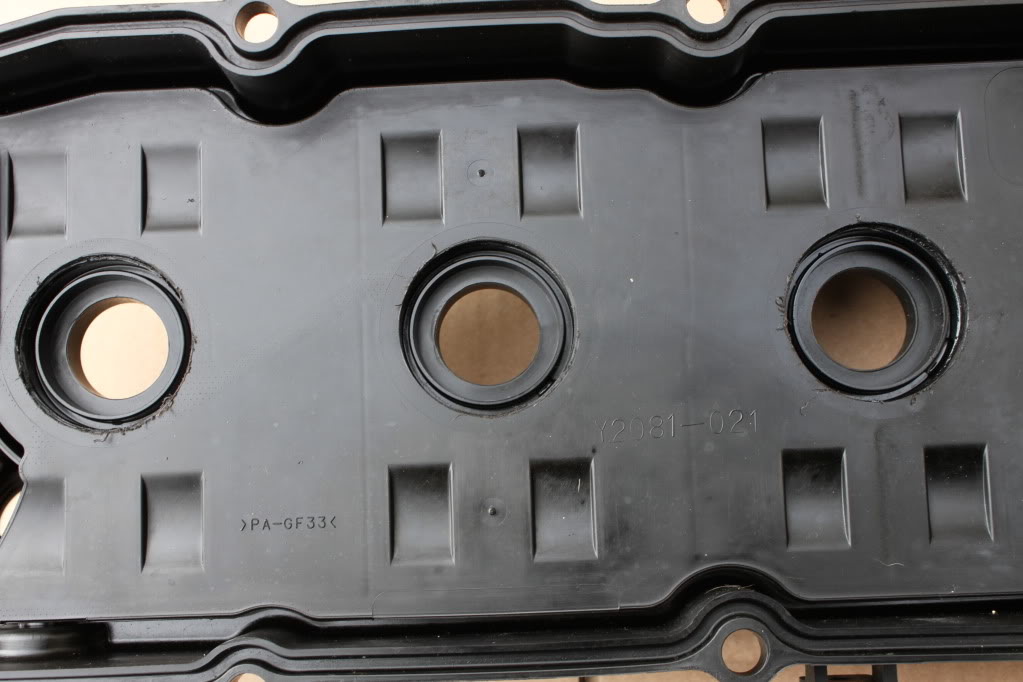
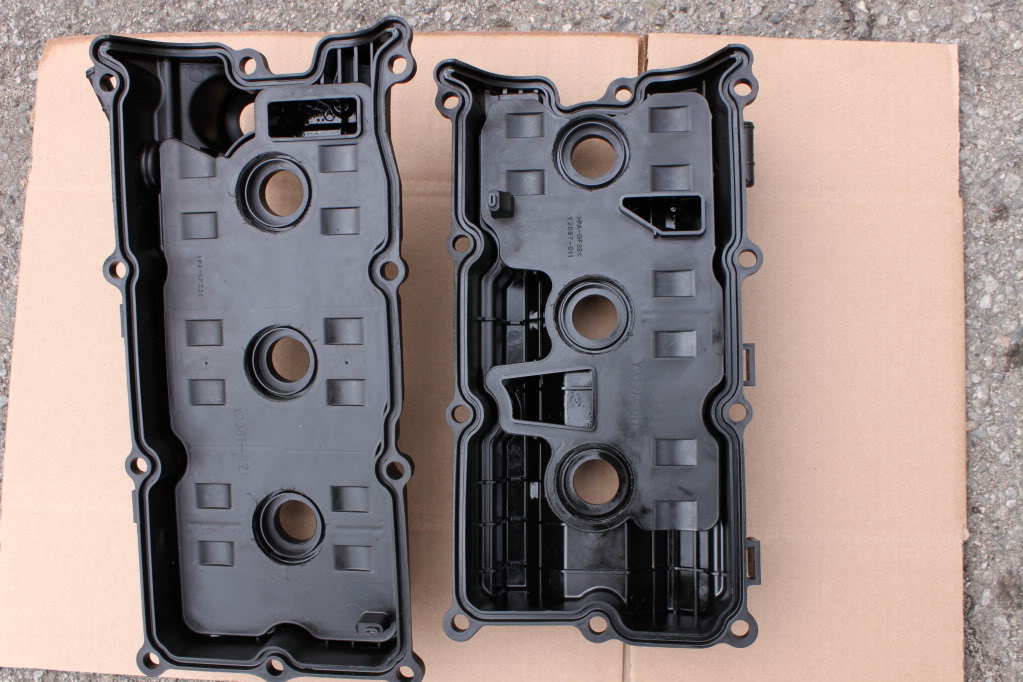
2- THIS IS HOW YOUR VALVE COVER LOOKS WHEN YOU TAKE IT OFF OF YOUR ENGINE
NOTE PICTURE SHOWN MOST LEFT SPARK PLUG HOLE DRILLED.
3- WARNING “PLEASE DO NOT REMOVE BAFFLE PLATE” WARNING
4- POSITION THE HOLE-SAW CONCENTRIC TO SPARKPLUG HOLE AND DRILL BAFFLE PLATE SLOWLY AND CAREFULLY.
5- YOU WILL ONLY NEED TO DRILL JUST ENOUGH TO DRILL THROUGH THE BAFFLE PLATE (WE CLEANED UP ALL THE DEBRIS TO SHOW YOU CLEAR PICTURE DRILL ALL 6 POSITIONS AND CLEAN OFF DEBRIS WHEN DONE.
6- NOW YOU WILL BE ABLE TO POP OUT THE OLD O-RING GROMMET OUT OF THE VALVE COVER. PLEASE REPEAT 6 TIMES.
7- THIS IS WHAT IT WOULD LOOK LIKE WITH THE O-RING GROMMET OUT
8- USE BLACK RTV SILICONE ON TOP SIDE OF THE NEW O-RING GROMMET (WE USED CLEAR ON OUR DEMO PICTURE SO YOU CAN SEE BETTER)
9- PLACE THE NEW O-RING GASKET IN TO THE HOLE. NOW YOU ARE READY TO RE-INSTALL YOUR VALVE COVER GASKET TO YOUR ENGINE.


")