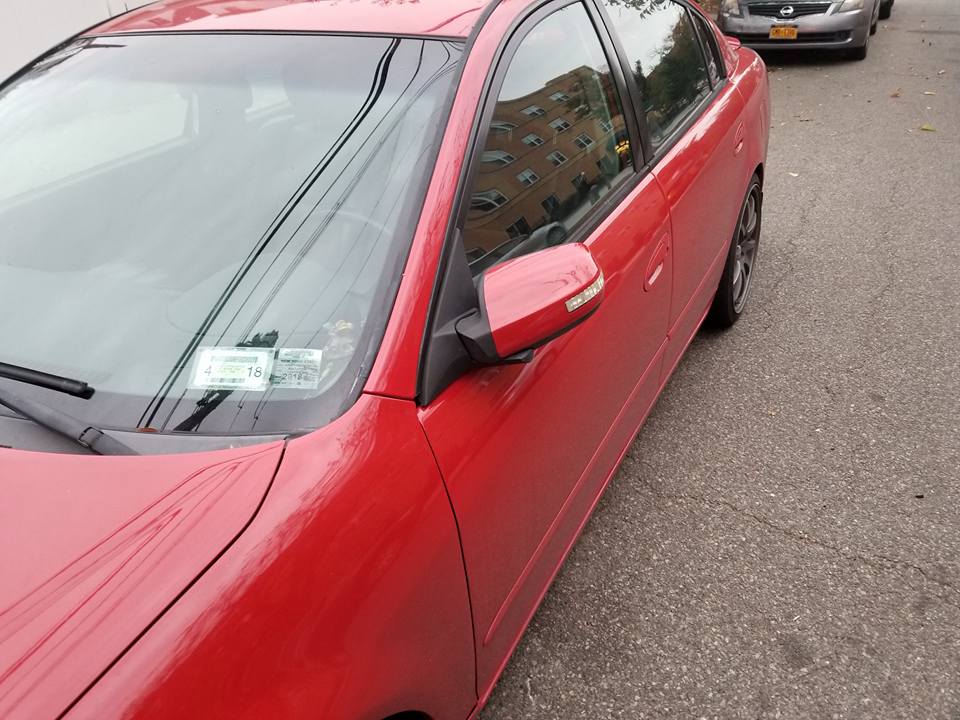
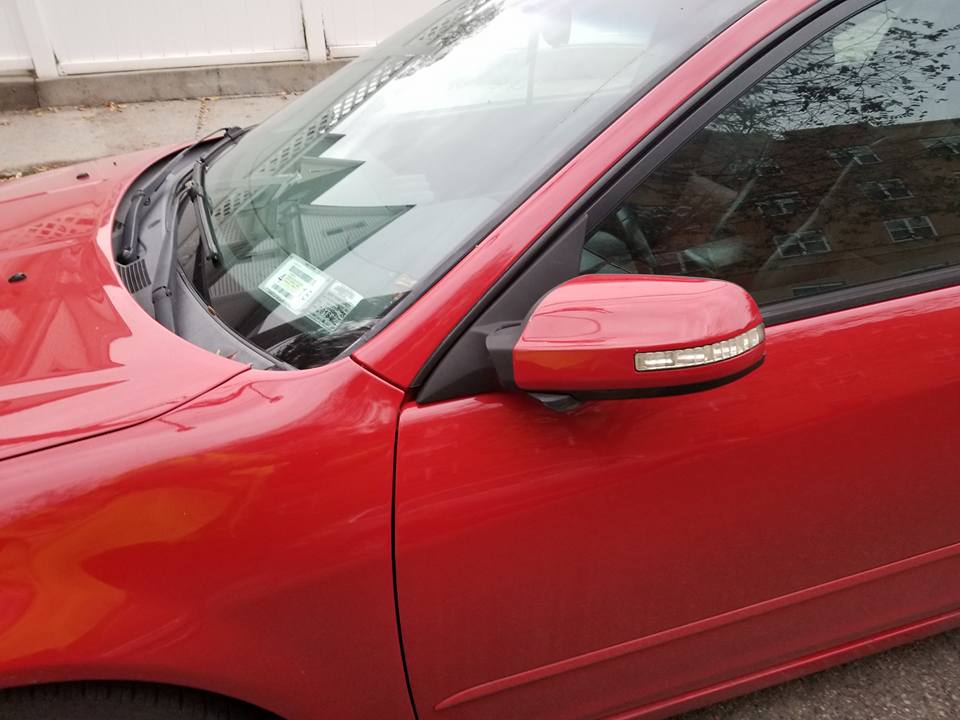
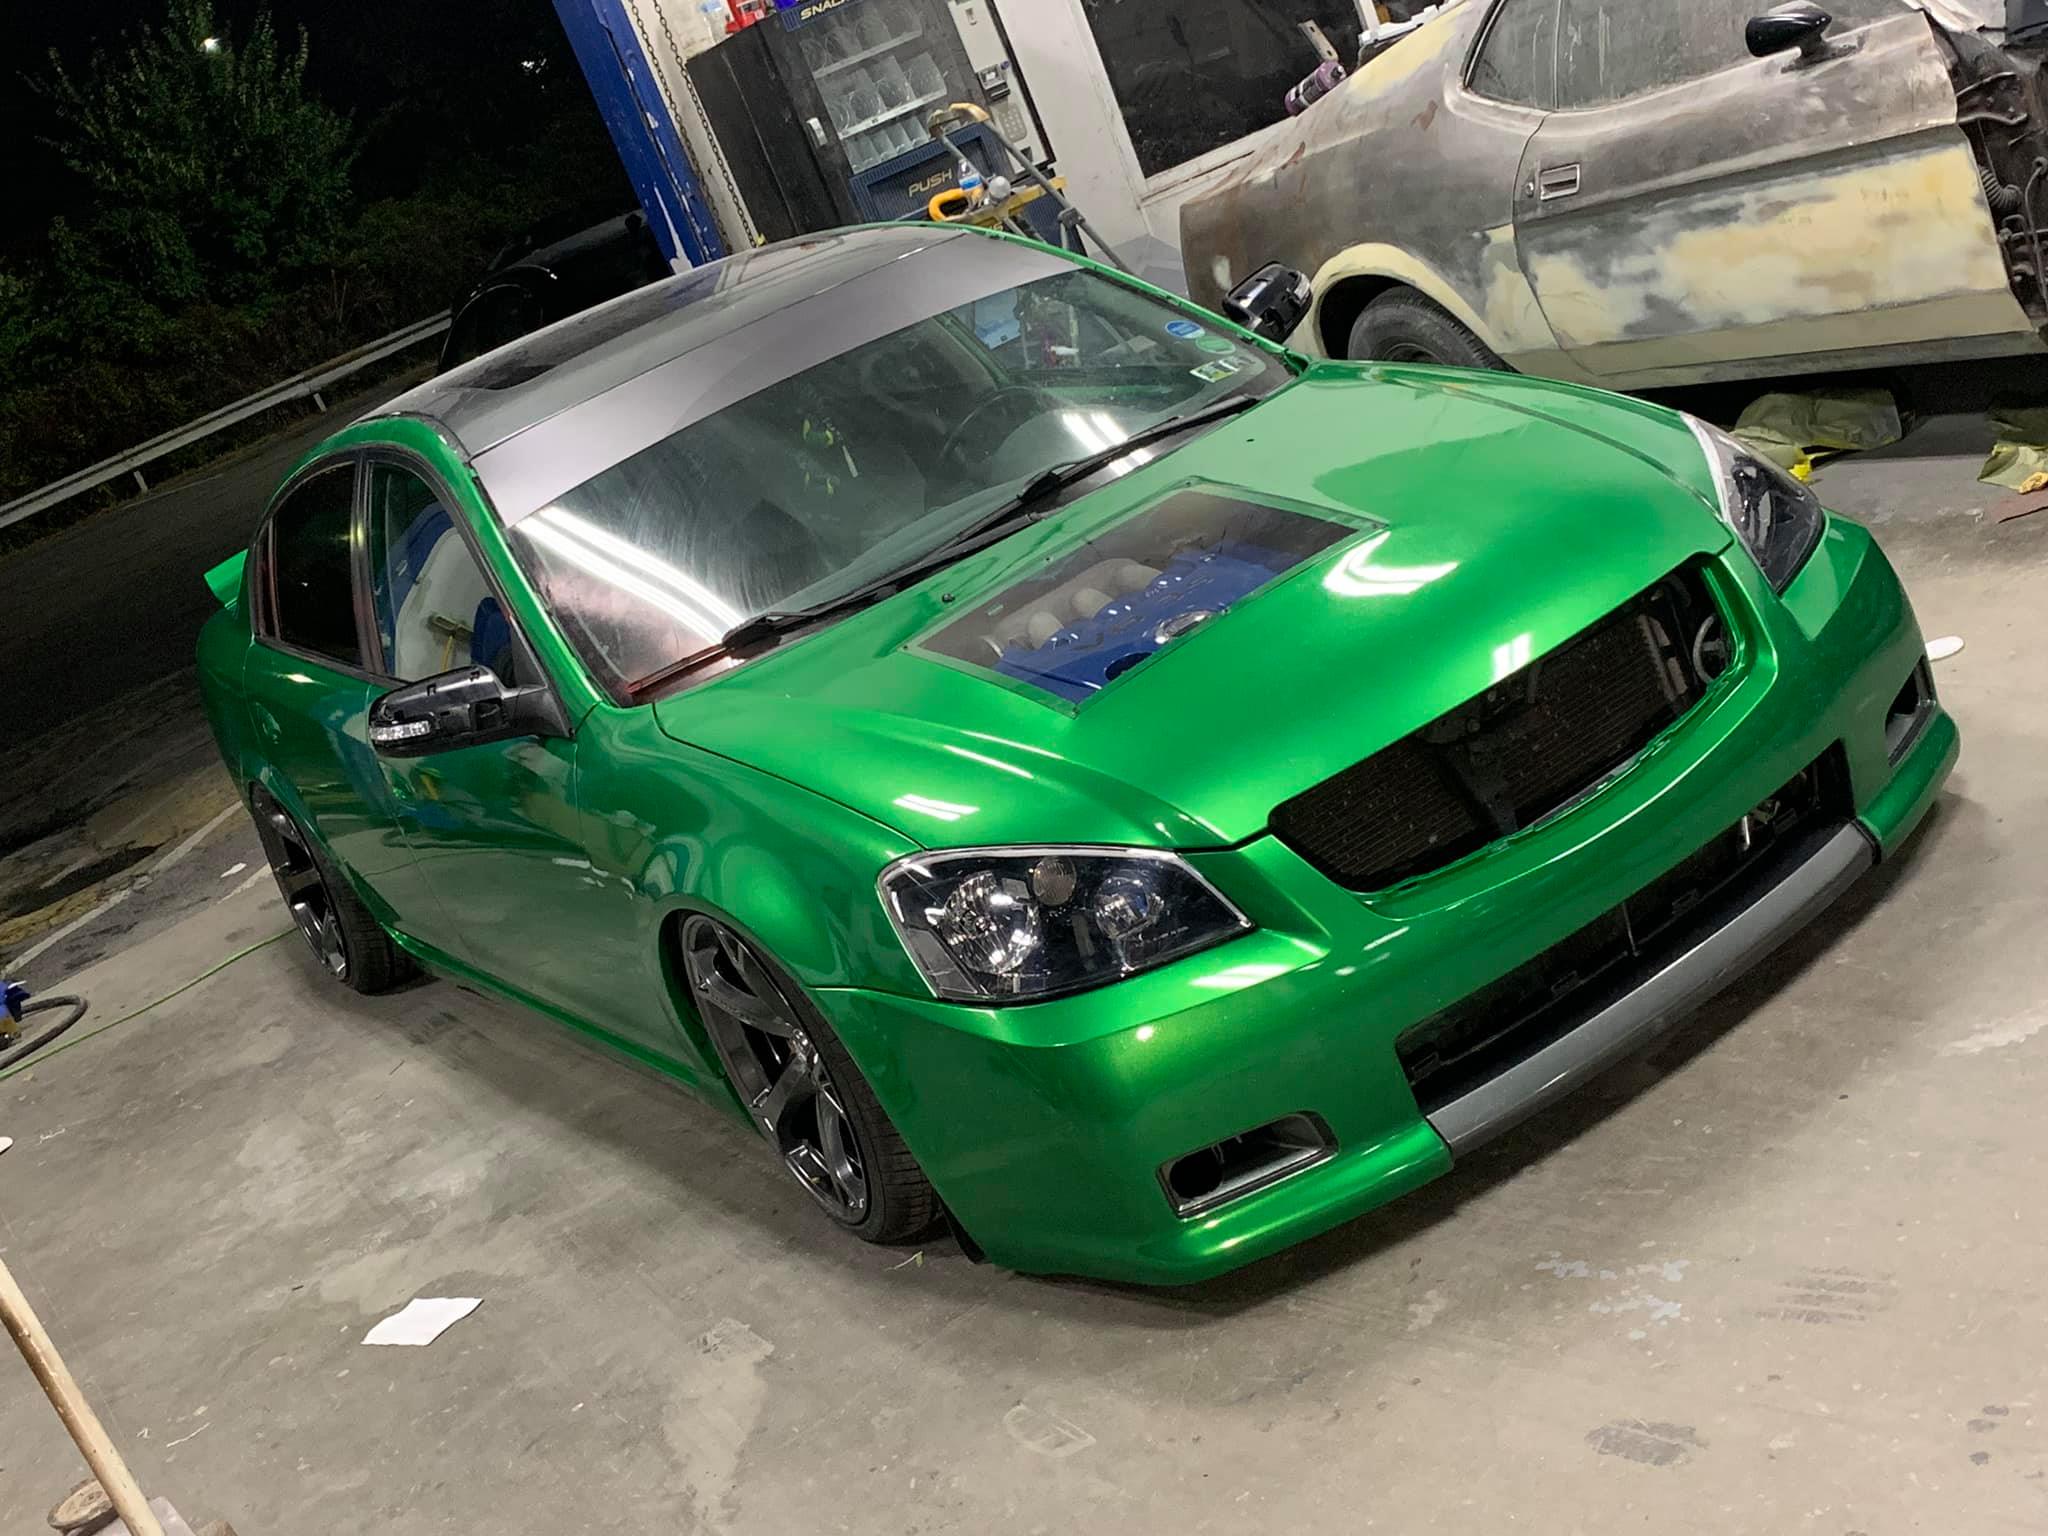
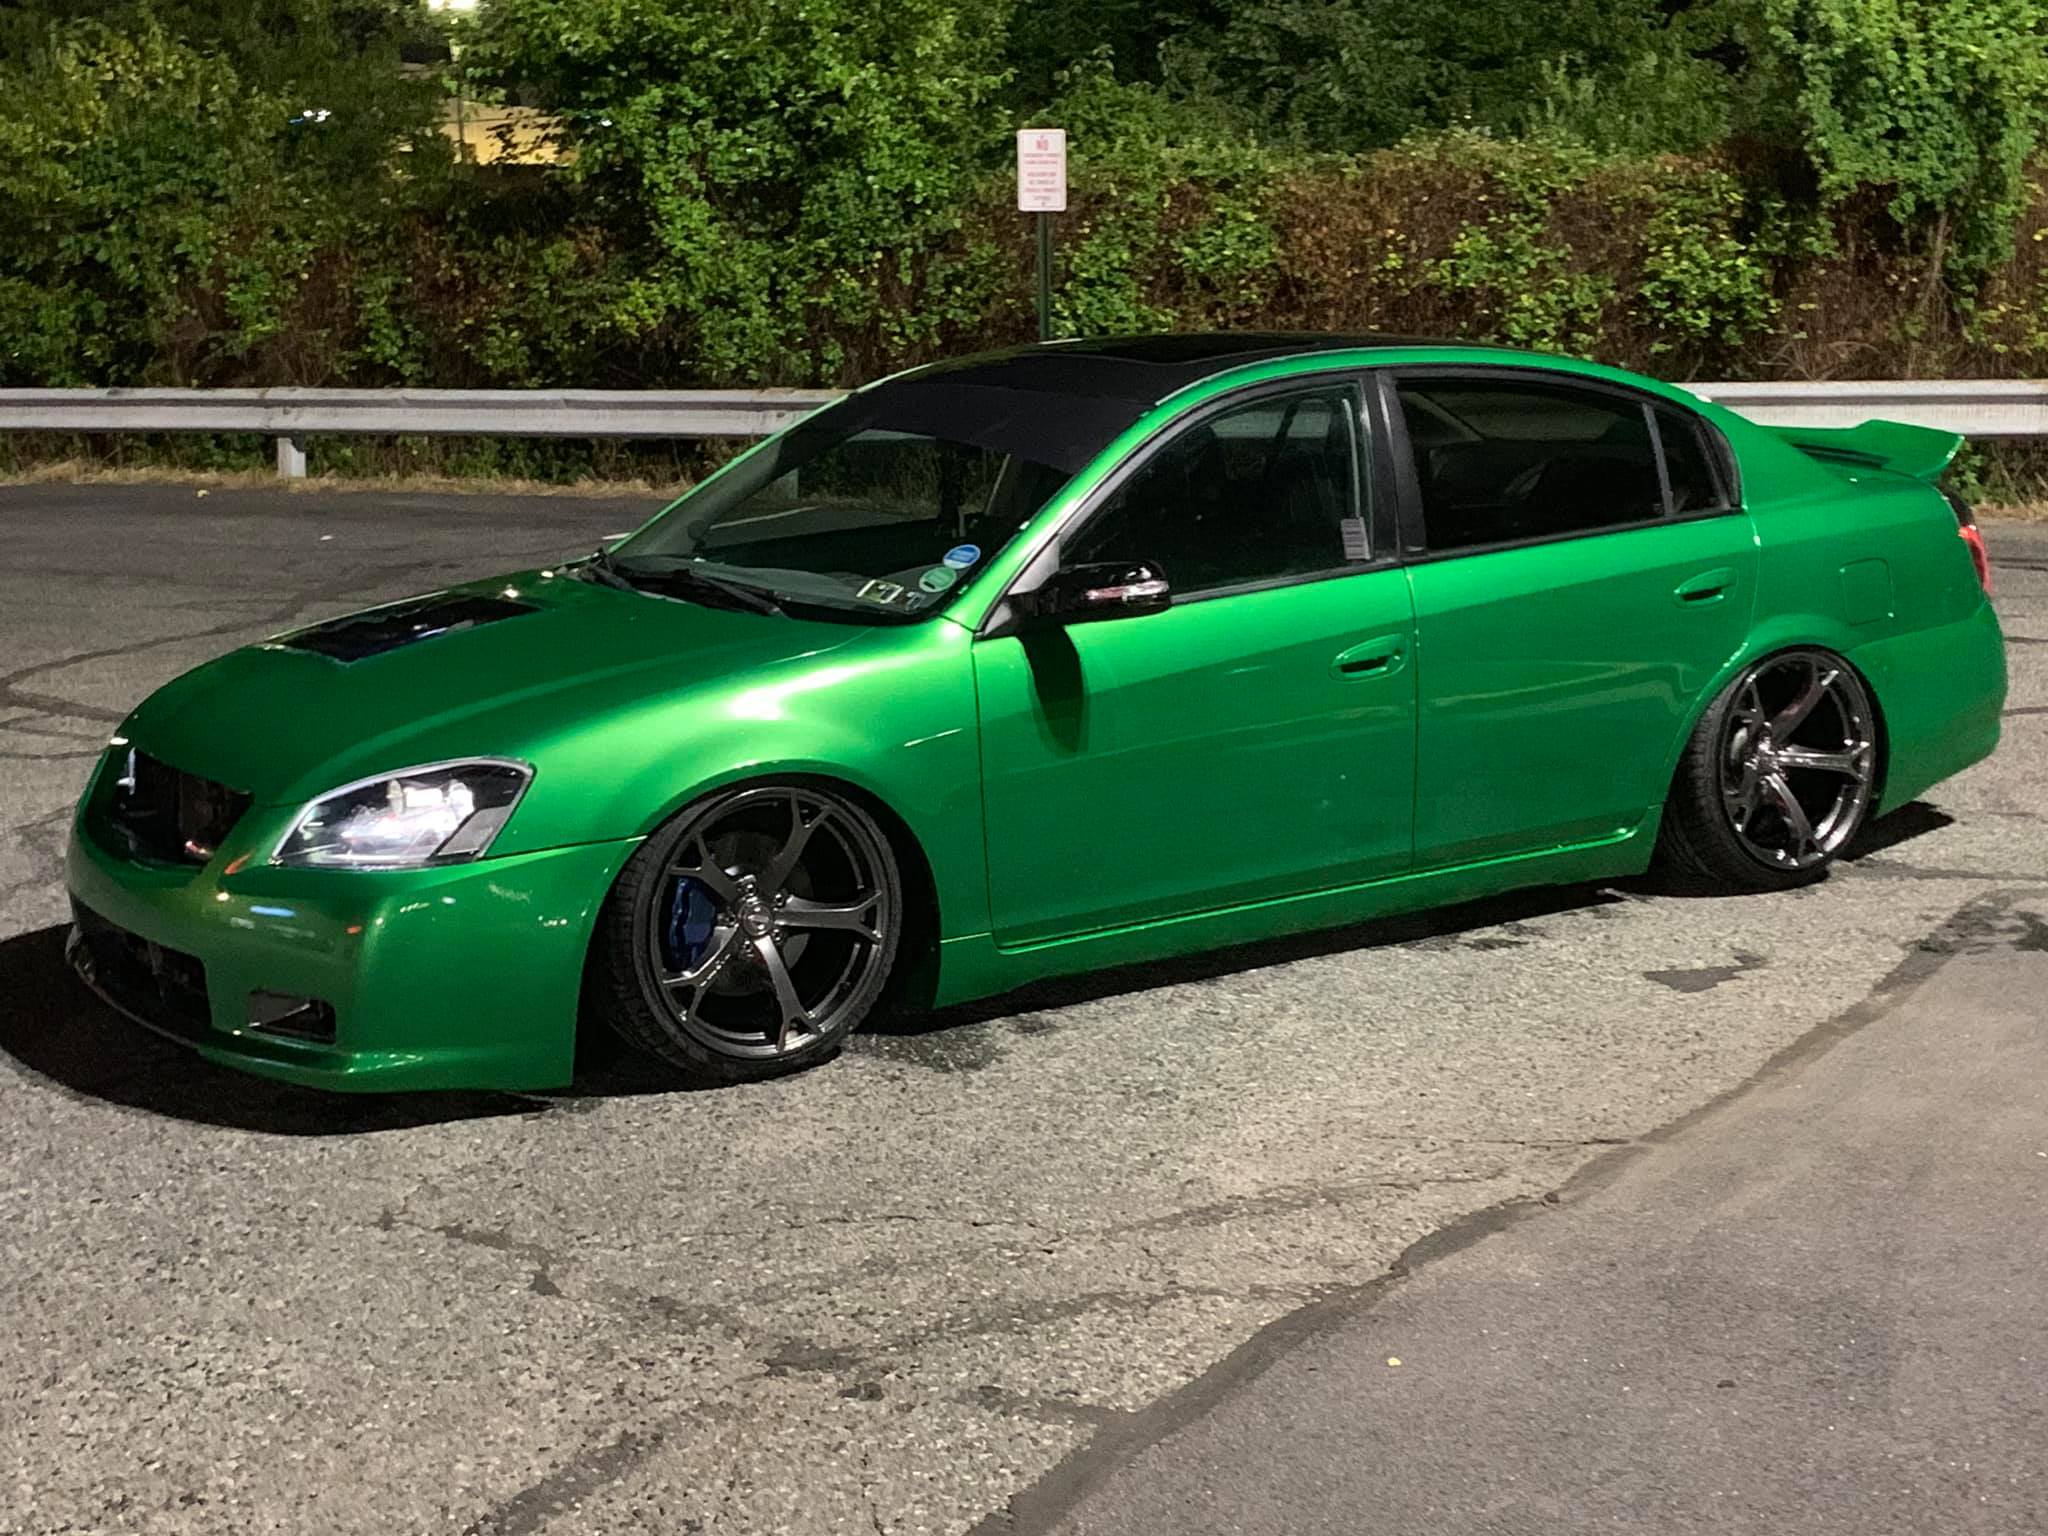
Credit: Max Gene
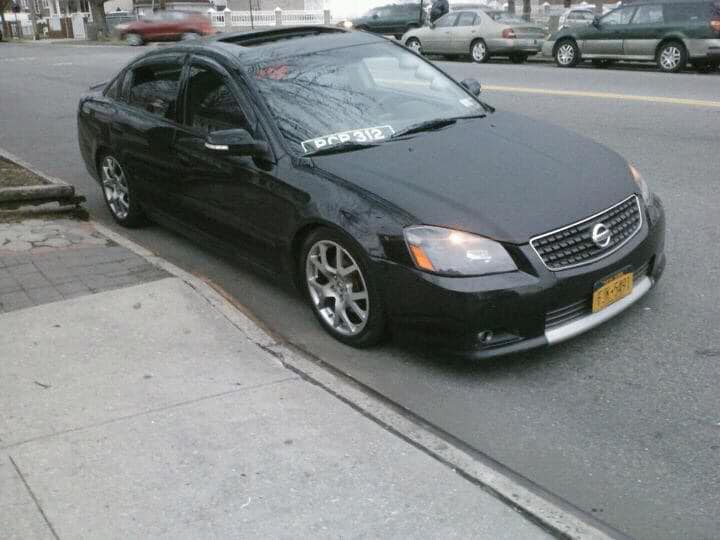
Before

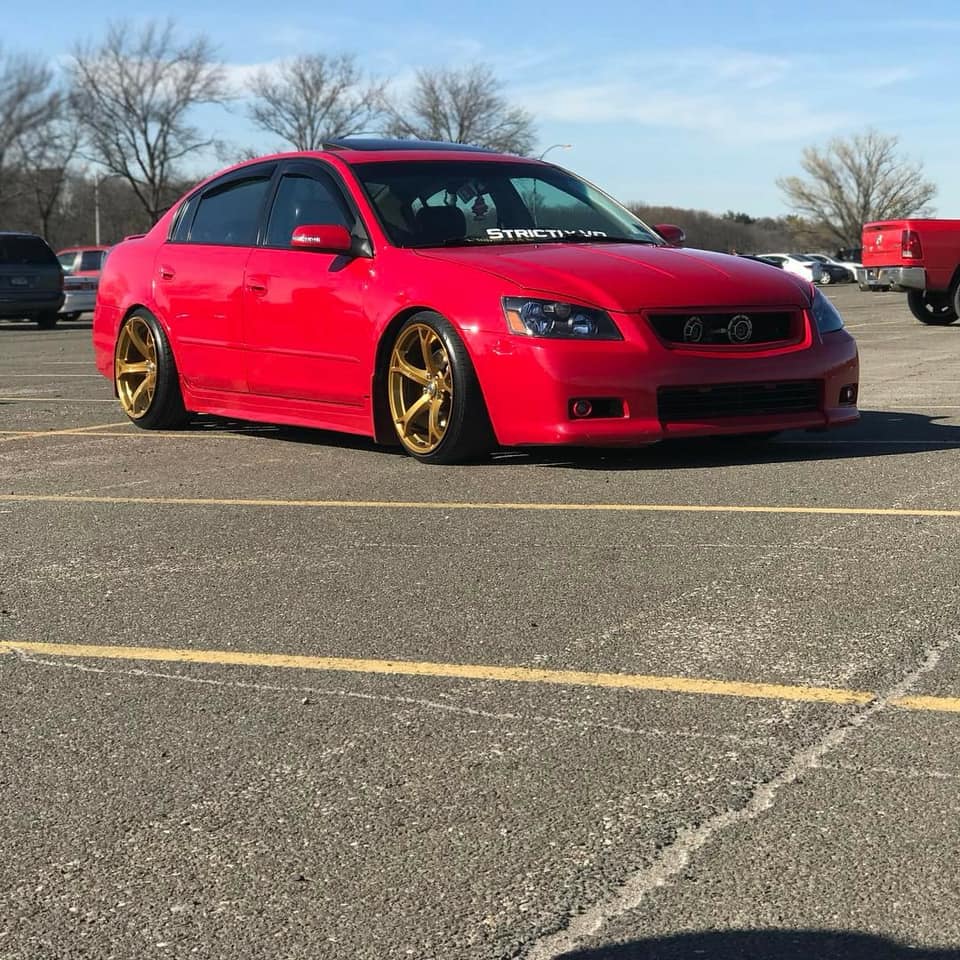
After




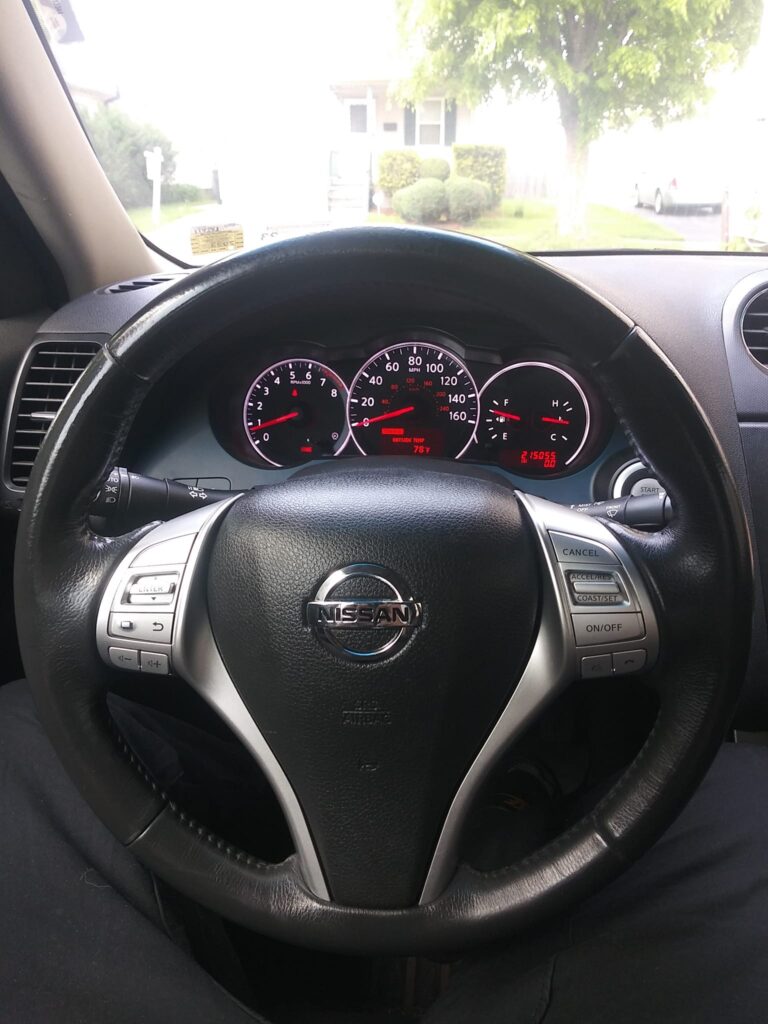
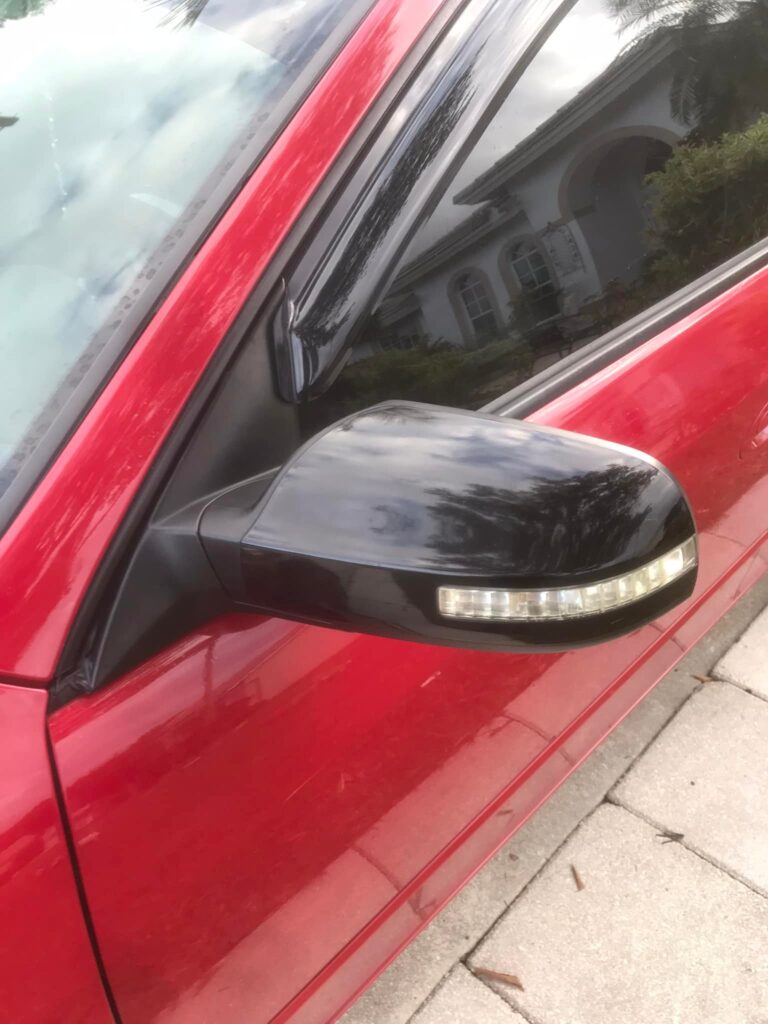
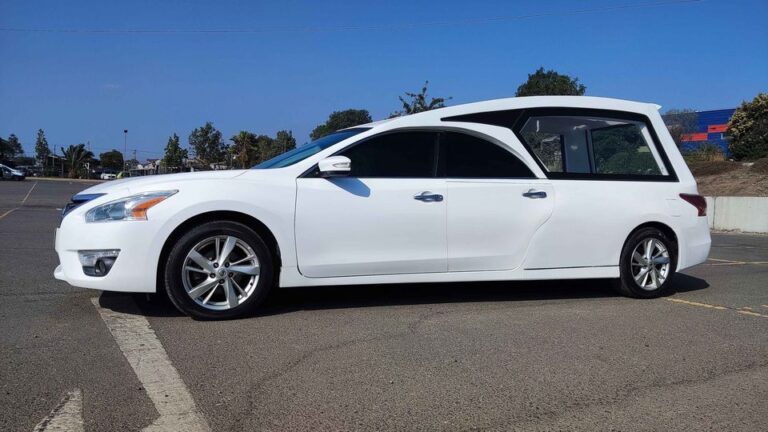

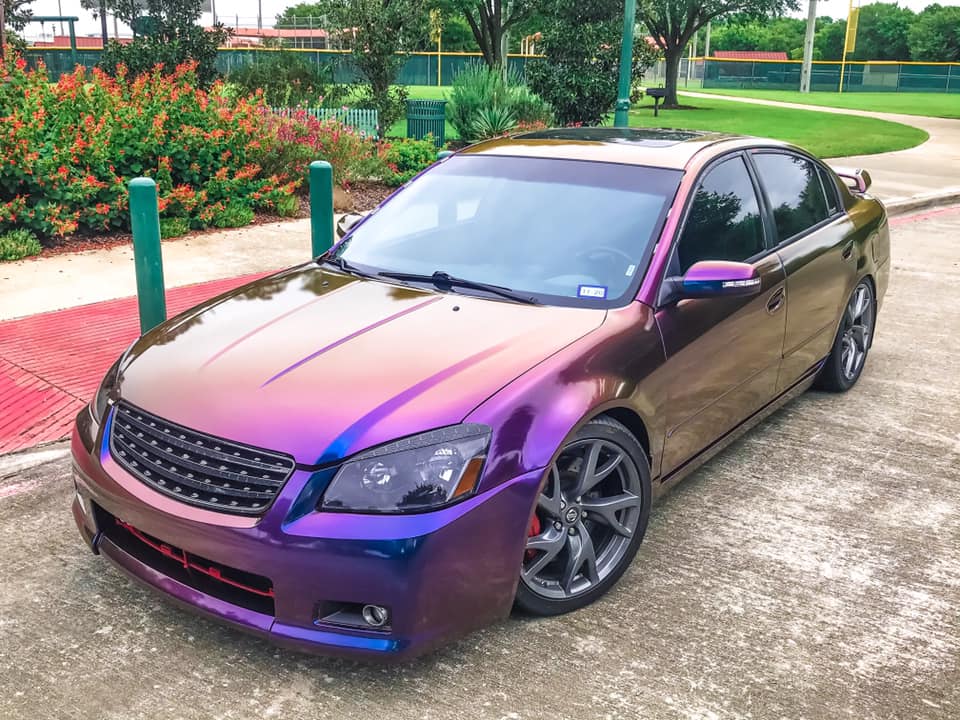
Owner: Juan Gonzalez aka Pachi
Instagram: @yaboypachi
Year: 2007
Model: Altima
Color: Black Obsidian (KH3) –> Wrapped in Cardinal Red
Transmission: 6-Speed Manual
Trim: SE


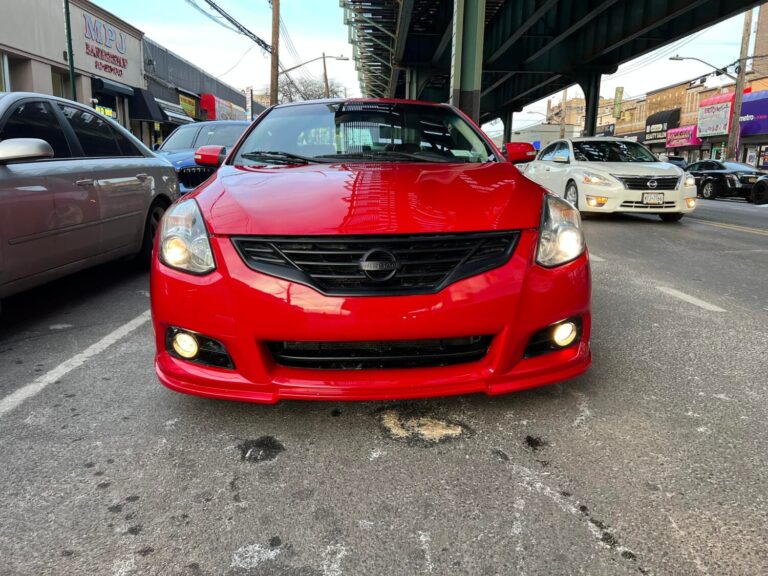
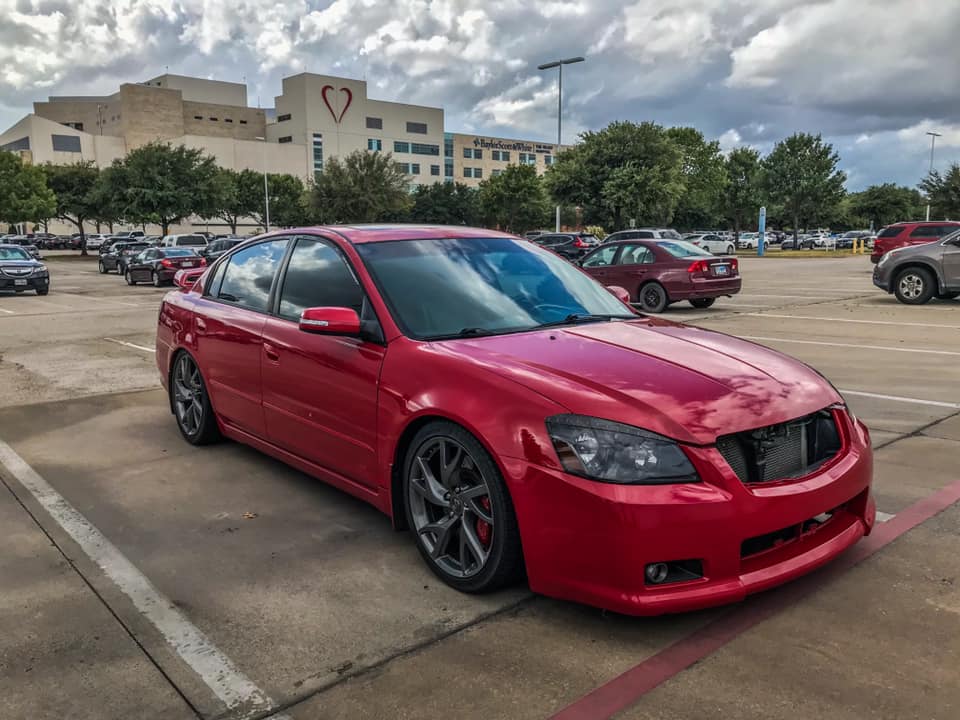
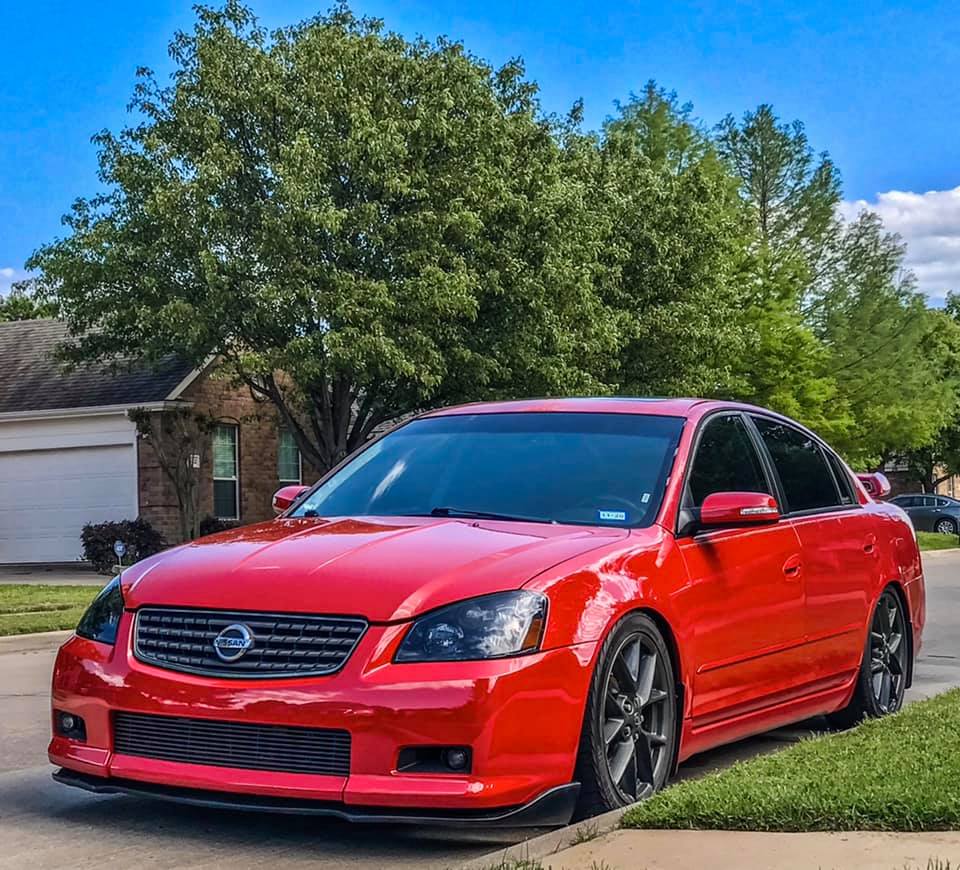
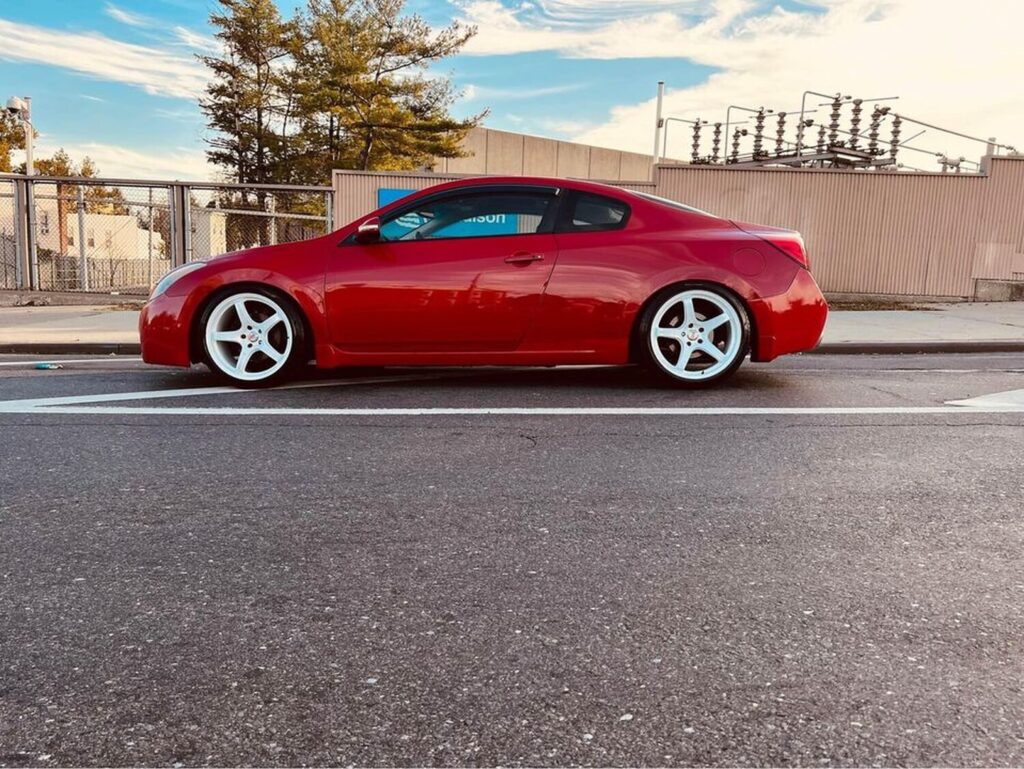
Owner: Nelson Andino
Year: 2008
Model: Altima
Color: Red
Transmission: 6-Speed Manual
Trim: SR


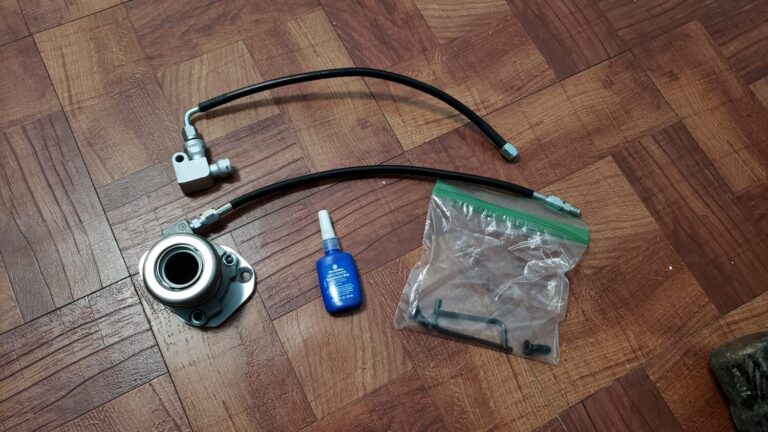
What’s Included:
Install Info:
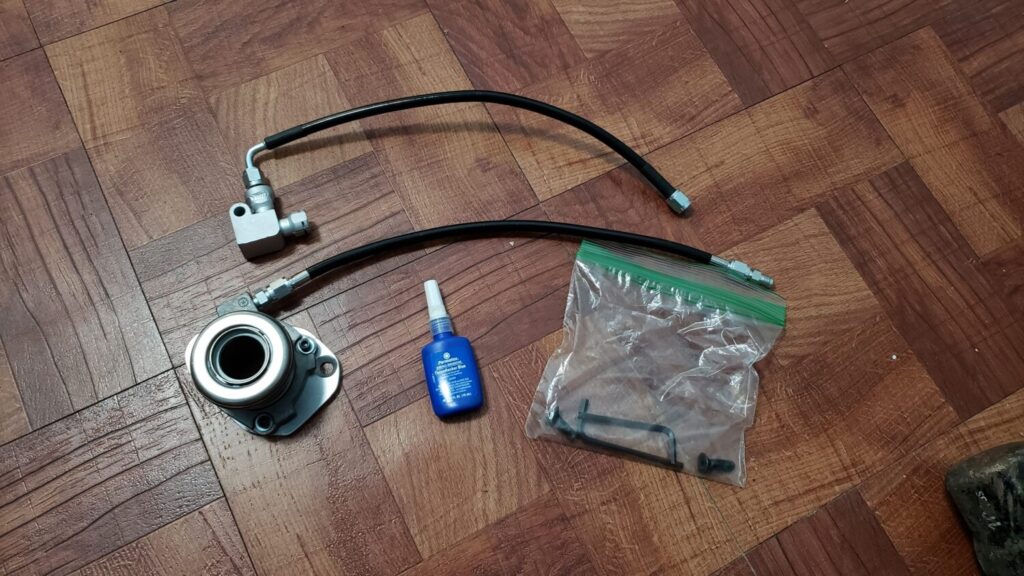


Community Member Credit: 1trucavalier
Tools:
1. Disconnect clutch fill cup two 10mm screws (no need take of bracket just cup).
2. Locate clutch master cylinder on the inside of the brake master cylinder.
DONT PANIC when you see how far it is in there.
3. Look under your dash and locate the clutch pedal and follow it all the way to the top until you see a small goldish retaining clip and gold pin holding the clutch master cylinder shaft to the pedal. REMOVE THE CLIP AND PIN
4. Follow the master cyl shaft to the firewall you will see 2 – 12 mm screws. Using your wrench/extension/12mm/swivel socket remove both screws.
5. Get a 14mm socket and remove the windshield wipers.
6. Just under your windshield wipers is a black plastic cowl pull it up in the center and all the plastic fasteners will pop up.
7. Remove the windshield wiper motor and assembly 3 – 10mm screws disconnect pigtail.
8. Just under that is a fake me out strut tower brace just under your windshield wiper cowl. locate the 6-7 10mm screws and remove them. FakeSTB!
9. You should now clearly see the clutch master cylinder using a 10mm wrench remove the hydraulic line connected to the top of it.
10. Remove the master cylinder and clutch fill together makes it easier to remove the clip holding the fill cup hose to the master cylinder. should look like this removed
11. Install the new one connecting the retaining clip and pin the the clutch pedal first then tighten up the screws
You are basically done now. I suggest bleeding the clutch before you put everything back just to make sure the master cylinder works correctly.
Clutch Bleeding 101
1. Fill the clutch cup to the top. (you do not need to put the top back on the pressure that the dealer claims need to be there is BS! The way it works is once you depress the clutch the valve closes so no air will ever get in it. I posted this 2 years ago because I listened to the STEALERSHIP and I was totally wrong also so I apologize for the misinformation back them.
2. Get a 15/16 socket (tiny) go to your clutch slave cylinder and unscrew the bleeder valve.
3. Go back to the inside of the car and pump the clutch with your hand 3 times. pour brake fluid in the clutch cup then go back and pump it another 3 times. I suggest doing it a total of three times just to make sure all air is out of the line.
4. On the last or third try when you push the clutch to the floor LEAVE IT TO THE FLOOR and go and close the bleeder valve. go back and pump the clutch after 3 pumps it should be extremely tight. That’s it your done.
Now just put everything back together.
HELPFUL HINT: If ever you come into a situation when your master cylinder fails while driving or at an intersection or tractor trailer coming at you and it won’t let you shift. Turn the car off and you can put the car into first without the clutch turn it back on and take the hell off 🙂
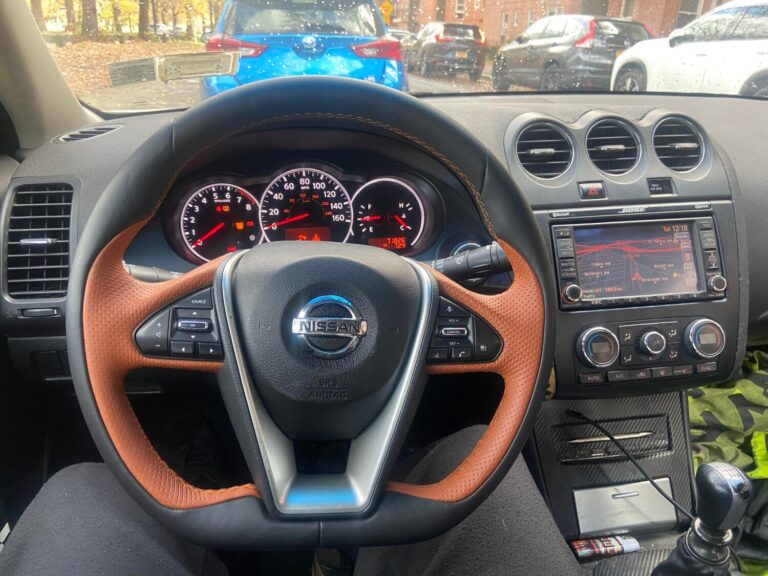
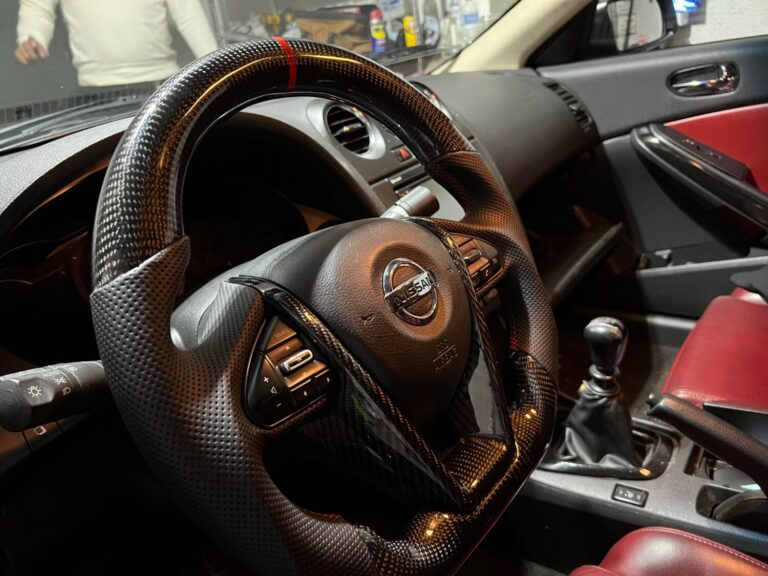
Community Member Credit: Nelson Andino
Notes:


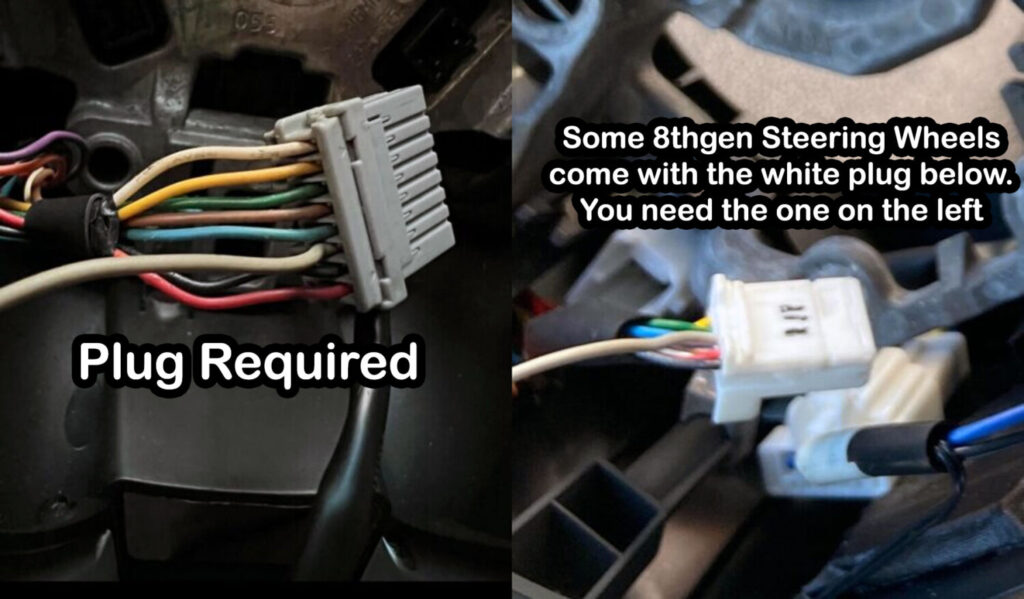
This is the plug you need to use.
2016-2017 Airbag Setup
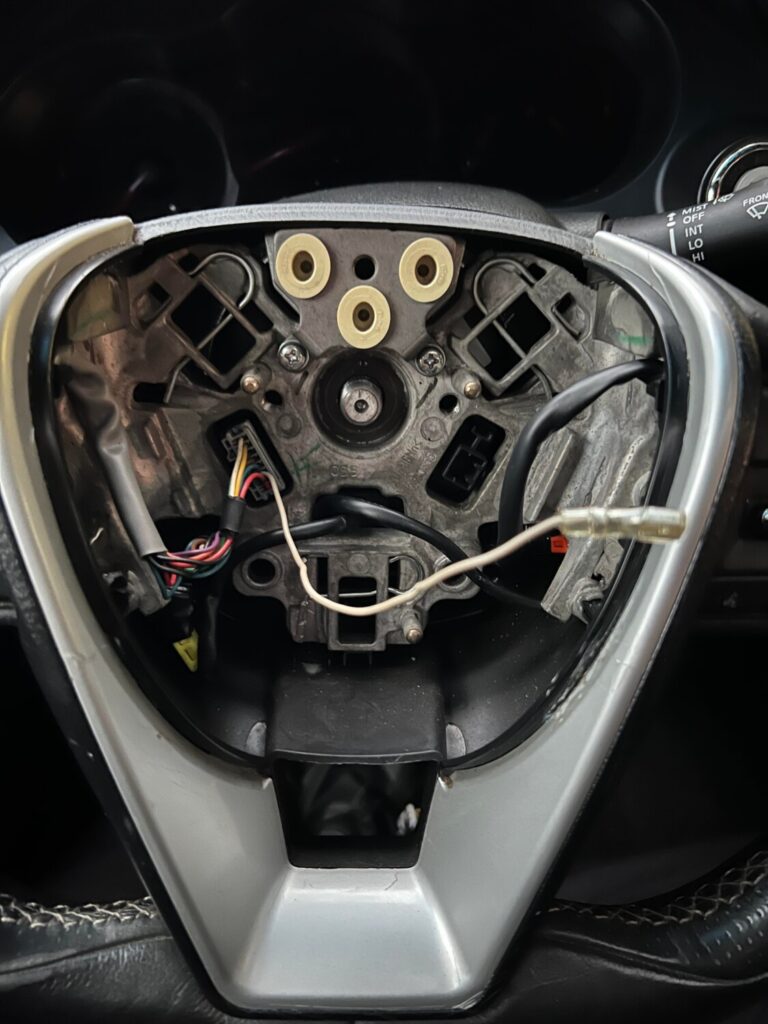
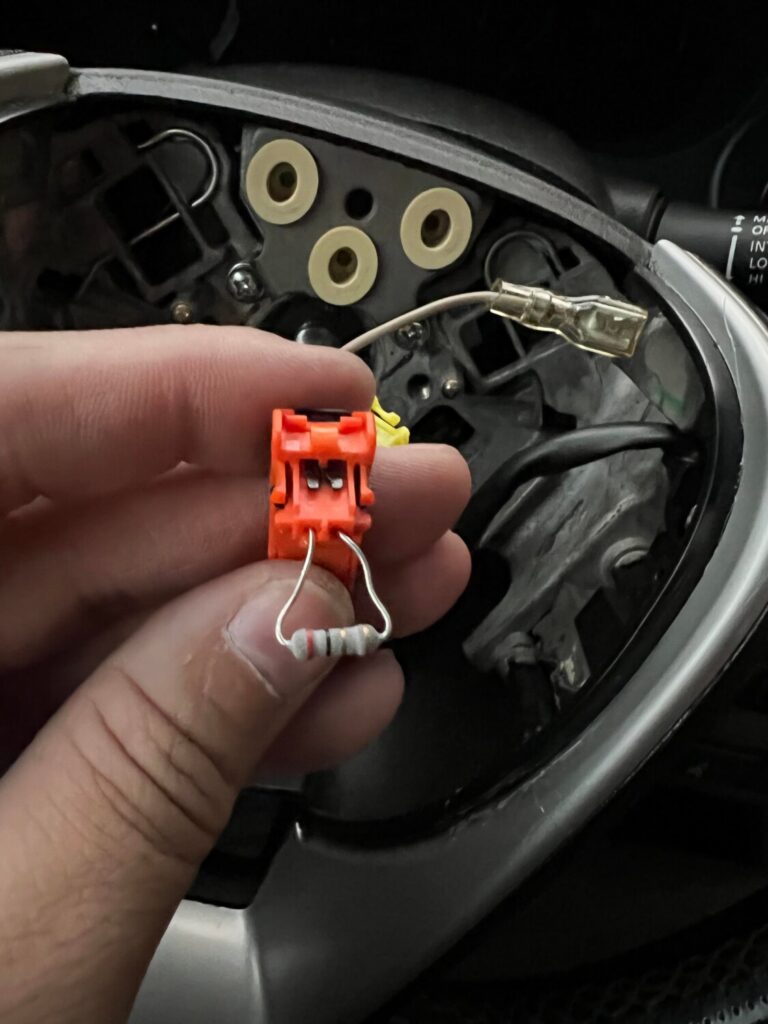
2018-2021 Airbag Setup
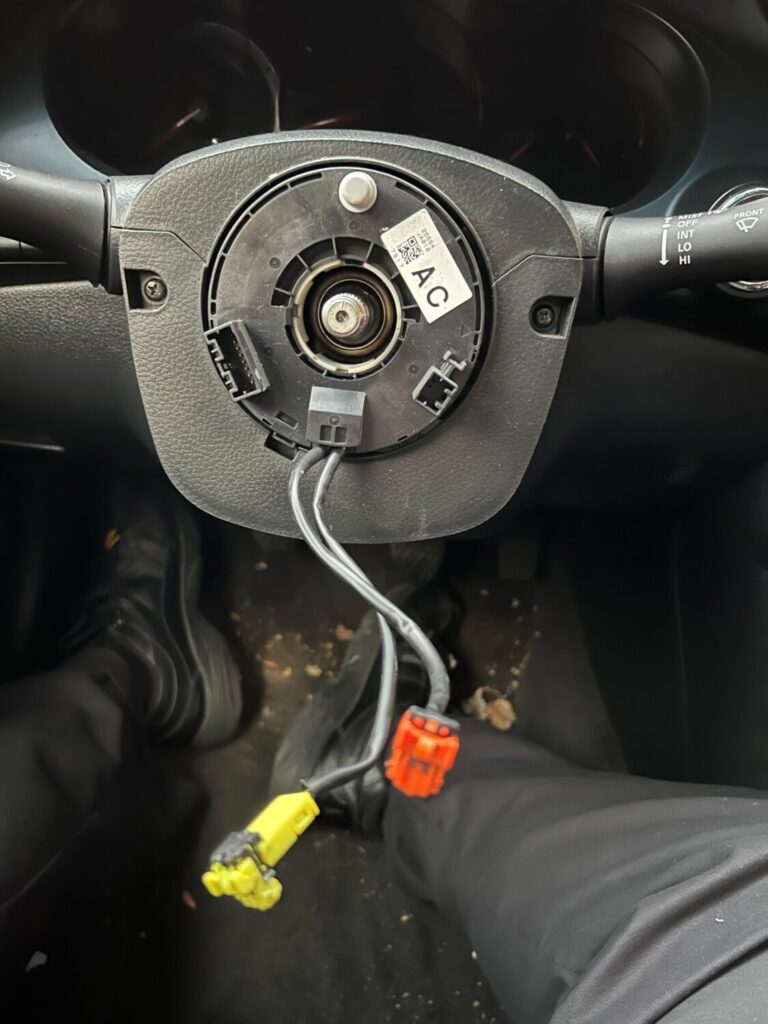
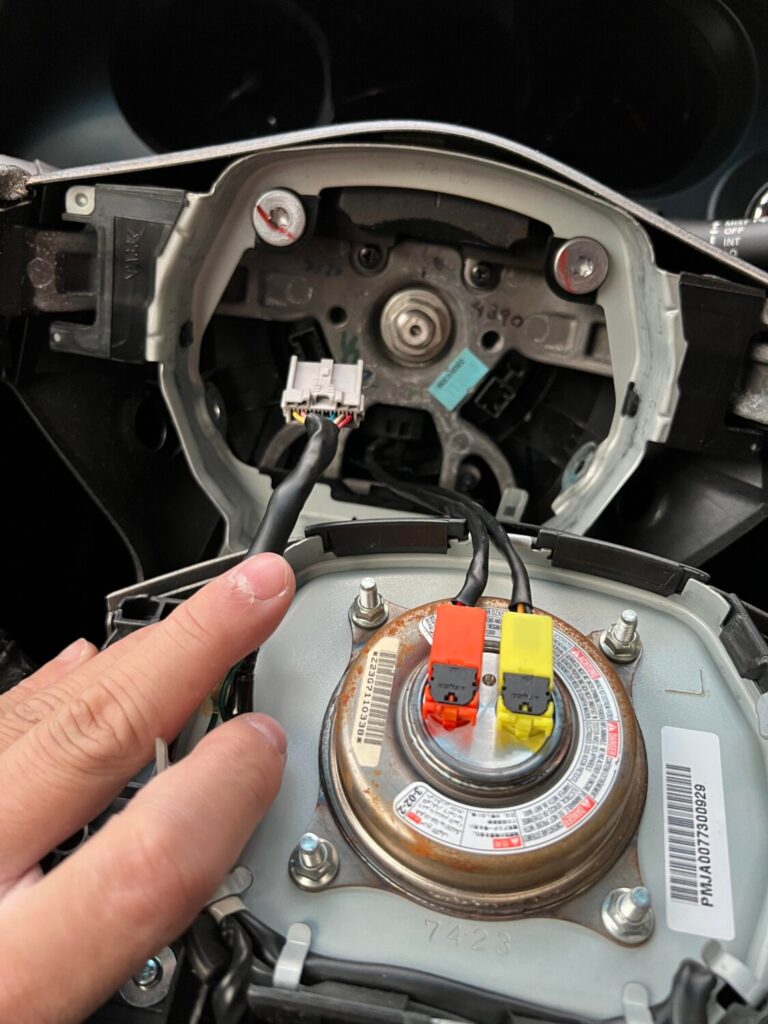
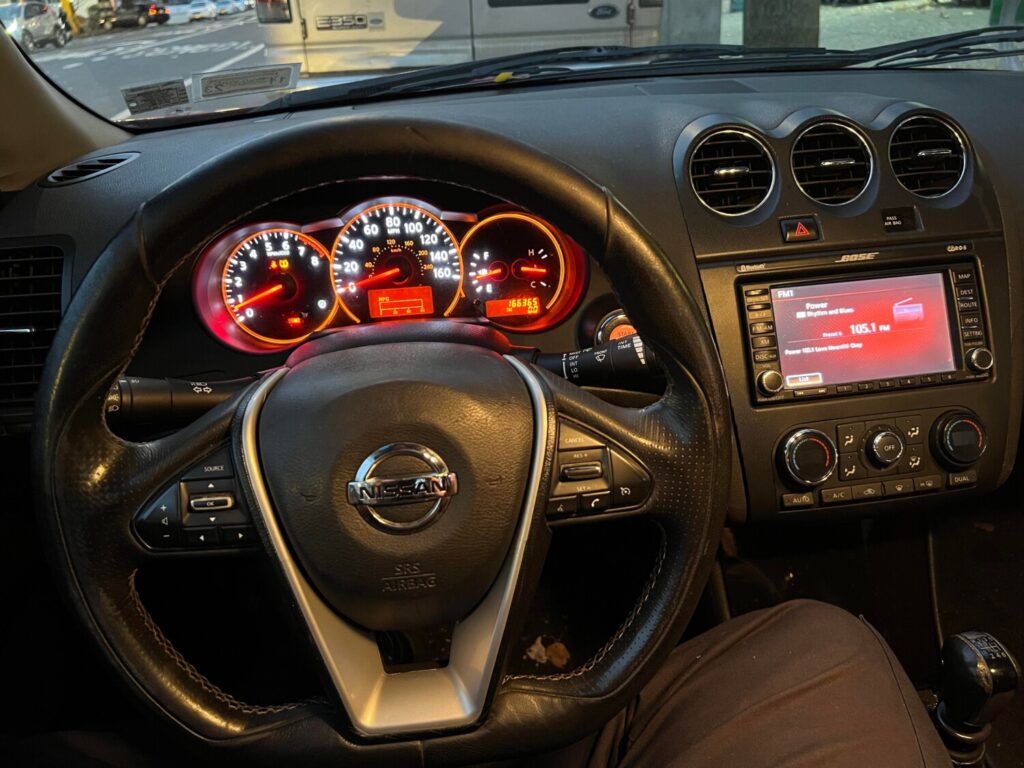
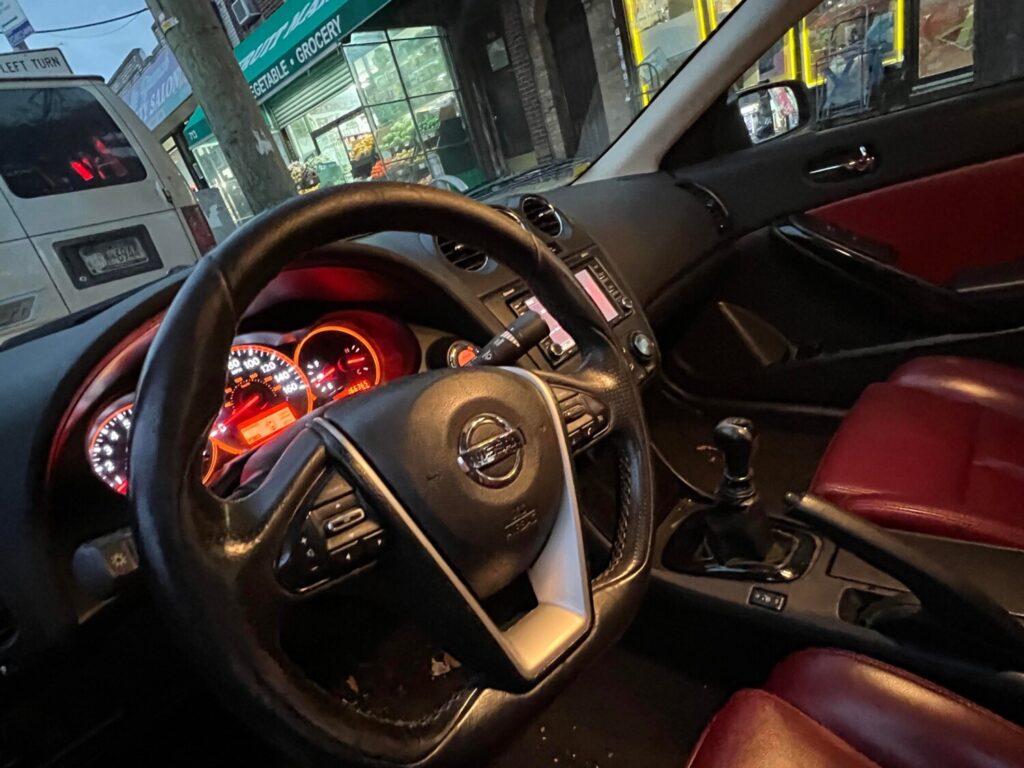
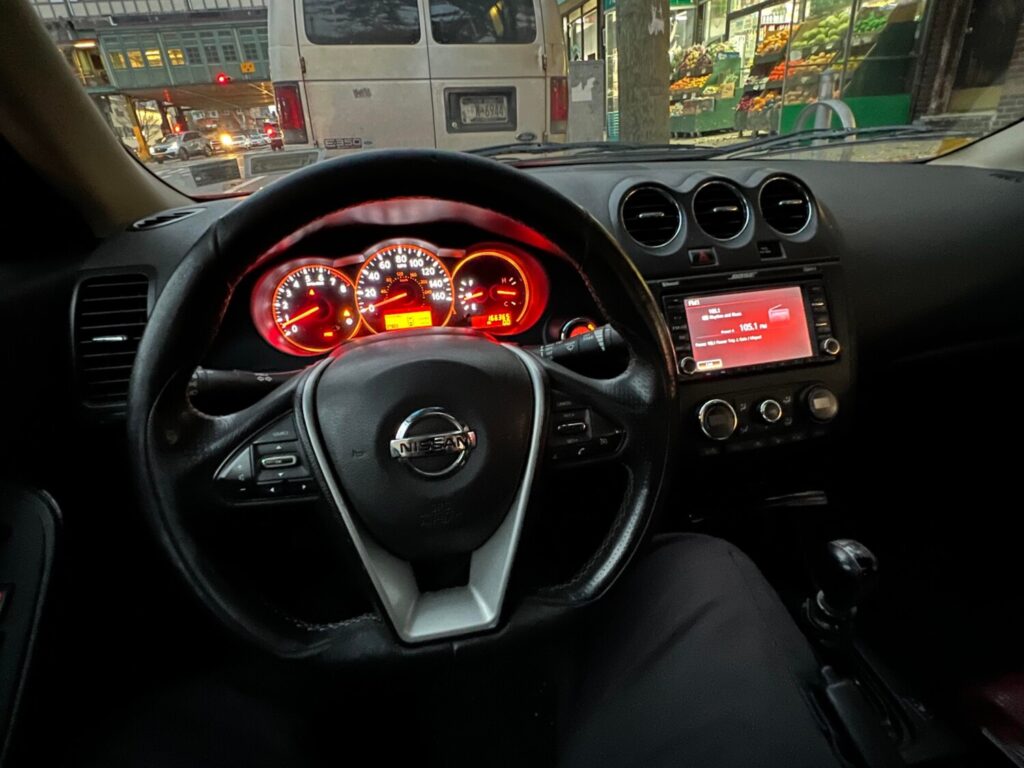
Upgrade to Carbon Fiber
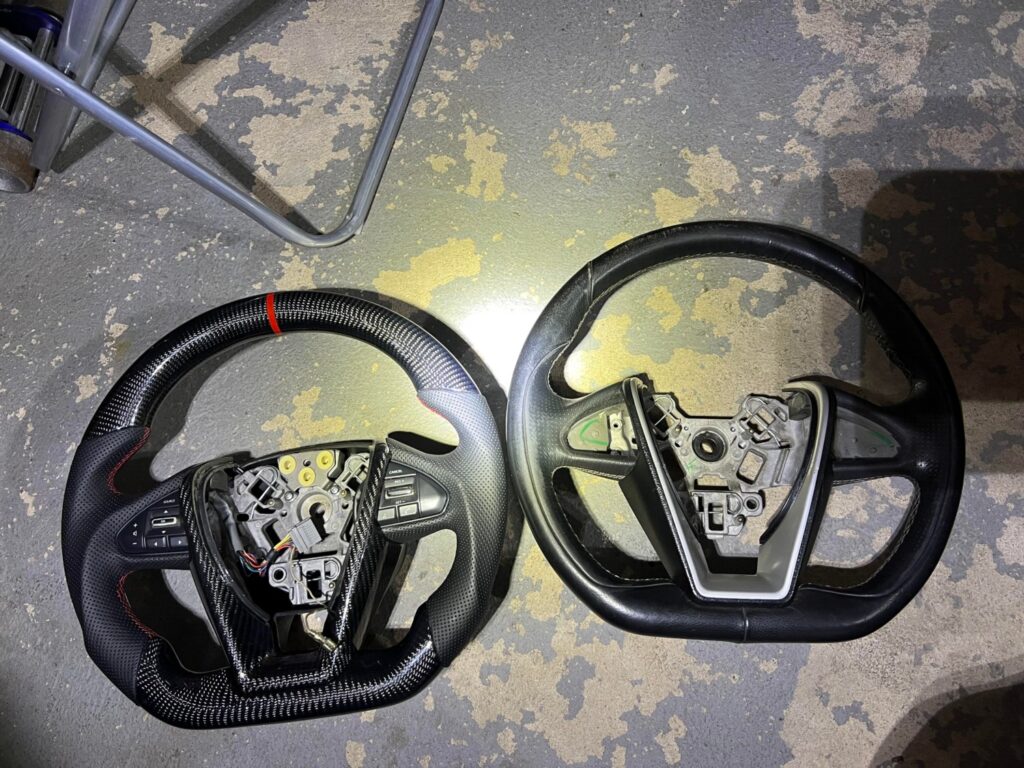
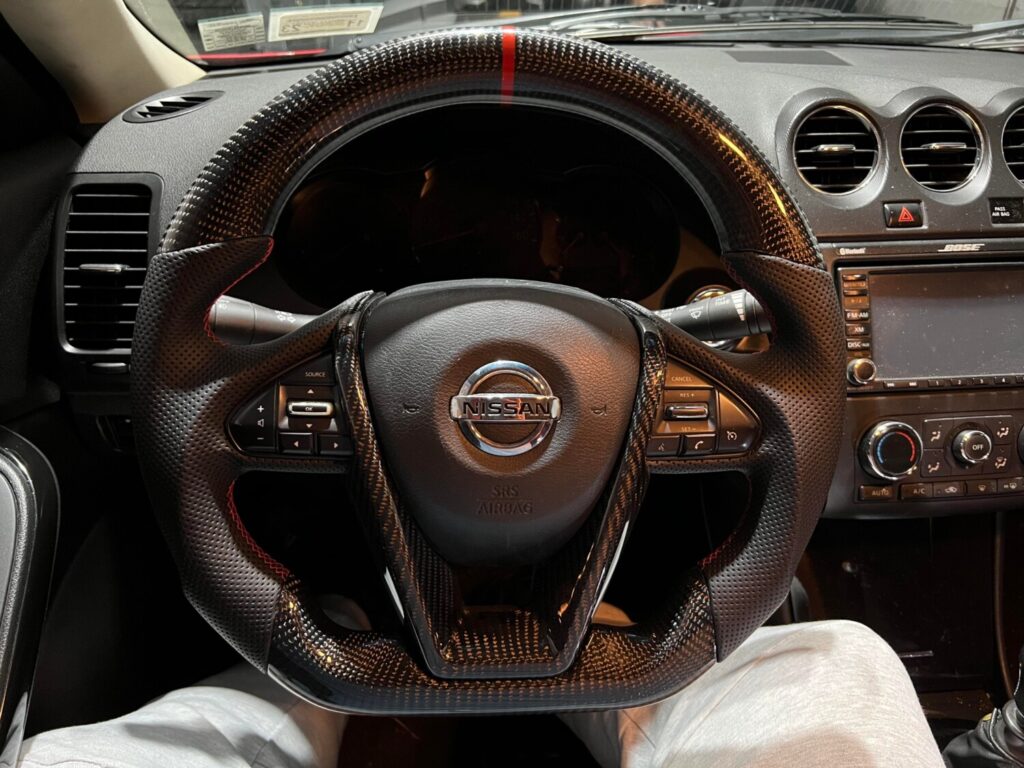
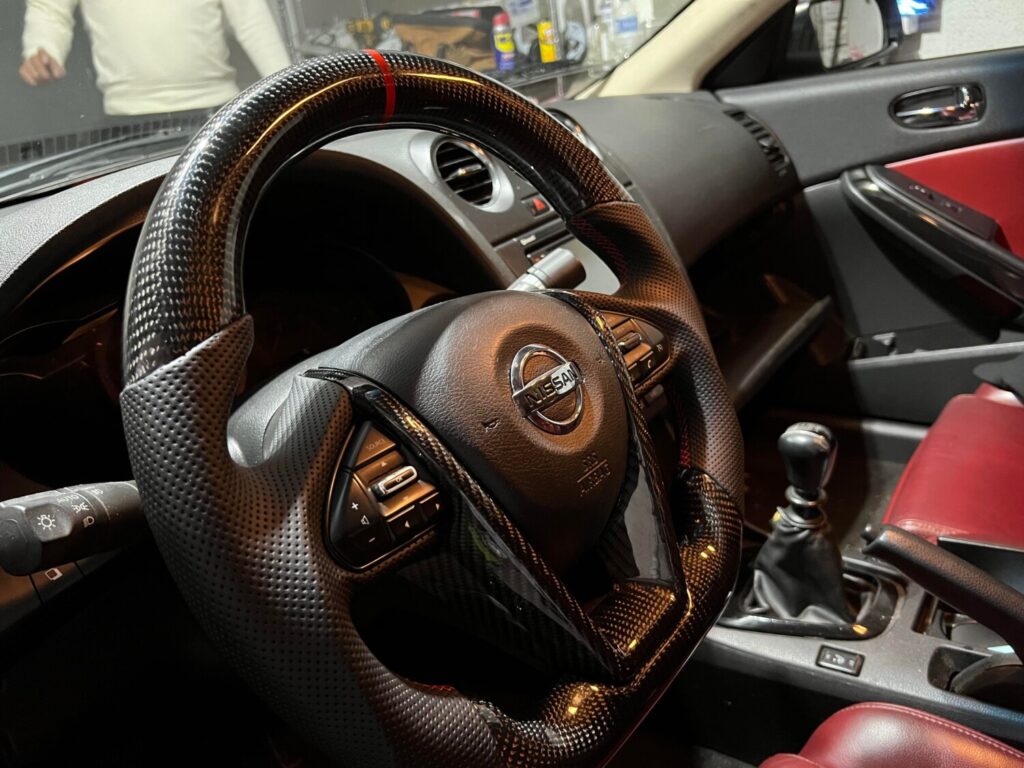
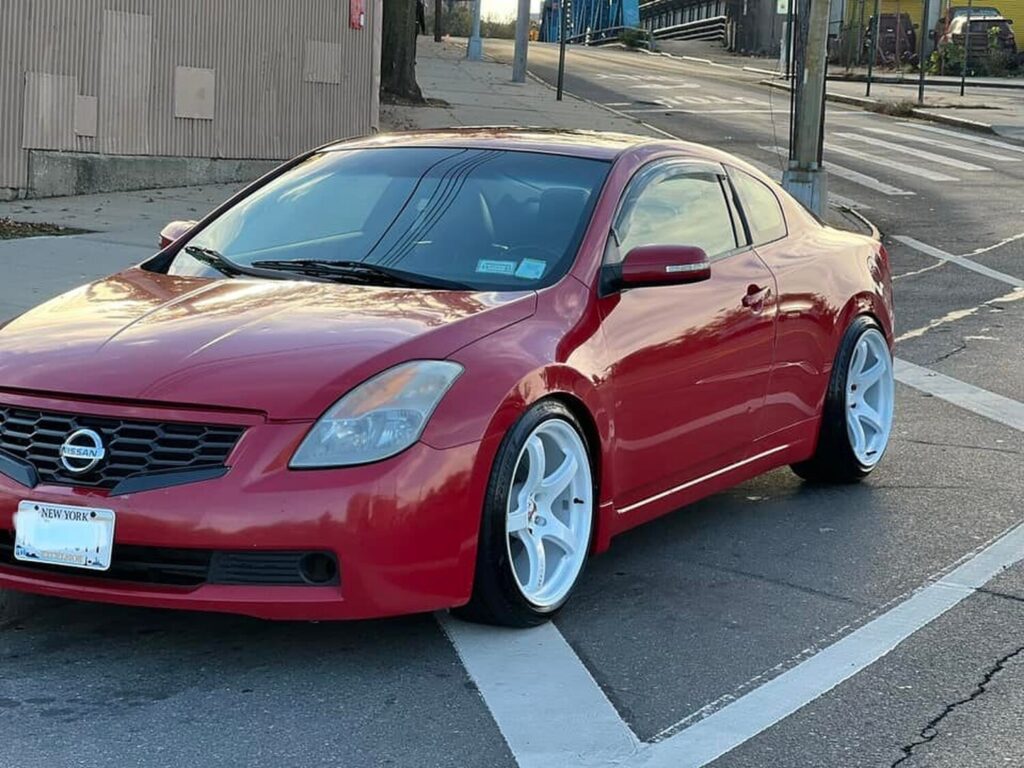

Community Member Credit: Robert Mandru
Important Note: These brackets for only for the front calipers. The rear Akebono calipers are plug-n-play but only for the 04+ Maximas/ 05+ SE-R Altimas.
Each kit comes with the following:
Tools you will need:
Due to casting variation of the Akebono calipers, some slight modification may be required to the adapter in order for it to clear the body of the caliper.
Using your 55mm long bolts, thread the adapters to your Akebono caliper until seated. The adapter is mounted to the caliper with the bottom of the “L” shape of the adapter oriented to towards the bleeder while the machined notch sits towards the caliper.
Verify that the notched portion clears the body of the caliper. If it does not, mark the area of contact and remove the appropriate amount of material until cleared. (Take away about 1-2mm of material at a time at approximately a 45-degree angle to match the caliper body angle. Re-mount to verify clearance. Repeat if necessary).

Mount your adapter to your spindle. The adapter sits outside of the spindle mounting holes while the 45mm long bolts mount from the inside of the spindle towards the body of the car. Hand thread one 45mm long bolt by only a couple of rotations. Take your other 45mm bolt and repeat for the other mounting point while extending the adapter away from the spindle. This will allow for extra pitch and play to align your second bolt to the threads of the adapter.
Once both bolts are comfortably thread-started into the adapter, fully thread both bolts through and tighten to OEM specifications.
NOTE: DO NOT FORCE BOLTS ONTO STARTING THREADS OF THE ADAPTER! This may result in damage or cross-threading to the aluminum adapter.
Your bracket will look like this mounted to the vehicle:
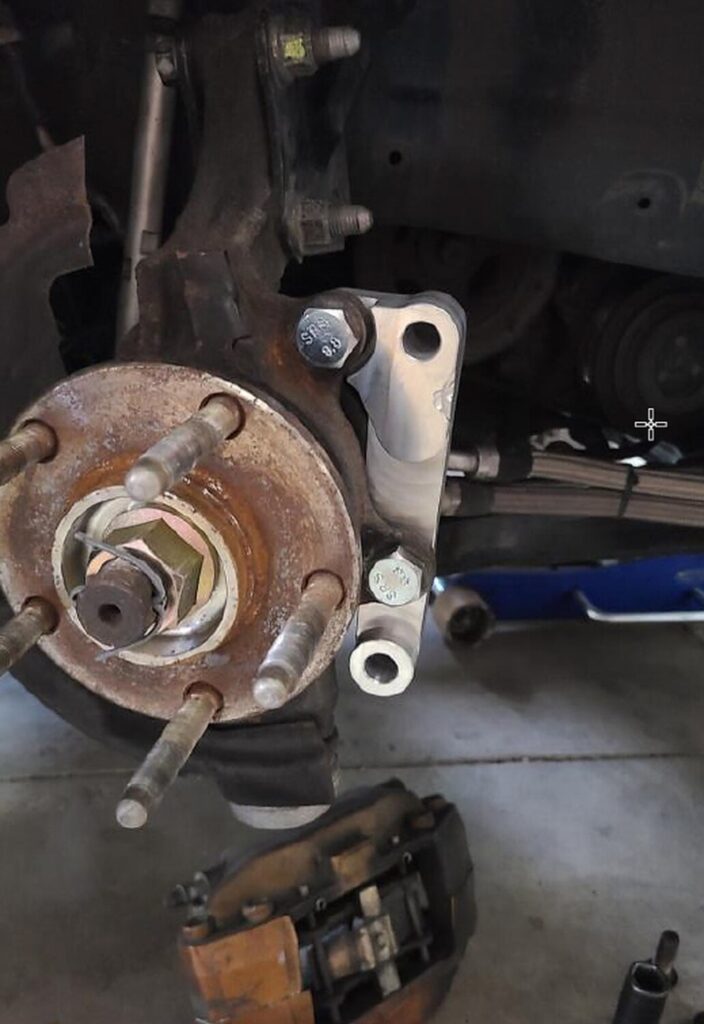
Repeat all steps to the opposite side of your car. Mount your Akebono calipers using the supplied 55mm long bolts. Tighten to OEM specifications. NOTE: Part of the dust shield will need to be trimmed in order for the caliper to be mounted. Use metal shears or a cut-off wheel with the appropriate tool to complete this step.
Double-check all fasteners for tightness prior to driving your vehicle. Test drive and enjoy!
 *** This kit is to be used for off-road use only. No warranty is implied or expressed. Purchaser assumes all liability. Tighten all fasteners to OEM specifications. ***