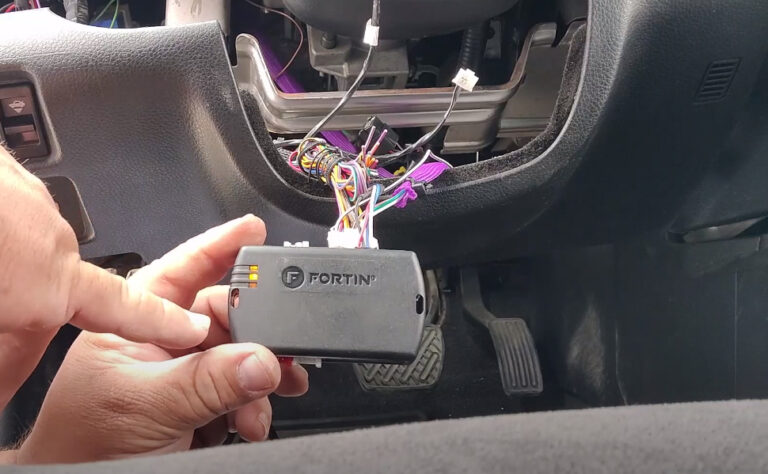
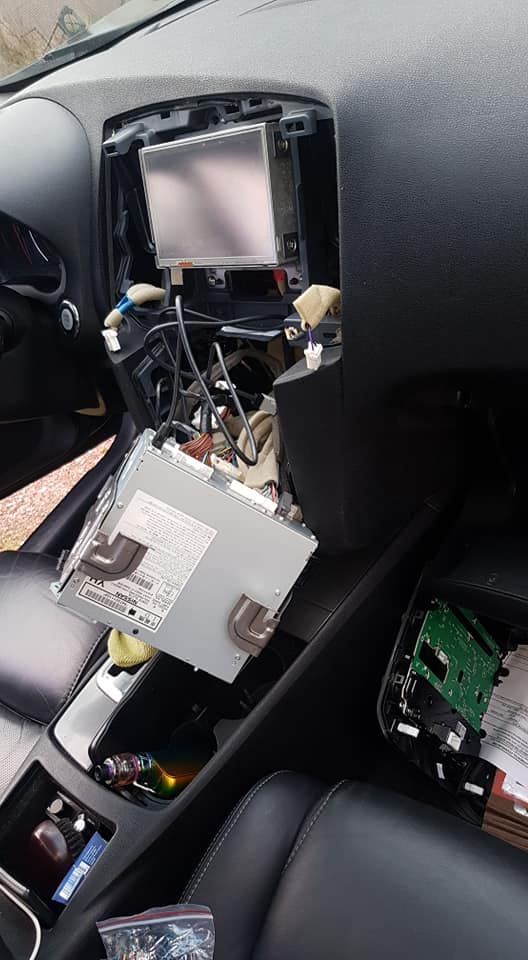
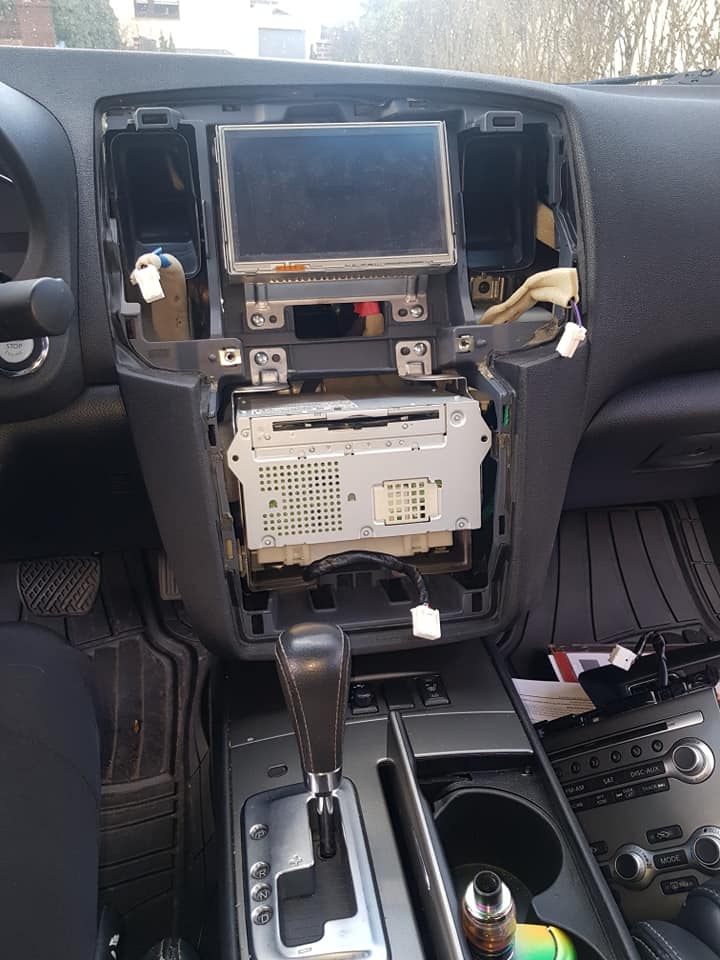
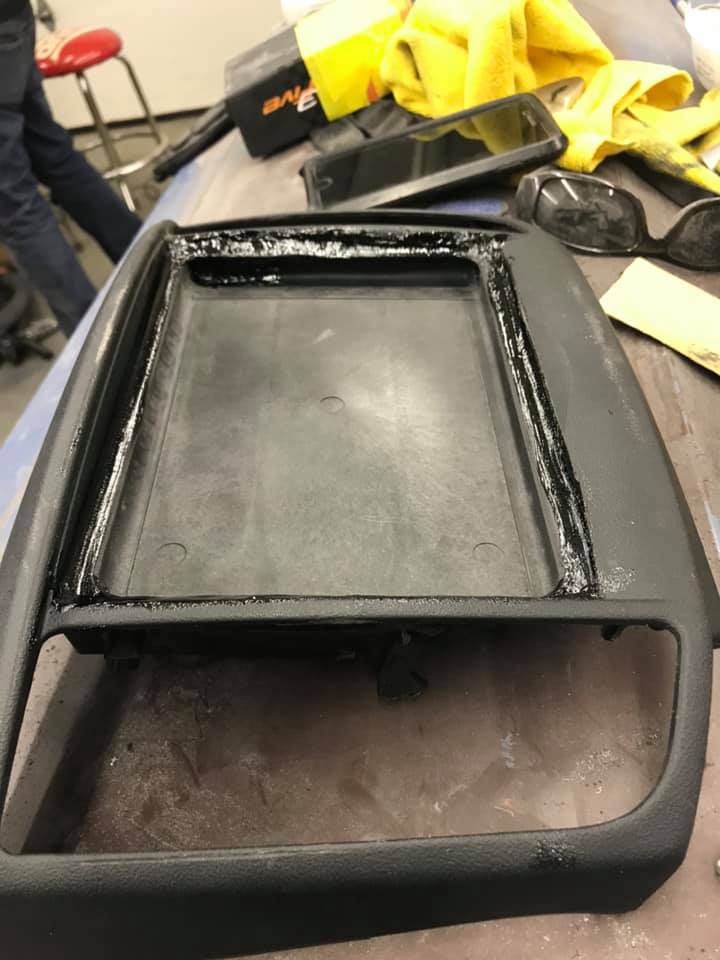
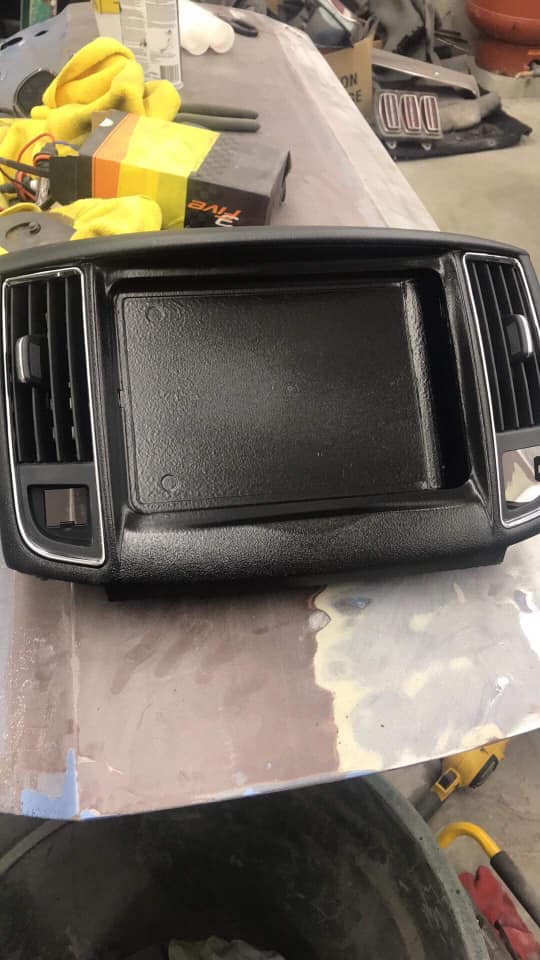
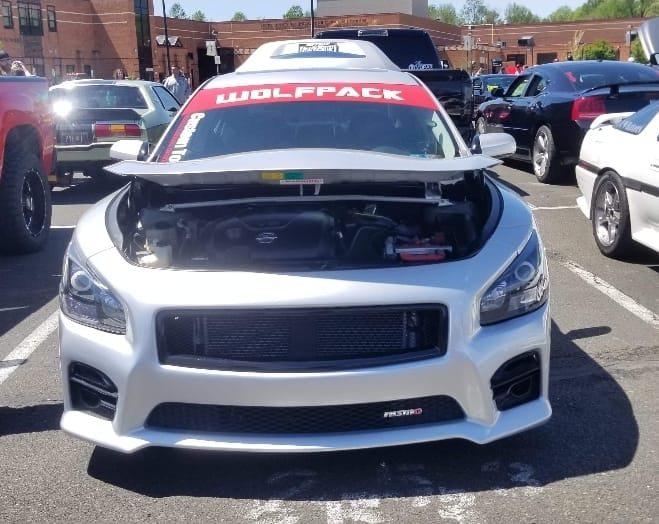
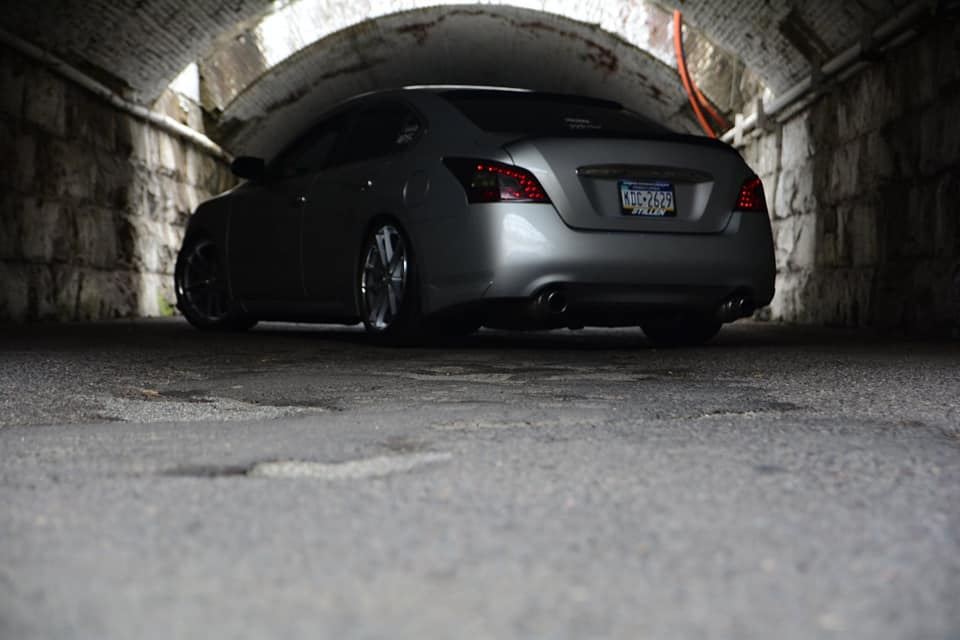
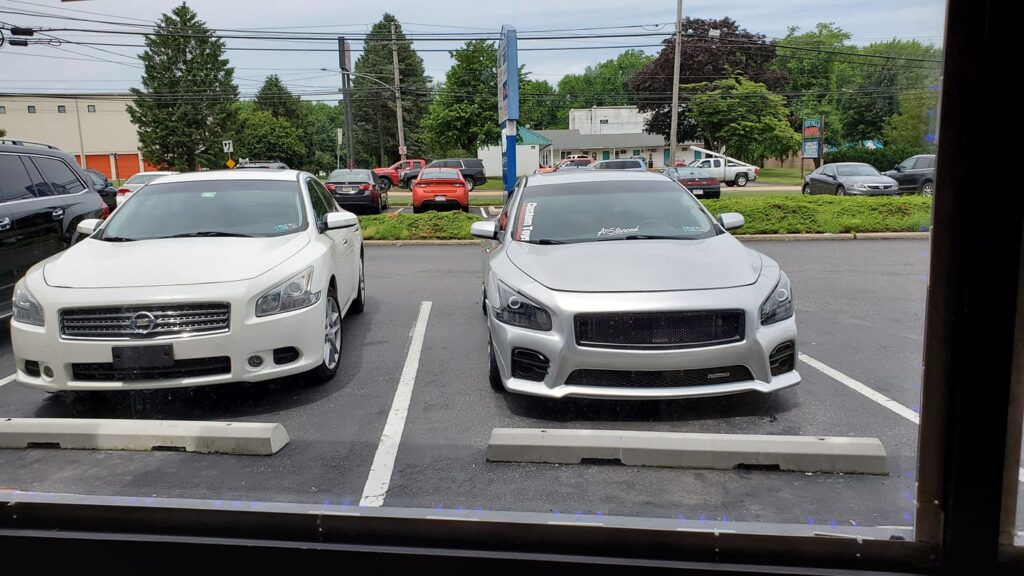
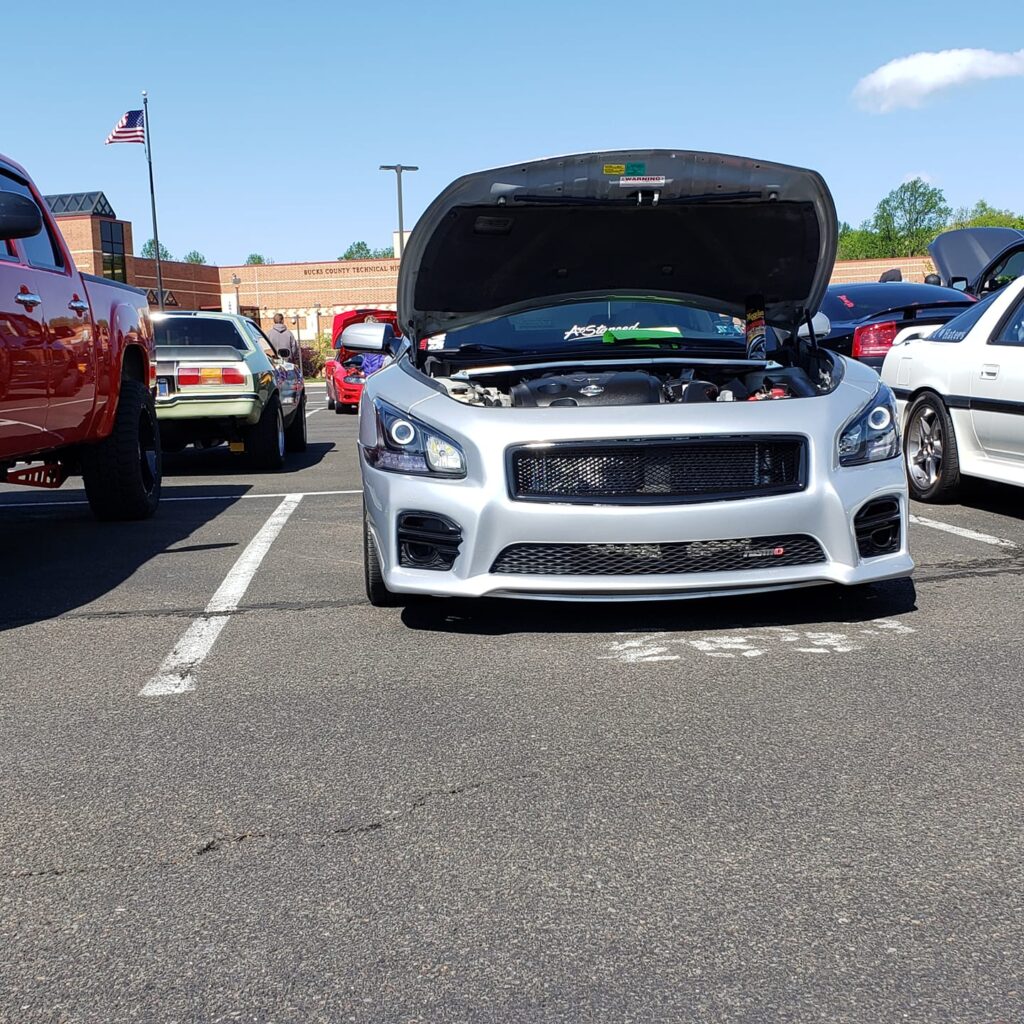
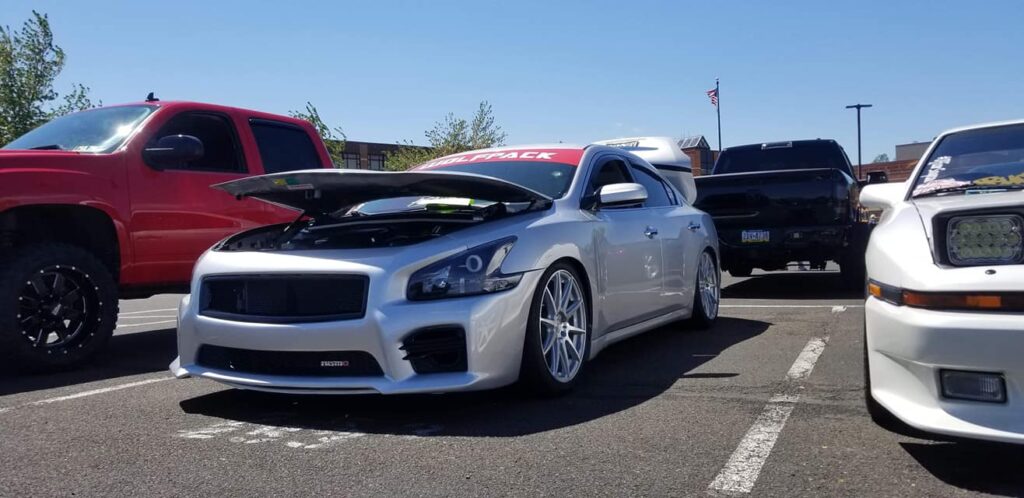
This video shows how to install Fortin Evo NIST1 into a Maxima from 2009-2014 that has push to start. This is how to use OEM key fob by pushing LOCK 3X to remote start the vehicle. Hope this helps and encourages you to keep upgrading,
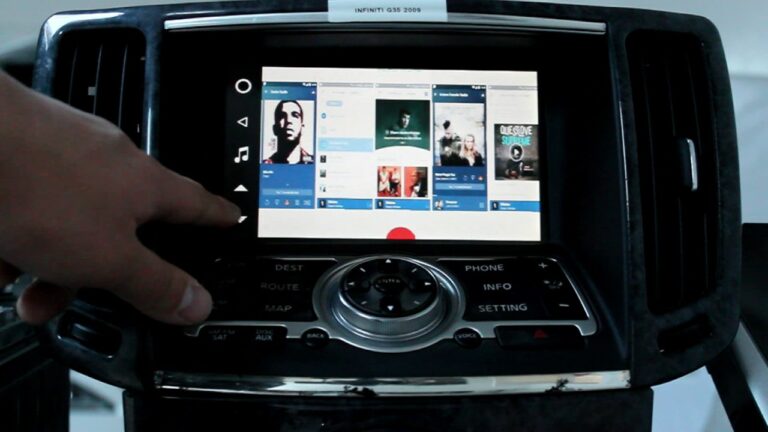
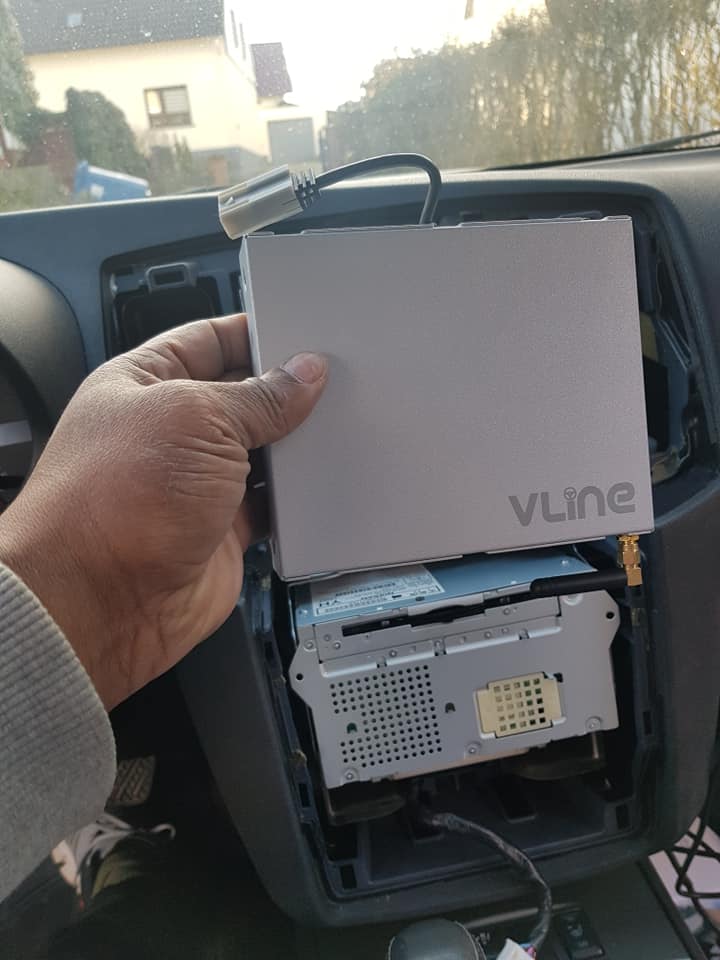
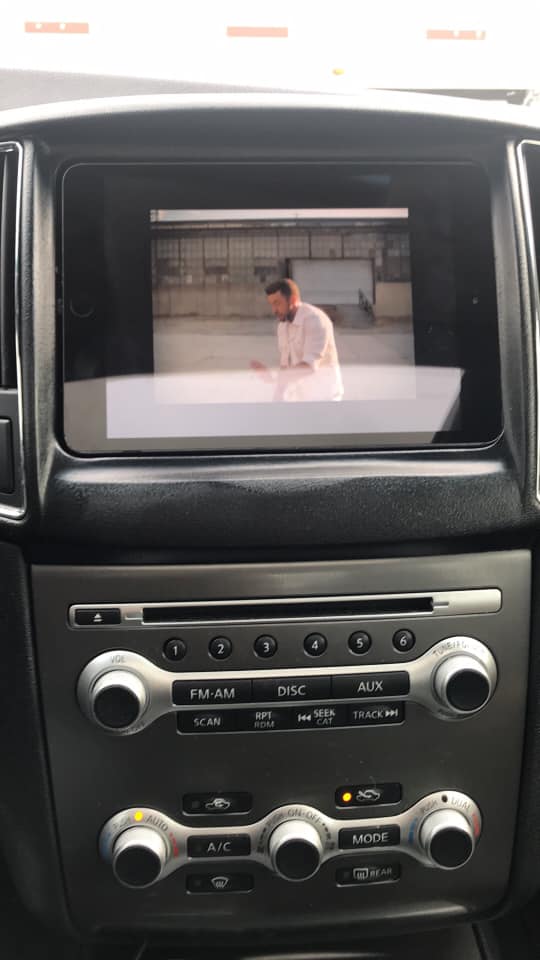
VLine Infotainment System is a smart computer that connects to the back of your Nissan Infiniti stereo and fully integrates into Nissan Infiniti infotainment system and display without compromising or affecting Nissan Infiniti factory functionality.
Music Apps and Plugins: VLine VL2 for Nissan Infiniti can play any music app as available in Google Play Store. However, all VLine systems have built-in app plugins to create a unified environment with large display fonts and graphics for ease of use while driving. Plugins include Spotify, Pandora, Google Music and Web Radio (VLine own radio app that is similar to TuneIn). AM/FM Radio is also available under Web Radio plugin.
Other apps: Install any app available at Google Play store or sideload your preferred app. Note that not all apps are optimized for driving. Install safely and responsibly.
WiFi Connectivity: WiFi connectivity is required to use the majority of VLine apps and Maps. VLine can connect to the internet via WiFi either using Smartphone internet tethering or standalone mobile data hotspot/modem and data plan.
Bluetooth: Bluetooth A2DP music streaming is available for most Smartphones with cover art and title support.
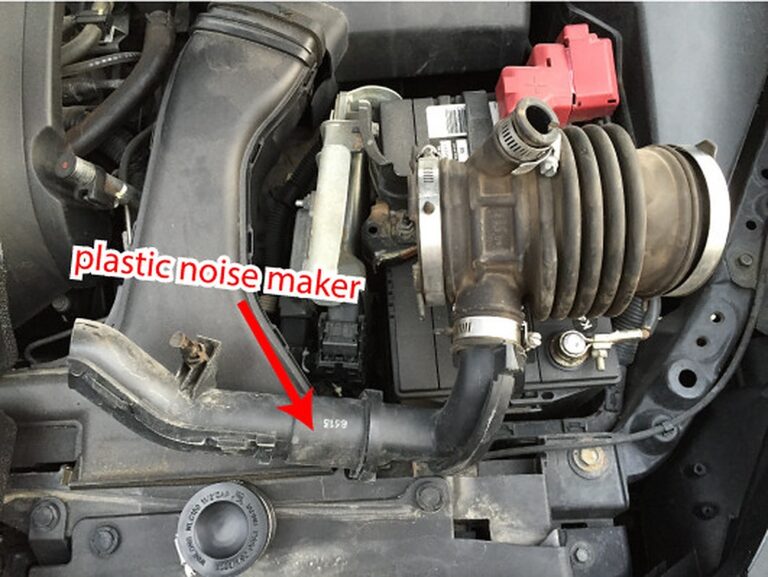
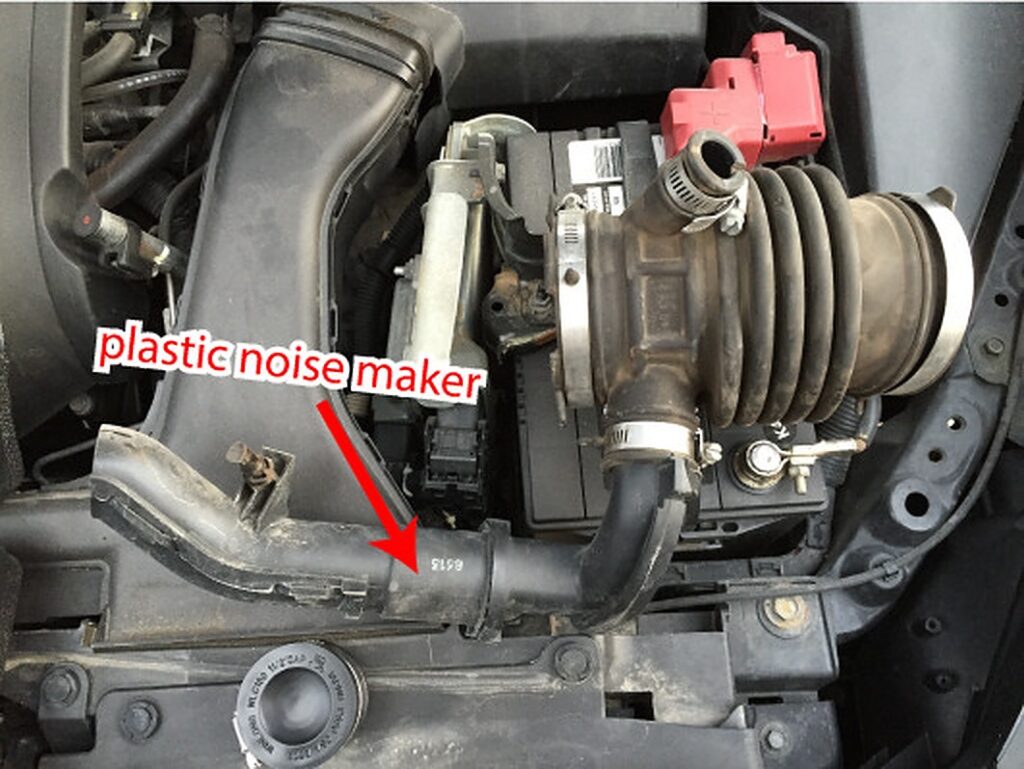
The plastic tube below is the “Sound Generator”. The Sound Generator is the noise you hear that makes your car sound as if it is shifting and it kinda gives a Growling noise when you jump on the CVT.
Nissan made the Sound Generator and piped it into the interior of our cars so that we can hear it and make it seem as though the CVT is going through the gears because without it (Sound Generator) the car/CVT was too quiet and we wouldn’t know what’s going on.
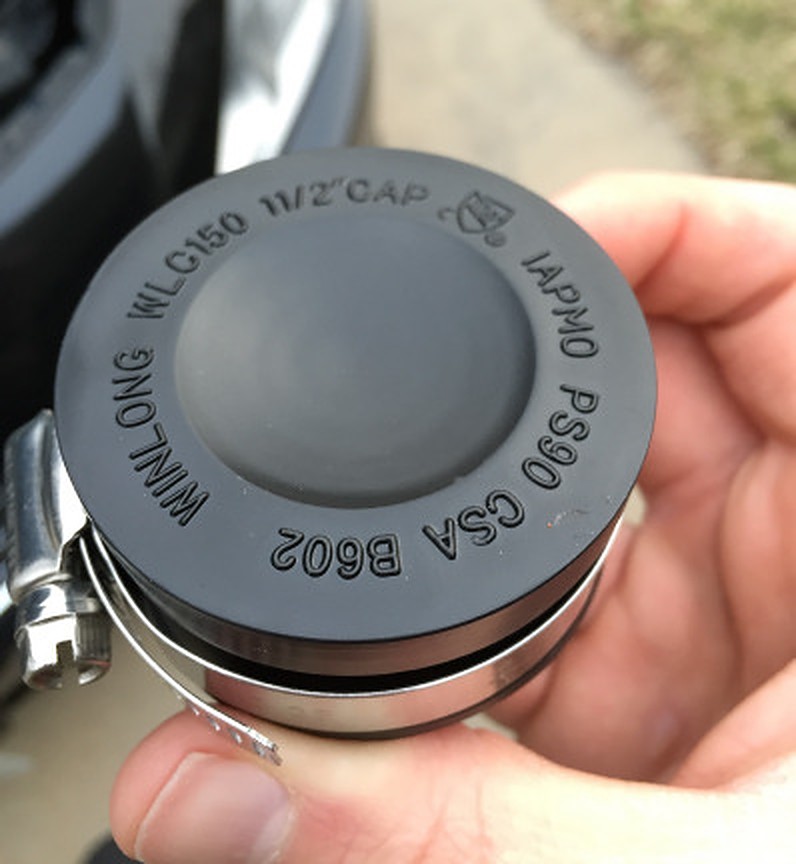
This is the cap I got. it was $2.90 at Lowes.
This is the rubber intake hose I removed to get at the plastic noisemaker tube. It connects the airbox and throttle body.
As you can see, there are three hose clamps that needed to be removed to take the intake hose out. I started by removing the cover from the air filter box. I needed to remove the hose clamp and then also disconnect the mass airflow sensor and the cable ties that held it in place. Here’s what it looked like after I removed the airbox lid exposing my air filter (red filter at bottom of the picture).
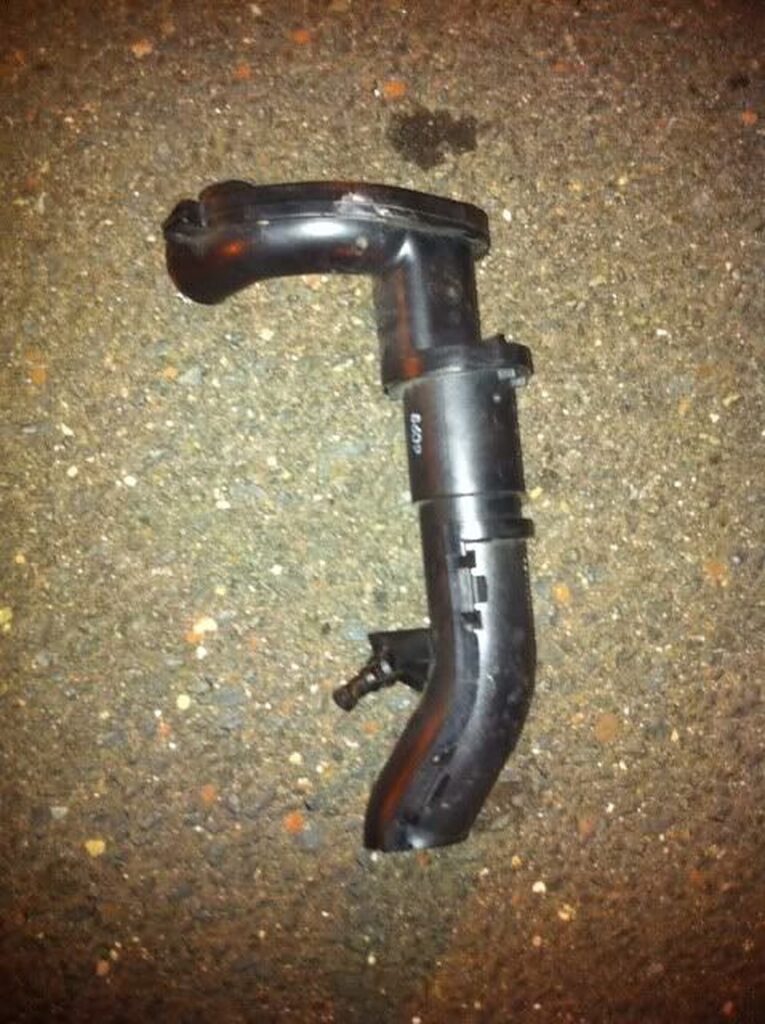
After I loosened all three hose clamps. I just pulled up and out on the rubber tube and the plastic “noisemaker” slid out (it was held to the rubber tube with another hose clamp, but I didn’t need to loosen this one until after I got it out). Here’s the rubber intake hose with the plastic noisemaker still attached (It’s resting on the battery in the picture).
I then removed the plastic noisemaker and secured the cap over the hole. I could actually tighten it fairly tight, I kept checking the inside of the hole to make sure it wasn’t collapsing, and it withheld quite a bit of pressure.
After that, I just hooked the rubber intake hose back into place and tightened all the hose clamps back down.
Community Member Credit: Christopher-Kamala Garcia
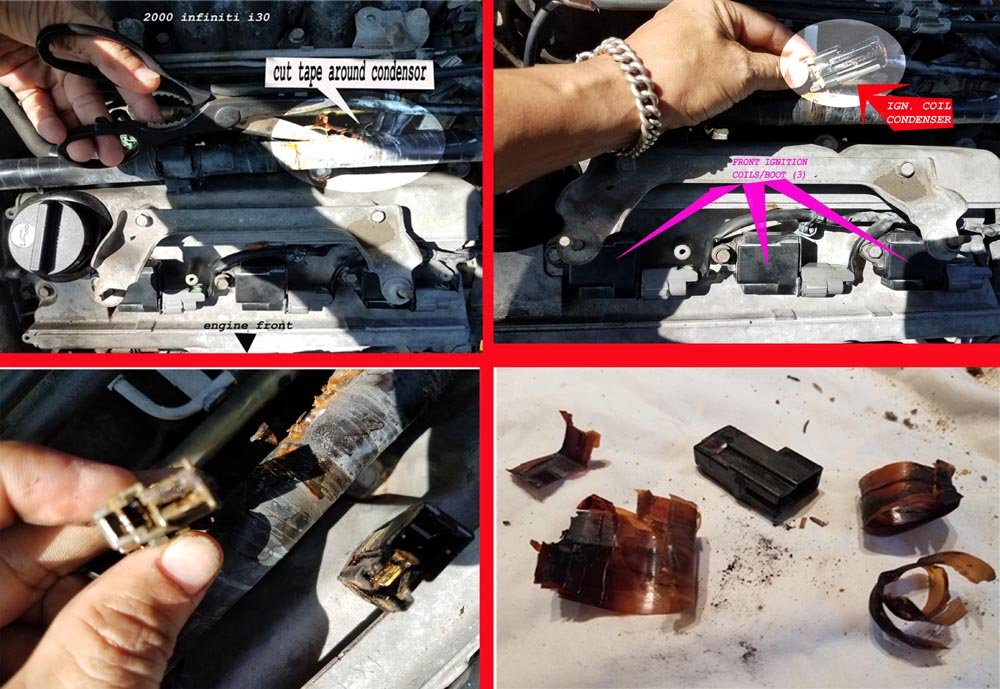
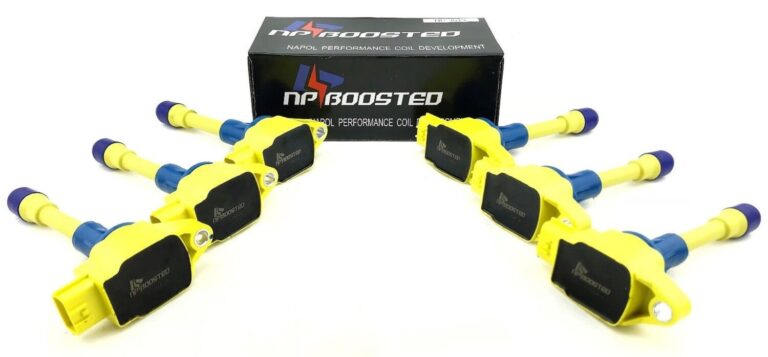
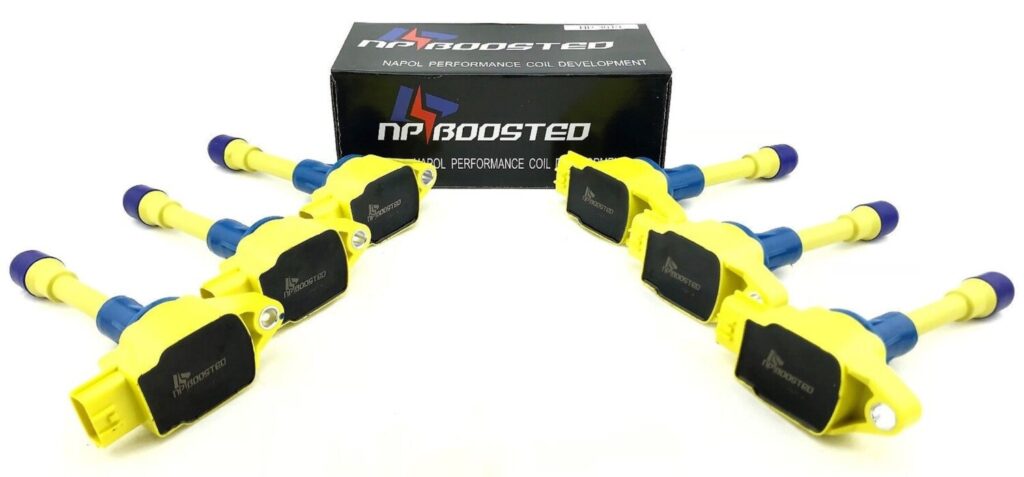
This is just for reference purposes on a member that has used these coilpacks. Most people just go OEM but this is a good reference for those who choose this route. We recommend sticking with OEM.
I have a 2009 Maxima SV with both electric tilt and telescoping functions. I am at 92k miles and recently my tilt motor stopped adjusting the steering wheel, I know, first-world problems here. I know the motor still worked because you can hear it moving what’s left of the gear.
I did some research and yes, you can buy a new motor from Nissan for $200. However, in my research, I ran into this product – Dorman 905-522. At this point in time, it’s a poorly made product and badly advertised as well. Nowhere, does it say that it’s compatible with 09 Maxima, though later Maxima’s are on the compatibility list. I saw a single review of this product on amazon and decided to take a plunge.
Yesterday, I had the “pleasure” of repairing my motor. So the product comes with new shafts and molded on Nylon gears as well as C-clips and some grease. It also comes with pretty good instructions on the actual repair.
Once you have the motor out, you follow a couple of steps from Dorman’s manual, specifically:
Take off the c-clip or locking the o-washer from the end of the shaft.
Remove a set screw/spring from the adjustment block (located on the side of the block, inner hex)
Unscrew adjustment block
Use the permanent marker to draw a line across the outer nut, inner locking nut, and body of the motor. This is necessary to apply the same preload to the inner bearings
Remove the large hex nut with a crescent wrench, it was not super tight. I used adjustable pliers to get it off.
Then slide the black spacer block included in the Dorman kit over the shaft, it should engage the inner nut. The block is square, but the nut has 12 points, so it will engage without any issues.
Spin the inner nut off
Remove old shaft, be careful, there is a bearing on the bottom and the top of the nylon gear.
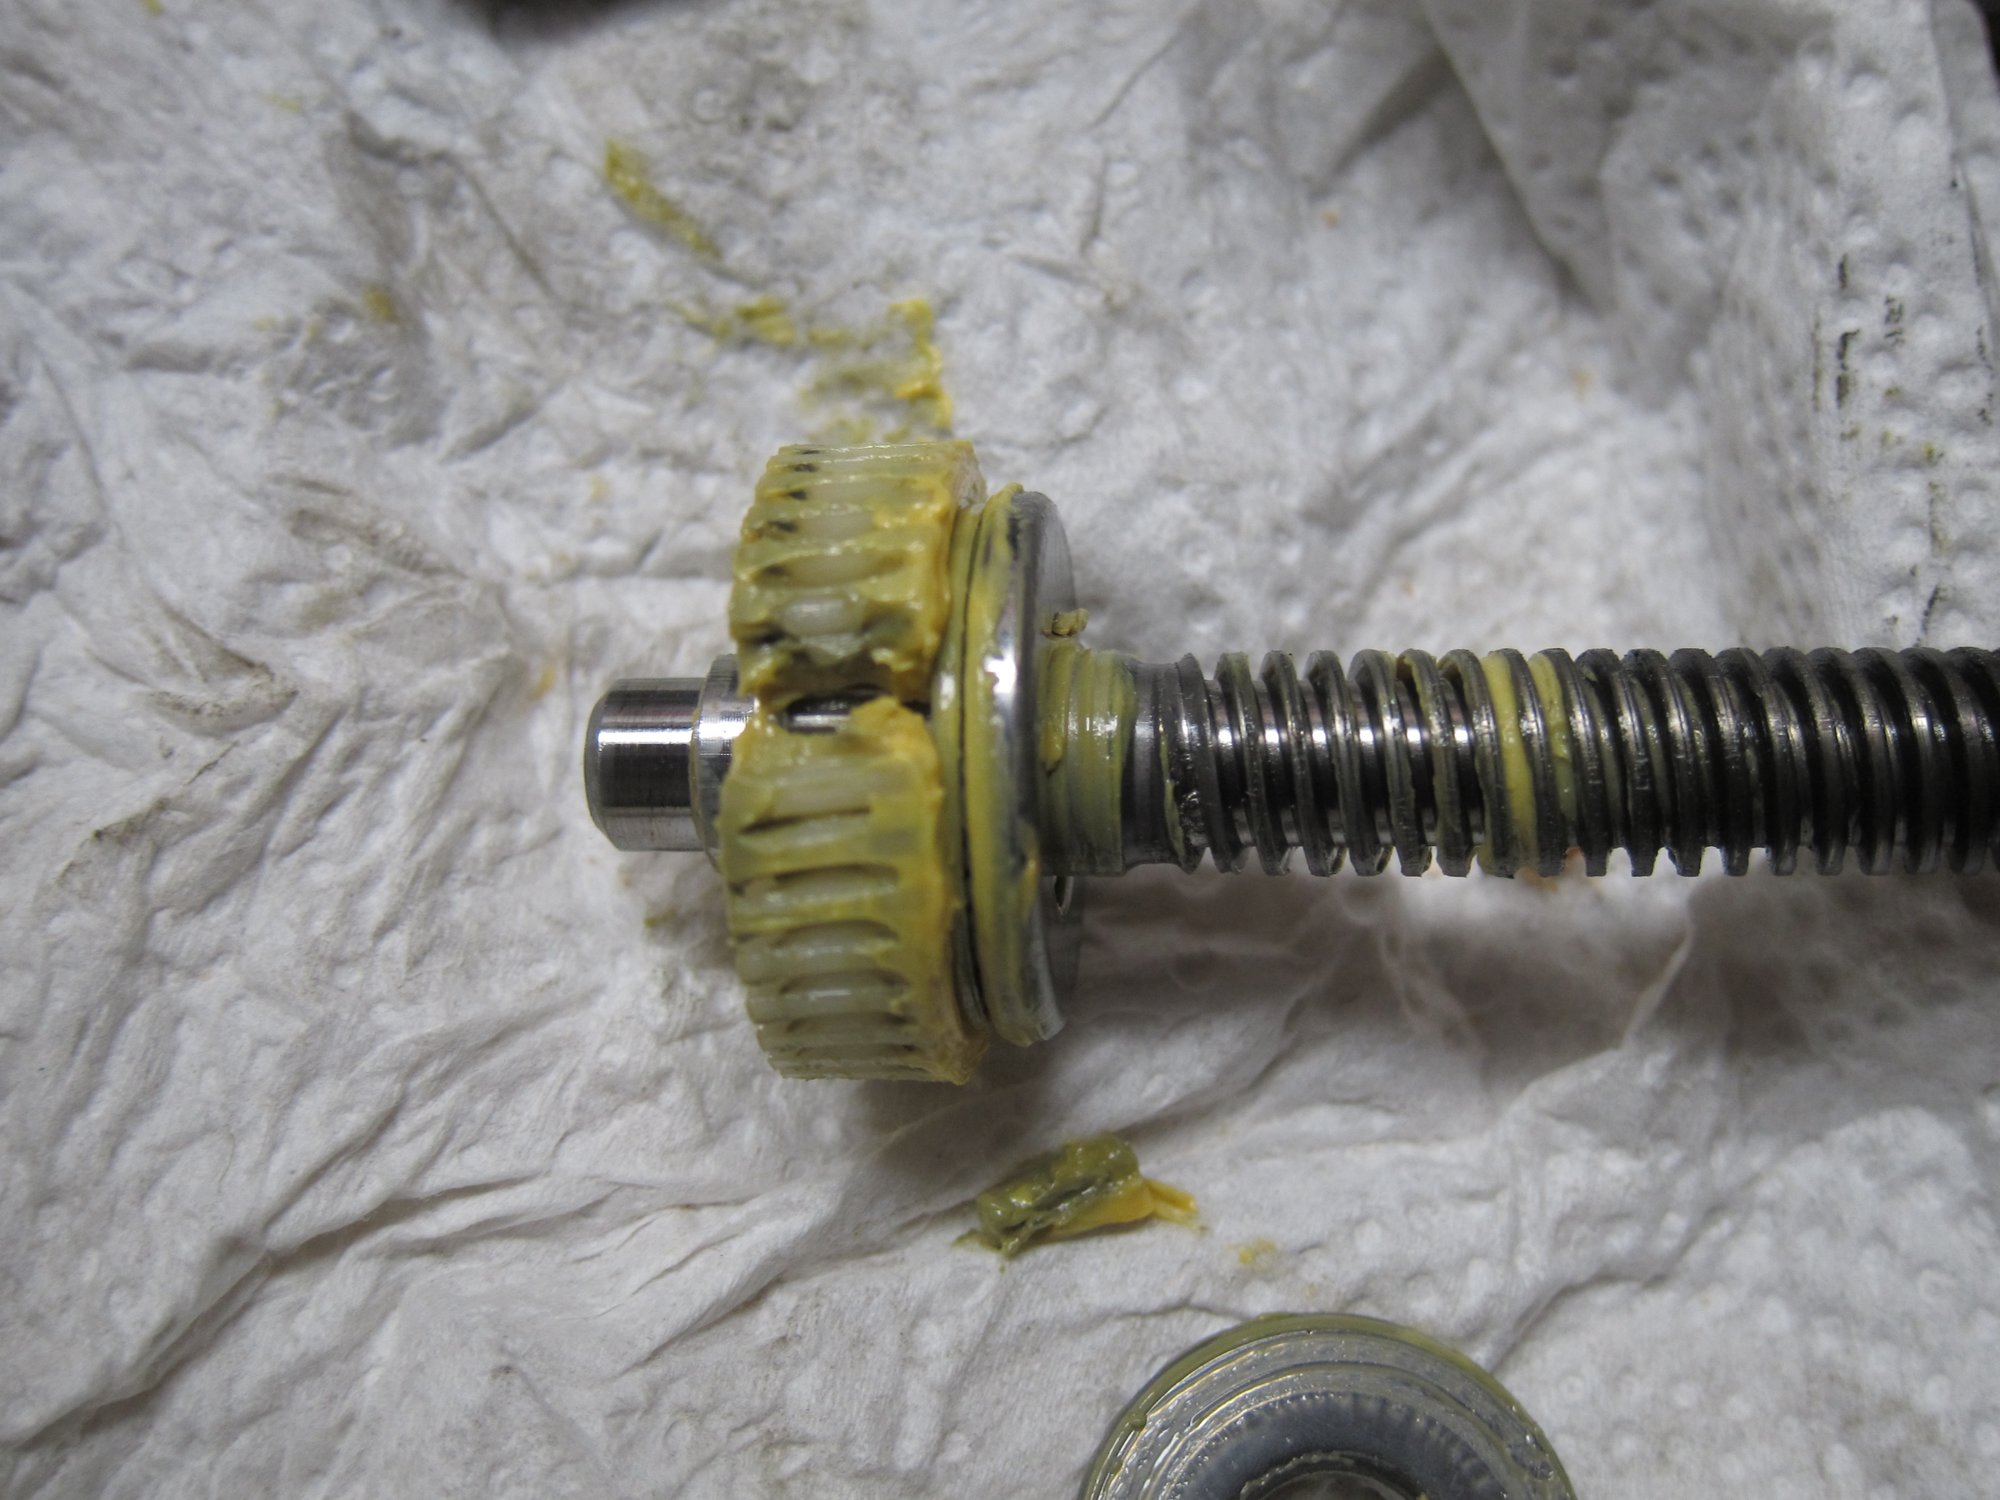
At this point you should confirm that your old nylon gear is busted, mine had a whole chunk of gear missing. Assembly is reverse of disassembly.
But here is some bad news and good news.
Bad news first: When I tried to spin the adjustment block on the new shaft, the block was getting bound up in many spots, so there are problems with threads on these replacement parts. Since I have gone so far with the repair, I did not want to put the old broken part back in. What I did is used small files to file down the metal threads on the new shaft. I basically put some taper on the shaft threads and after about 2.5 hours of manual labor, the adjustment block would thread on smoothly without any issues.
Of course, it’s completely asinine to expect a person to file down metal threads to get the part to work. So here comes some mixed news that hopefully will turn into good news soon. This morning I contacted Dorman about my experience and they told me that they know of this issue and the product is supposed to have been put on hold with no further sales taking place until they retool and fix the issue. They were not able to tell me when the new product will be available, but hopefully soon. I left a 3-star review for this product on Amazon, and hopefully, when Dorman gets a new design done I will be able to update it to a 5-star review.
The good news is that there is no need to purchase $200+ new motors and throw out a perfectly good motor with broken plastic gear. The Dorman kit cost me $35 shipped from RockAuto, the kit includes both tilt and telescoping motor shafts. The R&R of the motor, given a proper shaft, is no more than 30 mins and that is taking things apart slowly. I can do it in 5mins now. For crafty guys, the threads on these shafts are M10 x 2.0. I don’t have a die or thread chaser this size, as a matter of fact, it’s a very oddball size that’s not easily gotten.
I do have some pics, but frankly, between the TSB and Dorman manual, you should have no issues taking things out and putting it all together.
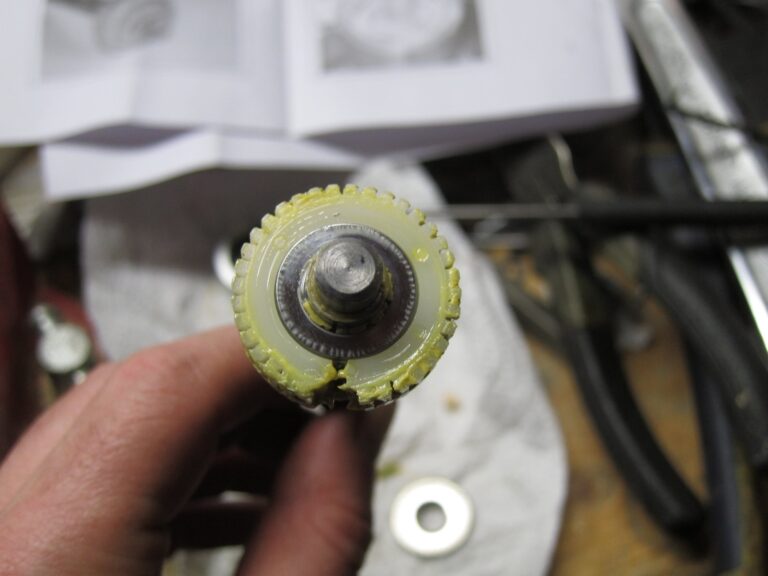
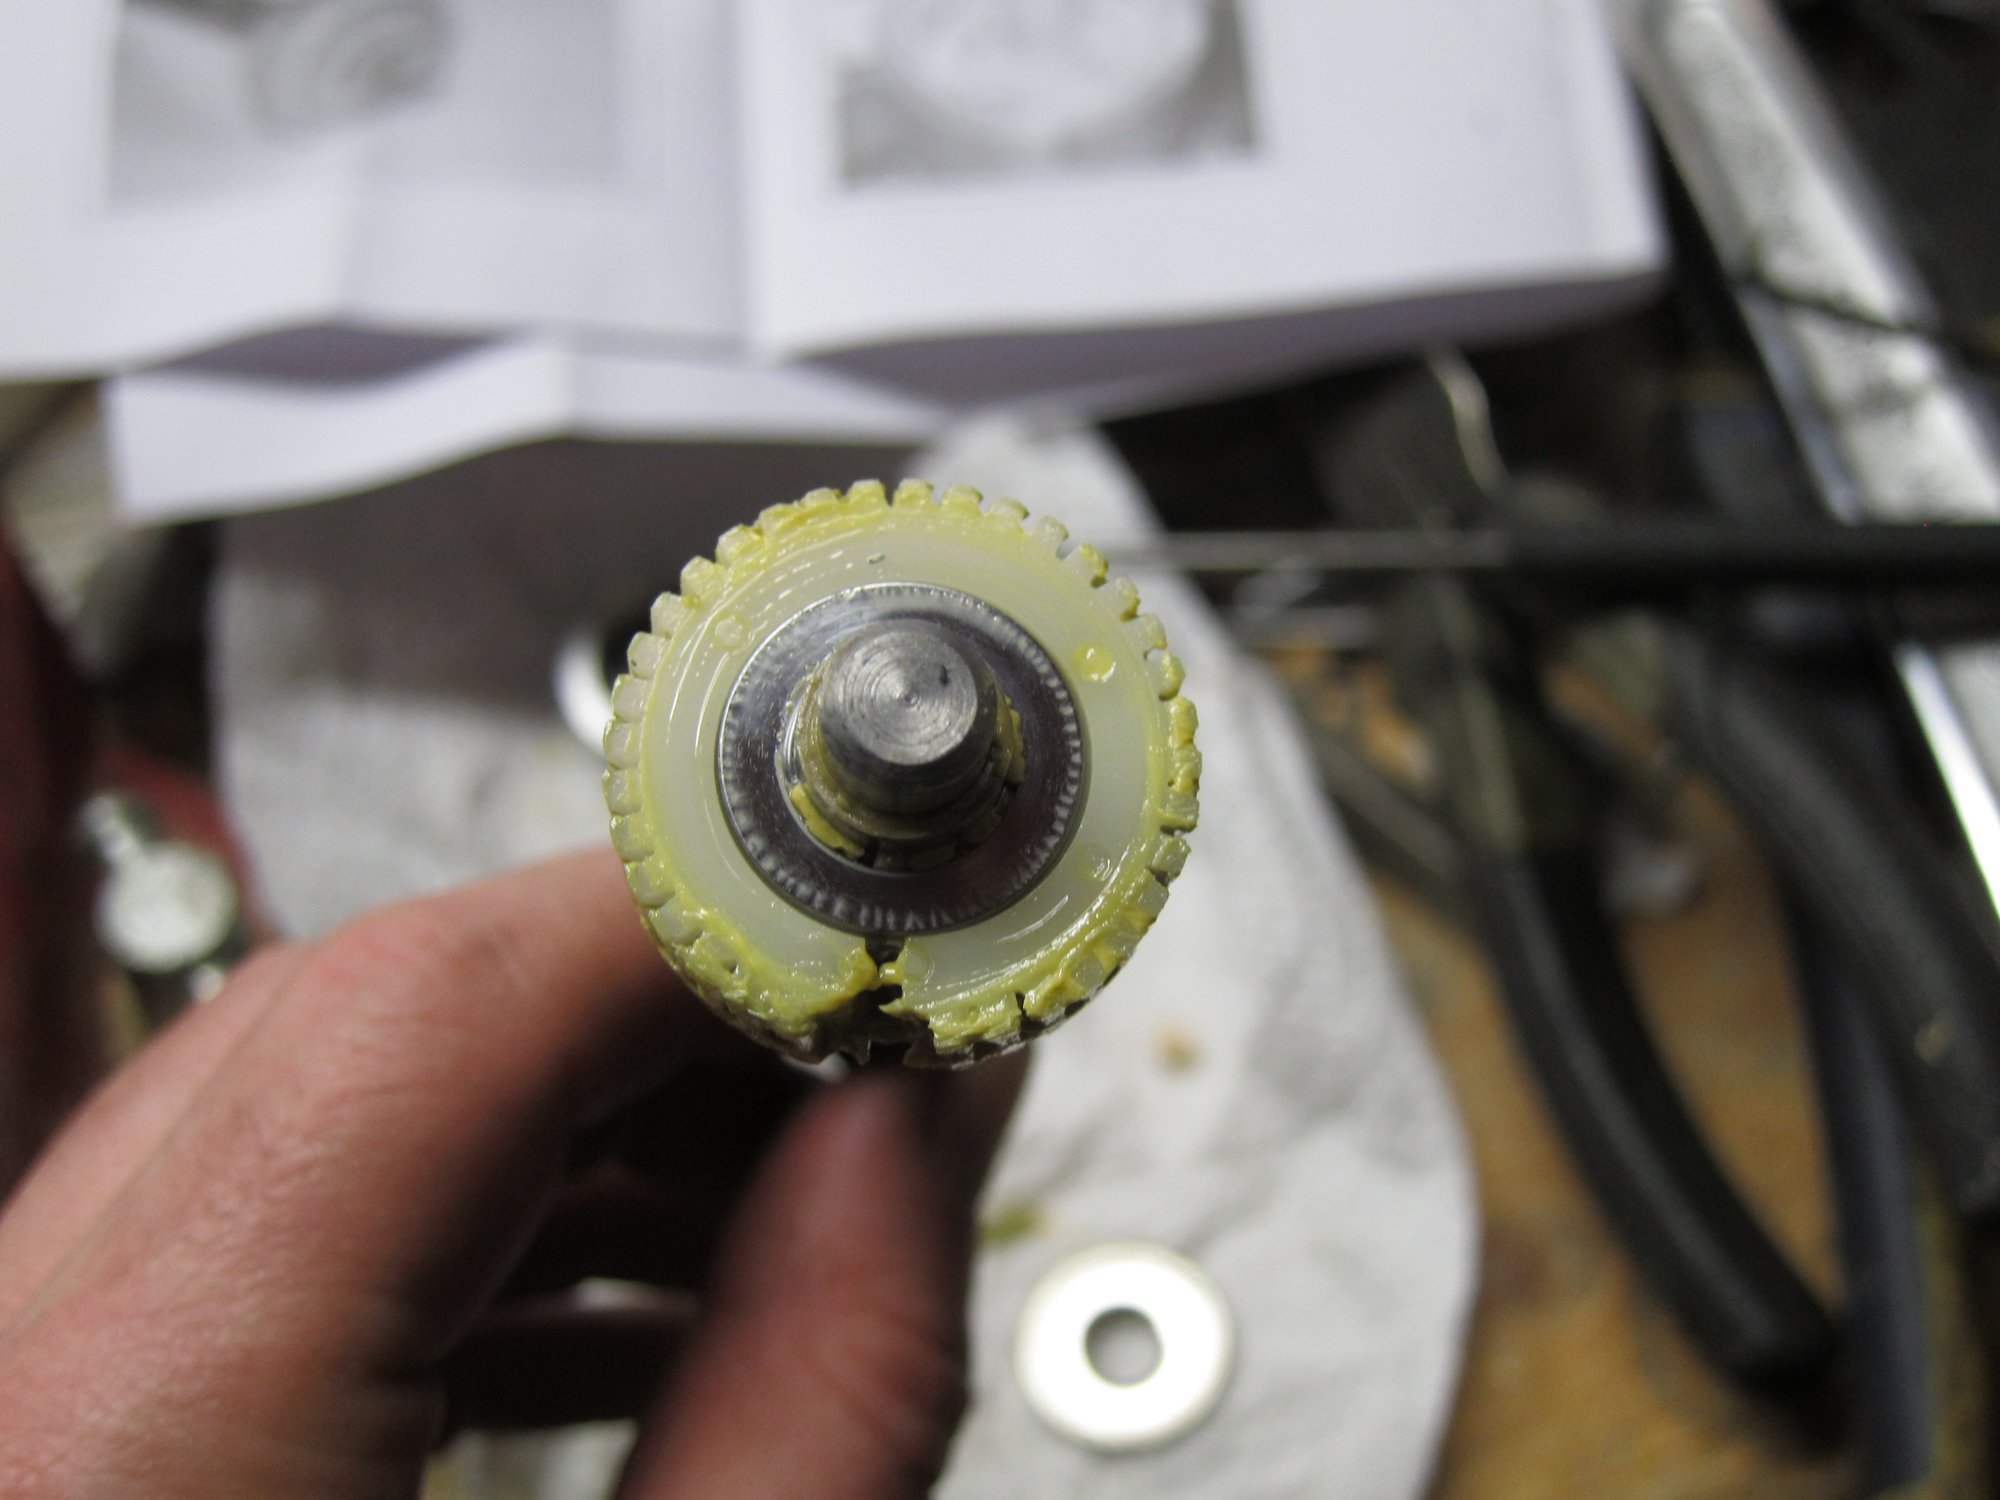
Old nylon gear broke, chunk of it is missing
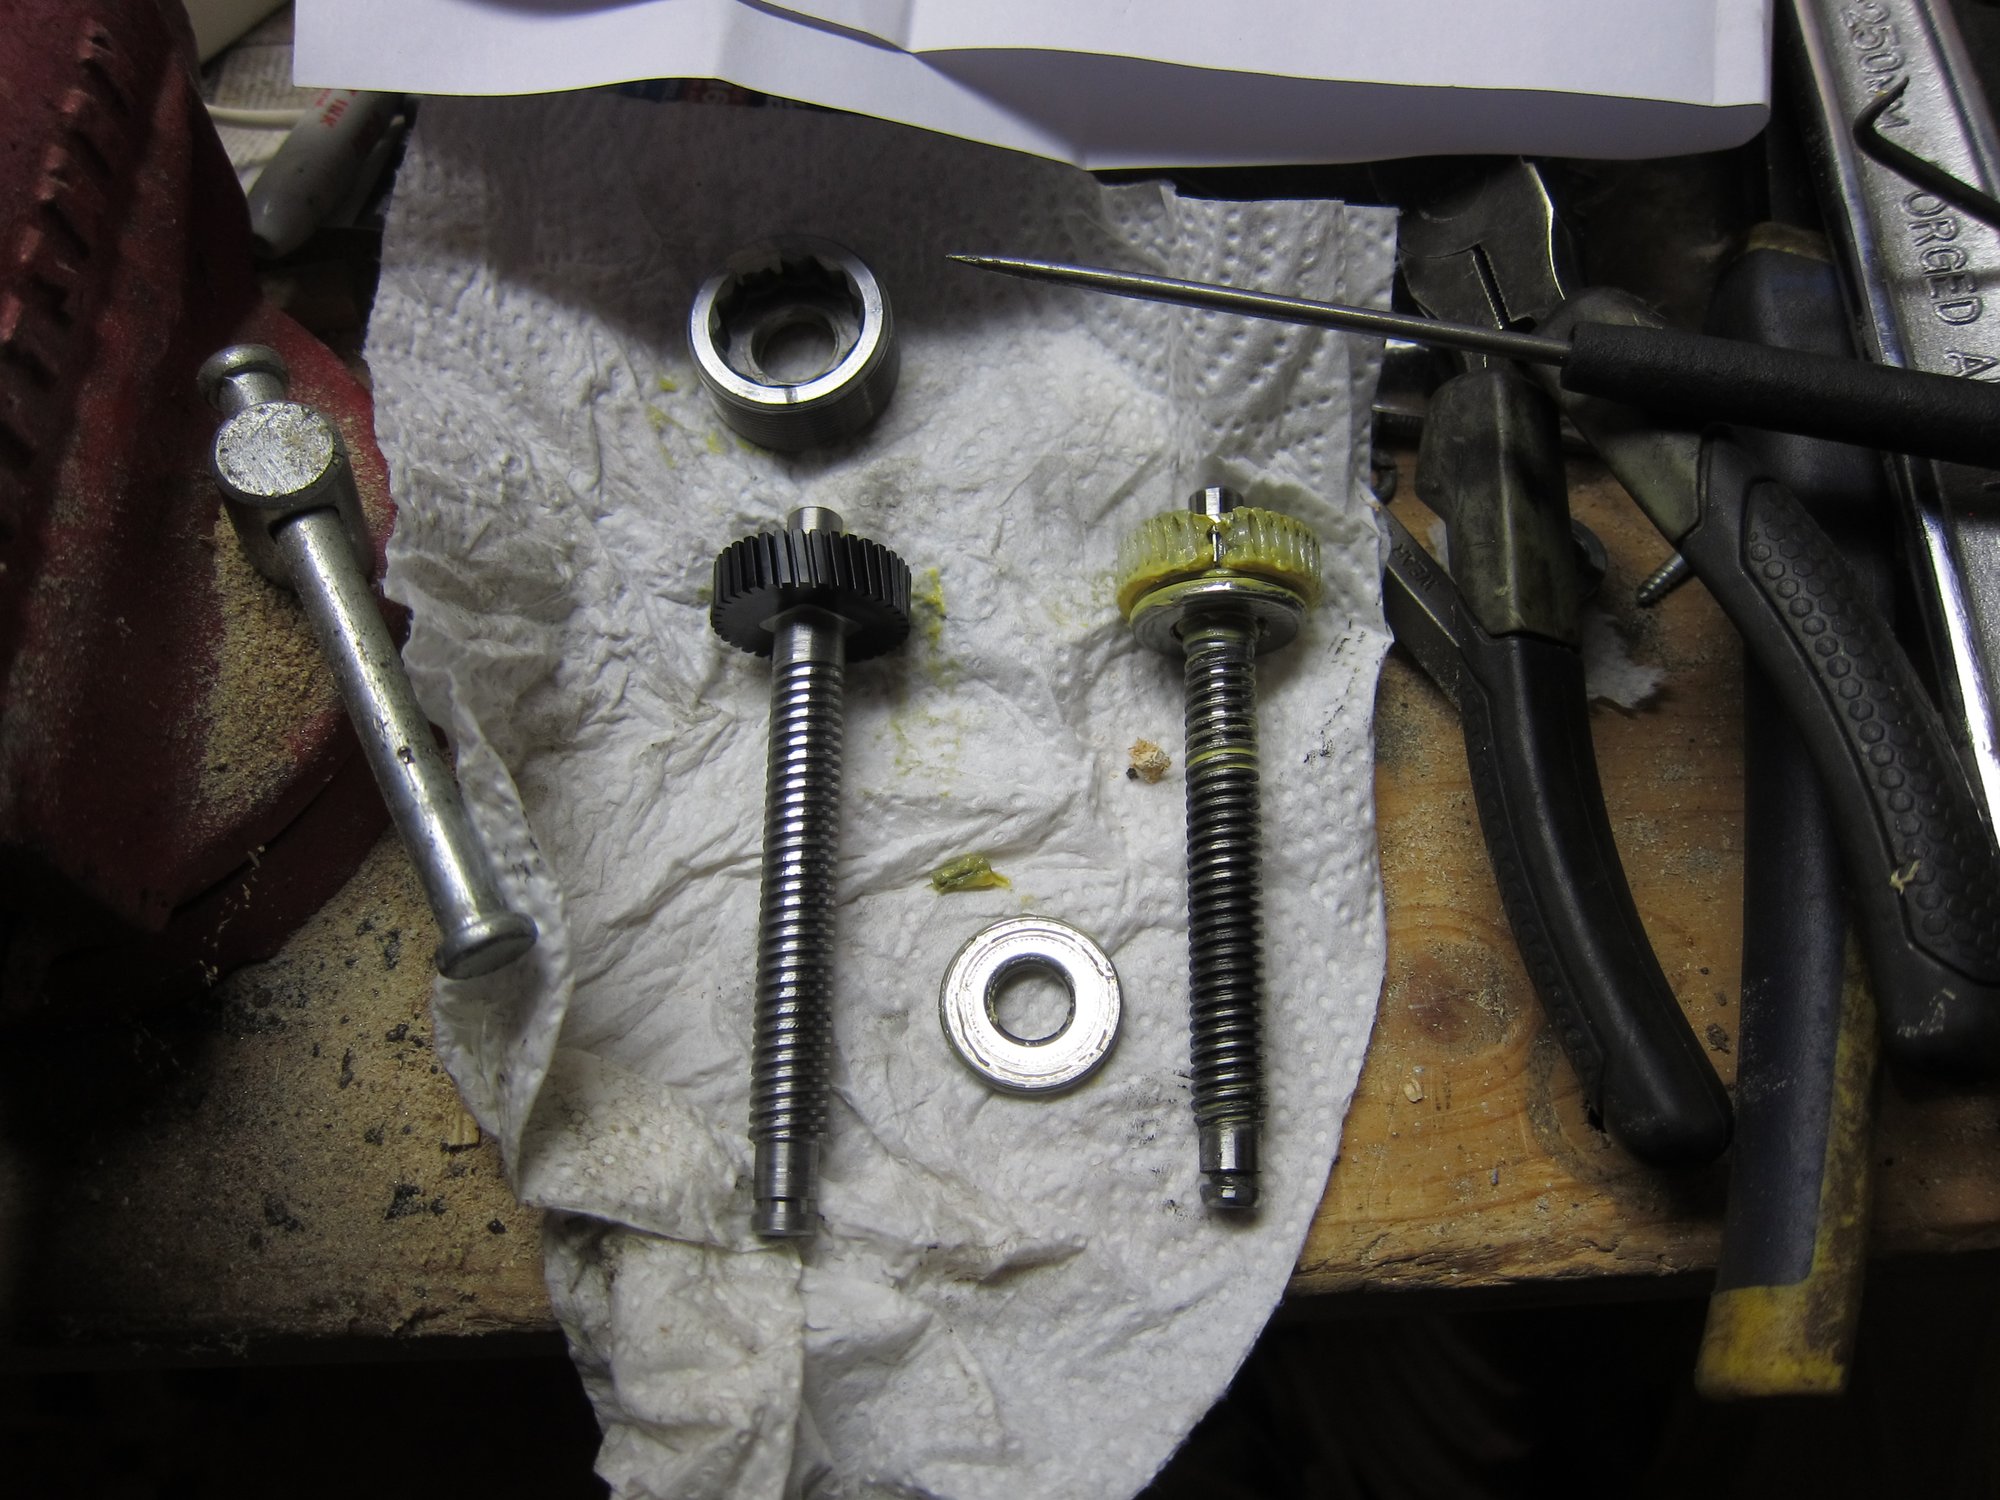
New Dorman gear side by side with old one
Old gear, notice that the shaft threads have a small taper to them. The gear also still has the bearing (shiny silver disk) still on it.
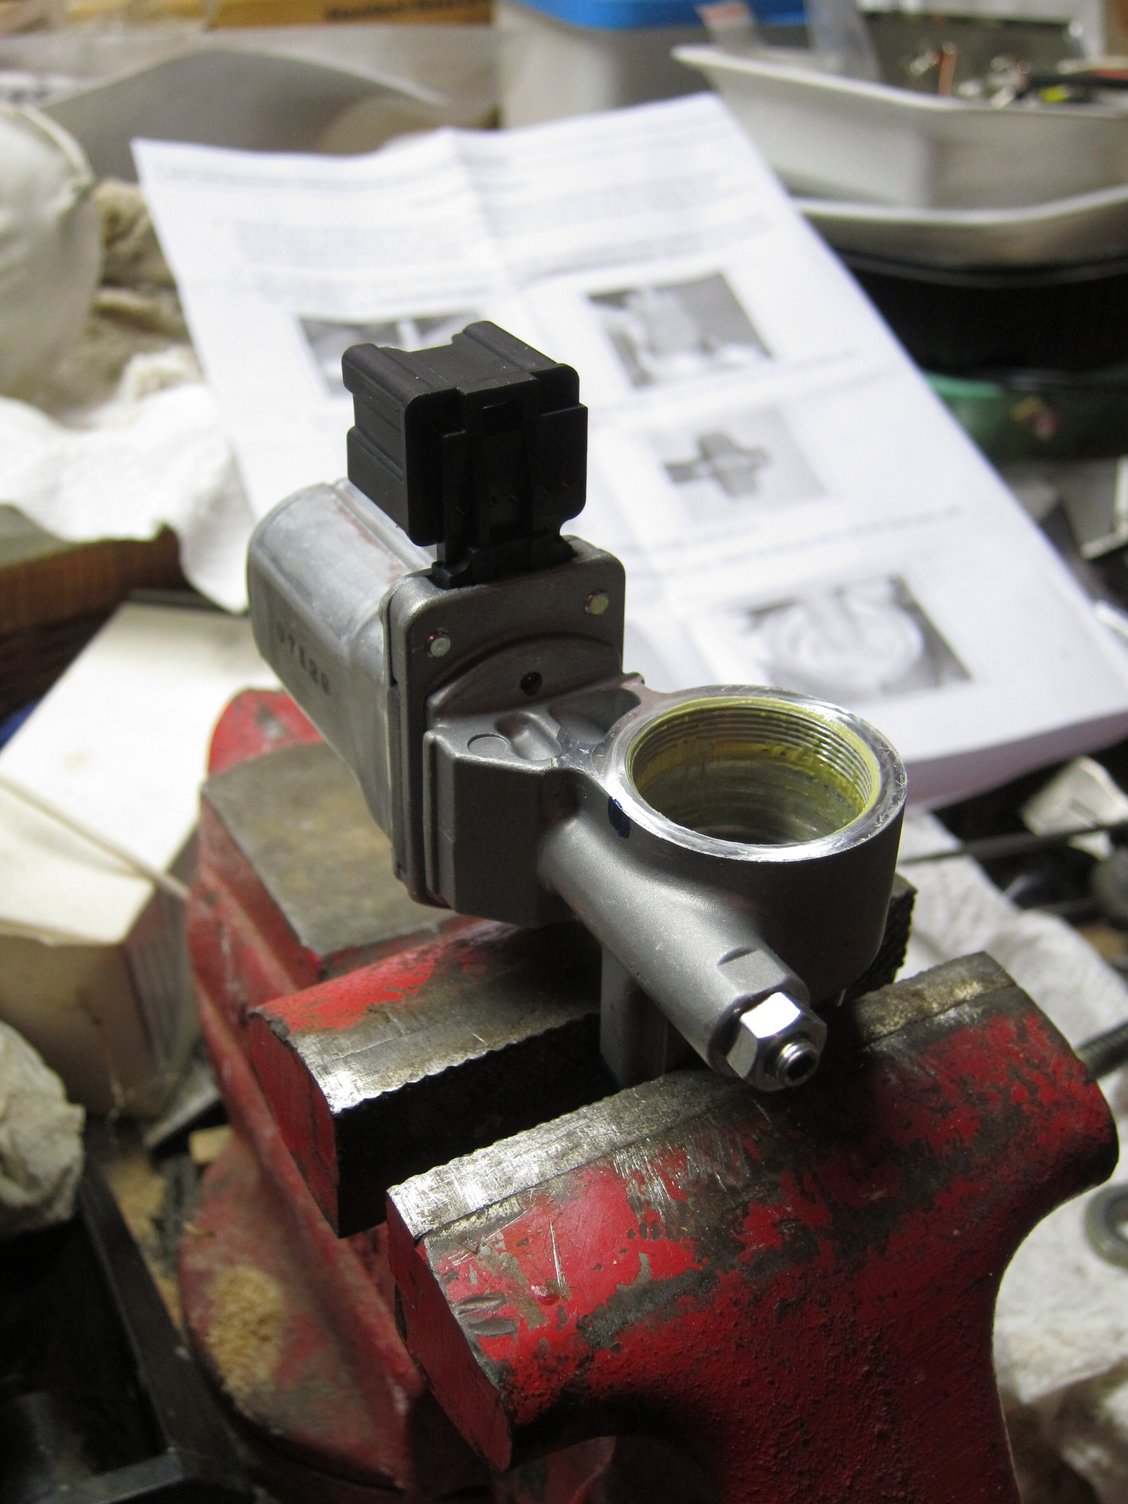
Tilt motor completely disassembled in the wise.
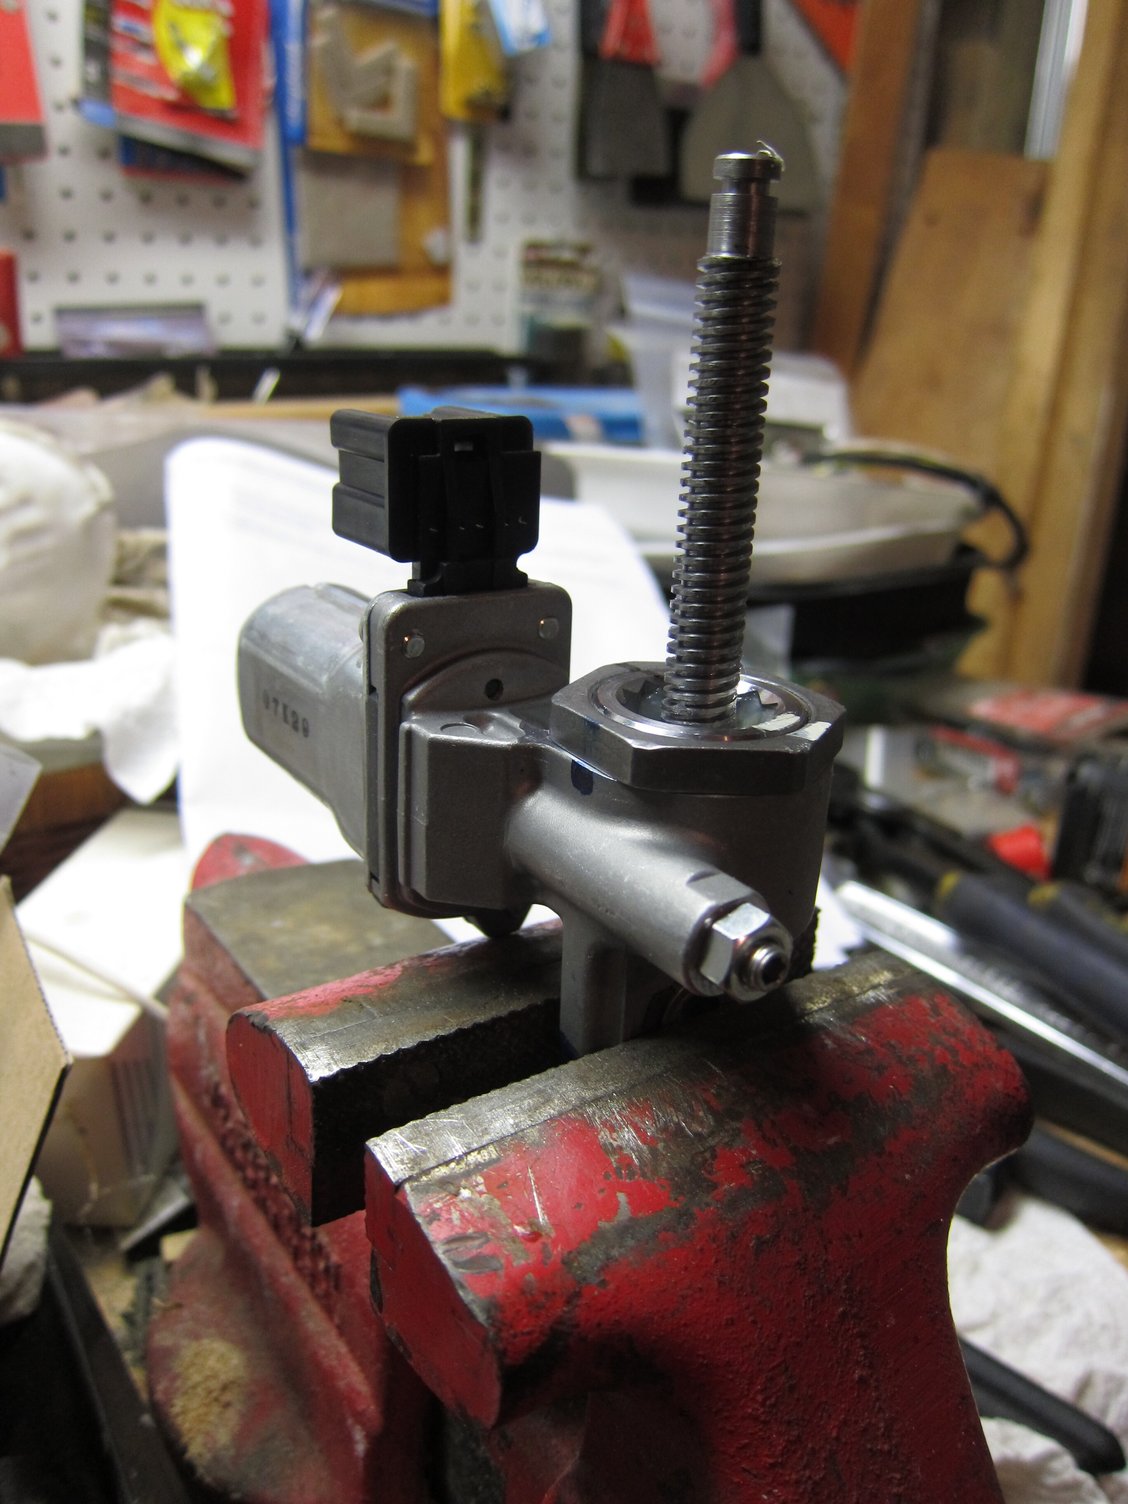
Tilt motor reassembled with new shaft.
Update
A follow-up on my repair. Sometime last fall I had an issue with my repaired tilt motor. One morning it just gave out, but the next day resumed its function. I opted to simply adjust the steering wheel and turn off the easy-entry function.
I was not sure what was wrong with the motor and thought that perhaps the motor itself is giving out. The telescoping motor died sometime earlier, don’t recall when exactly. After the initial repair in 2015, I did receive an “updated” part from Dorman in 2016. That kit was on the shelf until yesterday.
Since I got time on my hands, I decided to fix both motors. Followed my own links to get the motors out, but ran into an issue with removing the telescoping motor out. Mine died in a position that was very close to the dash, preventing easy motor removal.
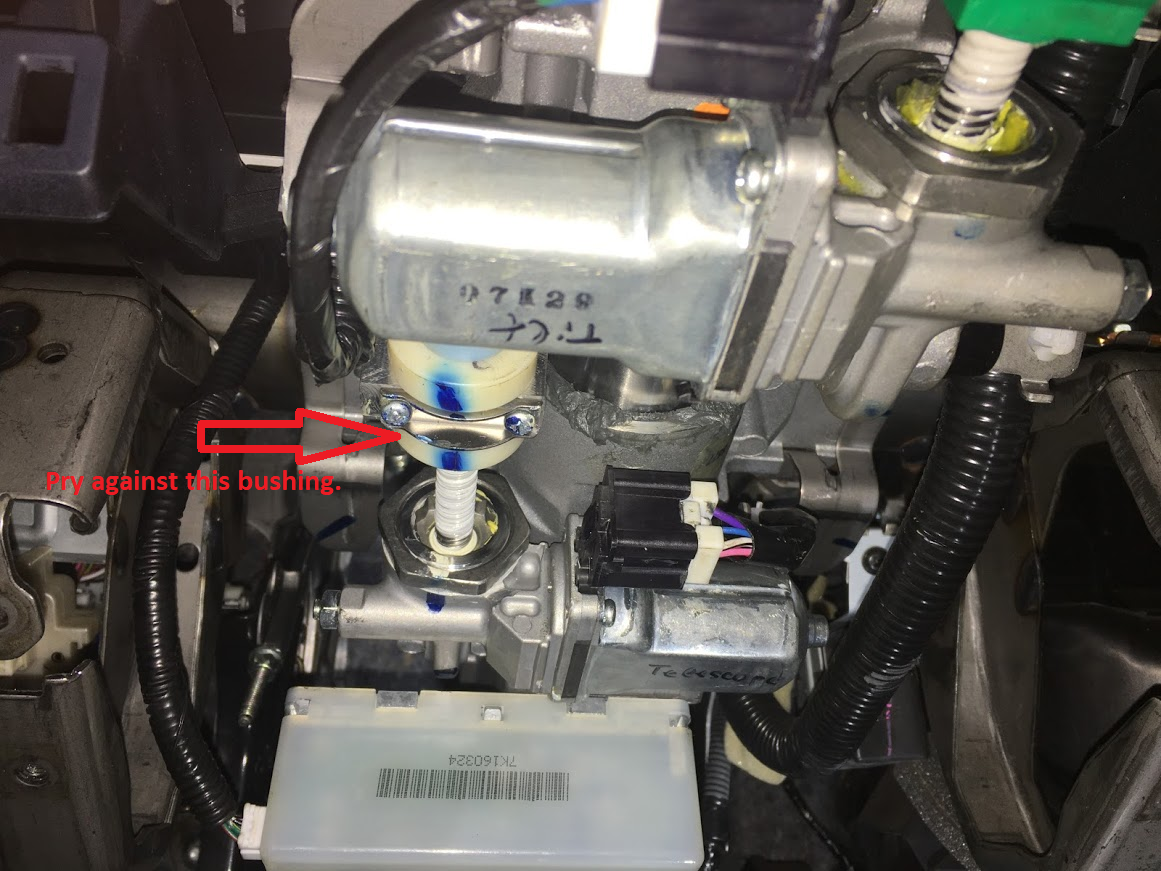
The procedure explains that you want to pull on the steering wheel while actuating the motor to completely telescope/retract it out. I was not successful in that procedure. What I did instead was used a prybar between the white bushing and the rest of the steering column. It did not require much effort and applying prybar pressure while actuating the motor accomplished the task. Note that the motor had to be bolted in while performing the task.
On the positive side, I had no issues whatsoever with redesigned Dorman parts this time around. Both shafts were a perfect match for factory threads and no time had to be wasted to file anything down. I can wholeheartedly recommend the Dorman kit vs buying new factory motors or even salvage ones. Again, the most important part is to mark the relative position of how parts are put together prior to disassembly. After replacing the shafts, just realign things to the marks that you made and preloads will be perfect.