Category

my6thgen 04-08

Category

Member Credit: TEQ-NIQ

Step 1: Remove shifter knob – Shifter knob is made of two parts, the leather handle, and the lower aluminum-looking cone-shaped piece. Grasp the cone-shaped lower piece, rotate counter-clockwise and pull down at the same time to release from shifter handle. Once this is done, there is a small gold clip holding the handle in place, remove this and handle will slide off, remove this as cone-shaped piece.
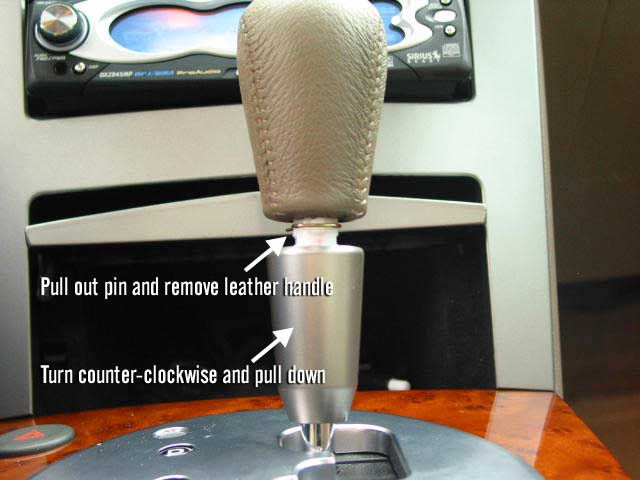
Click the image to open in full size.WARNING: 
If you twist the shift knob thing as instructed you will end up breaking it. You just need to pull down on that plastic piece. There is a TSB addressing this issue.

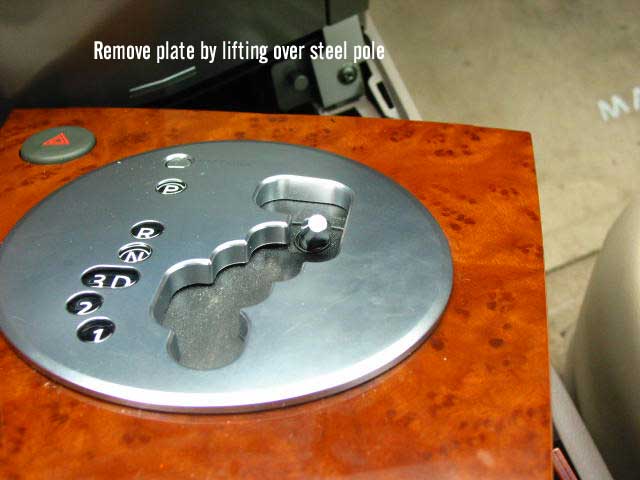
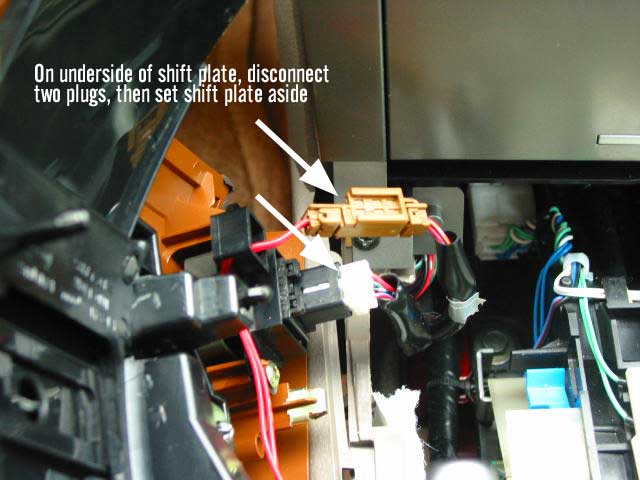
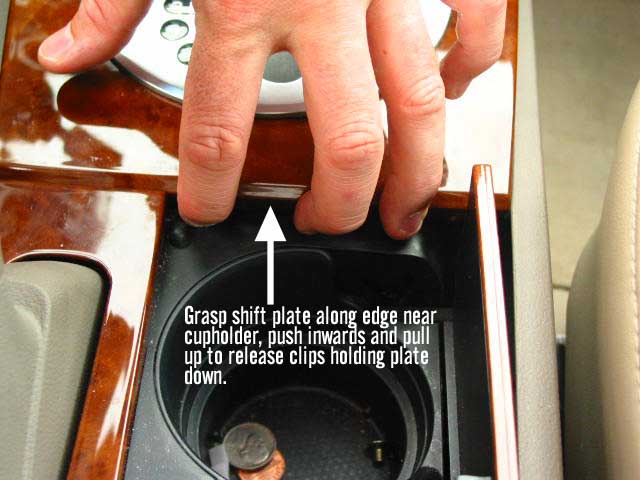
Step 2: Remove wood-colored faceplate and shifter piece – Open cup holder door. Using your fingers, press along edge of wood piece where cup holder door goes and pull up. Gentle but heavy force may be needed to pull up plate. Make sure you are slightly pushing the side of the plate inwards while you do this. Once you get the end of it released, you’ll need to put the key in the ignition, turn it till the air comes on, put foot on the brake and move shifter knob into the neutral position. Lift up the whole plate to completely release. Underneath there are two connectors, one brown and one white, that you will need to disconnect before removing plate. Set aside.
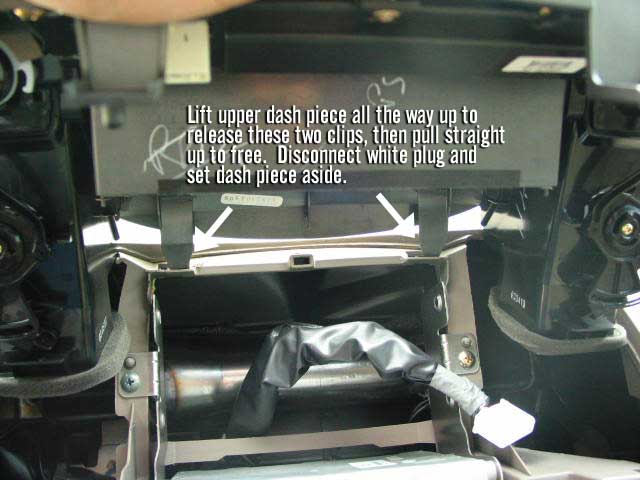
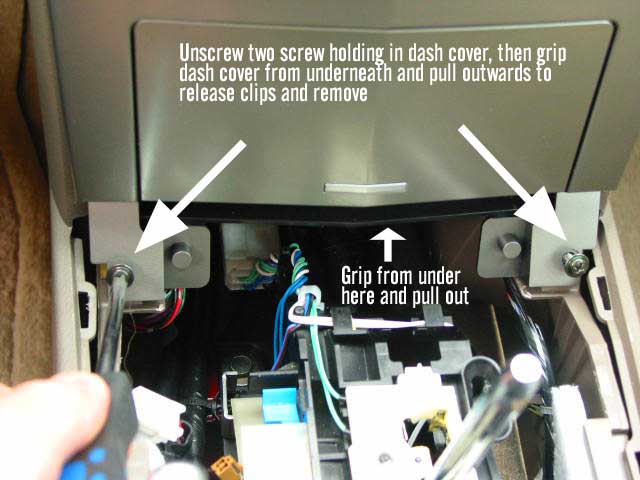
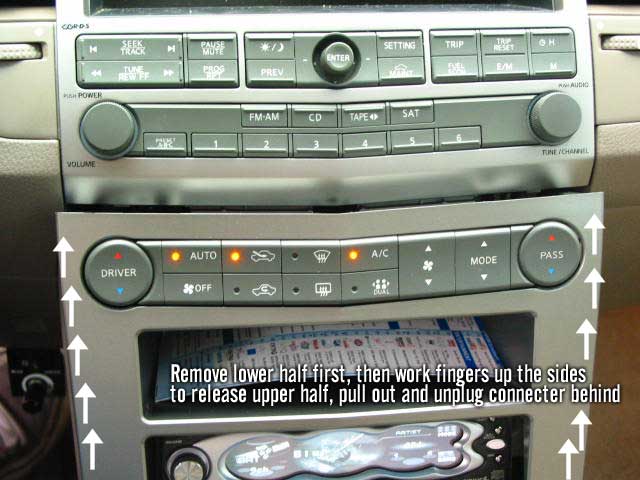
Click the image to open in full size. Click the image to open in full size.Click the image to open in full size.Click the image to open in full size.Step 3: remove two lower screws that hold the dash kit in place, place them in a safe place. Use fingers on inside of lower storage area (below cassette opening) to pull out the dash kit and release from its clips. Remove lower half first, then pull out upper half. there is another connector on the back of that piece that needs to be unplugged. Set dash kit aside.
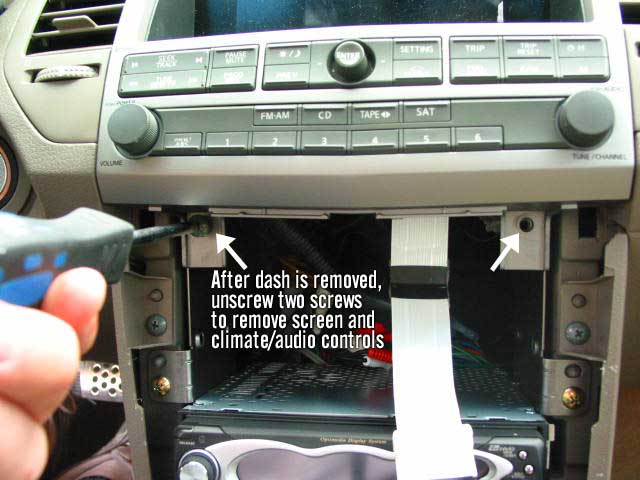
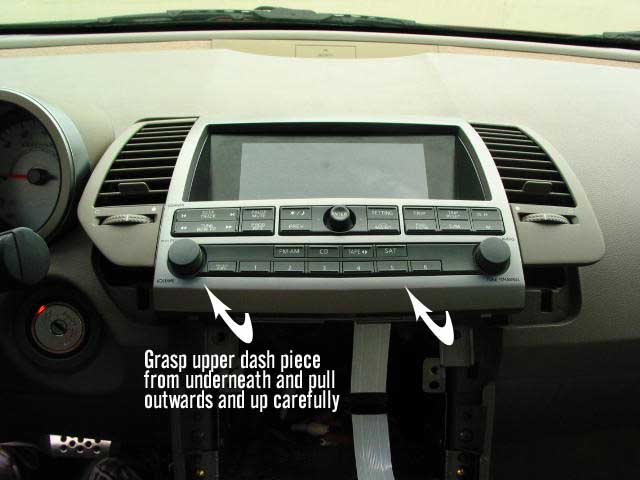
Click the image to open in full size.Click the image to open in full size.Step 4: Remove 2 screws holding in climate/audio control panel and LED screen. Holding this panel from underneath the radio controls, Pull piece outwards. The two middle air vents are also attached, and will come out as well. Lift out lower end first, then tilt upwards to release clips holding in the top edge. One connector on the back needs to be removed.
Click the image to open in full size. Click the image to open in full size. Click the image to open in full size.Step 5: Remove LED screen: remove 4 small gold screws on both sides of LED screen housing to separate screen from the rest of the panel.

Now you have successfully removed the LED screen. Pretty easy! To put back in, screw 4 gold screws back in, put whole panel piece back in first by inserting clips on top edge back through their holes, then slowly lower front edge down while making sure top edge stays flush with rest of dash. Carefully reconnect the plug, then lower all the way back flush. Screw back in the 2 screws. take Dash kit, reconnect wires, pop in the top part first back into slots, then lower part, then screw in 2 screws at bottom. Put the car back in neutral, plug in 2 connectors to shifter panel (brown and white), then slip shifter tube through the hole on the shifter panel, and carefully fit the panel back into place, starting with the edge closest to the dash and ending with the edge closest to the armrest/cup holder. Place cone part of shifter back over steel tube, place shifter knob on and carefully slide the gold clip back through the white part of the shifter knob, it should line up with the 2 grooves on either side of the knob and the 2 grooves on steel tube. Slide cone-shaped part back up and carefully rotate over gold clip until its tight. It may take a couple tries to get this last part right.

Loading

Member Credit: jsmithsole

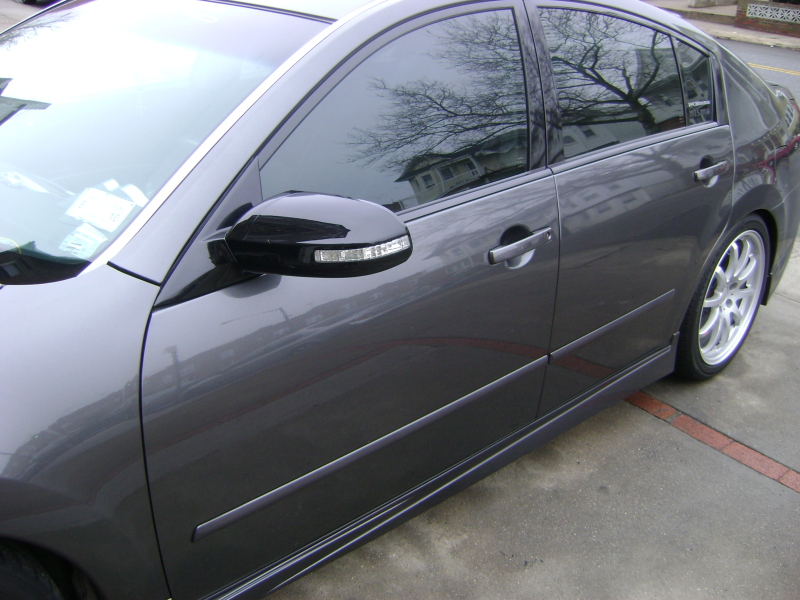
This is for those who would like to install the 7thgen Mirrors on their 6thgens. Considering they are from a different car the fit really well, not perfect but pretty damn close!

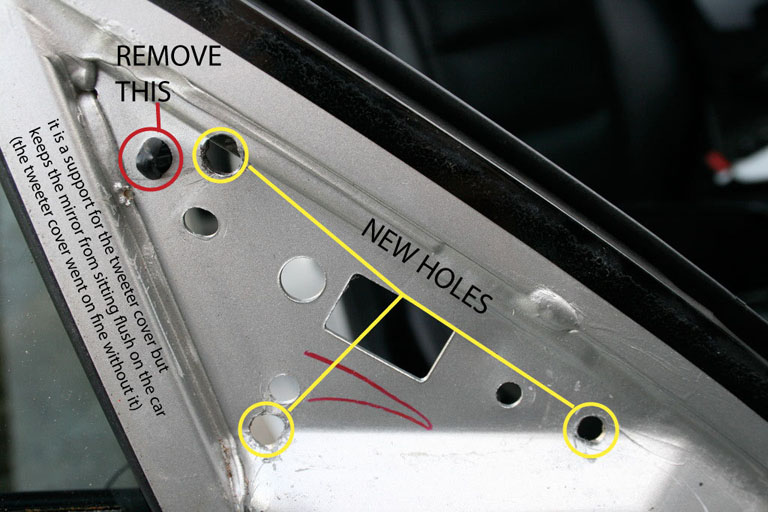
The holes for the new mirrors do not match up so all 3 need to be re-drilled. I basically held the mirrors up where it needed to sit and marked the holes and drilled them through. Also there’s a small plastic clip that needs to be removed, it helps hold the tweeter cover in place but also keeps the new mirrors from sitting flush.

Click the image to open in full size.I hoped the plug would be the same (of course it wasn’t) or at least the wires would be the same colors (and they weren’t) So I am waiting to get the wiring breakdown for both mirrors so I can hook up the heat, adjust and folding features.
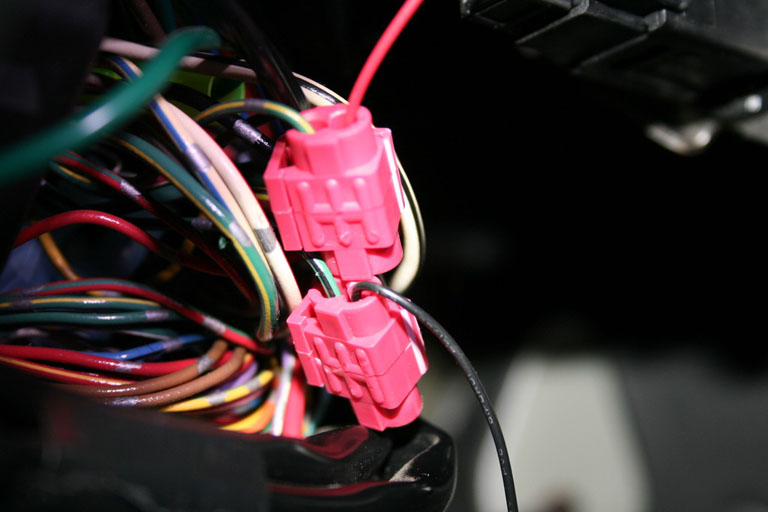
I did want to hook up the blinkers and I knew that since the 6th gen doesn’t have them I would have to hook these up from scratch. So I looked in the stickies and found which colors the wires we’re because I wanted to tap into them at the BCM instead of running to the front of the car.

The wires at the BCM are as follows:
Turn Signal(L) green/black + BCM, pin 45
Turn Signal(R) green/yellow + BCM, pin 46
Notes: The BCM (Body Control Module) is between the steering column and the fuse box.

So I simply ran wire taps to these wires:

Click the image to open in full size.I ran a ground wire from one of the screws inside the door. I then ran the power wire through the side outlet where all the OEM wiring goes to the door (I fed the wire through with a coat hanger, rookie style!) For the passenger side I had to run the wire all the way across under the dash, I snaked it through and used zip ties to keep it in place (I also dropped the glove box to make it easier) I then ran it through to the door with the other OEM wires as on the driver side.
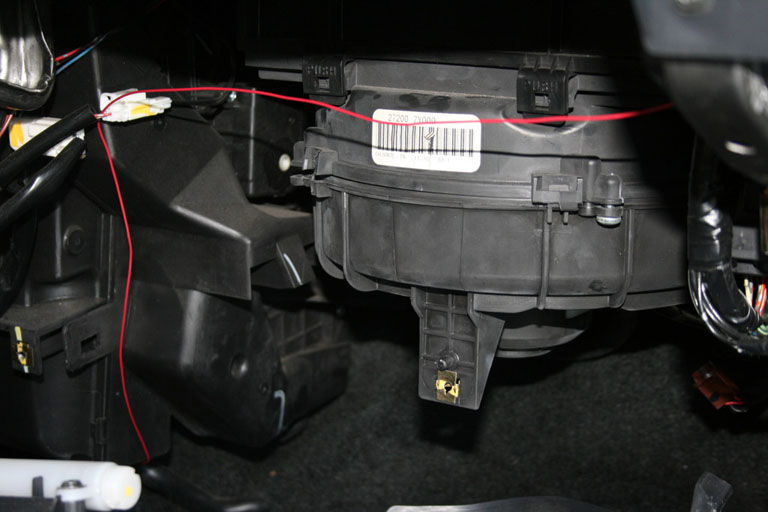
(passenger side, behind the glove box)

Click the image to open in full size.Now the trick was to find out which wires ran the blinkers so through a long process of elimination (lucky for you!!) I figured it out. On the 7th gen mirror plug, the orange wire is the positive and the pink wire is the ground, so I again tapped into these (I didn’t want to just cut any wires at this point due to the fact that I’m not sure exactly how I am going to hook up the rest of the stuff later.
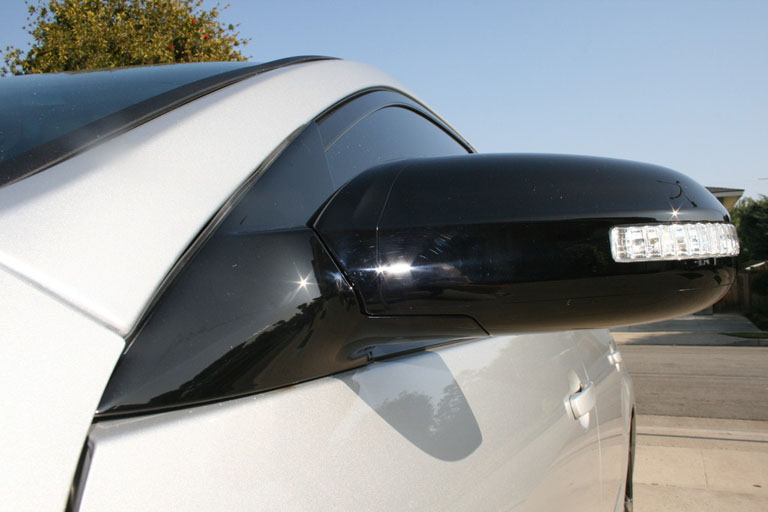
Click the image to open in full size.
Click the image to open in full size.Click the image to open in full size.

Loading

Member Credit: thealliance43 / bambino

This how-to will allow you to install an 07-08 Maxima Spoiler on your 04-06. Great mod that gives your car a sportier look.

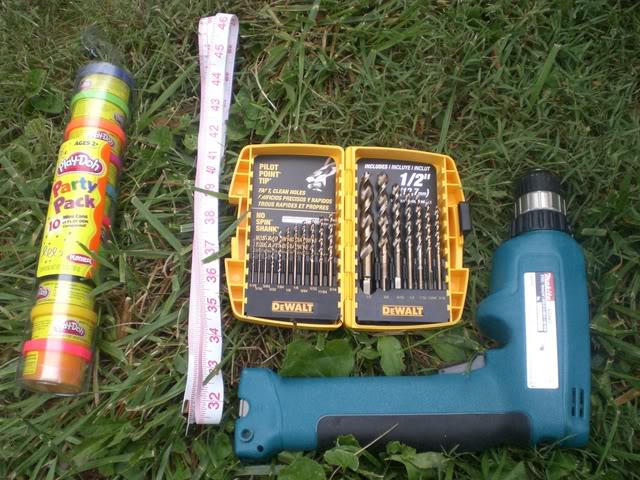
You will need the following:

1. Power Drill
2. Play-Doh
3. Drill Bit Set
4. Measuring tape.
5. Blue tape if you are doing it alone.
6. Heavy Duty 16 Gauge wire kit (You will only need about 1 1/2 feet)
7. Black Electric tape
8. Regular metal hanger/ 3/16 rope
Click the image to open in full size.1. Place (2 to 3) play-doh near where you think the holes might be.
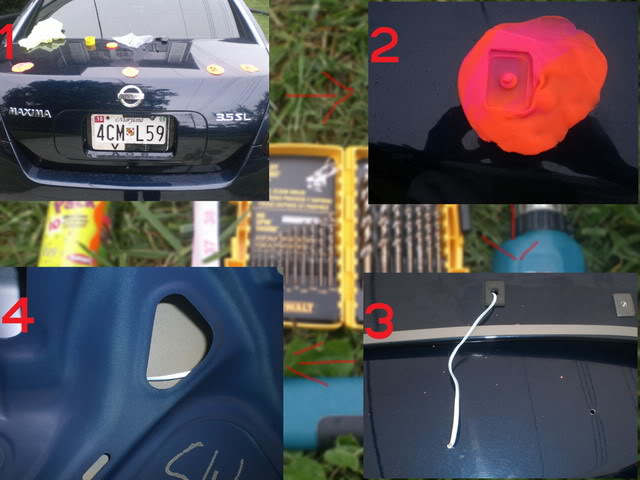
2. Once you are sure you have a perfect fit and it’s aligned properly, press down to create a mold of the holes.
3. You will need a 7/32 drill bit. (If I’m not mistaken) Just drill away with precision.
4. Direct Light cable through the hole. Keep it inside the trunk.
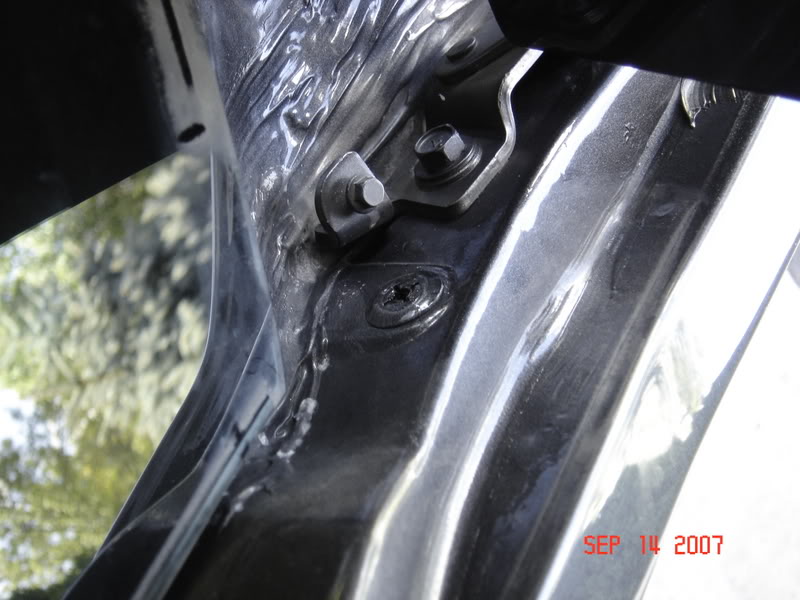
Click the image to open in full size.5. Guide it through until you hit the left end side.
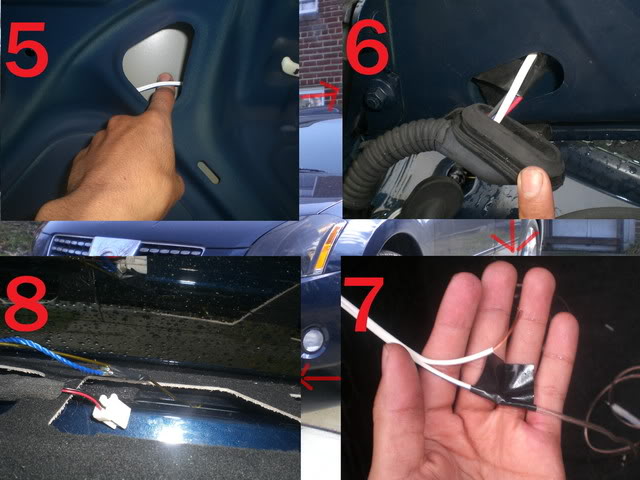
6. Pull out the rubber cable protector. (WARNING: it took me a very long time to make the cable go in and make come out the other end.)
7. Connect end of the regular light cable to the new extension cable (1 1/2 feet just to be safe) Tape naked connections.
8. Tape rope to the straighten out hanger end. Find your way through towards the right and through the hole of the back light, until it’s visible from outside.
Click the image to open in full size.Pull out rope and hanger end very carefully. Remove the tape and hanger.
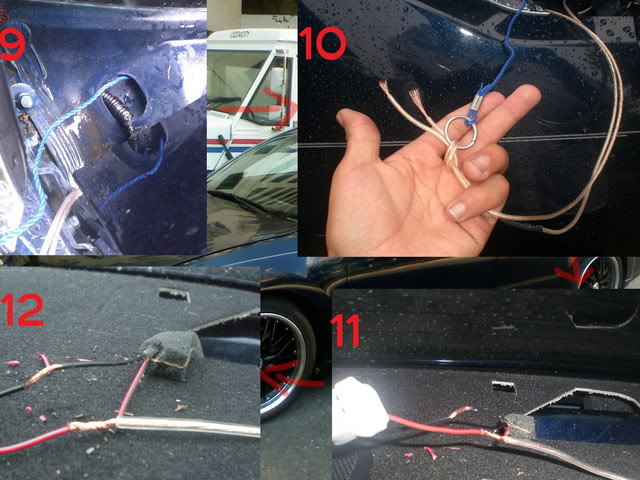
10. Tie the end of the cable to the end of the rope
11. Pull rope from inside the car towards the 3rd light brake hole.
12. Expose 1/2 inch of the 3rd brake light cable and attach the ends of the brake light spoiler cable. Tape it up, plug 3 light cable unit to its original connection. and put it back in place.Click the image to open in full size.Don’t forget to screw the screws to the spoiler, otherwise, bye bye mod.
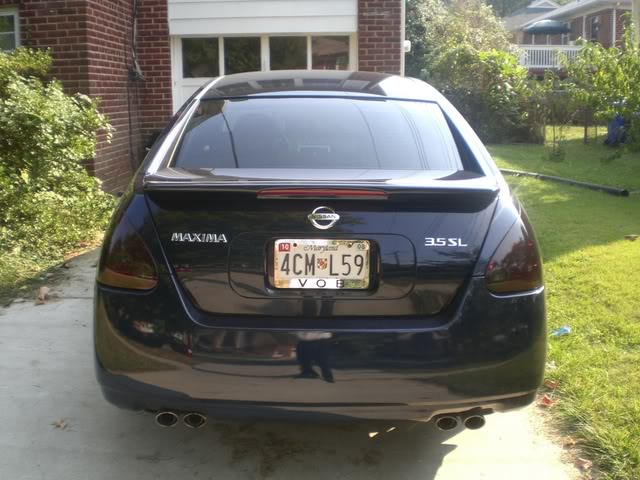
Click the image to open in full size.This should be your end result. Hope this helps future mods
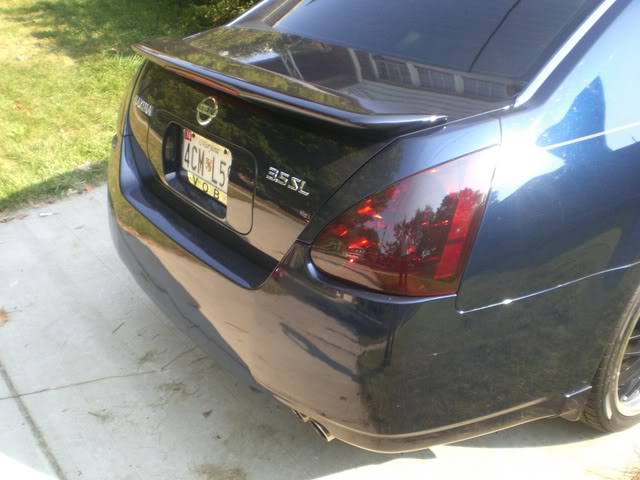
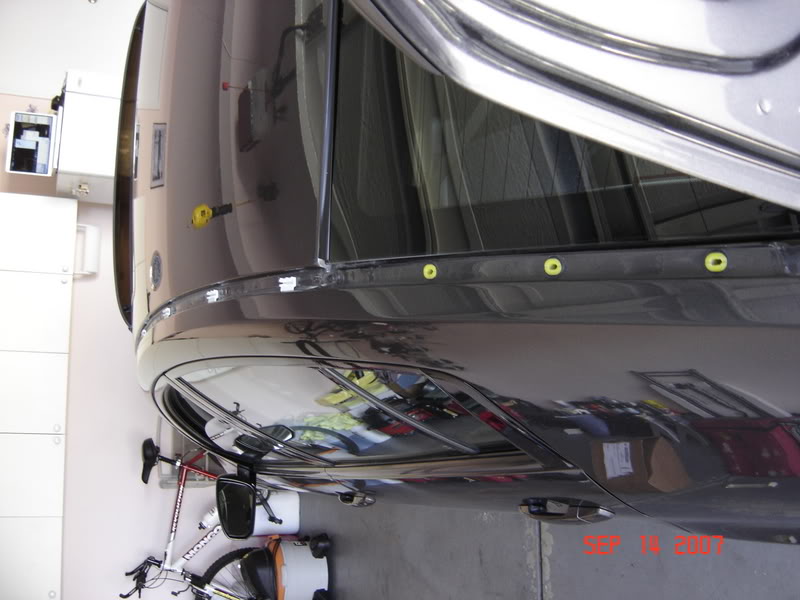
Click the image to open in full size.

Loading

Member Credit: 1PrjctMax!

First you pop the trunk and there is ONE screw for each side that holds the rear plastic/chrome piece on. Once you take that screw out, you can carefully pop that one piece out.

Click the image to open in full size.

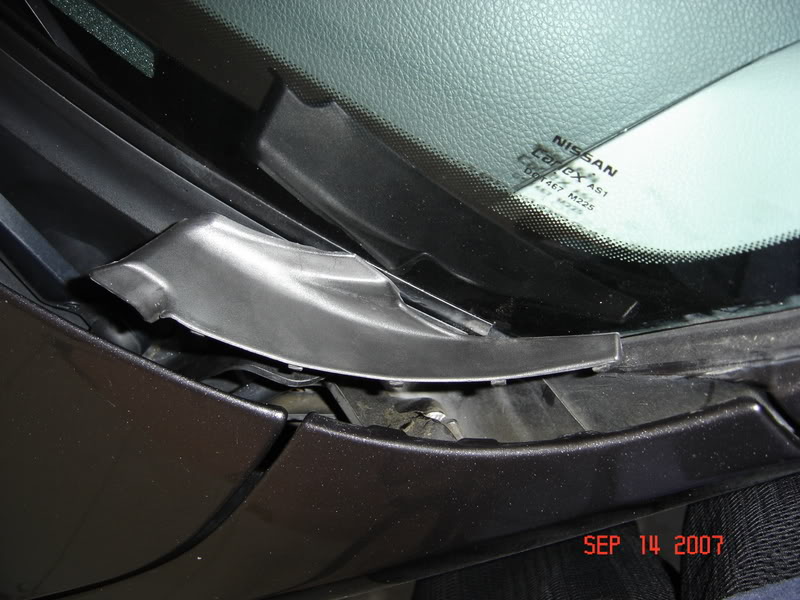
That’s how it looks removed. Now in the front you take off the black plastic thing by the windshield

Click the image to open in full size. Now you can carefully push on the entire assembly towards the back of the car. The thing “slips” into place, so that is how you take it out as well. When you put it back in, you can just line all of the slots up and “pop” them in.

This is how it looks with them both off.

Click the image to open in full size.

Loading

Member Credit: chrisaust

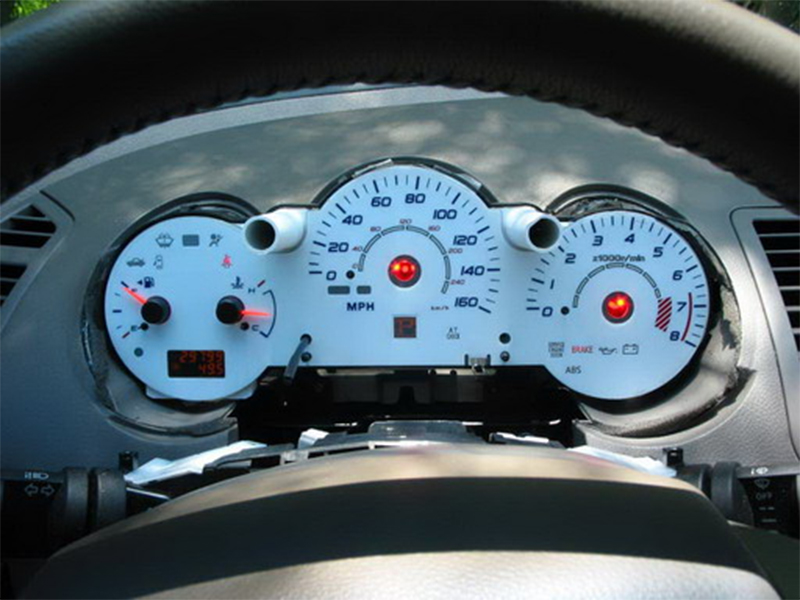
First, this is fairly easy once you figure it out the first time. Here are my step-by-step tips to get access to the gauges.

****IMPORTANT NOTE BEFORE YOU BEGIN**** 

If you plan to remove the needles, you’ll need to remember how to put them back on so they are accurate. This may require you to drive down the freeway or a straight stretch of road at a certain speed, noting speed and RPMs at that speed (ie if your RPMs are 3,000 at 80mph, get your friend to set their cruise control to 80, pace them and set your own cruise control and push needles back on at 3000 and 80mph respectively). Also note fuel level and normal car operating temp. After removing needles, it may be easiest to put speedometer and tachometer needles back on while driving. Get a friend to set their cruise control at your specified speed, so you can be pacing them and place the needles back in the right position.

1. Need the following tools: Phillips screwdriver, flat-head screwdriver (or preferably something thin and plastic), and socket wrench only if you need to disconnect battery to work on electrical system.

2. Underneath the steering wheel there are 3 screw holes… Remove these screws with Phillips screwdriver.
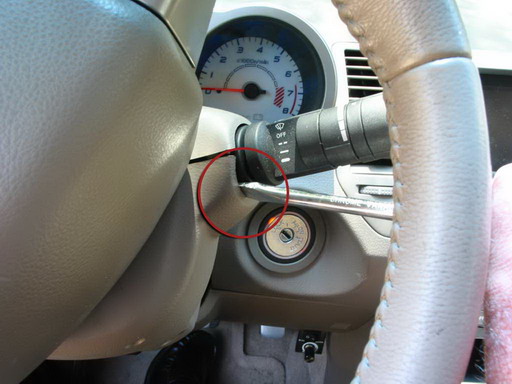
Click the image to open in full size.3. Adjust the steering wheel all the way out and down. Inserting flat-head screwdriver in between two plastic pieces on the right side of the steering wheel where the windshield wiper knob is. Carefully pop apart plastic housing surrounding steering wheel and set aside.
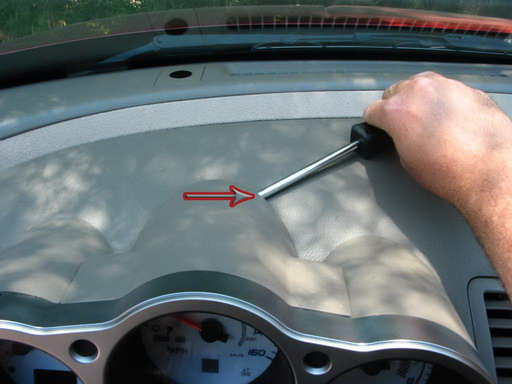
Click the image to open in full size.Click the image to open in full size.4. Remove plastic covering over gauges. Using flat-head screwdriver or thin plastic, slide under top middle plastic piece and slowly lift up to pop out. Then slide under each piece on left and right, pop out front part first, then lift and pull towards you.
Click the image to open in full size.Click the image to open in full size.Click the image to open in full size.5. On top of gauge cluster is one single screw, remove this
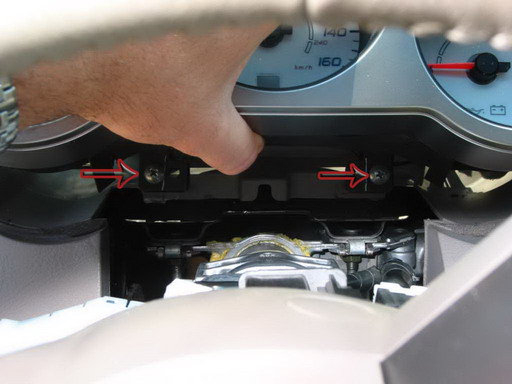
Click the image to open in full size.6. Under gauge cluster are two hidden screws, unscrew both but don’t remove, it’s easier to pull out gauge cluster and screws will come out with it, then you can take them out.
Click the image to open in full size.Click the image to open in full size.7. Gauge cluster has several clips holding it together… using flat-head screwdriver, carefully life these clips off their tabs. Don’t lift too much, they’ll break off VERY easily (I broke 2). Once these are off the tabs, the gauge cluster cover comes apart and you are left with the bare gauge face and needles.
Click the image to open in full size.Click the image to open in full size.Click the image to open in full size.**BEFORE CONTINUING, READ IMPORTANT NOTE ABOVE** 

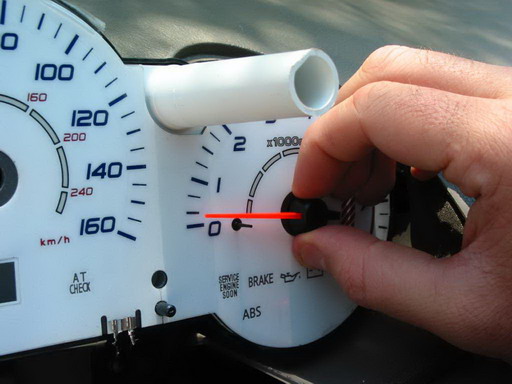
8. To remove gauge face, grasp black needle center and pull out. Some may require using needle-nose pliers and some force. Don’t SQUEEZE too hard, but you’ll have to use one hand to hold gauges and pull needle out with the other hand.
Click the image to open in full size.9. Gauge face is just stuck on with glue, so you can peel this off if needed. You then have easy access to LED bulbs behind (in case you want to change their color).
Click the image to open in full size.10. To put back together, place needles back on in correct positions. Test these while driving before putting cover back on.

11. Put cover back over gauge face and snap clips back into position. Insert two lower screws into their holes, then push the whole gauge cluster back in position. Screw in two underneath screws, then top screw.

12. Pop two left/right cover pieces back into place, then center cluster cover.

13. Place steering wheel plastic covers back into position and snap together. Screw back in three screws underneath steering wheel column and re-adjust steering wheel position.

That’s it! Not too hard, and only takes about 5 minutes if you have to do it again. Getting needles back into correct position is the tough part, something I need to RE-do while driving as I suggested above. Good luck!

**NOTE**  If you did want to change the LEDs in the gauge cluster, it only looked like there were about a dozen, not as many as the information screen, so it wouldn’t be TOO hard of a job. I might just look into it!

Loading

Member Credit: EddyMaxx, Blaxima06, Jsmithsole

If you are experiencing hyper-flashing after installing Ezkoncepts LED Tail Lights, LED Turn Signals and/or Switchbacks, then you will need to install resistors to eliminate it. You can choose to either install them directly on your tail lights or headlights. It’s up to your preference. Both methods are listed below. Most members noted that the headlight version of the how-to was much easier.

What You Need:

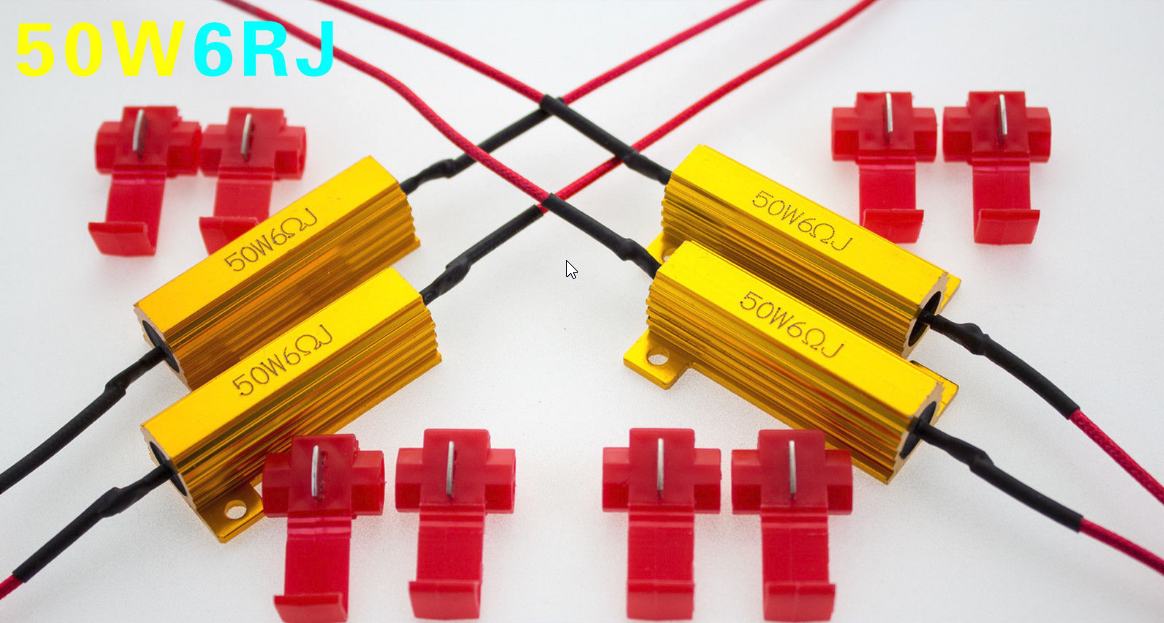
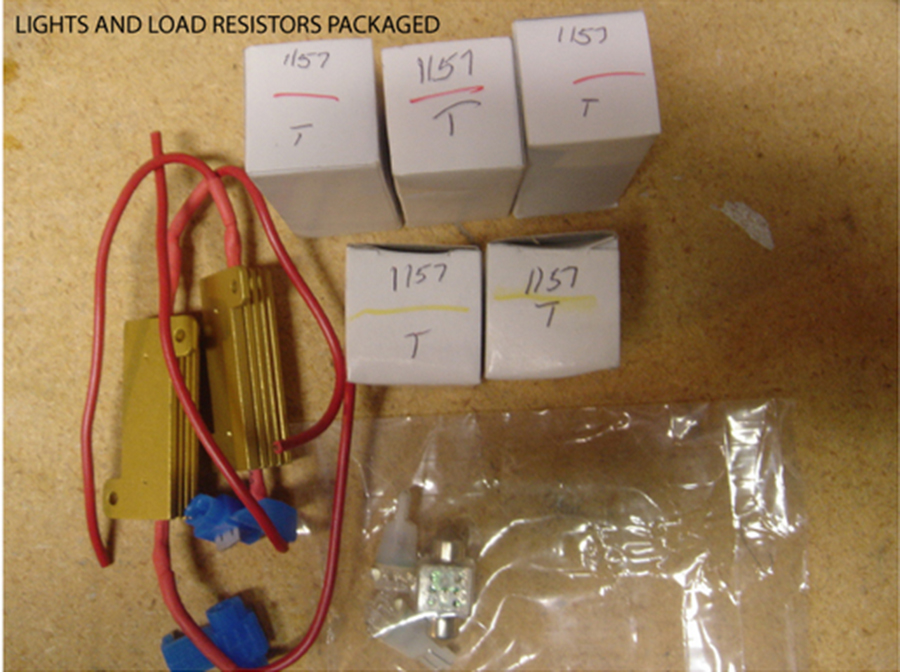
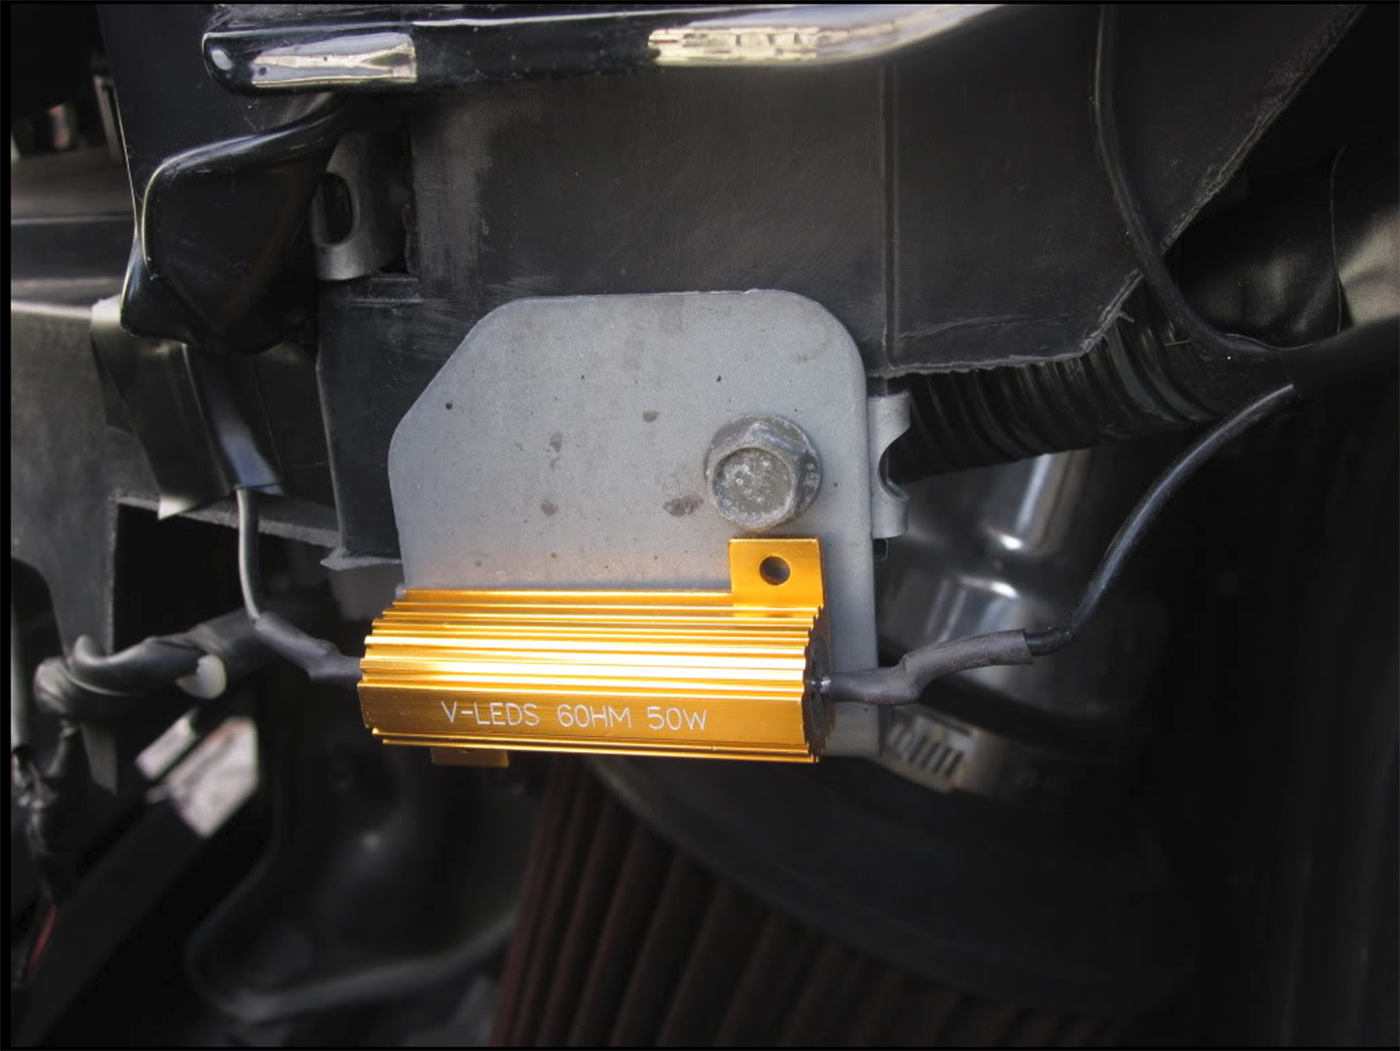
  • Quantity (2) – 6 ohm Load Equalizers (50 Watt LED Load Equalizer)

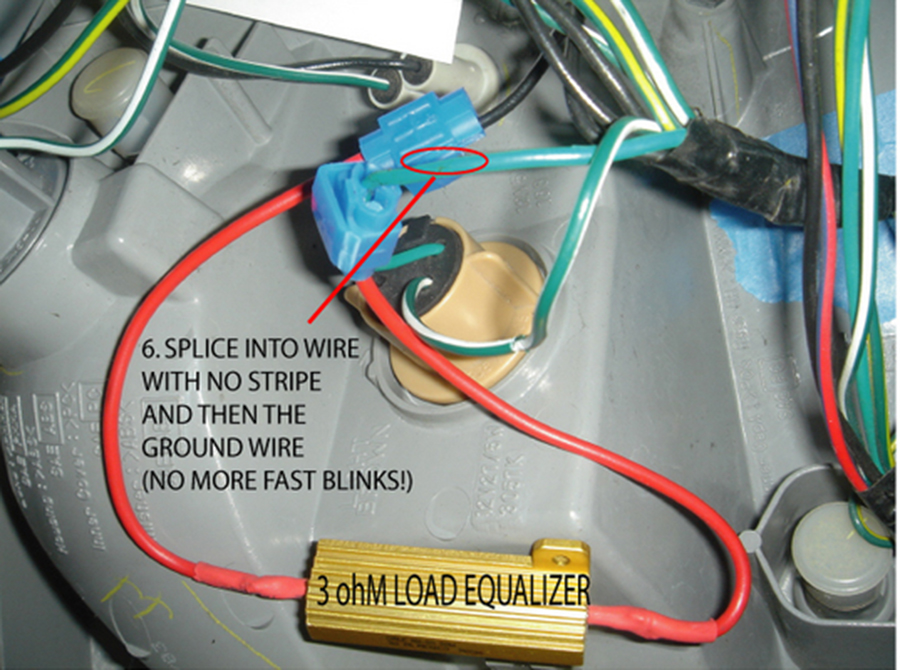
Note: Each side covers front and rear (up to 4 led turn signal bulbs total). For turn signal led bulbs, the equalizer must be spliced across the – ground wire and the + turn signal wire feeding each led bulb.

Where to Get it: http://r.ebay.com/eAe1VF 

Price: $6.49 (Each) x 4 *(as of December 2017)
—-

General Information:
The load resistor simulates the resistance of the incandescent bulb and restores the turn signal to normal operating function with the led.

Install on your Tail Lights

Note: When removing the taillight assembly, you do NOT just pull out the red glass. The painted frame portion between the glass and trunk lid is a part of the taillight assembly.

Install on your Headlights (This is much easier)

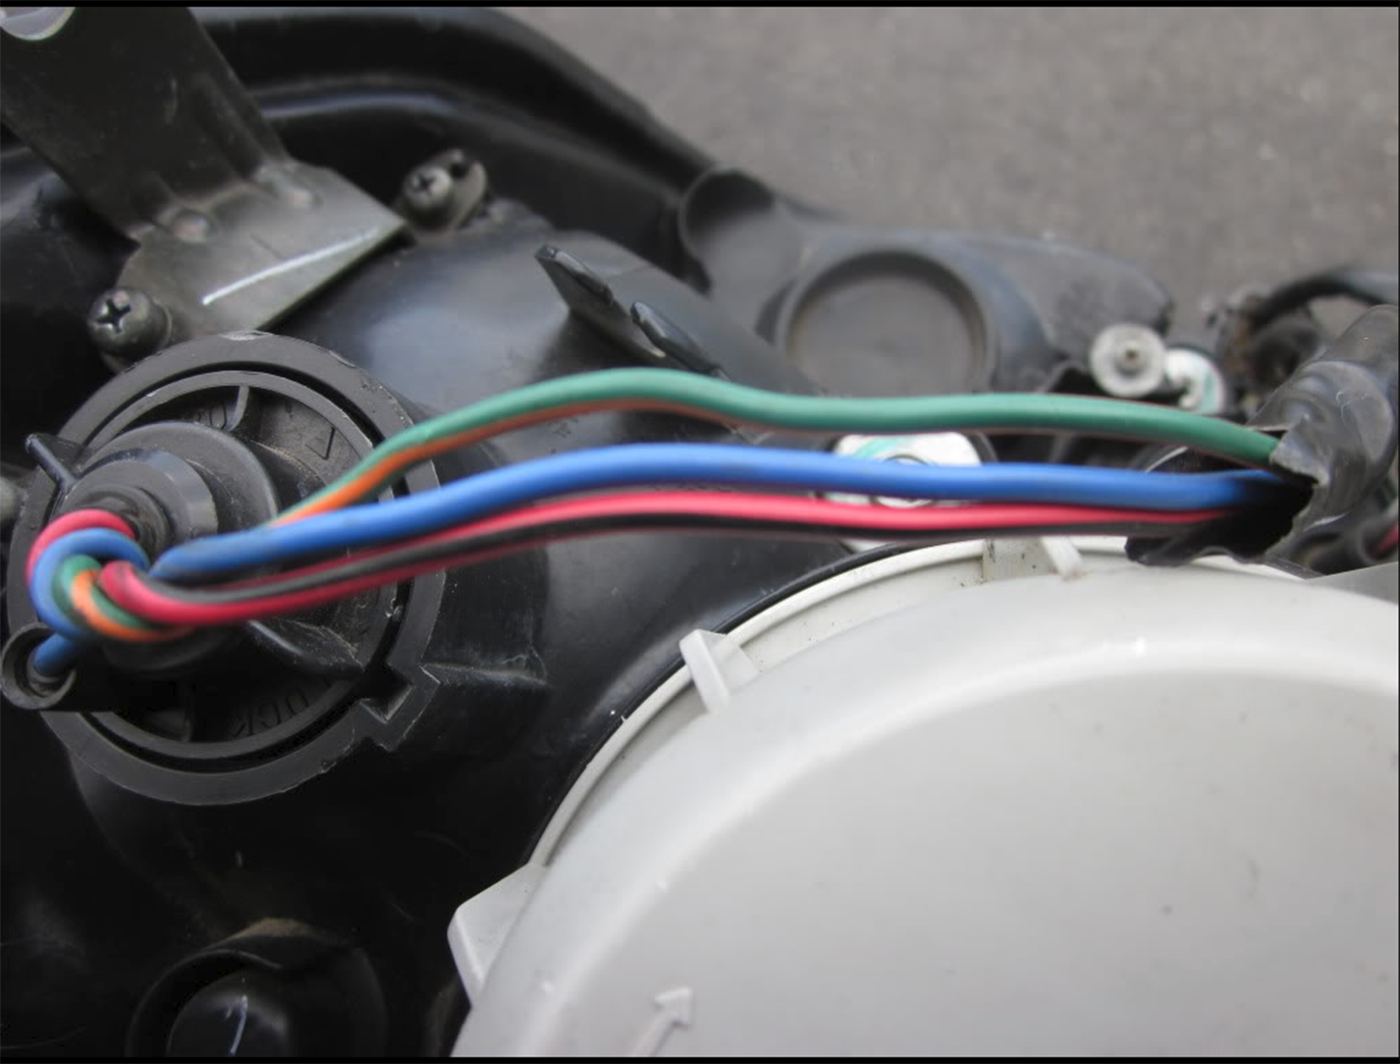
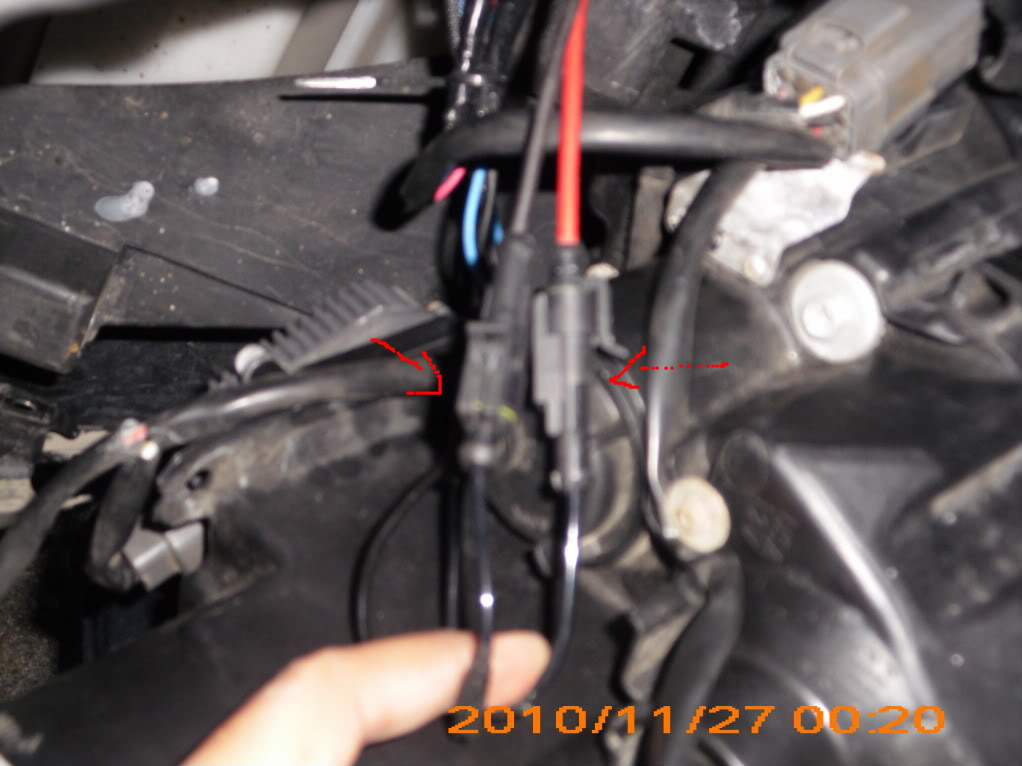
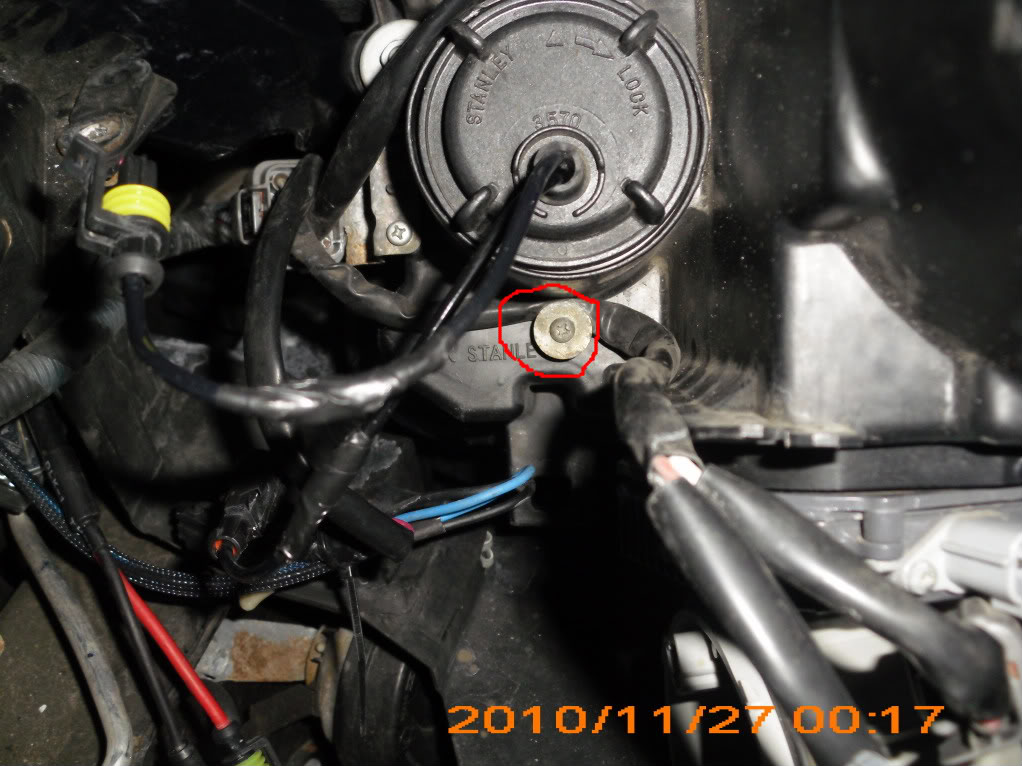
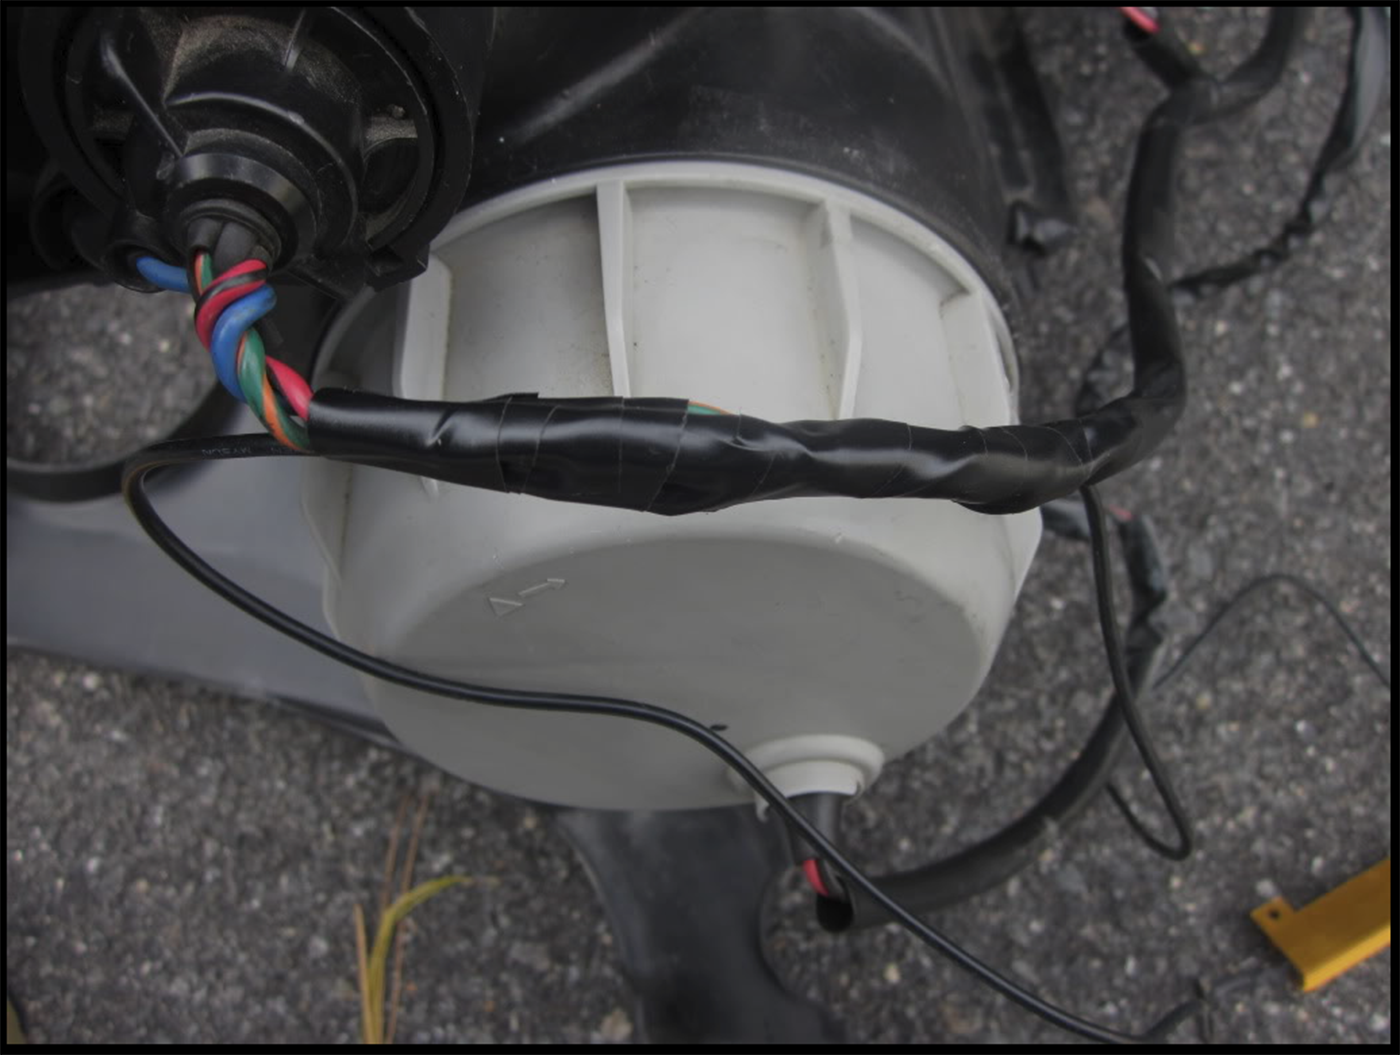
Look for Red/Blac& Blue wires (DO NOT touch the green & orange wire)
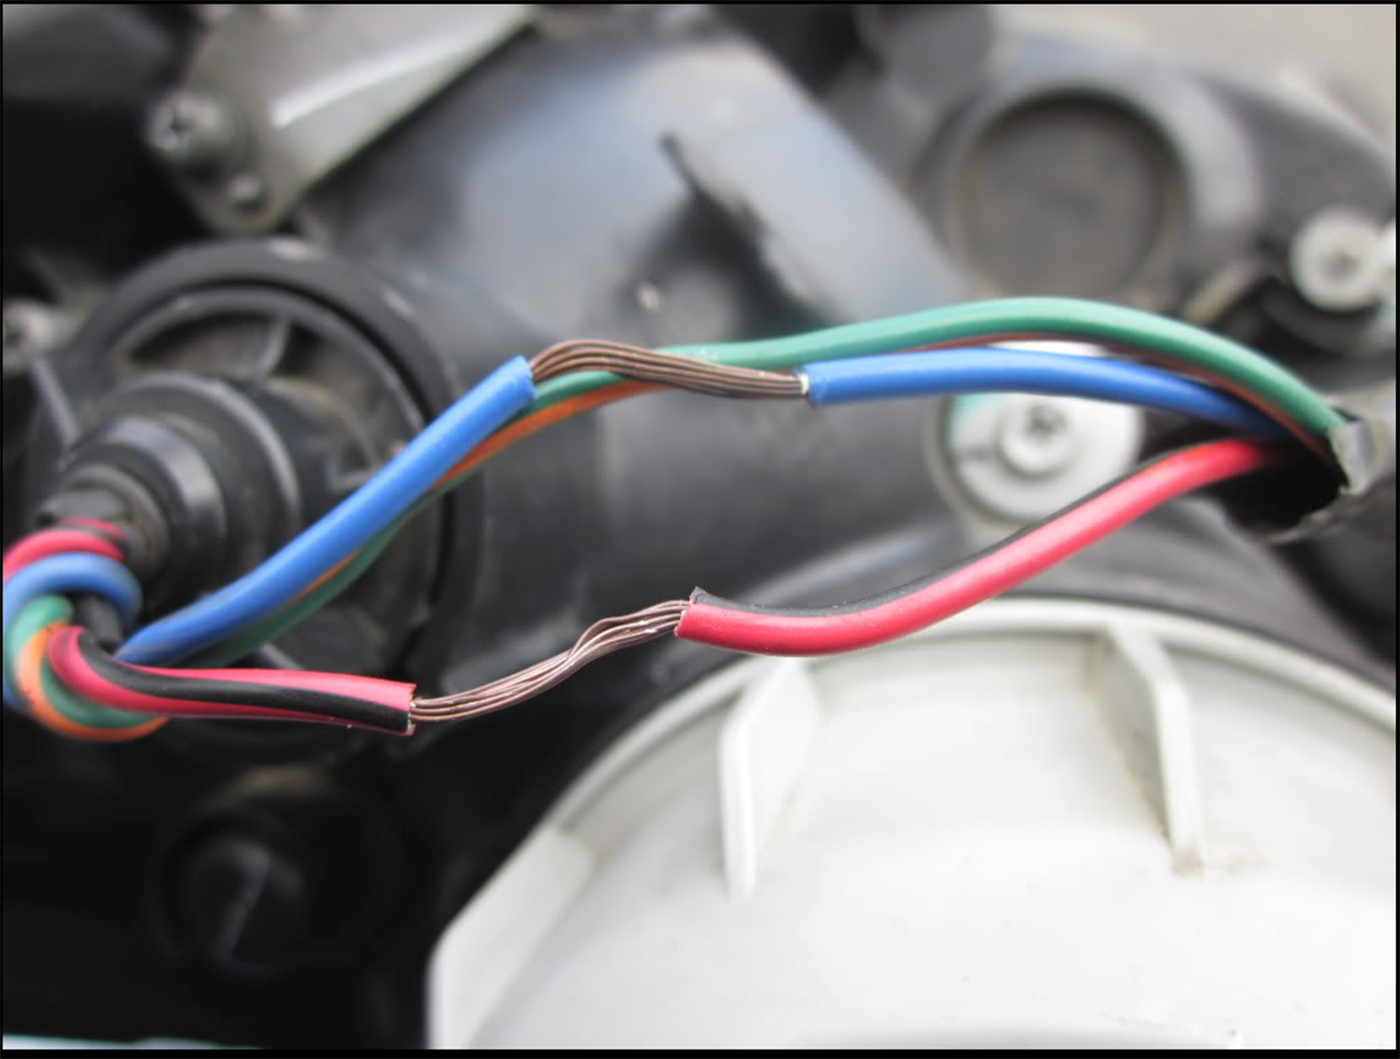
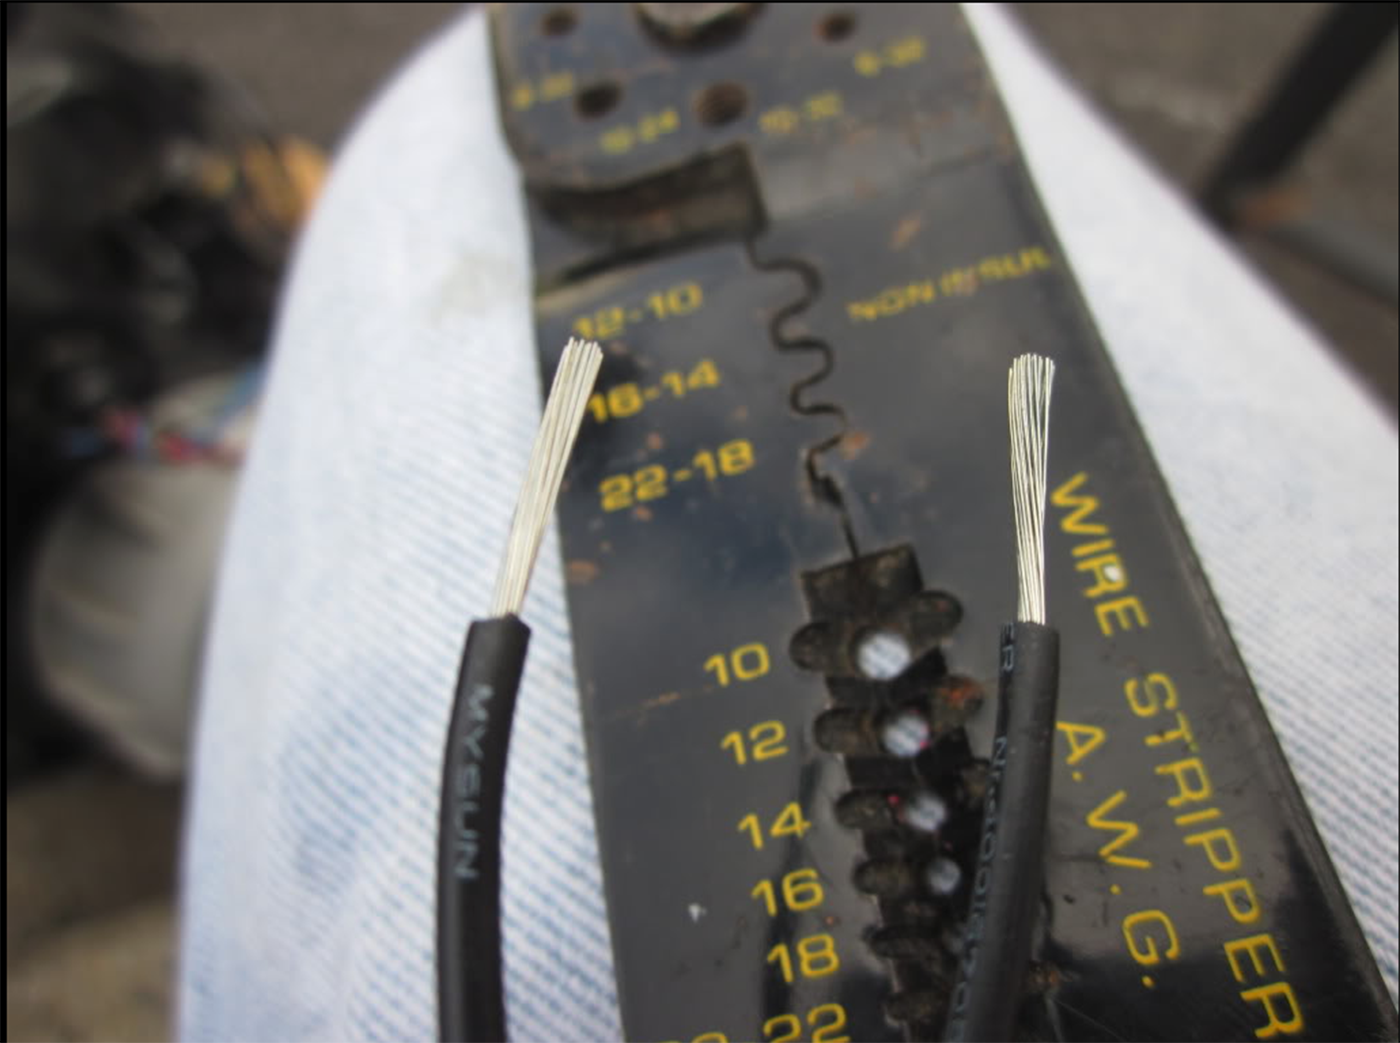
Then strip both Red/Blac& Blue wiresStrip the ends of the resistors:
Wrap the ends of the resistors to the exposed wires on the headlights:
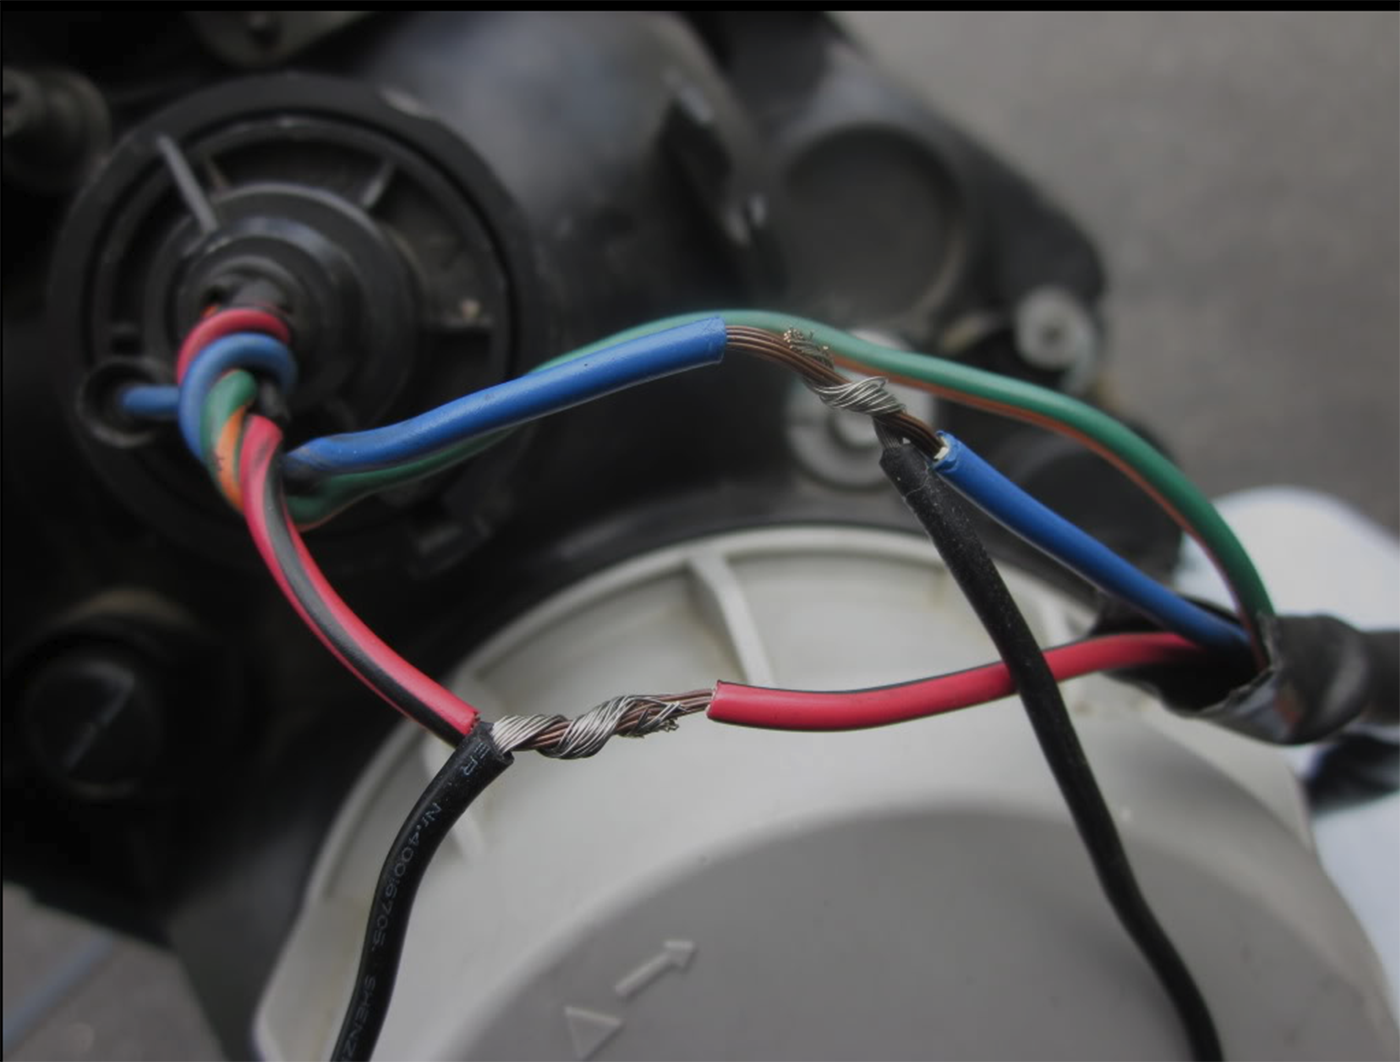
I electrical taped the hell of the wires to make sure it secure, no wires exposed and no moisture:
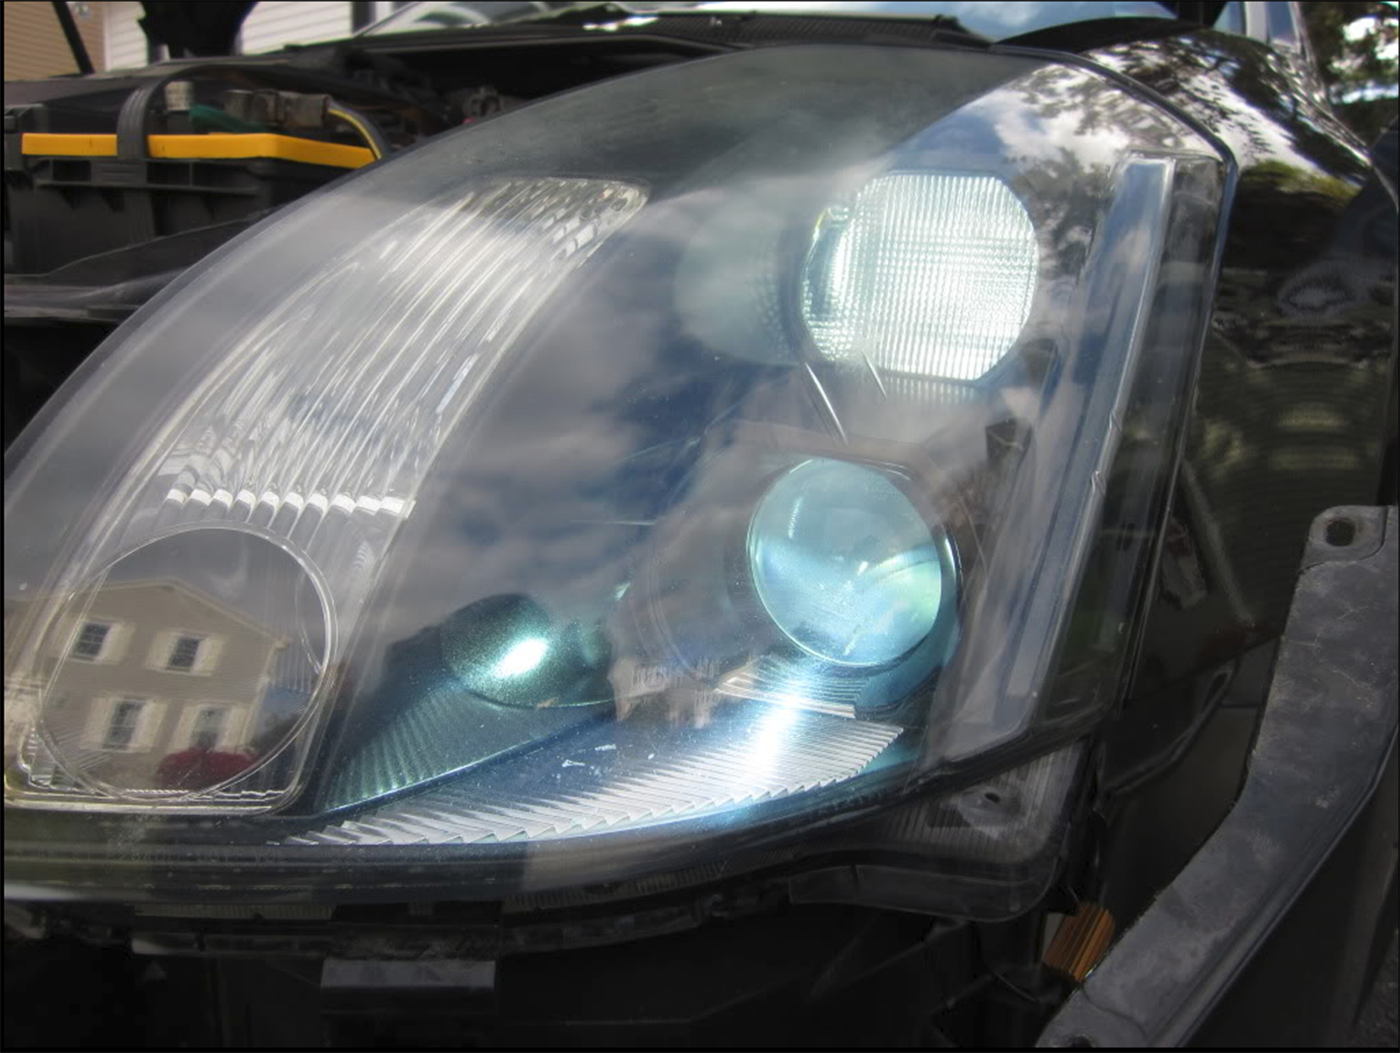
Here is my resistor on the metal part of the bumper, the passenger side is just hanging.
Loading

Member Credit: Elite Package

Hey guys i just recently painted the interior of my lights black to match my car. I just figured i’d write this post to help anyone out by giving “visual” instructions rather then “Text” instructions. So if you decide to tackle this project yourself like i did, hopefully you will gain enough confidence by the end of the thread to complete it successfully. Here we go!

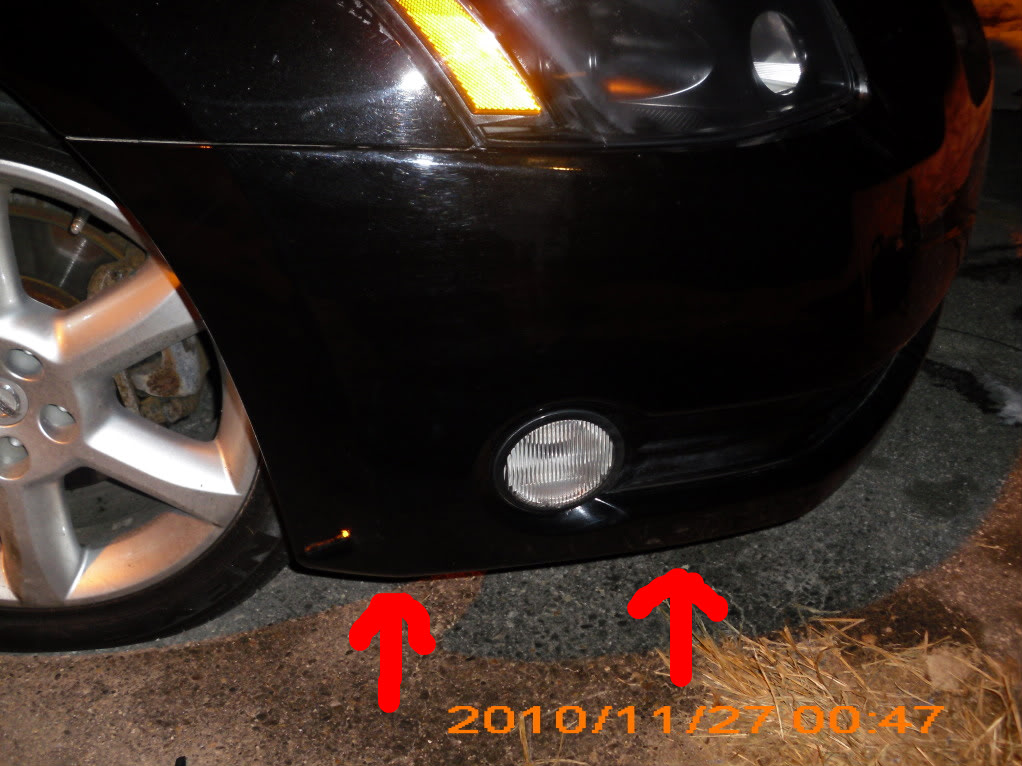
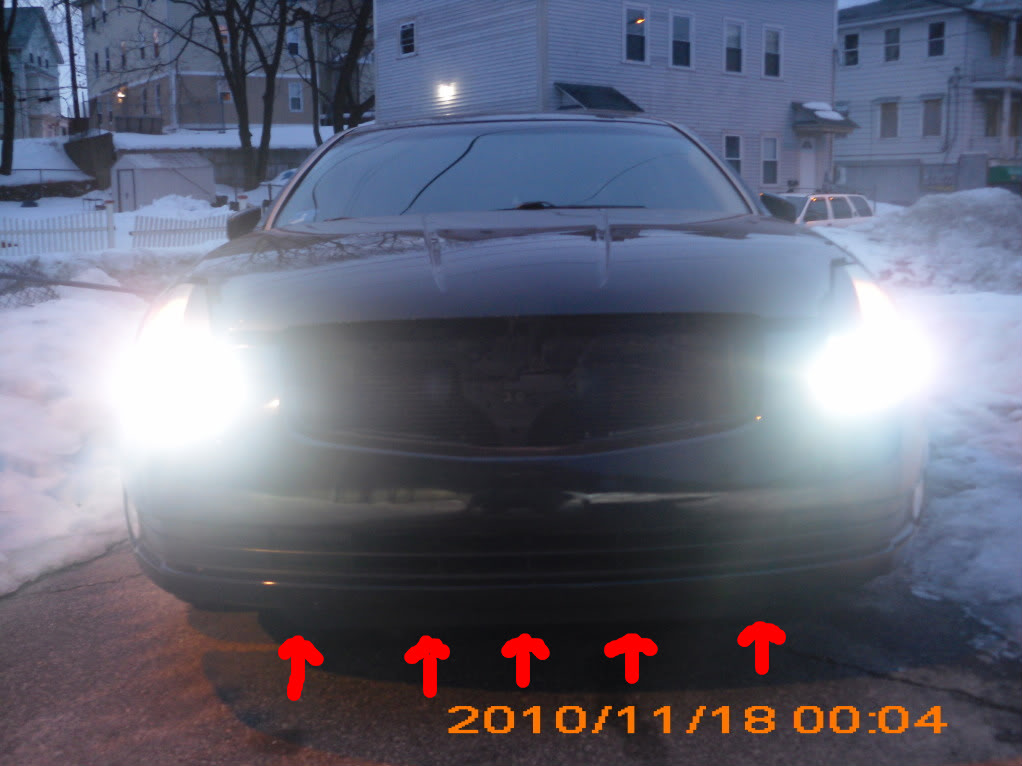
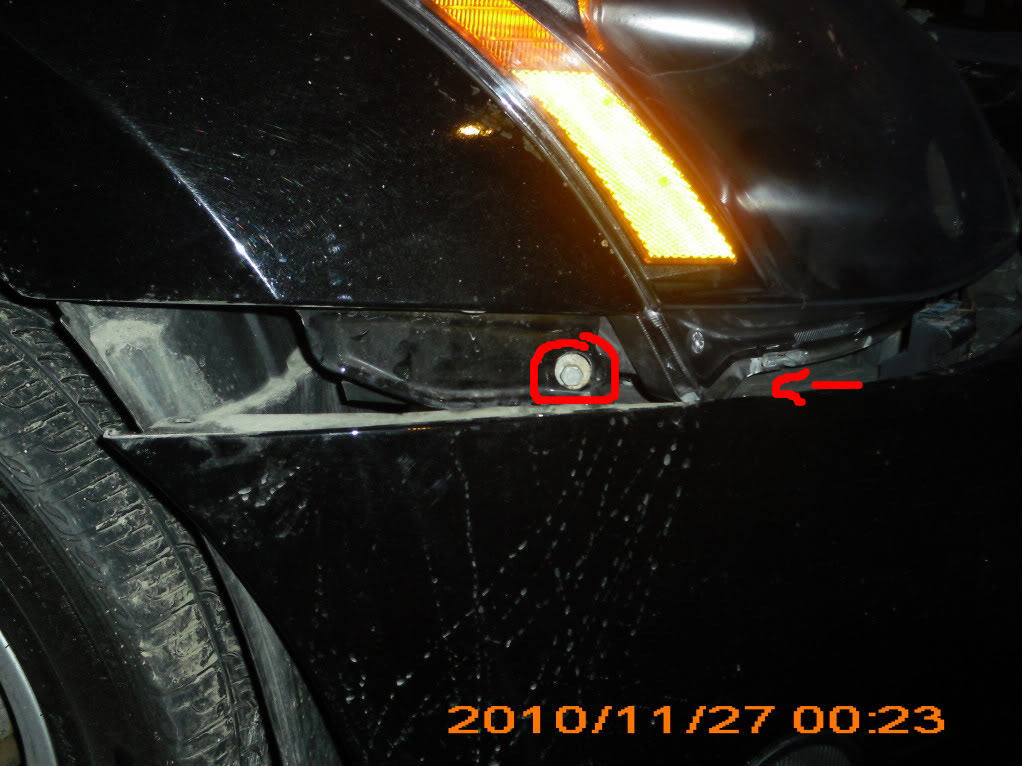
Start of by removing two phillips head screws underneath the bumper.

%image_alt%

Next remove all plastic clips holding plastic cover underneath the engine.

%image_alt%

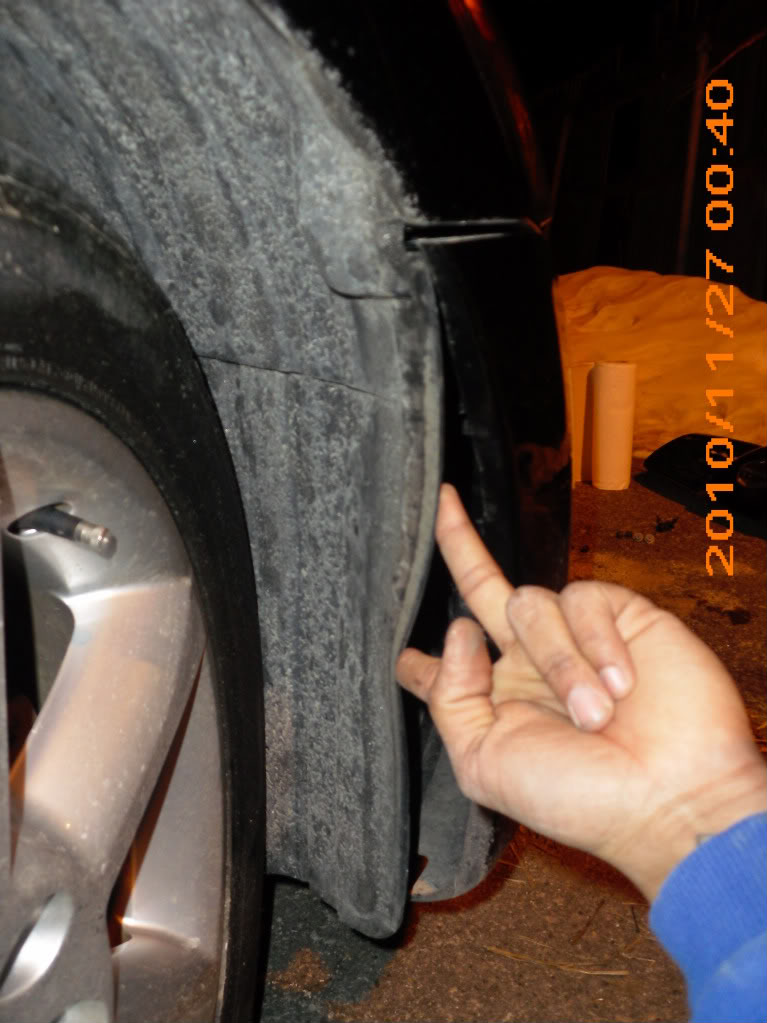
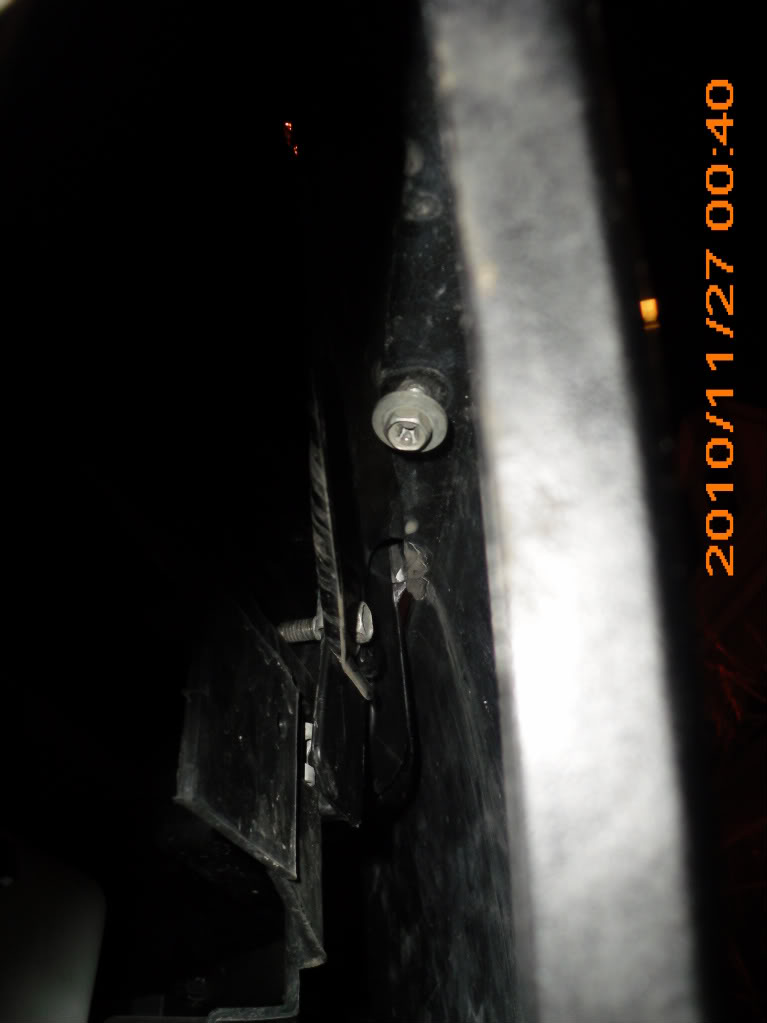
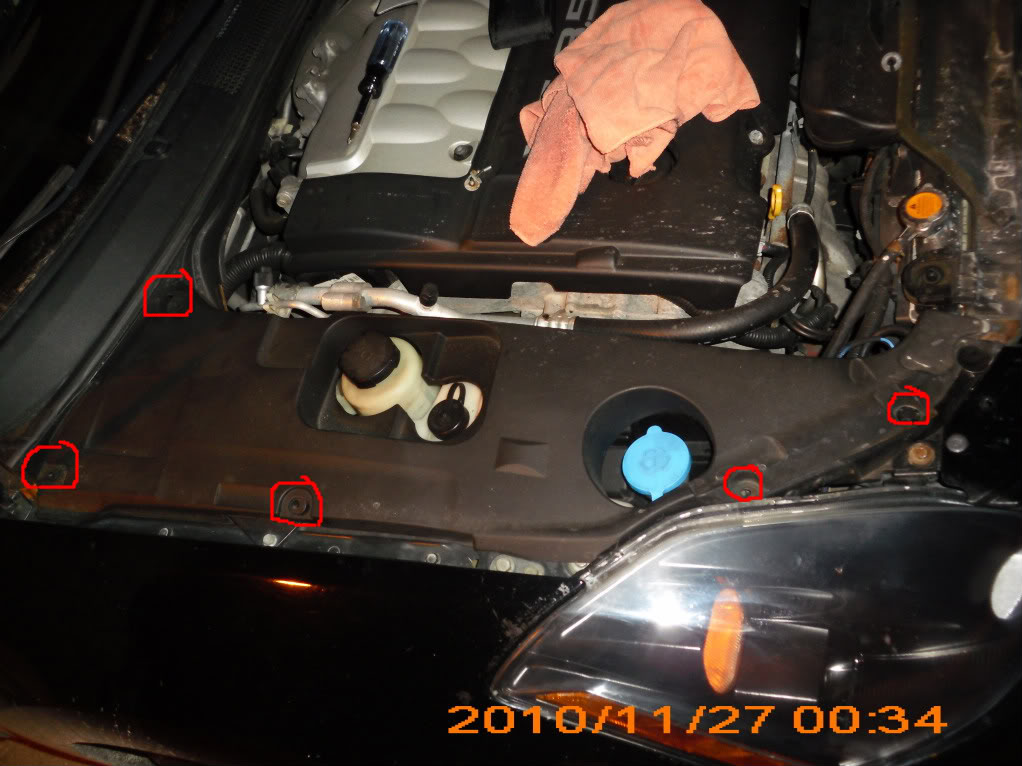
Now, move plastic cover aside near the wheel to acess two vertical phillips head screws, remove those too.

%image_alt%

%image_alt%

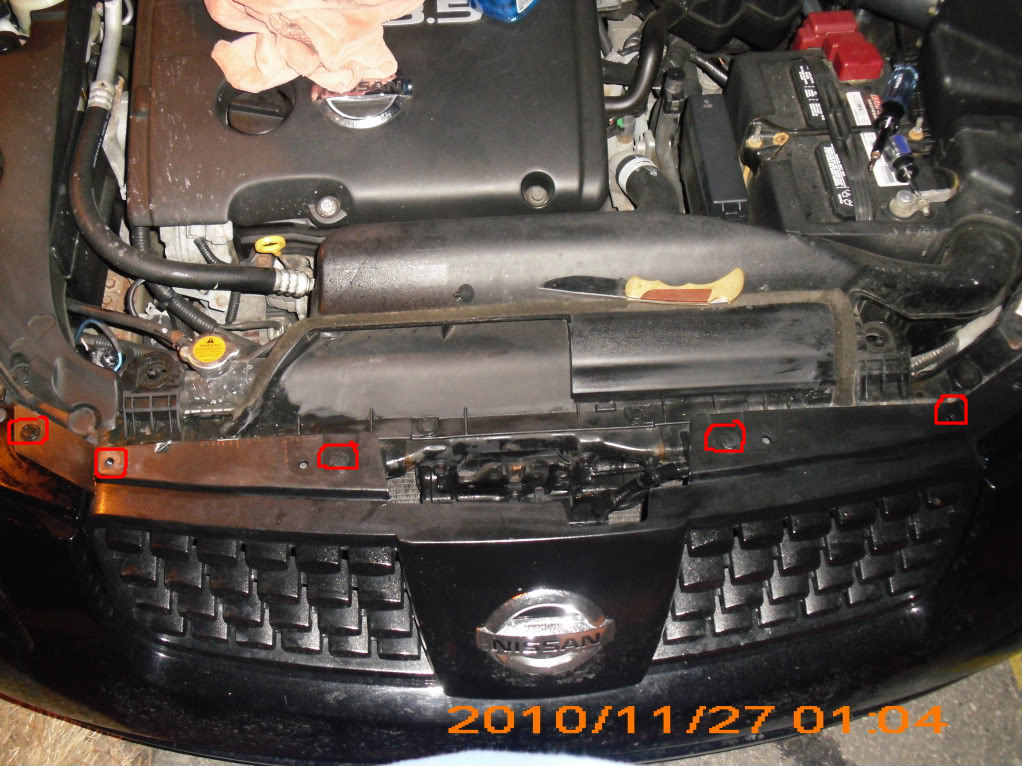
Next, remove all plastic clips holding down the grille.

%image_alt%

Also, remove all plastic clips holding down plastic cover over your windshield washer reservoir.

%image_alt%

Finally, remove plastic clip holding down bumper cover to car body.

%image_alt%

You should now be able to pull bumper off of the body.

– – – – –

Now you are ready to remove headlight.

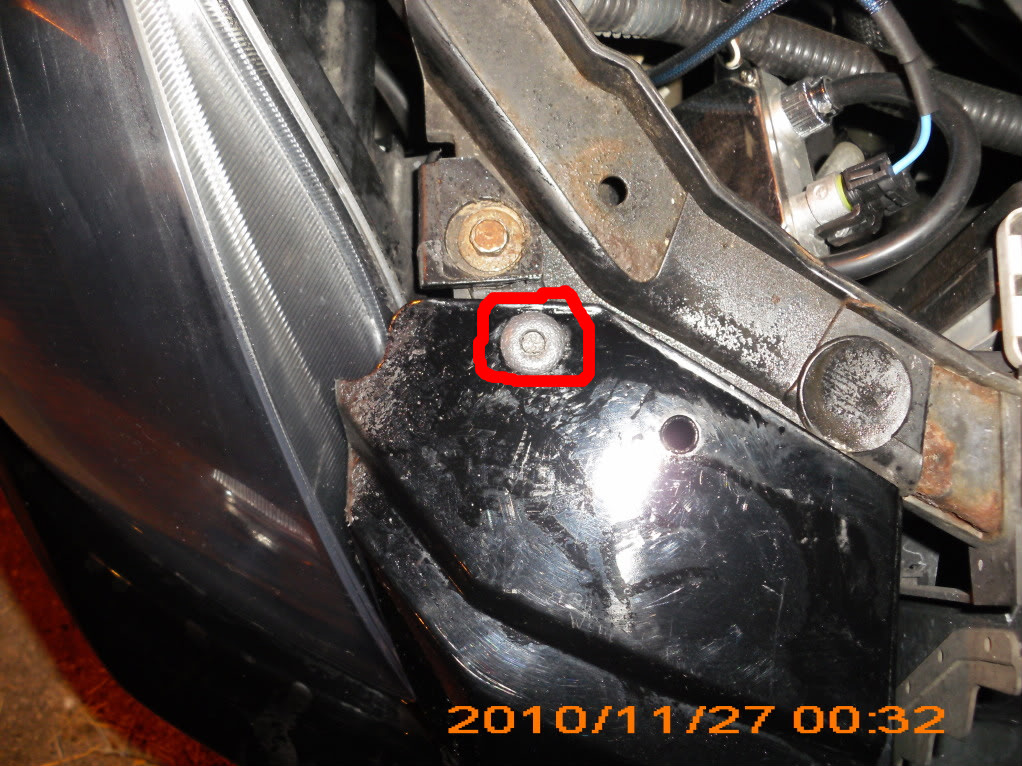
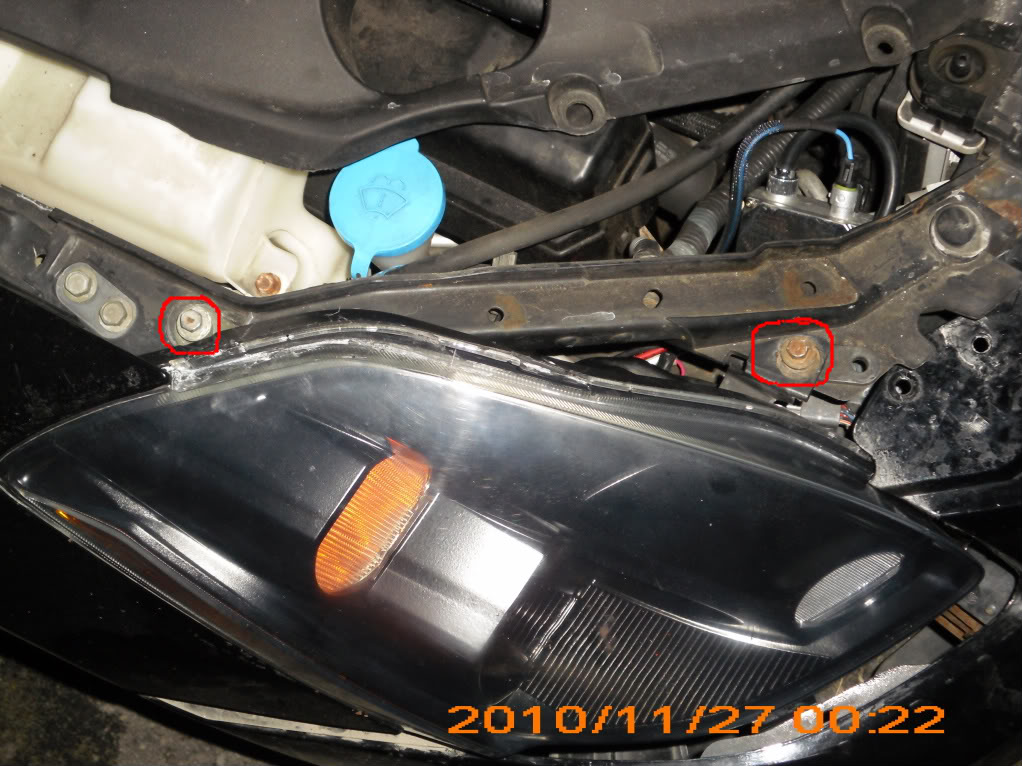
Start off by removing 4-5 hex head screws.

%image_alt%

%image_alt%

Now that the headlight is loosened from the body, disconnect your fog light wires.

%image_alt%

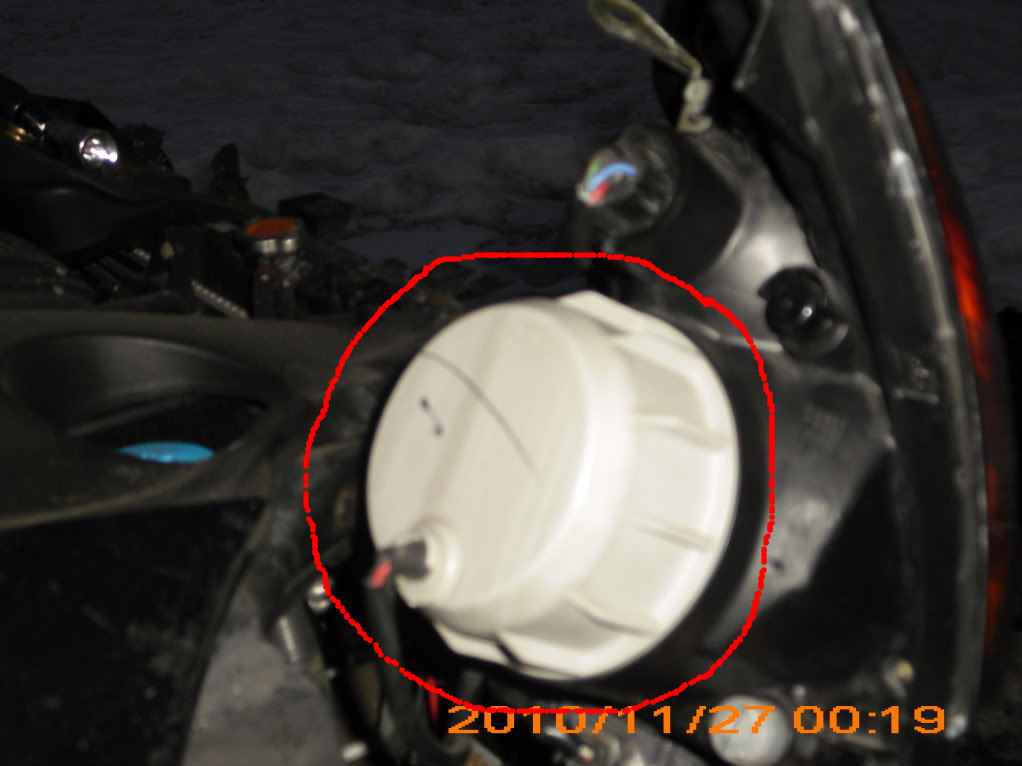
Untwist Cover

%image_alt%

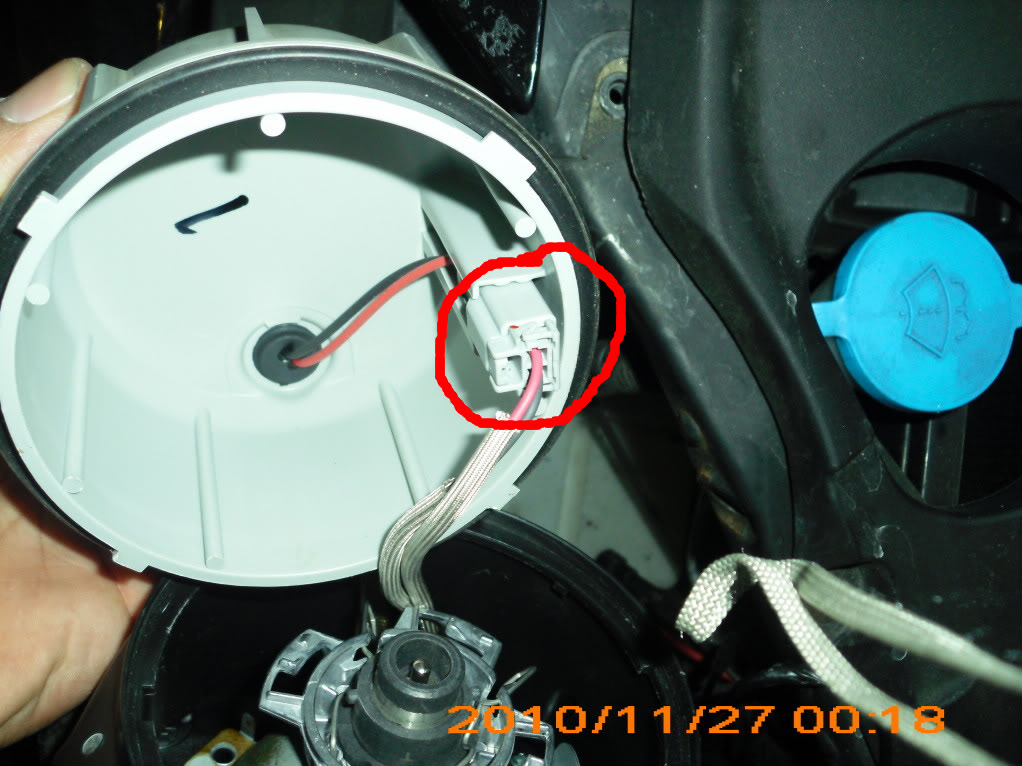
Disconnect small clip

%image_alt%

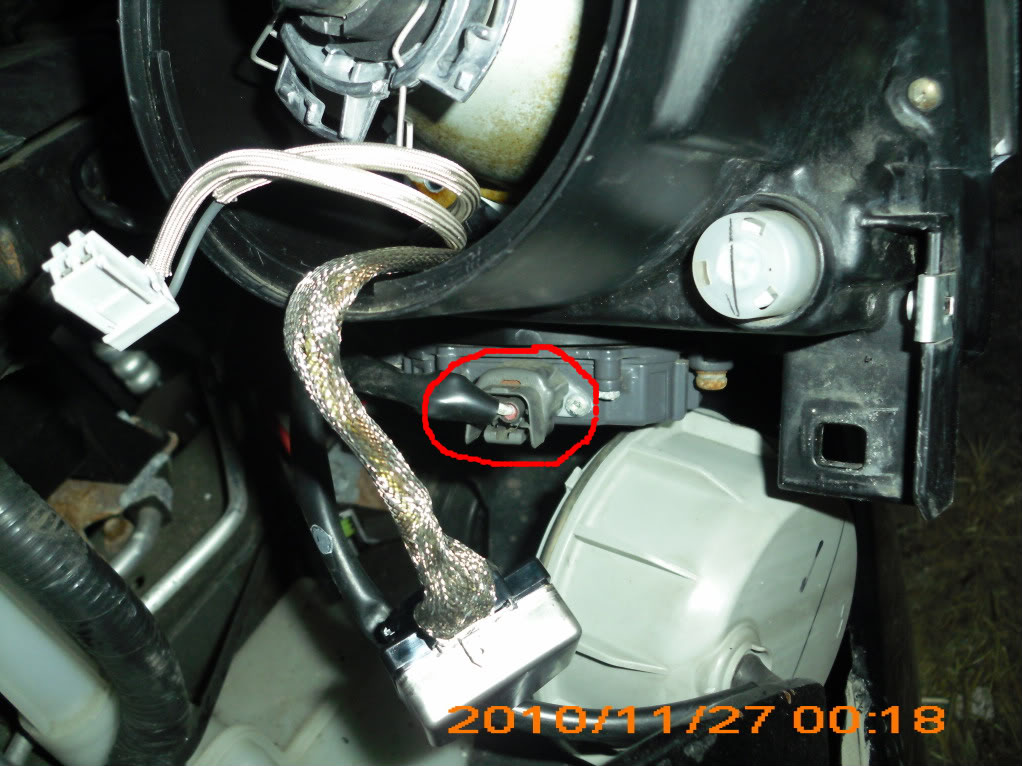
Disconnect what i believe to be a factory ballast underneath the headlight.

%image_alt%

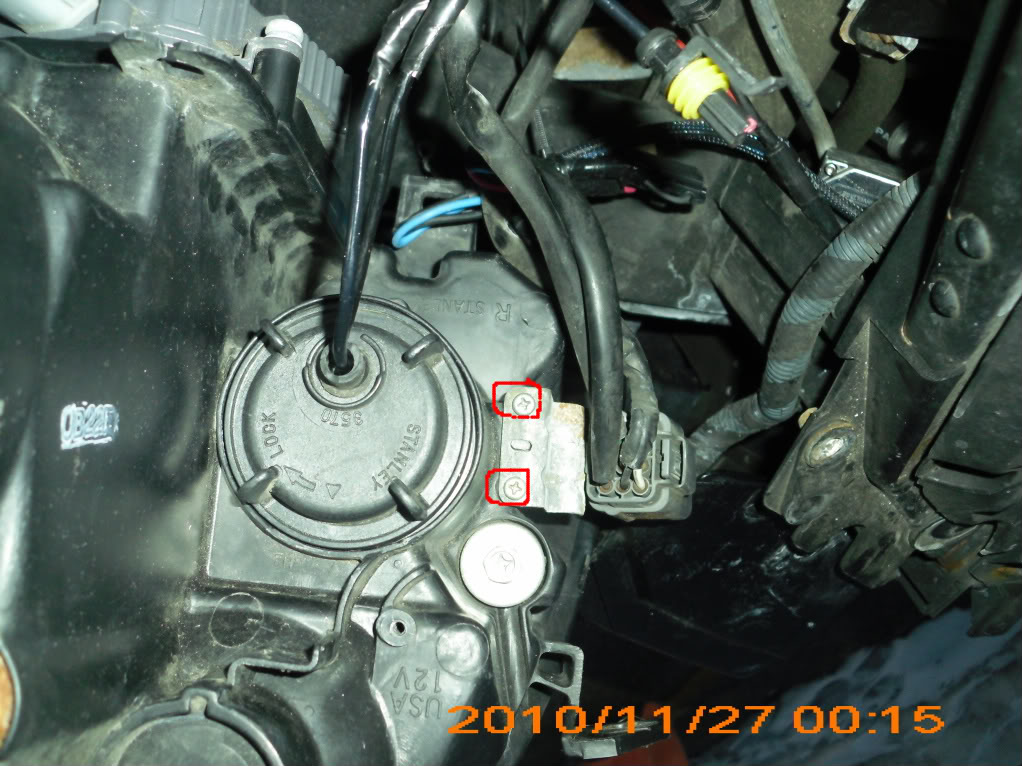
You will now need to remove 4 phillips head screws on the exterior portion of the headlight unit. (2 with a washer that hold wires in place 2 small ones without a washer that hold a bracket in place)

%image_alt%

%image_alt%

Once these are off you should be able to remove the headlight.

Loading