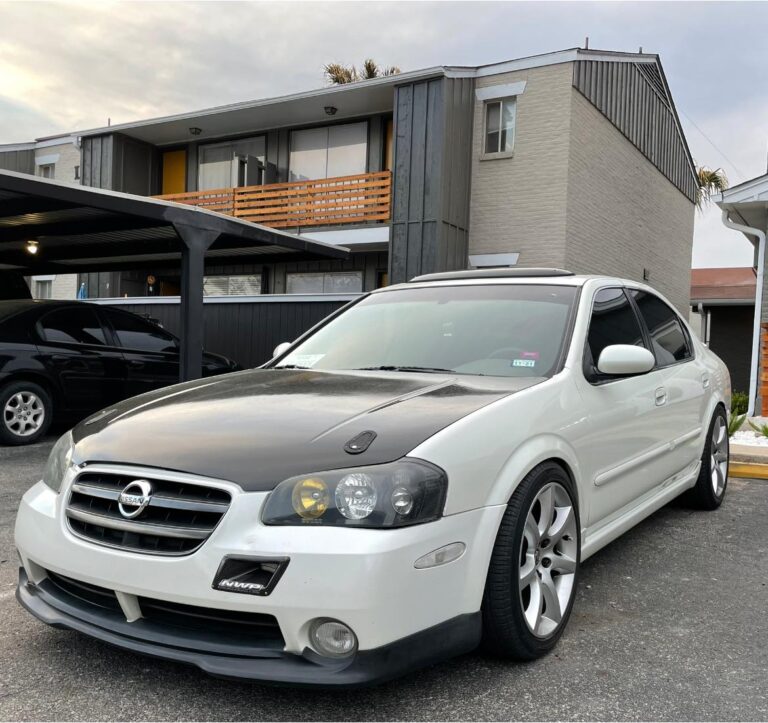
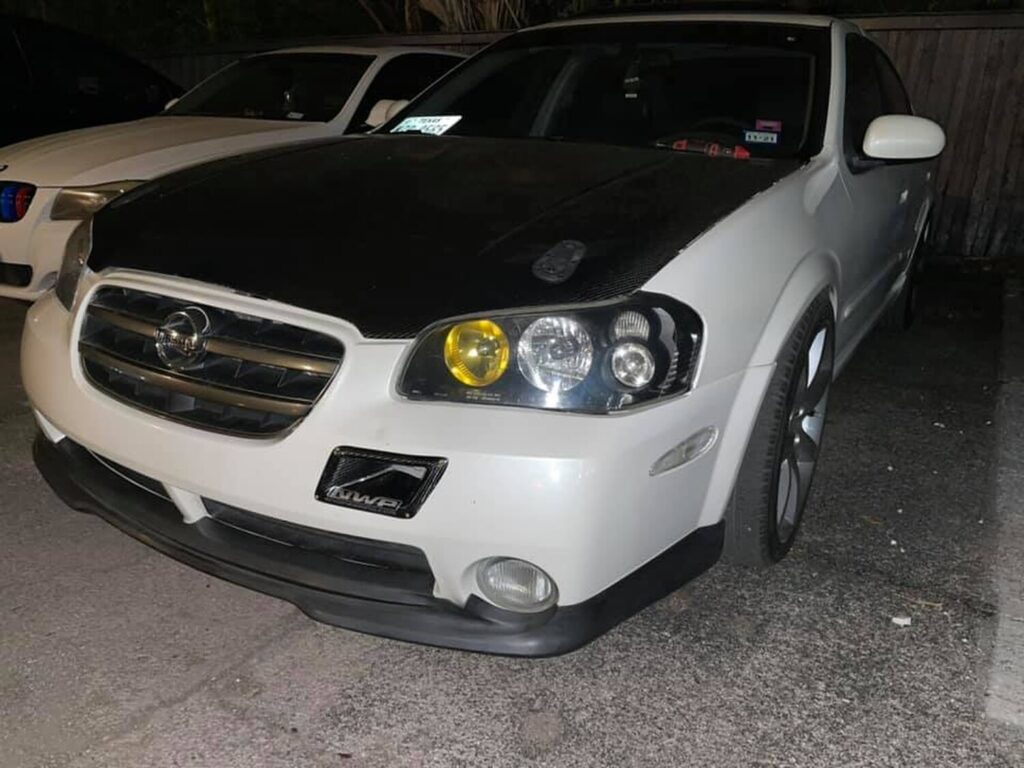
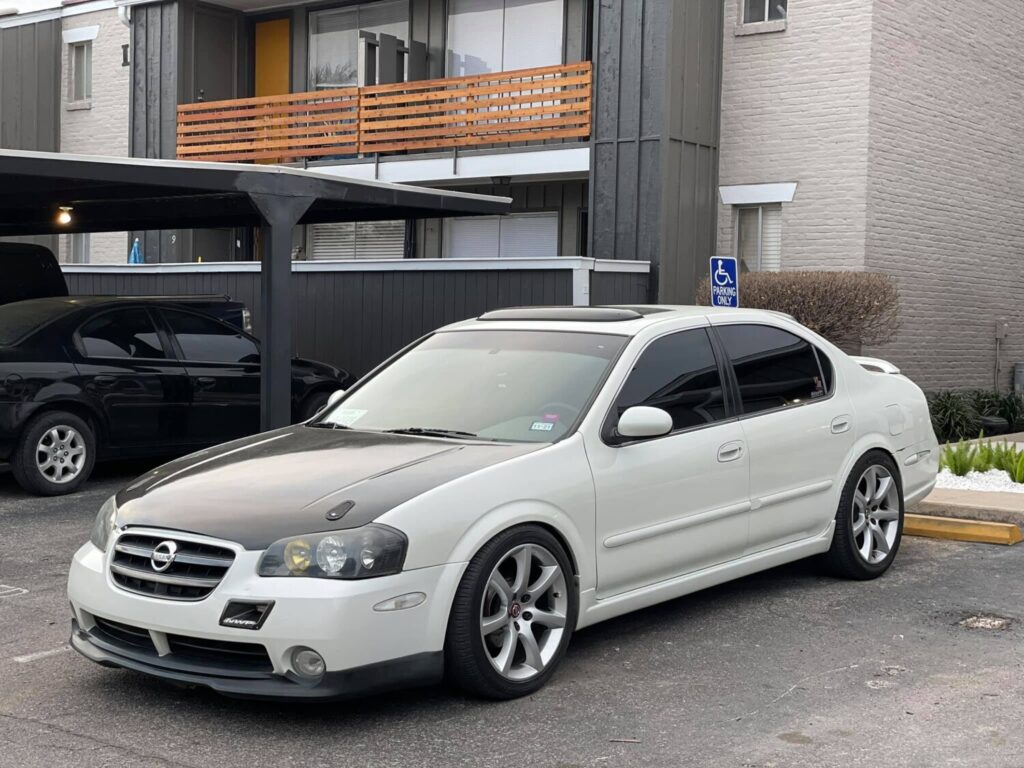
Community Member Credit: Ezekiel-Adrenaline Persad
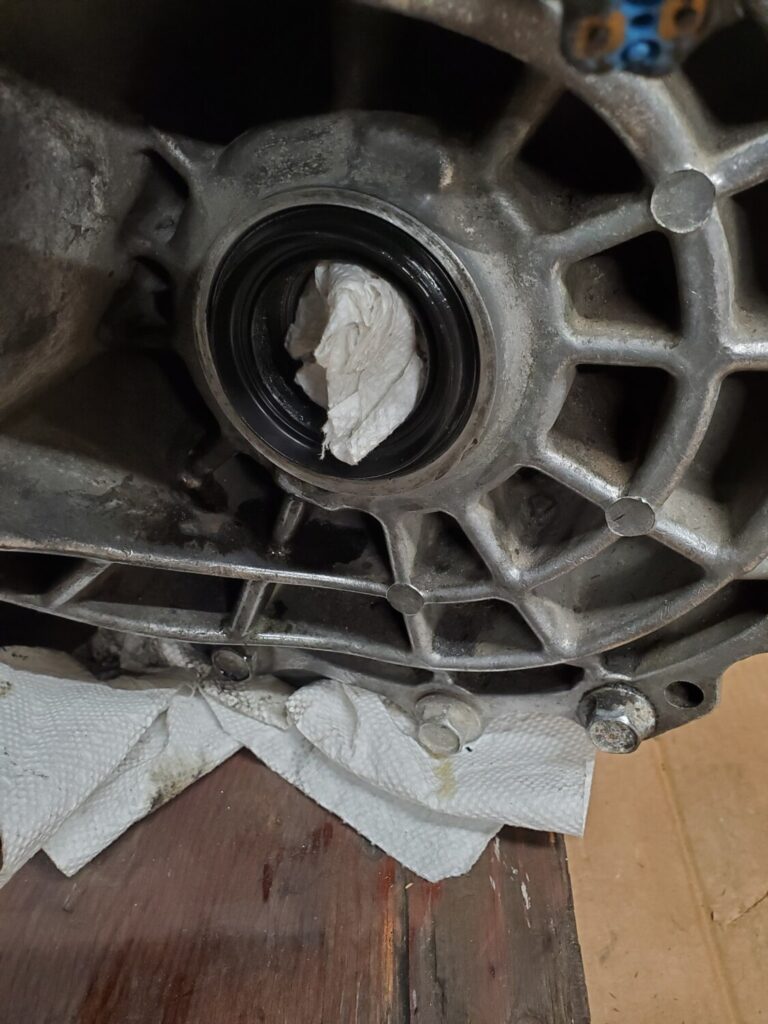
Just installed my diff seals for the axles. I don’t have a puller/installer kit so I’ve used a few ways to get these in there. Just sharing this if you don’t have the kit either. You can just use your old seal. Cut off the lip and you can hammer on it. Just place it over the new seal and send it no damage, easy, and free.
Ok, so since this is something that’s becoming ever more popular, I decided to compile all of the information you need to upgrade the front brakes on your 5th gen to the 6th gen brakes with 12.6″ rotors…
First check your wheel clearance to make sure you have enough room for the brakes to fit. Measure from the center of your wheel to the inside of it, and if you don’t have at LEAST 7 5/8″ these brakes will not fit on your car…they do fit the 5.5 gen 17″ SE wheels like a glove, but they don’t fit with the 5.0 gen SE 17s…
f you do have enough clearance, the next step is to purchase what you need for the upgrade. Here are the things you need to get your hands on:
6th gen calipers (I bought mine from Dave B. for ~$60 each)
6th gen 12.6″ rotors (I bought mine from automax’s GD; brembo blanks for ~$100 shipped)
6th gen front brake pads (Also bought from automax’s GD; PBR metal masters for ~$50 shipped)
6th gen front brake shim kit (got mine from Dave B. I think for under $20)
Brake fluid of your choice
These are DIRECT BOLT-ON for ALL 5th gens (5.0 and 5.5 alike) but you can also opt to get Matt Blehm’s relocation bracket on the 5.0 gen (but not the 5.5 gen) and use your stock calipers.
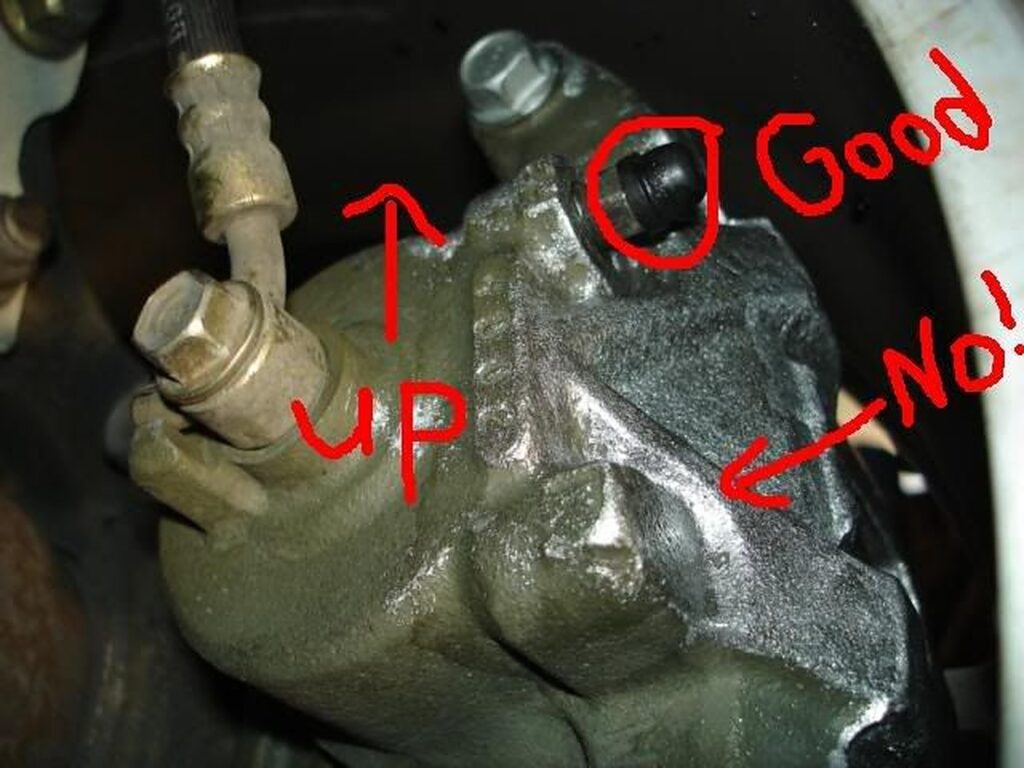
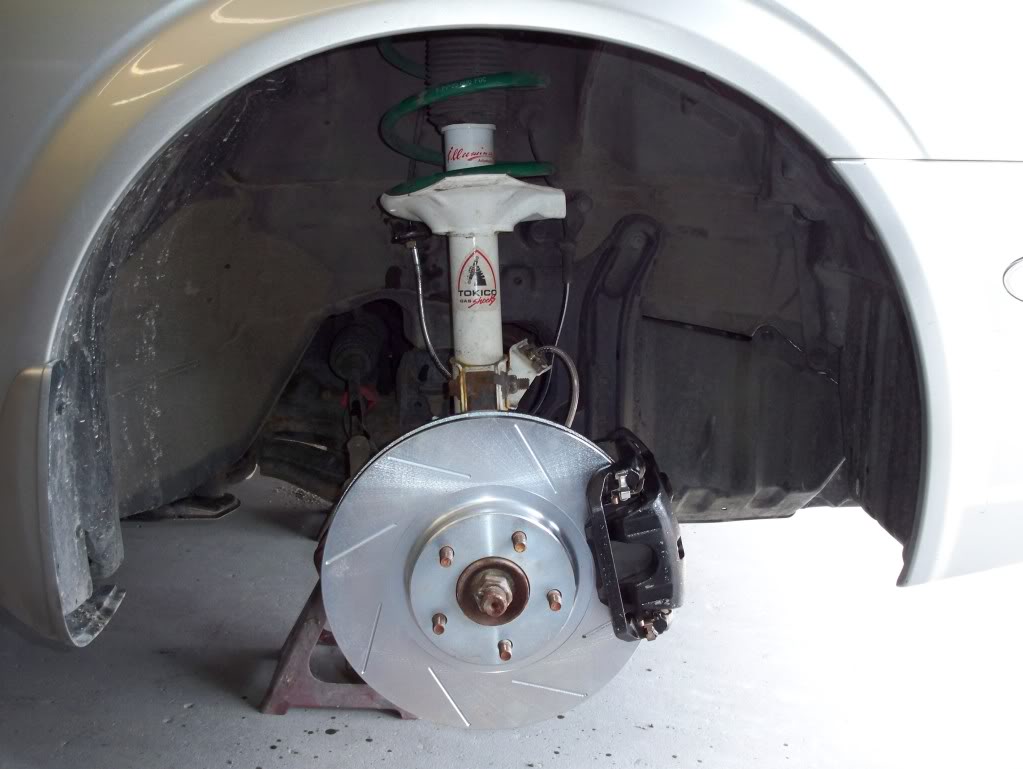
Installation for me would have gone smooth if I had a right and a left caliper, but I accidentally got 2 left ones! DOH! Make sure when installing the calipers that the bleed screw is on TOP. (shown in the picture below.)
For me, the pedal feel was GREATLY improved (although this may be because I was running on my stock brakes at 50k). The pedal feels firm, and even after beating the sh!t out of my car at MSR during Maxus, I didn’t get an ounce of brake fade with my ATE Super Blue Dot 4 fluid.
I bed the brakes in just after installation and so far no abnormal noises or vibrations. There is great feedback from the brakes and they don’t seem to lock up under extreme braking as they did before.
From a performance point of view, I could not tell any difference in acceleration. These rotors did feel really heavy, but IIRC they are only 5 or 6 lbs. heavier than stock, which also felt really heavy, so it would be pretty hard to feel any adverse effects on acceleration.
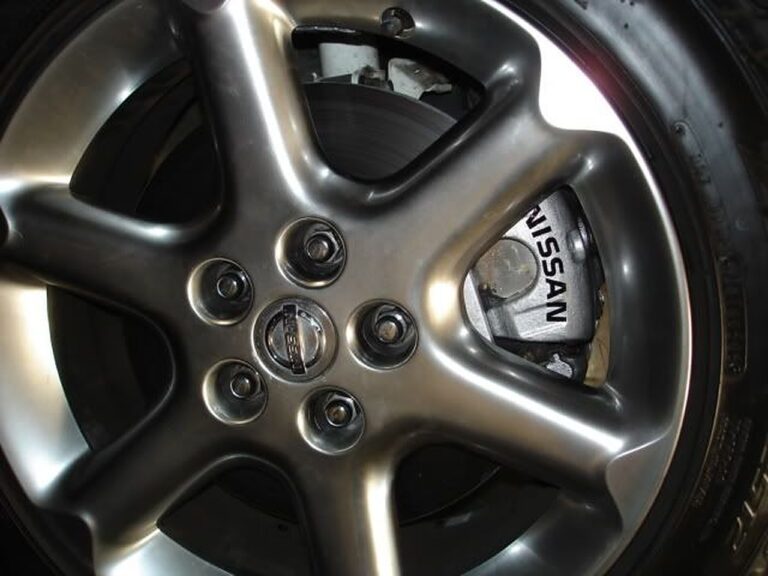
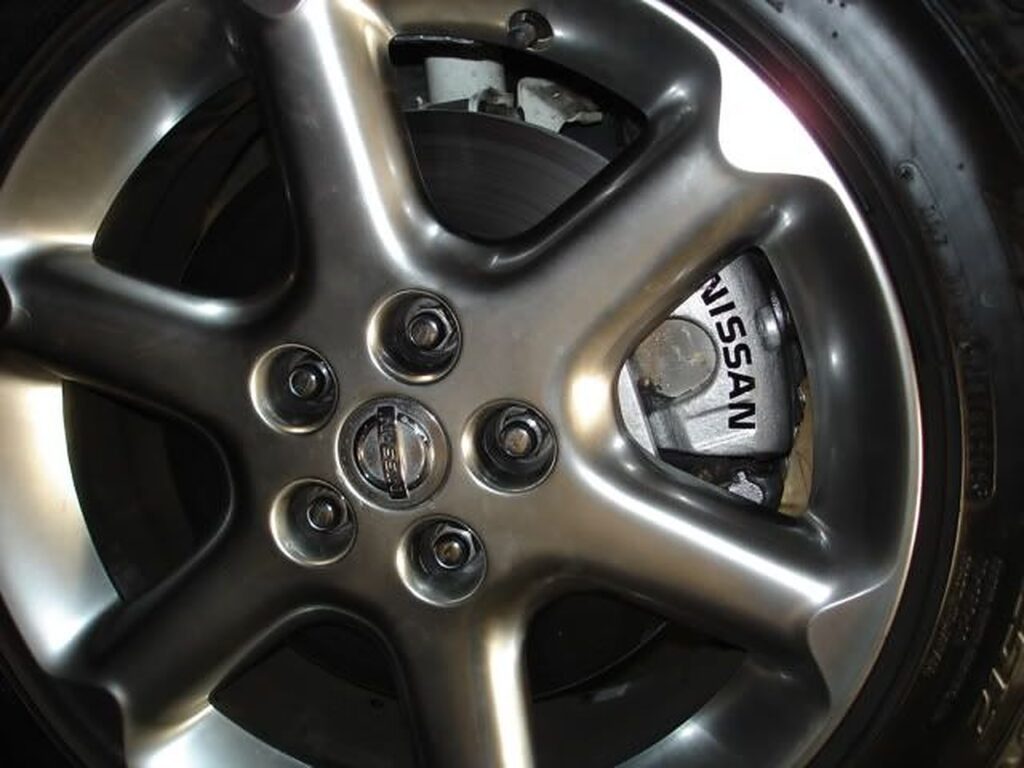
As for the paint on my calipers, I used the G2 silver paint kit. I applied the paint only where you could see the caliper from the outside, and I applied 3 coats with much more paint to spare. The decals are just stick on (I put a couple of coats of clear over it just to make sure they would stay).
Any other useful information is welcome, as I believe this is all I have. Good luck to anyone that attempts it, and in my eyes, it was a very worthwhile mod.
Calipers + torque member from a 2004 maxima through a junkyard ($50)
Black Zinc coated Dimpled Rotors + Hawk HPS pads via rotorpros ($149)
Total of 200 spent
The first step is to really clean the calipers.. they were filthy!
Before: After:
Then sand the hell out of it and mask everything off for paint:
I used enamel based spray paint (high heat as it is really meant for BBQ grills)
Rotors and pads get delivered: Look at the size difference with my OEM ones!
So jack up your car, USE JACKSTANDS, take off your wheel
At this point you want to place a drip pan under the caliper and loosen the brake line bolt (12mm)
Then remove 2 bolts (14mm) that hold the caliper on, hang the caliper to the spring using rope or something similar:
Then remove 2 more bolts (19mm) holding the torque member (these are on hella tight): Use a C-clamp and an old brake pad to push the new caliper’s piston back to allow for the new pads to sit.
Now, connect the brake line to the new caliper and hang that one by the spring.
Place the rotor on. NOTE: some rotors are directional and have curved vanes, follow the instructions!
Put on the new torque member (with those two 19mm bolts). I applied some loctite here for a secure hold.
Put in the new brake pads, apply the special anti-squeal stuff.
Put the caliper on using the two 14mm bolts.
Now you need to bleed the brakes, so pick up some Dot 3 brake fluid, and have a friend help. If you don’t know how to bleed, the person outside of the car opens the bleeder to allow fluid to escape while the person in the car pumps and holds the brake to provide pressure. Keep bleeding until you don’t see any air in the line. It helps to use a tube into a water bottle filled w. some brake fluid so you can see the air bubbles come up. Remember to keep topping off the fluid so you don’t start drawing air in. It’s also a good idea to bleed a whole bunch of that nasty old fluid out..
So here are some size comparisons (remember my car is 2000 so the rotors were smaller than 5.5gens’)
Caliper (04 on left, 00 on right):
(04 on right, 00 on left) Pad size (newer ones on bottom obviously): And the best before and after lol:
Also notice my old rotor on the ground there, on the backside there is a very THIN strip where the pad was making actual contact.. I couldn’t believe how crappily the stock setup was working.
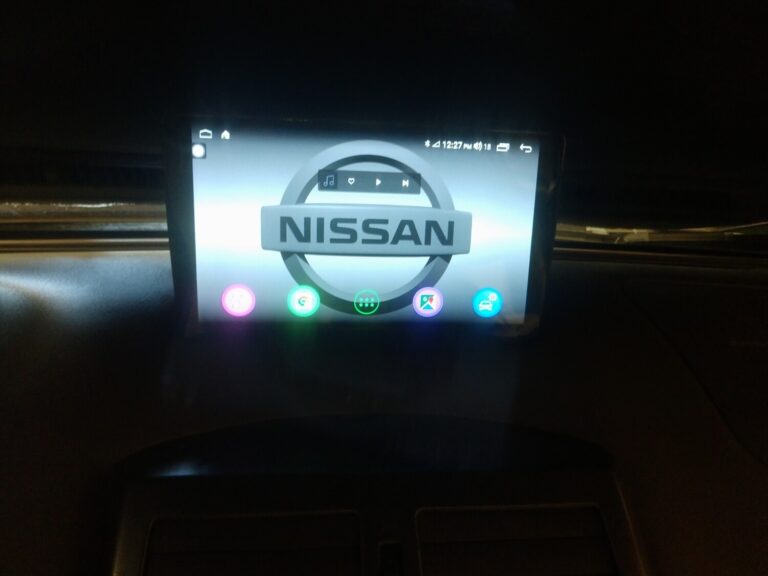
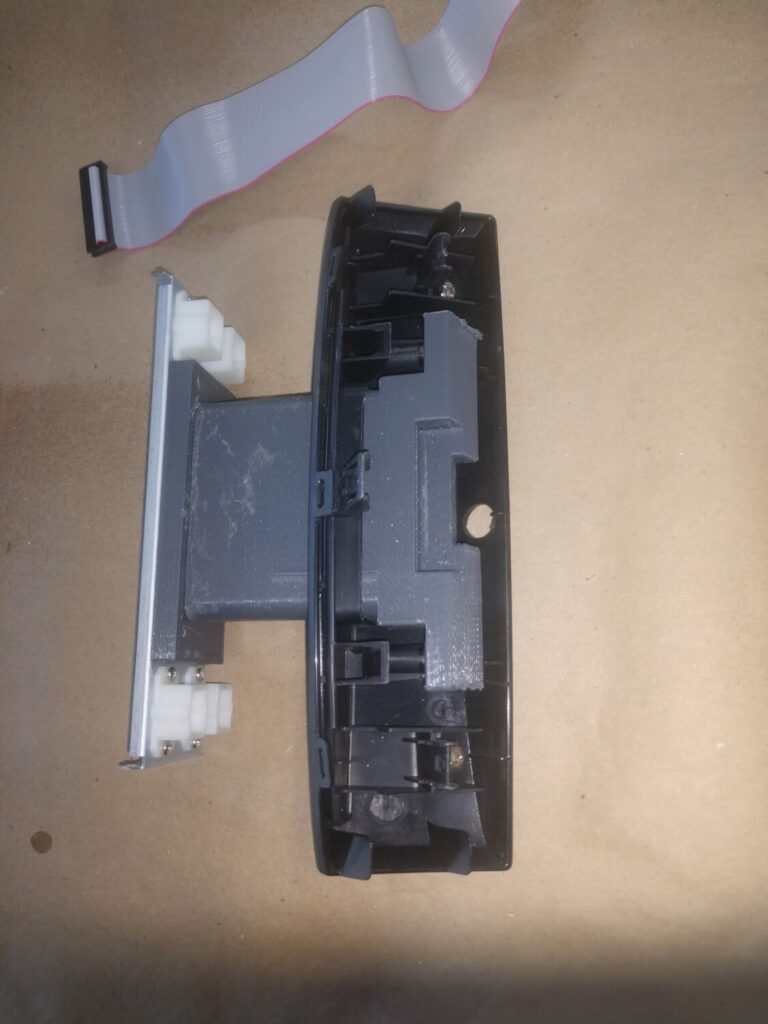
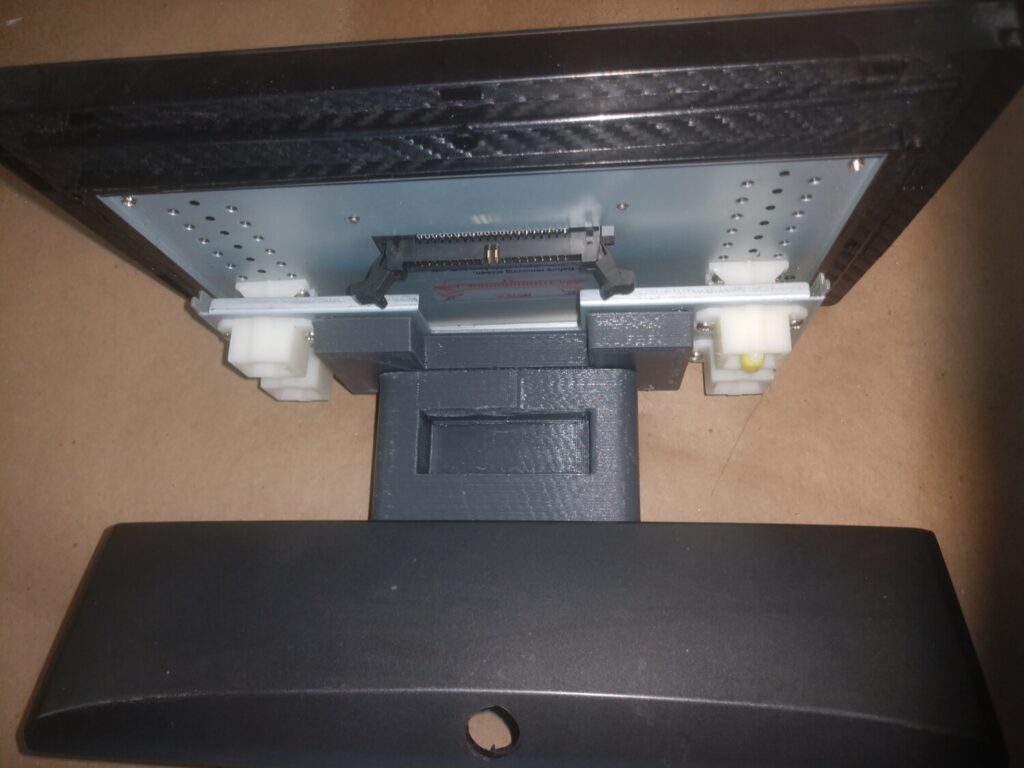
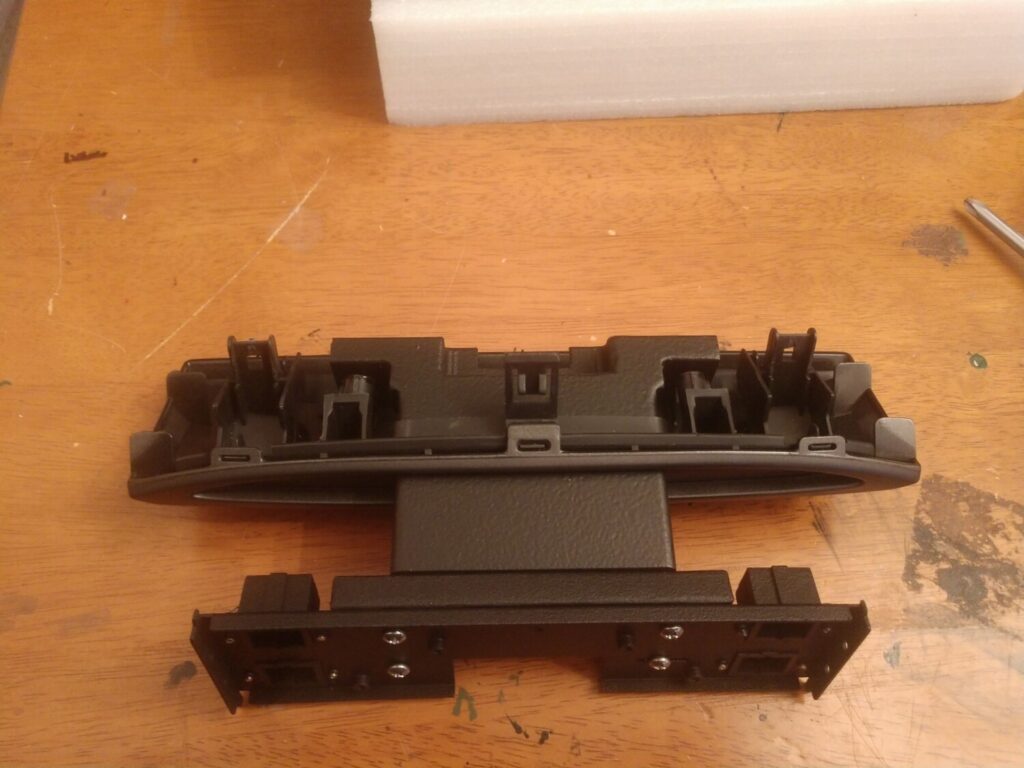
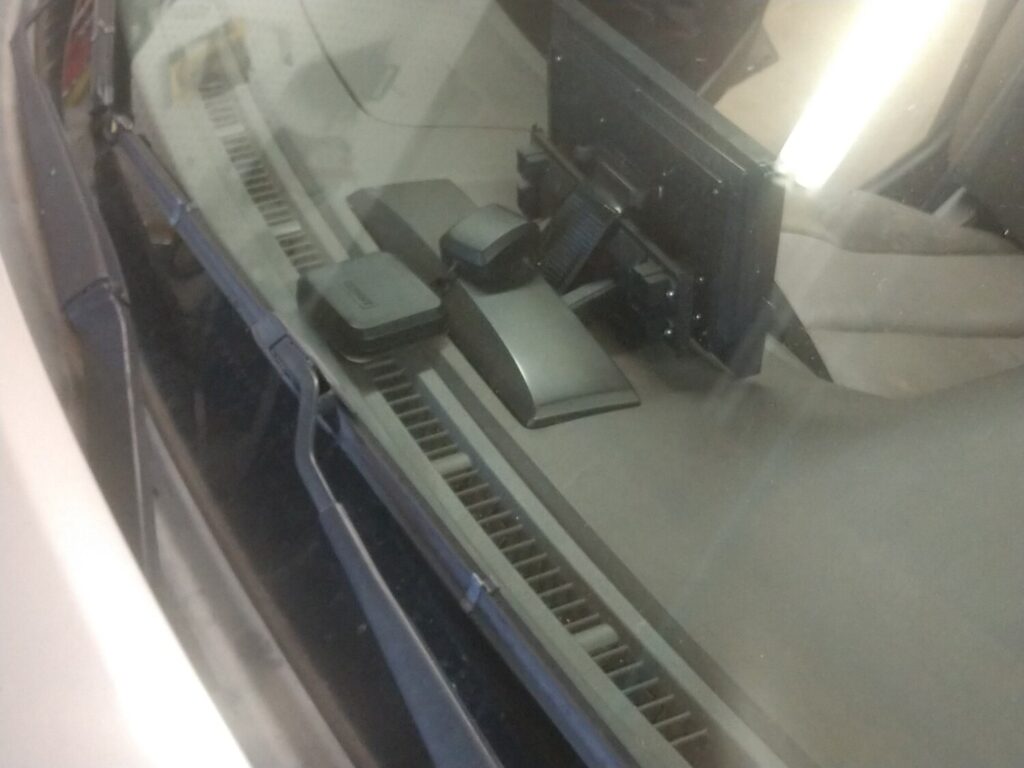
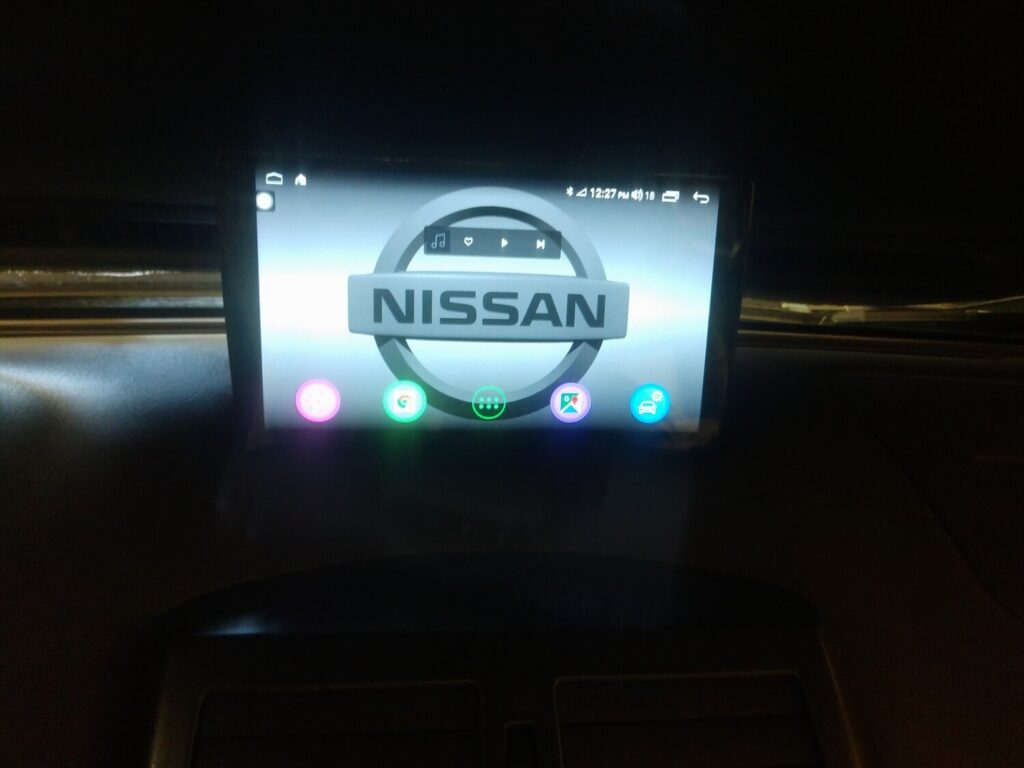
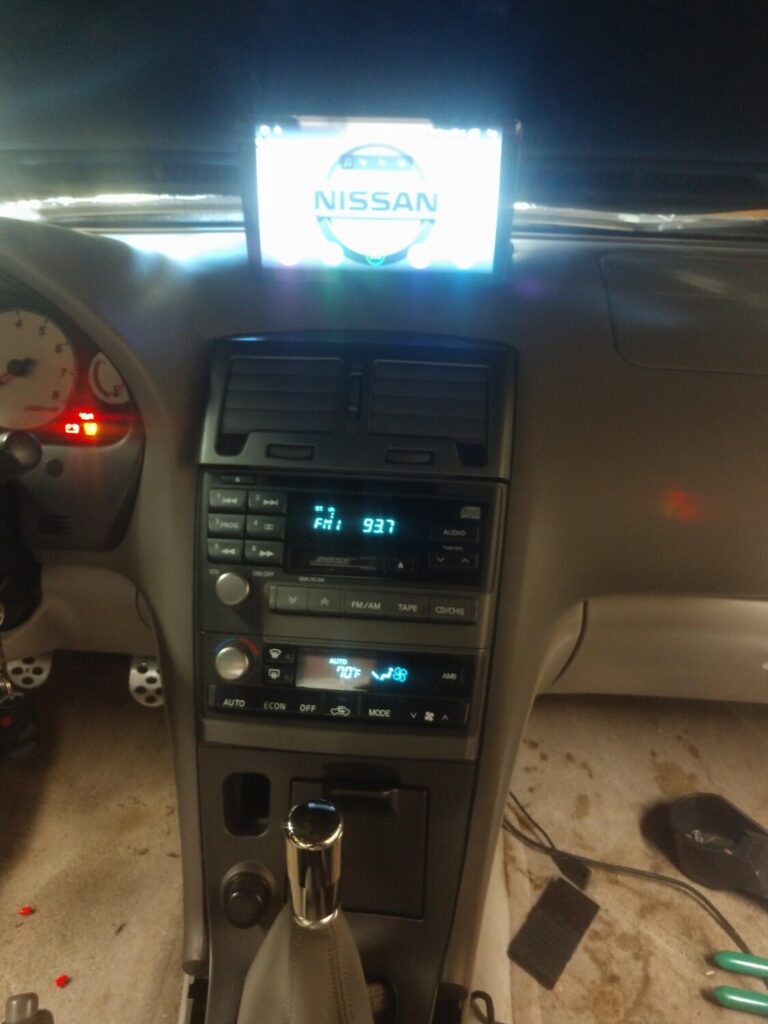
It has a USB input, A2DP BT (via interface), controls my DSP as well. The screen unit’s output can go through the Bose or straight to the DSP via optical cable. My end goal is to get Windows programs running on it. Think Datascan and Minidsp software.
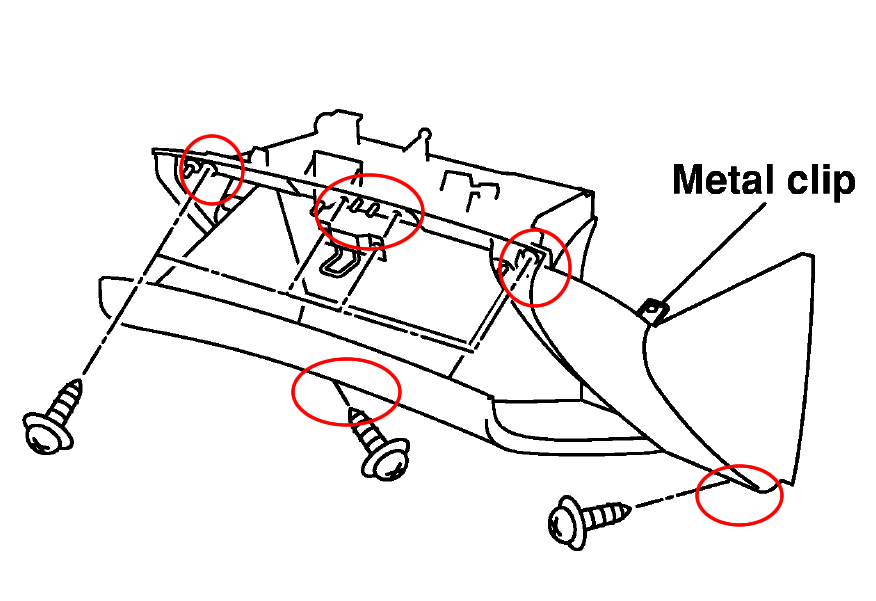
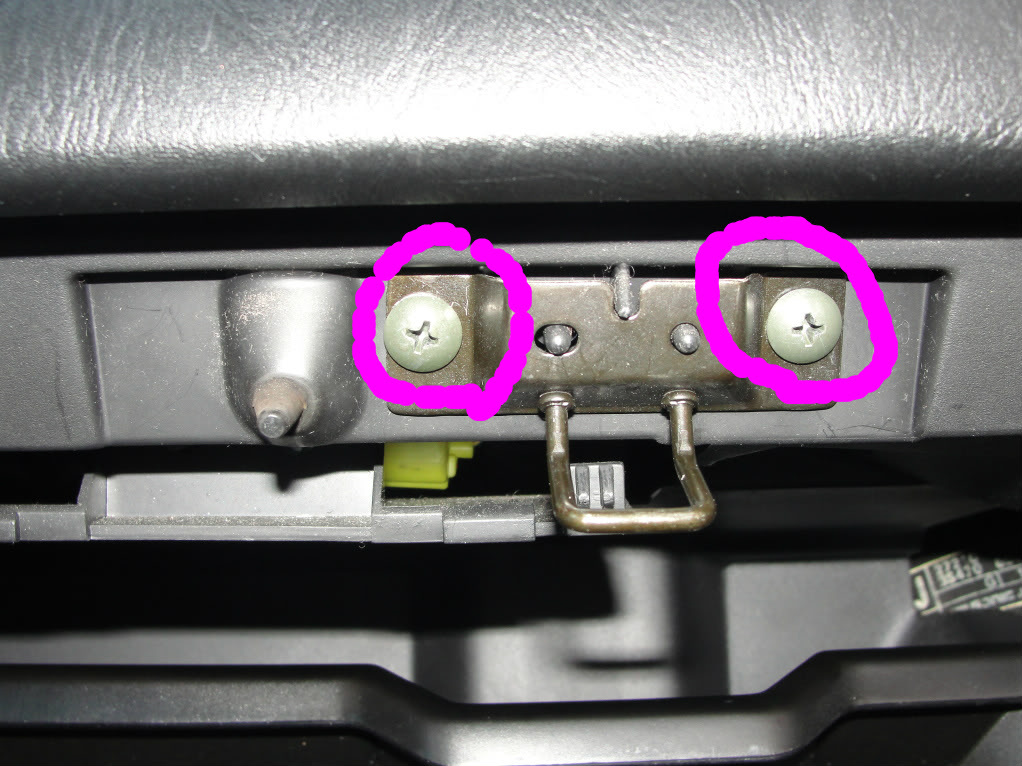
2. Remove the 4 screws holding the the glove box, two at the top and two at the bottom
3. Once the screws are removed pull out the glove box. You may need to use a crew driver to undo the right/top clip.
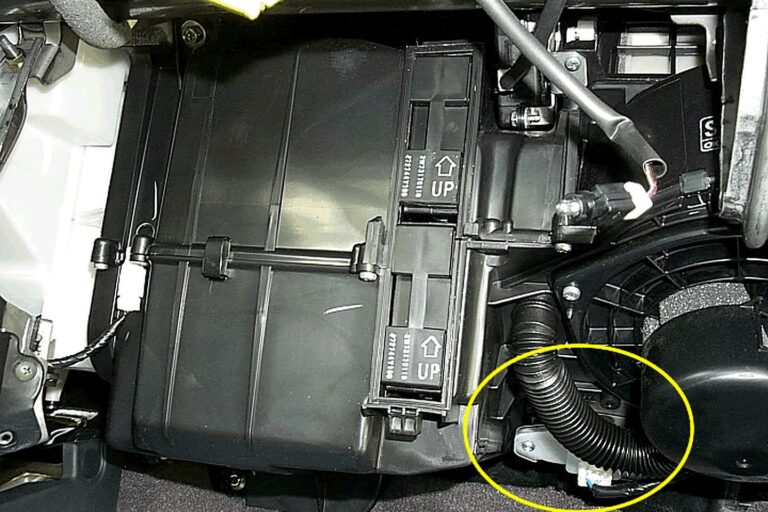
4. With the glove box removed, you will be able to see the “Fan Control Amplifier” for automatic air condition system or “Blower Motor Resistor” for the manual system.
5. Remove the 2 screws holding the Amplifier/Resistor, pull out the Amplifier/Resistor and install the new one.
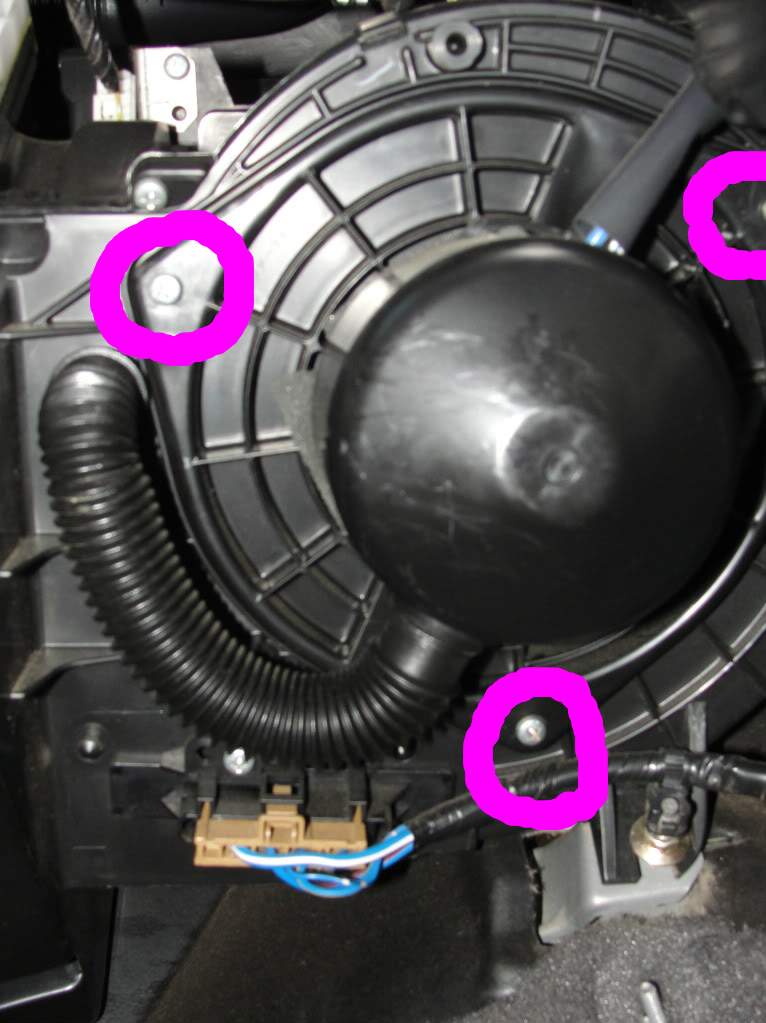
Hey Guys so my blower would make a lil rubbing noise so I went under there and cleaned it out. And might as well make a write up for all the n00bies out there. I saw a lot of pics for the 4th gen but not 5th so might as well do this.
1. Go ahead and open the glove box and start removing these bolts.
2. These bolts are in the foot well.
The next screw is under this panel. Go ahead and remove the plastic nut (pictured)
3. Now just give a gentle pull and the glove box should give way you will see two harnesses. Remove them. One is the light. It would be smarter to just move the clips on the yellow one. DONT UNPLUG THE YELLOW HARNESS THAT IS YOUR AIRBAG.
4. Now if youre looking for the blower heres what screws to remove.
5. For the cabin air filter just remove the clip.
I hope this helps all you guys! Good luck with all your mods fixes and everything. INSTALLATION IS REVERSAL OF REMOVAL GOOD LUCK GUYS
Not sure if this has been visited before but my Son recently brought it to my attention when we were discussing running a 200 shot of spray. He suggested that I use his nitrous test kit to ensure the fuel pressure remained constant when running a 200 fuel jet. So after a few minutes I soon found out that my 190 Walbro dropped to 30 psi, not good. He then mentioned that a lot pf VW and DSM guys rewired their fuel pump with a higher gauge wire to maintain a higher voltage. I measured the voltage at the pump with the engine running and found it to be just over 12v. I then ran a heavy gauge wire from the battery and conected it to the pump wire at the pump, the voltage went up to almost 14 and the fuel pressure went up by almost 10 psi.
So it was off to the store to buy some heavier wire. I decided on 10 gauge rather than something heavier because of the difficulty soldering heavier wire as well as routing. The stock wire at the pump is 14 gauge but if you strip the wire back a couple of feet you will find it increases to 12 gauge.
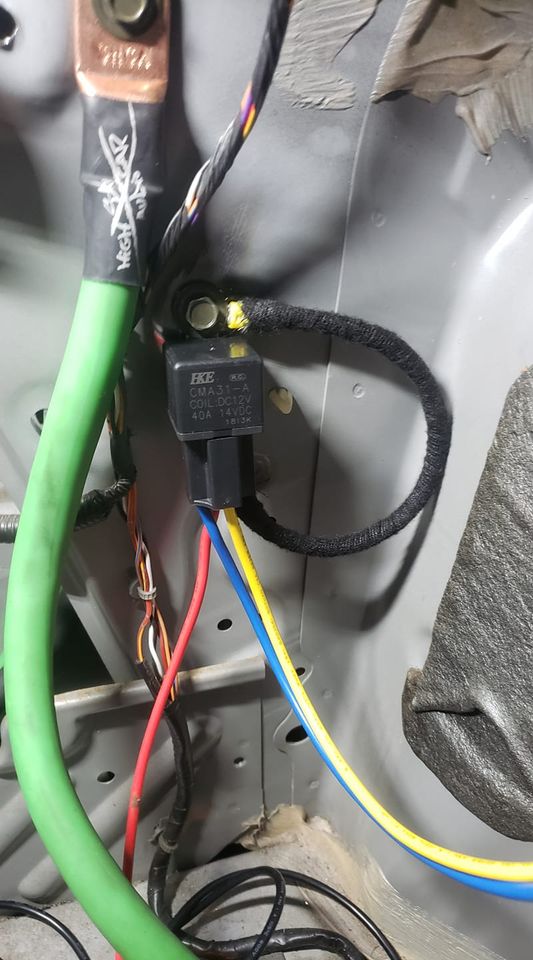
The easiest way is to run the heavier gauge wire directly from the battery with a fuse and use a relay to connect to the pump. Use the original pump supply wire to fire the relay and use the larger wire on the N.O contacts to run the pump.
Auto Performance has a couple of charts comparing 12v vs 13.8v and their corresponding flow rates and current draw.. Pretty impressive comparison. eg For my pump at 50 psi the flow rate increases from 36 to 46 gal/hr while the current draw remains the same.
I would suggest an adjustable FPR to compensate for the increased pressure.
A 255 pump was installed because even with the increased voltage the 190 pump would not handle a 200 shot. After installing the new pump my pressure increased to over 80 psi and took a lot of adjustment to bring it back into the 50 psi range.
For future problem solvers, my 2003 Maxima brake and battery lights were flickering. The lights were eventually solid with no battery charge leading to believe an alternator problem. Went through the process of replacing the alternator with a remanufactured unit from Advance Auto. I got everything back together and the battery still wasn’t charging.
I realized the Alternator ground bracket was corroded as can be. Being my first time diagnosing my electrical system I’m now understanding the need for all clean & tight connections. I ended up getting out the multimeter to test continuity and it was so corroded in many spots there was none. I cleaned connections with a silver wire brush on drill brought it from 4v to 14.5v on the new alternator.
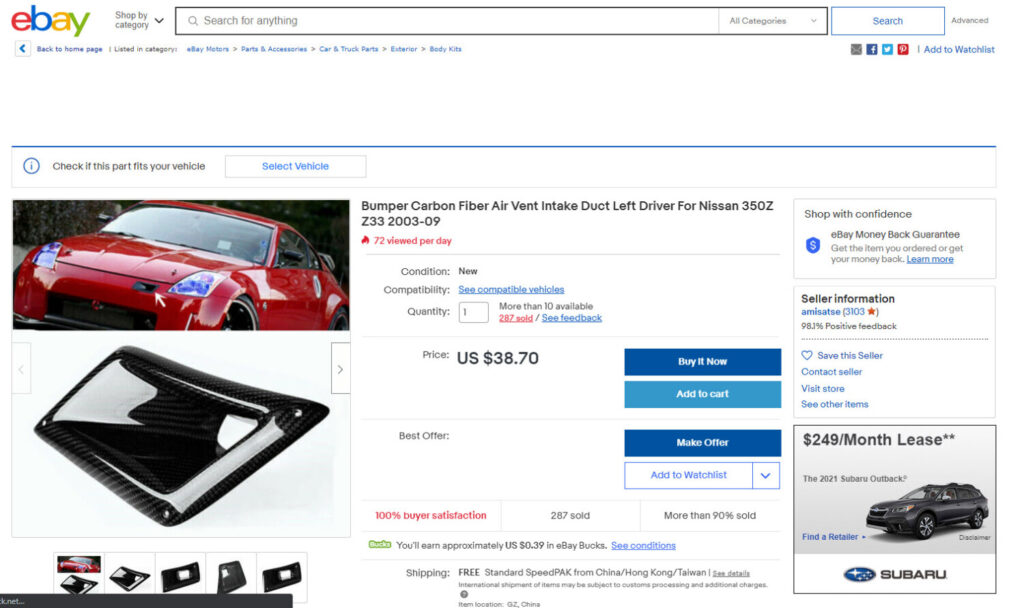
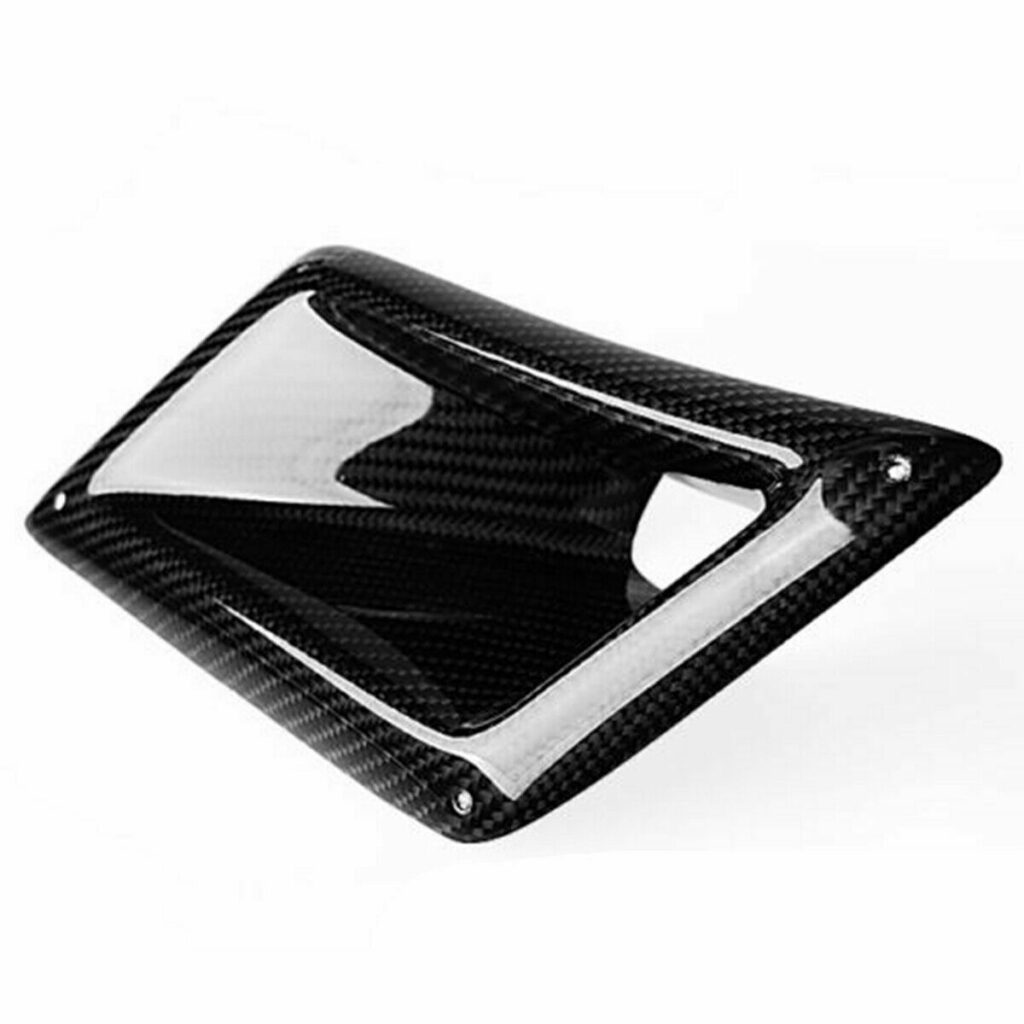
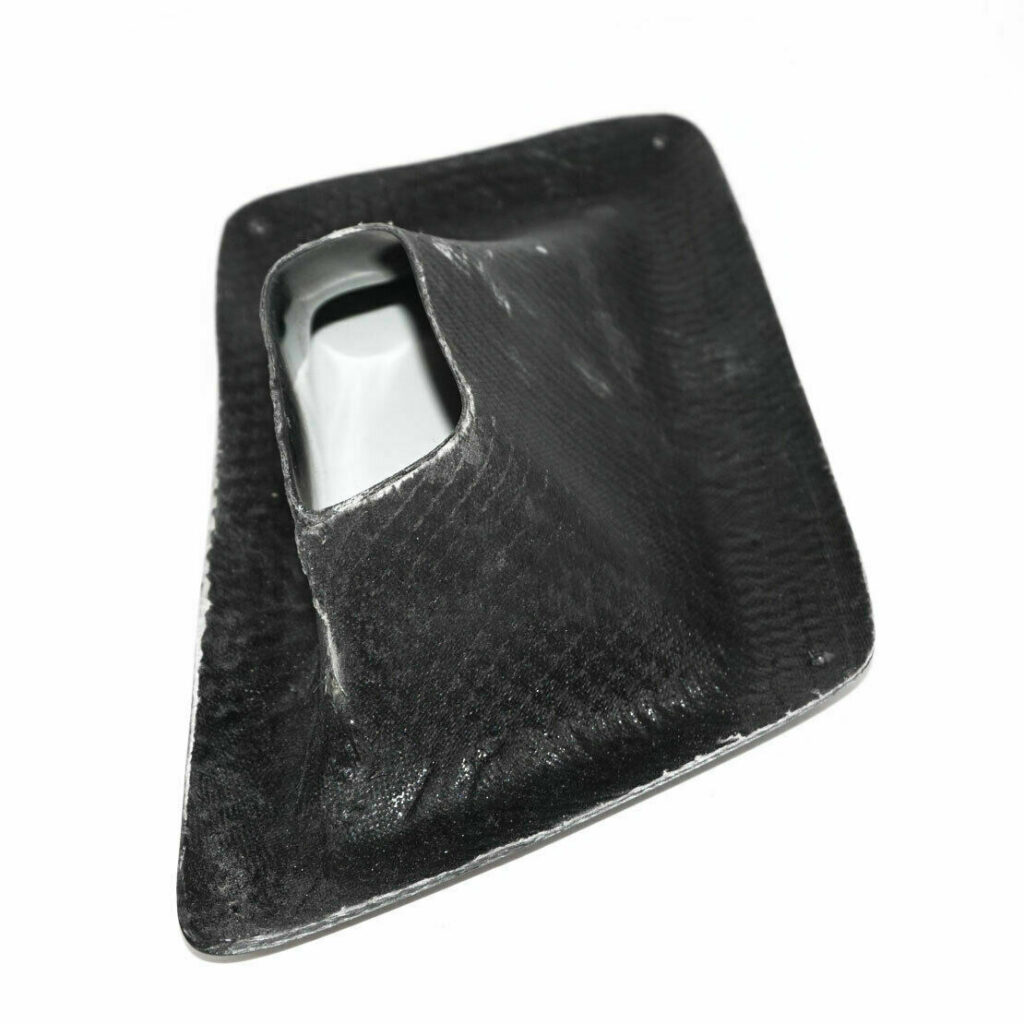
Description: Bumper Carbon Fiber Air Vent Intake Duct Left Driver For Nissan 350Z Z33 2003-09 Price:$38.70 Shipped eBay Order Link:https://www.ebay.com/itm/193269721728


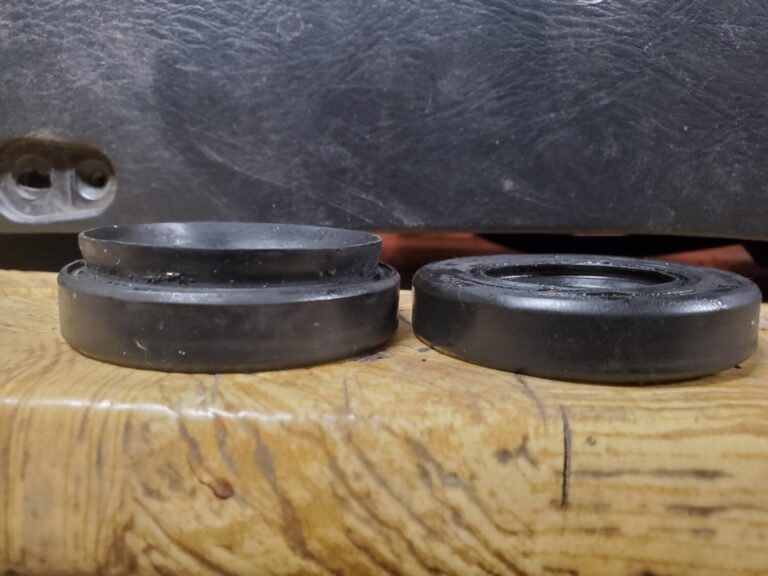
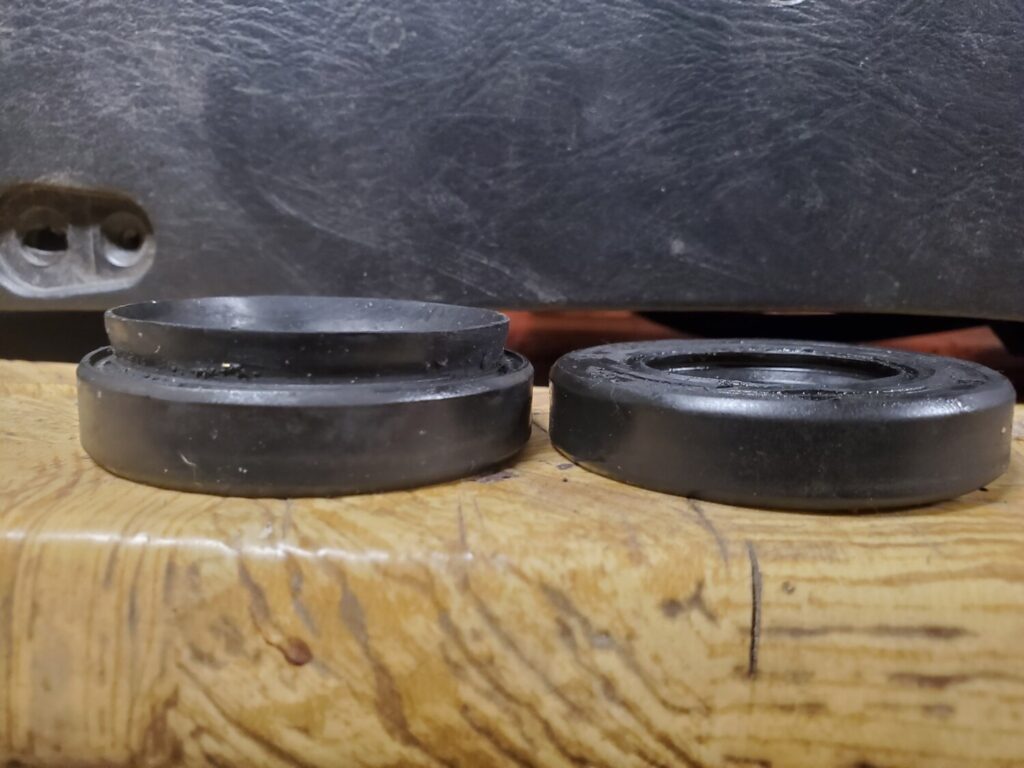
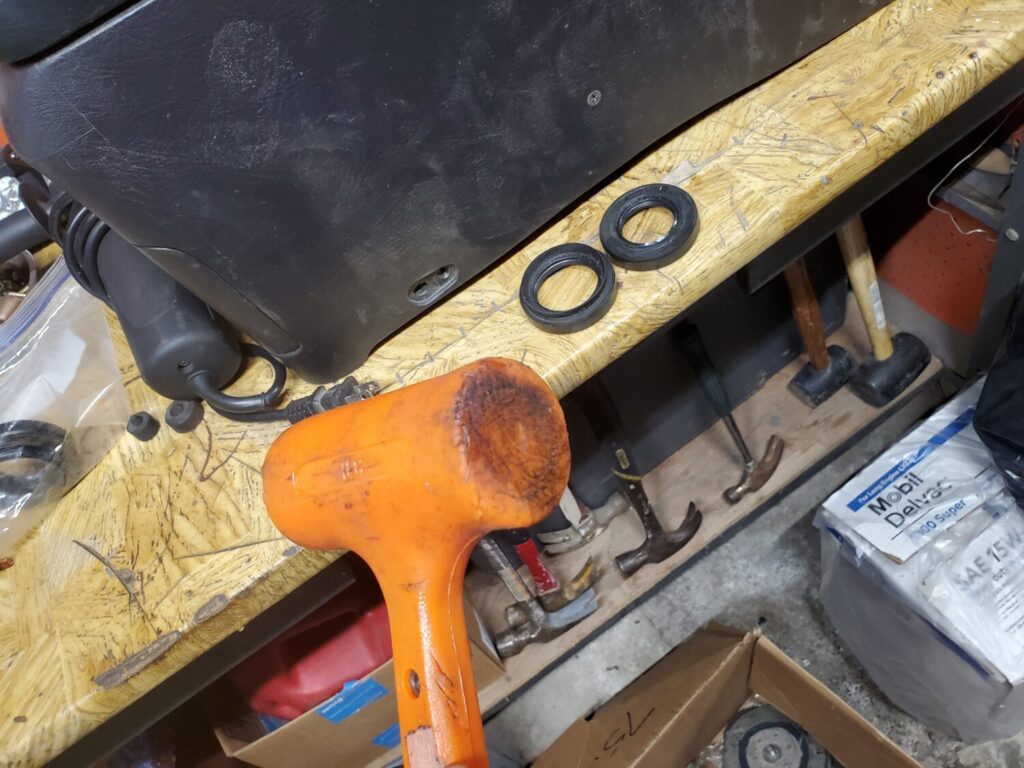
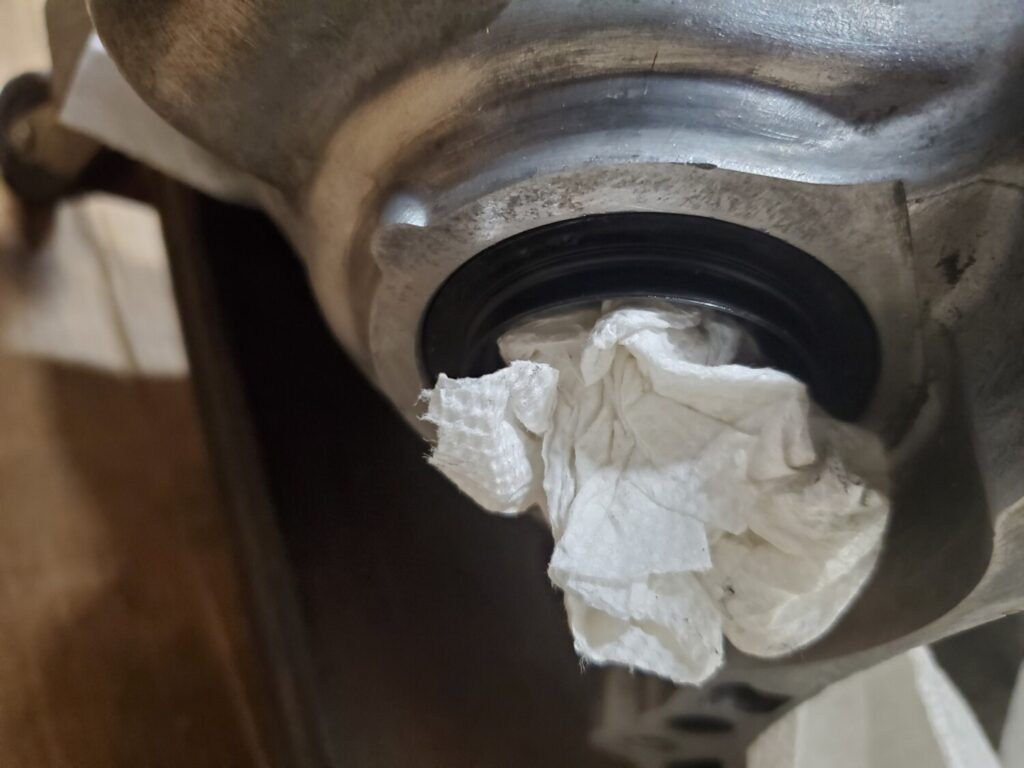


 After:


 Look at the size difference with my OEM ones!


 Use a C-clamp and an old brake pad to push the new caliper’s piston back to allow for the new pads to sit.


 Pad size (newer ones on bottom obviously):
 And the best before and after lol:

 Also notice my old rotor on the ground there, on the backside there is a very THIN strip where the pad was making actual contact.. I couldn’t believe how crappily the stock setup was working.