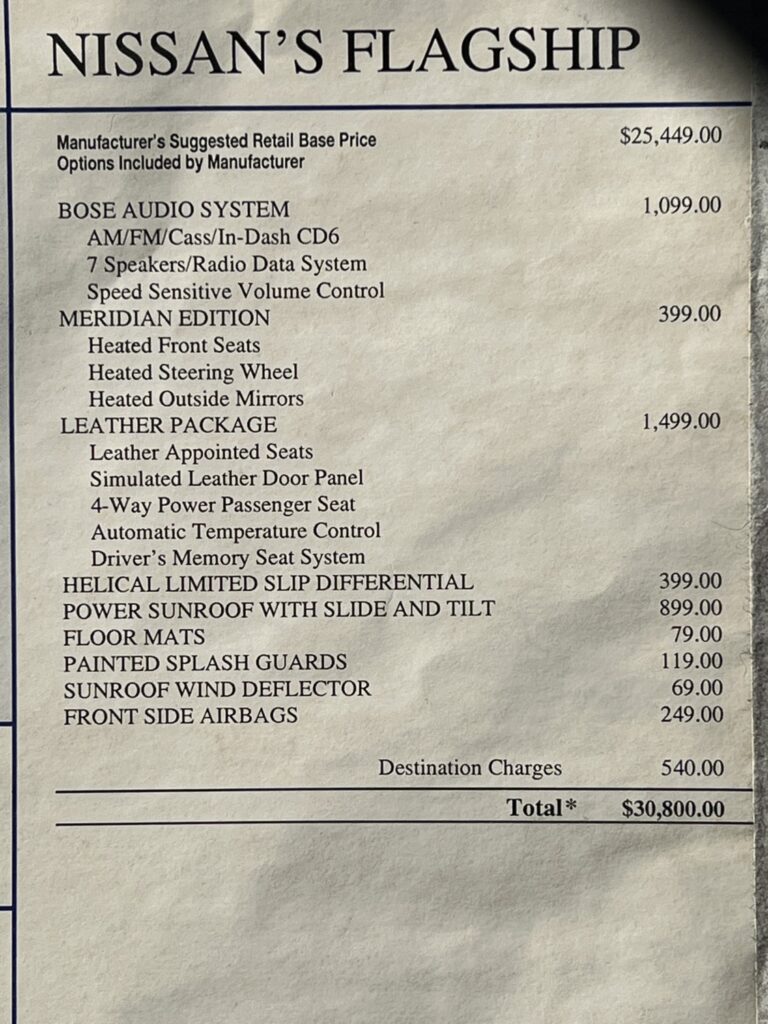
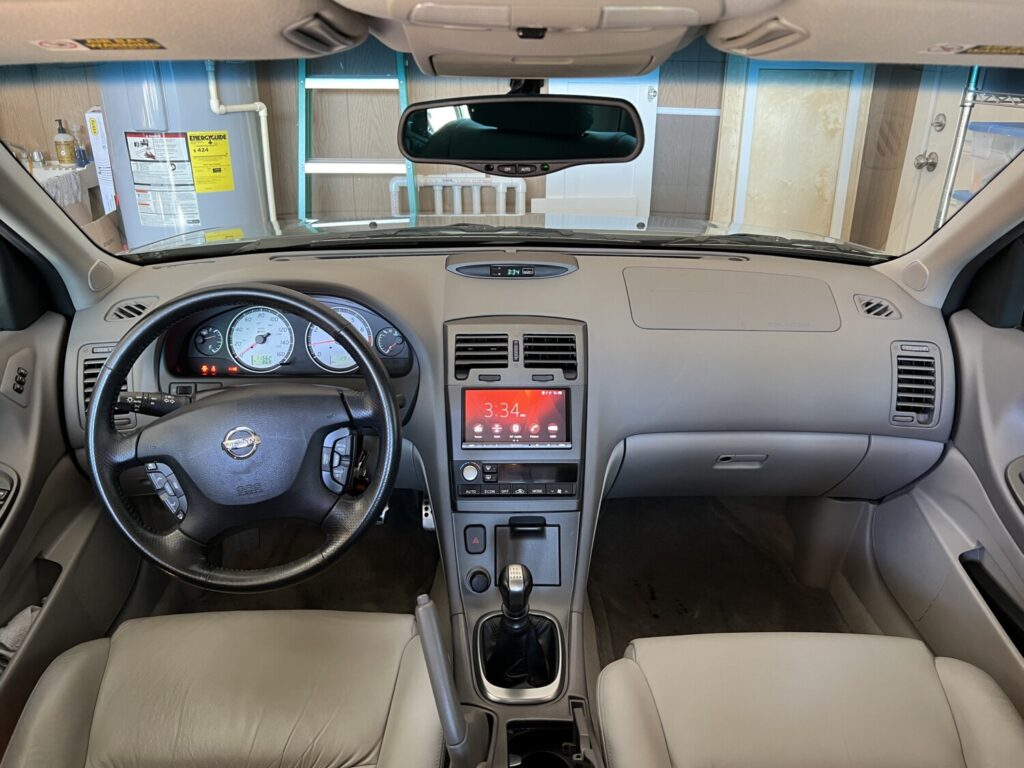
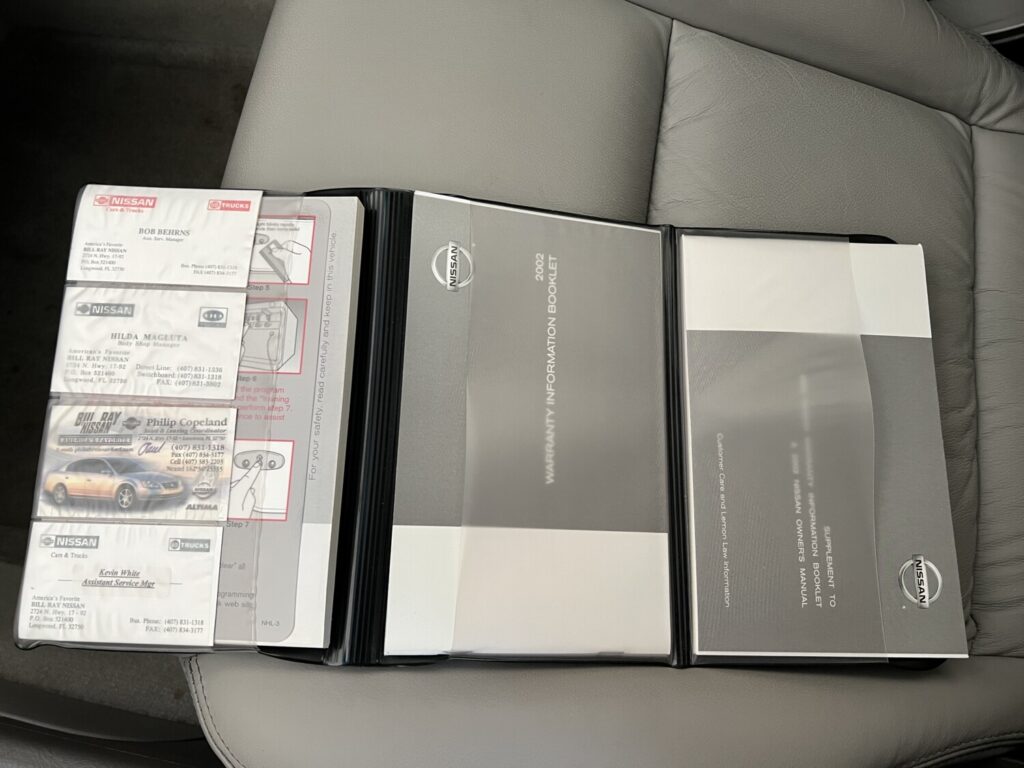
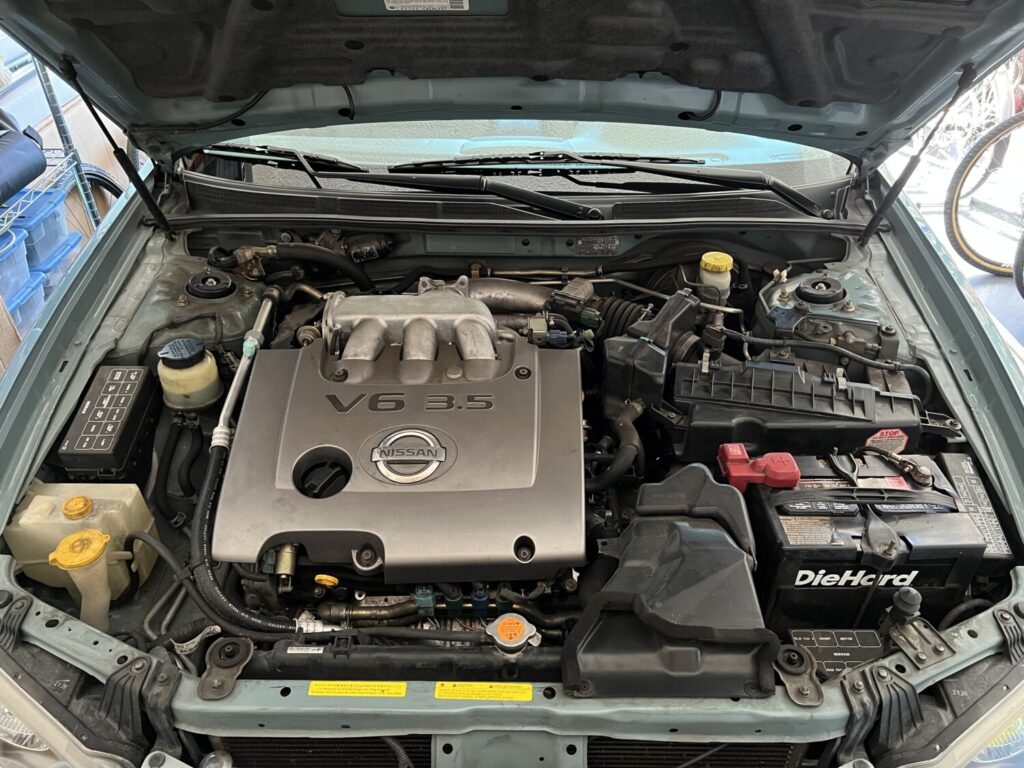
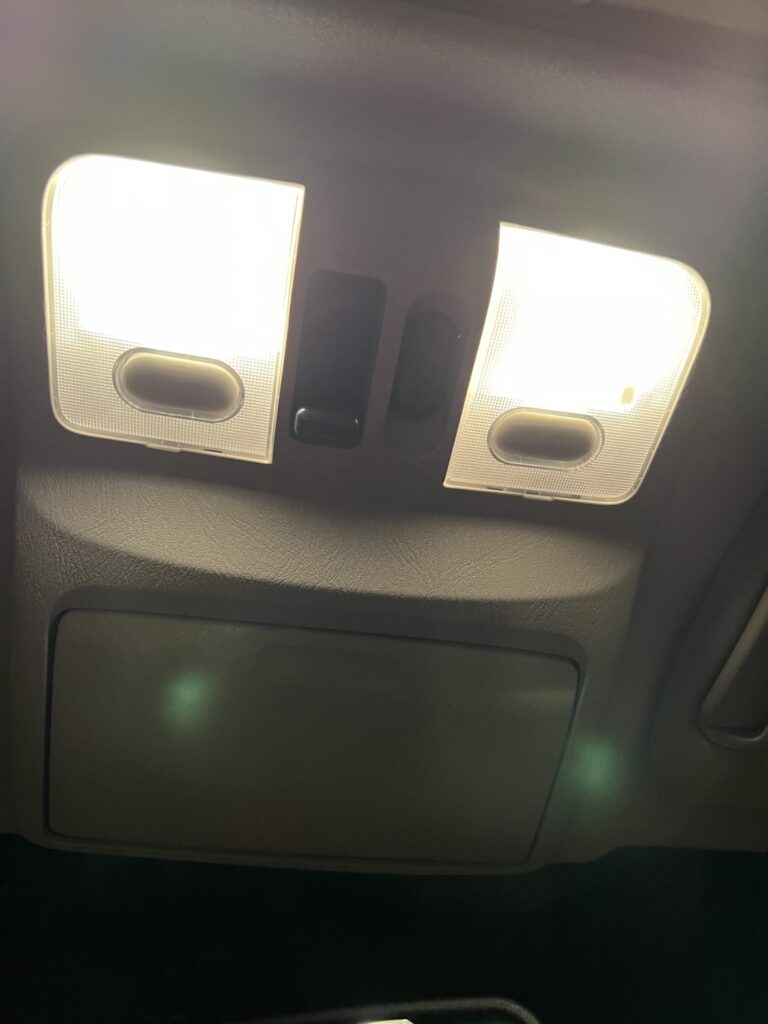
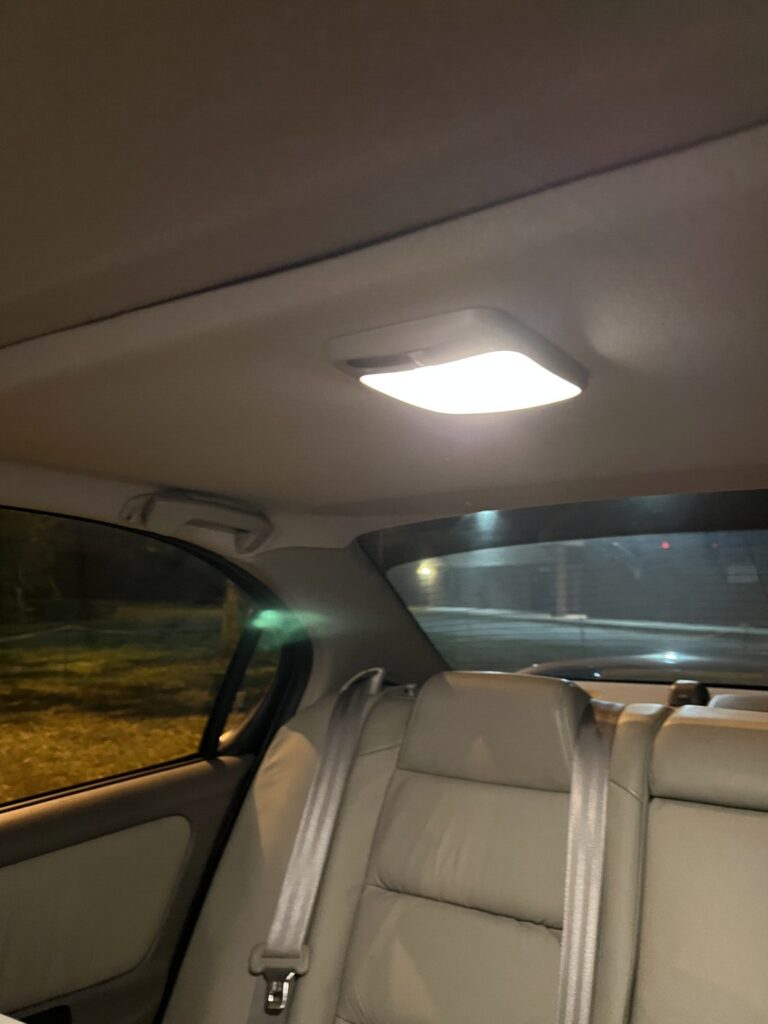
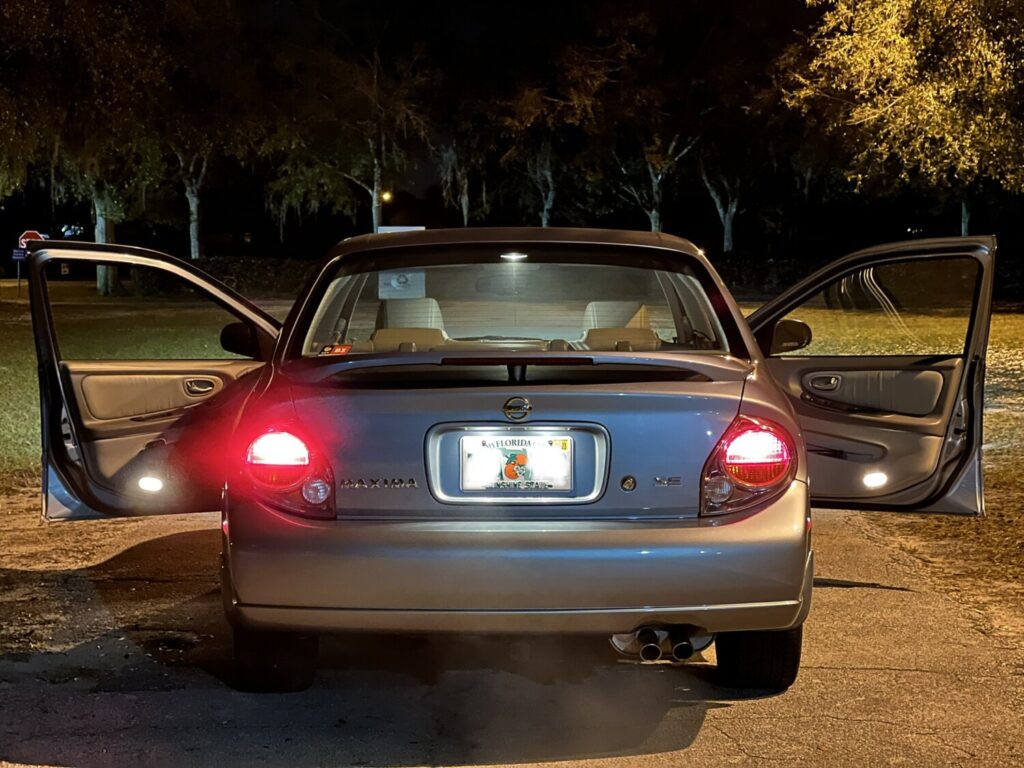
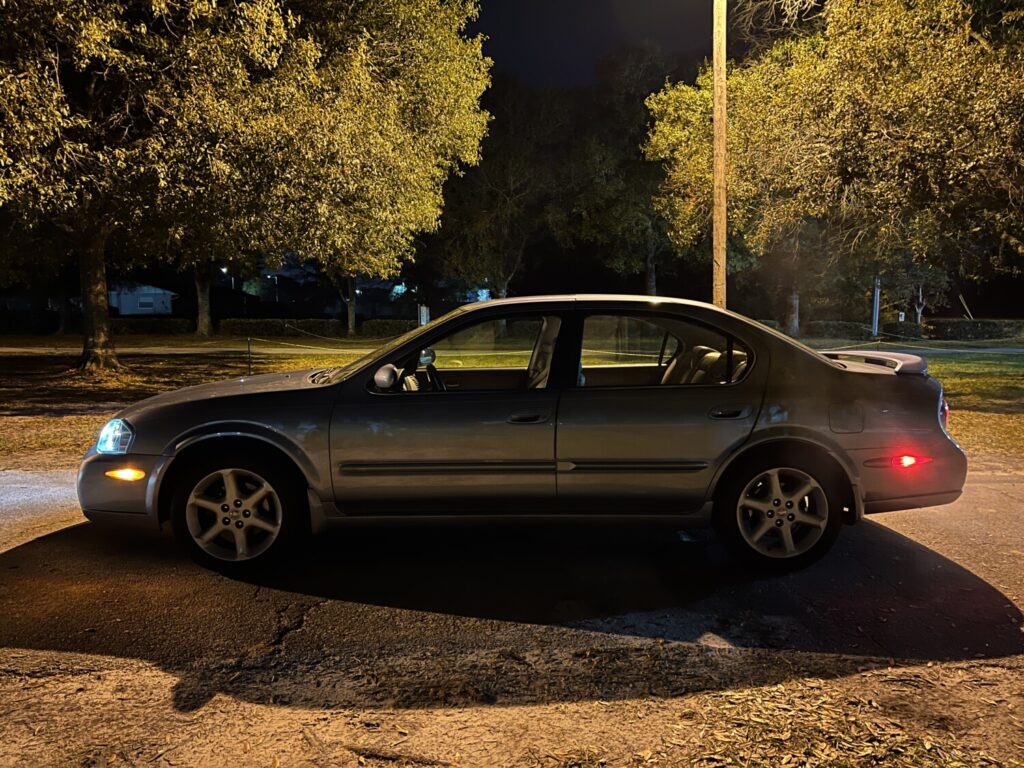
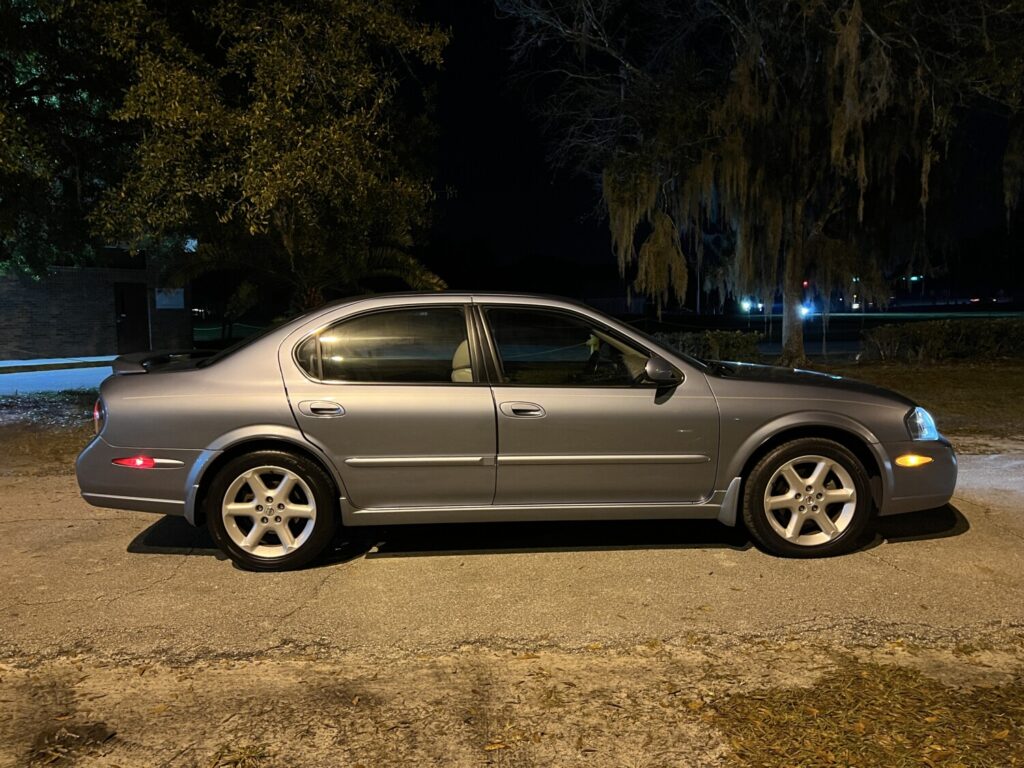
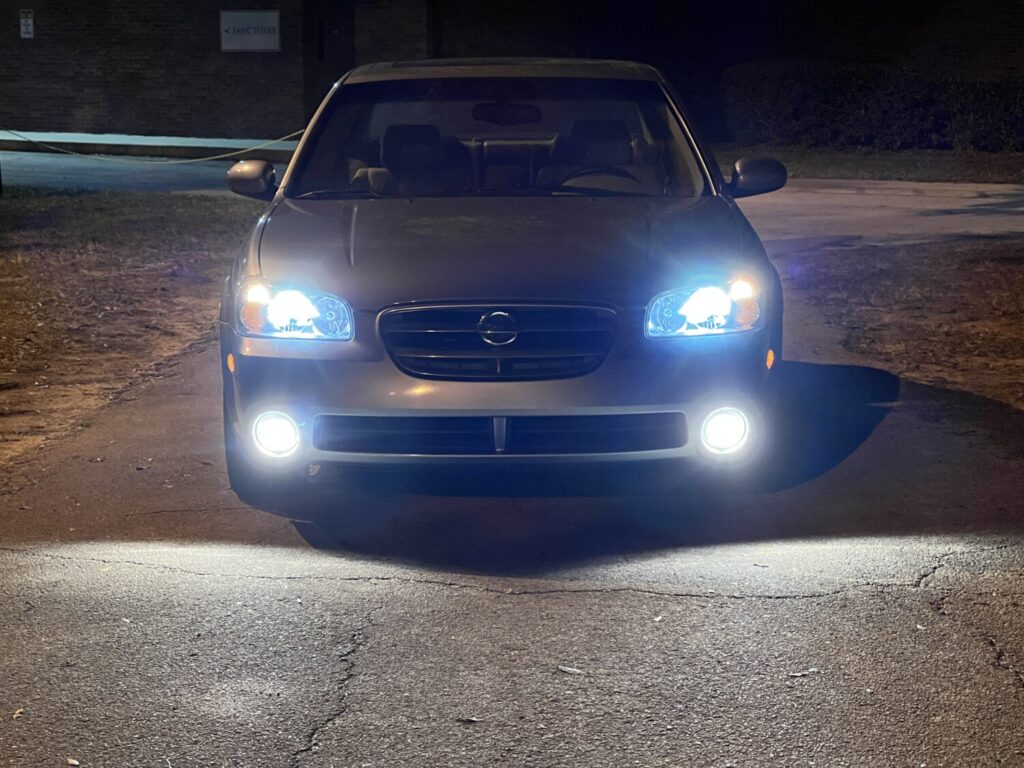
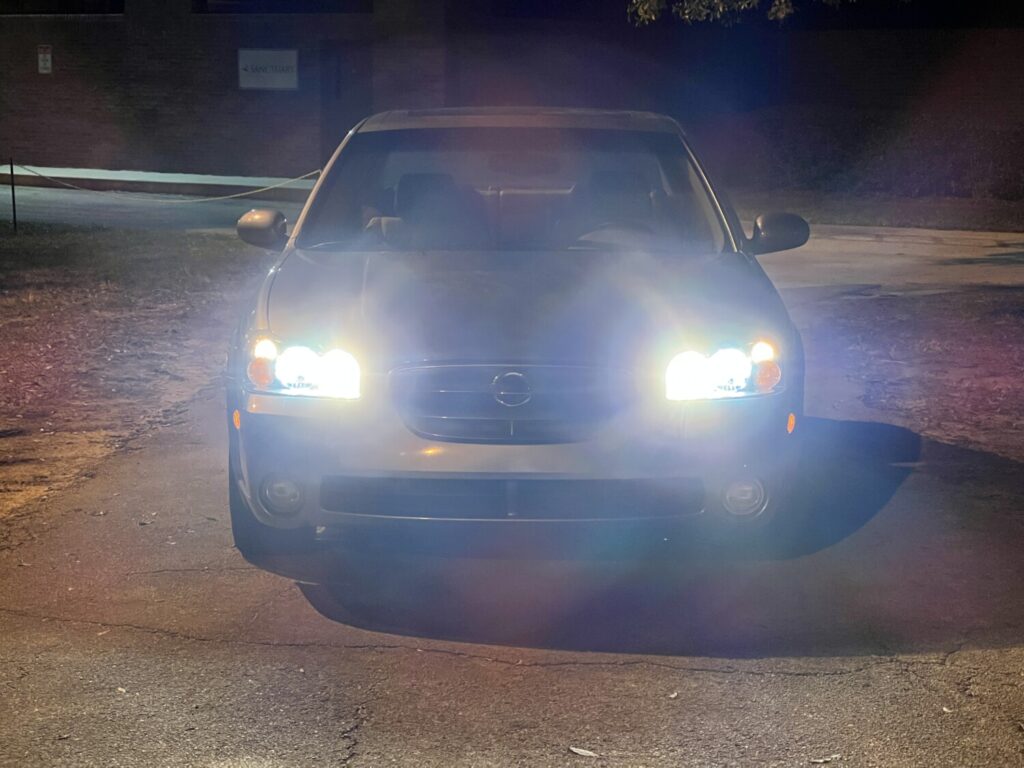
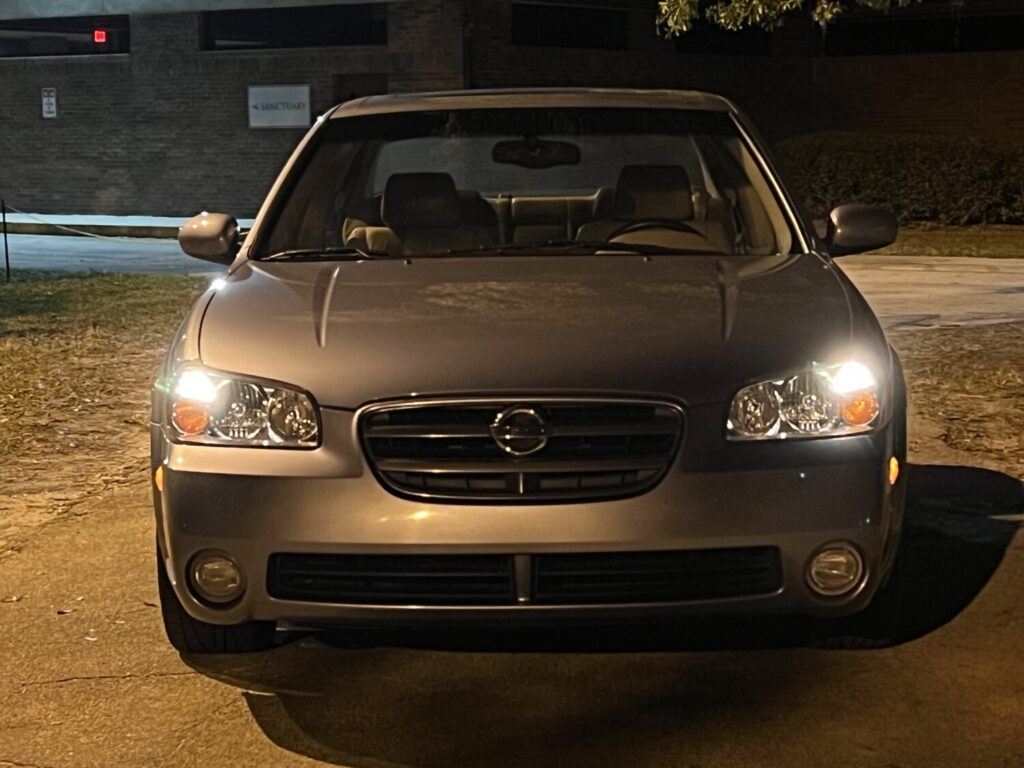
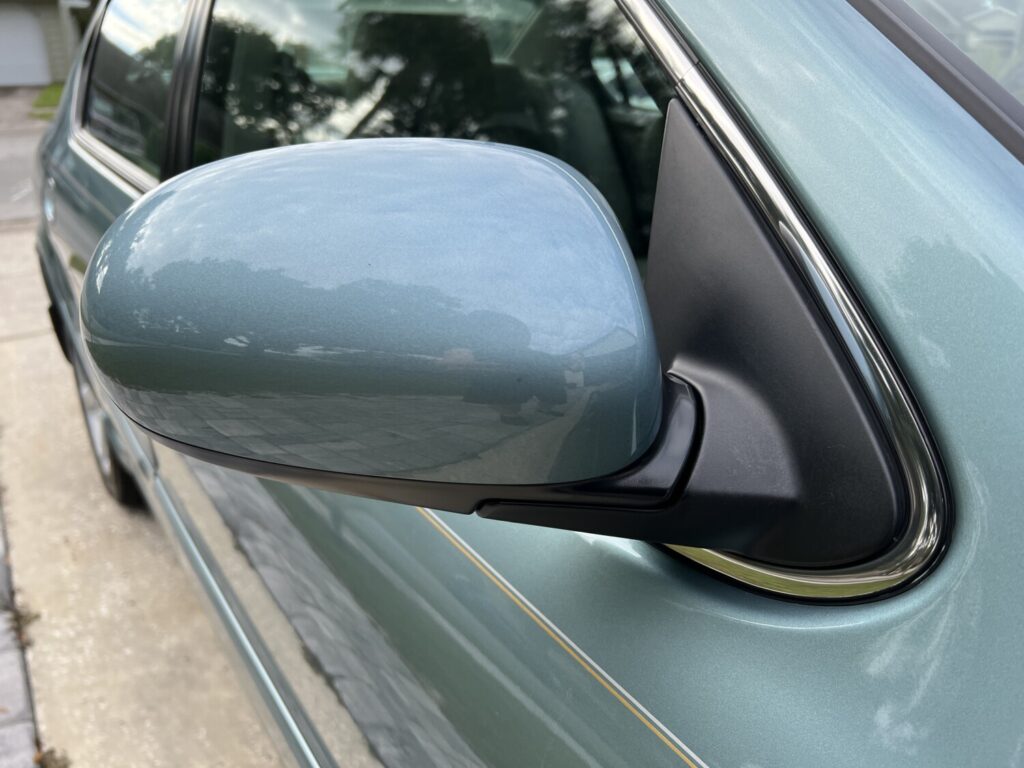
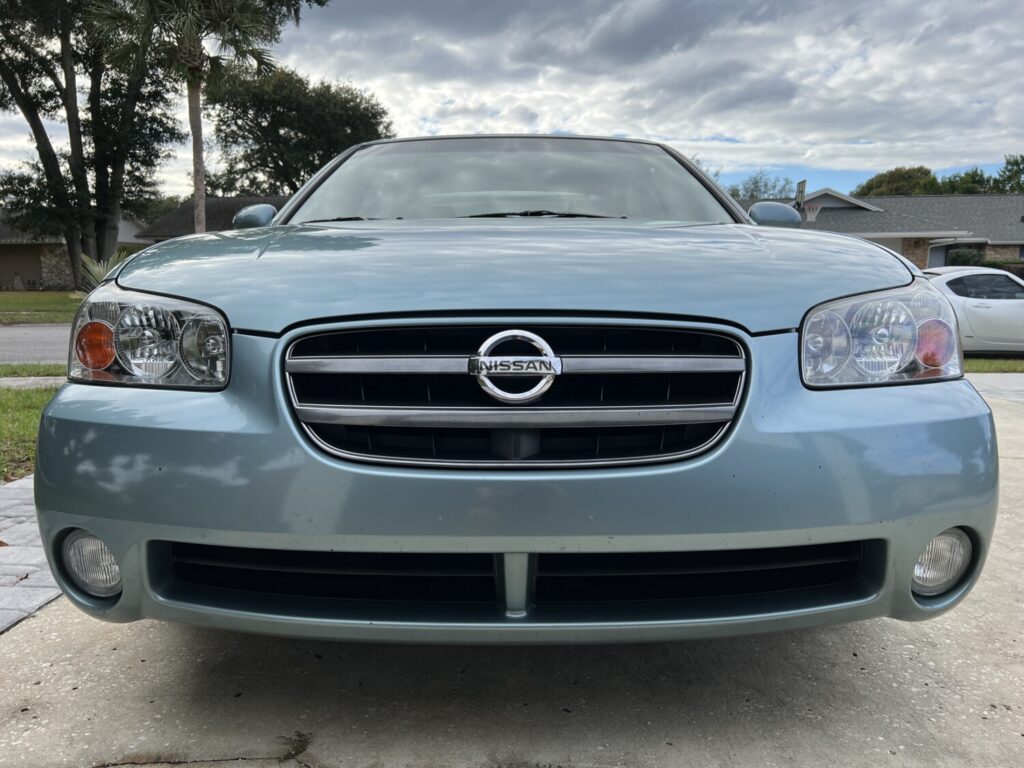
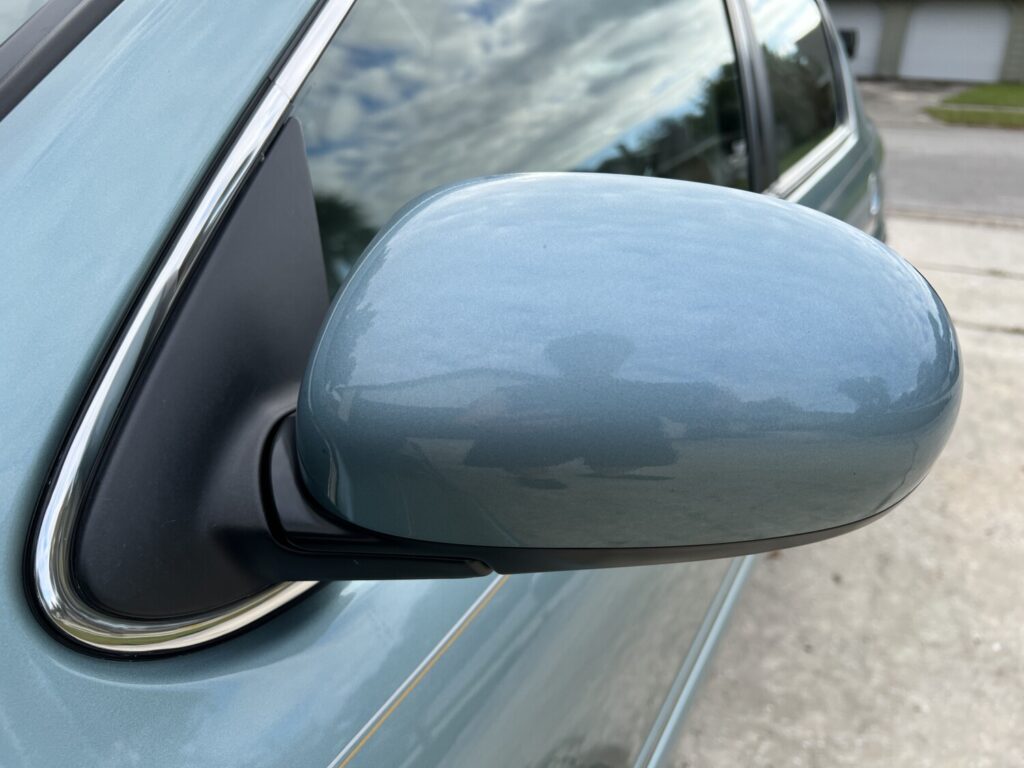
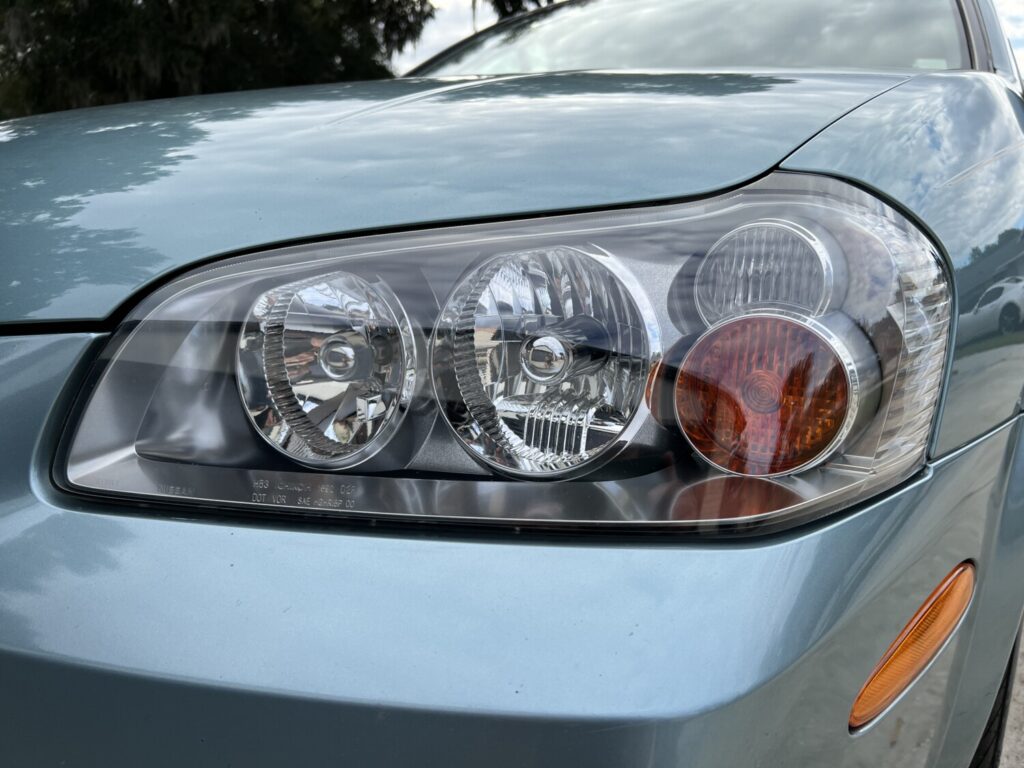
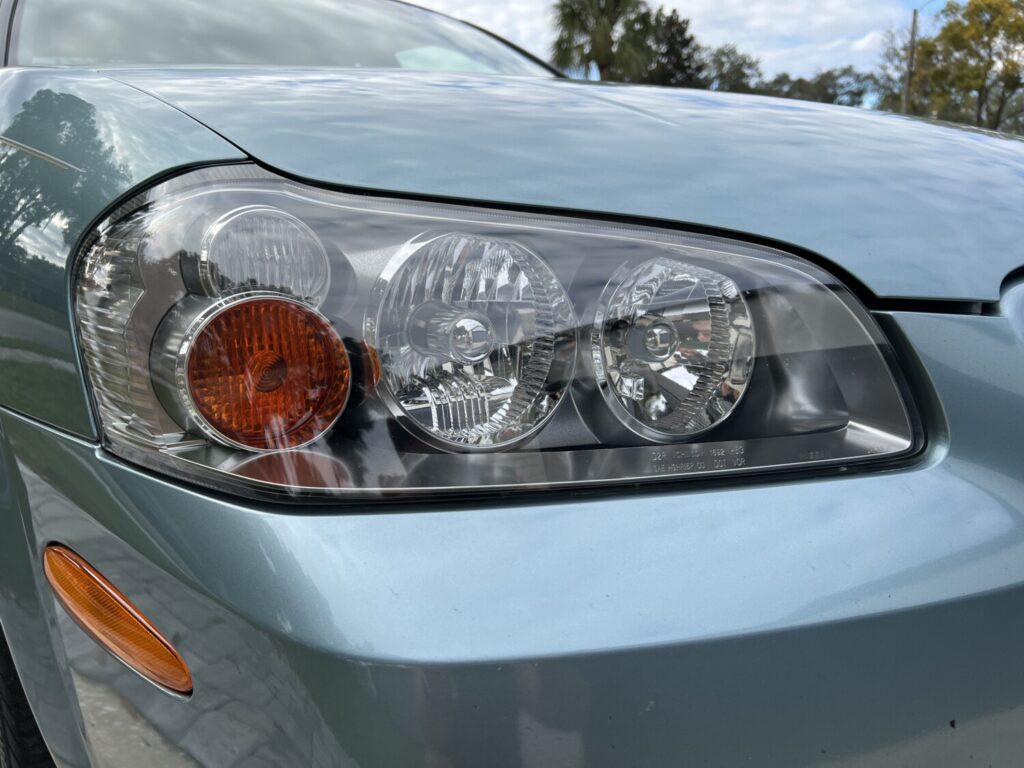
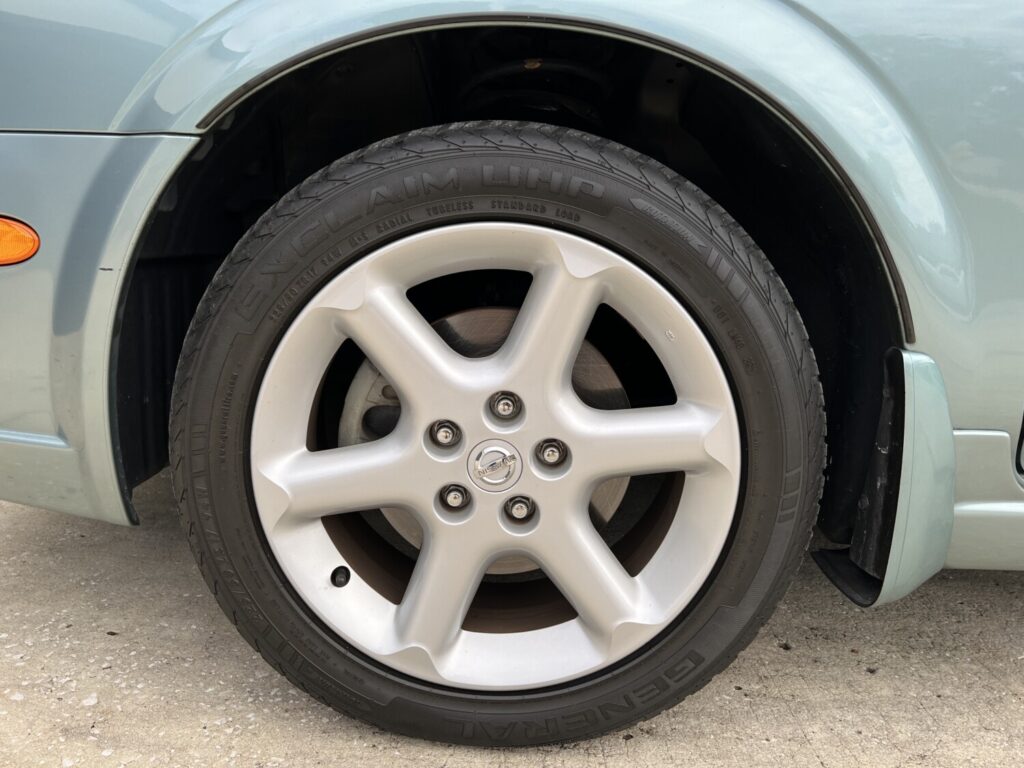
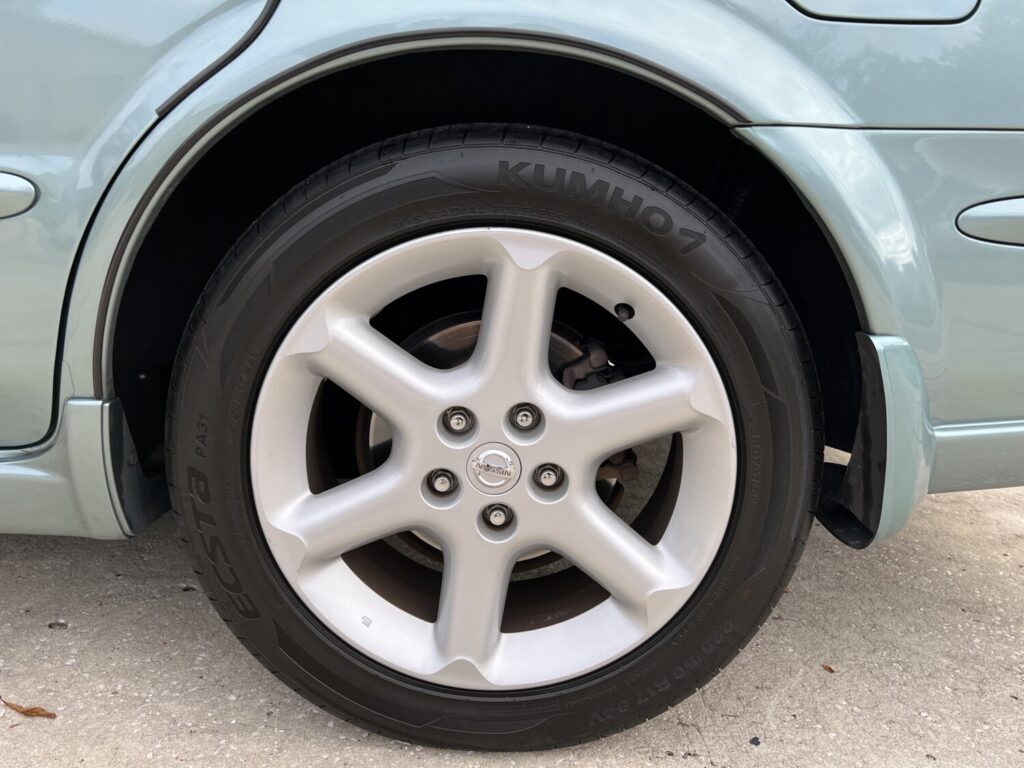
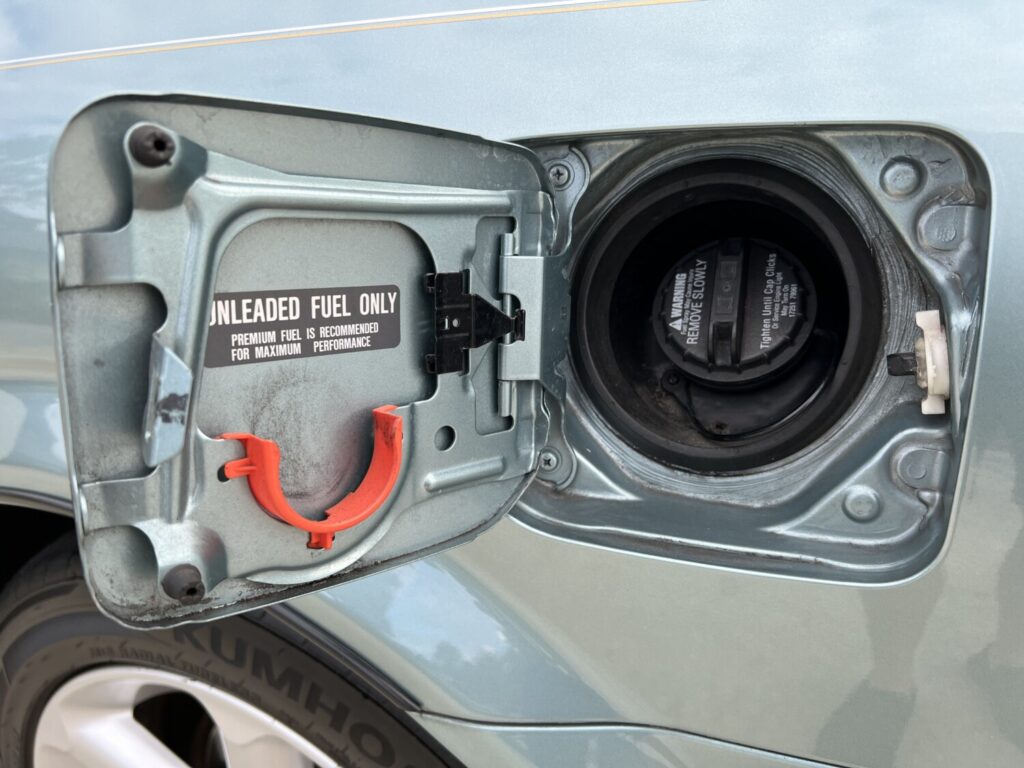
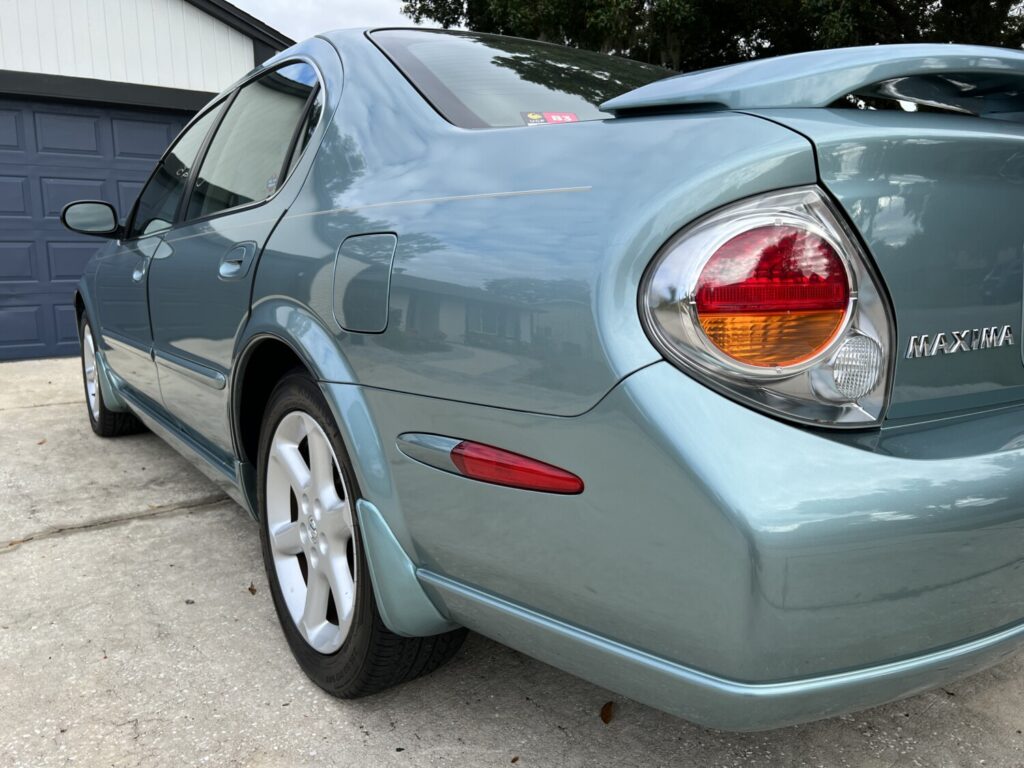
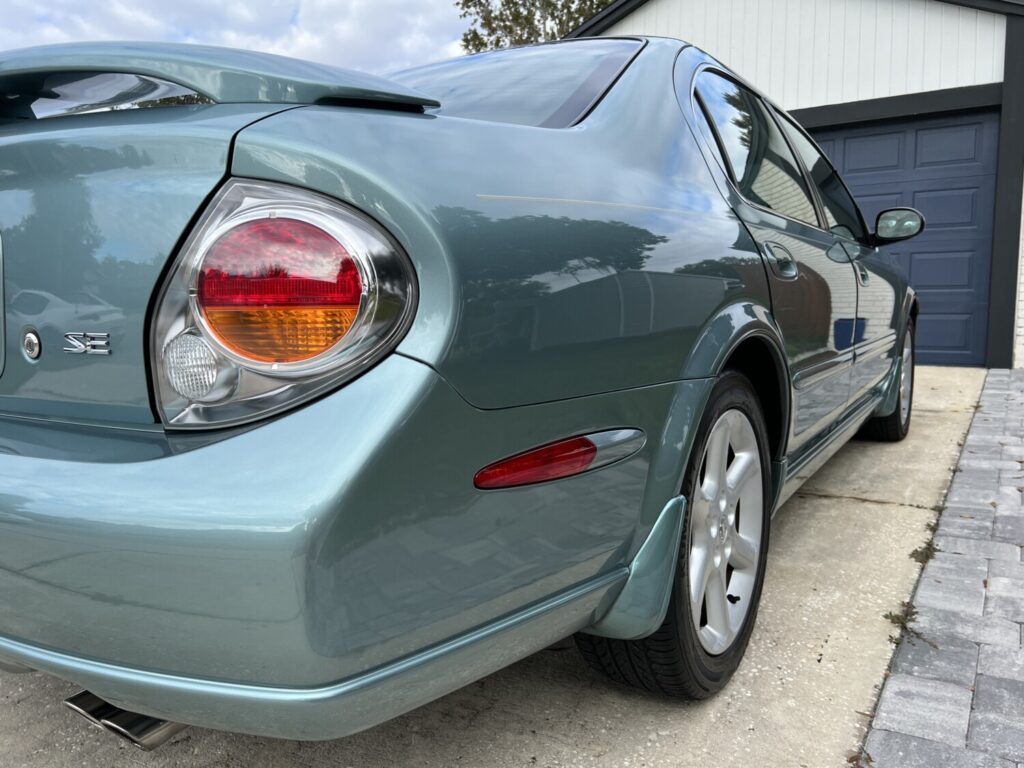
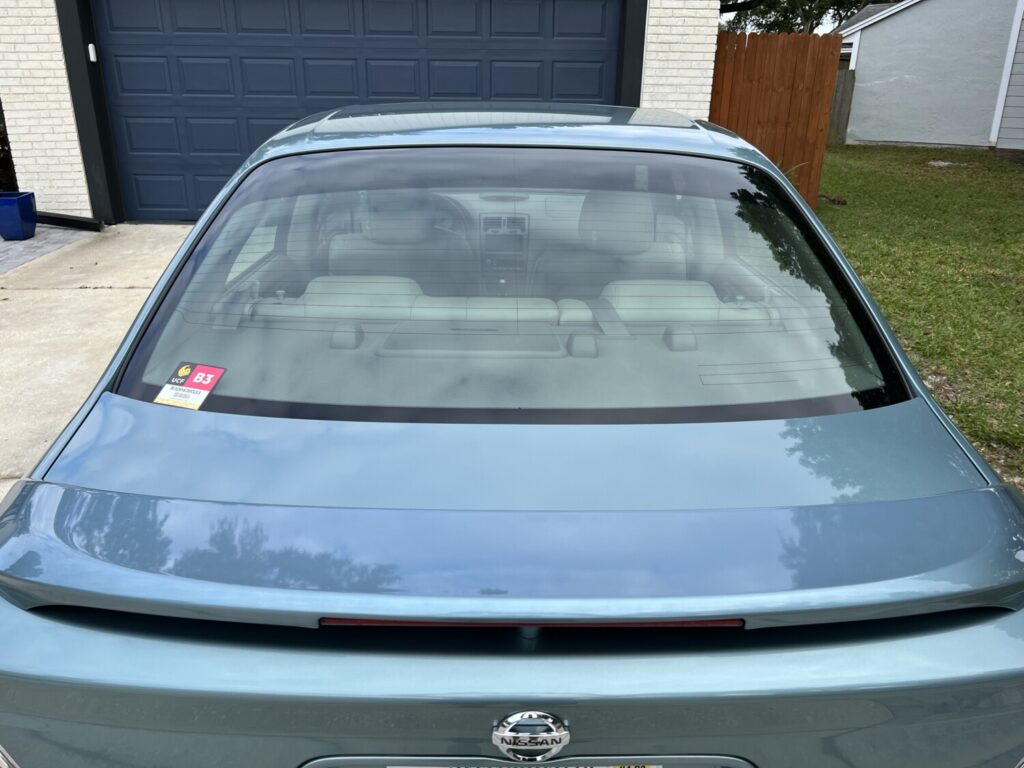
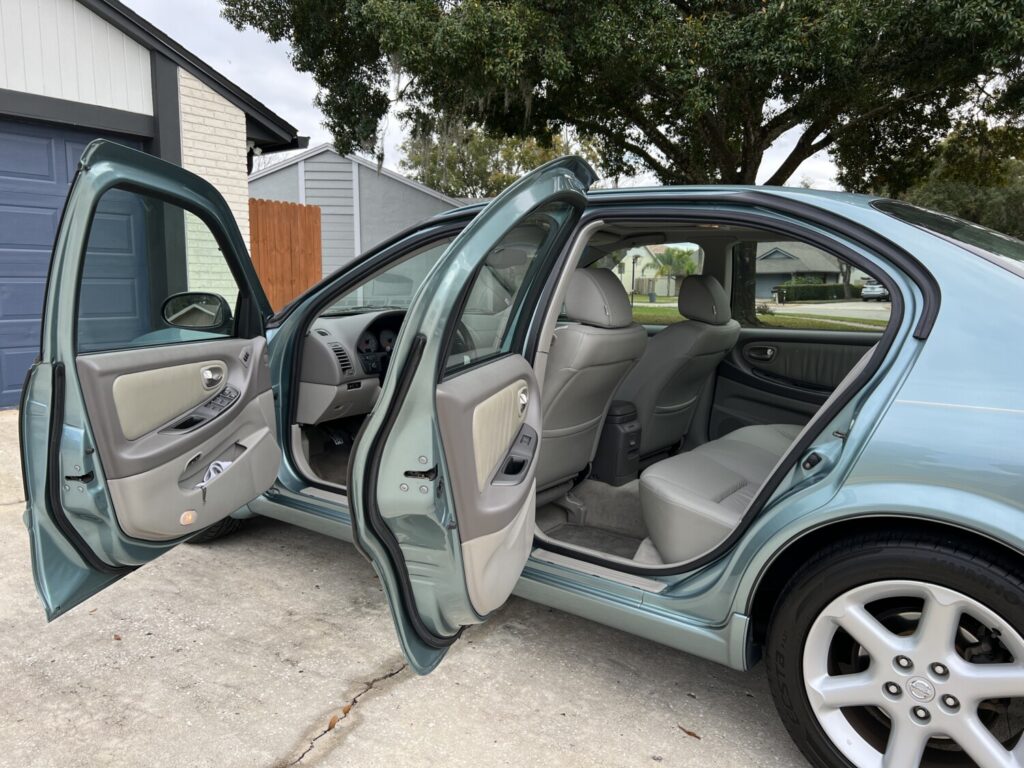
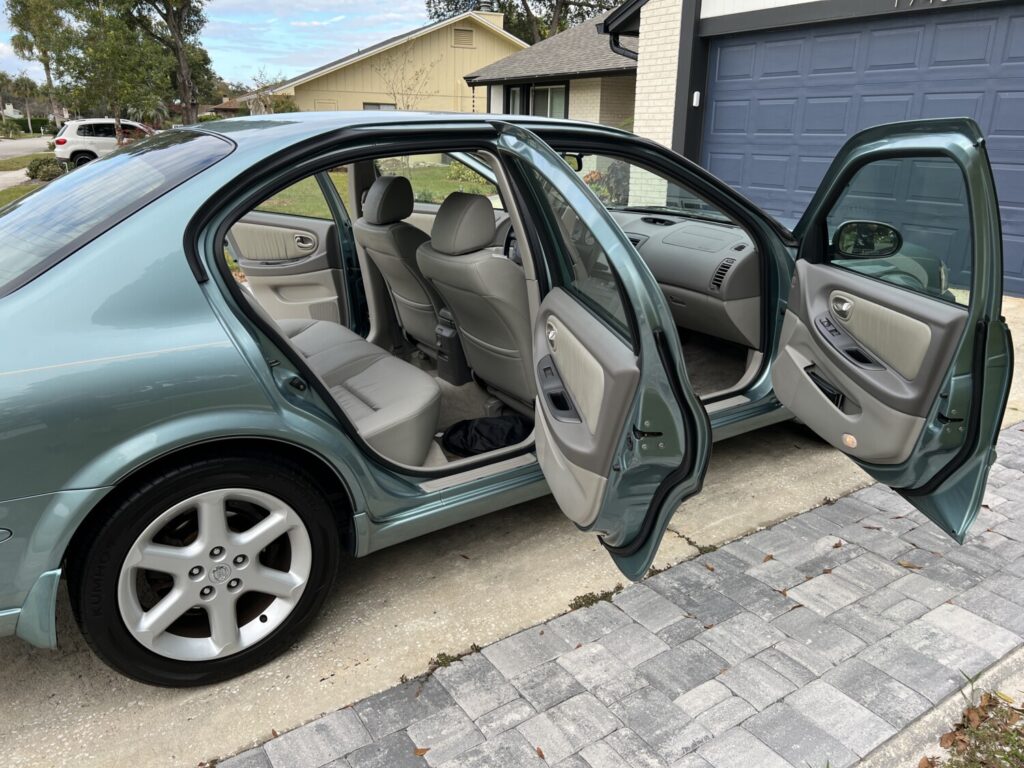
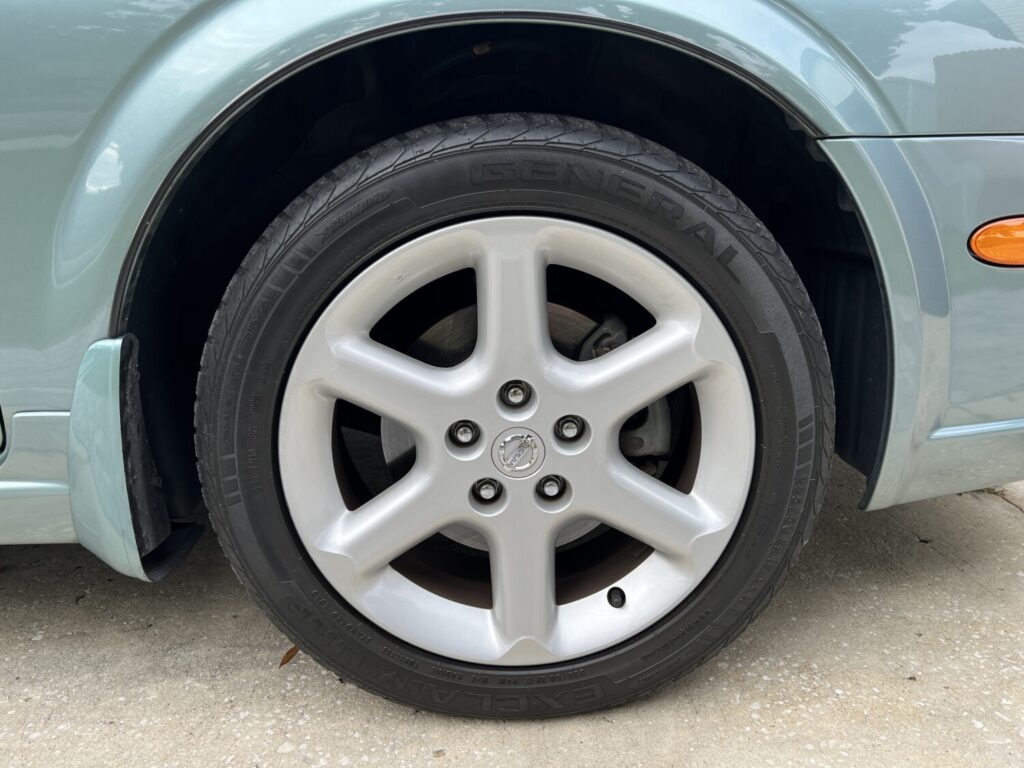
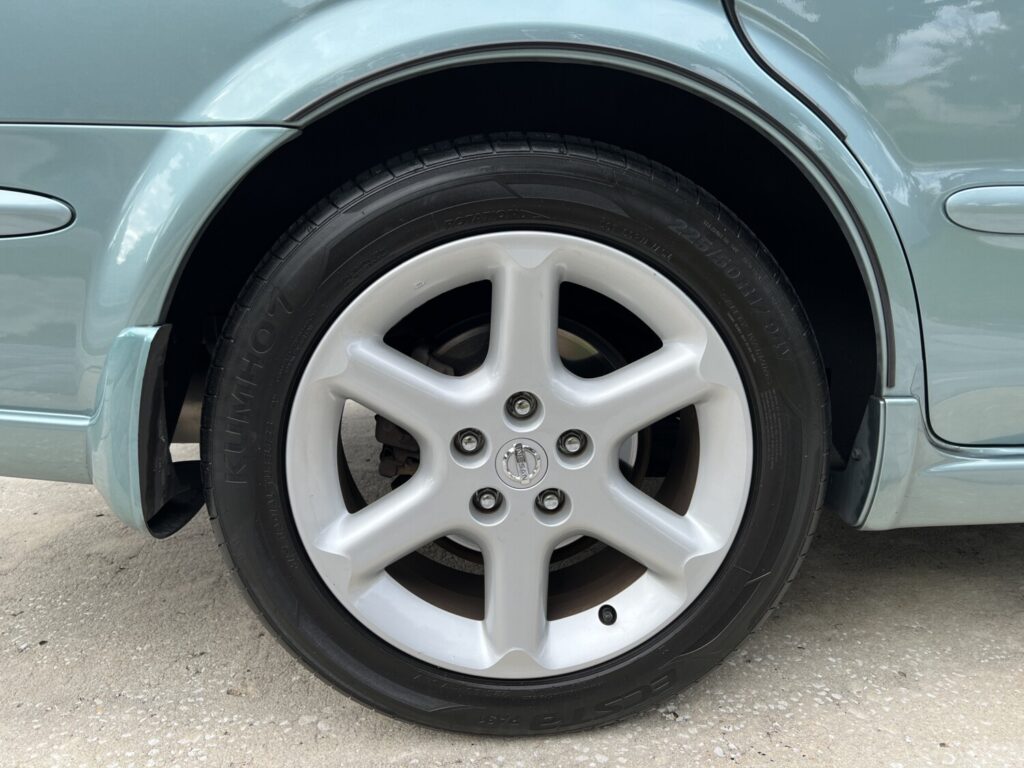
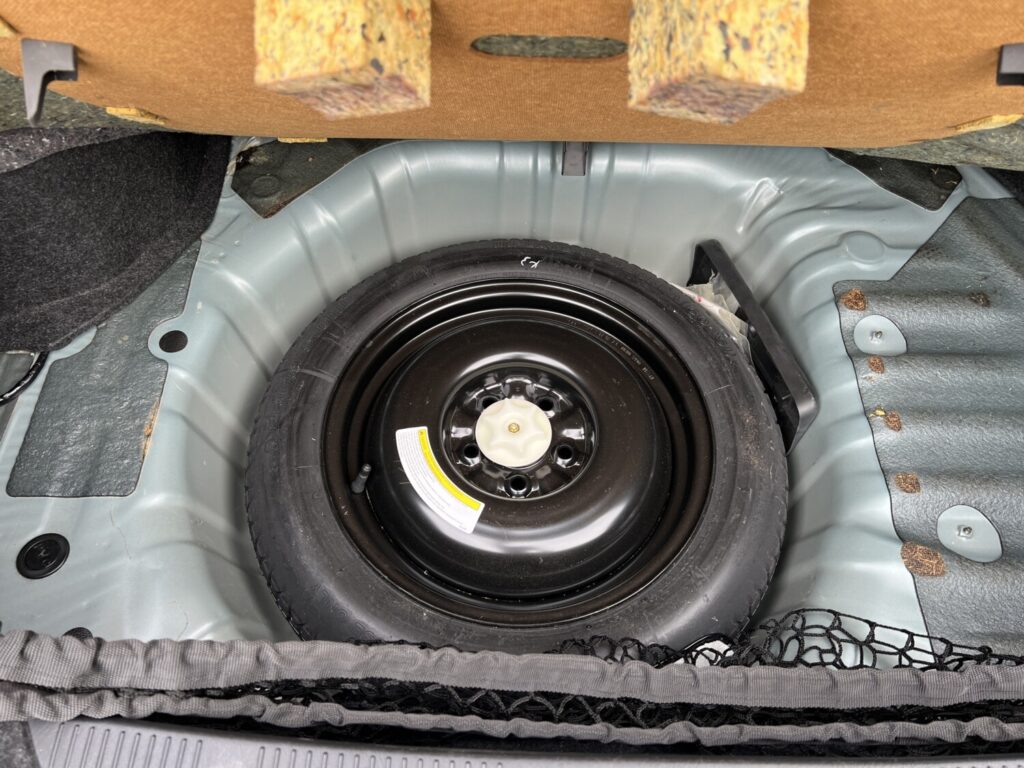
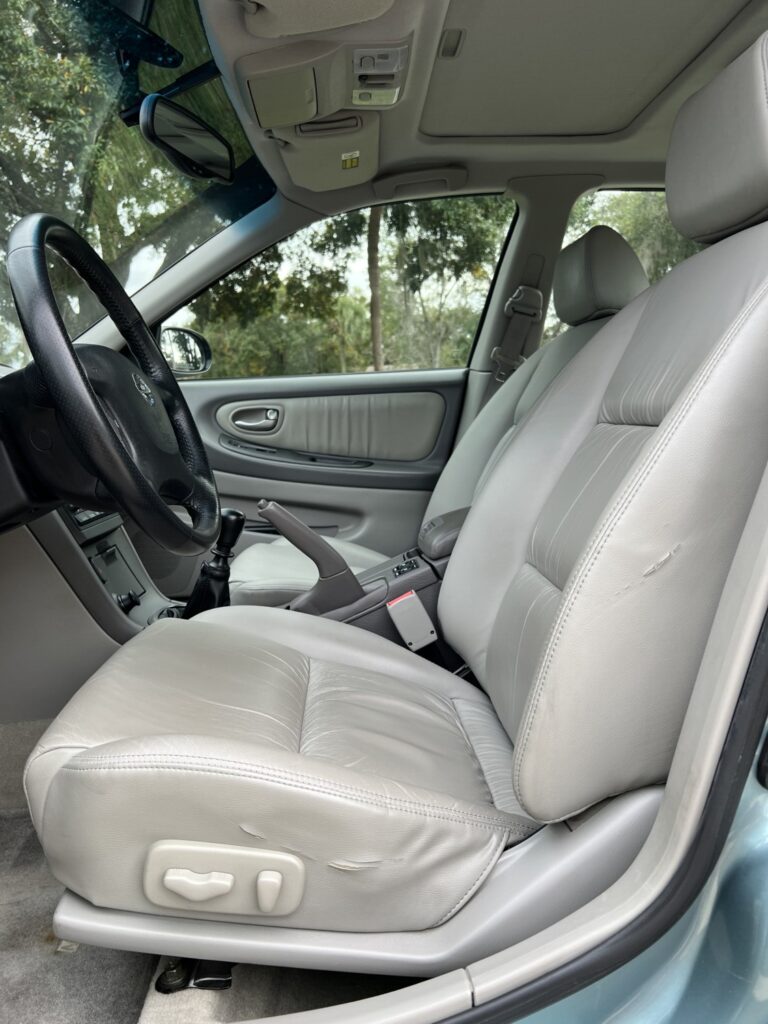
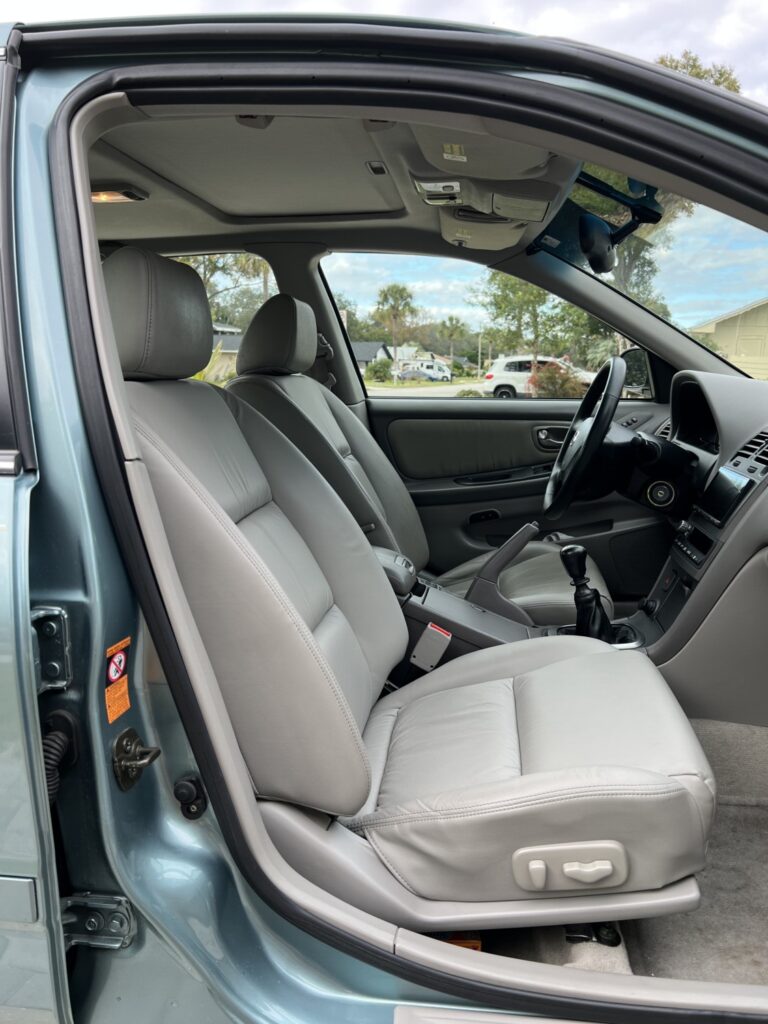
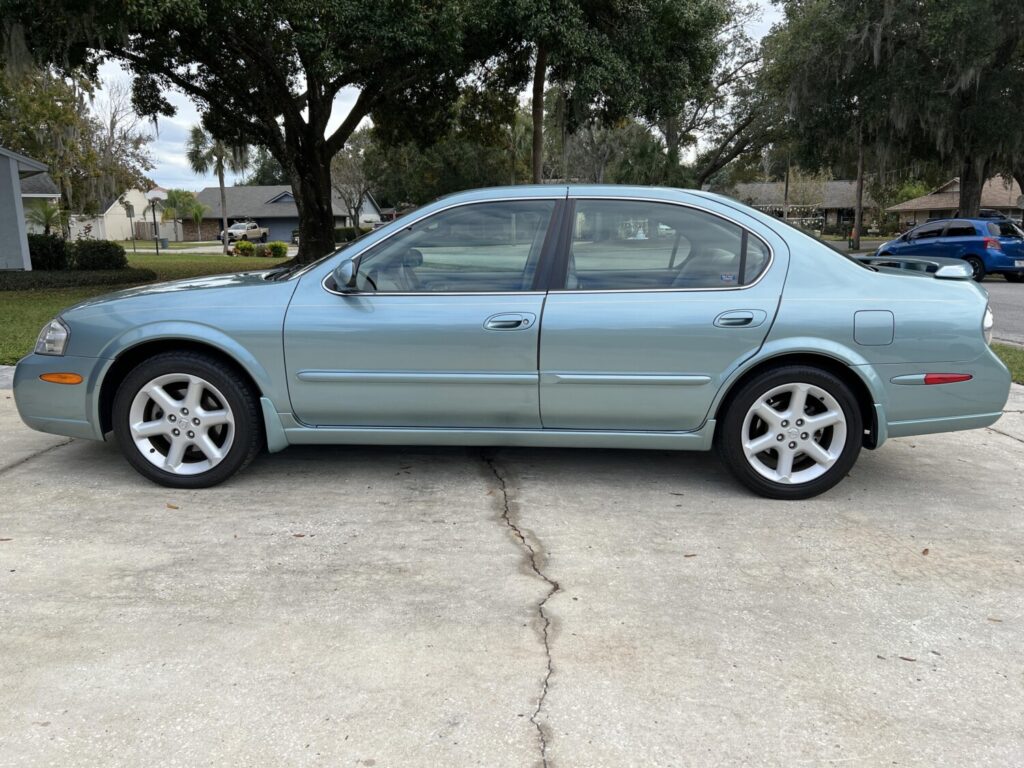
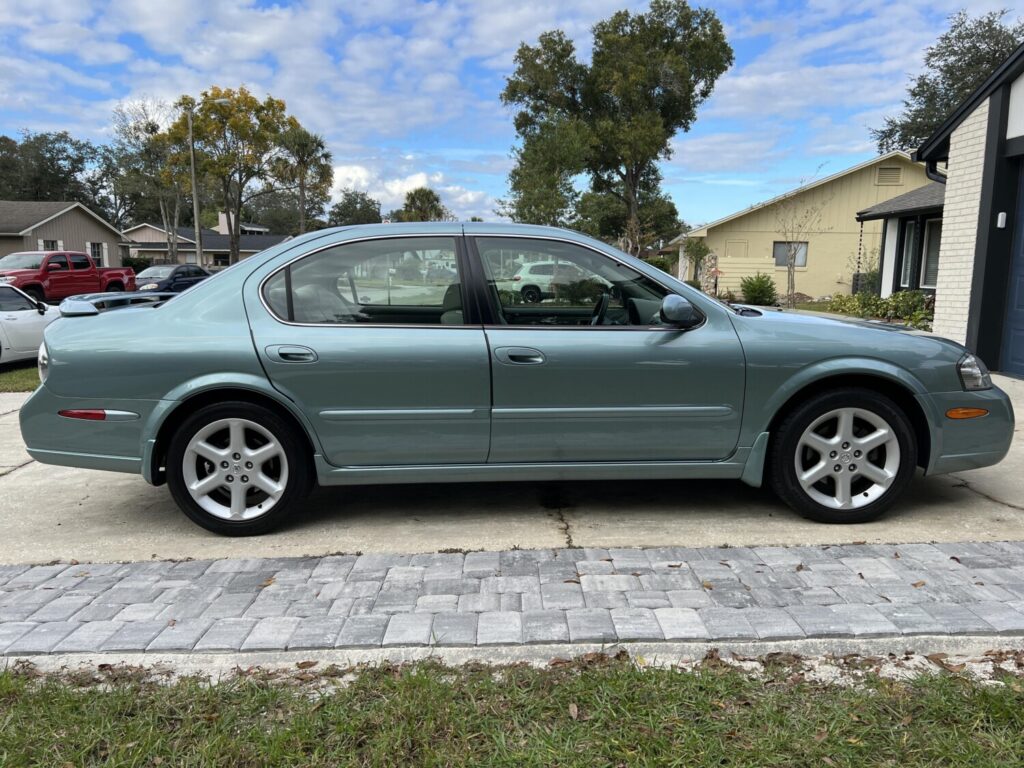
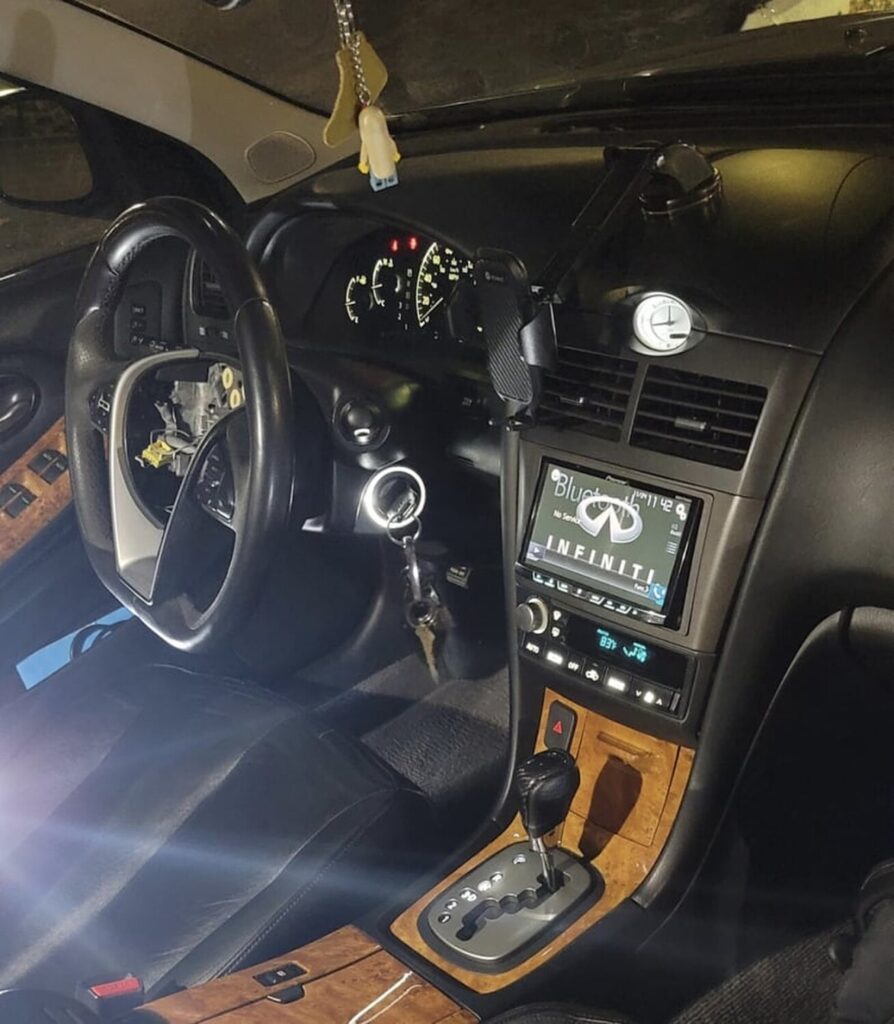
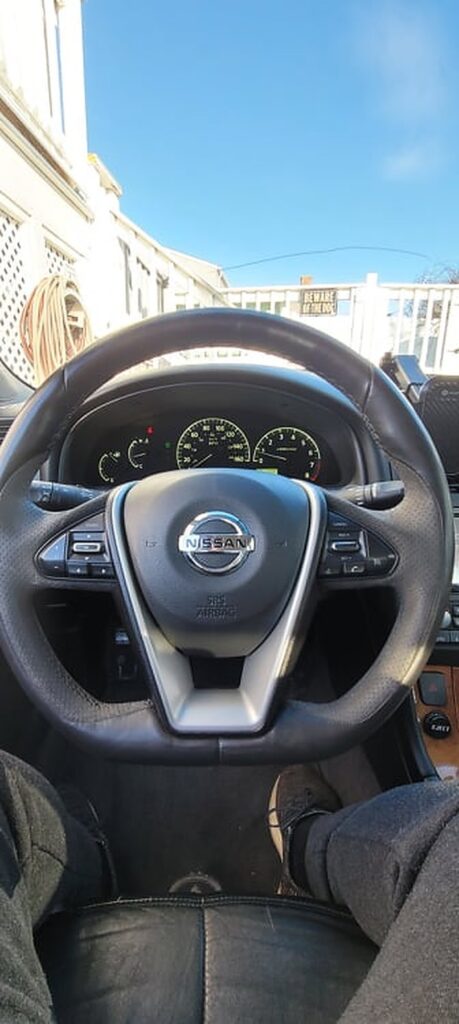
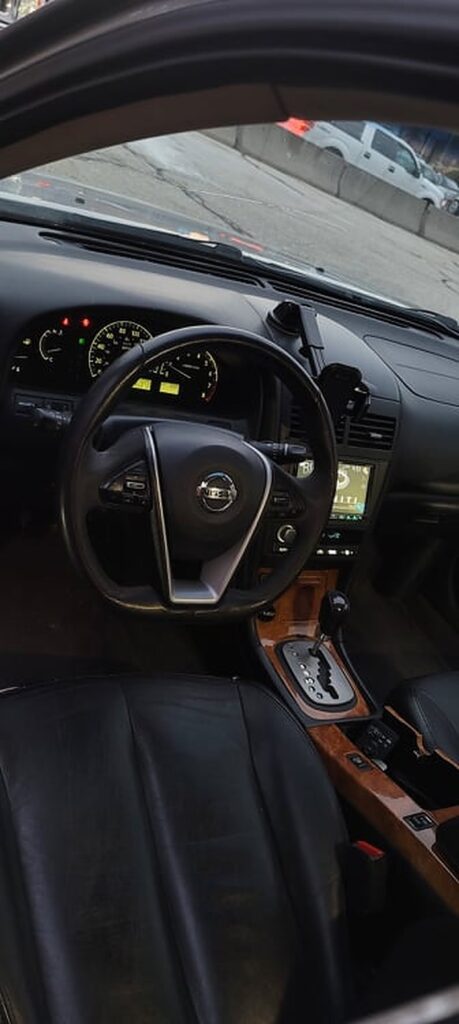
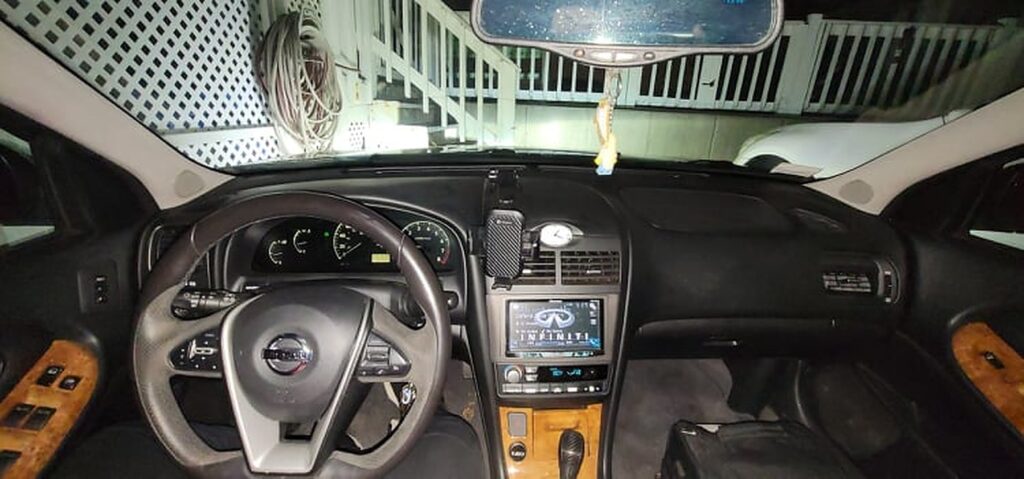
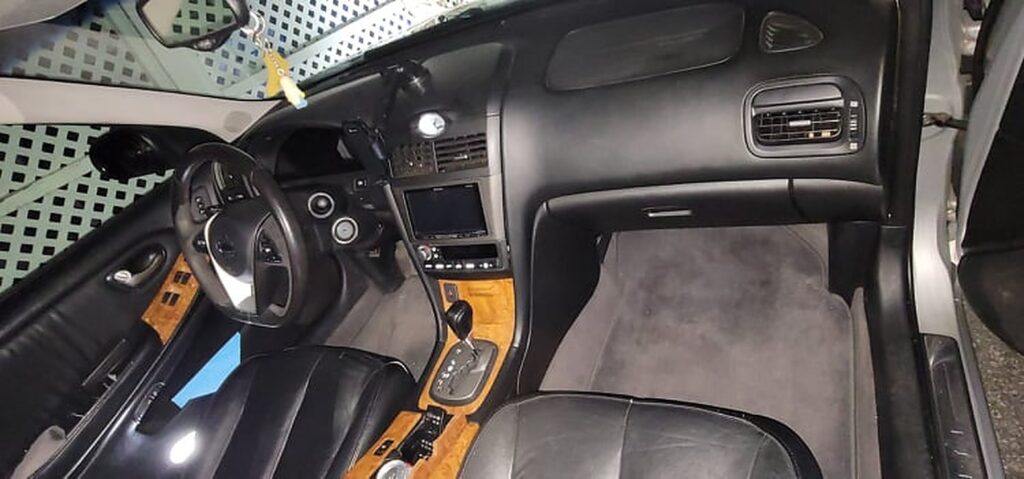
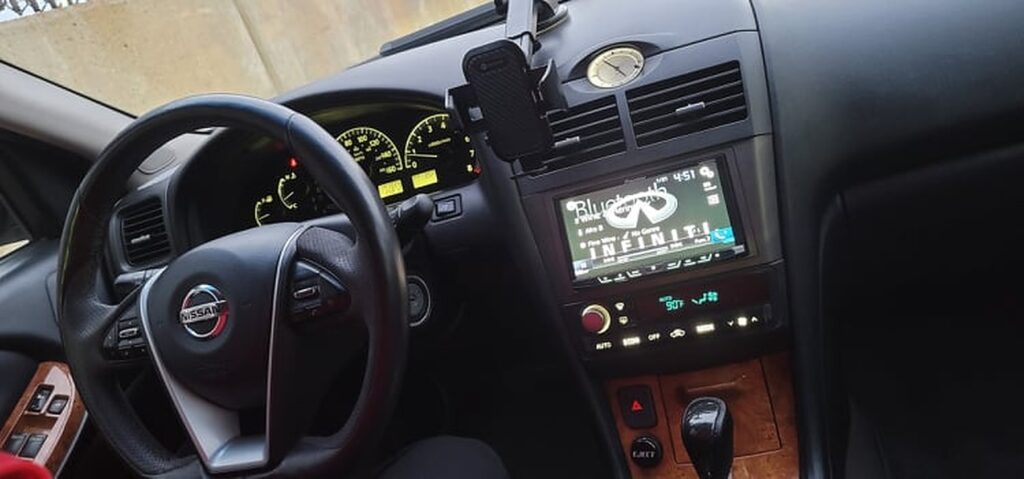
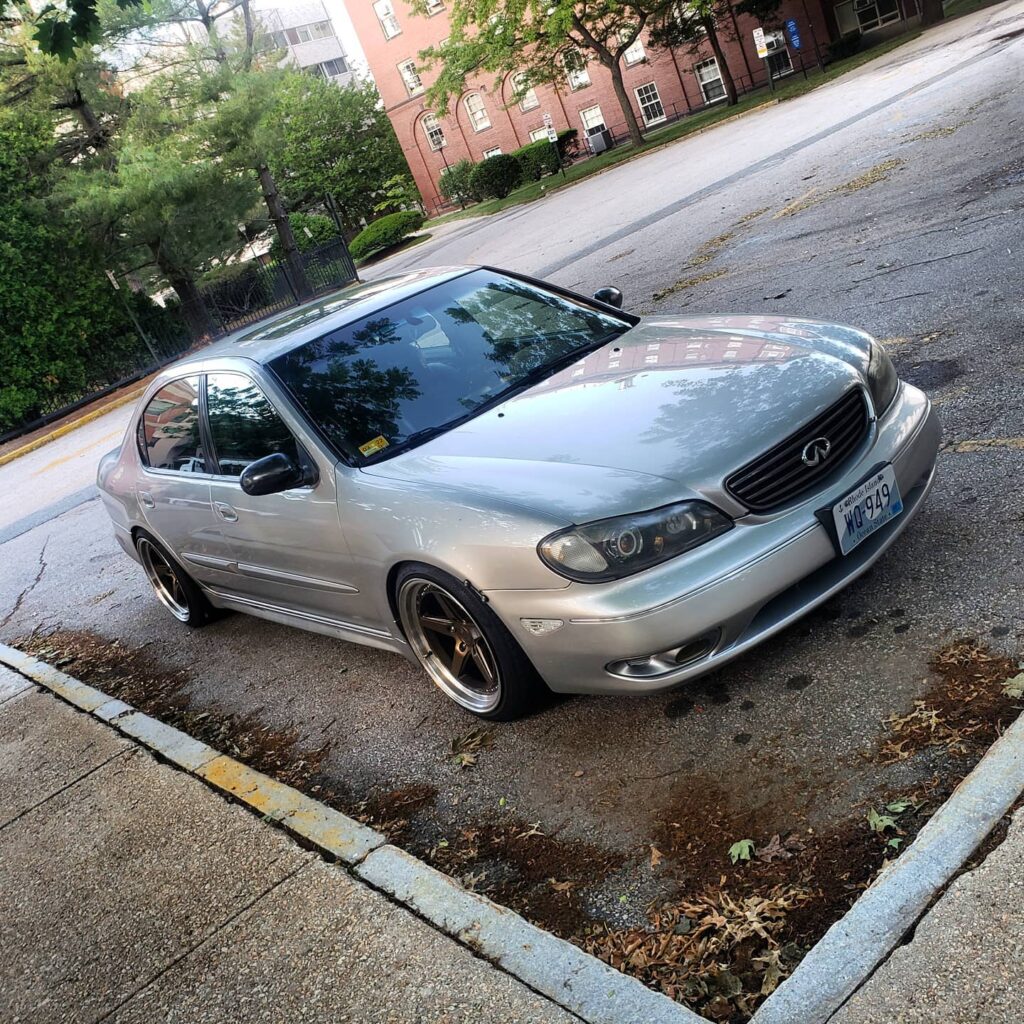
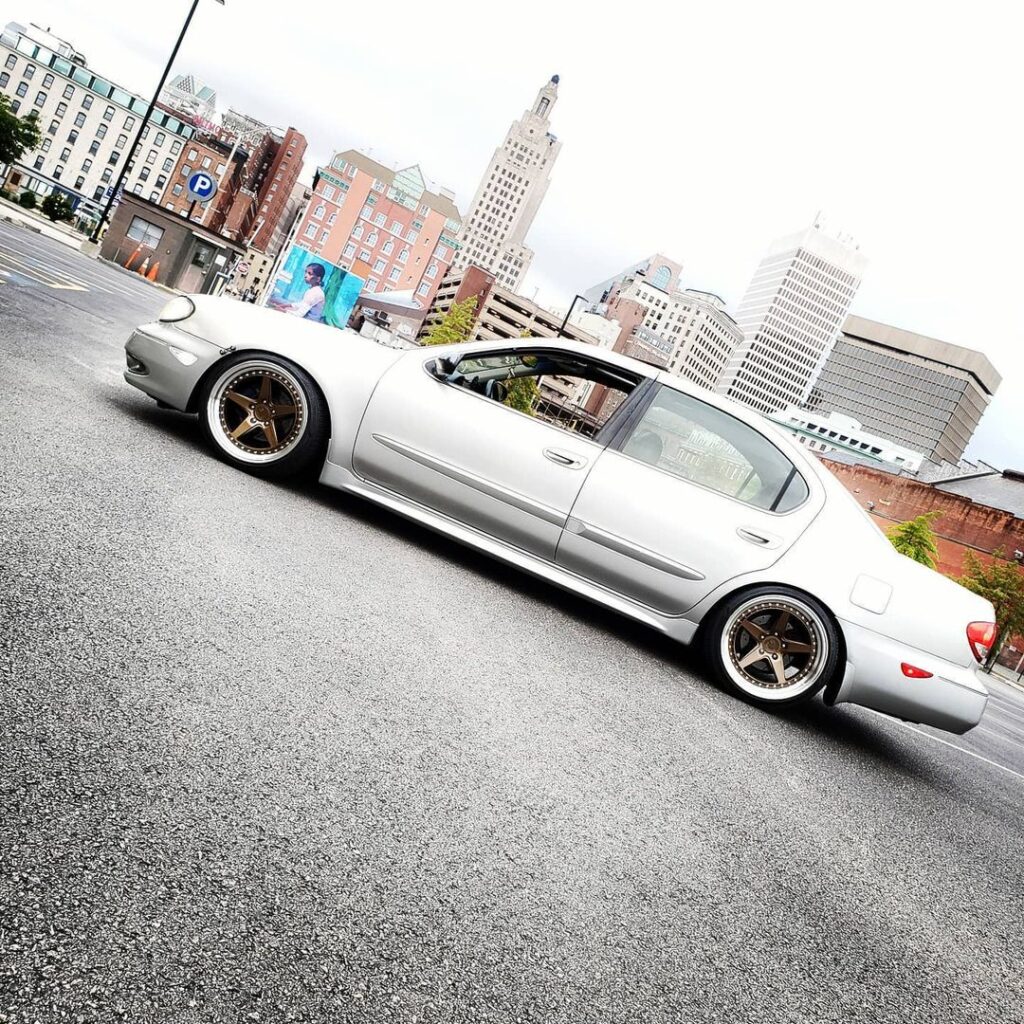
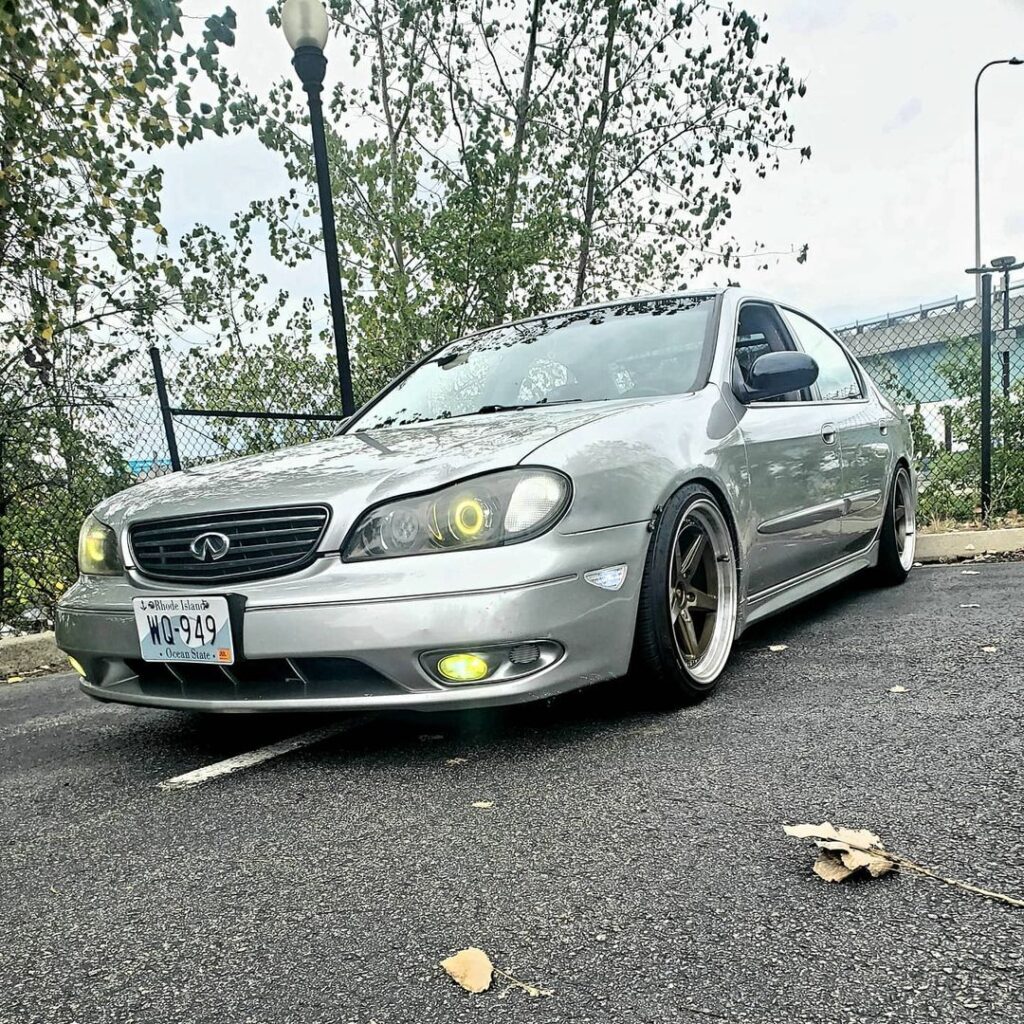
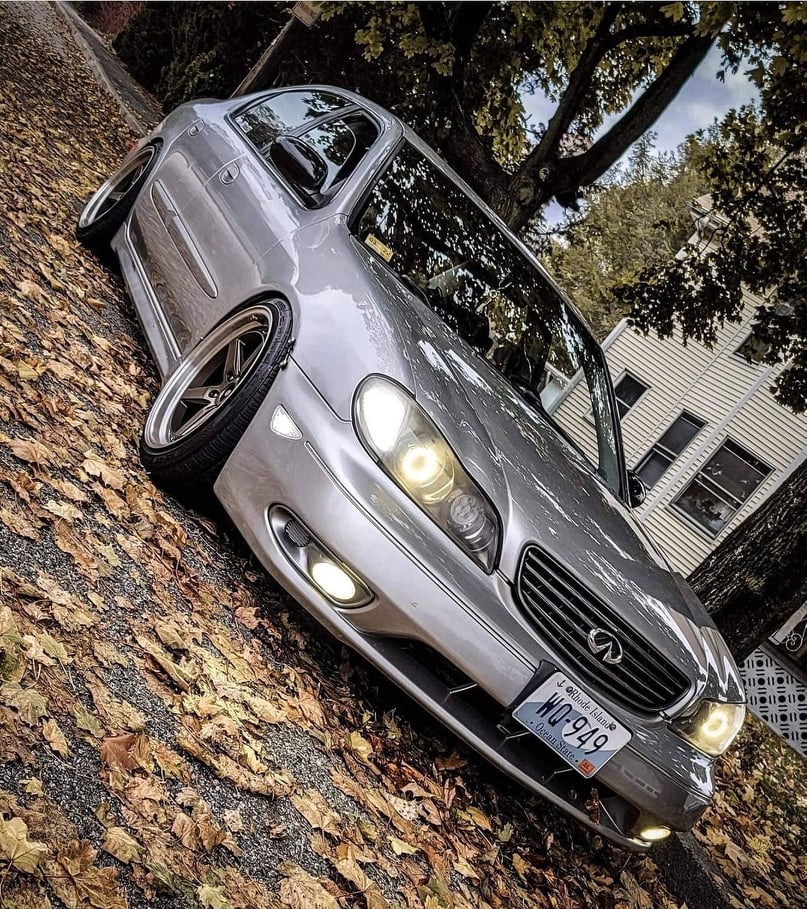
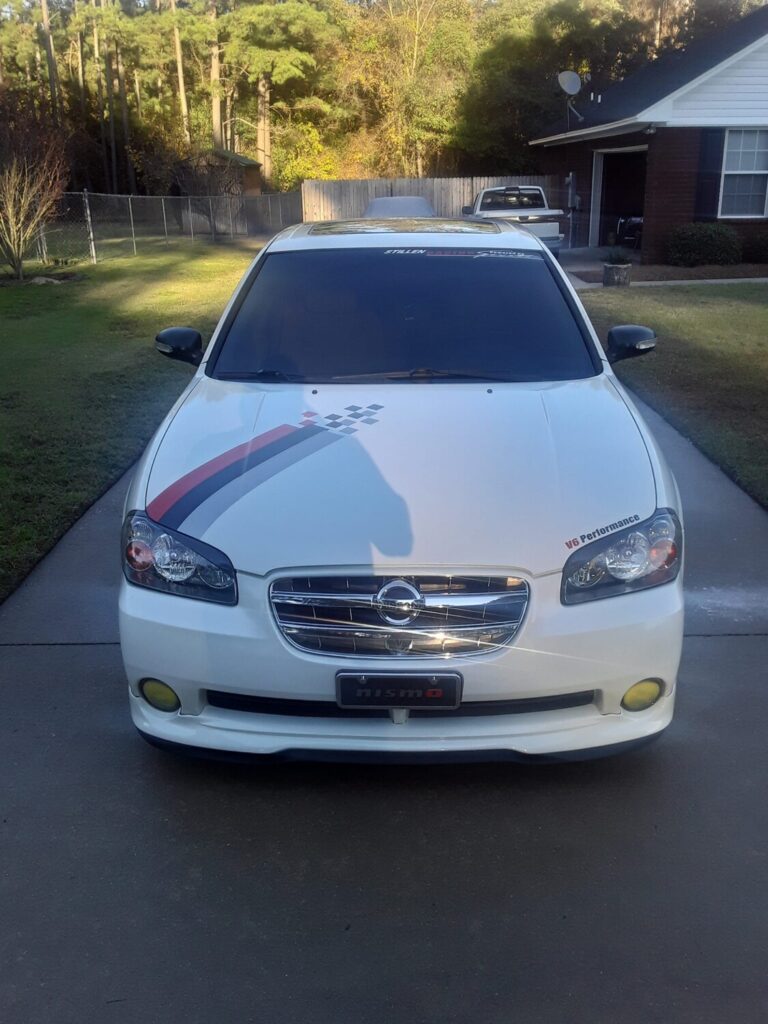
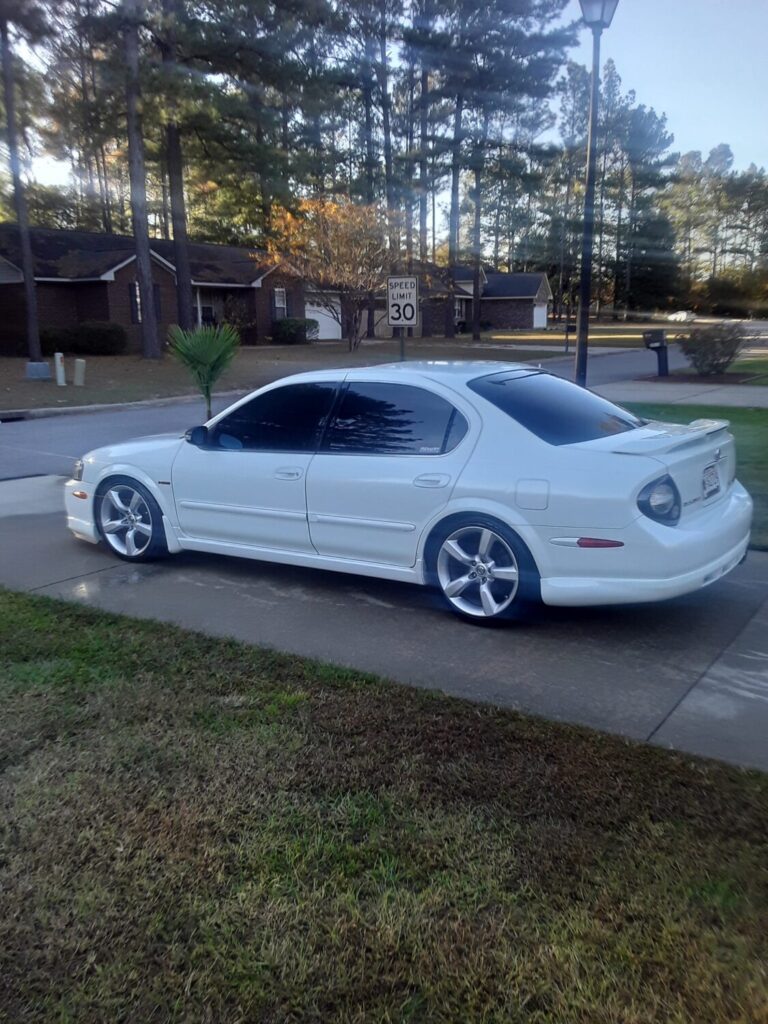
I purchased this Tungsten Blue with Tan leather 2002 Nissan Maxima SE 6MT from Billy Ray Nissan in Longwood, FL back in 2002 and have driven it gently and kept it regularly serviced ever since. Recently replaced the battery January 2021, had a major service in May 2019 (spark plugs, coolant flush, A/C recharged, etc.), front/rear struts replaced, brake pads replaced, rotors resurfaced, fluid flushed in January 2015, and regular maintenance according to either time or miles.’
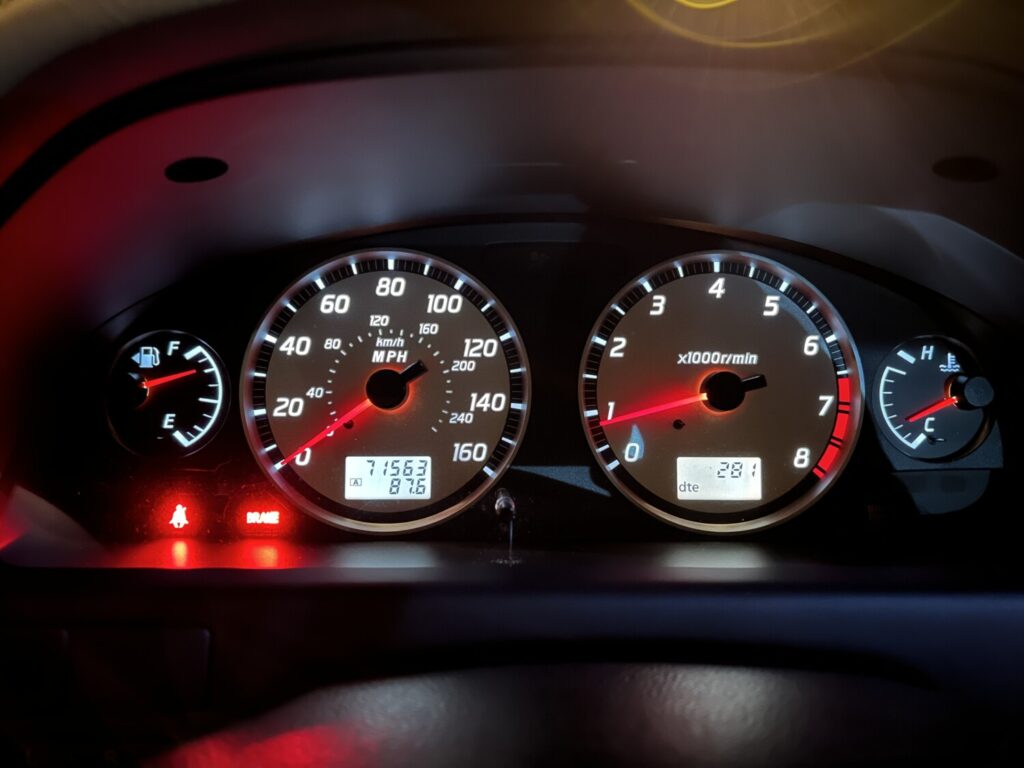
It’s a low mileage car at just over 71,562 miles these past 19 years and has been garage kept at home and work since new. Hand washed and waxed regularly and no drive-through machine washes. No drivetrain, suspension, or appearance mods.
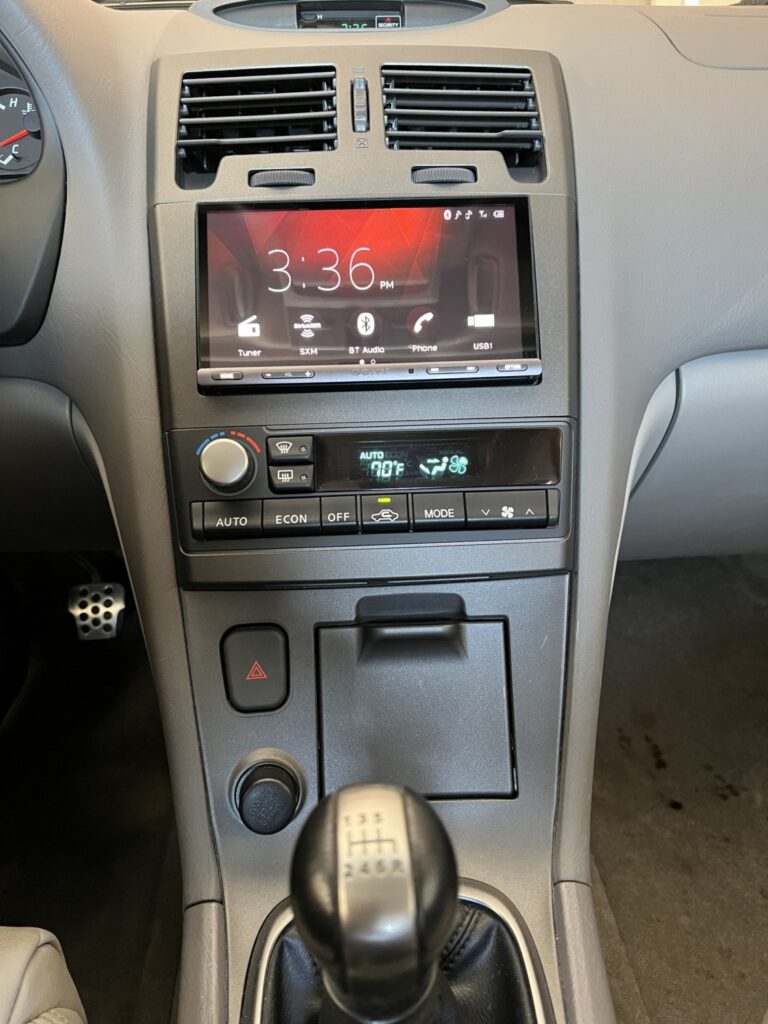
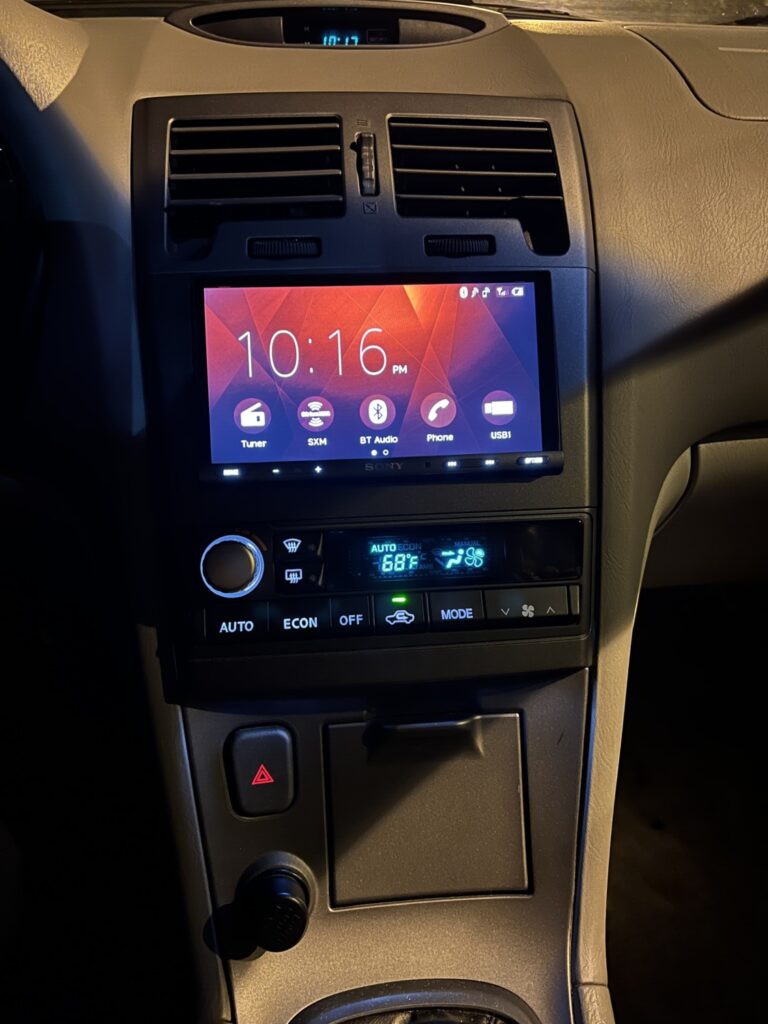
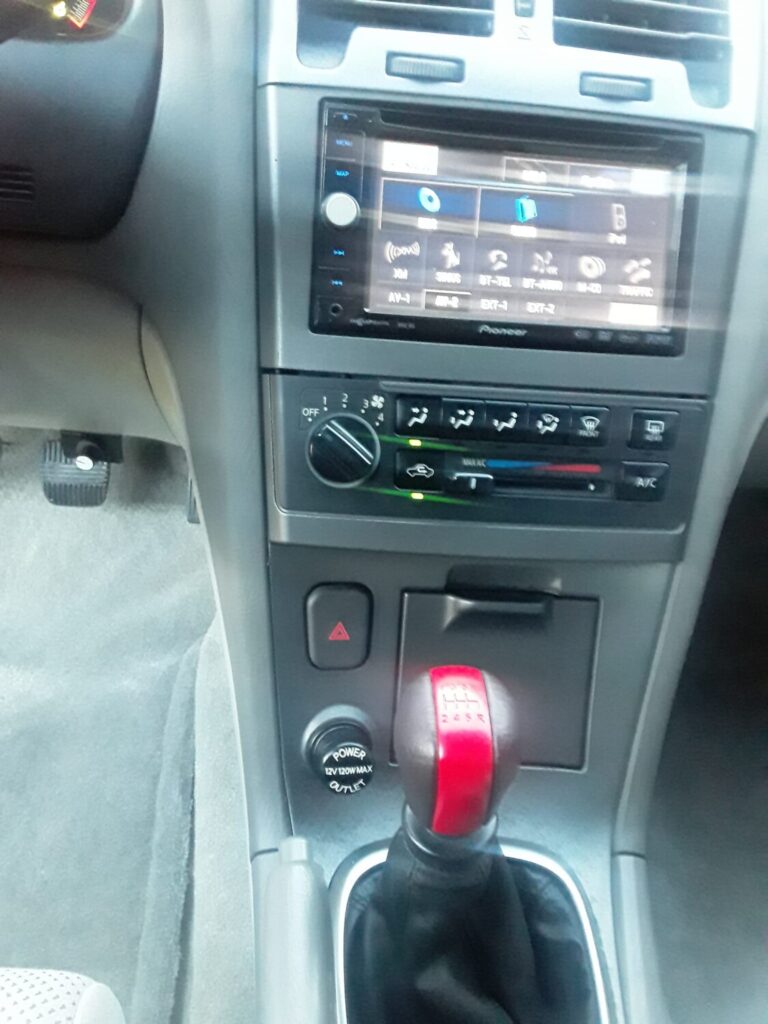
In May 2018 I had the factory head unit swapped out for a Sony XAV-AX5000 7” Apple Car Play, Android Auto, Media Receiver with Bluetooth and have zero regrets as it’s worked really well and has been a welcome upgrade.
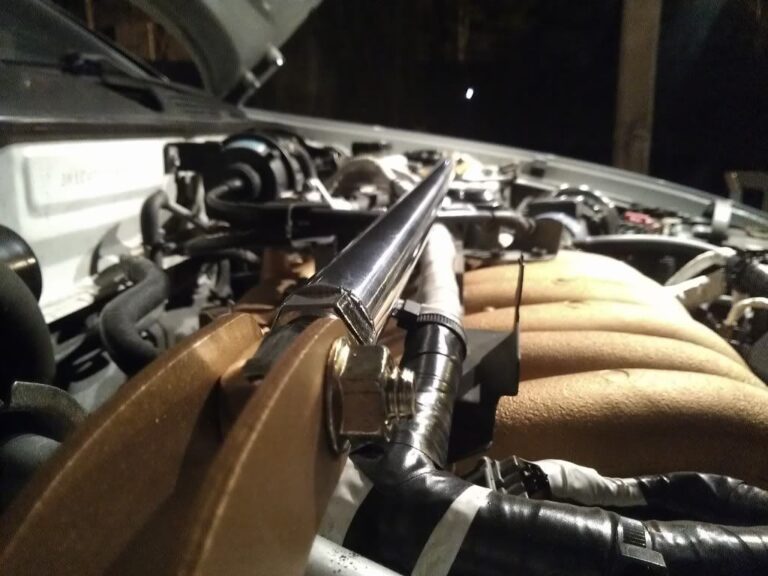
One-Piece Race Spec Strut Tower Bar constructed of strong Aluminum to extremely tight tolerances and then polished to perfection. Designed for the Nissan to decrease body roll, this bar ties the chassis from left to right at critical stress points (Between the shock/strut towers).
As you drive and maneuver, your car undergoes many different forces that the chassis of the car absorbs; the brace helps to absorb the energy and directs these forces into your suspension components so that they can better do their job and serve their purpose more effectively.
A must for any track-driven, and a great addition to any street or show car, this bar truly lives up to the Megan Racing name.
Bought an eBay front Strut bar. Was somewhat iffy from the pictures on eBay, but the quality was much better than I expected, especially for the low low price of $30.00 shipped. I took it apart and painted it to match the rest of my accents in the engine bay.
If you don’t already have a strut bar and don’t have the $100.00+ in your bank account for the Stillen strut bar, I highly recommend one of these. Even if it doesn’t work as well as some of the name-brand ones, it still makes the engine bay look fancy.
Well basically there is a rubber piece that sits in the steering column. Now this is a replacement for that rubber piece. This new piece replaces the rubber piece and provides more direct feeling. The rubber pieces has flex in it when you turn the wheel. This new piece made out of 6061 T6 Aluminum. I have been driving around with this new piece for a long time now and honestly I felt a difference in the way the steering felt and in the way the car reacts.
Here is a picture of the OEM rubber piece that is located in the steering column. Next to it is the aluminium piece however that is the first design that was made. The new version is a little bit different and makes the install alot simpler.
Location of the bushings and what it looks like installed
As you can tell by the date in the picture, I have had this mod for a long time now. Some members have bought them from me as well and their opinions are below
Zero2sixtyZ said “Steering feels more solid and stable. I feel that my OEM bushing was very worn, and needed this mod. No added vibration or anything like that, only benefits.”
Islandmax said “Pain in *** to put in, but is worth it, my stock rubber piece was really worn and soft. Steering is more direct, no added vibrations at idle or in motion.”
Here is a shot of the new design
As far as write-up, this is what I had provided for individuals that have bought the thinner bushings a while back. The process is similar for the new thicker current bushings.
Step 1
Alright some of you might look at the piece and say I have no idea where it goes. Well the piece is located under your dash. If you look at it you see this
You see the black piece behind the pedals ? That is where it is at…
Here is a close-up of it
Now this piece is bolted with Three (3) 10 mm nuts. Remove them.
Once you remove those you would think the piece would come out. Well no it wont because it is a single solid piece. Take a something with a blade and cut it. Now when you cut it I would suggest cutting it on the back side of it so you will not see the piece cut when you look where the pedals are. Now when you cut it, pull and yank on it and it will come out. Reason for cutting it is to
A) make removing it easier
B) Installing it easier
This is what it looks like cut and removed.
You do not have to cut it though since there is enough space to pull the boot up to get to the bolt that holds the column to the steering rack.
This is the view you get when the piece is removed. I already had the aluminum piece installed but on your car it will be rubber. Pictures is the original design of the bushing.
Now the whole piece is held in with Four (4) 12mm nuts. You have to remove each one of them. Also when you are removing them, you will have to turn the sterring wheel to get access to it. It might help to have somebody hold the steering wheel for you when you are loosing it because those nuts are nylon threaded and they are on there tight. I would suggest wearing some gloves if you dont want you hands all beat up. There is alot of metal under there.
Once you remove all those 4 nuts look down and you will see the shaft connected to the rack. There is a bolt that goes straight through. Loosen the bolt but dont remove it. Just enough to pull the shaft up.
Now to get the OEM busing out you have to pull on the steering column towards the driver. But the steering column is bolted down.
next step is to unbolt it… Pictures is installing the bushing on a 4th gen but the same concept goes for the 5th gen.
Once it is removed this is what your car should look like.
Next remove the trim behind the steering wheel. It is held in with screw. This is where the screws are.
There are 6 of them. Once the screws are removed pull the trim off. It will look like this now
Now time to loosen the actual steering column. It is held with 4 nuts. 2 in the front and 2 further back
You can see the 2 nuts in this picture And the other 2 in these next pictures.
Once those 4 nuts are removed the steering column will drop down but be careful since it kinda heavy and there is a bunch of stuff on it
Next you will yank the column towards you and the bushing will fall apart with a bunch of other pieces also.
The next step is to put the new bushing into place. The latest design is a direct replacement so you will only be using the oem hardware.
Once you get the bushing into place, Put the 4 nuts and start them first by hand and then repeat the same procedure you did when you were removing them.
make sure they are tight. If you are not sure you can use some locktite. it can be purchased at any auto parts store.
Once those 4 nuts are tight lift the column up so you an put the 4 nuts back on that held it in place. If the holes dont line up push the whole assembly down. If it doesn’t go down loosen that bolt I was talking about before even more
You can see that bolt in this picture at the bottom
ighten the 4 nuts that held the steering column in place.
Now make sure the 4 nuts on the bushing are tight, the 4 nuts on the steering column are tight and make sure the bolt at the bottom is tight.
Next assemble all the plastic trim behind the steering wheel and under it. Make sure all the hardware goes back into its original place.
You are almost done but now you have to stick that cover back over the shaft of the column. This is a pain i know guys. You dont have to put it back on but you will see the shaft. The easiest way is to align it and open it wider with your hands where you cut it and slide it over and keep working back and forth until you get it to sit the way it was before. That is why I recommend to cut the piece on the back not the front. Once you get it back on tighten the 3 nuts and you are done…..
Take your car for a drive and see how it feels. But please make sure you checked and checked again that all the nuts on the bushing and column are tight.
Well that is a pretty straightforward write up. If you have any questions feel free to ask.
Part: Shifter Stabilizer Bushings – Nissan Maxima – 7.1115 Order Link: https://www.energysuspensionparts.com/7.1115
Here are the notes on removing the shifter trim and center console. Pictures follow.
Remove the ashtray and the screw behind the ashtray. (picture)
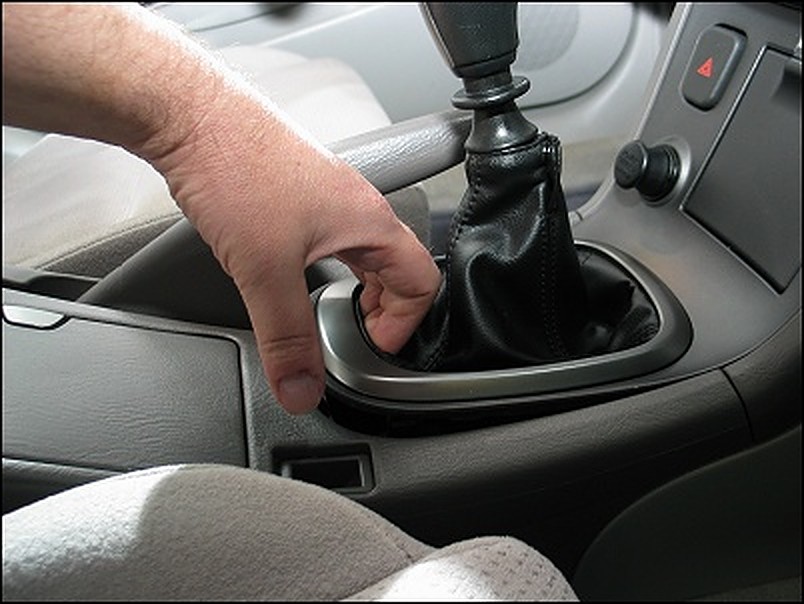
Unsnap the shifter trim by gently pushing your fingers into the leather on the back end for grip, then pull upwards to unclip it. (picture)
Lift the shifter trim from the back end, and wiggle it down from the front end. The shifter trim fits under the climate controls and will slip free with a little effort.
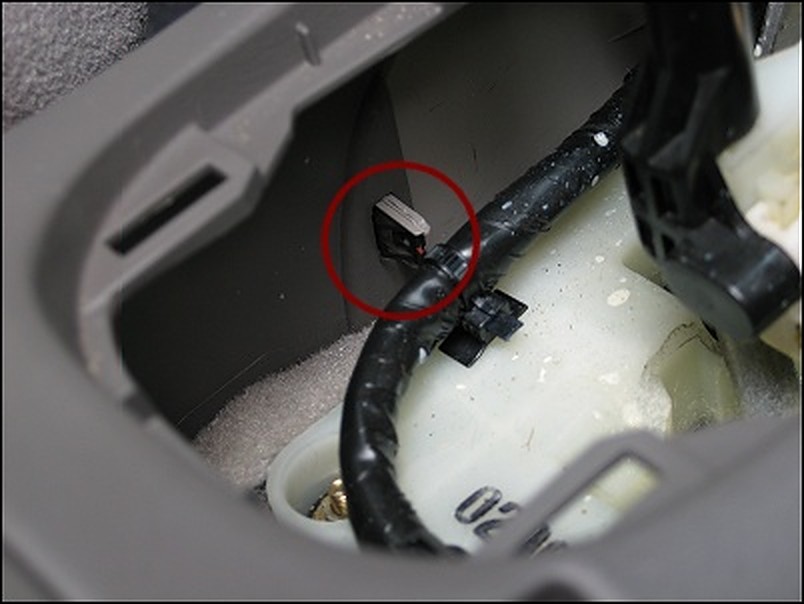
Once the trim piece is free, unclip the power connectors that go to the hazard lights, ashtray light, and cigarette lighter. (Yeah, there’s an ashtray light. Who knew?) Use a small flat-head screwdriver to help unclip these connectors.
Unsnap the leather boot and slip the entire trim piece off the shifter. Set it aside.
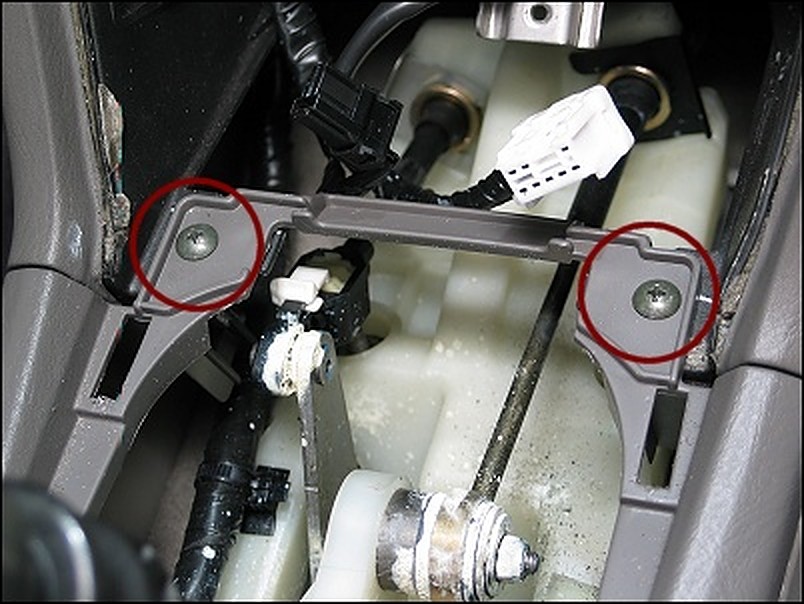
Now on to the center console. Unscrew the 2 console screws made accessible now that you’ve removed the shifter trim. (picture)
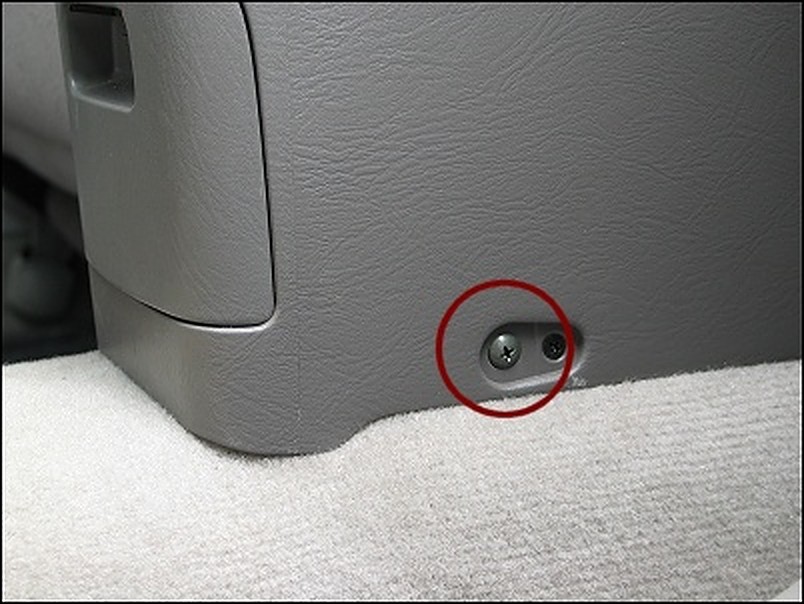
Unscrew the two (large) screws that are on the bottom sides of the console, accessible from the back seat. There are two screws here, you want the larger ones. (picture) I’m not sure what the other one is, but it’s not the one you want.
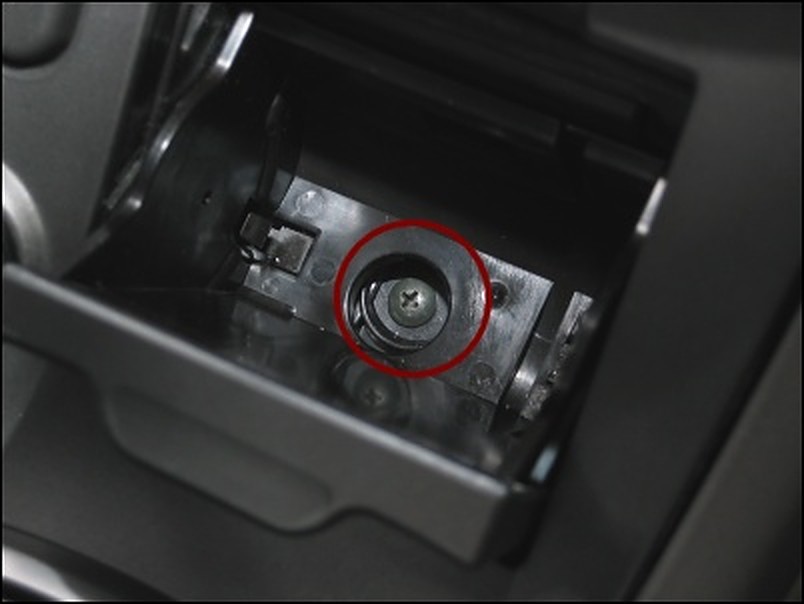
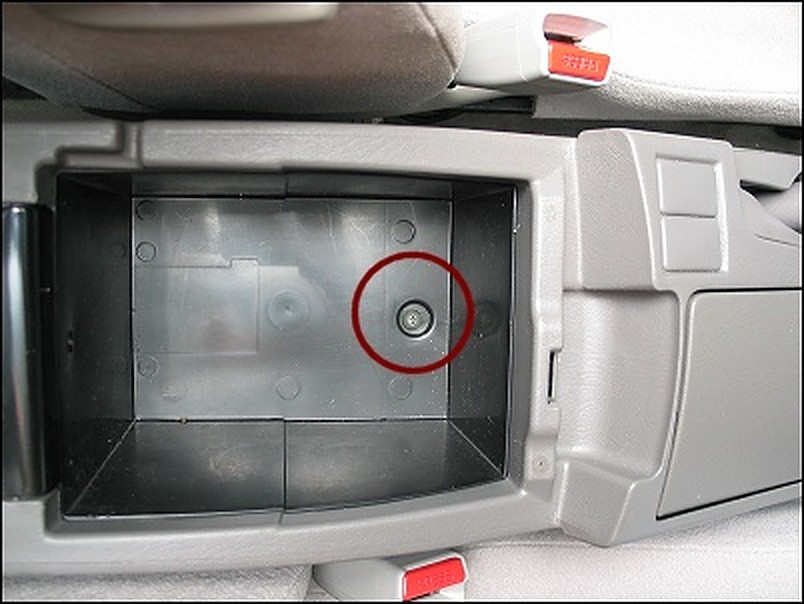
Unscrew the single screw inside the center console glove box. (picture)
Find the clips inside the front of the center console that attach the console to the side trim. (picture) Unclip the center console from the front-side panels, and lift the console up and out. It’s not a smooth process the first time you try to pull the console away, so take your time. Figure out how to remove it safely by adjusting the position of the hand brake.
Once the center console is free, unclip the power connector to the back seat cigarette lighter. Set the center console aside.
Next up are the steps I used to replace the bushings underneath the shifter assembly. eclid98 suggests wearing mechanics gloves for certain things. I don’t have any, and yes, I cut myself.
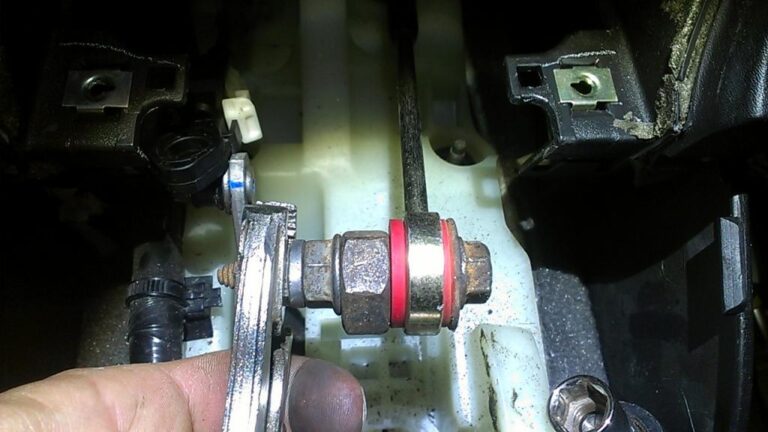
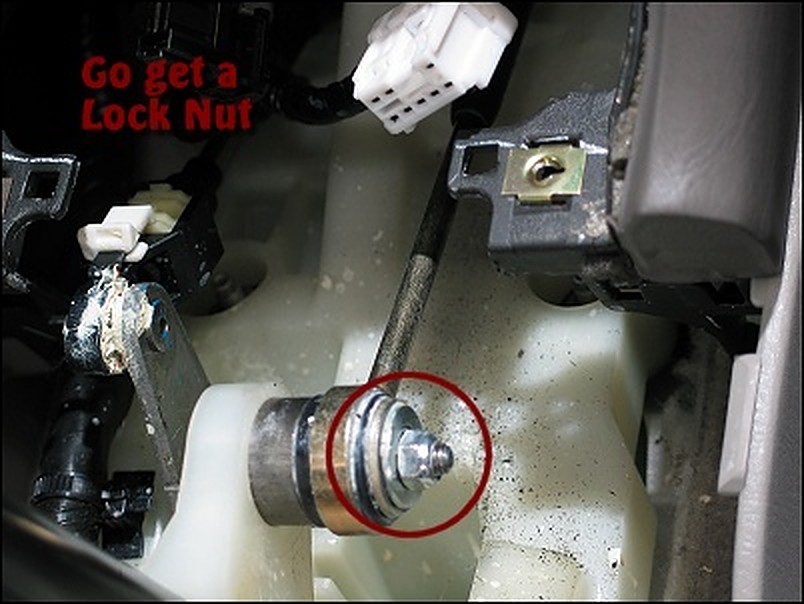
Disconnect the shifter cable from the shifter arm by removing the nut over the OEM banjo bushing. (picture)
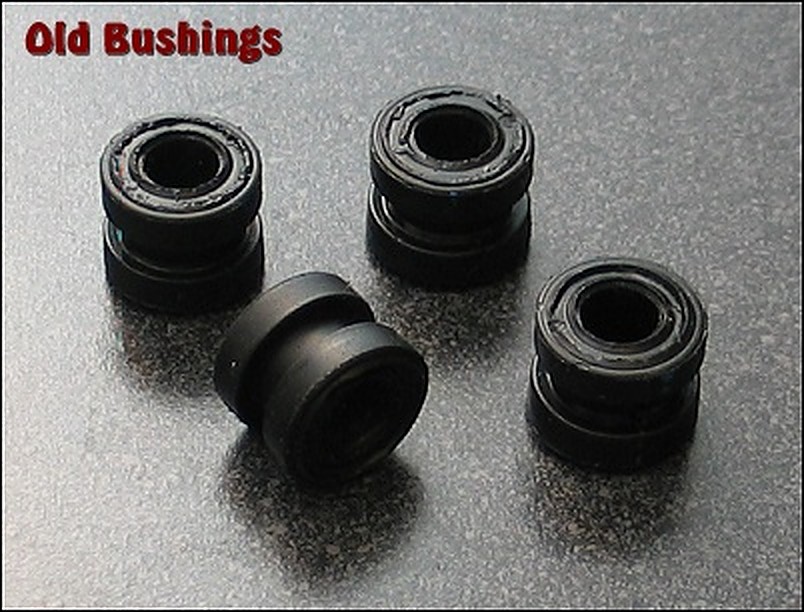
Take out the OEM banjo bushing and replace it with the new ES banjo bushing. It can be difficult putting the new bushing in — use channel locks, or a couple of fat washers, a nut and bolt, screwing the washers together until the banjo bushing slips in. Do the same at the transmission end, under the hood. (I’m brushing past this part, because I already did this a while ago, and my playtime today consists of the bushings underneath the shifter assembly.)
Don’t put the cable back on the shifter arm just yet. However, when you do, do not use the OEM nut. Go buy a replacement lock-nut… the kind with plastic in the threads. You see, now that you’re loosened it, the OEM nut will just back off again in the future, and it’s been known to do so on a number of people. (Me included, but I was lucky and felt it getting sloppy before it completely fell off.) Use a lock-nut so you don’t have to deal with that worry.
Unclip the side-to-side articulating arm on the left side of the shifter. You do this by pushing it off its post, NOT by unclipping the white retention piece. That piece holds yet another plastic clip in place below it, who’s purpose is for fine-tune adjustment to the centered placement of the shifter’s left-to-right position. Play with it if you want to figure it out, but it’s not part of these instructions.
Now… you think there would be some kind of retention washer on this connector. The post is designed for it, but there wasn’t anything there. I’m thinking that was a manufacturing-line SNAFU on my car, so I bought an E-washer for that purpose, and used it when everything went back together. Go figure.
On to the shifter assembly. Use a 10mm socket to remove the 4 nuts that are holding the shifter assembly to the floor.
Wiggle and lift the shifter assembly off those four bolts. You don’t need to remove the entire thing; you just need to establish clearance one bolt at a time.
Working on one corner at a time… start by slipping the OEM metallic washer-tube-thingy (hereafter referred to just as the “washer”), off the OEM rubber bushings. Use a small flat-head to do this, prying the washer downward from the underside of the shifter assembly. Be careful you don’t lose this thing into the floorboards. That would be bad.
Once the washer is removed, use pliers or a big screwdriver to force the OEM rubber bushing out of the hole. You can pull it upward (difficult), or push it downward (easier).
Take the normal looking ES bushing and push it over the washer’s post (with a little force.) It’s probably easier to do this in your hand now, rather than after you re-install put the washer. (Thanks to eclid98 for that tip.)
Now slip the metallic washer back on the bolts. Note, you’re still working on the underside of the shifter assembly.
Repeat this step on the other 3 corners. You’ll probably cut yourself, bleed and swear a lot. It’s all part of the fun.
Now slip the shifter assembly back down over the four posts.
With the assembly back on the floor flat, slip the other ES bushing piece into the one of the holes, small end downward. Select one of the 2 more accessible corners as your first one. Don’t worry about forcing it down into the hole… that will happen next.
Put the OEM washer/nut over the bushing and screw the bushing down into the hole. Don’t tighten it all the way just yet, just enough to push the bushing down into the hole. (Thanks again, eclid98.)
Repeat this step on all four corners.
Last step — tighten down all four corners evenly.
Reference Photos
Additional Insight from: AWeb80
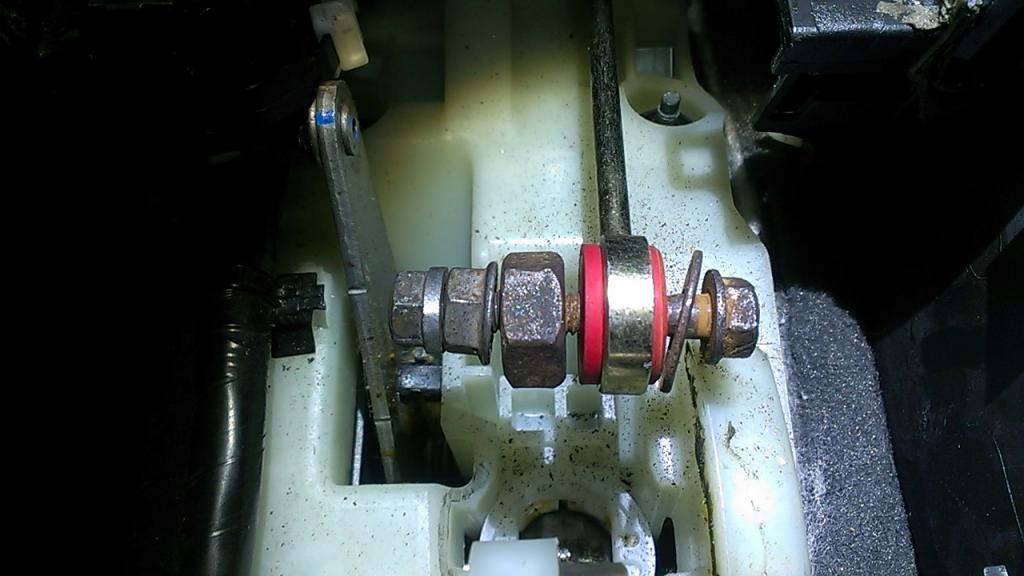
I do have a tip to put the banjo bushings in. Put a bolt that is smaller, not snug, through the bushing and use a nut to tighten it in place. I think the pictures explain themselves. It took all of 2 minutes per bushing. It pushes it in square and is MUCH easier than trying to squeeze it in w/ pliers.
*don’t mind the extra nuts I have on the left side….they are just there as spacers so I didn’t have to thread the actual nut on so far. *