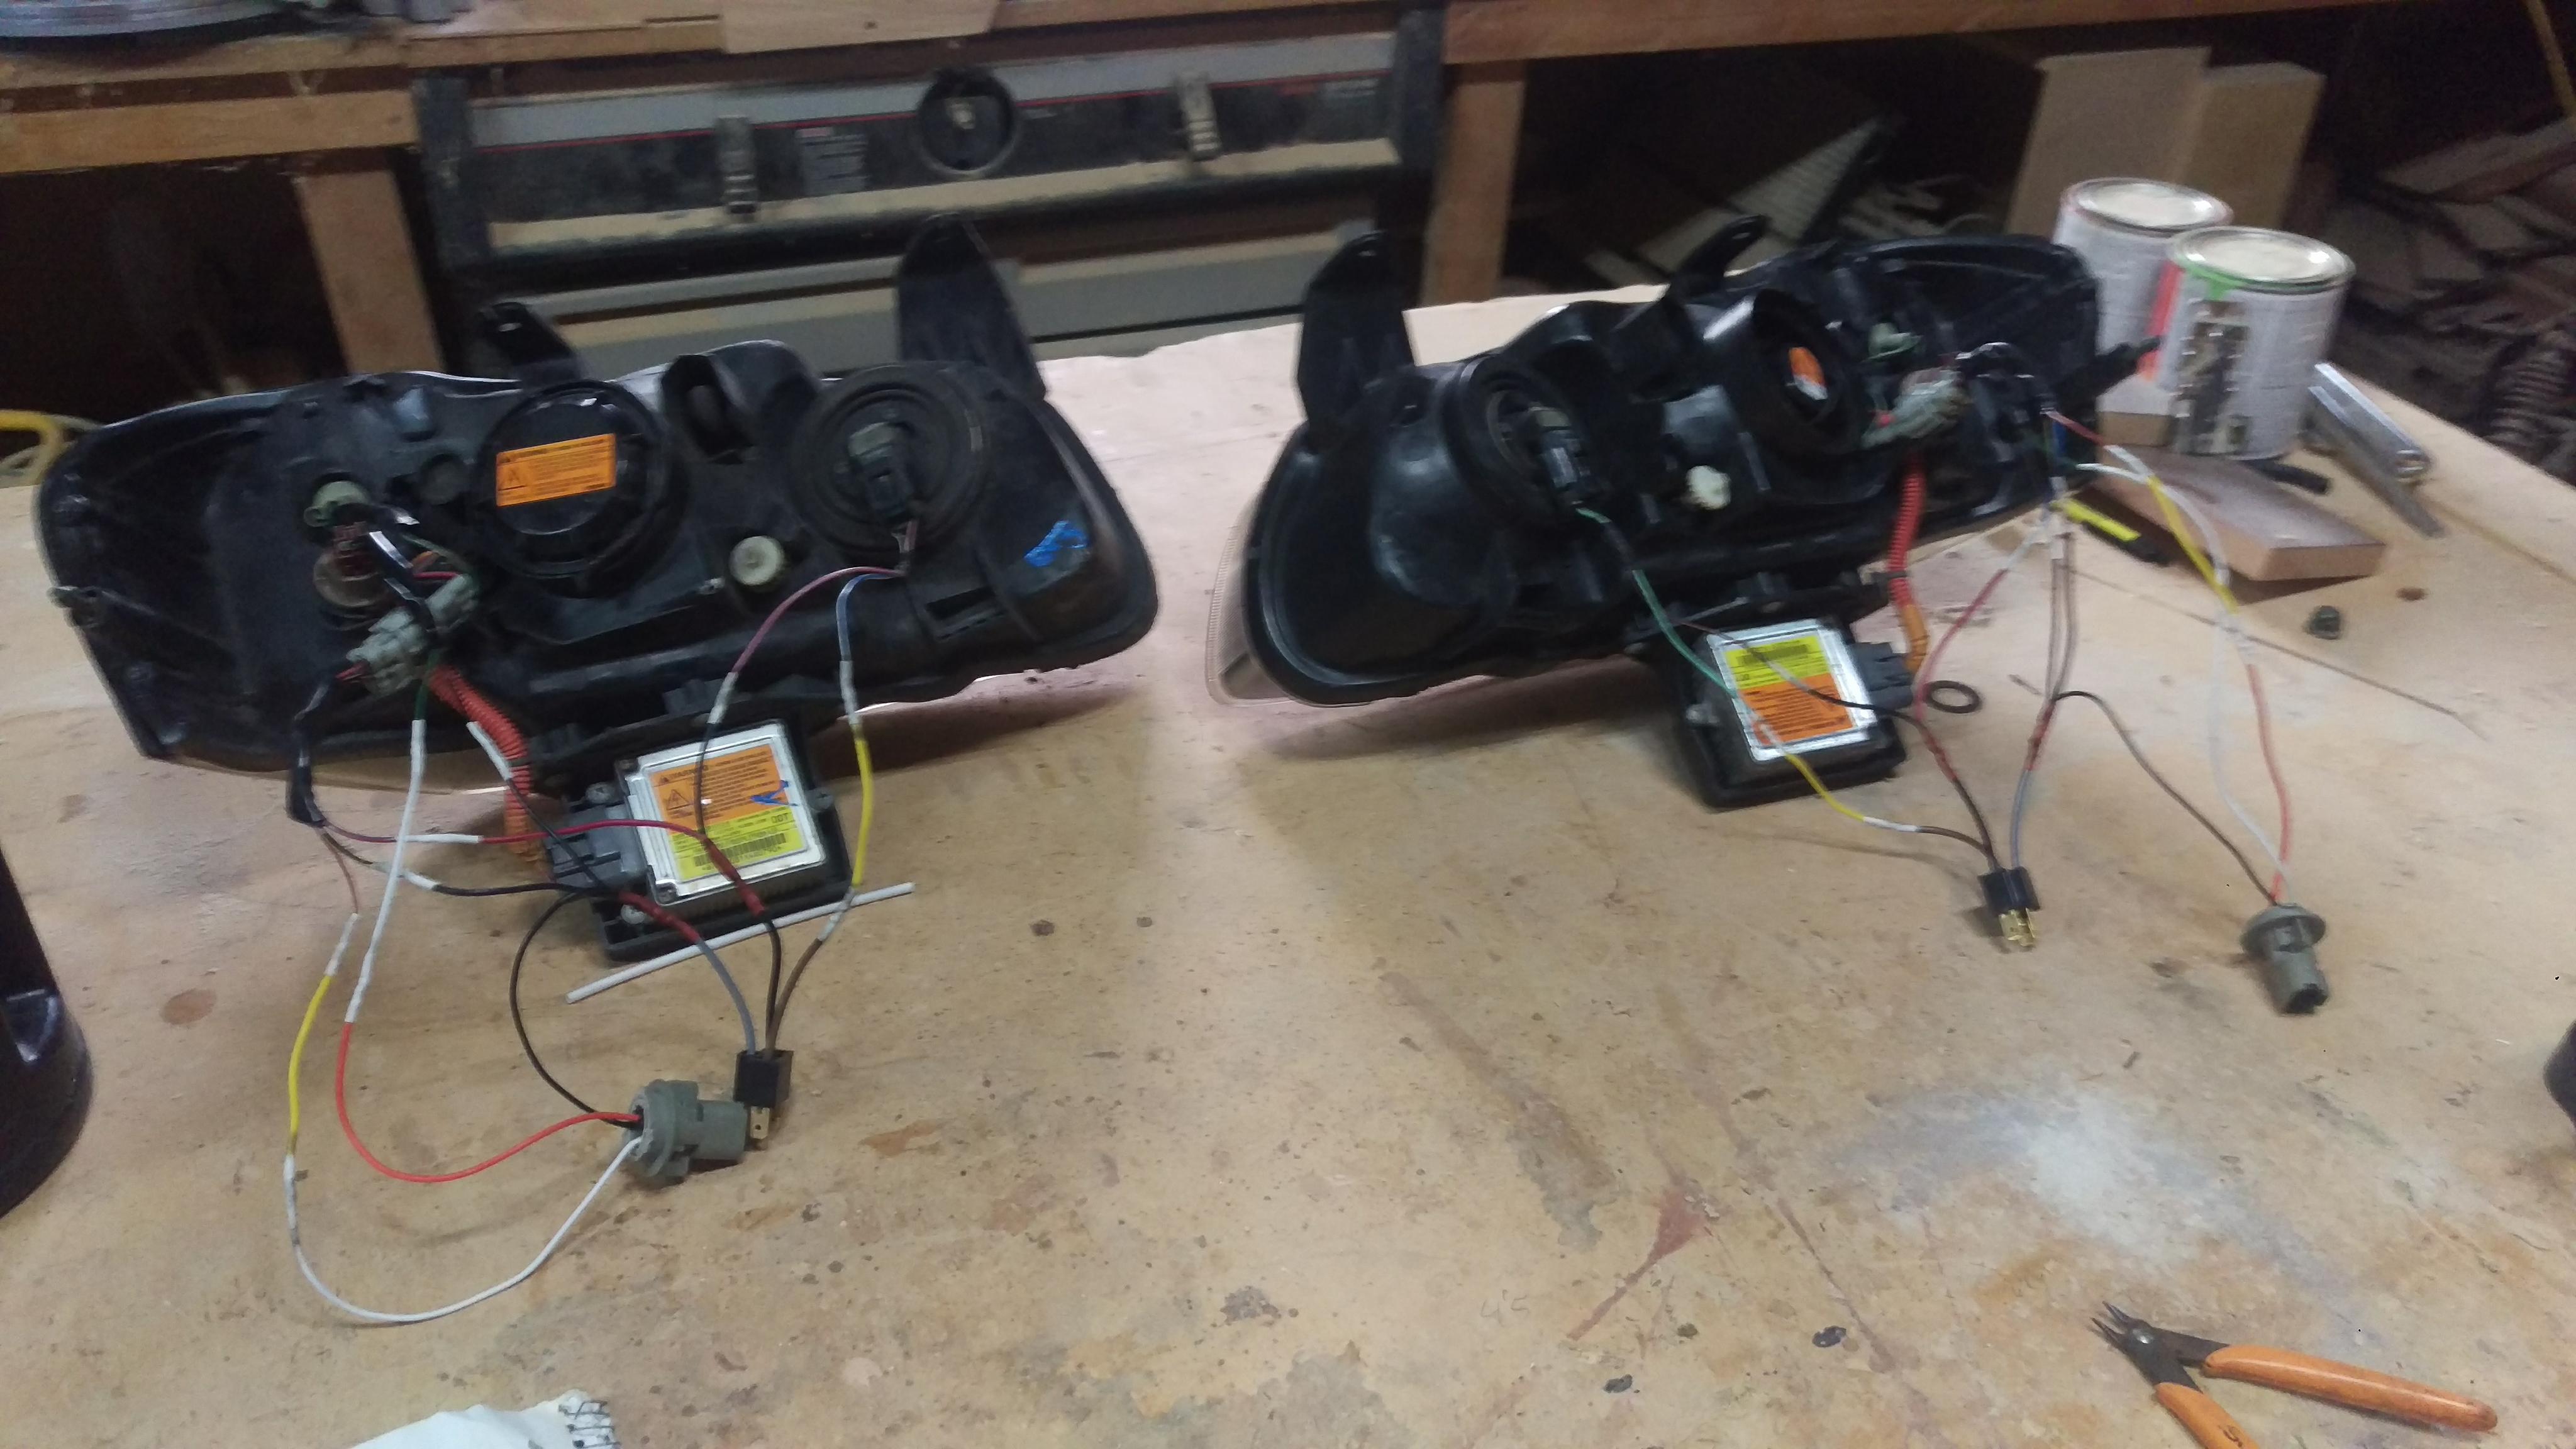
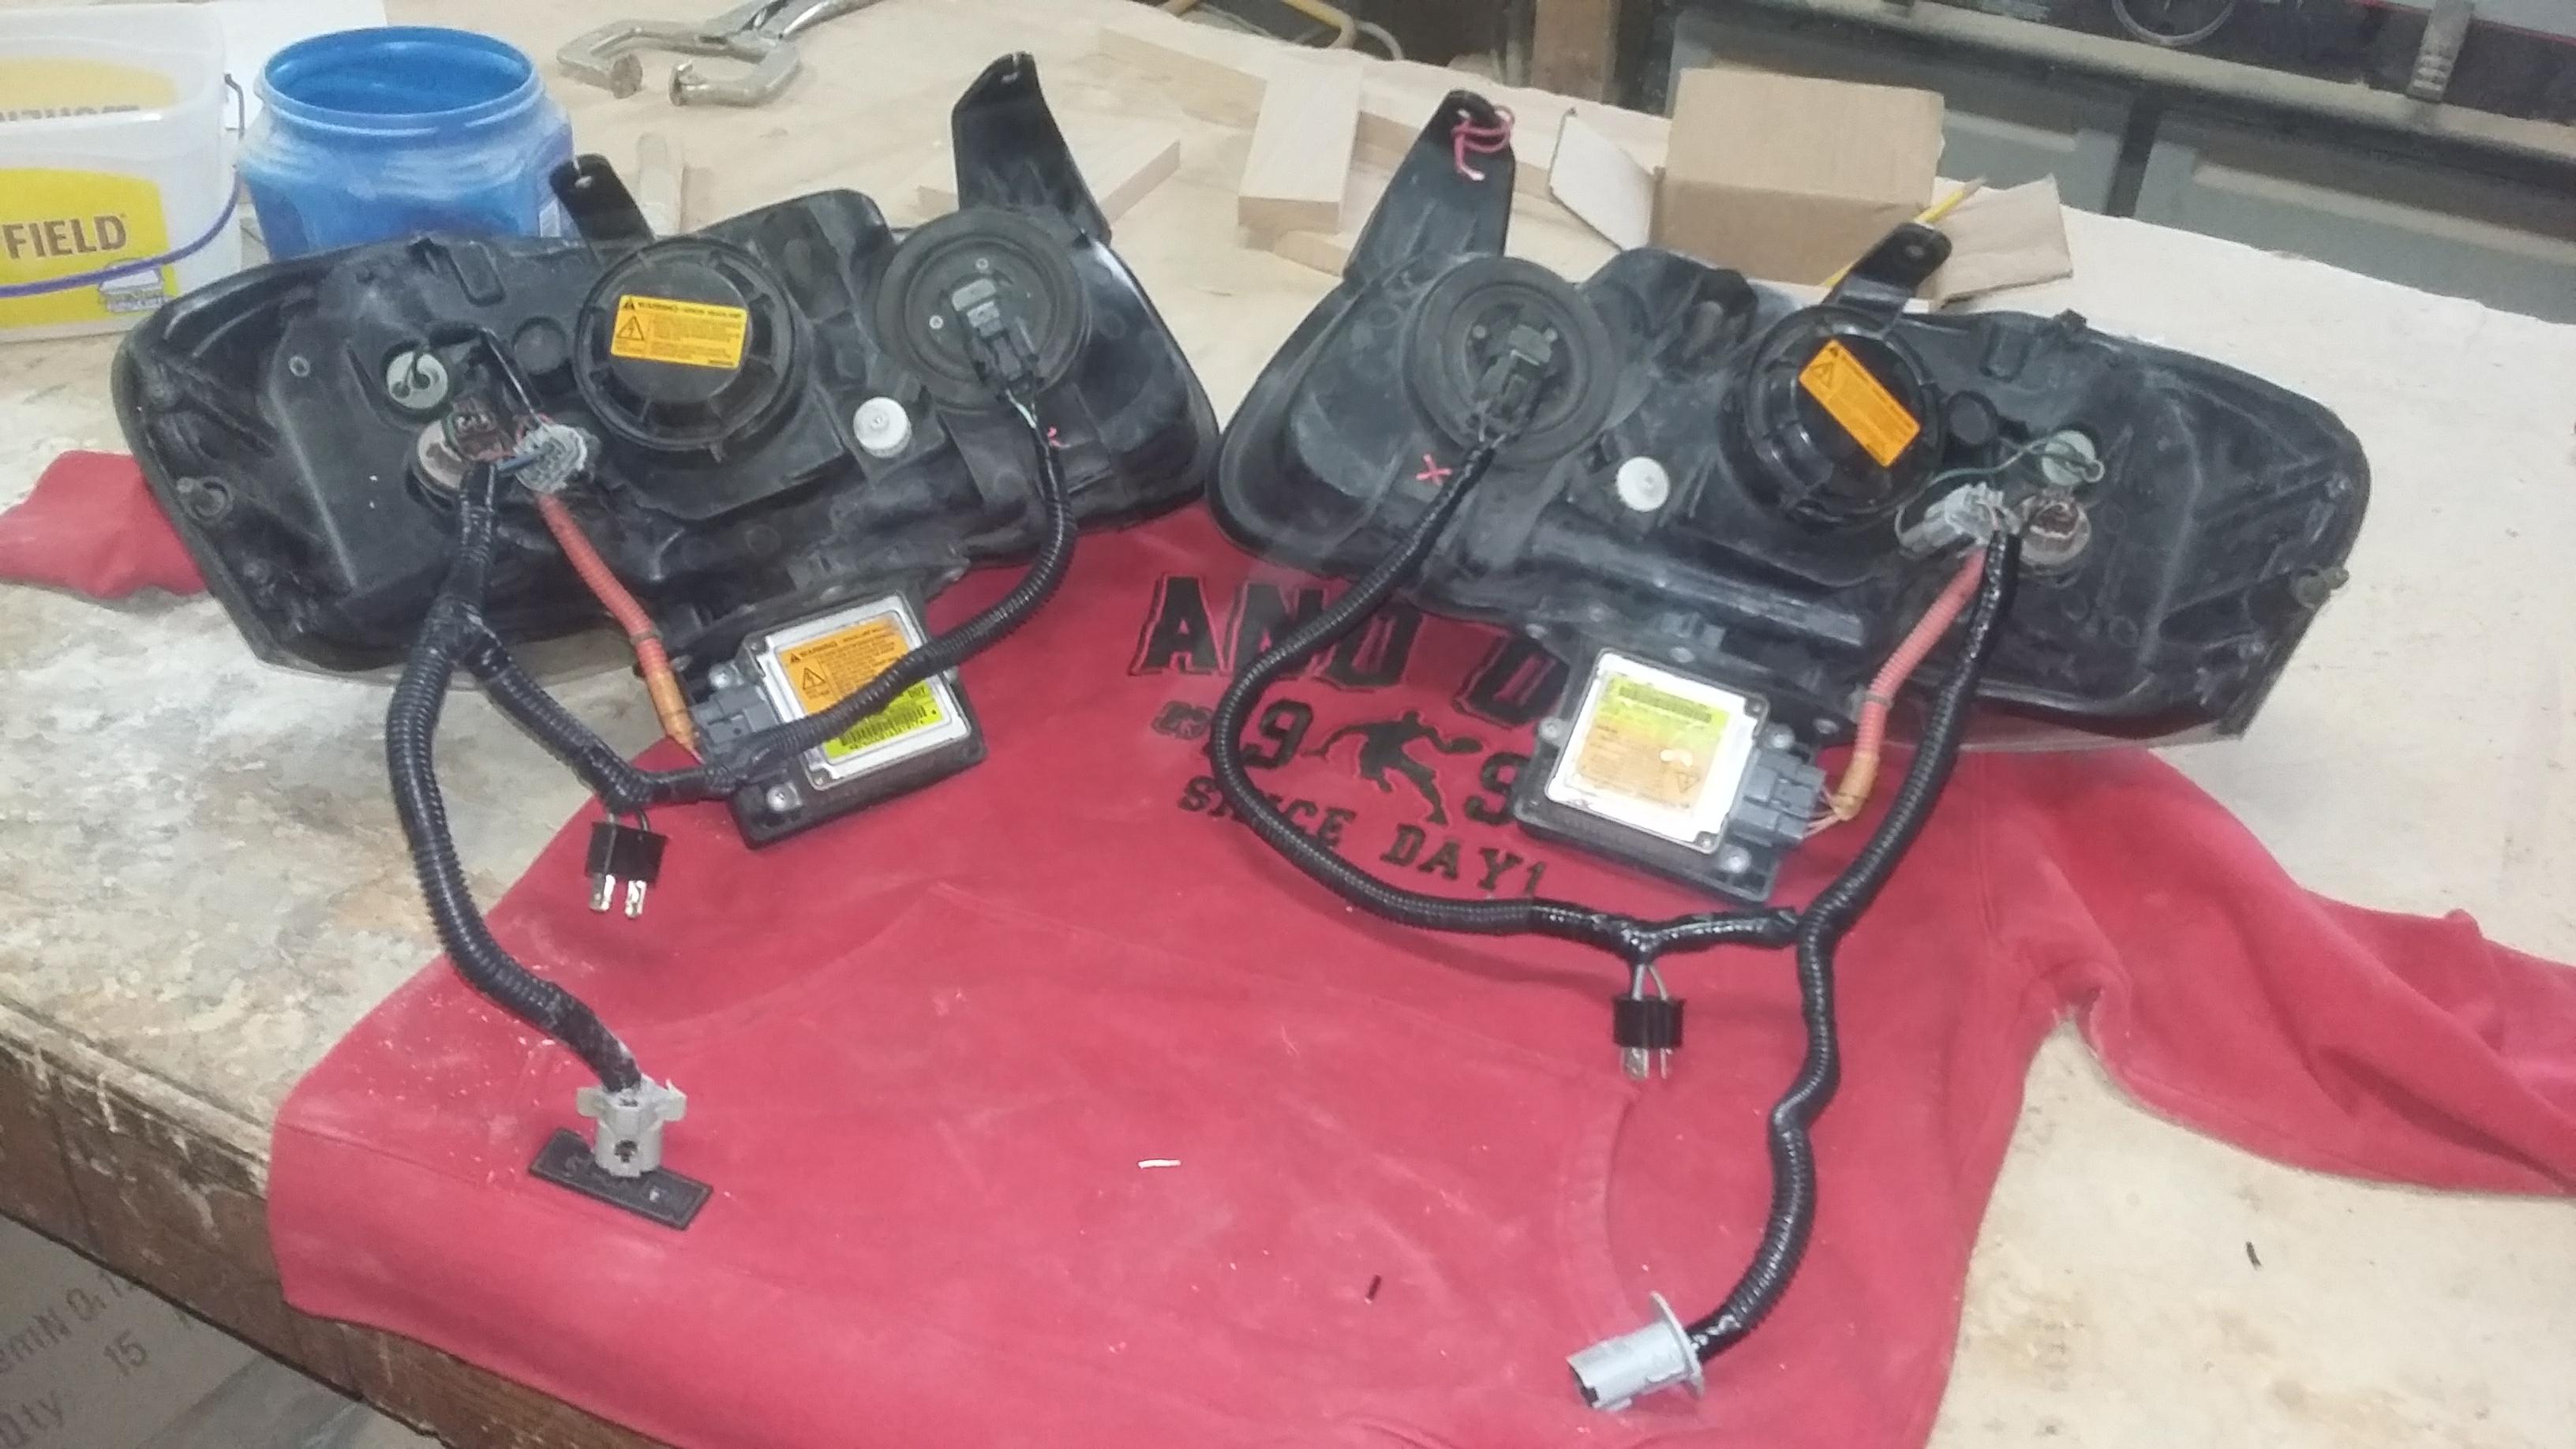
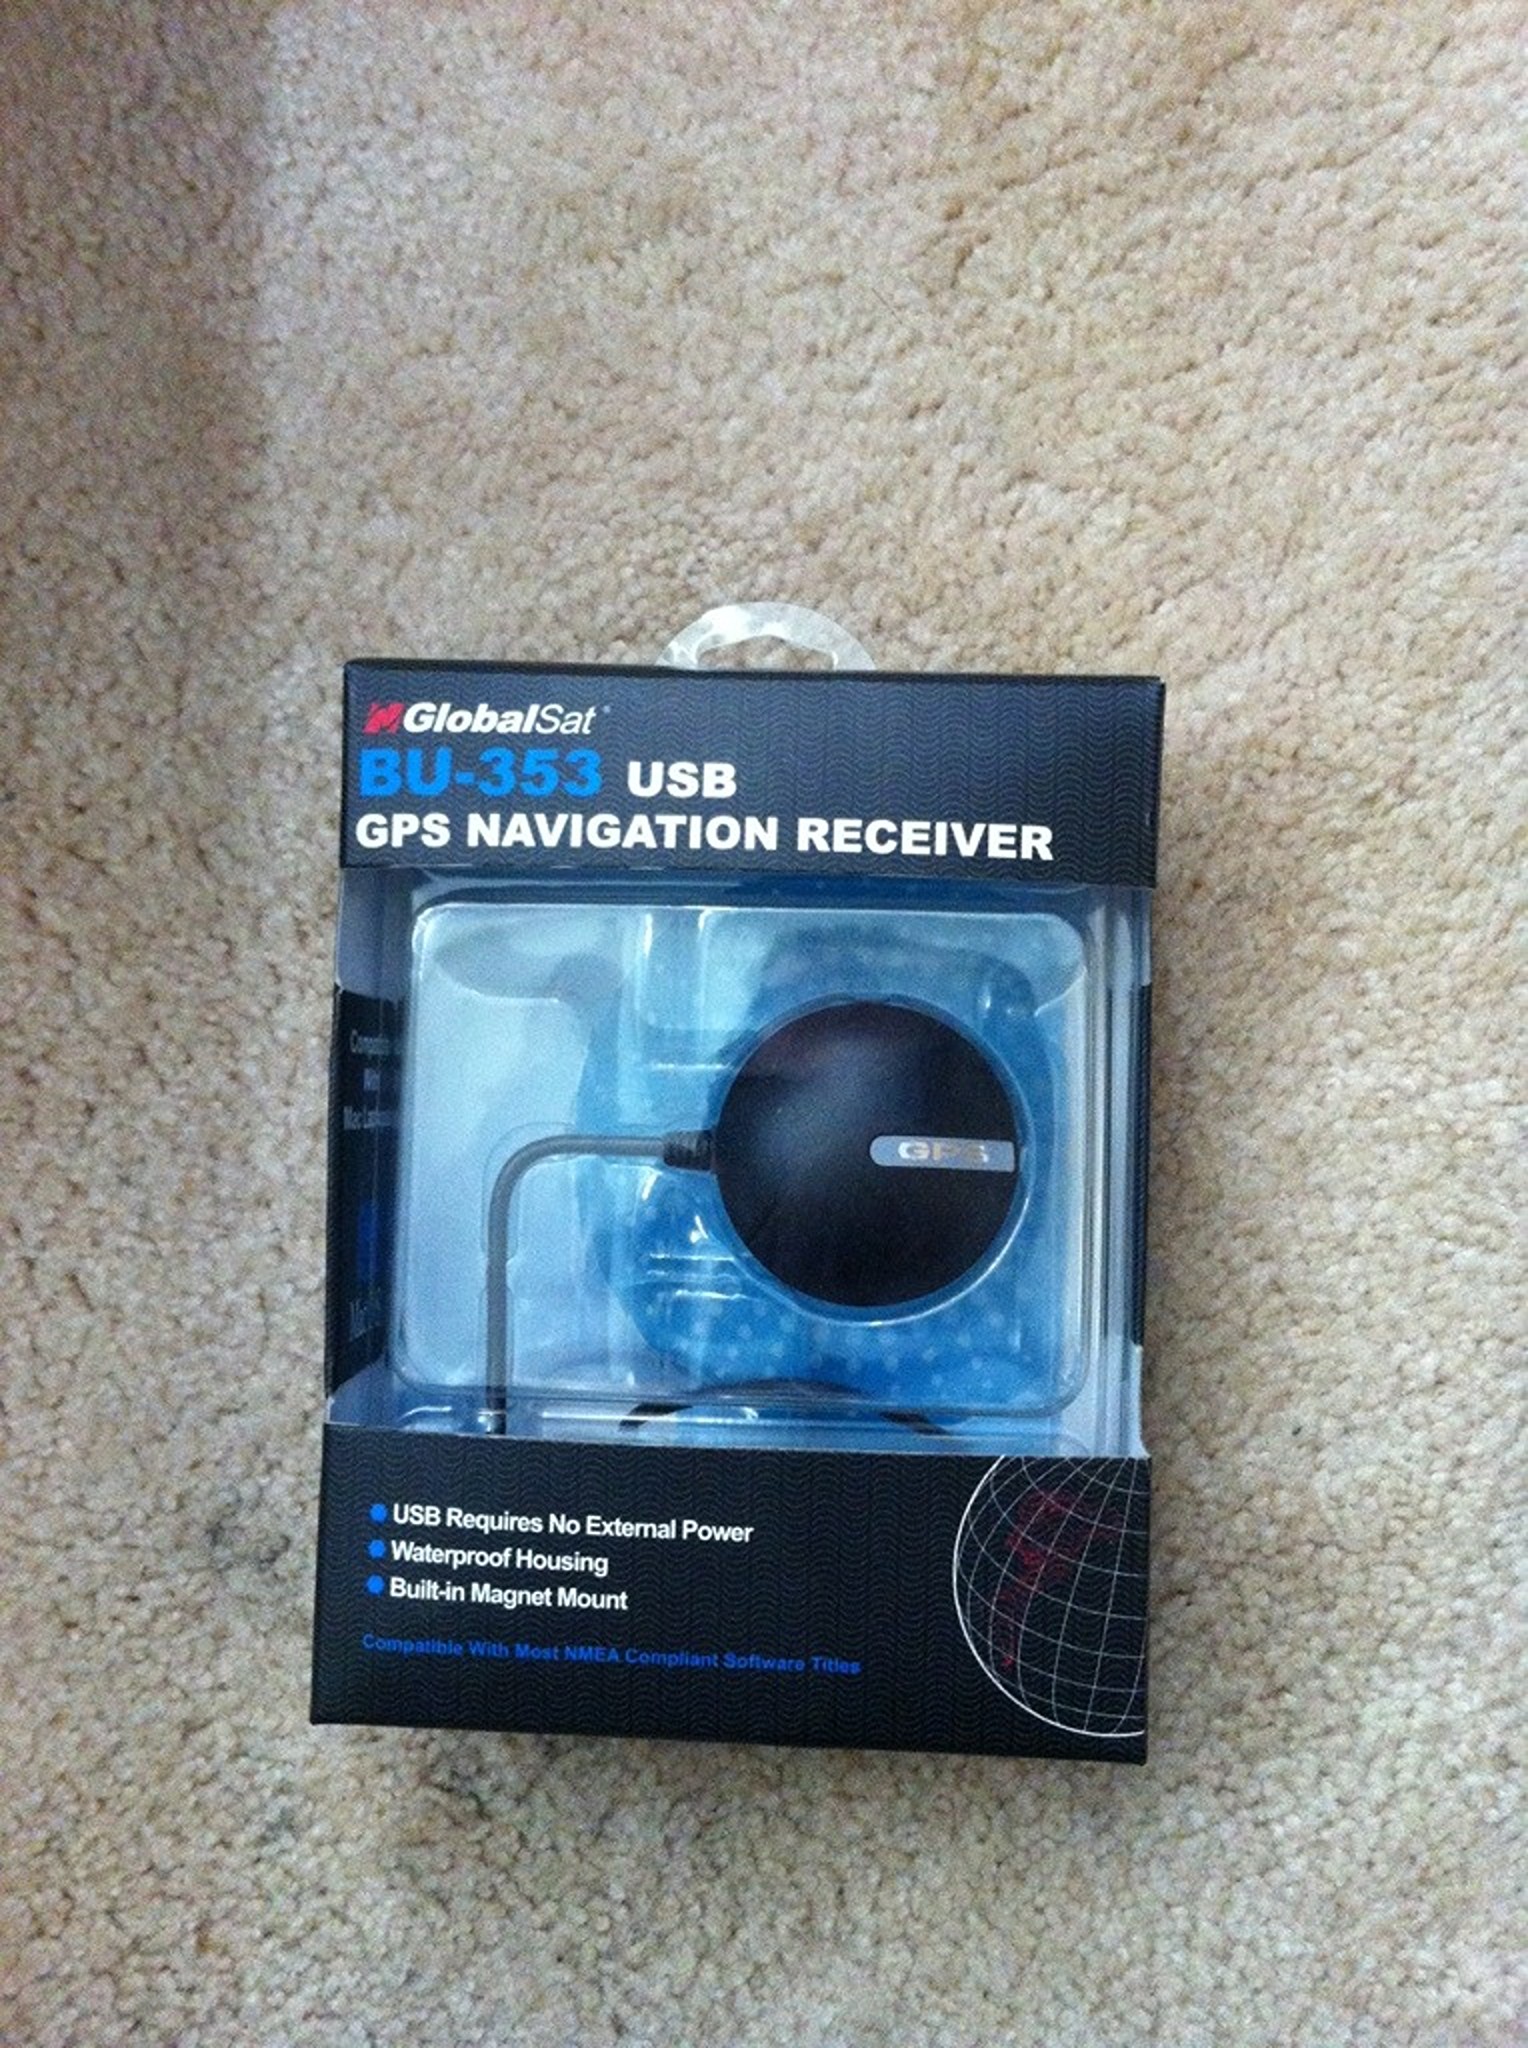
Crankshaft position sensor related issue on front wheel drive VQ35 vehicles.
We have found that many FWD VQ vehicles using an aftermarket flywheel often encounter a “hard start” or trouble code “p0335”. Improper distance of sensor to the trigger wheel on the flywheel.
Luckily the fix is relatively easy.
You will need to sand the surface onto which the sensor mounts to the upper oil pan. This will remove build up and put the sensor closer to the trigger wheel, getting a cleaner signal.
In most cases we have seen this when installing an aftermarket flywheel or engine swap.
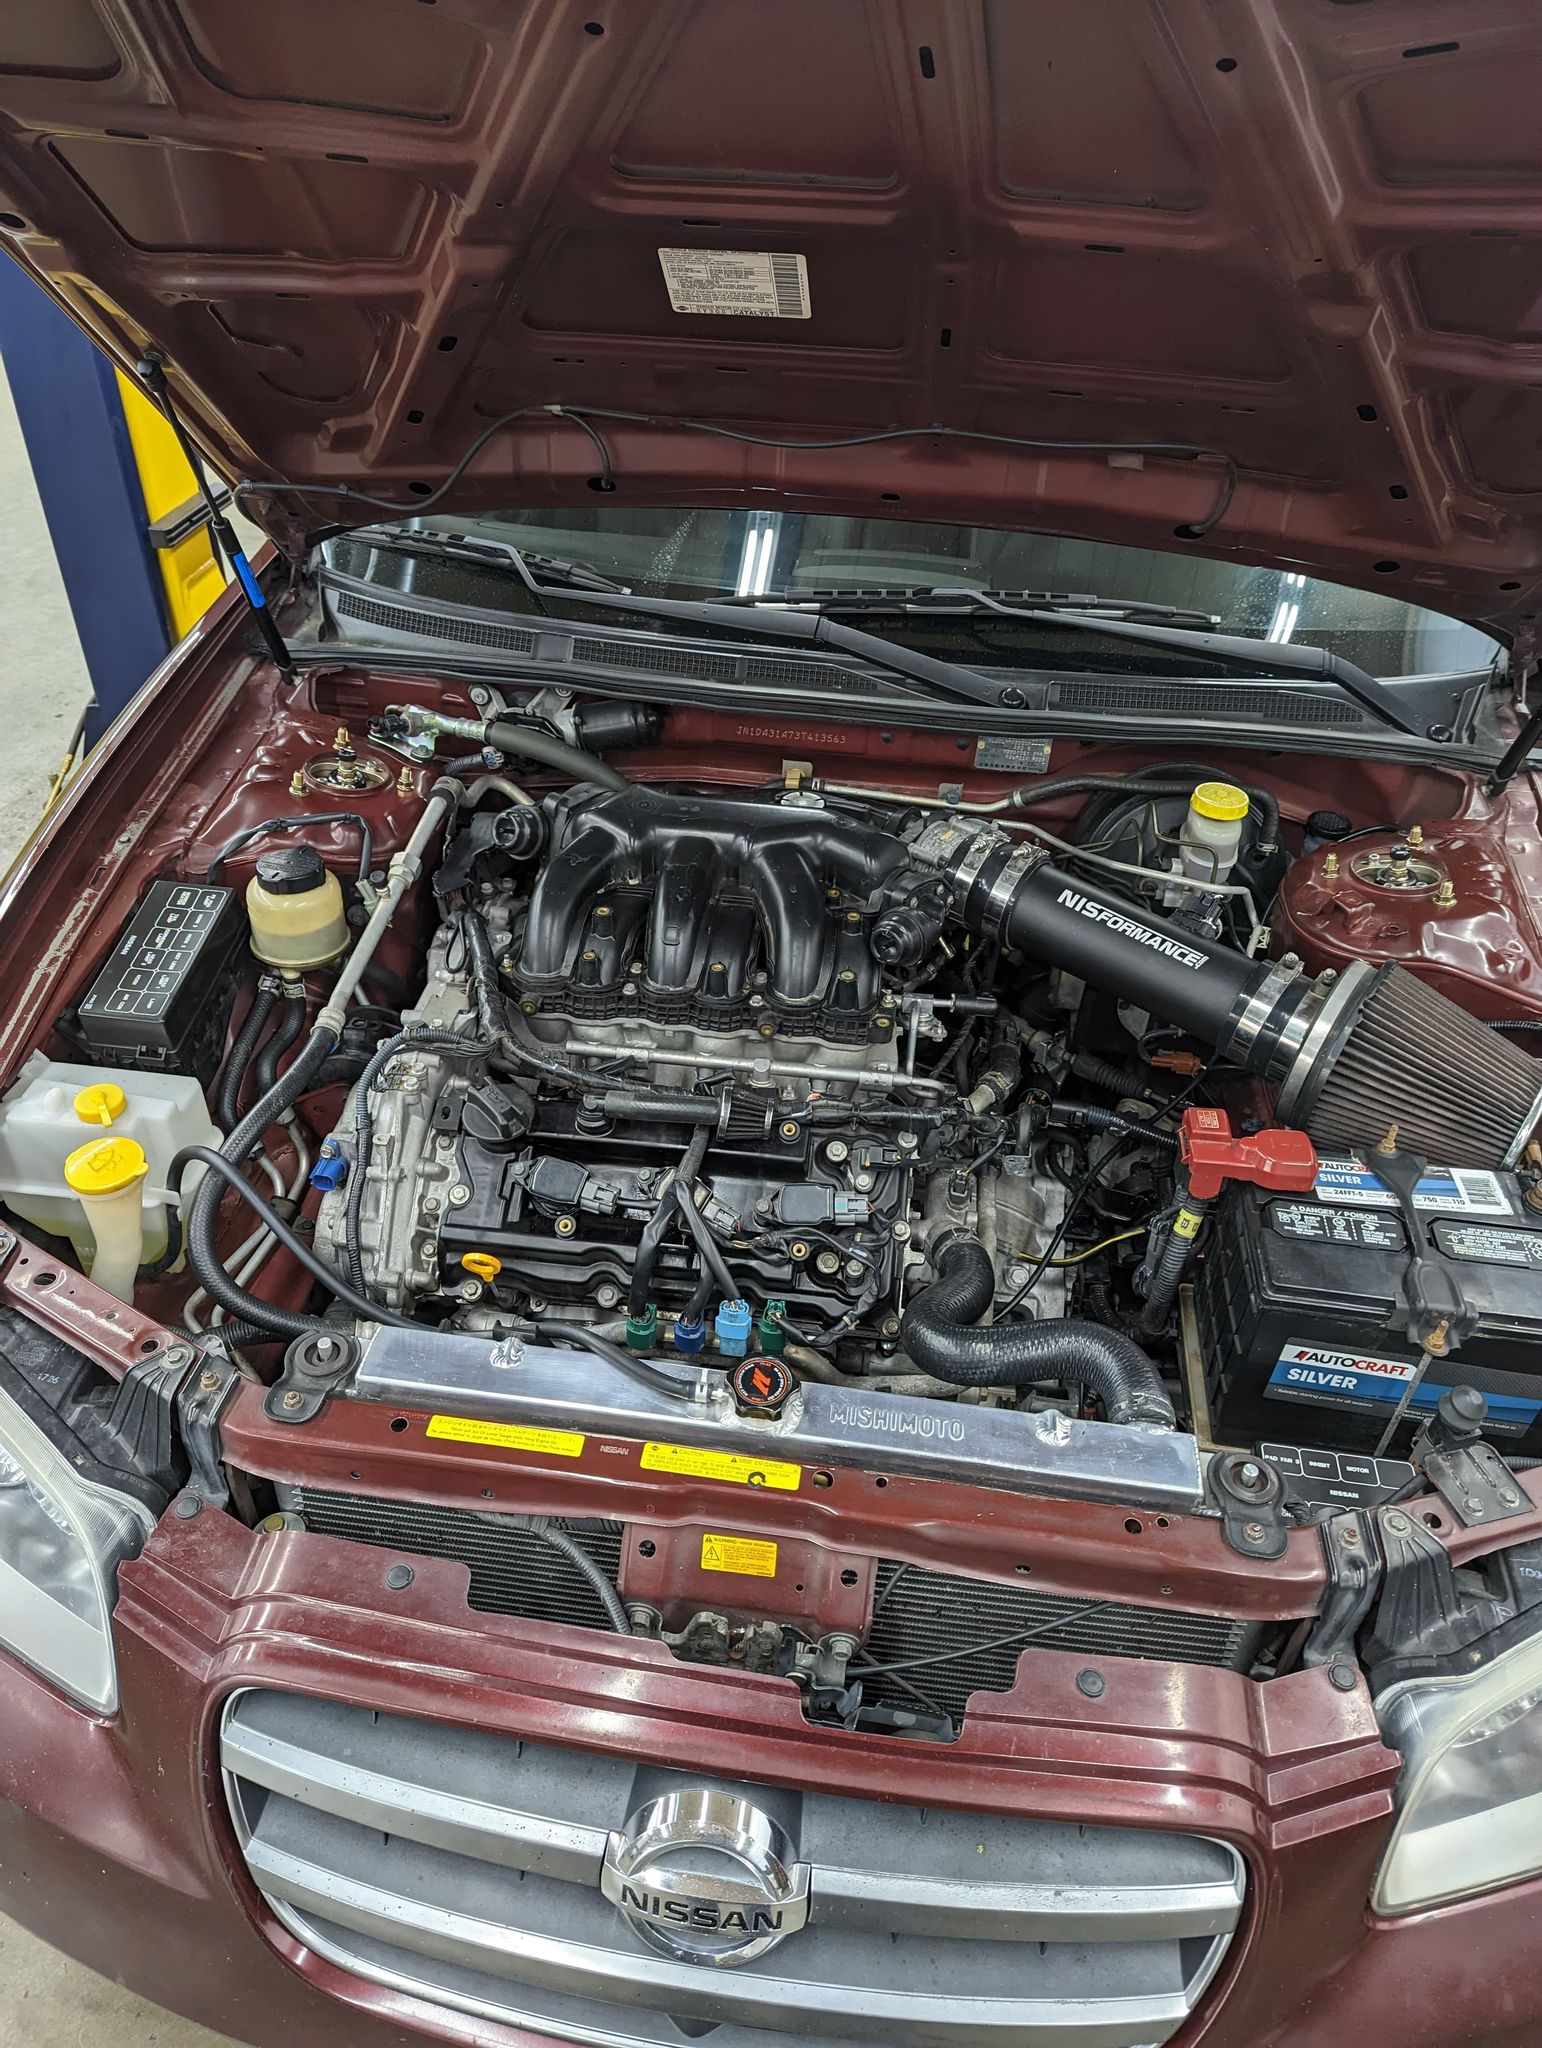
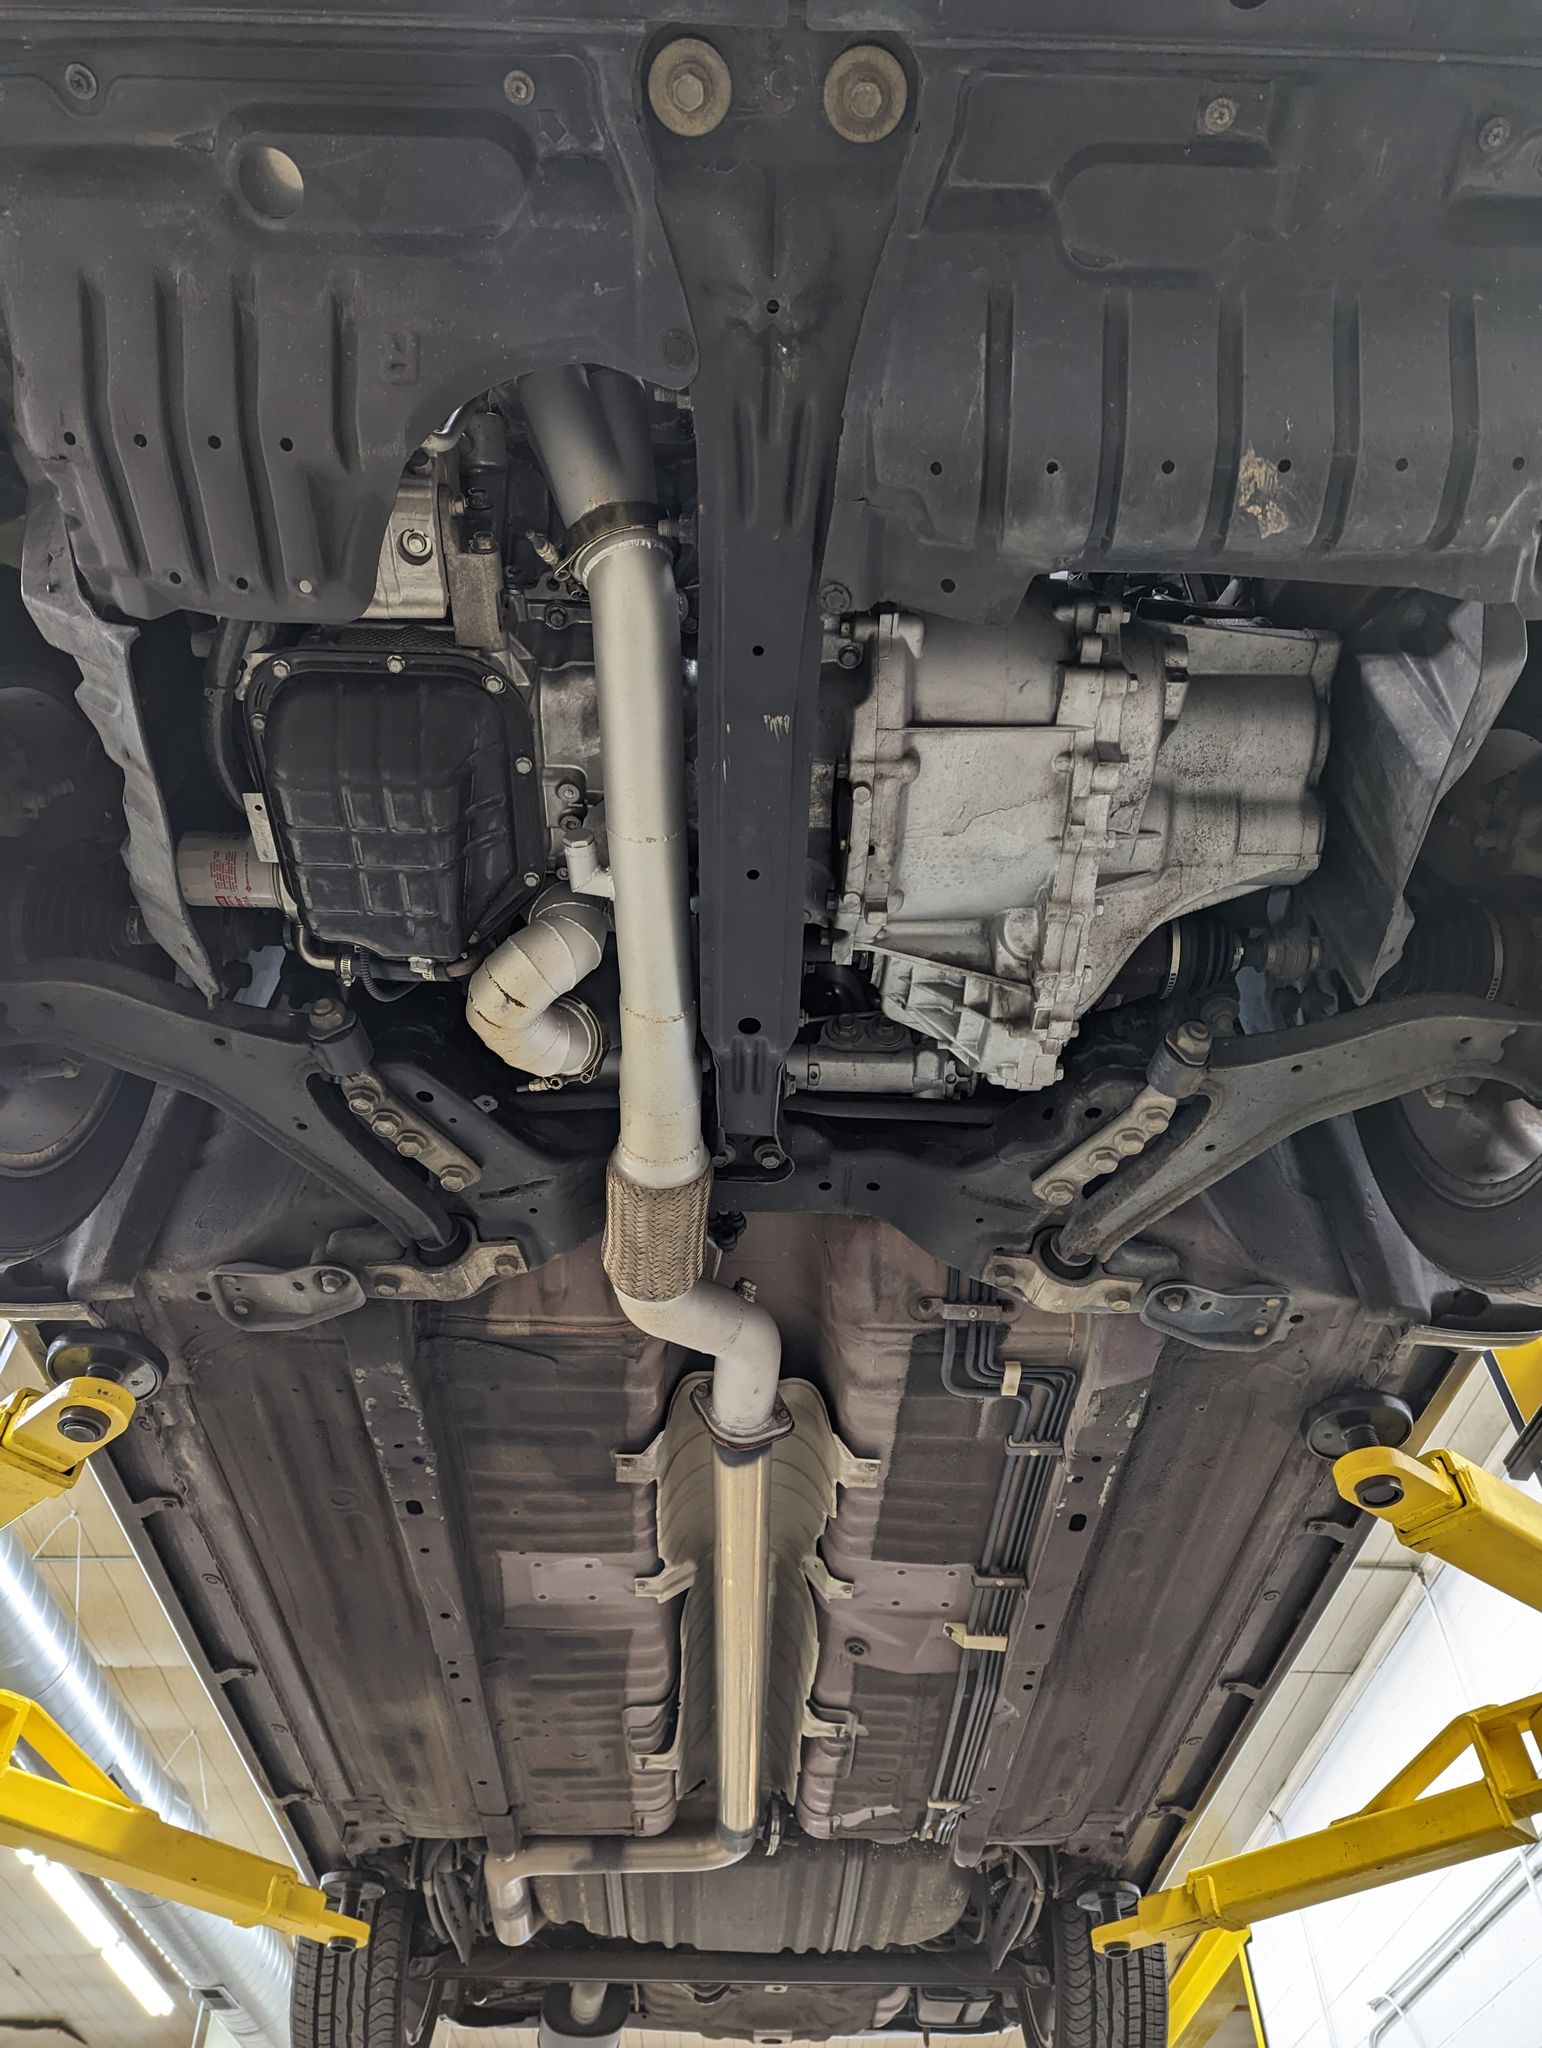
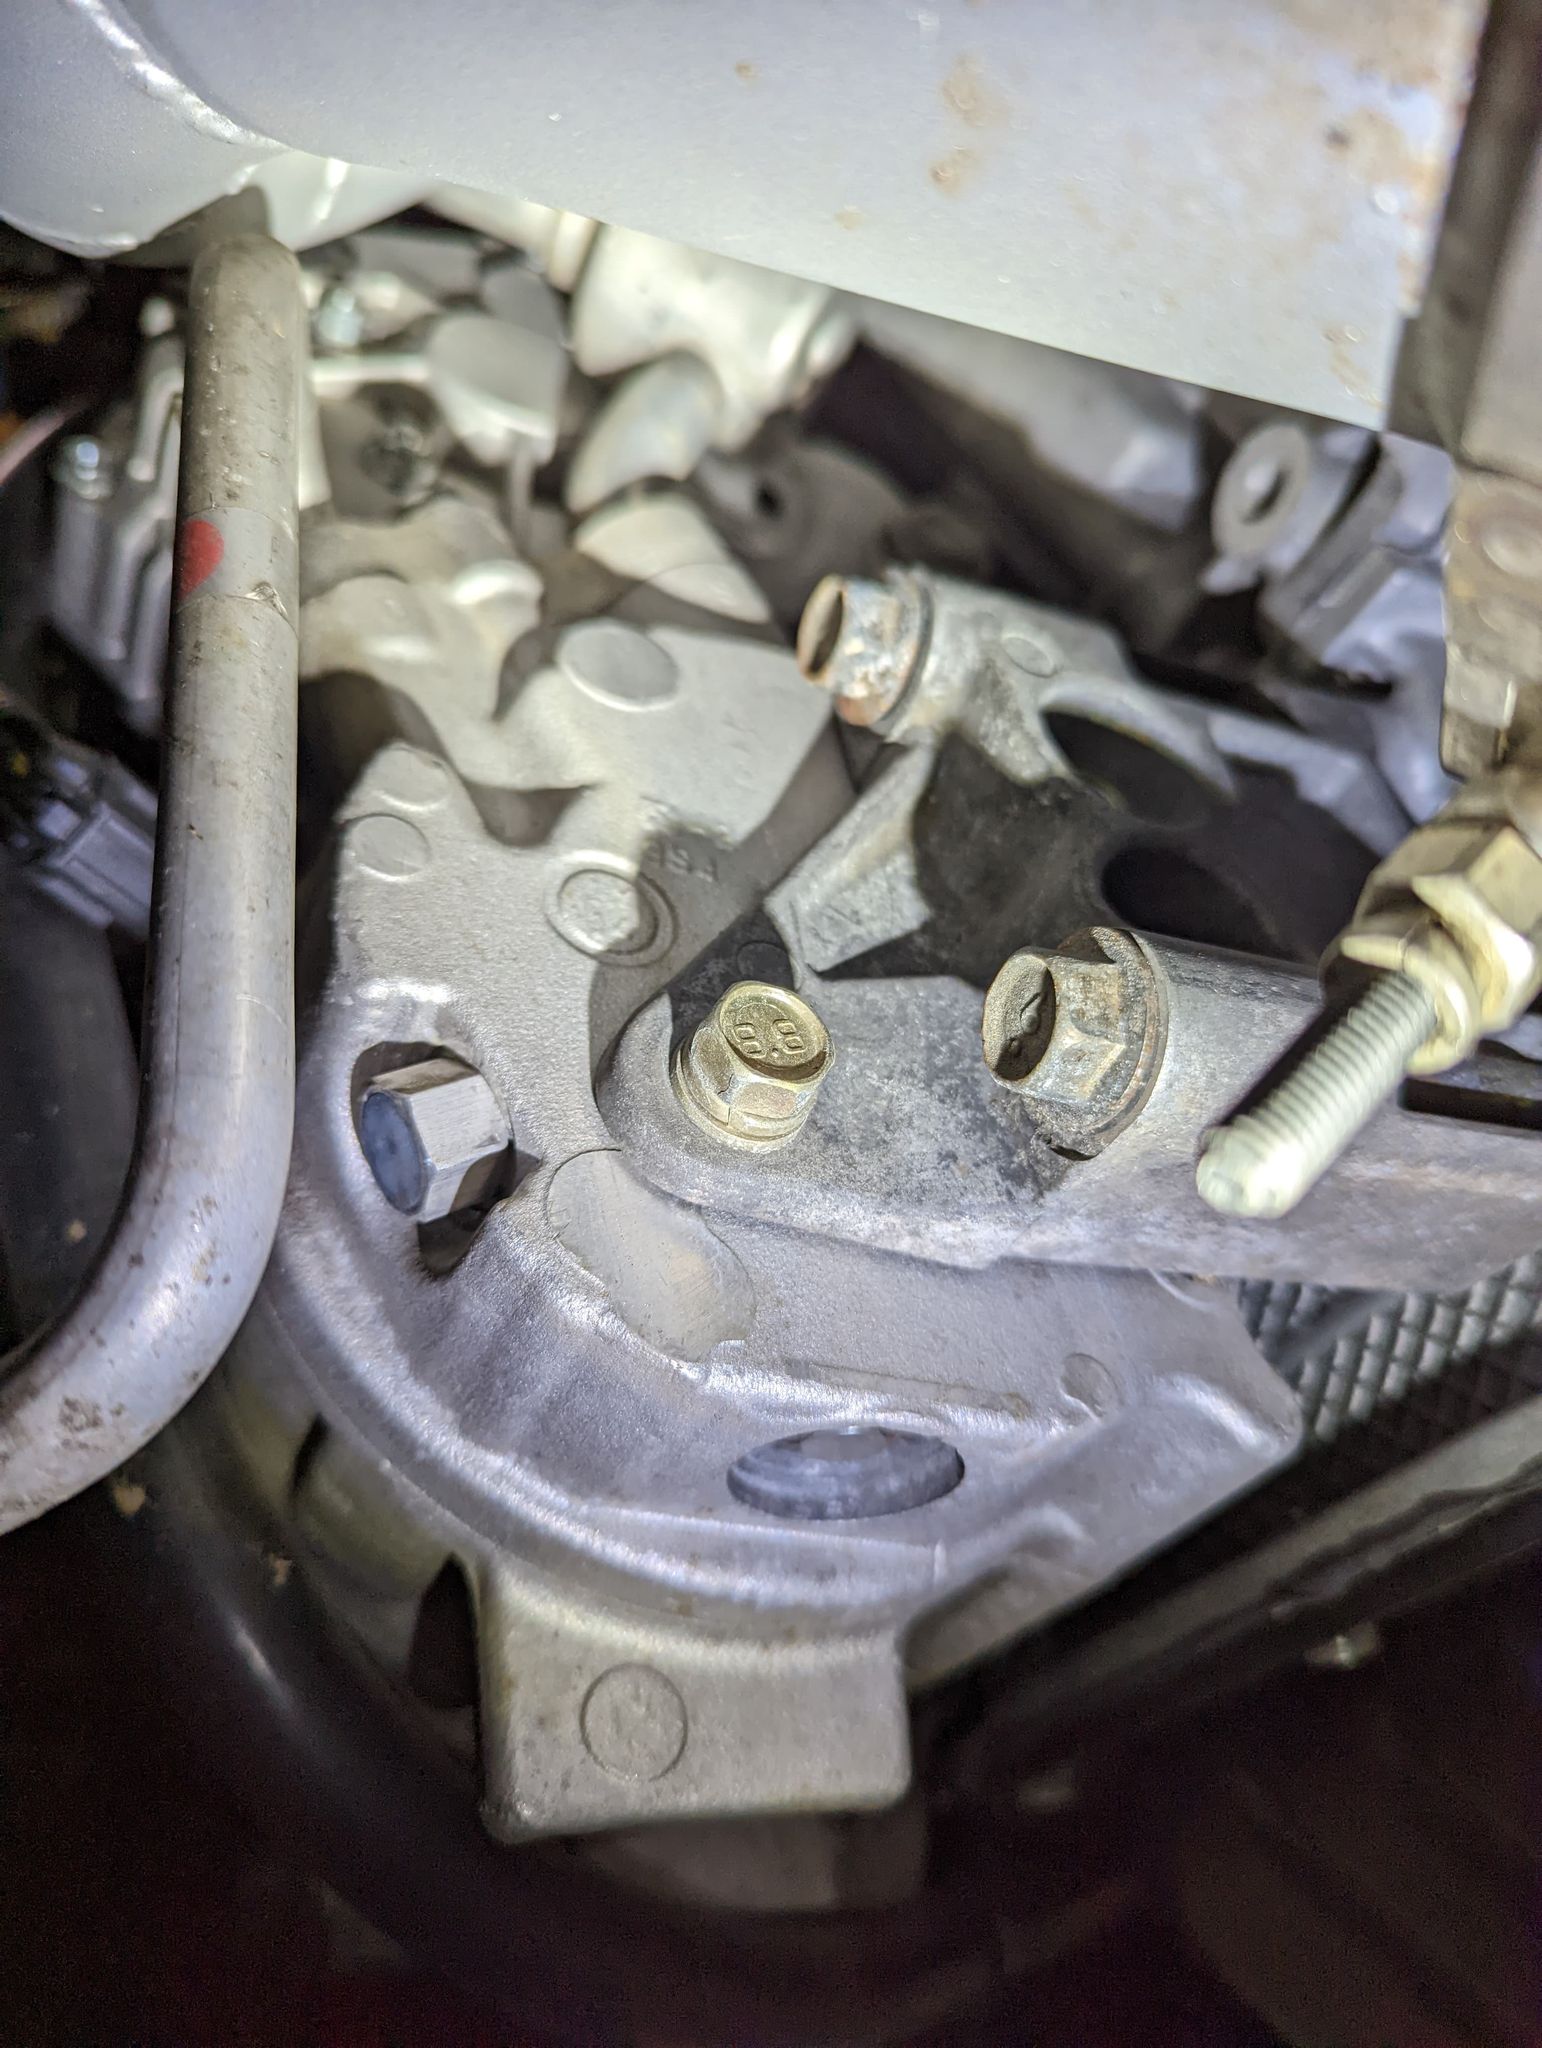
You may get one of the Nissan vehicles listed below in the shop with engine oil accumulated on the engine block below the engine oil cooler area. Inspect the engine, engine oil cooler and the oil cooler gasket for oil leakage. You may use a fluorescent oil dye leak detector to help more easily determine which component is leaking. If the oil is leaking from the oil cooler rubber gasket, replace the rubber gasket using the following manufacturer’s Service Procedure ….
You may get one of the Nissan vehicles listed below in the shop with engine oil accumulated on the engine block below the engine oil cooler area.
Inspect the engine, engine oil cooler and the oil cooler gasket for oil leakage. You may use a fluorescent oil dye leak detector to help more easily determine which component is leaking. If the oil is leaking from the oil cooler rubber gasket, replace the rubber gasket using the following manufacturer’s Service Procedure.
Vehicles:
2004-2006 Quest
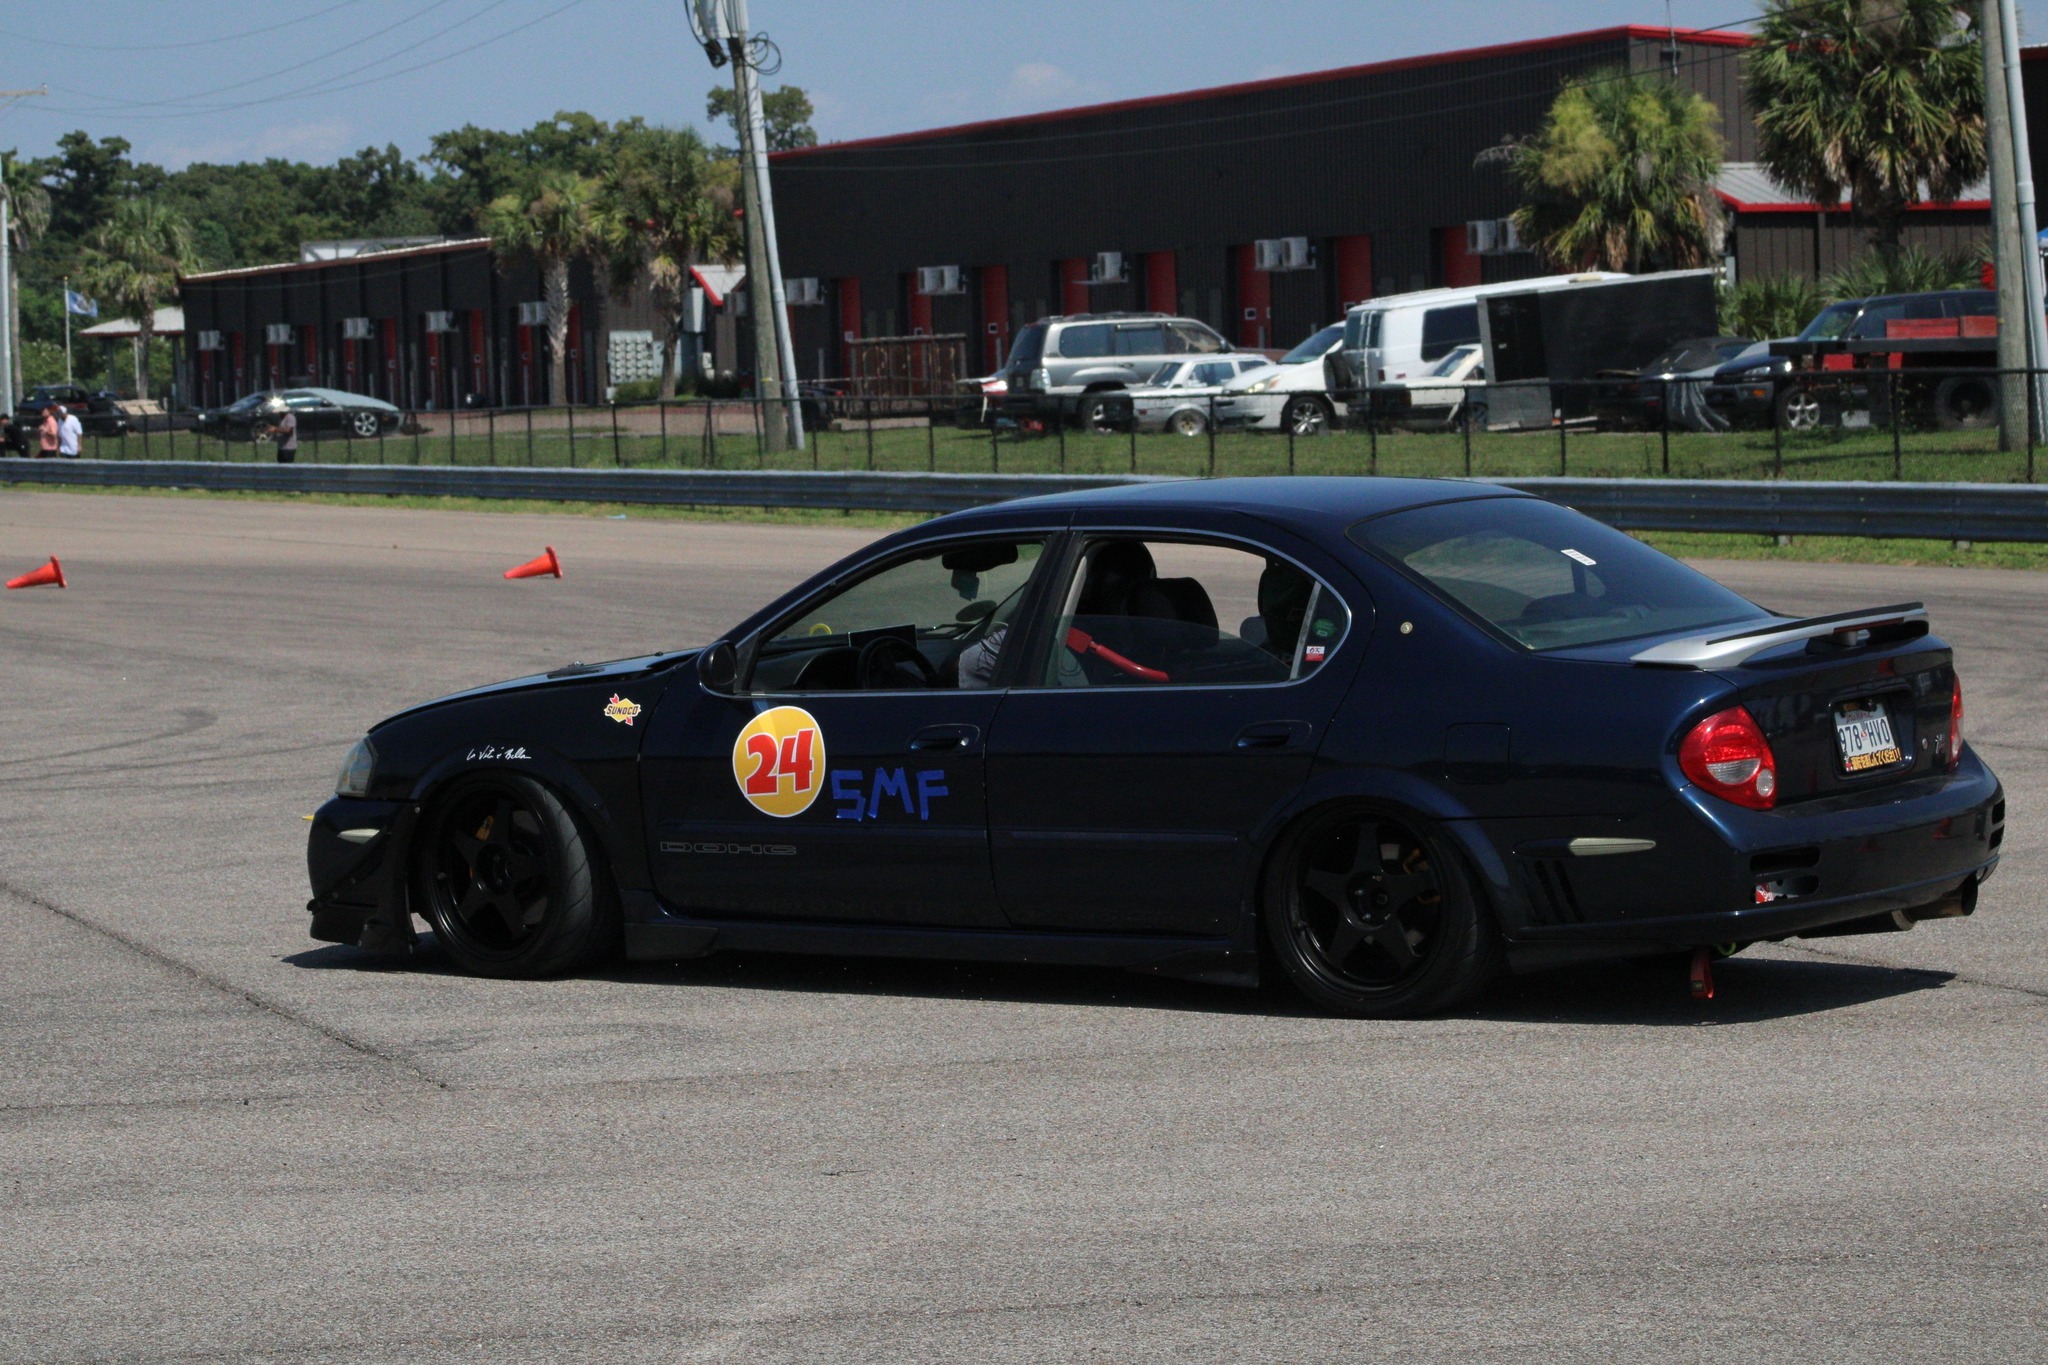
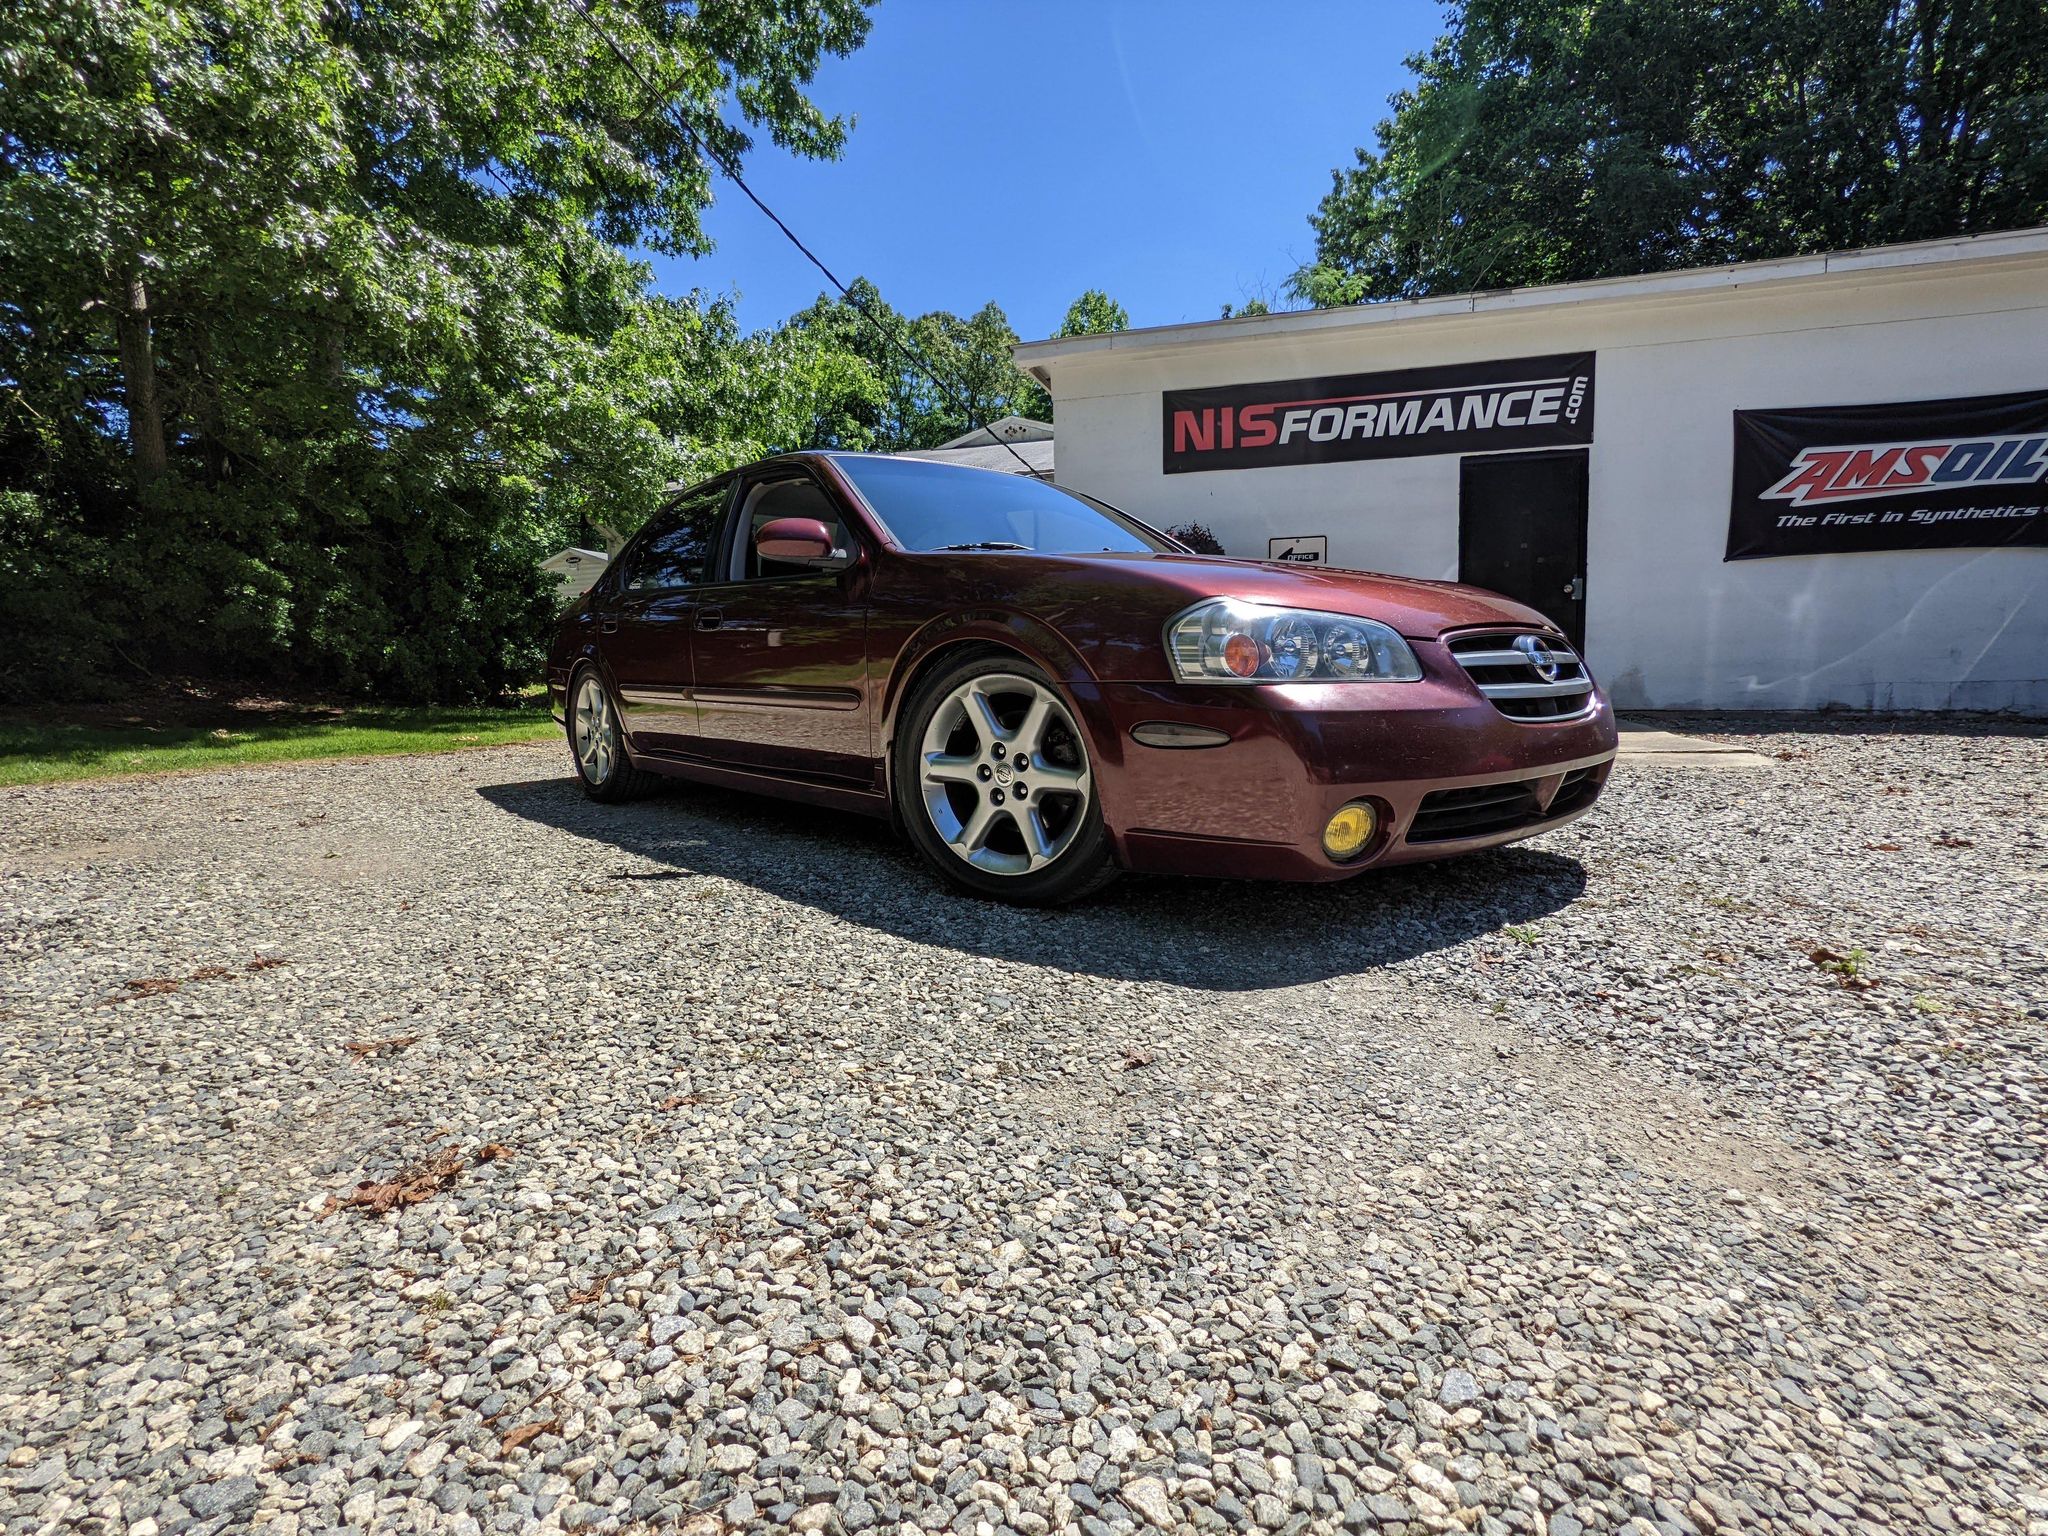
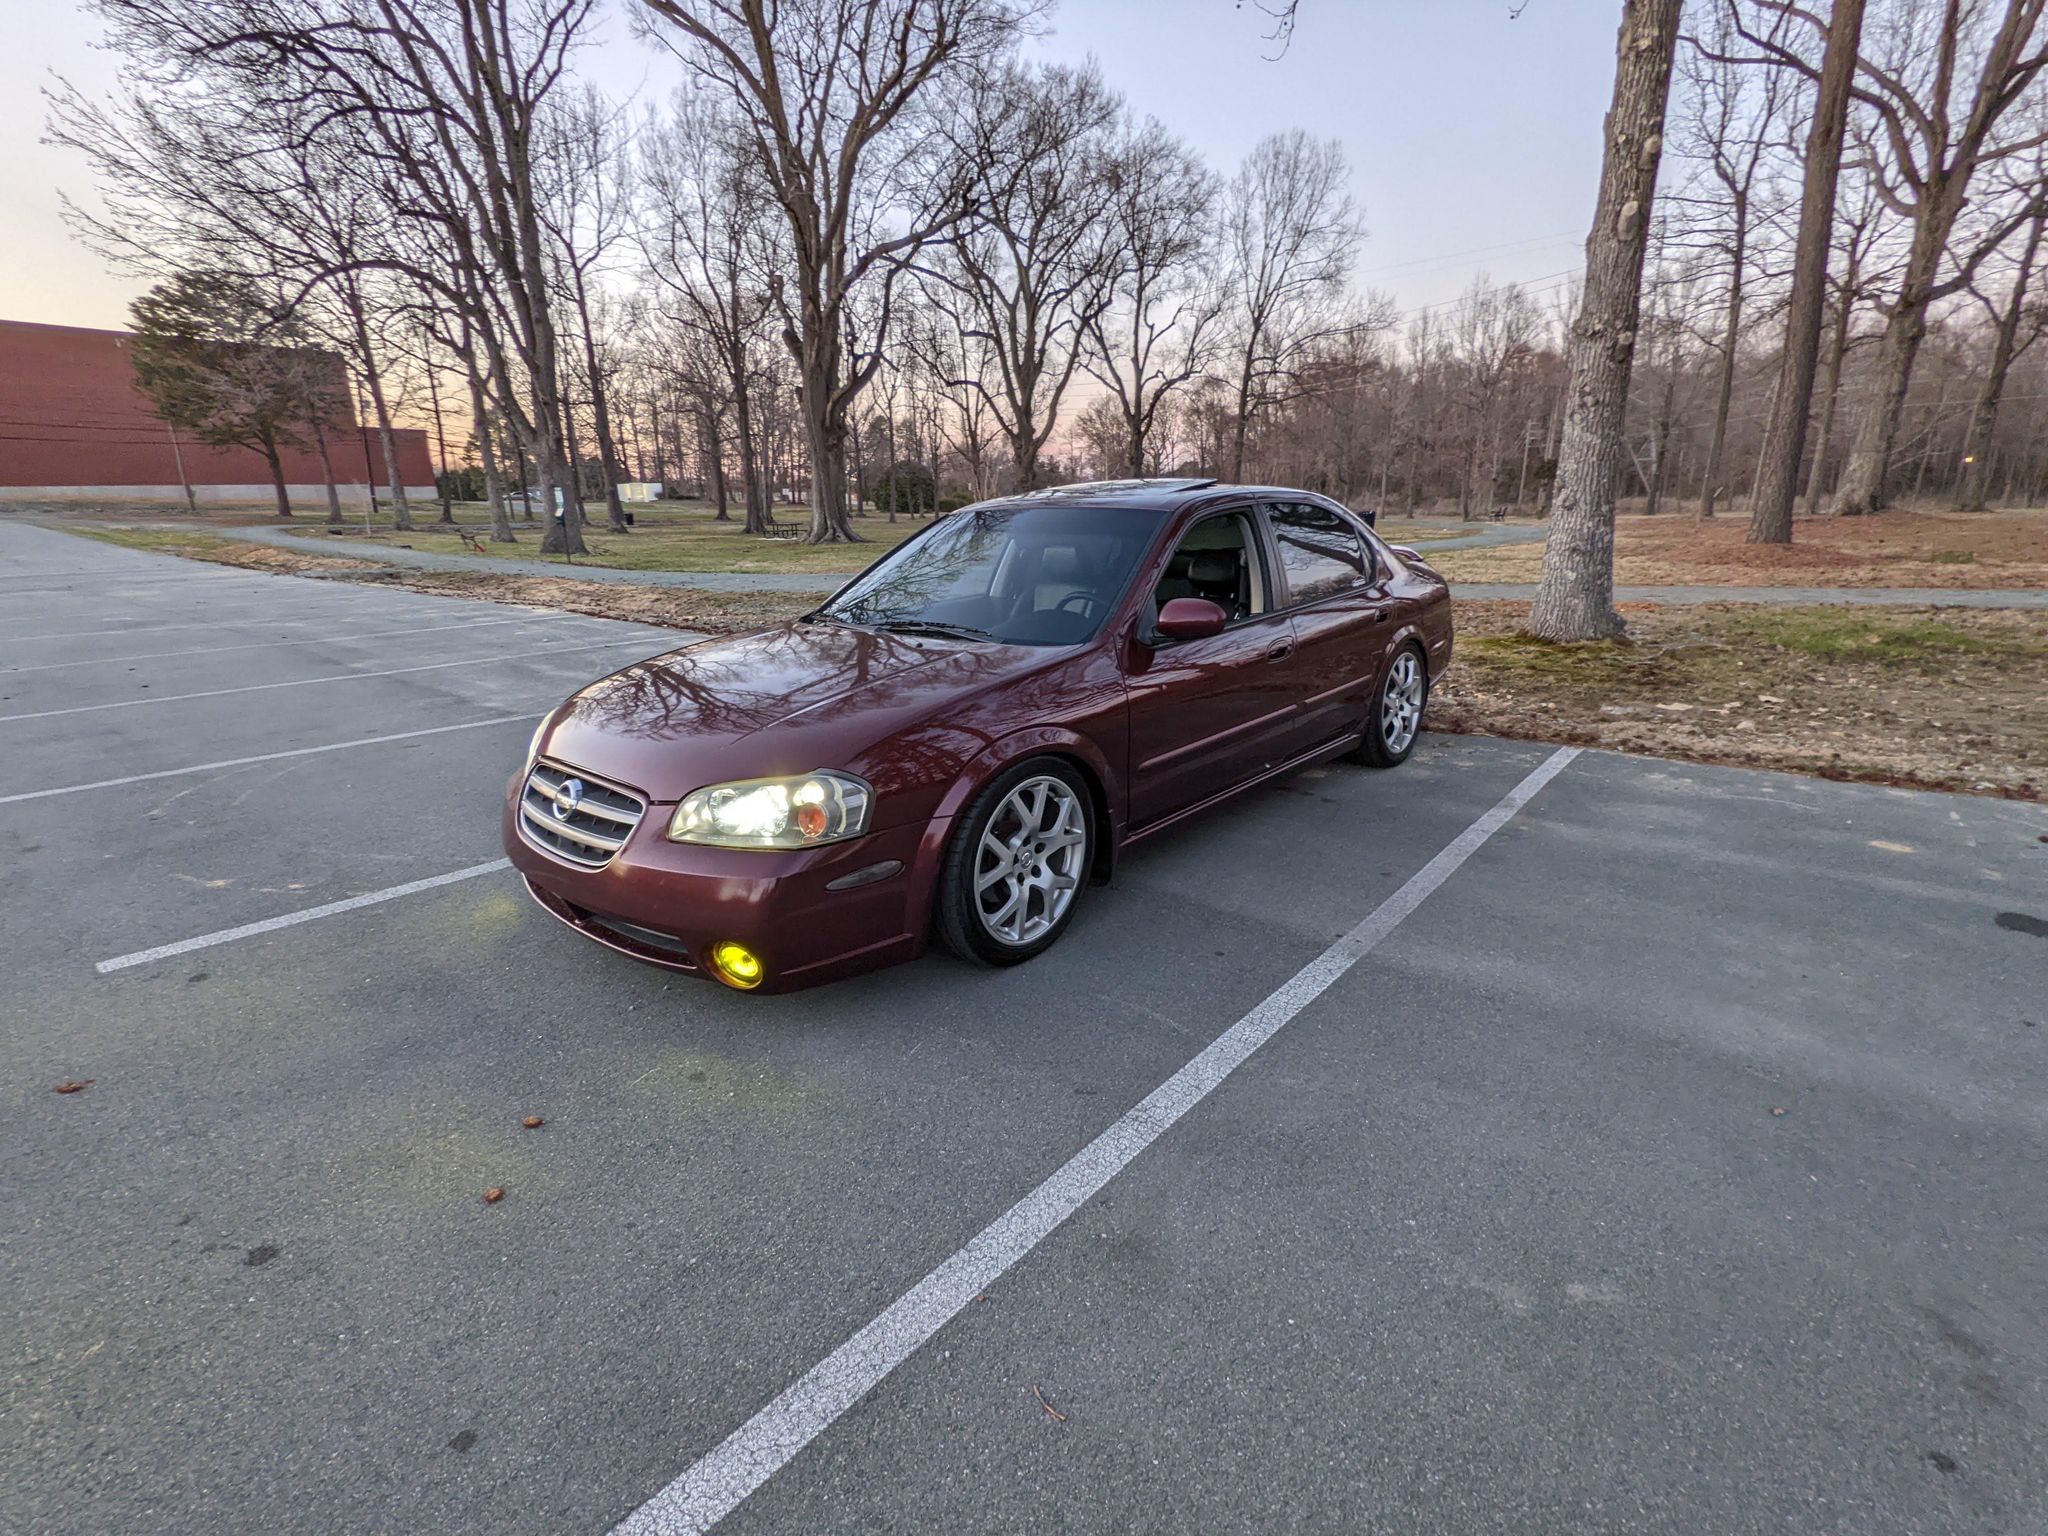
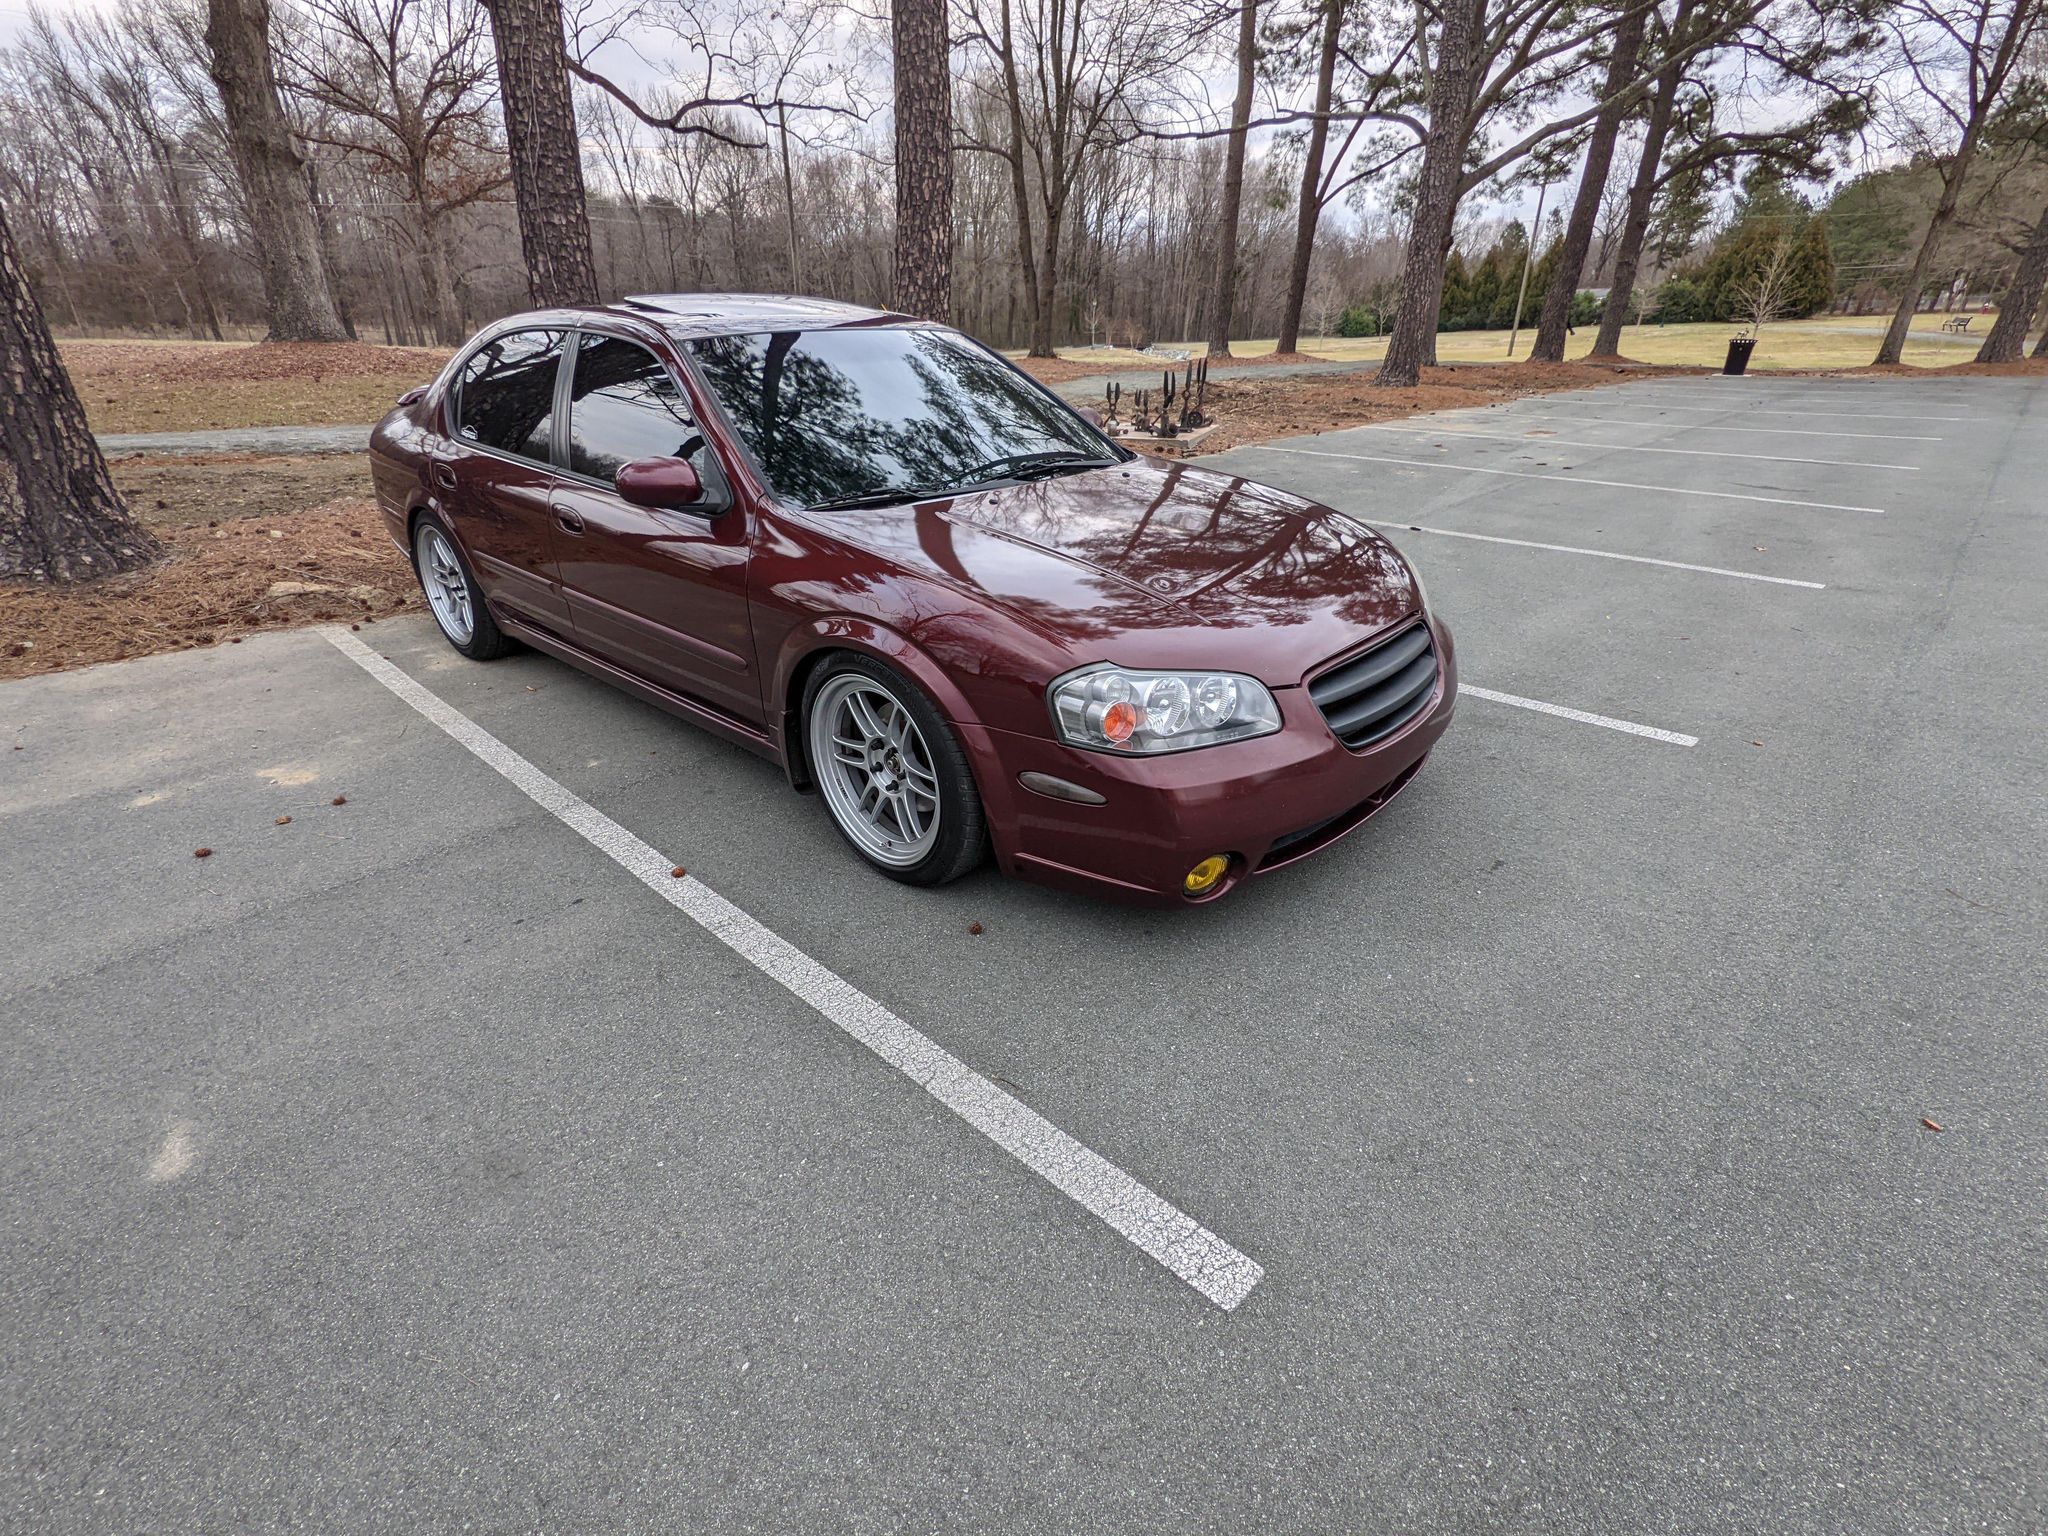
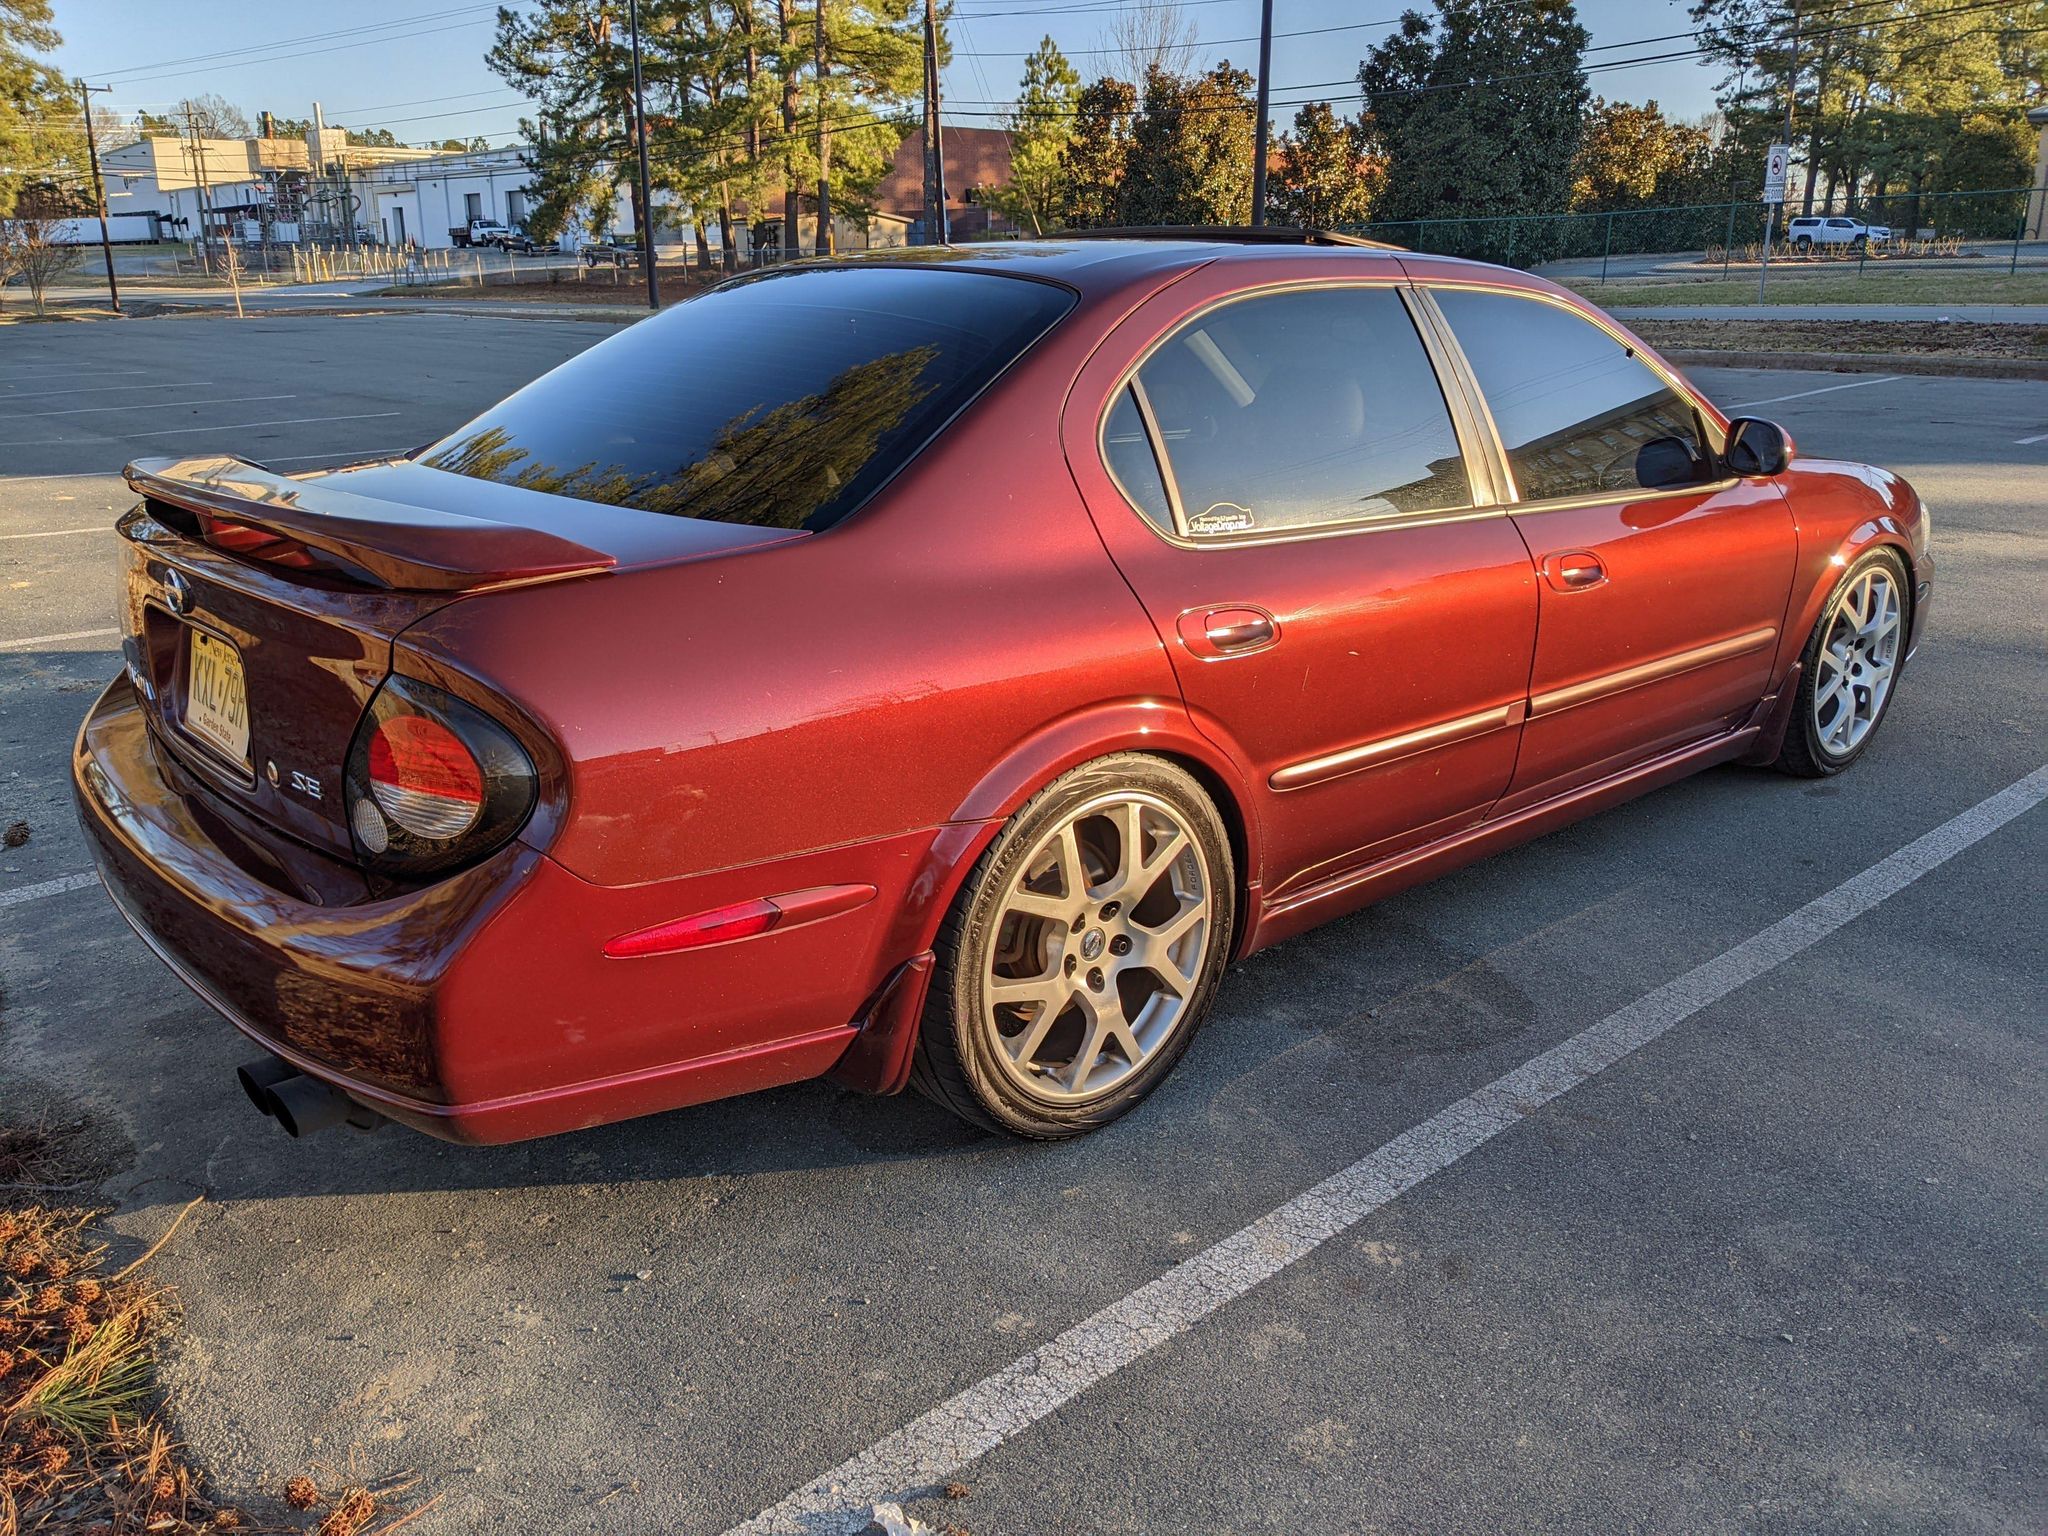
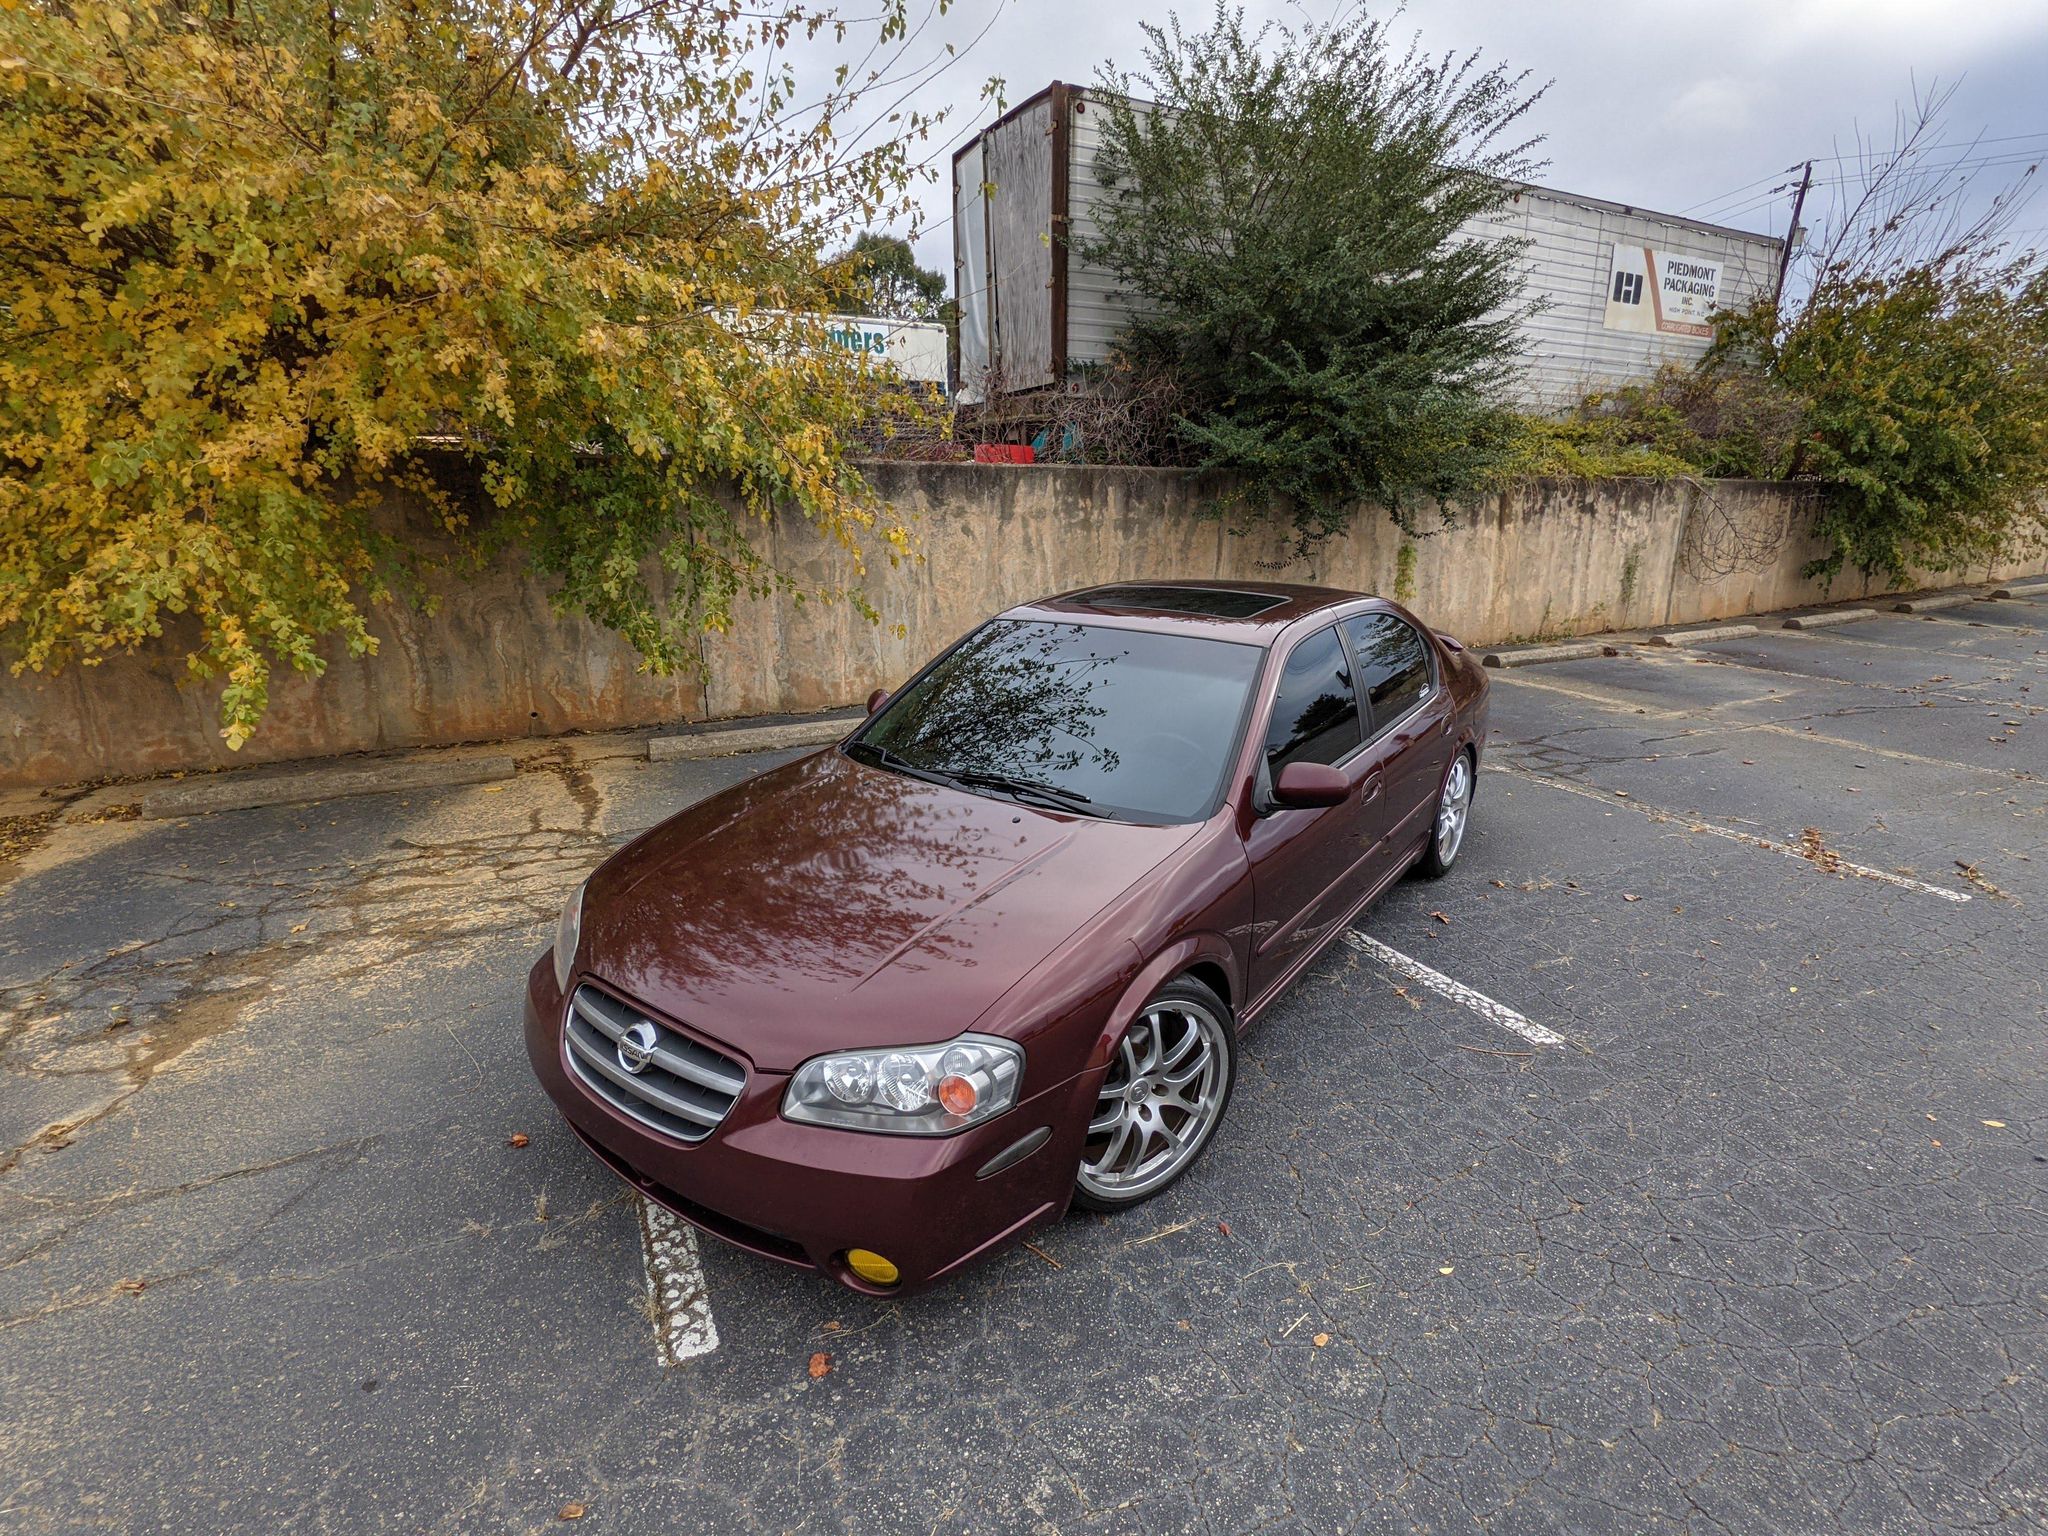
2000-2006 Maxima
2003-2006 Murano
2002-2006 Altima with VQ35 engine only
Service Procedure:
Drain engine oil.
Drain engine coolant. Do not spill coolant on the drive belt.
Remove the oil filter and the oil cooler.
Check oil cooler for cracks.
Check oil cooler for clogging by blowing through coolant inlet. If necessary, replace oil cooler assembly.
Inspect the oil pressure relief valve for movement, cracks and breaks by pushing the ball. If replacement is necessary, remove valve by prying it out with a suitable tool. Install a new valve in place by tapping it.
Installation is in reverse order of removal.
When installing the oil cooler, install a new rubber gasket and align the oil cooler stopper with the stopper of the oil pan.
Start engine and check there are no leaks of engine oil or coolant.
Reference:
Posting this up just to clarify the relief valve part number and identification, the FSM is pretty vague.The O Ring part number OEM 21304-JA11A or Dorman part 917-036 (Dorman come 3 in a box and can get it at any parts store)
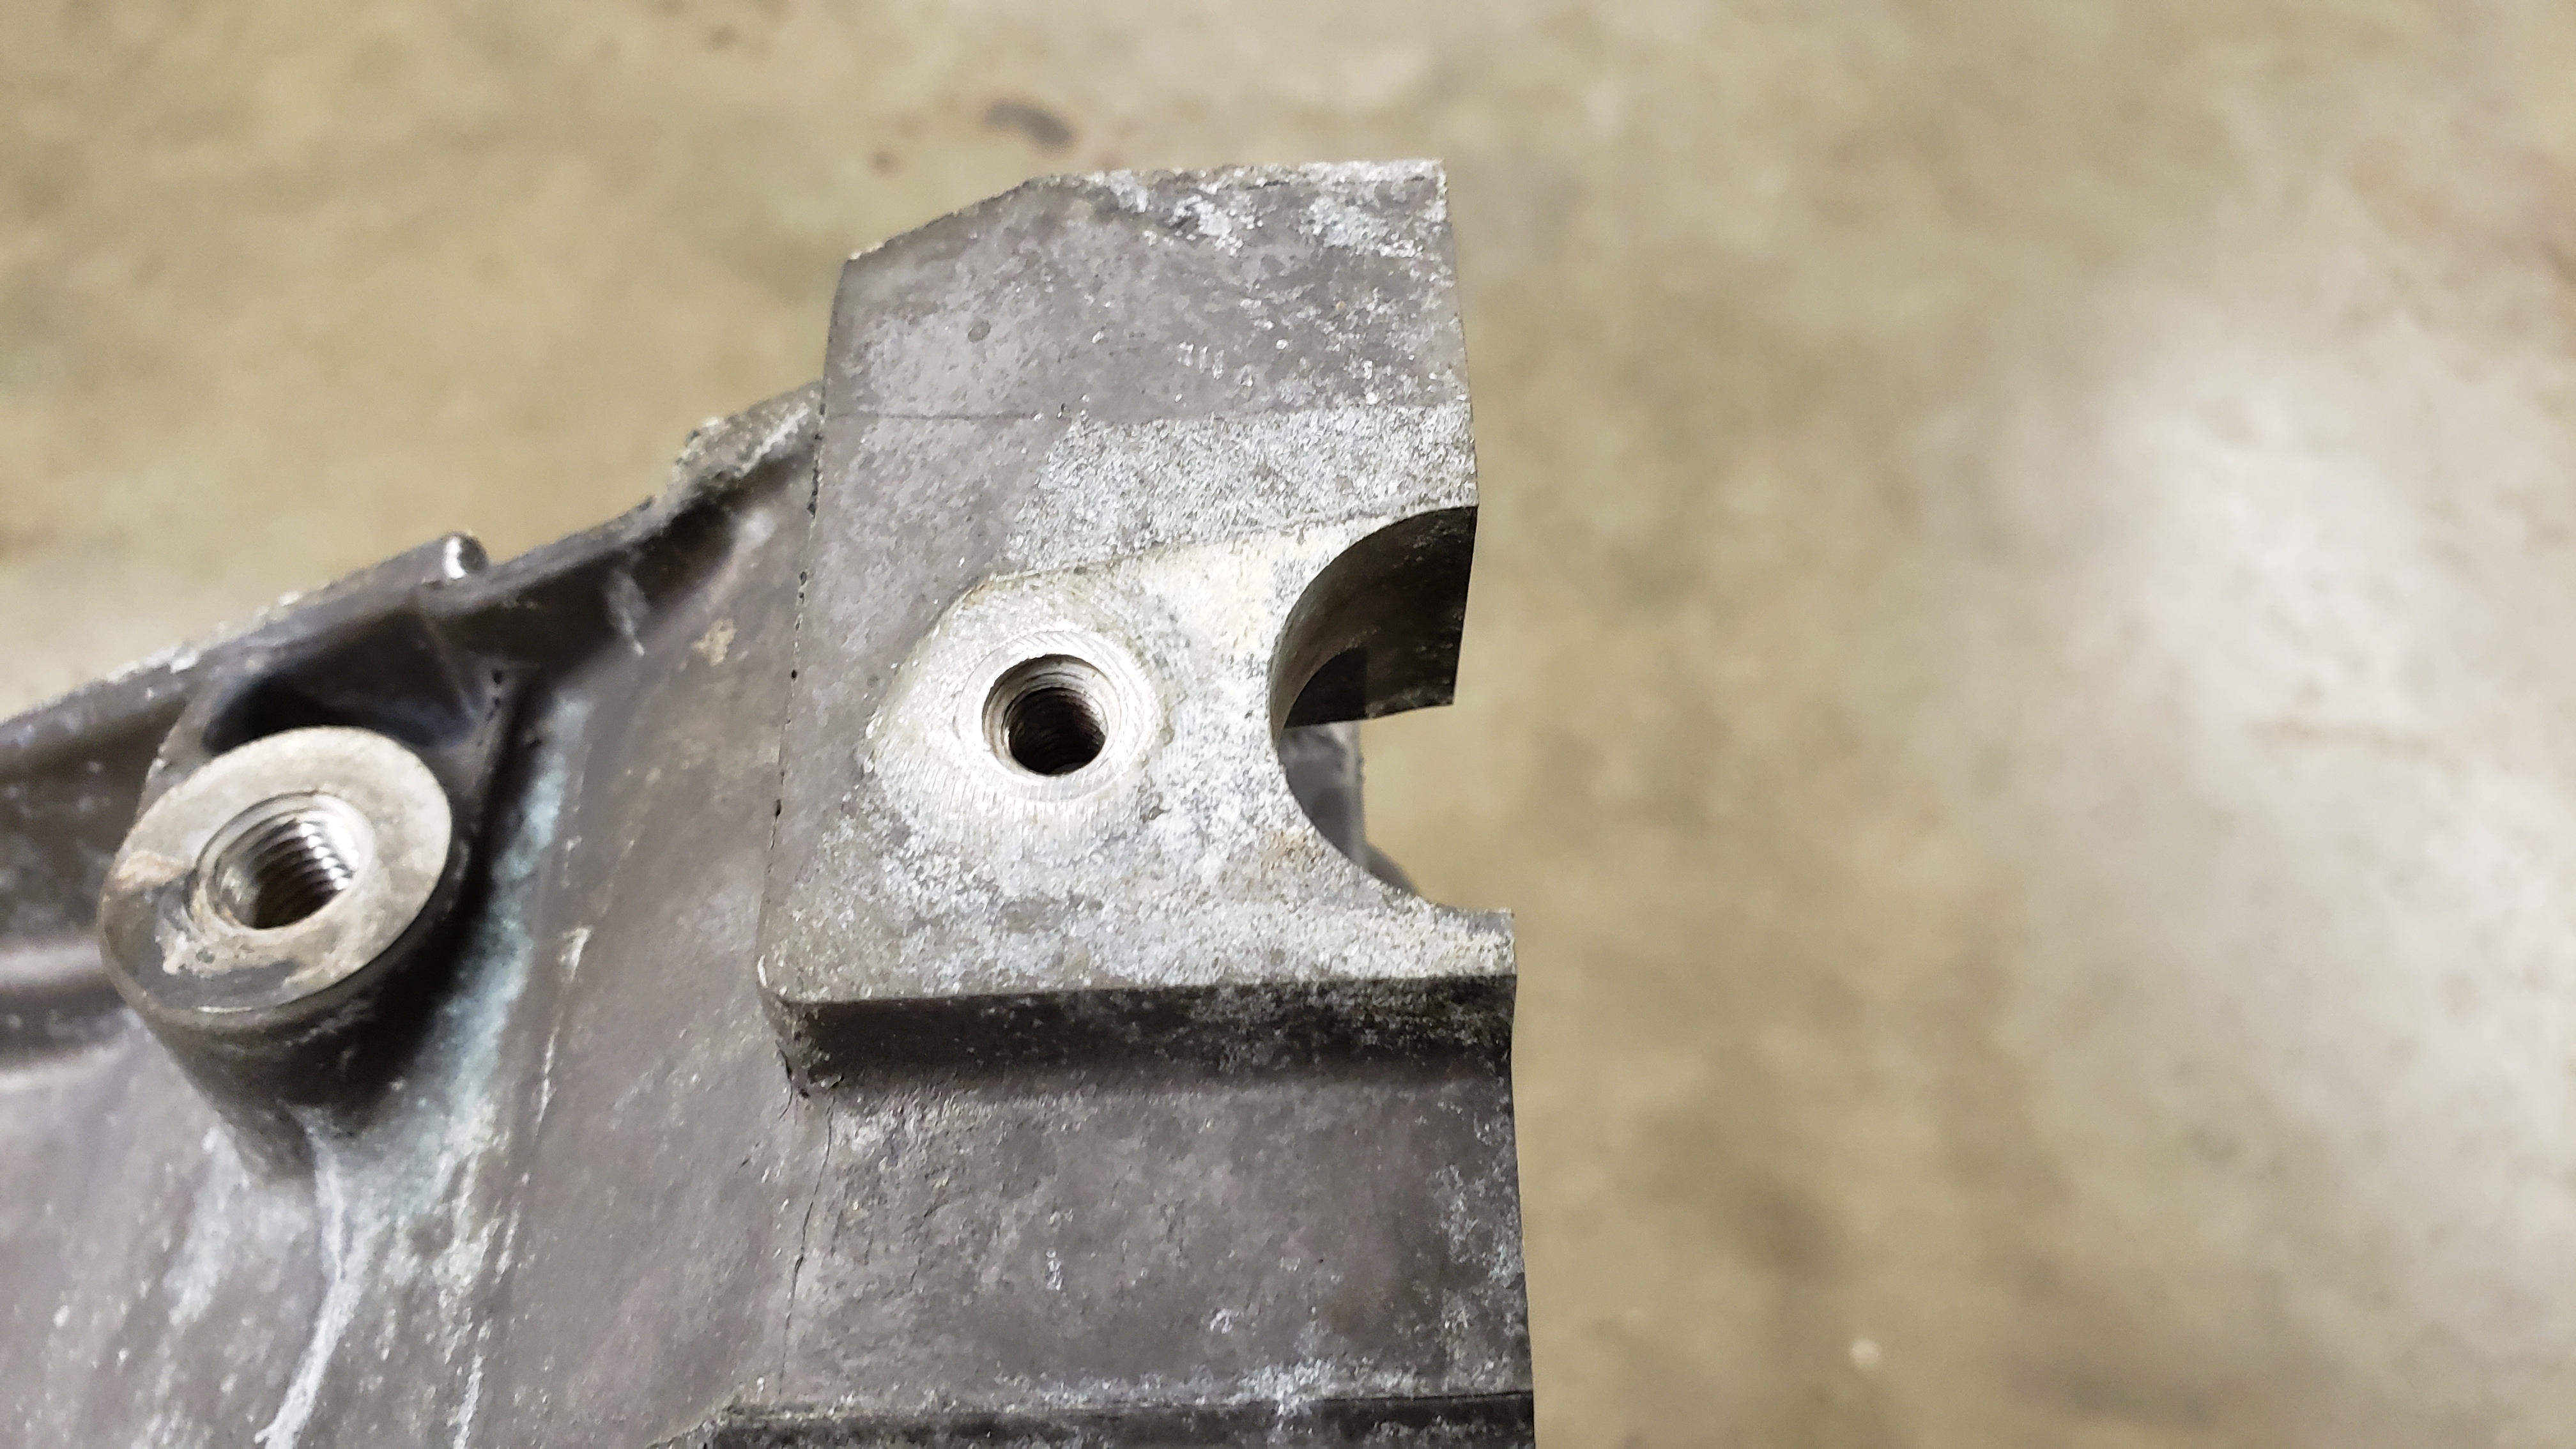
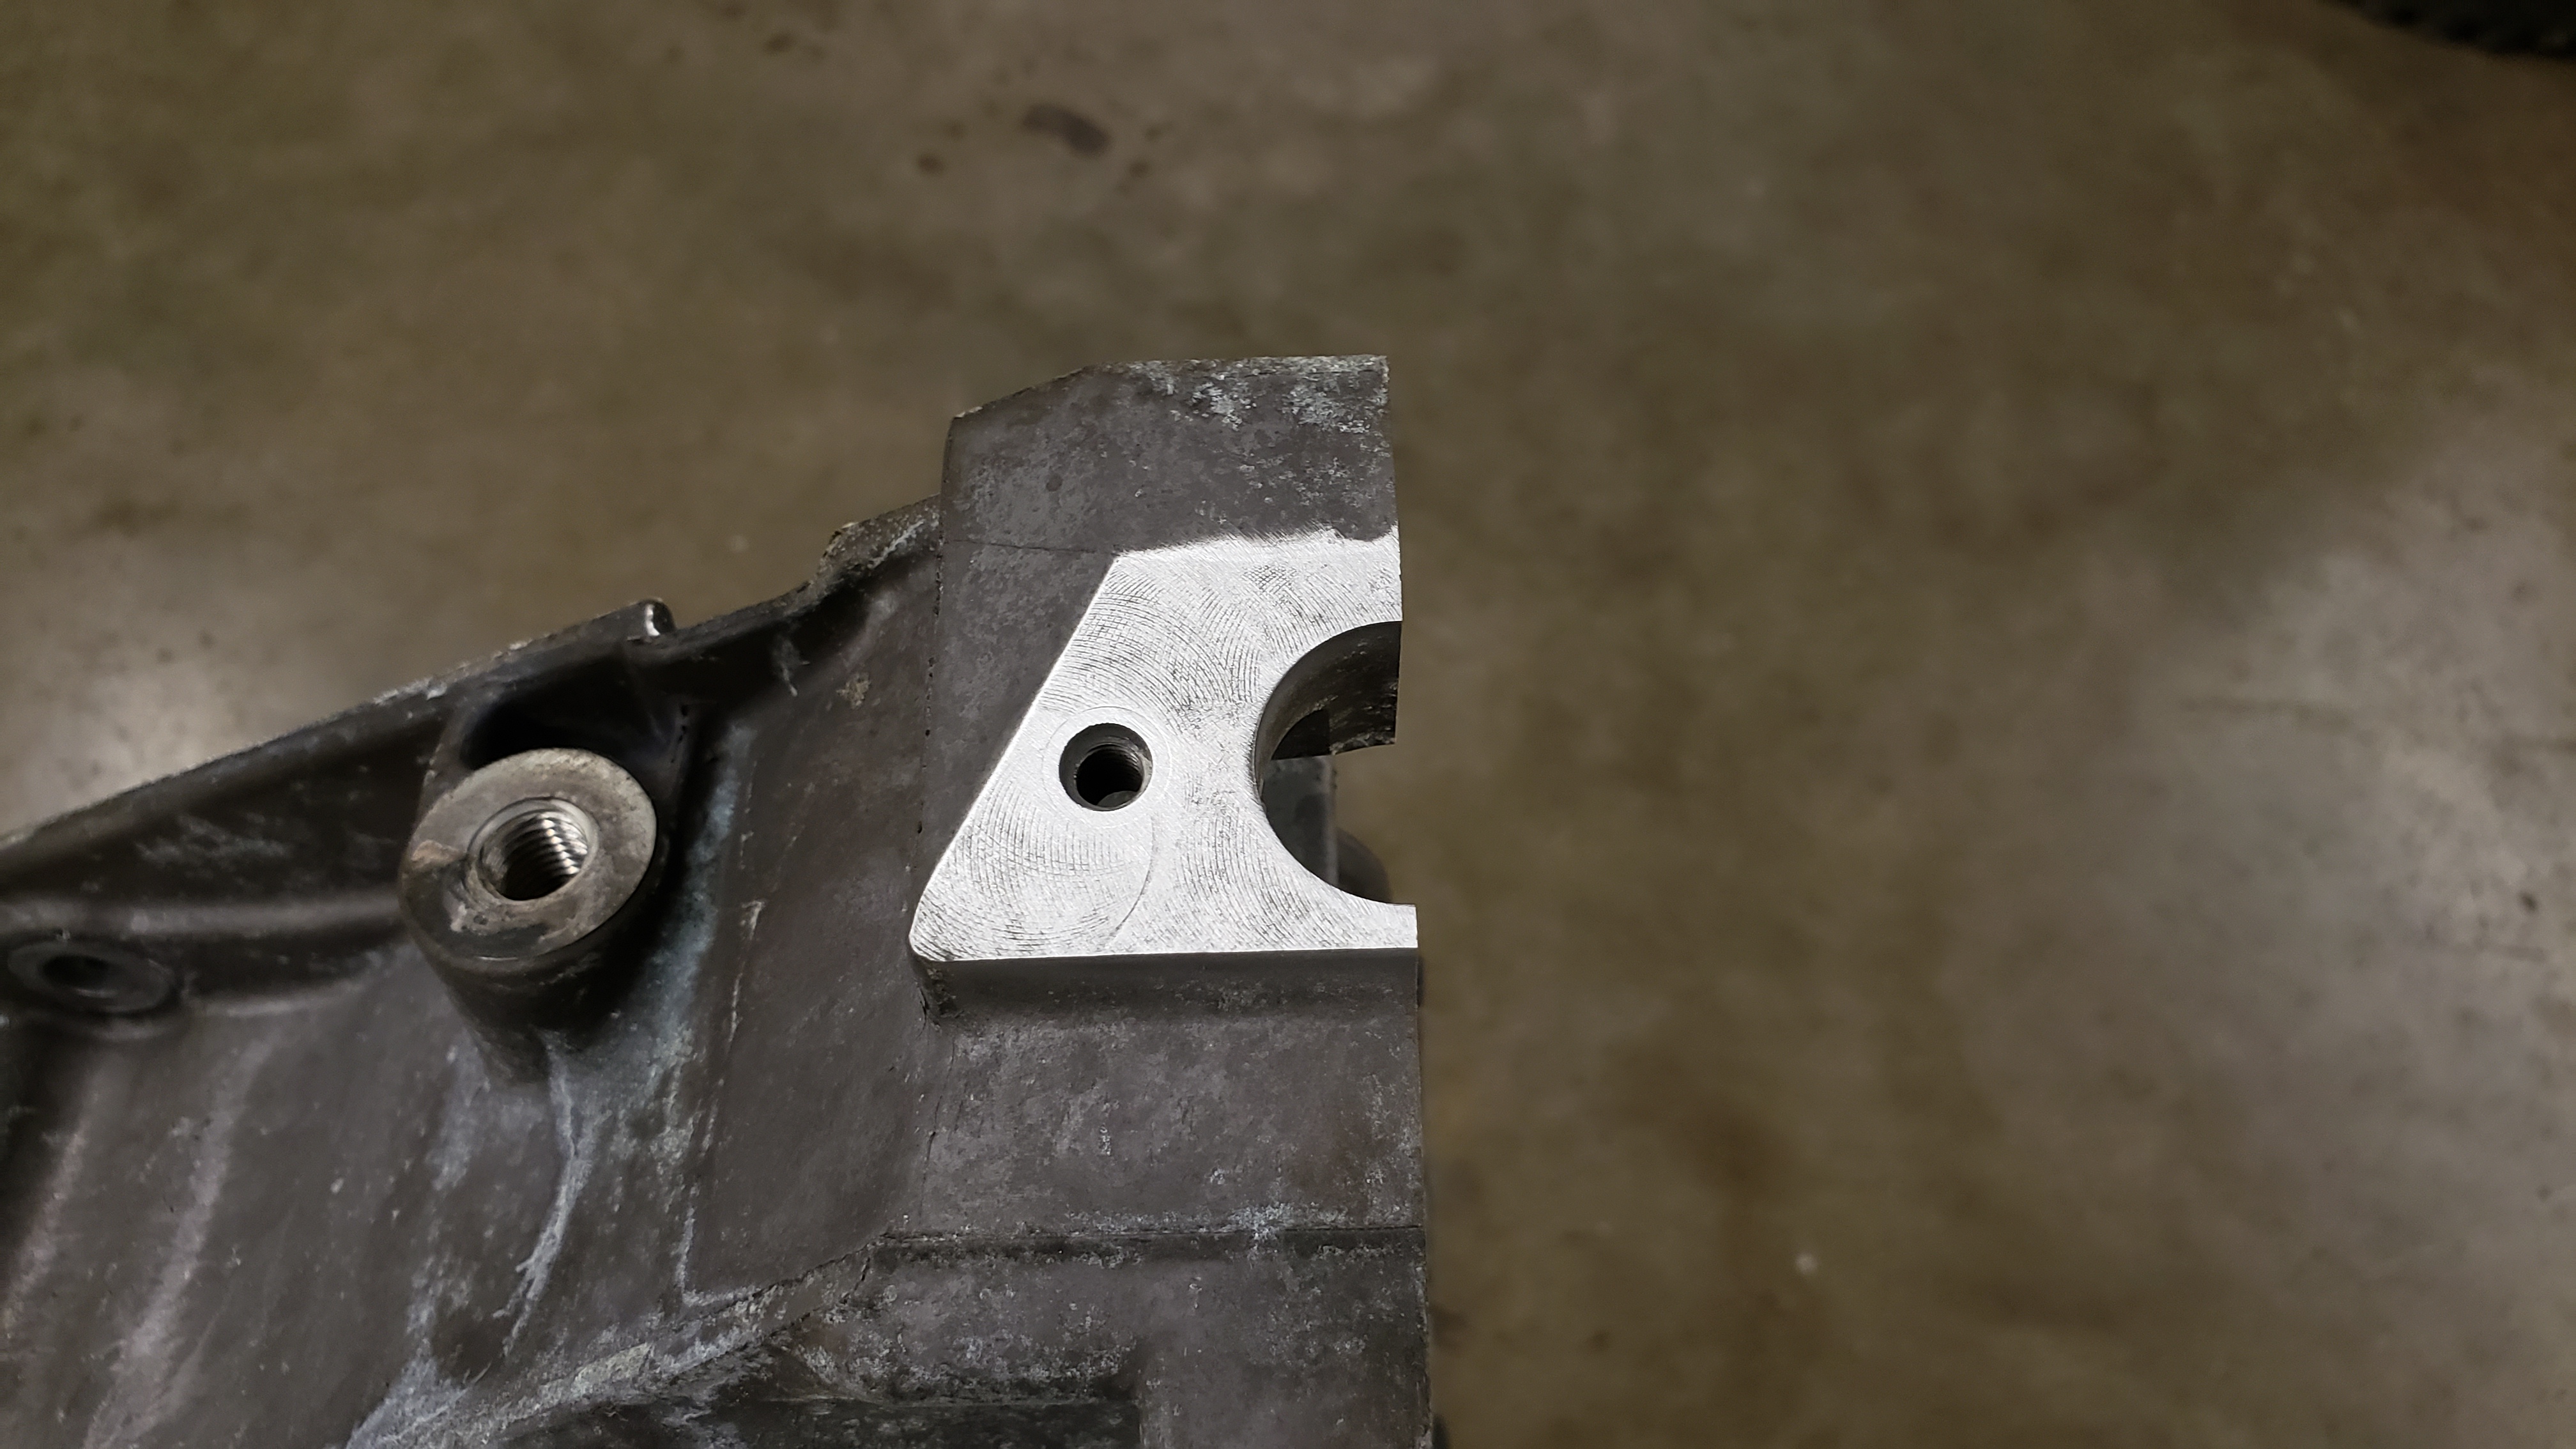
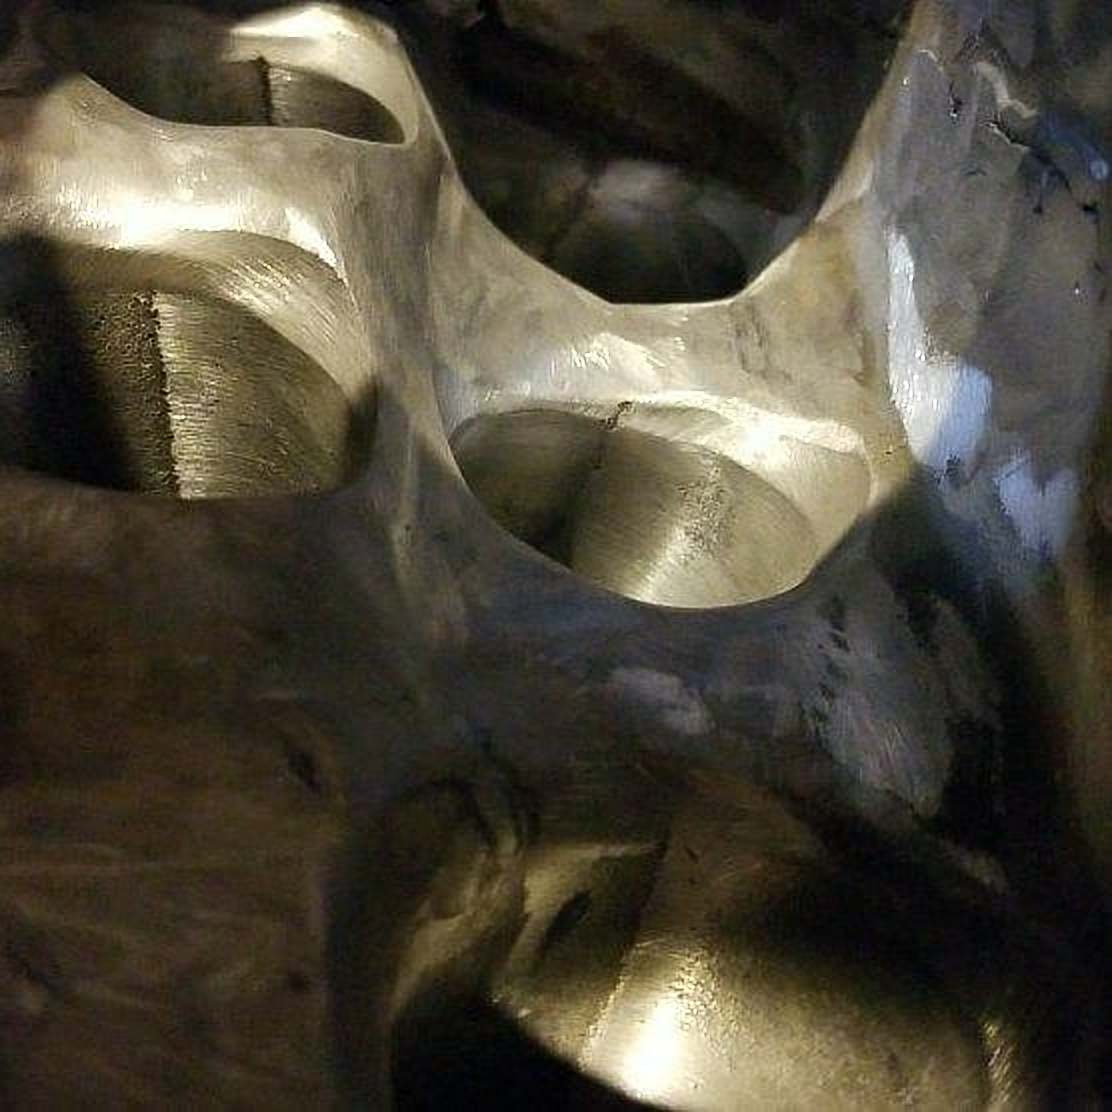
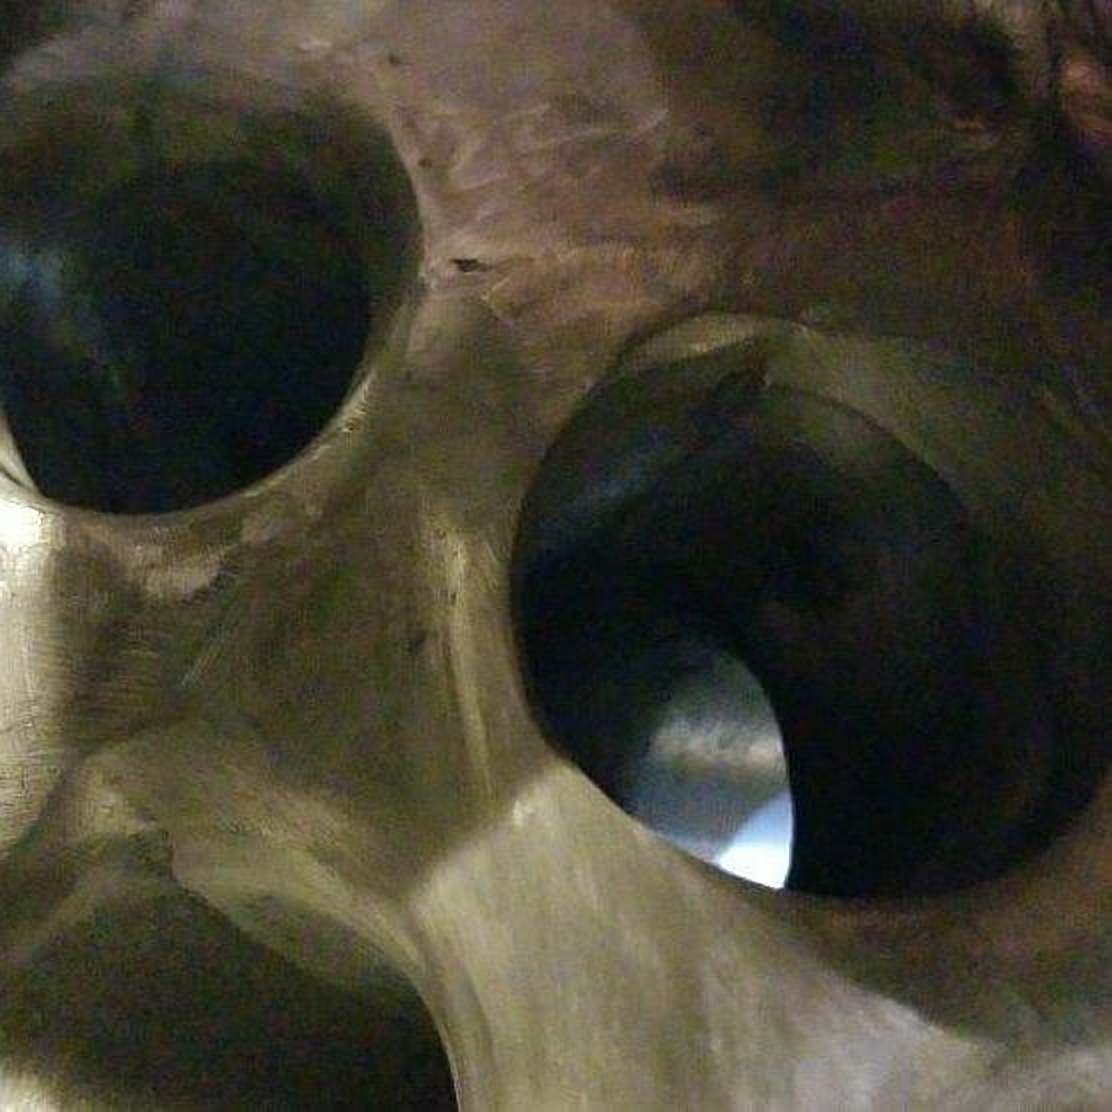
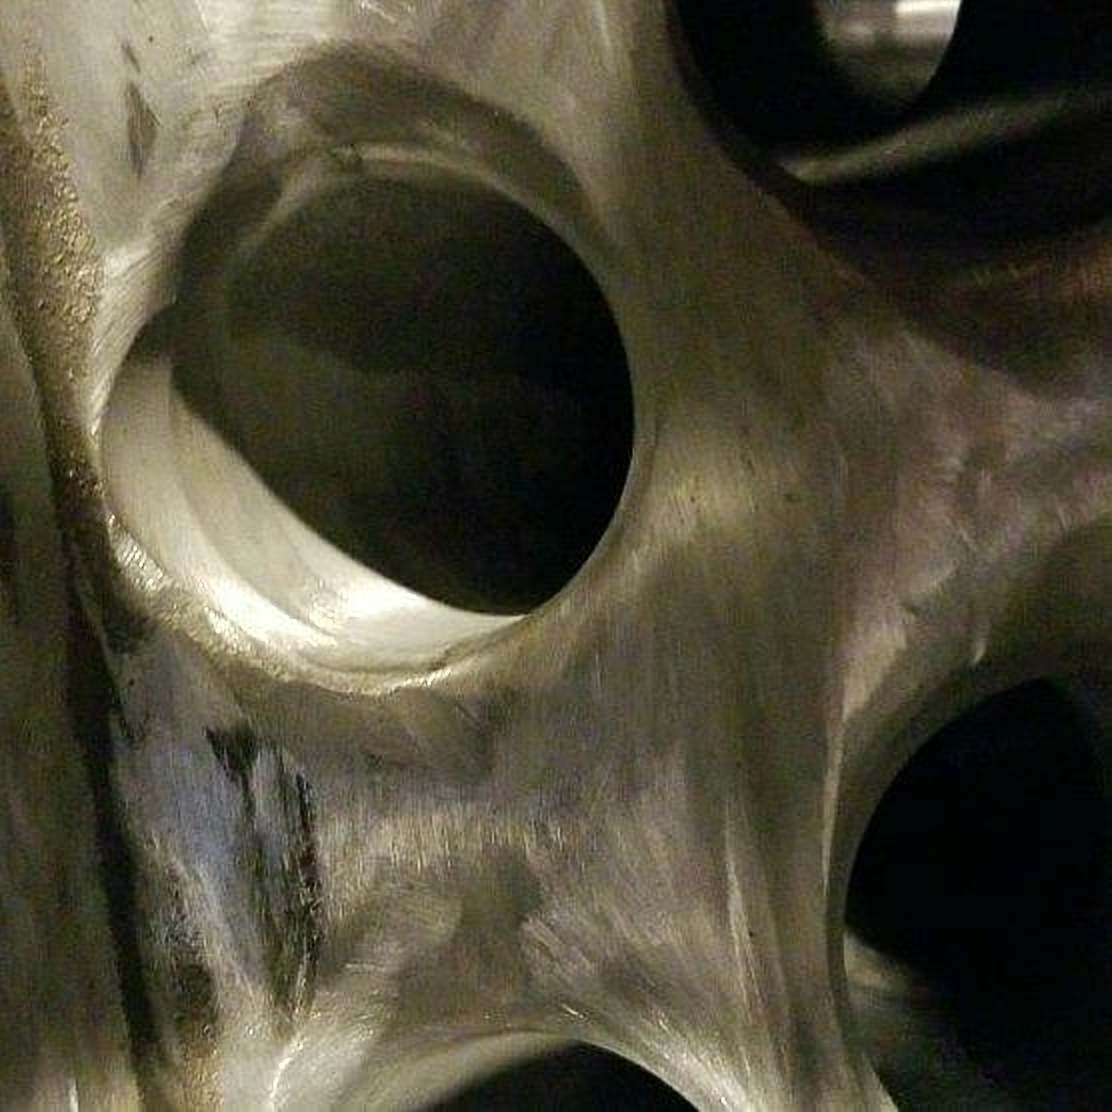
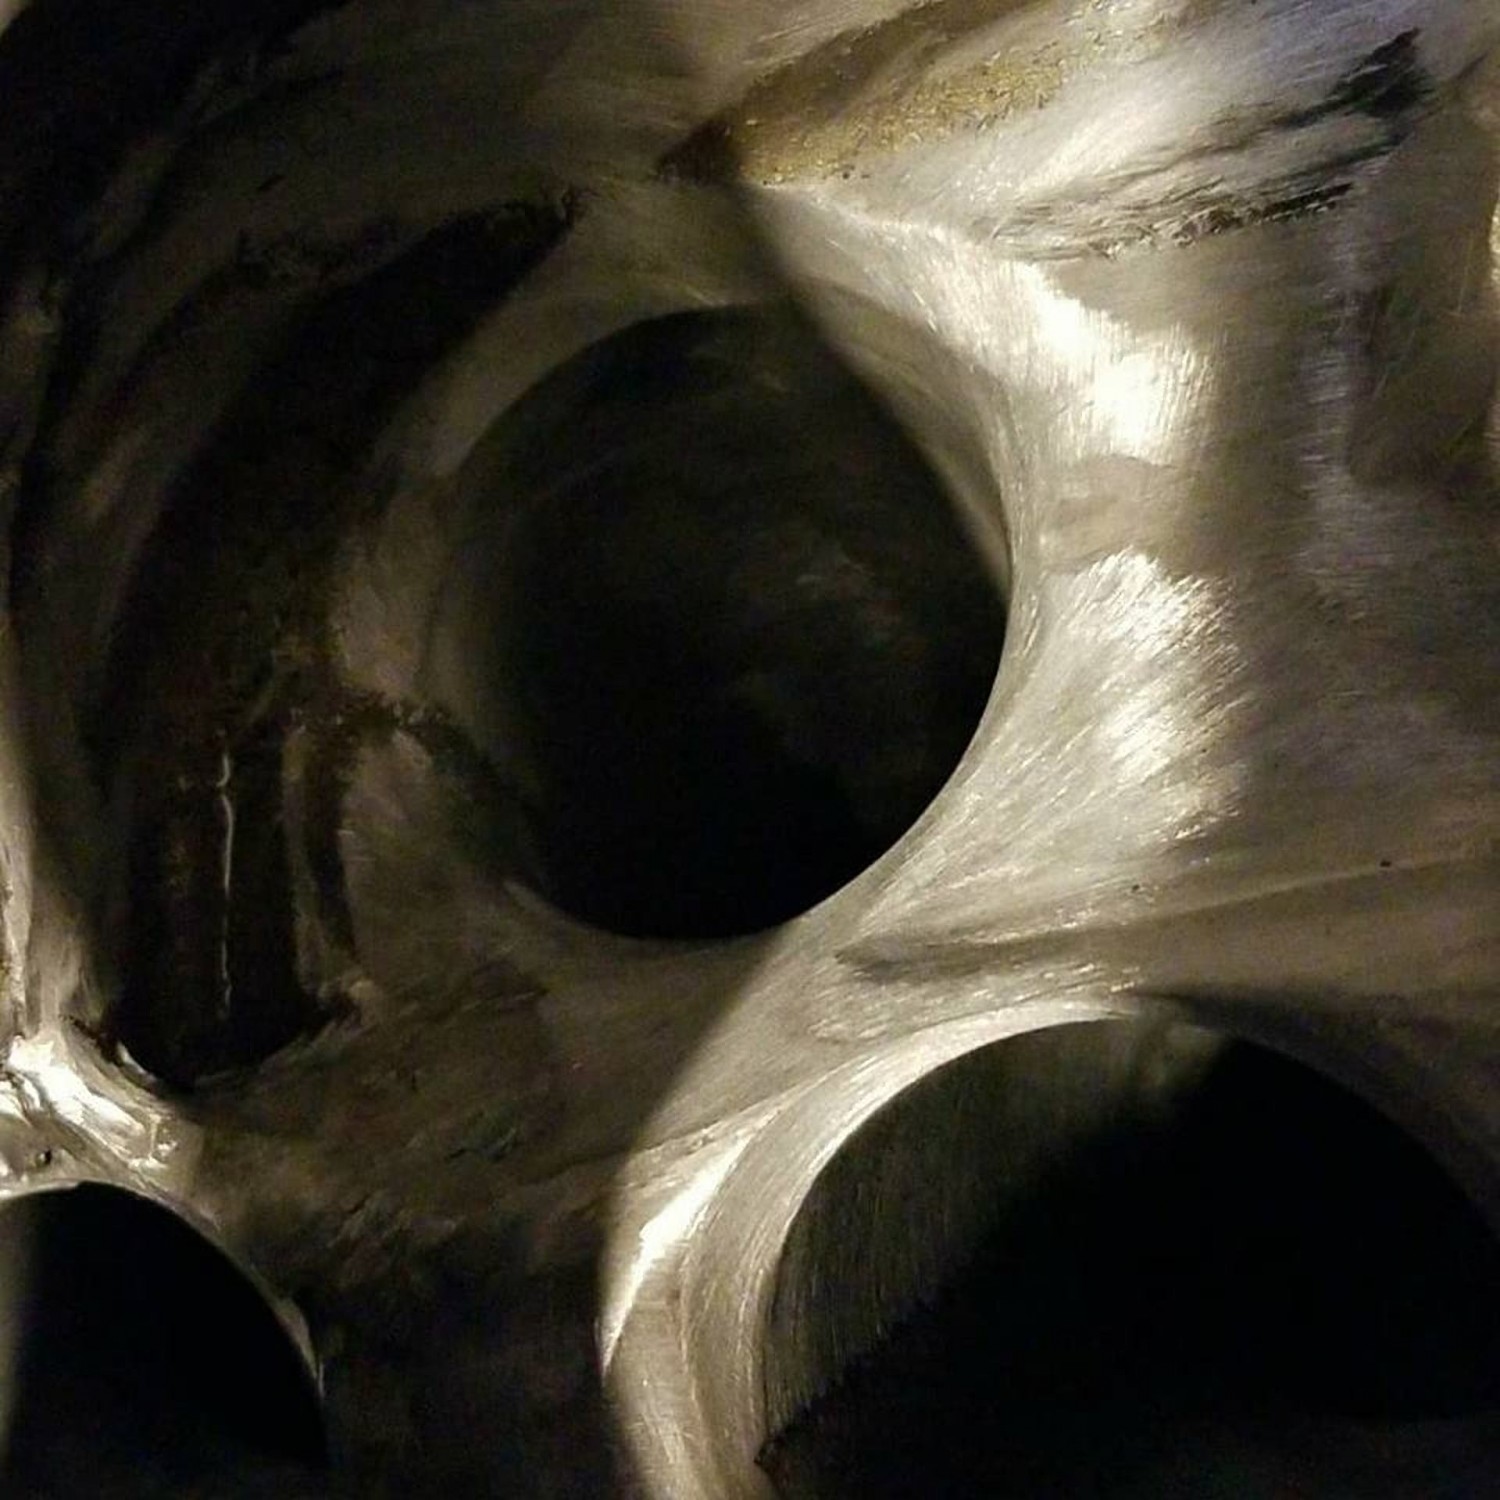
My problem was I also had a broken relief valve? One man show here, pretty tough holding the camera and trying to hold that bearing in place.
Part Number for relief valve 15241-43UOA, you can see the broken one on the left I stretched the spring trying to unseat it. You can also see half of the ridge that retains the spring and ball bearing which cracked off. Over tightening the oil filter, metal fatigue(200K) ? It comes assembled in the new relief valve.
—
Just wanted to thank you for posting this fix for the oil cooler on a G35. The part numbers were a huge help as it is often not available and you waist lots of time trying to get them. Removing the oil pressure relief valve required some thinking in order not to scratch the mating surfaces of the oil cooler itself.
I found a bolt with course threads that would actually start threading itself inside the ball bearing side of the valve. Once I had made about 2 turns of the bolt and knew it was securely inside the valve, I place a crescent wrench behind the head of the bolt and closed the jaws of the crescent wrench. I gave the wrench a few taps and the valve came out very easily and without and damage to the surface of the oil cooler.
I aligned the new valve correctly and used a 6 or 8 mm deep well socket to tap the new valve back in to place until it bottomed out. I cleaned both mating surfaces well and installed the new o-ring with fresh clean oil on it in order to make sufficent contact. I installed the oil filter bolt with 36 lbs of ft, torque and installed a new oil filter.
It could not have been a better out come. I saved lots and lots of $$ and my car has not leaked another drop of oil. I have always been one to over tighten and years of changing the oil and filter caused this oil leak without a doubt. Never again will I go past 2/3 or 3/4 turn after contact again.
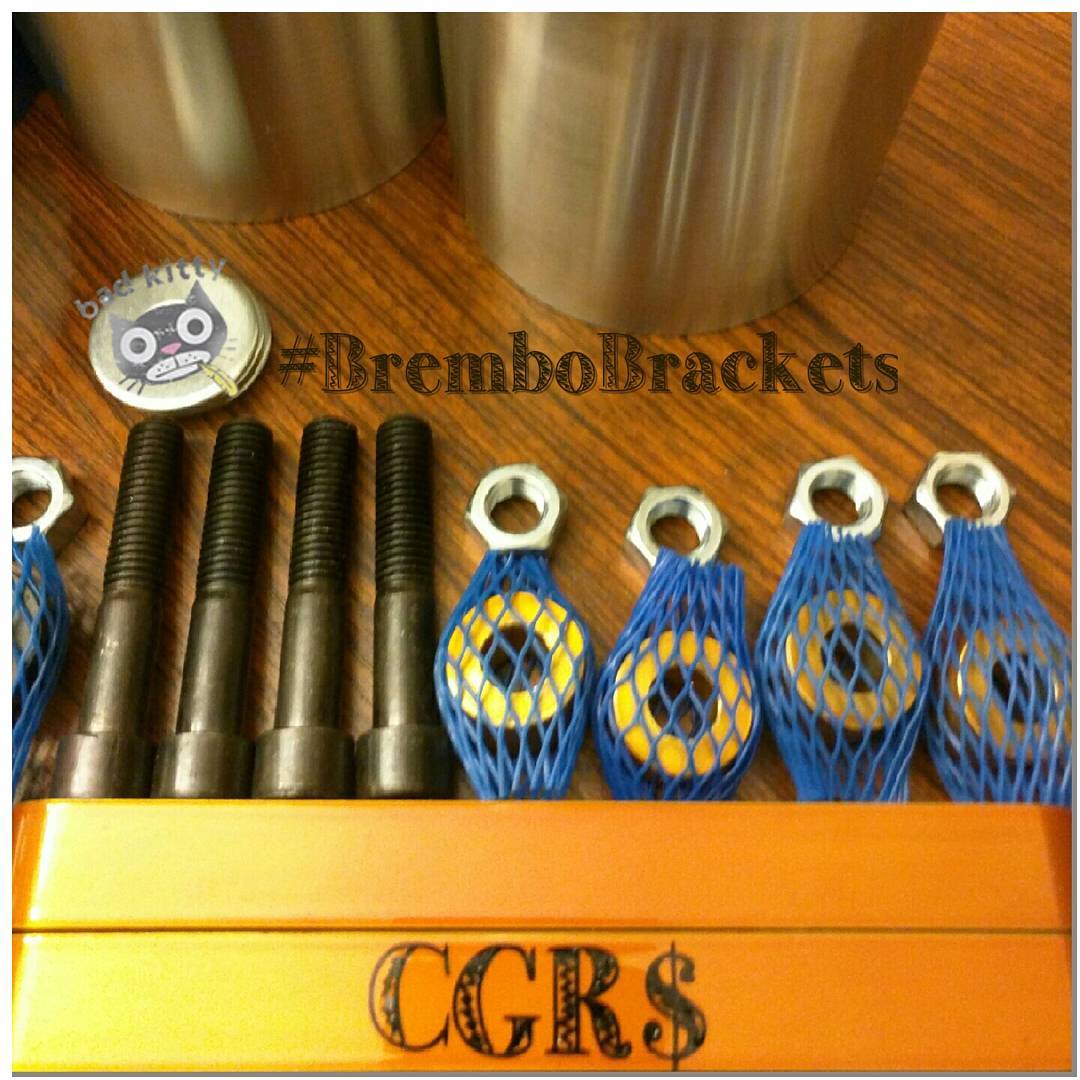
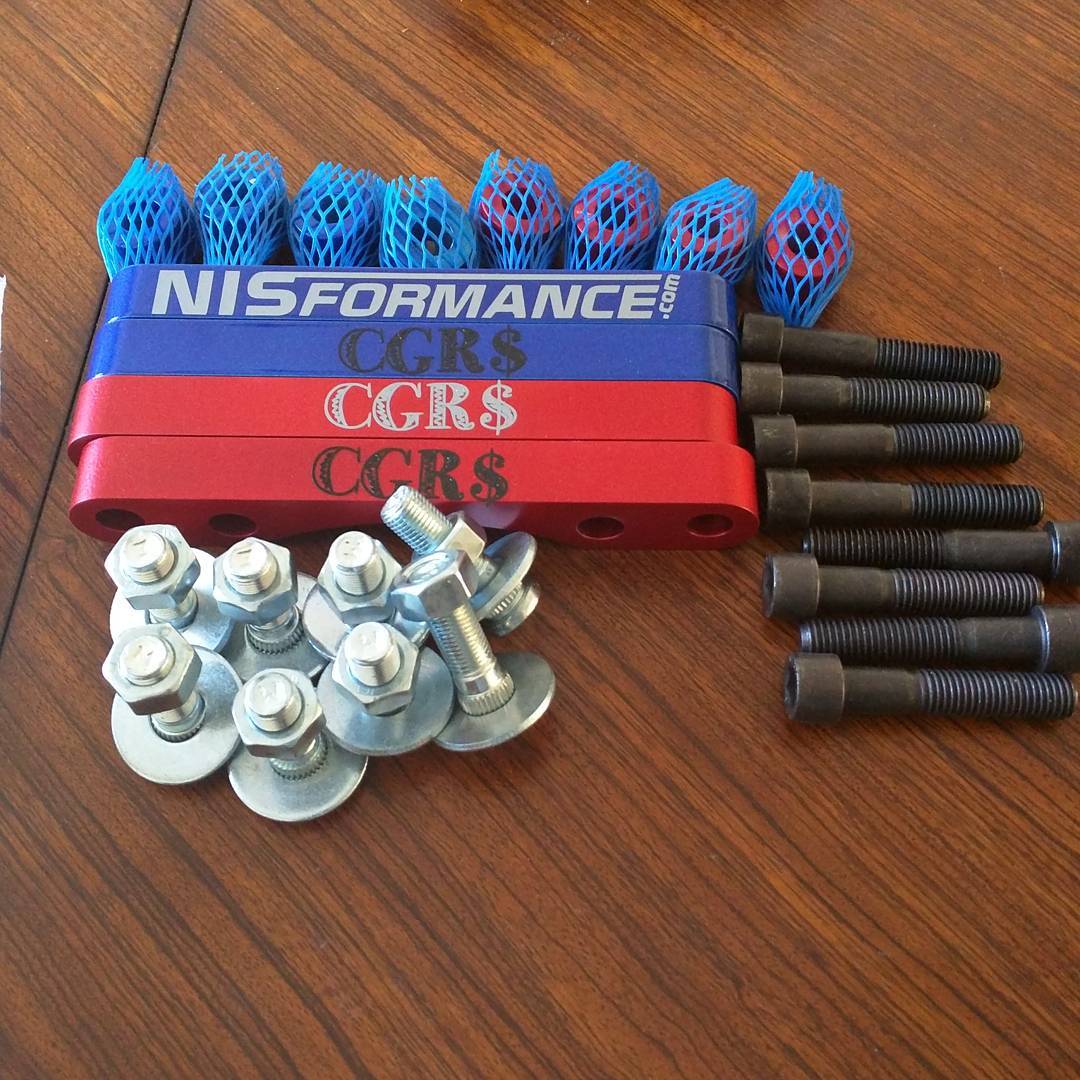
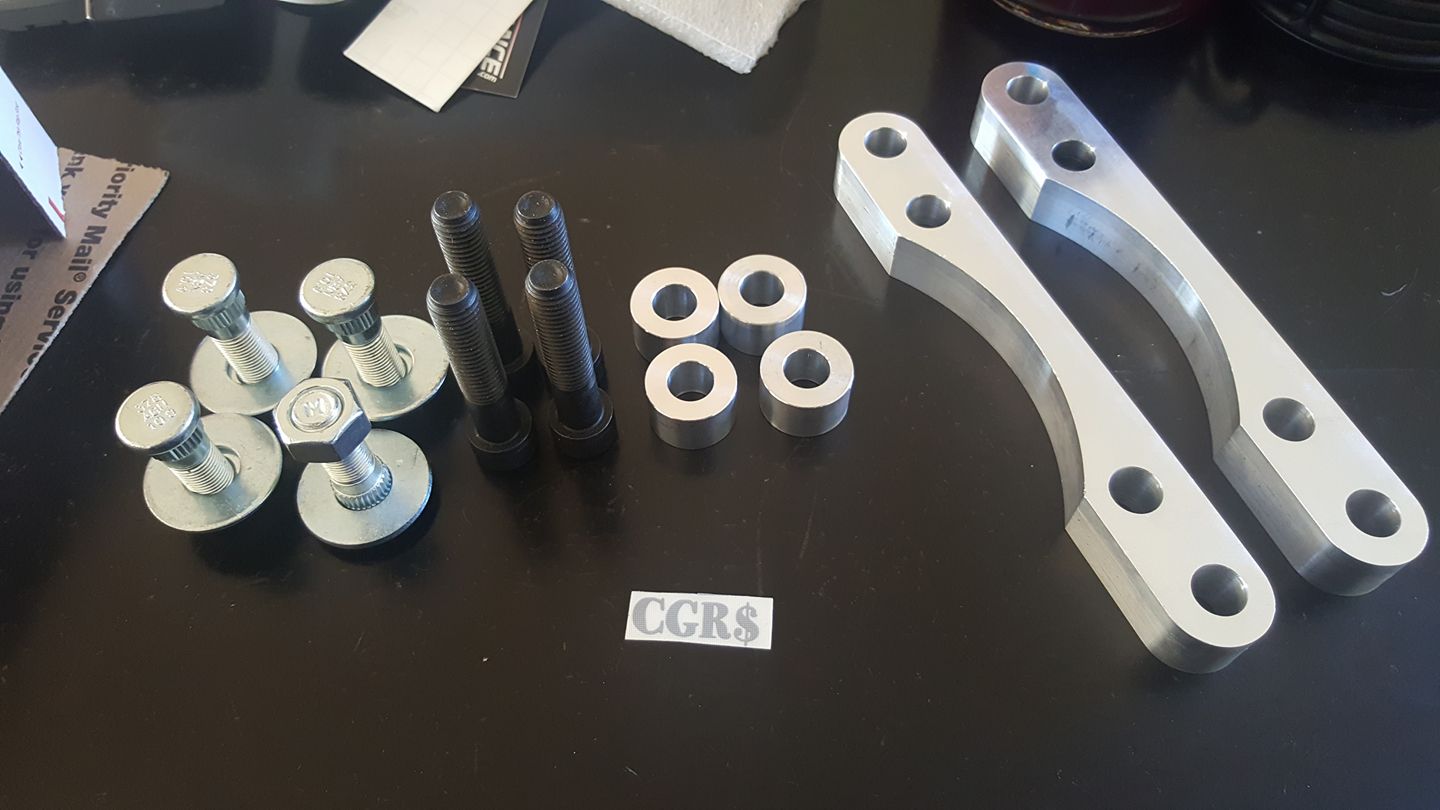
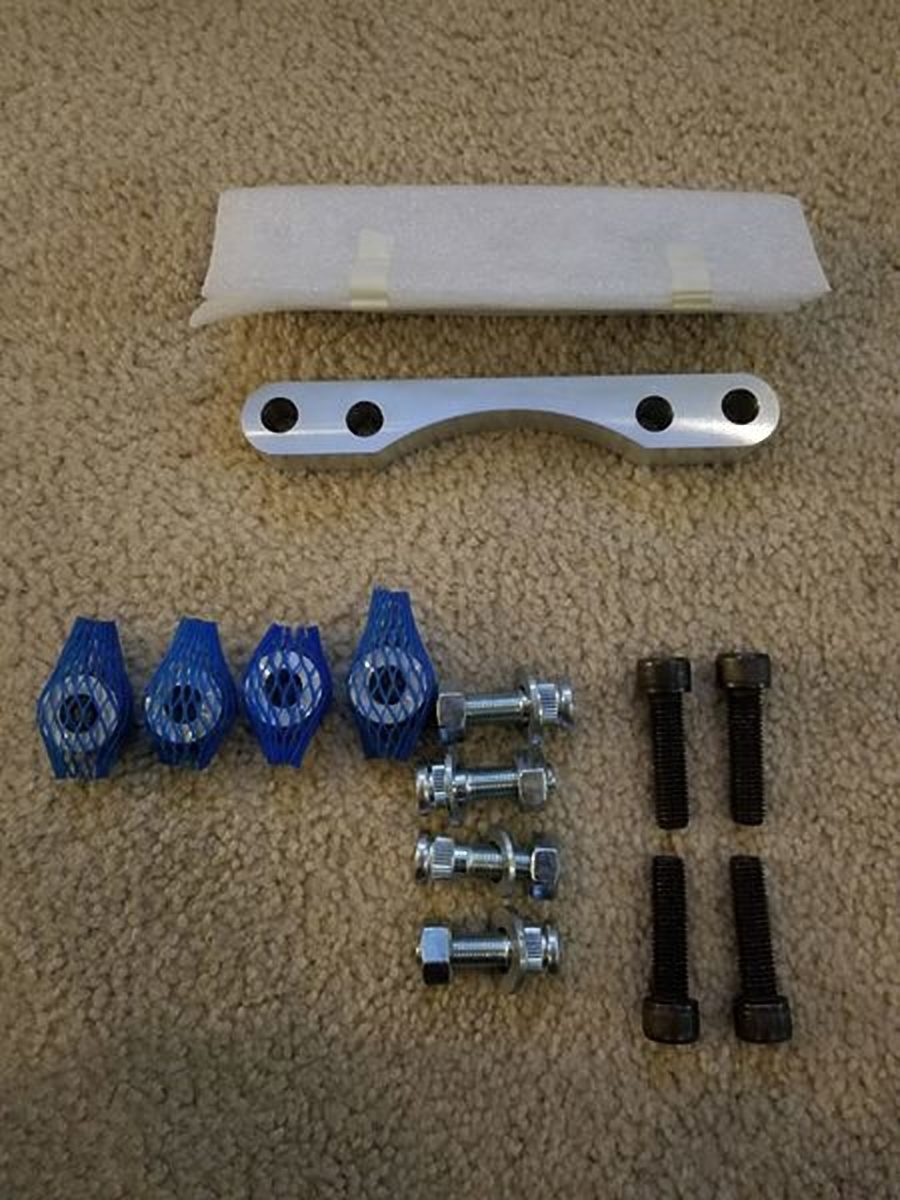
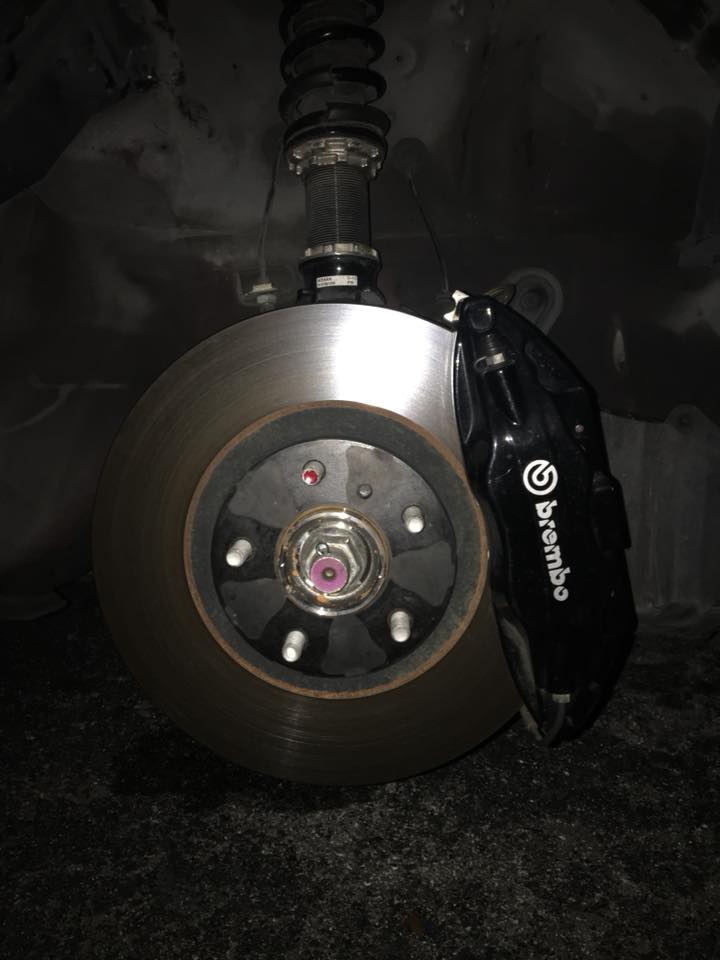
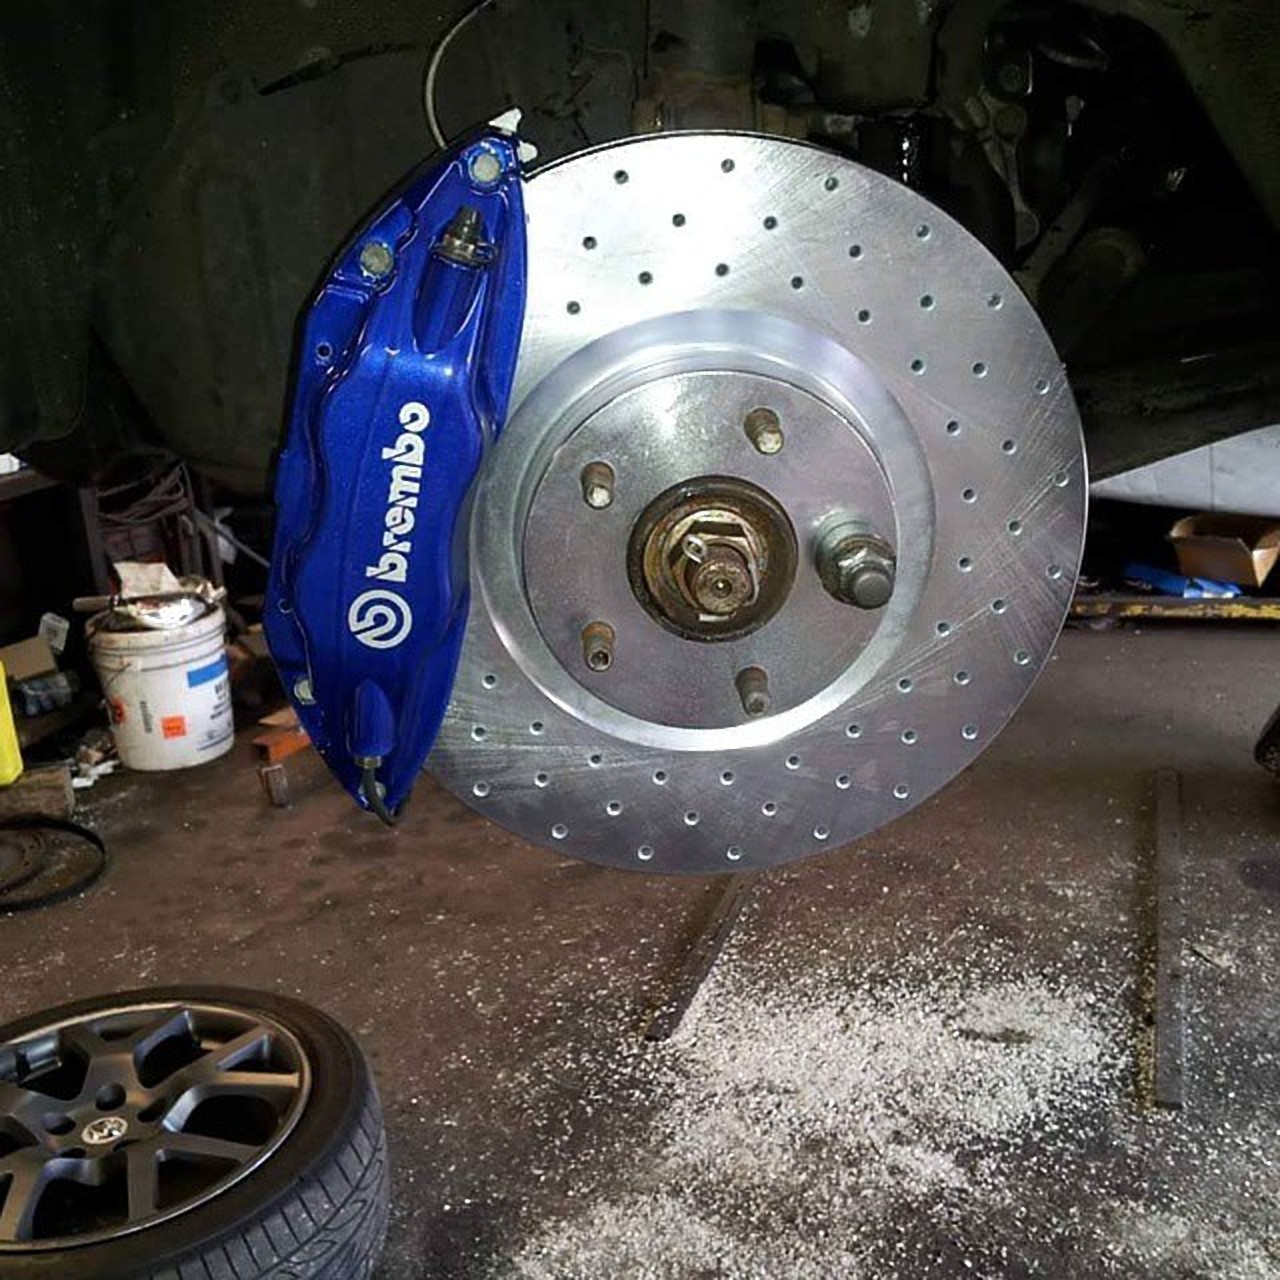
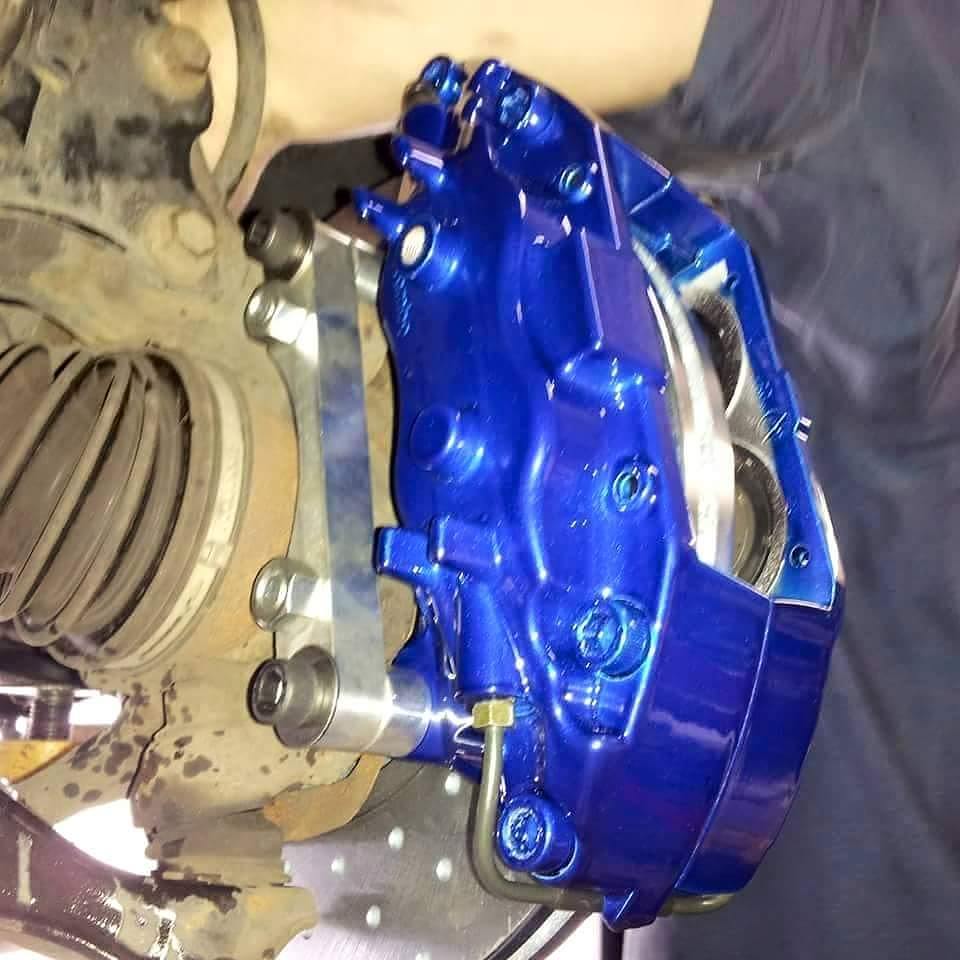
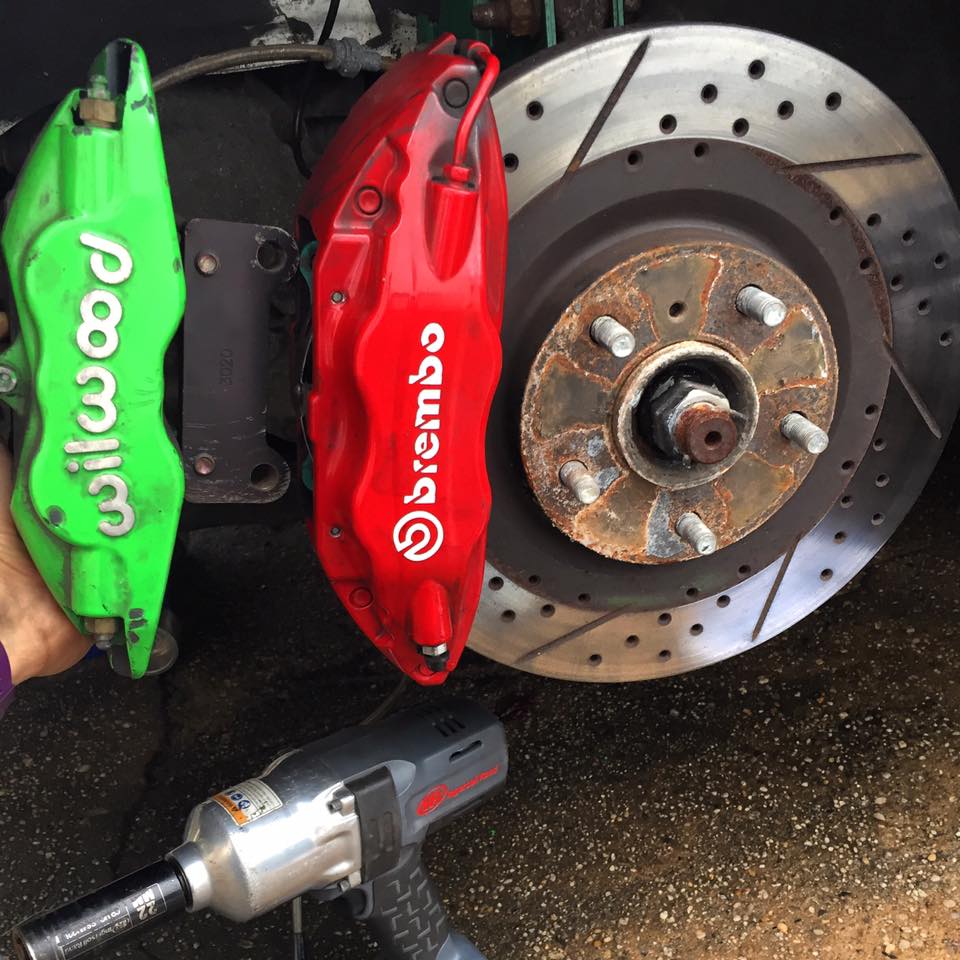
Ever wanted to hop up to 4 piston brakes instead of just chilling with the 6th gen rotor and caliper upgrade. How about actual OEM BREMBO calipers designed for the EVO 8 & EVO 9 stopping your grocery hauler with enough force to throw you through the windshield?
Fitment (You will also need 12.6″ 6thgen Rotors):
00-03 Maxima’s
04-08 Maxima’s
Brembo Caliper Adapter Bracket With Hardware
Bolt a set of brembo calipers onto your Nissan with these brackets. Allow seamless intergration of the OEM brake set with a 12.6 rotor from the 2004 nissan maxima.


")

 Part Number for relief valve 15241-43UOA, you can see the broken one on the left I stretched the spring trying to unseat it. You can also see half of the ridge that retains the spring and ball bearing which cracked off. Over tightening the oil filter, metal fatigue(200K) ? It comes assembled in the new relief valve.


")


")

")

")

")