Press the “Maintenance” button below the “Navigation Screen”. Once you’re at the “Oil Change” screen, hold the “Trip Reset” button for a few seconds and it will reset itself.
Do this when you are parked and not in motion because it won’t let you reset it.
Some people usually set this alert off. In the maintenance screen you can set service alert on/off. If the service alert .ON. key is selected, the information will be displayed when the engine oil and the tire rotation periods reach the preset driving distance.
Also note you can set your oil change intervals. You adjust higher or lower using the left and right buttons but most people keep at 3K.
You can see all these features through your maintenance screen.
Note:This is the button on your rear view mirror is you have this function.
To program your HomeLink Transceiver to operate a garage door, gate, or entry door opener, home or office lighting, you need to be at the same location as the device.
Note: Garage door openers (manufactured after 1996) have “rolling code protection”. To program a garage door opener equipped with “rolling code protection”…you will need to use a ladder to get up to the garage door opener motor to be able to access the “smart or learn” program button.
1. To begin, press and hold the 2 outer HomeLink buttons (to clear the memory) until the indicator light blinks slowly (after 20 seconds). Release both buttons.
2. Position the end of the hand-held transmitter 1-3 inches away from the HomeLink surface.
3. Using both hands, simultaneously press and hold both the HomeLink button you want to program and the hand-held transmitter button. DO NOT release the buttons until step 4 has been completed.
4. Hold down both buttons until the indicator light on the HomeLink flashes, changing from a “slow blink” to a “rapidly flashing blink”. This could take up to 90 seconds. When the indicator light flashes rapidly, both
buttons may be released. The rapidly flashing light indicates successful programming. To activate the garage door or other programmed device, press and hold the programmed HomeLink button – releasing when the device begins to activate.
5. If the indicator light on the HomeLink blinks rapidly for two seconds and then turns solid, HomeLink has picked up a “rolling code” garage door opener signal. You will need to proceed with the next steps to train the HomeLink to complete the programming which may require a ladder and another person for convenience.
6. Press and release the “smart” or “learn” program button located on the garage door opener’s motor to activate the “training mode”. This button is usually located near the antenna wire that hangs down from the motor. If the wire originates from under a light lens, you will need to remove the lens to access the program button.
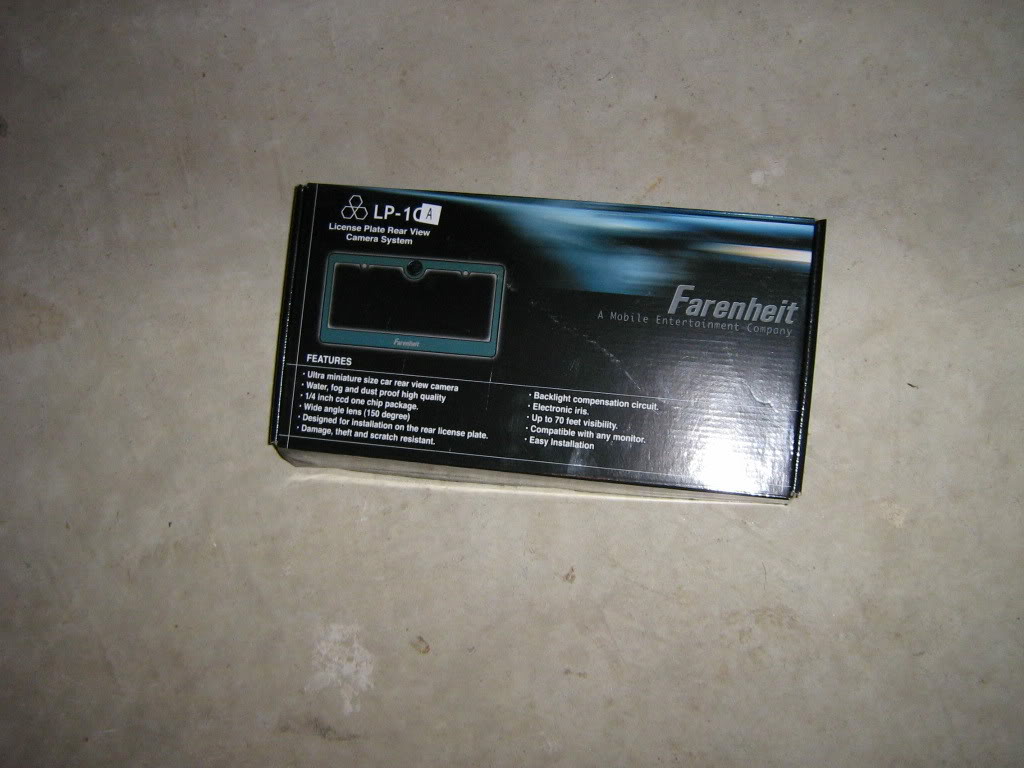
So it was spring cleaning at the stereo shop I work at part time and I noticed a box I know I had seen at least twenty times before but never read. Whoa its a Farenheit rear view camera. SNATCHED (with permission of course). I already have the interior out of the car because I’m upgrading my sub and amplifiers so that just makes it easier to route the wires. Now the pics:
*ADDED – Camera model # – Farenheit LP-1CA
The rear view view camera -itself
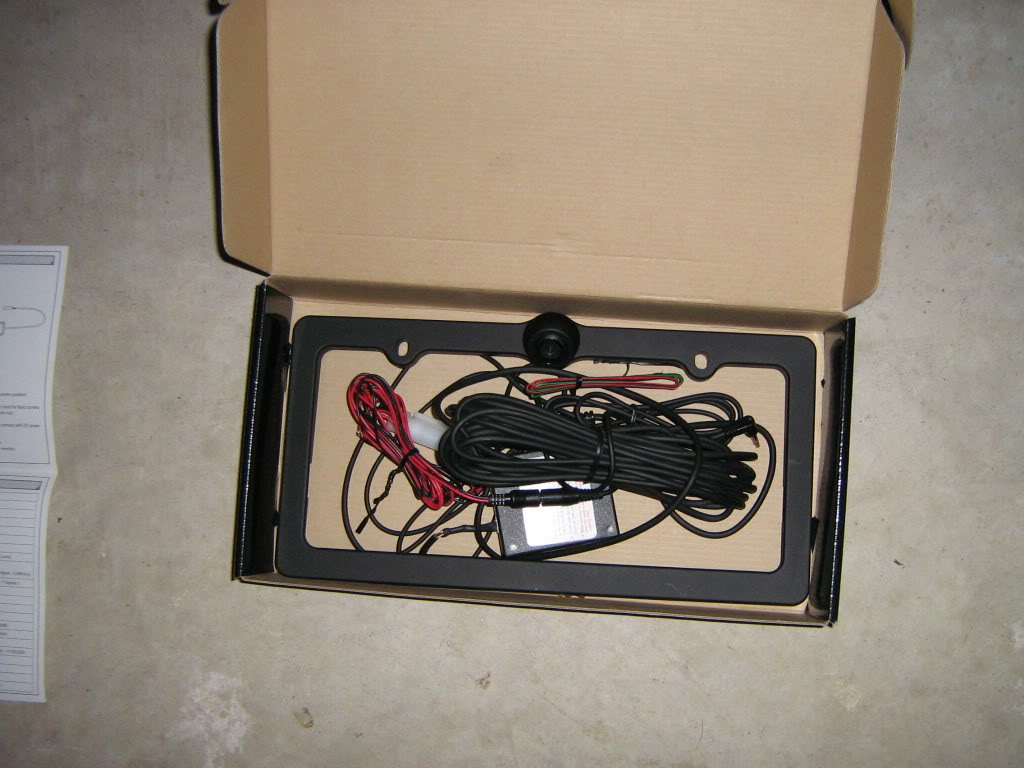
2. The contents of the box
3. The contents sorted on the floor
4. Removed plate and old license plate holder
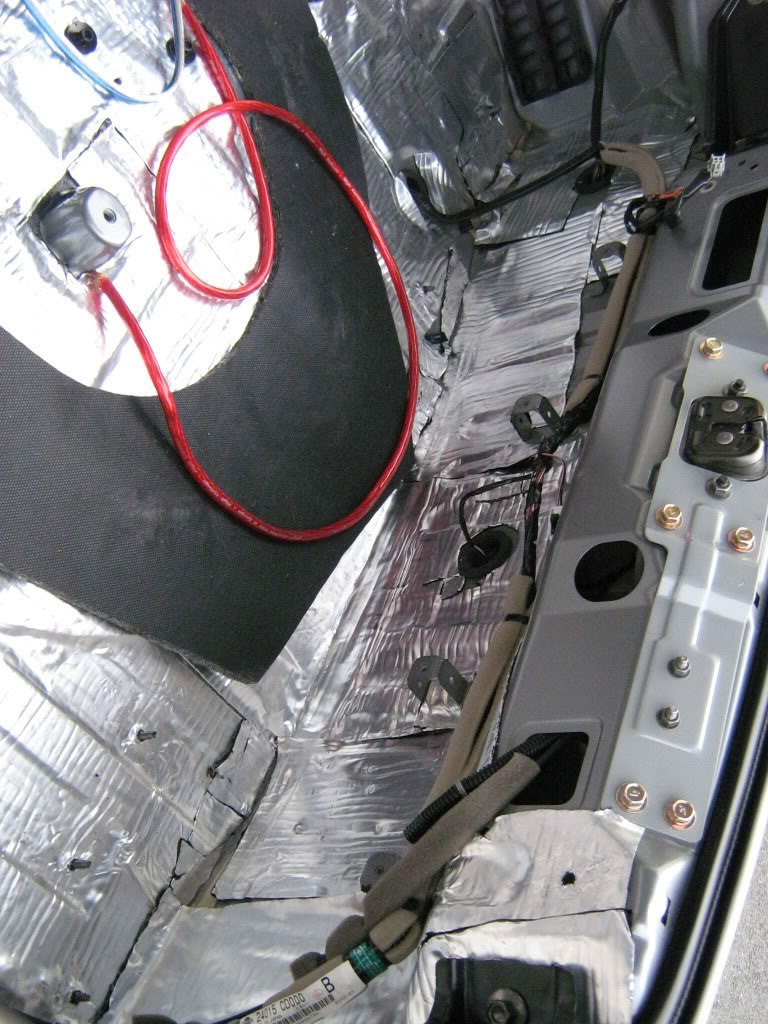
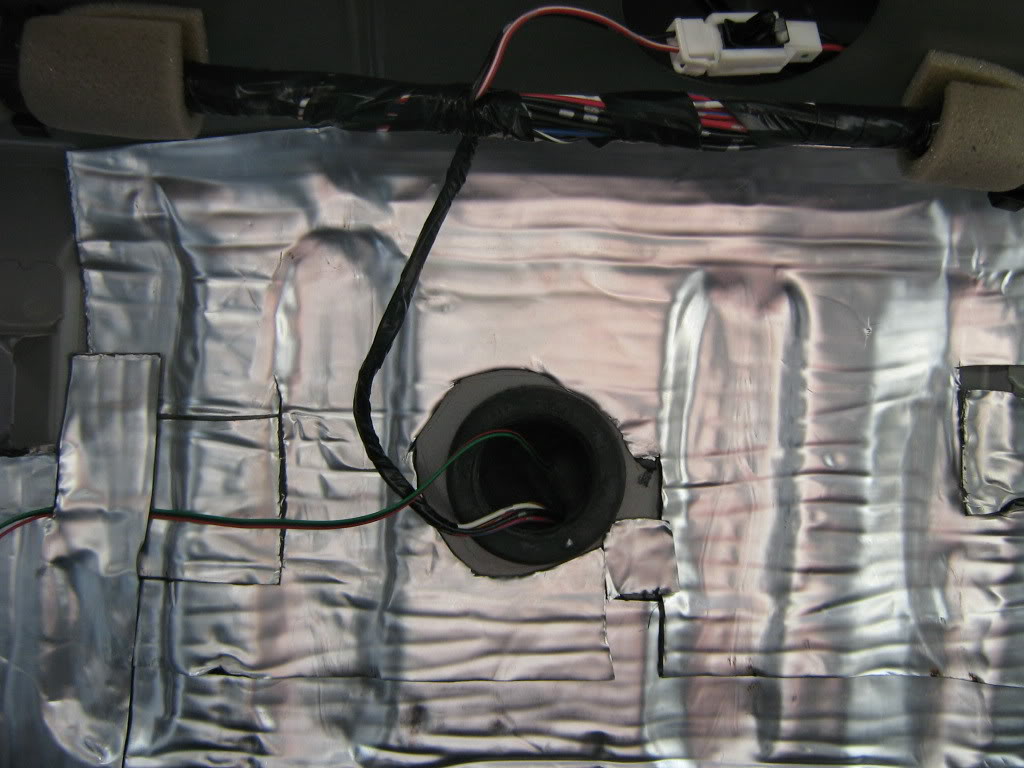
5. The inside of the rear, notice the large grommit in the center. This is where I ran the wire inside the car
6. Once the grommit is removed, you can cut a small slice in it to run the wires through
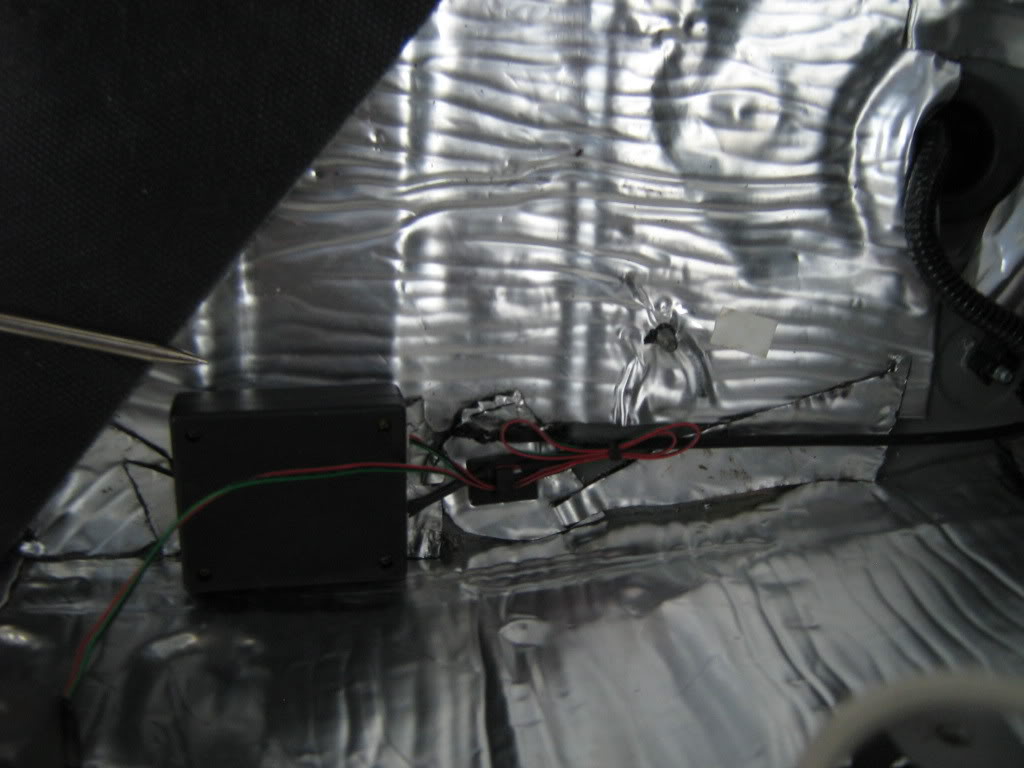
7. Once the wire from the frame is inside the car, it must be connected to a small box that was included with the frame. the image processing is done inside this box and then images are sent from the box to your headunit. Be sure to tuck it away so it doesn’t get crushed.
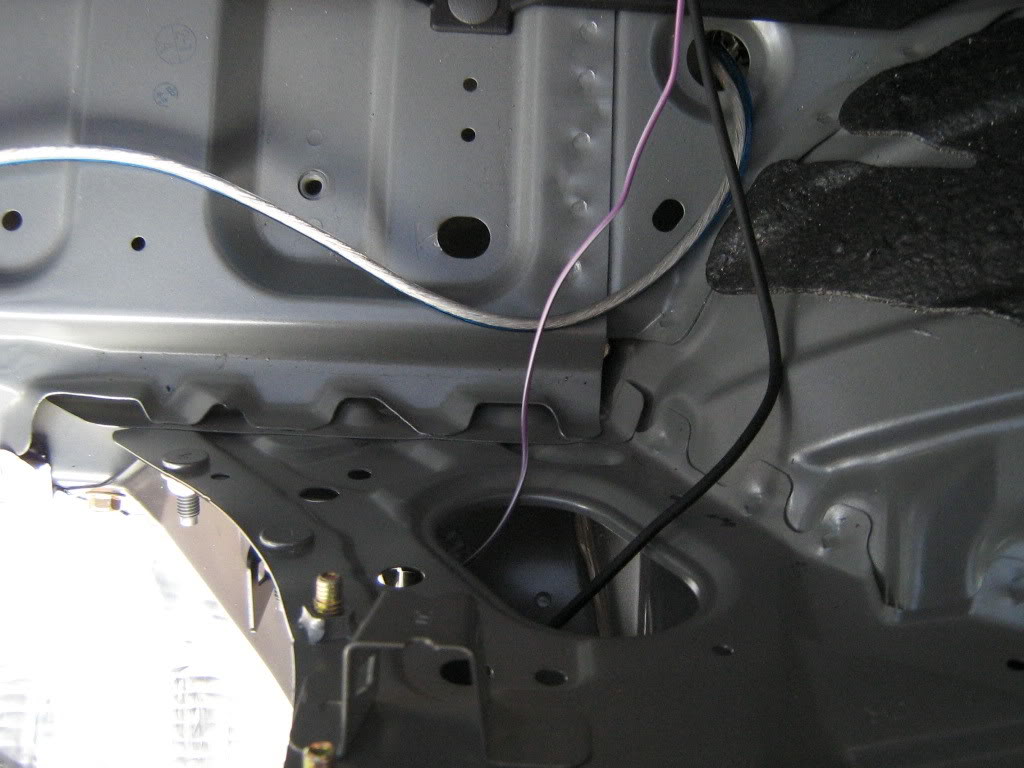
8. Reverse wire. Dont forget the reverse wire. Without this connection the Avic Z1 wont switch to rear camera when you shift into reverse. Pioneer included a specific wire for this connection so I tapped into the reverse light in the rear as opposed to finding the wire up front.
9. Once the wires is tapped it’s time for a little wire management.
10. Through the rear strut bar and out the compartment behind the passenger seat.
11. I ran the wires down the center, its a lot easier then pulling up the carpet. Time for the Z1 to come out again.
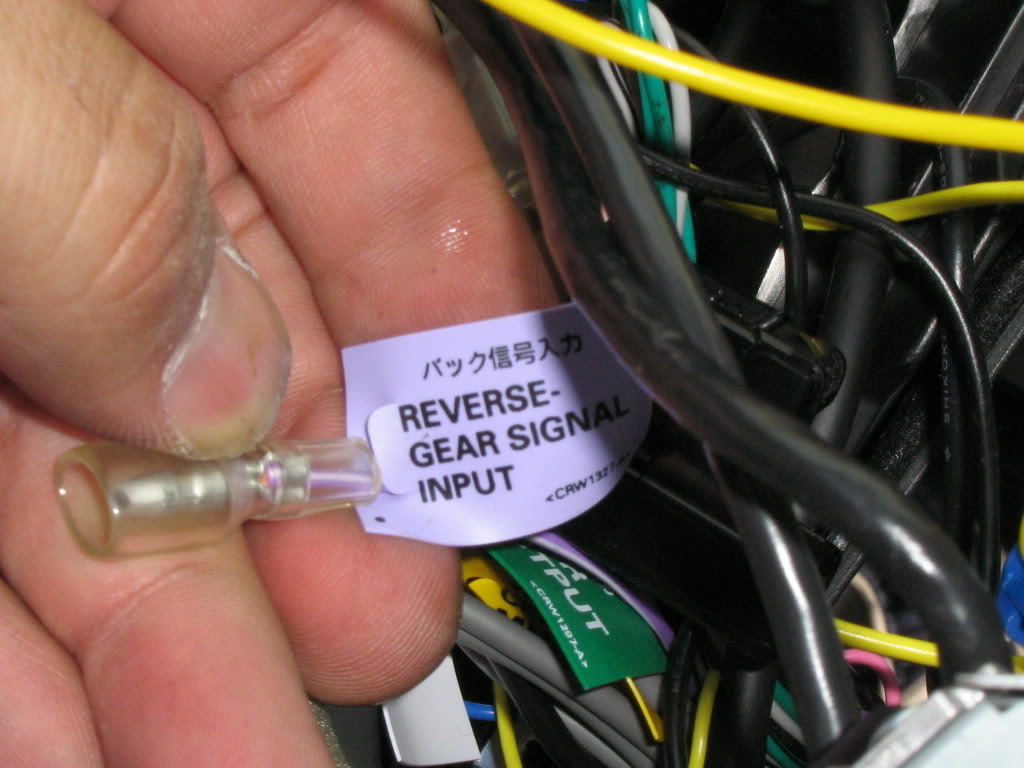
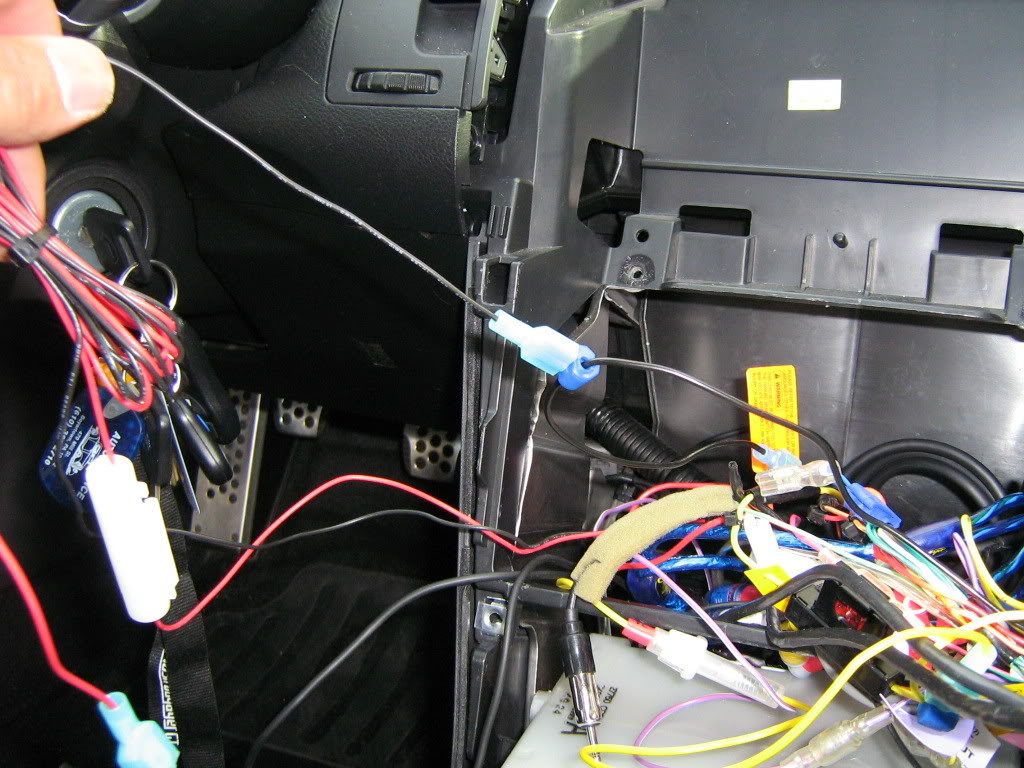
12. Find the wire for the reverse gear input and connect it to the wire that you tapped into the reverse light in the back.
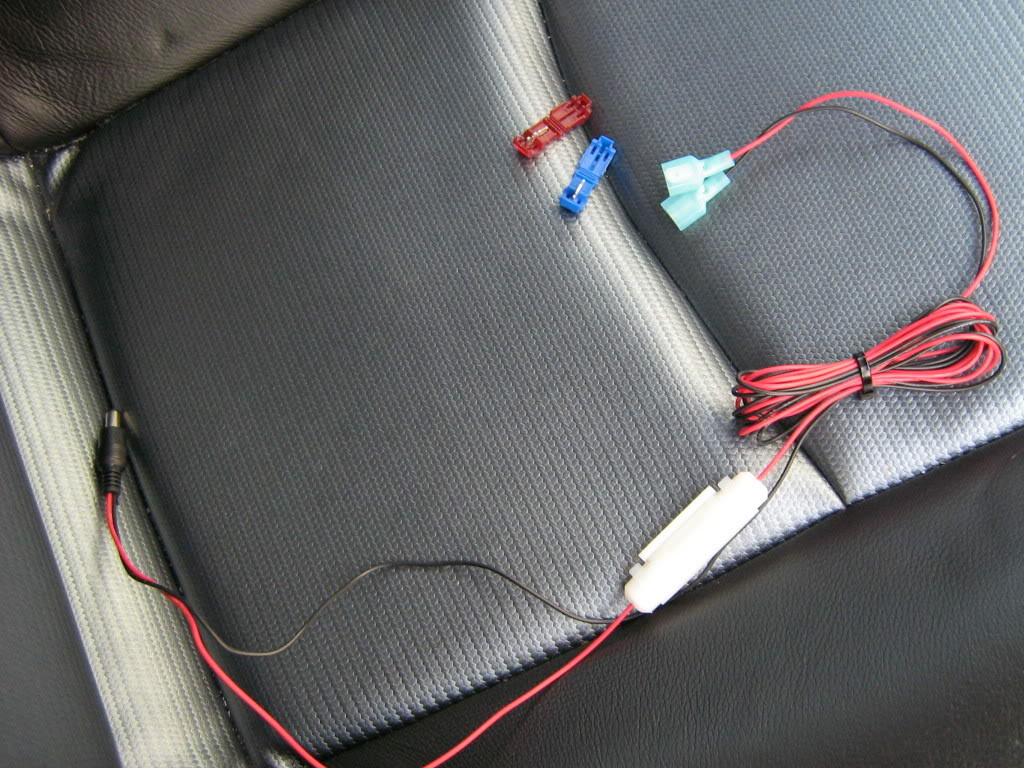
13. Time to tap into some power for the camera. It doesnt really matter where you tap into the power, but since this camera has the power wires attached on the end of the cables that get attached to the head unit, I tapped the constant power from the head unit and the oem ground. The headunit has its own separate ground now. Here is a shot of the power wire prepped for install
14. The last connection, the actual video feed from the box mounted in the rear.
15. Turn on the car and test it out before securing down the head unit. Make sure all of your speakers and devices attached to the radio are functioning. It gets really tight behind the head unit and its easy to disconnect wires when reassembling. I had to change a setting on the headunit to accept camera feed for the rear.
Here are some pics of the images from the camera
With old school cheap a$$ pager on the ground for scale
with some needle nose pliers
From the side
The finished product
Enjoy.
BTW since the license plate camera frame is substantially thicker then your average frame, I had to replace the screws and the mounting clips. When I bought the car the stealership used some horrible little screws that stripped the nuts inside the oem clips. A quick trip to lowes for two new coarse thread phillips head bolts, two body clips and two plastic black screw caps did the trick.
Tools Needed:
– New Updated DVD
– Flathead Screwdriver (or knife)
Step 1:
– Its easiest to access the DVD player if the car is in Neutral so put the car in neutral and place the E-Brake.
Step 2:
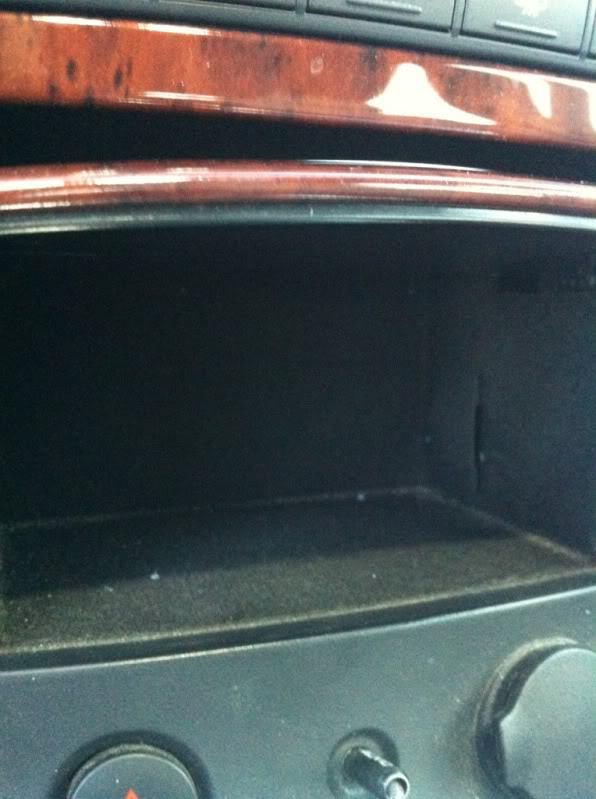
– Open up the small door in front of the shifter. You will see black felt lining.
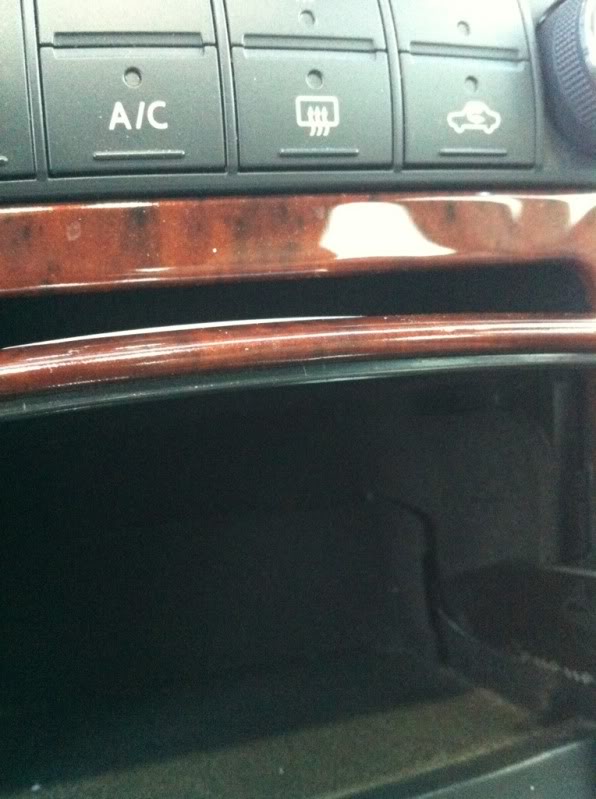
Step 3:
– Shine a light into the storage area and you will see there is a small notch on the pass side wall of the storage area. Place your flathead screwdriver (or knife) into that slot and pry towards you GENTLY. The door will pop out towards you.
Step 4:
– Make sure your car is in ACC mode and then hit the eject button on the DVD player. Remove DVD.
Step 5:
– Insert the Updated DVD into the drive. The Navigation screen will display “loading”. Then it will bring up your map!
Step 6:
– Replace the small felt door and you are all done!!
Also, for 04-05’s, The update DVD you need currently is Version 6.9. It is the update for 2010-2011 Map Update. For 06-08’s you need version 7.7. These are the 2011-2012 Map Update years.
There may be times where you are wondering these two things:
Why doesn’t my car beep when I lock the doors?
How do I get rid of that annoying horn beep when I lock my doors. Well below are your answers.
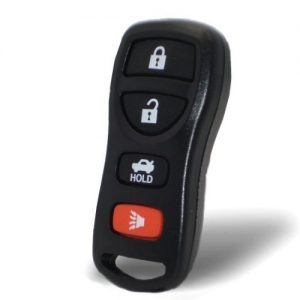
These are the two modes that you can set through your remote:
1) Hazard mode where only your hazards flash when you lock the car with the remote. (No Horn Honks)
2) Hazard and horn mode where the horn honks.
To switch between modes:
Push the LOCK and UNLOCK buttons simultaneously for more than 2 seconds to switch from one mode to the other. When pushing the buttons to set hazard indicator only mode, the hazard indicator flashes 3 times. When pushing the buttons to set hazard indicator and horn mode, the hazard indicator flashes once and the horn chirps once.
In Simple Terms:
You press lock and unlock simultaneously on the fob, until you see the indicator lights on the car flash 3 times. This indicates the horn mode is now switched off. If you do it again it will switch horn mode on.
Please Note: If you change the horn beep or the lamp flash feature with the keyfob, the mode will not be changed with the display. Use the keyfob to return to the previous mode and re-enable the display control.


 With Remote")