

Last Updated: 09/12/2025 @ 08:45 am
Community Member Credit: 95maxrider
Normally I would just keep this in my build thread, but I figured this would be interesting enough to post in the 4th gen section.
Over the summer I was at the junkyard looking for parts when I came across a gold 1996 I30. From a distance it looked it like it had the boring old tan leather but when I got closer I noticed something was different. I was looking at a car with a white interior!
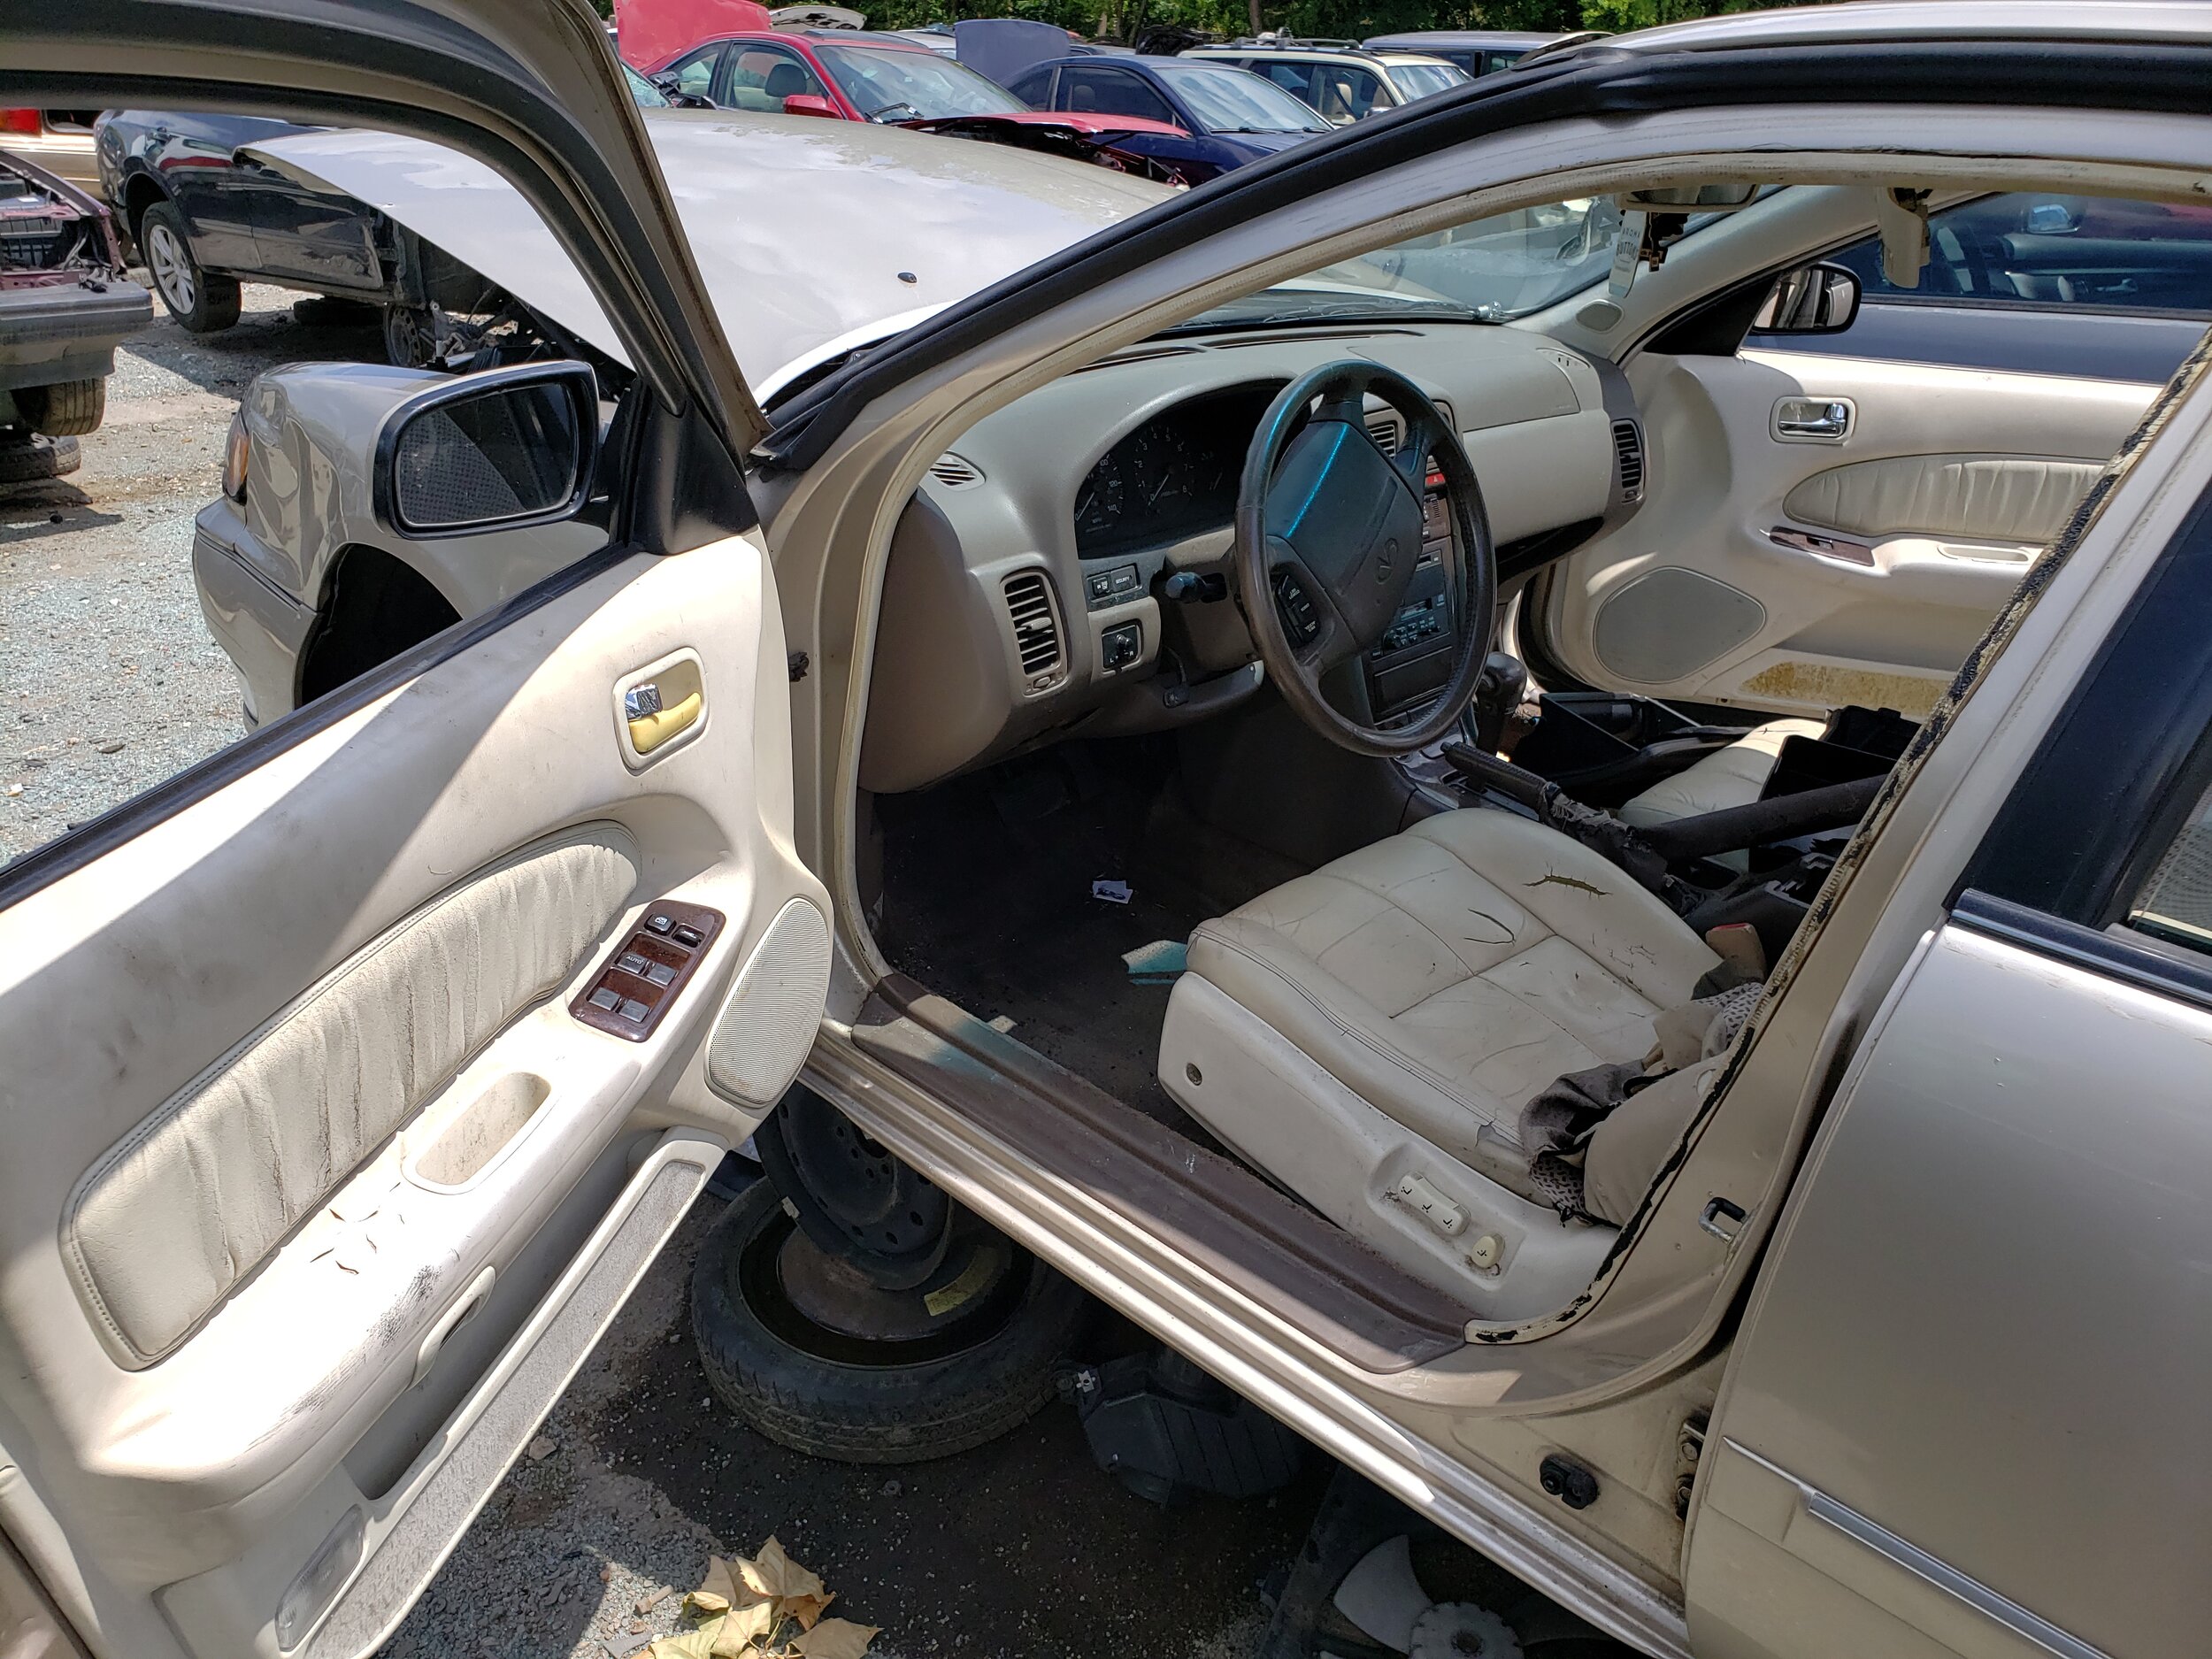
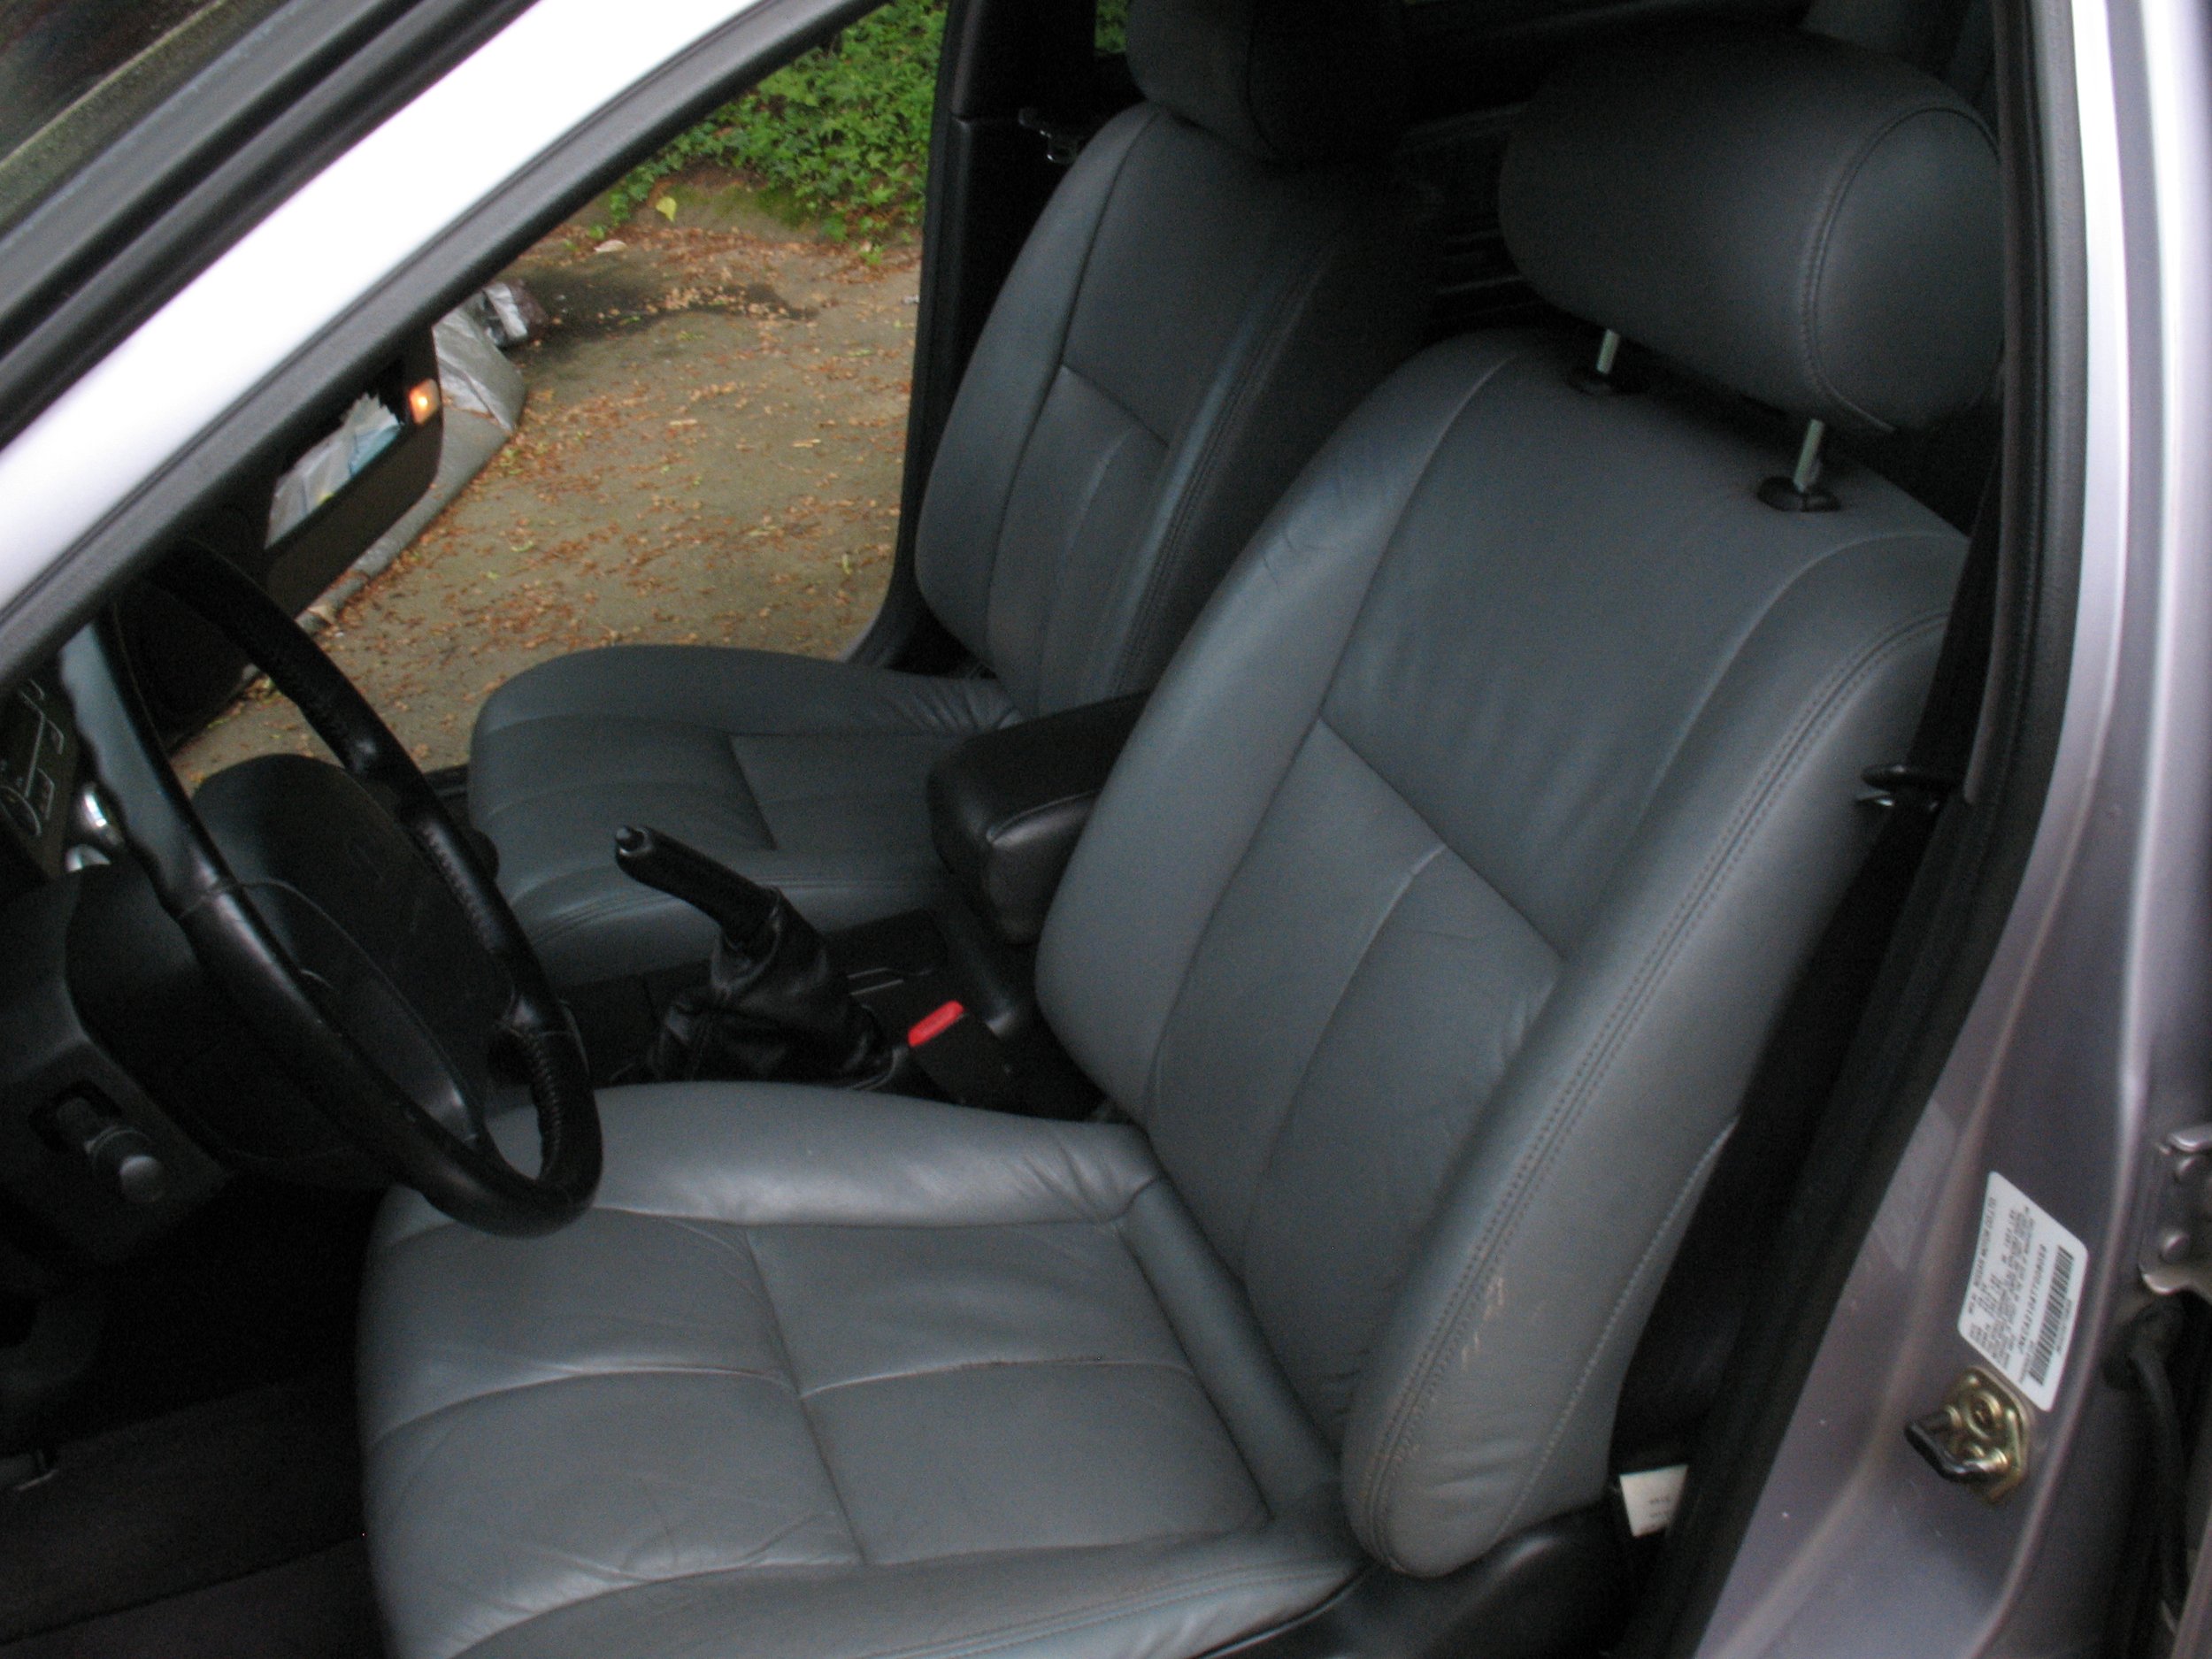
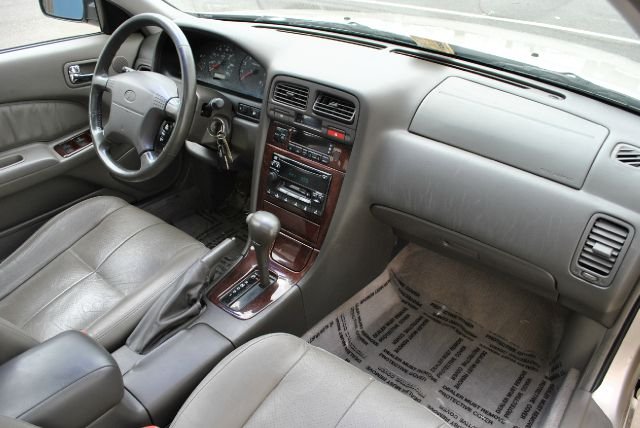
The dashboard was the normal tan color, but the seats, doors, and headliner were all this color I have never seen before. I was dumbfounded, but also giddy with excitement. What was I looking at, and how did such a thing exist? I’ve been doing the 4th gen thing for 20+ years, and I don’t ever remember seeing such an interior before. If I had to guess, I would say 49% of cars had black interiors, 49% had tan, and 2% were that weird gray in some later 98-99 cars. Now my car (1996 I30 as well) was a little different since it had a black dash and doors, but a lighter gray leather that wasn’t the same as what came in those later 98-99 cars. It also has matching gray leather door inserts.
(Excuse the crappy pics, they’re very old)
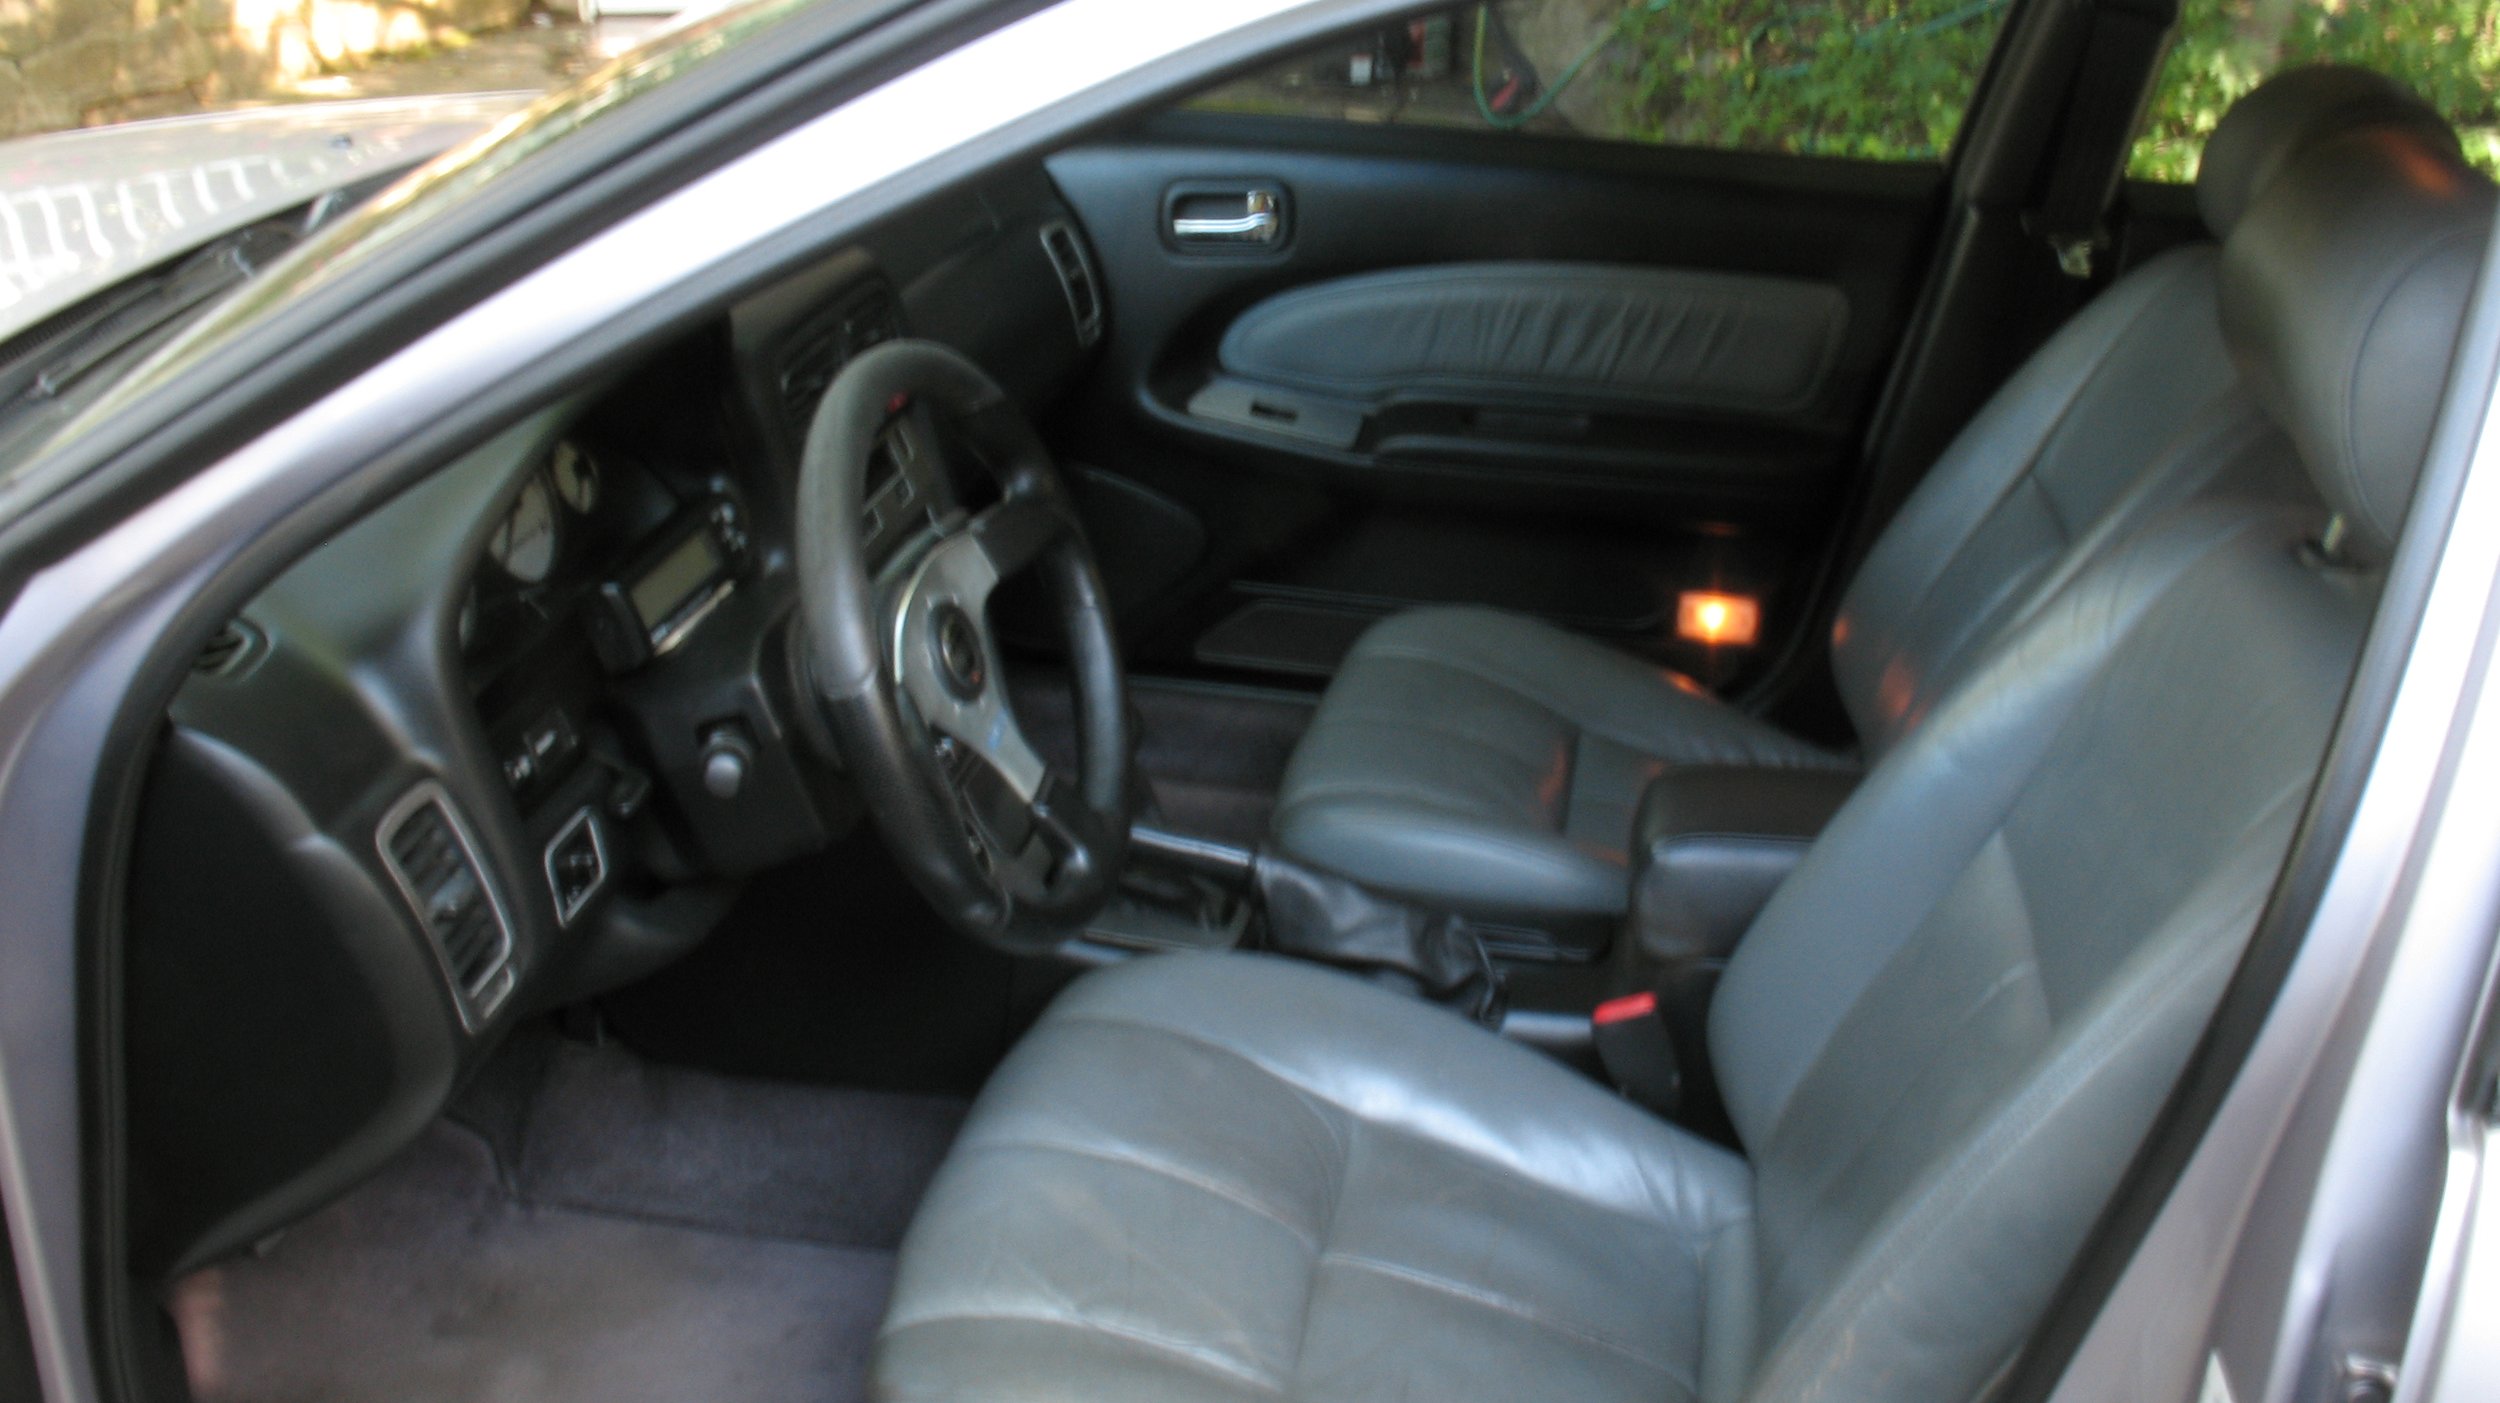
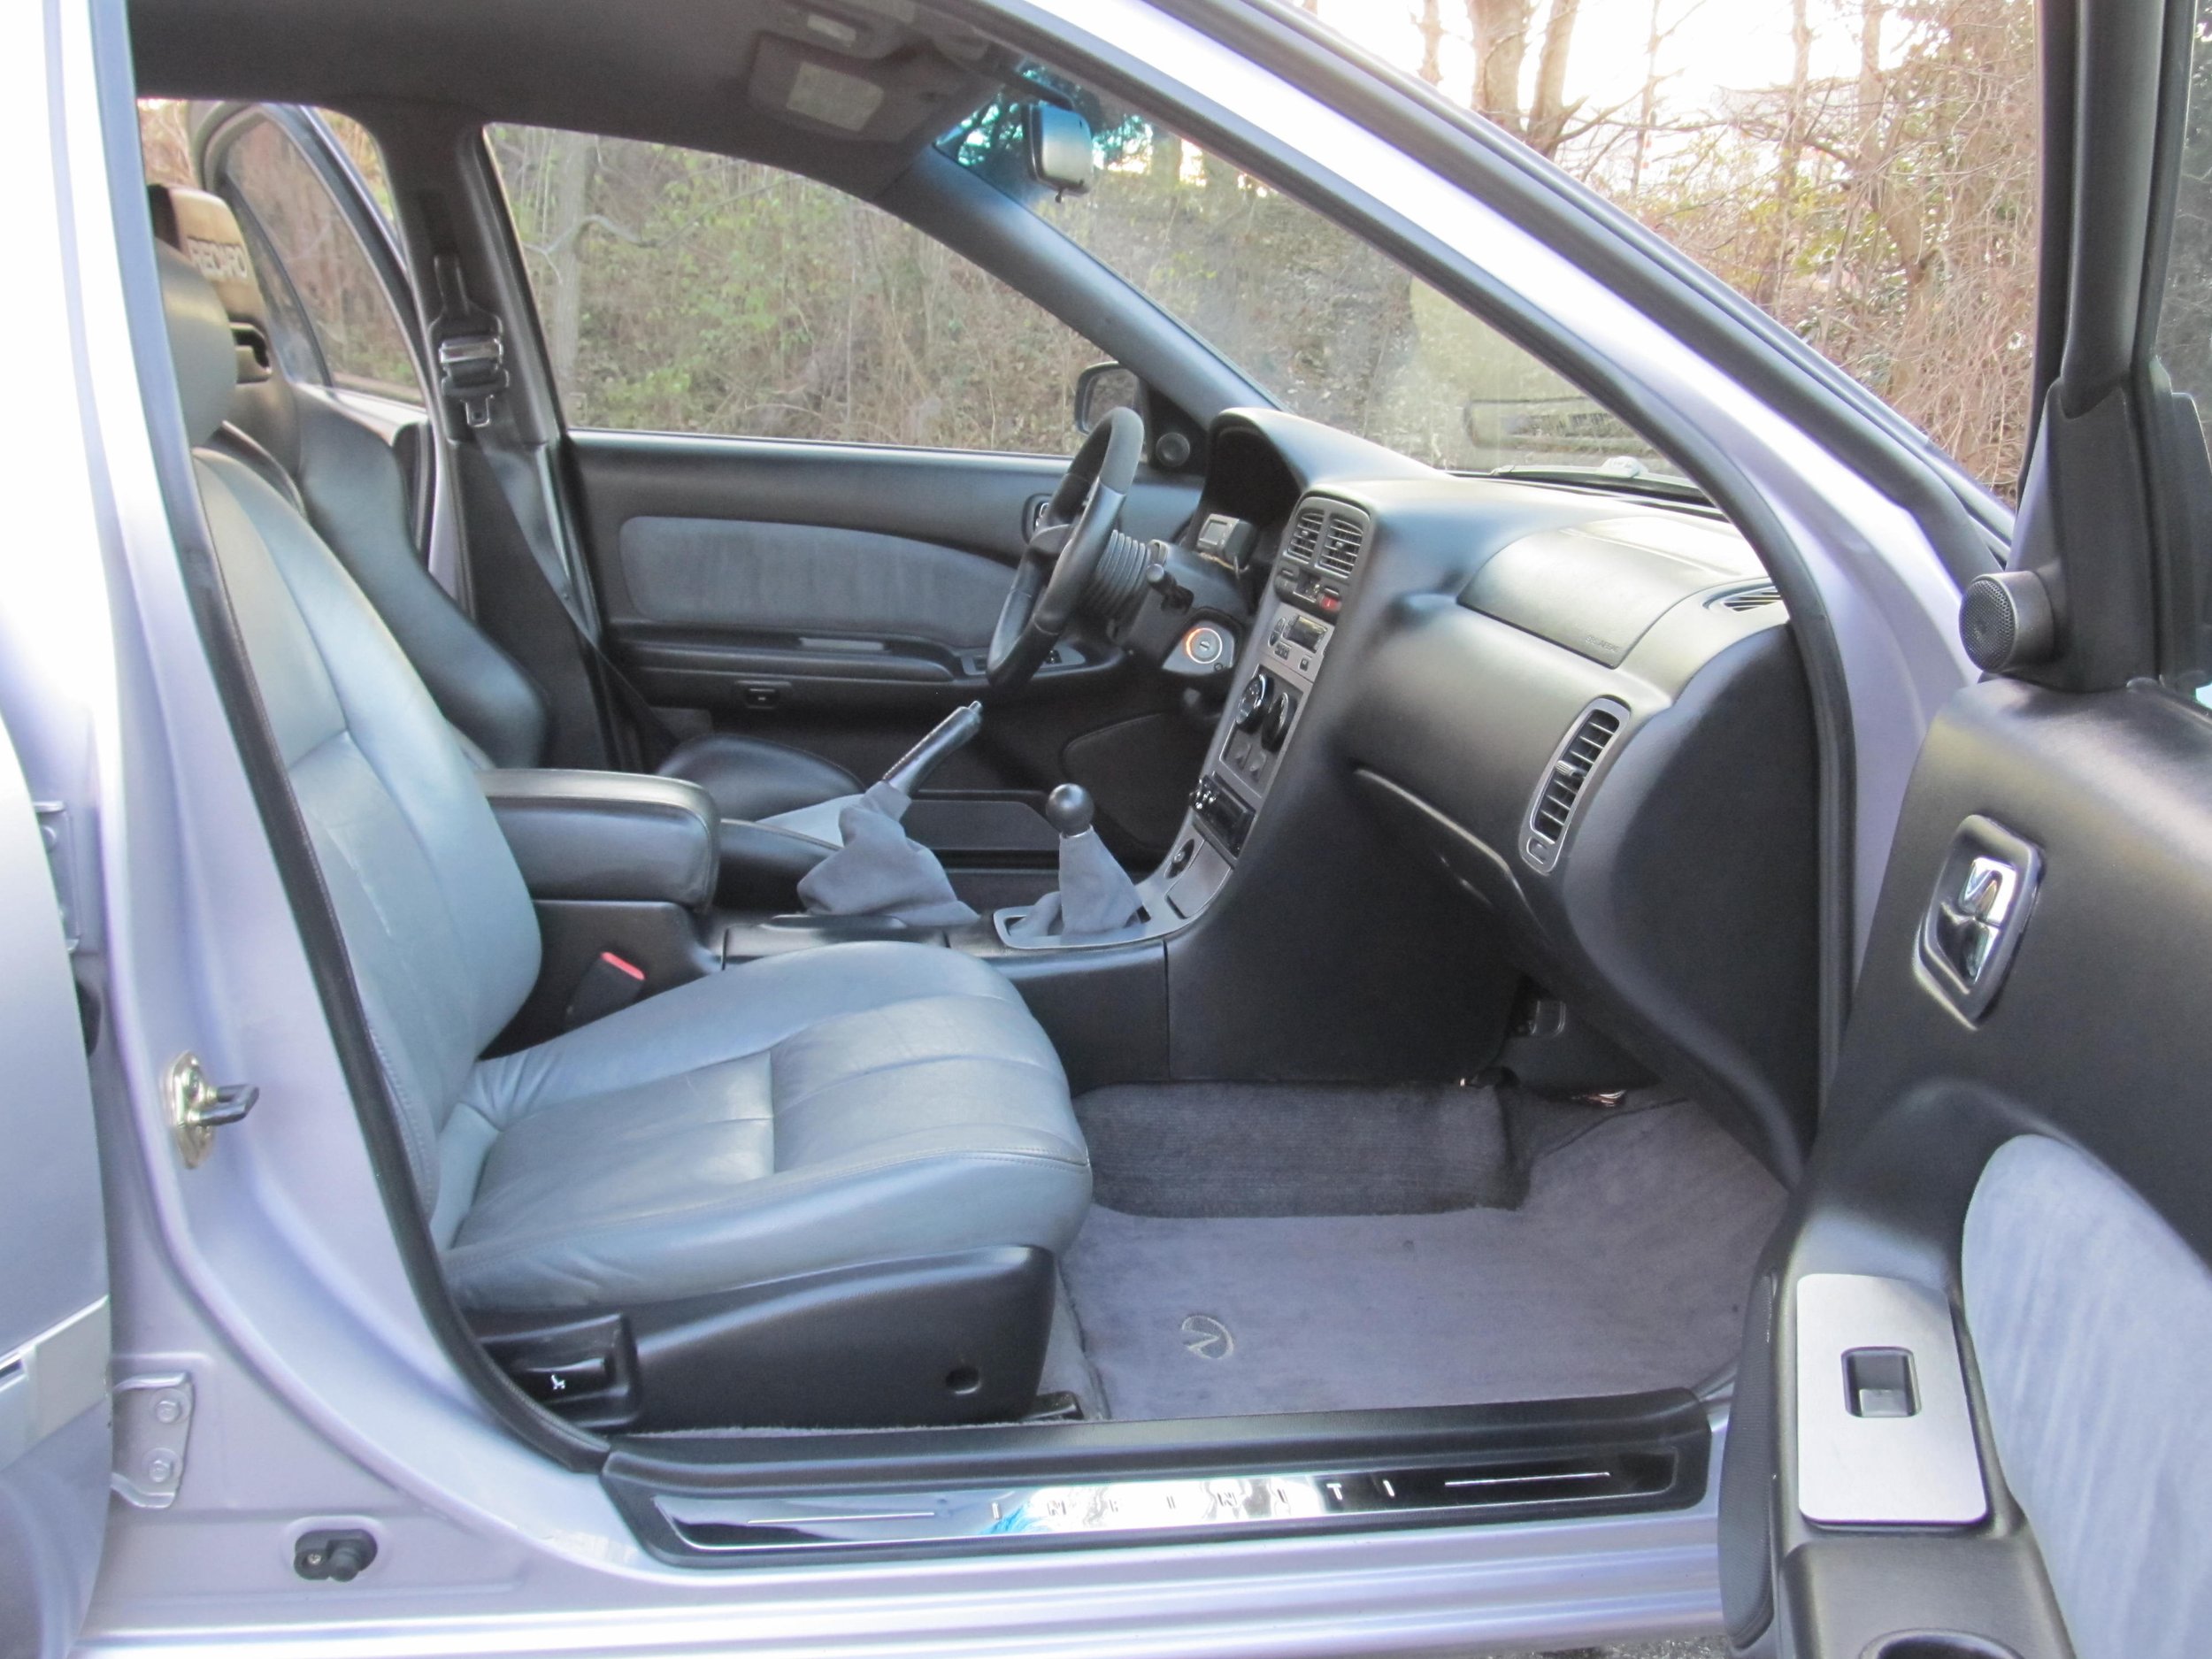
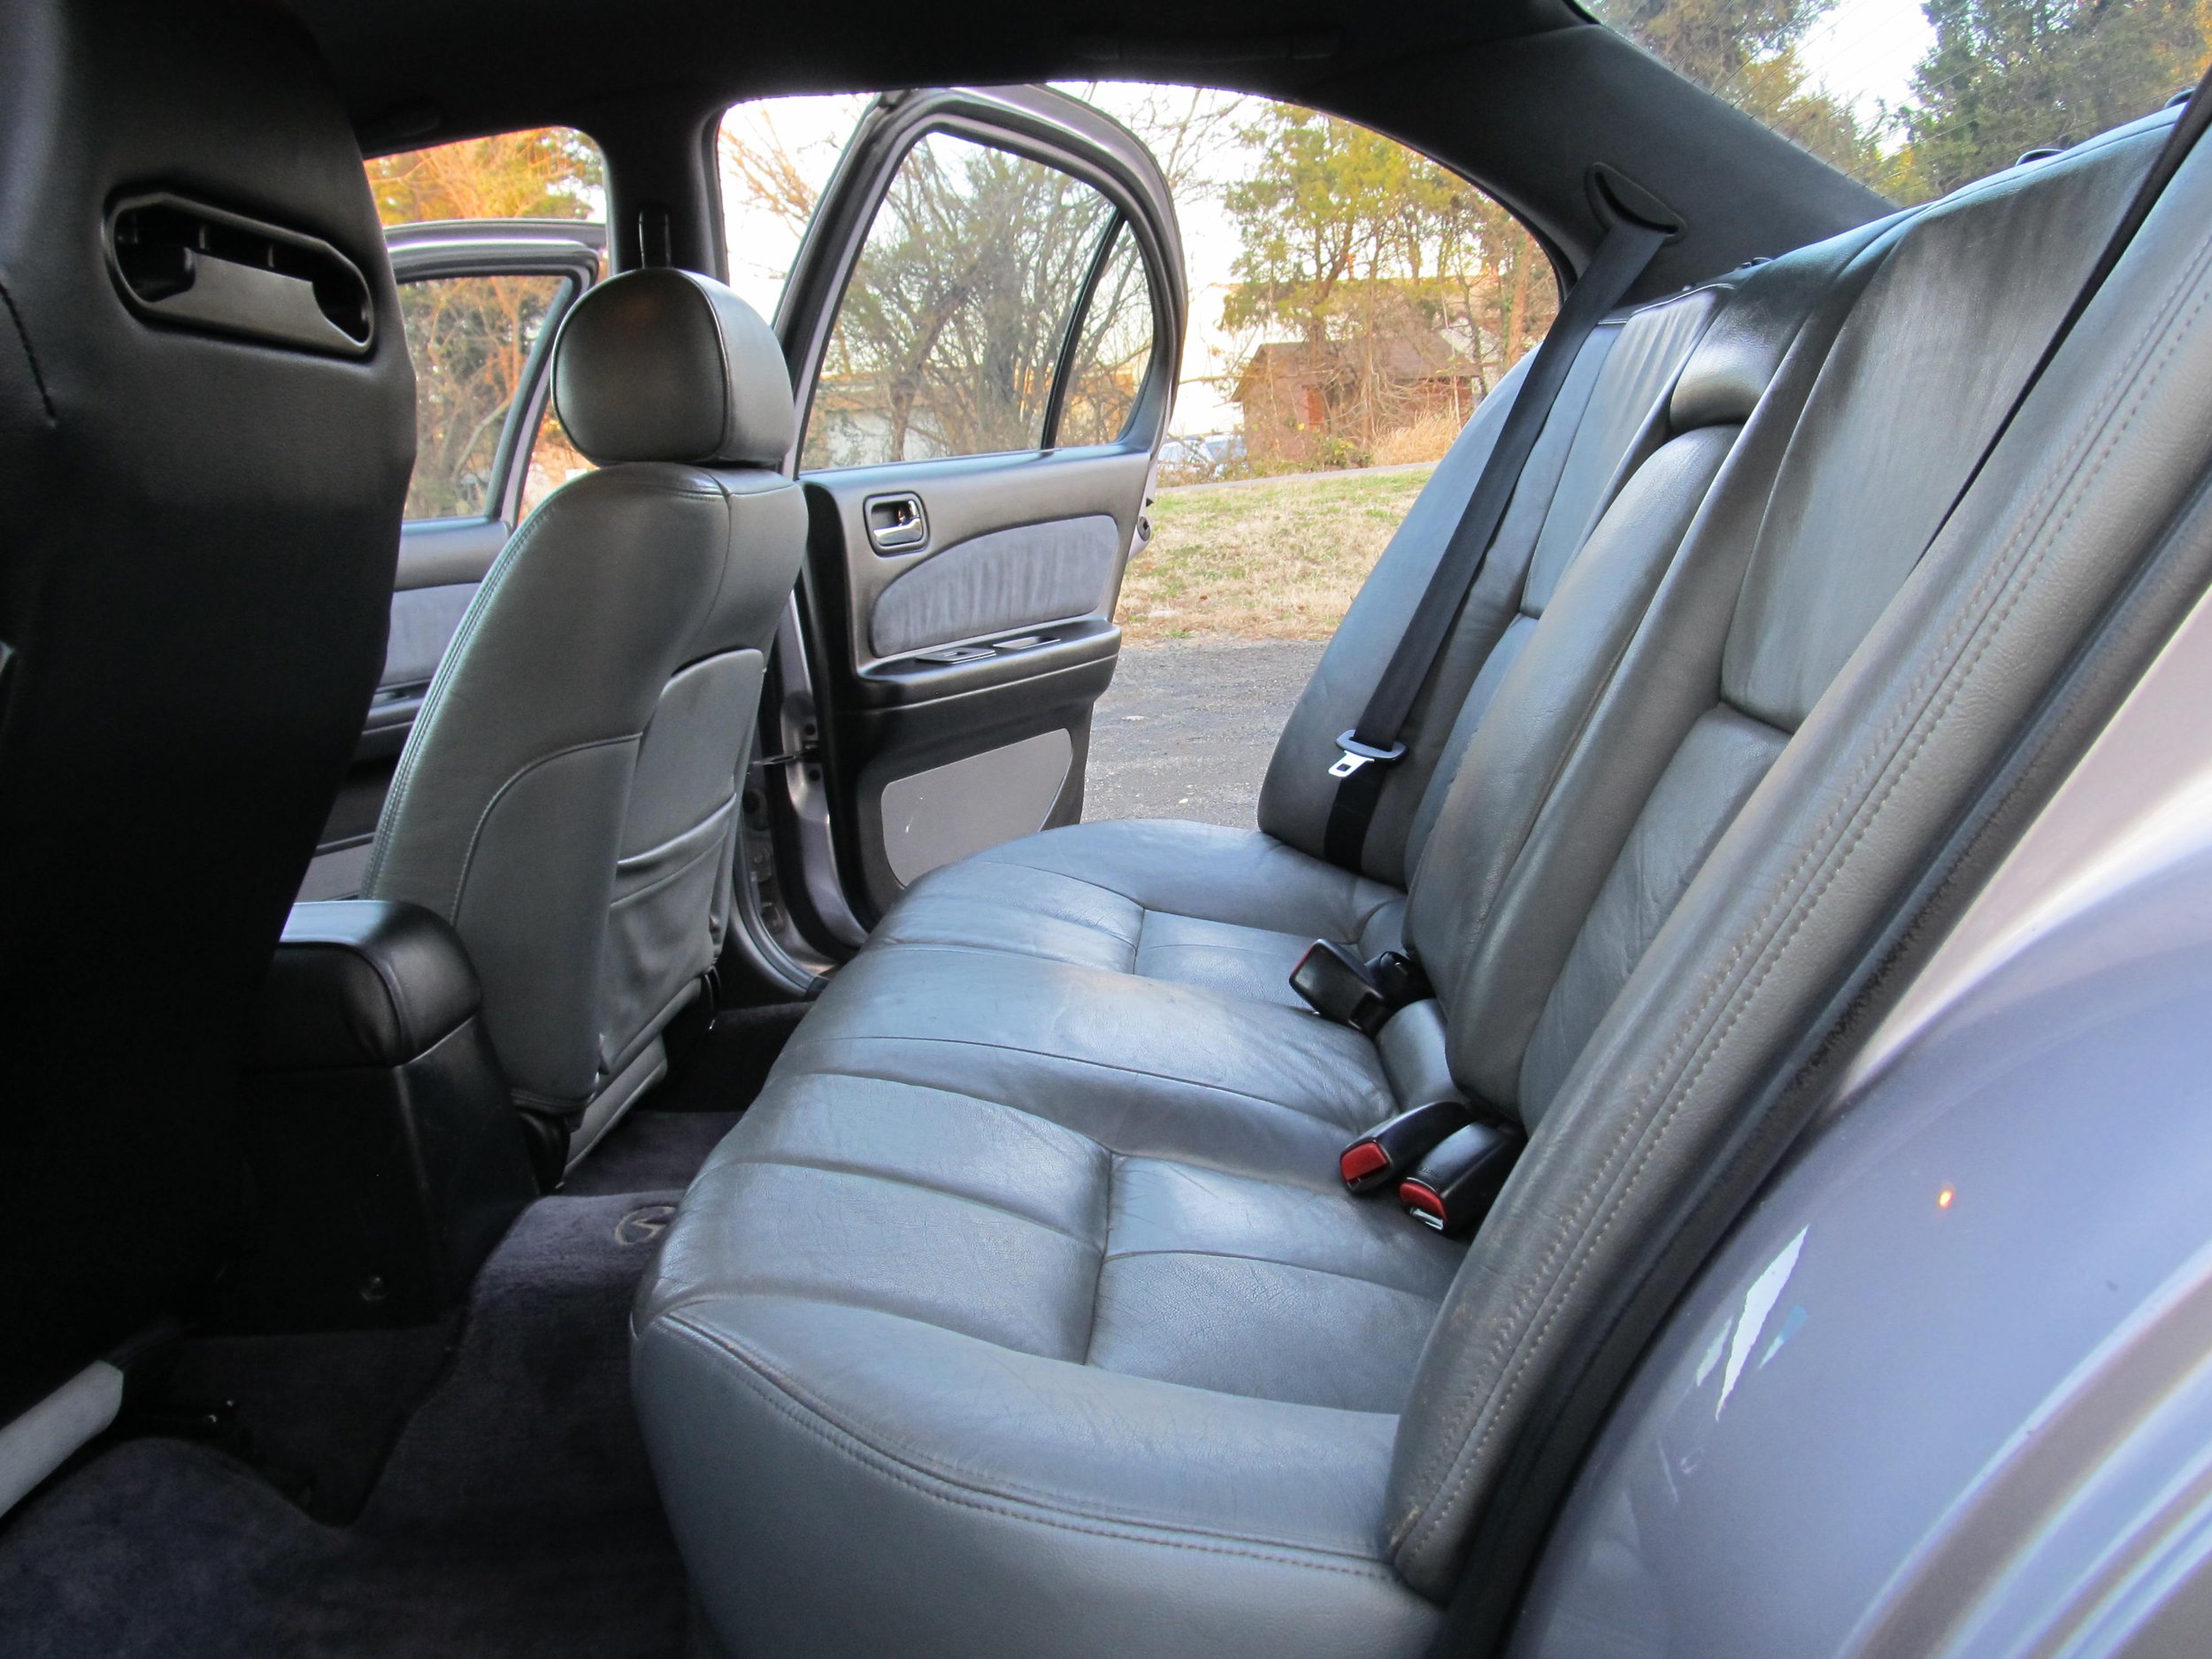
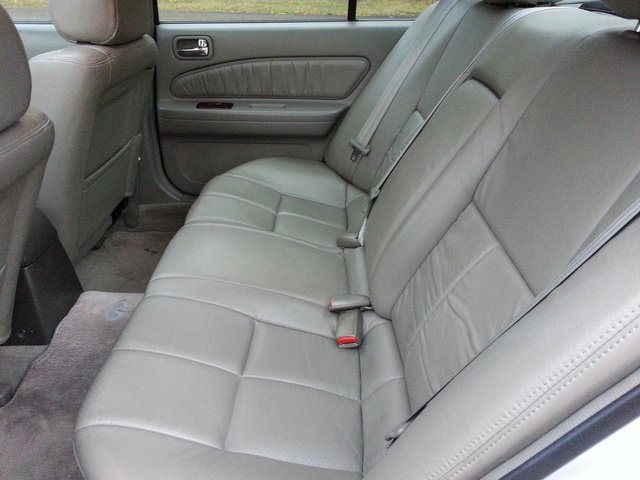
Here are some more recent ones:
And here are some pics I found of the all (darker) gray 98-99 cars:
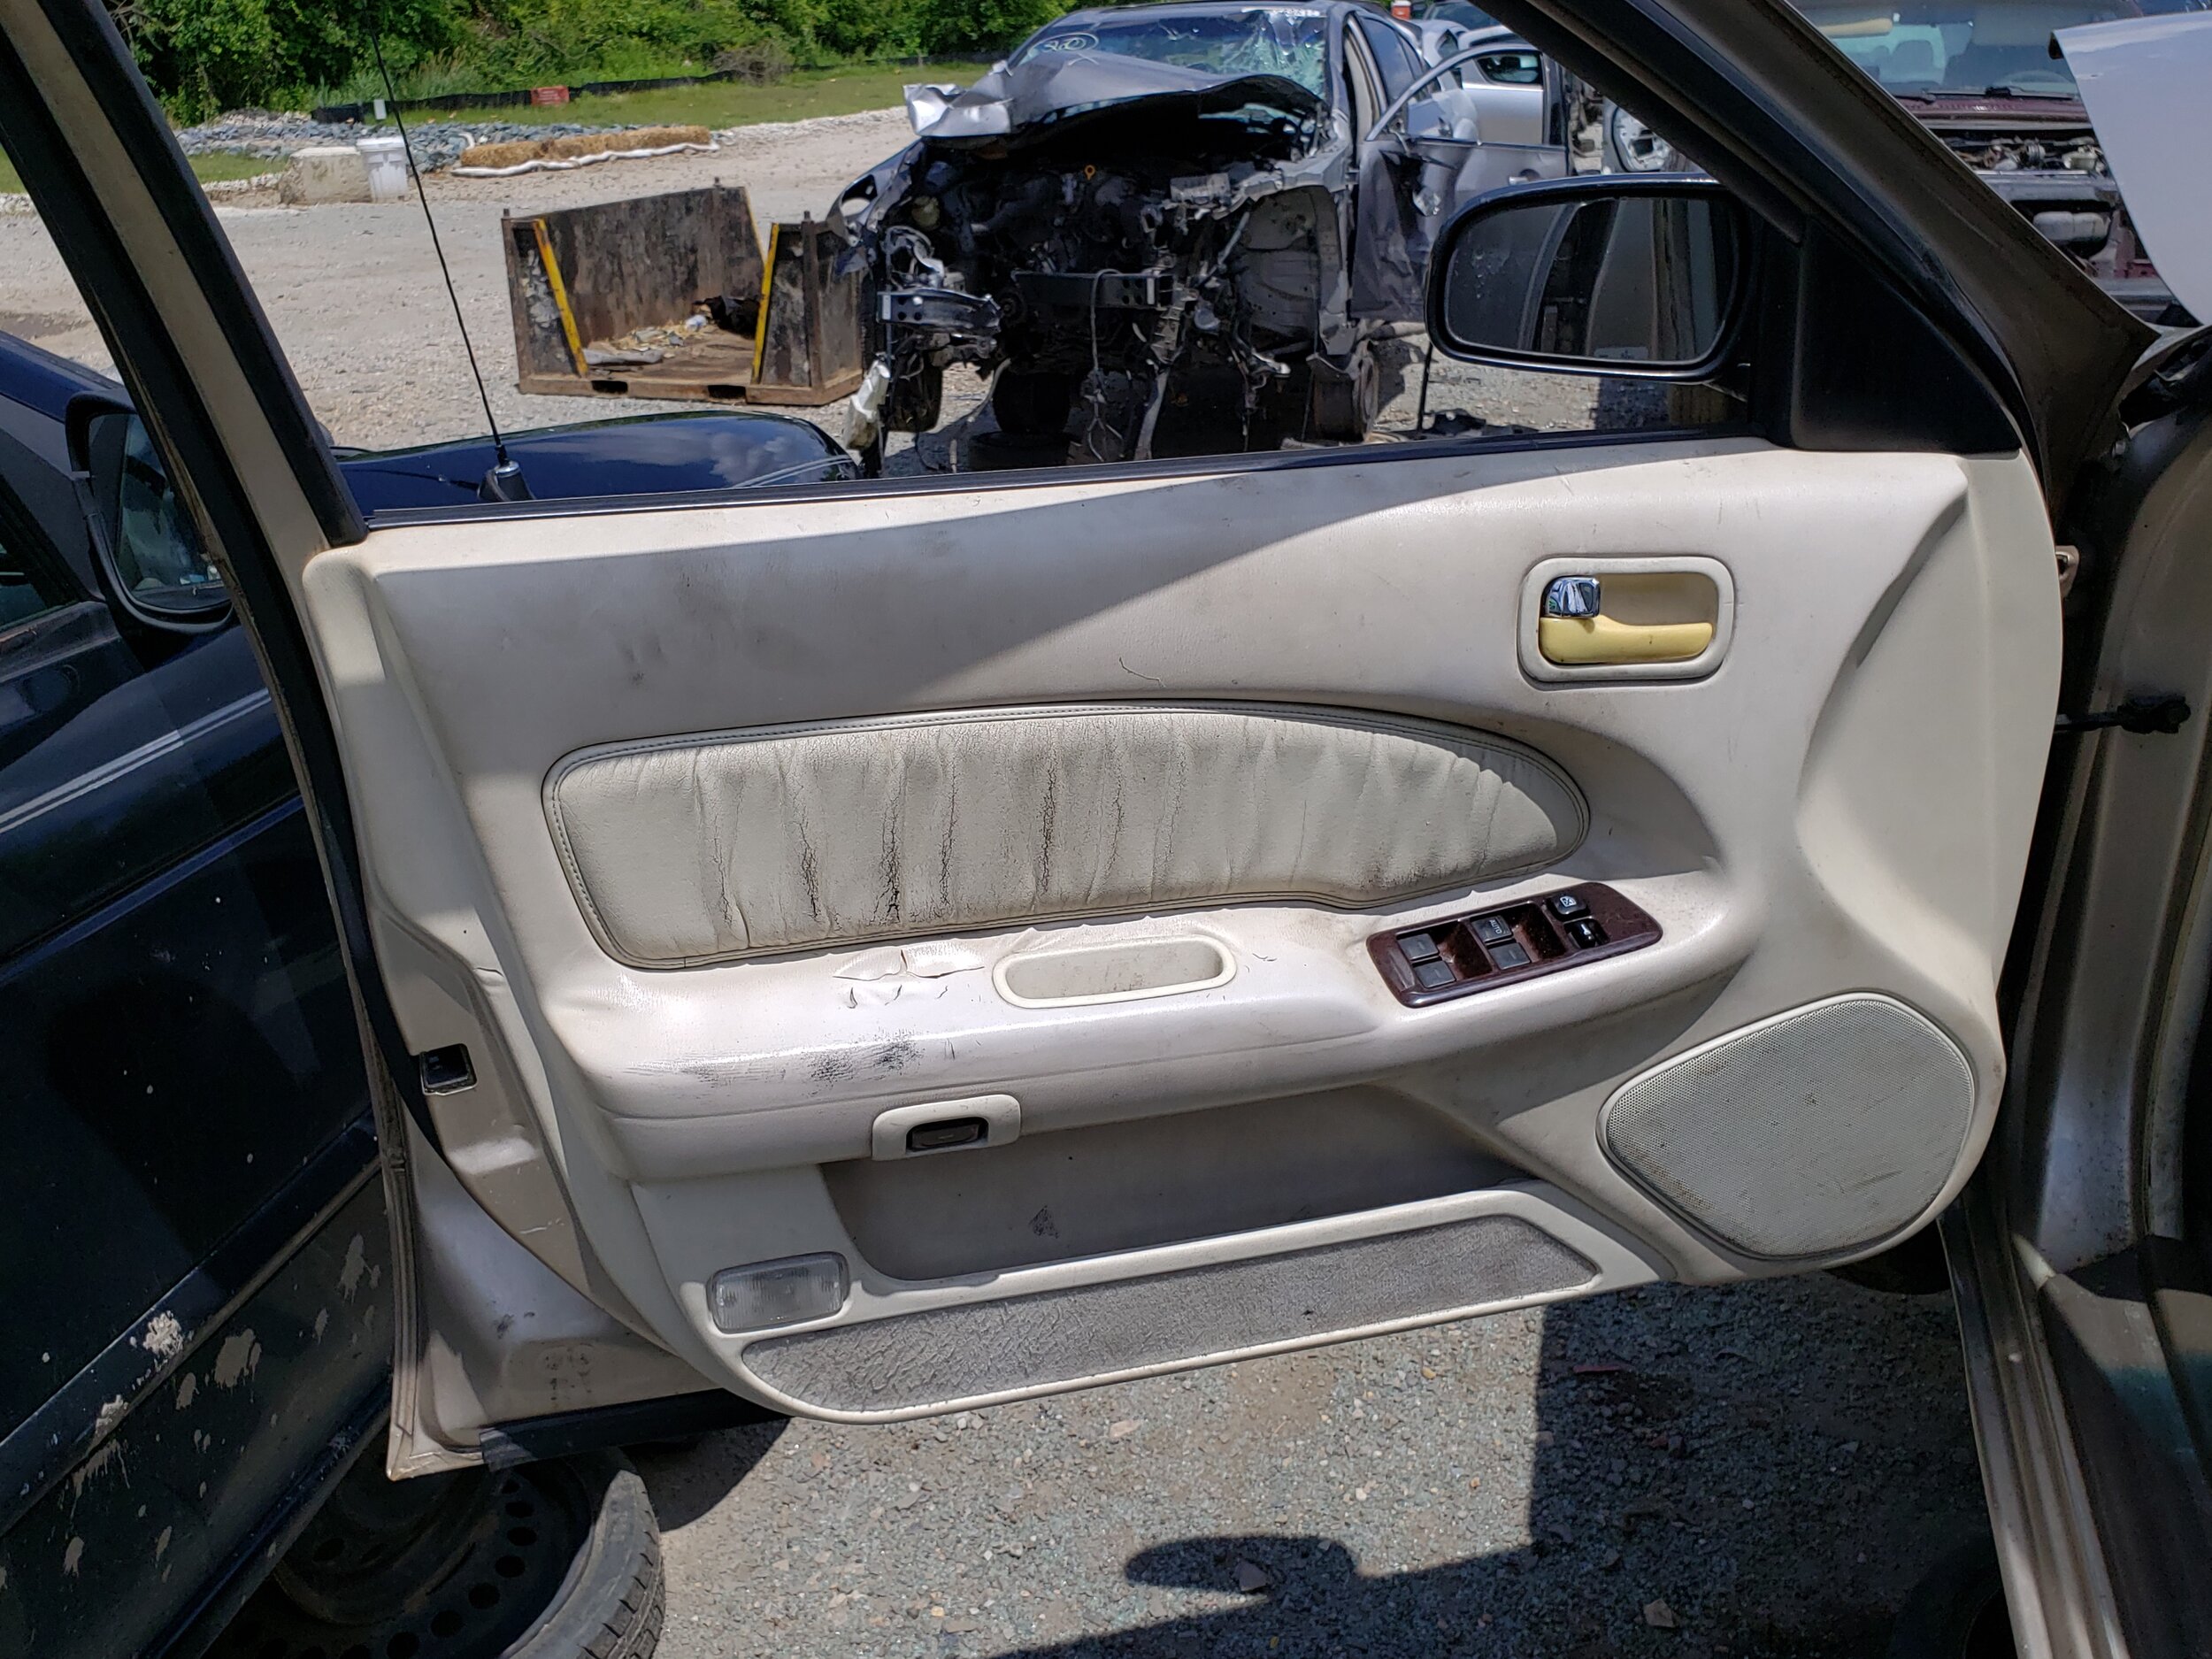
But this car was something entirely new, because not only was the leather a different color, but the doors were as well. All I can assume is that the first-year 1996 I30s had some weird options that didn’t exist for Maximas and were gone by the ’97 model year.
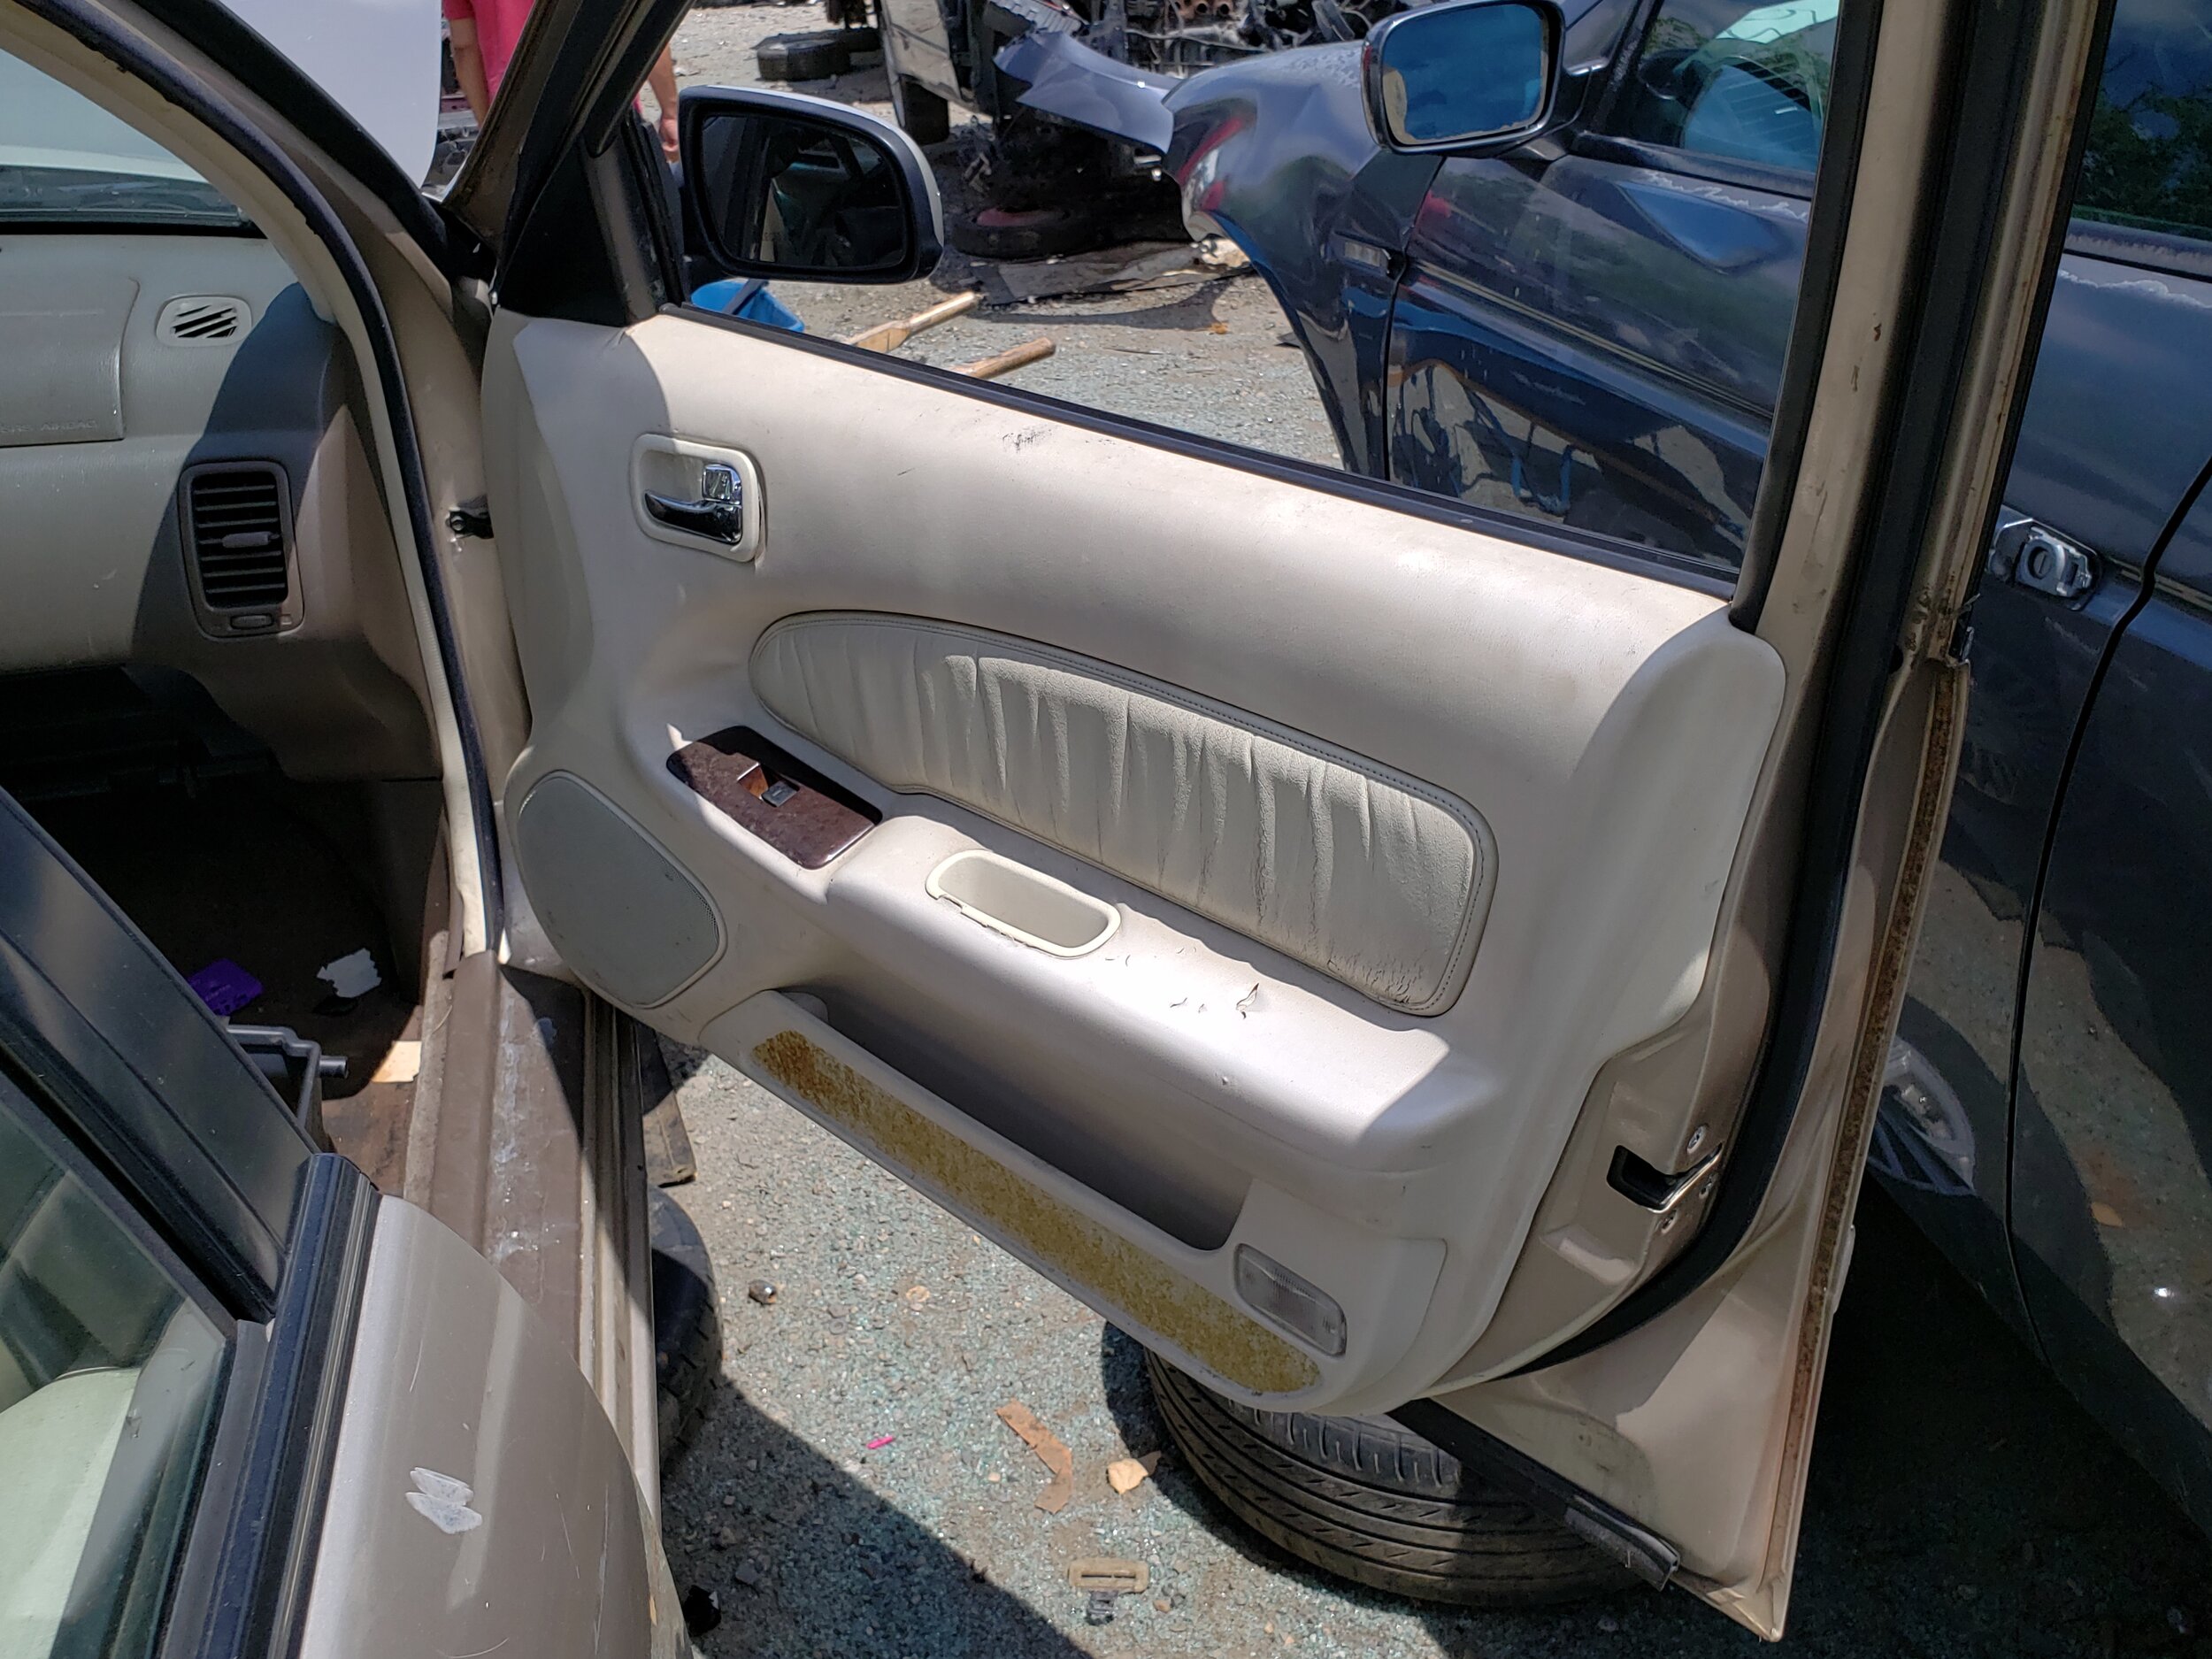
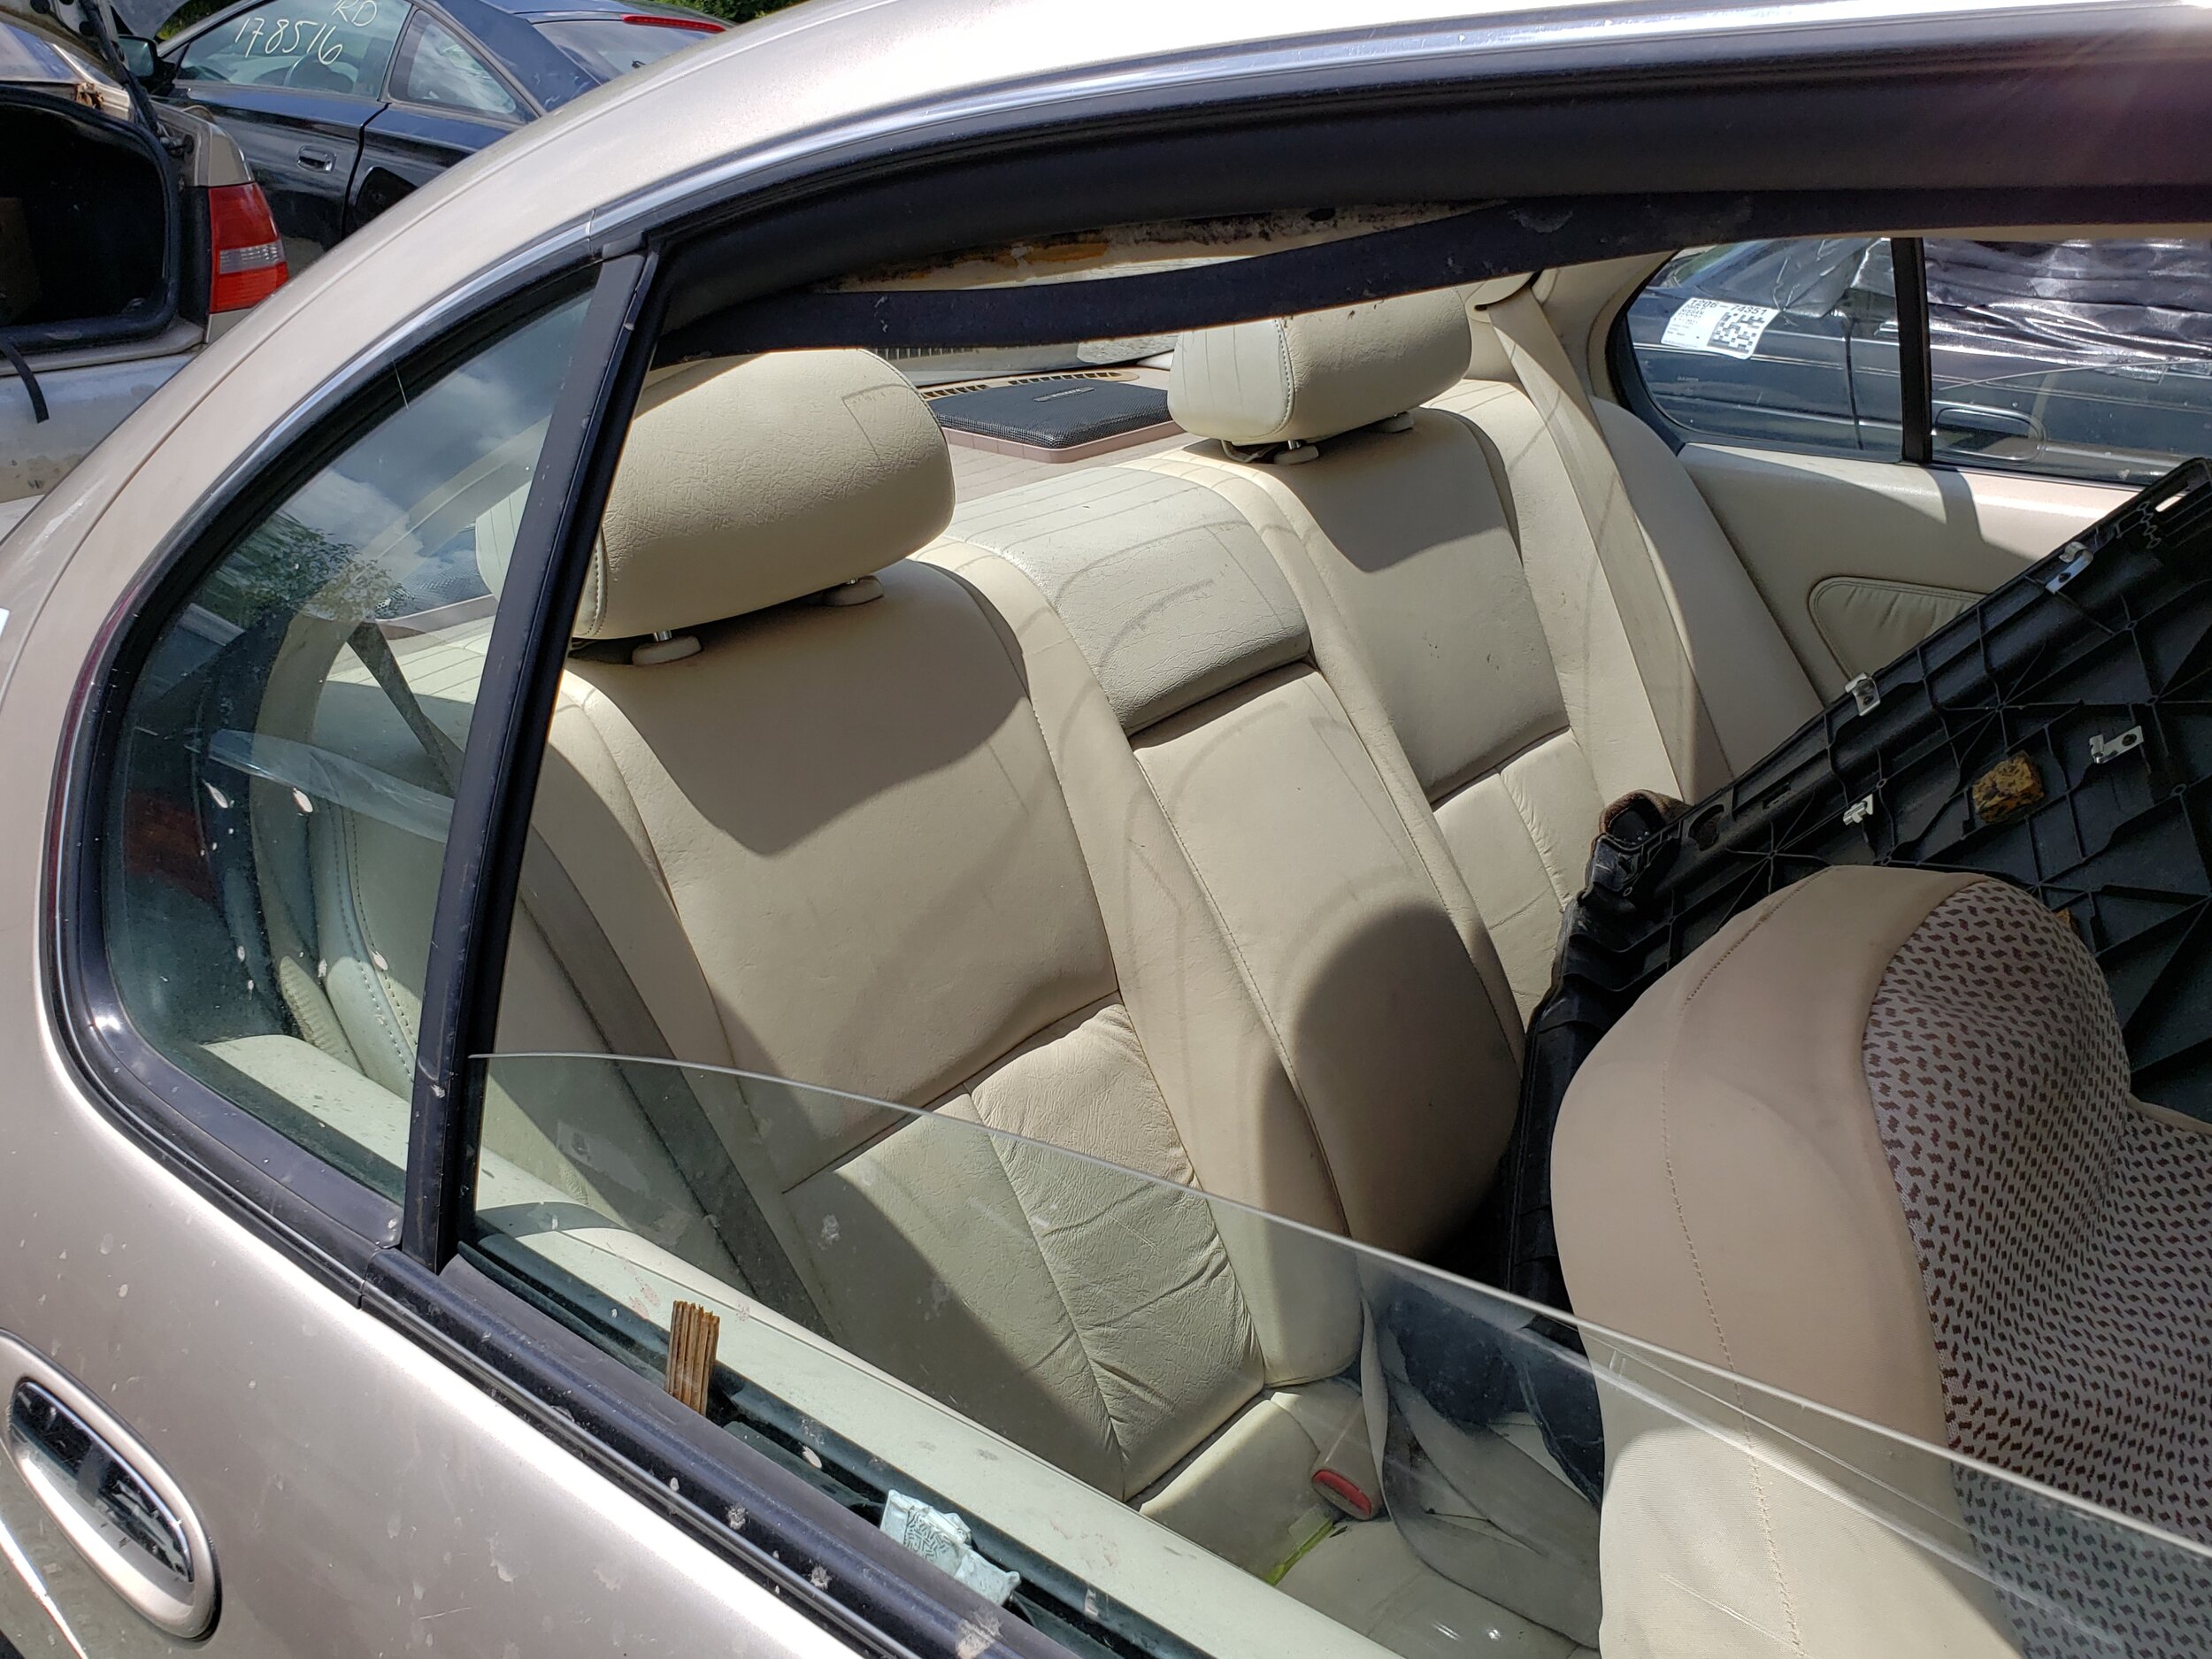
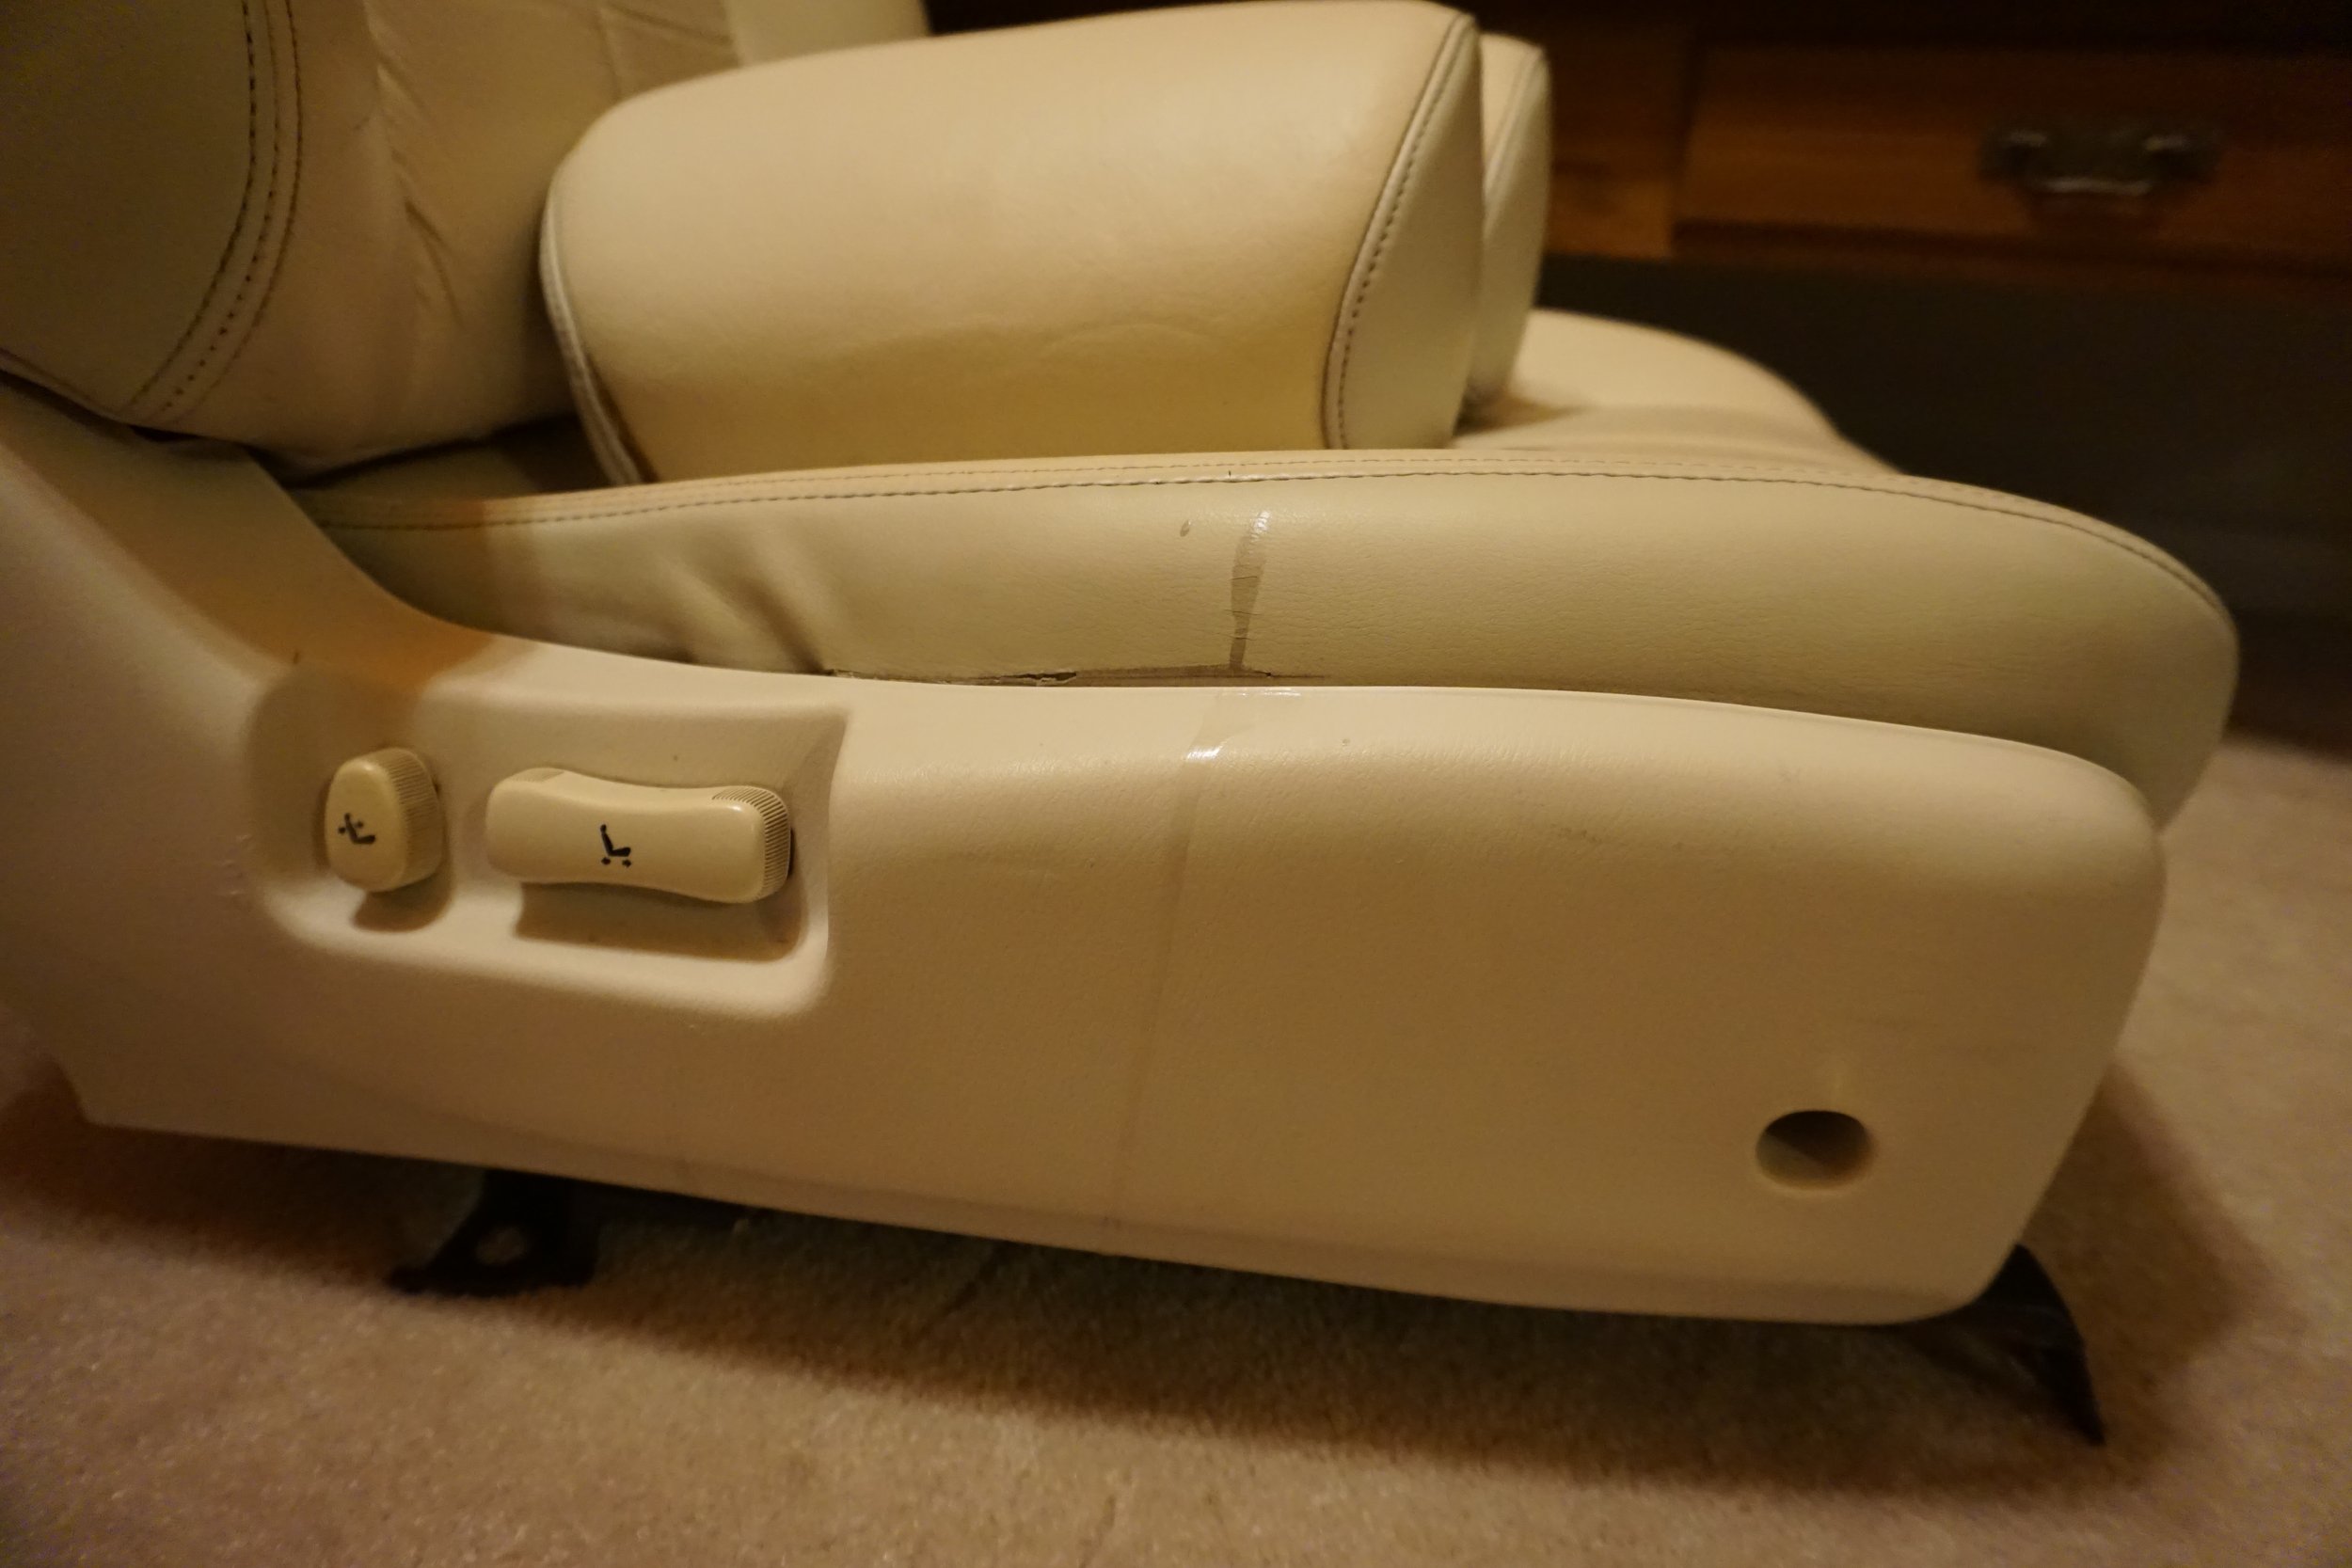
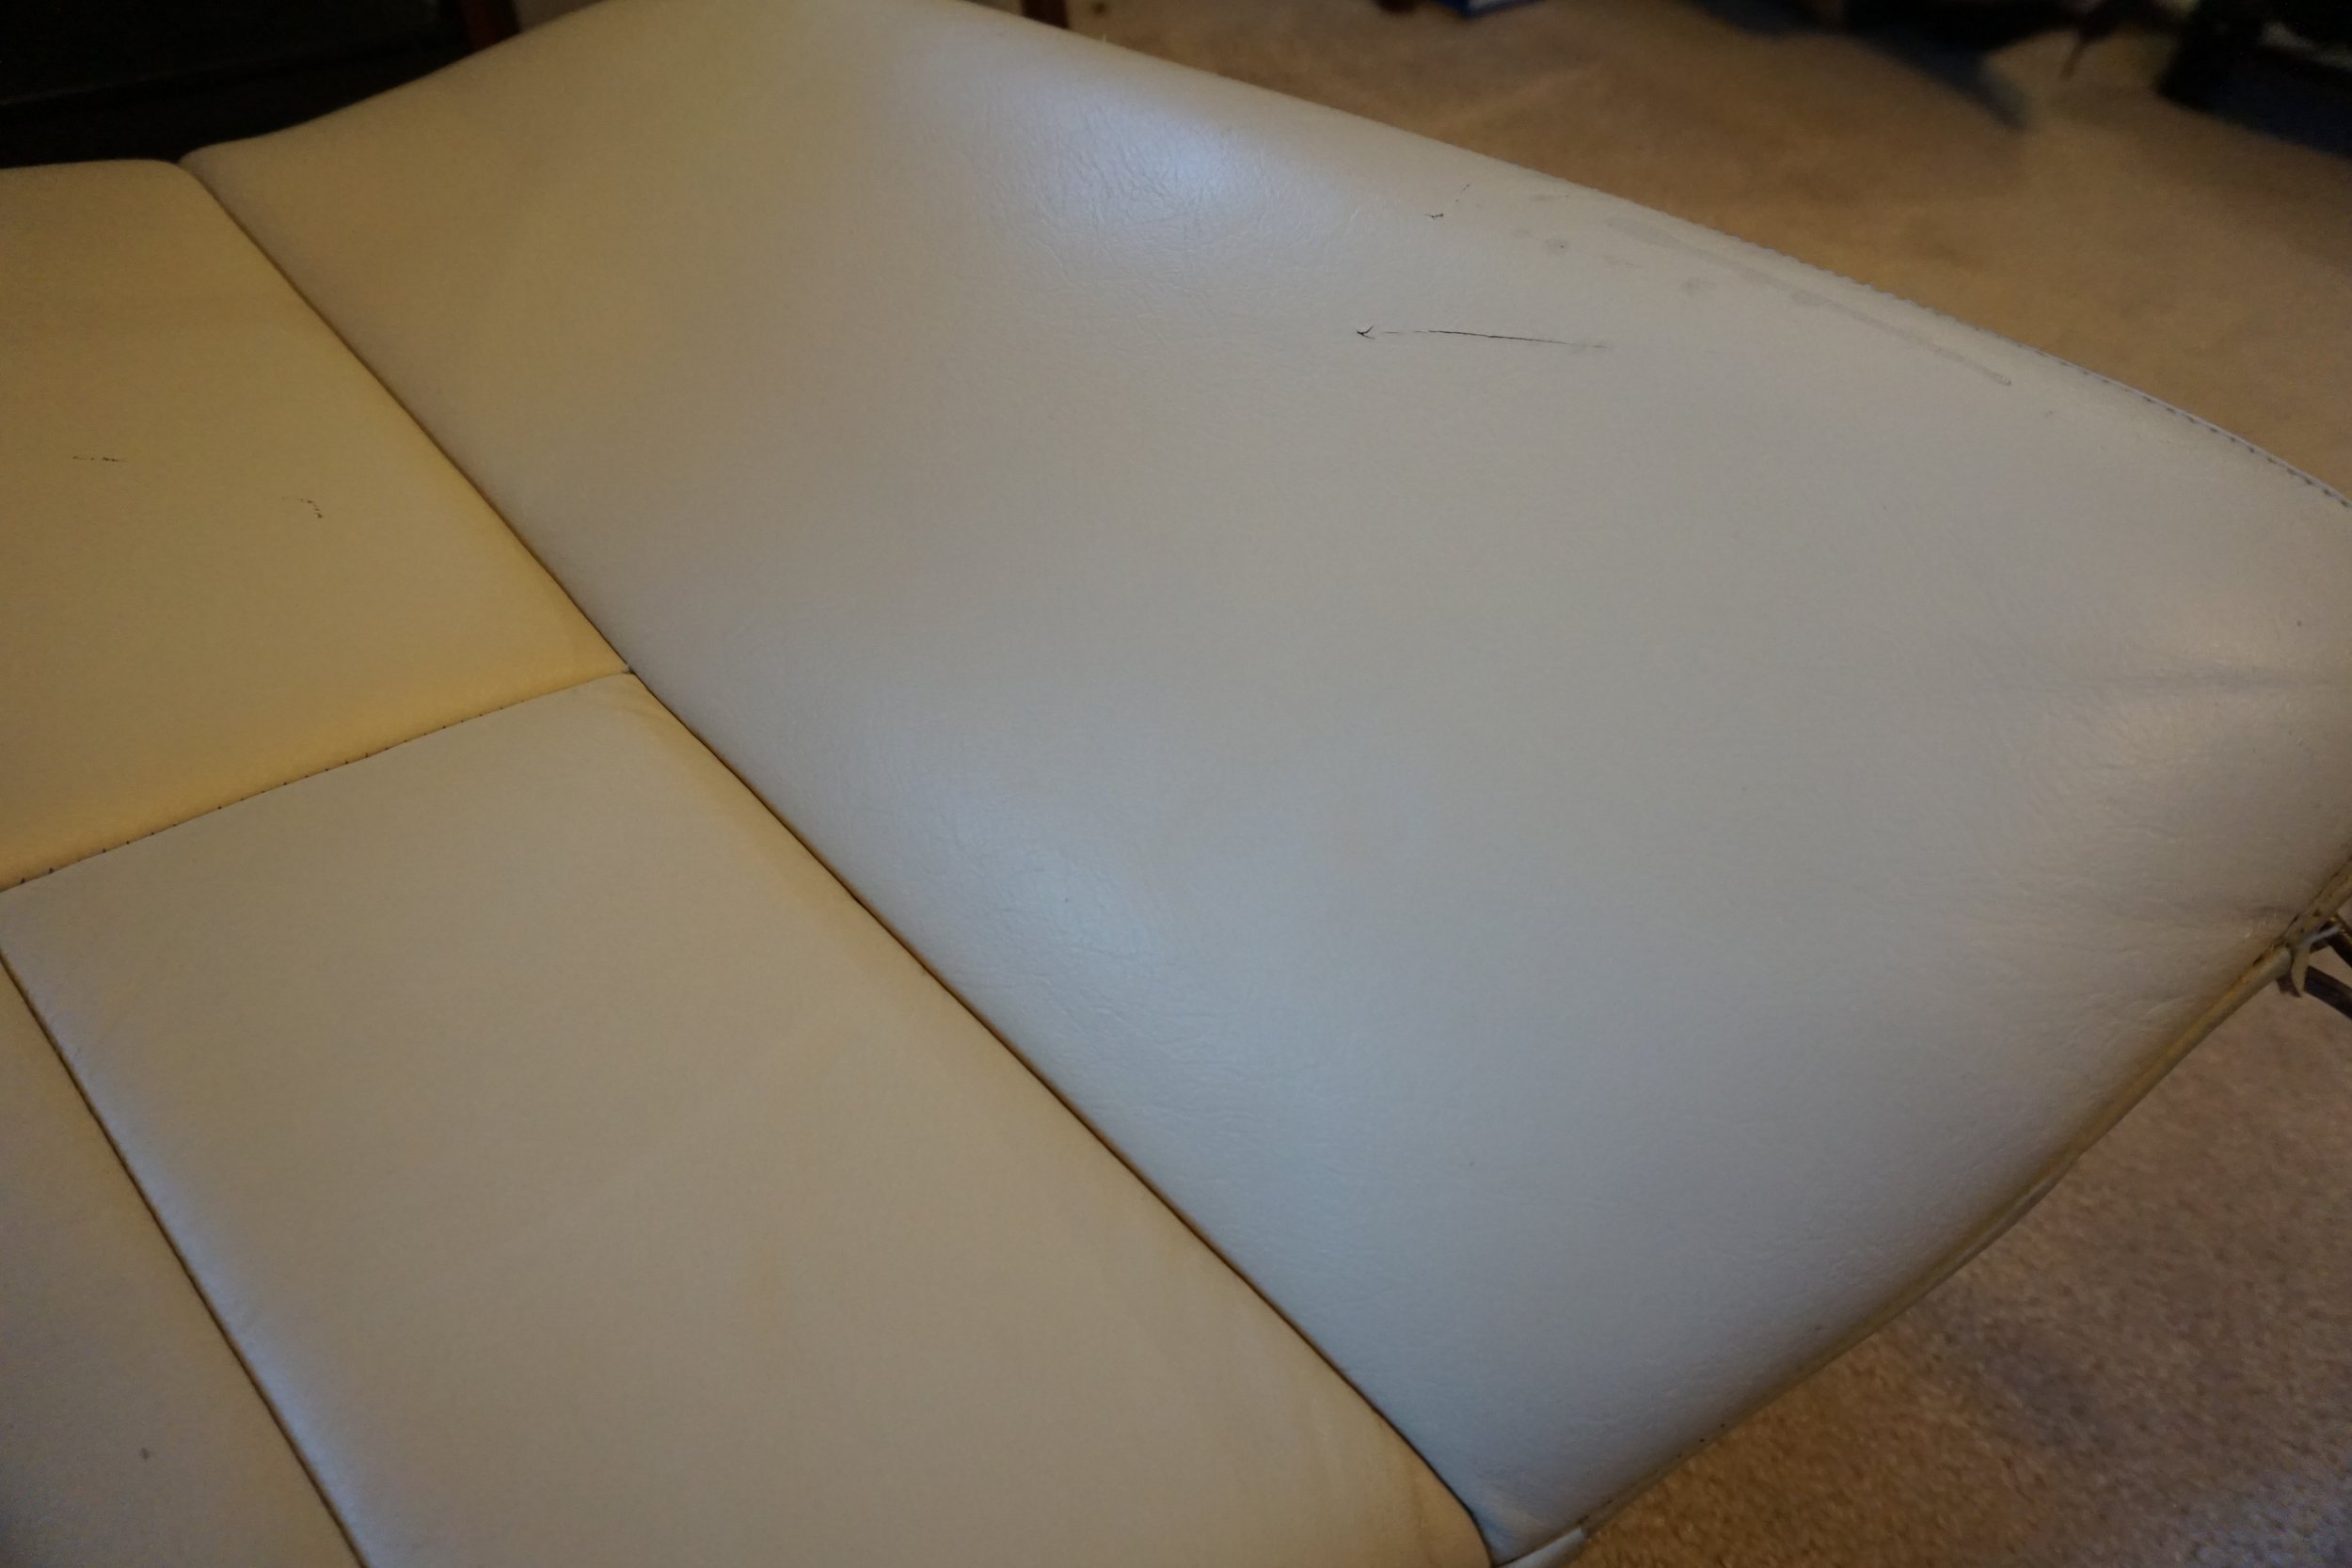
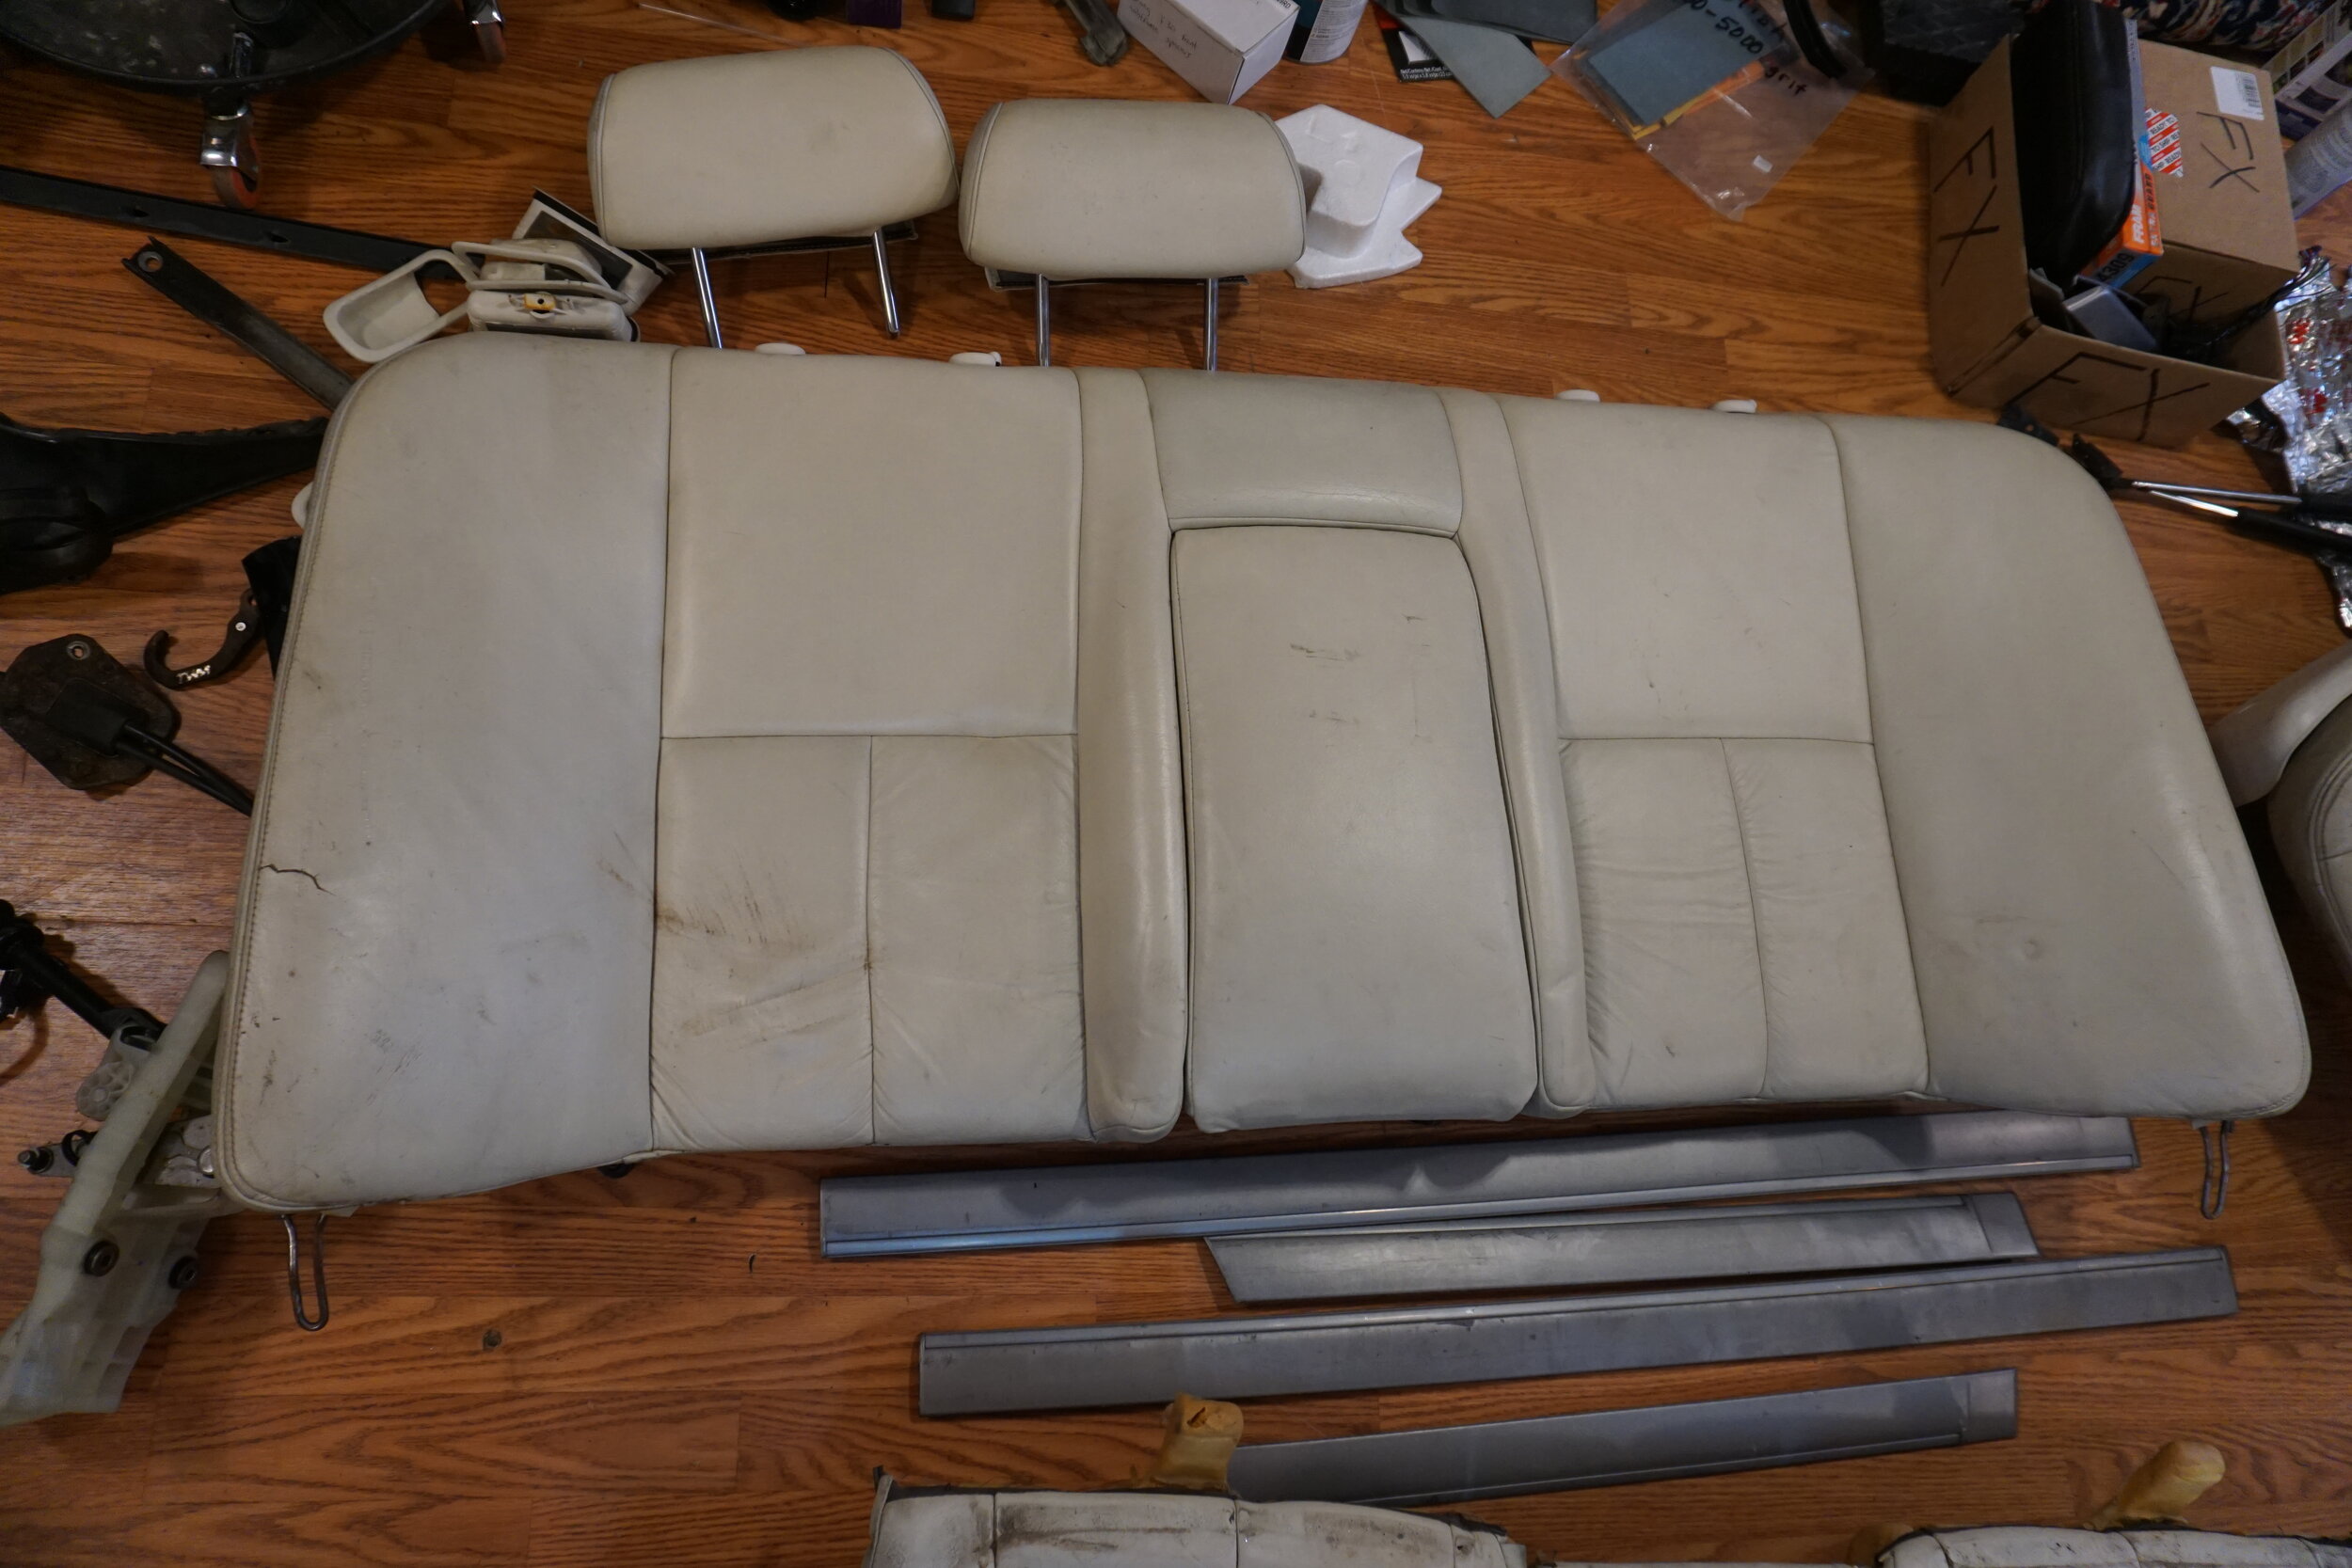
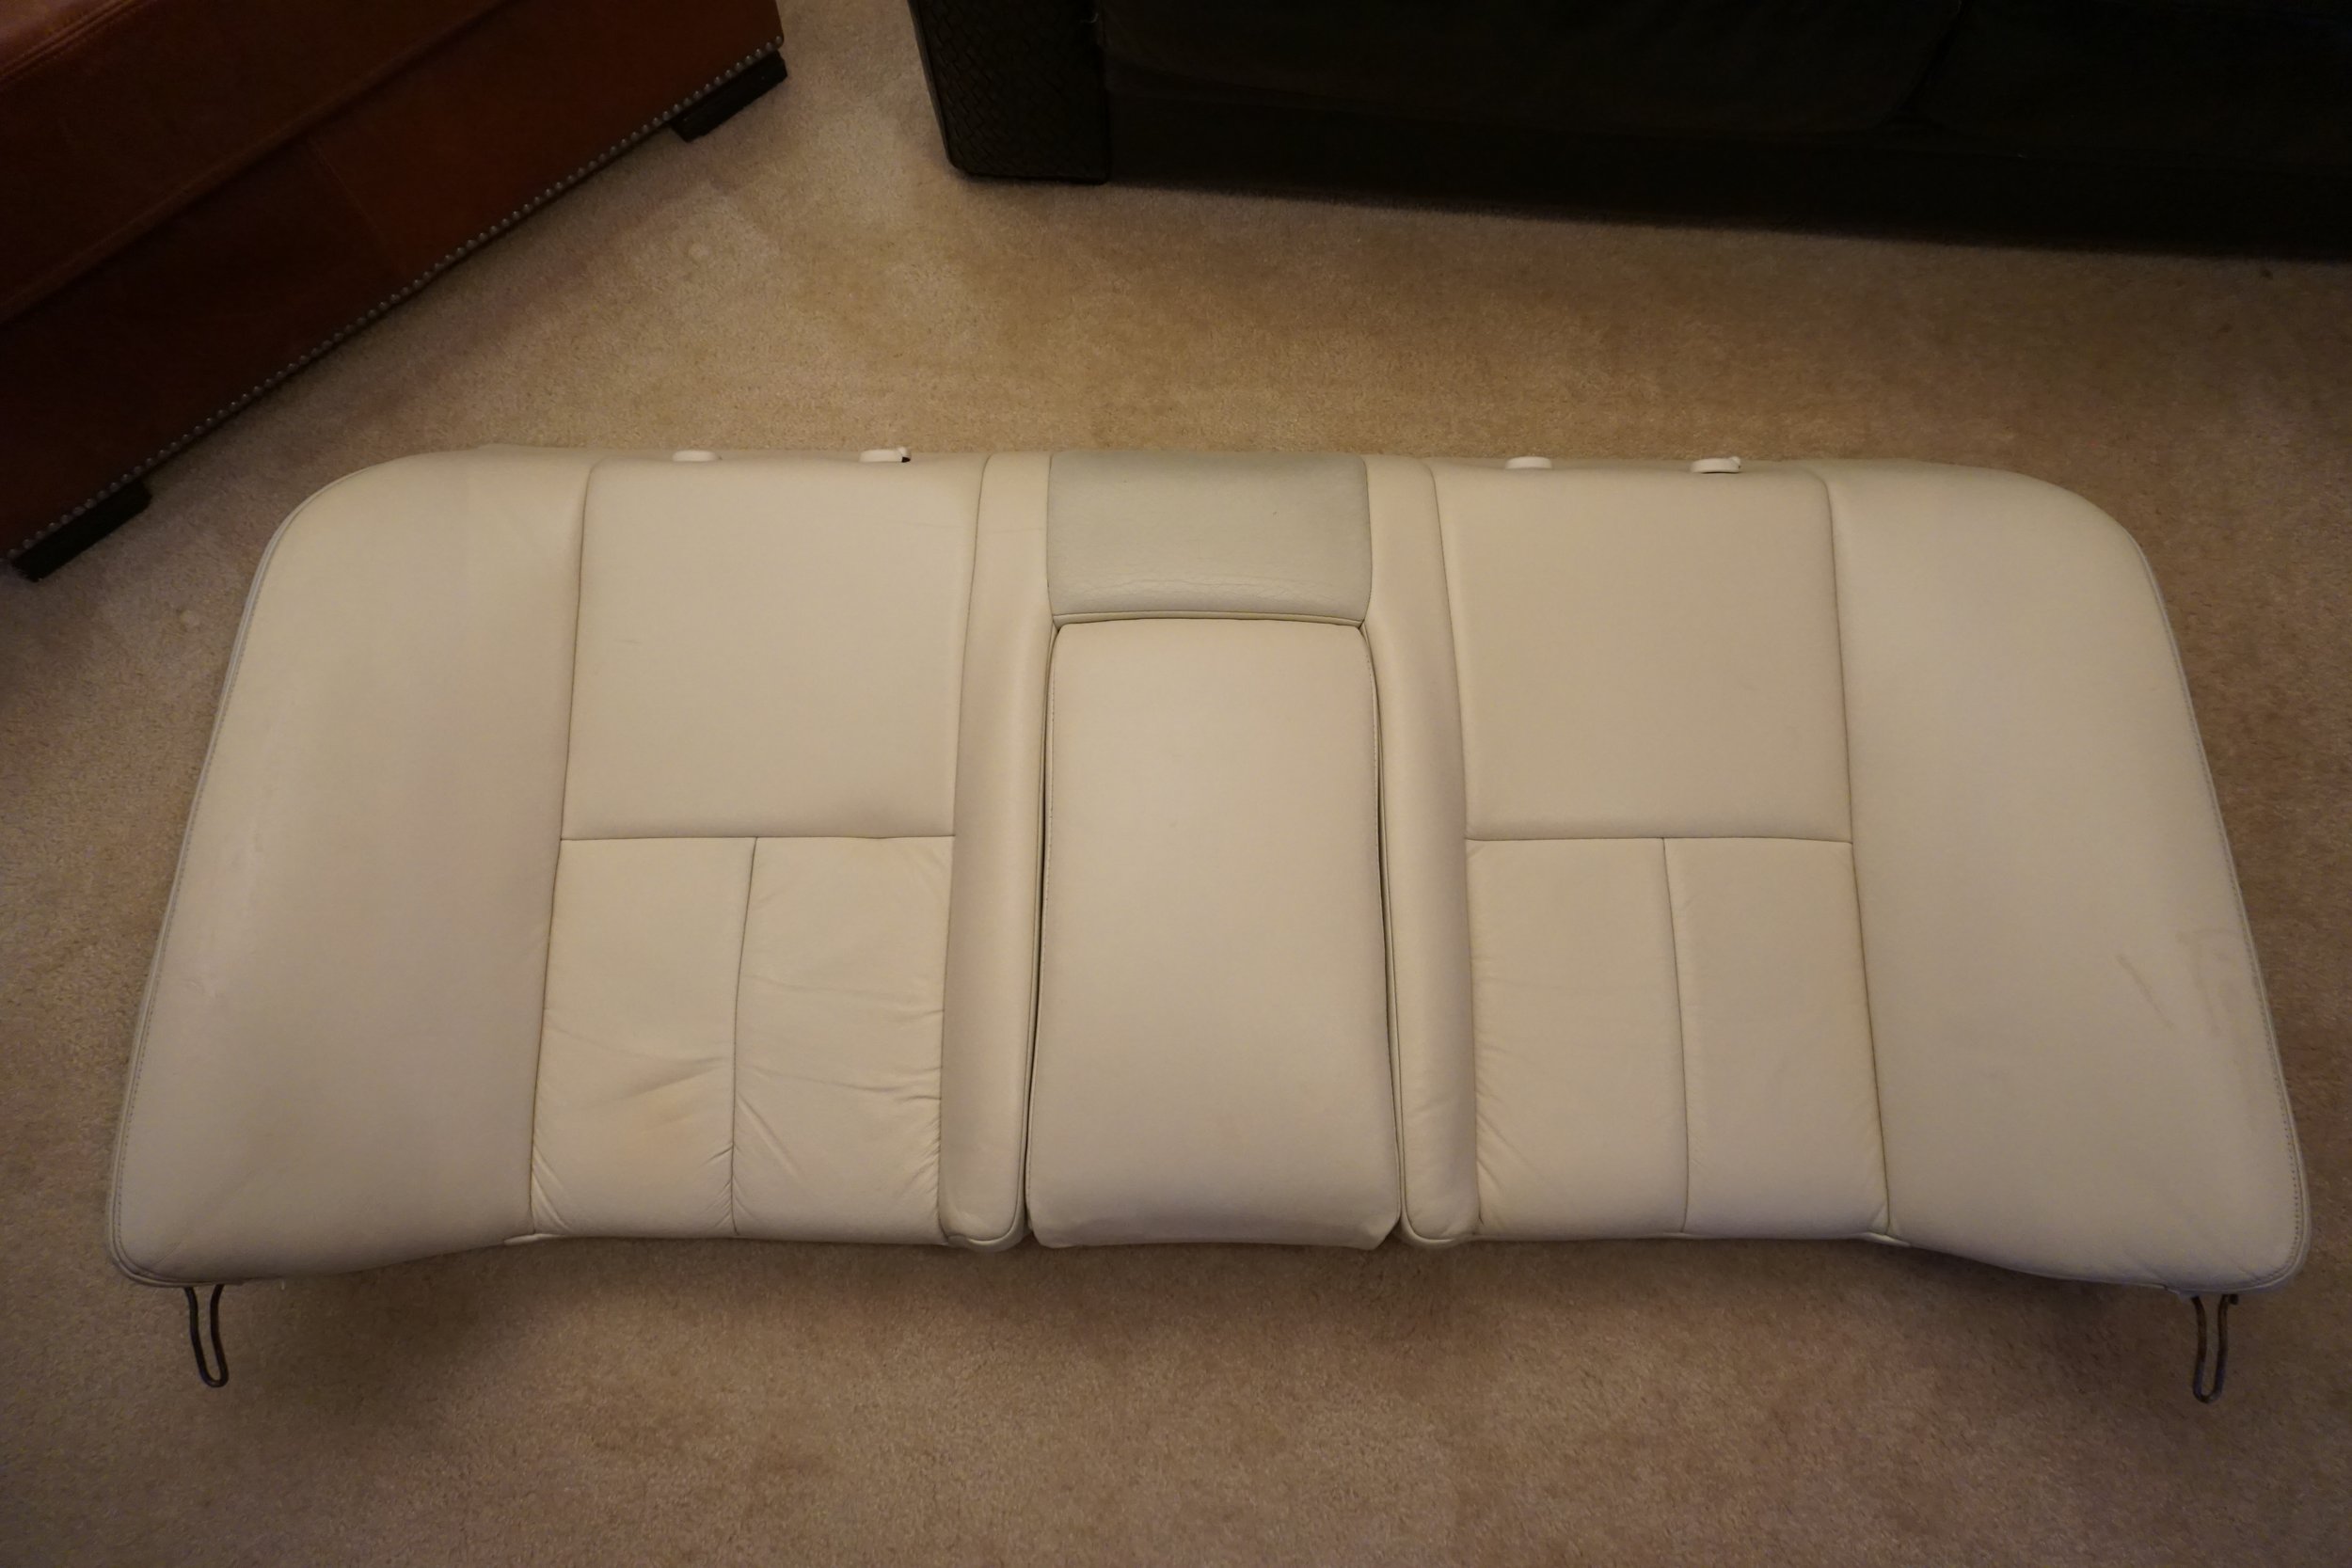
Unfortunately, the front door panels were trashed beyond repair, as was the driver’s seat. The rear looked better, but due to an accident I couldn’t open one of the rear doors to get a better look. All I could do was take pics and wonder how such a thing ever came to be.
============================================
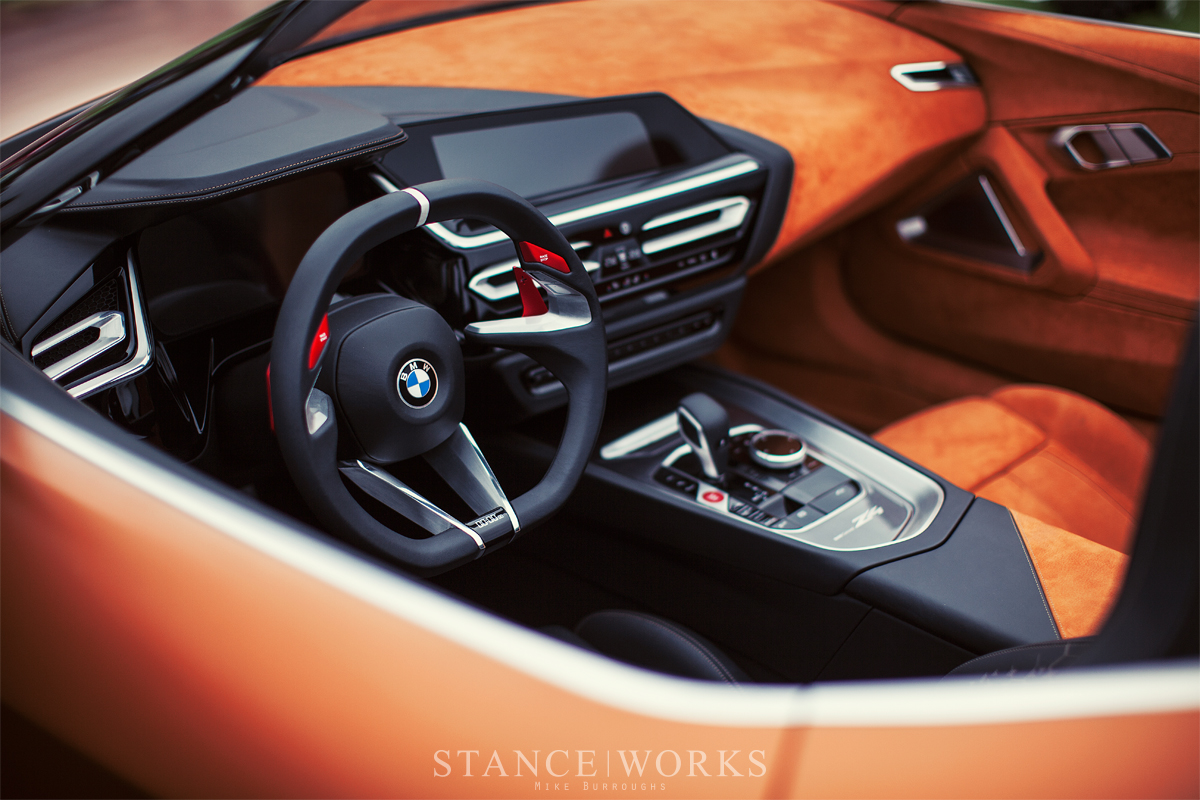
Over the course of that week I decided I wanted to go back to that yard to pull some other parts. After I got those parts, I couldn’t help but go take another look at the strange I30. I used my super pry bar to free up the rear door that was stuck shut and devised my plan. I remembered pics of the BMW Z4 concept car from a few years back, where the driver’s side of the interior was black, and the passenger side was orange/brown, like so:
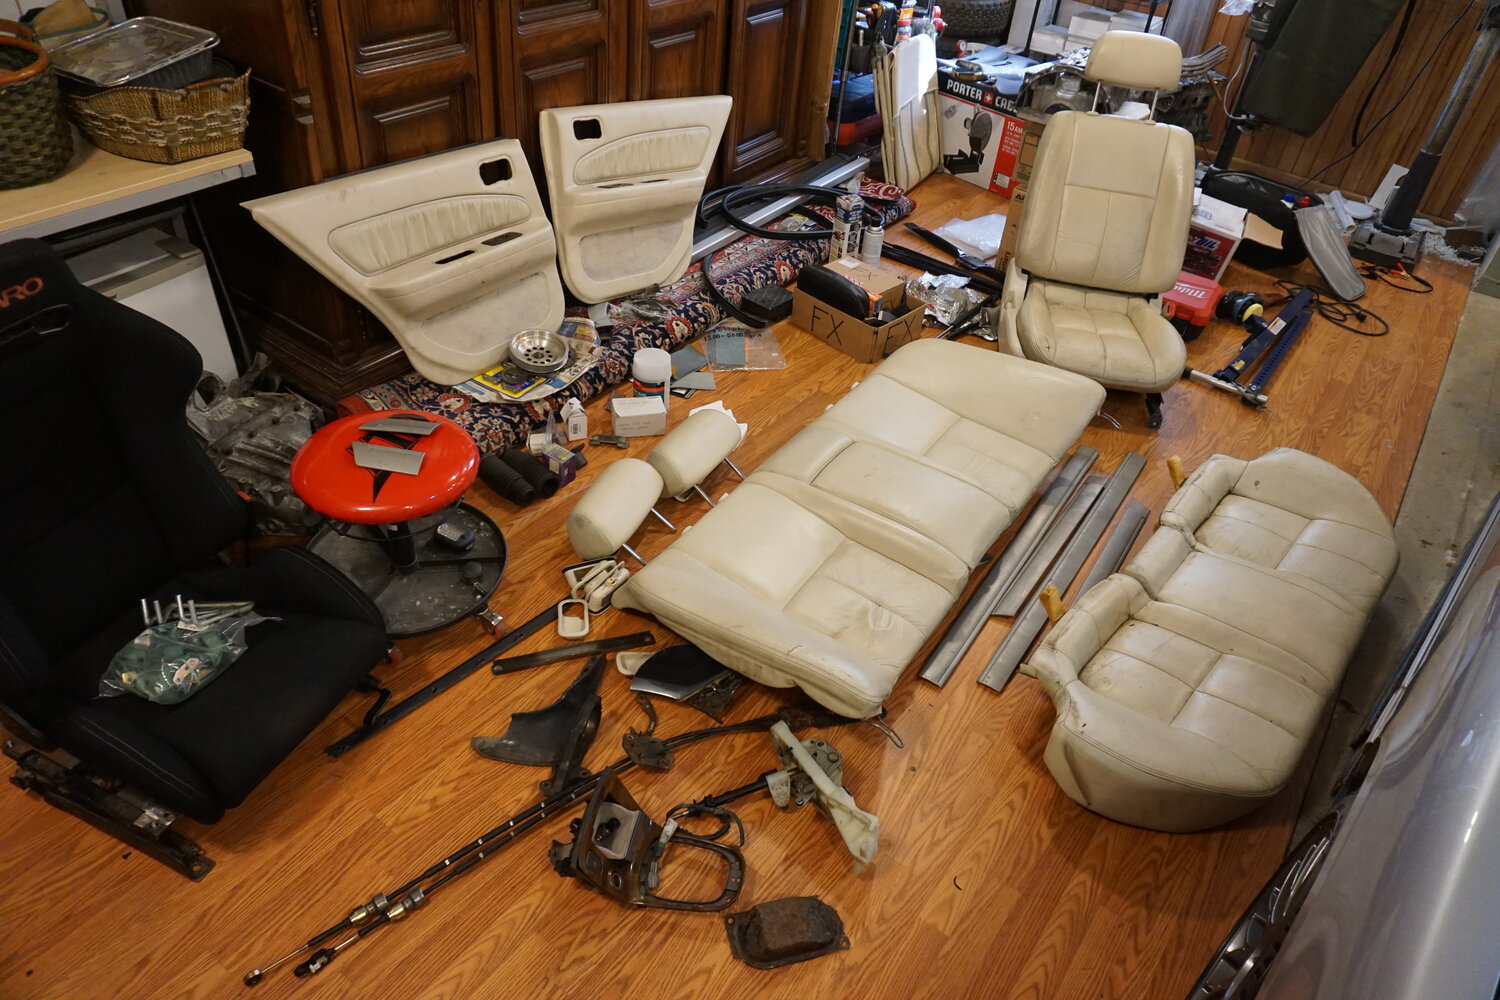
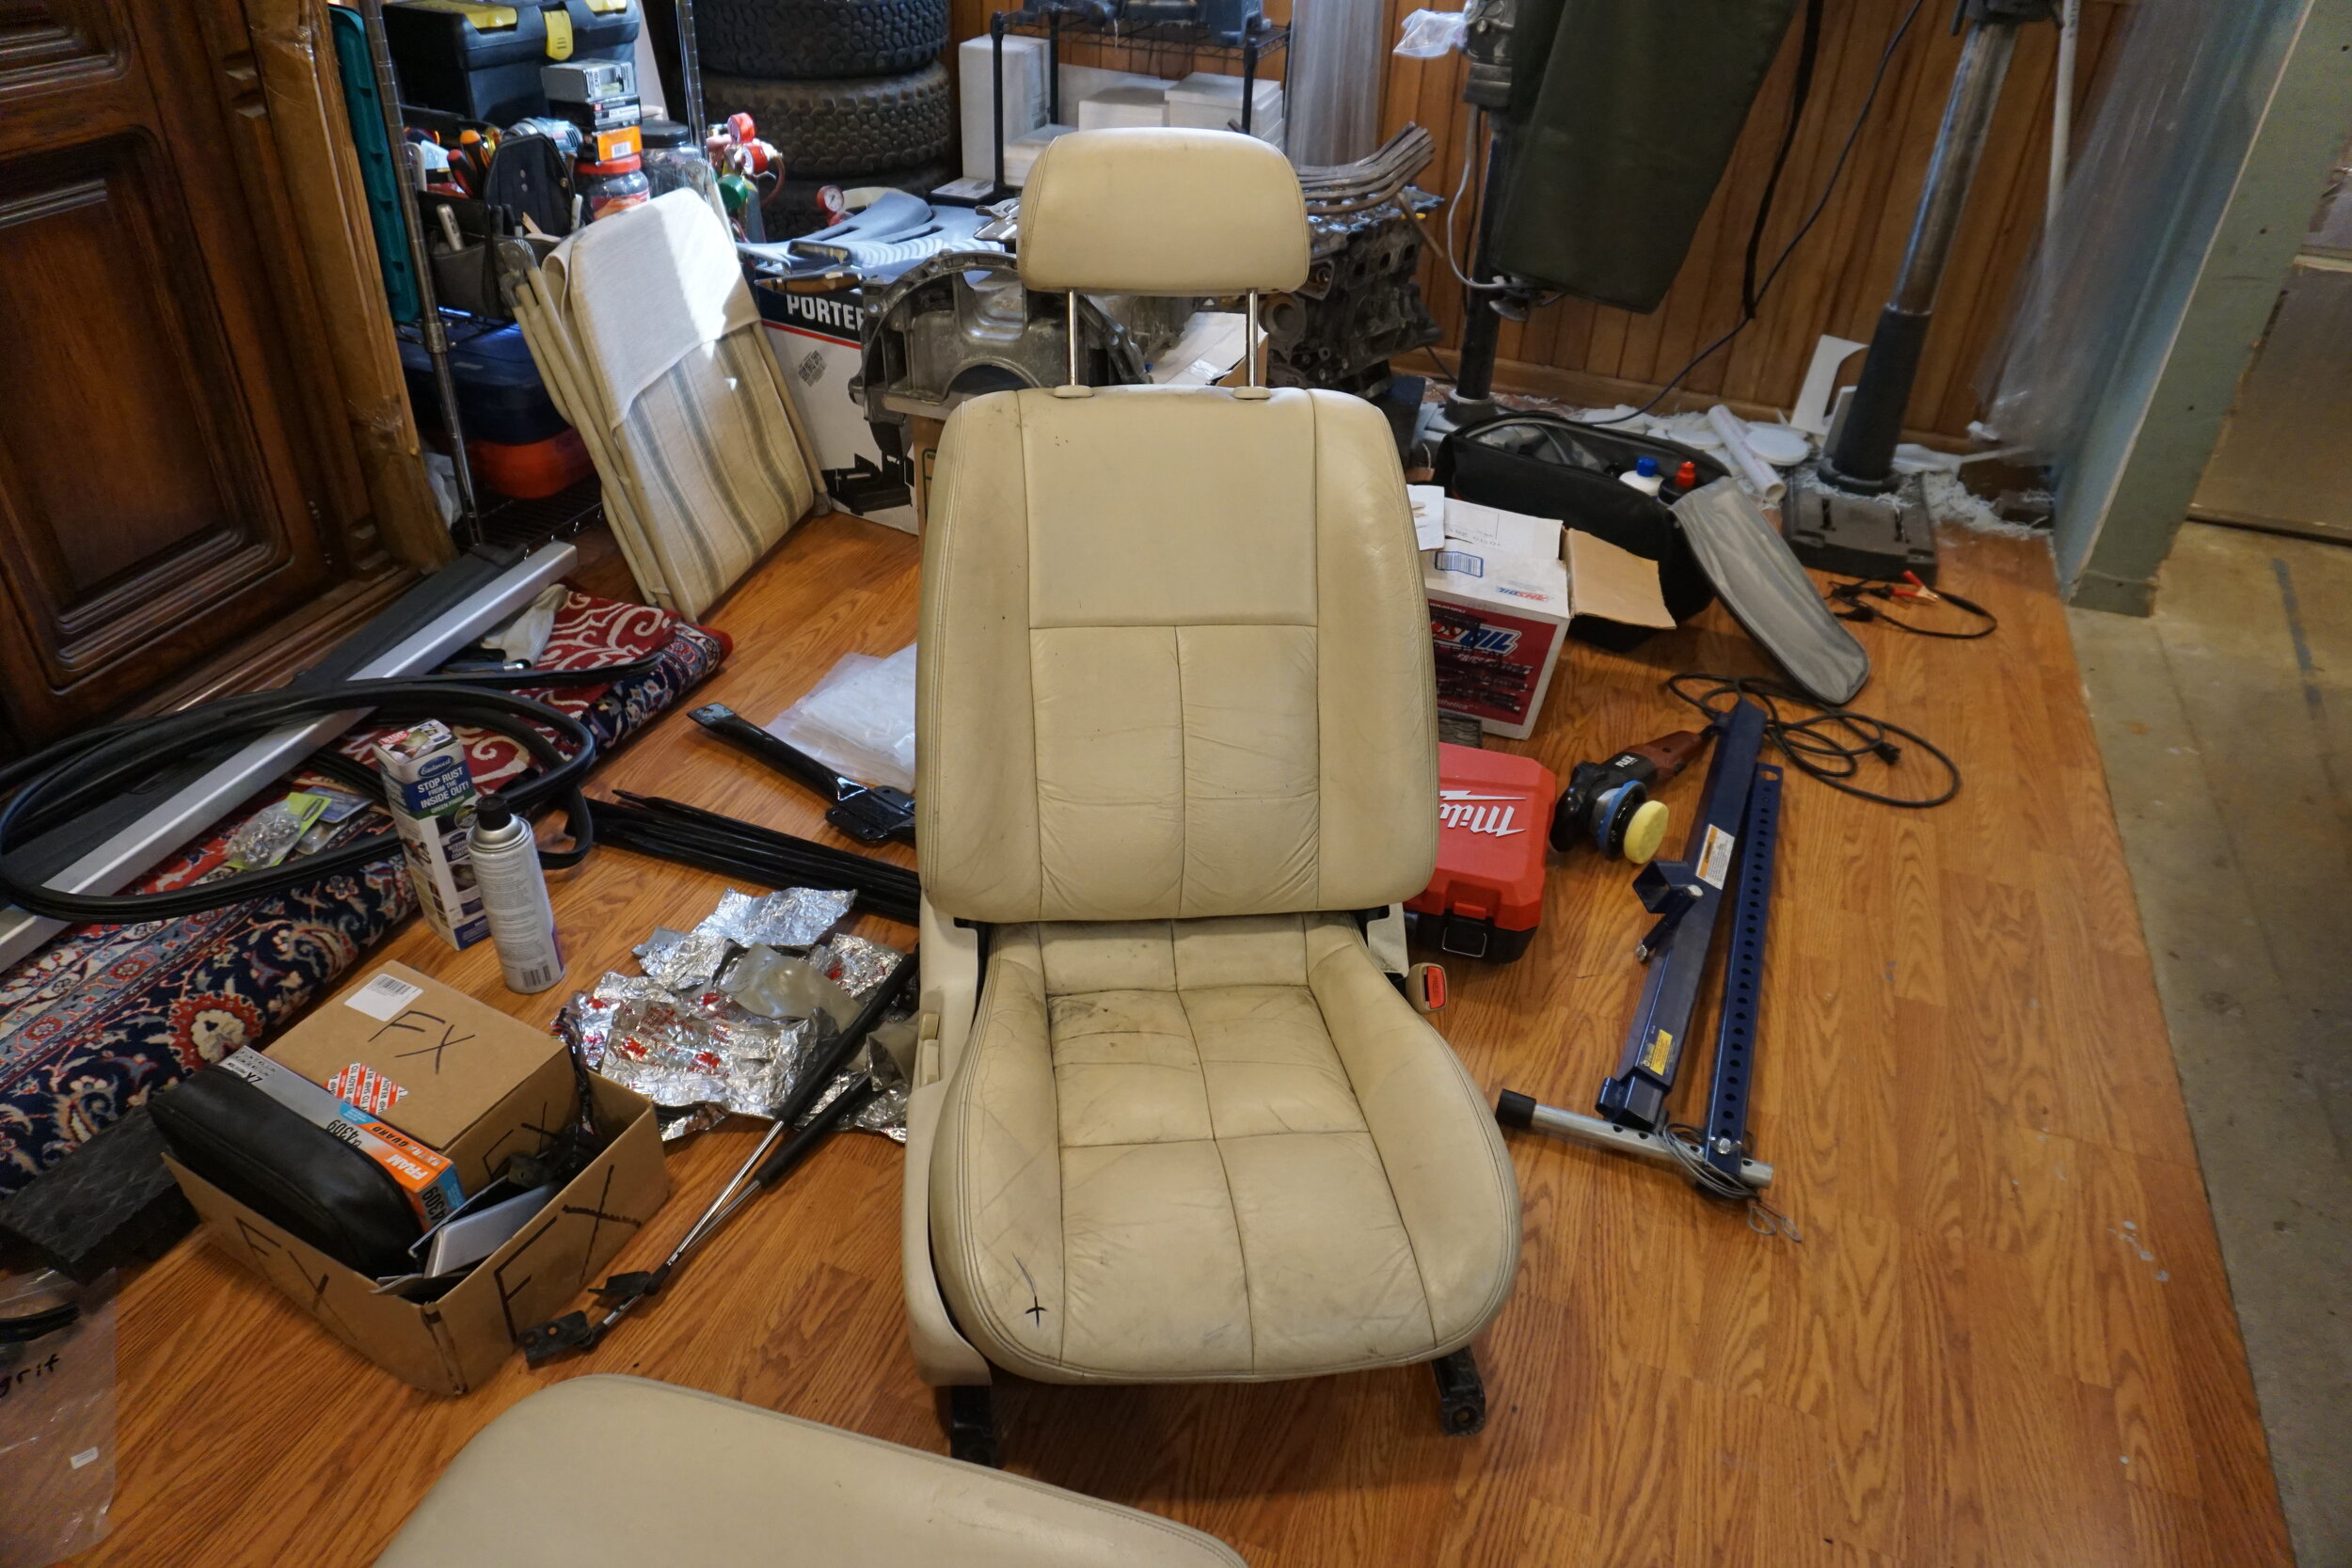
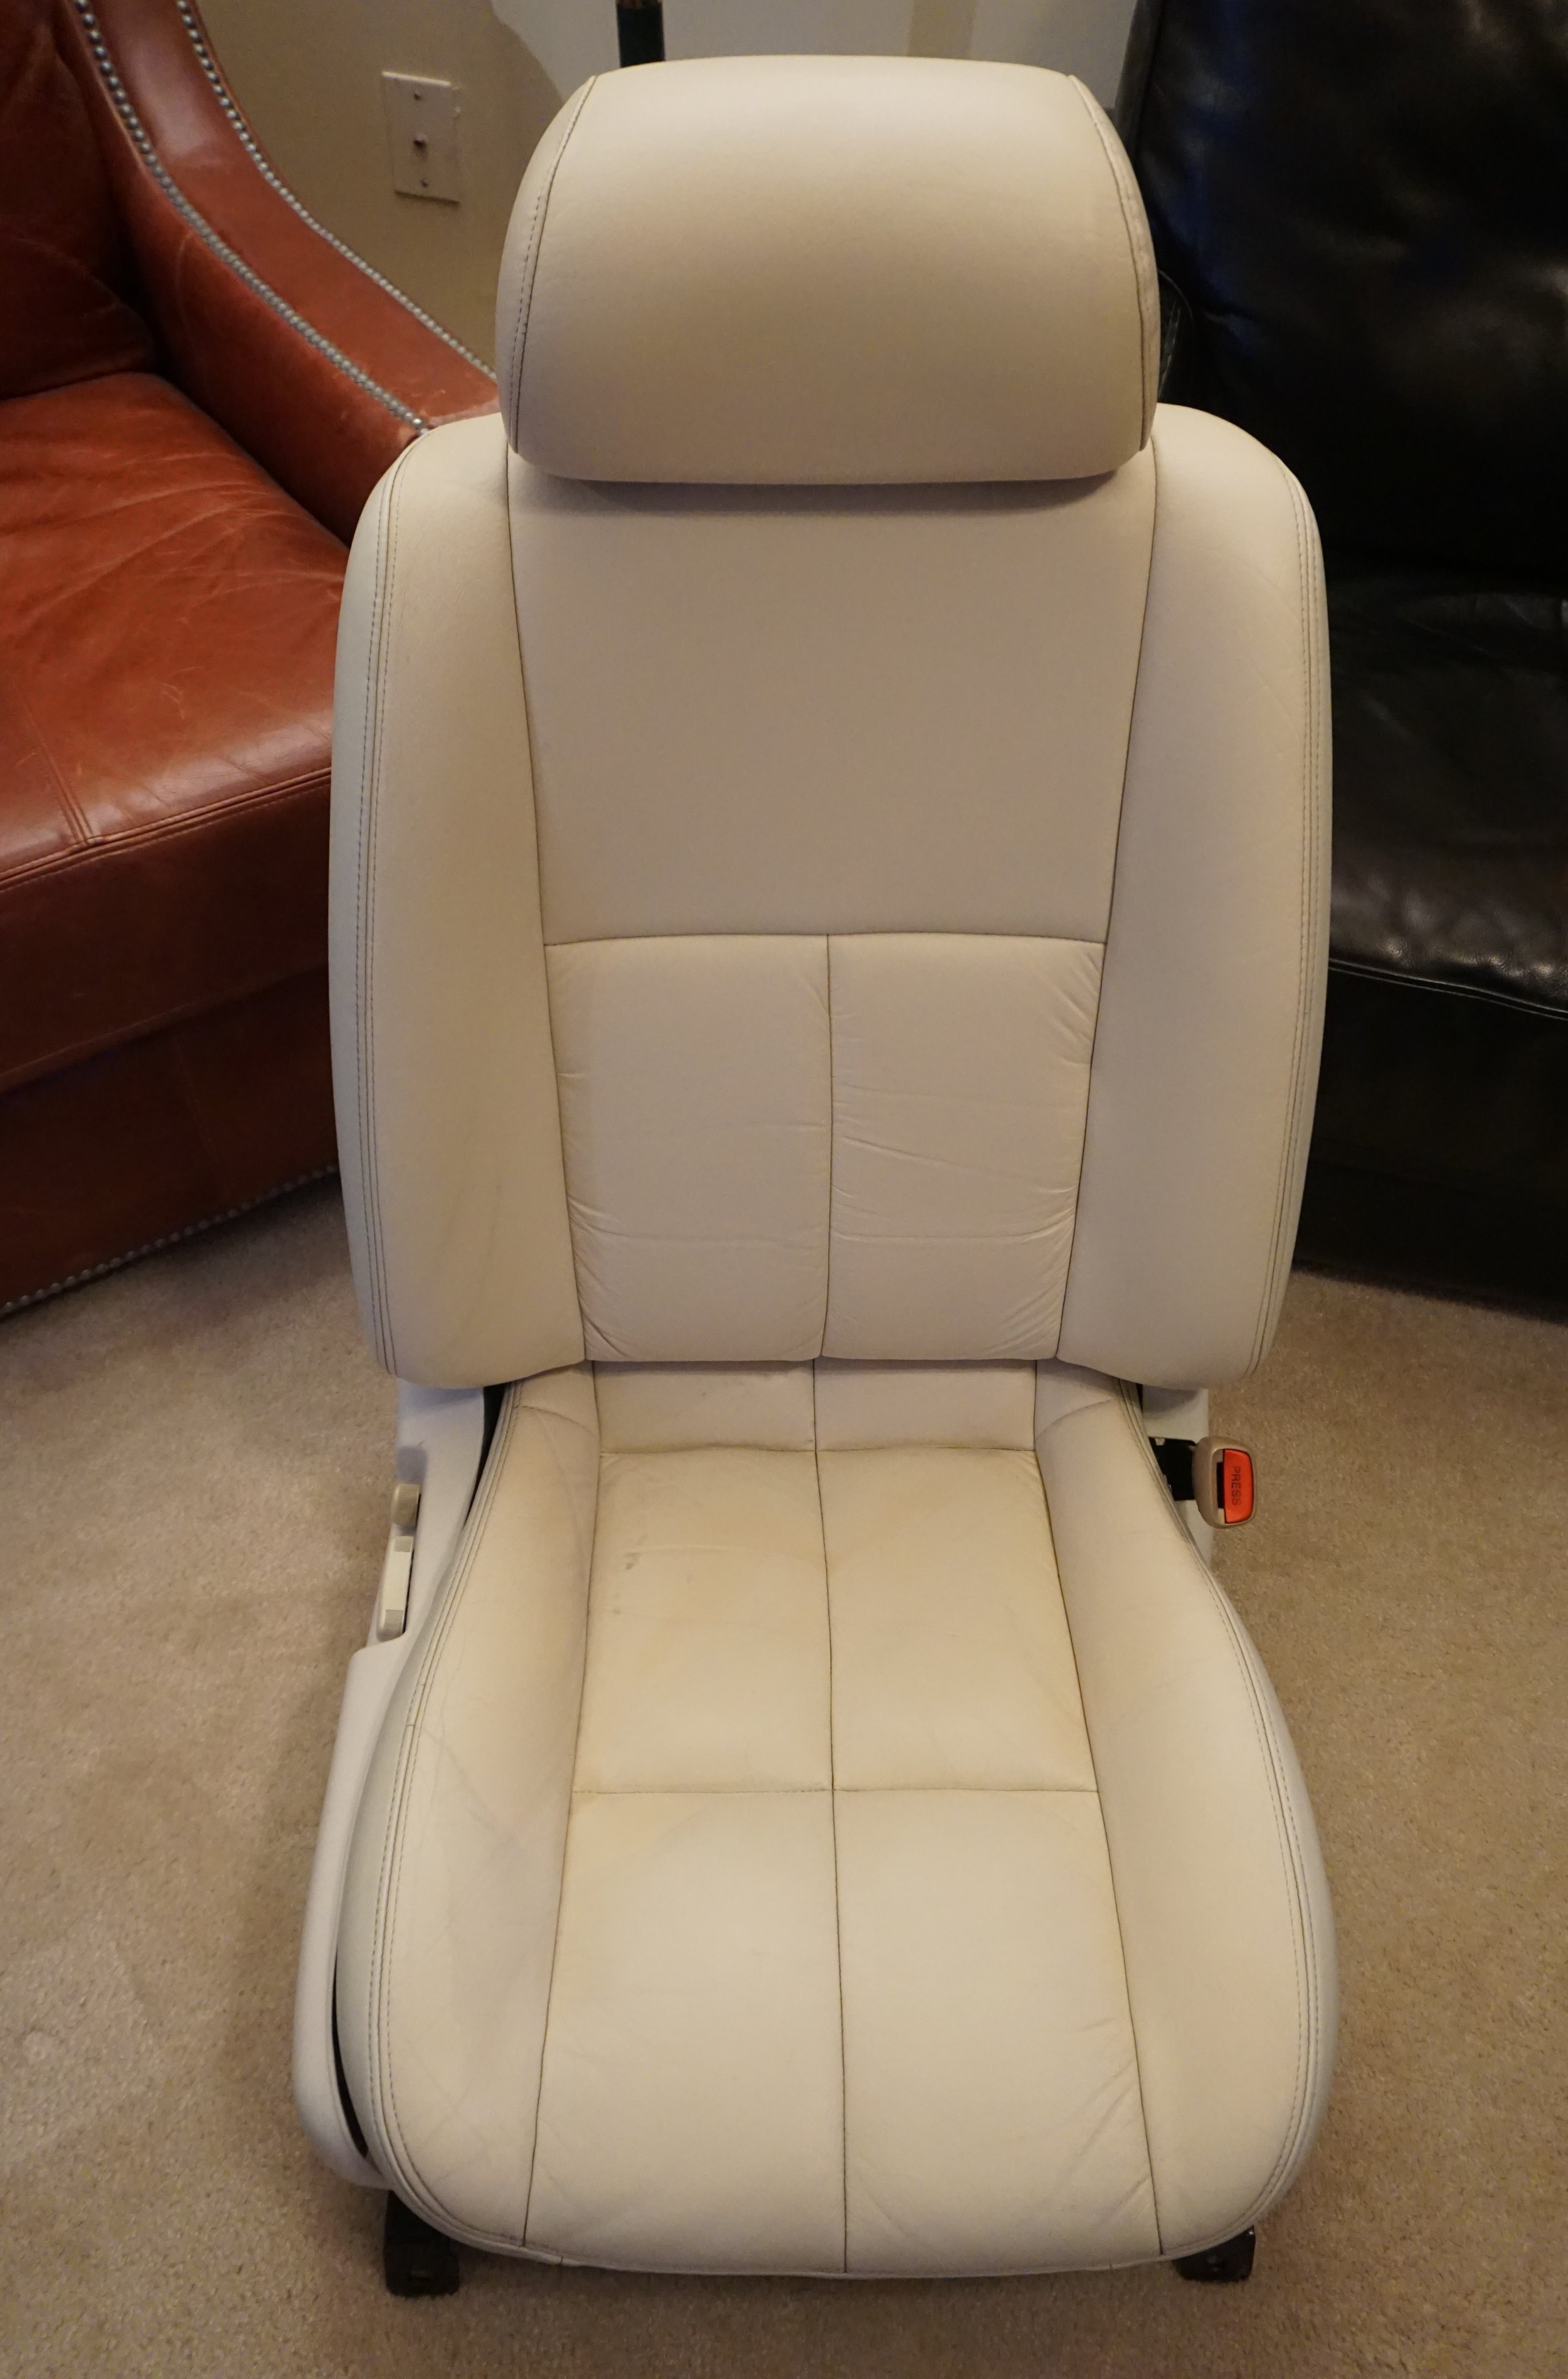
And even though it didn’t really make a whole lot of sense given the color scheme of my car, I figured I would try something similar, just on a far less ambitious scale. Really, I just couldn’t stand to let these rare pieces go to the crusher, never to be seen again. So I pulled the passenger seat, back seat, and rear door panels. Since I’ve got the Recaro in my car the trashed driver’s seat wasn’t really needed. It would have been great to grab the front door panels, but they were too far gone. But I could save the rest!
And that’s how my garage turned into this:
============================================
In a fit of Ebay purchasing, I bought some silly things, and they have slowly started to arrive. The first was some literature dealerships got when the I30 came out. I was on the hunt to see if I could find anything about this white/cream/bone colored interior. Not to mention my own interior, which is a combination of mostly black parts with gray leather. I don’t think I’ve ever seen another 4th gen with my interior combo. So I thumbed through the paper, and on one of the last pages, I found it:
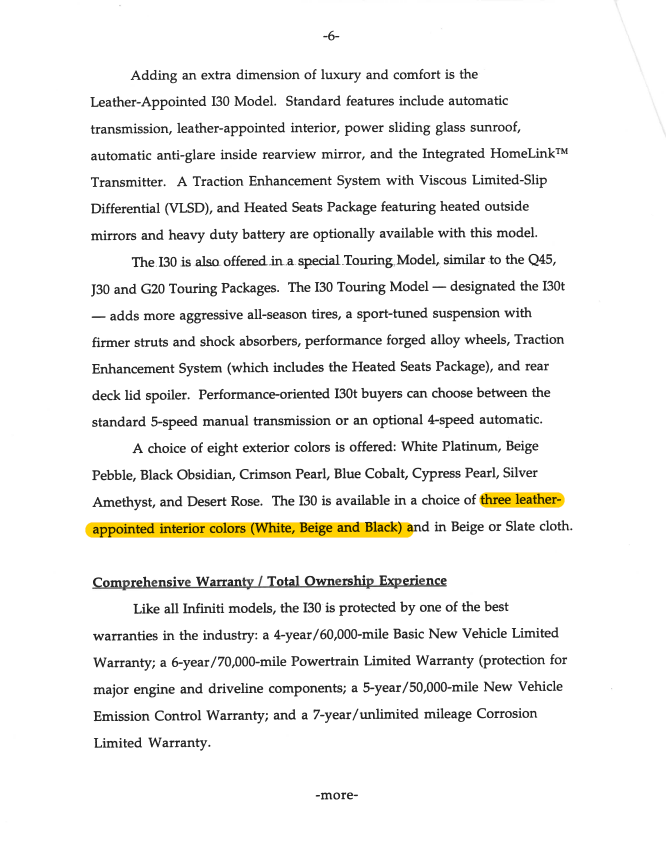
So there you have it folks, a white interior was an option on 1996 I30s! I didn’t order literature for 97s, but I have a feeling it was no longer offered by that point. This of course still leaves the questions about my interior wide open.
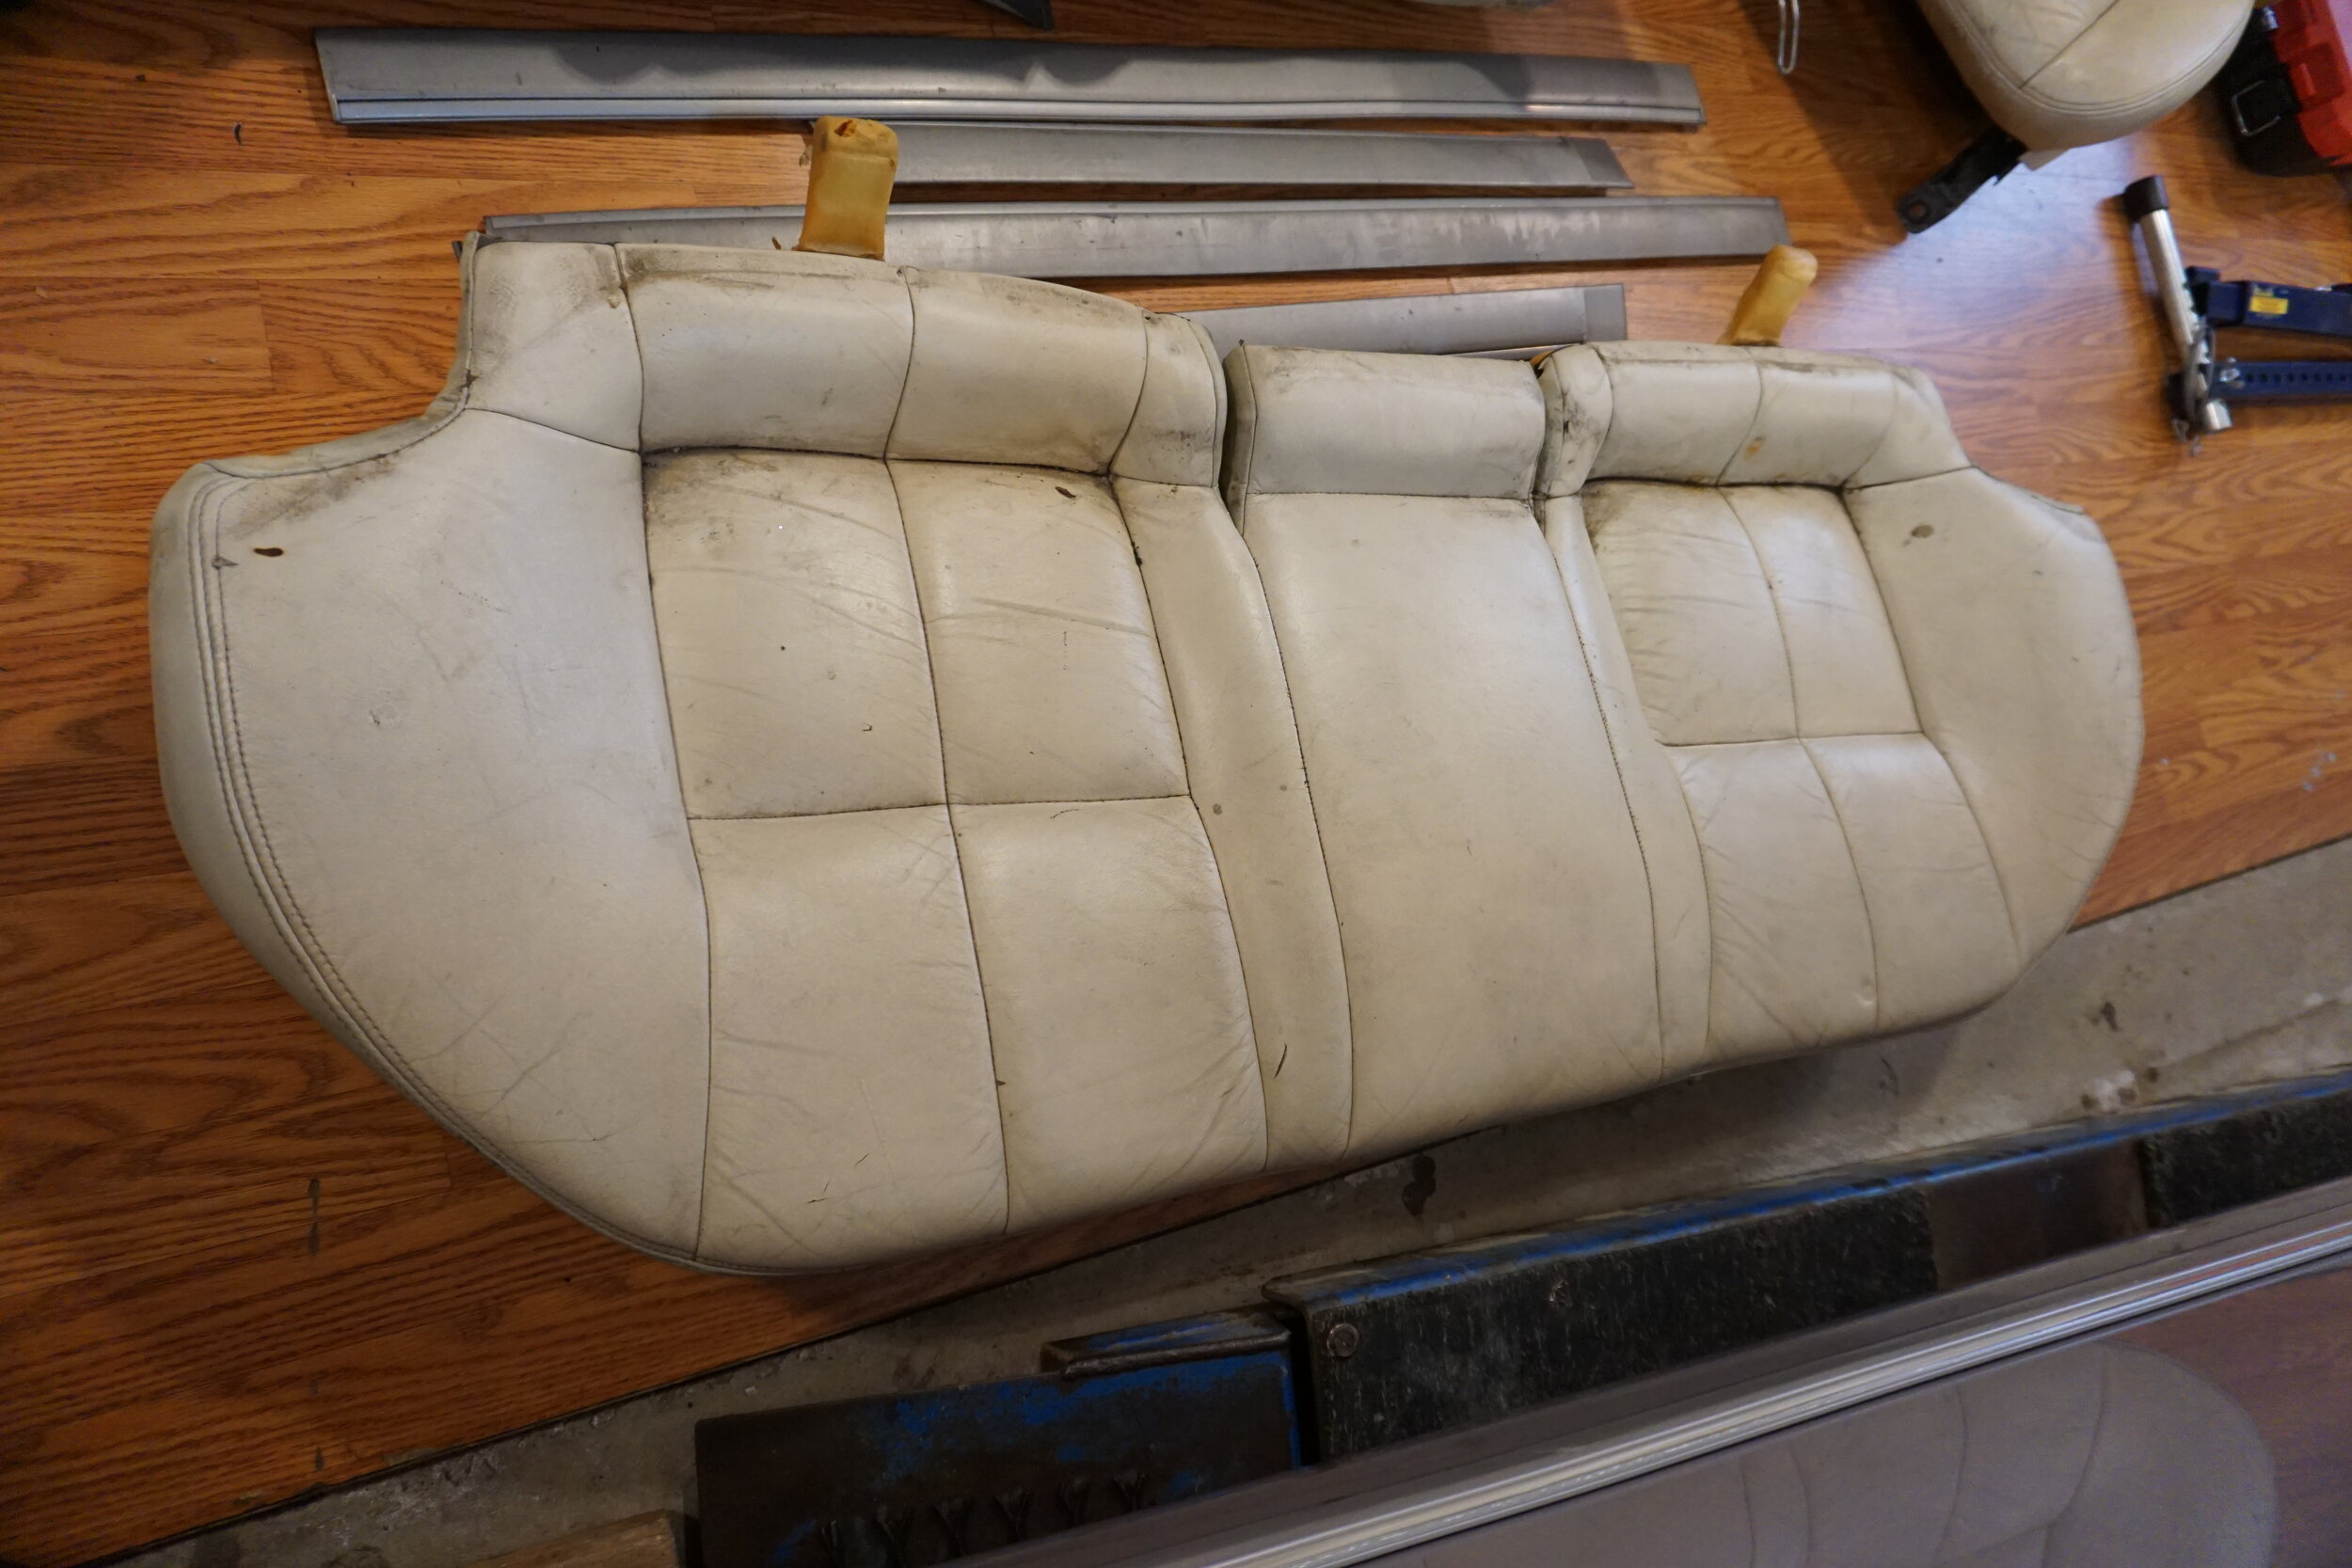
Cleaning
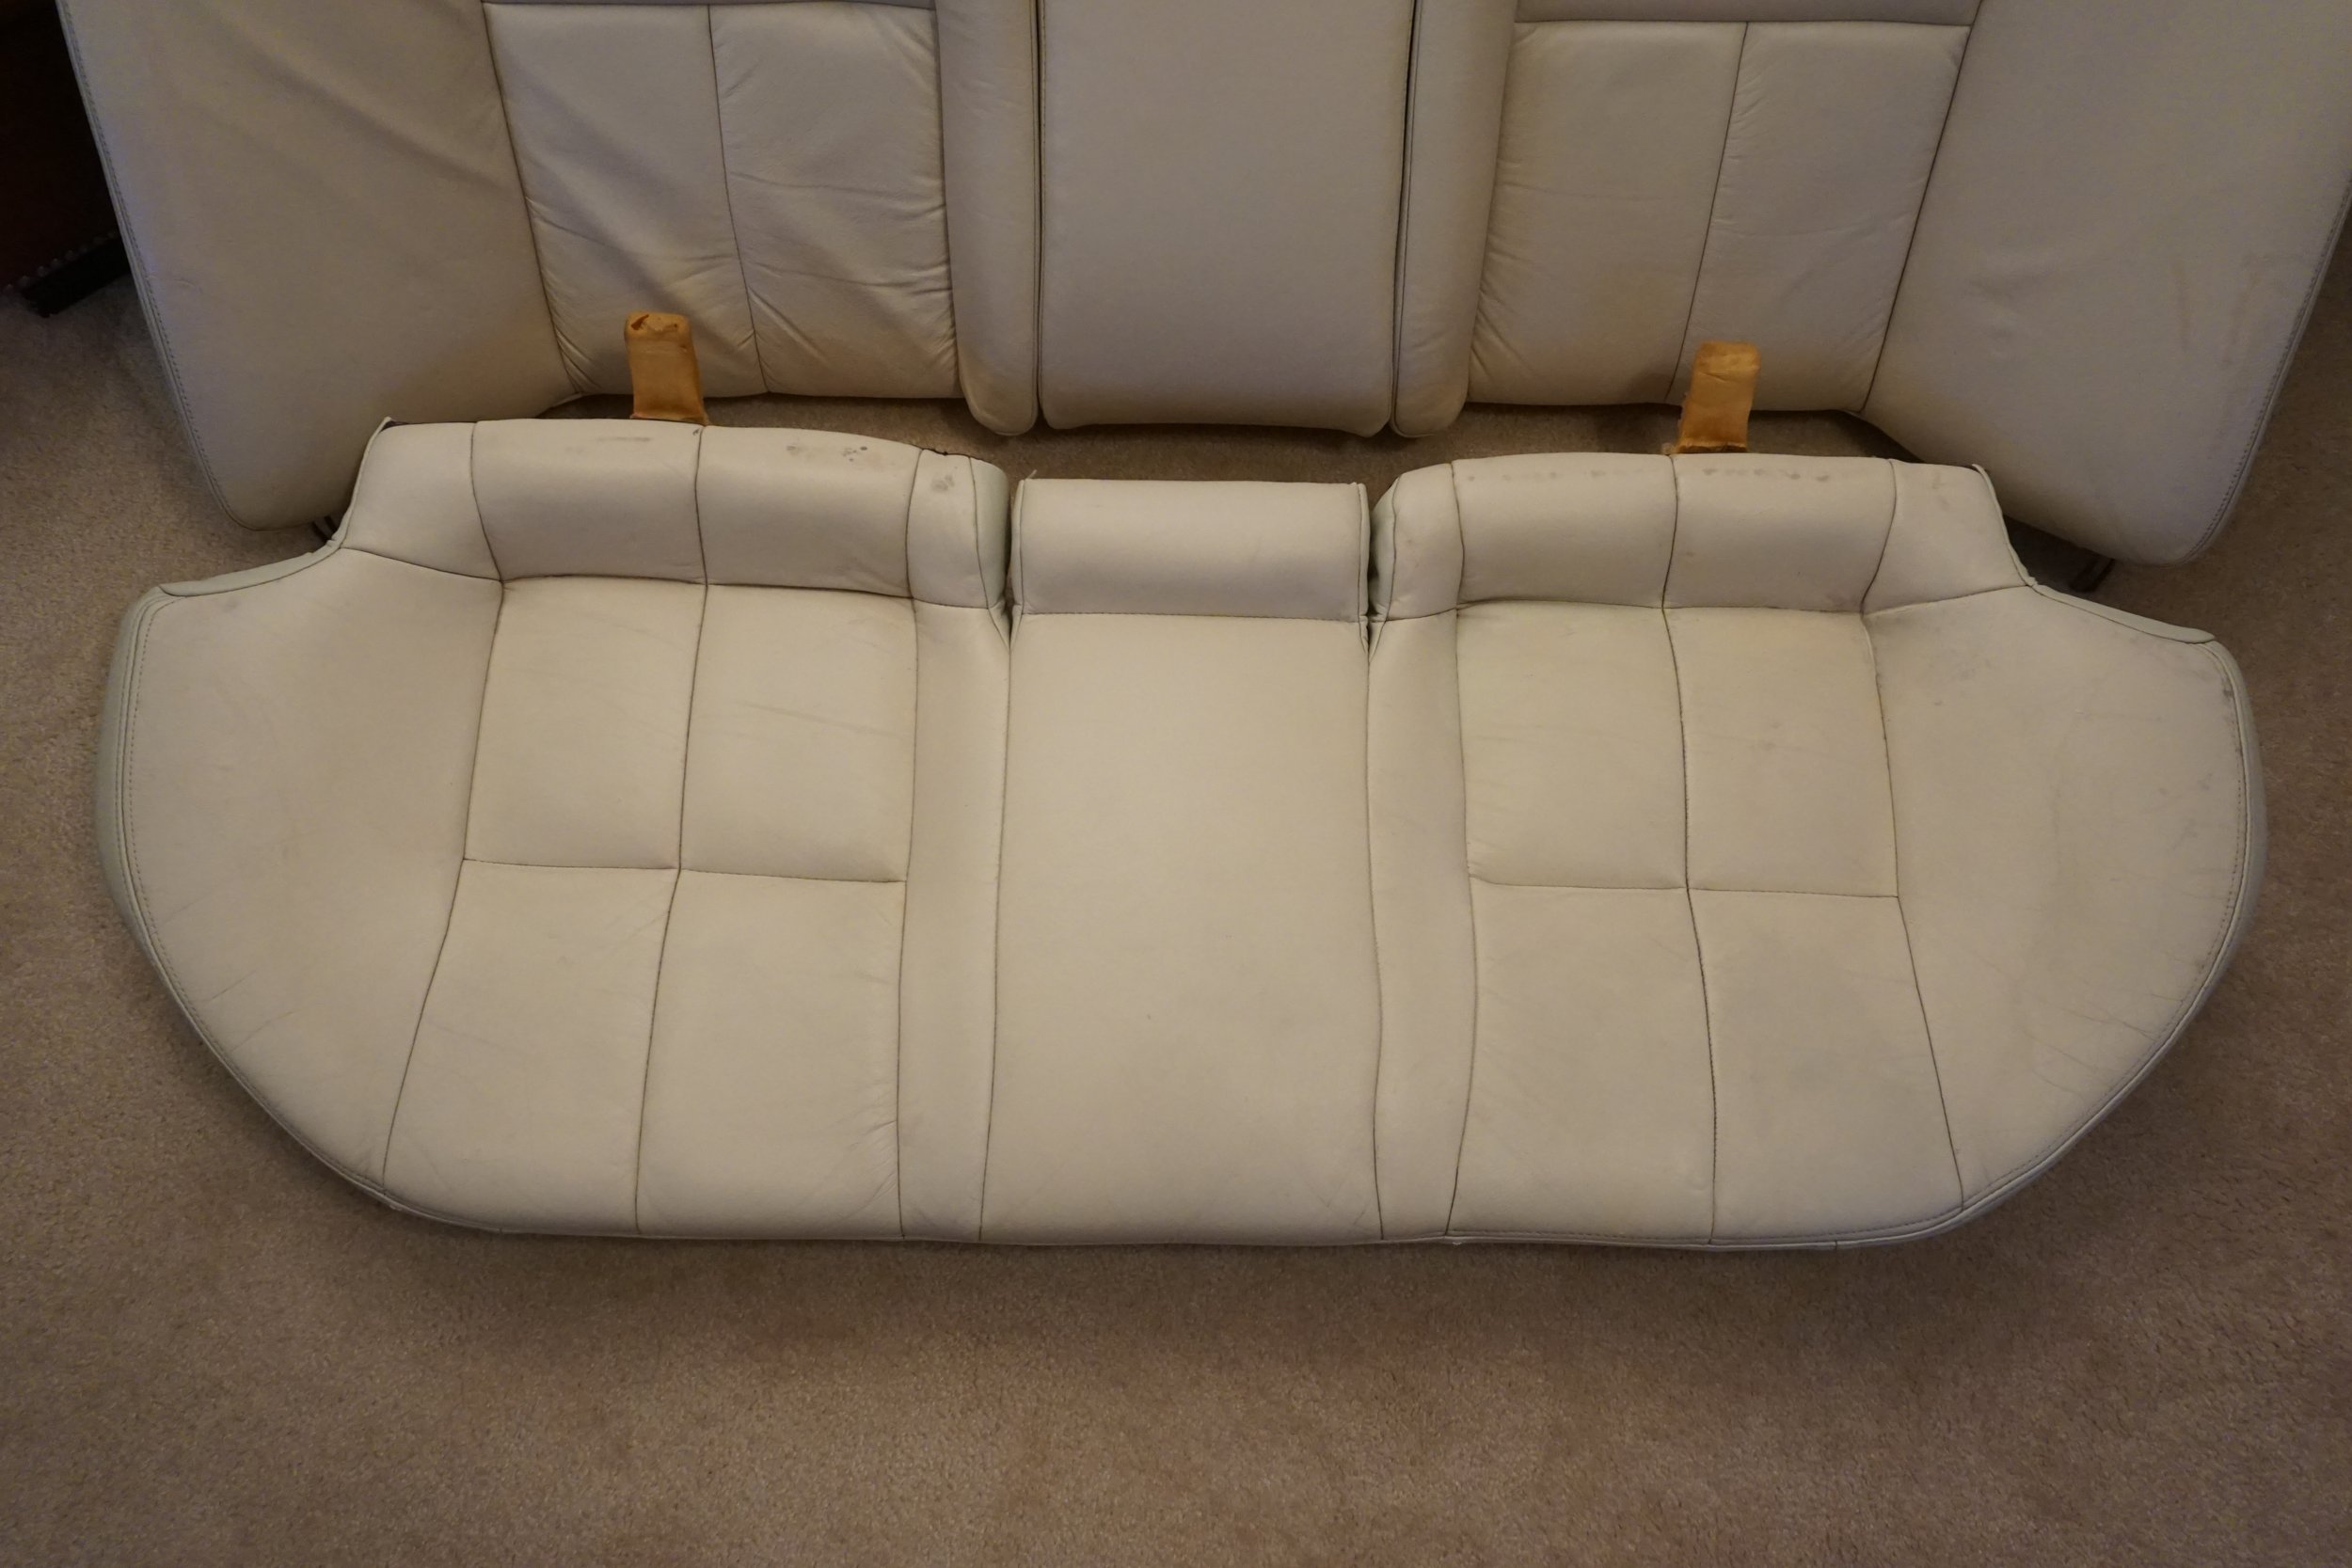
The first thing I had to do was to clean them up. I started with soapy water and a MF towel to get the bulk of the loose stuff off. On the area of the front passenger seat with permanent marker and pen ink, I used some rubbing alcohol and scrubbed it vigorously. That got it pretty clean, but not perfect. One things were clean enough, I did a round of Leatherique rejuvenating oil and let them bake outside inside a hot car. Allowing the oil to “soak” in supposedly helps bring dirt and grime to the surface, allowing it to be cleaned off more easily. It should be noted that 99% of all automotive leather is coated/painted, so claims of oil really soaking in are suspect. The only places oil 100% soaked in were where the top coat/paint has been scraped off or damaged, allowing the oil to actually reach the underlying leather. I then cleaned them with the Leatherique cleaning solution, which frankly didn’t appear to do a whole lot. It probably didn’t help that the stuff I had at the time was 13+ years old.
I did another round of oil/cleaner for ****s and giggles, and then followed up with a Magic Eraser (ME) on everything. This is where things started to get REALLY clean. The ME started pulling out grime that I thought was baked in. I’m aware of how abrasive the ME is, but it didn’t appear to damage anything, and the results were pretty spectacular. And since I had came that far, I did one final round of (new) Leatherique. With everything as clean and conditioned as it was going to get, I moved onto the experimental stuff.
Superglue removal
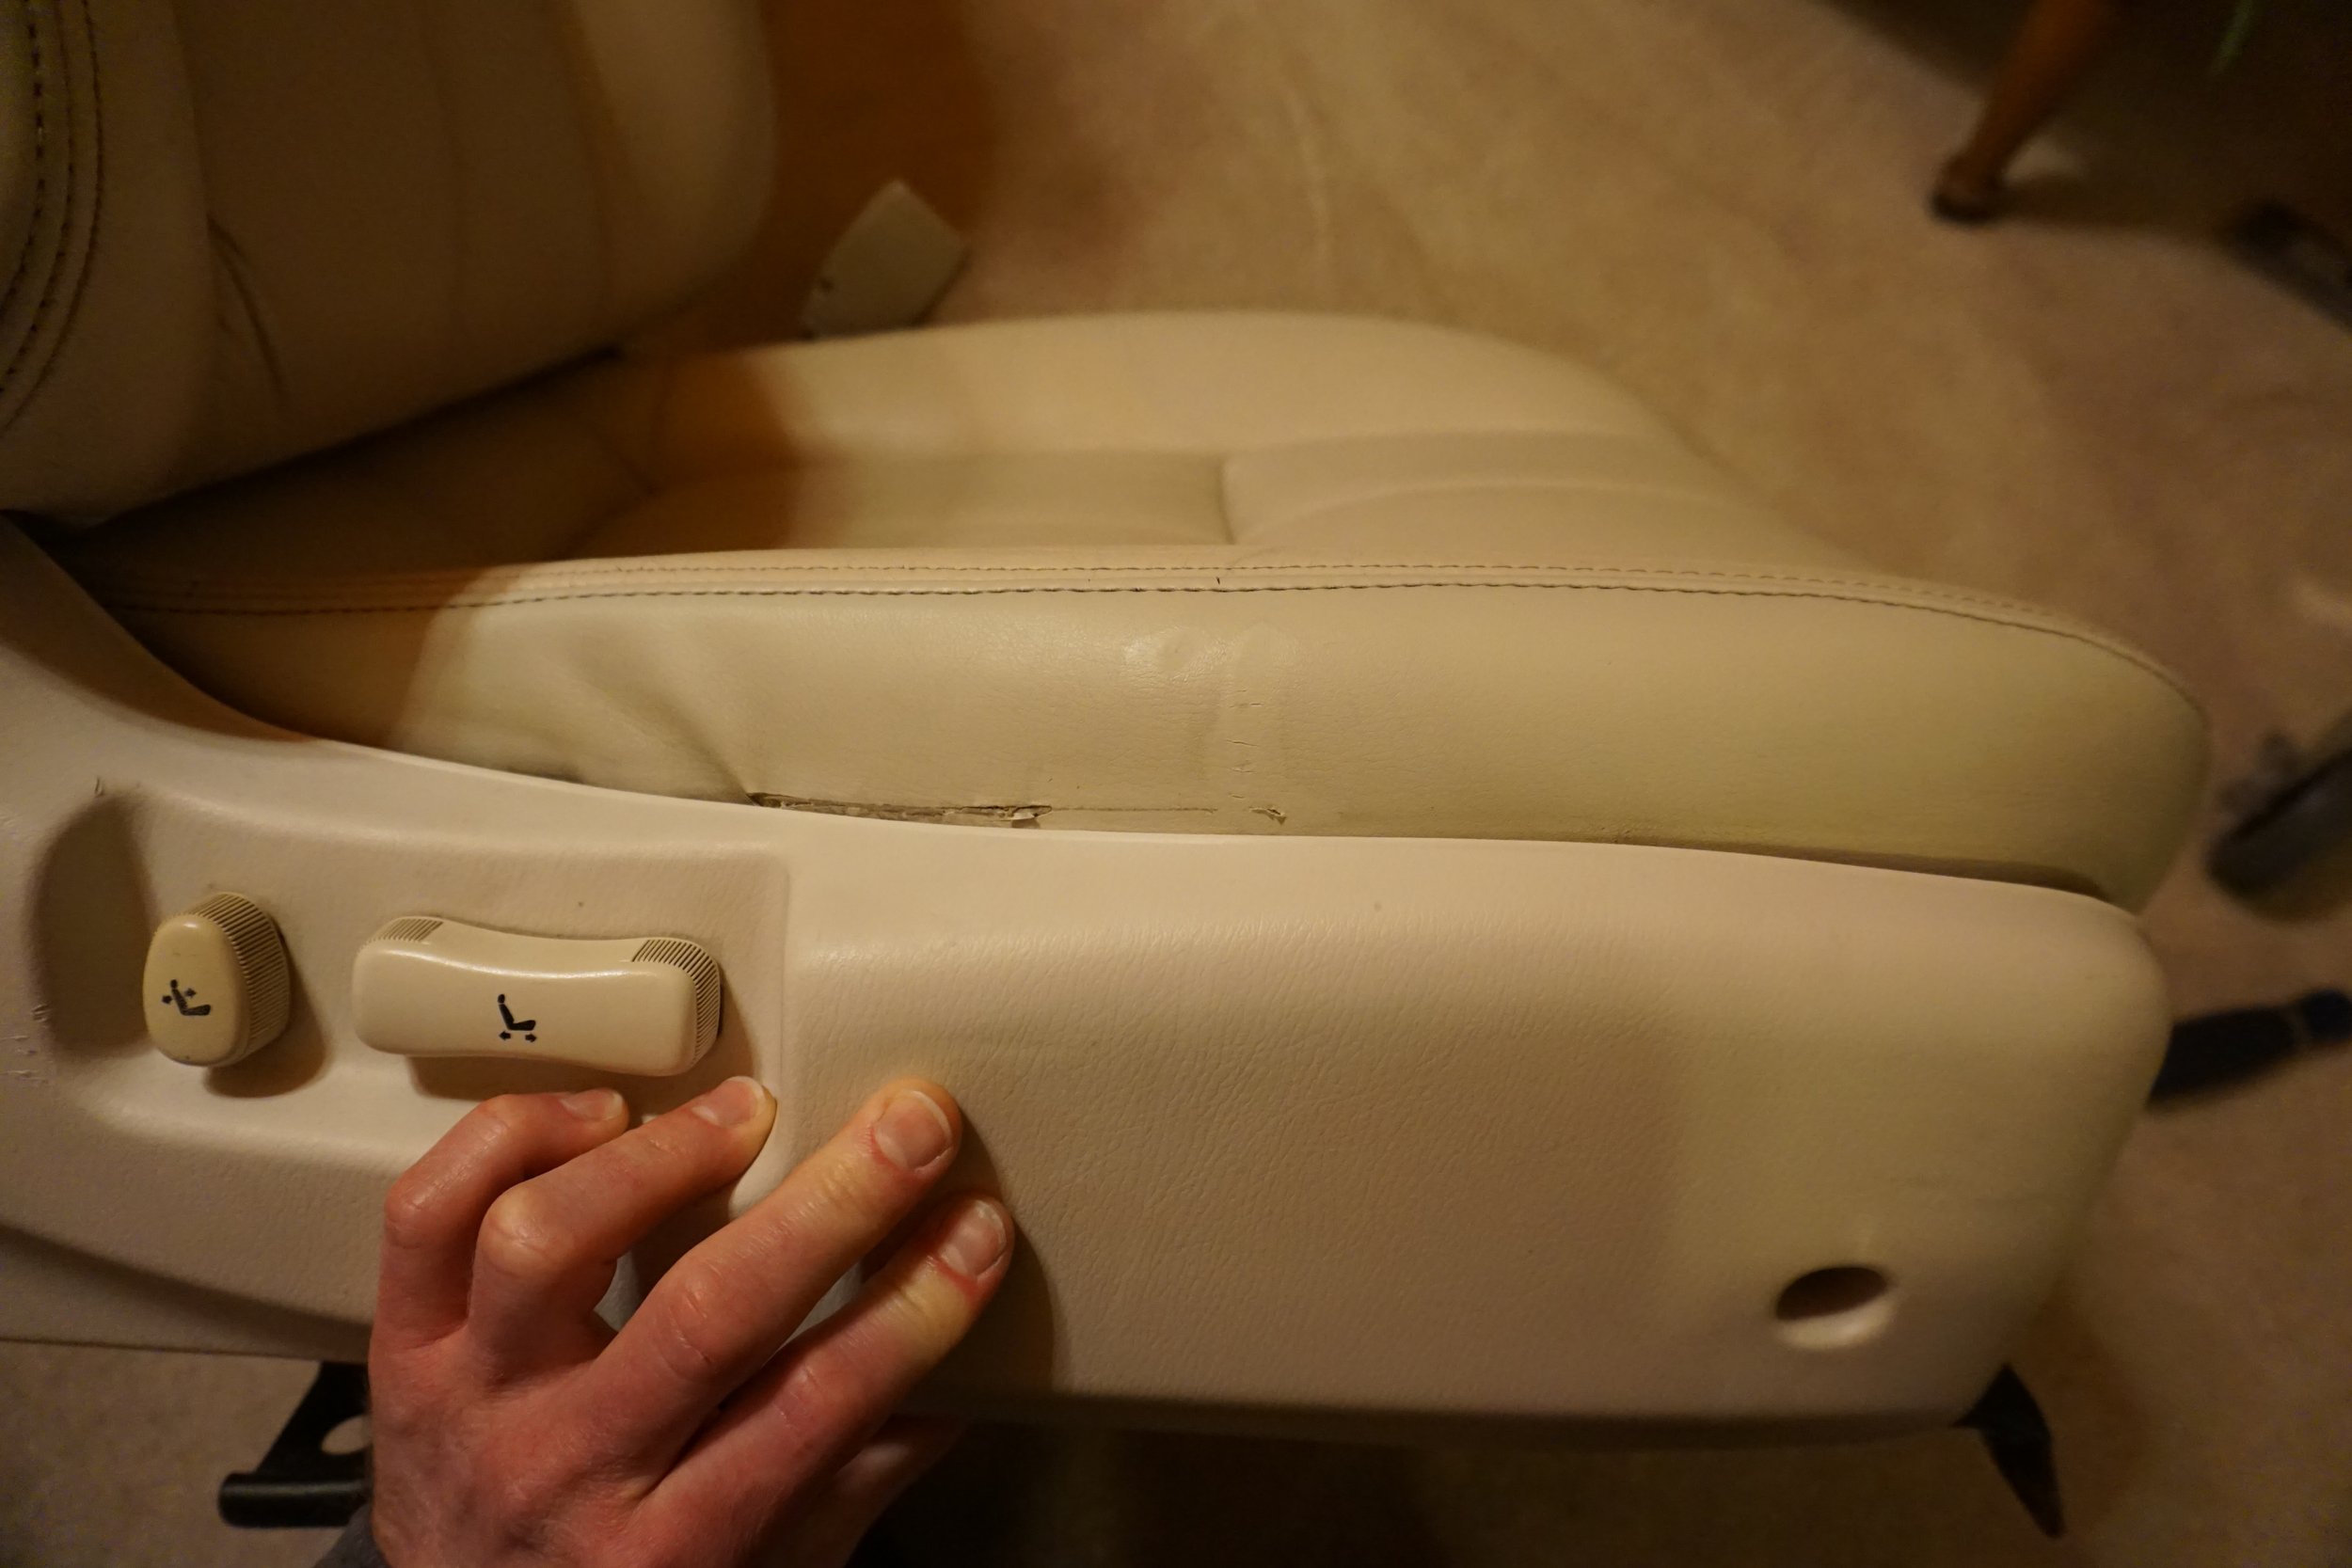
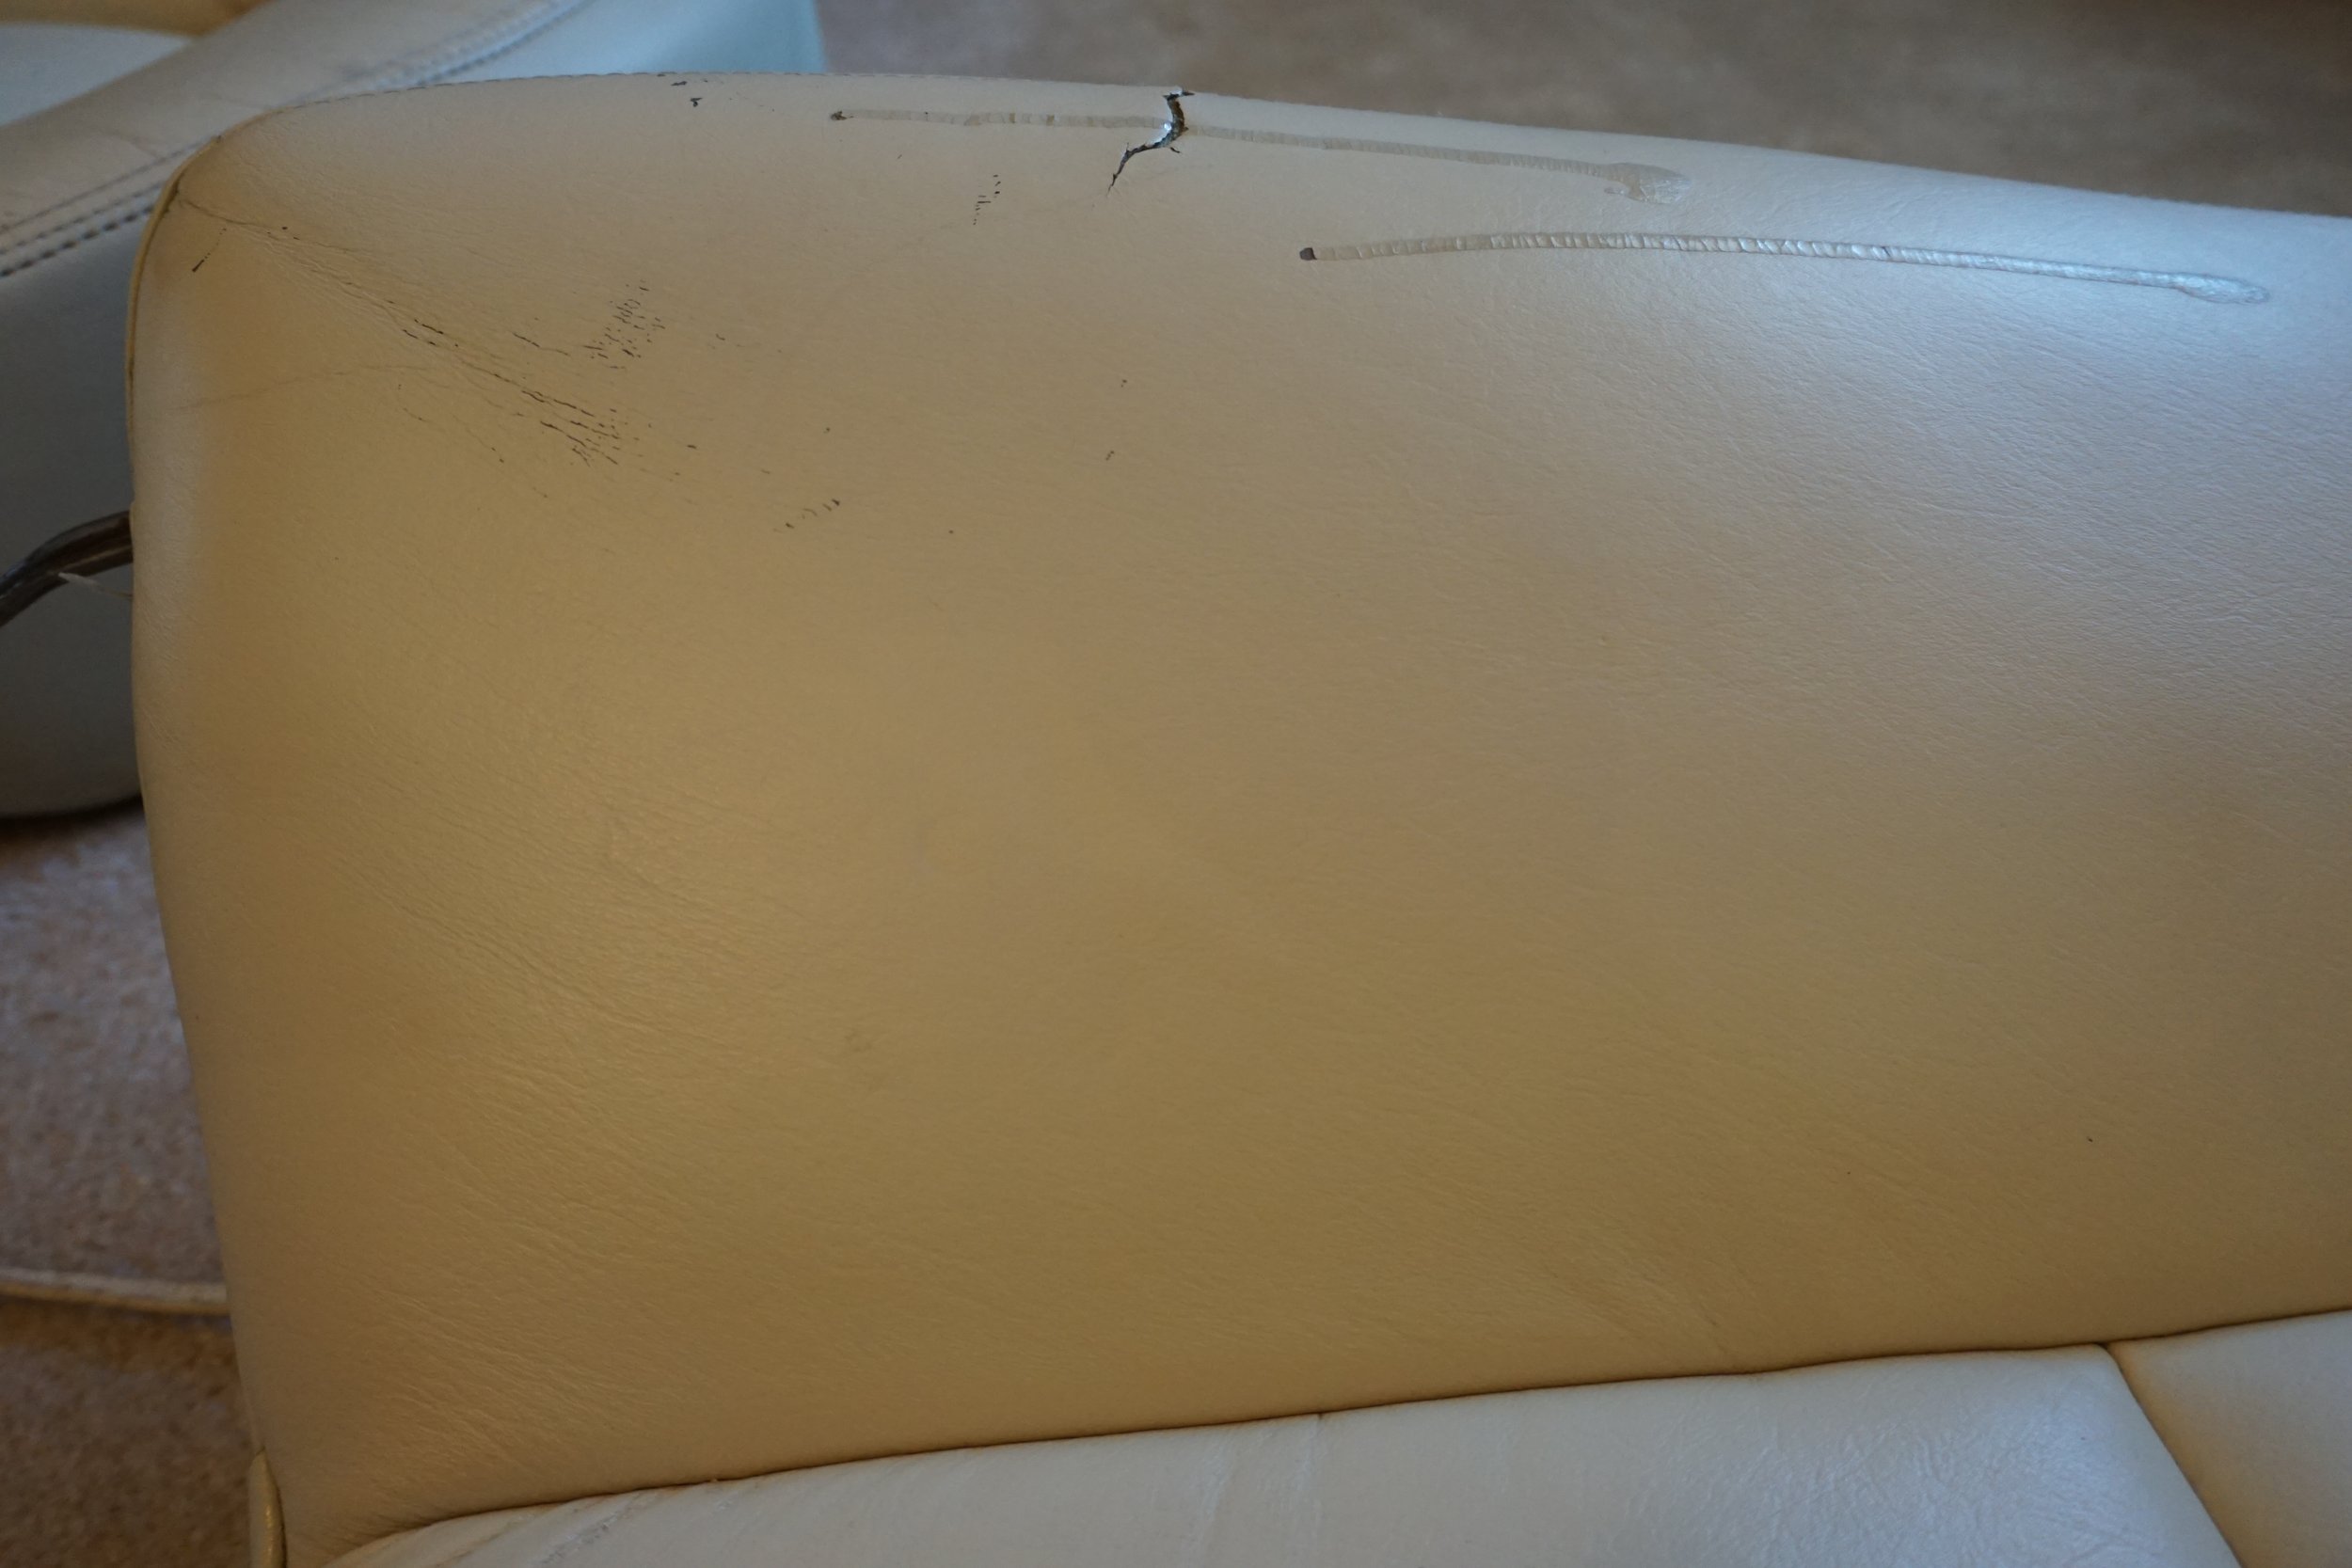
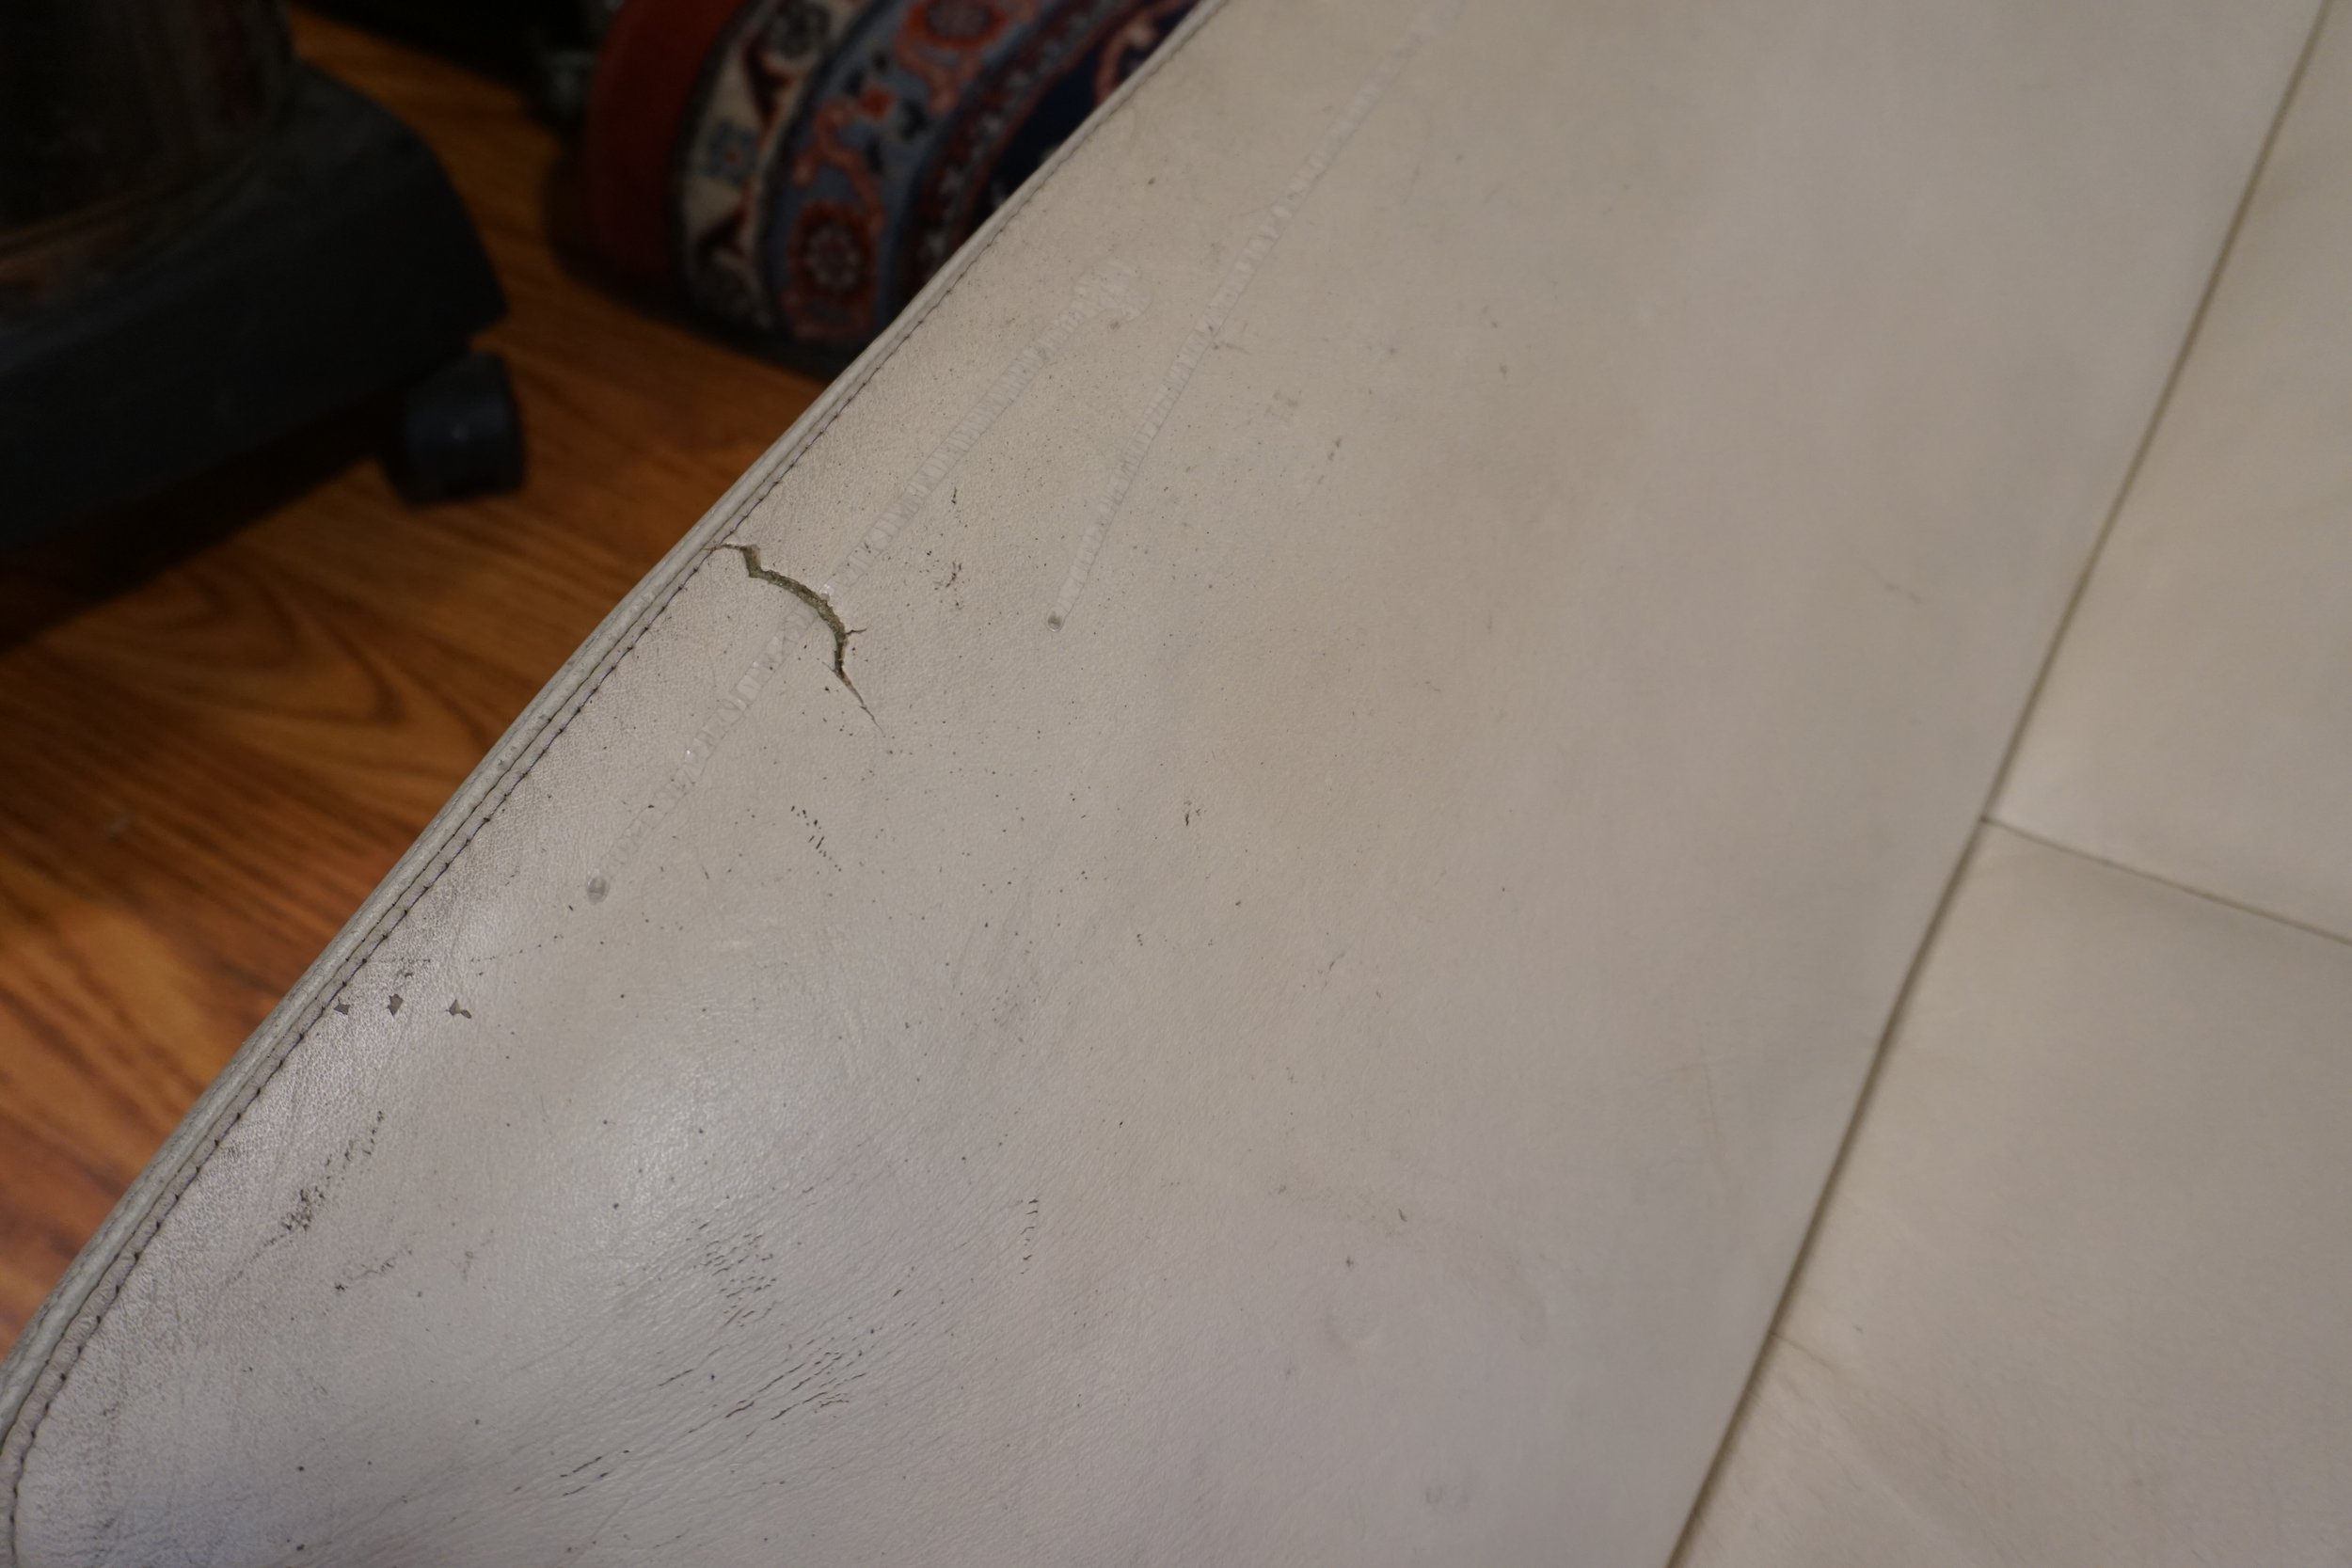
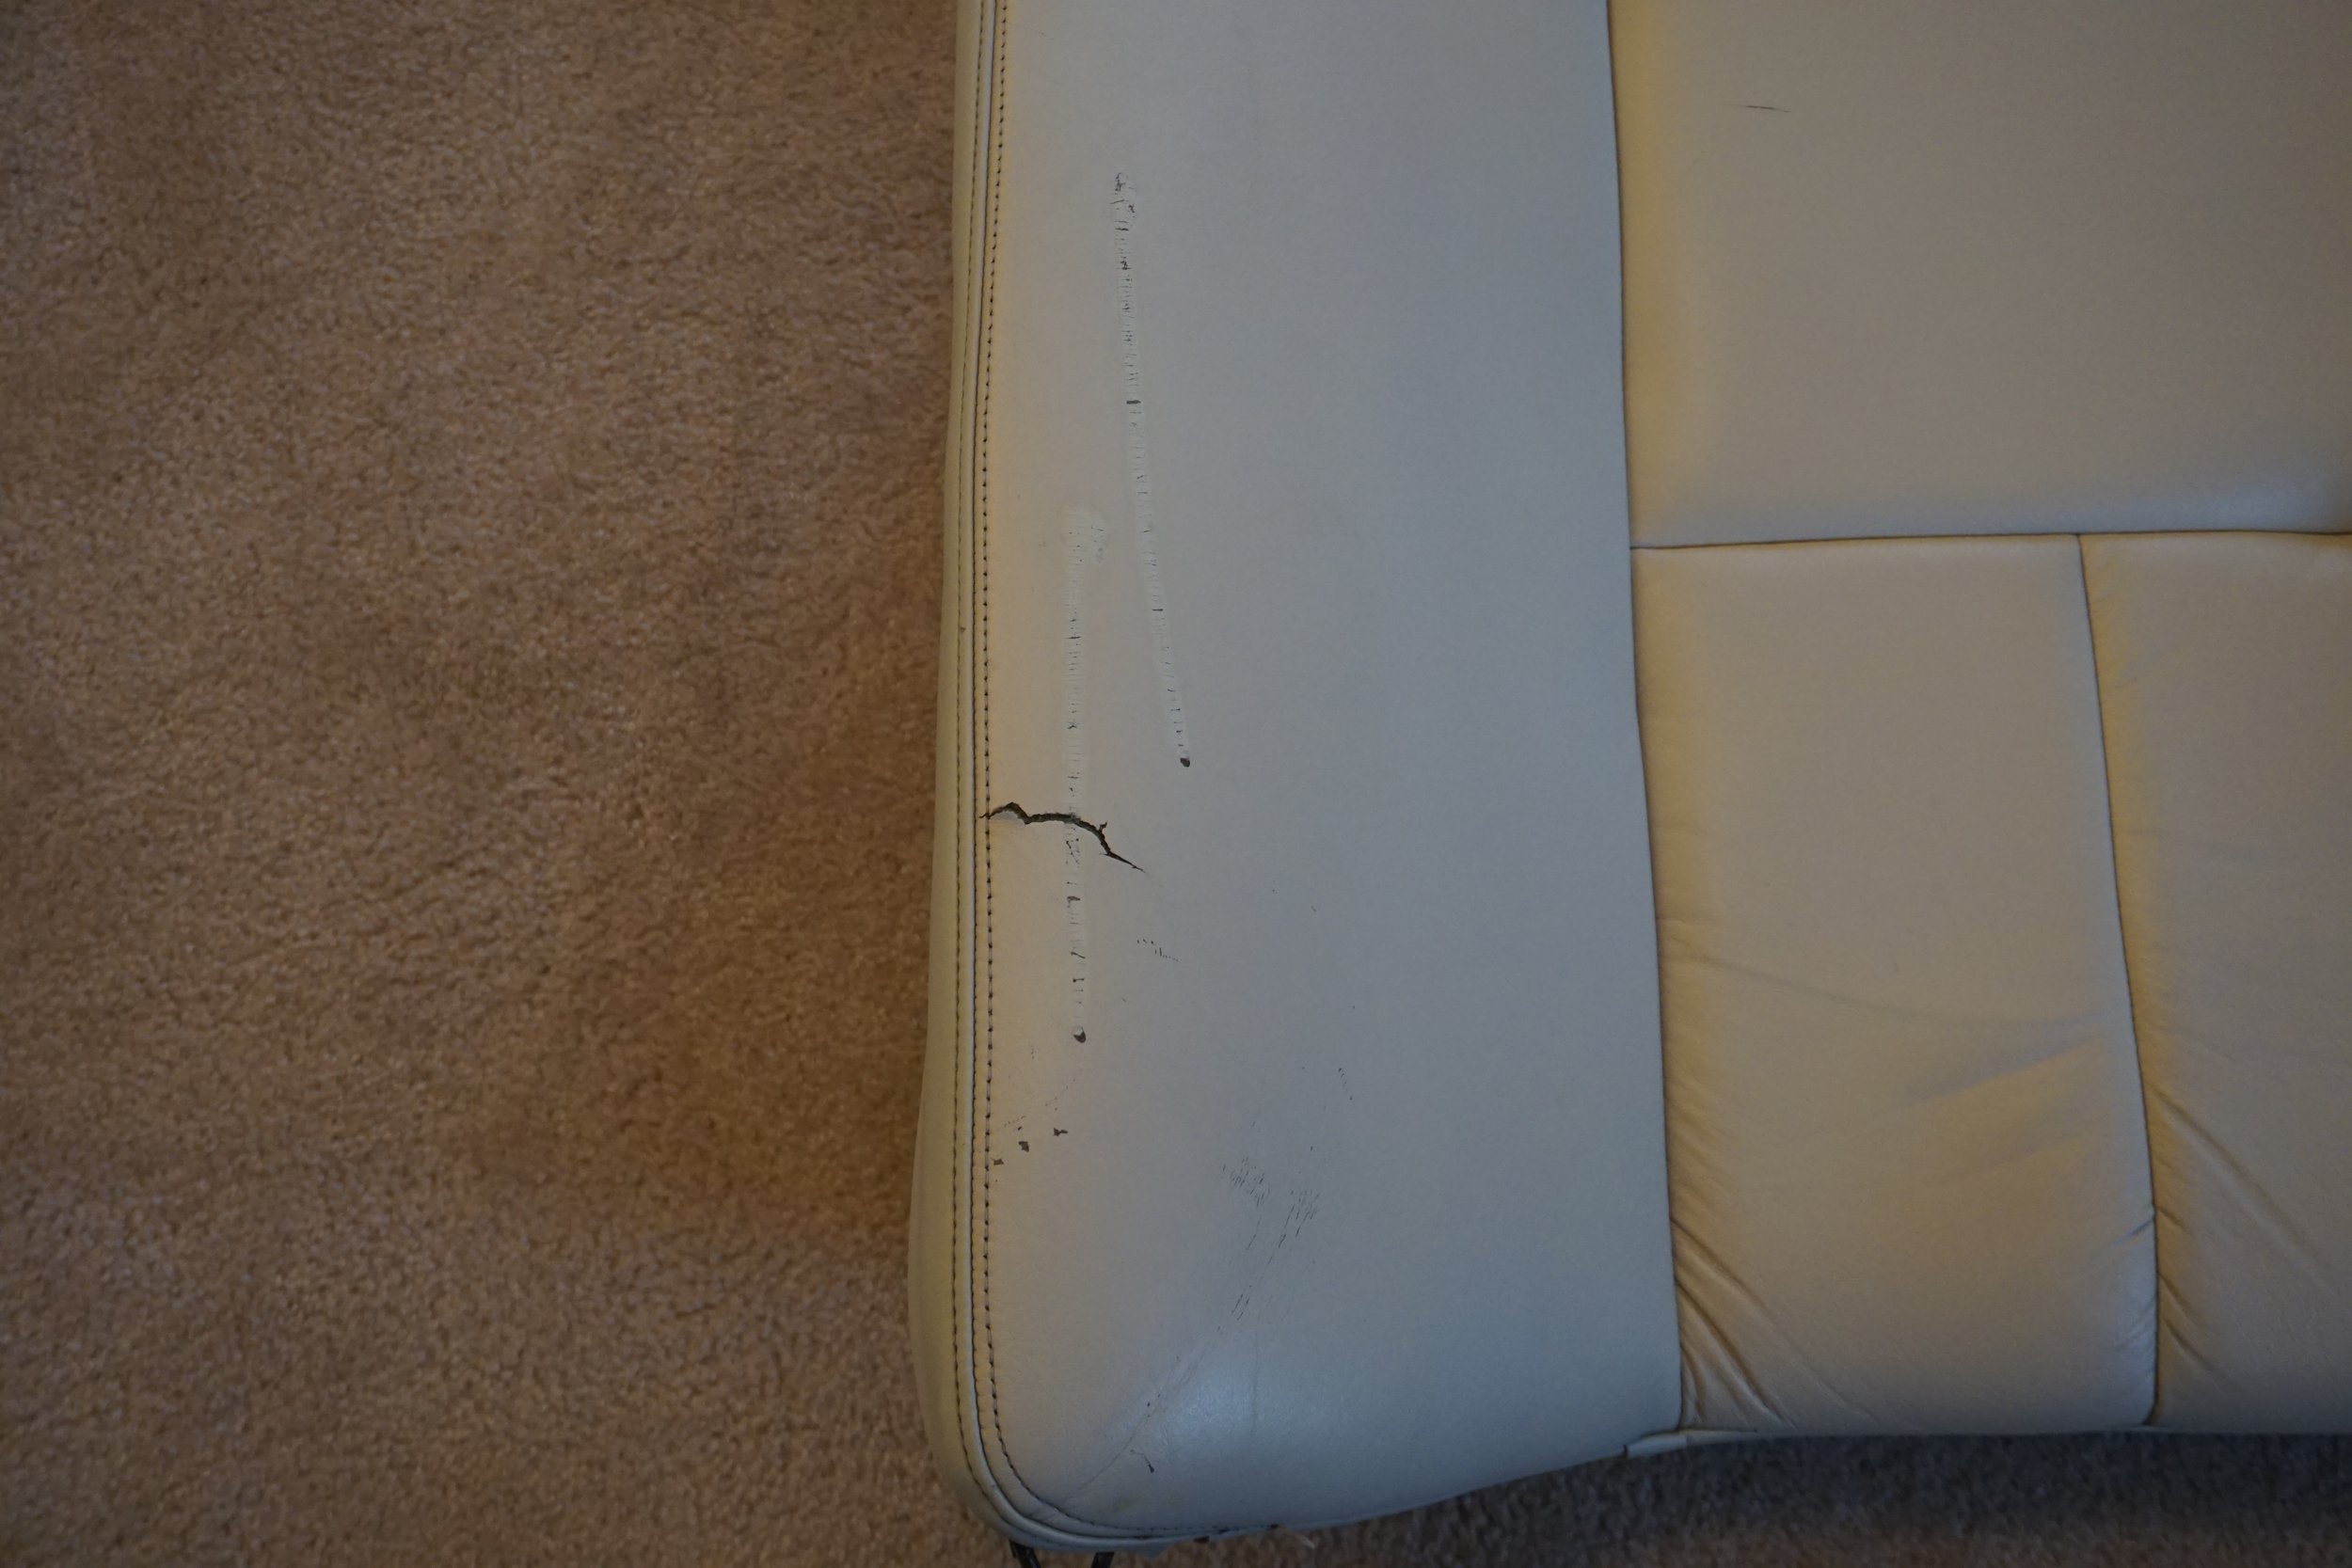
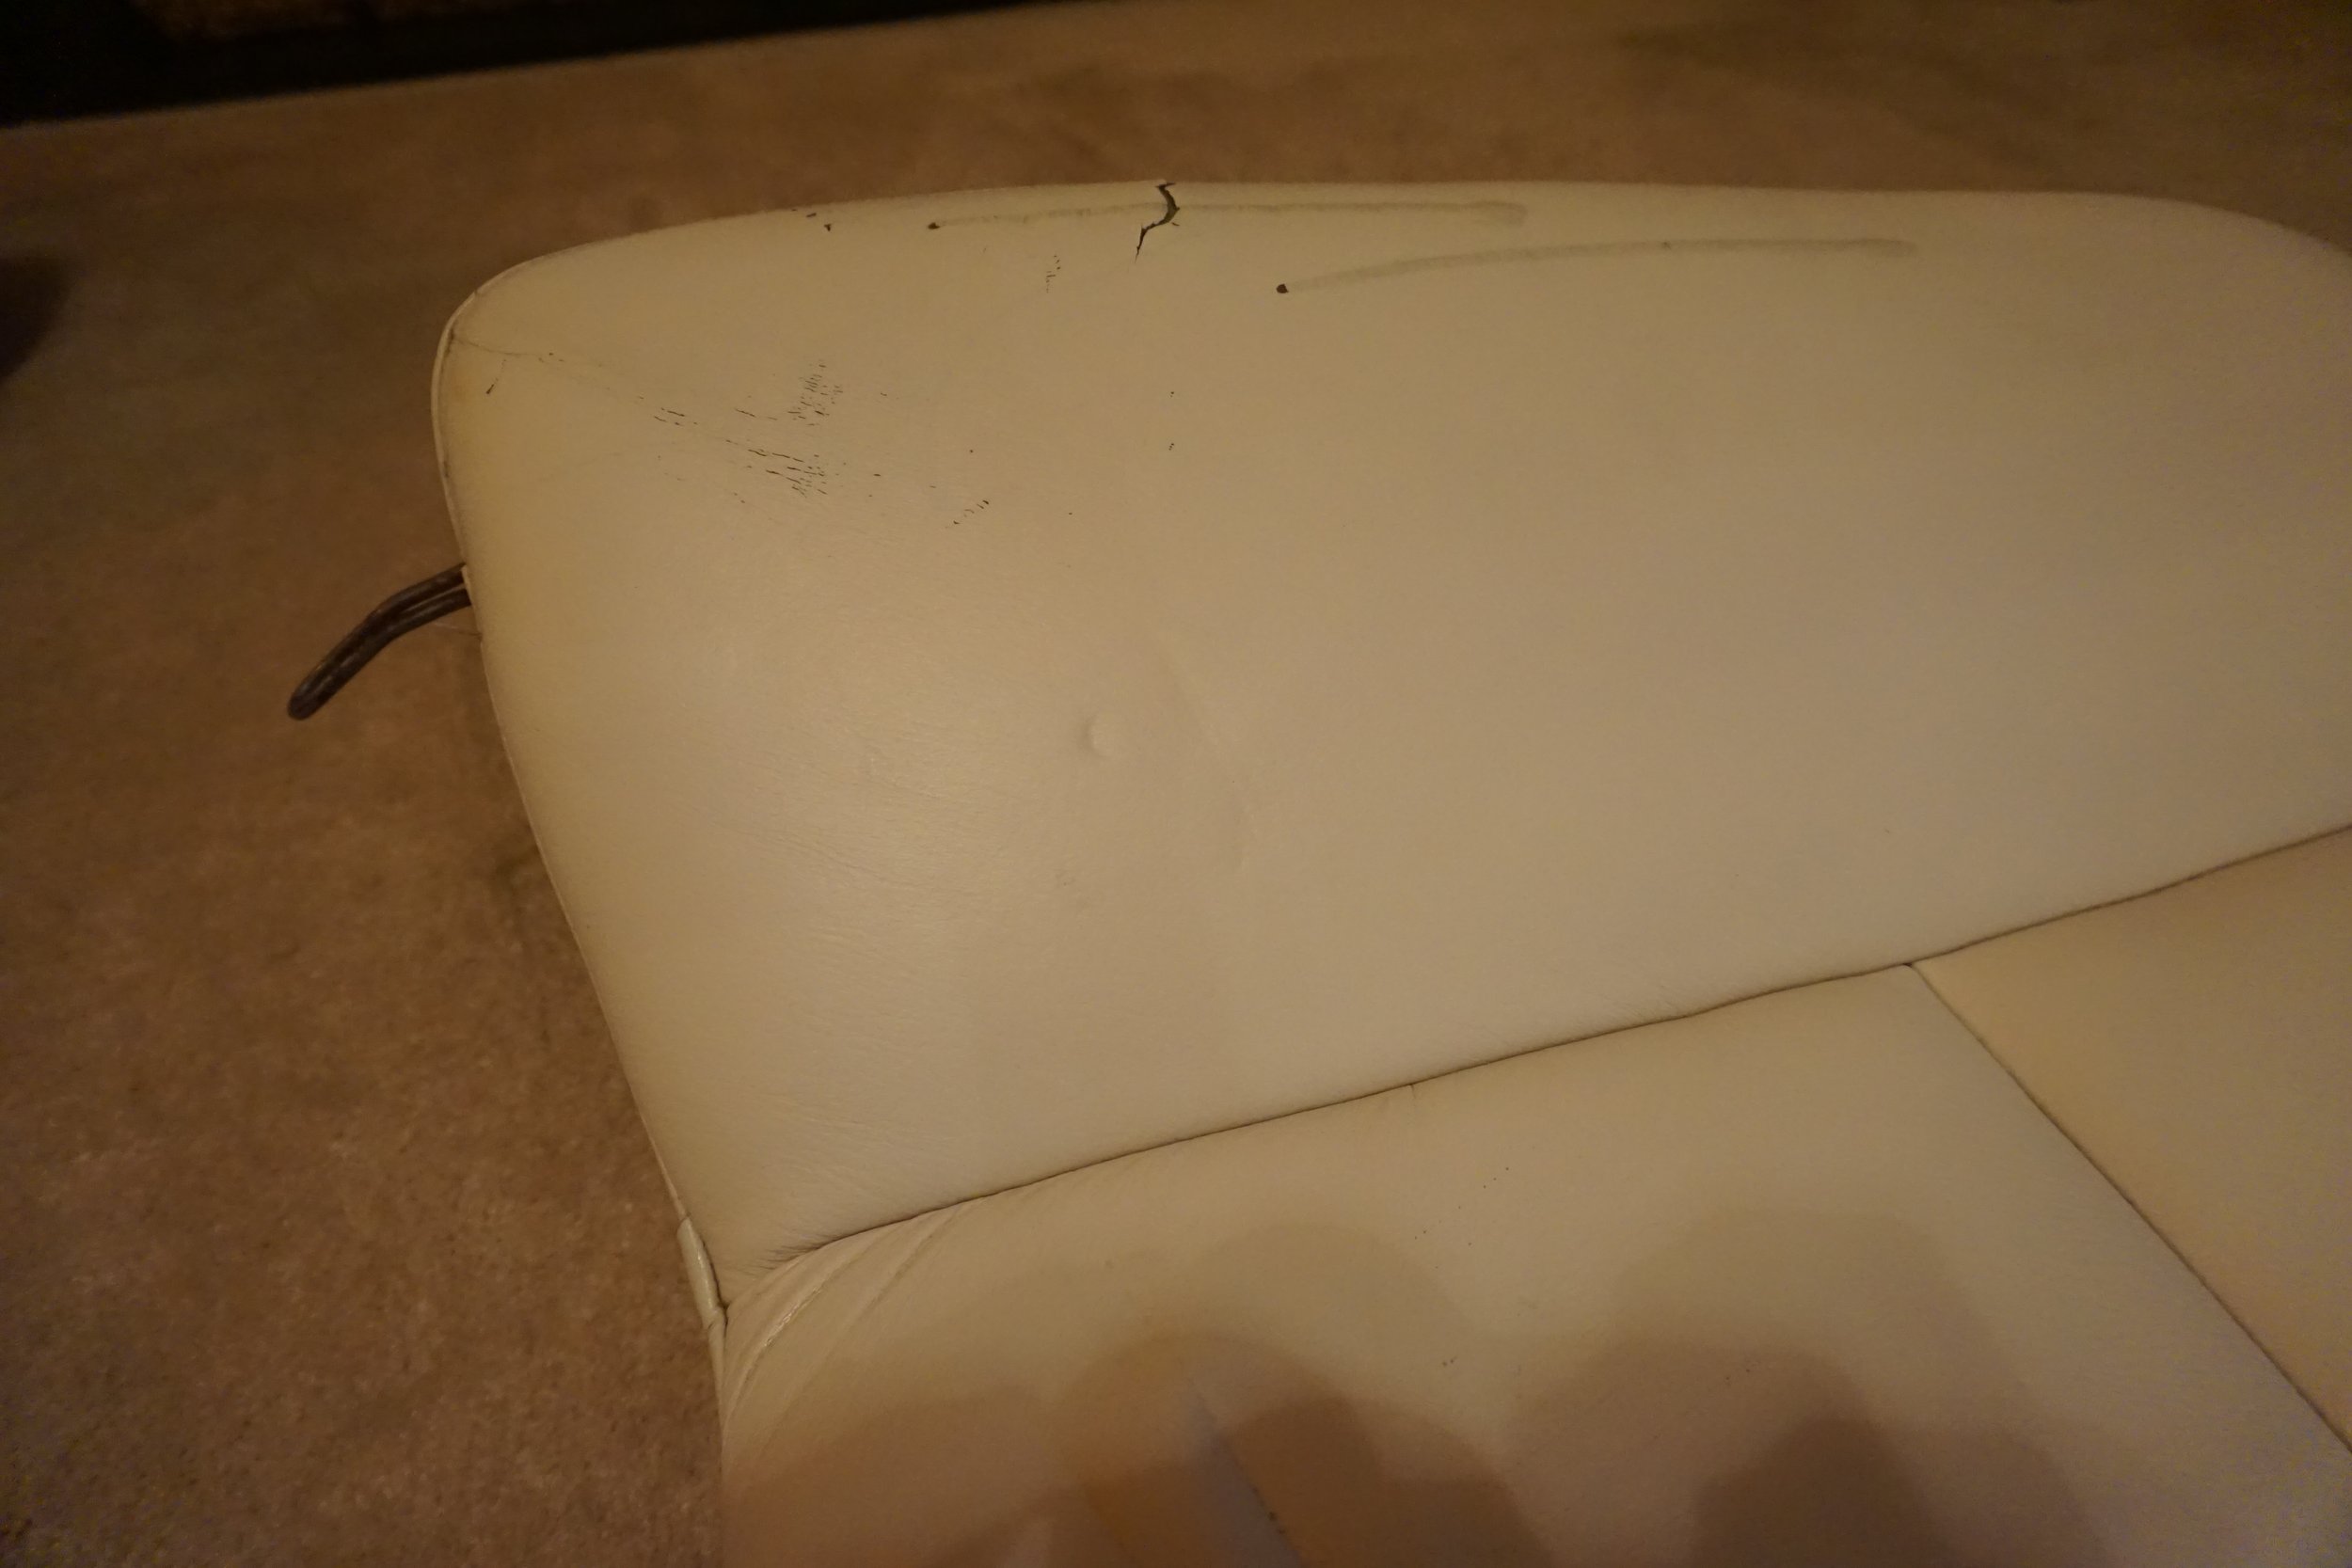
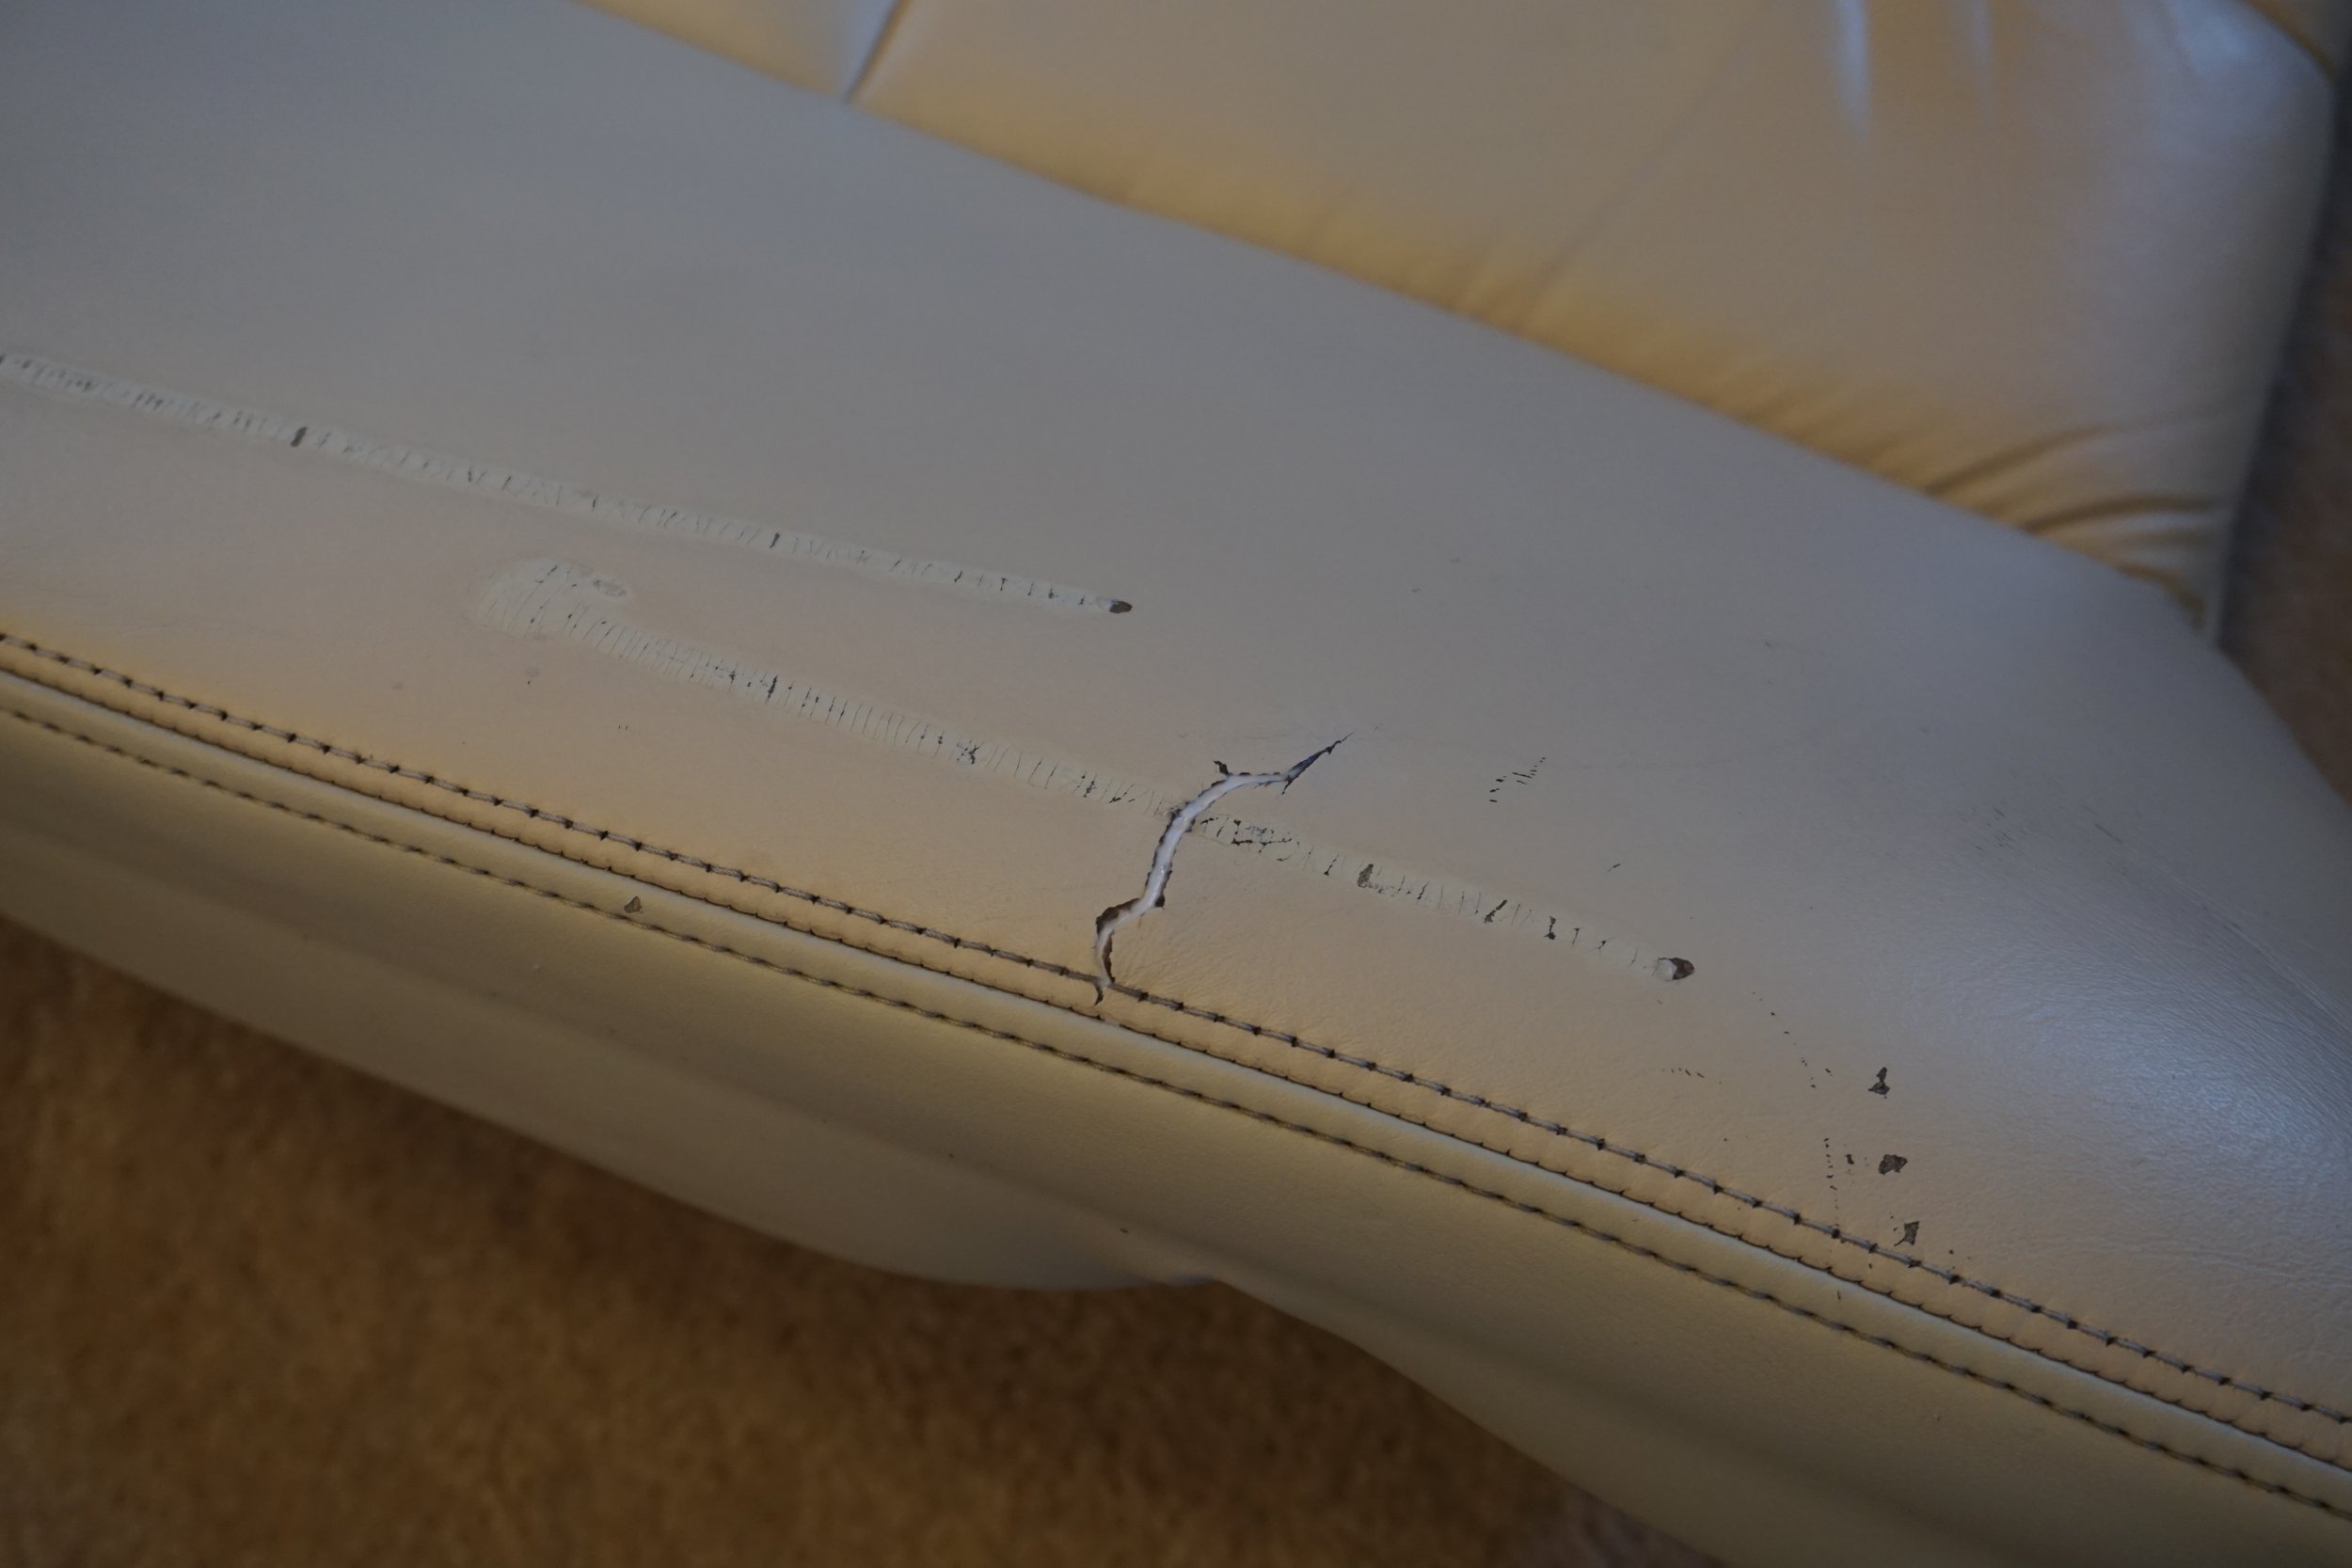
I had previously used “Bob Smith Industries Un-Cure” super glue remover on some interior trim and came away pretty impressed with what it could do, so I decided to give it a go on what appeared to be super glue (nail polish?) on the upright portion of the back seat and the side of the front seat. This stuff has the potential to damage plastic (and surely whatever this leather is coated with) so I tried to be as careful with it as I could. I squeezed out enough to cover the glue, let it sit for a minute, and then gently worked on it with a little dull pick tool I have. I would then wipe everything clean with a soapy paper towel. After a couple rounds it got off most of the glue and I did a finishing round or two with Q-tips soaked with the stuff to get up and remaining residue without damaging the leather more than I already had. The super glue had damaged/cracked the leather and apparently had also soaked up some of the color, so what I was left with wasn’t exactly pretty, but at least it was free of super glue. I would attempt to cover up this damage in later steps with varying degrees of success.
Before
After
Before
After
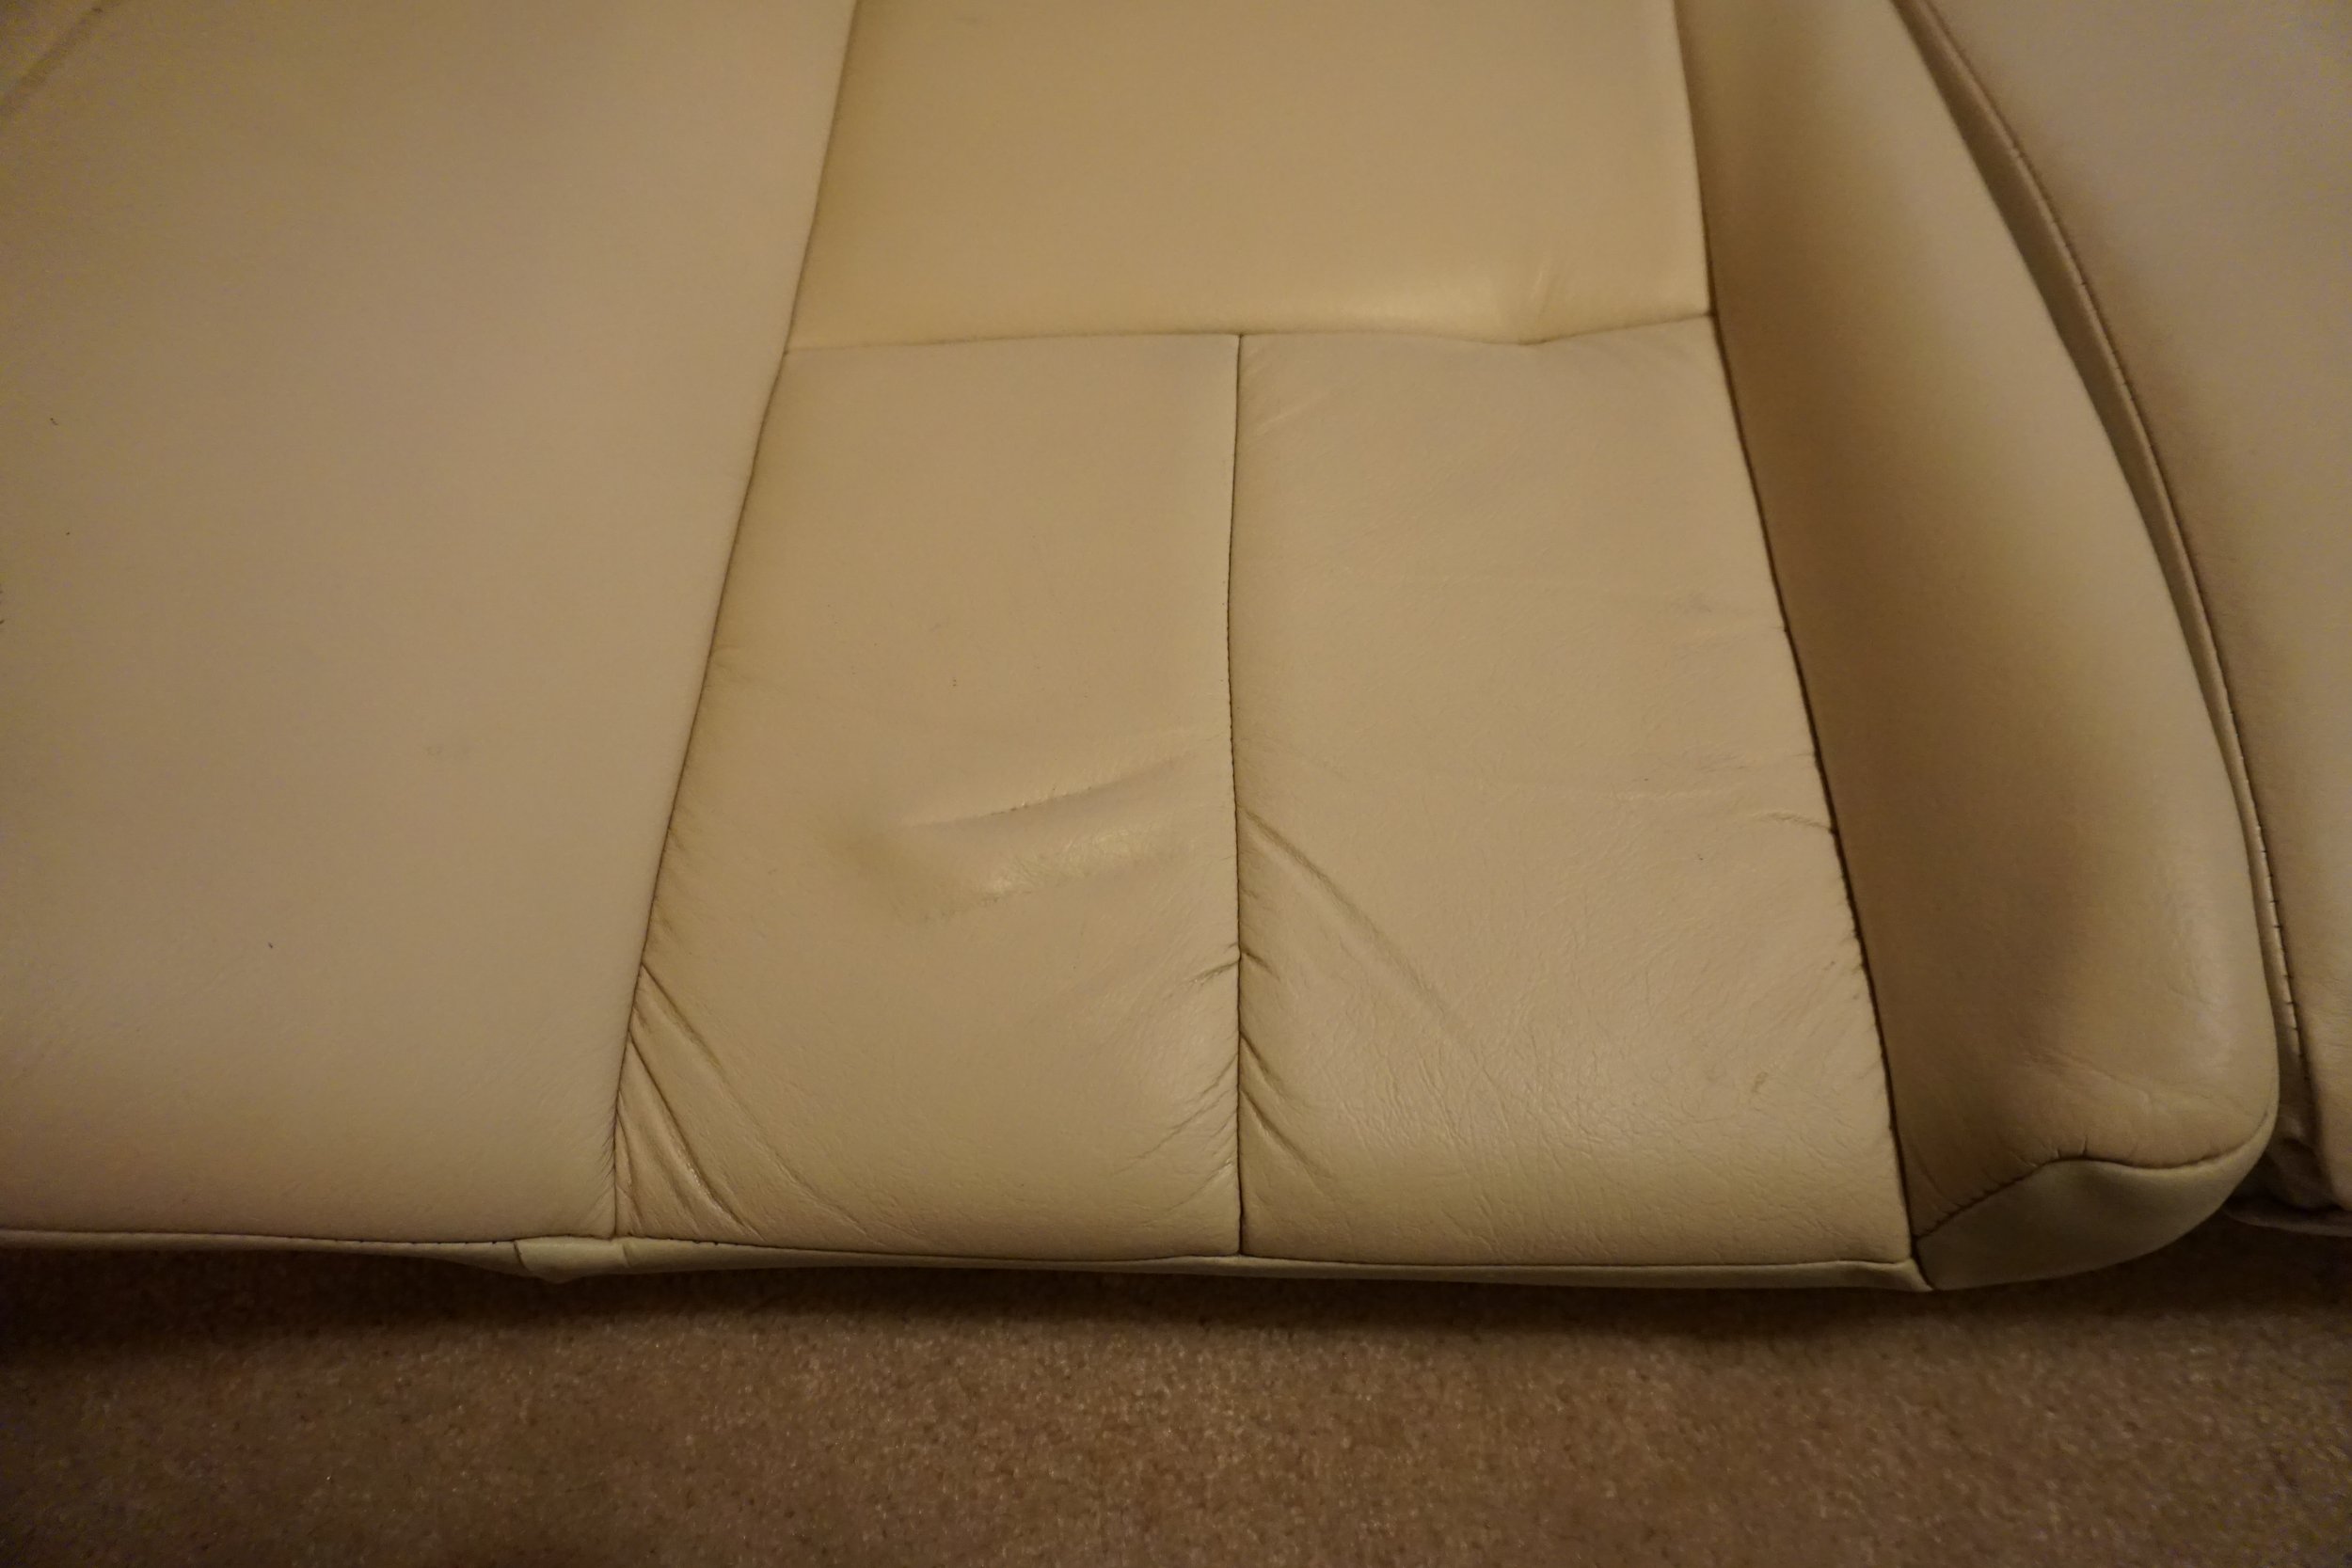
Dent removal
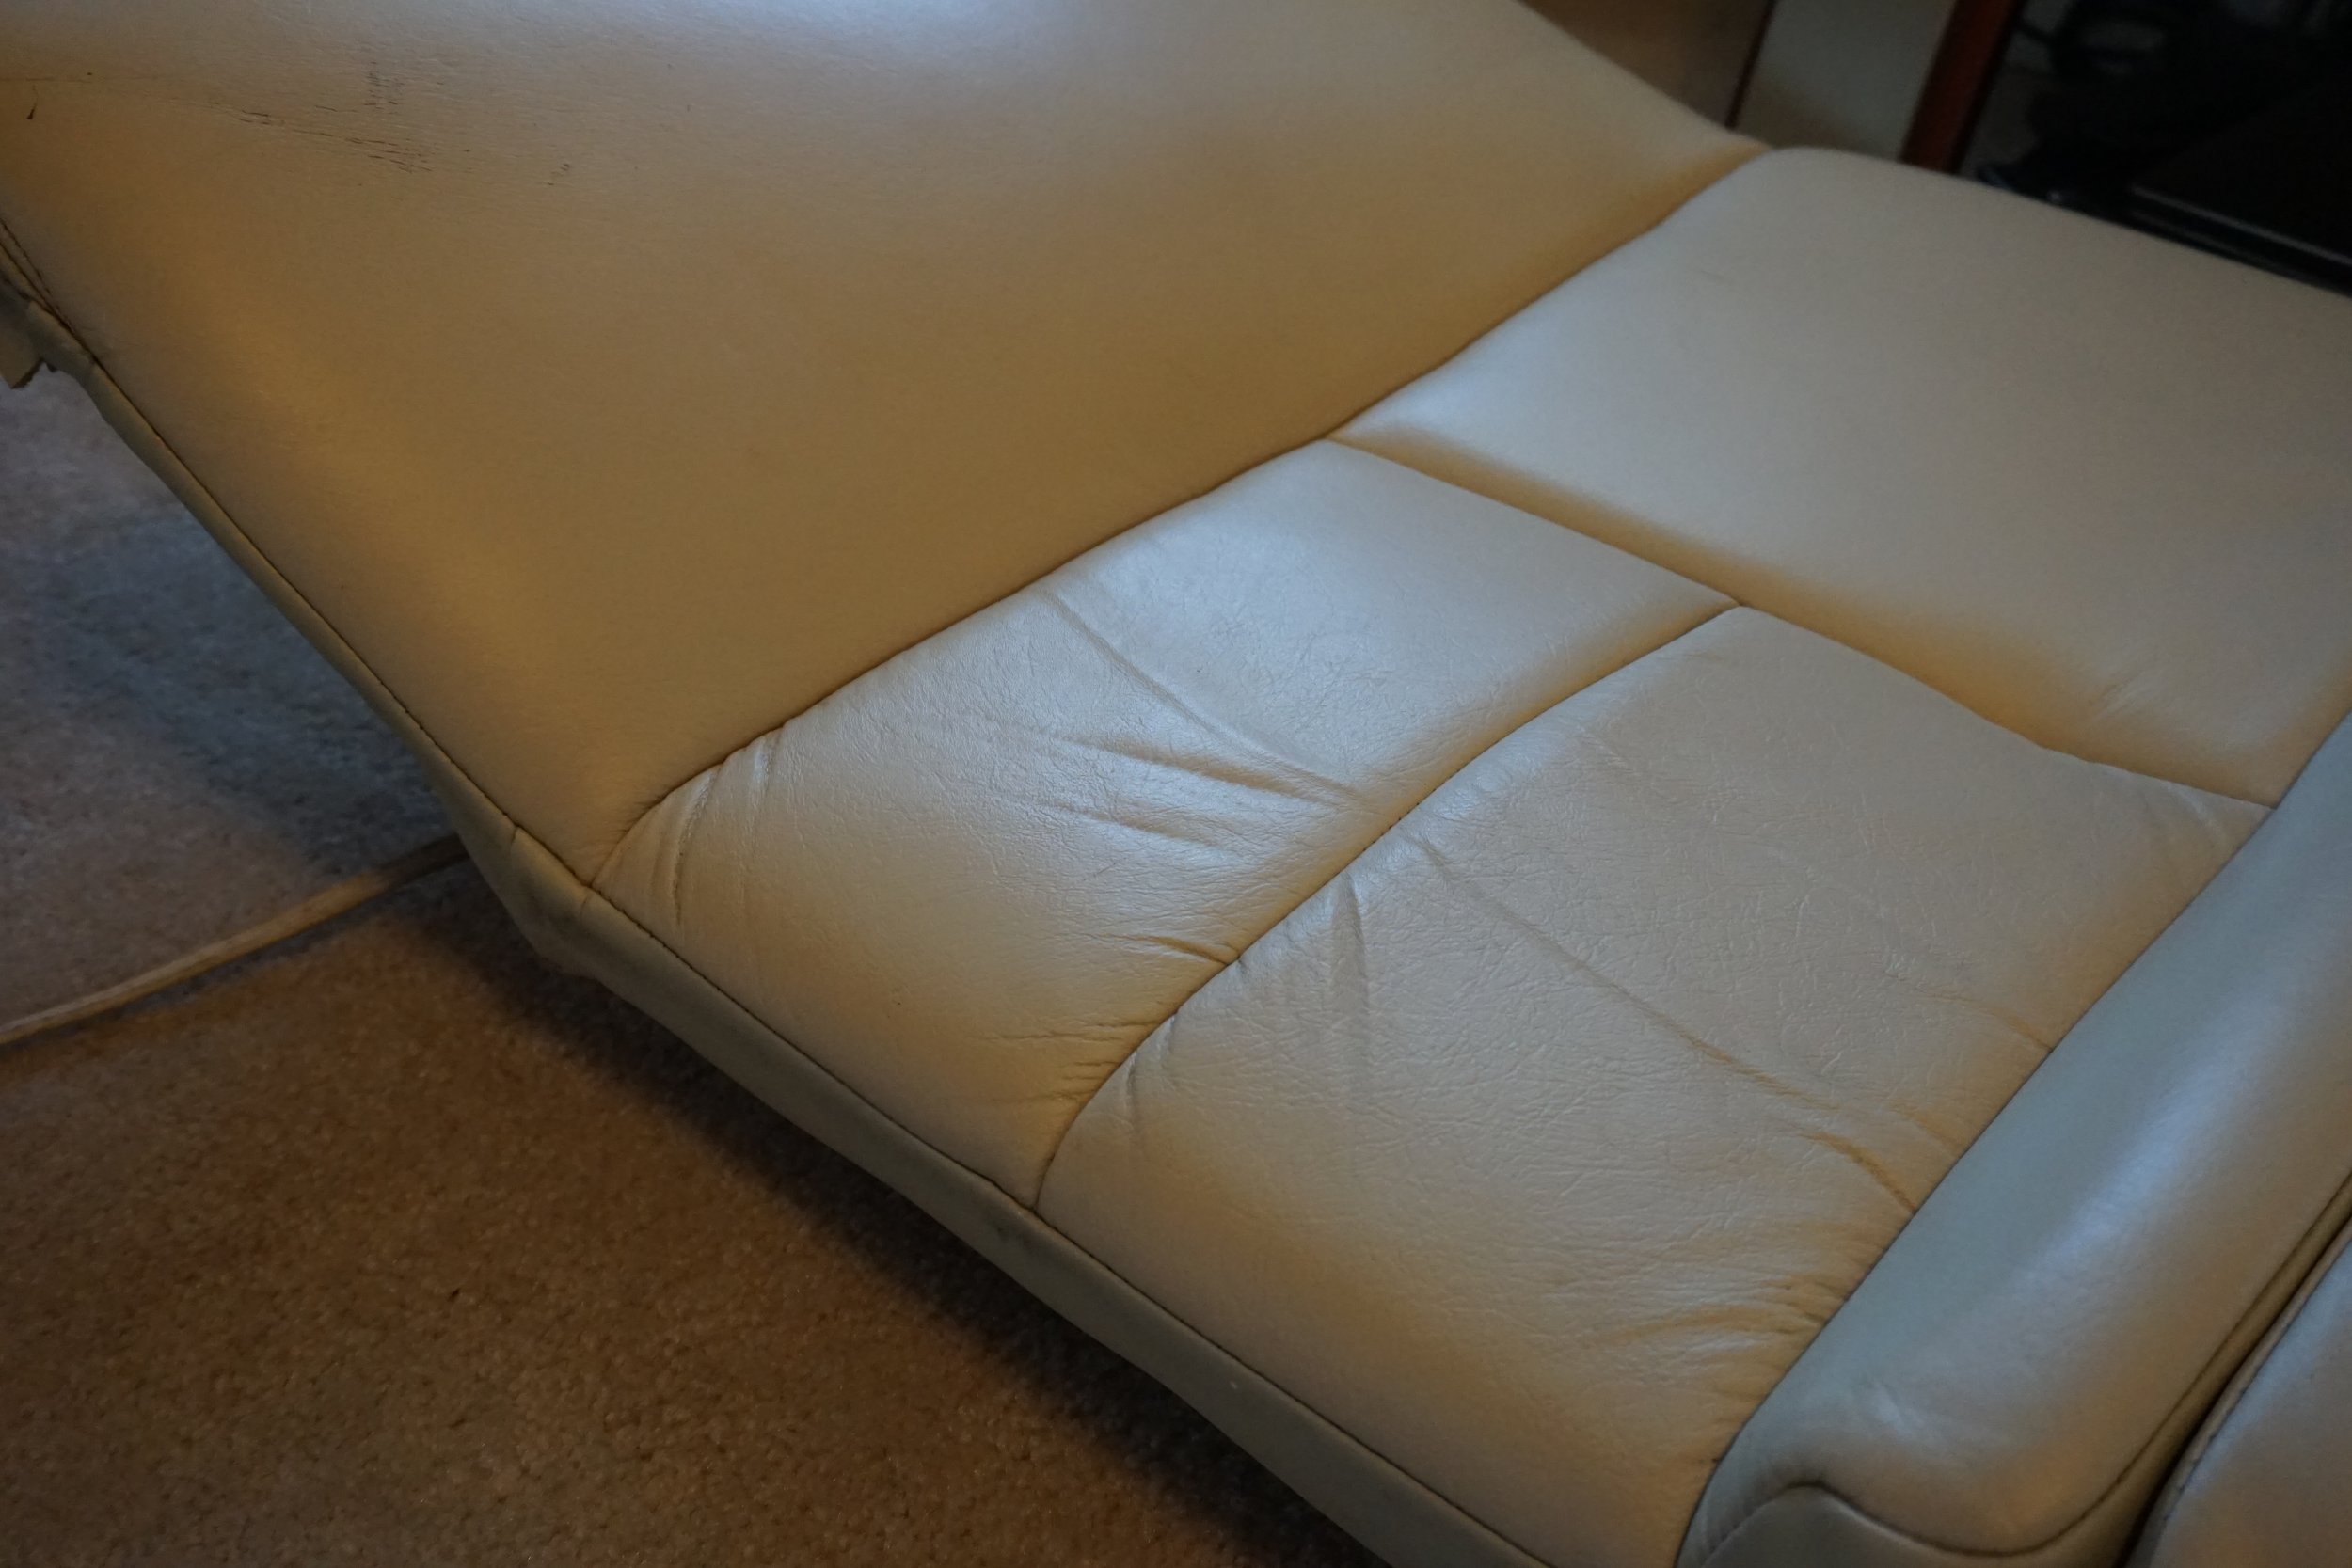
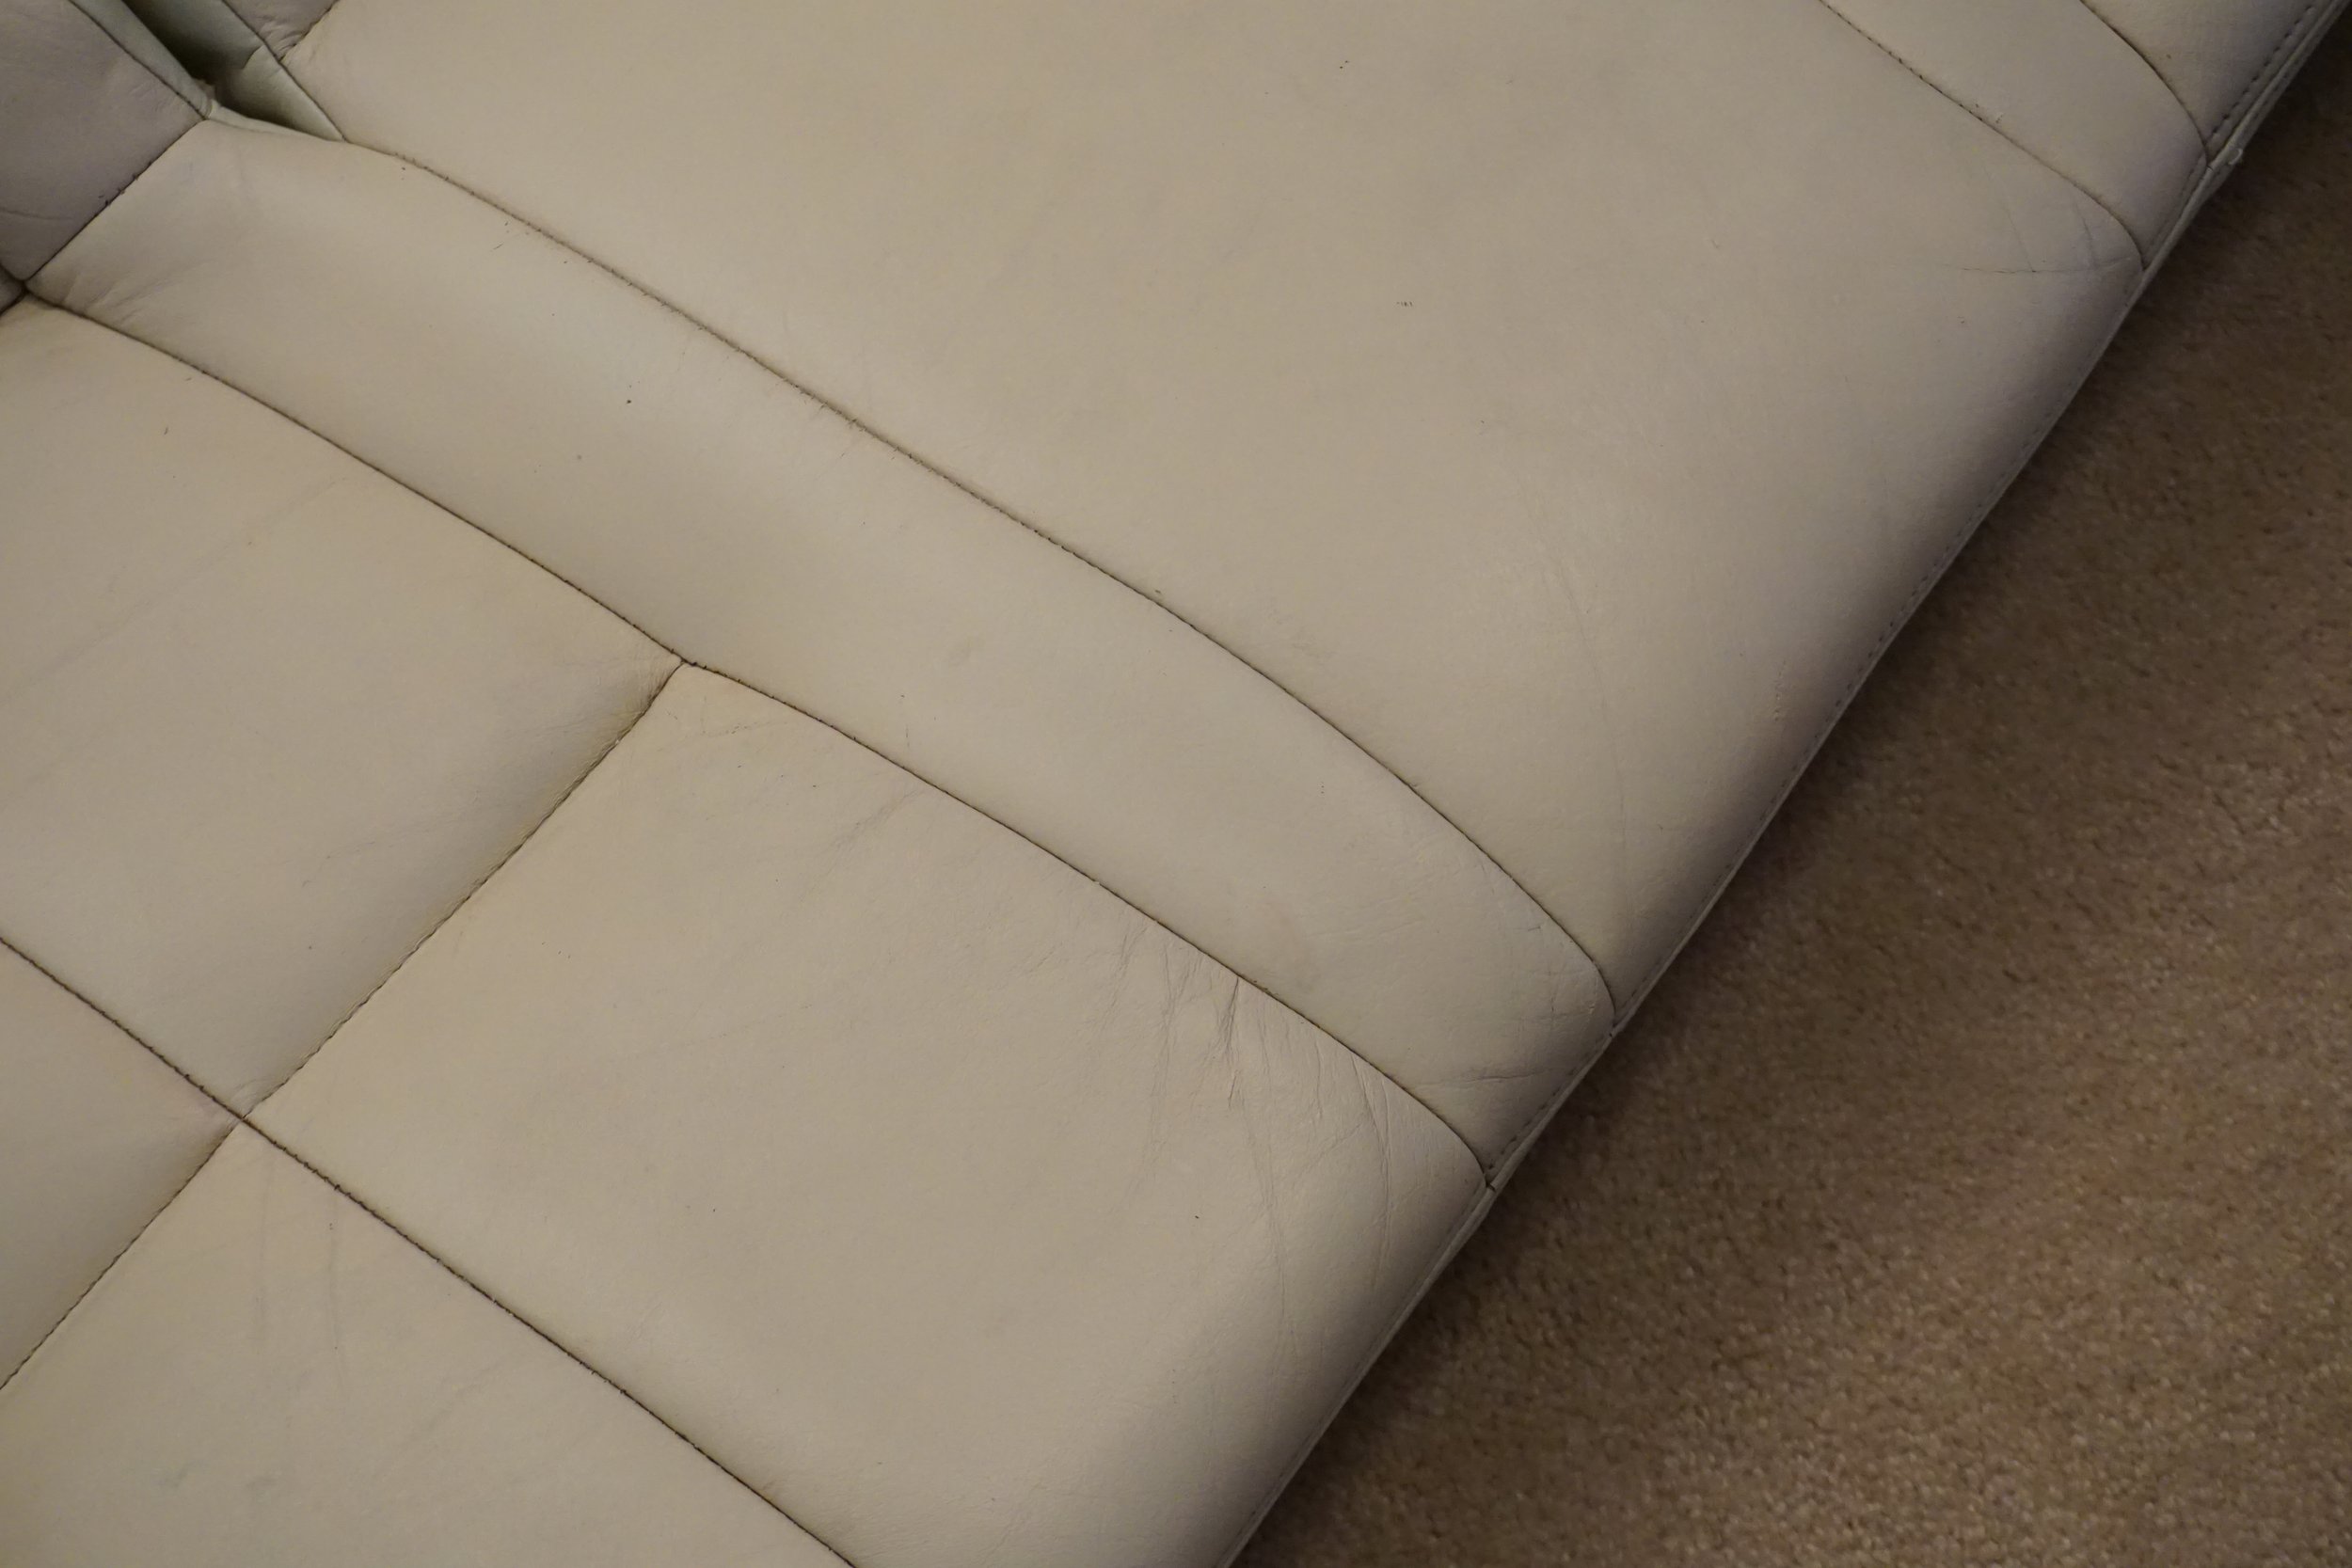
There were dents/divots/stretched leather in various spots that I wanted to see if I could minimize. I had seen videos of people using heat guns/hair dryers to massage out those sorts of things, so I gave it a try. On leather this old and stiff, it took a loooong time but in principle it works. It goes something like this: heat up the area for a few minutes, then rub the spot with something to stretch it out (but only a little!). At first I tried using my finger, but I got tired of burning myself, so I moved on to the round end of a kitchen knife. But sometimes I pressed too hard and stretched out the leather too much, which meant I had to apply more heat to allow it to pull itself tight again. The deeper the divot, the less likely it is you can get it all out. But I would say I was able to reduce them by about 50-75%, which I was pretty happy with. I got impatient in one spot and ended up getting the leather too hot and “burning” it a little. I’m sure this wouldn’t have been noticeable on black leather, but on white leather it turned it just a little bit brown. Oh well, lesson learned.
Before/after of each spot:
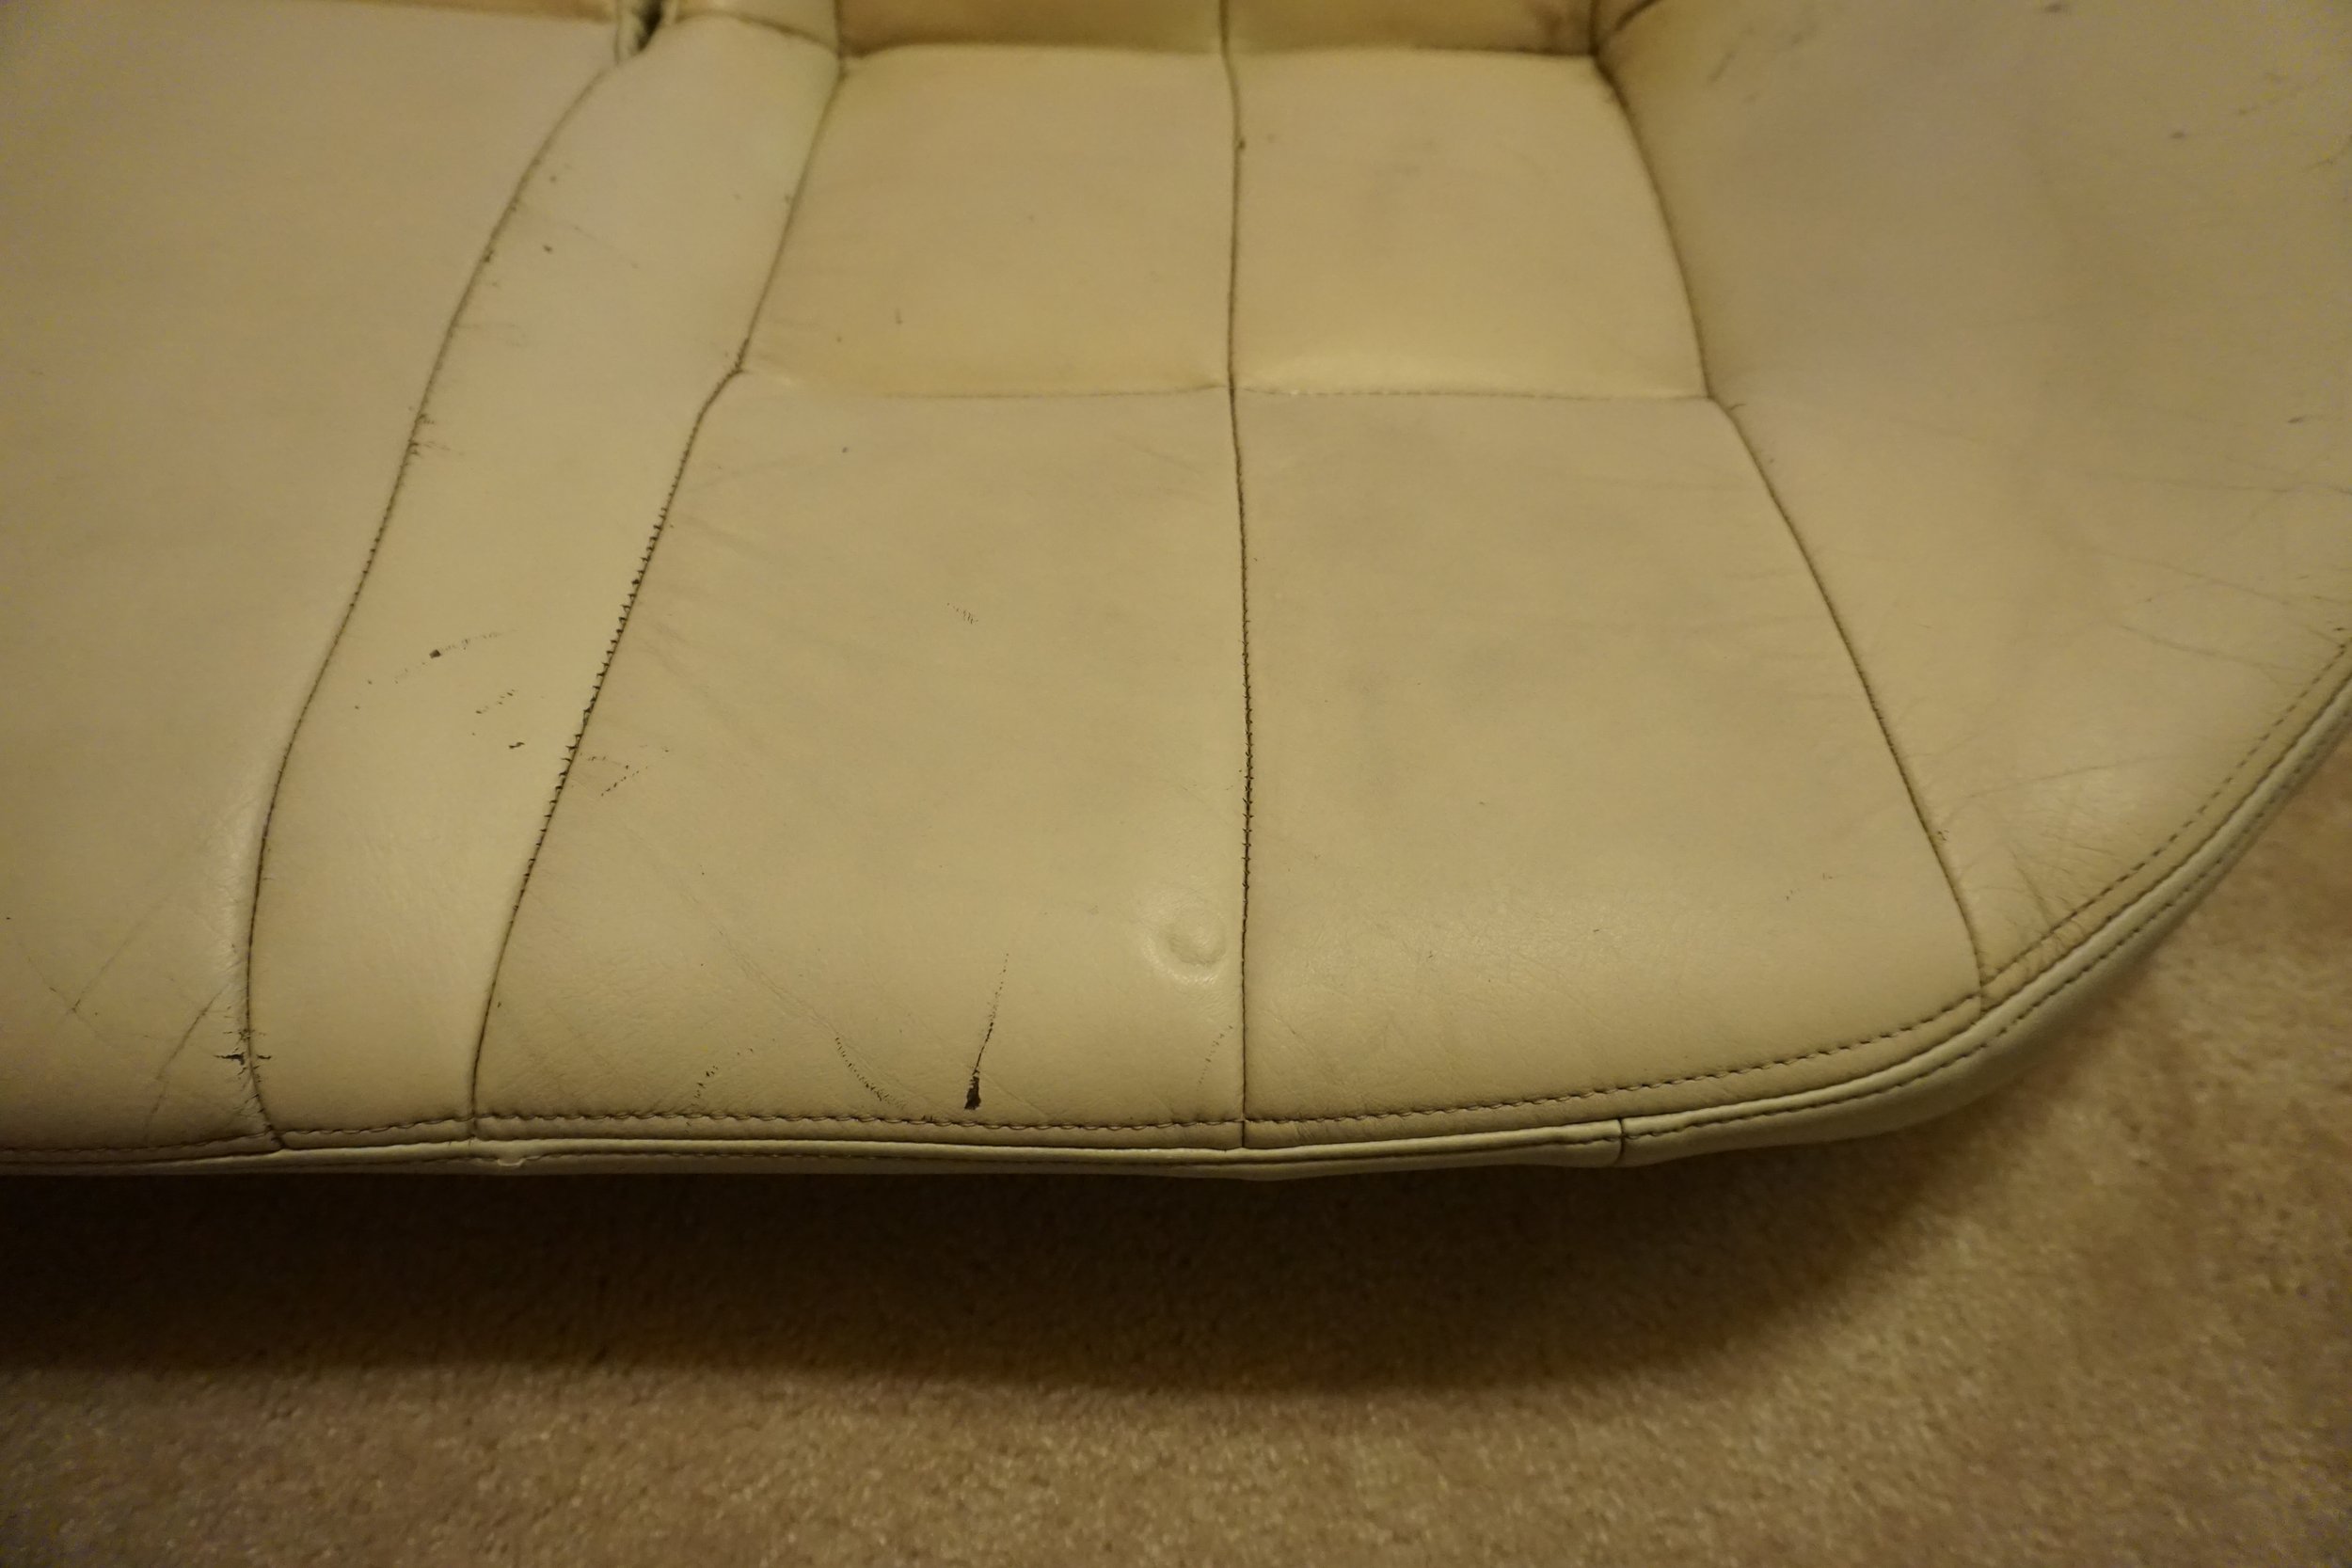
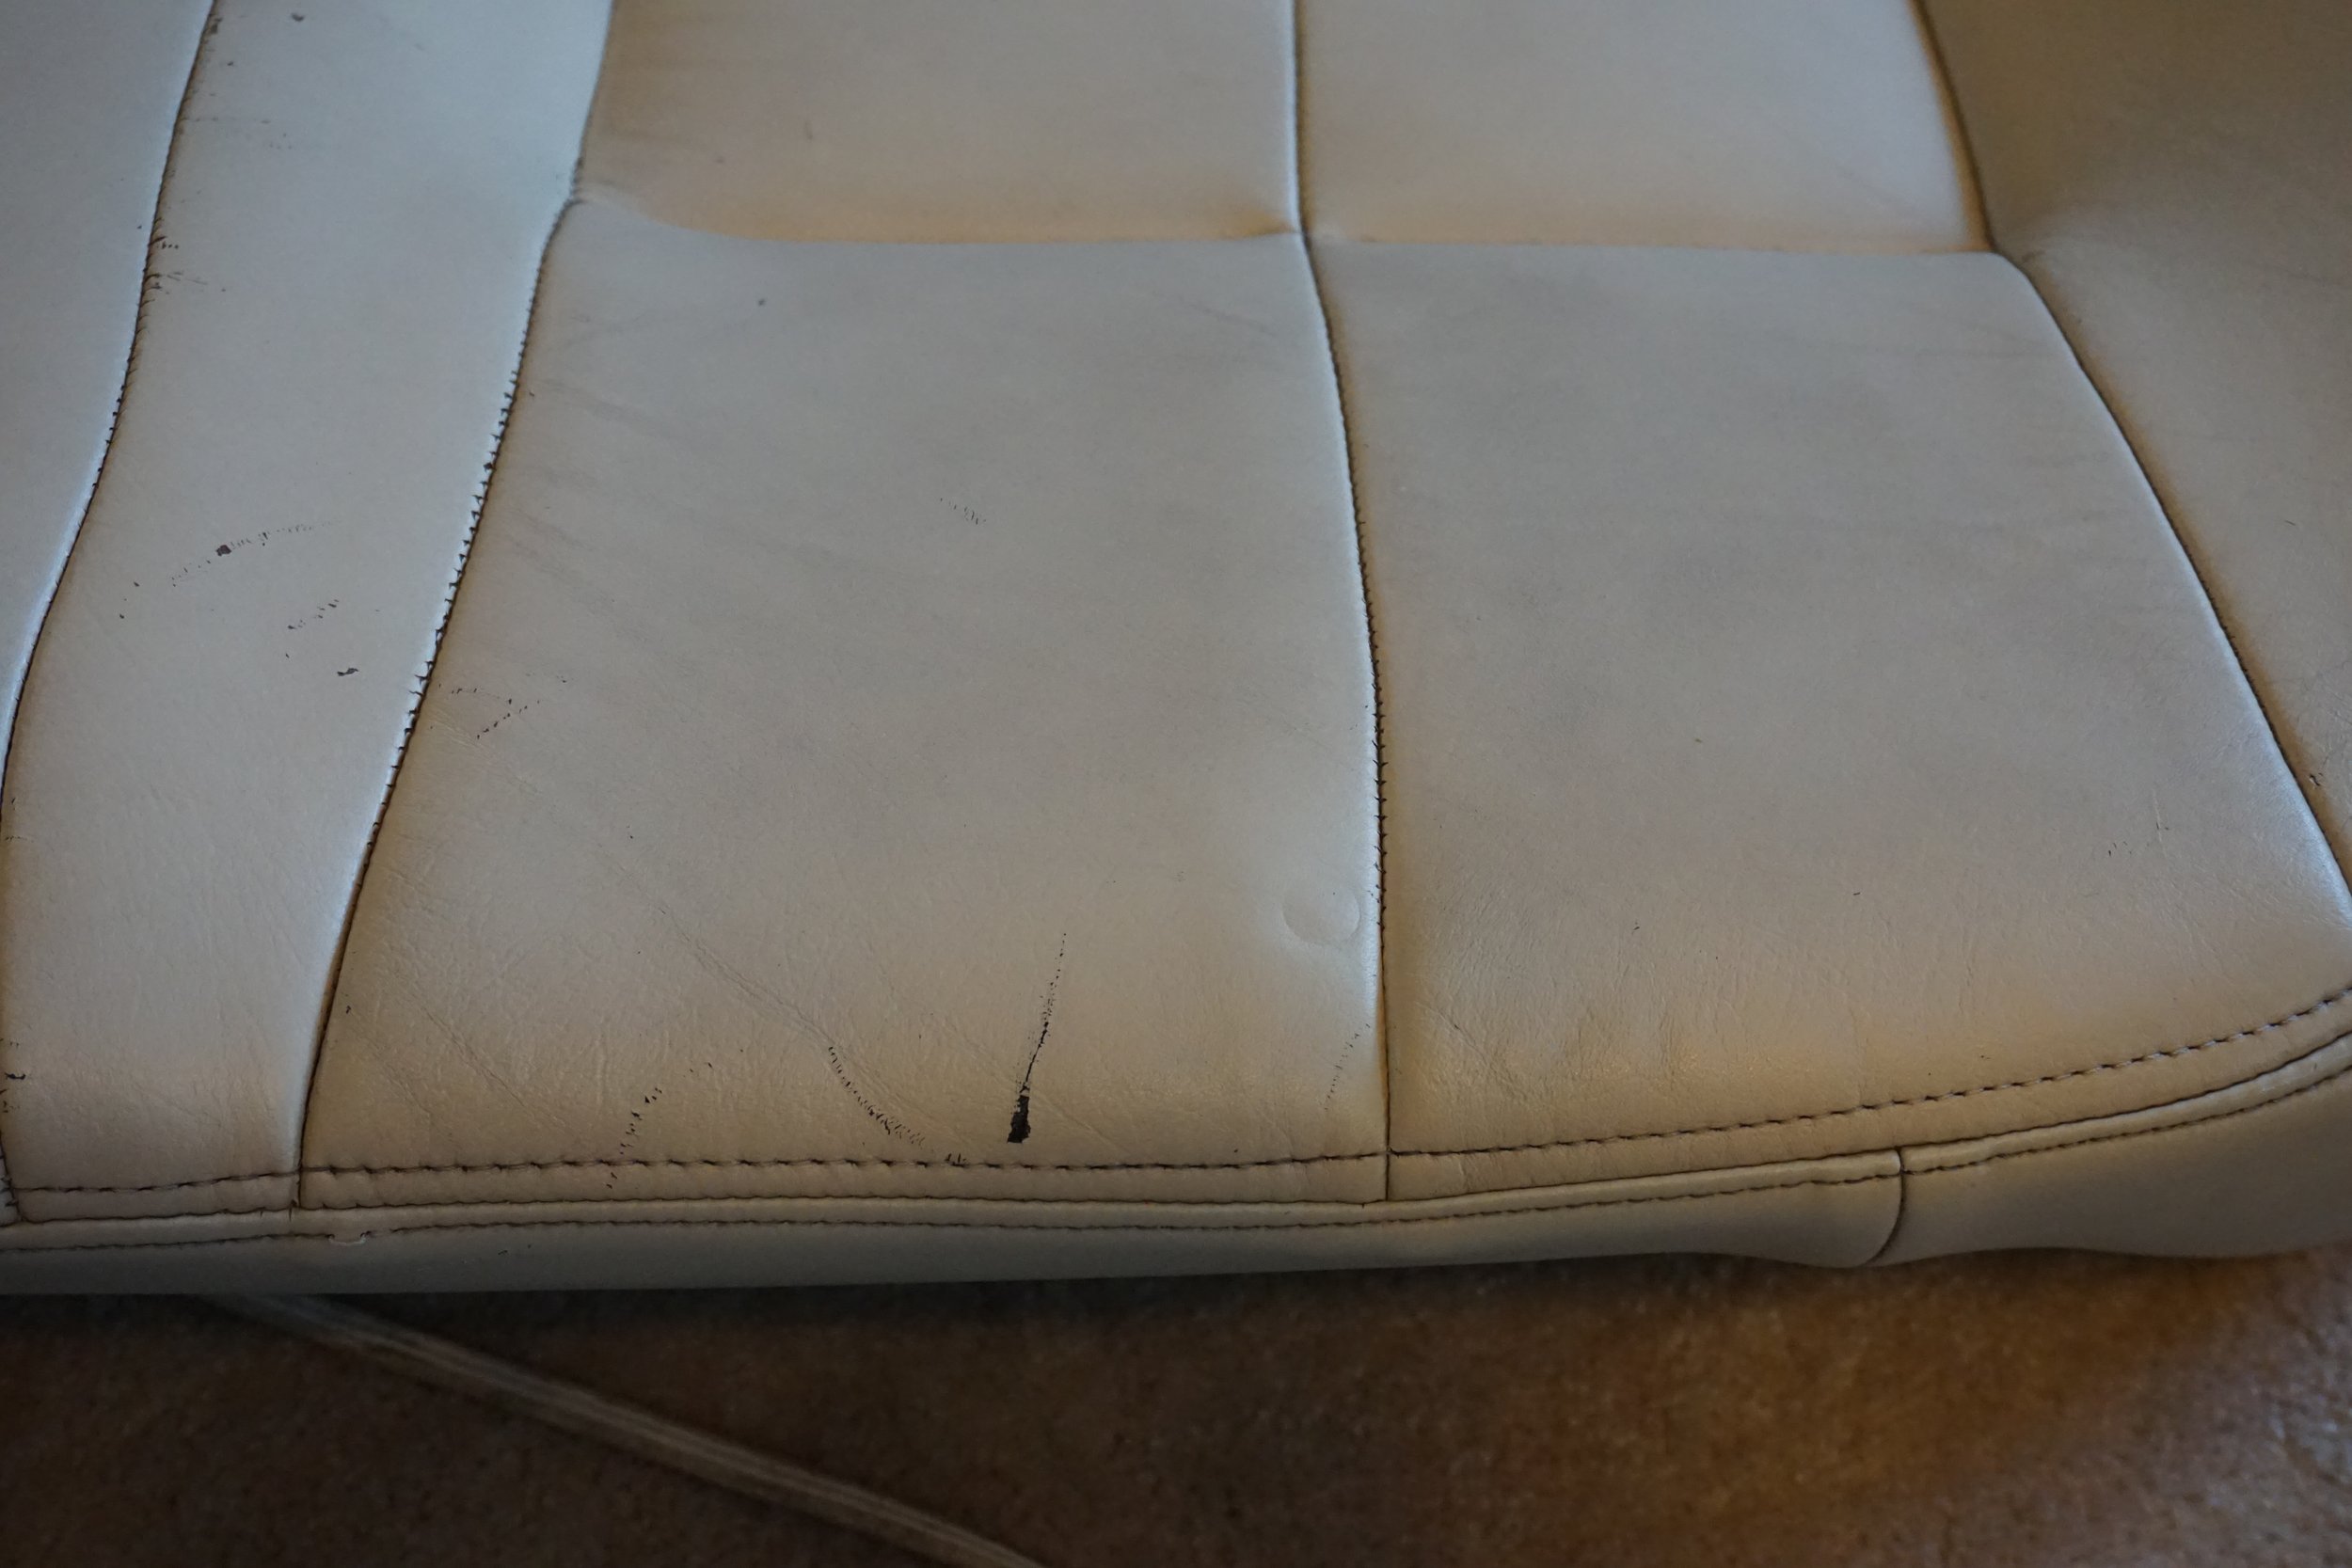

Repairing cracks and tears
I bought a vinyl-based leather repair kit for about $20 to see if I could patch up the large gashes and make them less obvious. First step is to fill them in with white vinyl glue stuff along with a small amount of fabric to kind of tie everything together with. This cured by itself overnight and seemed to make a pretty solid base to work from. I no longer had to worry about the gashes getting any bigger if they got tugged on.
Next up was the top coat. This part had to be mixed up with various colors to match the leather, and then cured with heat to solidify. Getting it to match was time consuming, but I eventually got it pretty close. The ratio was something like 20 parts white, 4 parts brown, and 2 parts yellow. The most annoying part of this part was getting it hot enough to cure and harden. The kit comes with this tiny little metal circle on a wooden stick that you’re supposed to heat up with a clothes iron, and then press onto a sheet of patterned vinyl/plastic over top of the goo you applied. Naturally, this didn’t work very well and/or took forever, so I got impatient and just (carefully) put the iron onto the patterned vinyl sheet on top of the goo. This sped things up considerably, but only worked on flat surfaces, of which I only had one or two. The rest of the repairs involved more heat gun action, and took forever. Some areas didn’t feel like they ever fully cured, but I didn’t care at that point. But I will say that it turned out pretty well, and the cracks/tears/gashes were substantially filled in and repaired. It wasn’t fun, but it was effective.
Before

Mid-way
Finished (after painting in the next step)
Final step: Touch up paint
Yes, paint. Again, I mixed up white, brown, and yellow until it was close enough, but this product (which is different than the vinyl stuff in the previous step) cured quickly by itself. Unfortunately, when it dried the color seemed to change a bit, which made it not look as good as I thought it was going to. I used this stuff to cover up the areas where I had removed the super glue, as well as all of the little nicks and scrapes. Once I got the hang of using the tiny brush that came with the kit it went down pretty well and did a great job of covering things up.
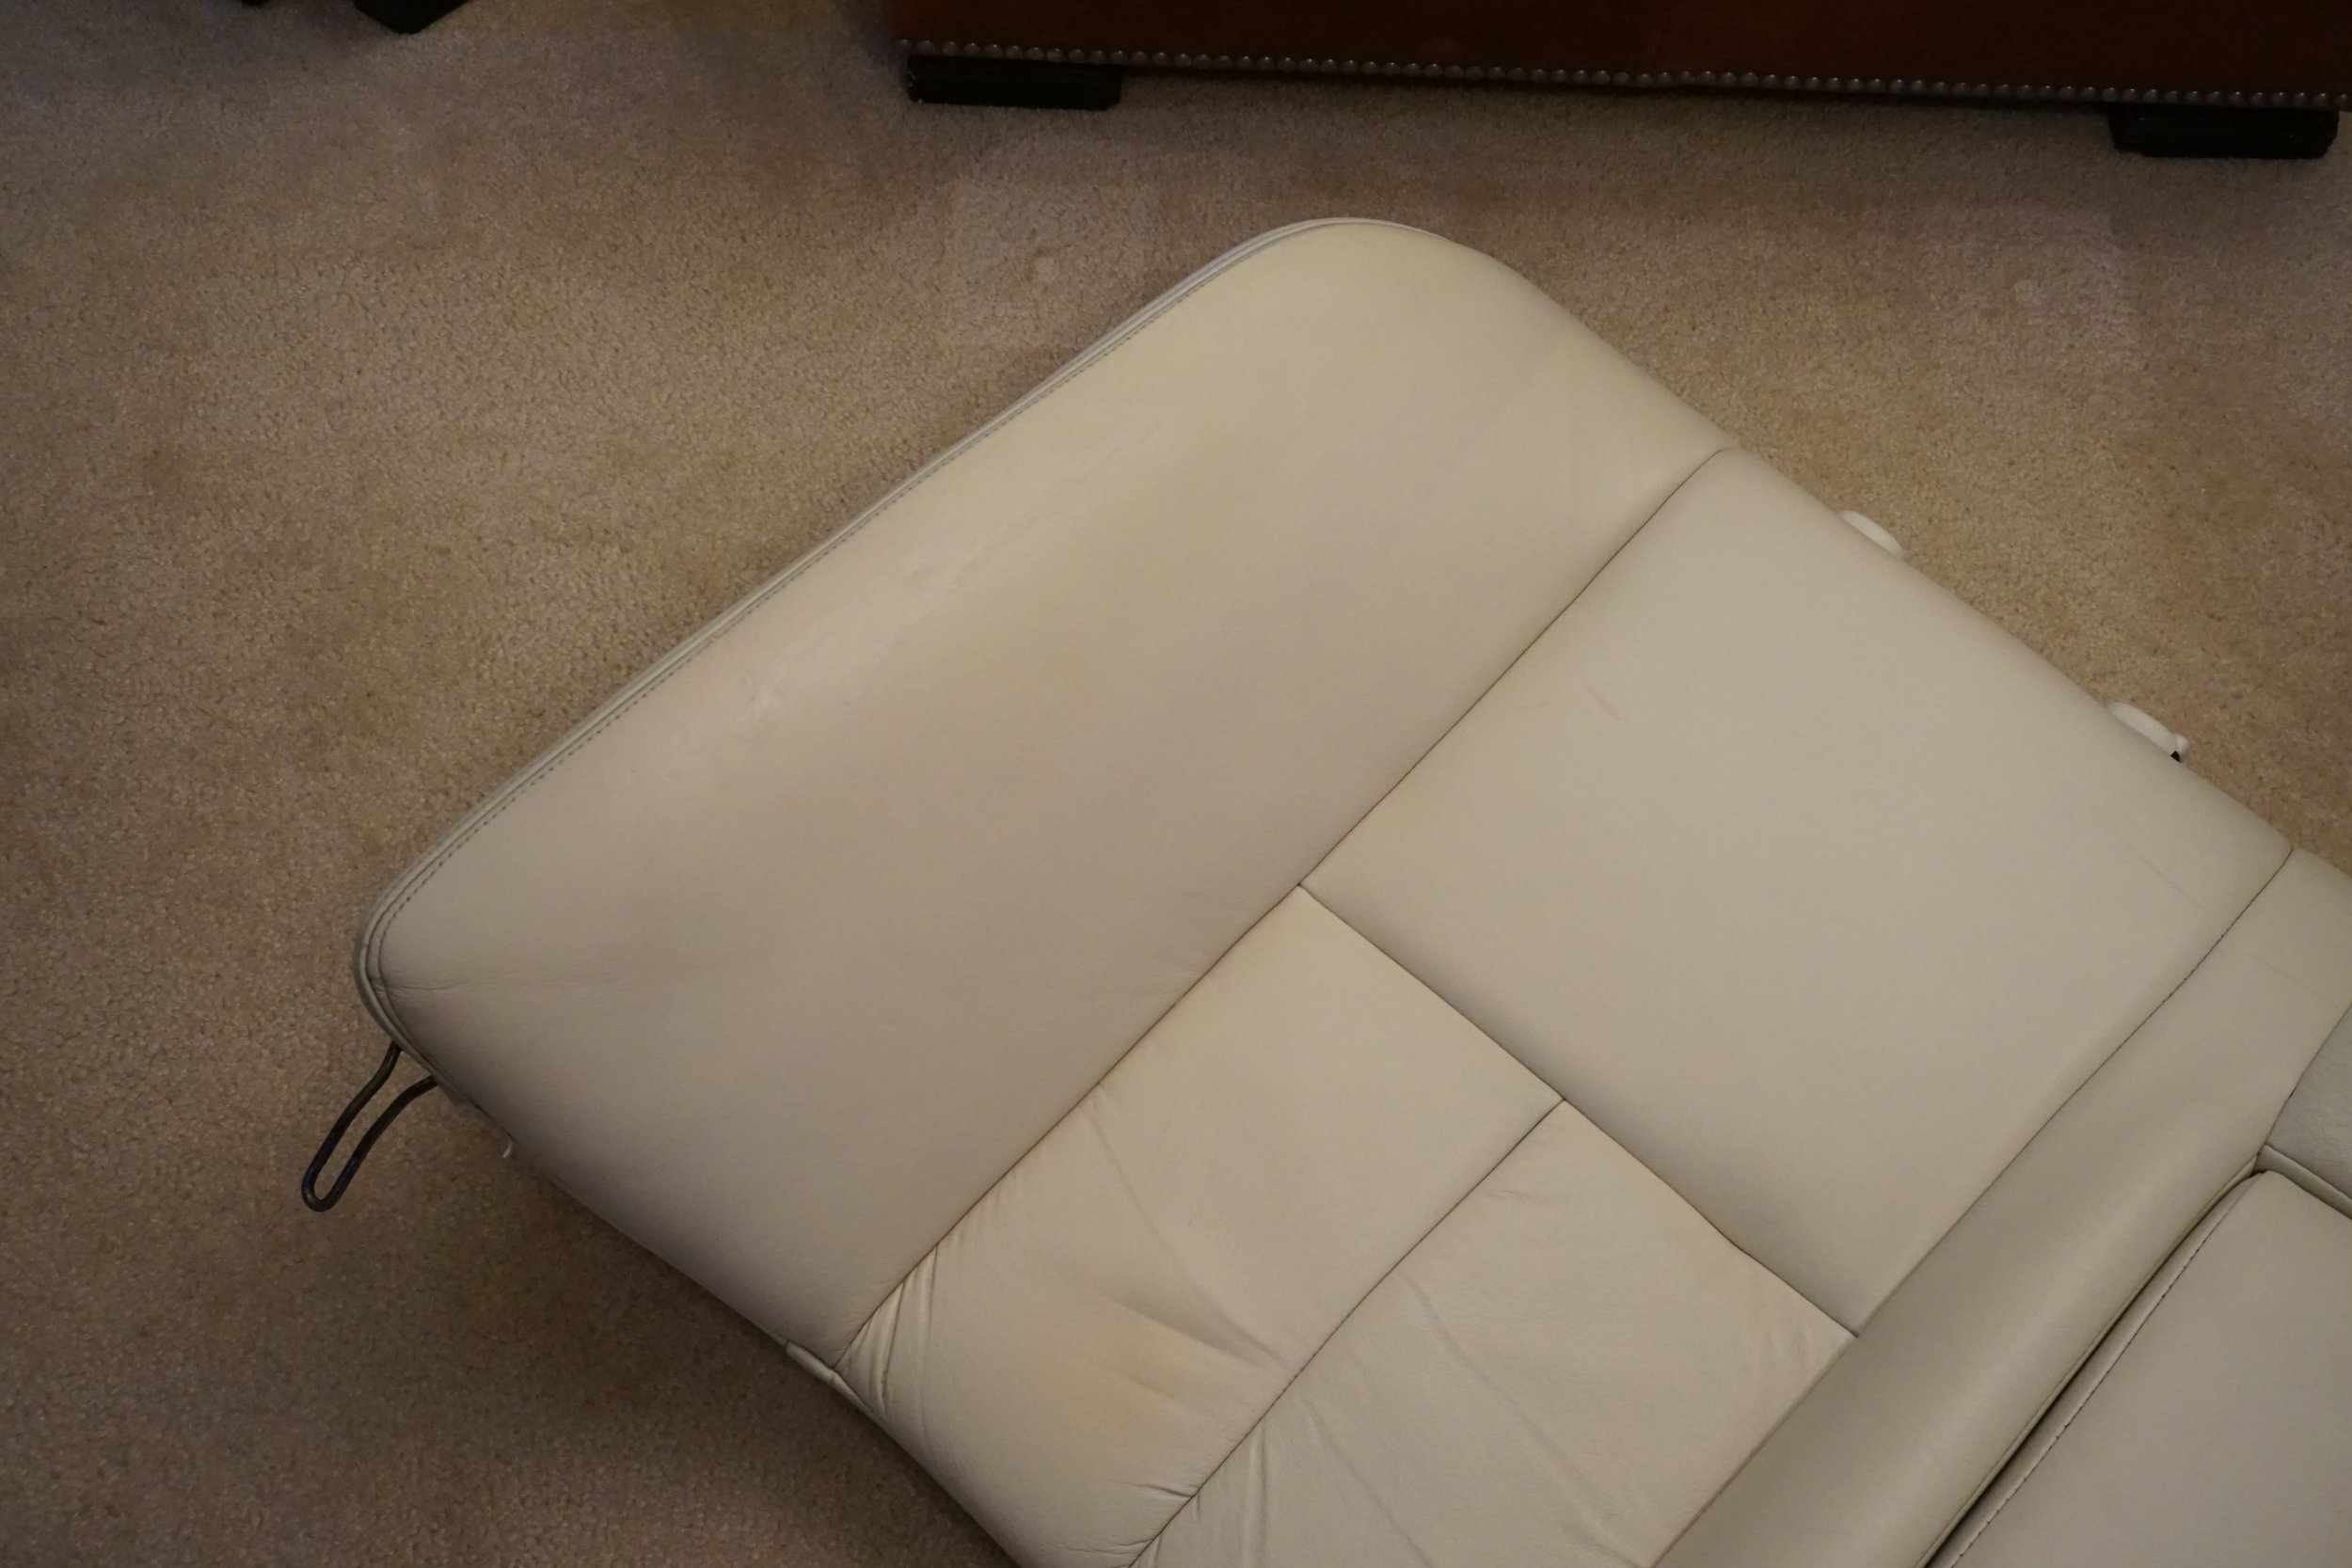
To get the full picture of what was accomplished, let’s do some fun before/after pics.
So that’s it, I did the best I could to restore this extremely rare interior and save it from being lost forever. I’ll install it in my car at a later date and post up pics, but this is it for now. It’s far from perfect, but it’s no longer the disgusting mess it was before, and is at least semi-presentable. It even got my wife’s tentative approval, so I must have done something right!
![]()


Comments are closed.