Community Member Credit: bigear82
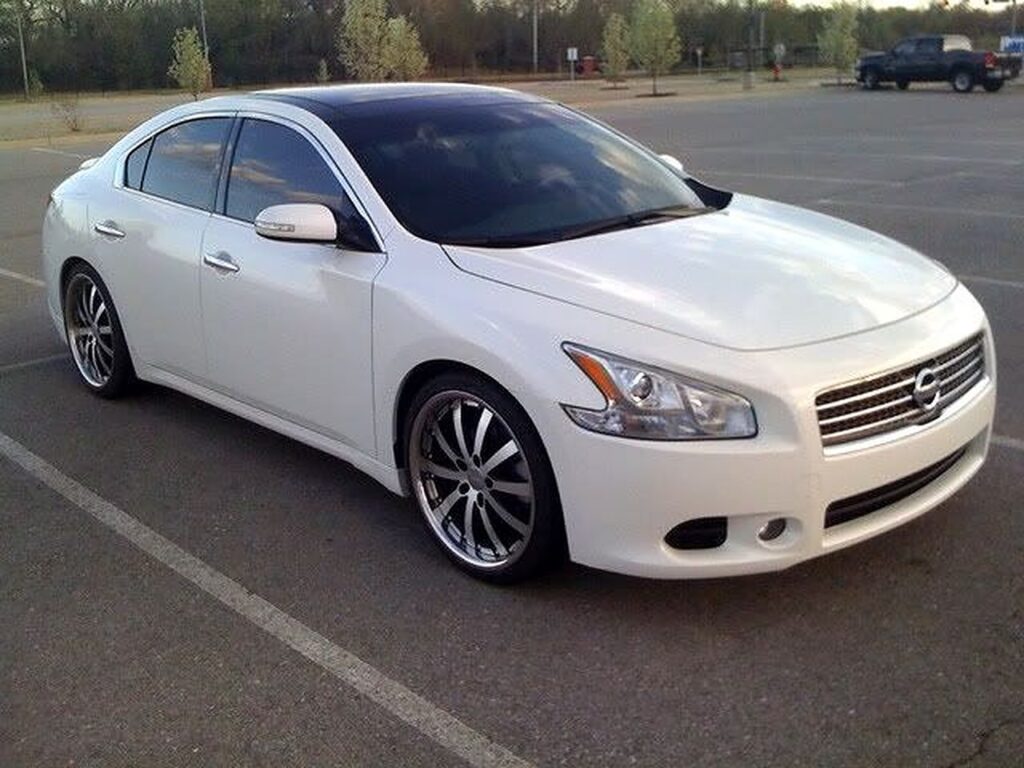
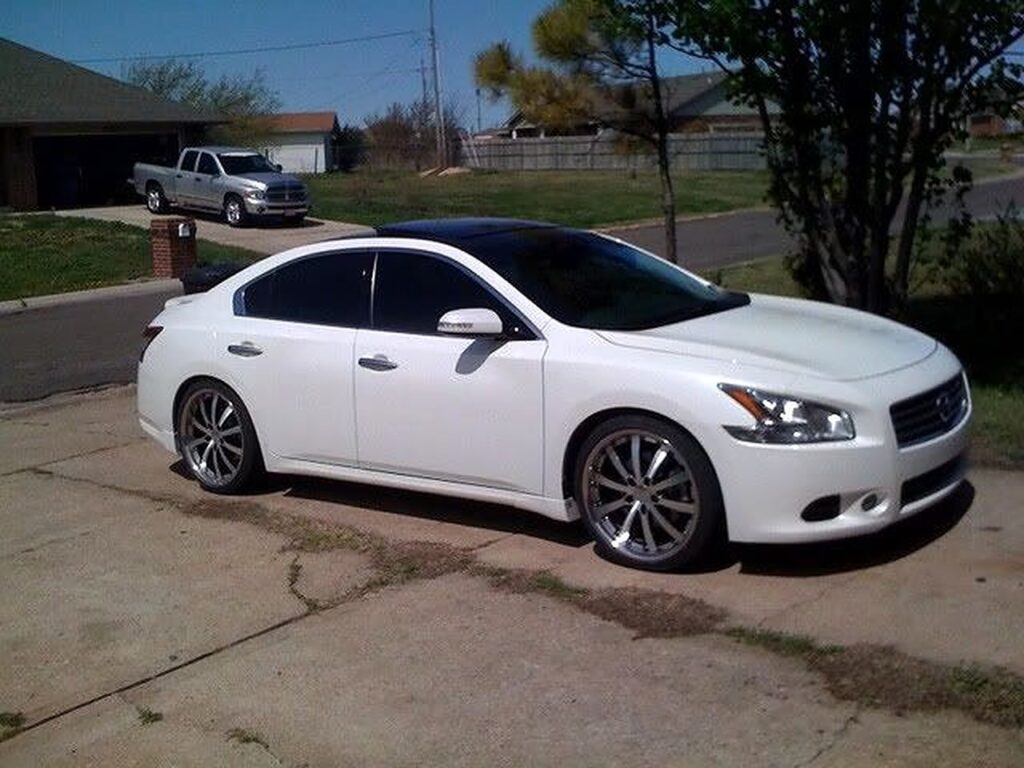
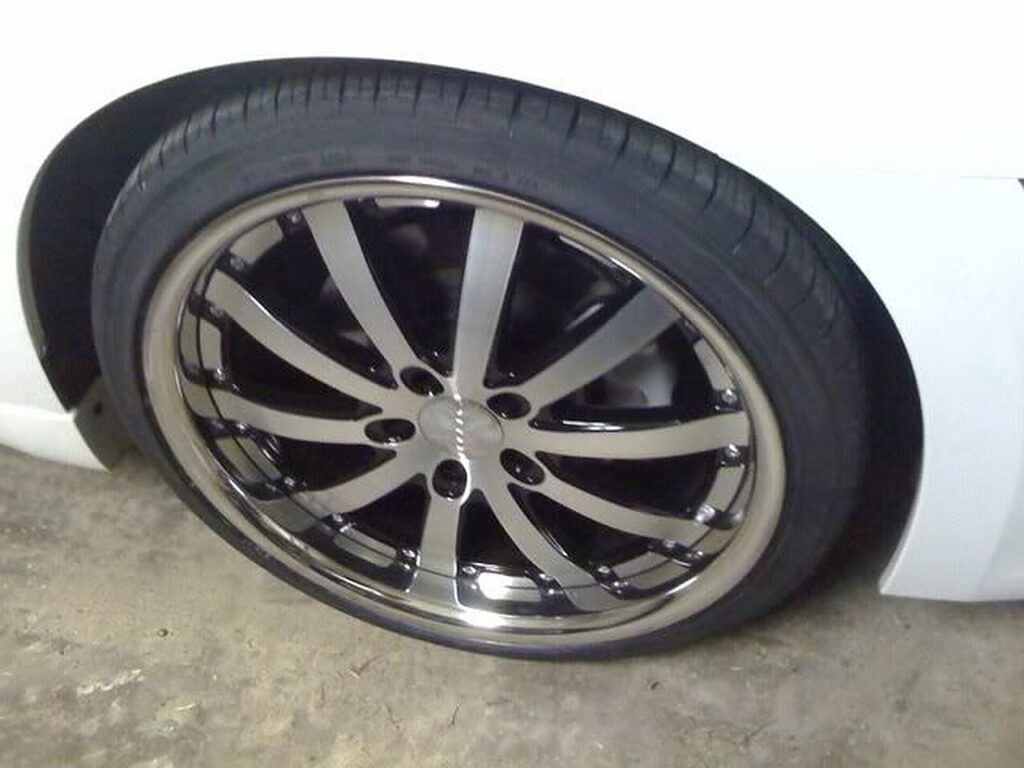
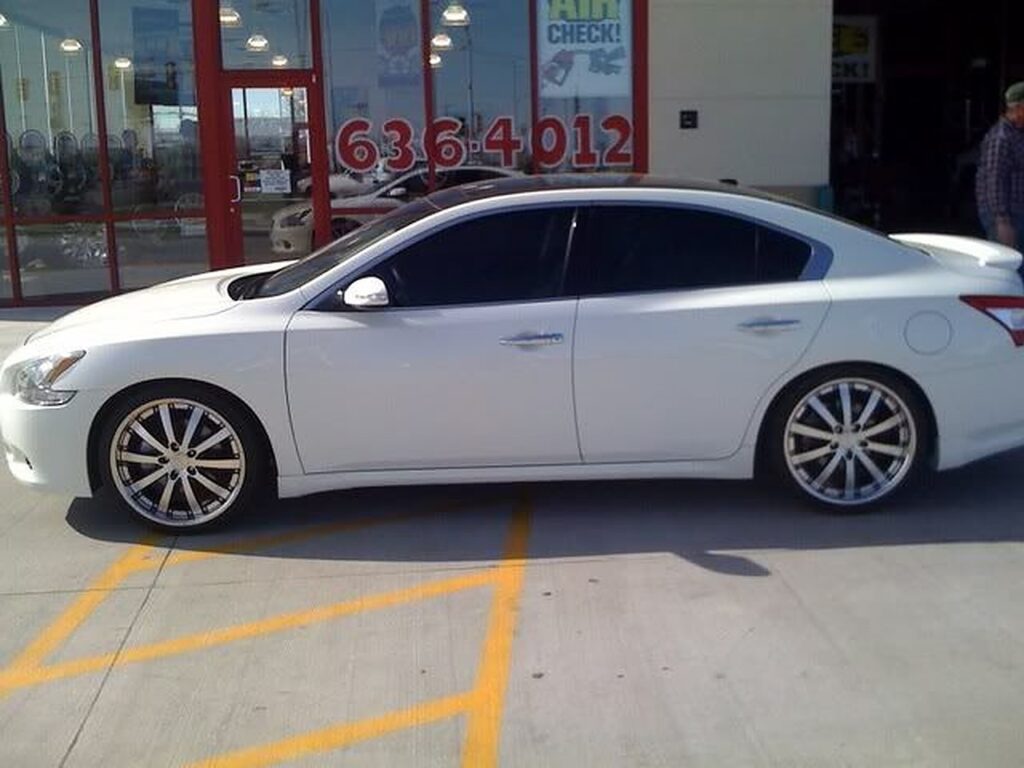
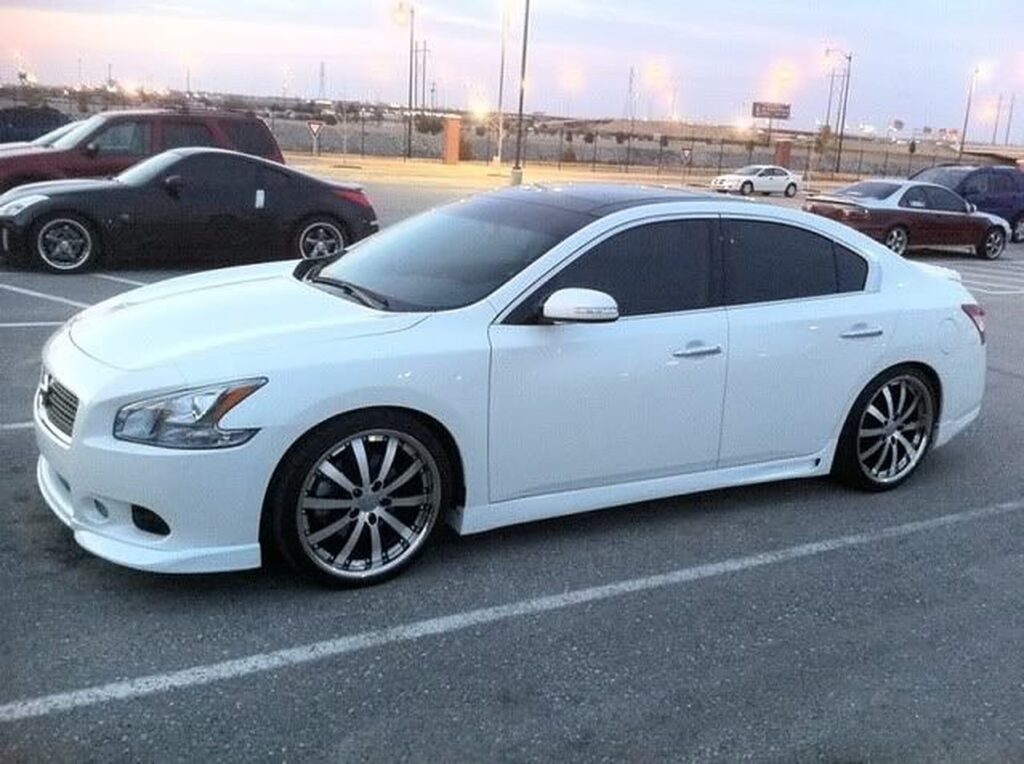
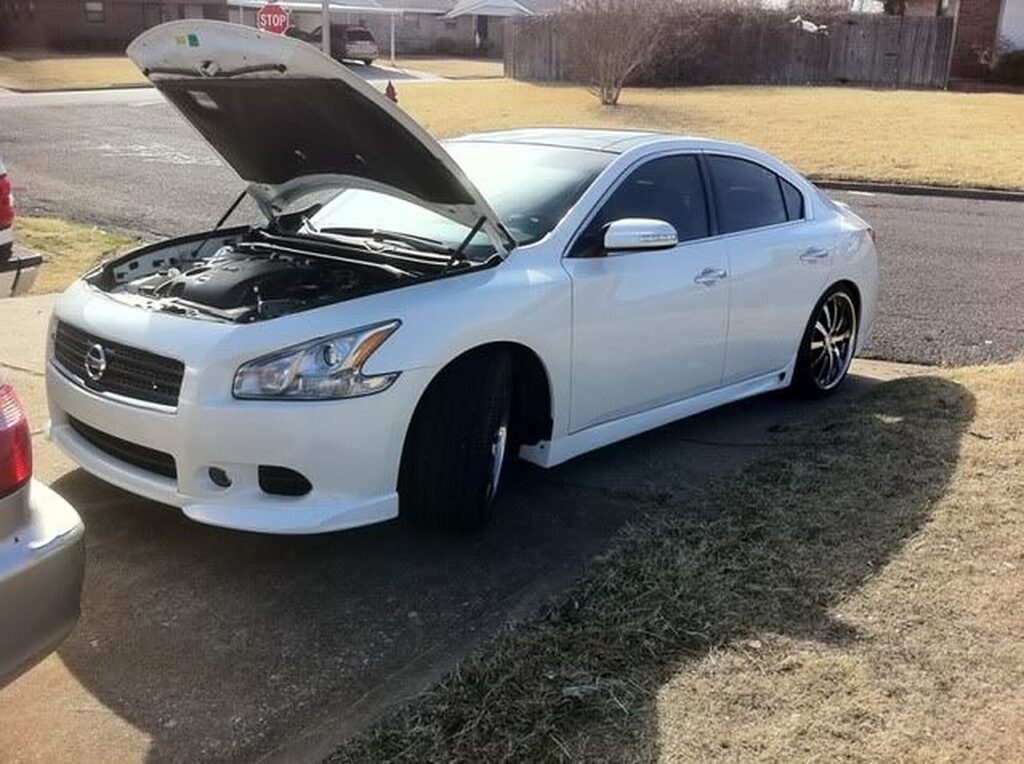
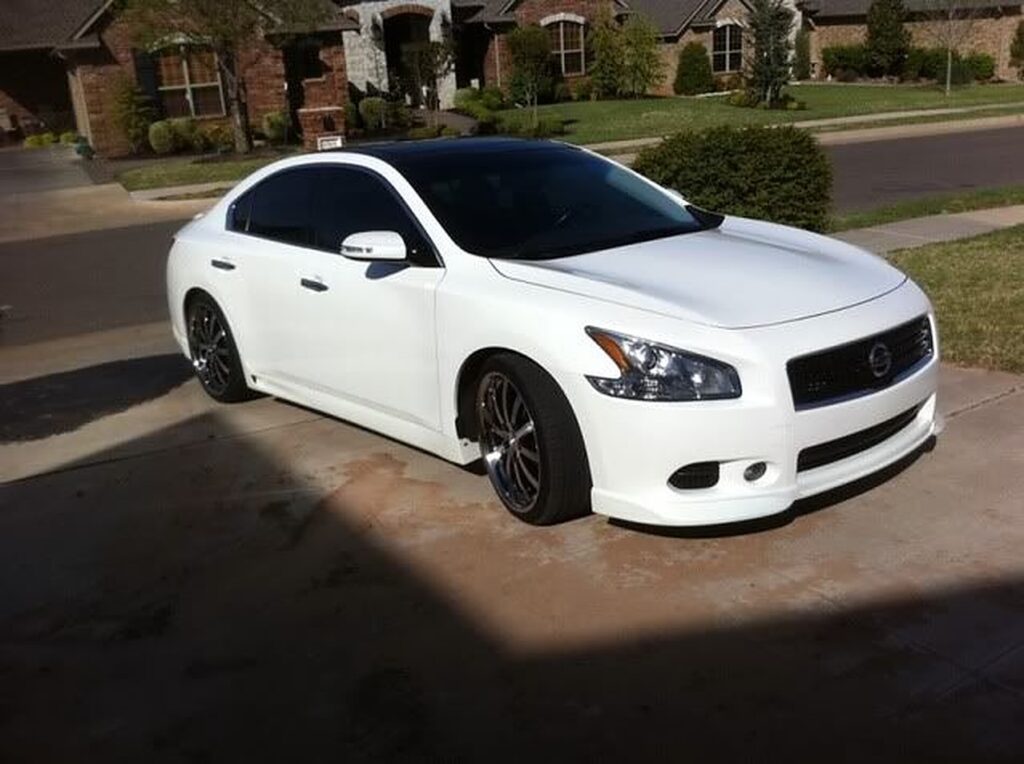
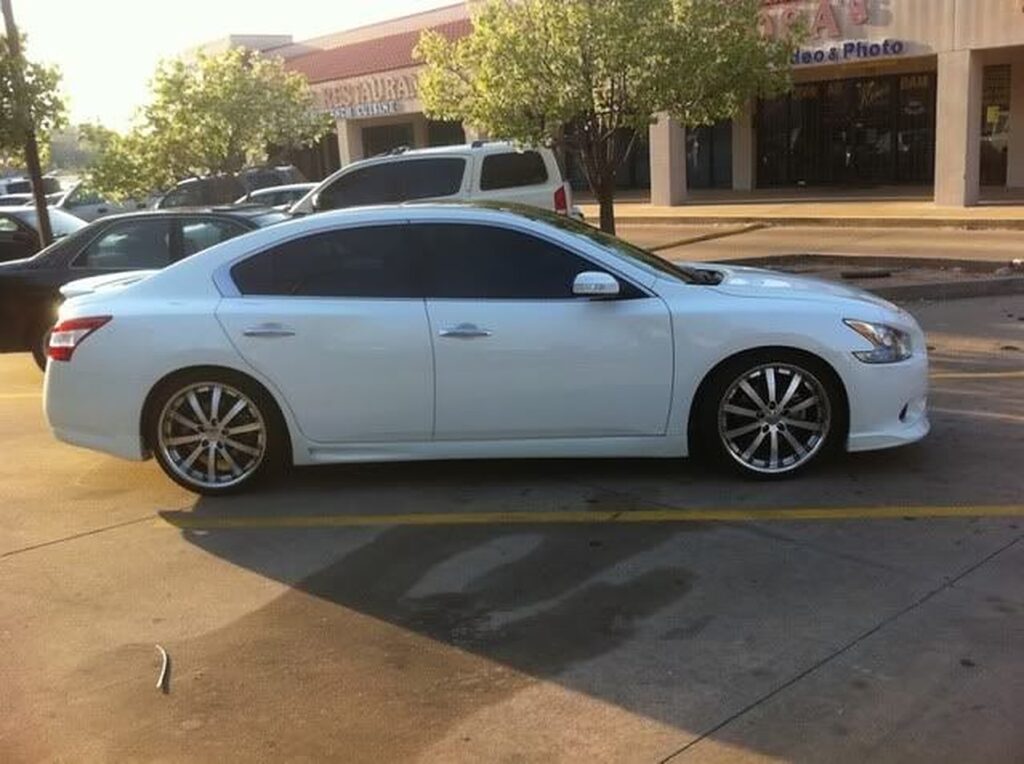
Wheels: Vossen VVS-083 Black Machined 20×9
Tires: Dunlop SP Sport Signature 245/35/20
Suspension: Eibach Springs



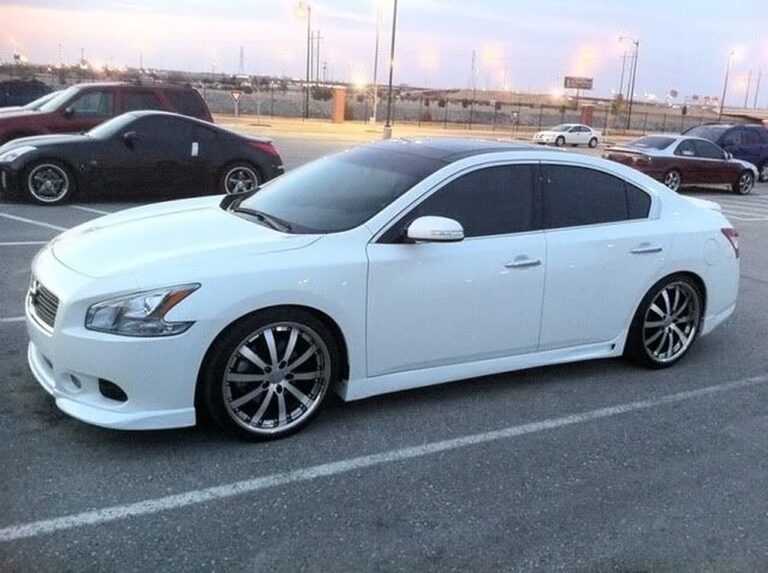
Community Member Credit: bigear82
Wheels: Vossen VVS-083 Black Machined 20×9
Tires: Dunlop SP Sport Signature 245/35/20
Suspension: Eibach Springs

Community Member Credit: vr4z06gt
DISCLAIMER: I am not responsible if you screw this up. It really really really hard to do, but it’s your own fault if you do. This is just for reference.
I decided to change the filter in the driver’s seat this weekend. It is recommended in the owner’s manual that it be replaced every 15K and at the price the dealer wanted, more on that in a minute, it seems absurd.
My local dealer quoted me 2 hours of labor based upon the instructions from the factory. At $100/hr this becomes a $300 repair job. Following this guide: $25ish or possibly free and less than 30 seconds of time.
Here is a diagram of the bottom of the seat:
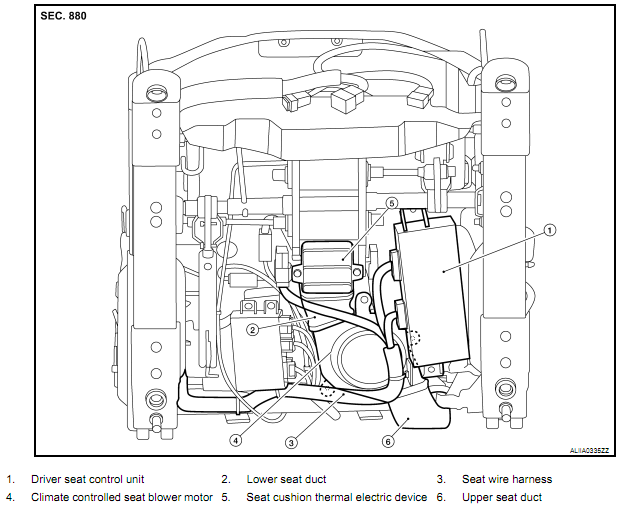
The area where the filter is located is item 4. It is the round hole, this is the entrance to the blower motor and where the filter goes (red circle).
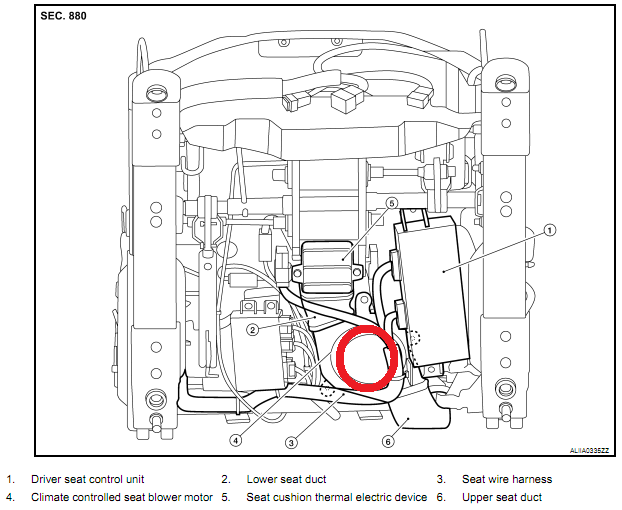
This job is actually very very simple, if it takes longer than 30 seconds you are doing something wrong.
AFTER I went through the effort of disassembling the seat back and looking around I realized how easy this job is.
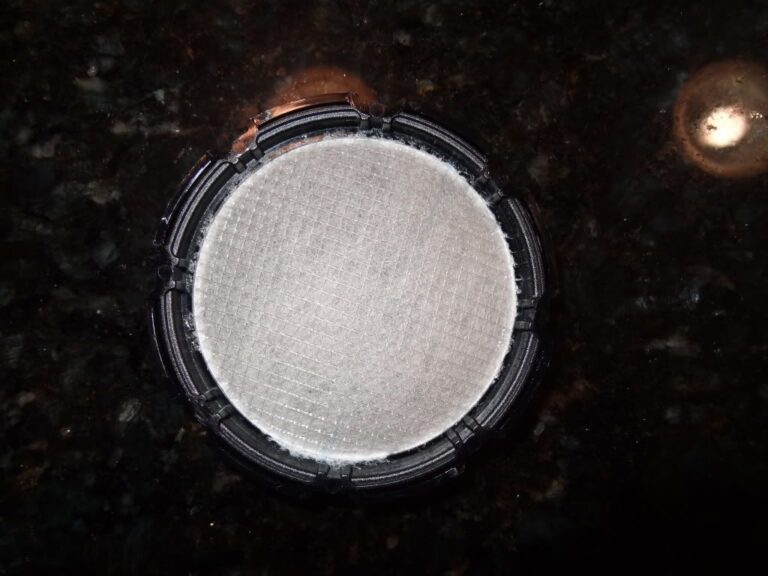
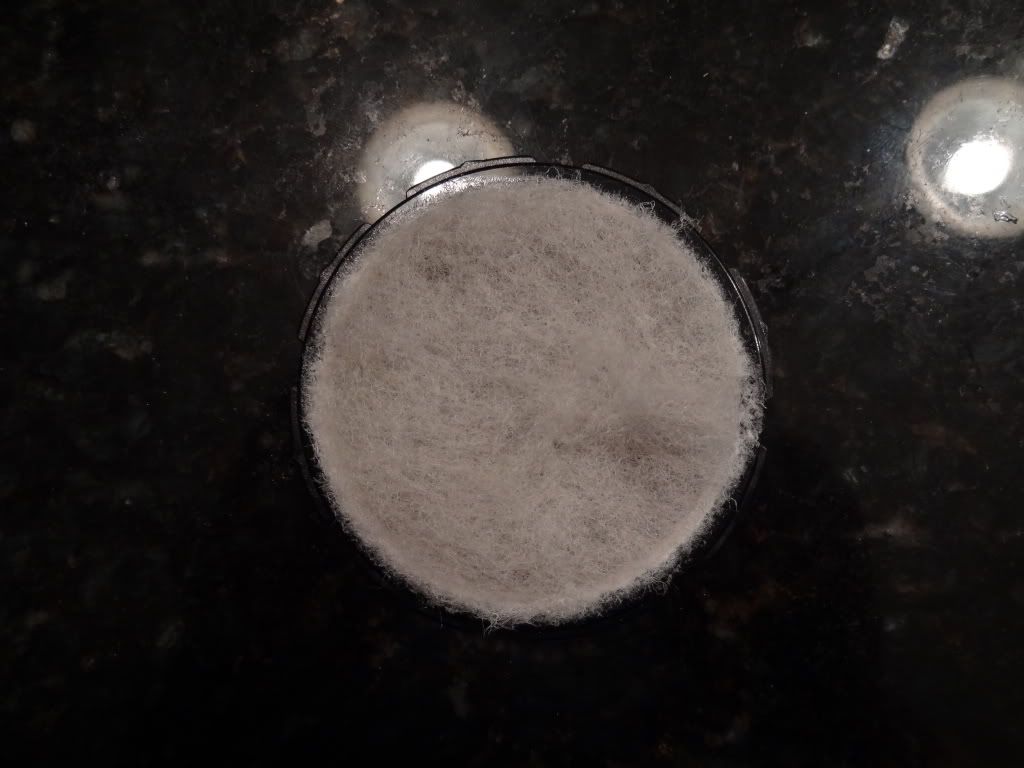
So the next thing I noticed. This is just a synthetic fiber mesh. There is no paper involved. So I just washed mine with dawn and let it air dry for a few minutes. This cleaned it 90% of the way, it was pretty gross to start with. Here is the after, sorry no before pics:
Front (fuzzy side):
Back (Rigid side):
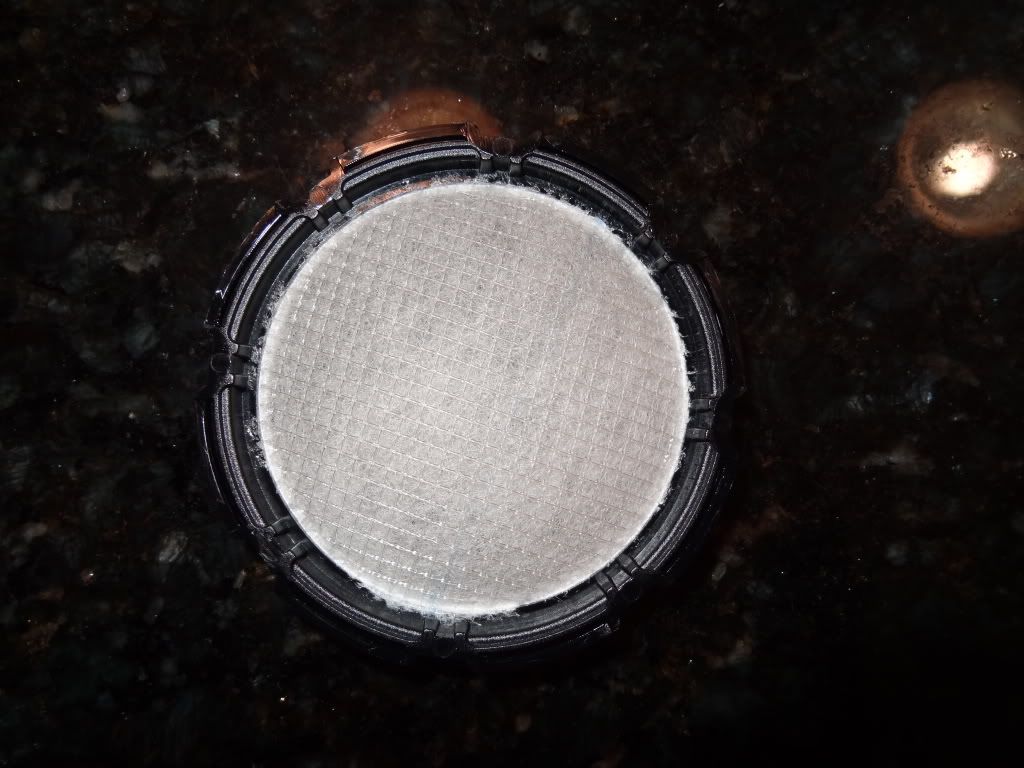
When inserting make sure that you put the rigid side up. The fuzzy side should be facing the floor of the car.
Now the next thing I got to thinking, the price. The Nissan dealer quoted $96.XX+tax and no one seems to have heard of them or for that matter have them in stock. After seeing the part if I had paid their price I would have been EXTREMELY pissed. I found a local Infiniti dealer who had one in stock for the same price but there is a much better solution.
My dad’s 2011 F-250 King Ranch has air-conditioned seats on both sides. He has yet to replace the filter but he knows it can be done in less than a minute. So we took his filter out, and sure enough, IT IS EXACTLY THE SAME! My guess is there is a patent on this and every manufacturer leases that patent, which could explain why there are no aftermarket parts available from any of the local parts stores or even rock auto. But the local ford dealer only wants $42 for them…still, there is a better deal to be had. There is an online Parts Guy Ed who has them for $22.21 + S/H depending on the situation. There might be other places that have them for less, if you find them post them for others.
The bottom line is, don’t pay the inflated Nissan prices. It is exactly the same part, I know this is hard to believe but it is true. I put my dad’s part into my driver’s seat blower motor, and mine into his and there were no fitment issues whatsoever.
Community Member Credit: vr4z06gt
The usual disclaimer, I am sure I left things out, I am not a certified mechanic, this is for instructional purposes only, if you screw it up it’s not my fault. Follow this at your own risk. I recommend (I didn’t however), that you disconnect the battery to avoid setting off the airbags.
I tried my best to remember which size each bolt was. They all were either 13mm or 10mm. Deep sockets will be needed in addition to regular ones. Just have these on hand to get to each bolt when needed. You will also need a flat head screwdriver and a socket wrench. I recommend cleaning supplies while you’re in there to get rid of any hard-to-reach grime.
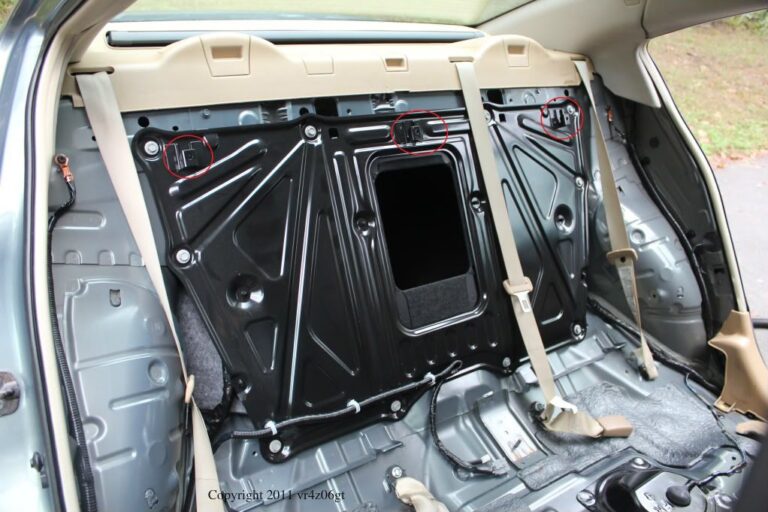
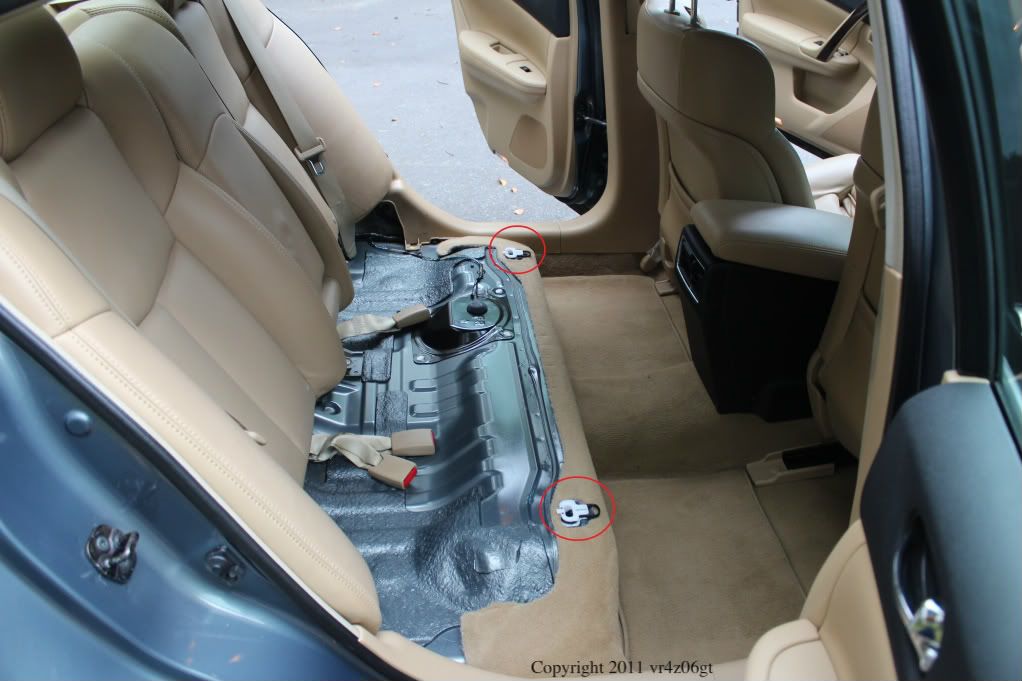
The first step is seat bottom removal. There are two latches that secure this on the lower front portions of the seat bottom in the middle of the left and right seats. Pull forward on them and the seat front will pop up. Then, while lifting slightly upward, pull forward and the seat bottom will come out. These latches are here:
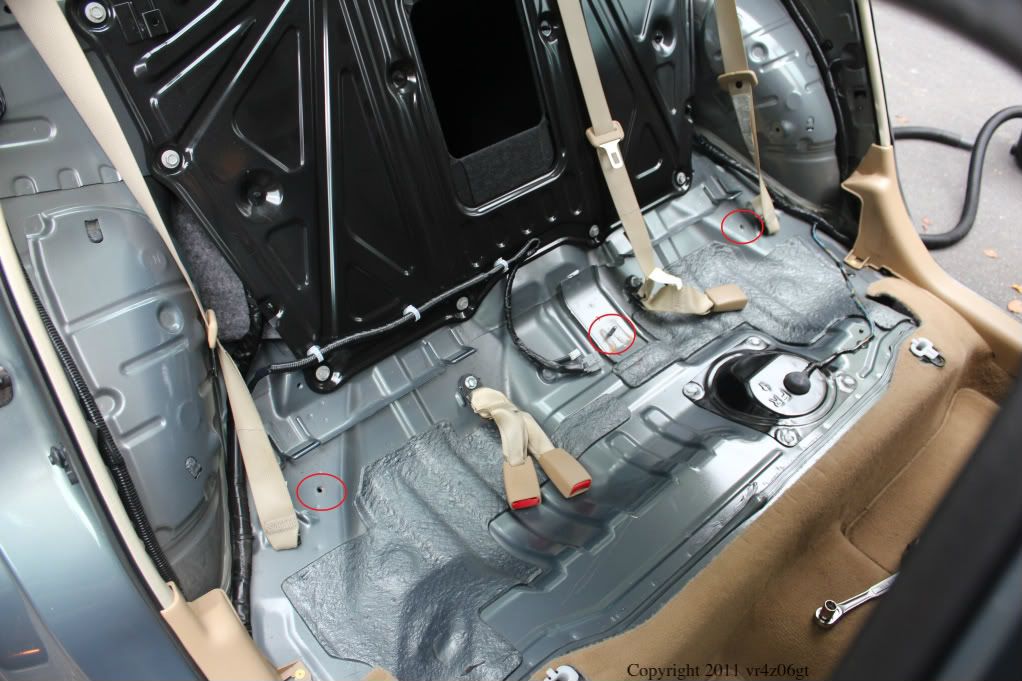
Next step is to remove the rear seat back. There are two 13mm bolts and a 13mm nut that hold this down. It is difficult to get a wrench to spin for more than a few inches without an extension, so I recommend one. The bolt locations are here:
When the bolts are out you will need to lift the seat upwards. There are three mounting locations where a wire drops into the hanger. Image is here:
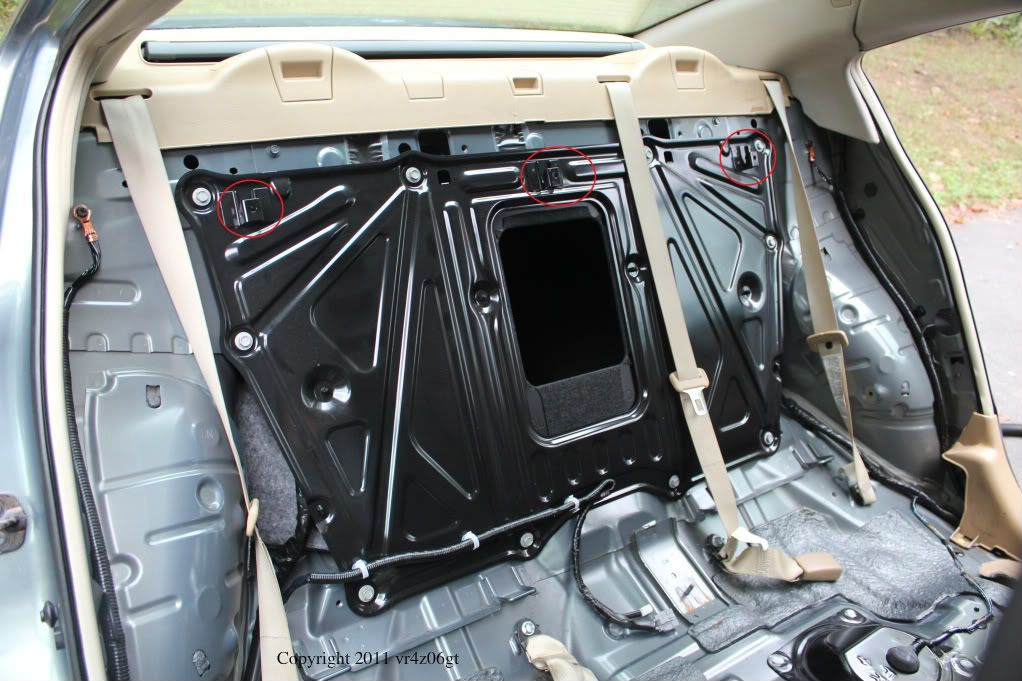
I recommend having a friend help you get this out. There is a bunch of metal hanging off the back that will damage your interior or door jamb paint if you are not careful… I wish I knew this, I put a nice gouge in the jamb paint.
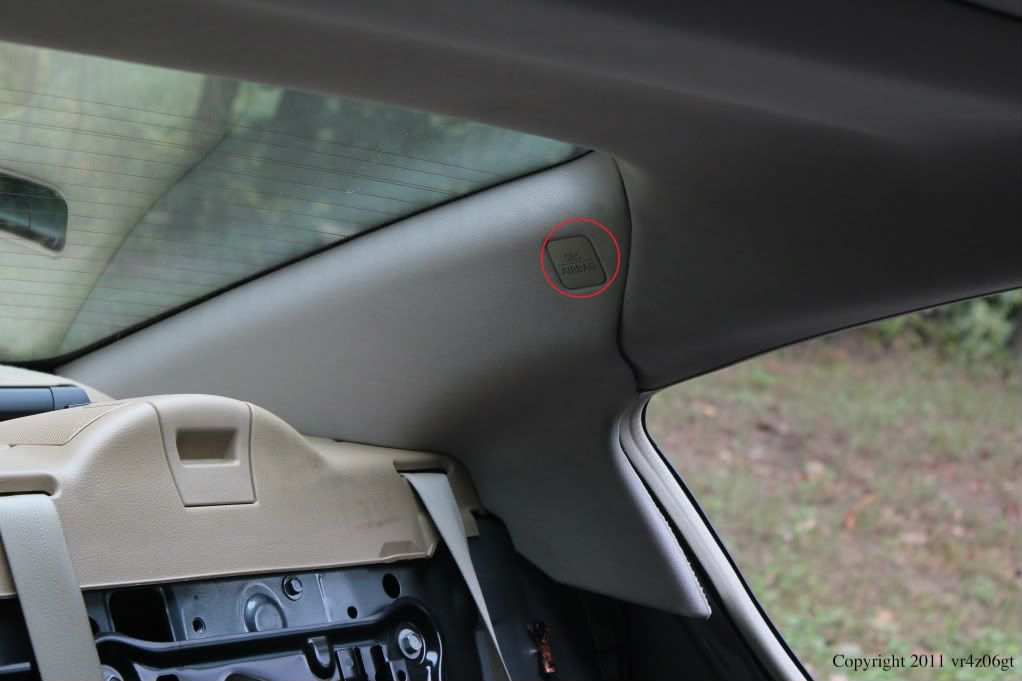
The next step is C-Pillar trim removal. There is one bolt for each piece located behind the SRS AIRBAG tab. Use a flat object, like a flathead screw driver and carefully pry it out. It should just pop out as there is nothing really holding it in. Then using a 10mm deep socket, remove the bolt. The rest is held in with push pins and slides into the rear of the deck liner. In the front pull towards the middle of the car until you hear a pop. Then slide the trim piece toward the front of the car and the trim should come out with little effort. Then repeat on the other side.
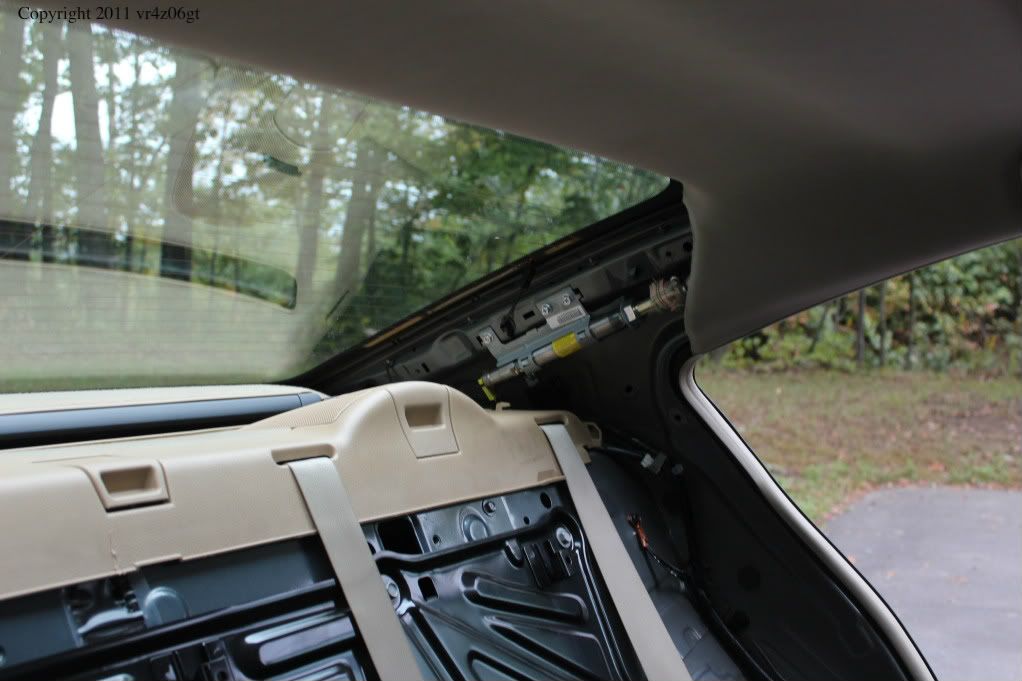
Finally you can remove the deck trim. There are 7 yellow push pins. Just stick your hand in there and carefully separate them working from one side to the other. I have a premium package so I have the rear sunshade. There are 8 Velcro style grips that secure this to the rear of the deck liner. I noticed one of mine stayed on the sunshade bracket and came off of the deck liner. I recommend that you put it back on the deck liner as it will make reassembly much easier. Once you have popped the pins off pull forward firmly but gently and it should just slide out (the Velcro will give way).
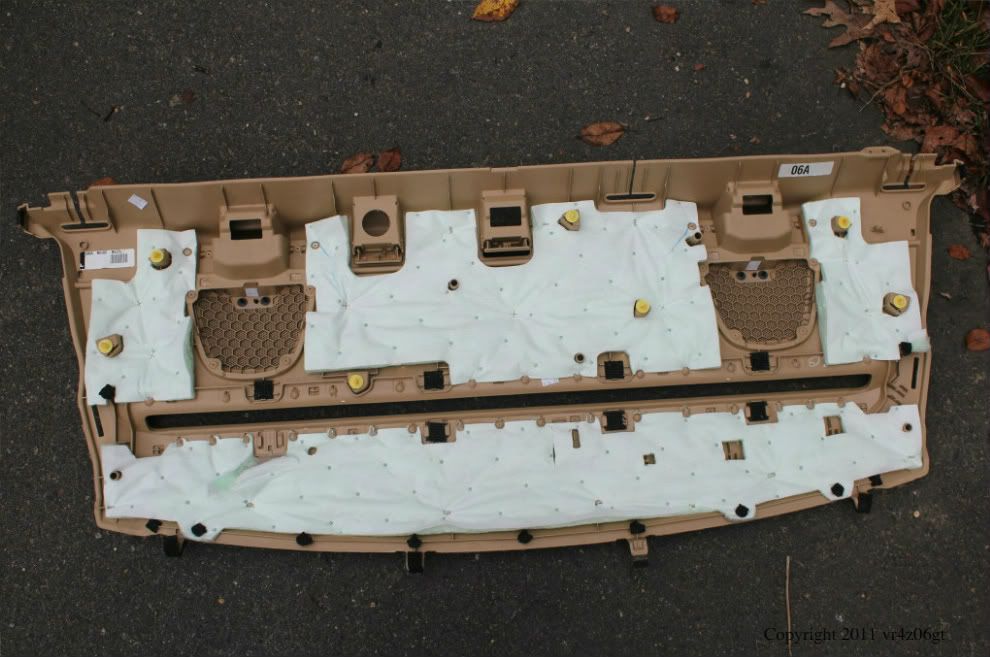
While I was in there I figured I would remove the sunshade to eliminate that as my possible rattle source. There are 4-10mm bolts that hold this in, one on each end and two in the middle (front side). I have a few pics of these as it was awkward to try and get all 4 bolt locations at once.
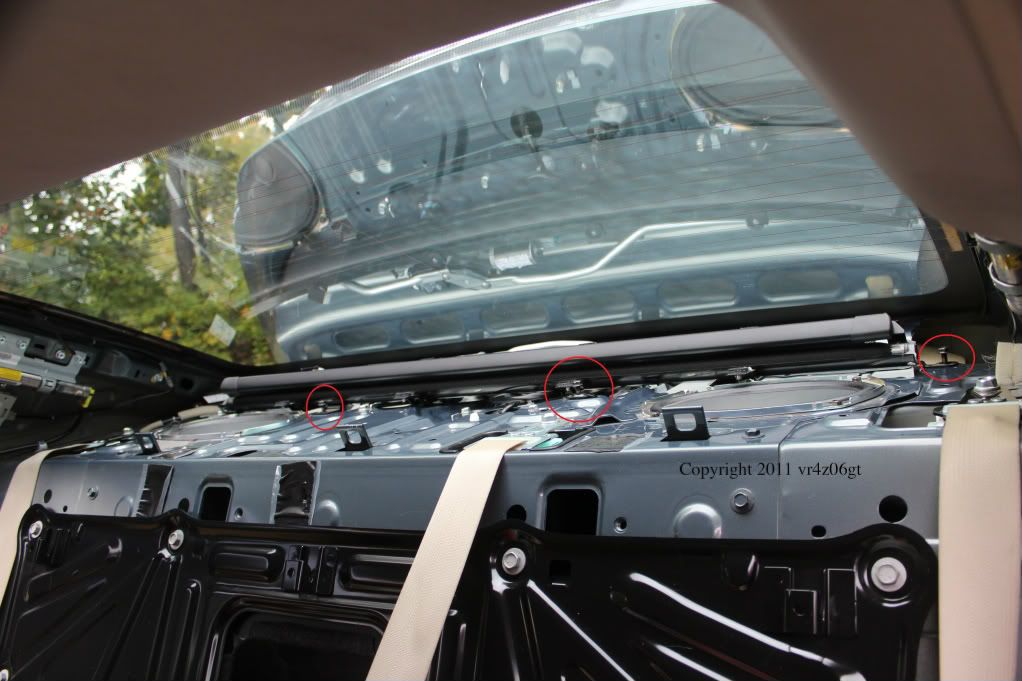
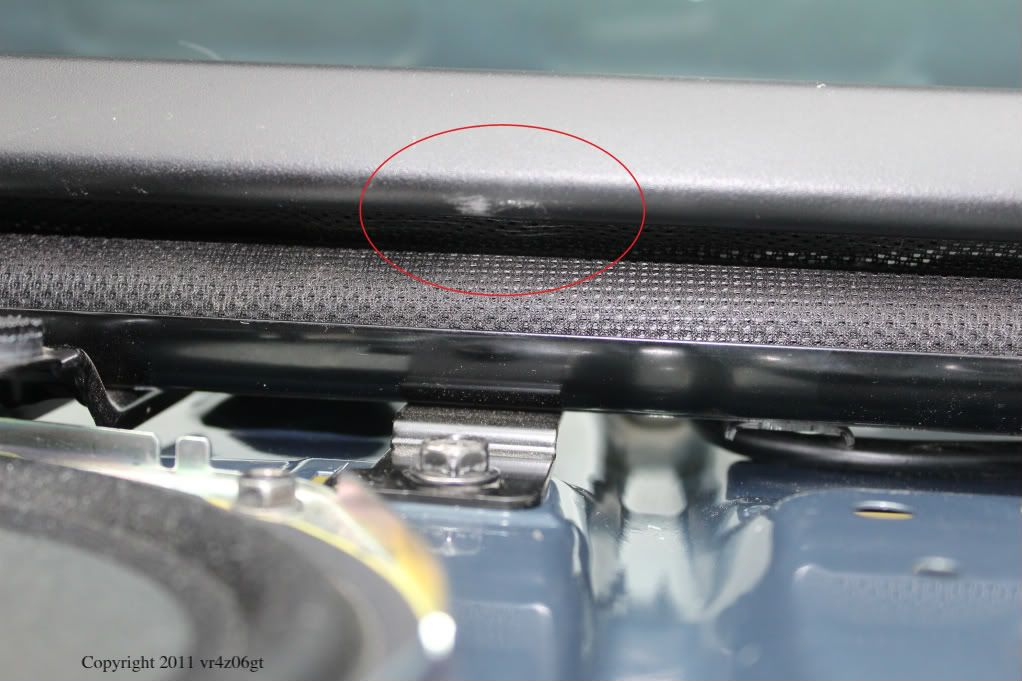
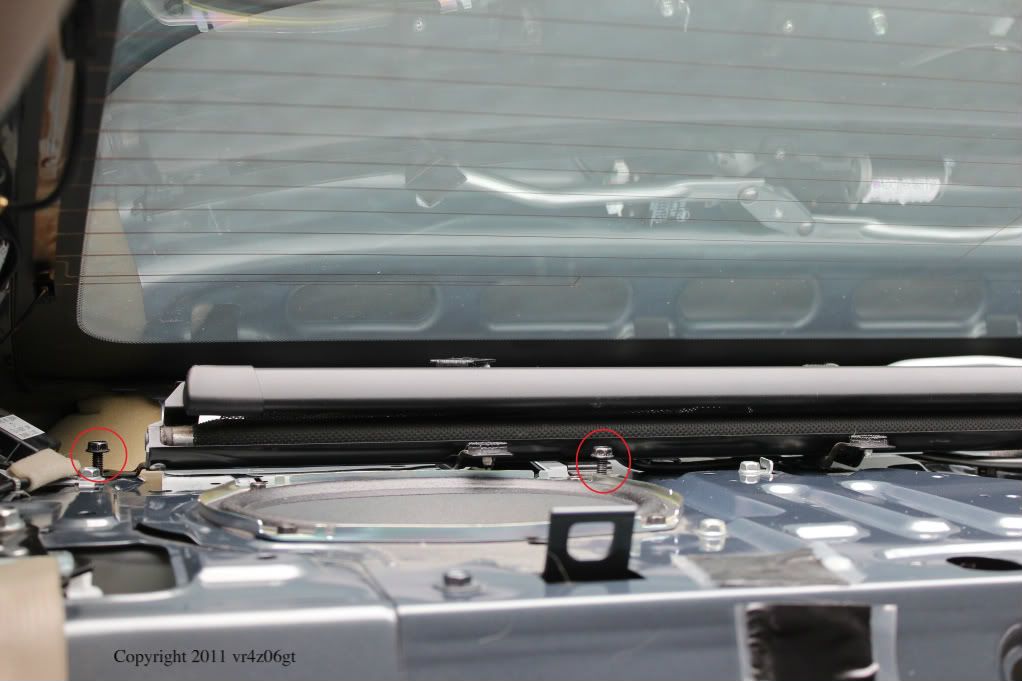 Be careful with the one on the passenger side middle as it is located just under the sunshade and the socket wrench will damage it, as I did and you can see here, if you don’t put something in between the wrench and the sunshade.
I found my problem to be the telephone antenna receiver? I tried to guess what “ANT ASSY-TEL” meant. The silver bolt, orange/yellow circle, is what was slightly loose. I tightened it and it seems to have fixed the bulk of the rattle. I think the rear glass is also slightly to blame.
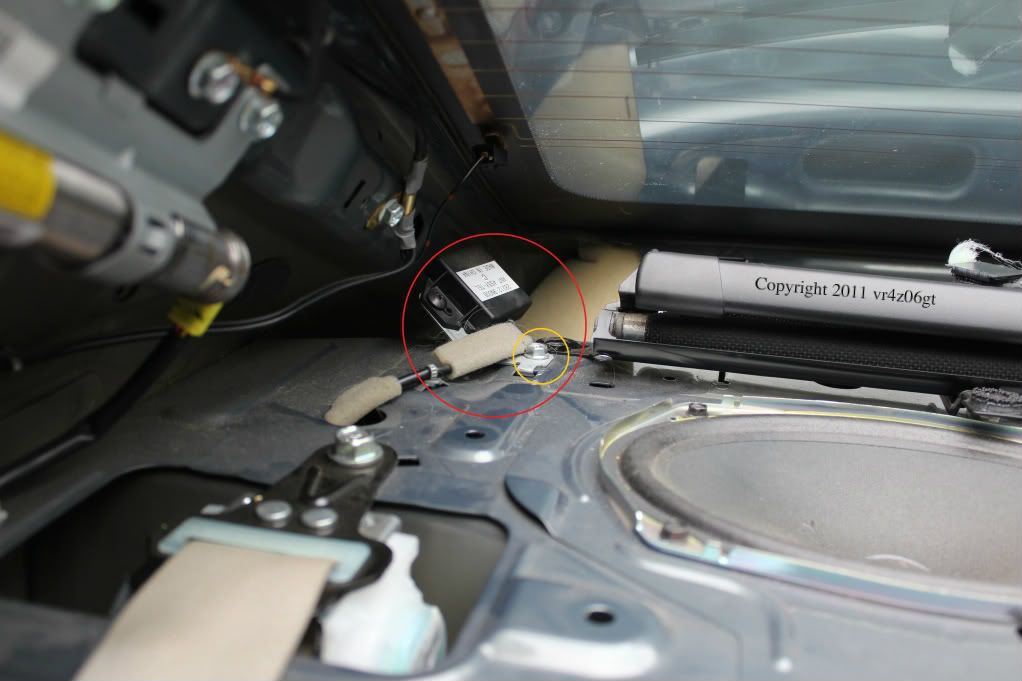
I took a few random shots of the rear area while I had it apart for others to look at, if interested in them. While you have all of this apart I recommend that you really clean the rear window as this is your best time to get all the edge area and all the way back. I am the second owner of the car and I think the first person really liked having their dog in there as there was hair everywhere. I scrubbed the trim, exposed metal, and seats real well and vacuumed real well to clean up as much crap as possible.
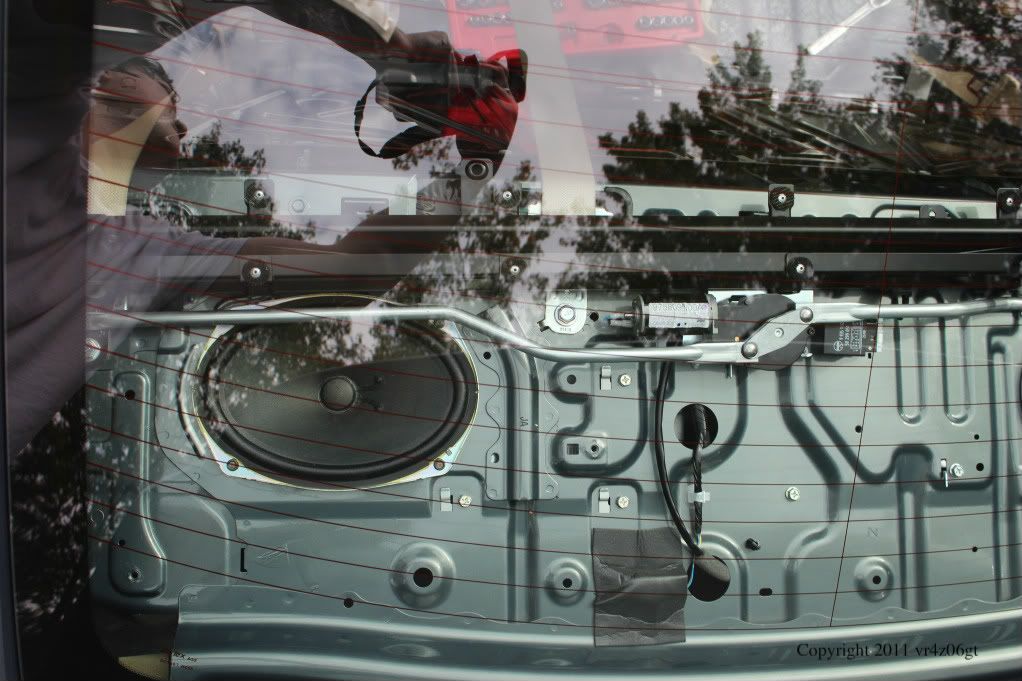
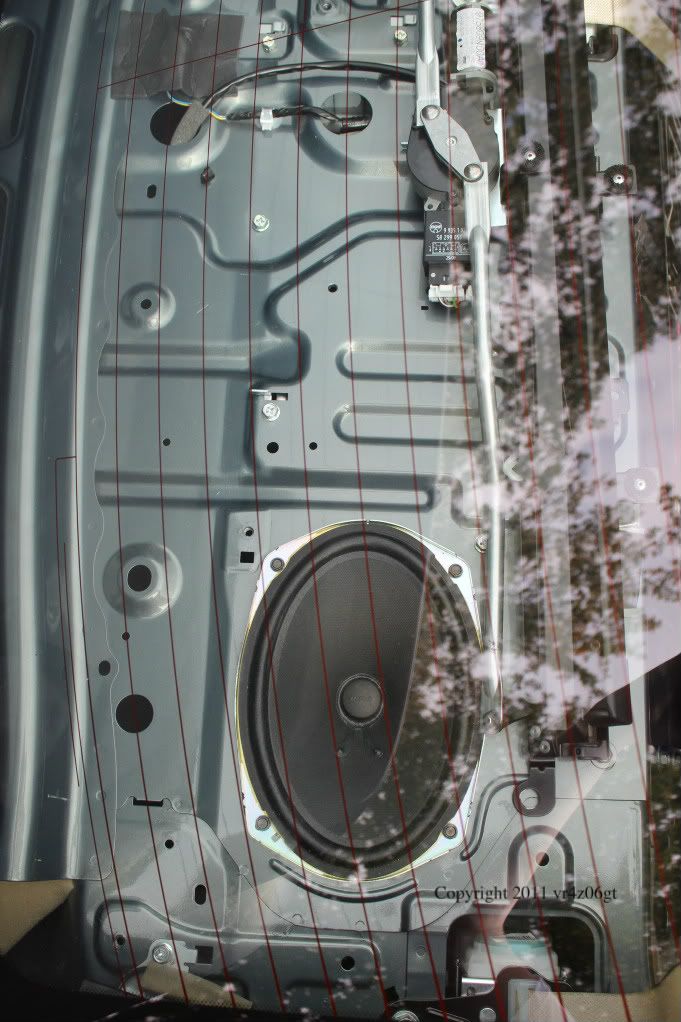
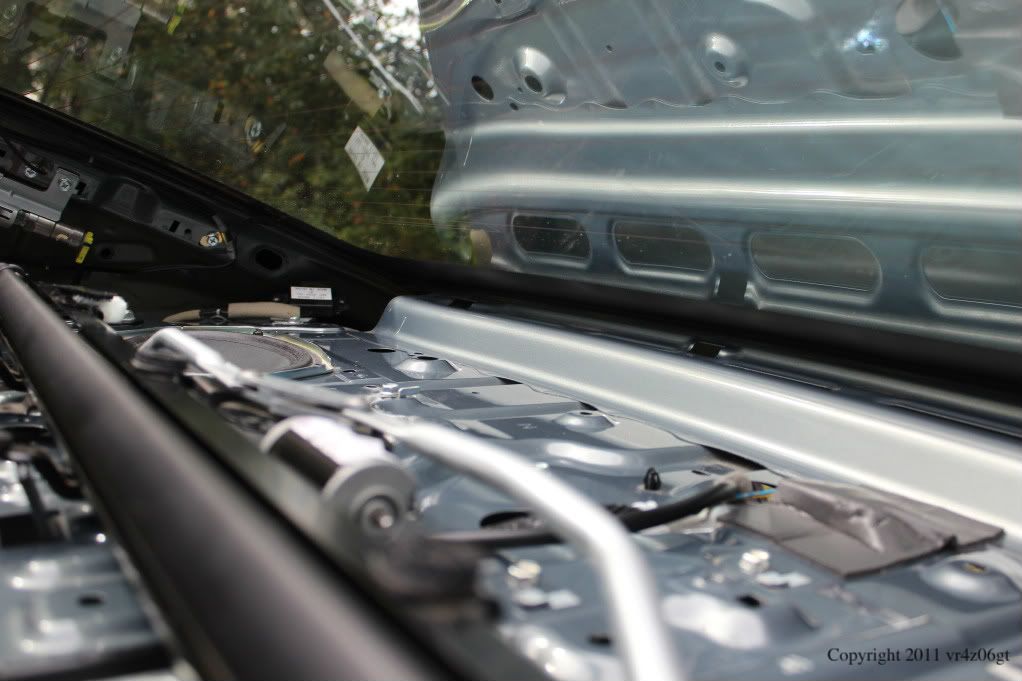
Putting it together is just the reverse and it should go back together real easy. I would estimate it should take about 0.75-1 hours with standard hand tools to take it apart and put it back together. If you have air, it should go much faster.
Things I have learned:
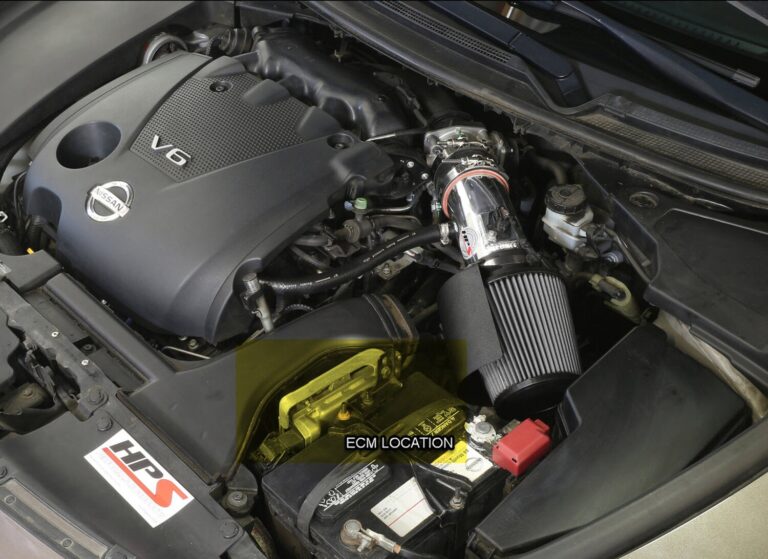
Community Member Credit: Eddy
The Engine Control Unit aka ECM is located in your engine bay right by the battery tray. It makes it easy to swap and replace. Please note that ECM needs to be programmed to your BCM in order for it to work properly.


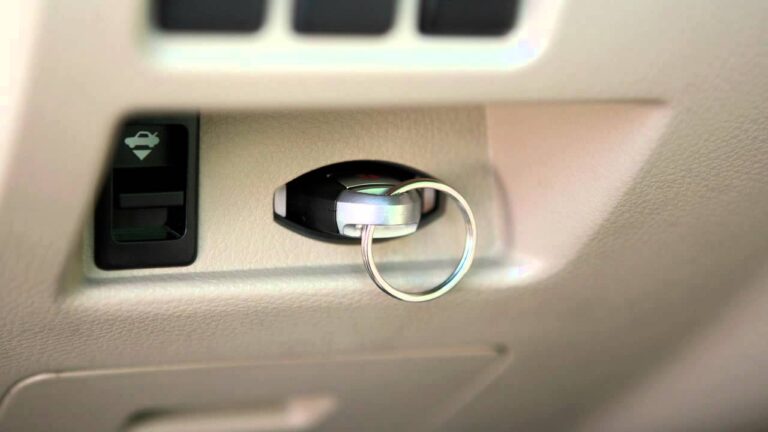
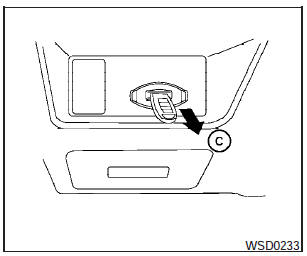
There is some information on the web that states the key fob port illustrated below charges the key fob. IT DOES NOT! It’s also stated in the Nissan Manual. It uses a 3V CR2032 that must be replaced as part of normal maintenance which is about every 2 years.
NOTE: The Intelligent Key port does not charge the Intelligent Key battery. If you see the low battery indicator, replace the battery as soon as possible. See Intelligent Key battery replacement in the Maintenance and do-it-yourself section.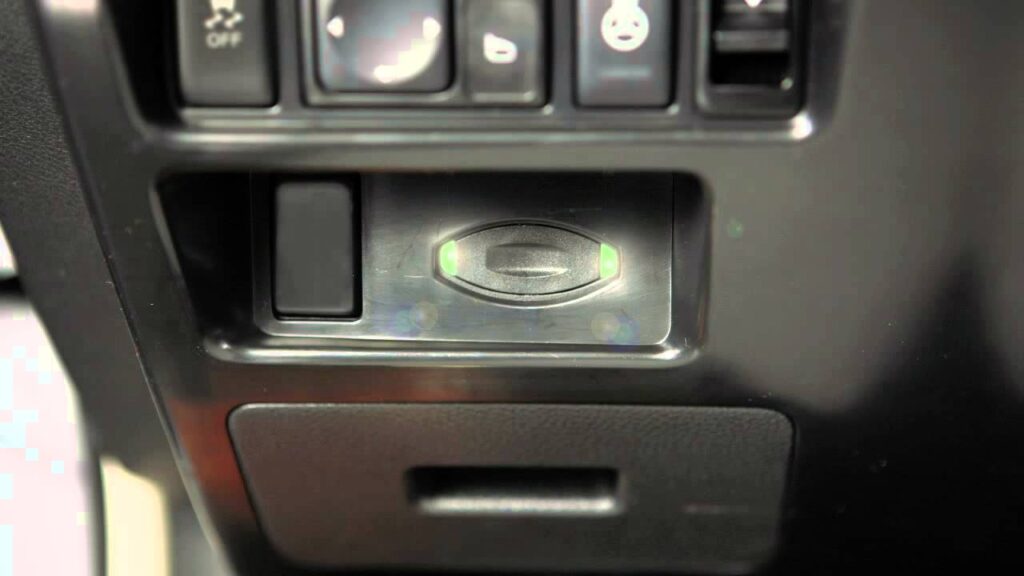

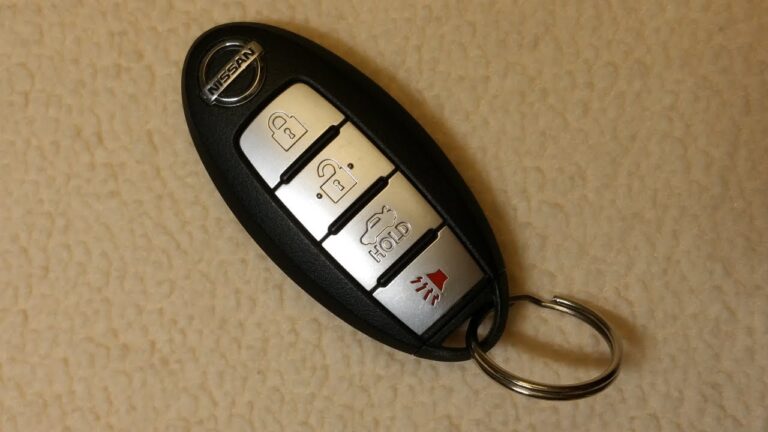
Nissan Key Fob Battery Change
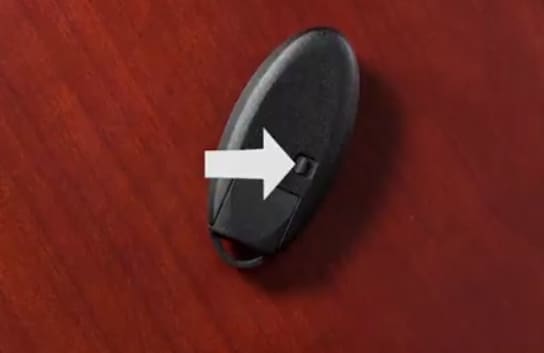
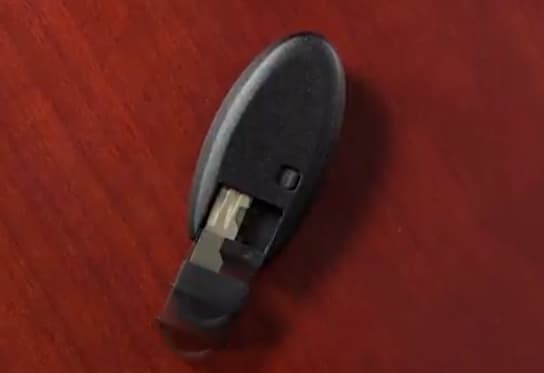
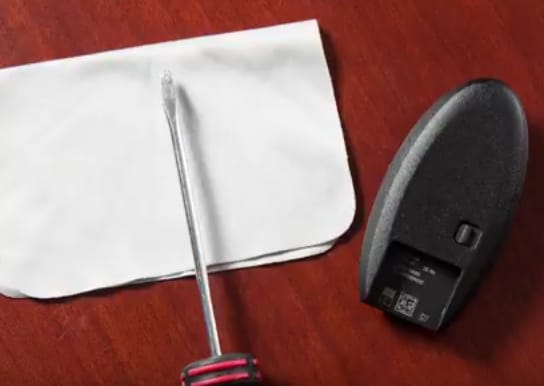
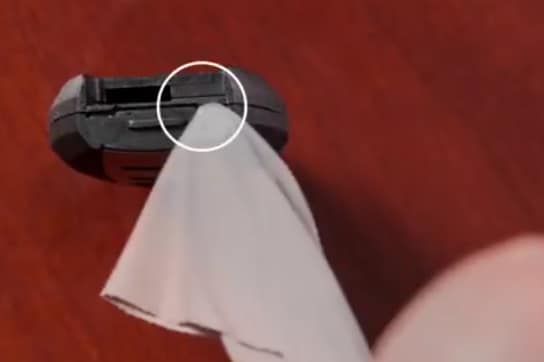
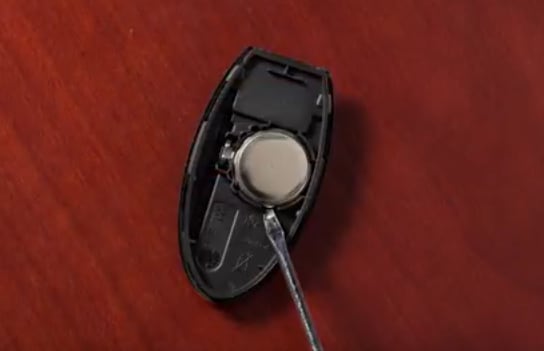
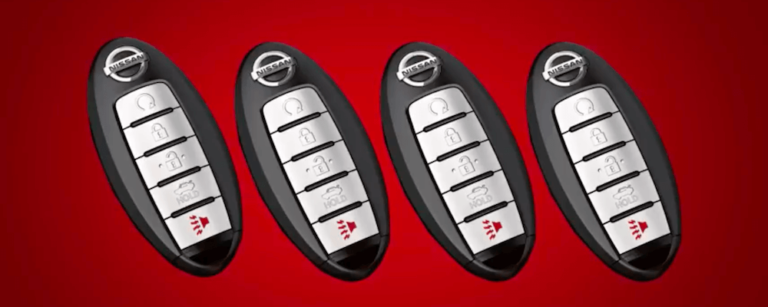
The Nissan Intelligent key is a technology that allows you to lock and unlock the doors of your Nissan vehicle as well as open and close the trunk and start the vehicle with the simple push of a button.
NISSAN INTELLIGENT KEY PROGRAMMING INSTRUCTIONS
WHAT ARE THE BENEFITS OF THE NISSAN INTELLIGENT KEY?

Community Member Credit: Eddy
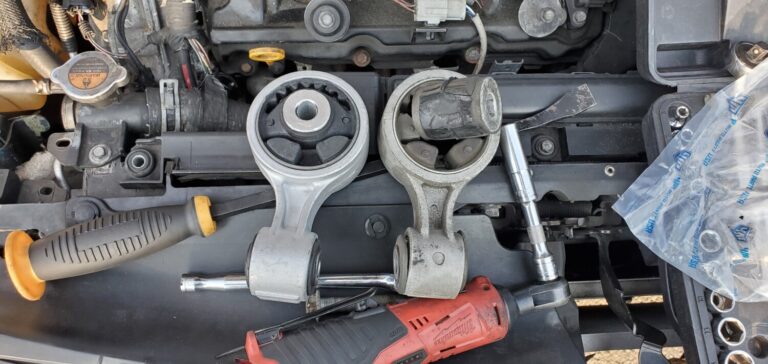
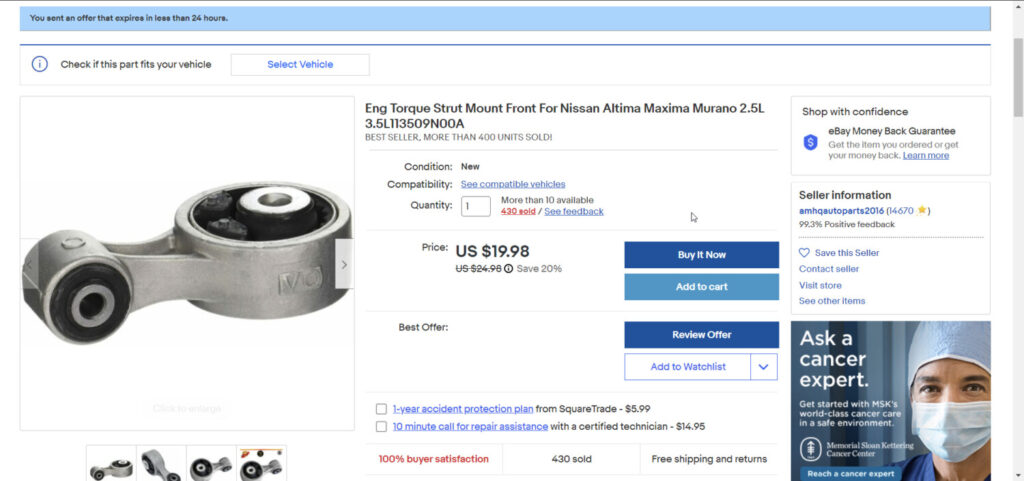
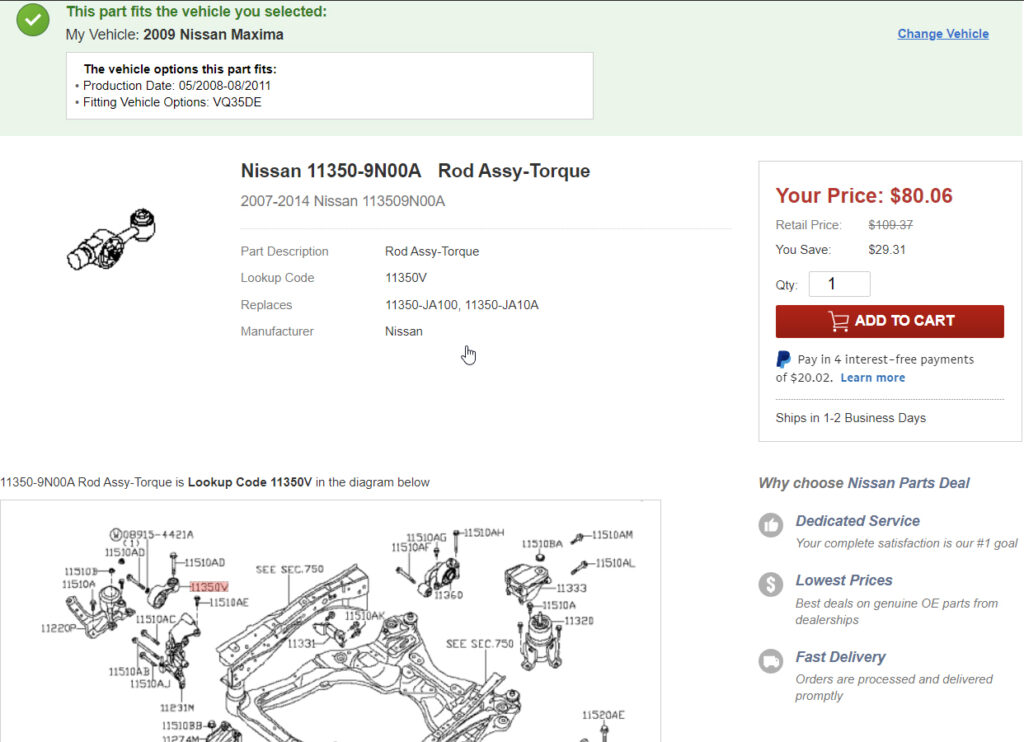
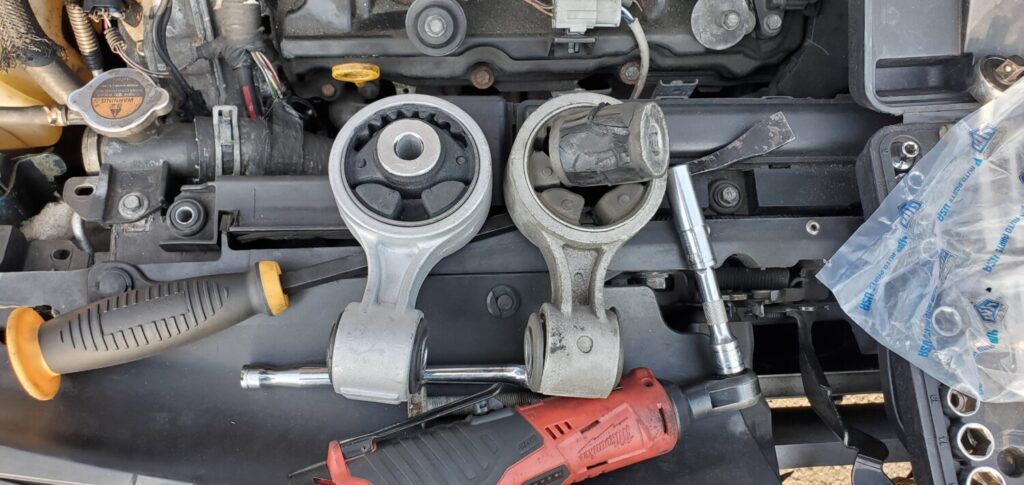
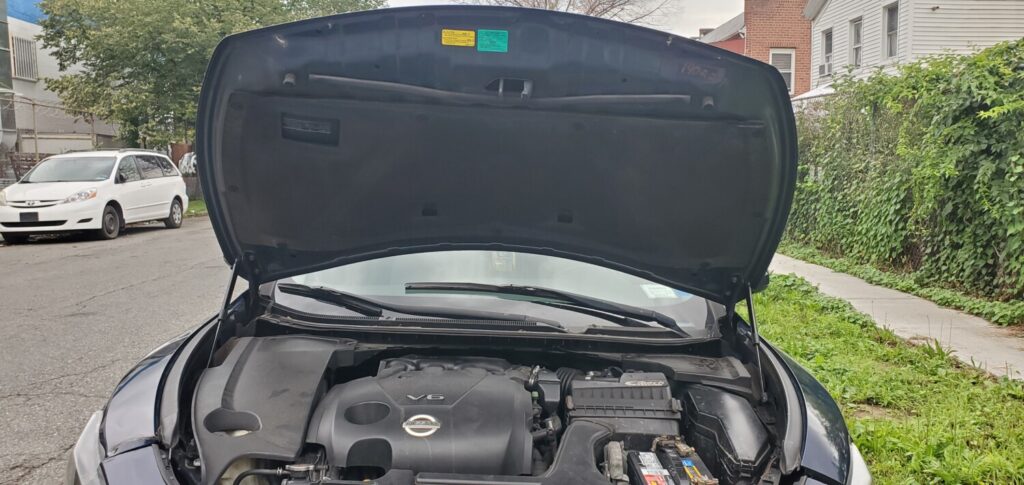
I decided to finally replace the upper torque mount on my 2009 7thgen Nissan Maxima with 220K+ miles. The mount was fully busted. I looked on eBay and found a replacement for $20 bucks vs $80 for OEM. Upon inspecting the two mounts, they were pretty much the same. Given the age and miles of the car, the aftermarket mount was the better route for me. I believe this is the first time this mount has even been replaced. It took me and my 12-year old about 20 minutes to swap this out.
OEM Part Number: 11350-9N00A
Price: $80.06
Aftermarket Part Number: A7363
Price: $19.98 (Shipped)



Community Member Credit: Eddy
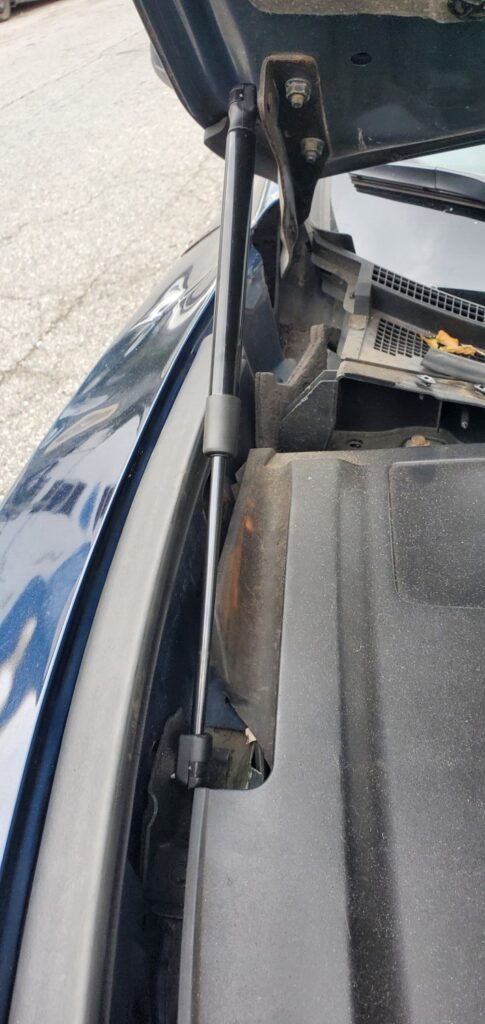
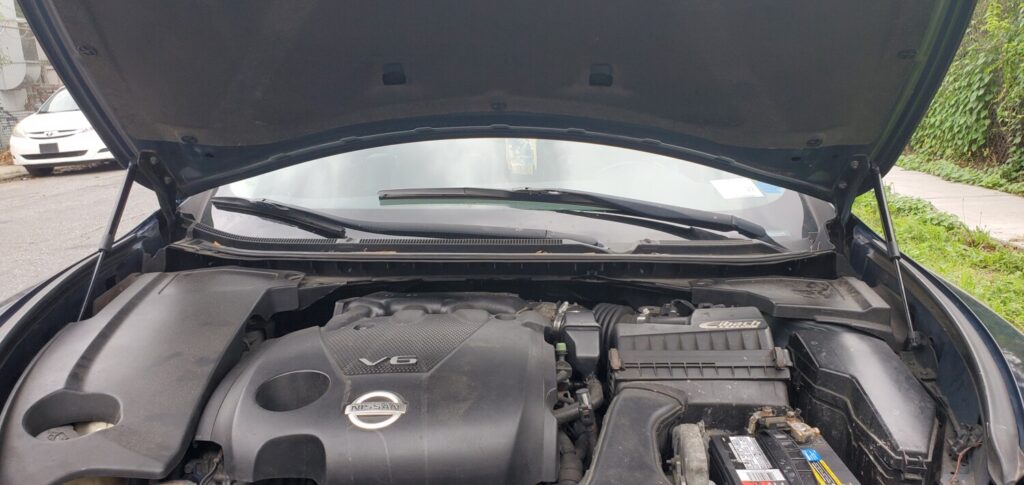
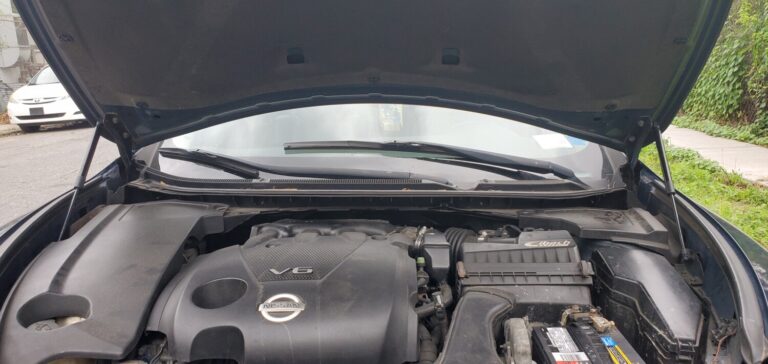
The hood on my 2009 was not staying up and I had to use a stick each time to hold it up. Car has over 220k+ miles and this part has not been changed.
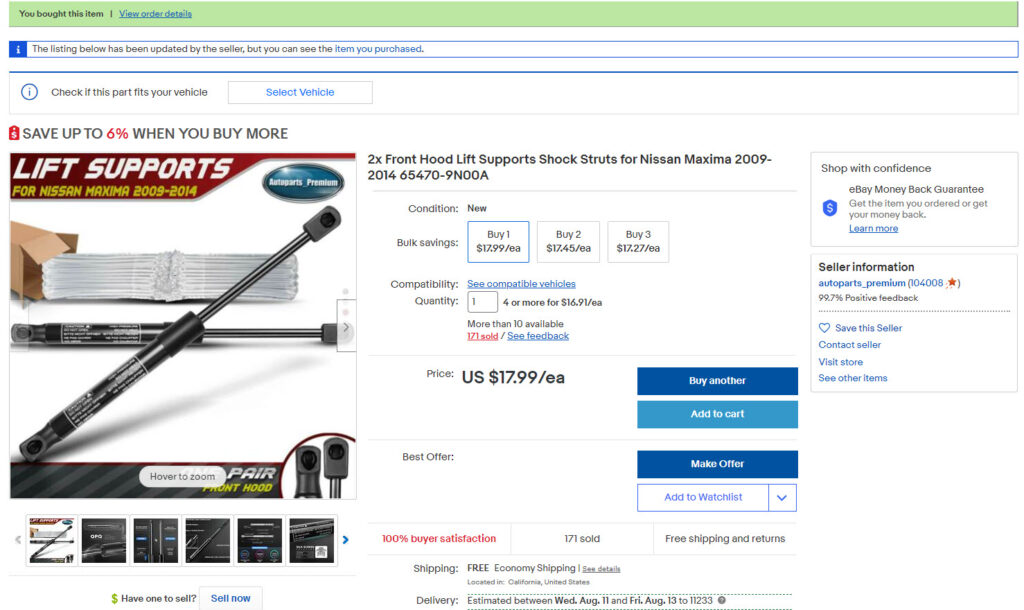
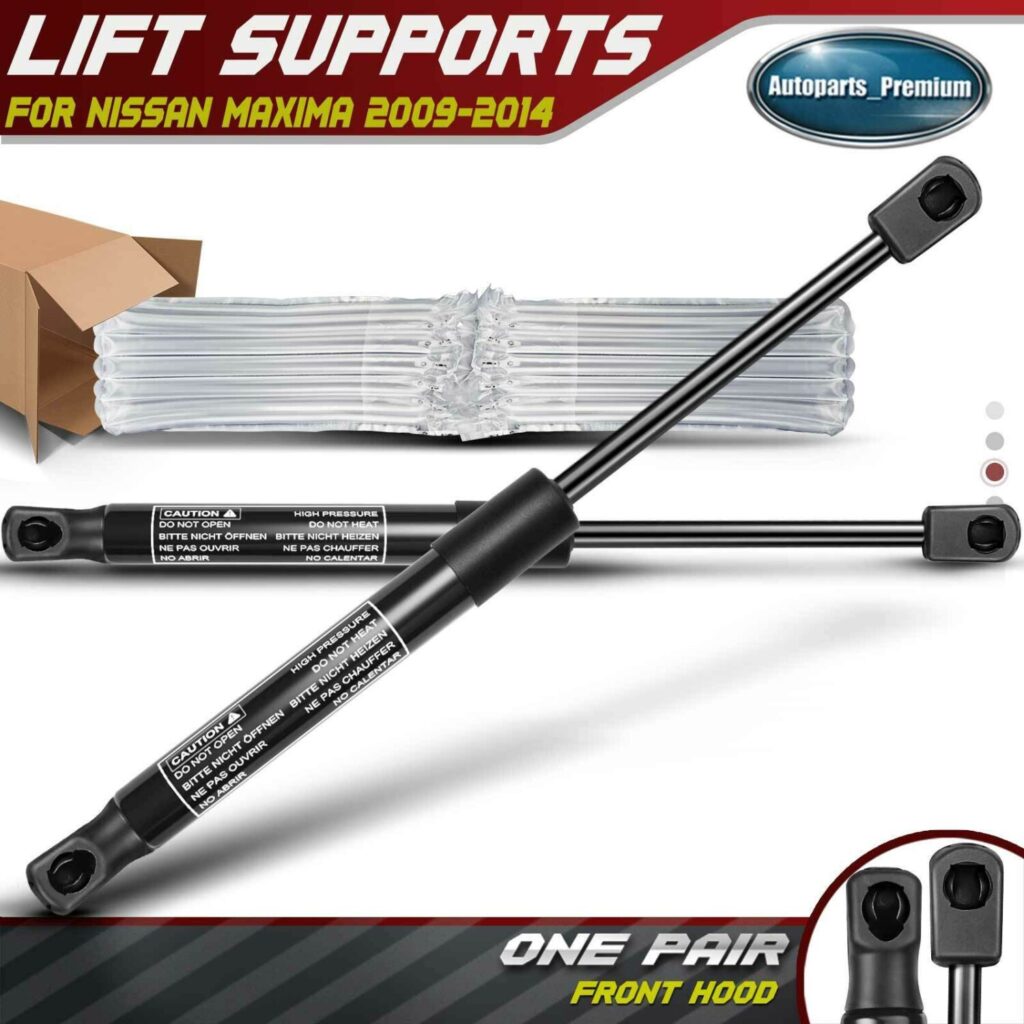
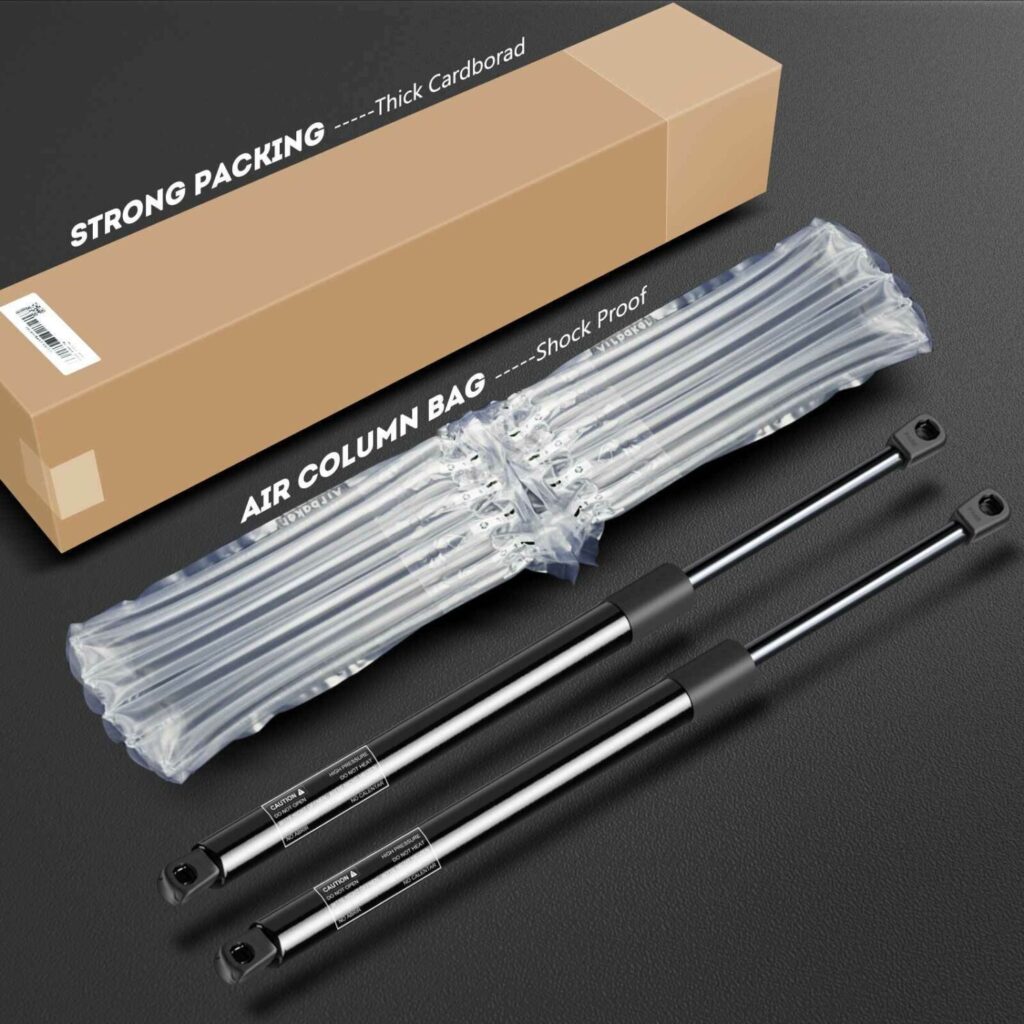
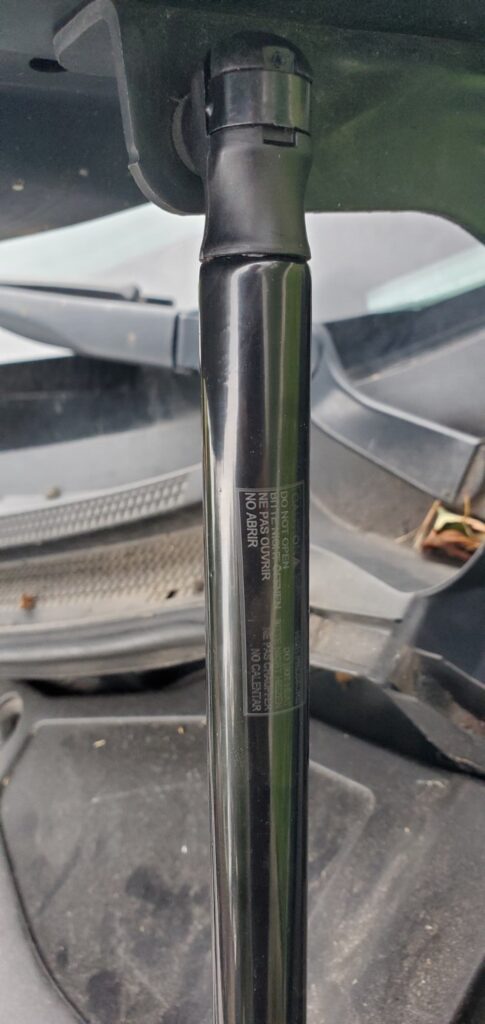
I decided to buy a set of aftermarket hood struts (I’ve used them before) and they worked perfect. Plus you save a bunch of money. They aftermarket ones work just as good. But if you are an “100% OEM only person”, you can also buy them using the part number below.
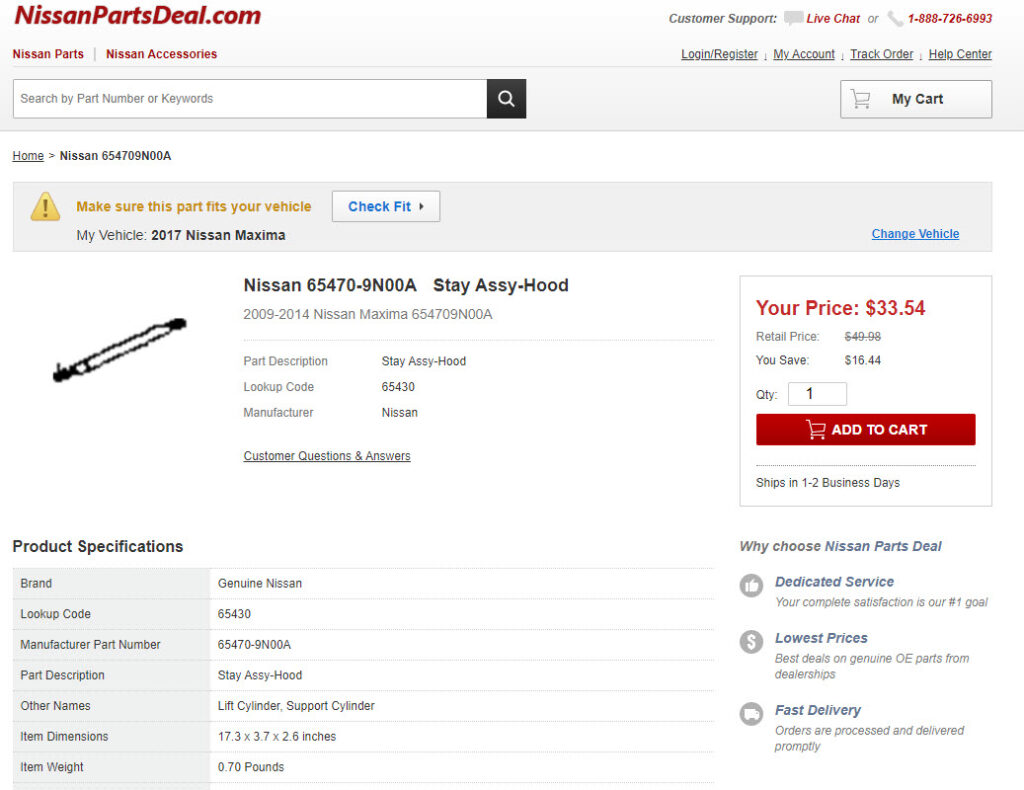
OEM Part Number: 65470-9N00A, 65471-9N00A
Price: $33.54 each
Aftermarket Part Number: PM3283
Price: $17.99 Shipped (Includes Both)