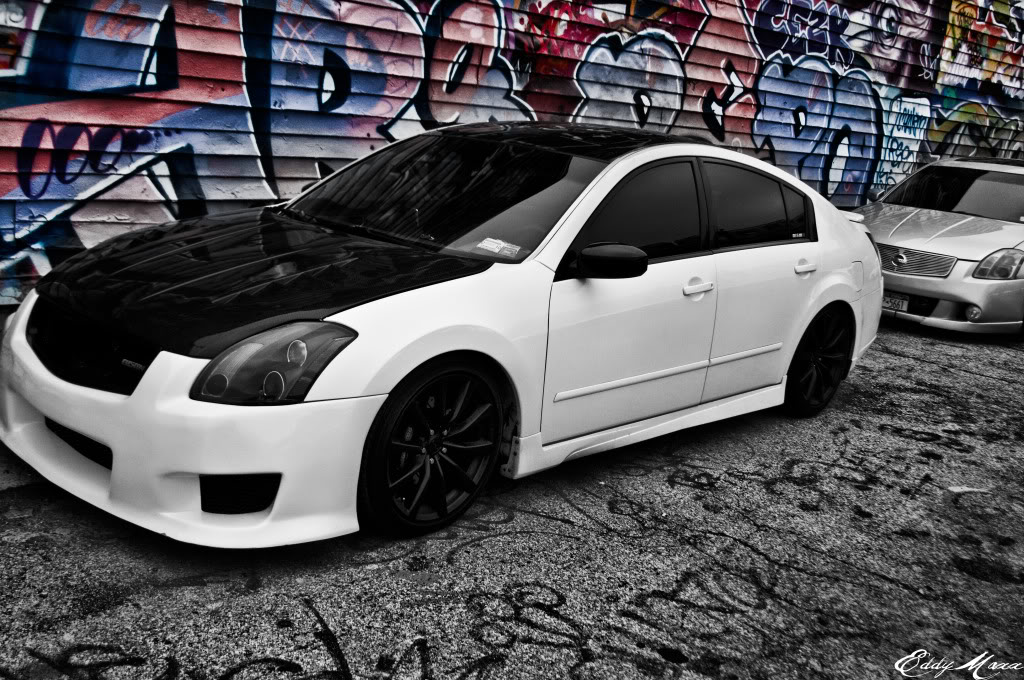
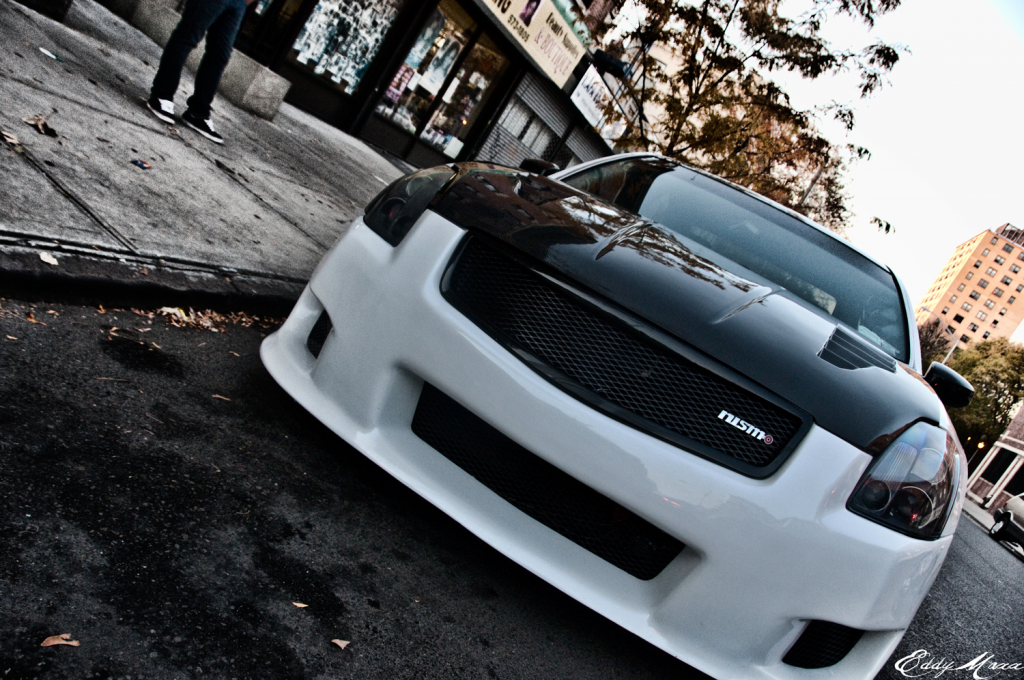
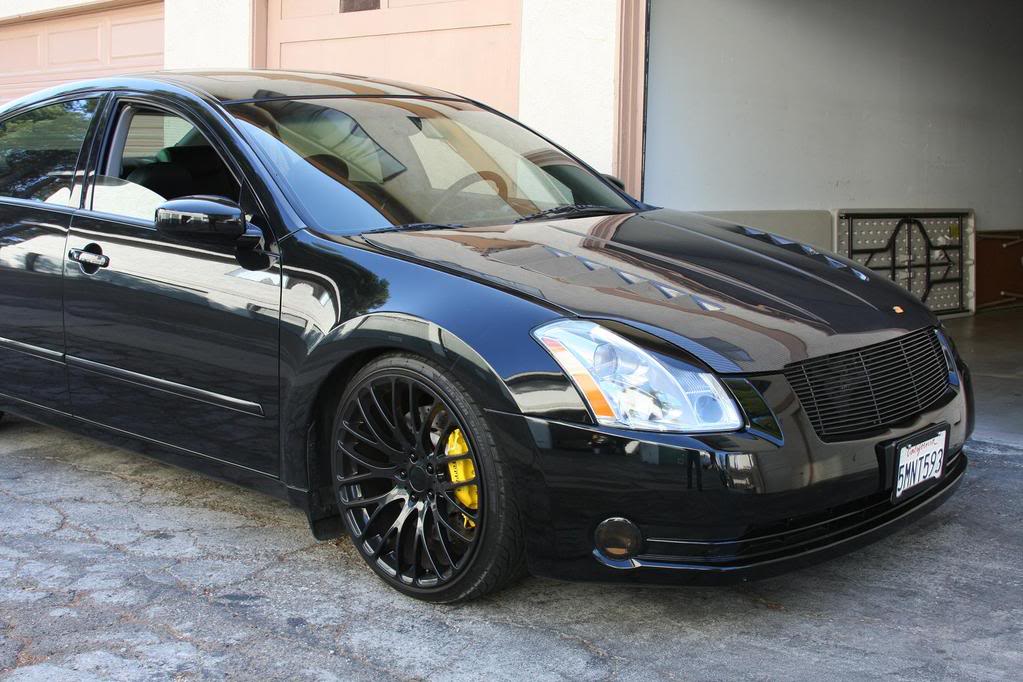
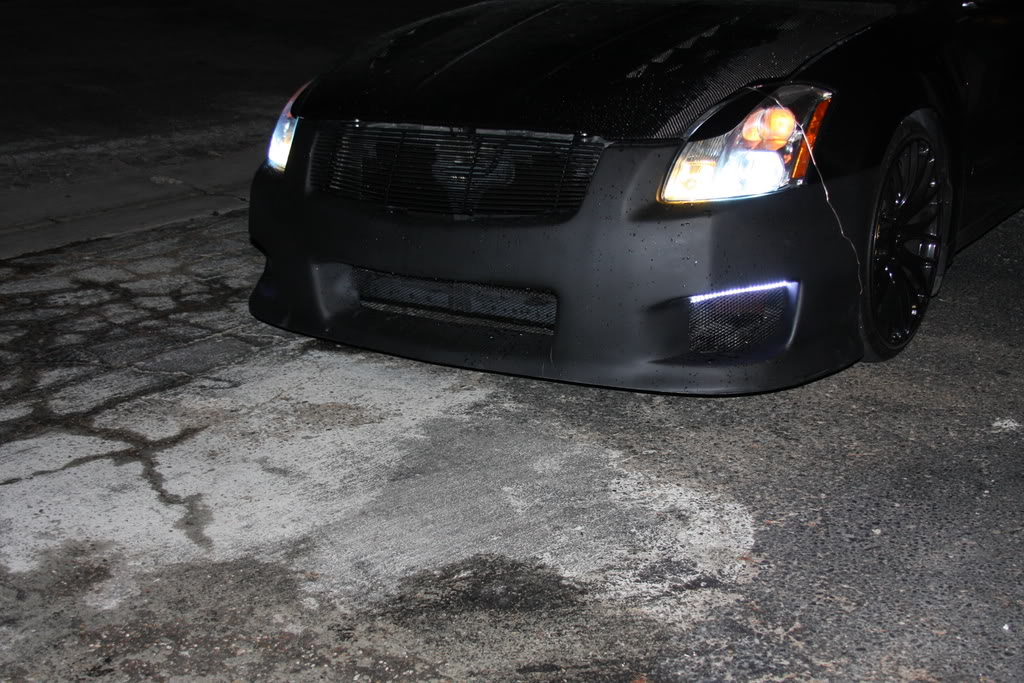
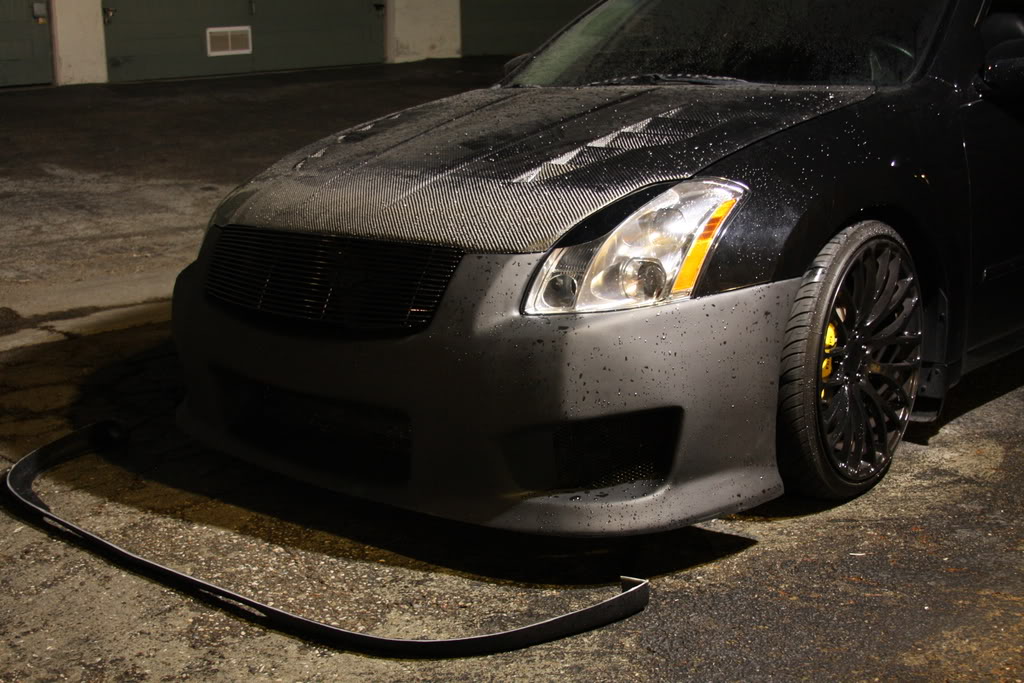
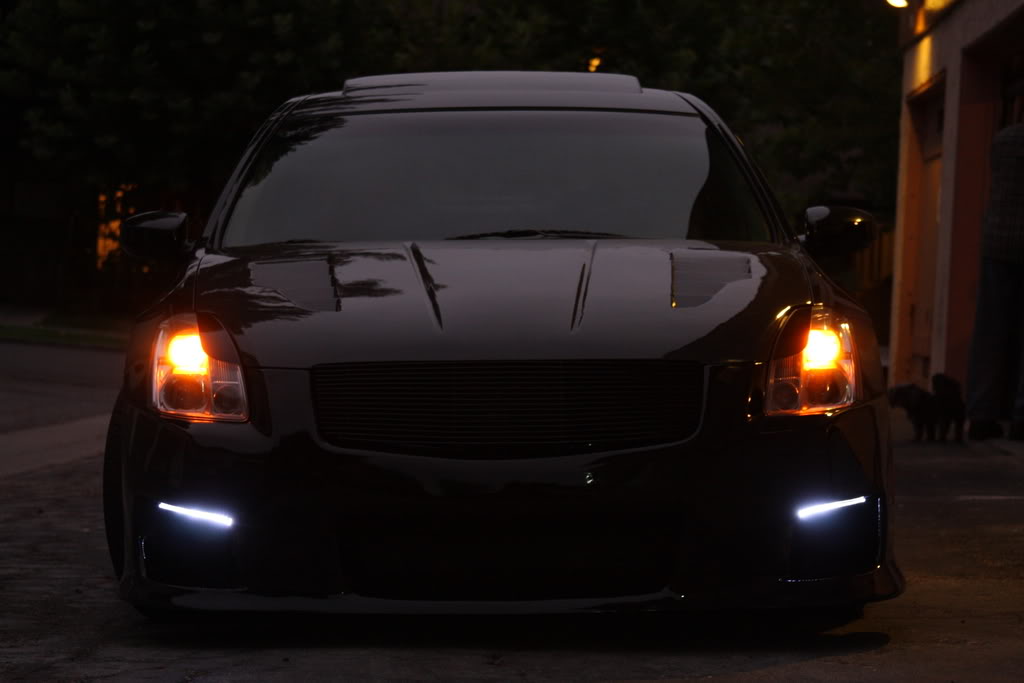
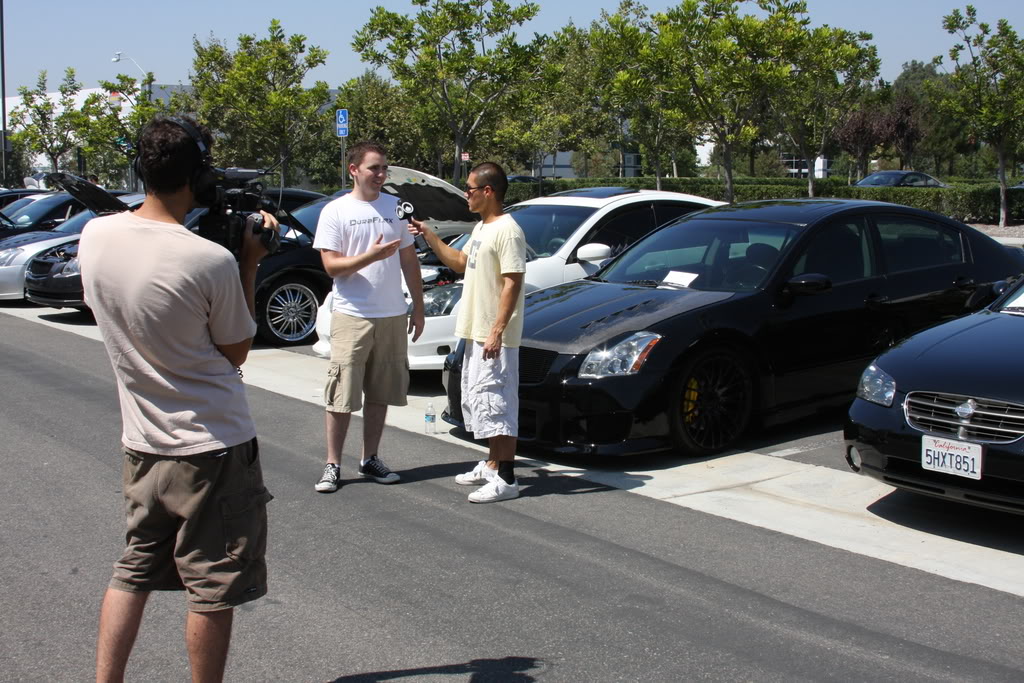
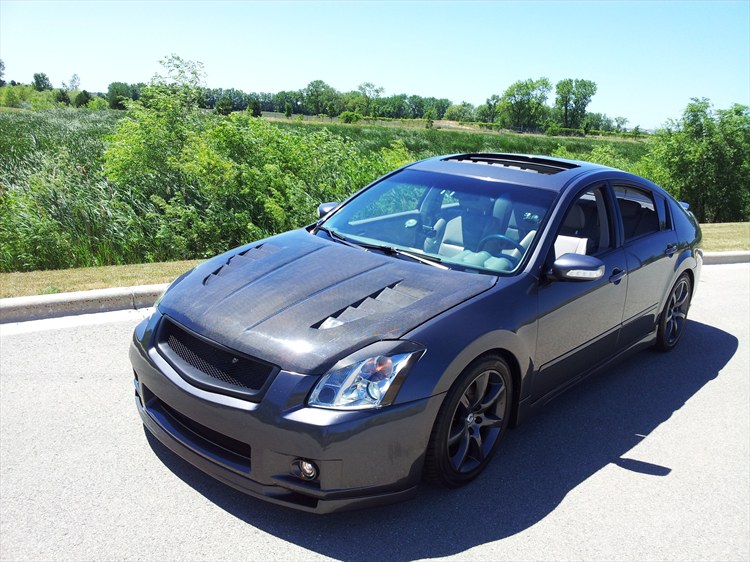
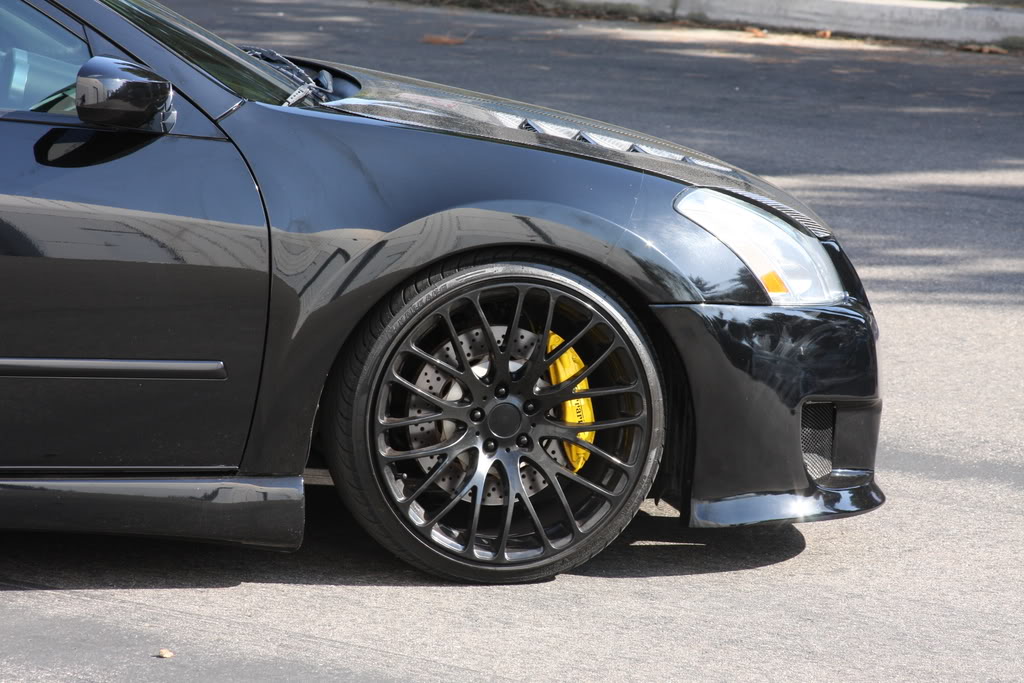
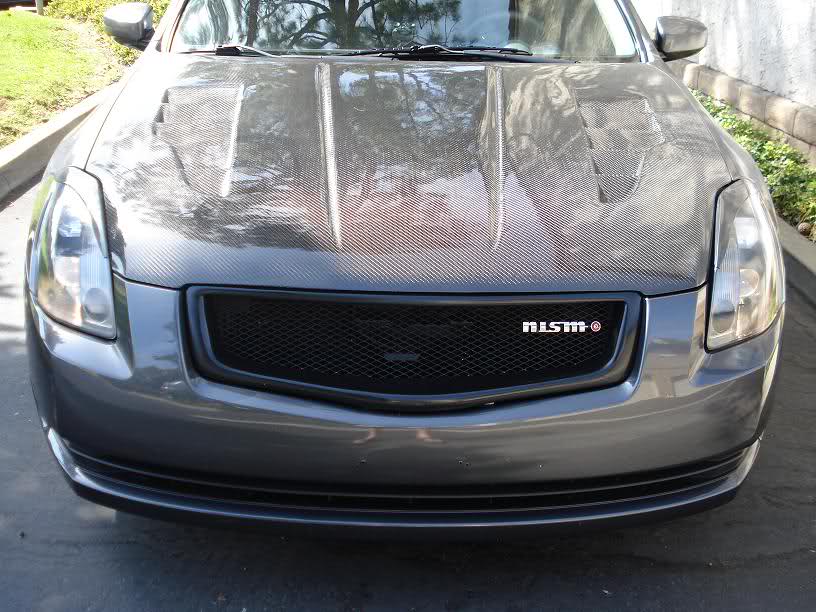
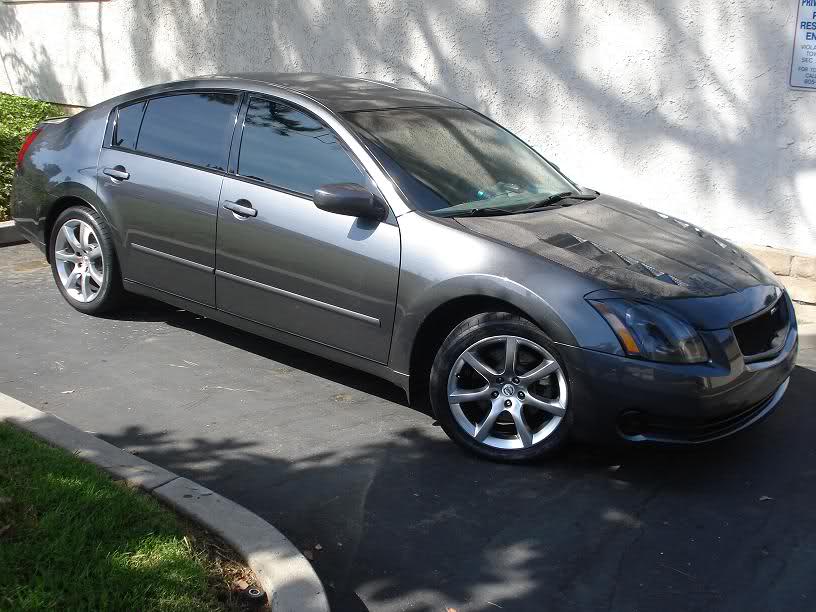
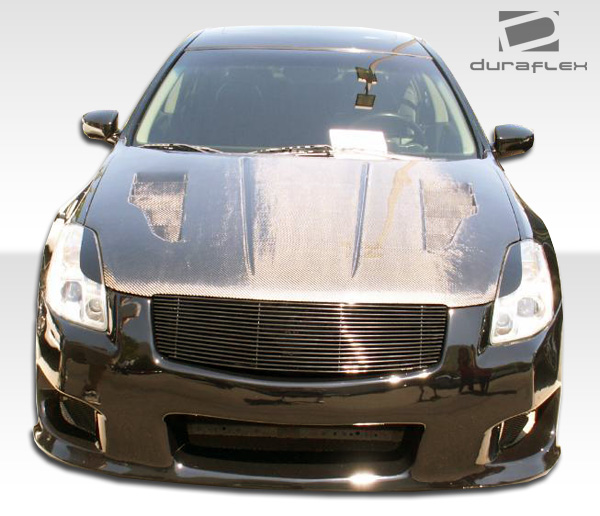
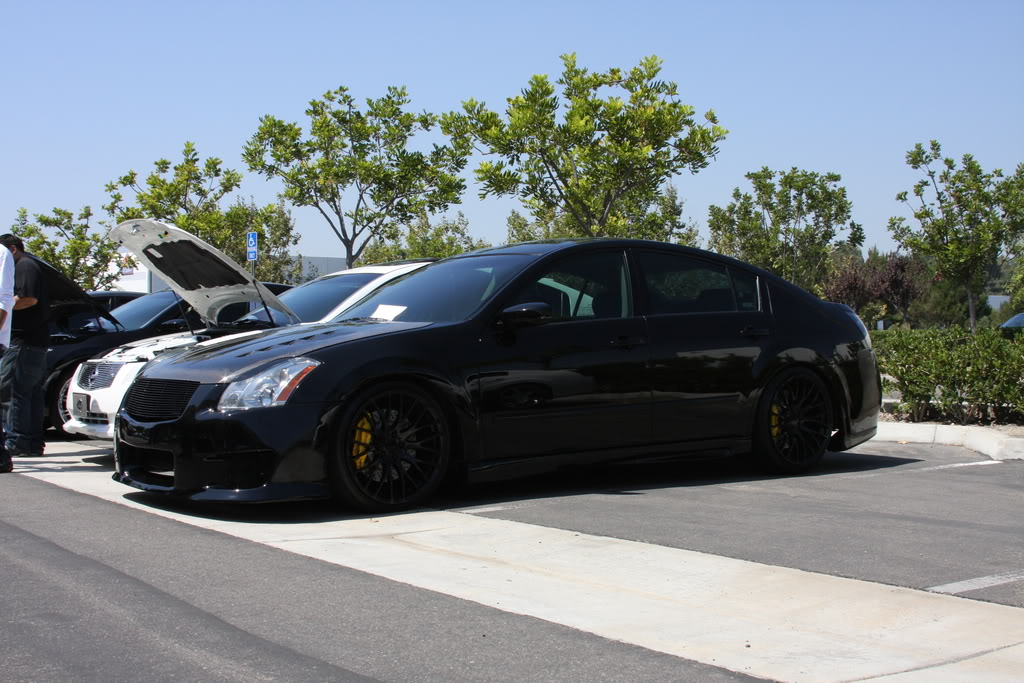
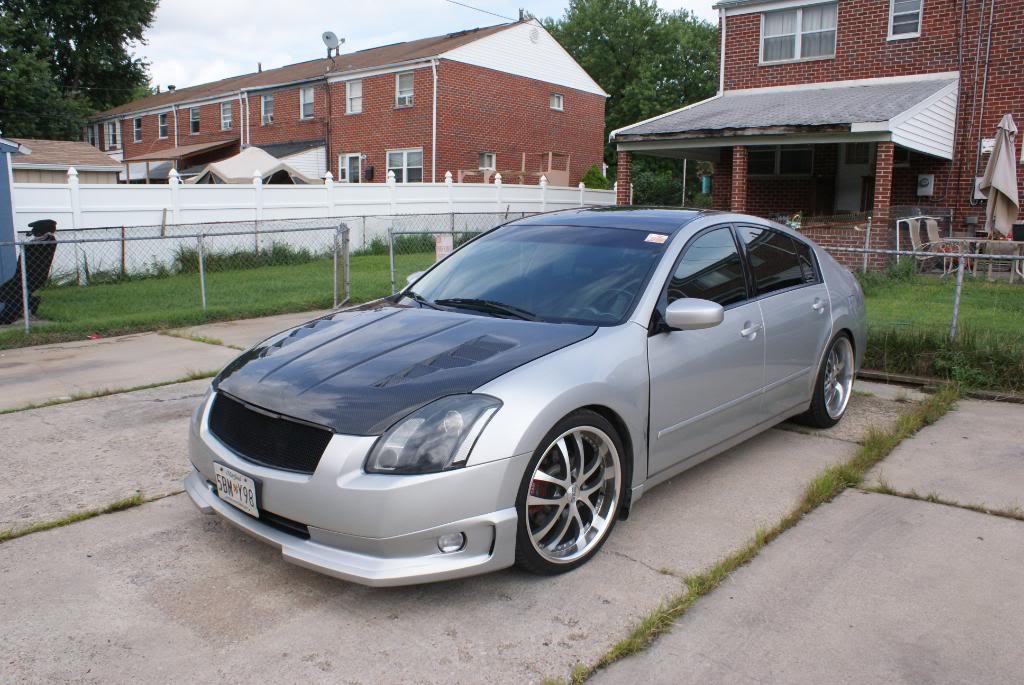
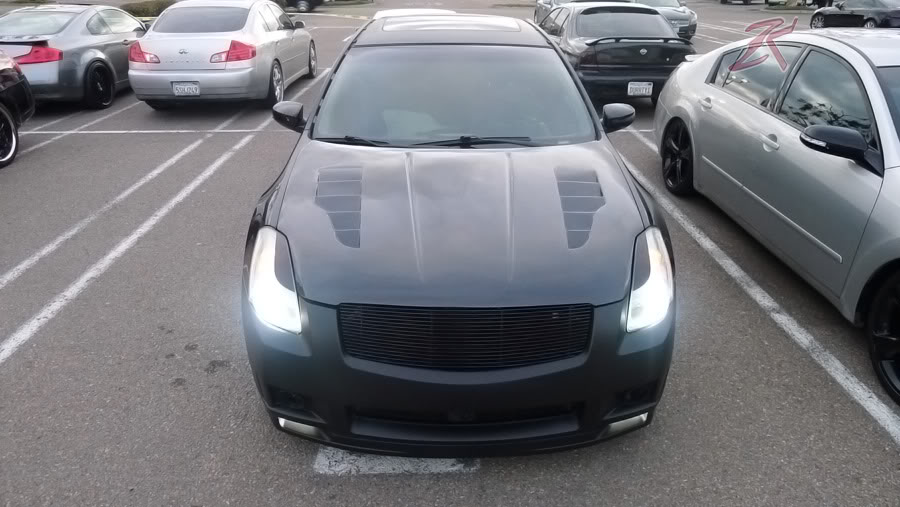
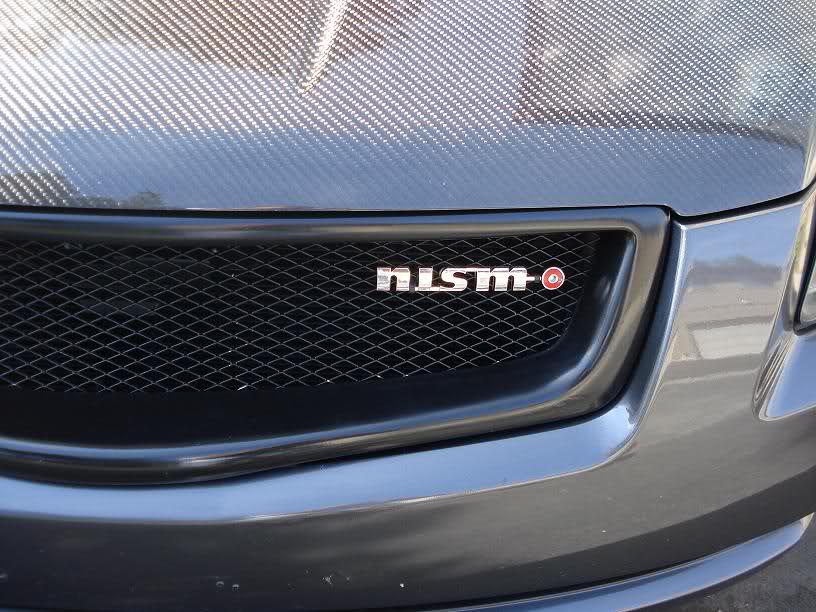
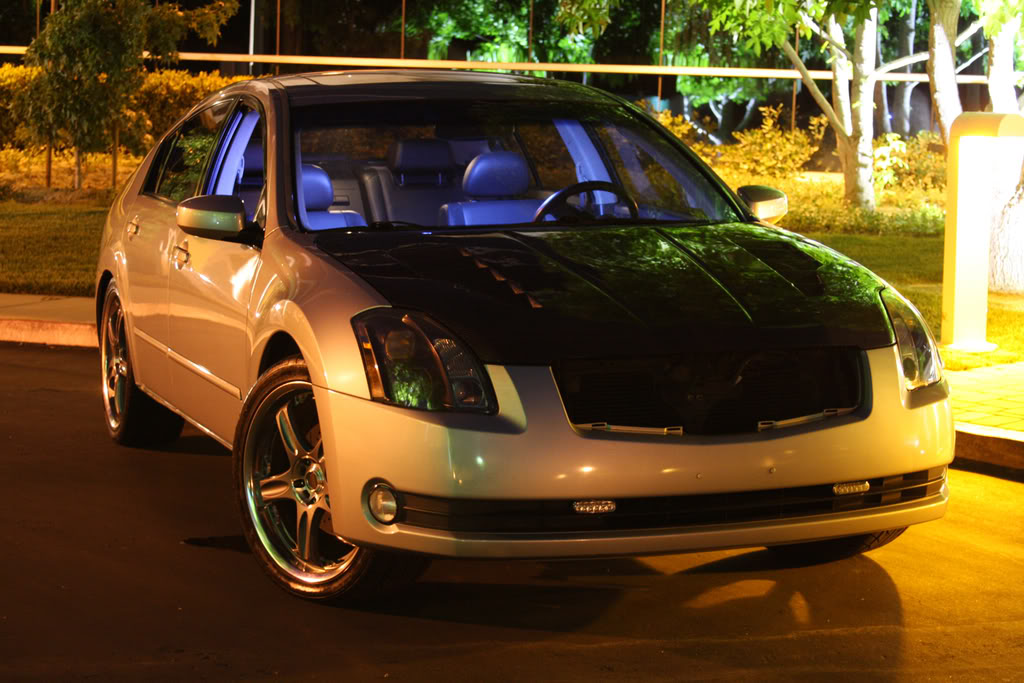
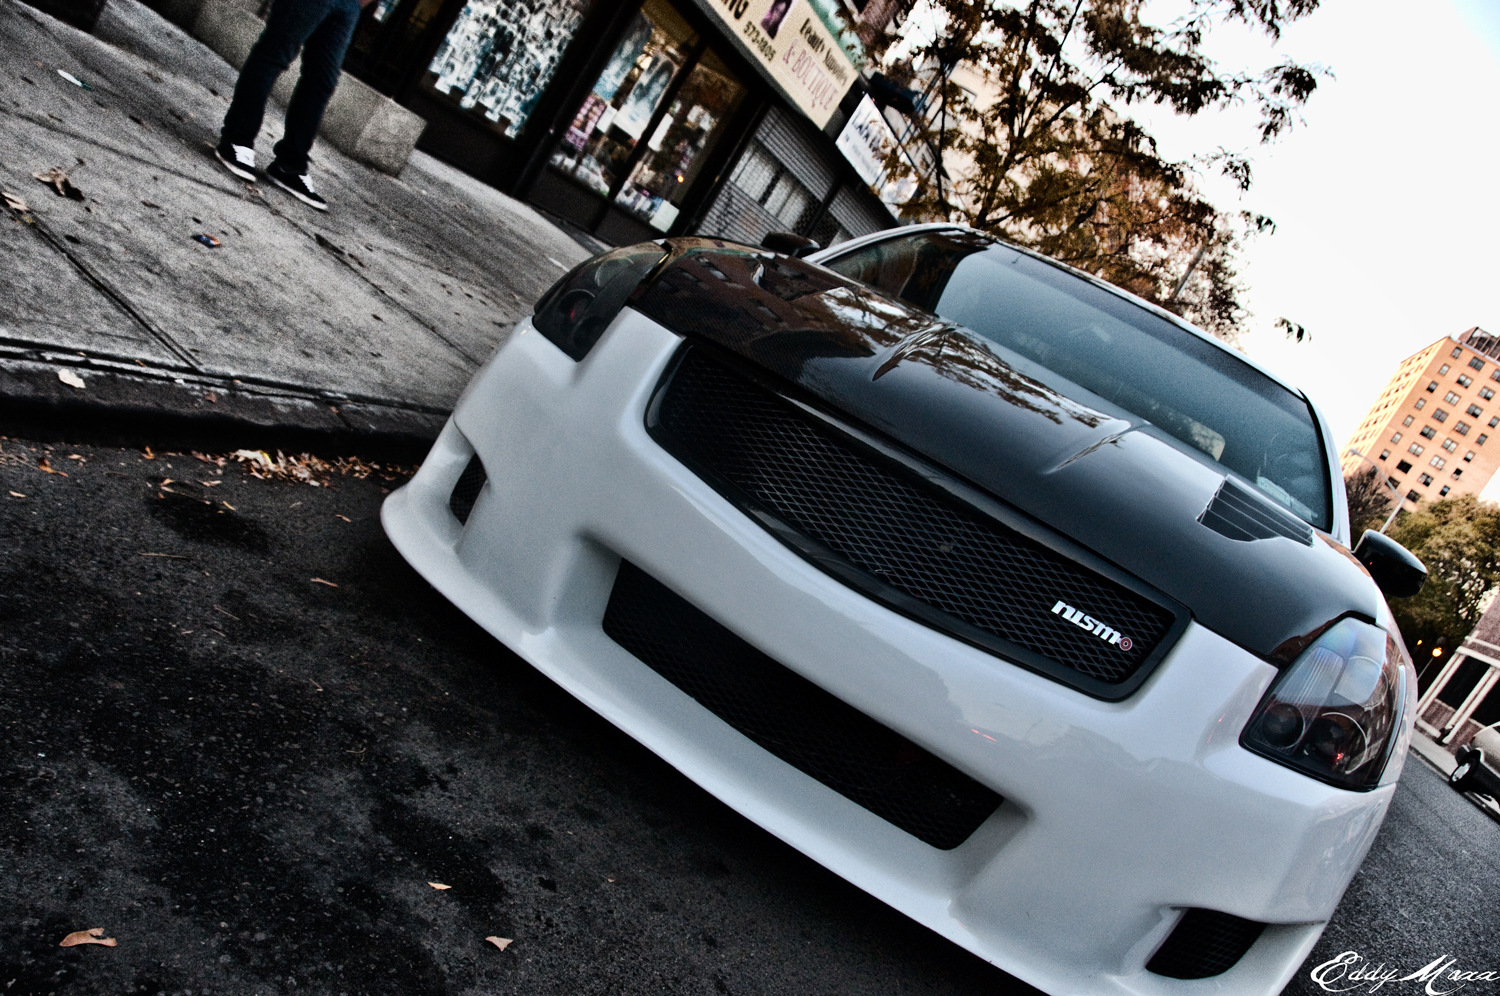
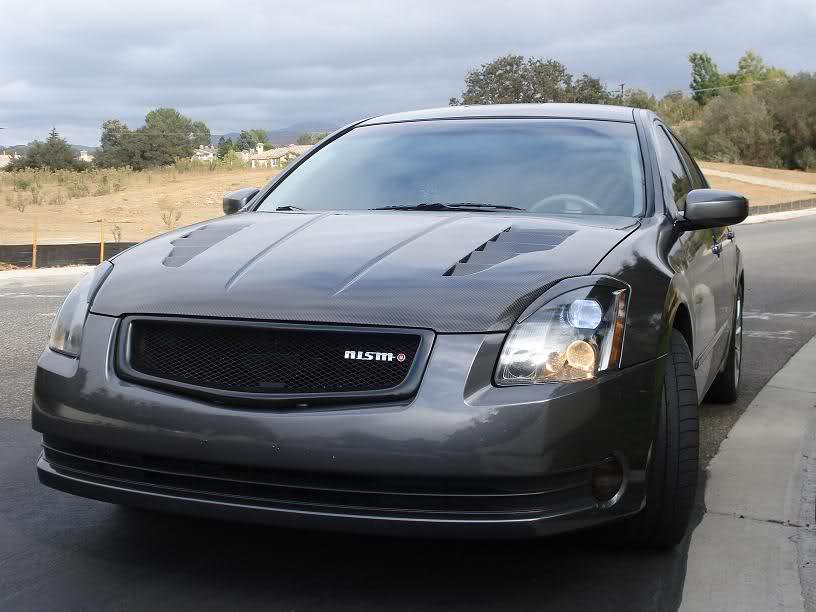
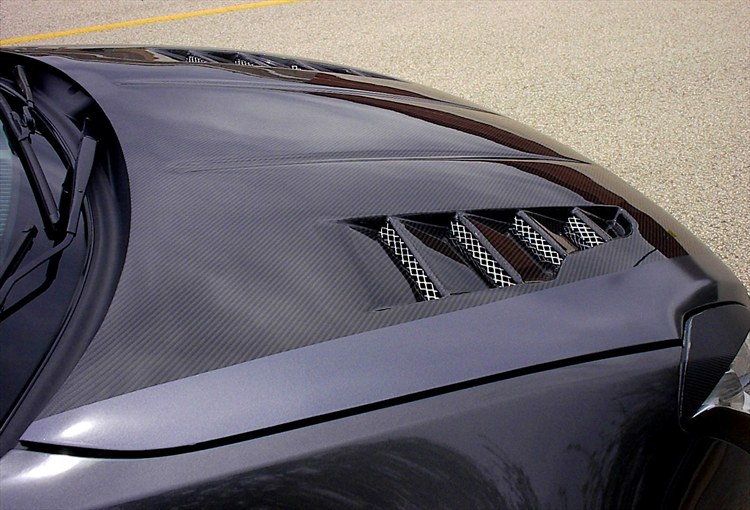
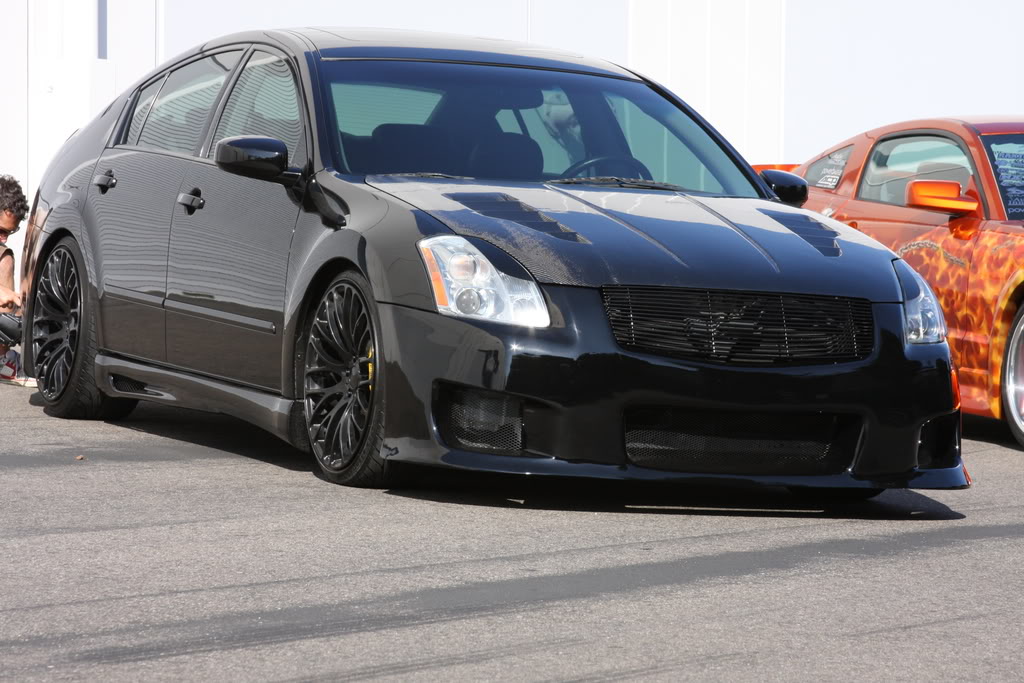
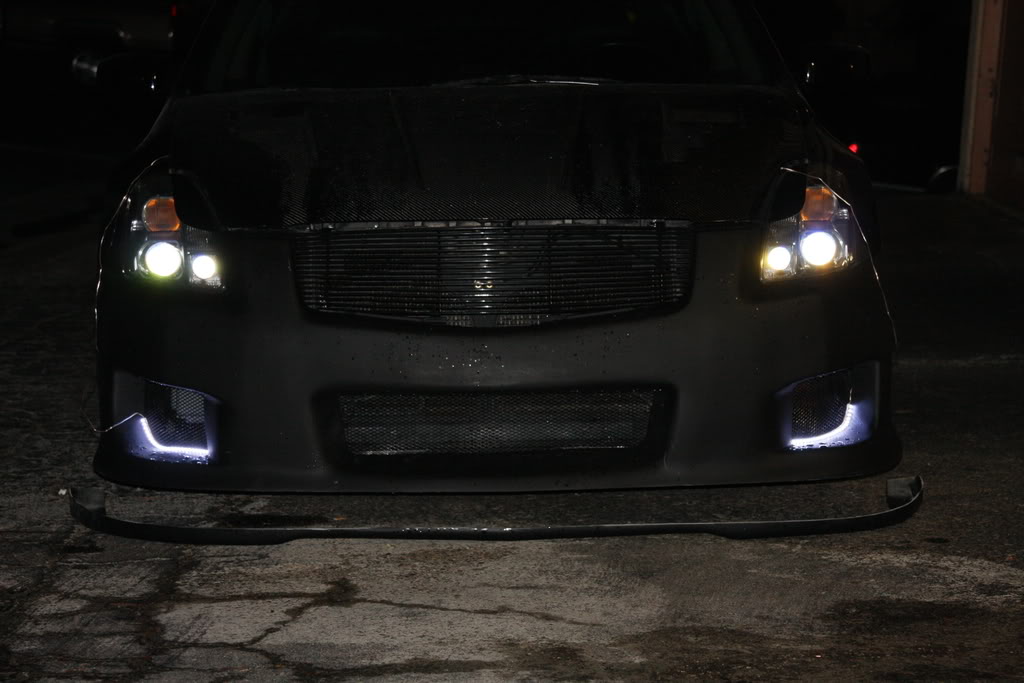
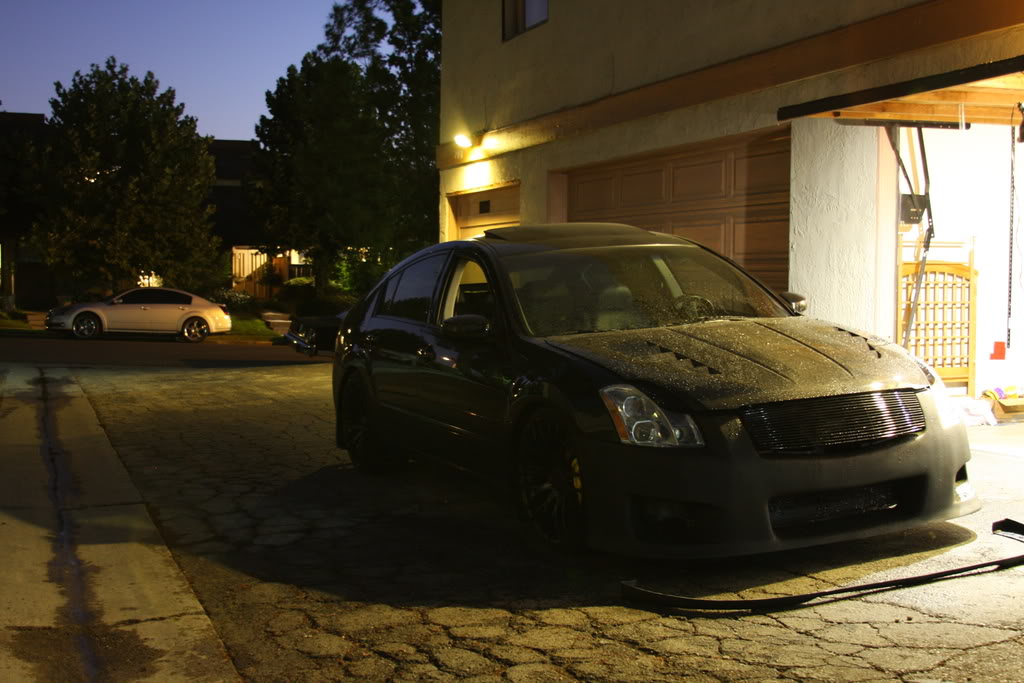
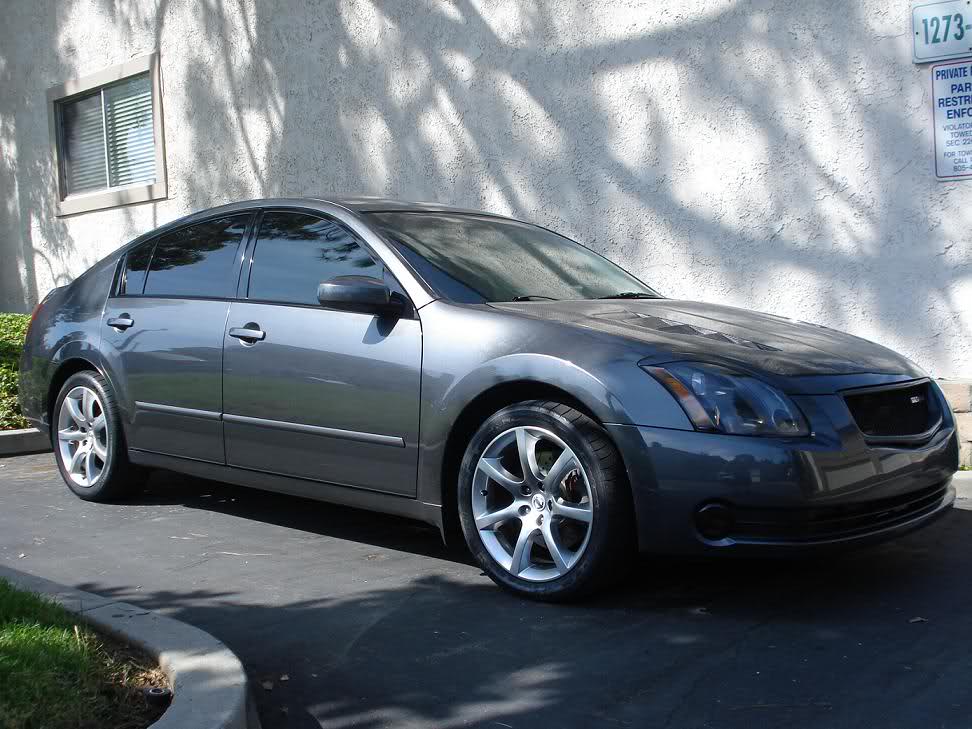
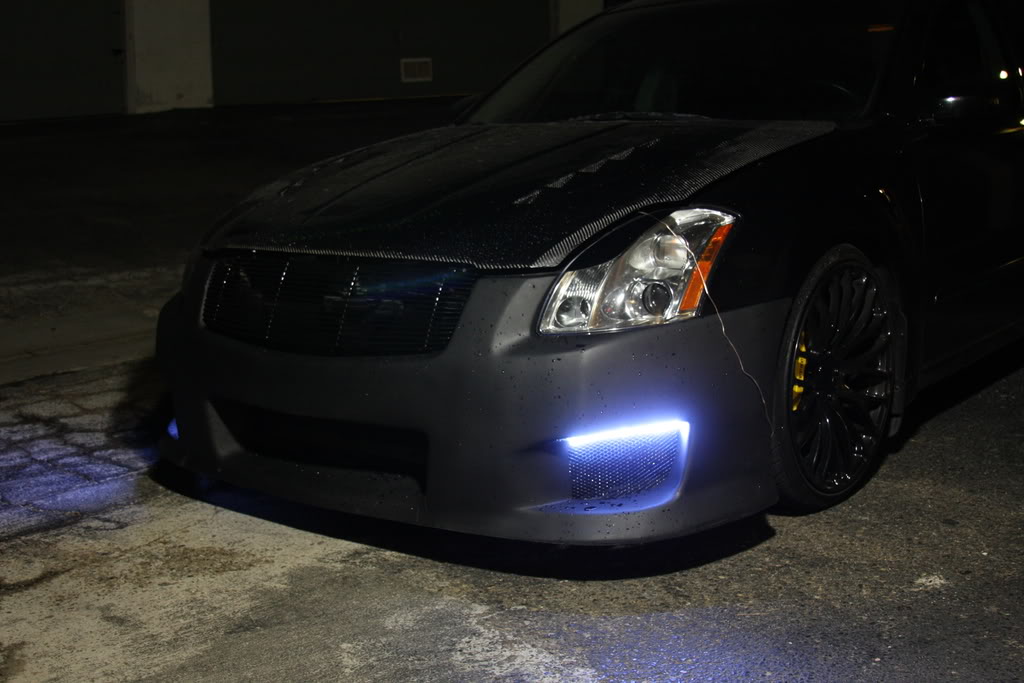
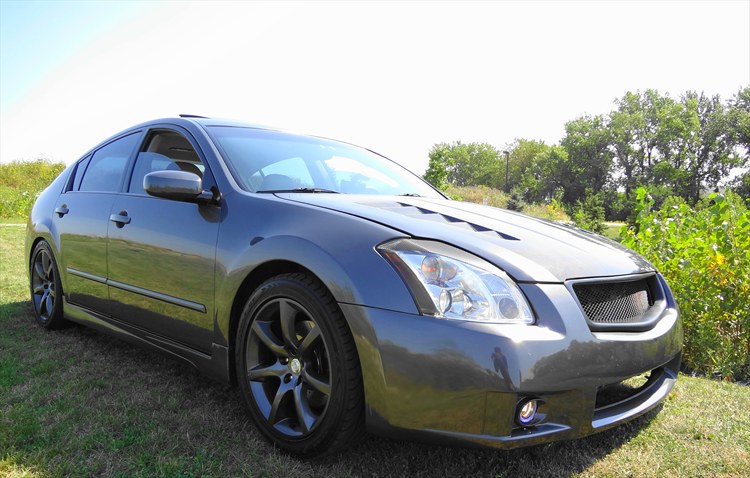
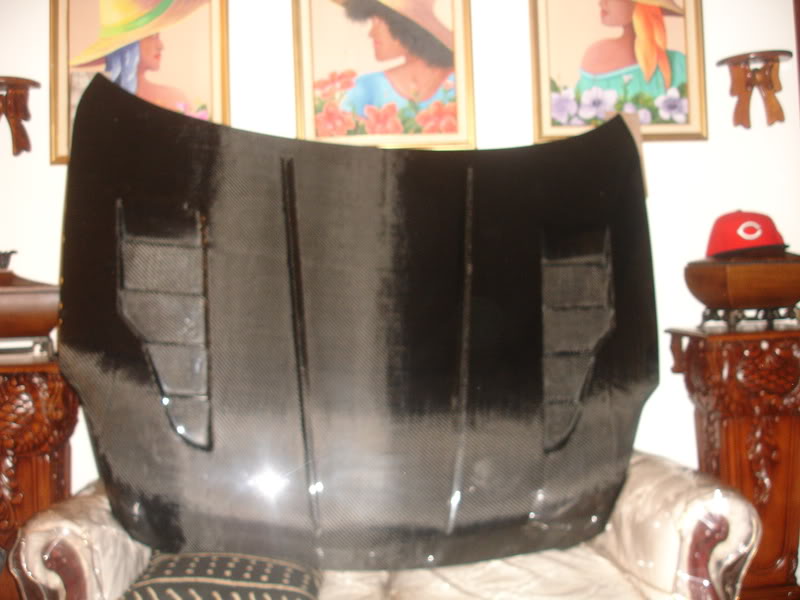
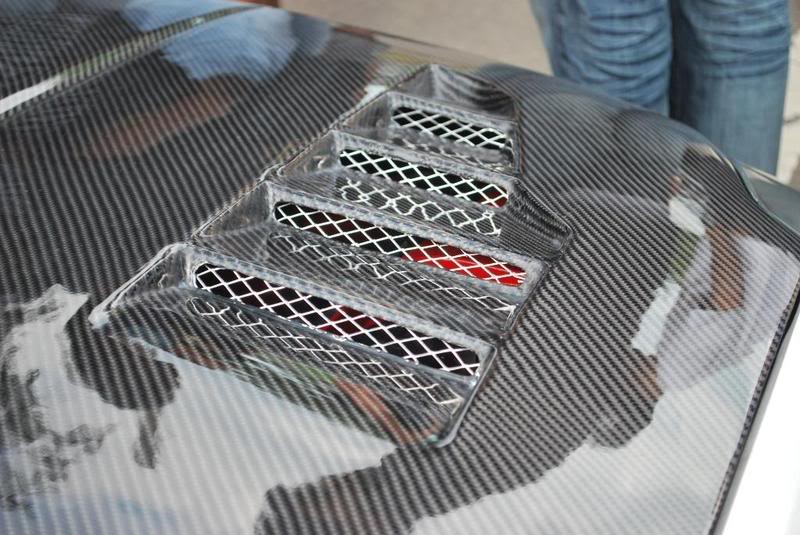
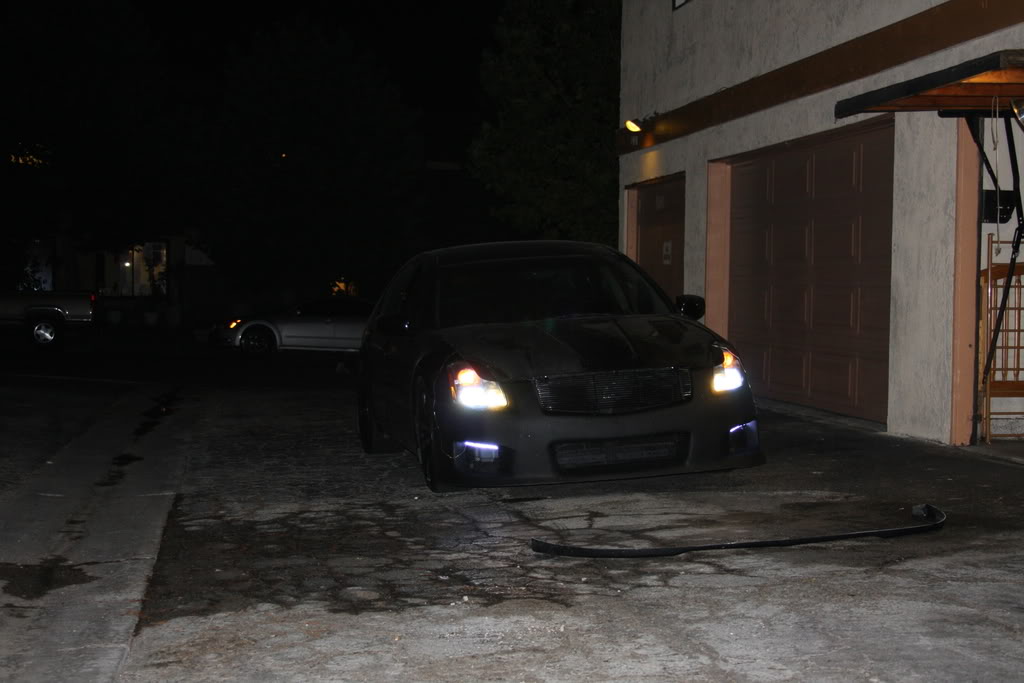
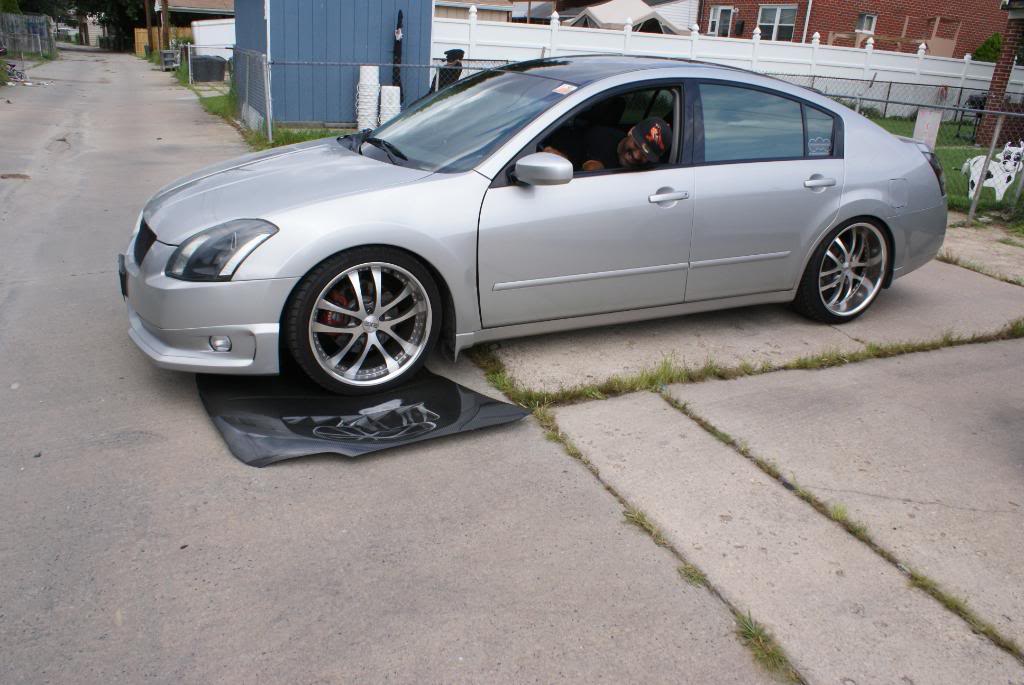
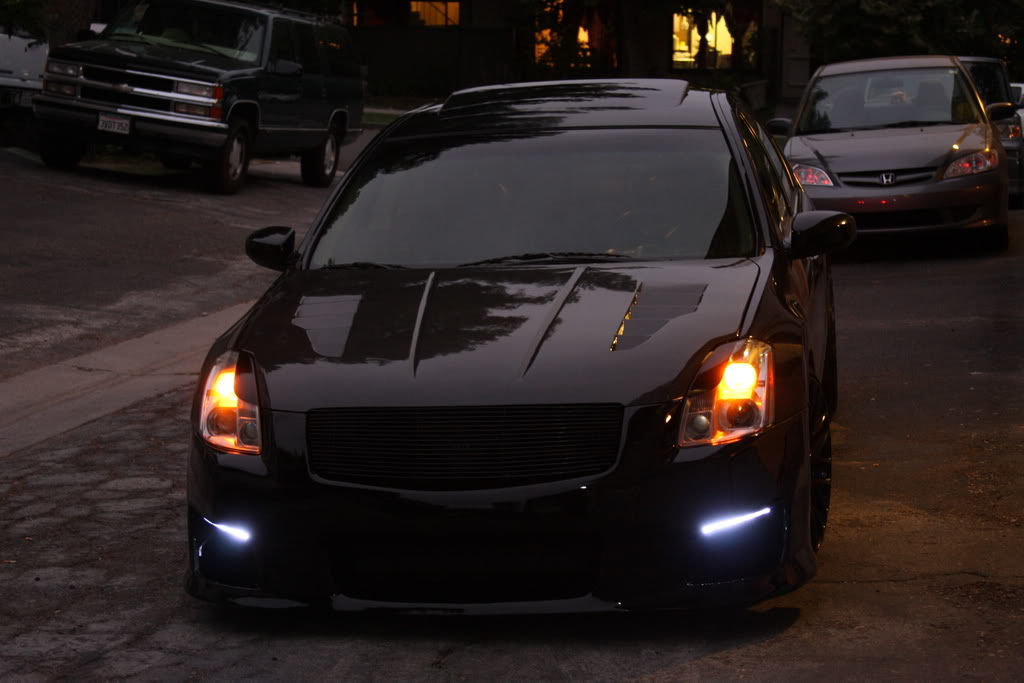
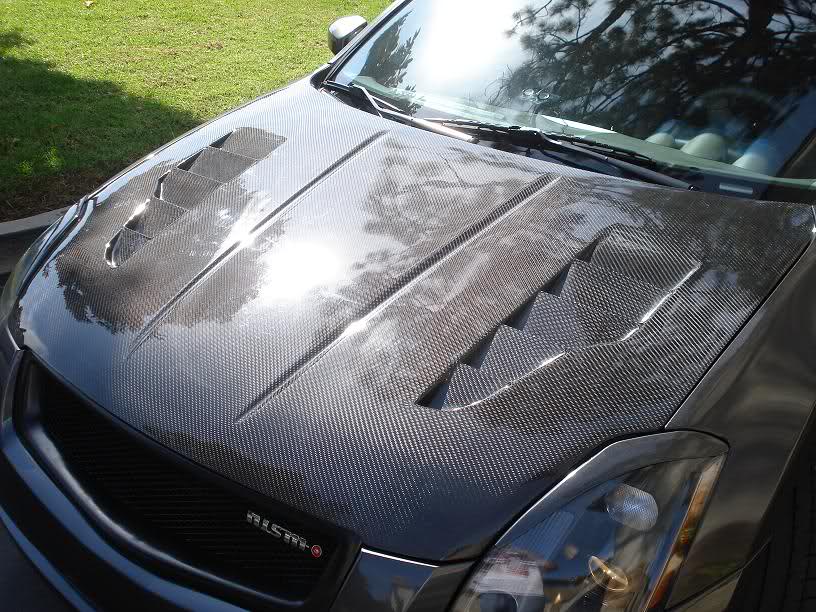
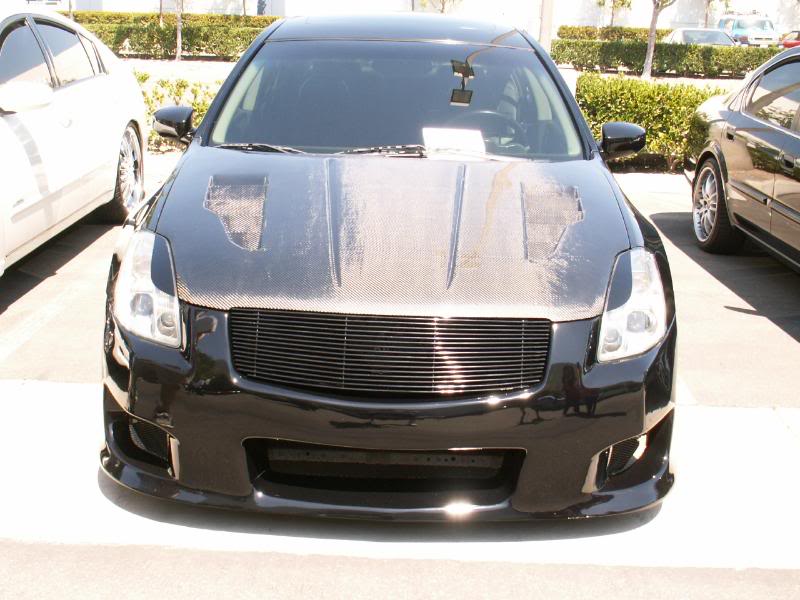
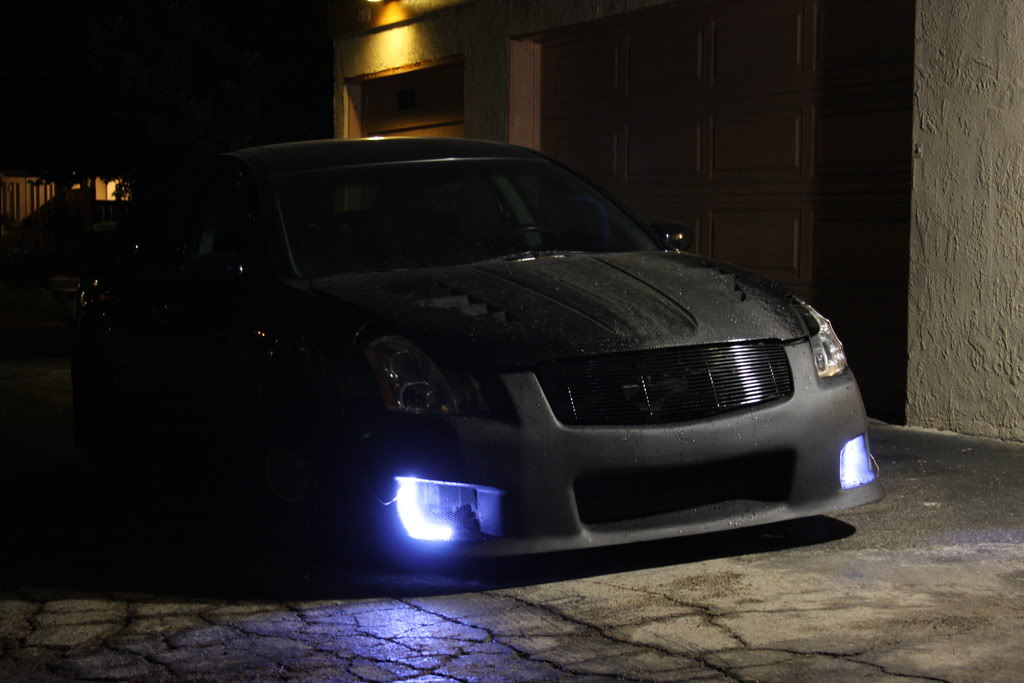
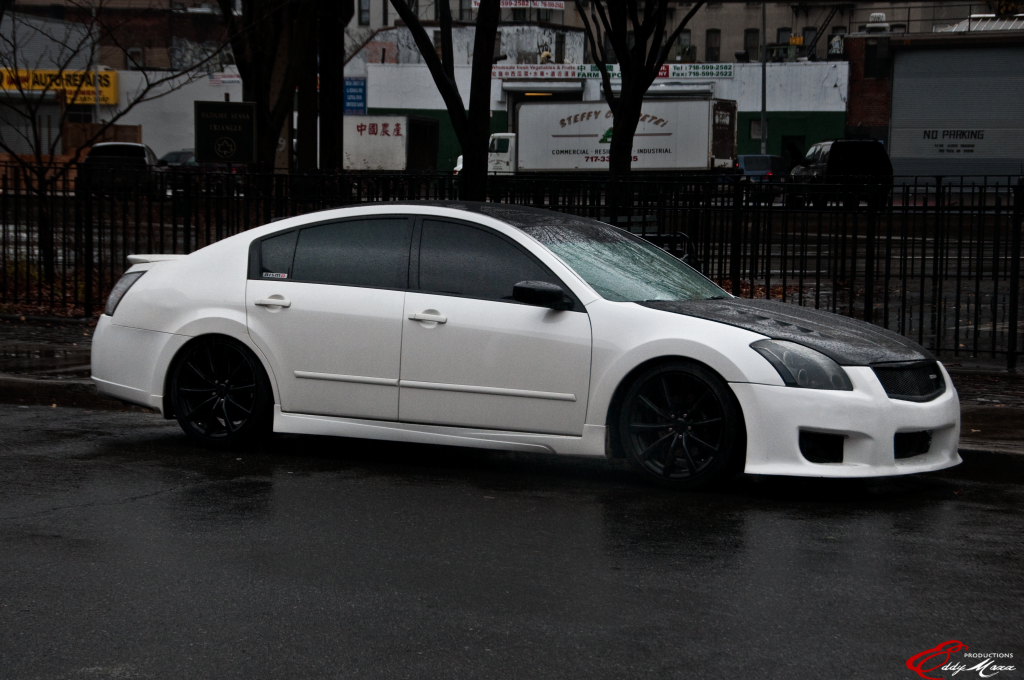
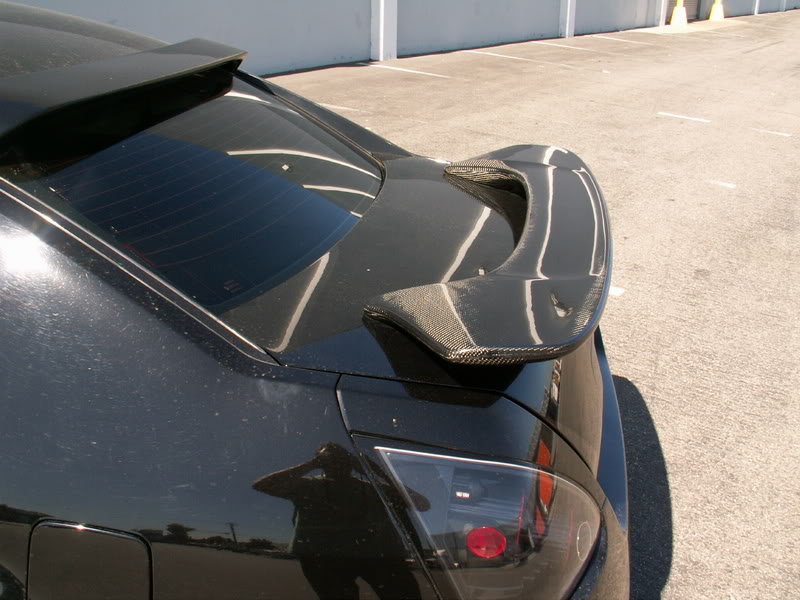
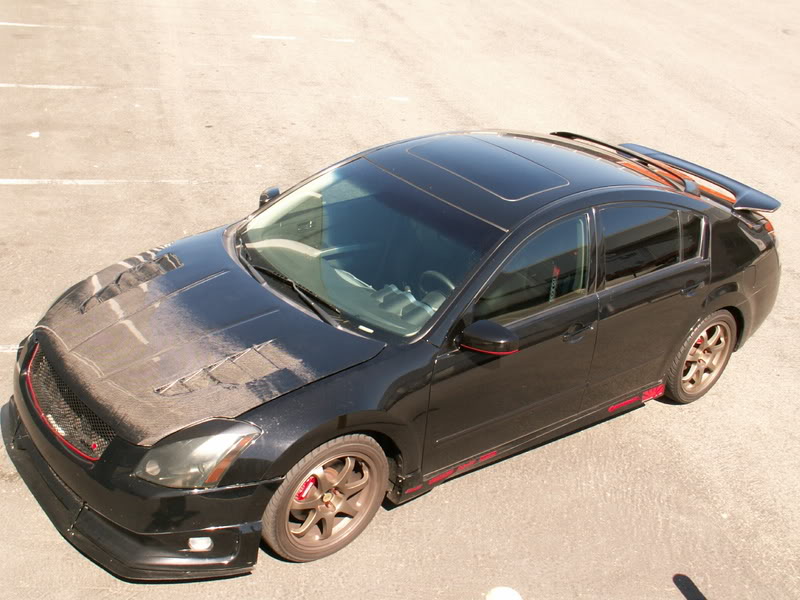
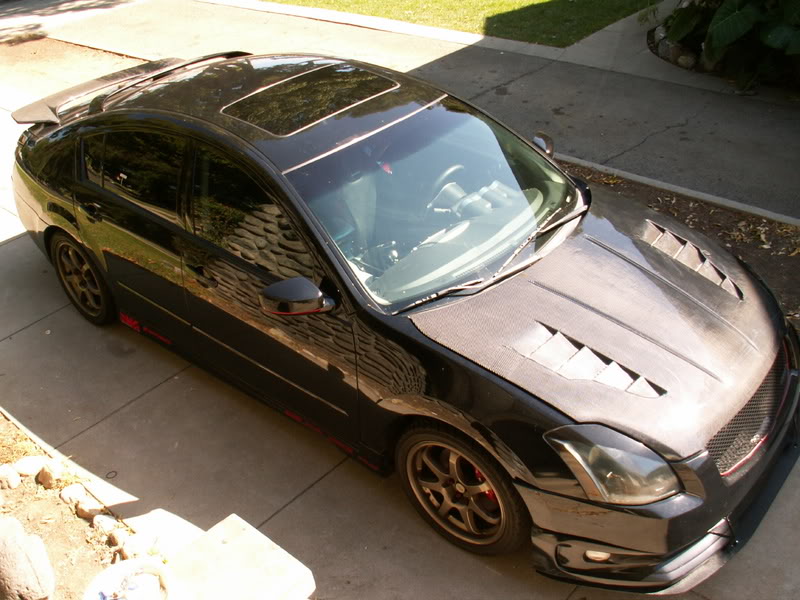
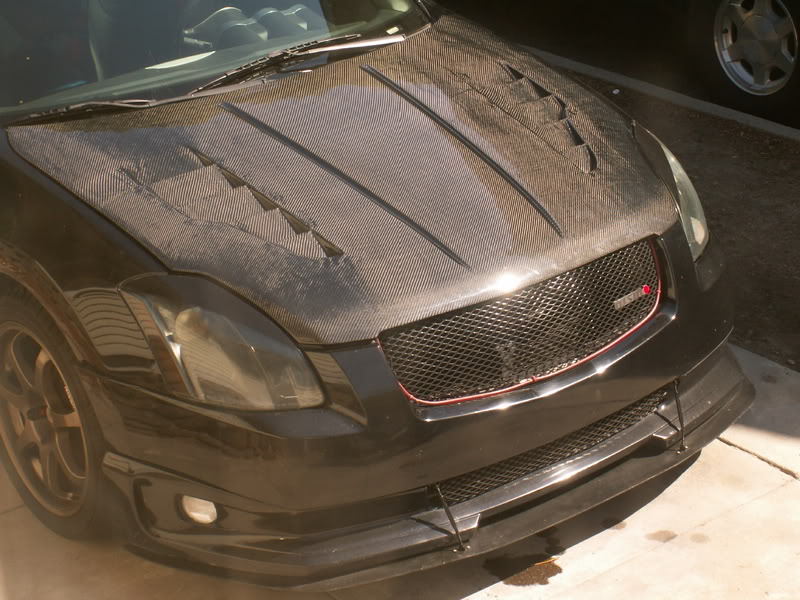
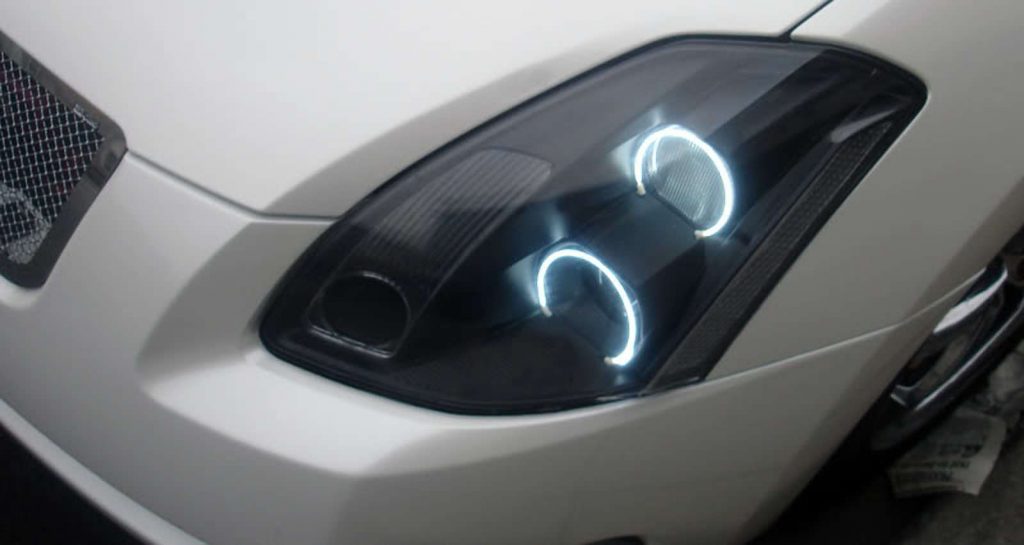
The GTR bumper was a custom bumper designed and developed by Max2damax. The bumper is made of RFP (Fiberglass) and was a direct fit. It’s currently available online as of 2018! Search eBay.
Pricing (For reference purposes only!):
04-06 Nissan Maxima front GTR bumper. $400 Shipped
Special thanks to Chulo for the pics and prototype. This is a really different yet exclusive look on a 6thgen. Chulo’s shop hacked the bumper into the shape of the 04-06 bumper.
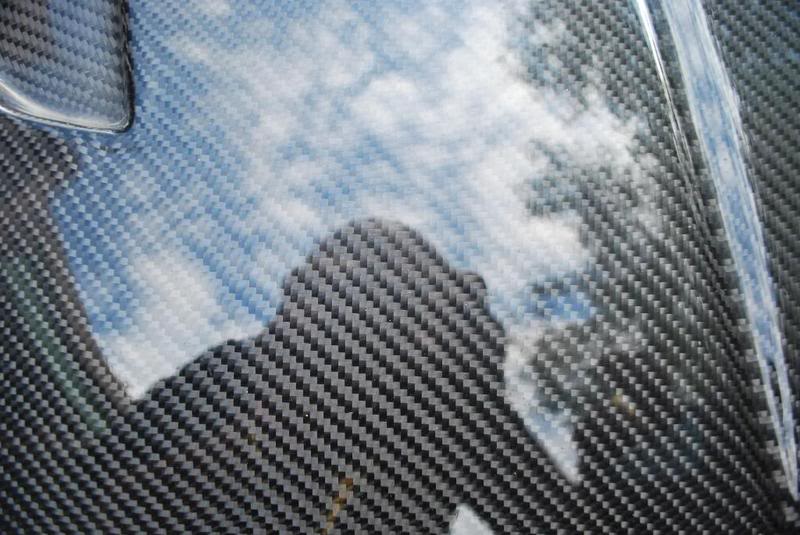
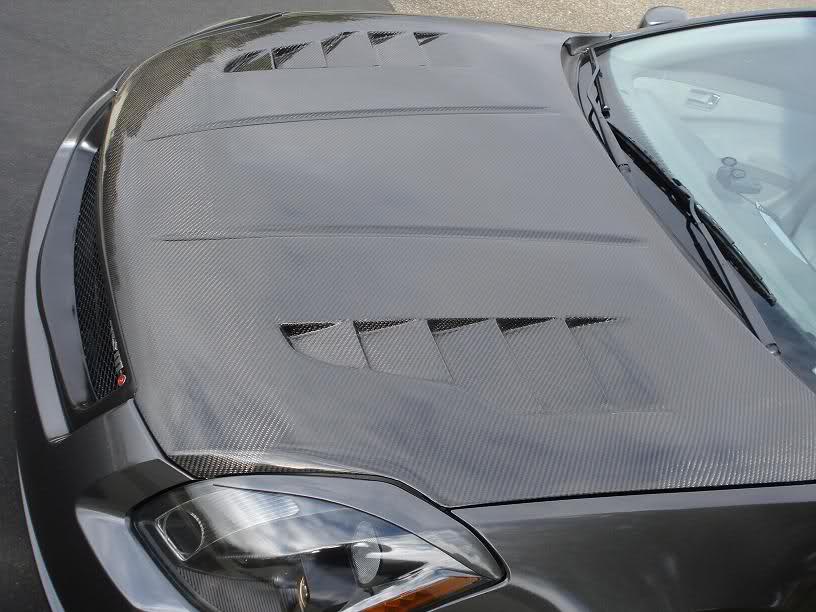
This bumper comes from an 07′ SLK320 Mercedes Benz.
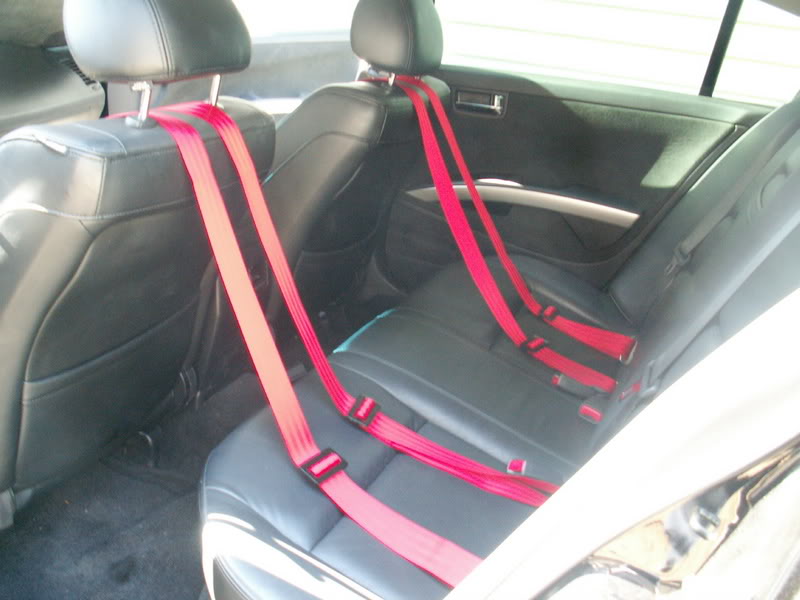
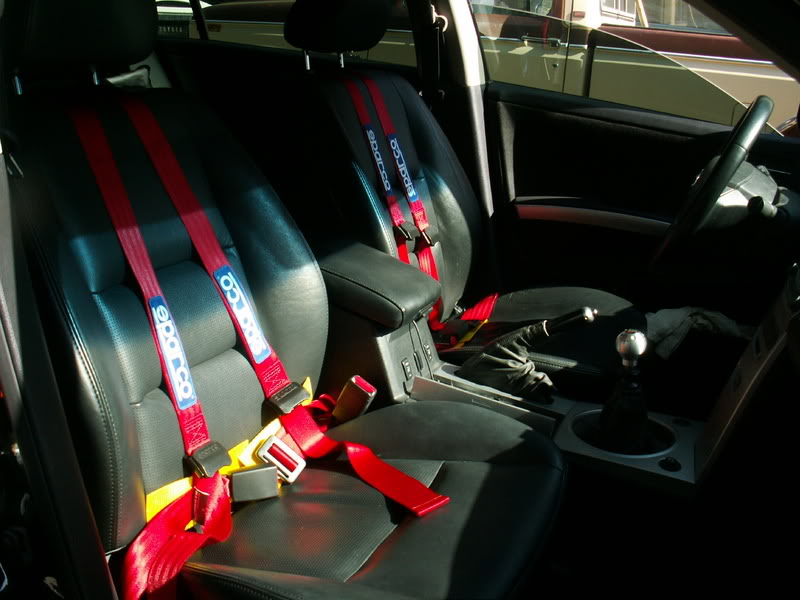
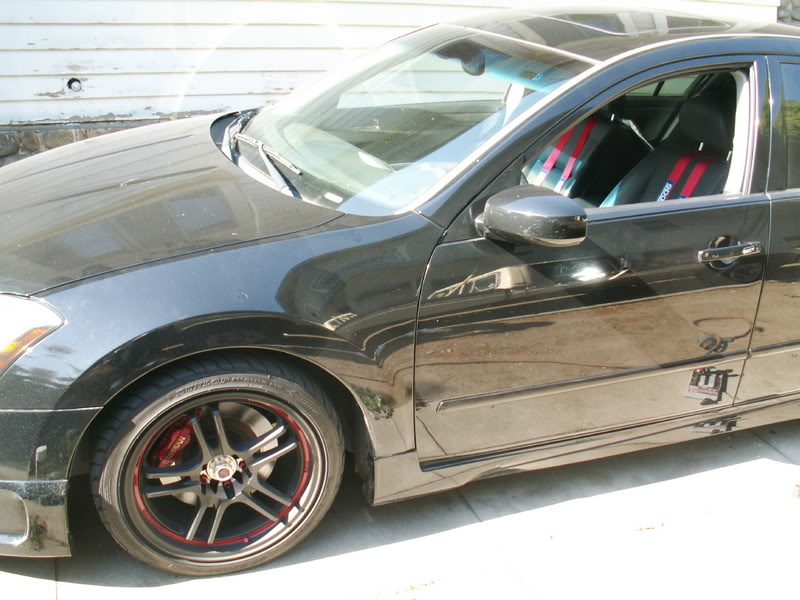
Since my car is built for performance and i do some autocrossing, I decided to install some four point harnesses. My local speed shop, CNC Motorsports, had some nice red Sparco 2 inch “street” type harnesses in stock.
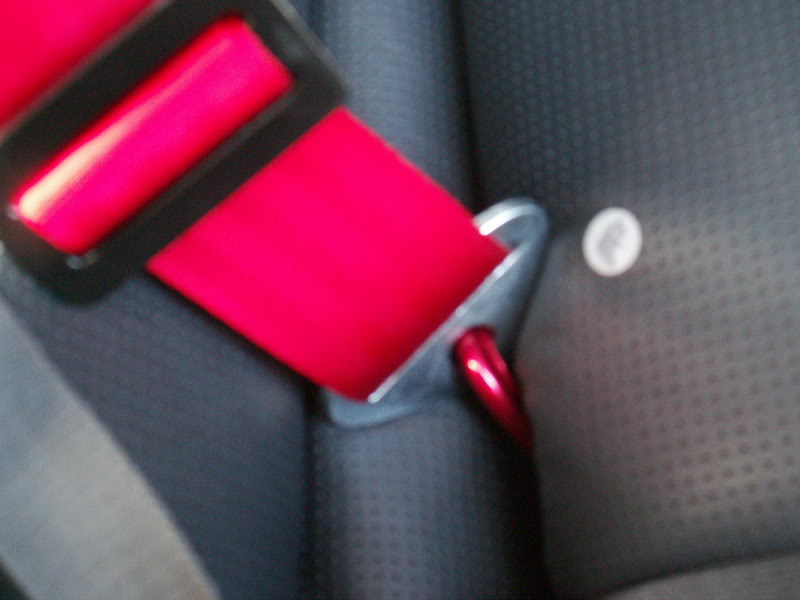
The lap belts were a straightforward install – left belt to left OEM belt position, and right lap belt bolted to seat rail bolt. After much discussion, I decided to bolt the rear belts to the hidden child seat restraining loops sandwiched between the upper and lower sections of the rear seats.
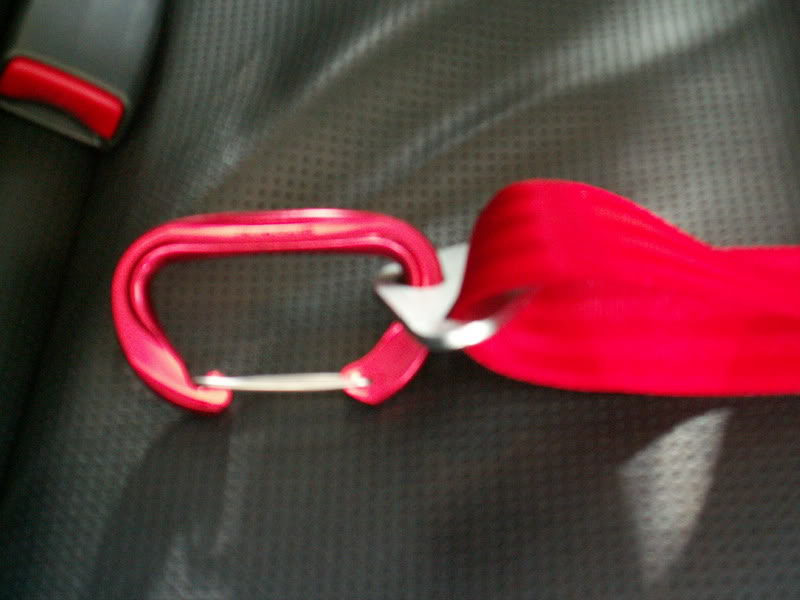
I got the sturdiest carabiner I could find, that wasn’t too huge. Then it simply clips to the rear child seat loops like so:
The rears detach very quickly by unclipping the carabiners. When you drive with harnesses on, its much easier to do spirited driving without sliding all over the place. I love the secure feeling.
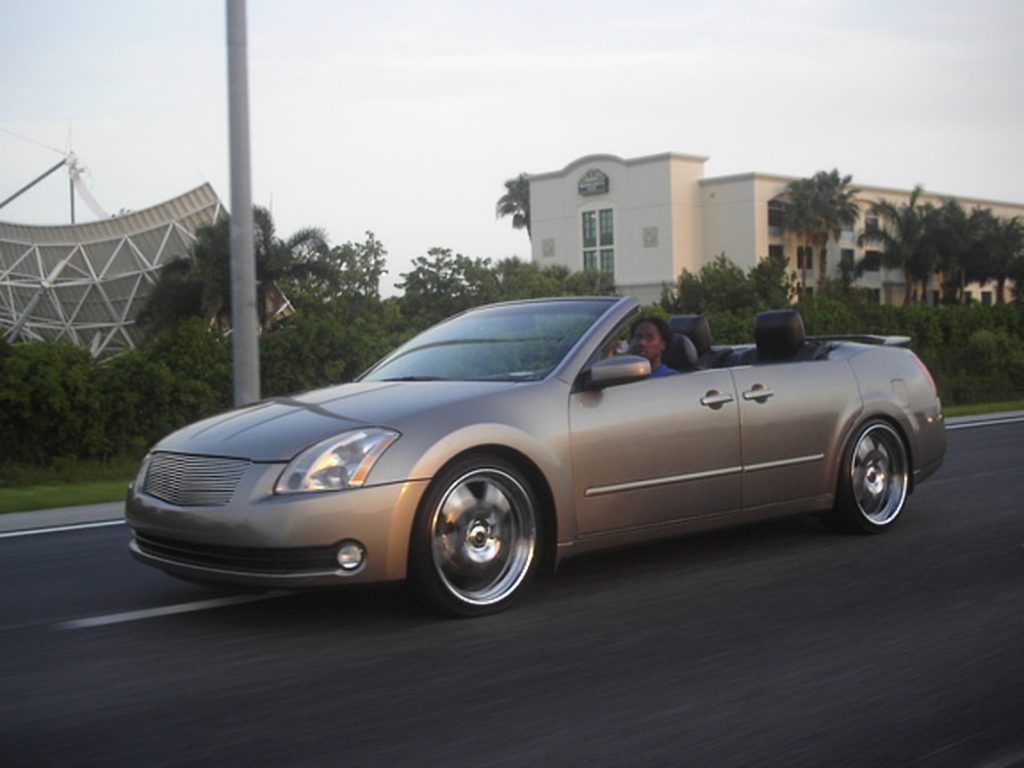
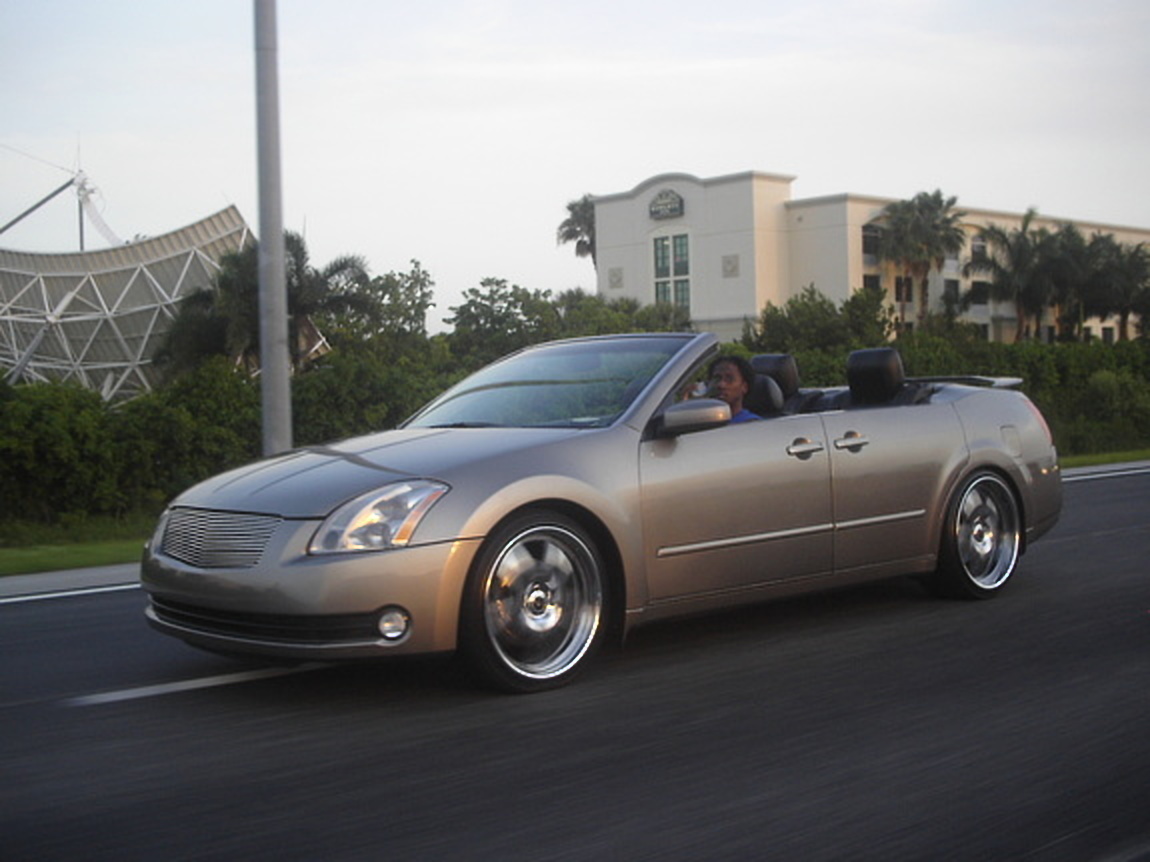
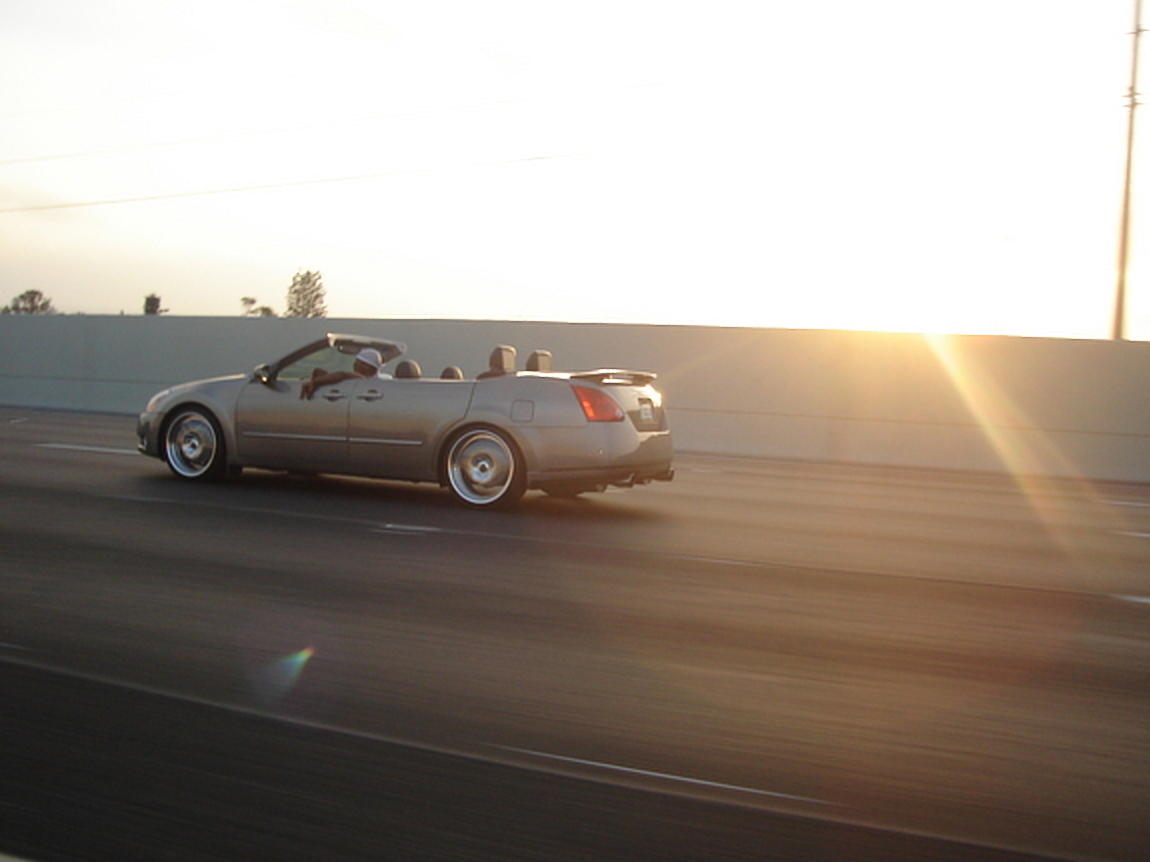
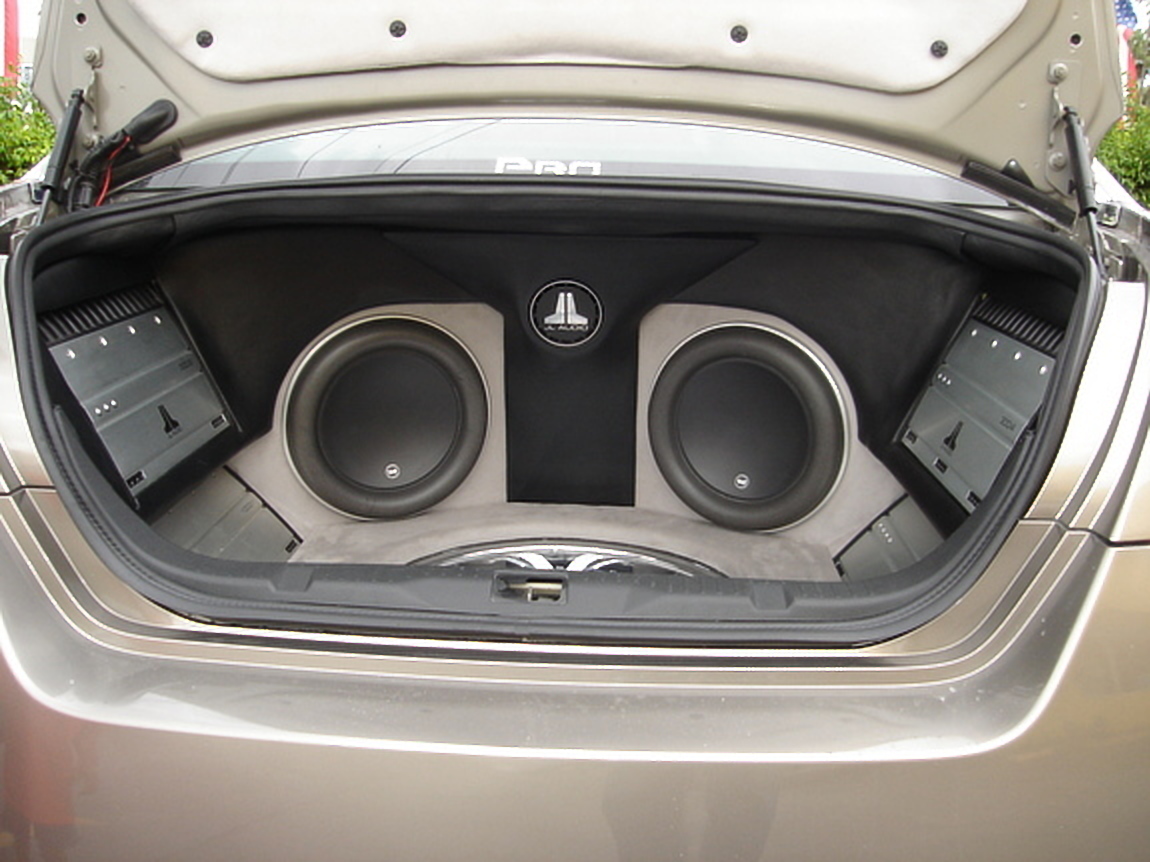
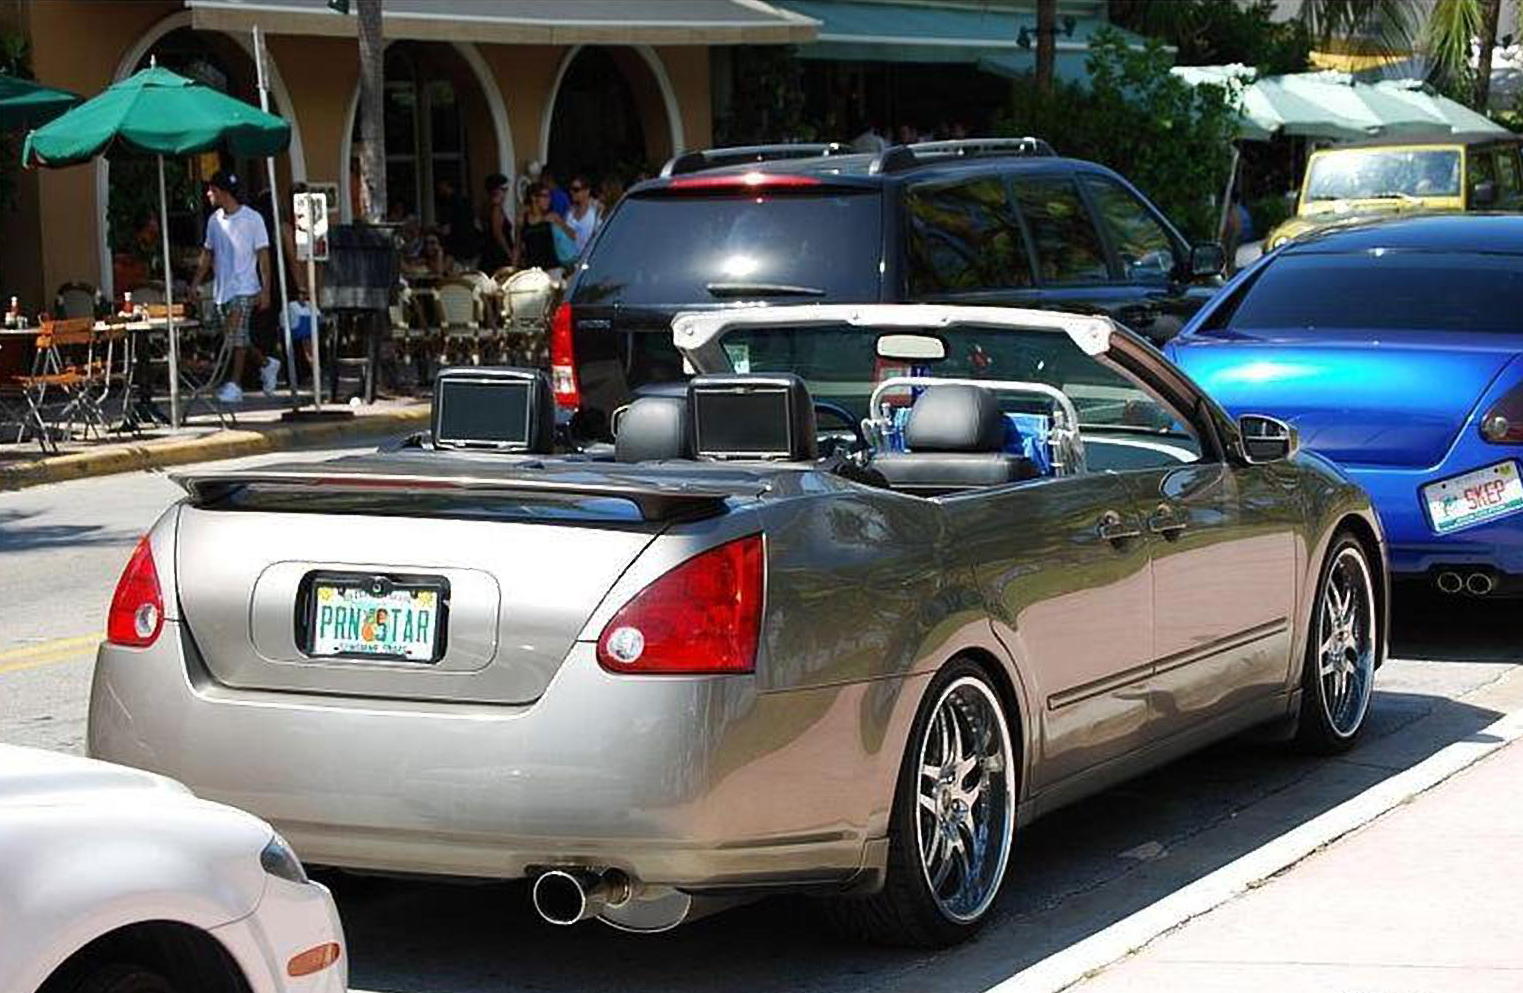
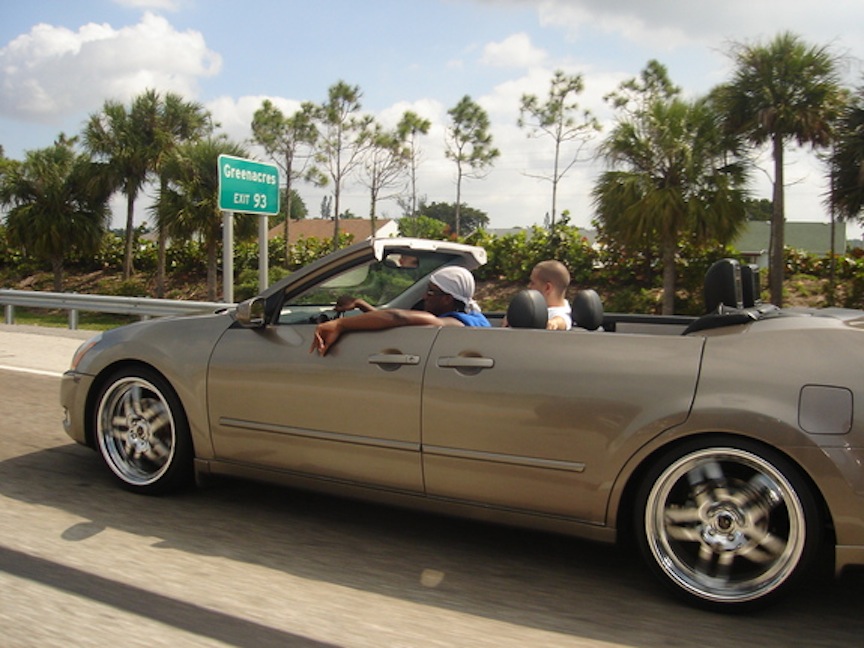
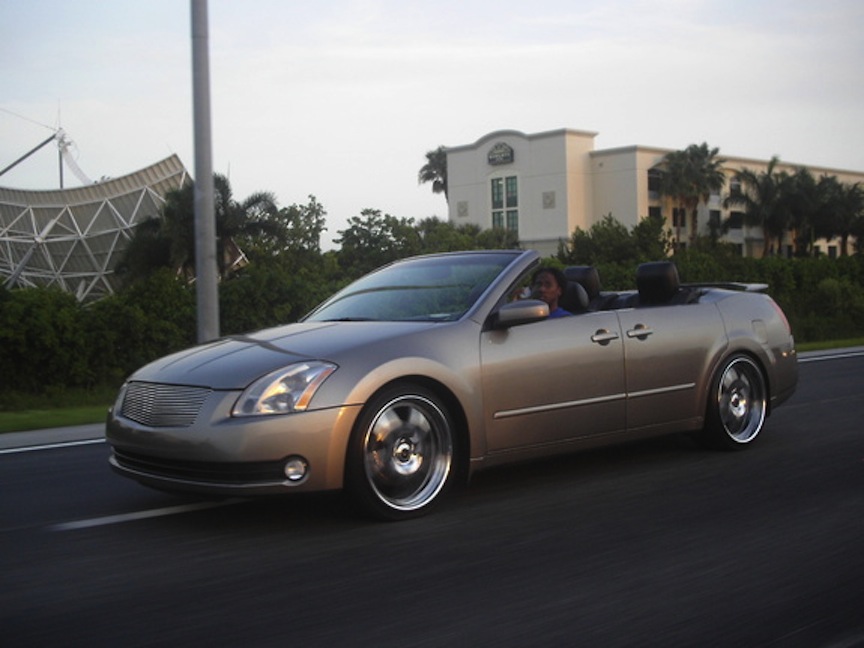
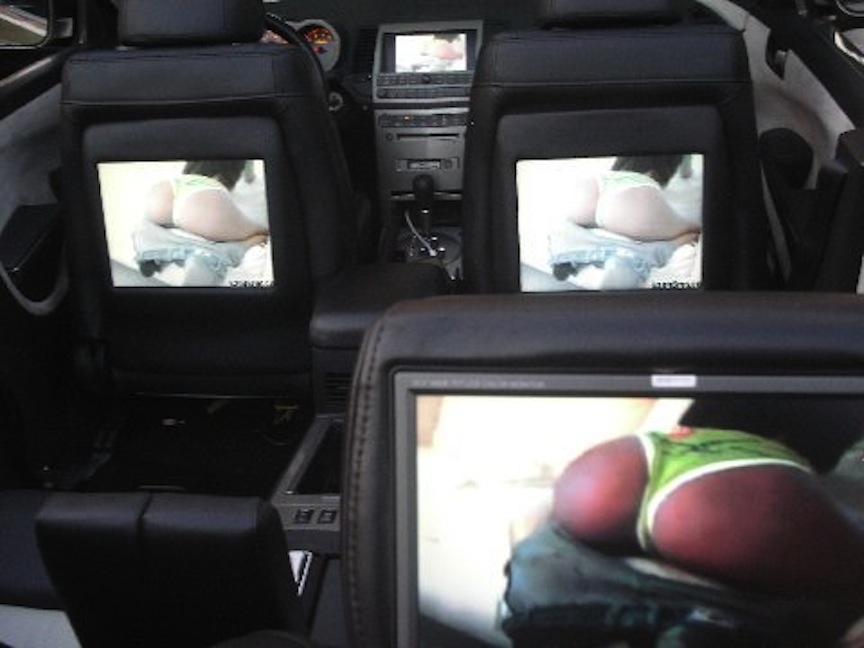
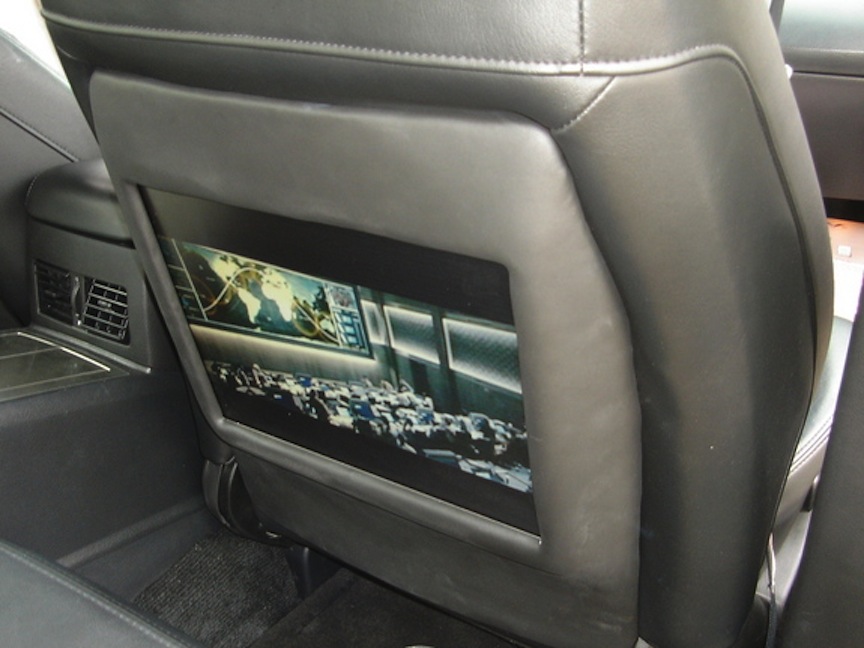
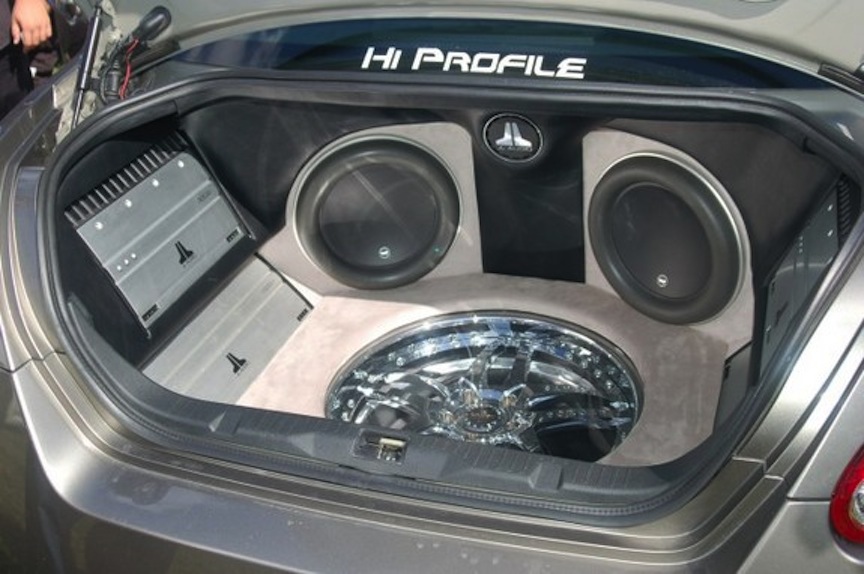
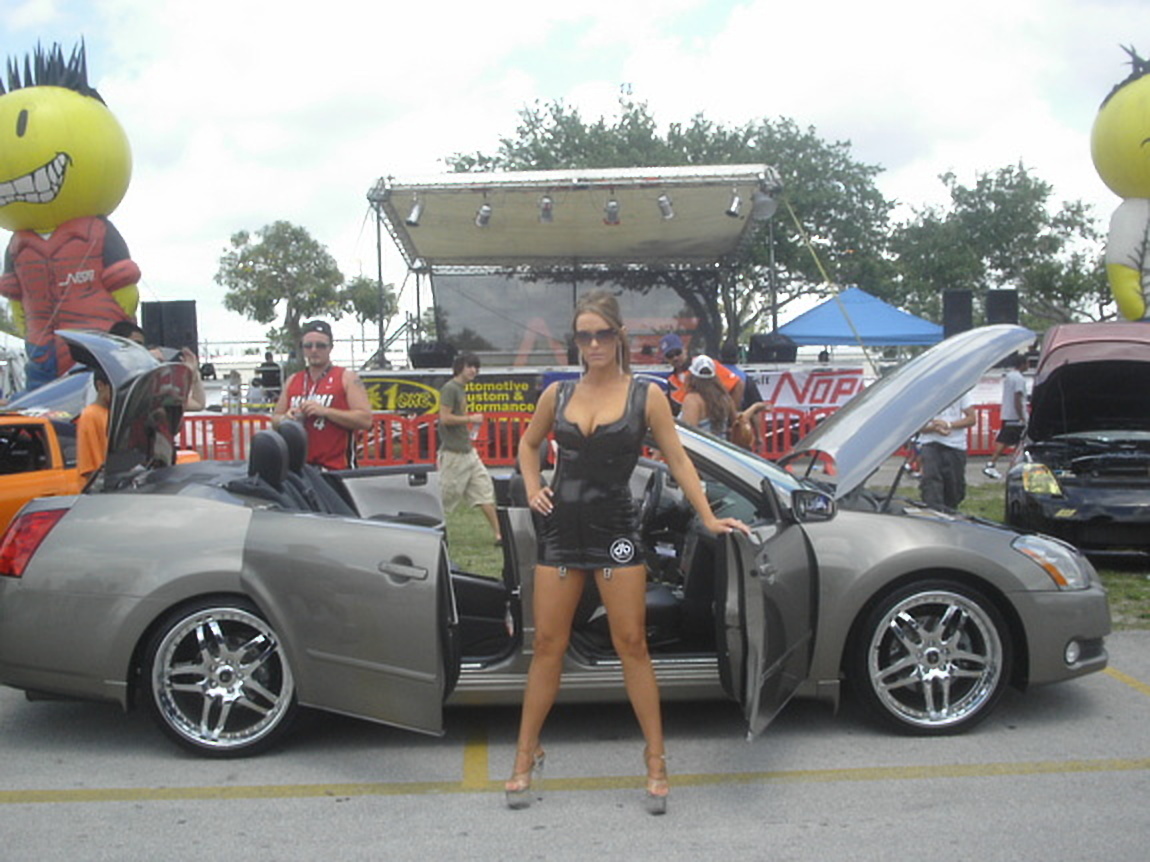
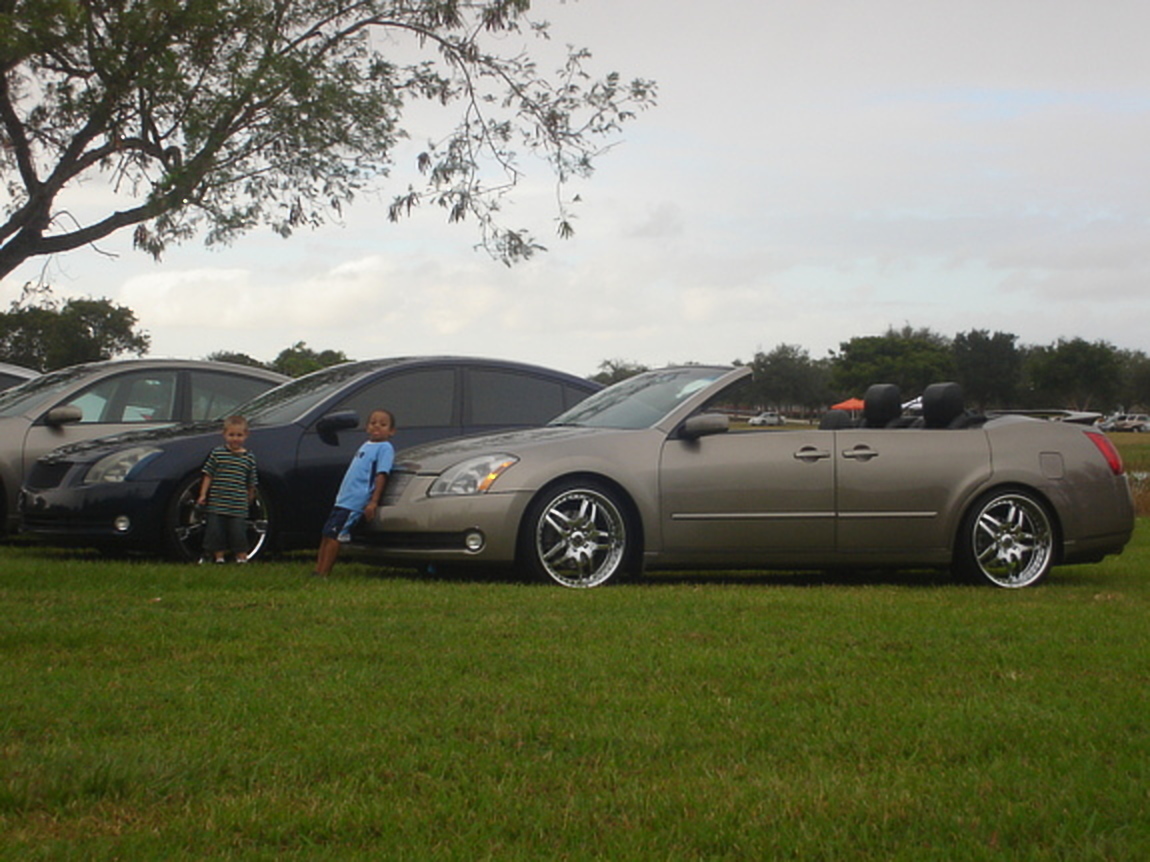
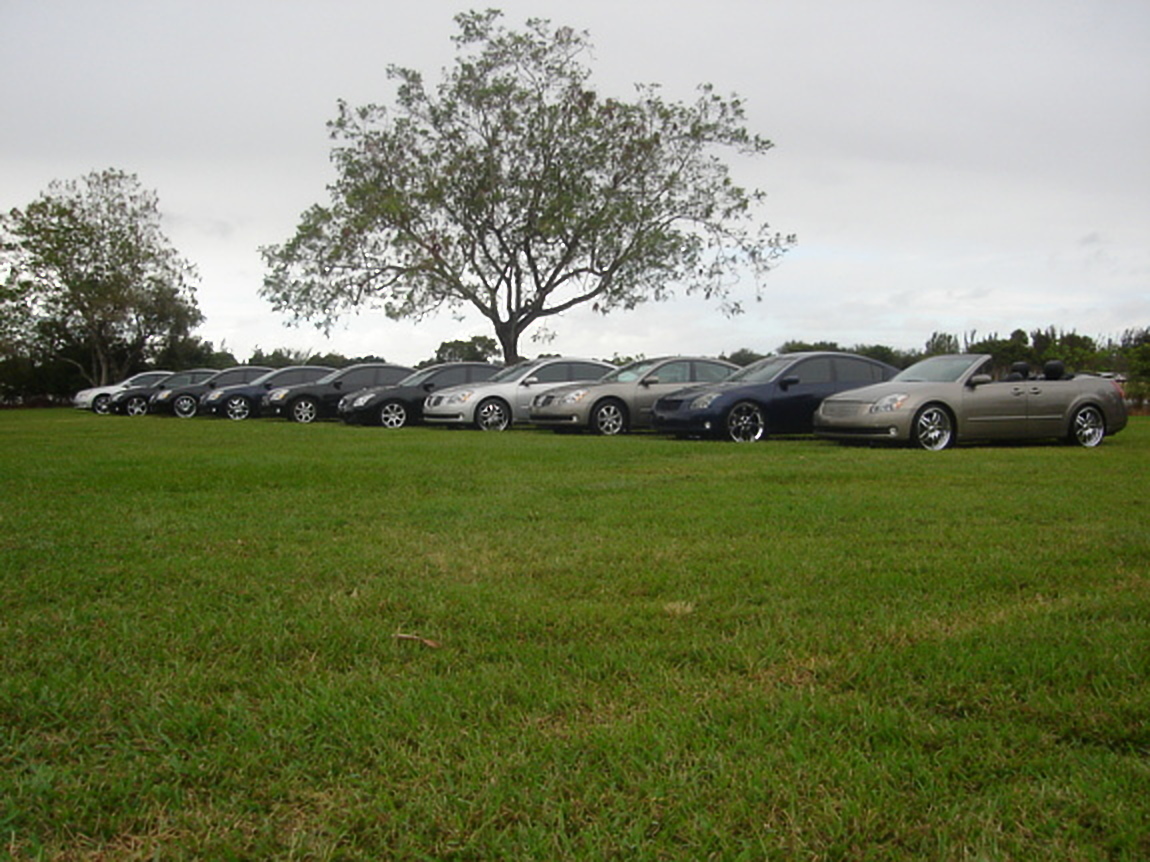
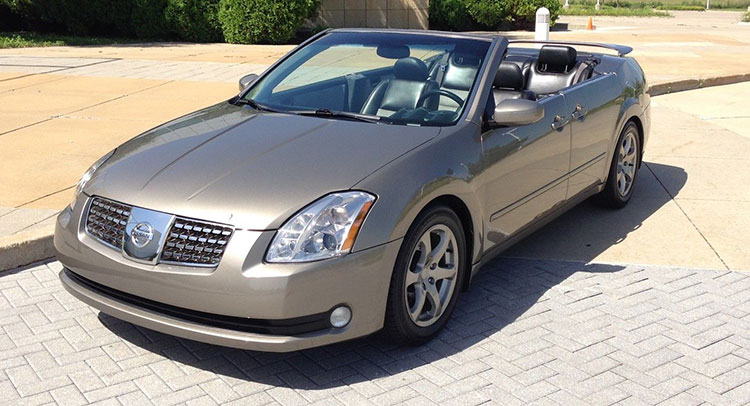
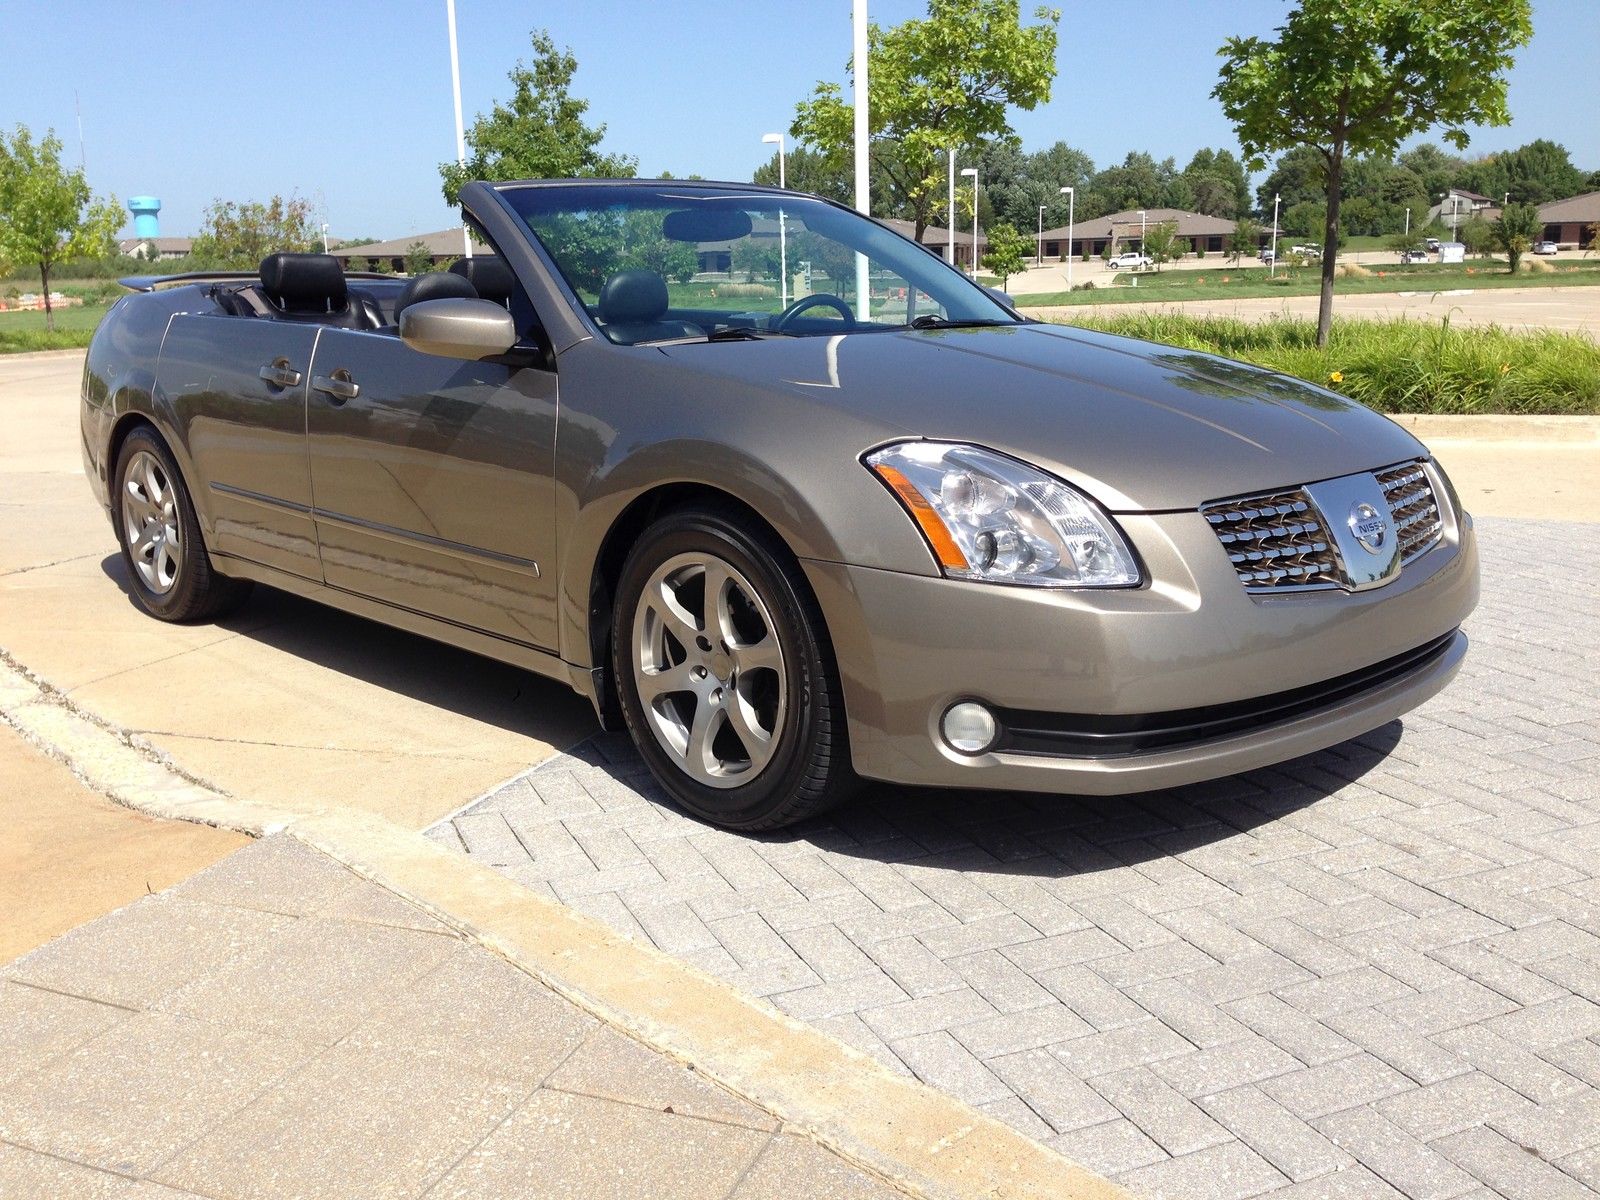
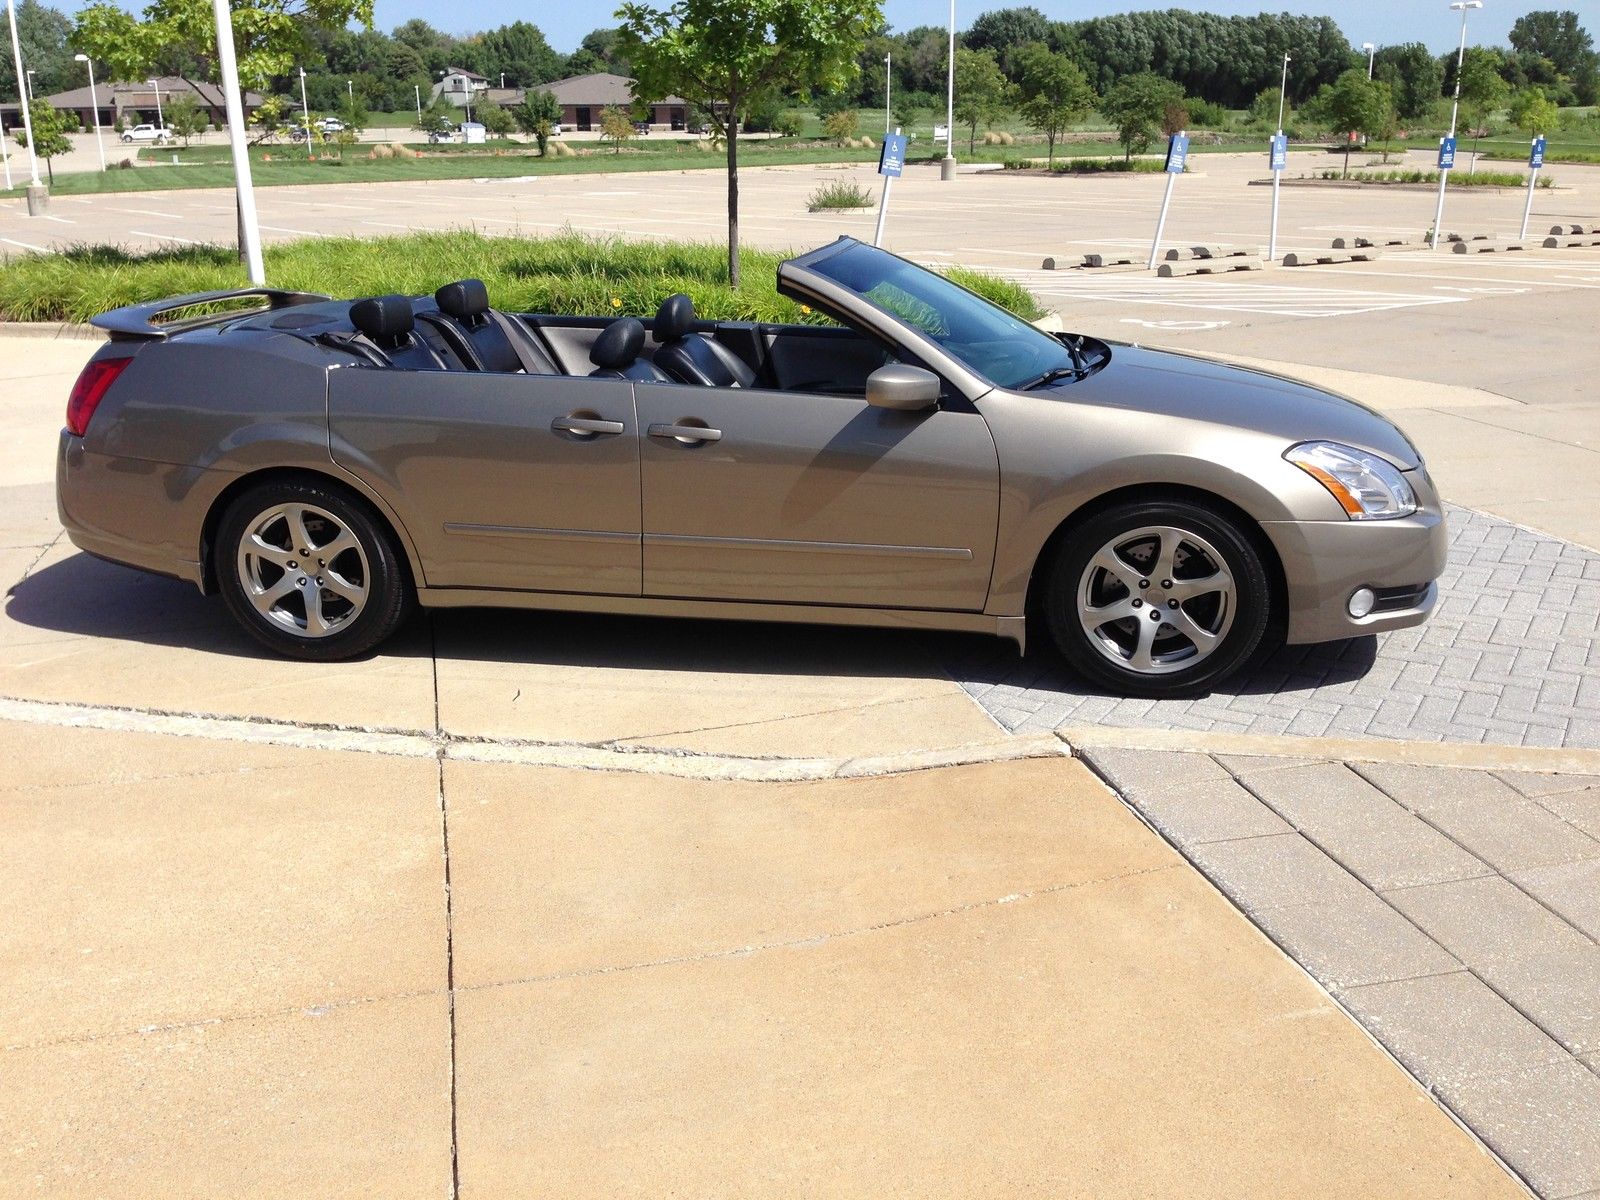
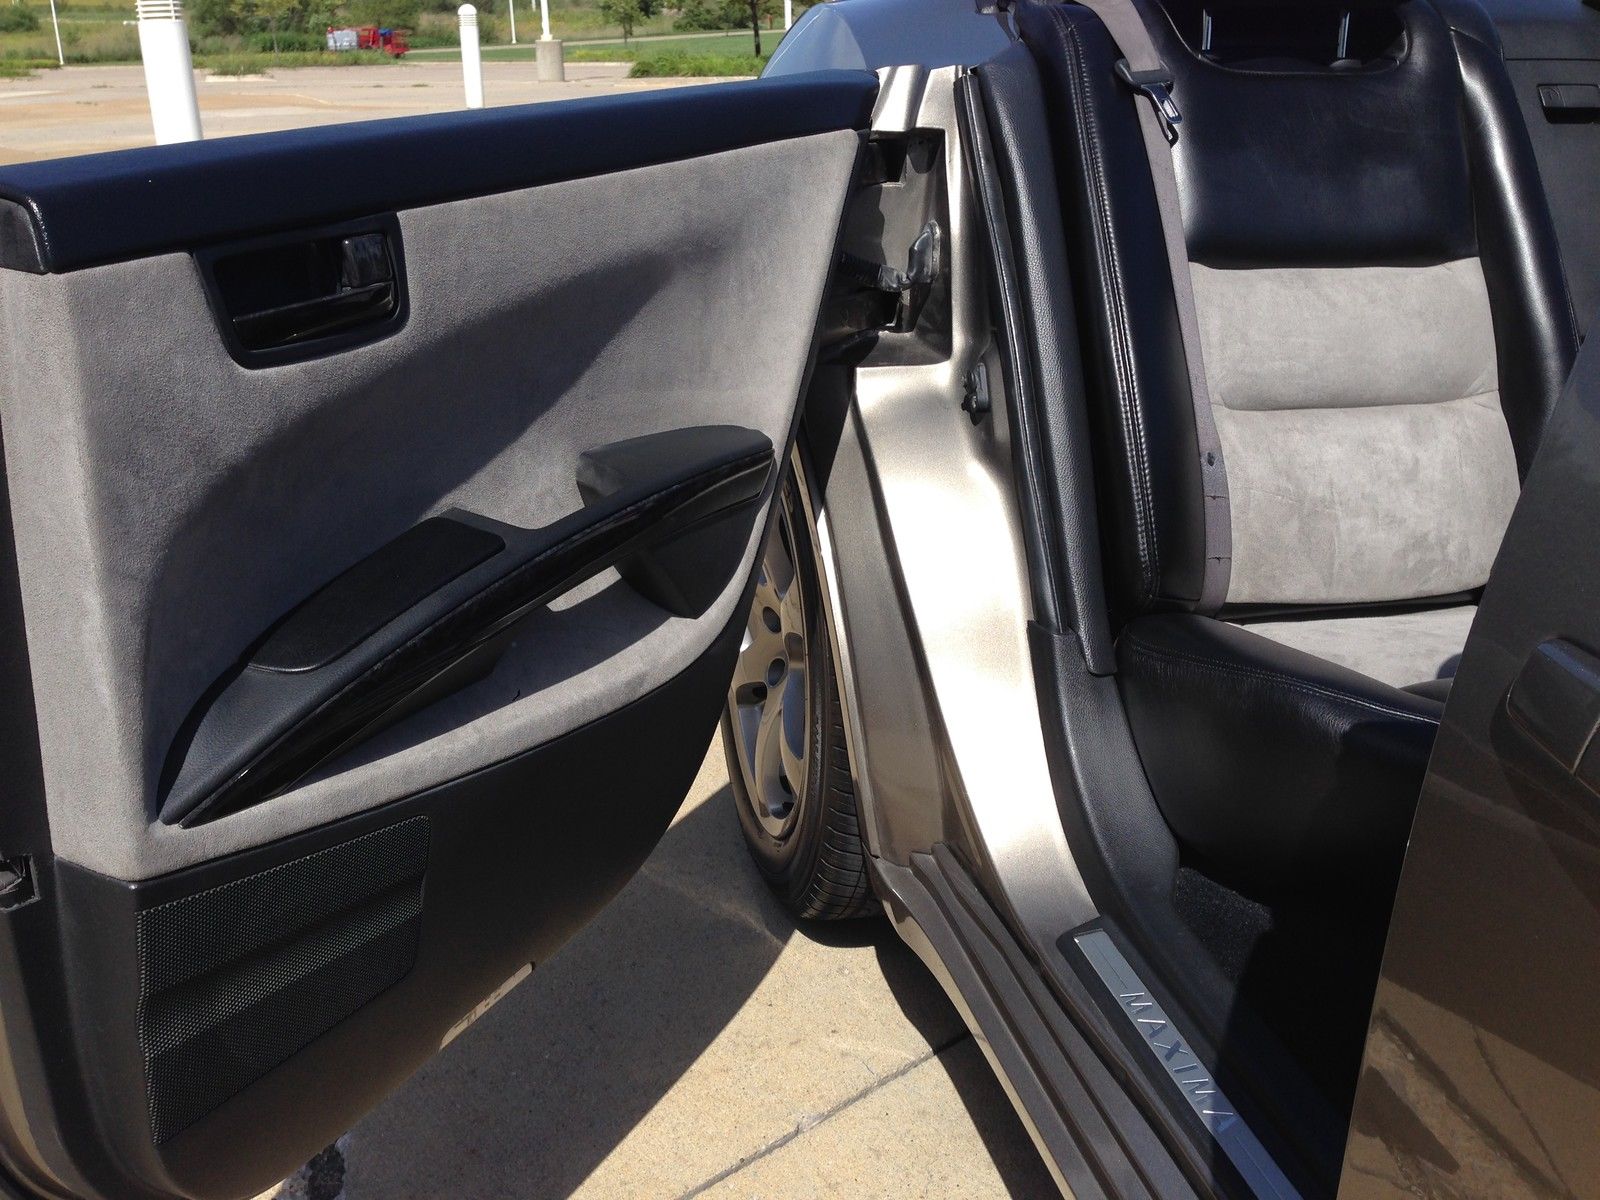
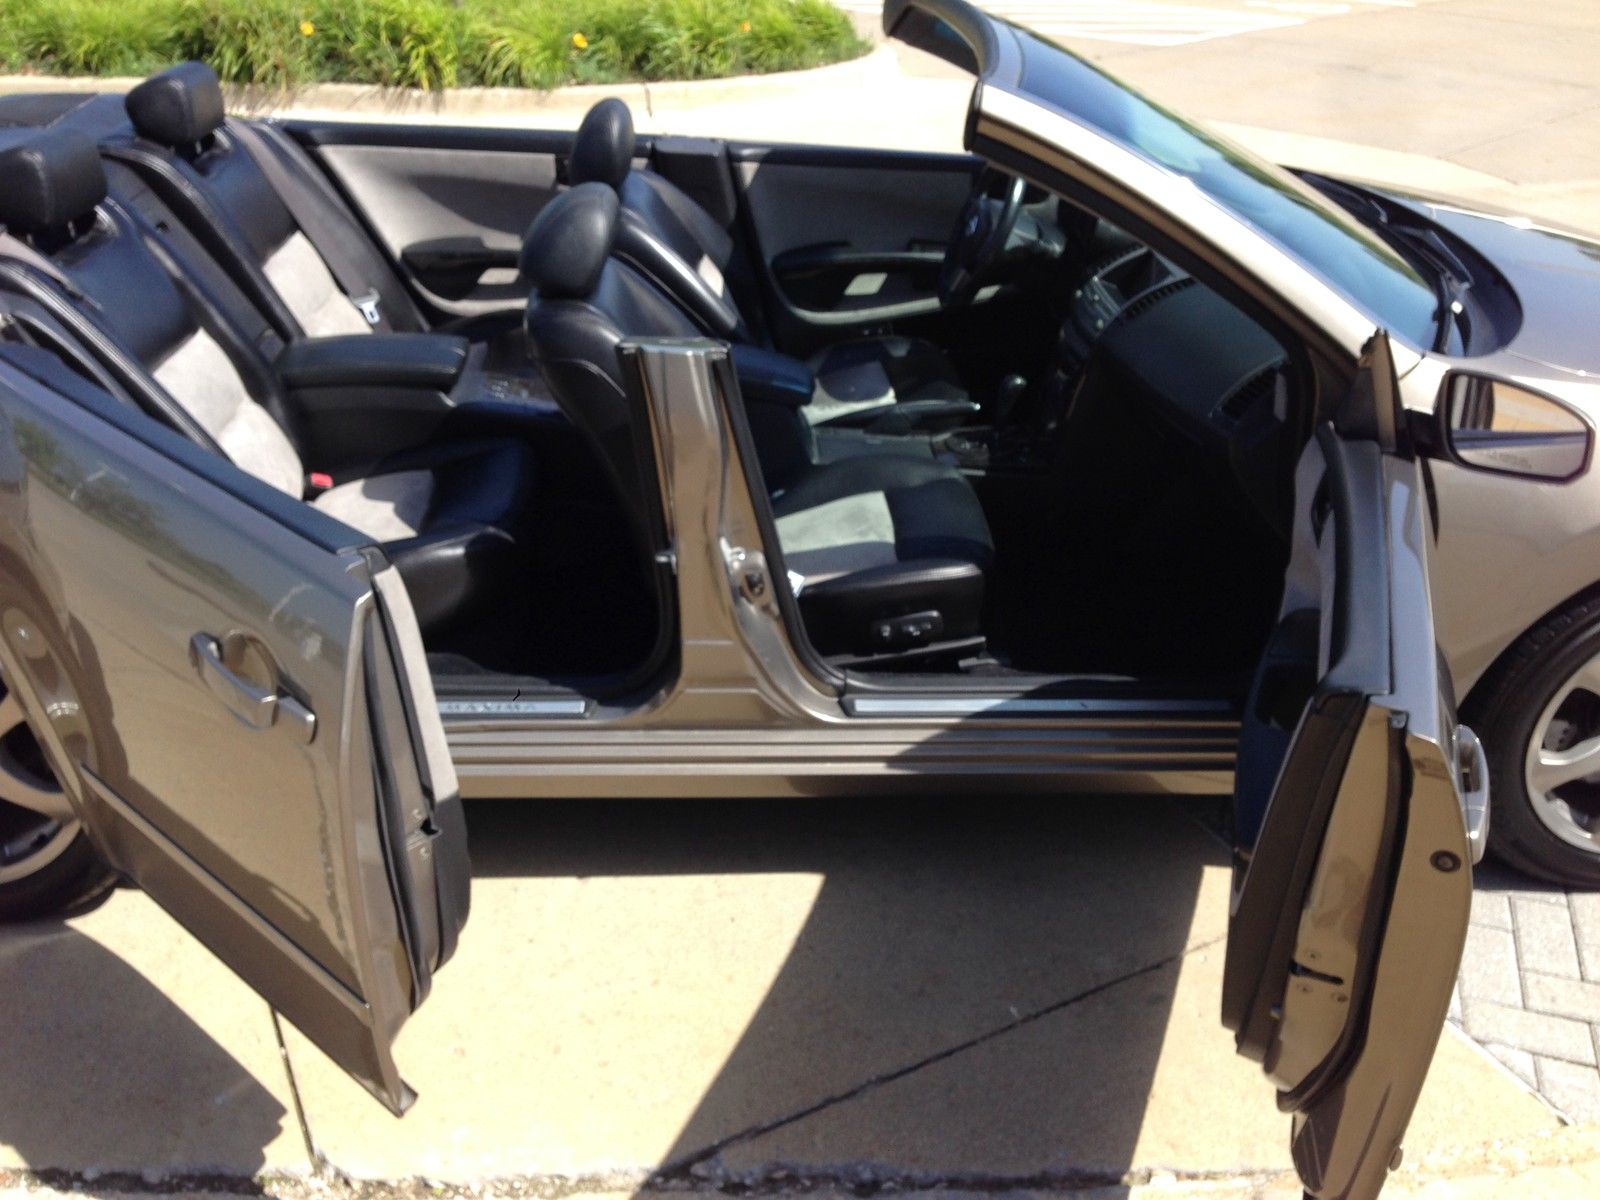
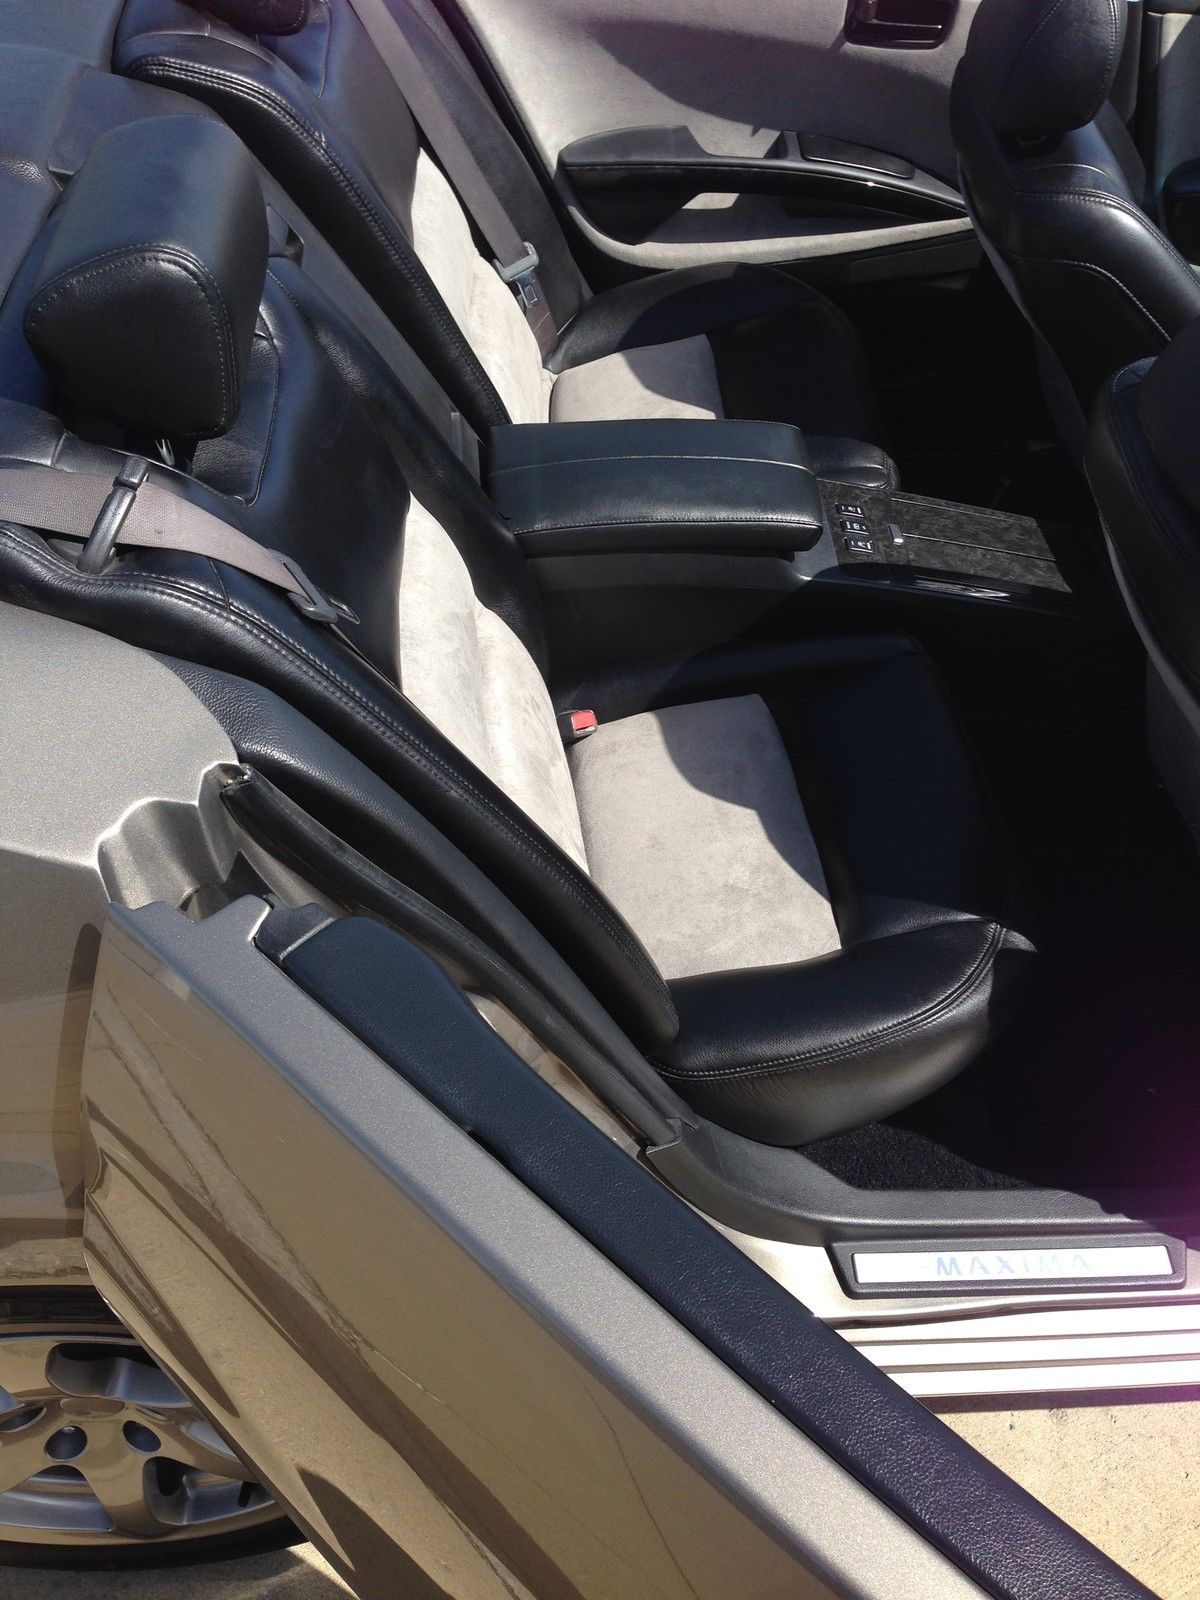
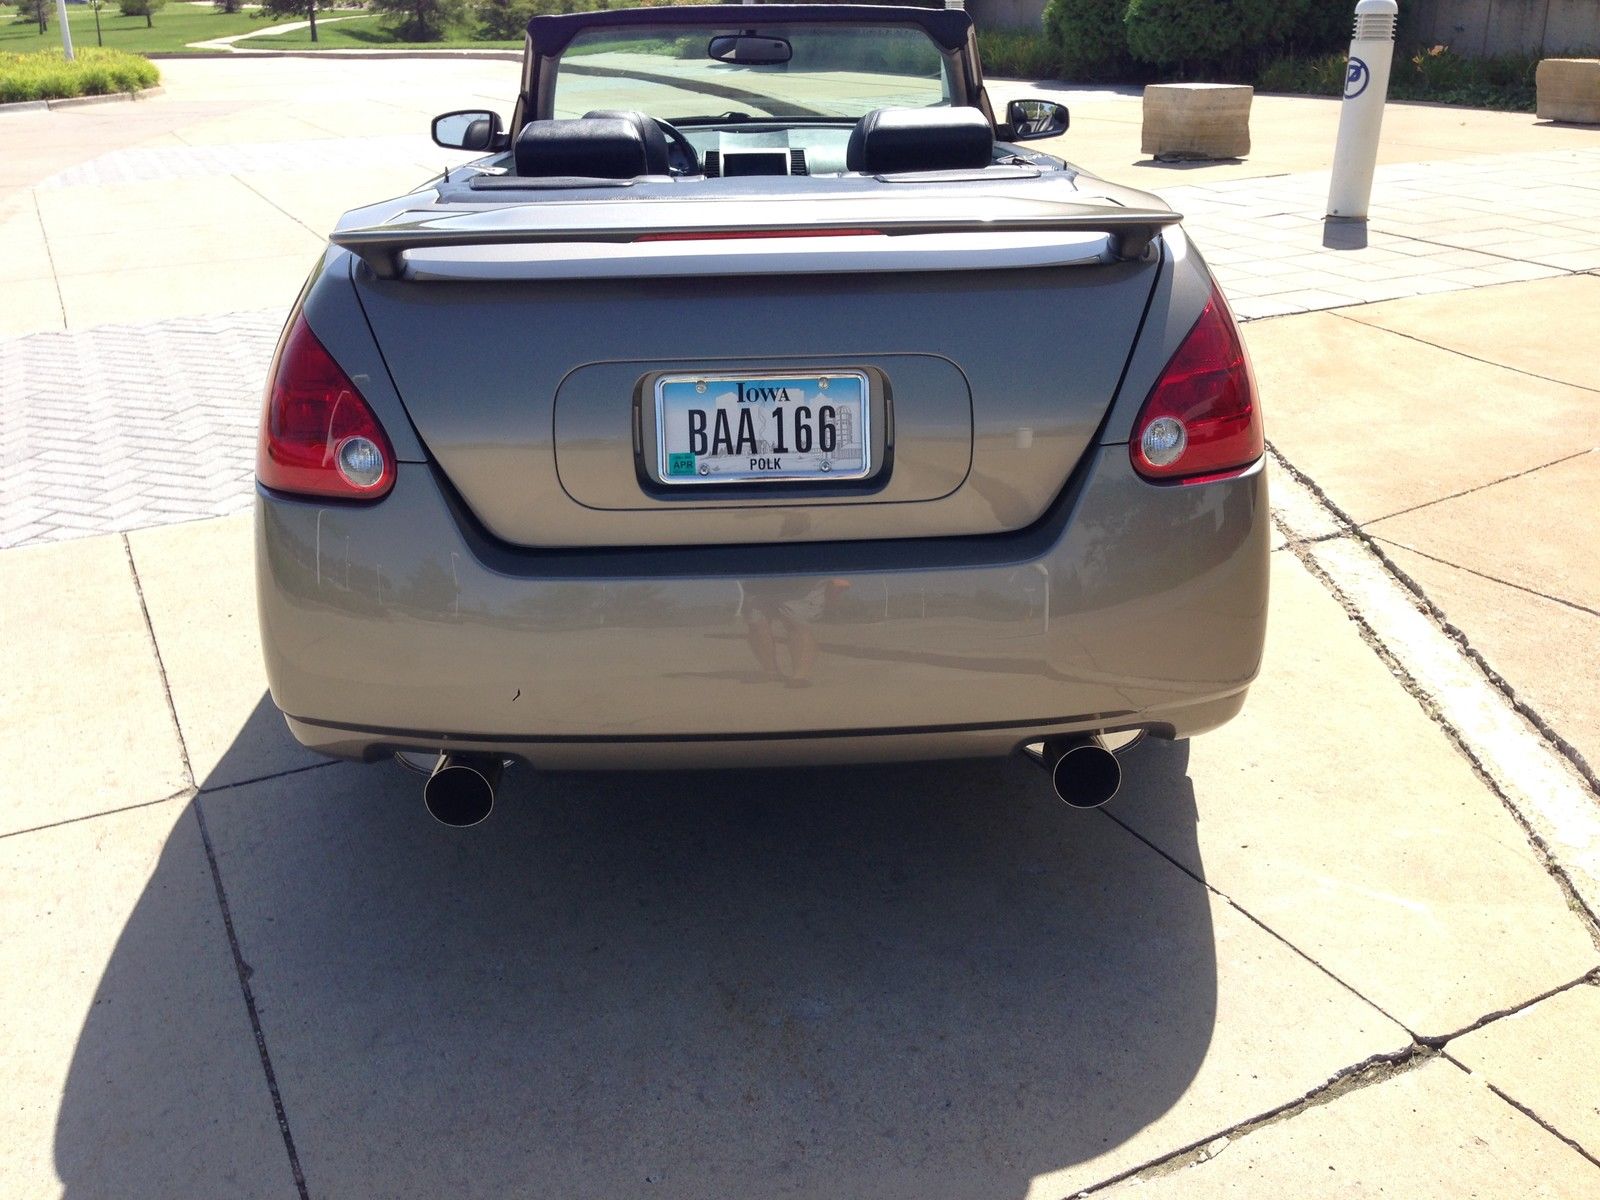
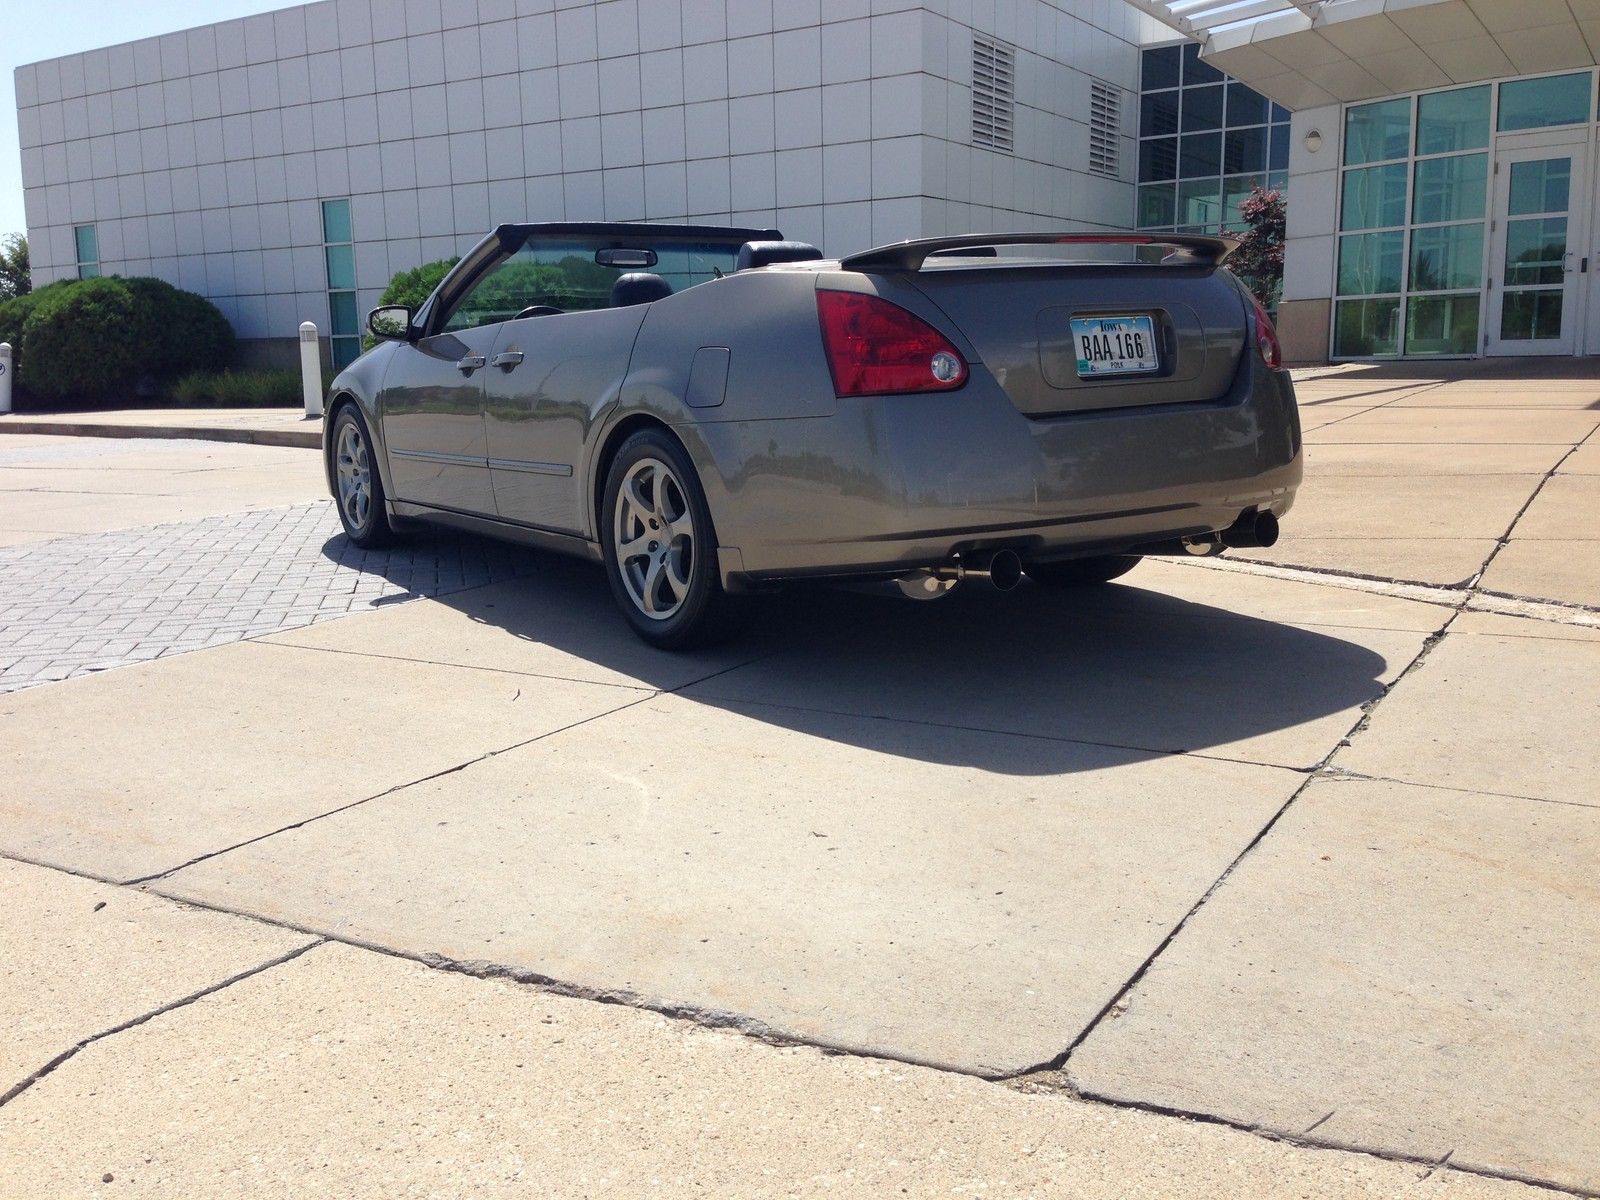
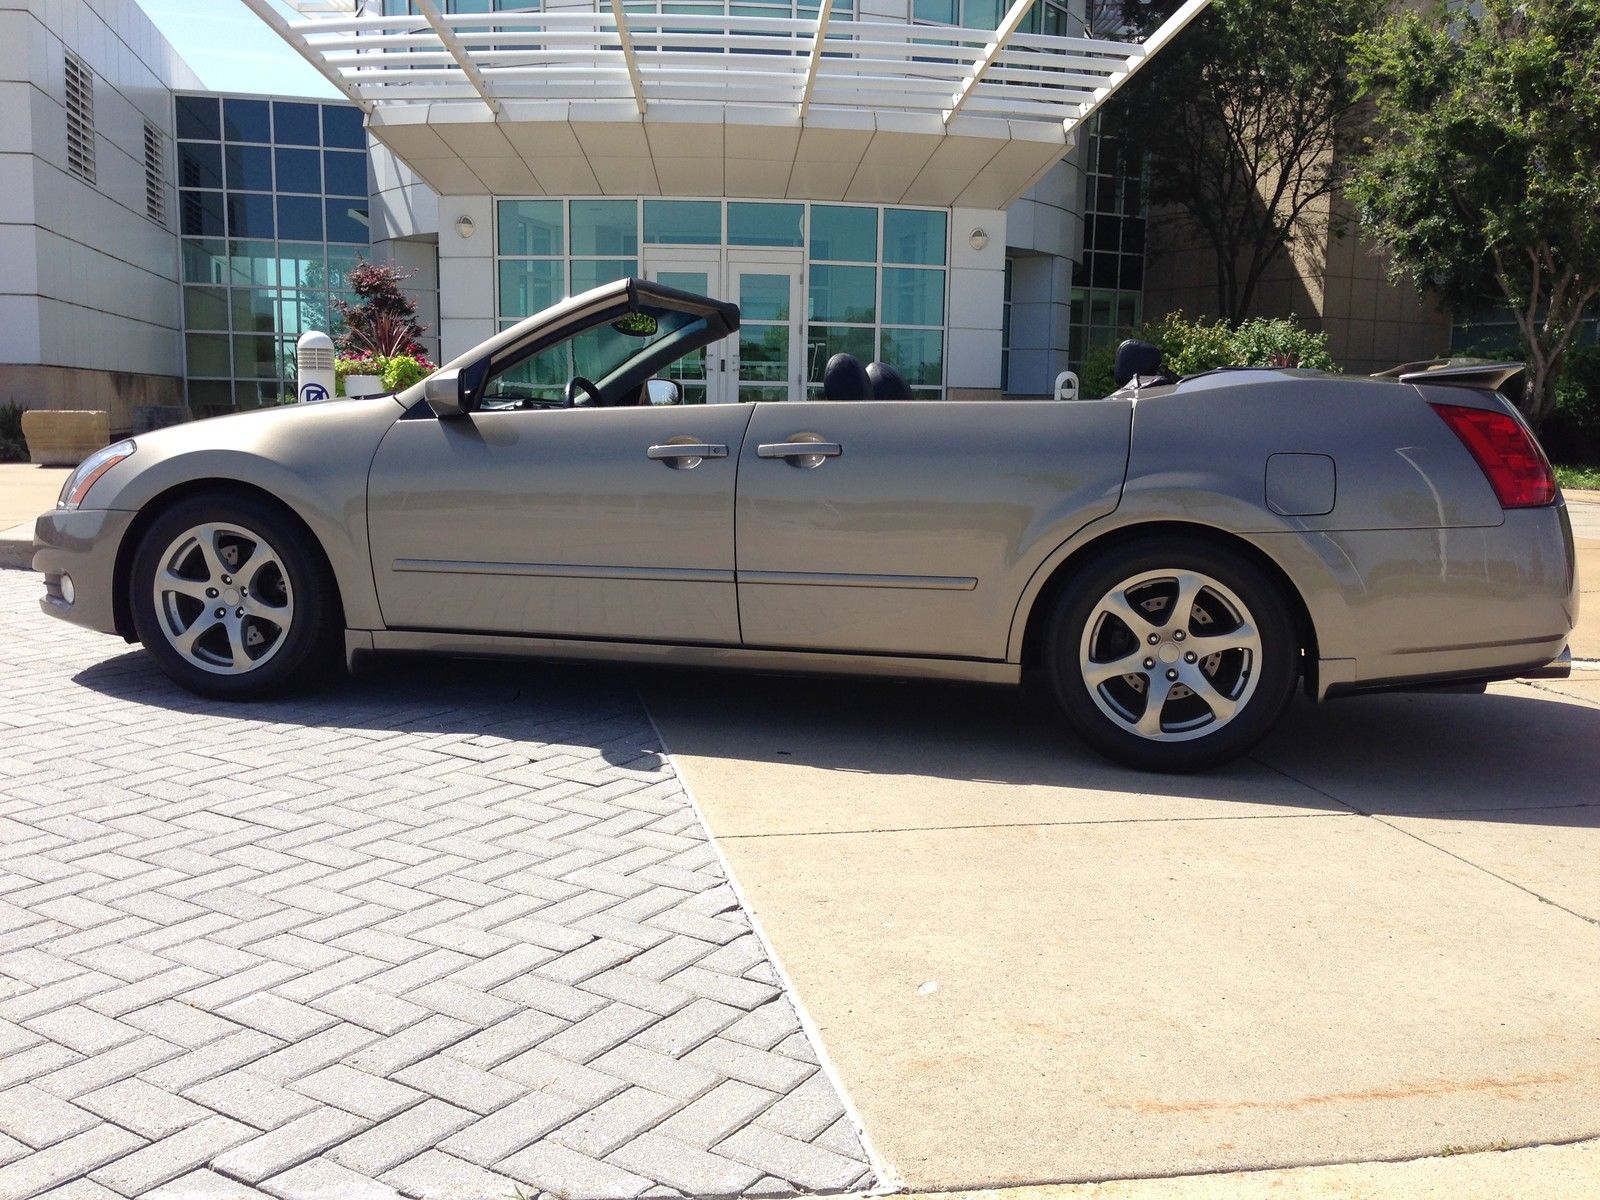
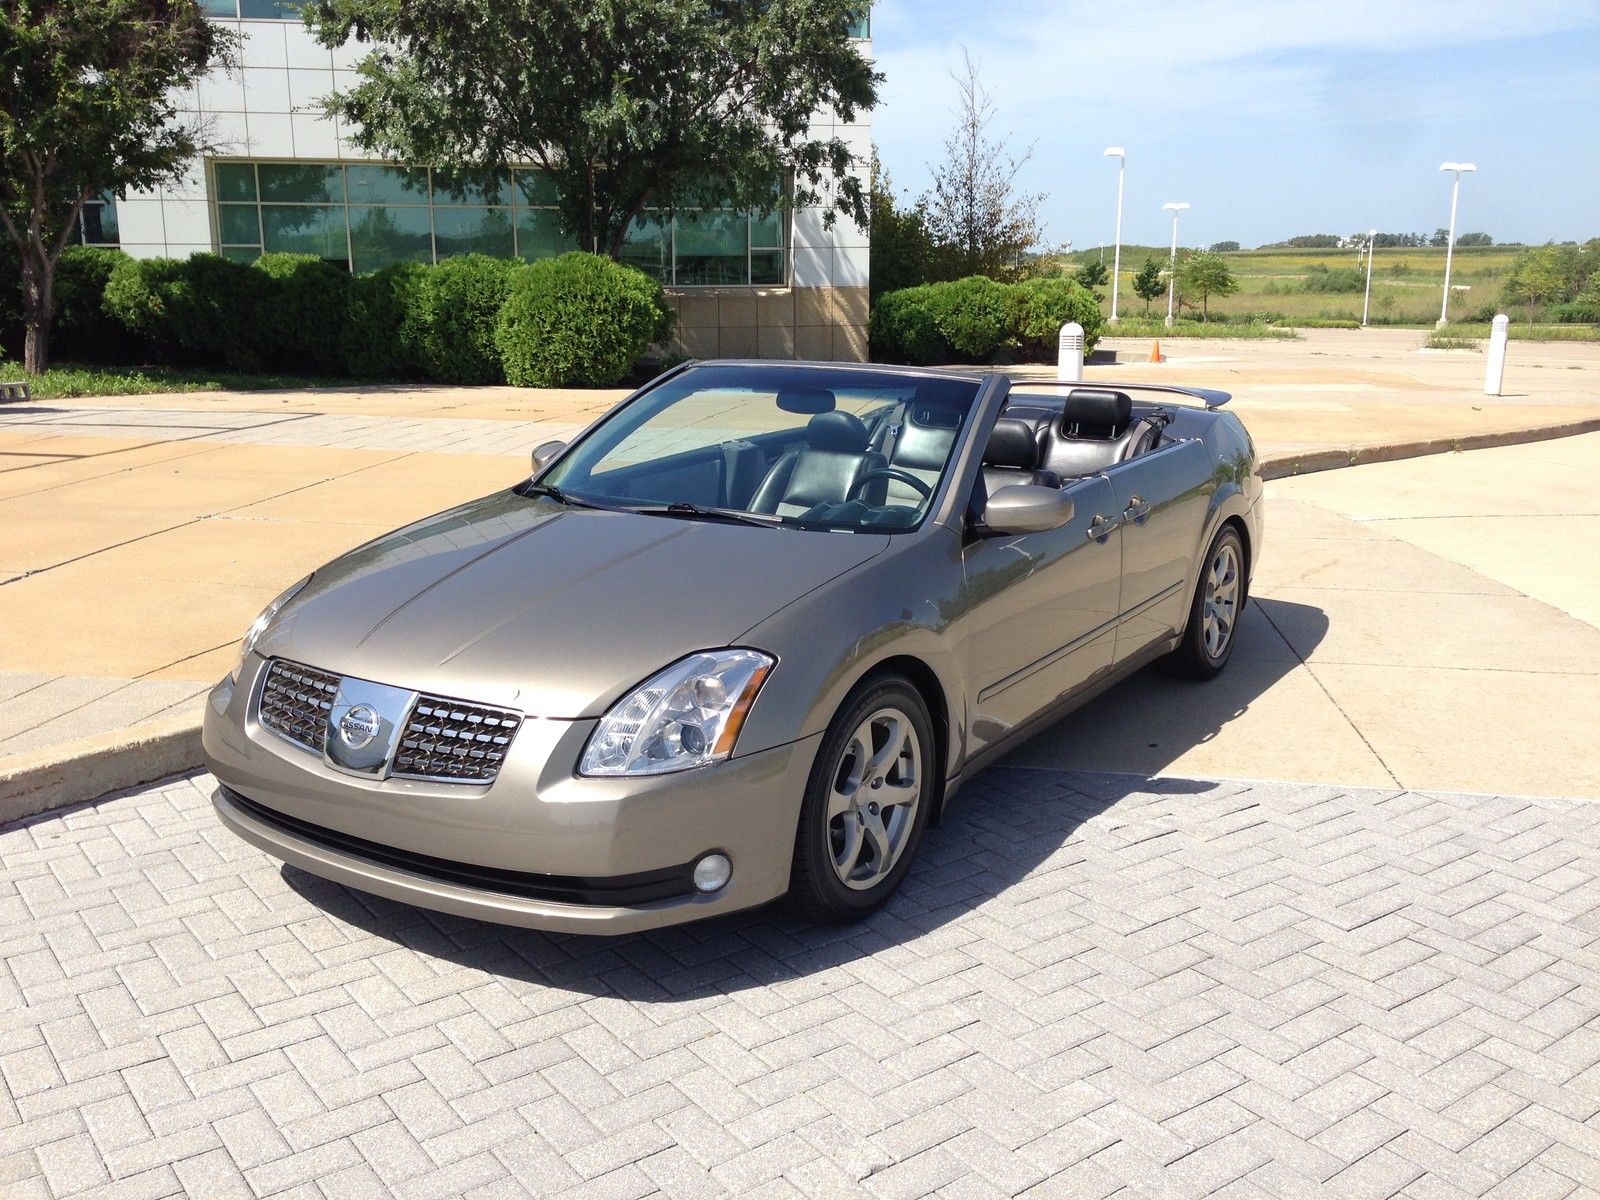
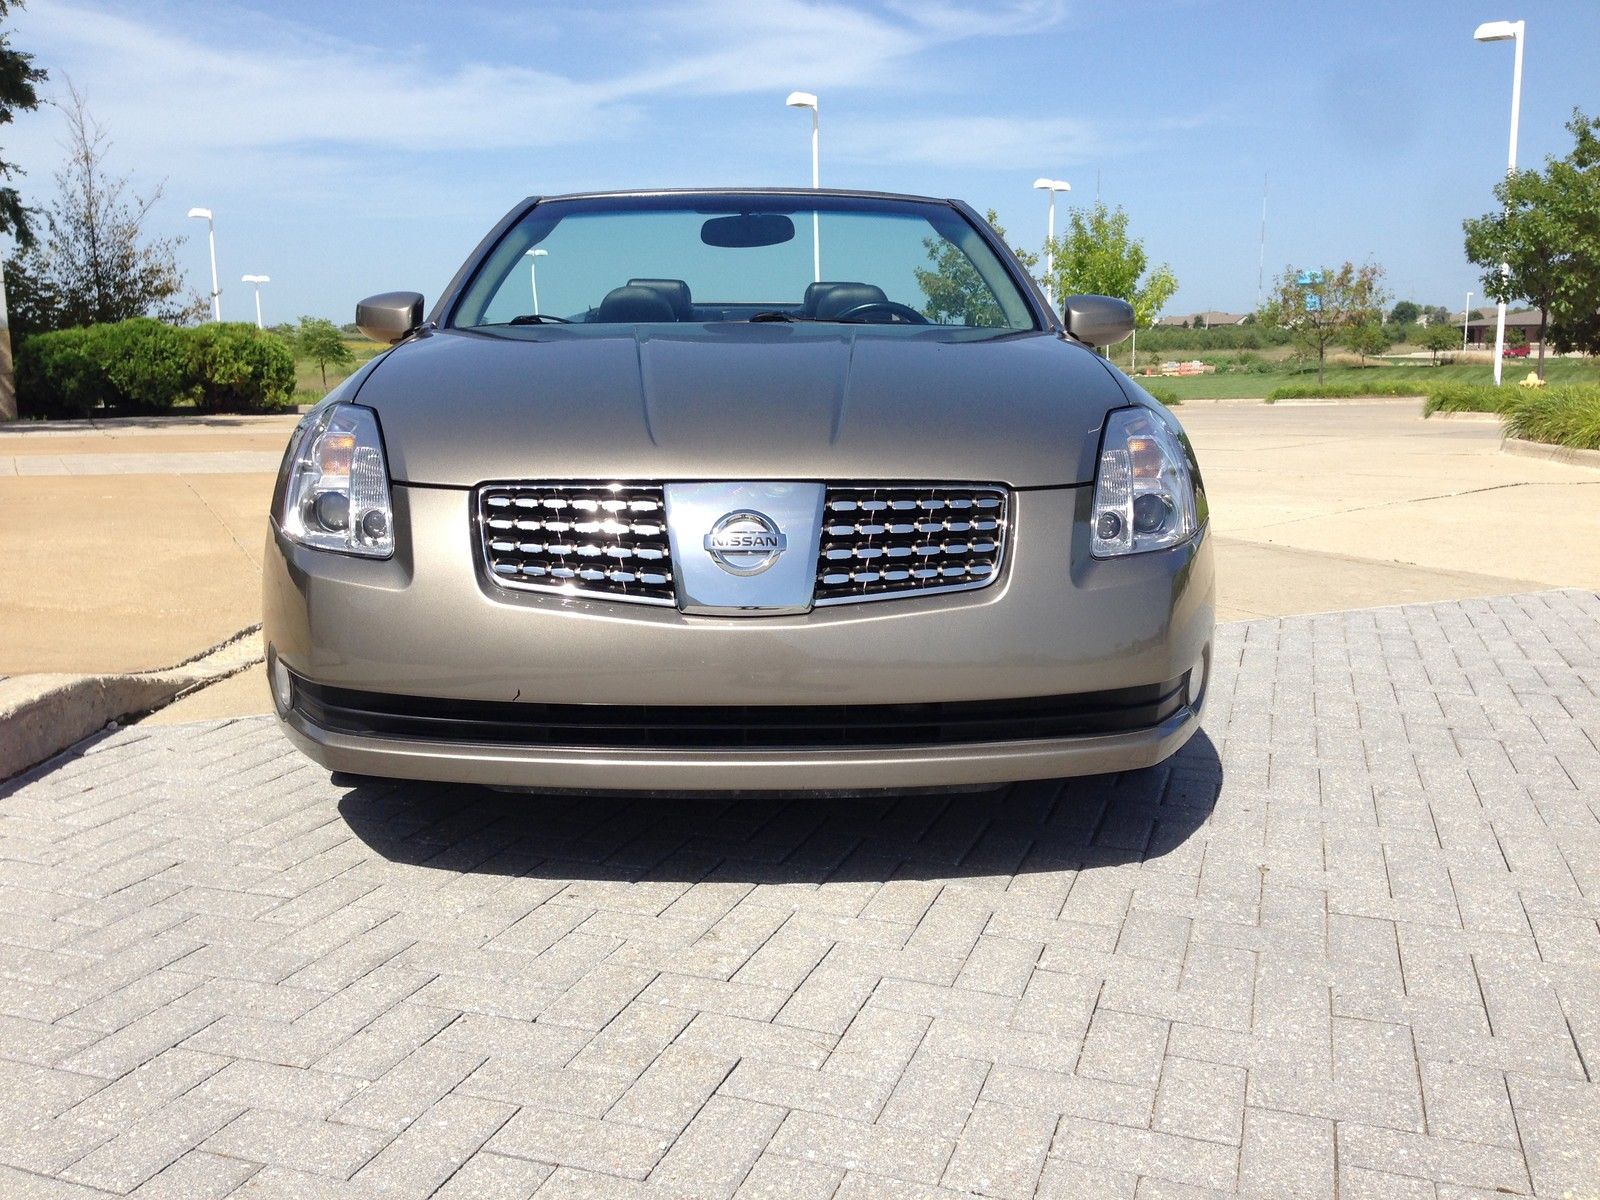
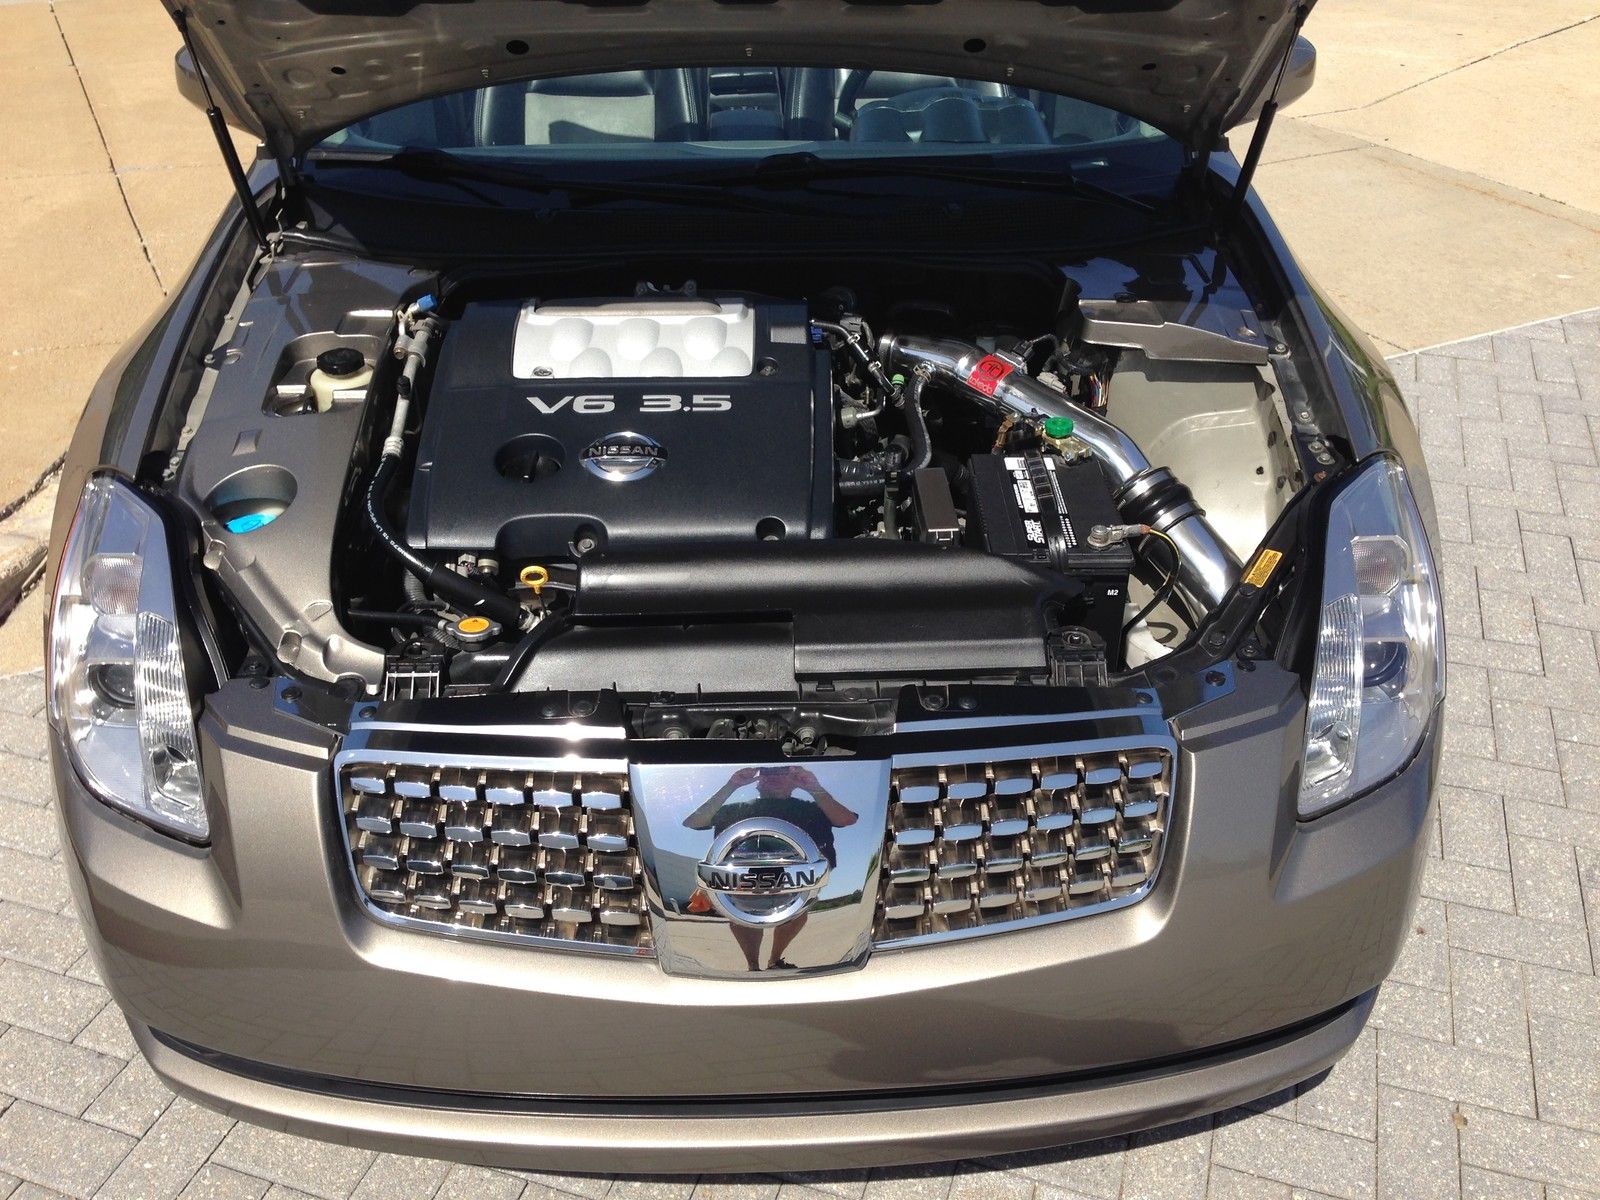
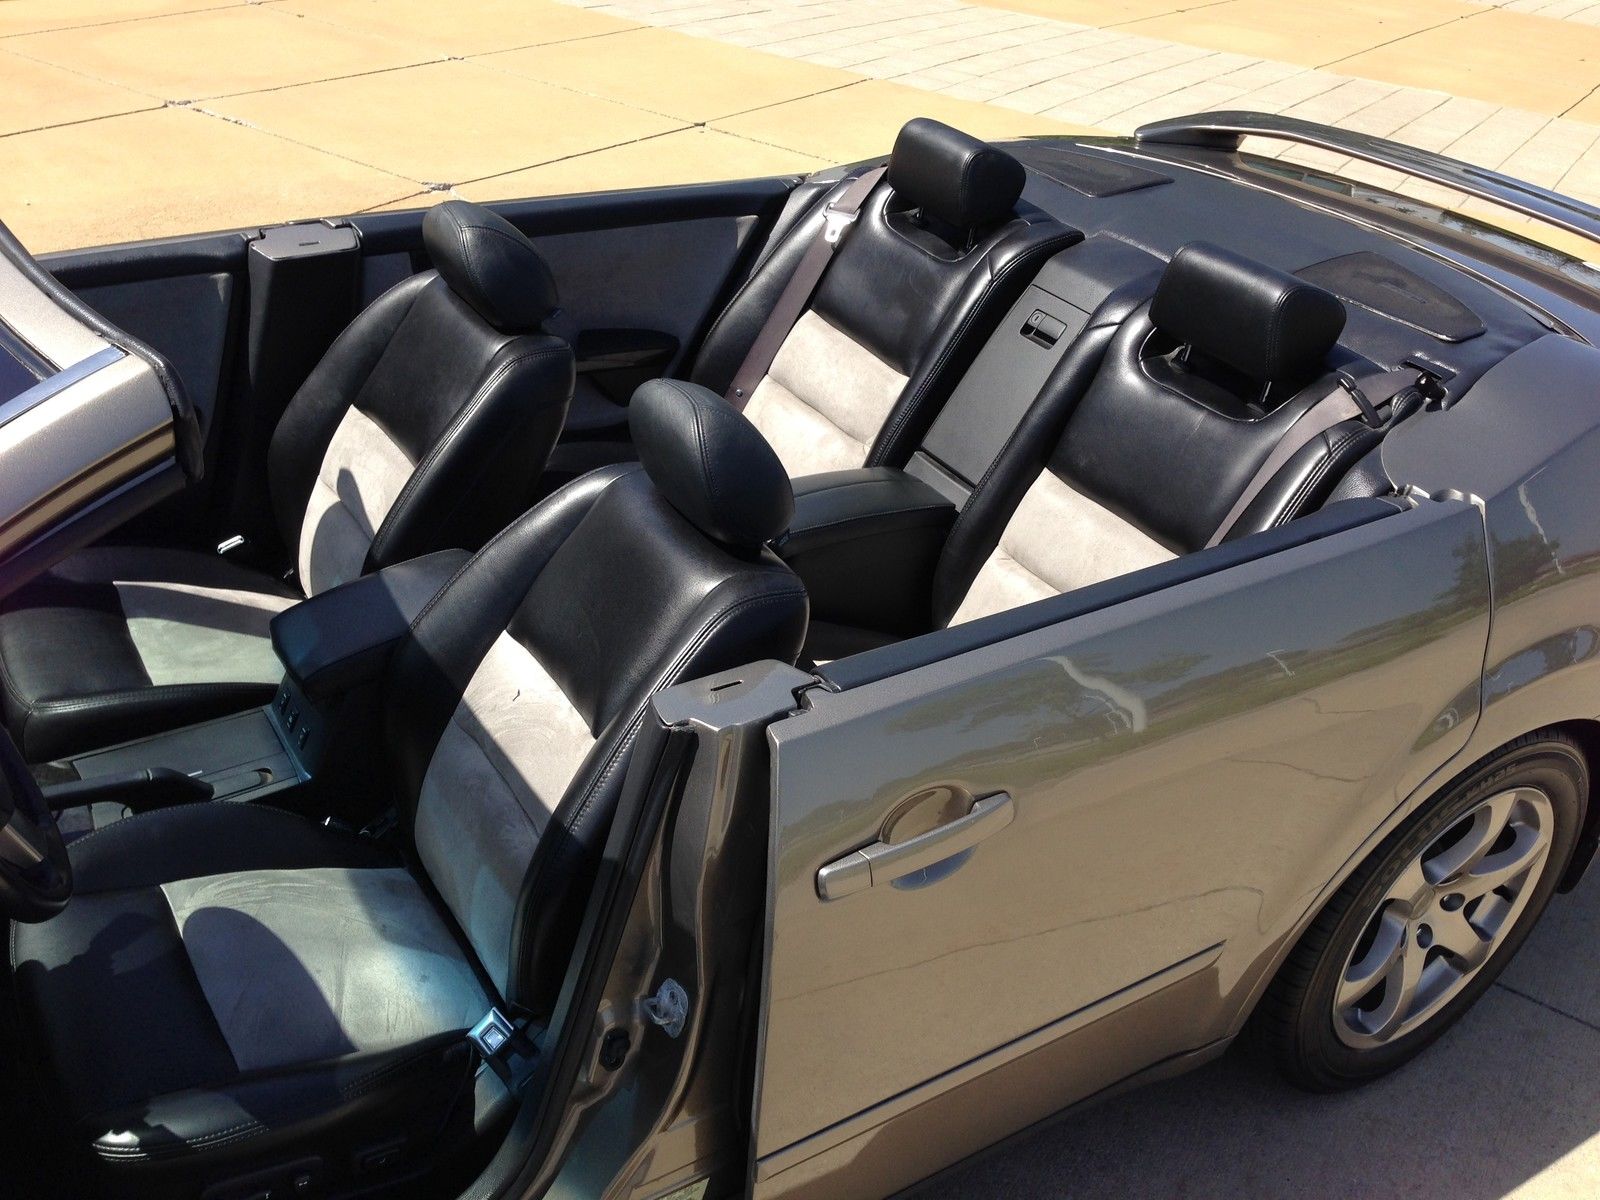
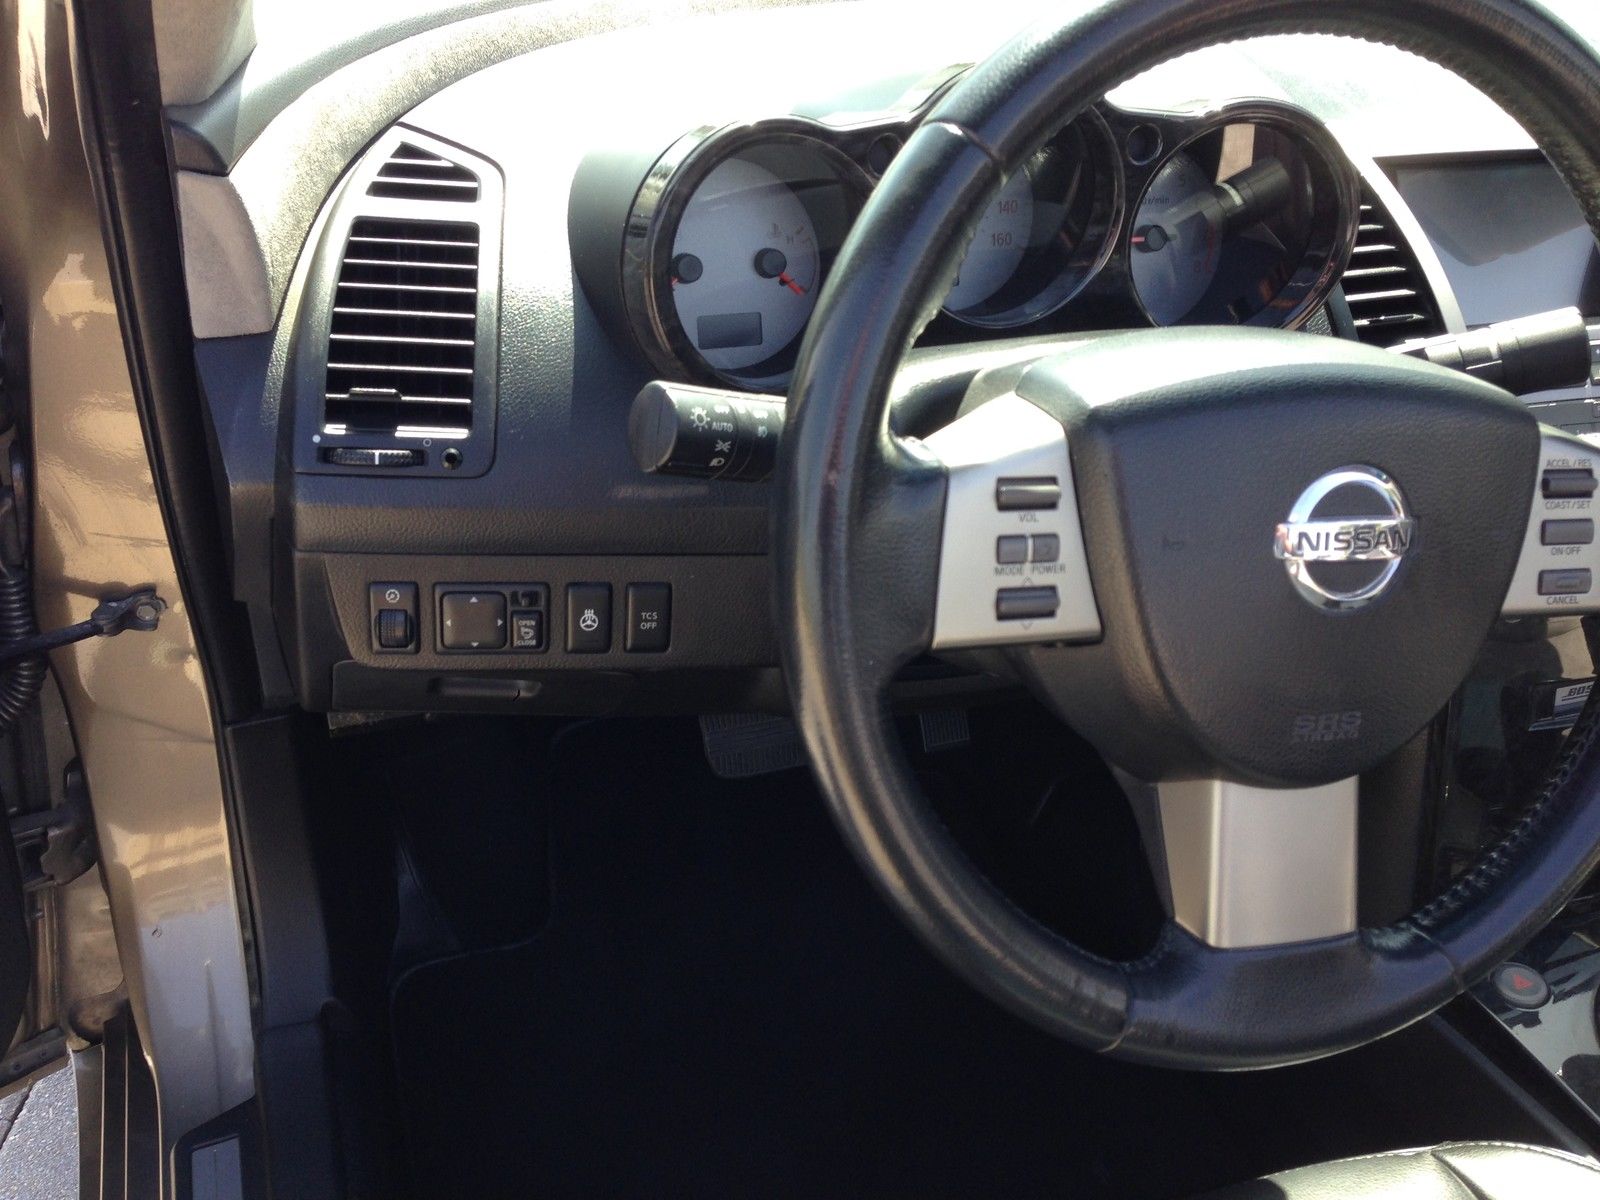
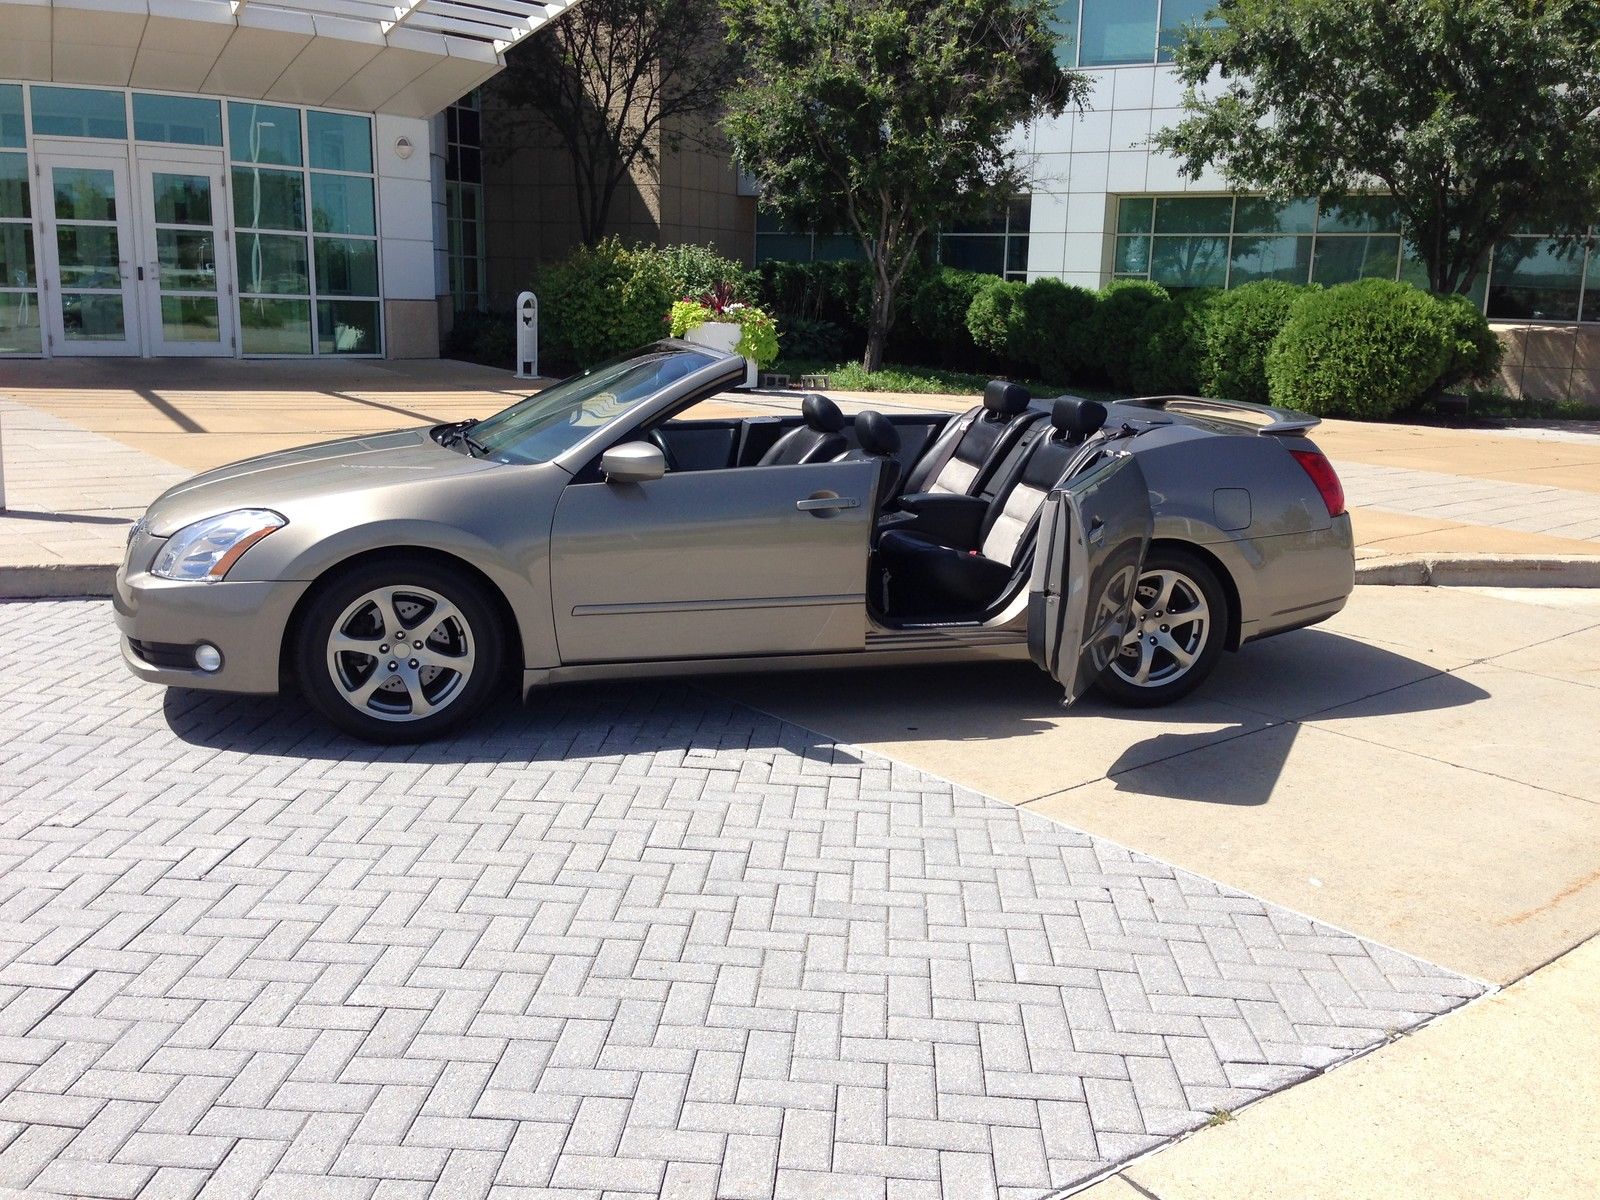
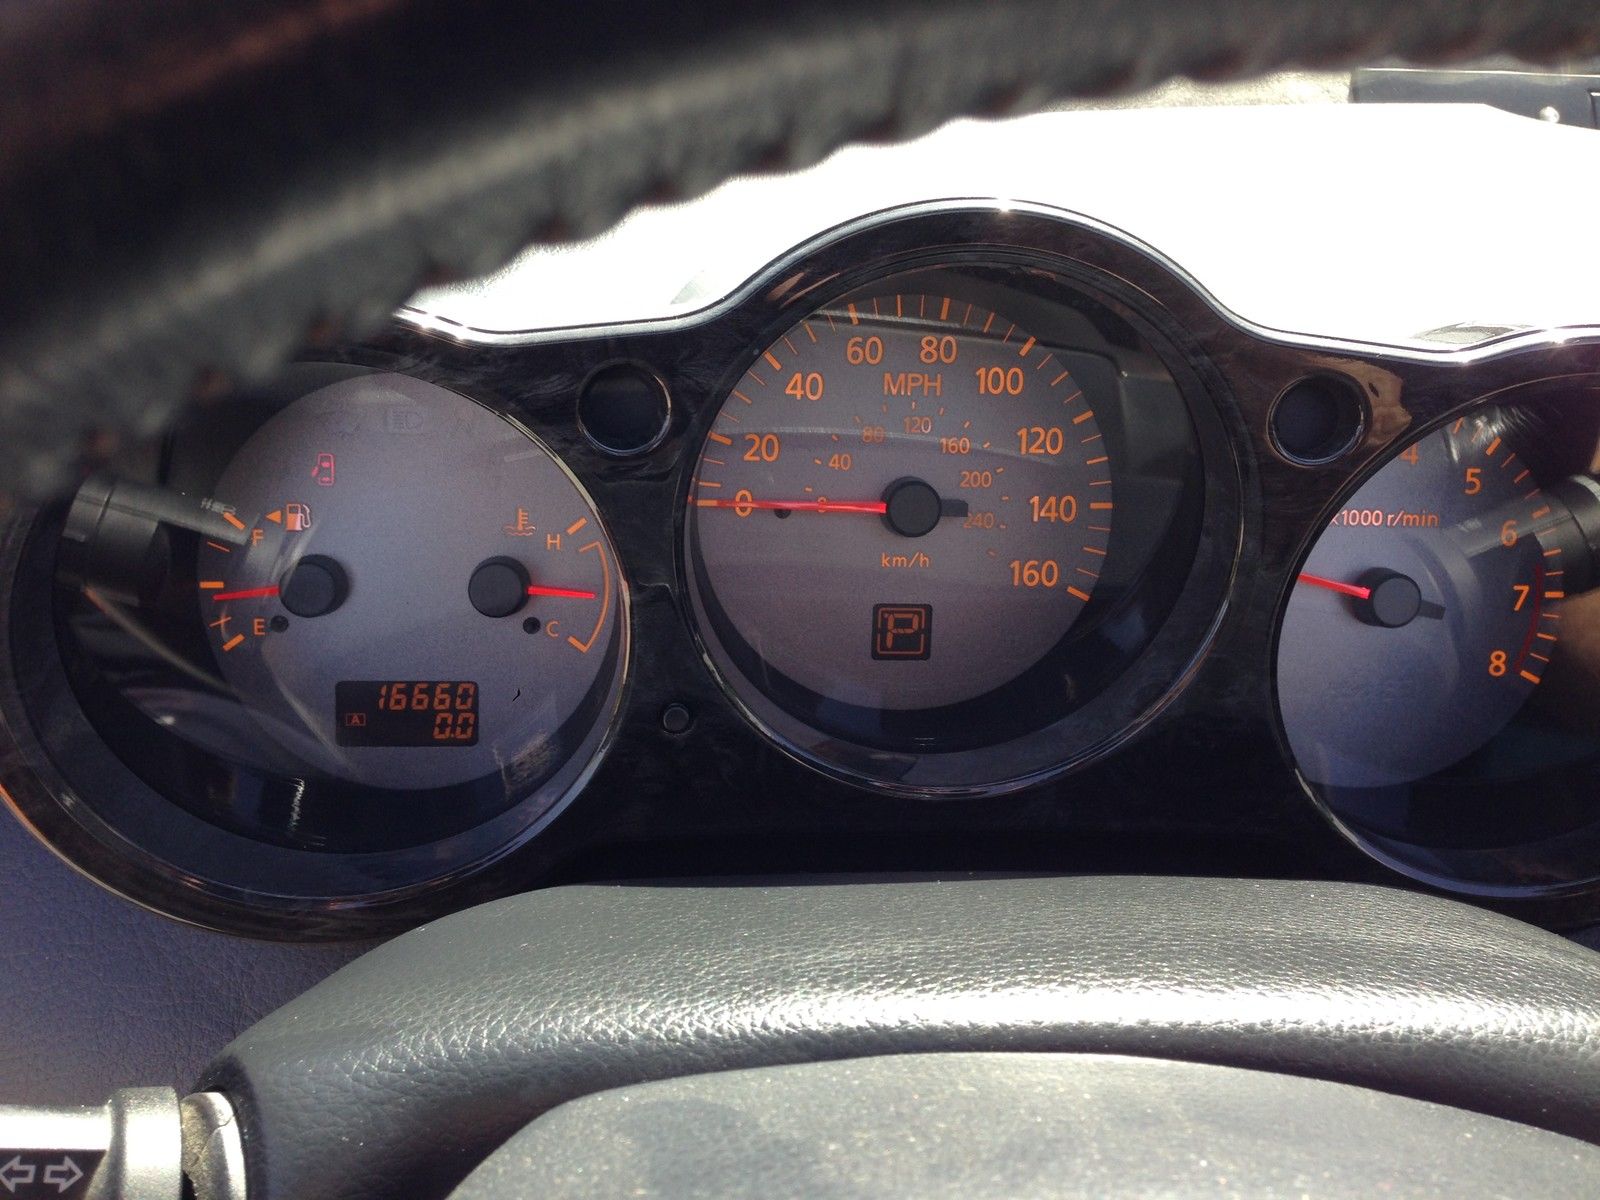
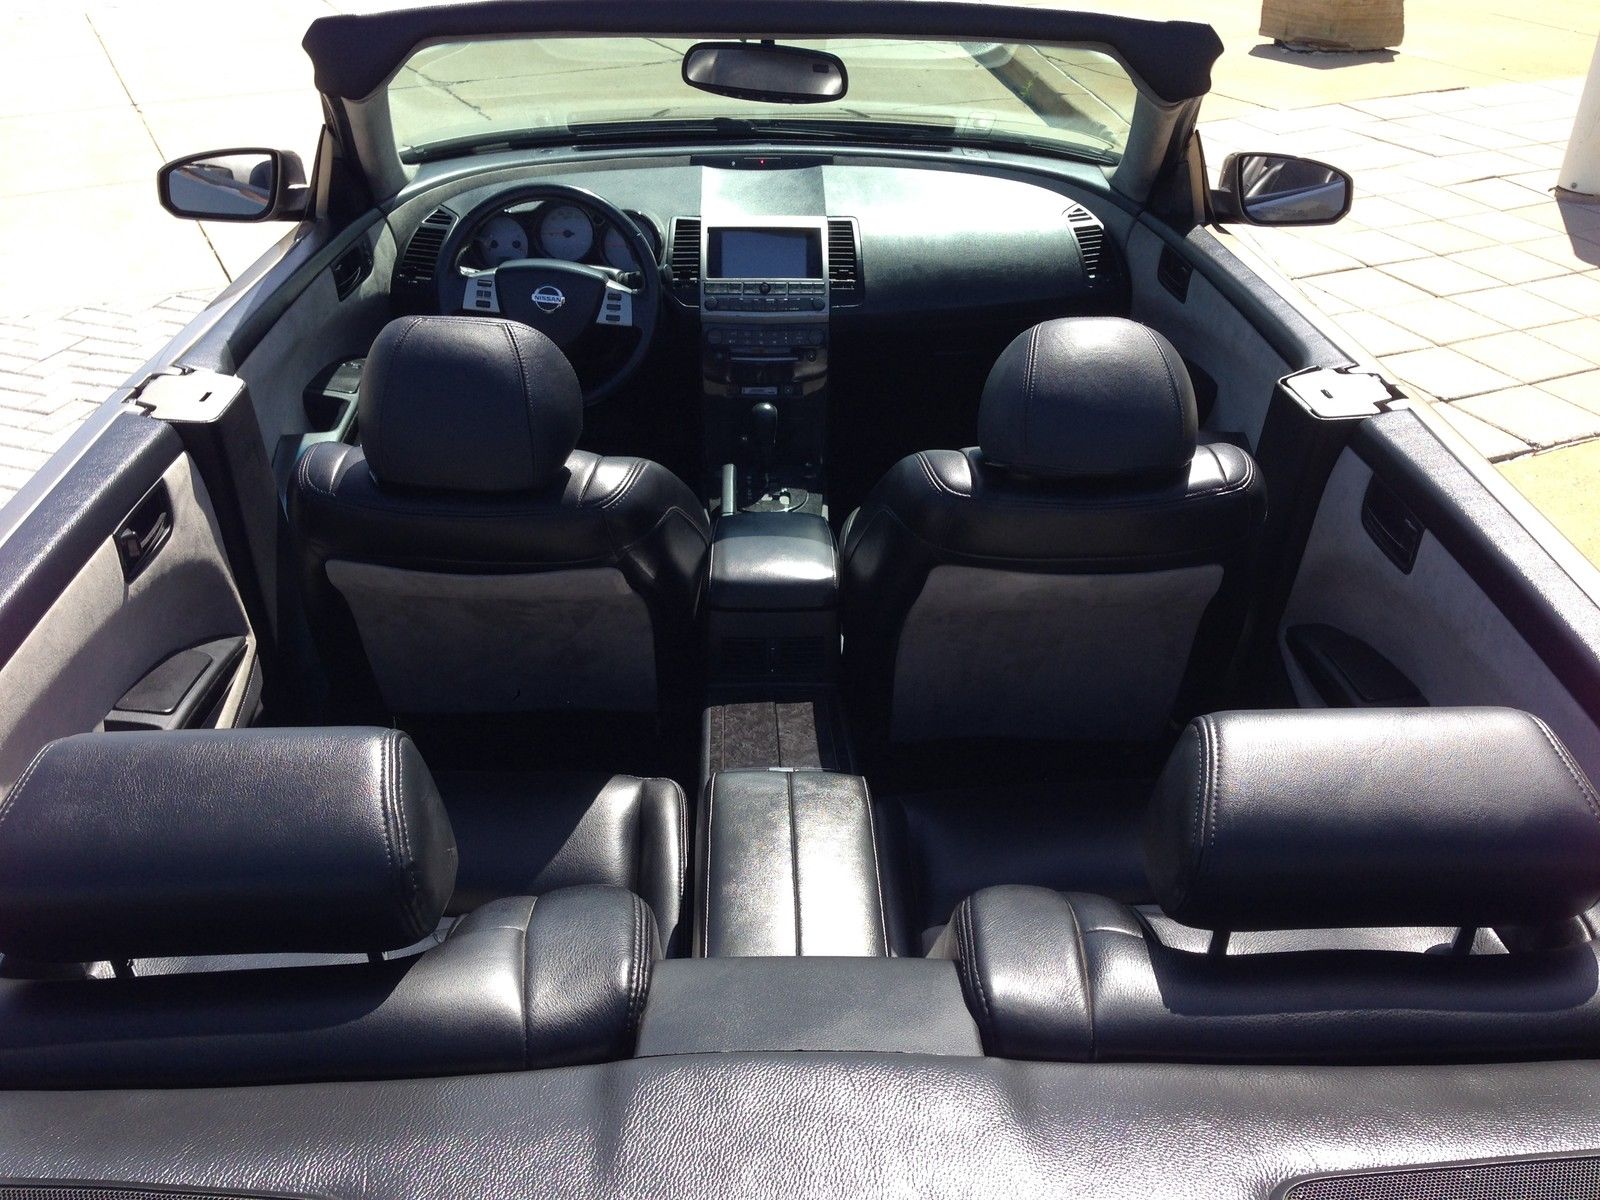
This was car built by Mdiggy around 2005-2006. It’s a one-of-a-kind topless 6thgen Maxima with suicide doors and various other custom mods. Total cost of mods and install was about 60K. Below was his mod list along with many other photos of this unique ride.
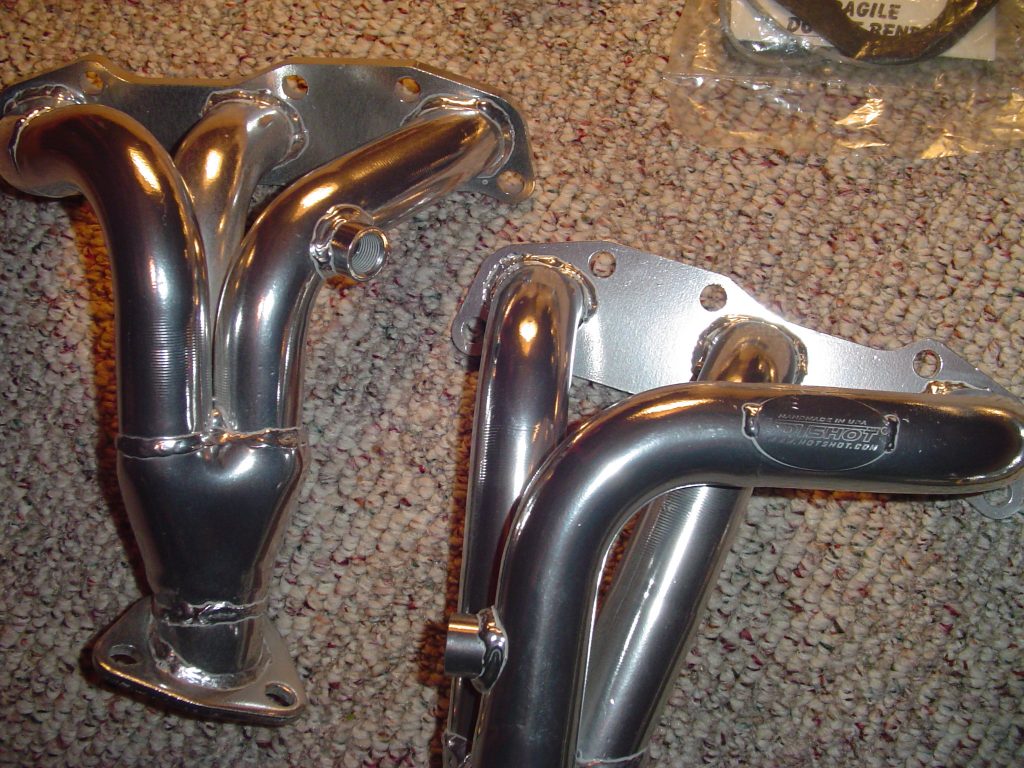
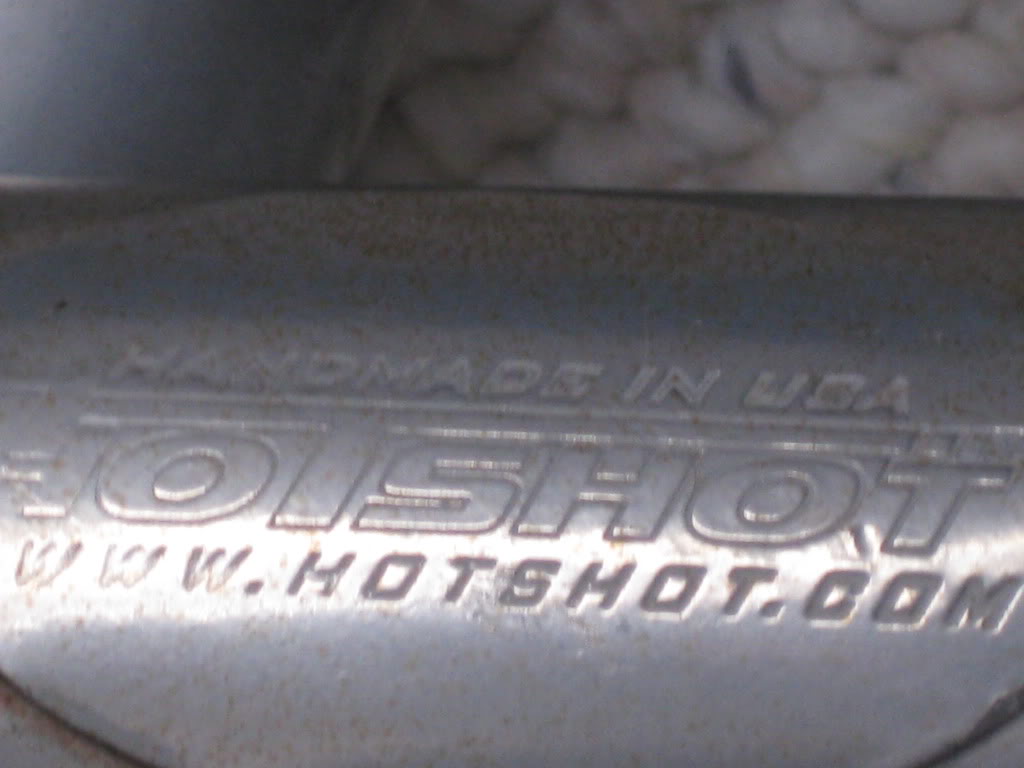
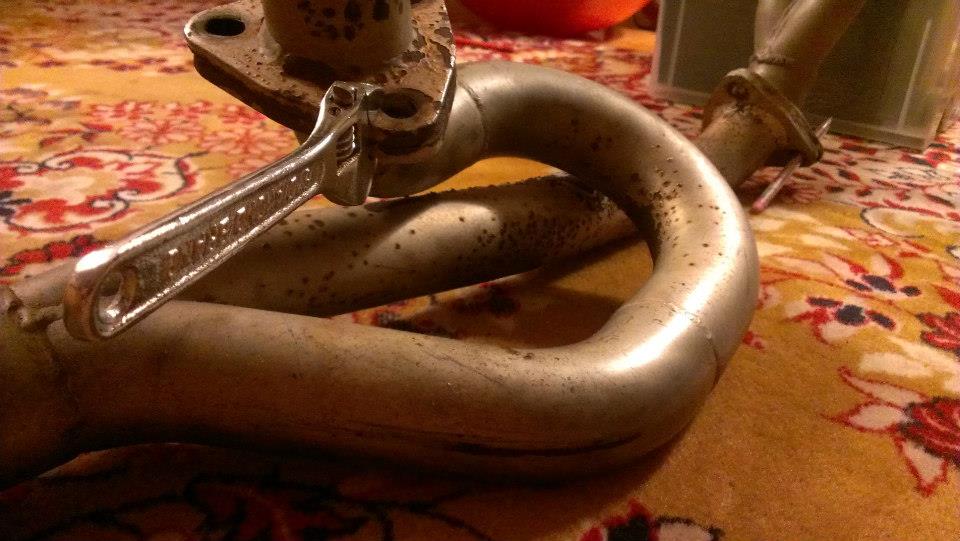
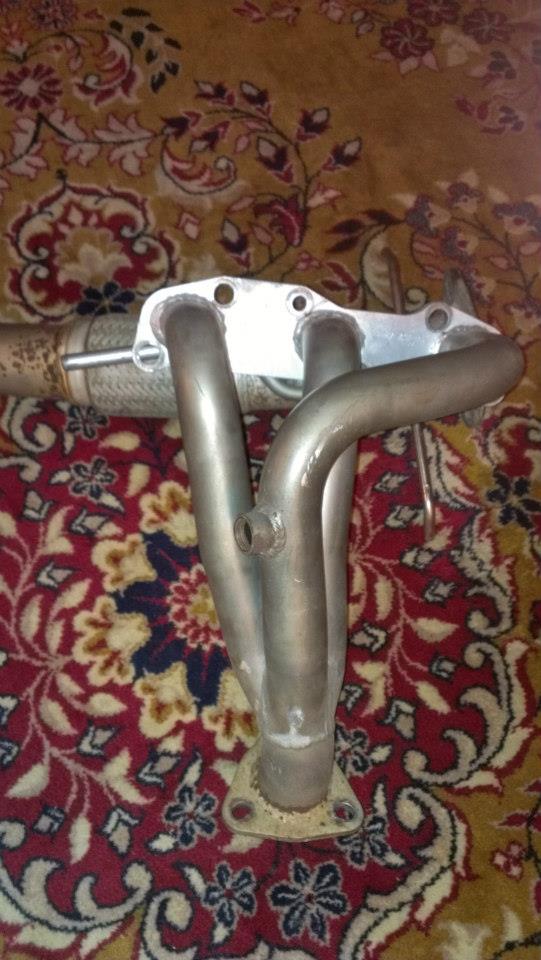
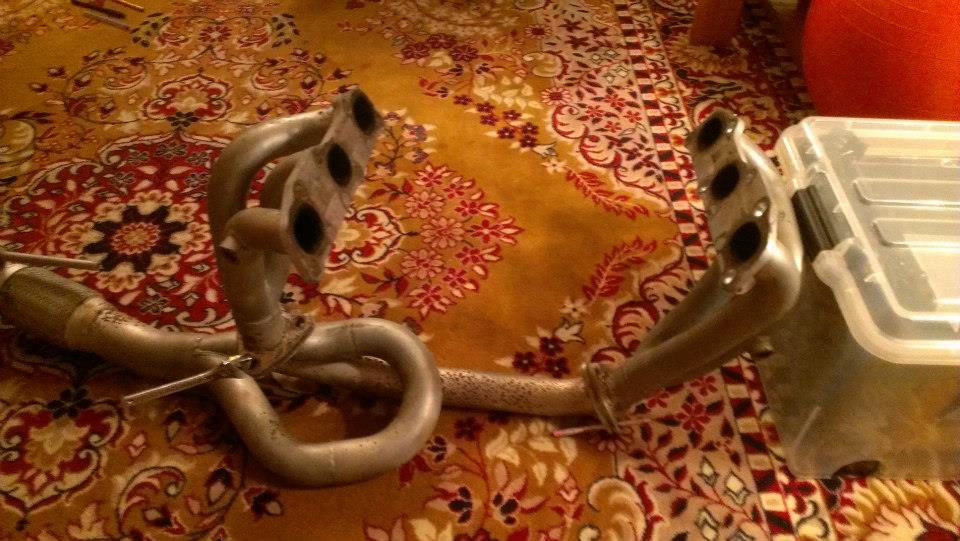
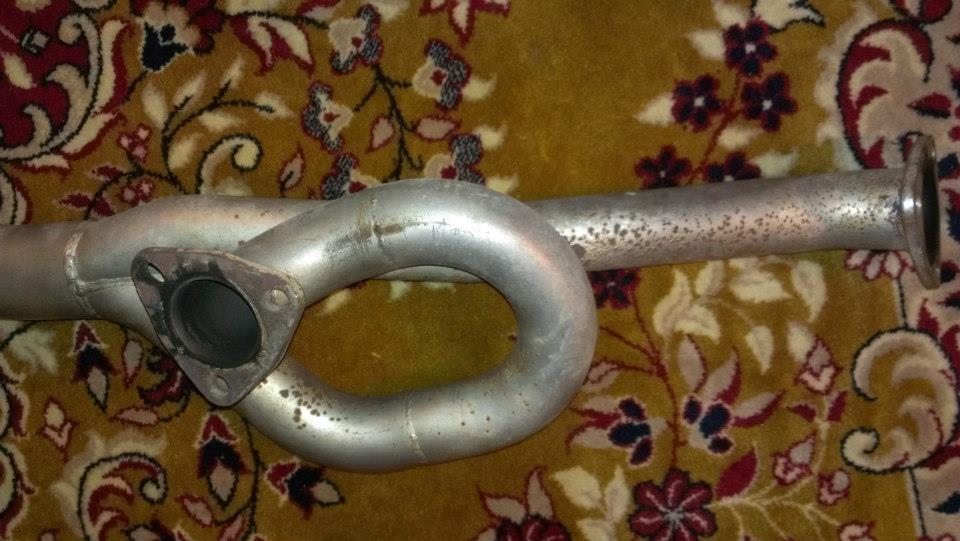
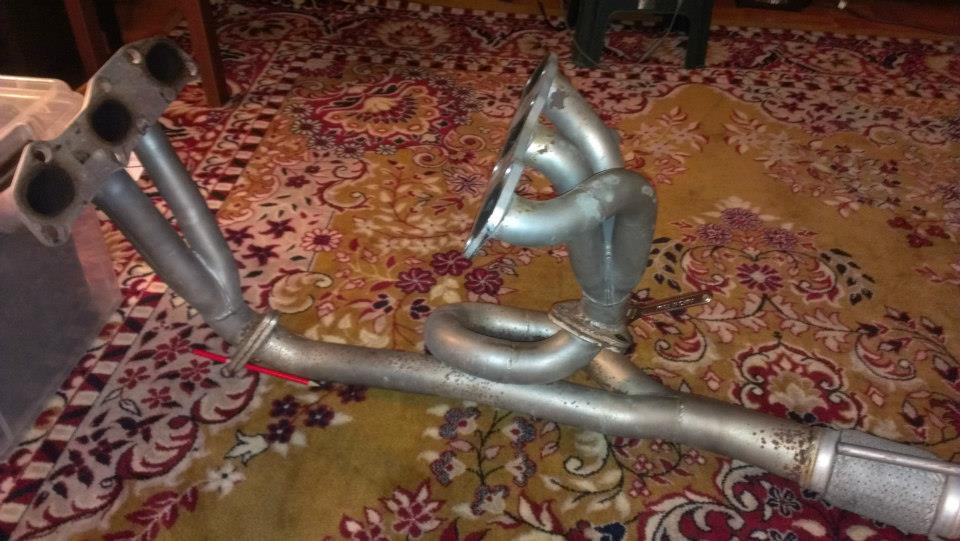
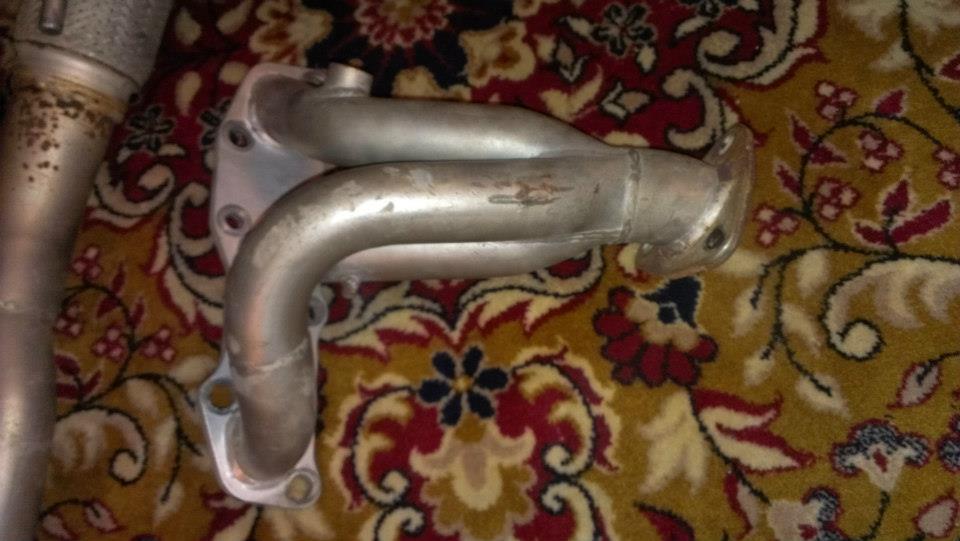
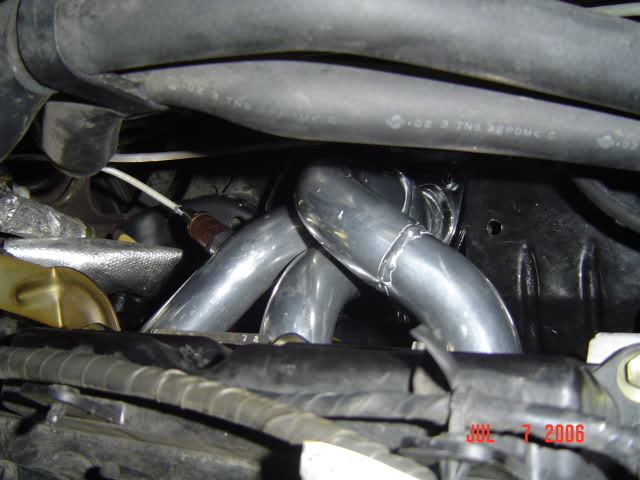
These headers are no longer in production. They were available between 2004-2007 and are very rare to find these days. The information below is only for reference purposes.
Part#: NS3017
System Components: Includes 2 headers and one secondary with flex-pipe. System also includes 2 center copper gaskets,cat.gasket, all necessary hardware and O2 relocation wire kit.
Finish: Thermal ceramic coating Color: Hi gloss Silver
Price: $549.00 US Dollars
Installation Instructions:
Installation time: Aprox. 4-5 hrs. to remove stock manifolds and aprox. 1-2 hrs. to install Hotshot header.
NOTE: All Hotshot Performance items are intended for off road use only. Hotshot Performance will not be responsible for any consequences resulting from your failure to comply with your federal, state, and local laws. Hotshot Performance recommends that trained professionals perform the installation of mechanical parts, as improperly installed products may lead to unsafe and unreliable conditions. Warranty will not be honored for damage or malfunctions due to improper installation, misuse, unauthorized repair or alterations.
1) This header was designed to be installed from underneath the car, requiring the removal of the stock manifold, down pipe, cross member and power steering bracket. You will need to jack the car high enough (or use a car lift) to slide the header under the car and lift it into place. Be sure to let the car cool down COMPLETELY before attempting to work anywhere near the exhaust system.
2) Start by disconnecting the battery ( you will be working near the alternator), and spraying all nuts with rust buster. Let it soak at least 1/2 hour or you WILL break something.
3) Remove stock manifolds and down pipe. Disconnect and label O2 sensors (front manifold, rear manifold, etc. ) The rear header is easier to remove if you take it apart.
4) Remove power steering bracket for removal of manifold, and donŐt re-install it or it will rattle on the headers.
5) Install headers, and put on nuts finger tight only. Leave ALL nuts loose. You can re-use the stock gaskets.
6) Line up Y-pipe with 2 headers and cat. Converter before attempting to install it. Once everything is close, start by installing the front gasket and 3 bolts (leave them loose) then the rear. Only bolt the y-pipe to the converter after the headers are located correctly on the y-pipe. Be sure to use the new cat gasket.
7) Tighten all nuts evenly, starting with the headers and working down. .
8) Extend O2 sensor wires using supplied kit. Be sure to cut and splice wires one by one to make sure y9ou do not get them mixed up. Install O2 sensor into fitting and tighten securely. You will need to have the 2 supplied O2 bungs welded into your exhaust system AFTER the cat in order to NOT get a CEL (Check Engine Light).
9) Check for loose connectors, and re-connect battery
10) Before starting car for first time, wipe header down with mild solution of soap and water to remove any grease or fingerprints.
11) Lower car and start. Check for leaks. A leak will sound like a steady sputtering, and you will be able to feel pulses of exhaust. If you do not feel any exhaust pulses, and you think you have a leak, it is probably just the difference in sound form the stock manifold compared to the race header.
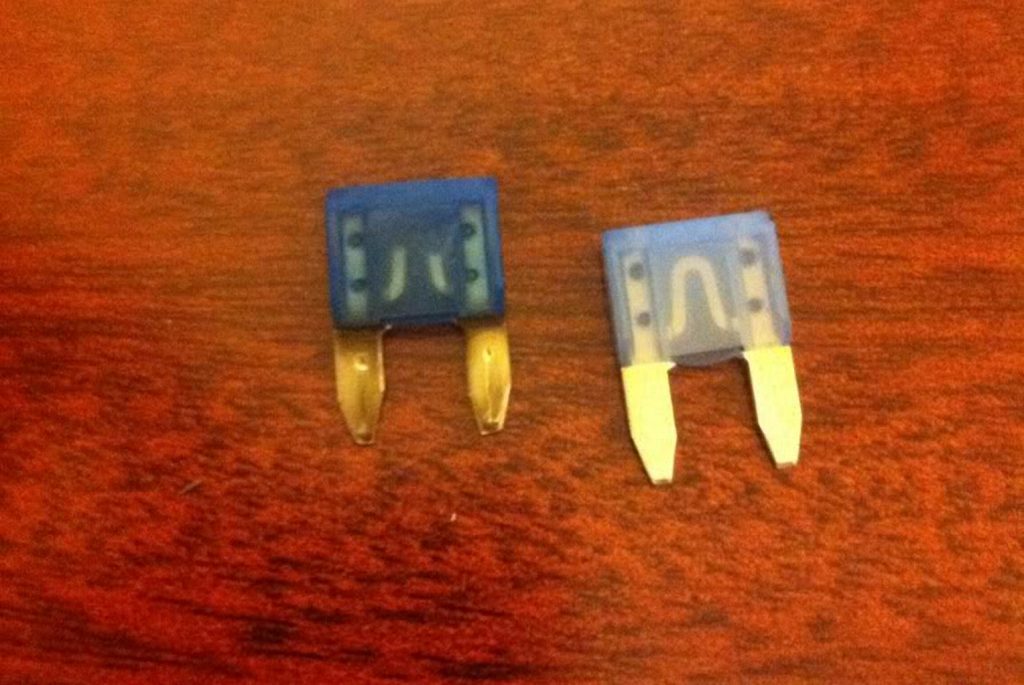
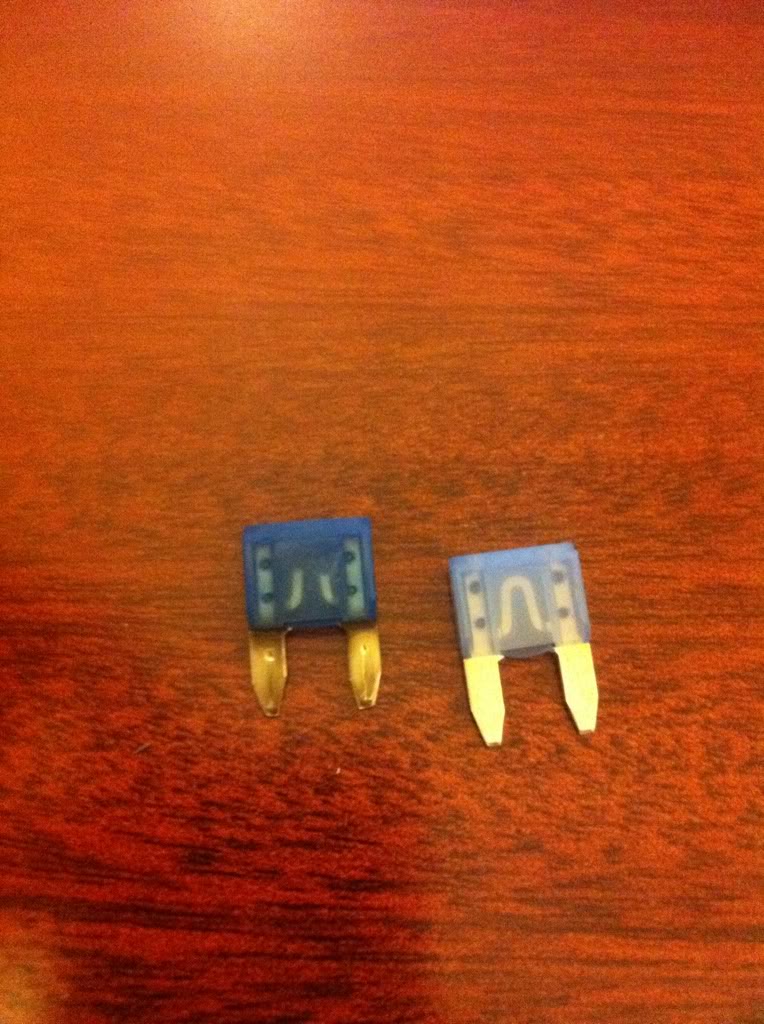
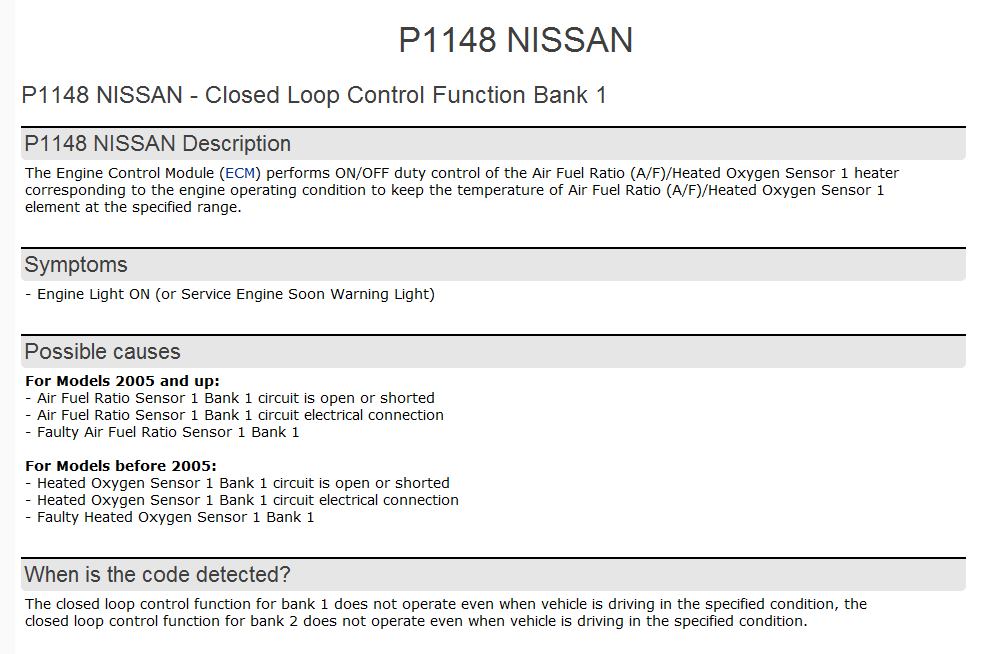
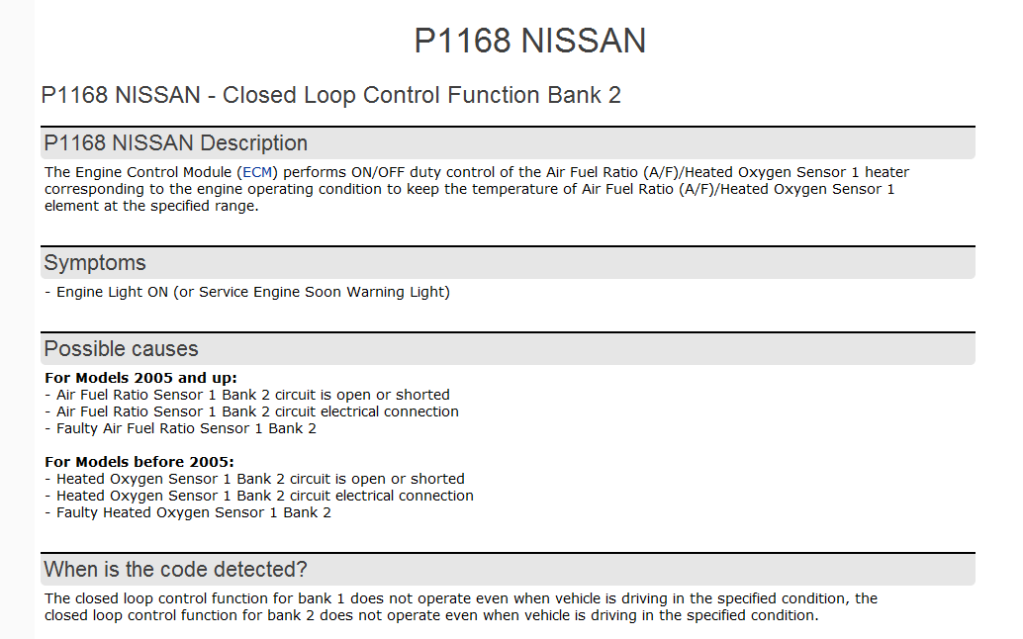
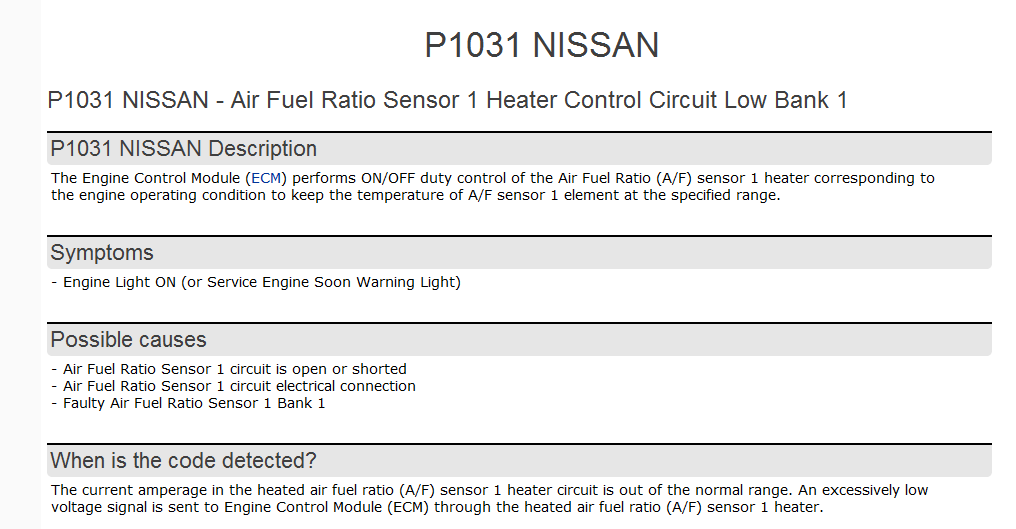
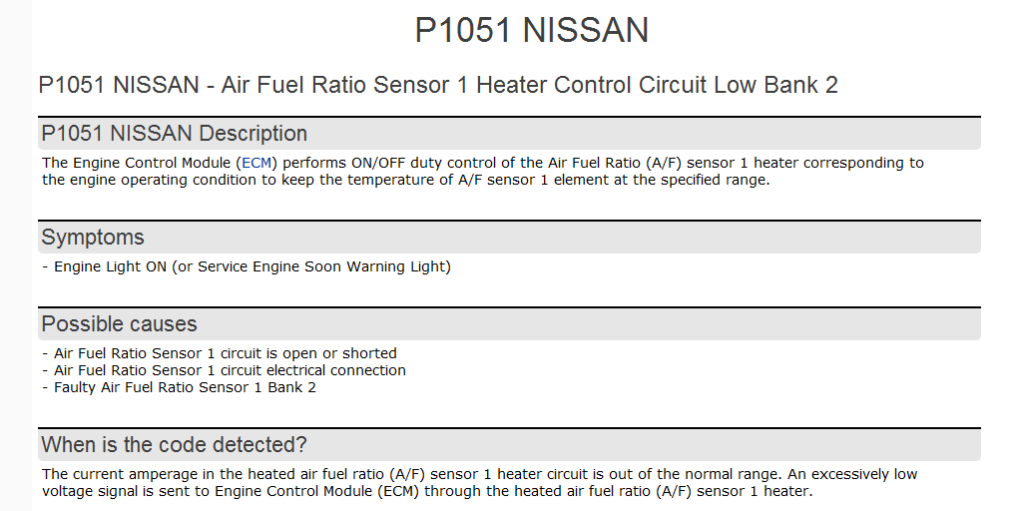
I was getting all of these codes at once. Before replacing anything, I decided to do some simple diagnostics and checks. I checked my 02 Sensor Fuse and surely it was BLOWN. I replaced the fuse and all these codes were gone. No more P1148, P1168, P1031 and P1051.
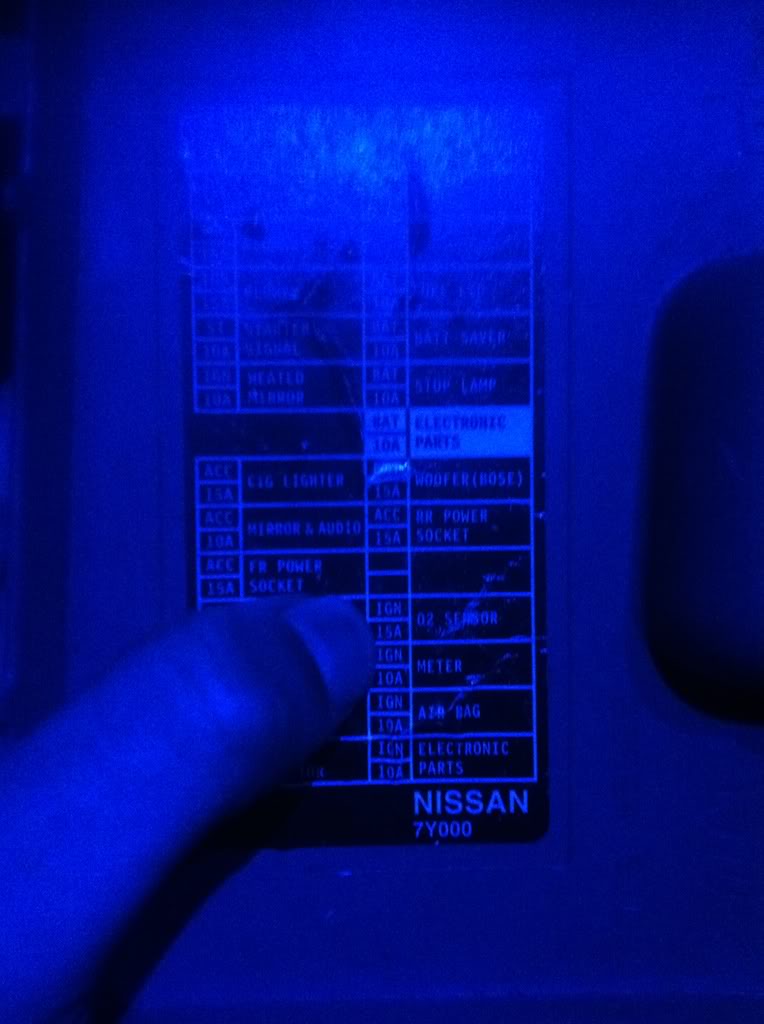
Check your fuse panel under the dash and look for the 15A – O2 Sensor fuse. Reference photo below: