Community Member Credit: Justin Gorton
This is what was making all that noise. Secondary tensioners are toast and water pump leaking. Chain stretched and all gears worn. Was not a difficult job as some say. Just tedious.




Community Member Credit: Justin Gorton
This is what was making all that noise. Secondary tensioners are toast and water pump leaking. Chain stretched and all gears worn. Was not a difficult job as some say. Just tedious.

Thanks to Kirill, we just ordered a set of “Street” Selector Springs for our 2002 6-Speed Supercharged 5thgen Maxima. Will post a review afterward. The owner Peter will get back to you quickly. This is only for the manual FWD RS6 6-Speed and RS5 5-Speed Transmissions. Also, if you are having issues with reverse just make sure the spring cup on the larger spring is not upside down.
From the factory, Nissan utilizes two springs within the transmission to “center” the shifter in the 3/4 gate. These OEM springs are very weak and often cause 3rd gear lockout issues when attempting to quickly shift. This is simply due to the driver overpowering the spring’s ability to line up the shift mechanism in the 3rd gear fork. VisionOneRacing offers two kits to fit the driver’s needs.
Our Street Kit is 200% stiffer than the factory and provides a nice, crisp feel. This is truly how it should have come from the factory. Our Race Kit utilizes a higher grade spring steel and is over 300% stiffer than the factory. This will provide the necessary “kick” to the shifter when slamming them gears down the track.
Both kits have received excellent feedback and have propelled the V1R Sentra into the 9’s, being the first QR to do so. They have also helped send the all-motor Maxima into the 10’s with many other success stories along the way!
It’s also worth noting that I highly recommend aftermarket shifter bushings when using our Race Kit. These can be had from 2J Racing among others.
Price Options: Street Kit $45.00 / Race Kit $60.00
Order Link: https://www.visiononeracing.com/product-page/shift-selector-springs-race
Installation Instructions: V1R Shift Selector Springs – Nissan 5/6spd F51


Brand new to the market is our HD Detent Kit for the Nissan RS6F51 transmission! Add confidence and enjoyment to your driving experience with these affordable and easy to install springs. Over 70% stiffer than OEM, the V1R HD Detent Kit provides the driver with the positive feedback desired with every gear change.
We have custom tailored each spring to not only increase the performance of your transmission, but also to combat the sloppy reverse feel that is far too common. This kit is suitable for any vehicle – from the daily driver to weekend warrior. Be sure to couple these with Vision One Racing Shift Selector Springs for the ultimate transmission experience!
Order Link: https://www.visiononeracing.com/product-page/hd-detent-kit


The Diamond Claw® Crank Lock utilizes precisely sized CBN particles with a hardness of 10,000 Vickers that effectively LOCK your flywheel and harmonic damper in place. With a thickness of only .008″ – Driveline alignment remains unaffected.
Previously only available for the most common platforms – including the Nissan GTR, Vision One Racing remains focused on bringing these solutions to the entire Nissan family. Protect your most expensive and crucial components with this small yet powerful addition! At an affordable cost, the Diamond Claw will be reusable for virtually the entire life of your engine.
When modifying engines and pushing them beyond their designed capabilities, harmonic vibrations are your worst enemy. Long strokes, balance shaft removal, increased RPM, single mass flywheels, turbocharged applications, and even higher compression all are capable of contributing to increased harmonics. These micro-vibrations often times cause surface welding (also known as “fretting”) on the crankshaft, flywheel and other expensive components.
The V1R Diamond Lock® helps to prevent flywheel bolts from backing out with increased RPM and power output. In the event that the flywheel does become loose and begin to vibrate against the crank, the Diamond Claw® can help protect the crankshaft and prevent further damage.
We’ve seen firsthand the detrimental effects that fretting can pose – sometimes even destroying a crankshaft beyond use. While mitigation techniques have been around for ages, nothing has proven to fully prevent this anomaly… UNTIL NOW!
Order Link: https://www.visiononeracing.com/product-page/diamond-claw-crank-lock
Installation Instructions: V1R Diamond Claw® Crank Lock


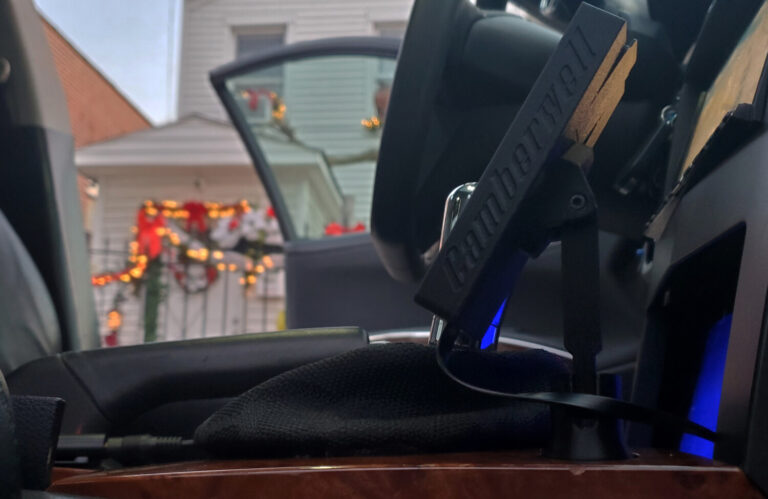
Community Member Credit: Eddy
I was on the hunt for nice and elegant Airlift 3P controller. There were many online but just not a good fit for the 6thgen Maxima. Finally I found one that fit perfect using the cigarette lighter port. Mines did not cover with it so I ended just getting a shifter console on eBay that had it. Everything came out perfect and clean. It’s nicely tucked and visible.
Order Link: https://camberwell-intl.com/
Coupon Code: LAYLOW15 (15% OFF)


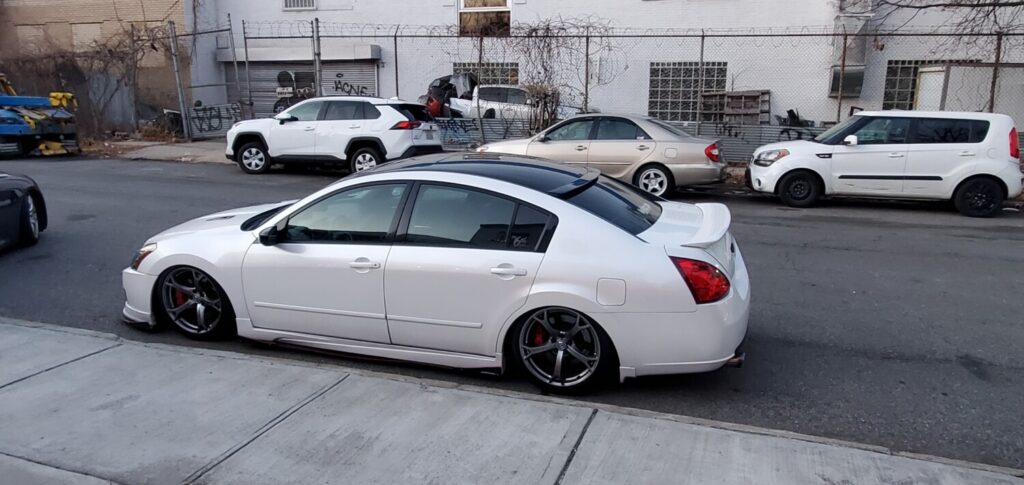
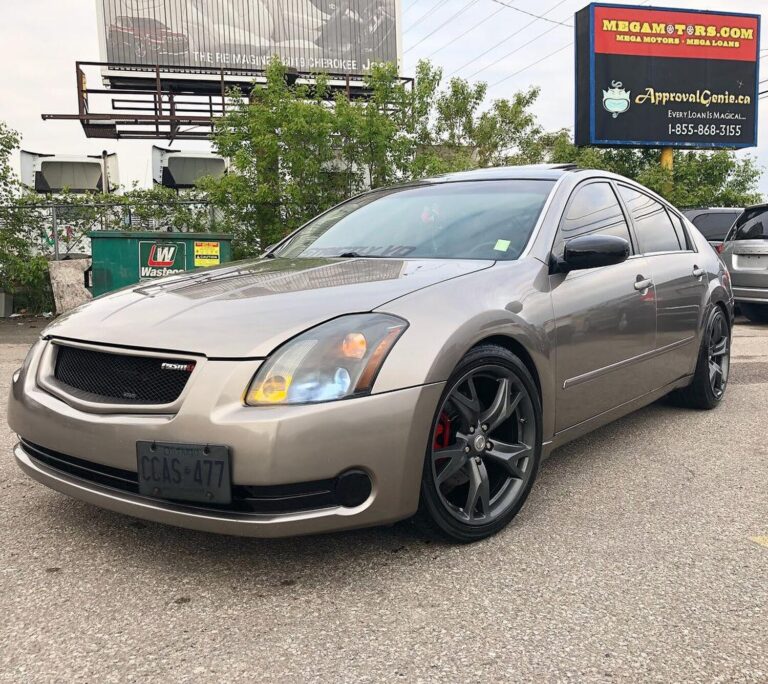
Owner: Steven Mahabir
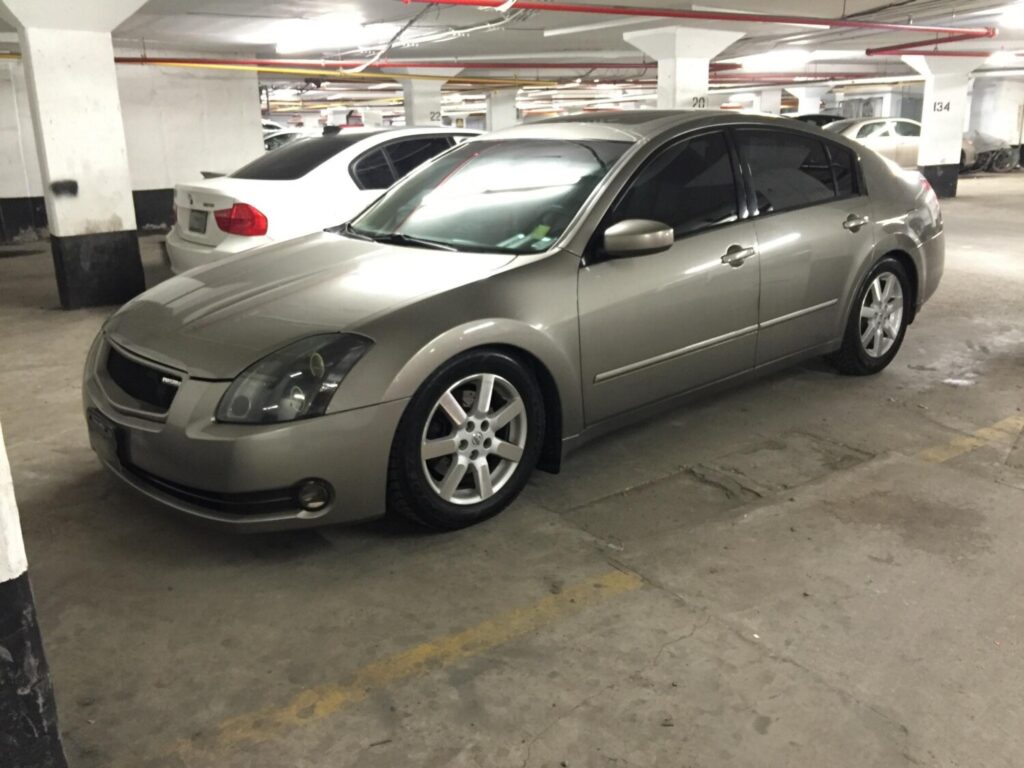
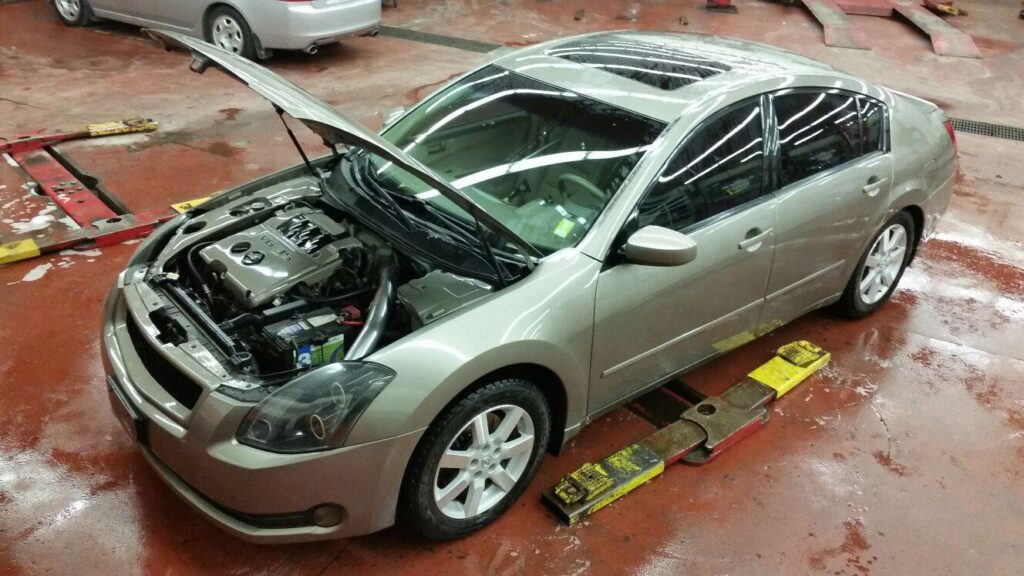
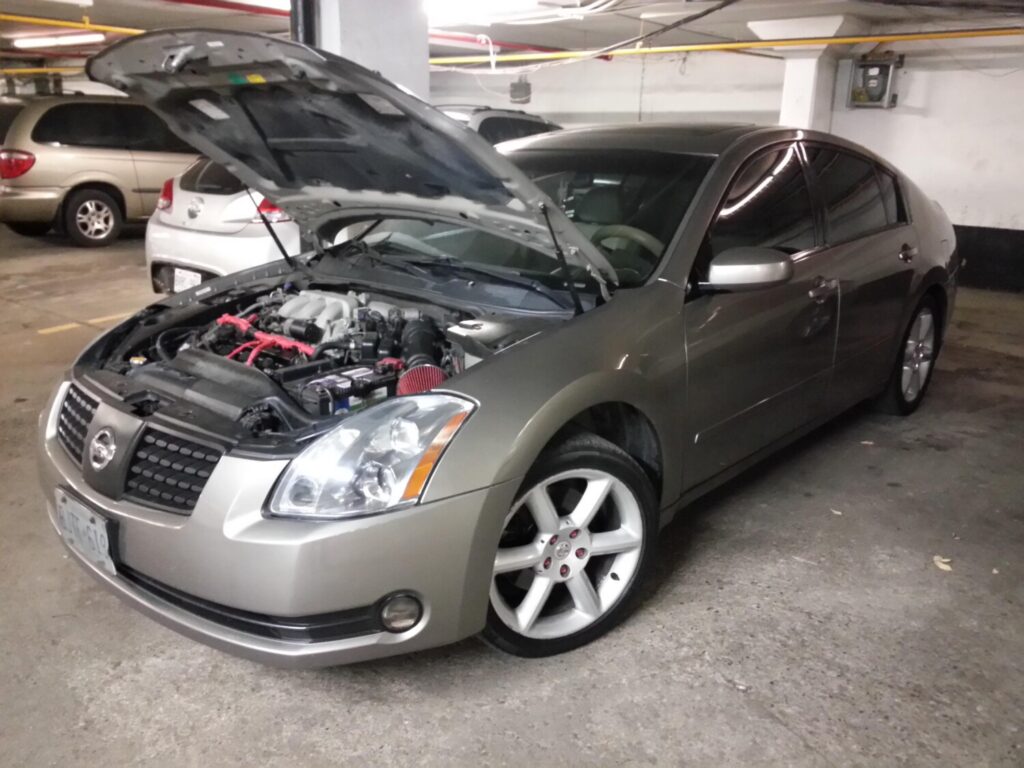
Year: 2004
Model: Maxima
Color: Tan
Transmission: 4-Speed Automatic
Trim: SL
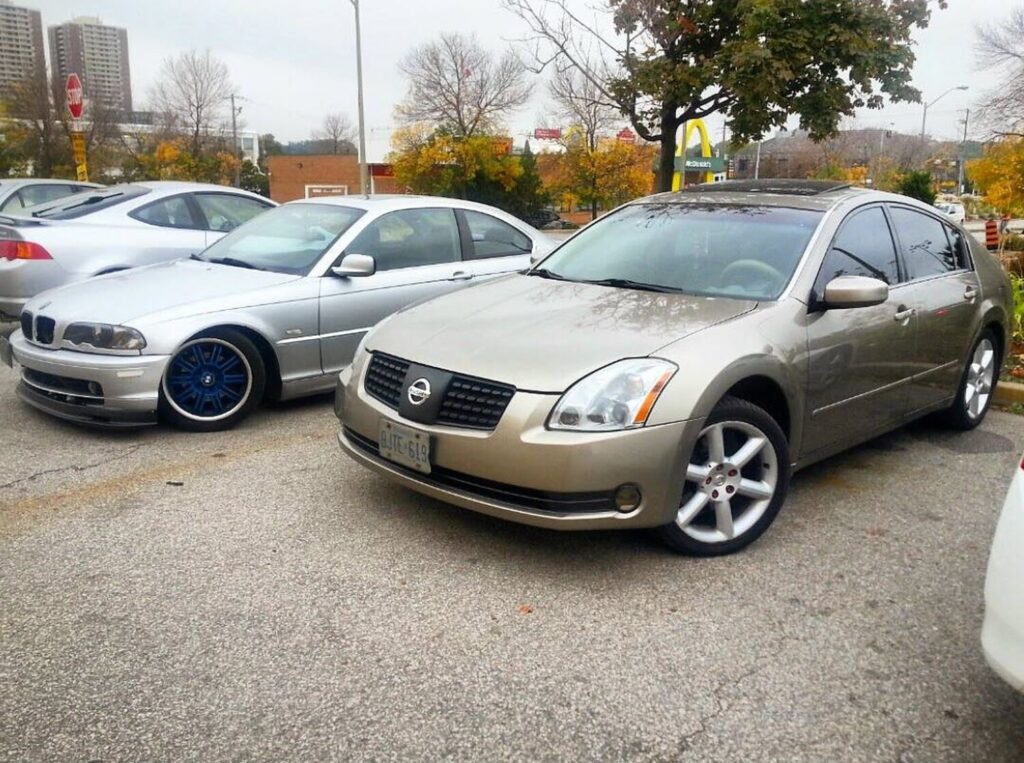


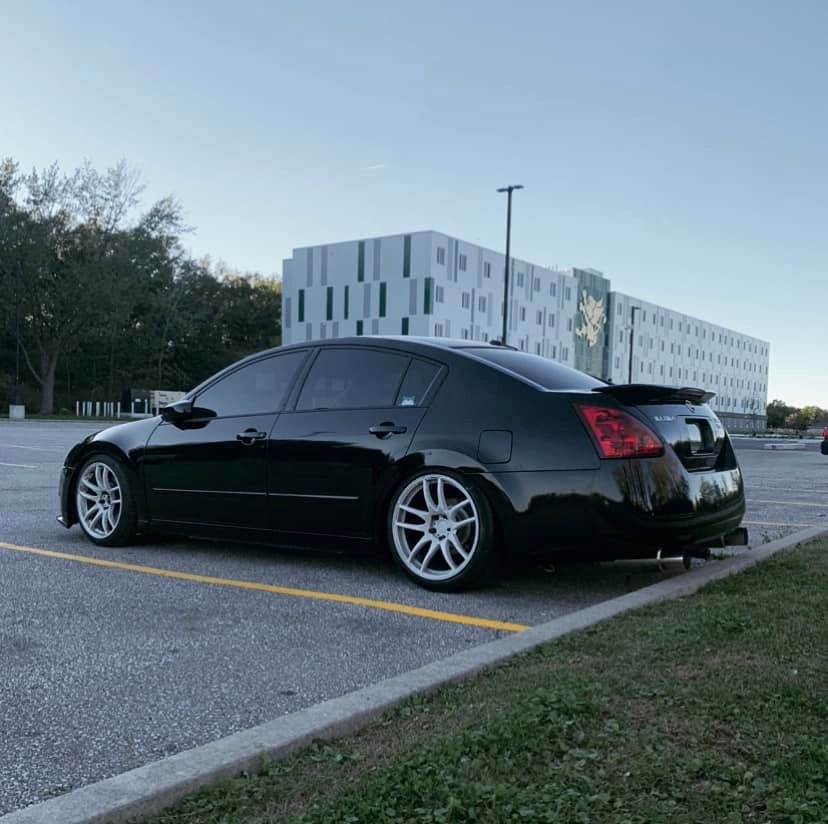
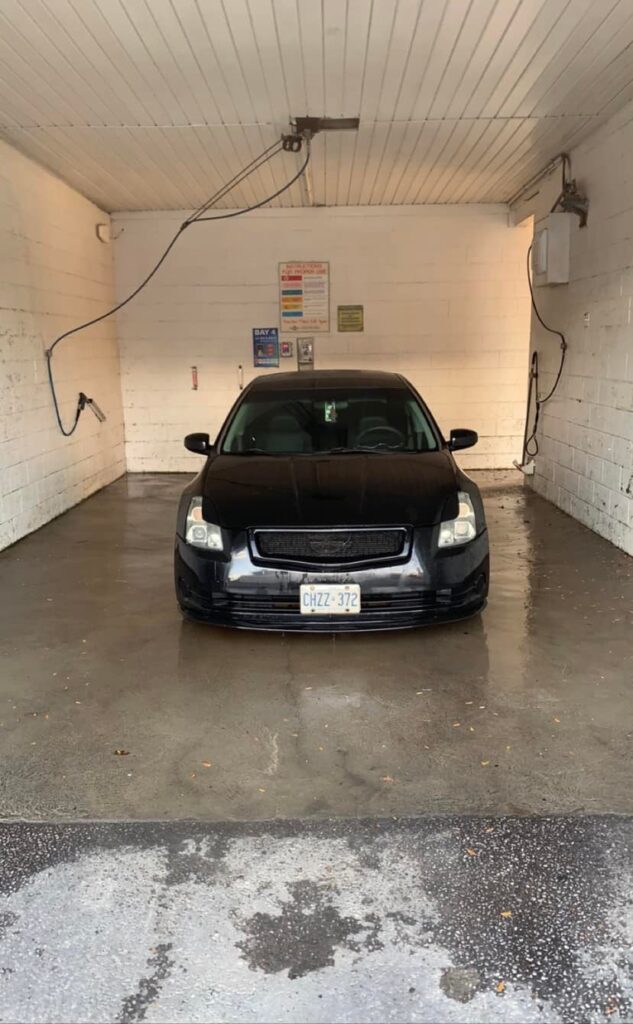
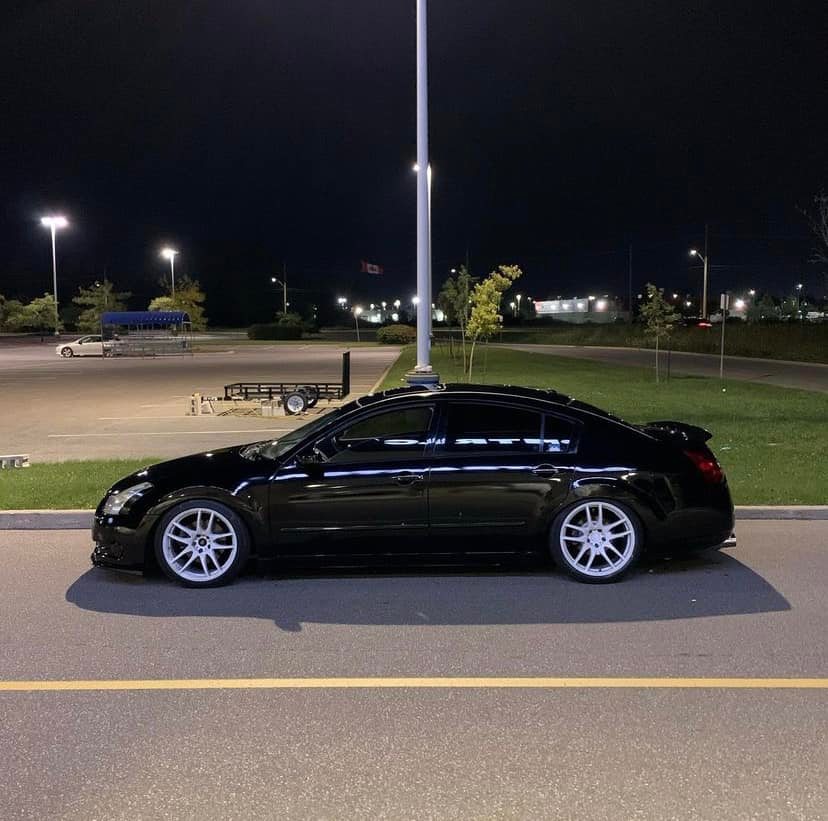
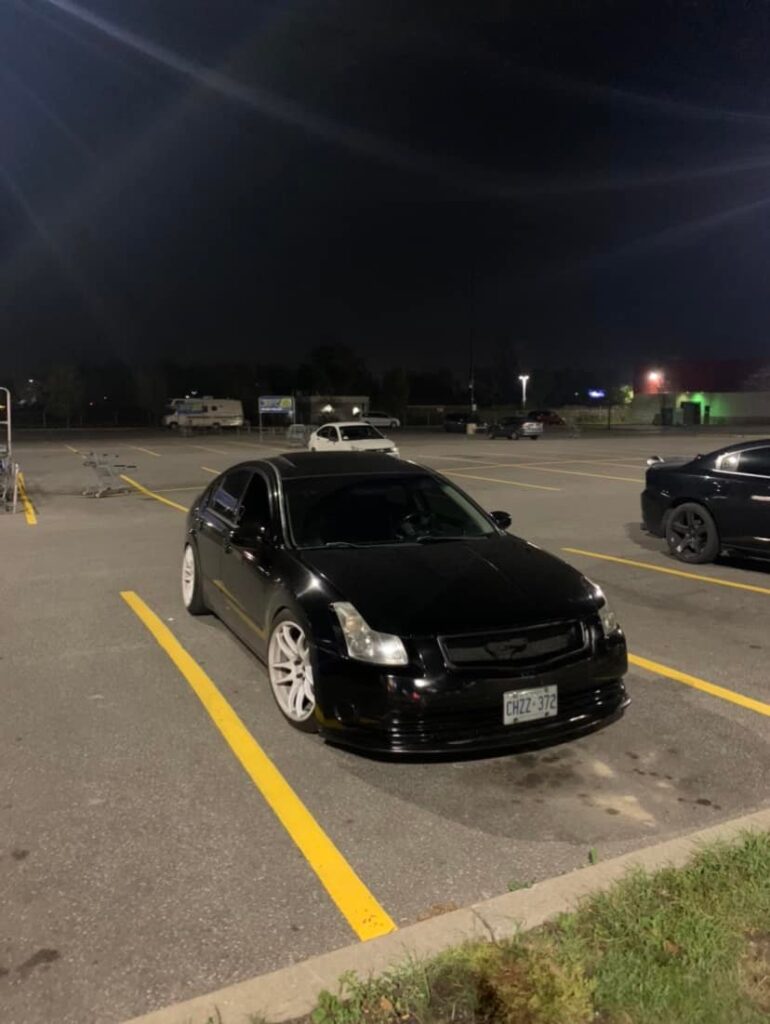
Owner: Tyler Dunlop
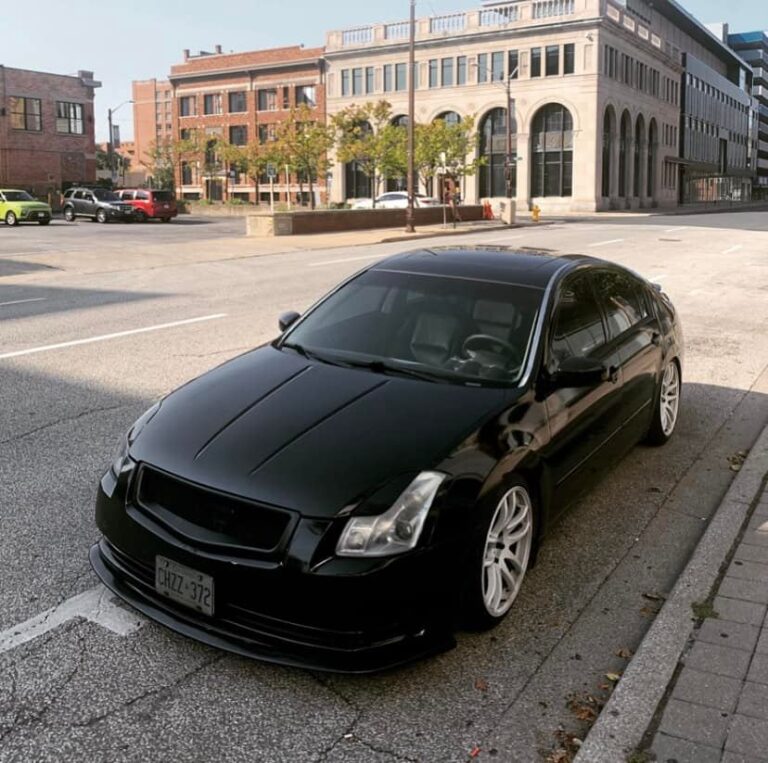
Year: 2005
Model: Maxima
Color: Black
Transmission: 5-Speed Automatic
Trim: SL

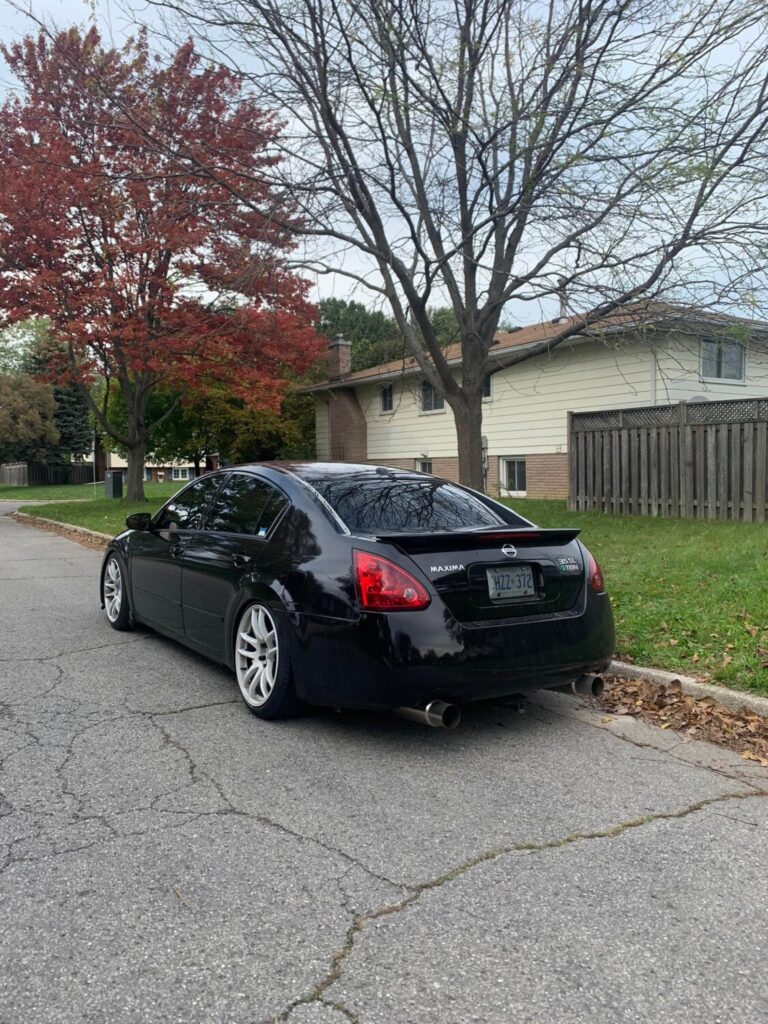

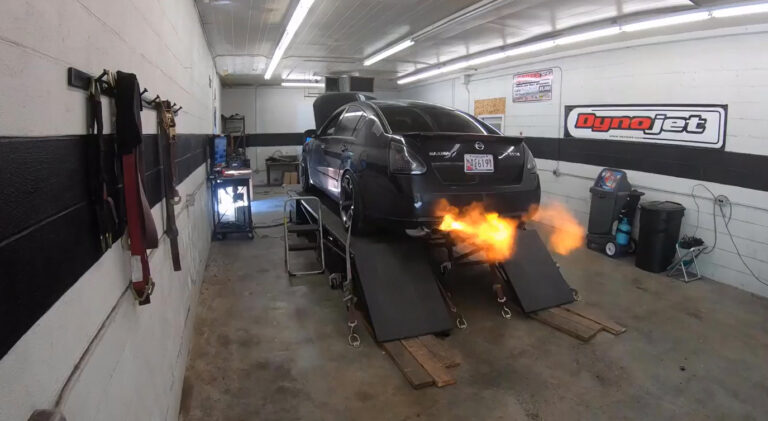

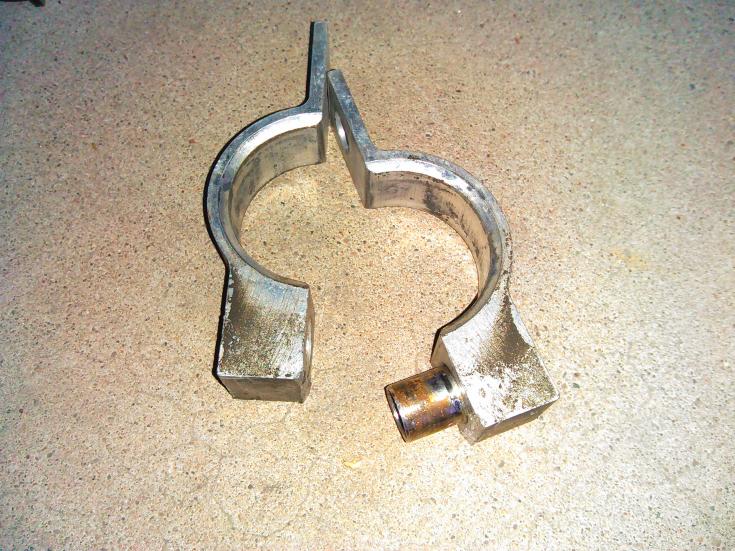
Member Credit: Mike2005
Nissan no longer lists this bushing however, the 03-08 350z bushing is available and is an exact fit. Part # 54445-4P000.
 I did this after installing my headers with the Y-pipe removed.
Time 1-2 hrs
Tools Needed.
1. Jack and Jack Stands.
2. You will need 2 (two) 19mm Combination Wrenches
3. 19mm Socket, wobble extension, and Flex head Ratchet (my preference)
4. Short handle 2lb sledge hammer.
5. Large Concrete Chisel
6. Anti-seize.
7. 6 inch long piece of 2X4 wood
8. Pair of Channel Locks
9. 10mm Wrench
9. 1 Sharpie to mark the location of the bracket on the rack
10. Don’t forget to buy new exhaust gaskets.
Steps:
1. Secure the car on Jack Stands.
2. Remove Passenger side tie-rod end from steering knuckle.
3. Remove Y-pipe. Before you continue, mark the bracket location on the rack
4. Remove the 19mm nut and bolt from the top of bushing bracket.
This is a bit tricky, room is tight, I used the 2 combination wrenches here.
5. Remove BOTH of the bolts securing the rack to the frame. They come out front to back and the nuts are part of the subframe. (There may be a bracket that stabilizes the powersteering line to the rack, its a small metal bracket with two rubber bushings secured with two 10mm bolts)
6. The bracket may come right out but if it is tight like mine was it’s gonna be tough. I took my large concrete chisel (10″ long, 3″ blade) and hit the under side of the bracket a few (or ten) times.
7. Next is getting them suckers apart. I also used the concrete chisel for this by spinning the brackets backwards and hammering the 6″ piece of 2X4 between the stabilizer bar and the body so the top side of the bracket wood get caught on it. Then I stuck the chisel where the pieces came together and went to work Its tedious, but it worked.
**NOTE** there is a steel roll pin inside the aluminum bracket so be careful cracking it open.
 8. Once its open, lube the pin and the hole with anti-seize.
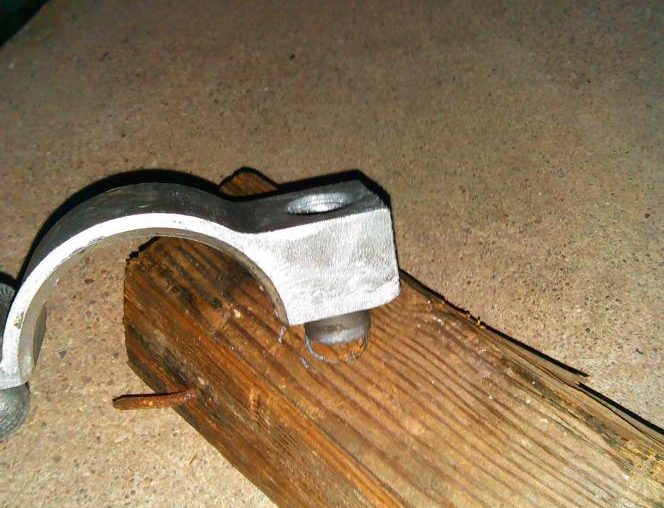 9. I hammered the roll pin all the way to one side(roll pin placed on 2×4)
After doing this the pieces go together easily.


10. Reinstalling is also tricky, place the sliced part of the bushing facing up. (I also put anti-seize on the inside of the bracket to help seat the bushing)
11. Install bracket around rack and bushing you must hold it in place until you get the top bolt in (leave it loose) the fit is extremely tight so once the top bolt was in I used channel locks to squeeze the bottom halfs together. (It’s a process)


