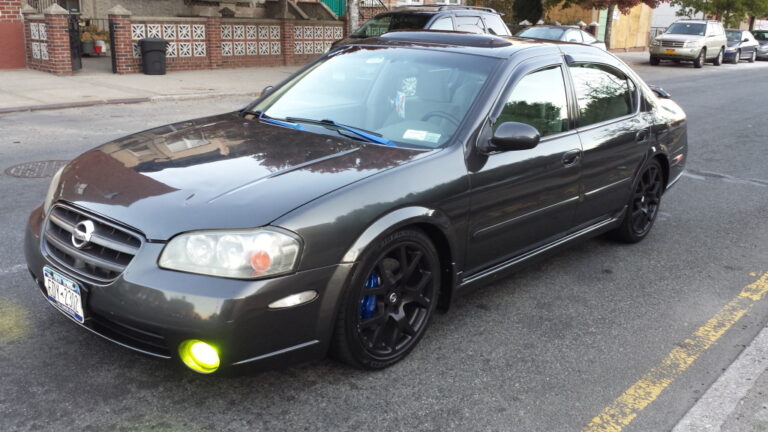
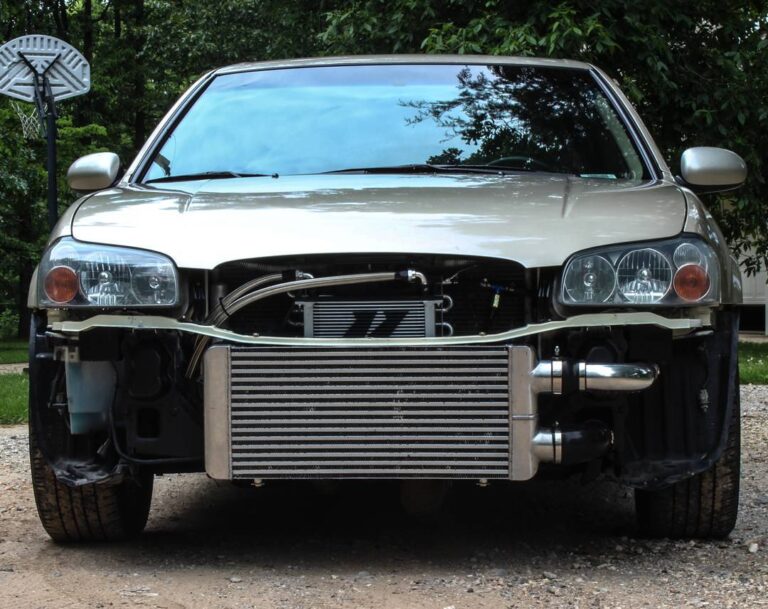
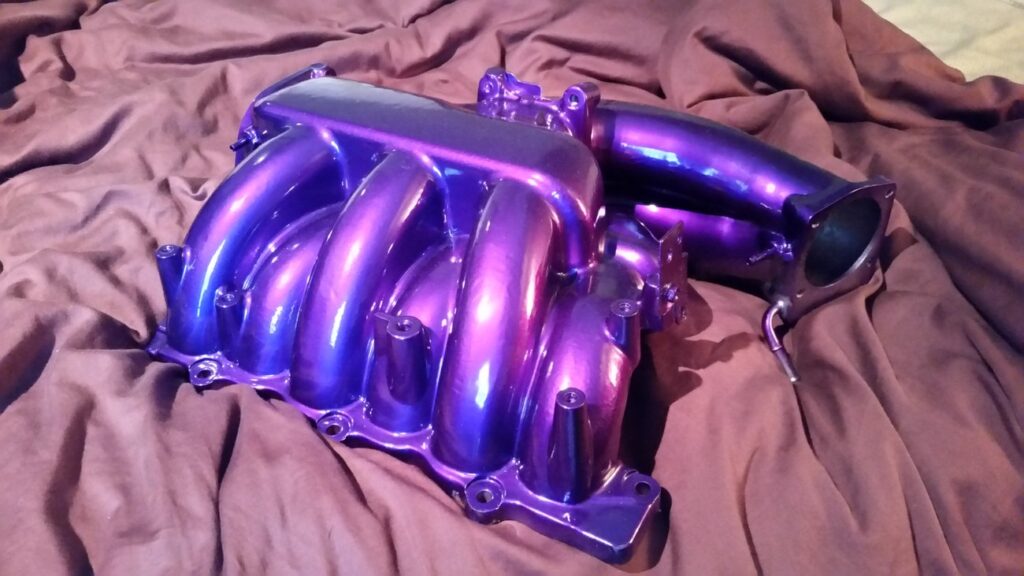
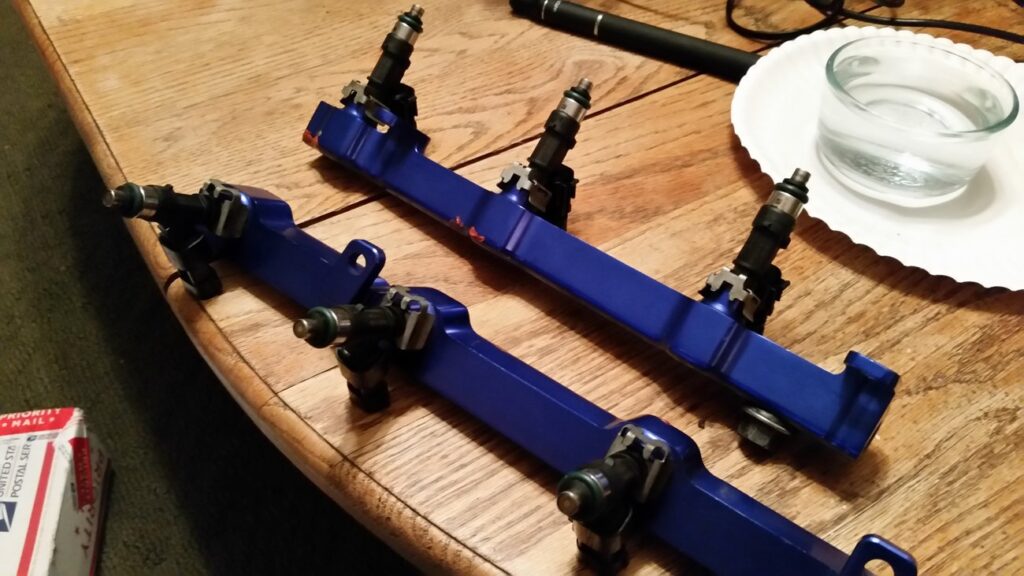
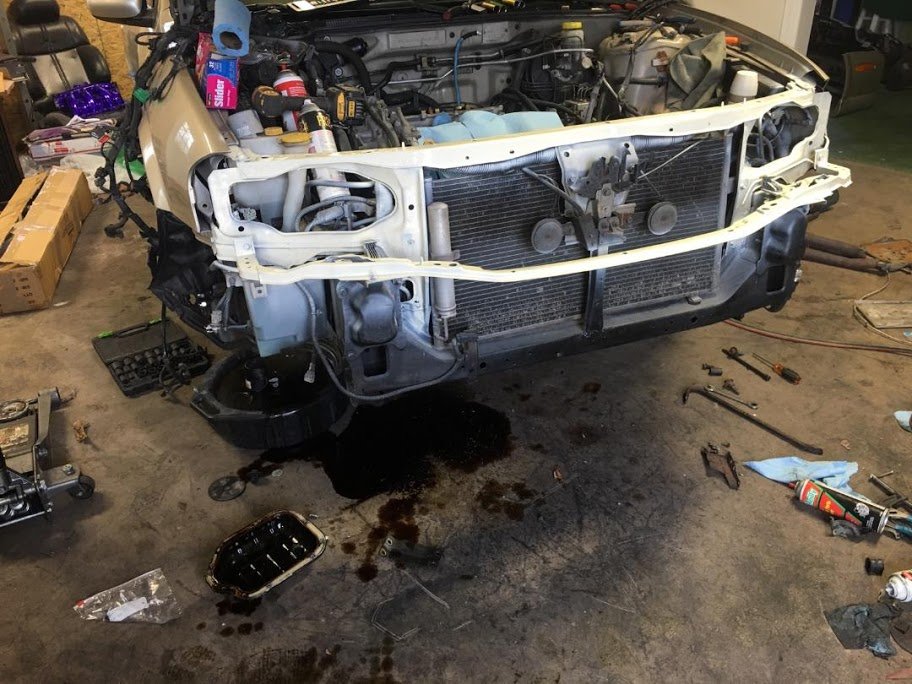
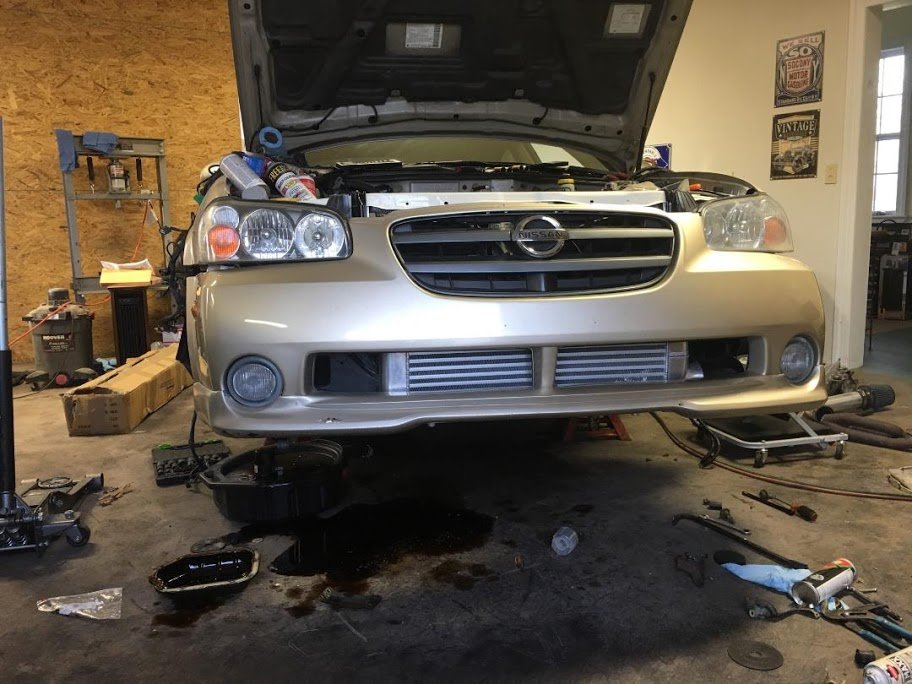
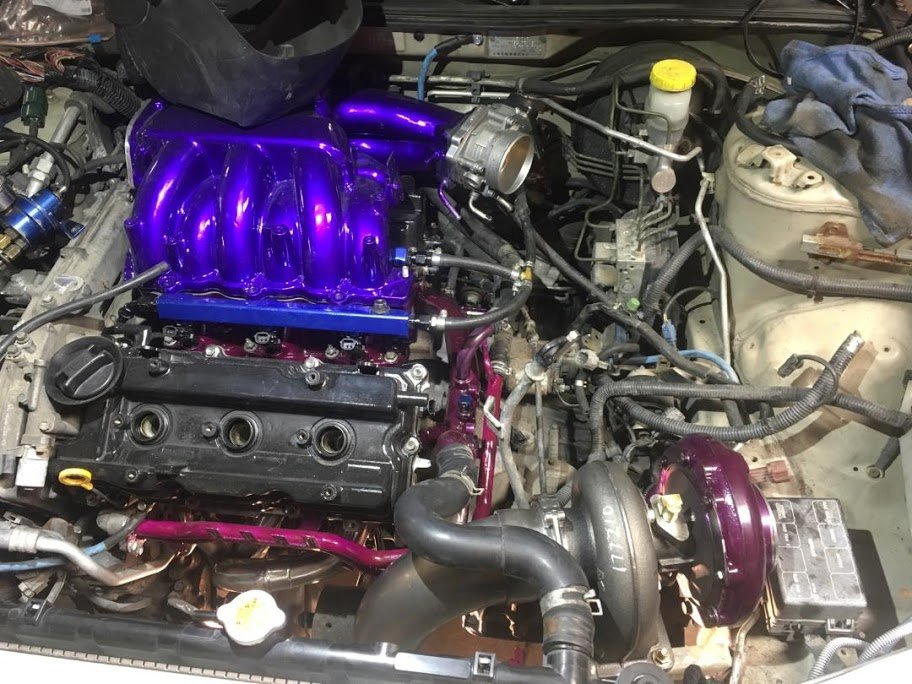
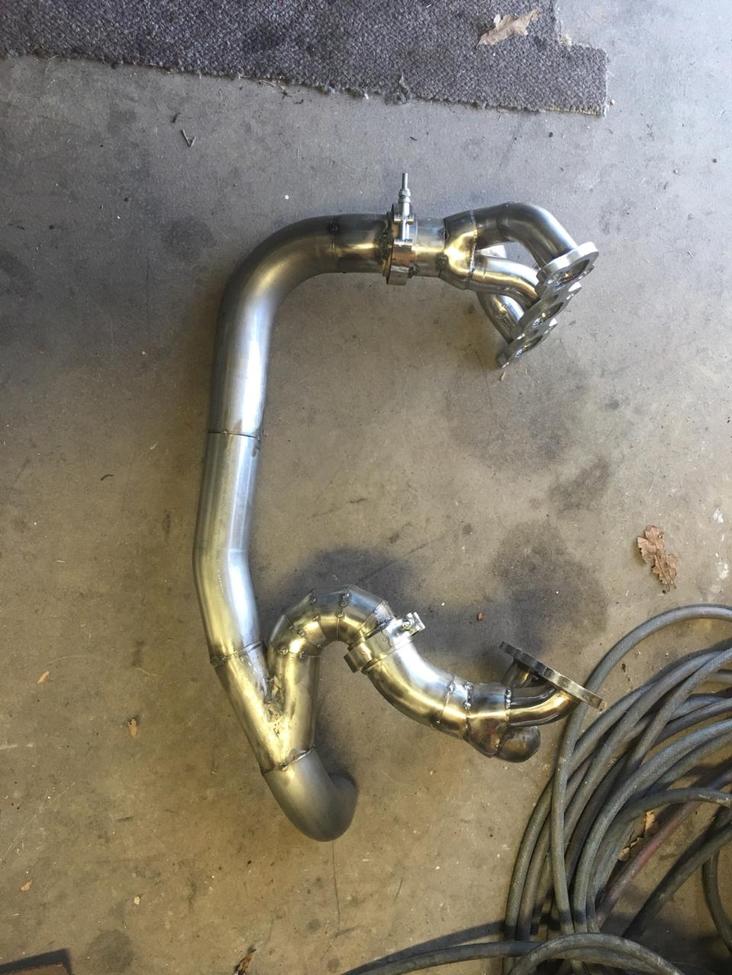
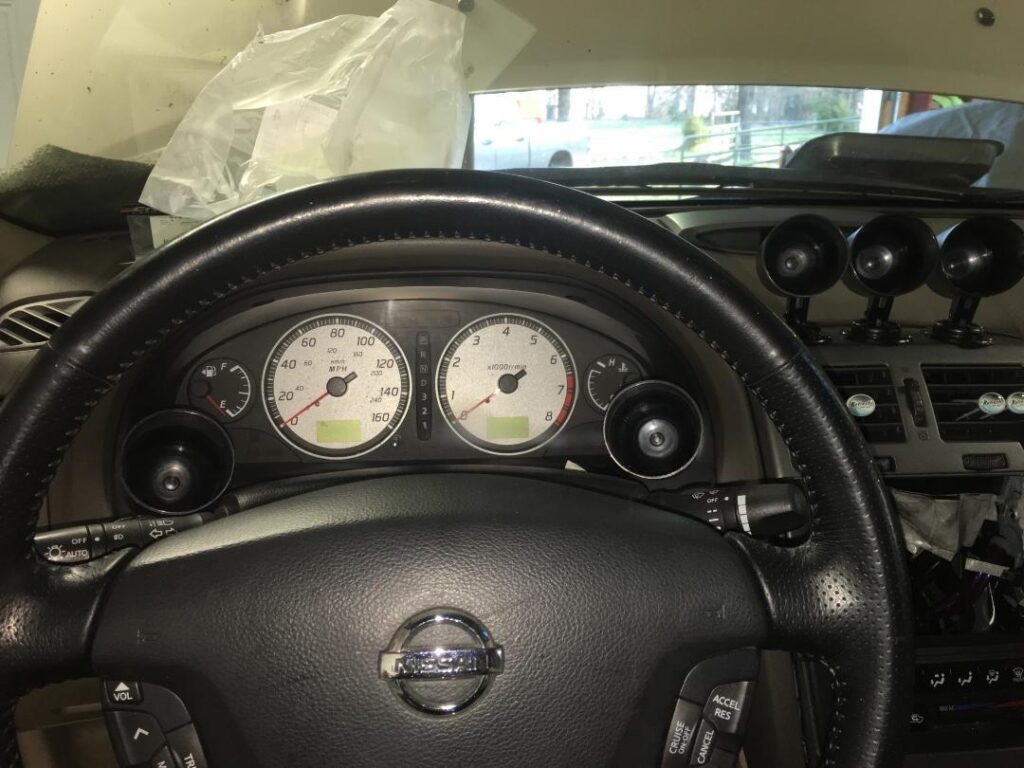
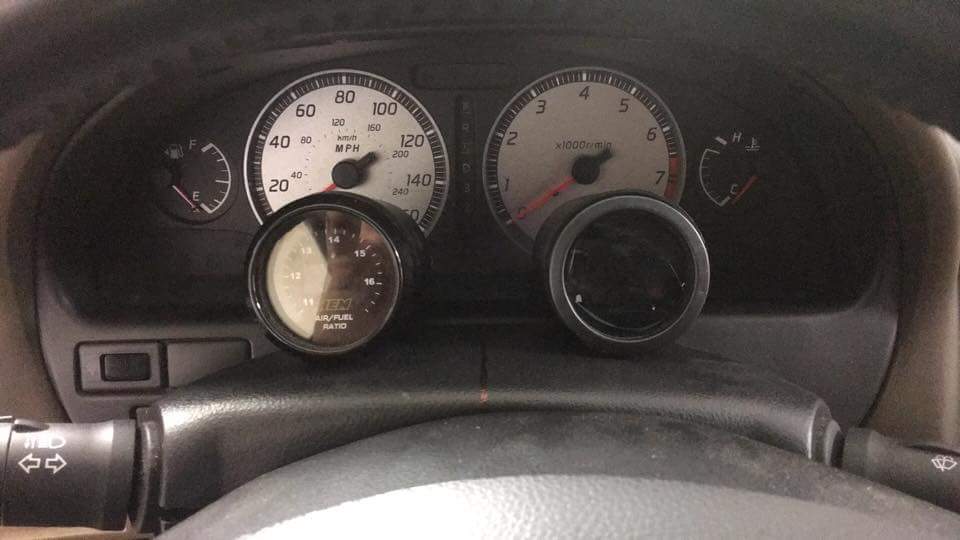
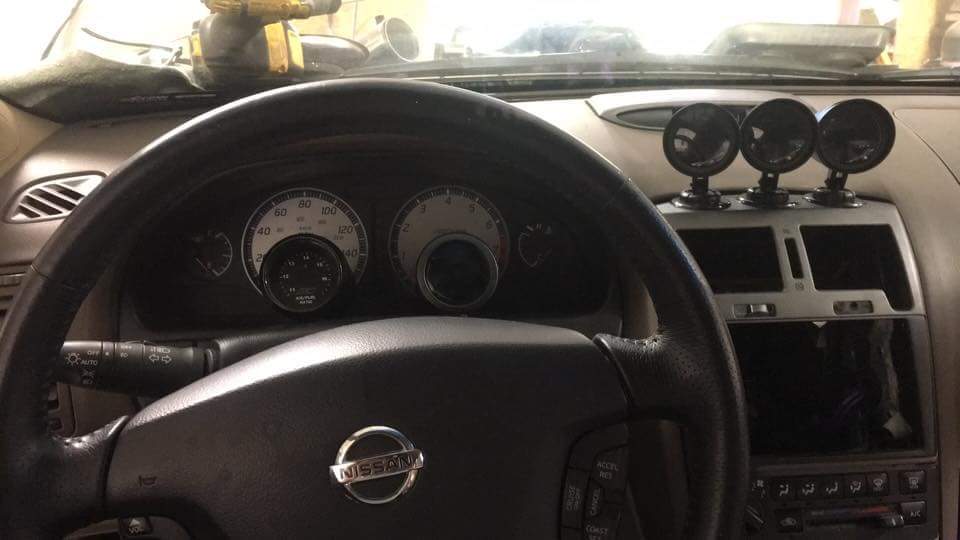
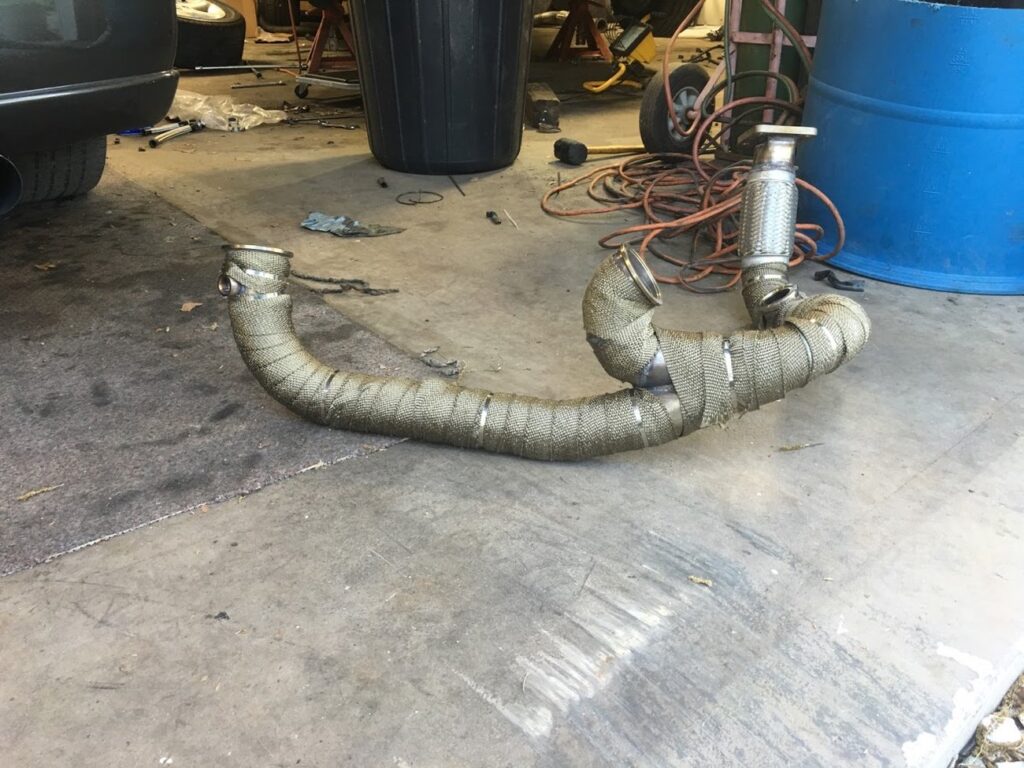
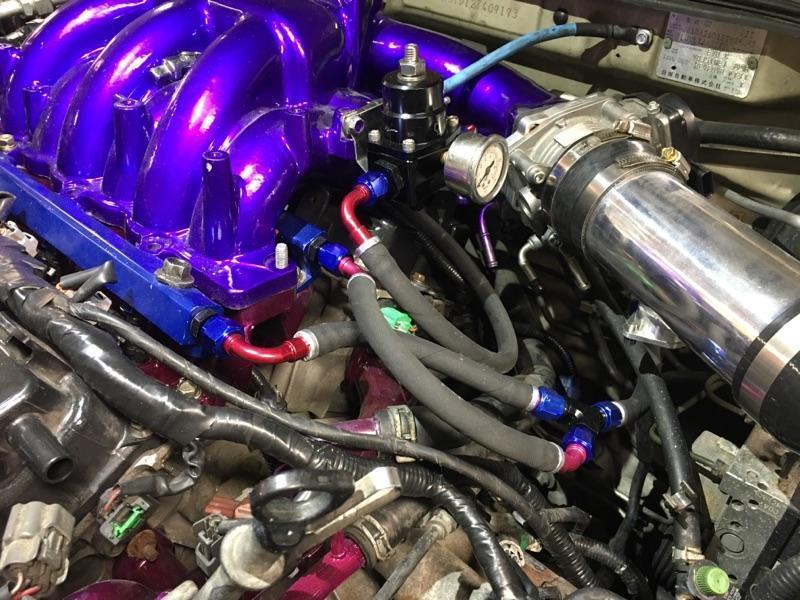
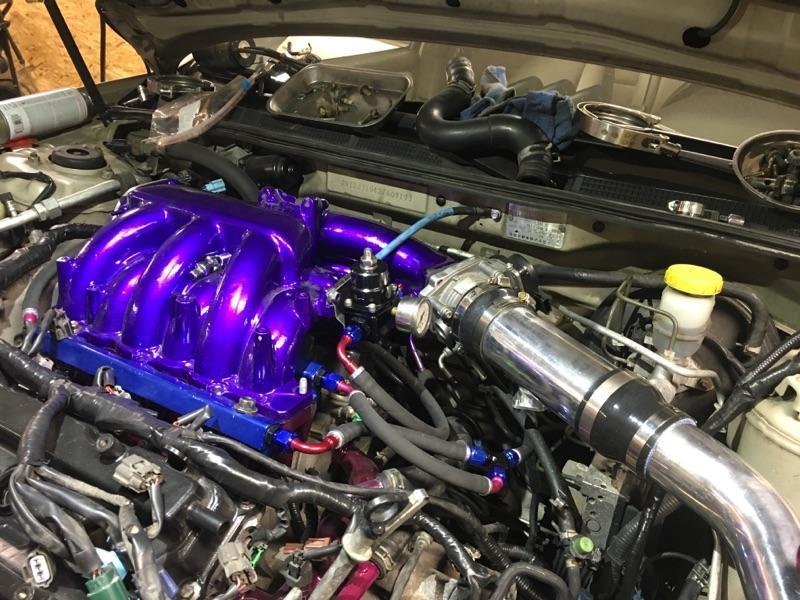
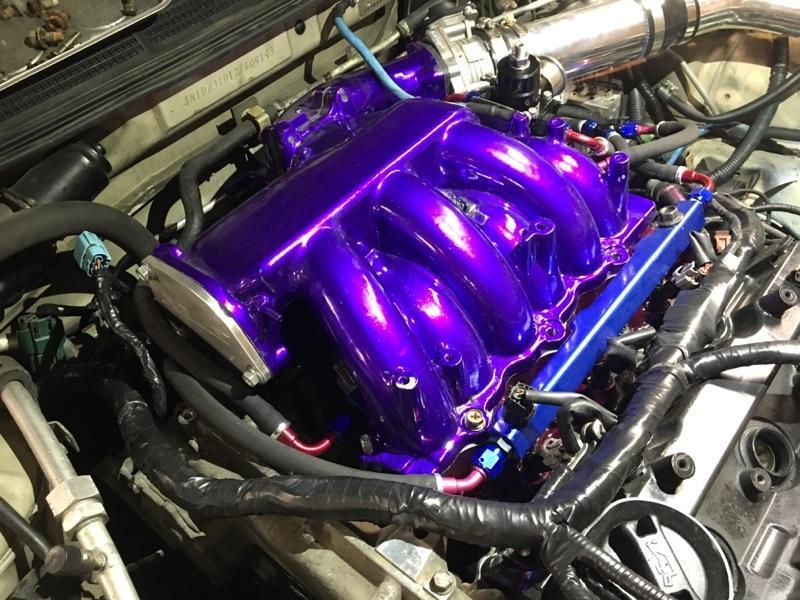
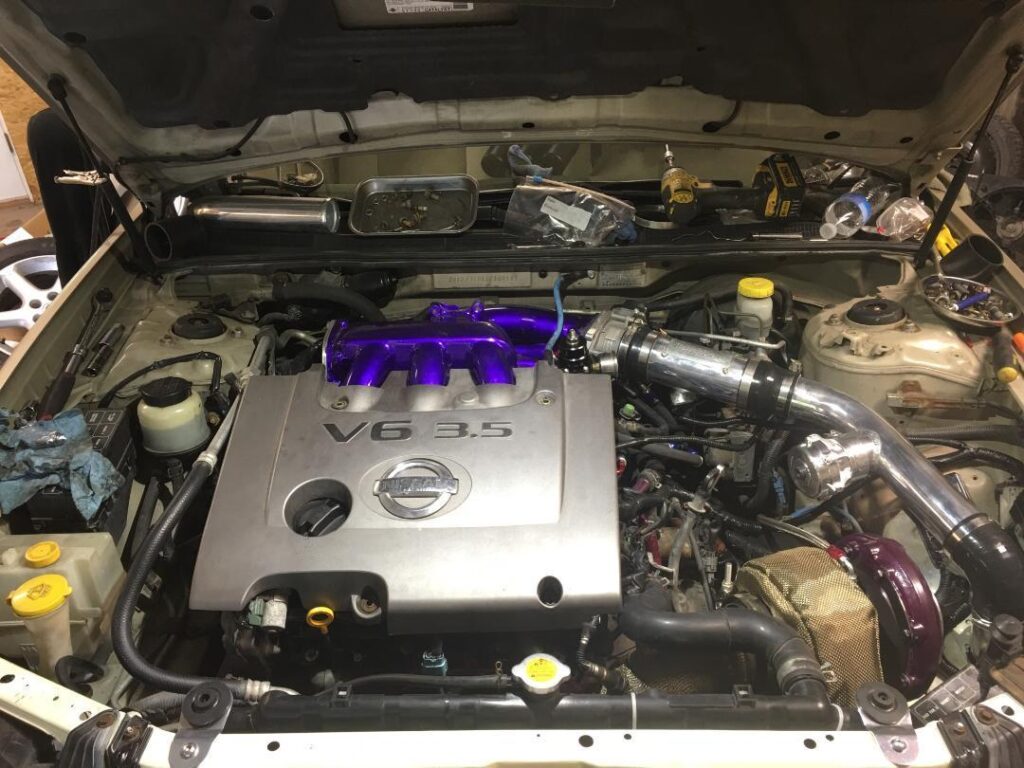
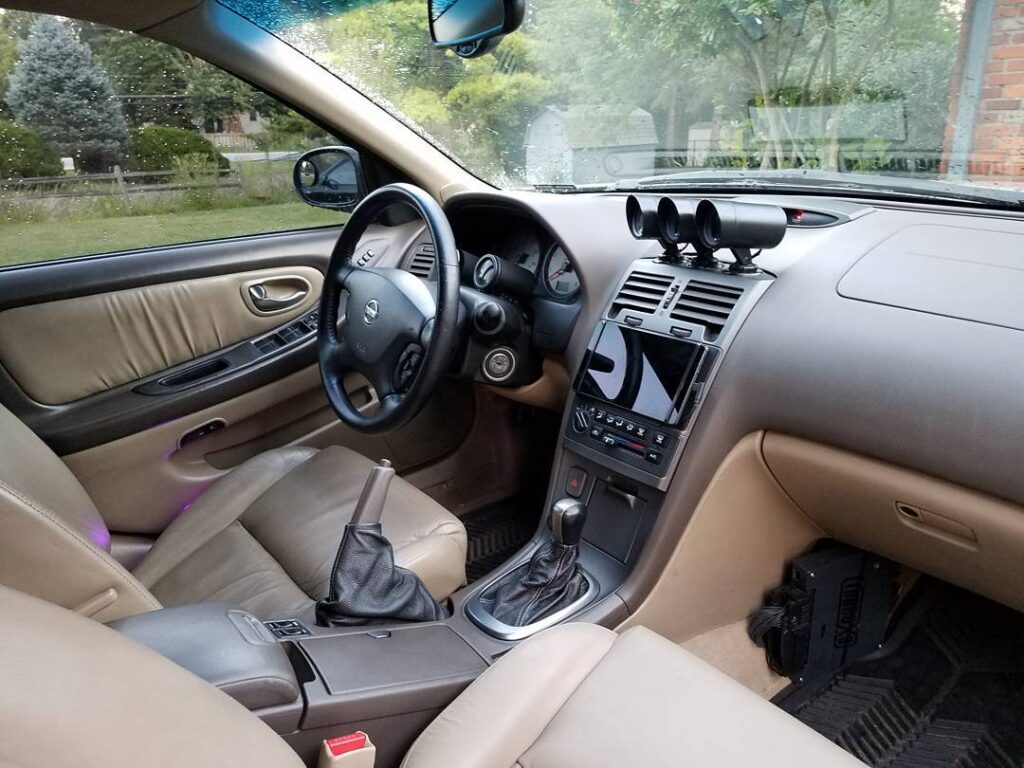
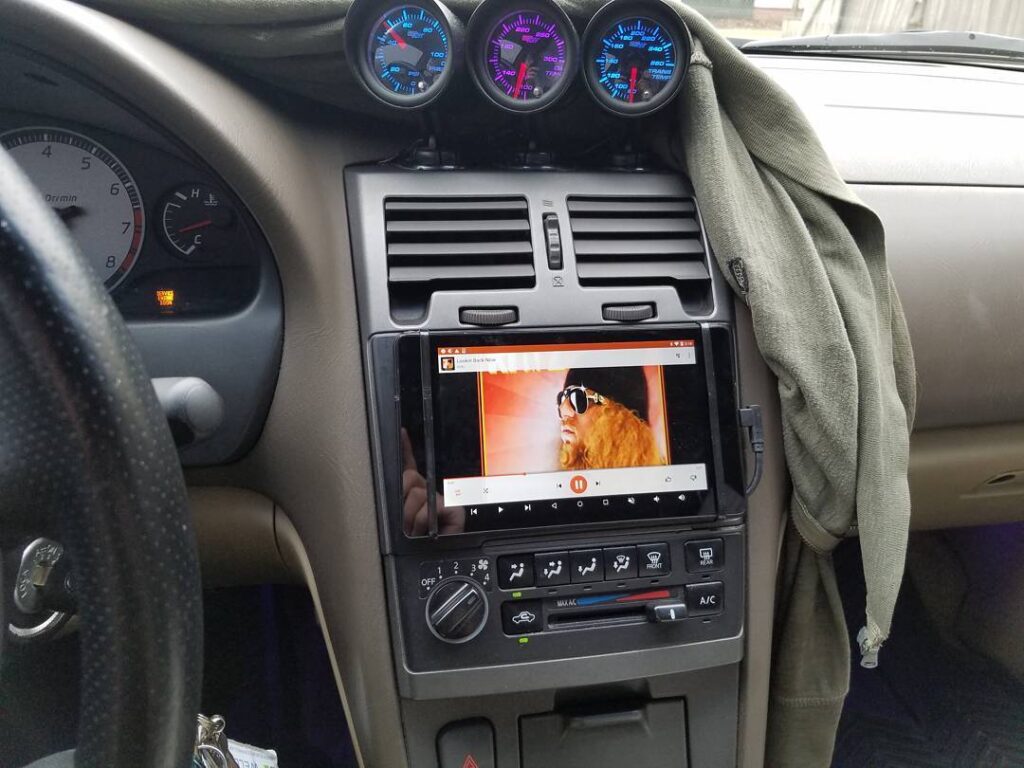
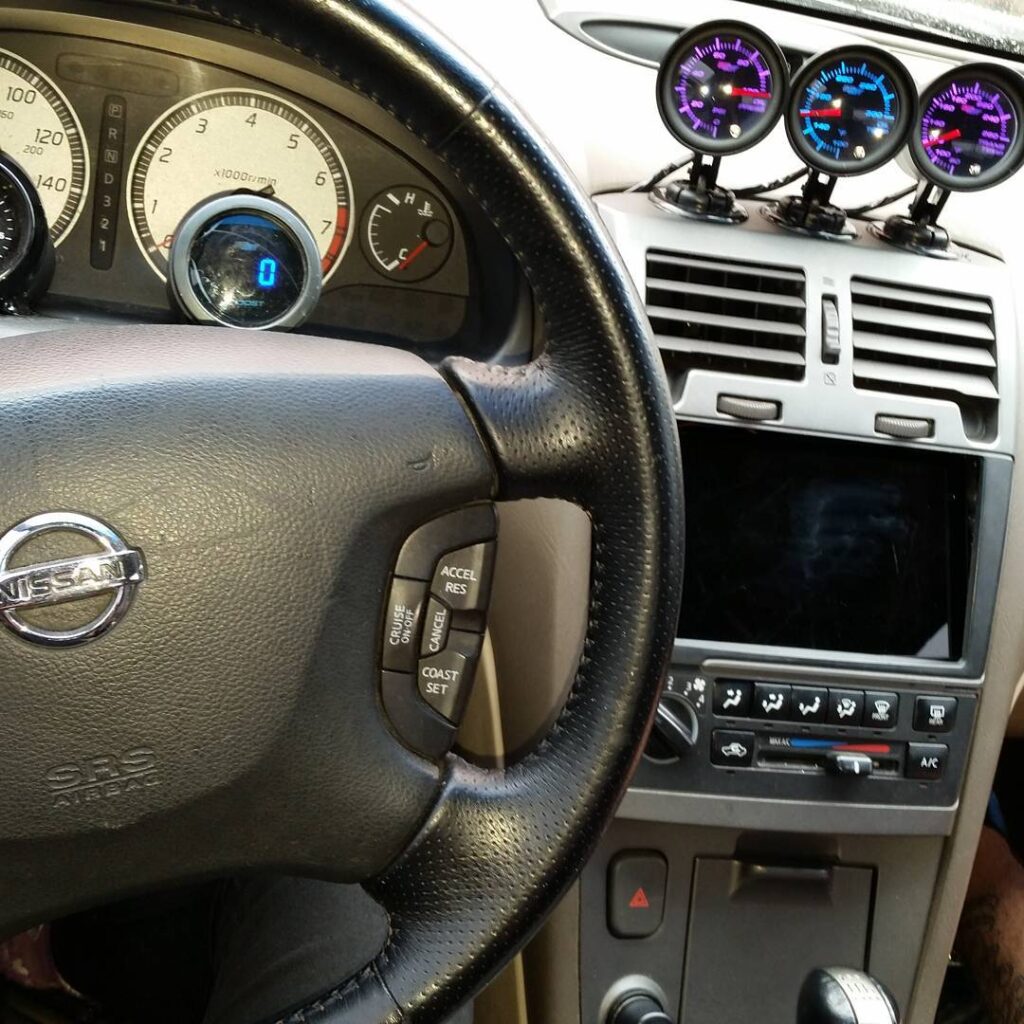
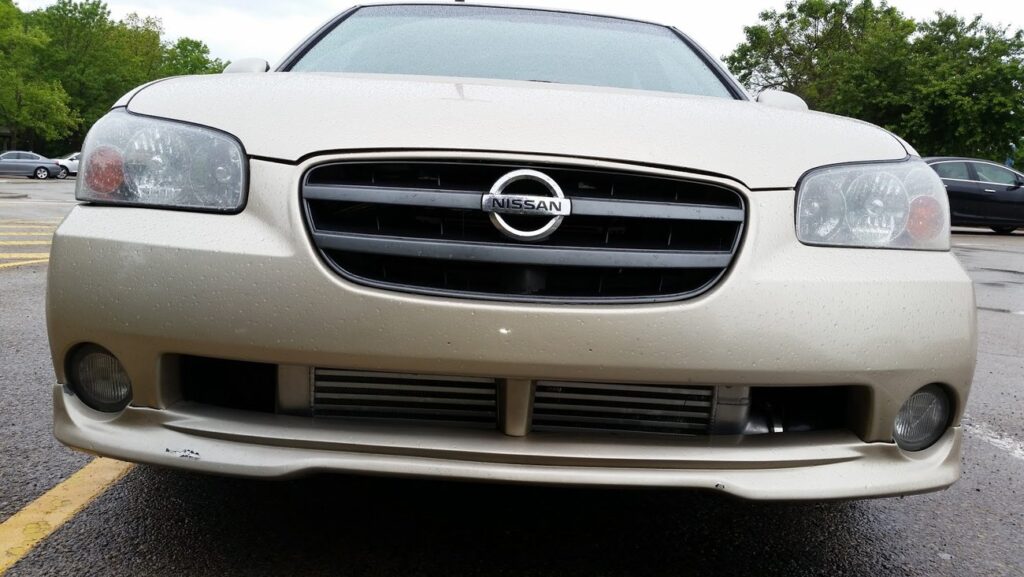
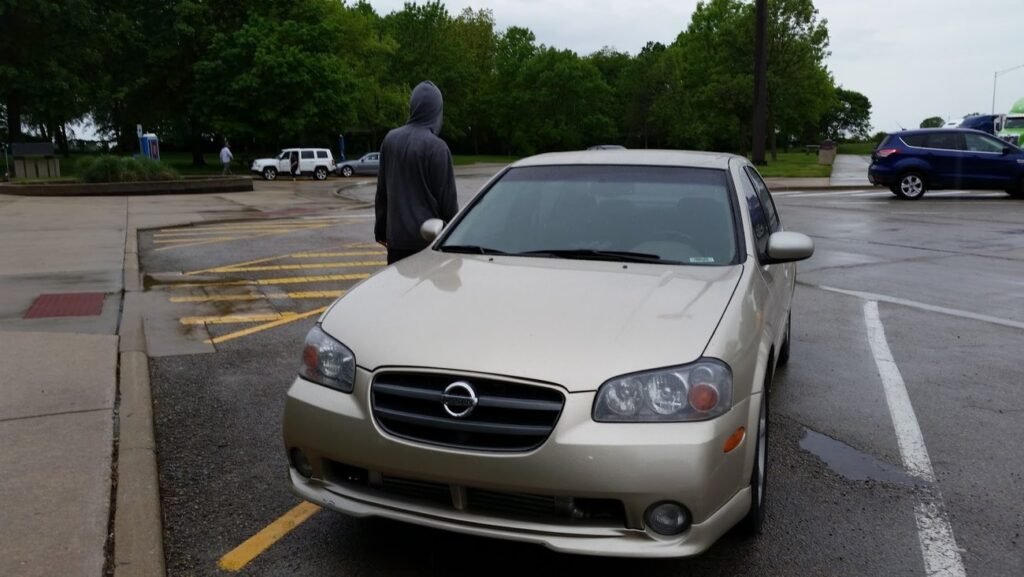
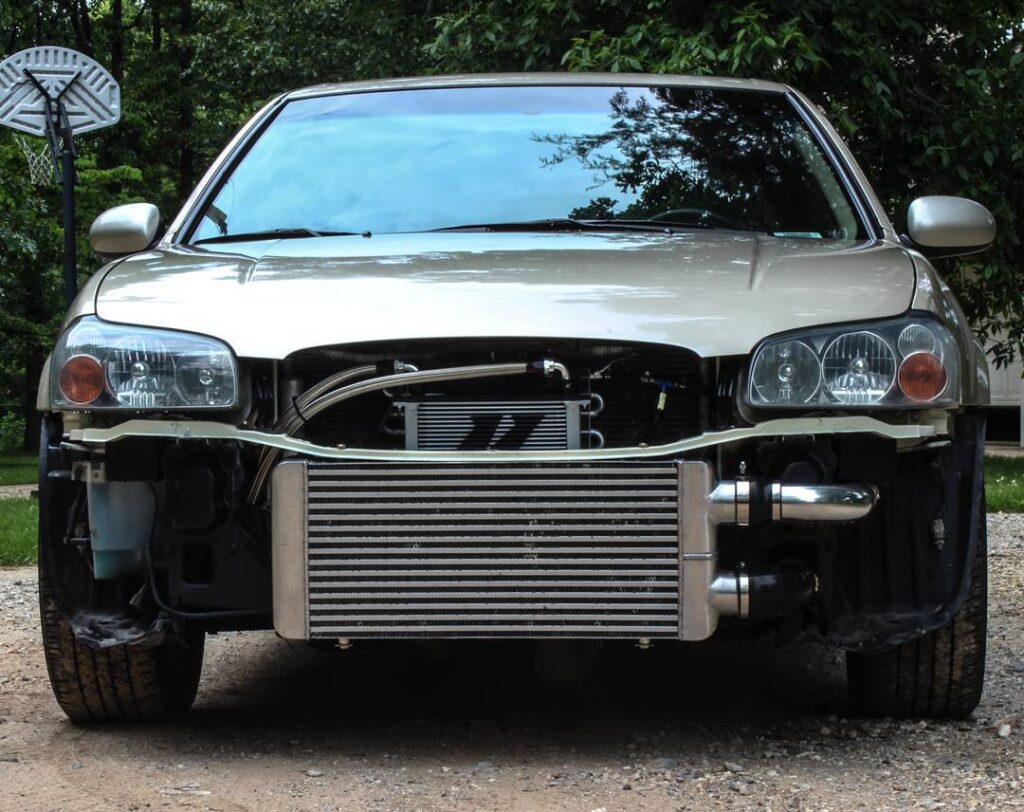
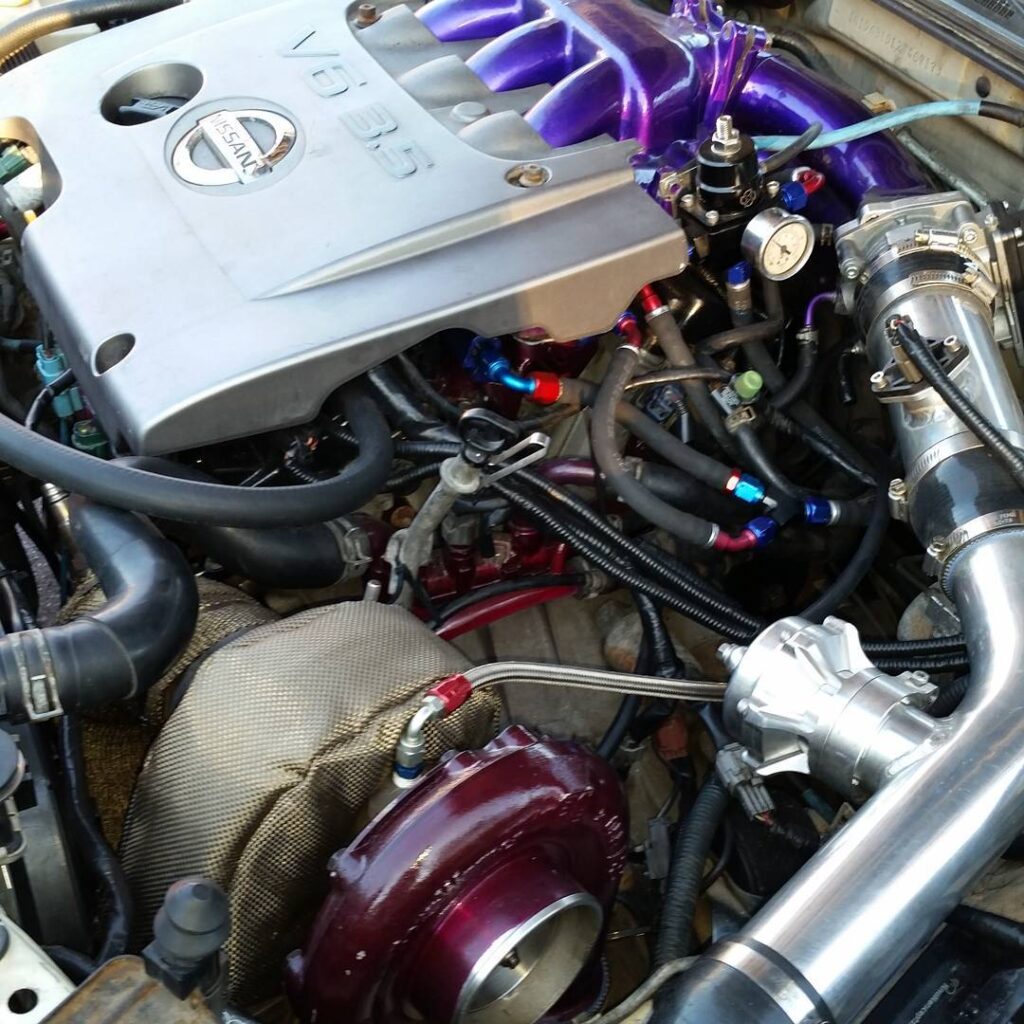
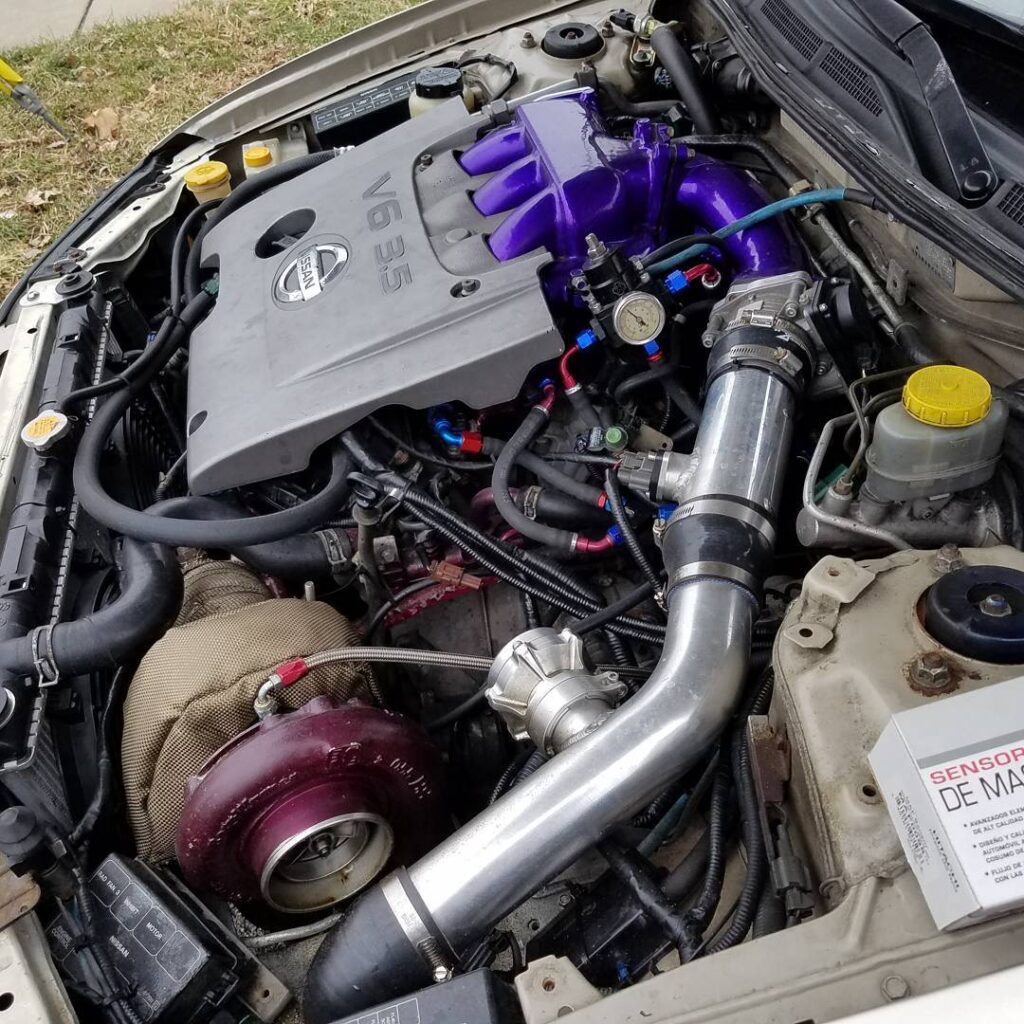
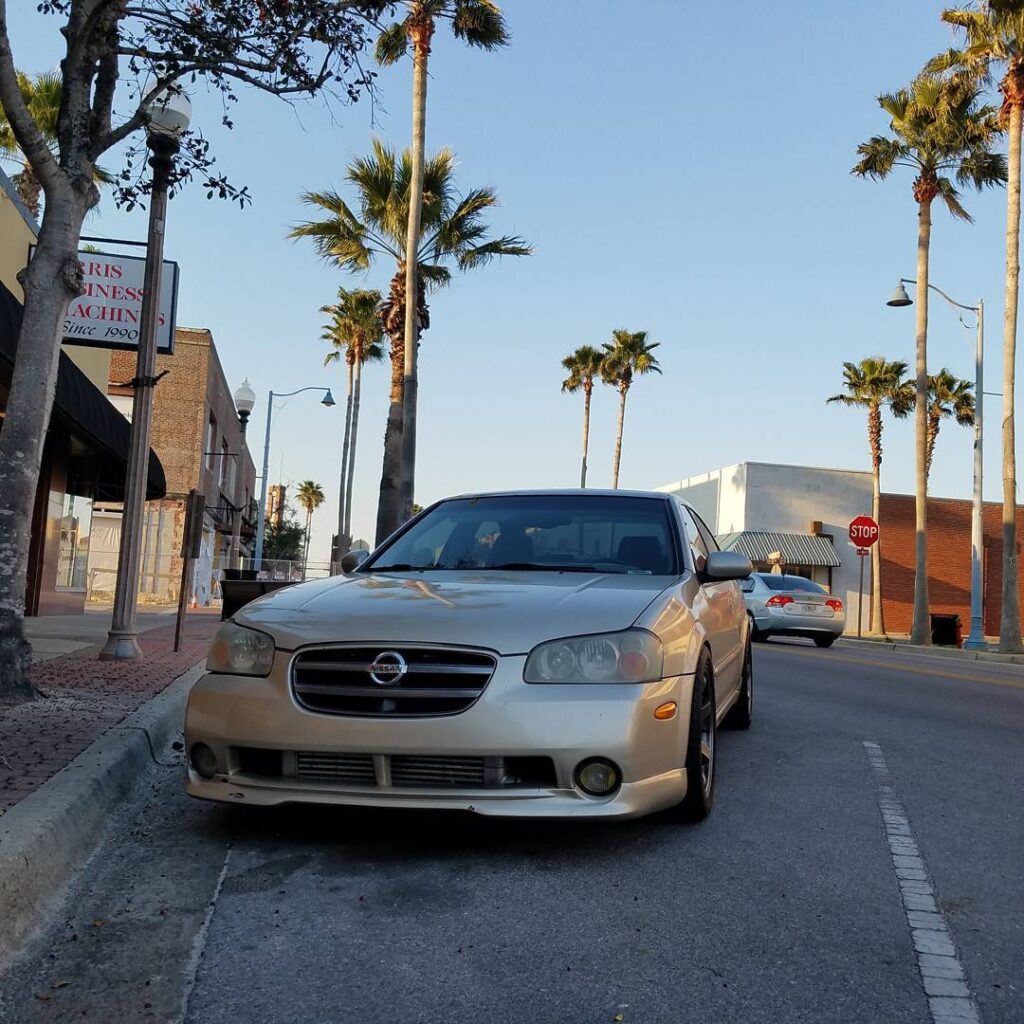
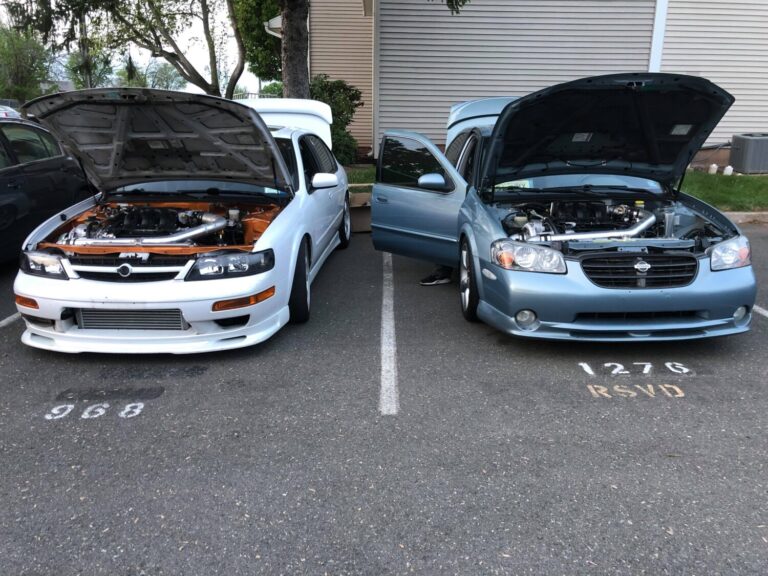
Big Congrats to Josh Emory. His 5thgen Nissan Maxima hit an impressive 10.6 sec run at the track yesterday. Holding it down for the Nissan Maxima Community and setting a top new record.
Issues: My power sunroof switch stopped working this weekend on my ’03 Maxima GLE. I pull it backwards for the sunroof to slide back and nothing happens?
Solution:
This happens to me almost every time I disconnect my battery terminal. I found that this will usually fix it: Use the sunroof tilt switch to open it all the way (you will have to push it a bunch of times), and then do the same thing to close it all the way. Once you open it and close it all the way using the switch, then try using the slider switch thing, and it should open. If it doesn’t, turn your car off and back on and try again. This works almost every time for me.
You shouldn’t have to open it all the way. Just close it and hold the tilt switch (close) until you hear a click…that will reset the switches.
How to Fix/Reset Sunroof motor:
Close your sunroof all the way.
Turn off your car.
Disconnect your battery.
Turn on your lights, and step on your brakes. Do it like 10 times. (You are basically draining the system.)
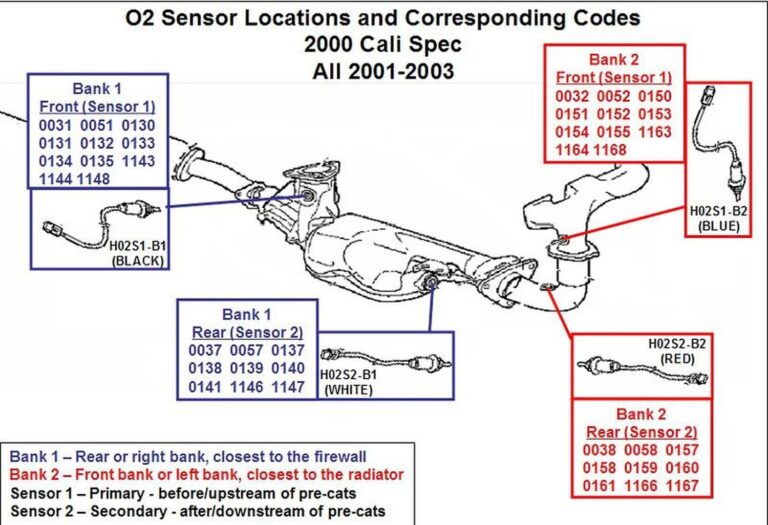
Whenever people have a code that is related to an O2 sensor, they always have to figure out exactly which sensor that it corresponds to (bank 1 & 2 and sensor 1 & 2)….so I created this.
Description of O2 Codes
BANK 1 FRONT (Sensor 1)
P0031 – Heated Oxygen Sensor 1 Heater Low Voltage (Bank 1)
P0051 – Heated Oxygen Sensor 1 Heater High Voltage (Bank 1)
P0130 – Front O2 Sensor Circuit (Bank 1)
P0131 – Front O2 Sensor (Lean) (Bank 1)
P0132 – Heated Oxygen Sensor 1 Circuit High Voltage (Bank 1)
P0133 – Heated Oxygen Sensor 1 Circuit Slow Response (Bank 1)
P0134 – Heated Oxygen Sensor 1 Circuit No Activity Detected (Bank 1)
P0135 – Front O2 Sensor Heater (Bank 1)
P1143 – Heated Oxygen Sensor 1 Lean Shift Monitoring (Bank 1)
P1144 – Heated Oxygen Sensor 1 Rich Shift Monitoring (Bank 1)
P1148 – Closed Loop Control (Bank 1)
BANK 1 REAR (Sensor 2)
P0037 – Heated Oxygen Sensor 2 Heater Low Voltage (Bank 1)
P0057 – Heated Oxygen Sensor 2 Heater High Voltage (Bank 1)
P0137 – Rear O2 Sensor Low Input (Bank 1)
P0138 – Heated Oxygen Sensor 2 Circuit High Voltage (Bank 1)
P0139 – Heated Oxygen Sensor 2 Circuit Slow Response (Bank 1)
P0140 – Rear O2 Sensor High Input (Bank 1)
P0141 – Rear O2 Sensor Heater (Bank 1)
P1146 – Heated Oxygen Sensor 2 Minimum Voltage Monitoring (Bank 1)
P1147 – Heated Oxygen Sensor 2 Maximum Voltage Monitoring (Bank 1)
——————————————————————————————–
BANK 2 FRONT (Sensor 1)
P0032 – Heated Oxygen Sensor 1 Heater Low Voltage (Bank 2)
P0052 – Heated Oxygen Sensor 1 Heater High Voltage (Bank 2)
P0150 – Front O2 Sensor Circuit (Bank 2)
P0151 – Front O2 Sensor (Lean) (Bank 2)
P0152 – Heated Oxygen Sensor 1 Circuit High Voltage (Bank 2)
P0153 – Heated Oxygen Sensor 1 Circuit Slow Response (Bank 2)
P0154 – Heated Oxygen Sensor 1 Circuit No Activity Detected (Bank 2)
P0155 – Front O2 Sensor Heater (Bank 2)
P1163 – Heated Oxygen Sensor 1 Lean Shift Monitoring (Bank 2)
P1164 – Heated Oxygen Sensor 1 Rich Shift Monitoring (Bank 2)
P1168 – Closed Loop Control (Bank 2)
BANK 2 REAR (Sensor 2)
P0038 – Heated Oxygen Sensor 2 Heater Low Voltage (Bank 2)
P0058 – Heated Oxygen Sensor 2 Heater High Voltage (Bank 2)
P0157 – Rear O2 Sensor Low Input (Bank 2)
P0158 – Heated Oxygen Sensor 2 Circuit High Voltage (Bank 2)
P0159 – Heated Oxygen Sensor 2 Circuit Slow Response (Bank 2)
P0160 – Rear O2 Sensor High Input (Bank 2)
P0161 – Rear O2 Sensor Heater (Bank 2)
P1166 – Heated Oxygen Sensor 2 Minimum Voltage Monitoring (Bank 2)
P1167 – Heated Oxygen Sensor 2 Maximum Voltage Monitoring (Bank 2)
Well, if you’re here, you are probably experiencing some trouble because the TPS is not a regular maintenance item! Unfortunately, TPS failure seems rather common. It’s happened to me, and I see it in one to two other Maxima enthusiasts a year. Heck when Edmunds.com was evaluating the new 2K Max, they had problems with the TPS. And the car was brand-spanking new!
WHAT IS THE TPS?
The throttle position sensor is a potentiometer – a variable resistor. The ECU sends the TPS a 5V signal. Depending on the position of the throttle, the TPS will send back to the ECU a voltage proportional to how open the throttle is.
Here is a pic of the TPS.
This is the back. Notice the metal bracket that connects to the throttle body. This bracket is rotated by the throttle to change the TPS’s internal resistance.
Symptoms: The most obvious is if the TPS just up and dies. You’ll get a check engine light and the 0403 trouble code. (Trouble codes will be covered at a later date). However, if the TPS is still gasping its last few breaths, you won’t necessarily get the light. But you will get inexplicable, “spontaneous” drops in RPMs. It’s most pronounced when you are at idle or the engine is coasting to idle after disengaging the clutch. I have yet to see someone tell of problems when the car was moving/accelerating.
TROUBLESHOOTING:
Here is the TPS in the engine bay (red arrow).
You want to pull out the connector away from you (yellow arrow). Do this when the engine is OFF.
You will then expose the pins on the connector.
1. Connect the positive lead of your multimeter (voltage checker) to pin 1.
2. Then connect the negative lead to a ground in the engine bay.
3. Turn your key to the ON position (Do NOT start the car)
4. You should see about 5 volts on the multimeter, indicating the ECU is sending the proper signal.
5. Reconnect the harness to the TPS and start the car.
6. Warm up the car. (This is because heat affects resistance)
7. When warm, turn the engine off, and put the ignition switch to OFF.
8. Connect your meter to pins 2 & 3.
9. With the throttle completely closed (foot off the gas pedal), you should read about 500 ohms of resistance.
10. Start pushing on the gas pedal – resistance should rise. When the gas is fully depressed (wide open throttle), the resistance should be about 4000 ohms.
11. If you are slightly off, you can still adjust the TPS to compensate.
12. Notice that the holes that the screws go into on the TPS are slotted, giving you some clearance. Loosen the screws so that you can turn the TPS in place. If you can twist the TPS so that the values are correct for the different throttle positions, retighten the screws – you’re done.
13. Otherwise, you are out of luck. Time to pick up a new TPS.
A new TPS will cost about $60-$70. Just unscrew the two screws holding the old TPS and put the new one in and adjust until the resistances are right. Then, tighten down the screws. (Yes, the 2nd screw on the other side not shown in the pic is a pain to unscrew) (And yes, these are not the OEM screws. I galled the OEM screws unscrewing them out. These screws are bought from “Home Depot Motorsports” hehe.
Here are the steps involved in converting to a 70mm Pathfinder throttle body:
1. Make or purchase adapter plate,
2. When you first do a trial fitting of the adapter plate to the intake manifold, you will see that the 70mm opening is considerably larger than the bore of the intake manifold. I got my high speed drill (cordless drills are too slow) and a bag of coarse grit 2” sanding drums and started opening up the intake to match. First scribe or mark the 70mm diameter of the adapter plate bore onto the mating surface of the intake. Then start removing material. I did it with the intake manifold removed from the engine. If you do it on the engine, stuff several rags down the throat to keep aluminum dust out of the engine and then use a shop vac to suck all the dust up. It’s a good idea to have the shop vac running with the nozzle fixed in place at the grinding area so that the dust immediately gets sucked away. Note that the outer surface of the intake necks down several millimeters just beyond the mating surface. For that reason I was not comfortable increasing the bore all the way out to 70mm in that region, rather I tapered down to a 68mm bore to keep from breaking through the wall of the intake. I removed material for about 3-4 inches into the intake, and followed up with a nice polishing job with a Dremel. I wish I had a picture to show you, it was very pretty.
3. If you bought a TB that had the Pathfinder IAC and coolant passageway attached, you will have to remove them because there is not enough space beneath the TB for the IAC stuff.
4. You will have to make a plate that bolts to the bottom of the TB to seal it off, otherwise you will have a massive vacuum leak. See the attached jpg below. You can reuse the fancy o-ring gasket if your TB came with it, otherwise you will have to buy a new one from the dealer. I drilled a hole in the bottom of the plate and attached a hose nipple for the EGR control valve solenoid vacuum hose.
5. Some people have left the TPS as is, with the connectors pointing away from the intake manifold. This really stretches the TPS harness and in my case there was not enough slack in the harness to reach, so I took the TPS off and rotated it 180 degrees so that the connectors point backward to the intake manifold. The harness connectors can now easily reach the TPS.
6. After you remove the Maxima TB you will have to connect together the two coolant lines that connect to the TB, since you removed the coolant passageway and IAC from the Pathfinder TB. But you’ve always wanted to do the useless TB coolant bypass, now, haven’t you? Admit it.
7. At this time you can bolt the adapter plate to the intake manifold (if you haven’t already) and then bolt the TB to the adapter plate with a new gasket. The Pathfinder TB gasket is a fancy metal one, similar to our IAC gasket. You may have to connect the TPS to its harness as you are mounting the TB.
8. Attach the throttle and cruise control cables. My .75” thick adapter plate allowed me to attach the throttle cable without having to reposition the throttle cable adjustment bracket, but the cruise control cable was just a hair too short. I don’t care since my cruise control hasn’t worked since I did the tranny conversion anyway, but if you want cruise control you will have to do some repositioning of the bracket. I’ll do it eventually since I don’t like the looks of a loose cable.
9. Attach the intake pipe to the TB and you’re done. On my setup, the TB sticks out about .25” further than the Maxima TB did. The Pathfinder TB is shorter axially than the Maxima TB, which helped make up for the .75” thick adapter plate. The extra .25” or so was not enough to cause any problem with the intake pipe.
PLEASE KEEP IN MIND THAT PICS SHOW WASHER FLUID RESERVOIR WAS TAKEN OUT. YOU DO NOT NEED TO TAKE IT OUT, BUT I LEARNED THAT AFTER I TOOK IT OUT & SINCE IT WAS MY FIRST TIME DOING IT
Instructions
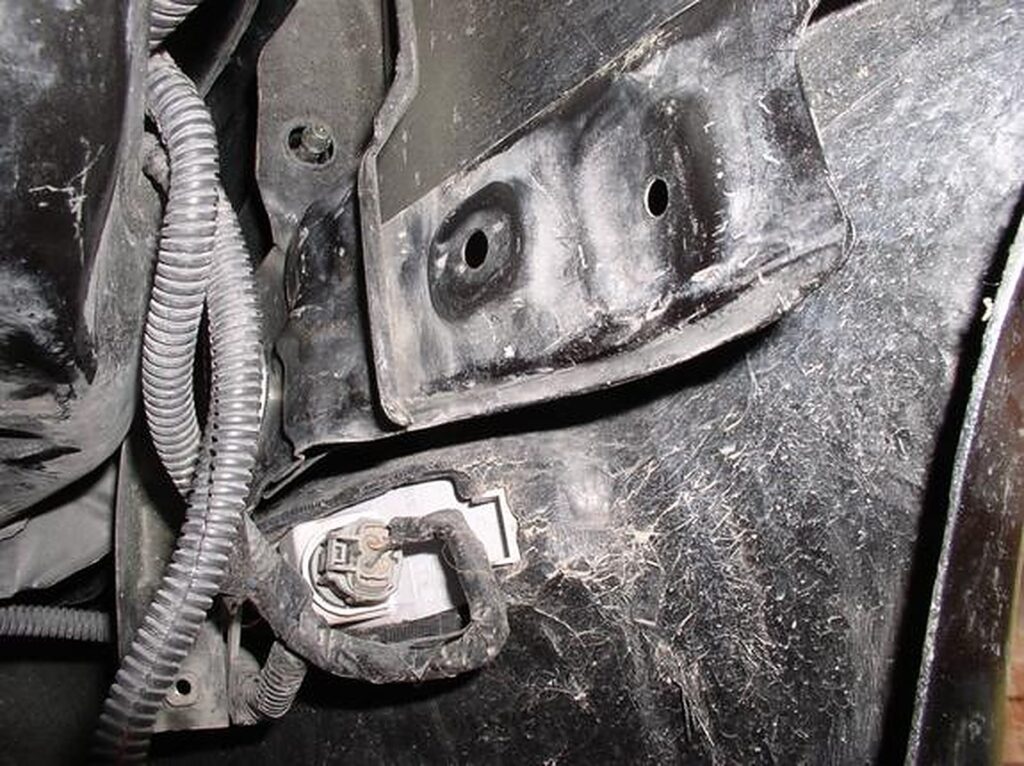
1) Open plastic cover from underneath the car, like you would do to change the passenger side fog light.
2) Now check to see if you see wire circled in the photo. This wire is needed to make the sensor work.
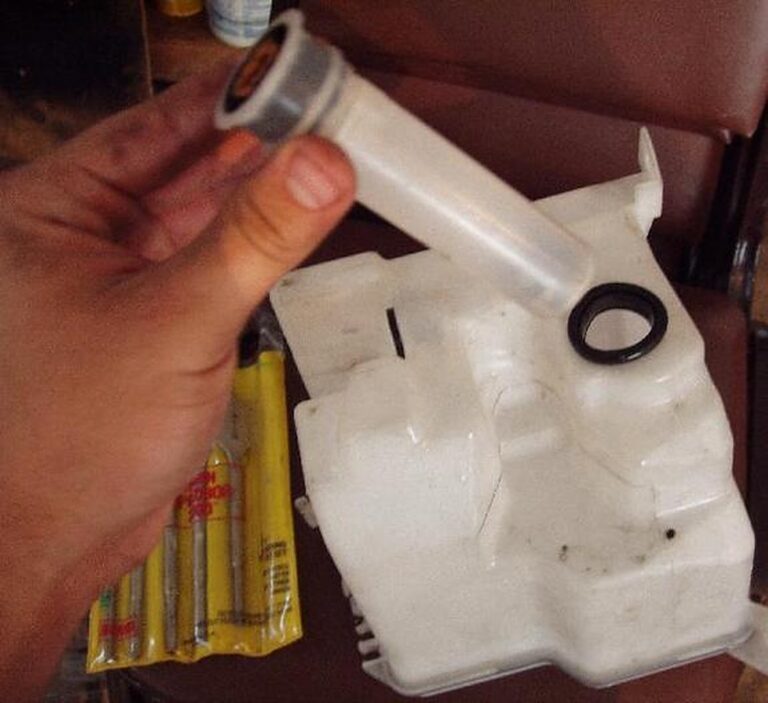
3) Now test-fit the sensor tube with wire.
4) Ok now to make sure it works. You need another person to help you with this step. Connect sensor tube. Now find a water bottle and cut the top off like the above pic, & fill it with water. Now turn the car on & dip the sensor tube in a bottle full of water. Now have another person check to see if your washer fluid warning light comes on your dash.
5) Now that you checked that it works. Have a bucket underneath & unplug the tube shown in the photo to drain any washer fluid in there.
6) Now look closely at the bottom left of the reservoir & you should see a sketched circle where the sensor tube should be.
7) Now take a 1 inch or 1 1/4 inch wood boring bit (I think that’s what it’s called) & drill a hole where the sketched circle is on the reservoir. Should look like the photo below.
8) As you can see in the photo I didn’t have a perfect circle. Because I believe the 1inch bit was too small but I just went round & round to make the hole bigger. *Don’t make it too big & test fit tube if need to. Should be a TIGHT fit for the sensor tube.*
9) Once the hole is big enough. Put on rubber around hole that came with sensor tube.
10) Now insert the sensor tube. Should be a tight fit!
11) Now with some silicone put it around the edges of the tube you inserted. This is just for extra protection that it won’t leak.
12) Now get wire & plug it into sensor tube & your DONE!!!
**To be safe I didn’t re-fill my washer fluid reservoir for a couple of days. Just to make sure the silicone completely dried.**
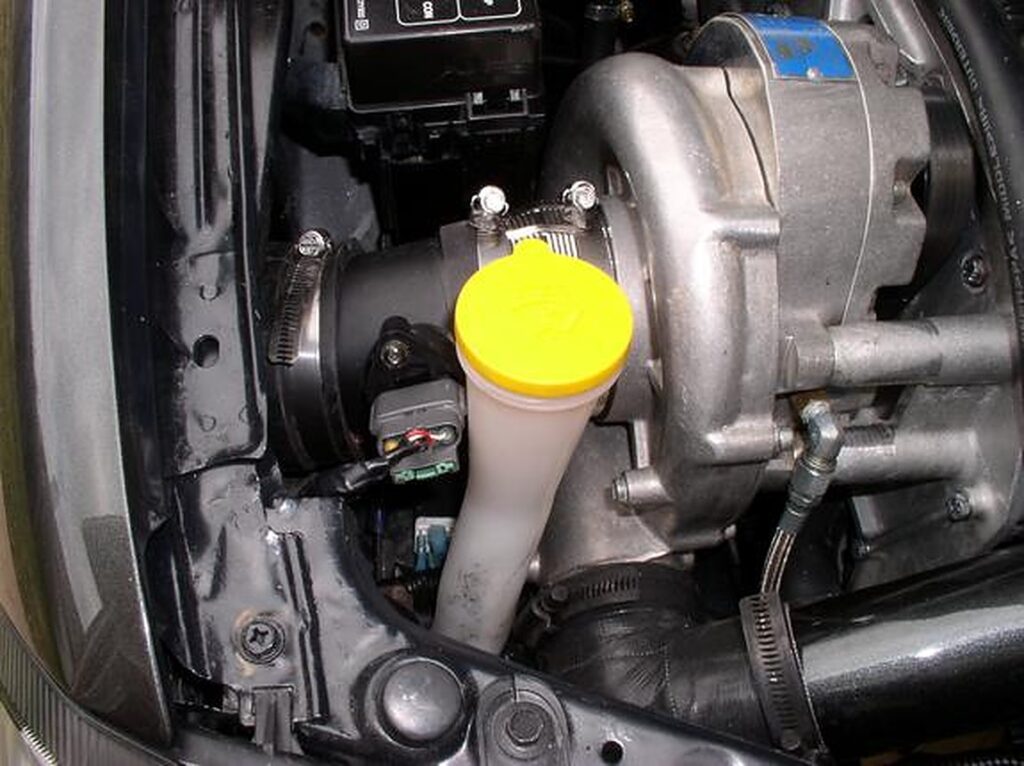
Remove the low-pressure SC pipe and cover the SC with some duck tape. (to keep shavings out of the SC) Also jack up the car and remove the passenger tire. Remove the wheel well cover and pull out the washer bottle. But first, pull out the fill neck. Just grab it and pull, it pops out (this has 2 10mm bolts that you will need to remove)
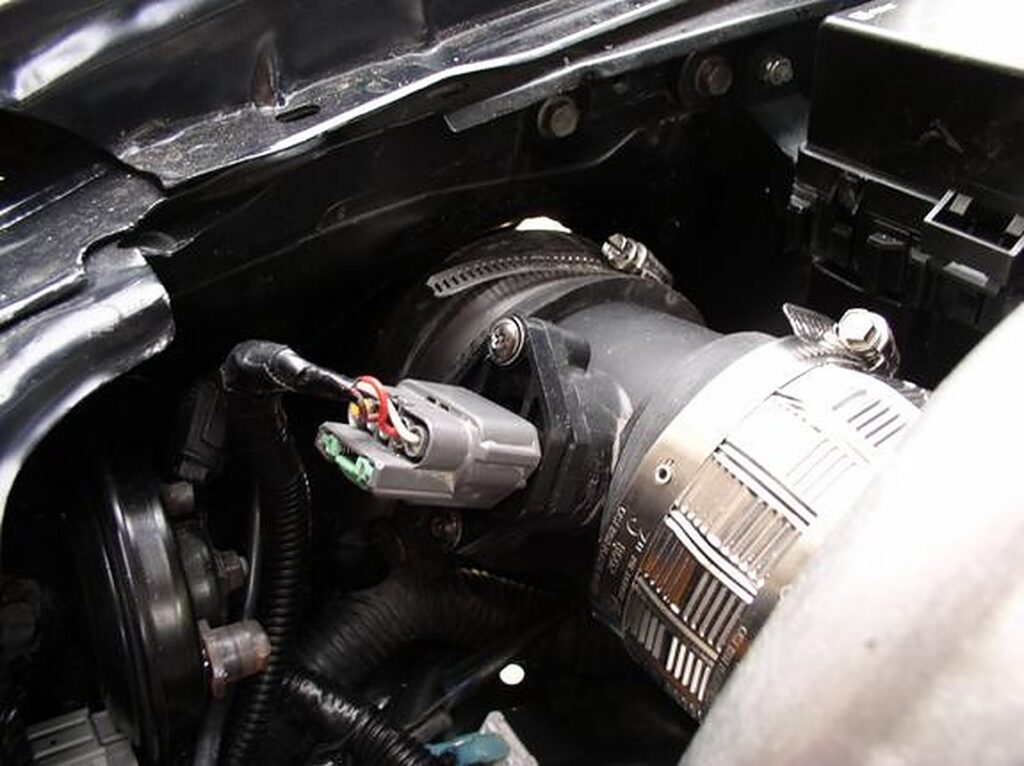
Take out the MAF and cut the 4 wires that go to the MAF. Make sure to cut all 4 wires staggered. (cut each wire 1″ than longer the next). Now cut 4 16-18 gauge wires that are 3 1/2-4 ft long. 3M Crimps connecters is what I used. Now when you get to the other end you will know that you are connecting the right wires. The stager from the MAF should match the stager of the new wire, plus your wire won’t be too thick to hide in the split loom. (do not plug in the MAF just yet)
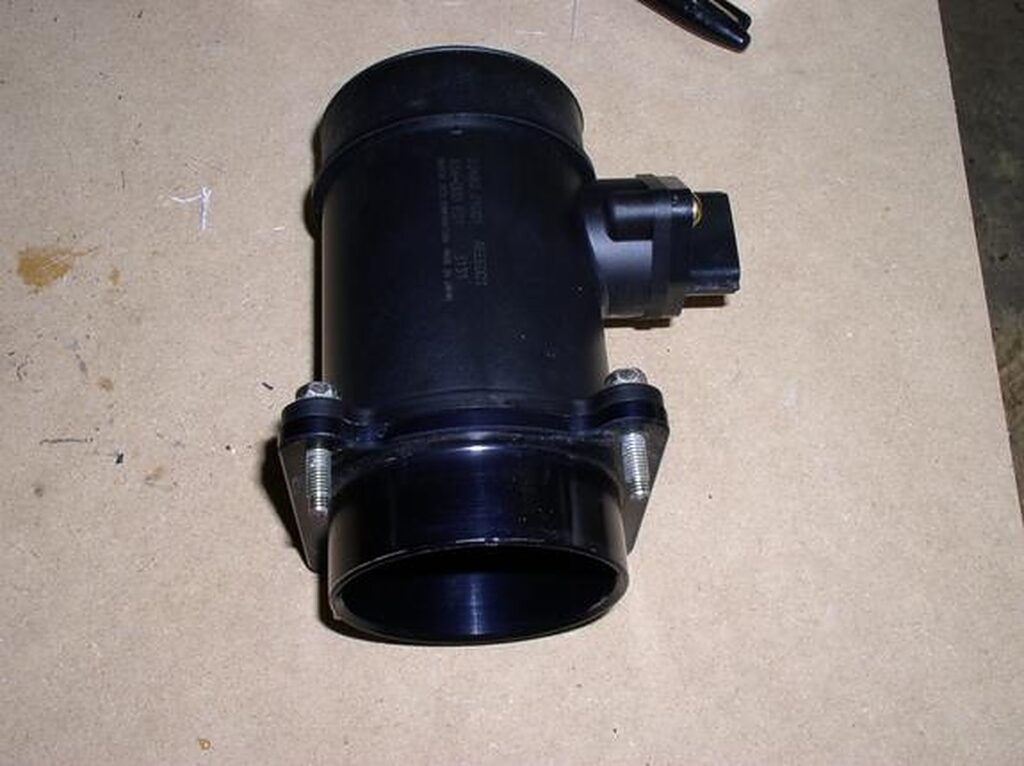
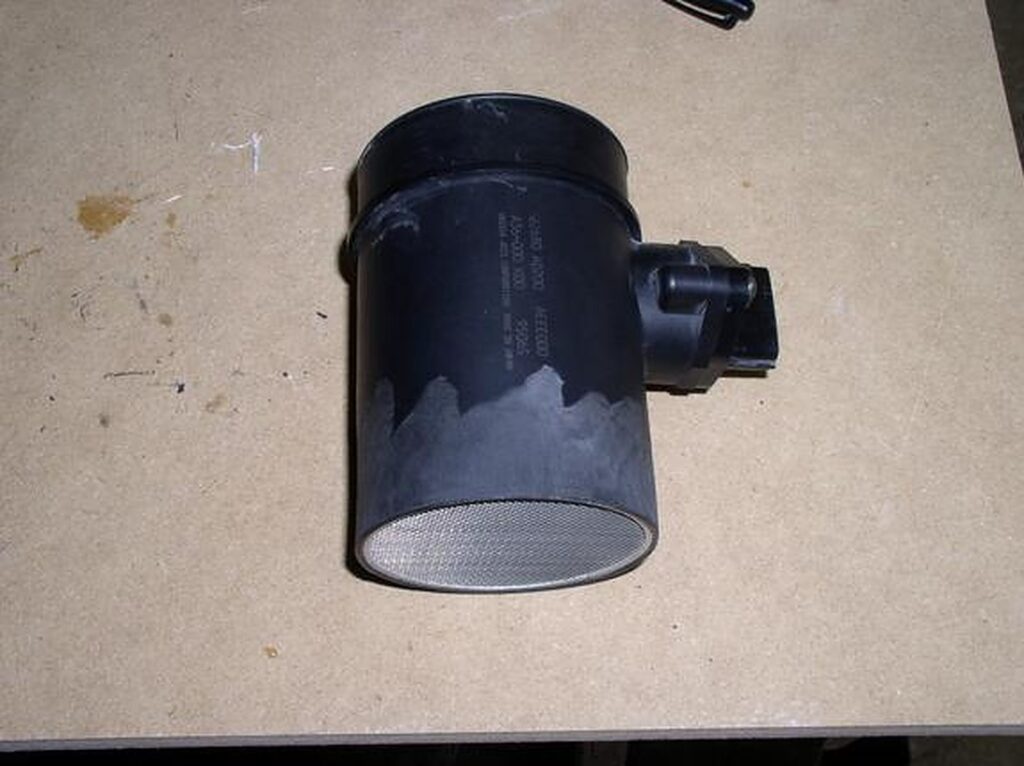
You will have to modify your MAF some. Remove the 4 bolt (10mm wrench) and then you will need to grind the flange off. Make sure that you don’t grind out the screen. Cut the 3″ silicone hoses to fit over both ends of the MAF.
Before
After
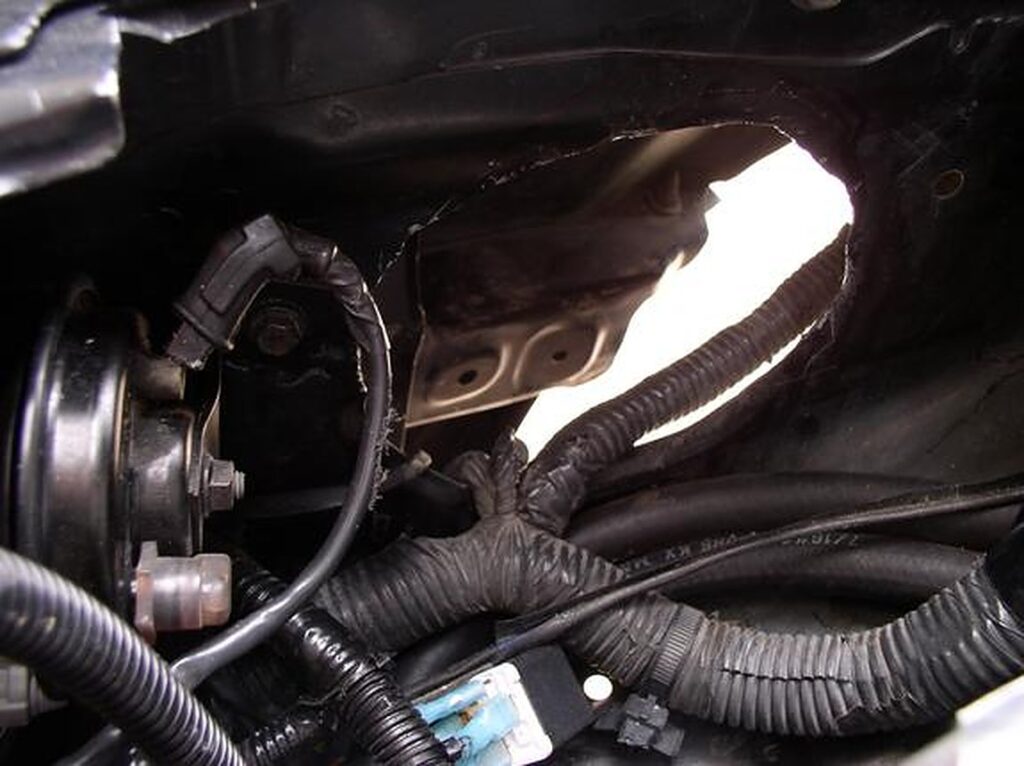
Use the MAF to get an idea of how much bigger you will have to make the hole for the piping to go thru. You will also need to cut the bracket in the fender well for clearance. (clean out all the shavings i.e.: vacuum or blow it out)
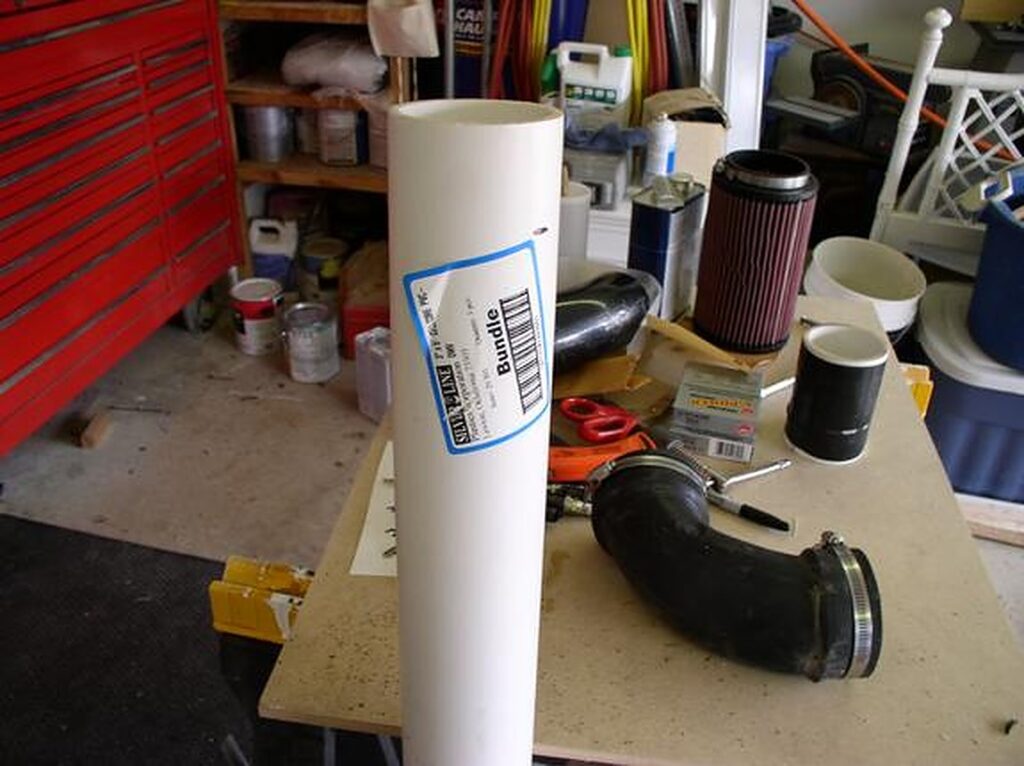
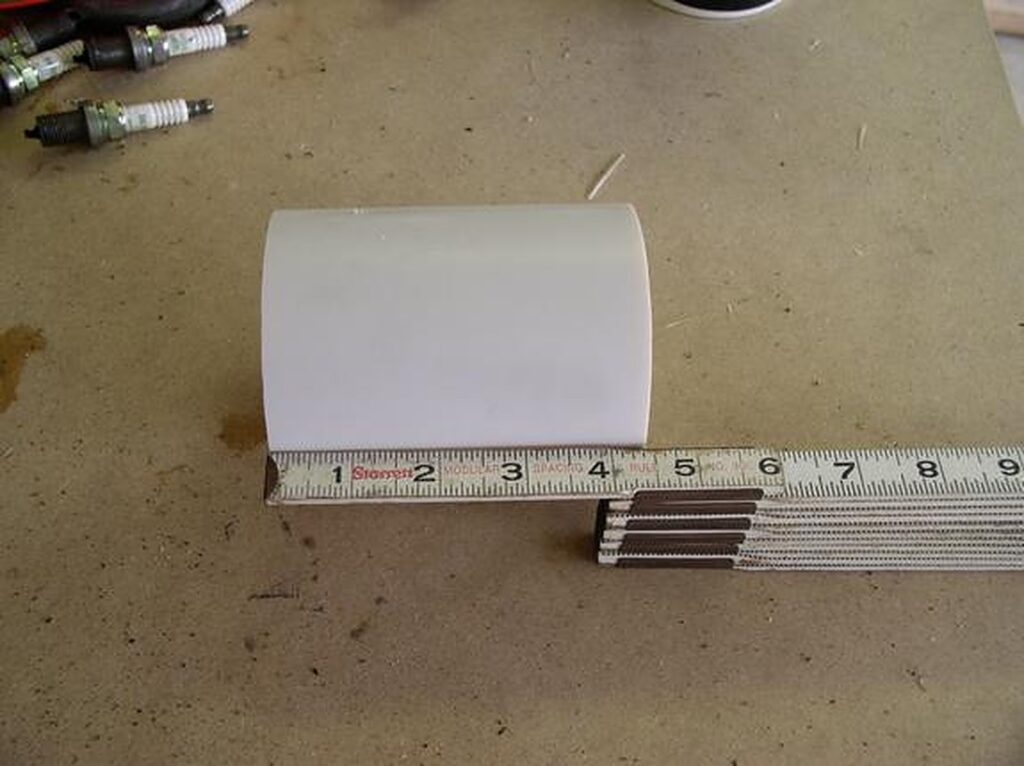
Cut the PVC pipe to about 5 1/2″ (you may want to measure for your own fit. I had a custom front bumper that is deeper. So my PVC was closer to 9″) (a miter saw works well to cut PVC).
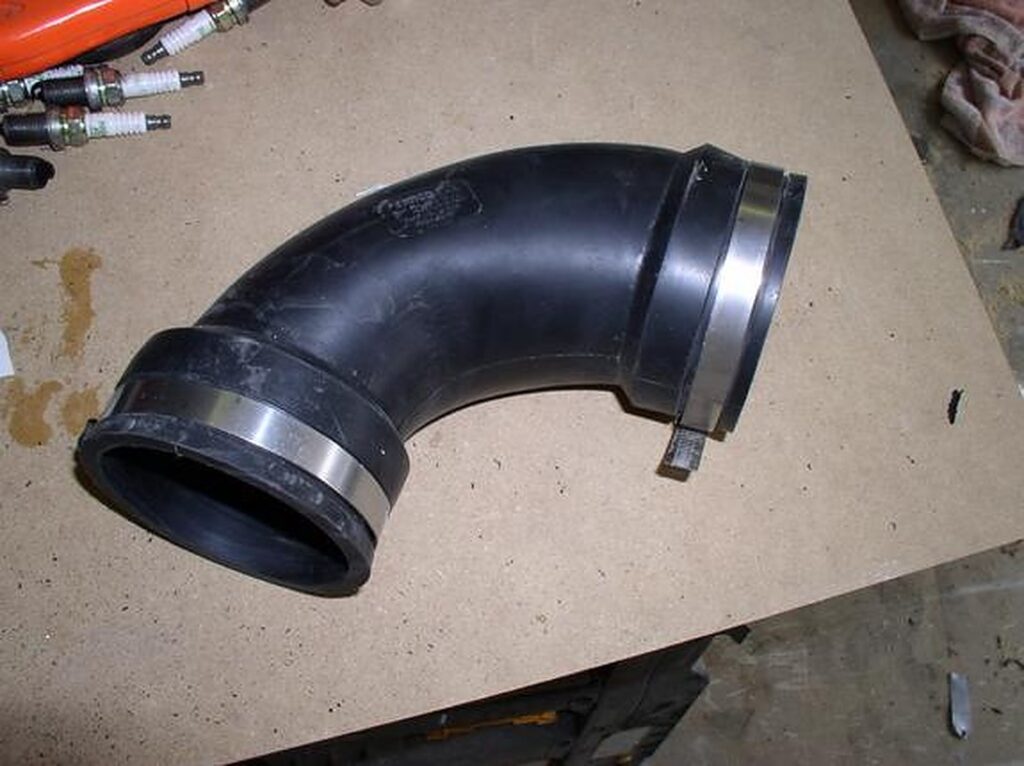
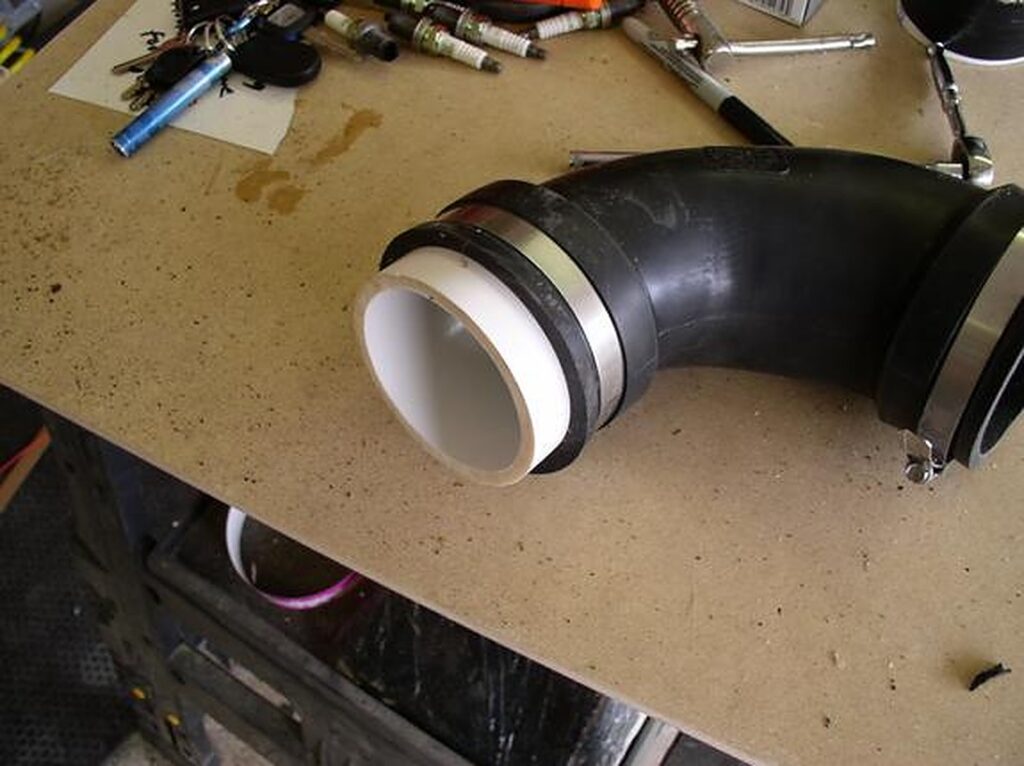
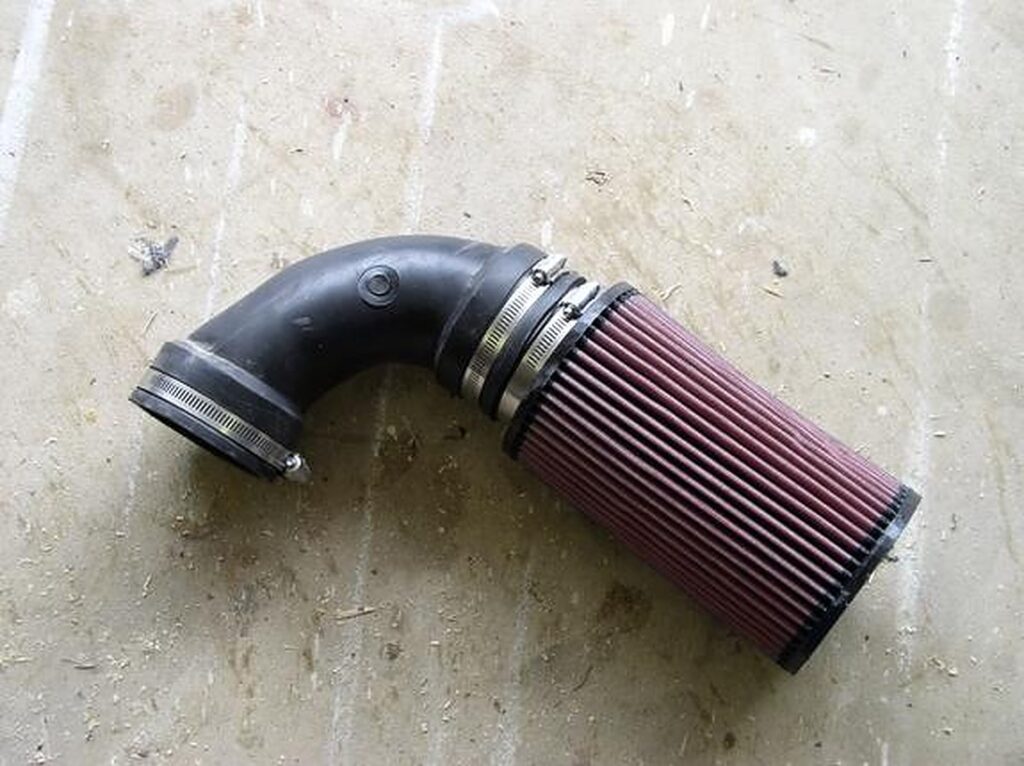
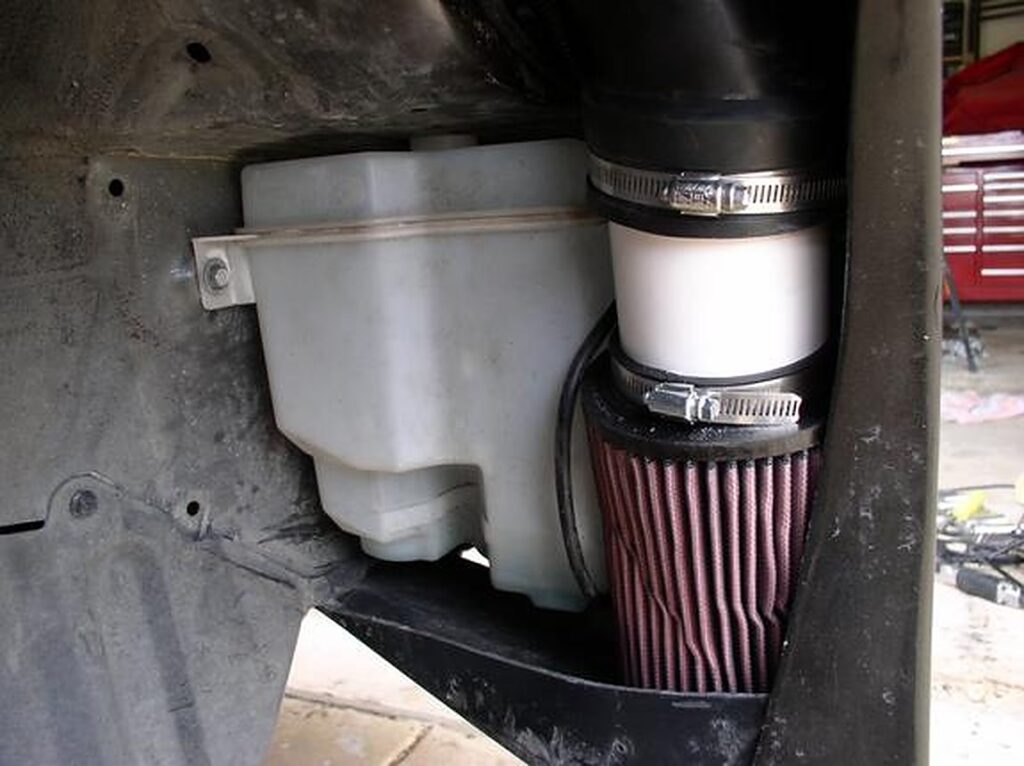
Assemble the PVC to the rubber elbow and then to the K&N filter (this way you can slide the PVC pipe up and down inside the filter to get it just right) (If you go too far into the filter take it out and cut again)
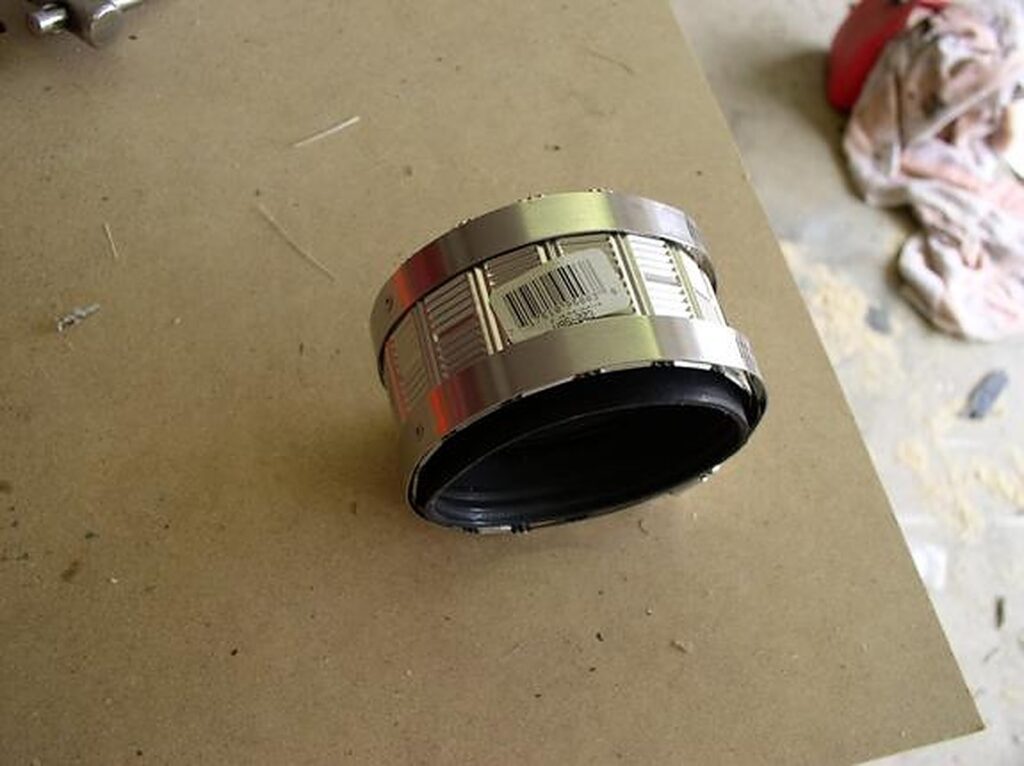
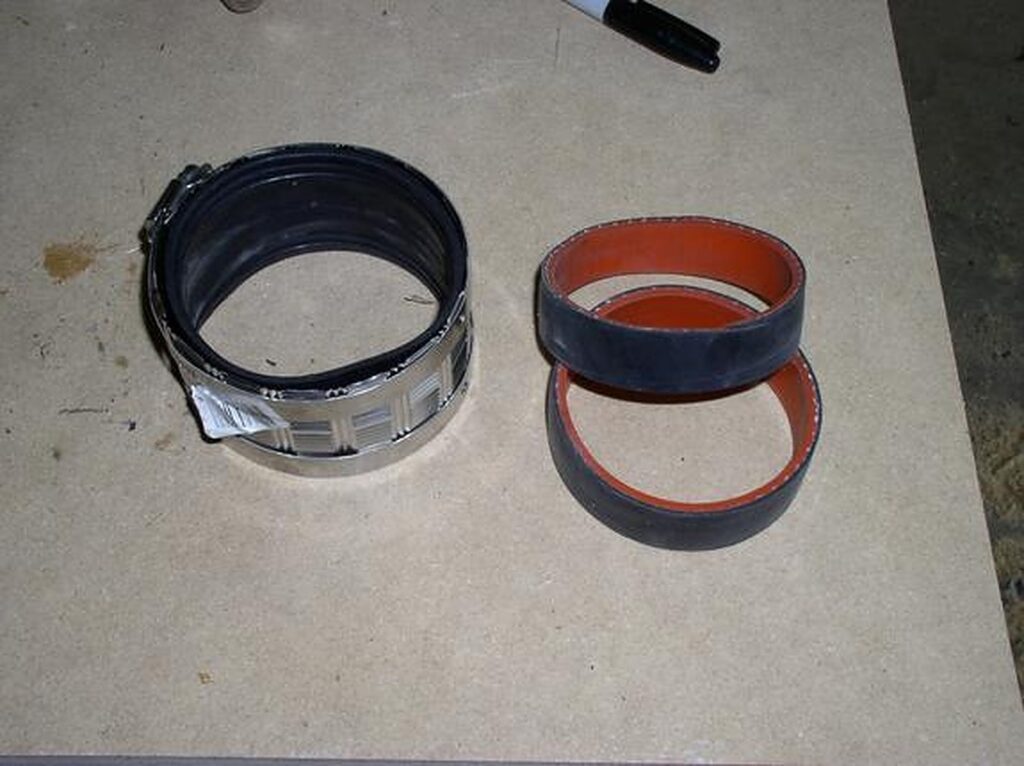
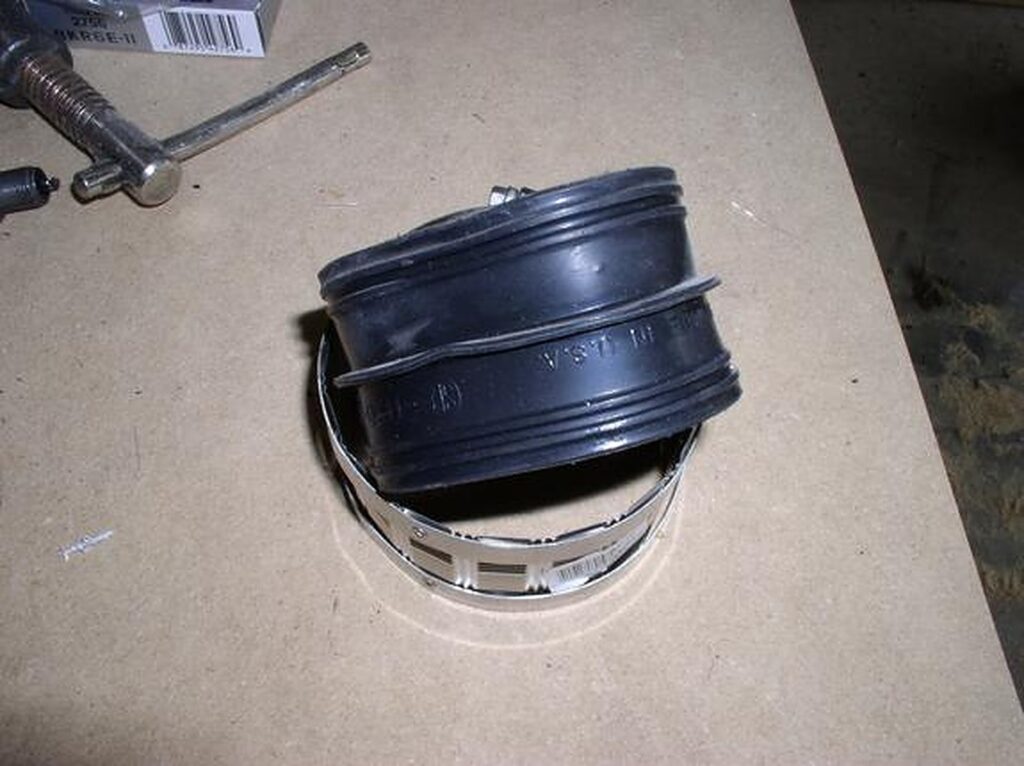
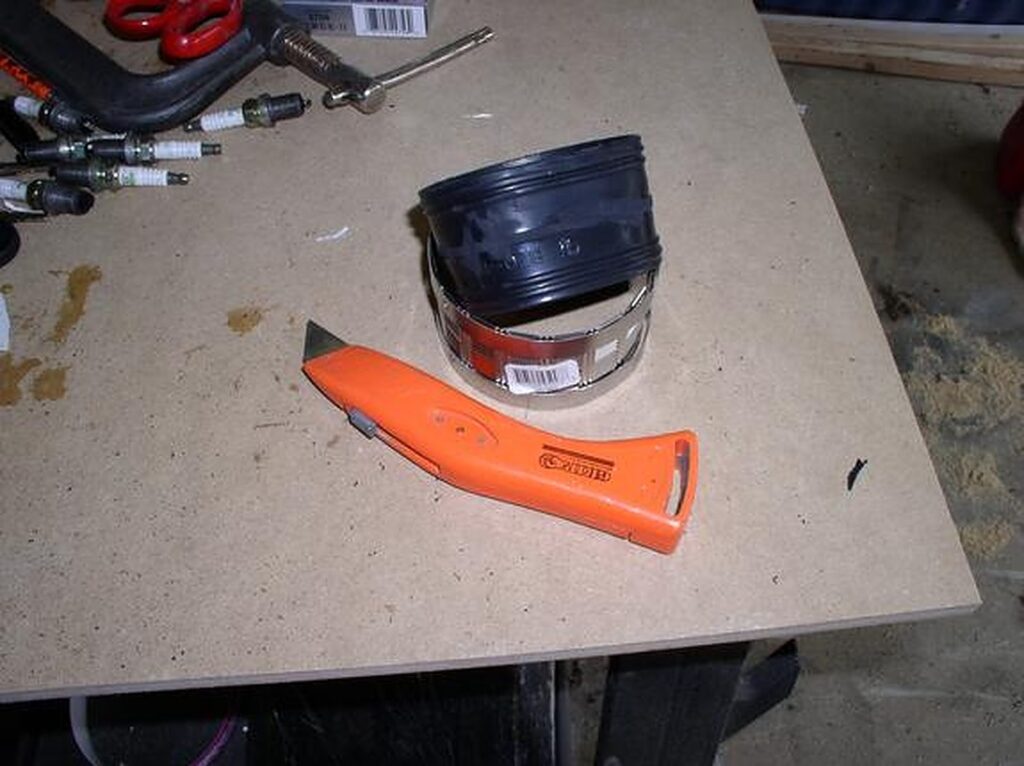
Trim the 3″ ProFlex coupling. Turn it inside out and trim it with a sharp (new) razor blade (I use a grinder or Dremel to grind off the lip in the middle).
Before
After
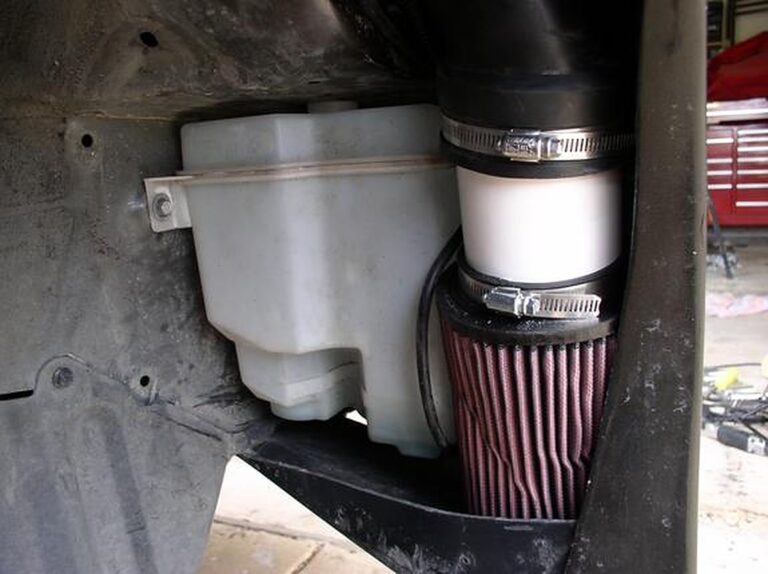
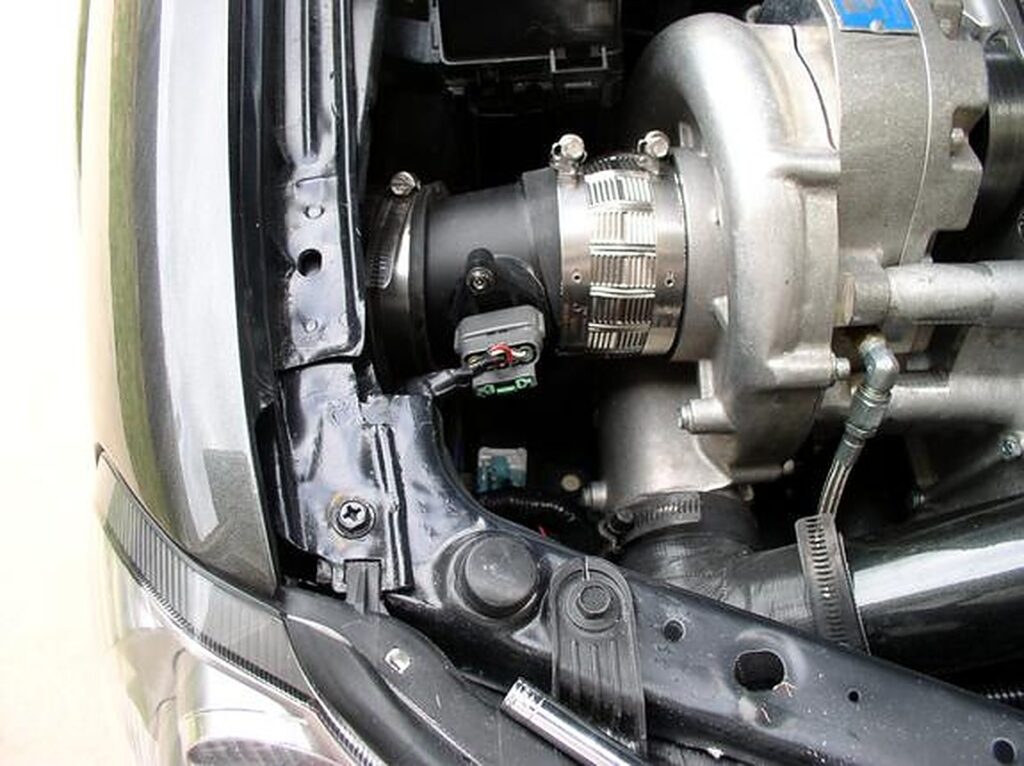
Remove the tape off of the SC and place 3″ ProFlex coupling on the SC and tighten it on there. Next, push the filter assembly thru the wheel well. Then route it so that you can place the washer bottle back in later.
Line it up with a 3″ ProFlex coupling that is attached to the SC. Mine did not go on really square (it seals just fine).
Tighten all the clamps up and place the washer bottle back in. You will only be able to get to the back bolt to the washer bottle and the filter will hold the rest in. Put your fill neck back in. Plug the MAF back in.
Start your car and feel for any leaks around your CAI.
Put the wheel well cover back on and your tire.
Test drive and see if you can feel the difference. Re-check your connections once again.