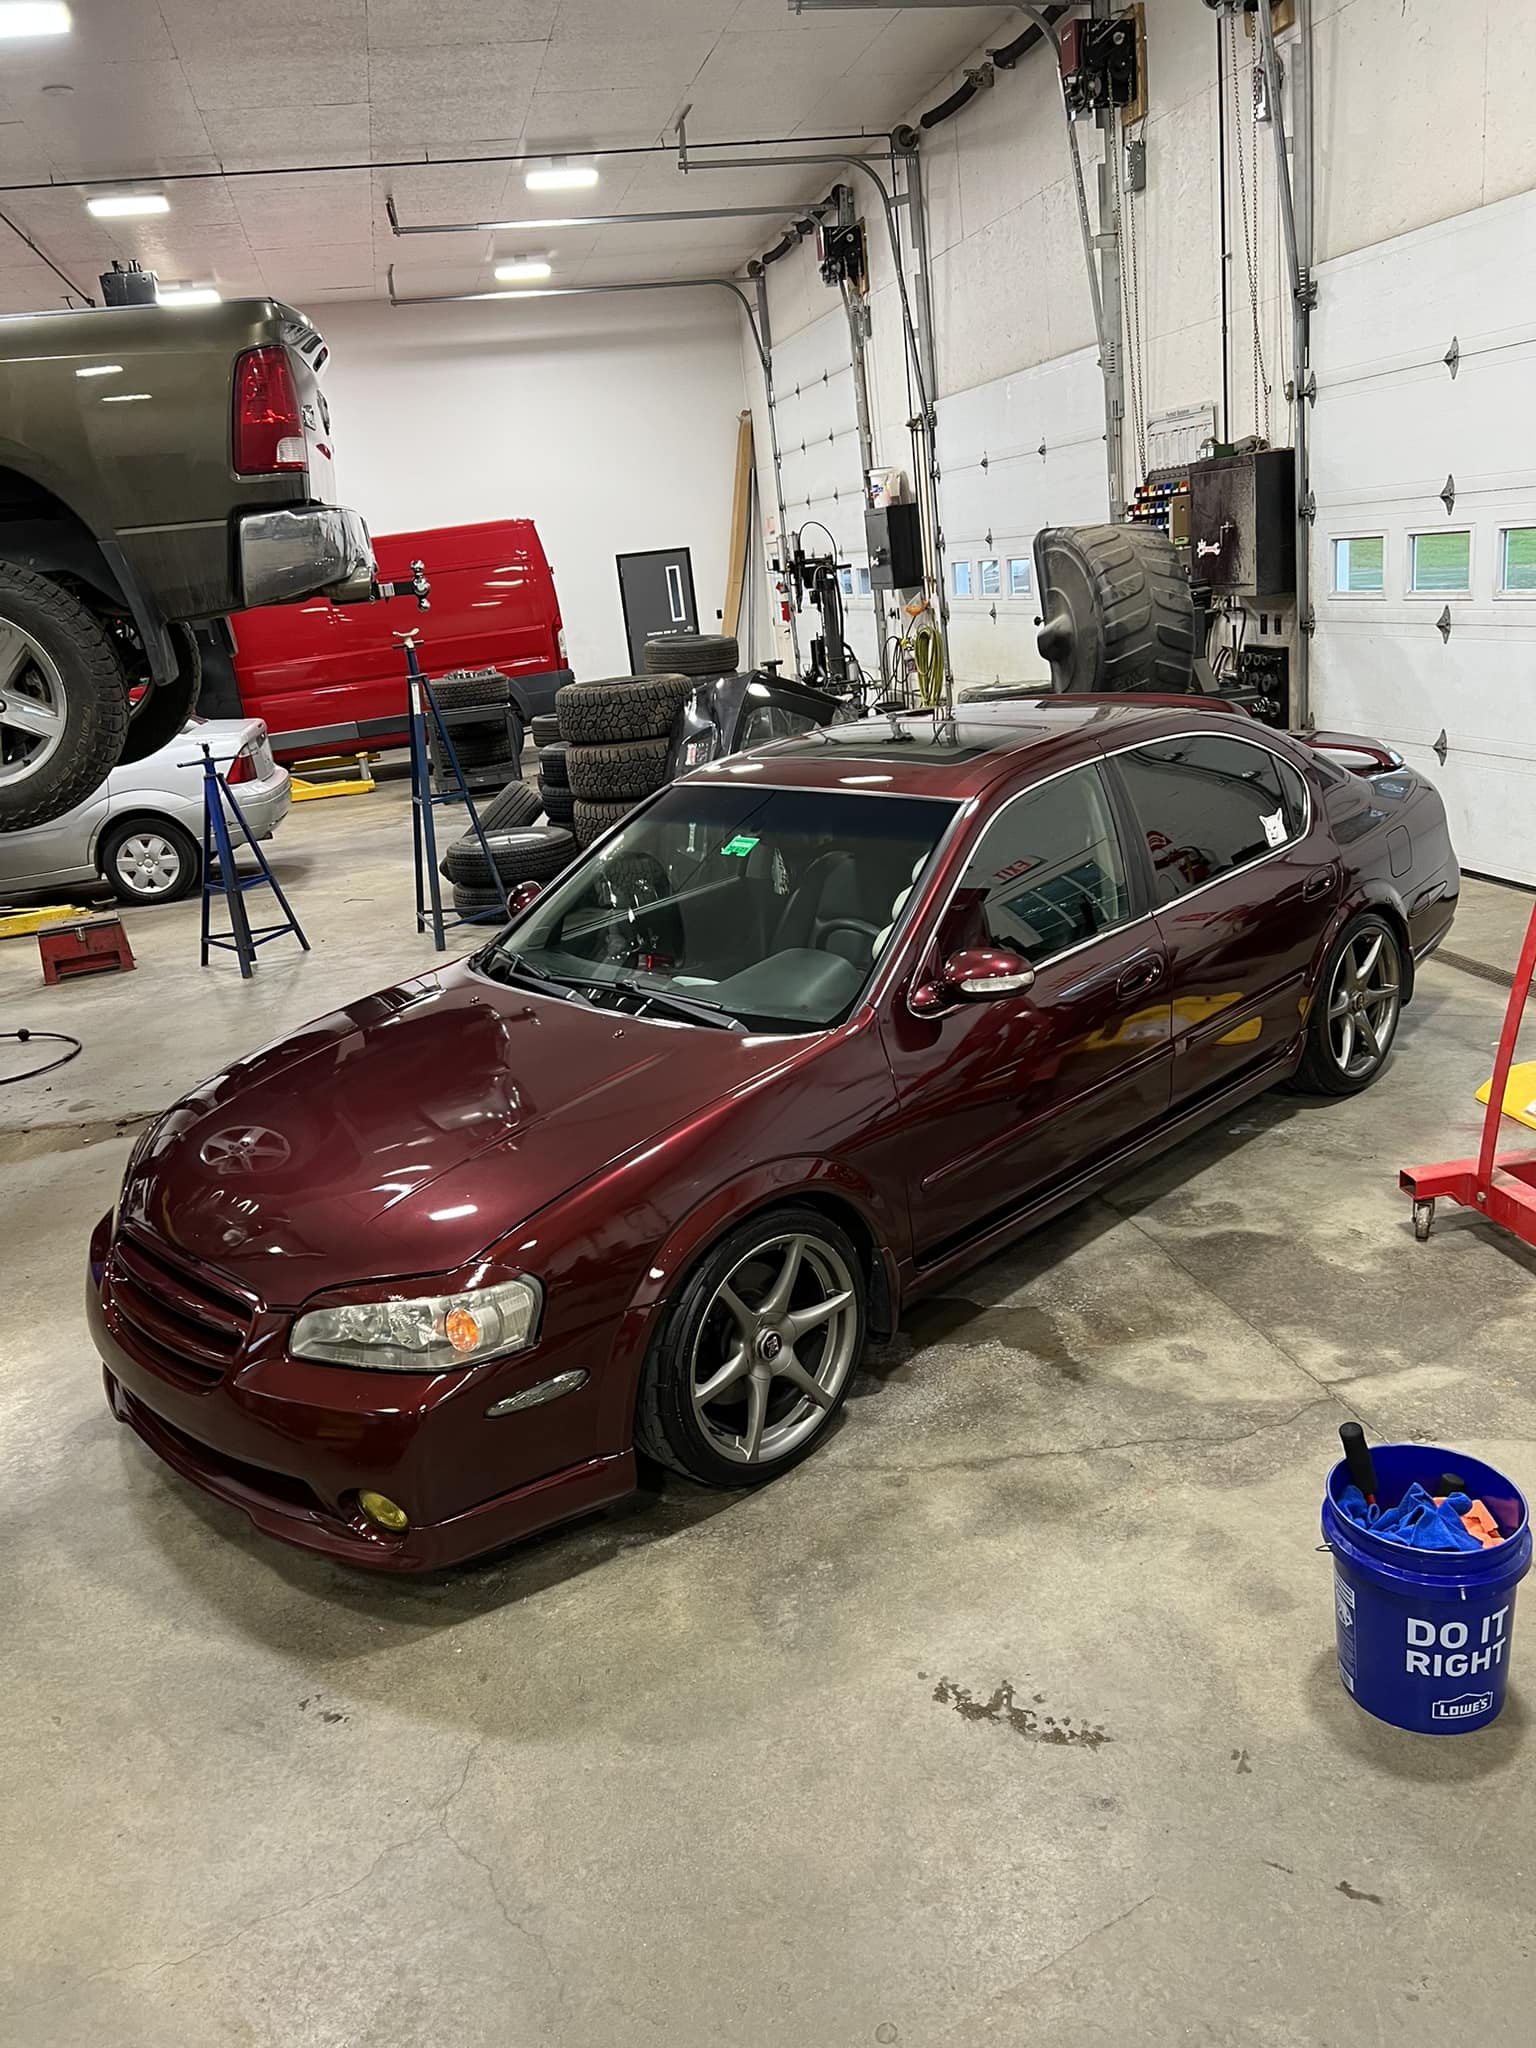
Well it’s not much of a how-to really, and it’s not much of an upgrade either.
But nonetheless, a Reman from AZ done by the same company is $160 for a ’96 I30 (125 amp stock w/125 and 110 amp options, 110 = $130’ish IIRC) vs $210 for a ’04 I35 (110amp stock w/no 125 amp aftmrkt option listed)
I30/GLE = $160 125amp 5.5 Gen = $210 110amp
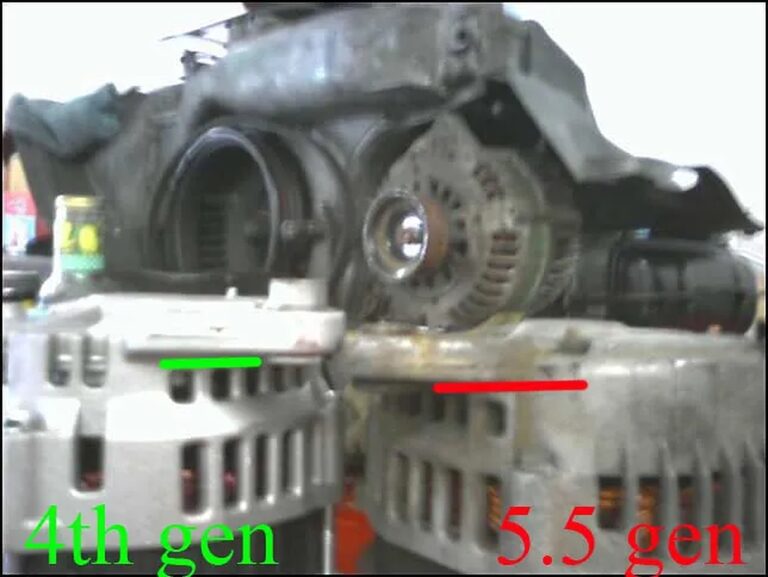
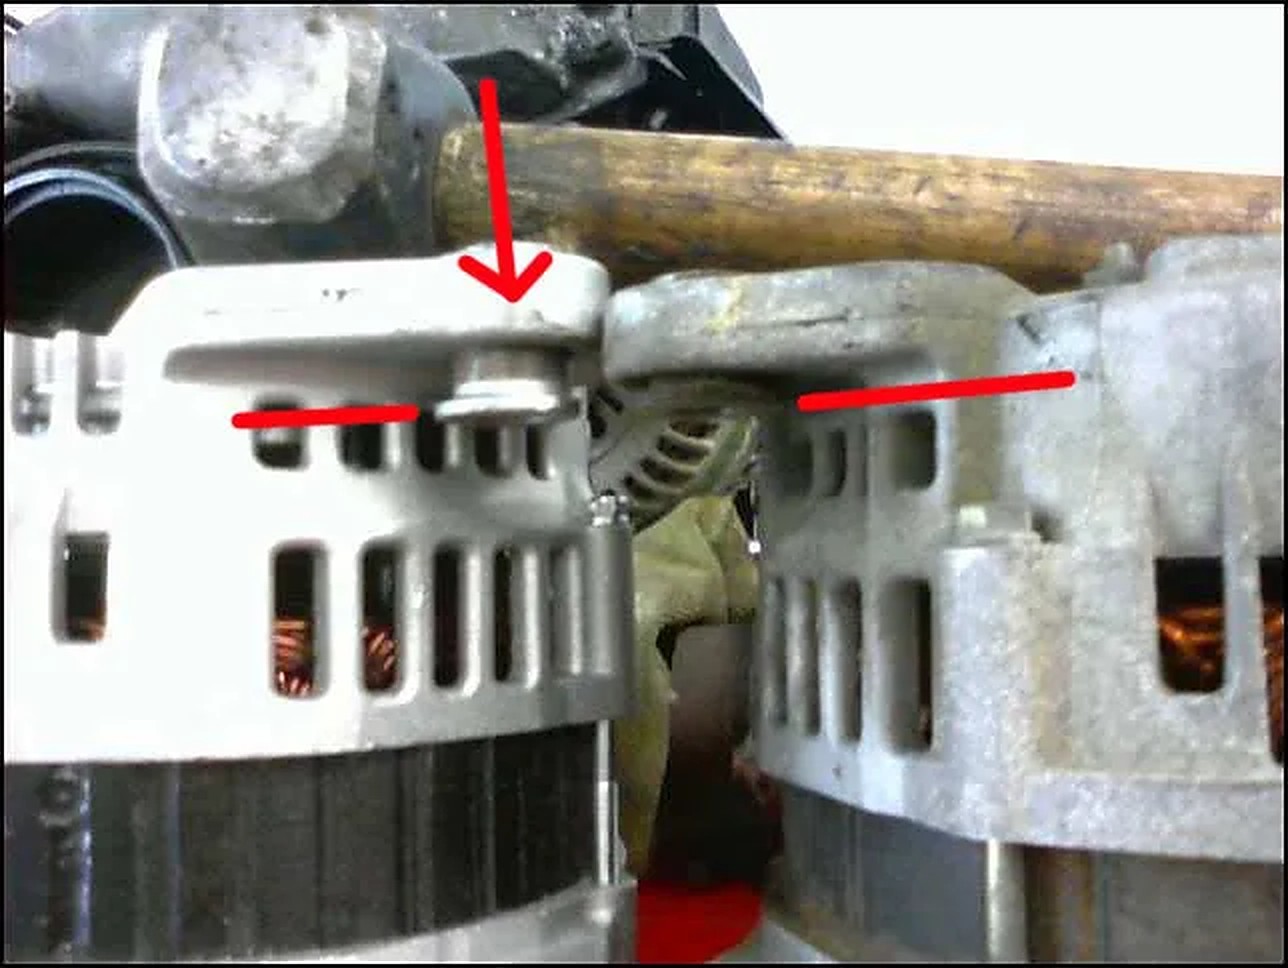
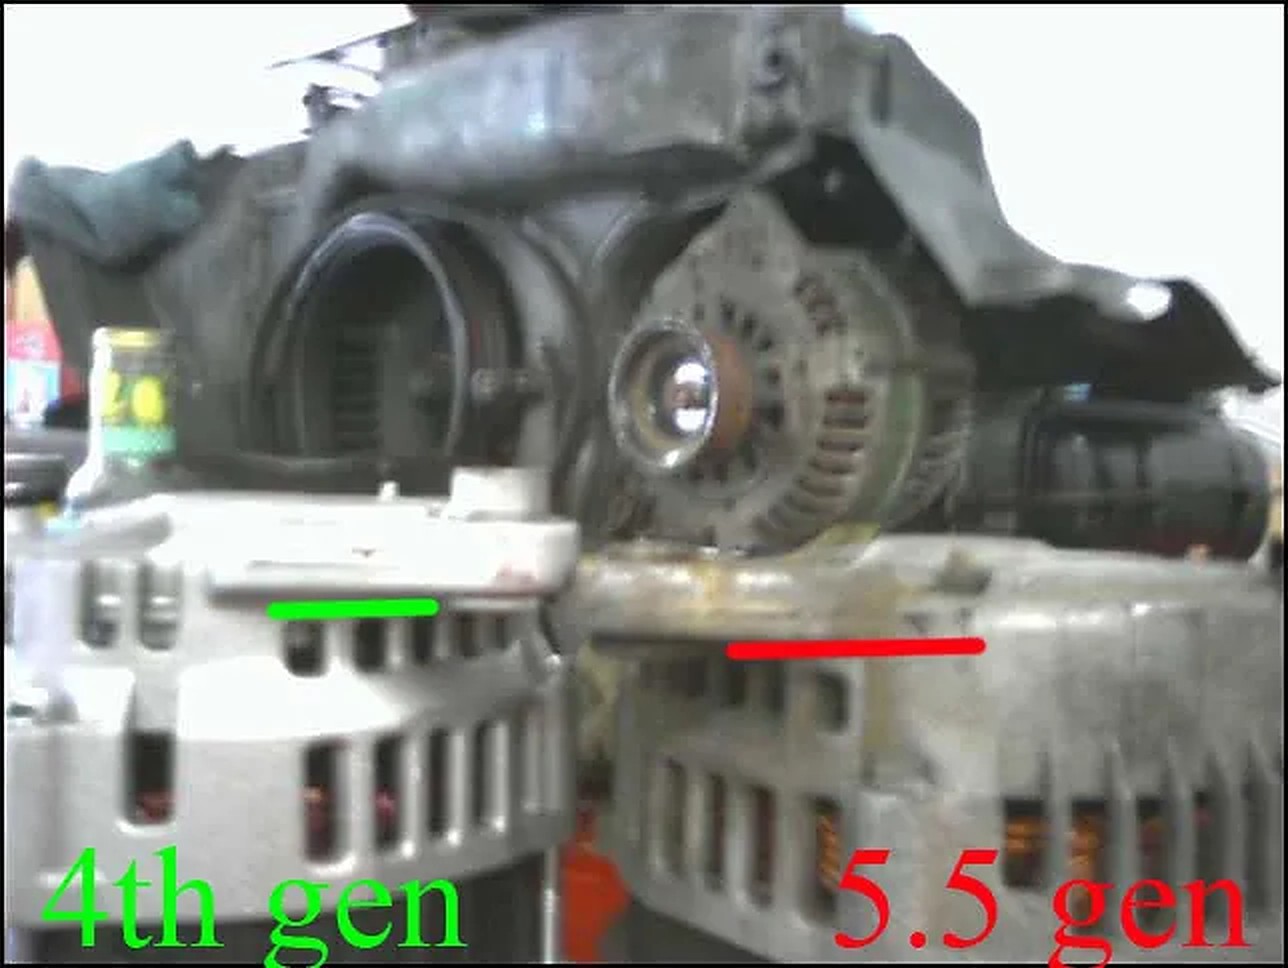
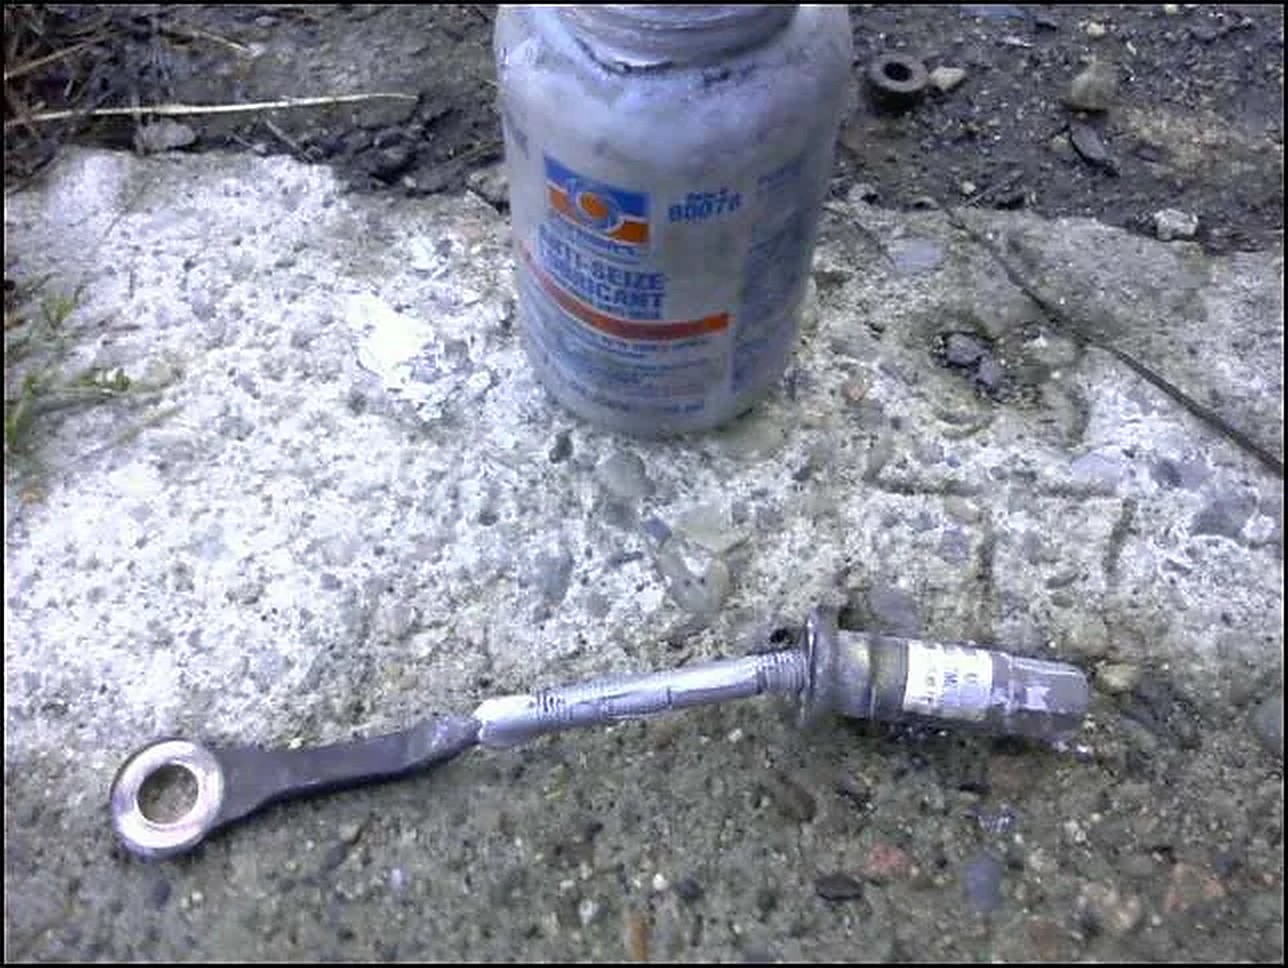
There’s really nothing to it. the pulleys all line up the same and everything, you just need to use a hammer to tap the bushing until it lines up with the location of the 5.5 gen one. If you lay them both on the table with the pulley facing down, you will see that they are nearly identical and what needs to be changed.
Hold the aluminum casing nearest the bushing between the edge of the table and your stomach, than tap, you don’t want to be tapping the bushing on that mount while resting the alternator on the pulley, you could snap the case or do damage to the alty, this will all become apparent and if you can handle replacing your alternator you are smart enough that this will be common-sense to you.
Community Member Credit: Jose Vargas / Eddy Perez / Ethan Gniadek
Important Notes:
This setup uses your existing 5thgen Maxima clock spring. The 8thgen steering fits perfectly with no issues. All you need to do is route the clockspring wires through the center of the wheel.
For the horn, you use your existing ground wire from the 5thgen steering wheel.
We recommend going with the late 2018-2021 Maxima steering wheel and airbag combination. 2016-2018 have one airbag plug and the late 2018-2021 have two plugs. You need a dual airbag plug for the 5thgen. You cannot use a 2019-2021 airbag on a 2016-2018 steering wheel or vice versa. They have different mounting points. See reference photo in this post.
We do not have a specific wiring setup or how-to because we’ve discovered there are many different wheel various. The wheel used in this post was from a 2021 Nissan Maxima SR. We recommend using the factory service manual to convert the wiring to your existing setup.
Working Features
100% Working Airbag (No Blinking Airbag Light)
No CEL for ASCD steering controls
100% Working Cruise control
100% Working Heated Wheel Function
100% Working Horn
Audio controls work but are a bit off due to different resistance in the 8GM steering wheel
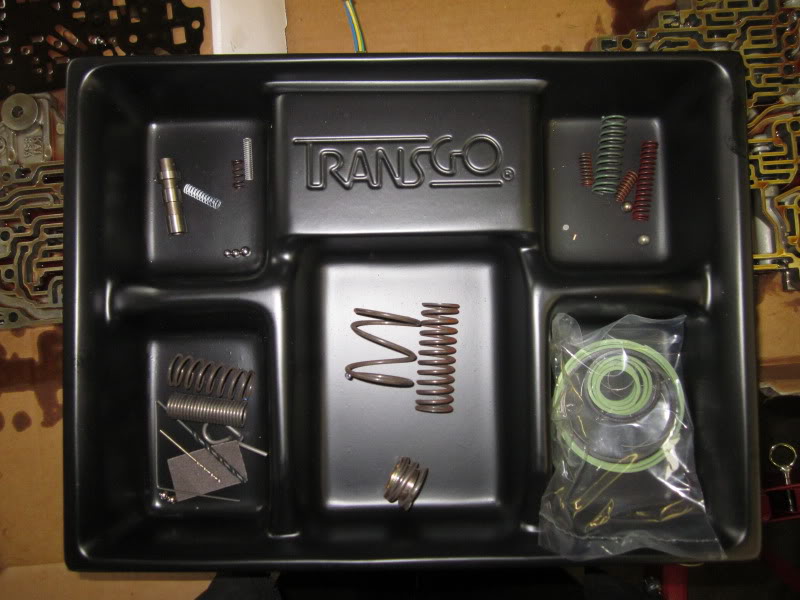
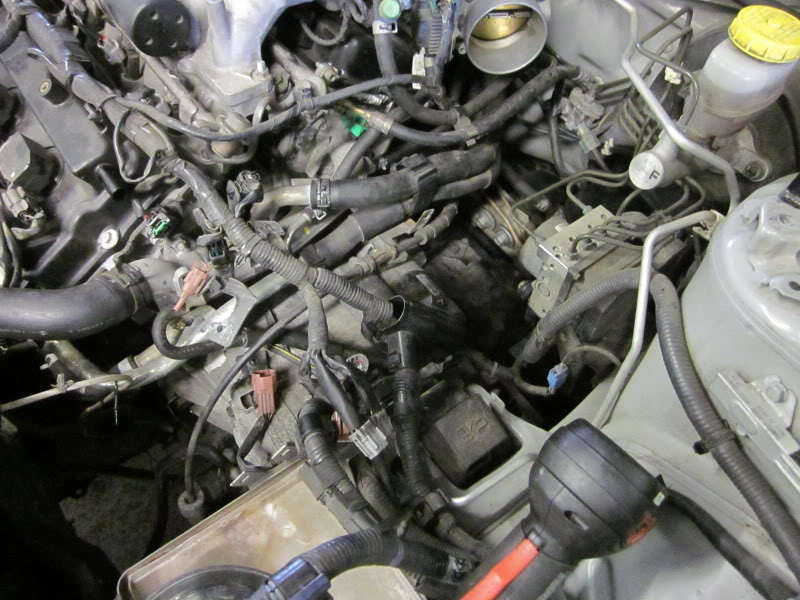
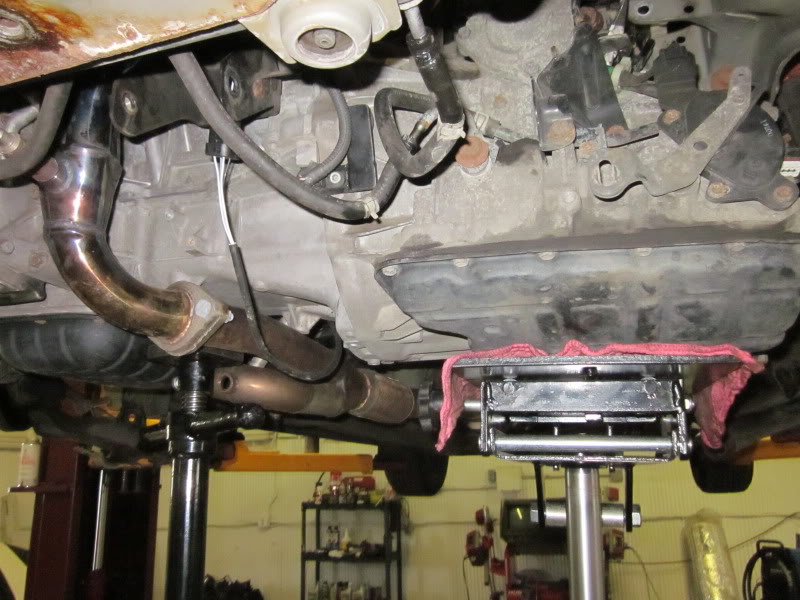
’02 Nissan Maxima installation of a Transgo “Reprogramming Kit” and an Edge Racing torque converter. First, I’m working on the replacement trans, which I have mounted to an engine stand. This “kit” can be installed with the trans still in the vehicle, but it’ll be quite a challenge.
If you can’t remember where nuts & bolts go or if you’re not a detail oriented person, don’t attempt this job yourself. When dealing with automatic transmissions, expect an intricate install. Nothing is as easy as it looks.
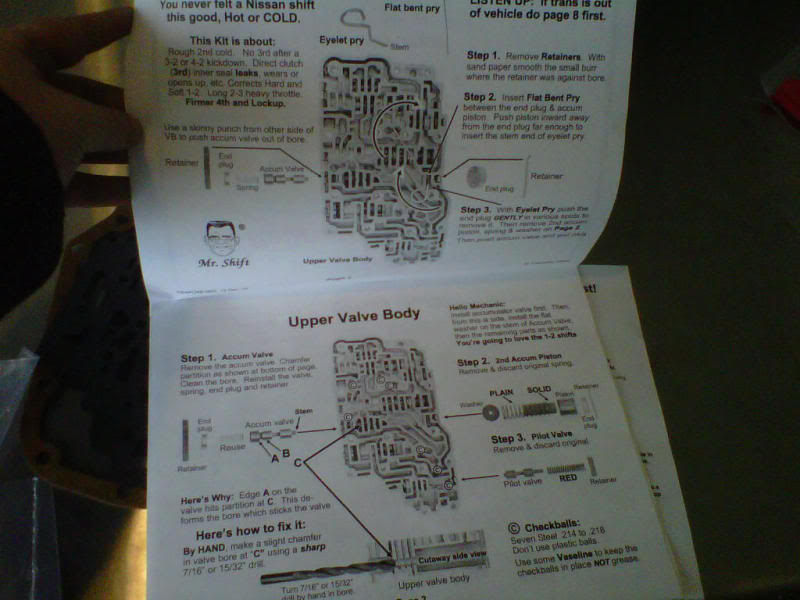
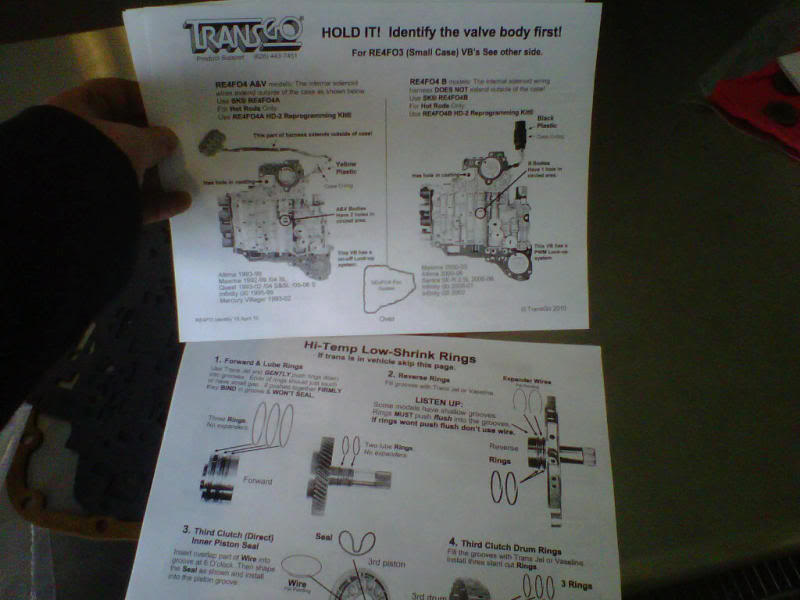
Here’s what I’m installing – Transgo Reprogramming Kit:
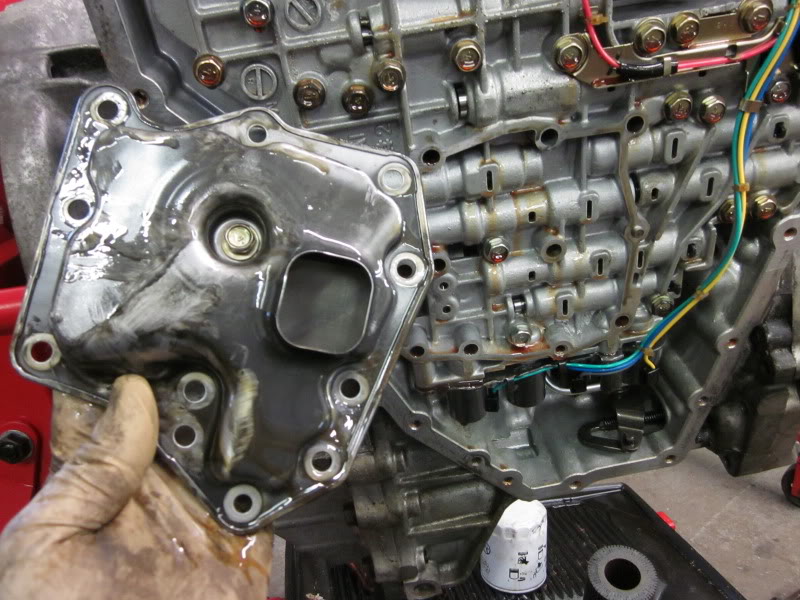
Remove the trans oil pan & trans oil filter. If you notice, the magnets are fairly clean, not bad for a used trans.
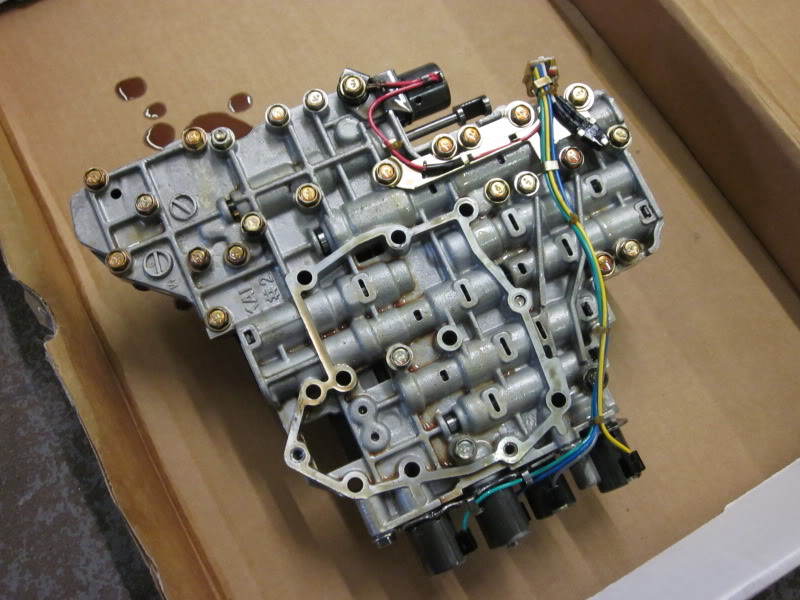
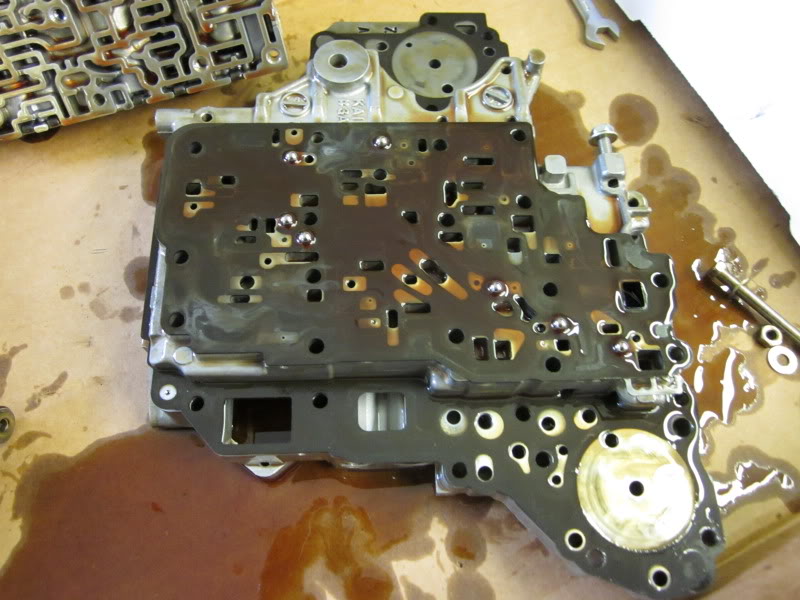
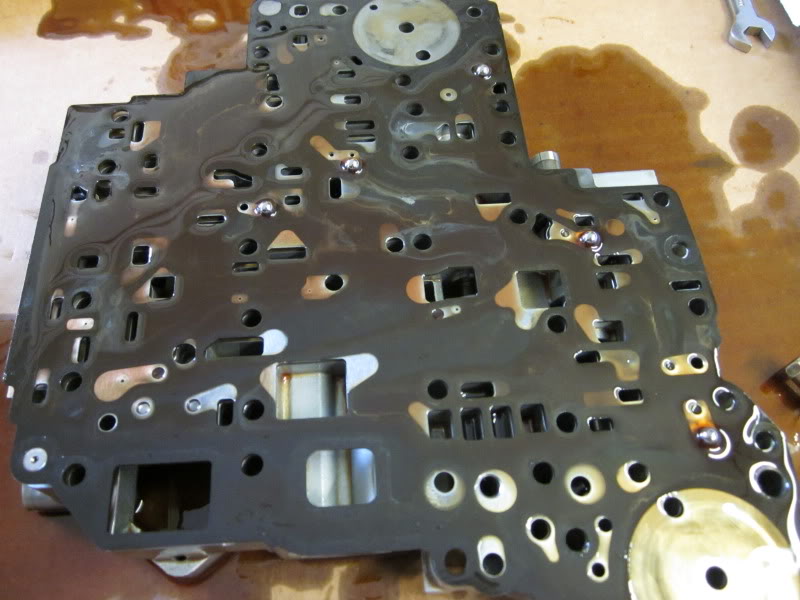
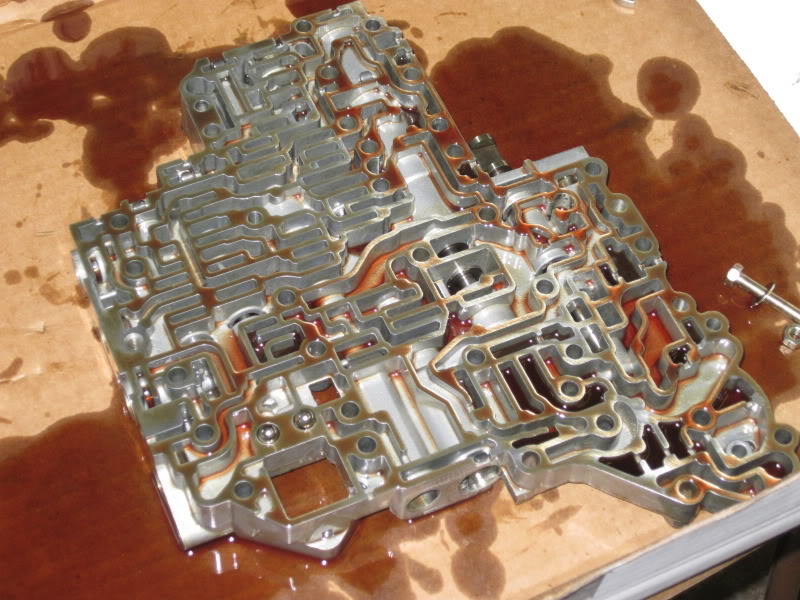
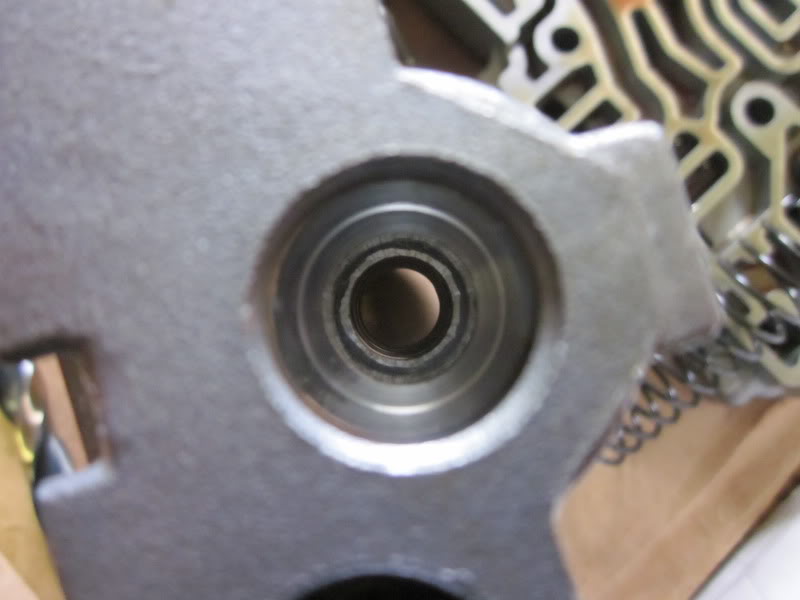
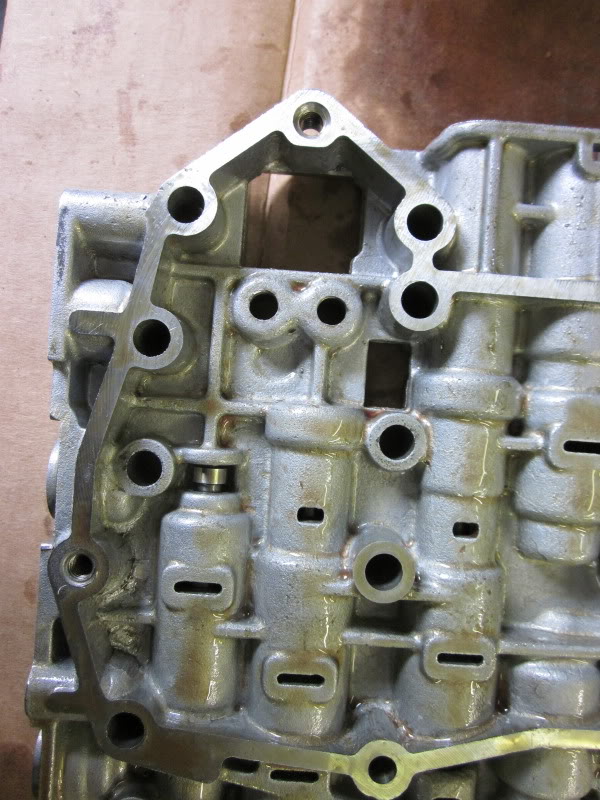
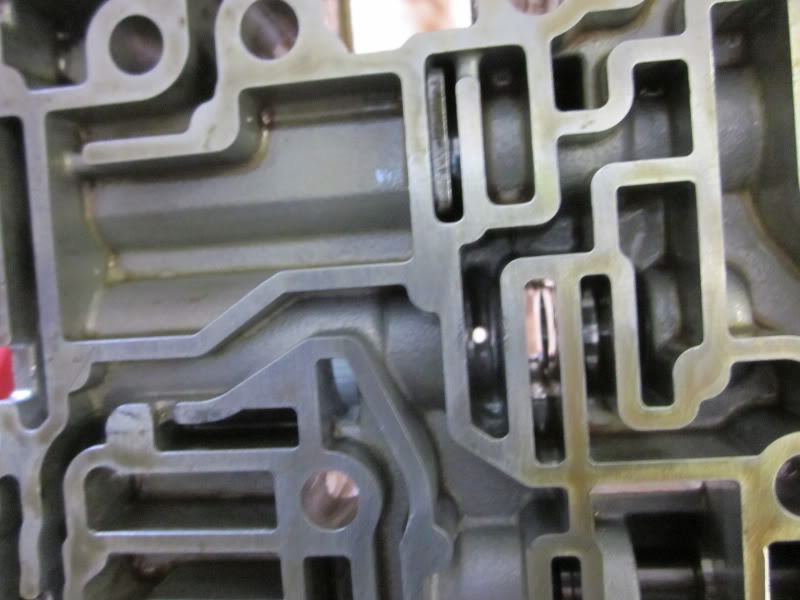
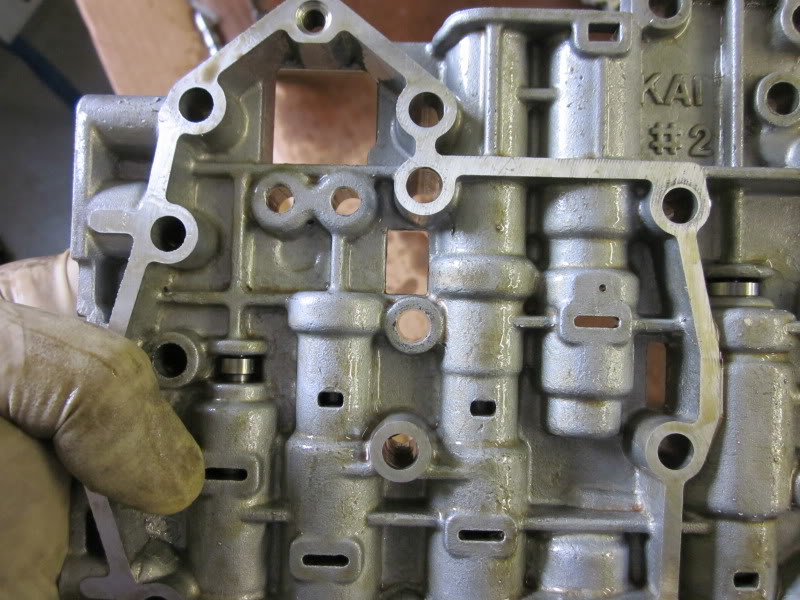
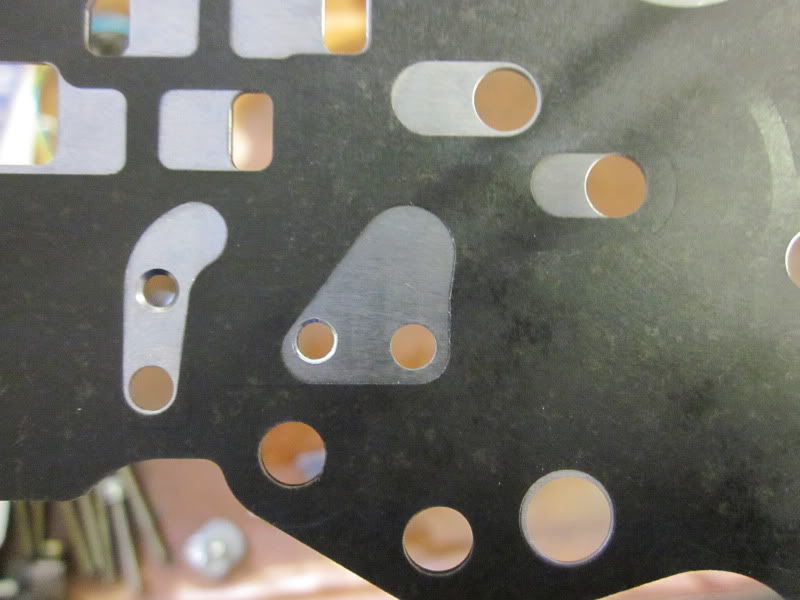
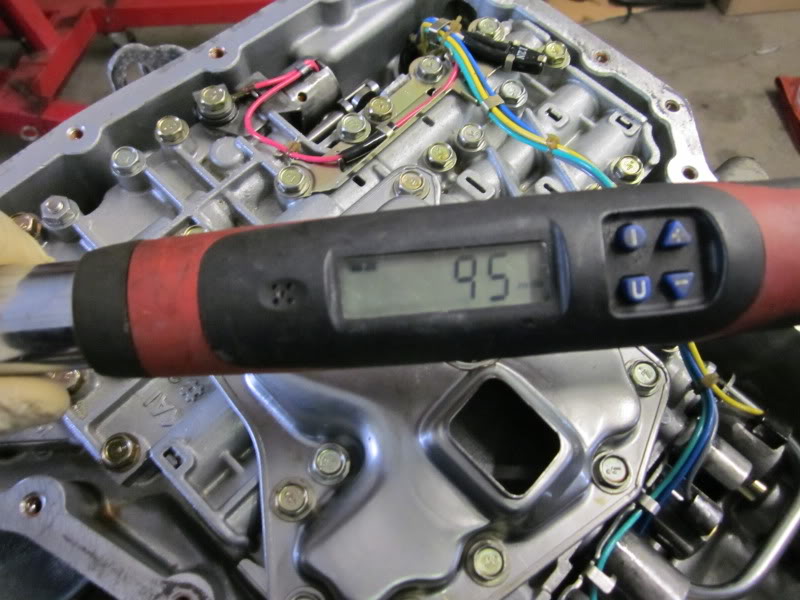
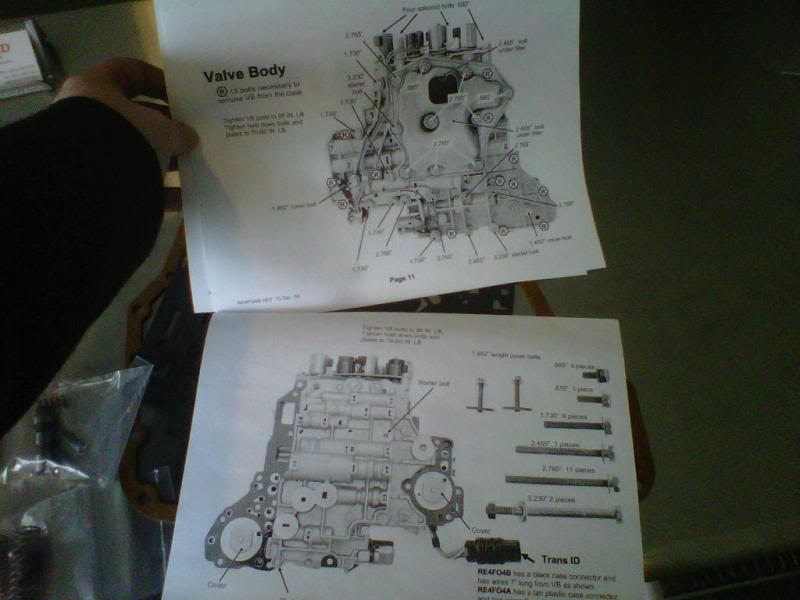
Remove trans valve body.
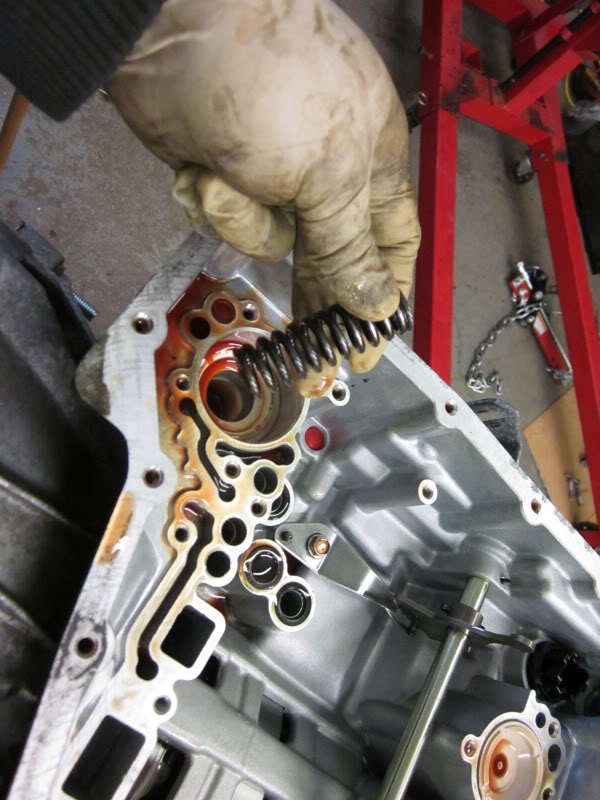
As you can see, the transmission is flipped upside down for ease of working on the internals. If you’re working with this installed in the vehicle, there’s a spring that will fall out. Not only this, there are 4 rubber o-rings that could possible fall out too.
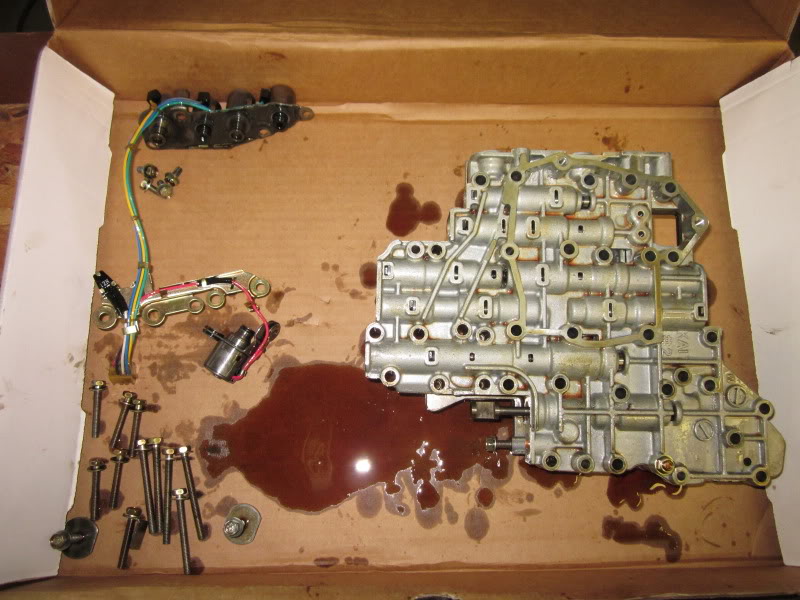
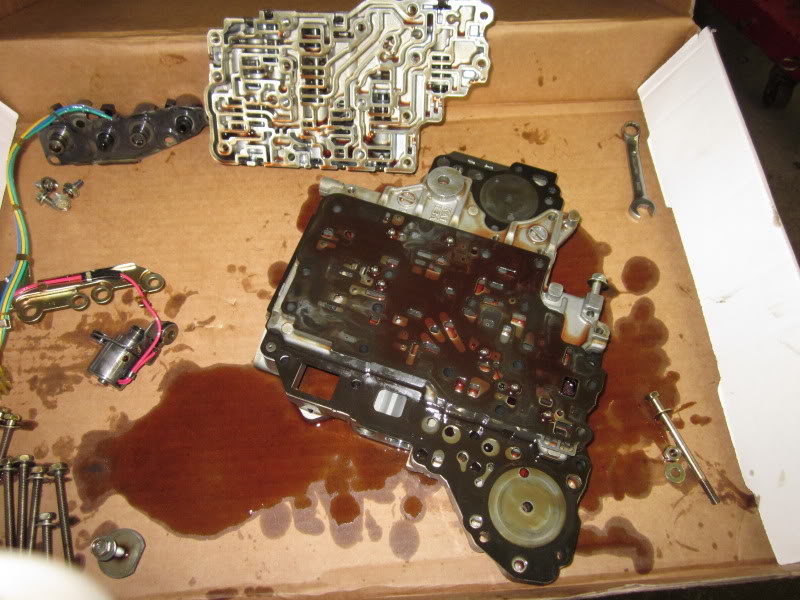
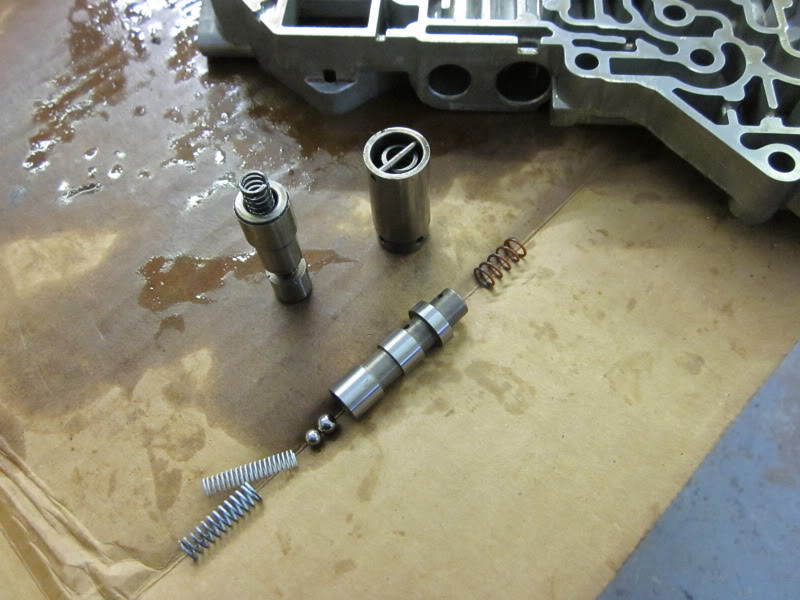
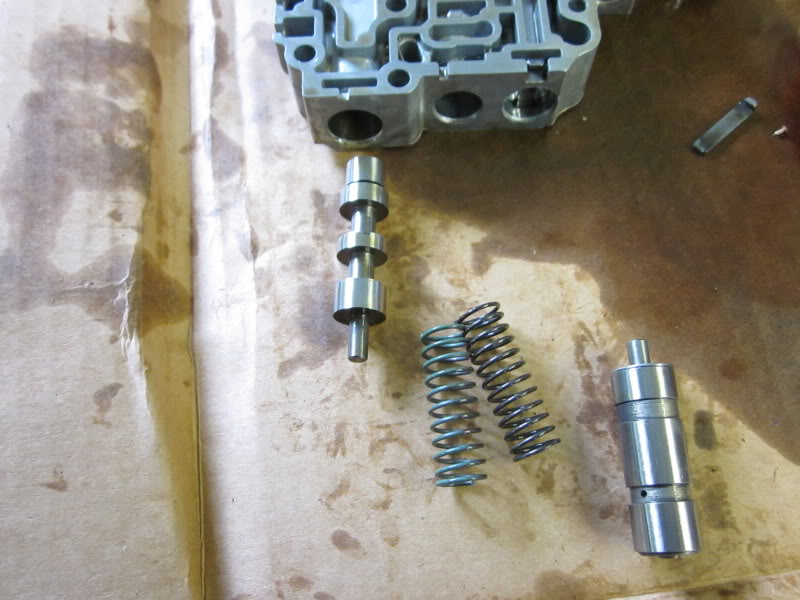
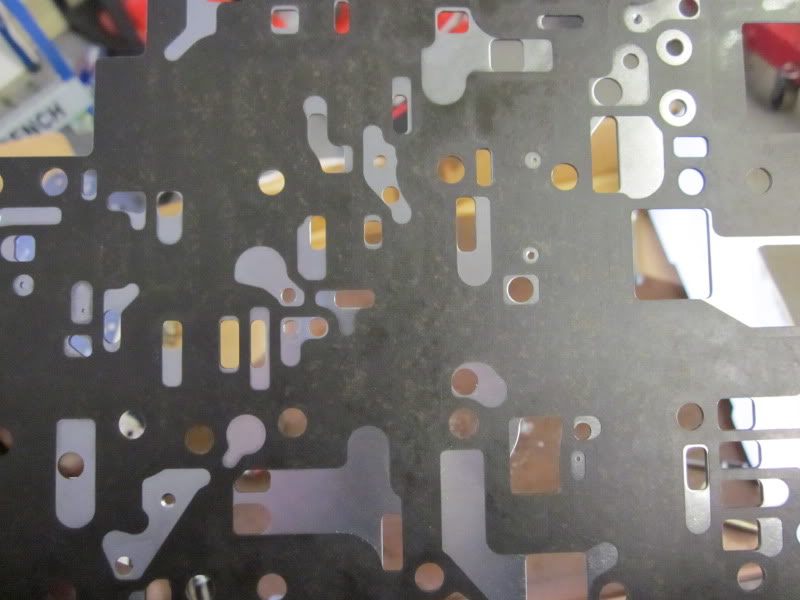
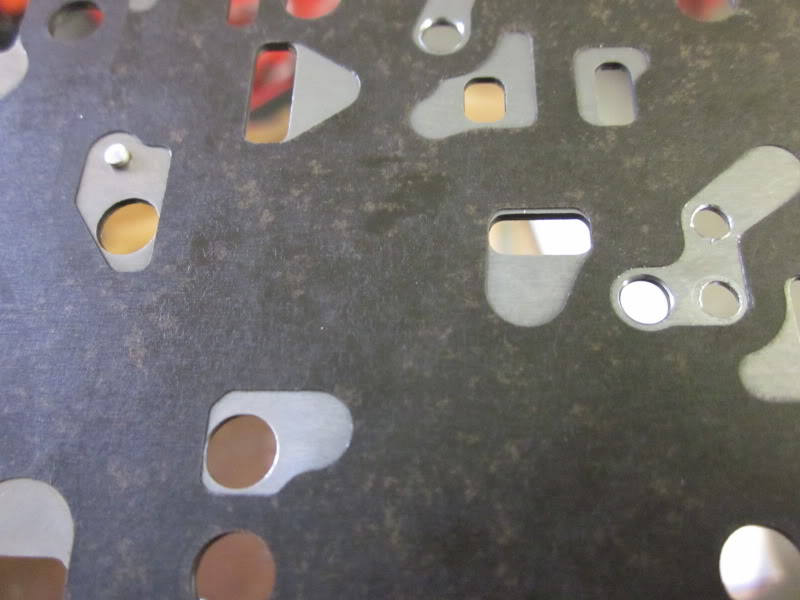
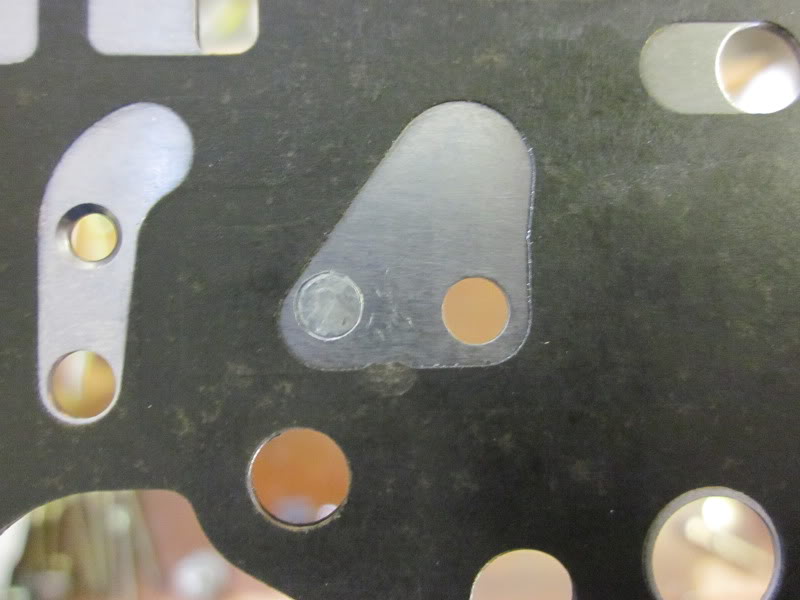
Disassembly of the valve body, don’t lose those ball-bearings!
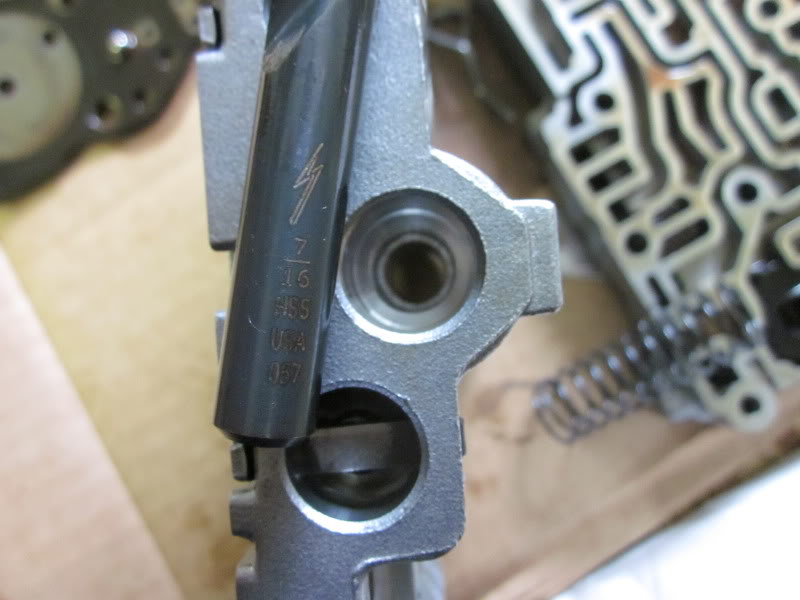
Modifications:
Replacing external oil seals:
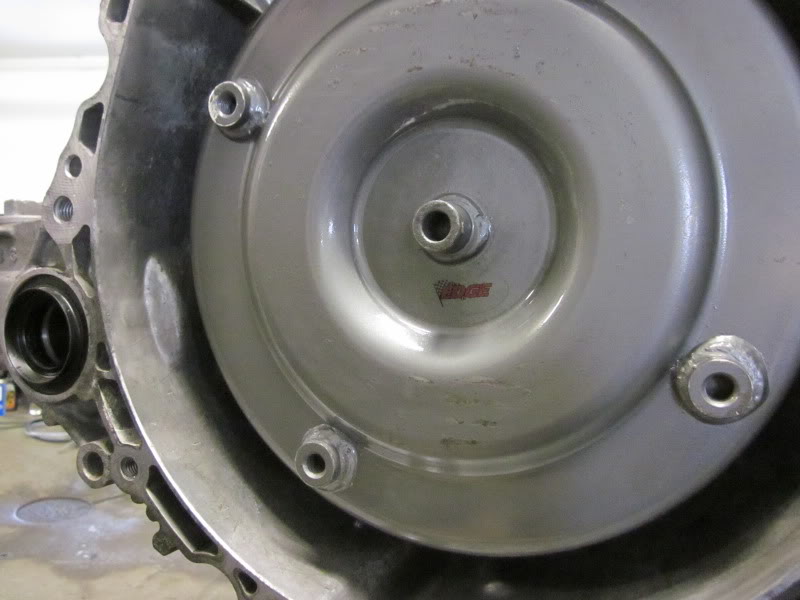
Edge Racing Torque Converter Installed:
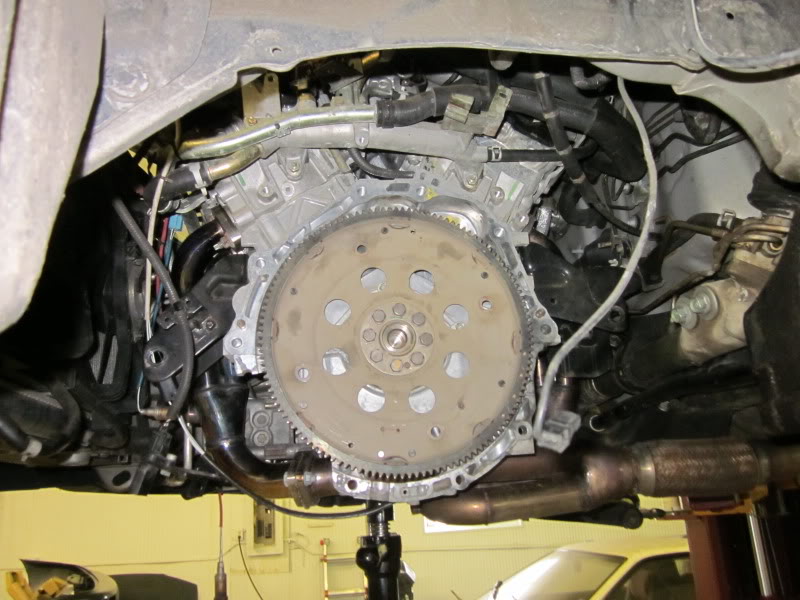
Removal of transaxle:
Remove air box, battery, starter, and unplug trans harness:
Remove lower cross member, support trans & engine, remove torque converter bolts:
Transgo Manual
Additional Information (Credit to: Max King)
Considering before the install I was a complete newb to transmissions, never ever went further then removing the pan and doing a drain/fill, the install went great!It took me 2 days working on and off about a total of 8 hrs if you count everything. I really took my time since I have never touched the internals of the trans before, I removed section by section slowly and took pics before removing and put the bolts in labeled zip locks so putting back together was a breeze. I should have made a write up but wasn’t thinking about it since the directions with the kit cover 90% of it. The only tough part about it, since the trans was installed in the car, was the last part. Removing/installing the cover on the cylinder looking thingy that sits on top of trans was a PITA, I ended up bending the trans dipstick housing back and using several different wrenches to get off/on the bolts. Other then that putting the valve body back in under the car on your back is also a bit of a pain.
Tips for anyone doing the install. If you’re like me and this is all new to you TAKE YOUR TIME. I worked on the valve body in a large box that a lawnmower was purchased in. Once I would remove a set of bolts I would take a pic, place them in a labeled bag, and keep notes for myself so there wouldn’t be any guessing later. There is one or two steps in the instructions that get confusing since they don’t mention if they want you to reuse something or use a new one they supplied but if you reread it enough and put two and two together its easily figured out. Try to use everything supplied. You will end up with a few extra little balls but I came to the conclusion they were replacements in case you lost a checkball since they are the exact same size as them. I don’t think their were any extra springs but there may have been one since there is one part of the steps that you either do or don’t based on the plates separating the different parts of the vb. I recommend reading the instructions fully first since some things don’t become clear at first until later, also there is some useful information stated towards the back of the instructions so reading it fully you get a better understanding.
Now for the review! At first my car was doing a stall around 1200 rpm then shooting off roasting all of first and half of second :gotme: it went away after a few minutes of driving, I don’t have any idea if that’s normal at first or not but if you install the kit and it happens I guess don’t be alarmed since it happened to me as well. The shifts are very harsh and precise. I have no more flare at all at WOT or even just regularly driving for that matter. Depending on how fast you accelerate first to second can be harsh it isn’t all that bad since its easy to get used to (at least for me) but it is noticeable. The shifts do depend on the throttle position, so I would say anything under 50% throttle and it doesn’t shift as hard but this may not be entirely true. Transgo does claim that the kit is designed to shift harder at open throttle. I love how it shifts I feel like I’m not losing power since its shifting right away with no flare or lag at all. I can roast pretty much all of first and even at WOT when I don’t roast first, coming off of a nice smooth acceleration instead of punching it I can still chirp in second. The torque feels amazing I think with some ES mounts and a torque link those harsh shifts won’t be felt as much. When I say harsh its not a slam into gear harsh, its more of a thud from movement harsh. Its like high rpm shifts with bad motor mounts. Like stormz had mentioned in his review someone else would think your trans is going bad.
Do I recommend this kit? Well in my case this isn’t my daily anymore and I have another car to drive with the wife and son so I’m not too concerned with the harshness and it doesn’t bother me so yes. But if you can’t deal with the harshness then I guess this is not for you. But I will tell you one thing the benefits from this kit, the shifts>>>the harshness. I’ll take the harshness just to have the wonderful shifts. I will update later when I’m able to drive it some more.
BTW I would like to add if you do install this kit to get lots of ATF since I put in 5 qts after the install and after driving for a short period checked it and I was basically dry and had to go back and buy some more. In total I added 8 qts and it doesn’t surprise me since tons of fluid came out of the vb while taking it apart.
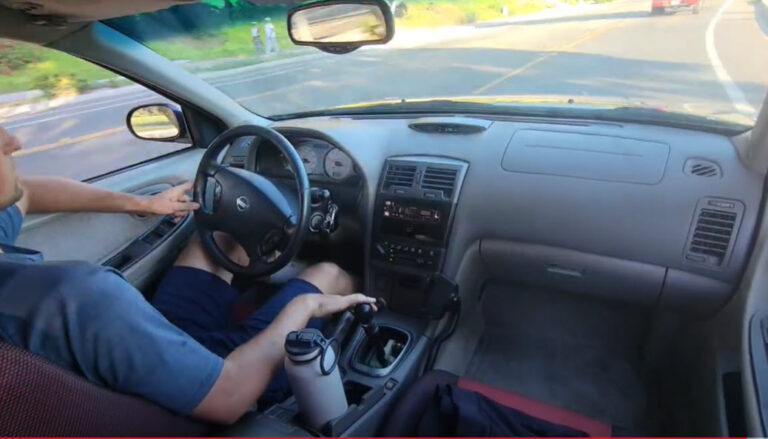
My shifter always felt pretty good but there was always a little something missing. Doing HD detent springs and race shift selector springs from vision one racing solves those issues. The shifter now feels more purpose built but is easily used for daily commuting. The feeling of rowing thorough the gears smoothly and easily is sure a nice feeling but the feeling of each gear clicking into the gates solid and when intended is way nicer.
This is an easy install and relatively cheap, if you’re looking to take your Nissan FWD 6 speed shifting to the next level, this is sure something to look into.
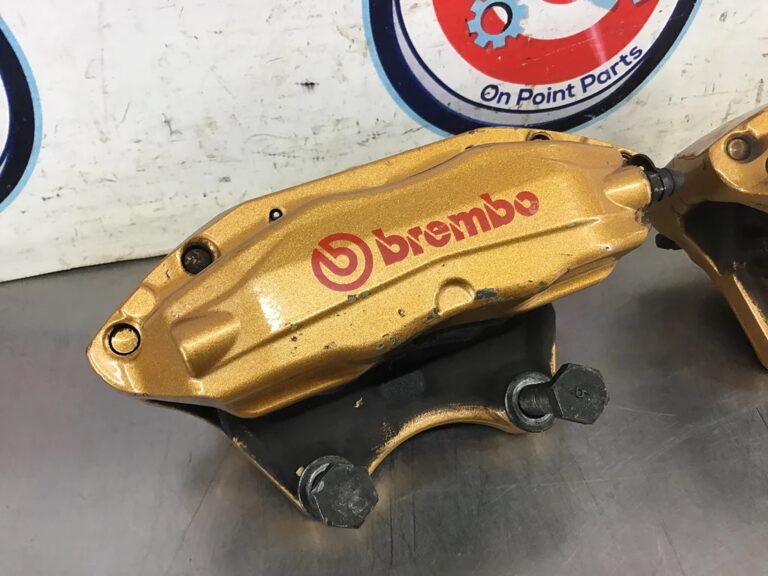
Installation of Infiniti G35 2004 / Nissan 350Z 2003-2009 4-Piston calipers on 1995-2008 Nissan Maxima (also fits Infiniti I35, Altima SE-R). They are 100% direct bolt-on with no custom brackets needed. There is no pad overhang. Overall, solid cost efficient setup.
This setup using the 6thgen 12.6″ which are easy to find and low cost. Additionally, no need for any custom brackets which is awesome. It’s almost like factory OEM.
2000-2003: For the 5thgen, you just need the calipers guides, rotors and pads. The existing mounting bolts, stock brake lines and banjo bolt work just fine. If you have SS lines, you will need the banjo bolt.
2004-2008: Similar to 5thgen, except that you don’t need to purchase the rotors since you can use your existing ones.
Caliper Photos
Photos and Video below courtesy of Kirill Savin
This is the reason you need the guides. Otherwise pads will shift like the below: