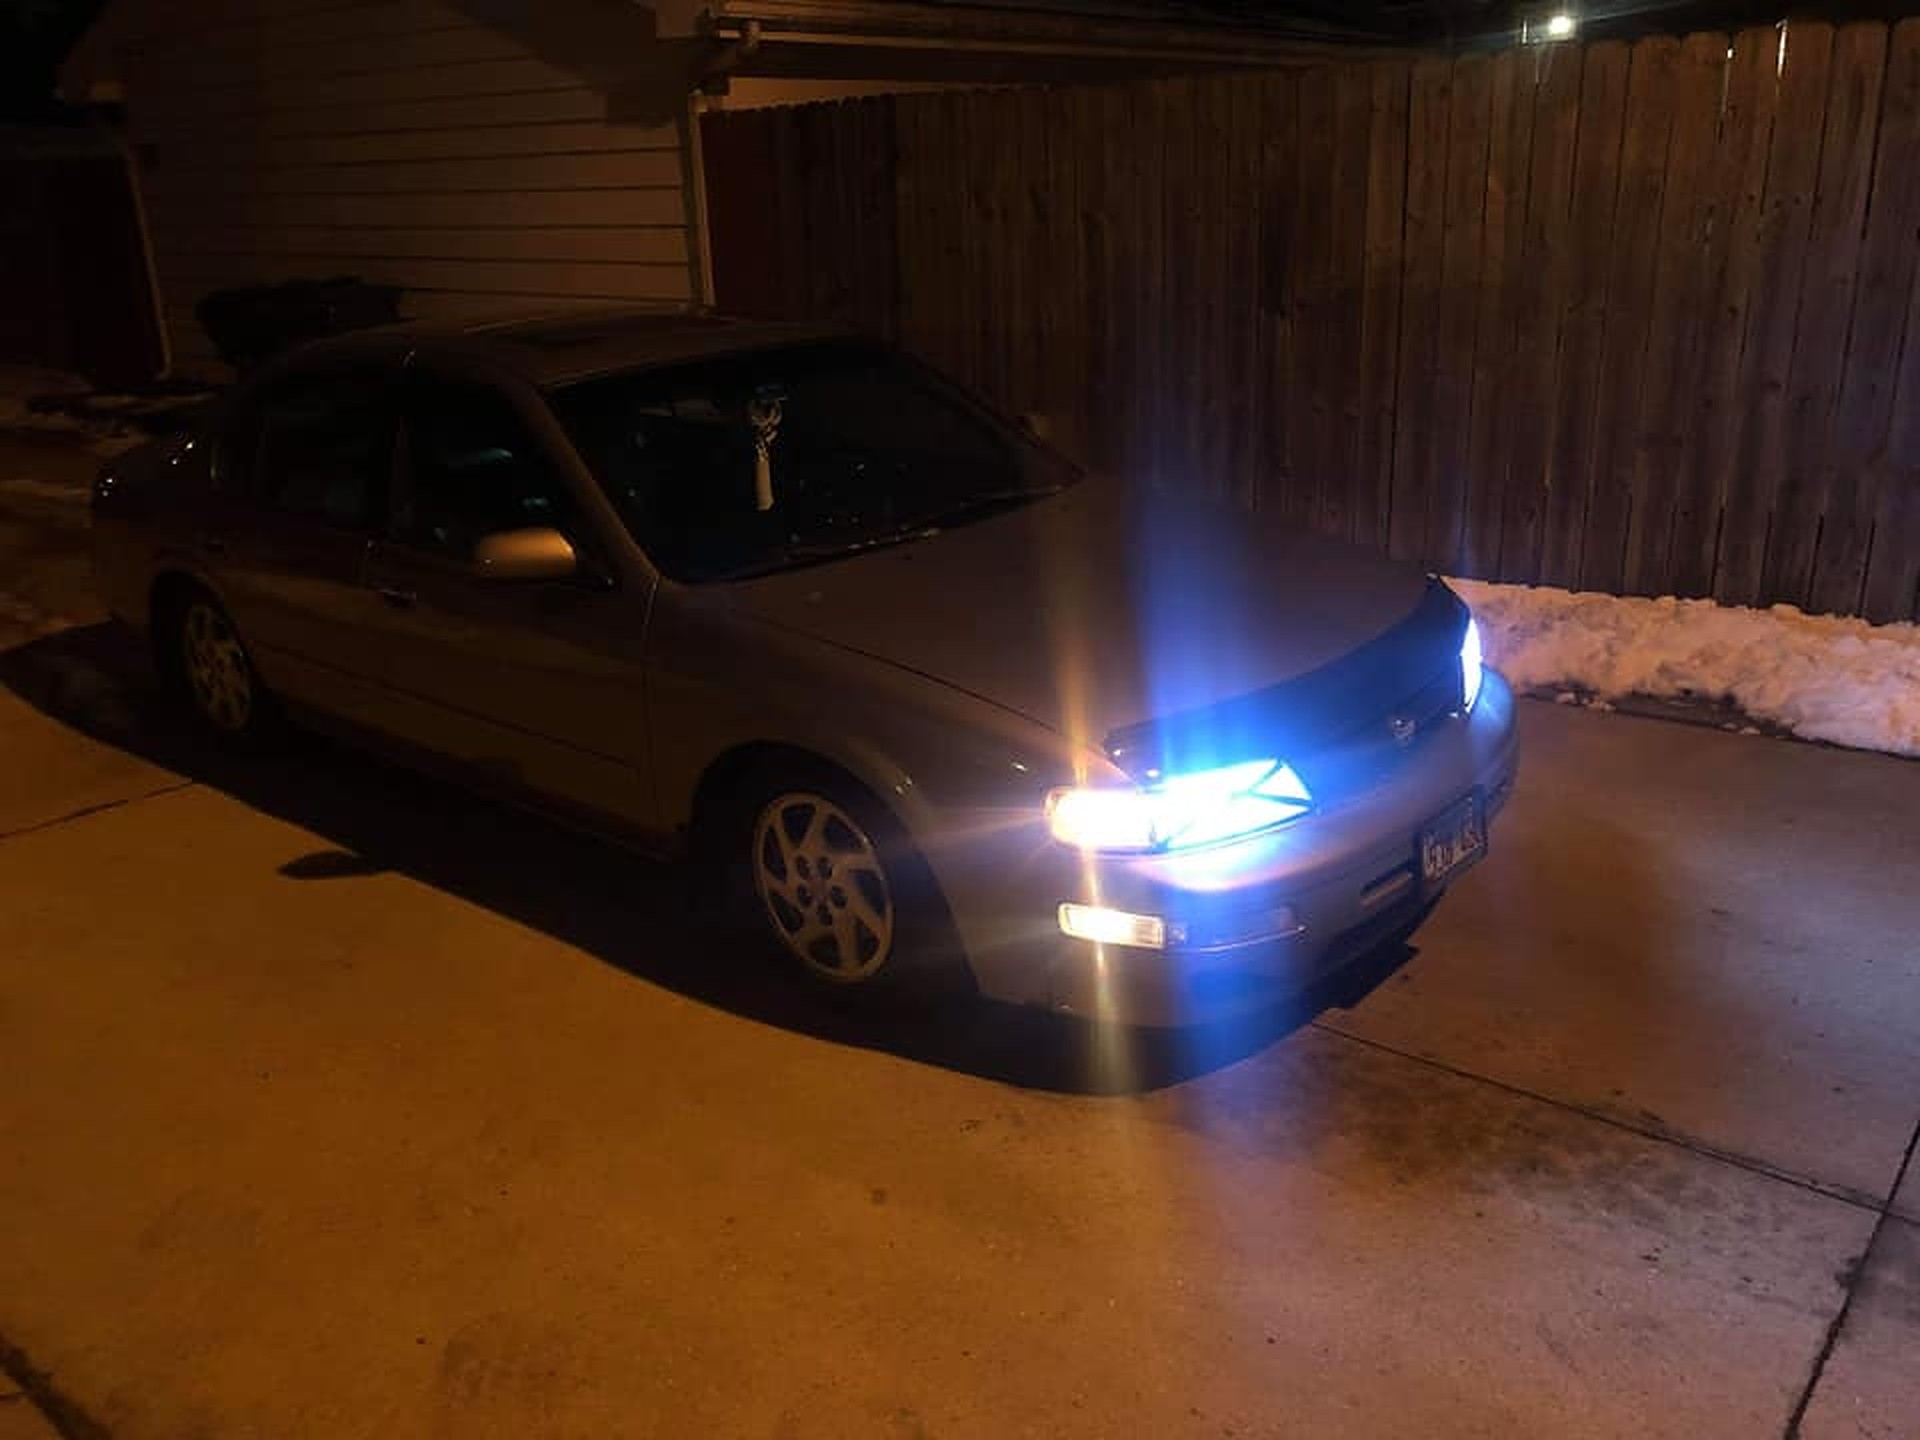
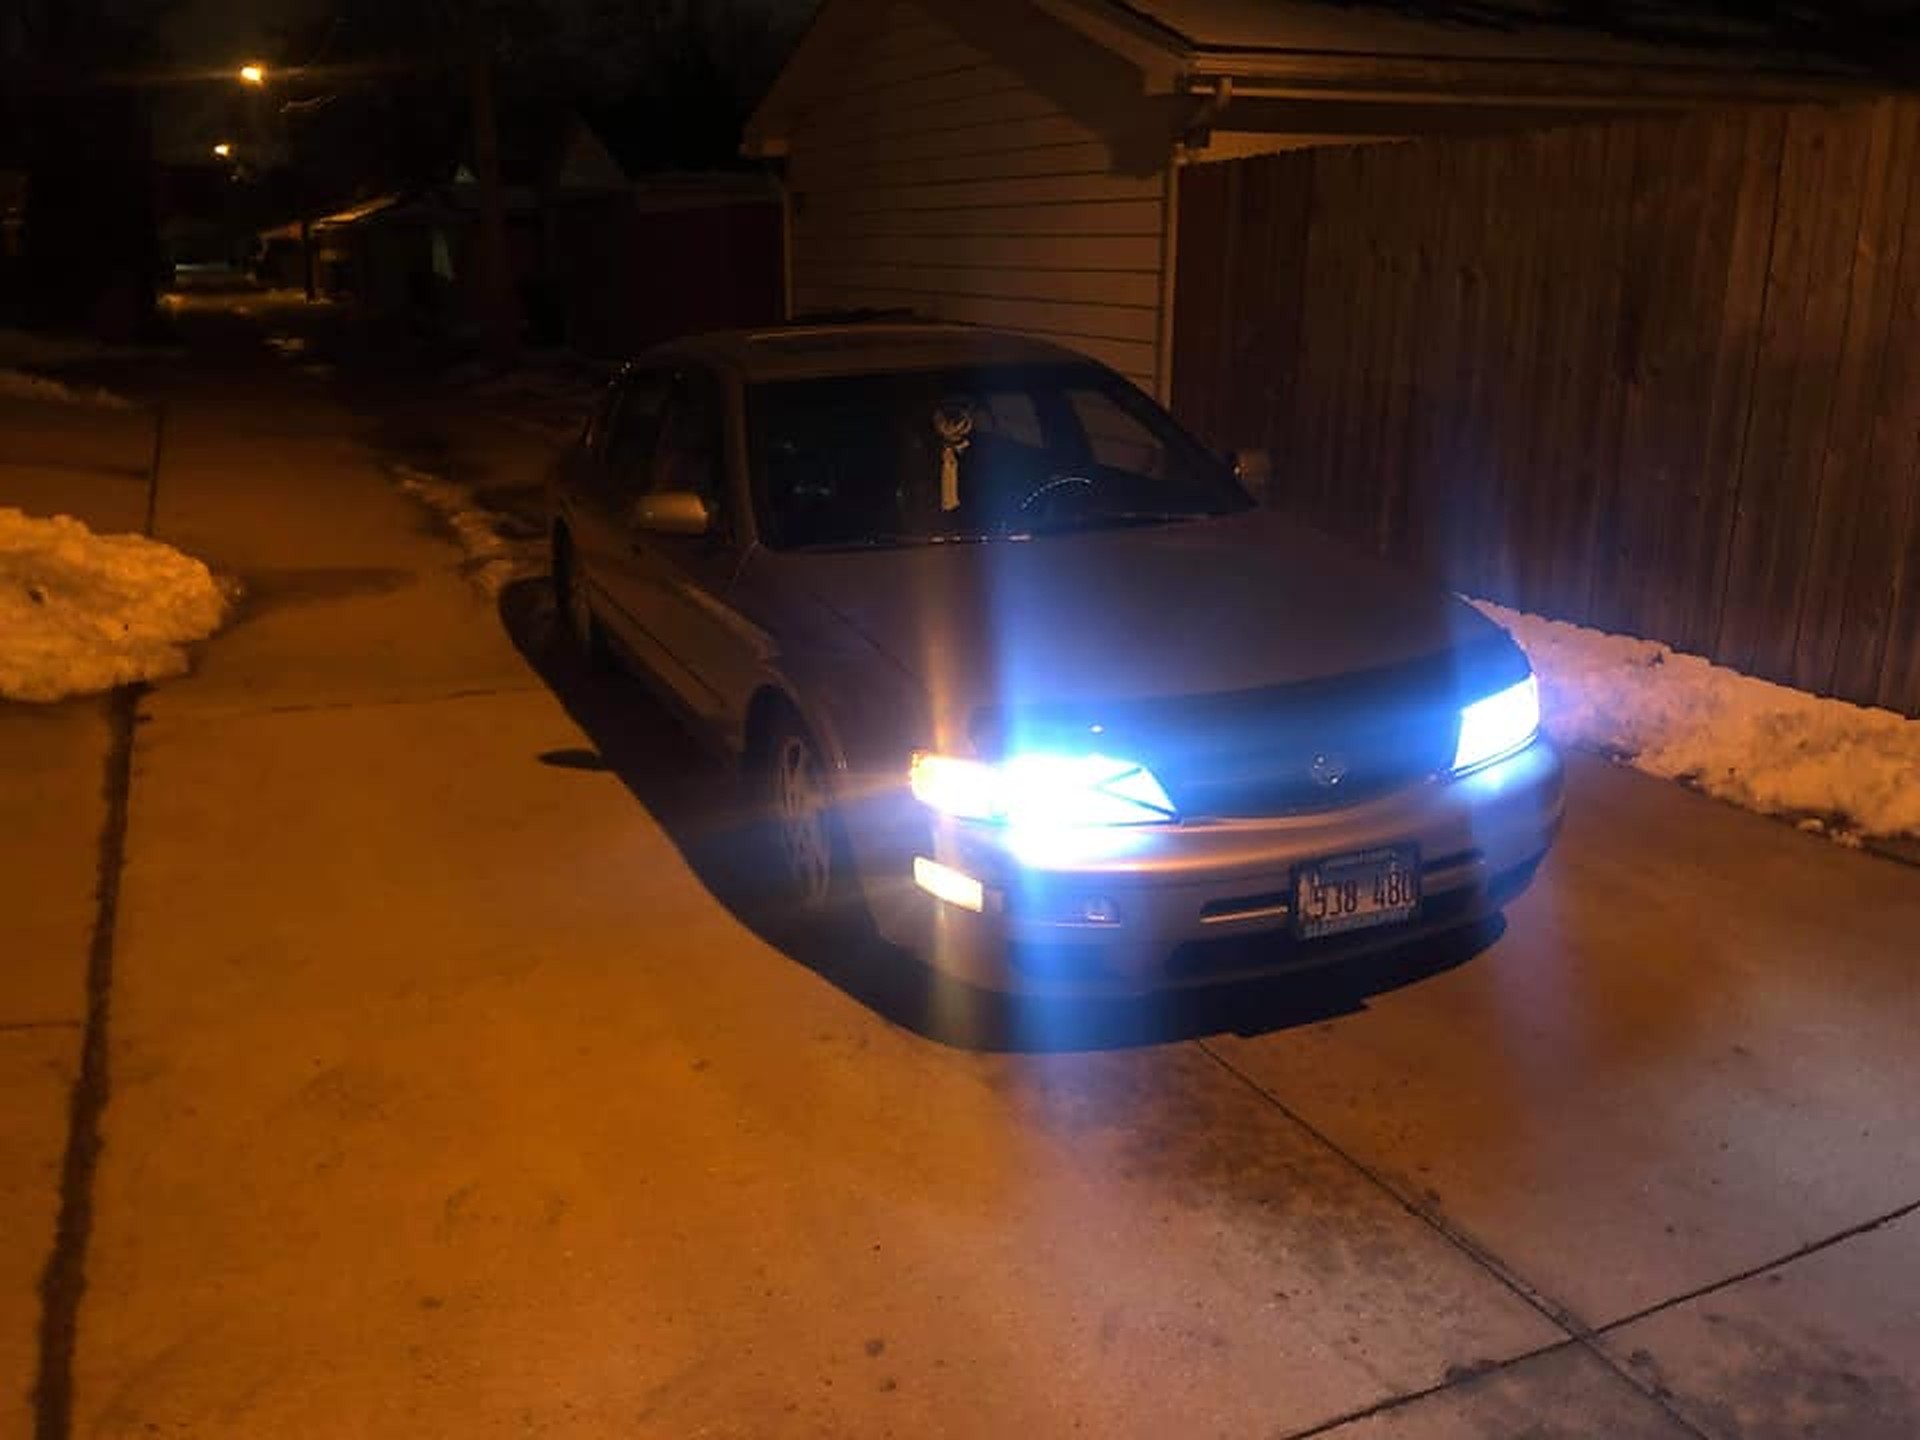
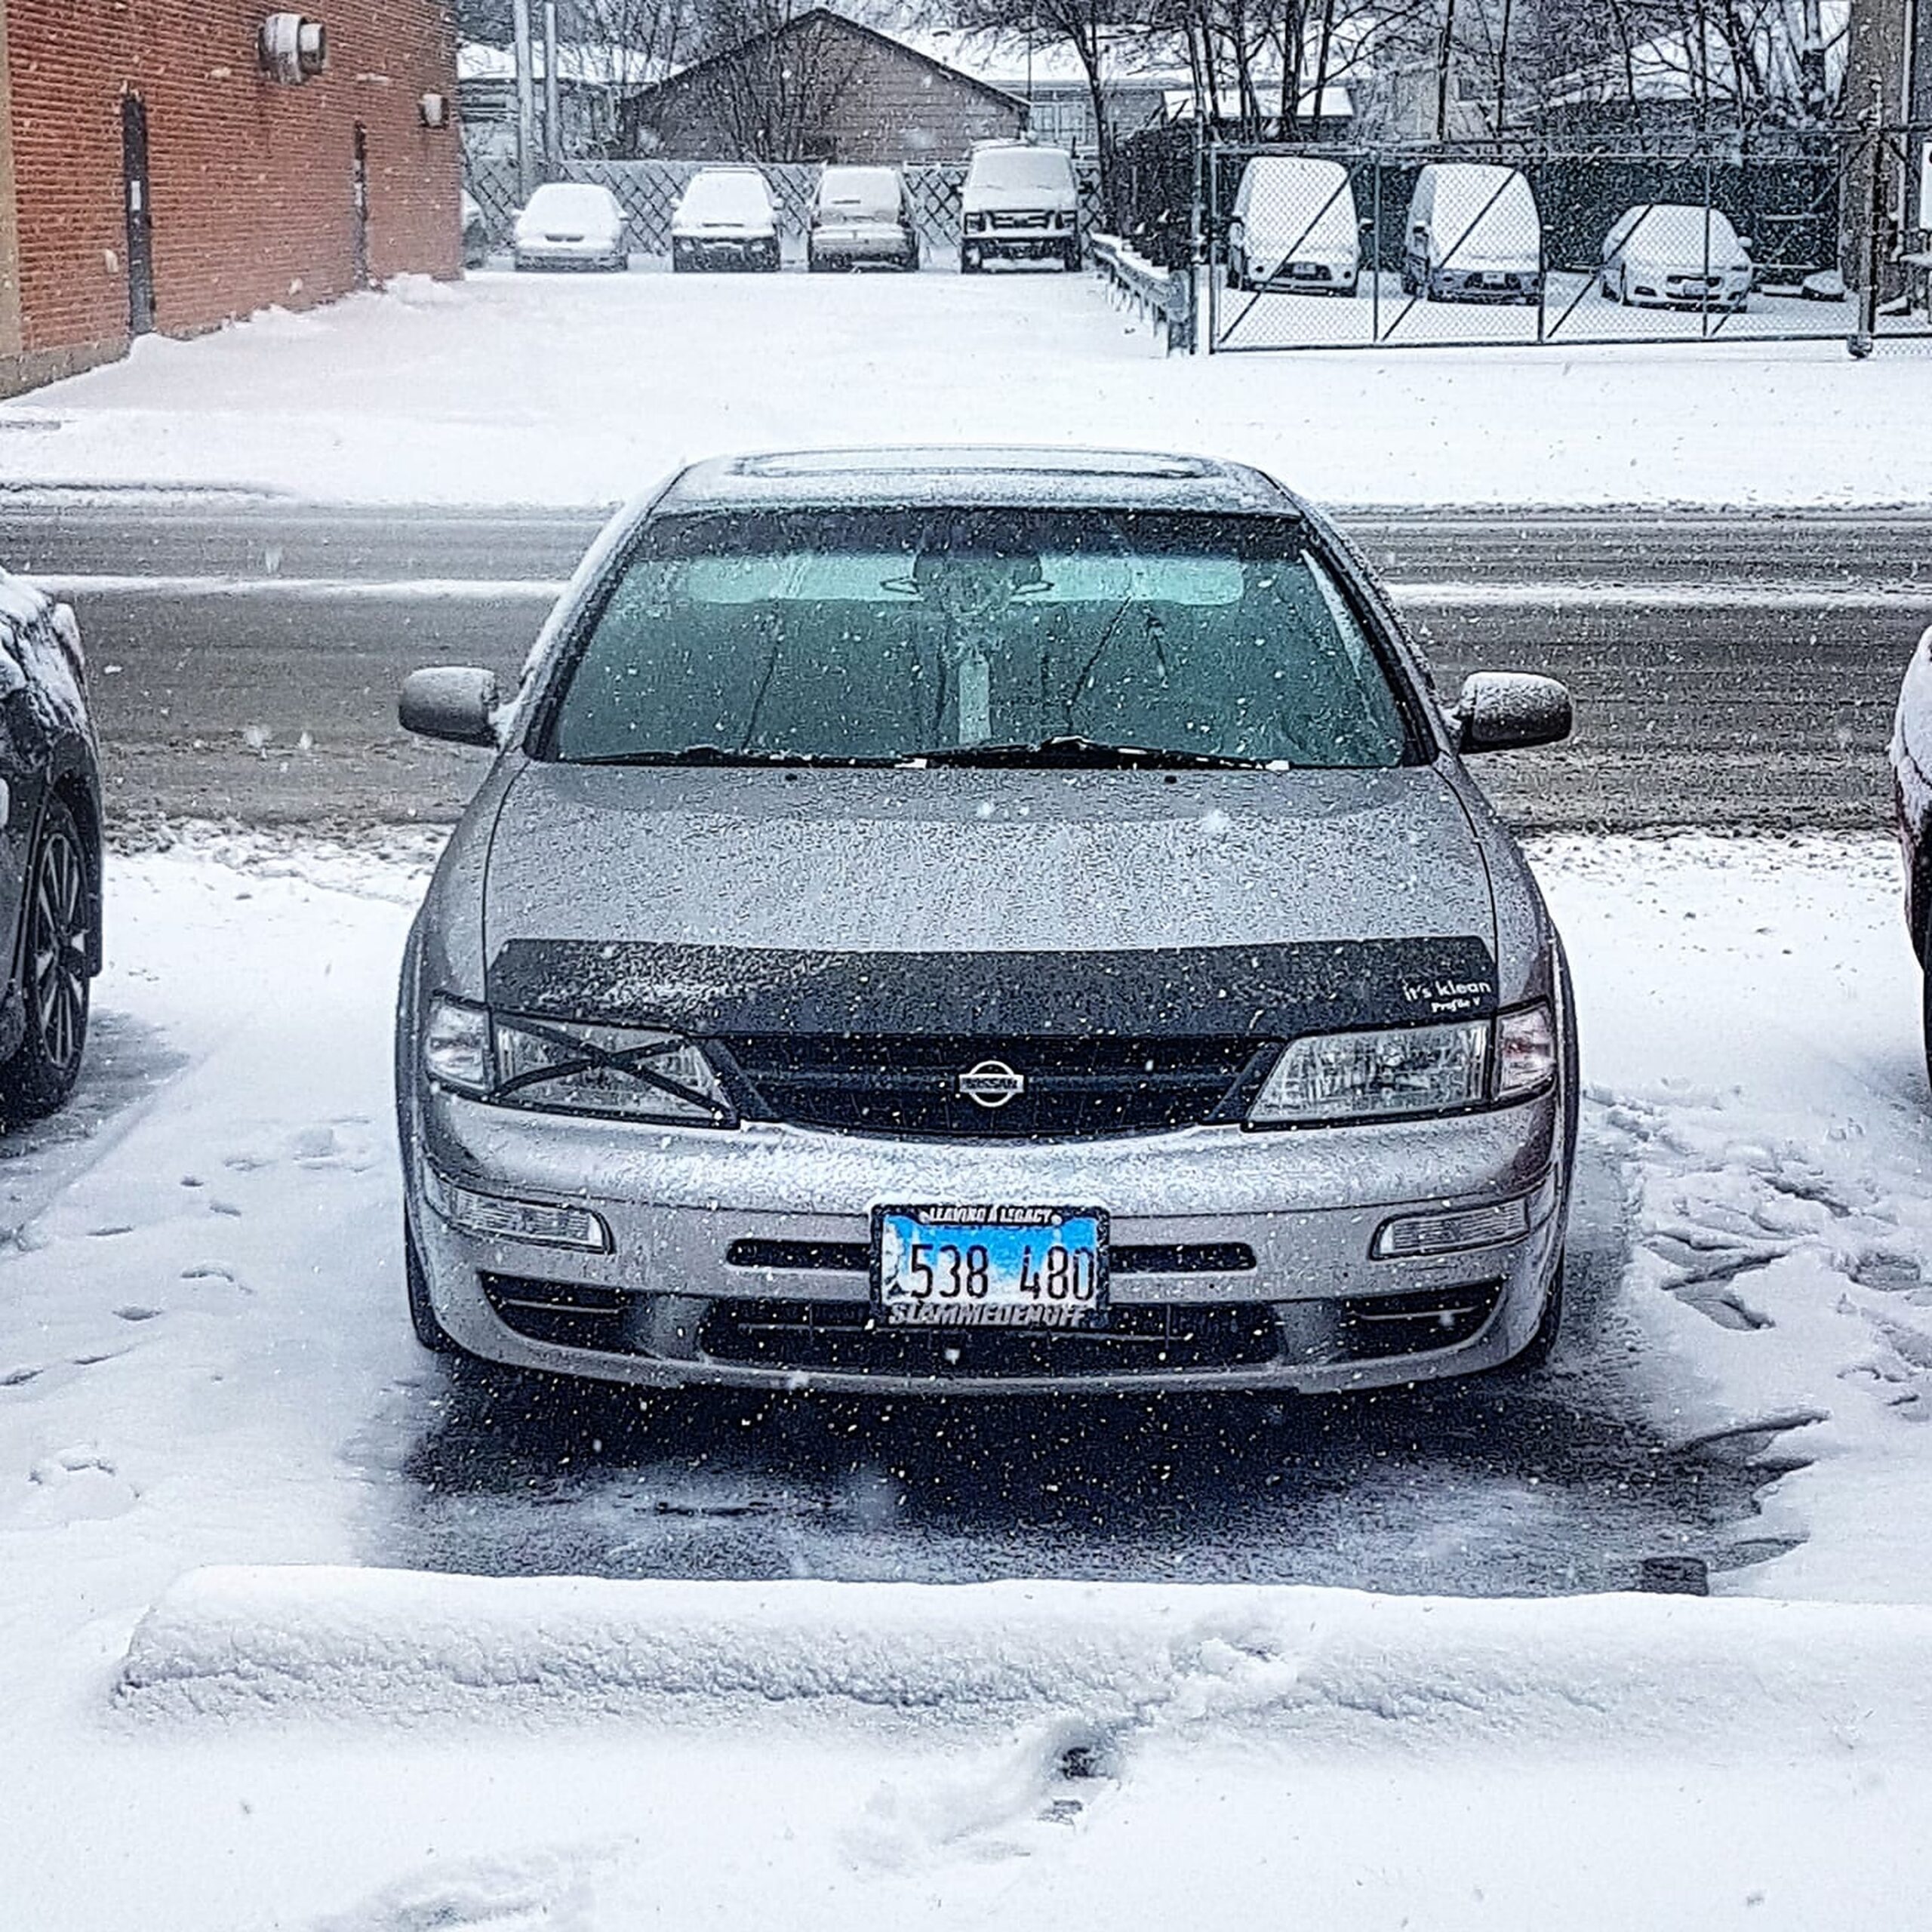
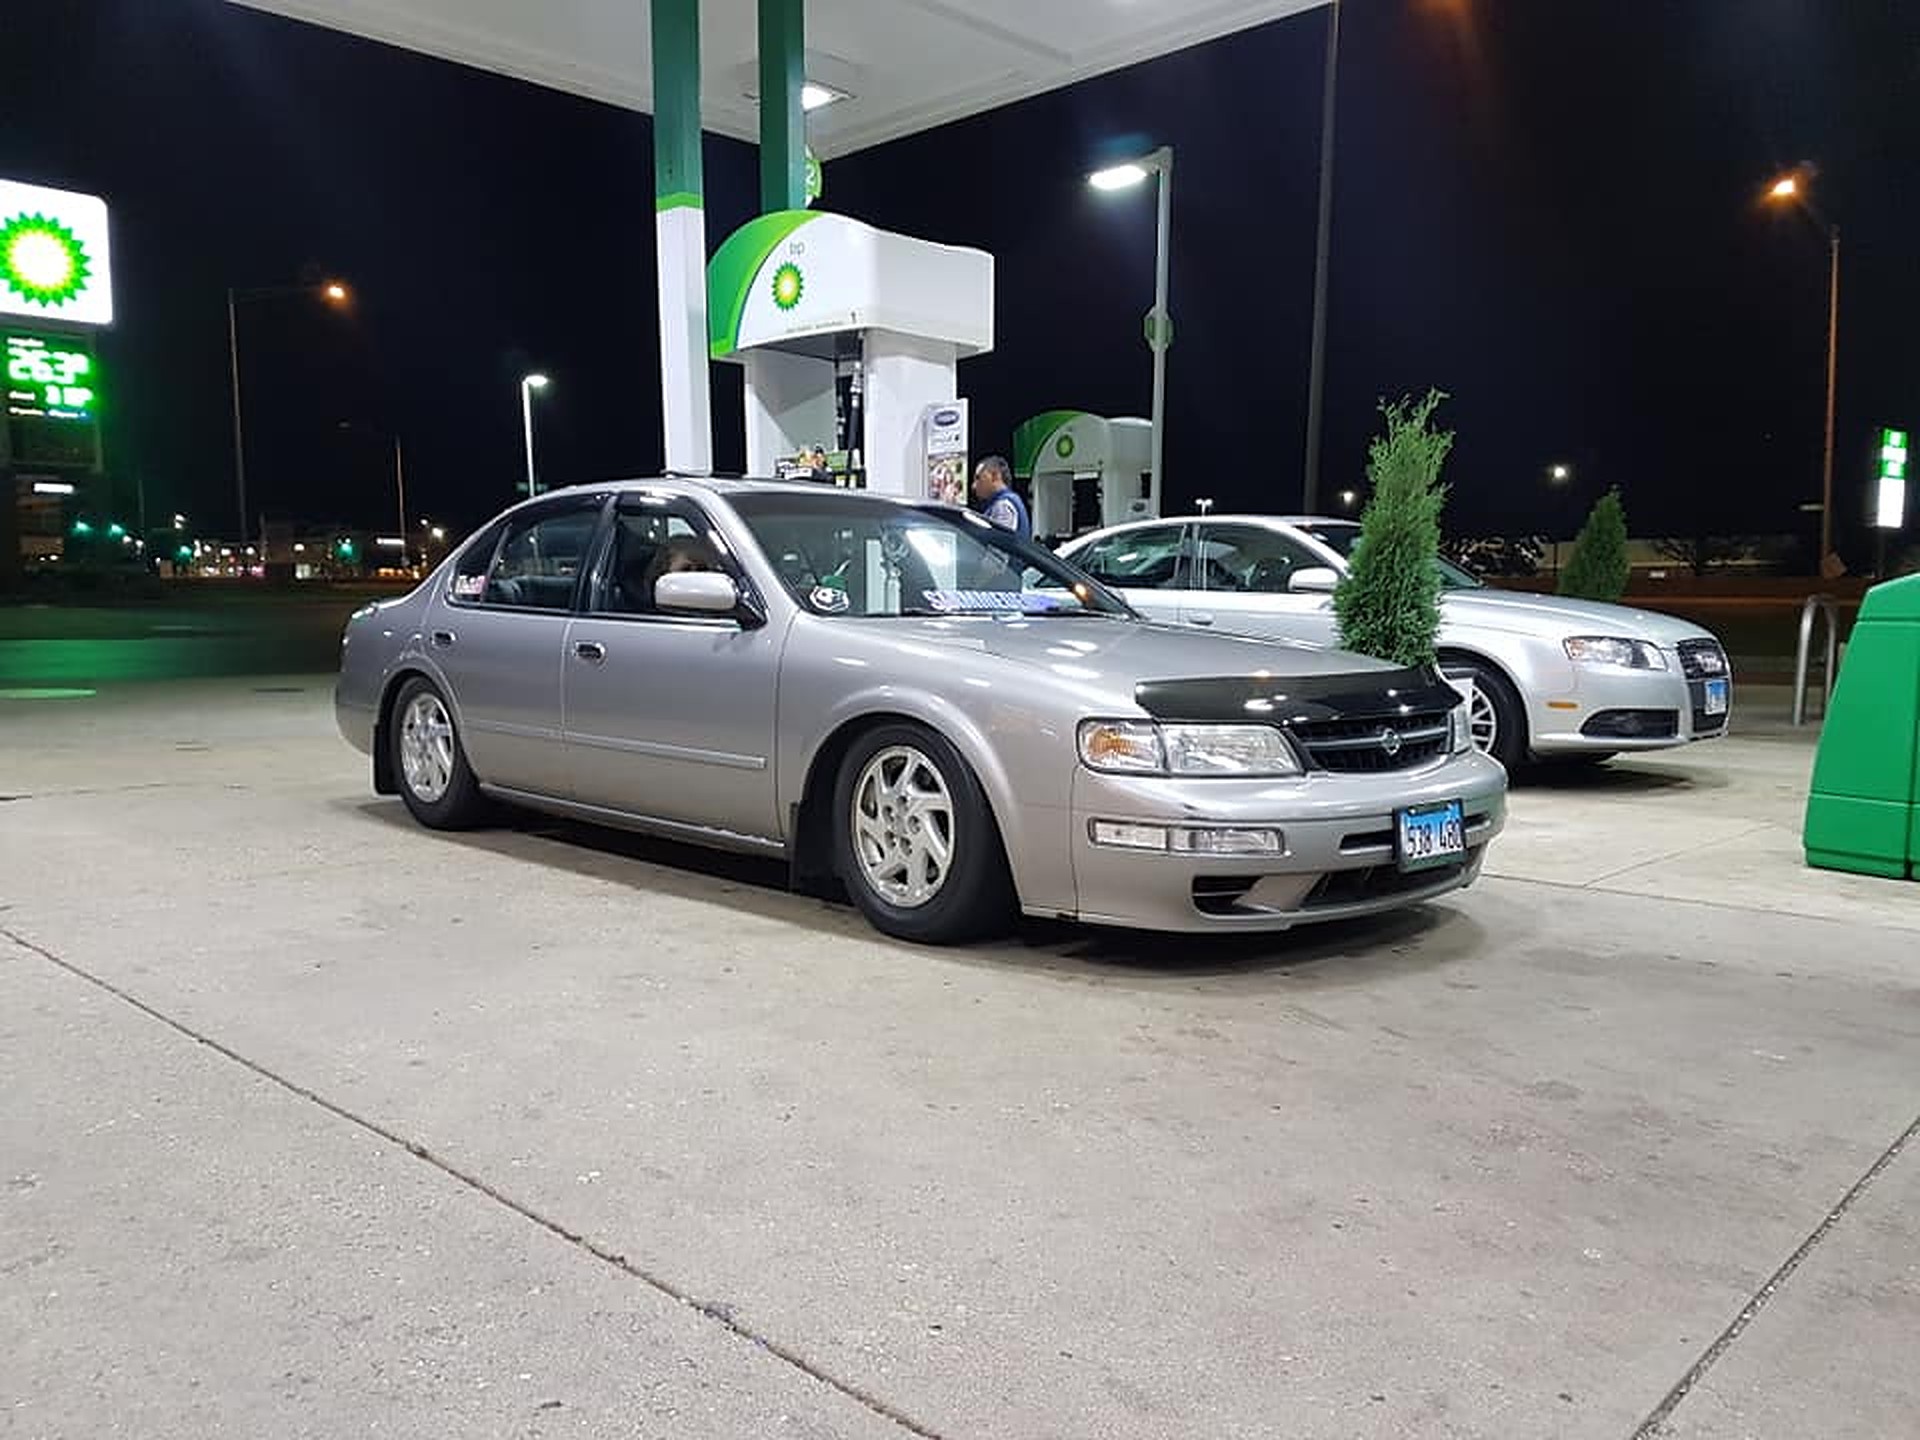
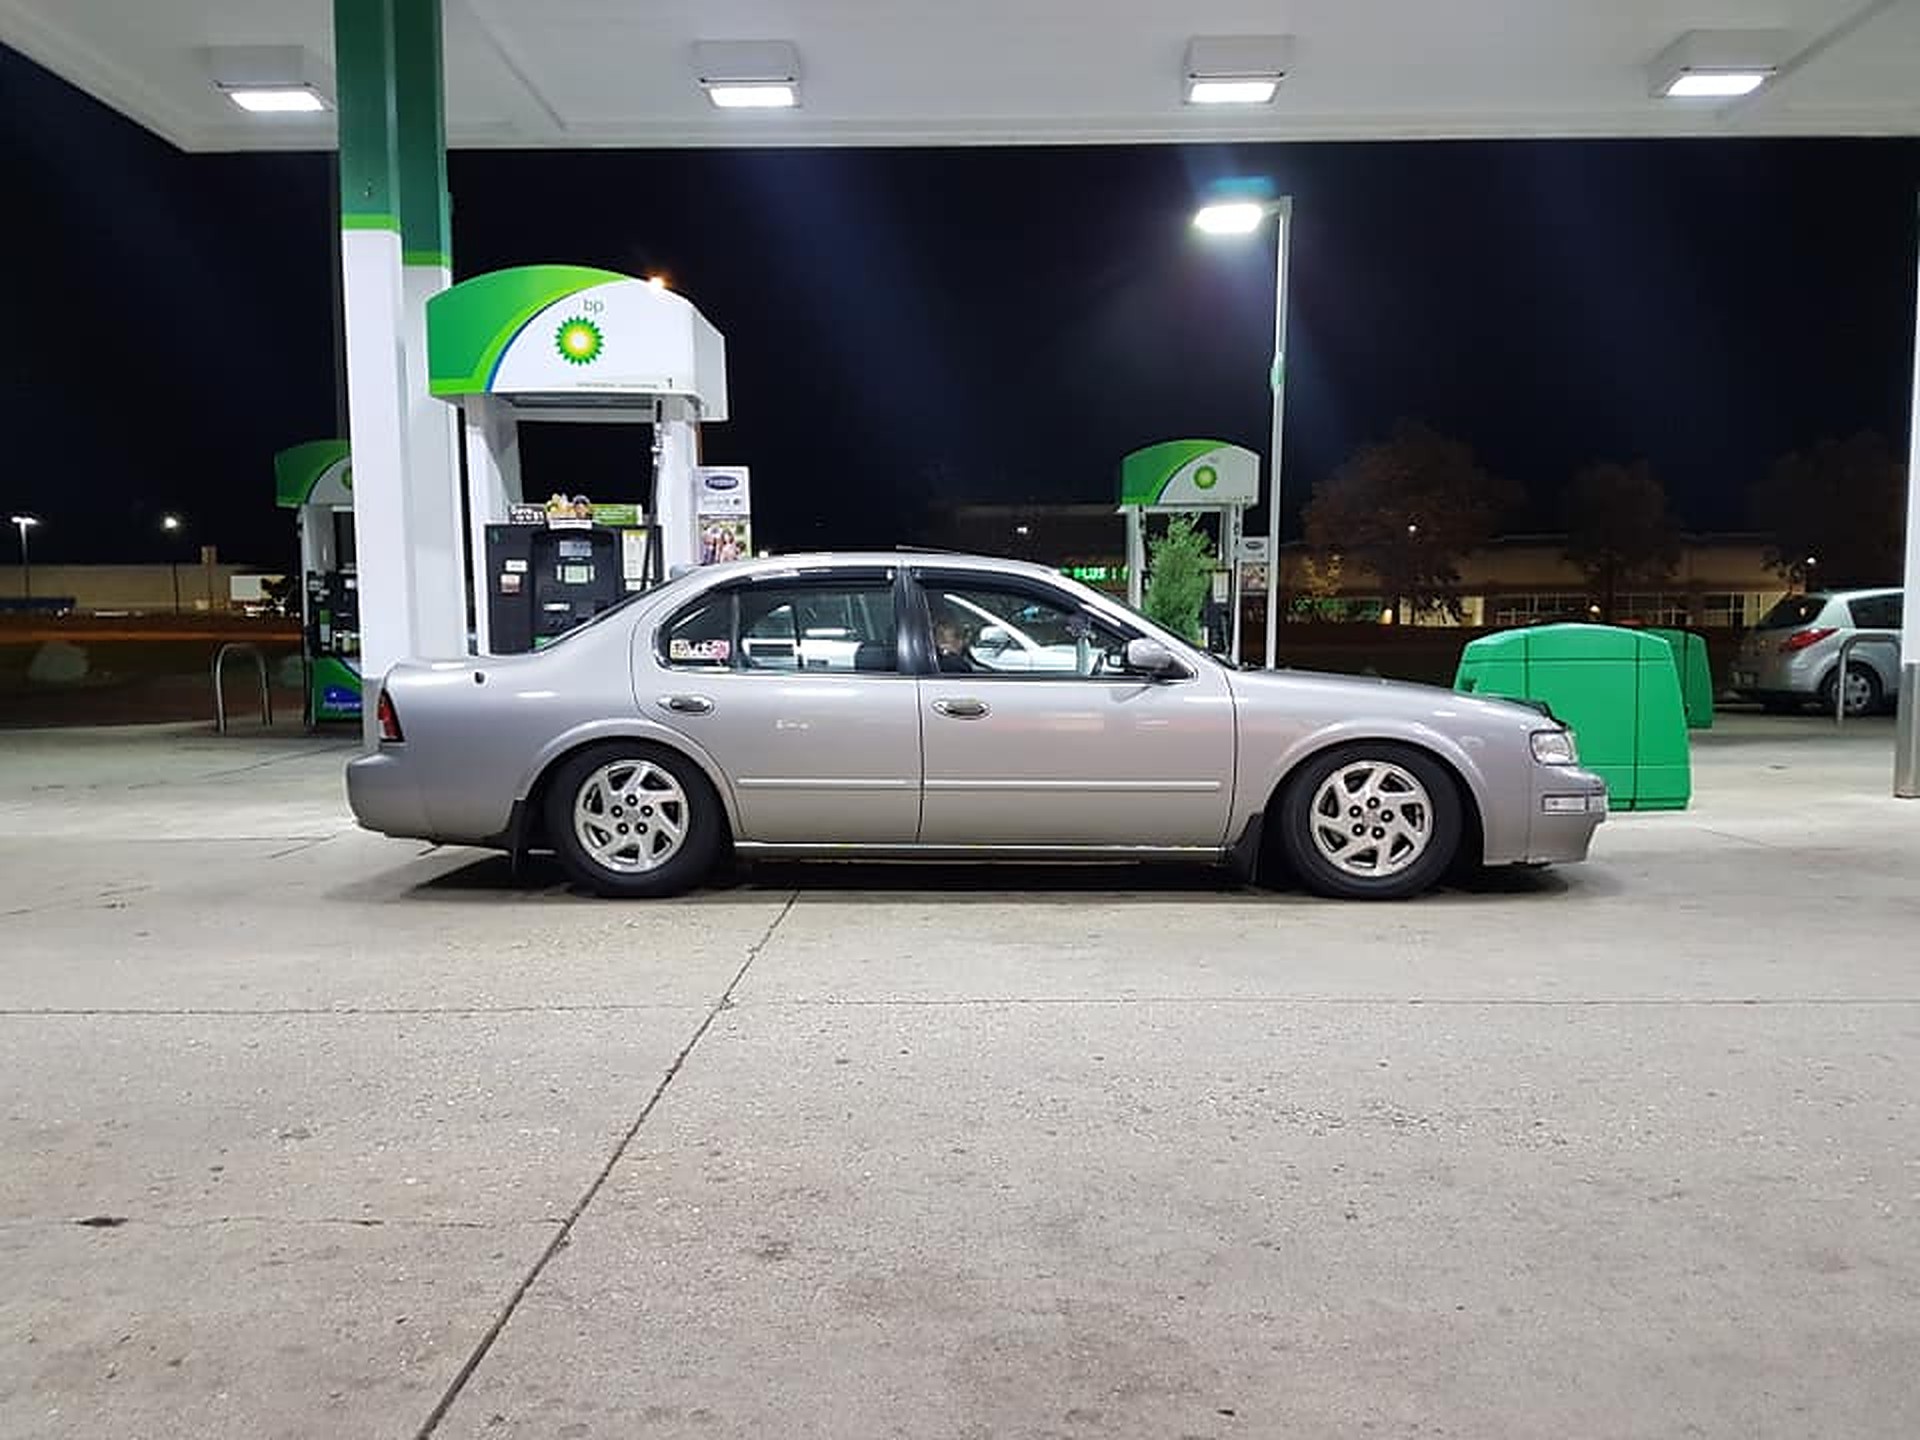
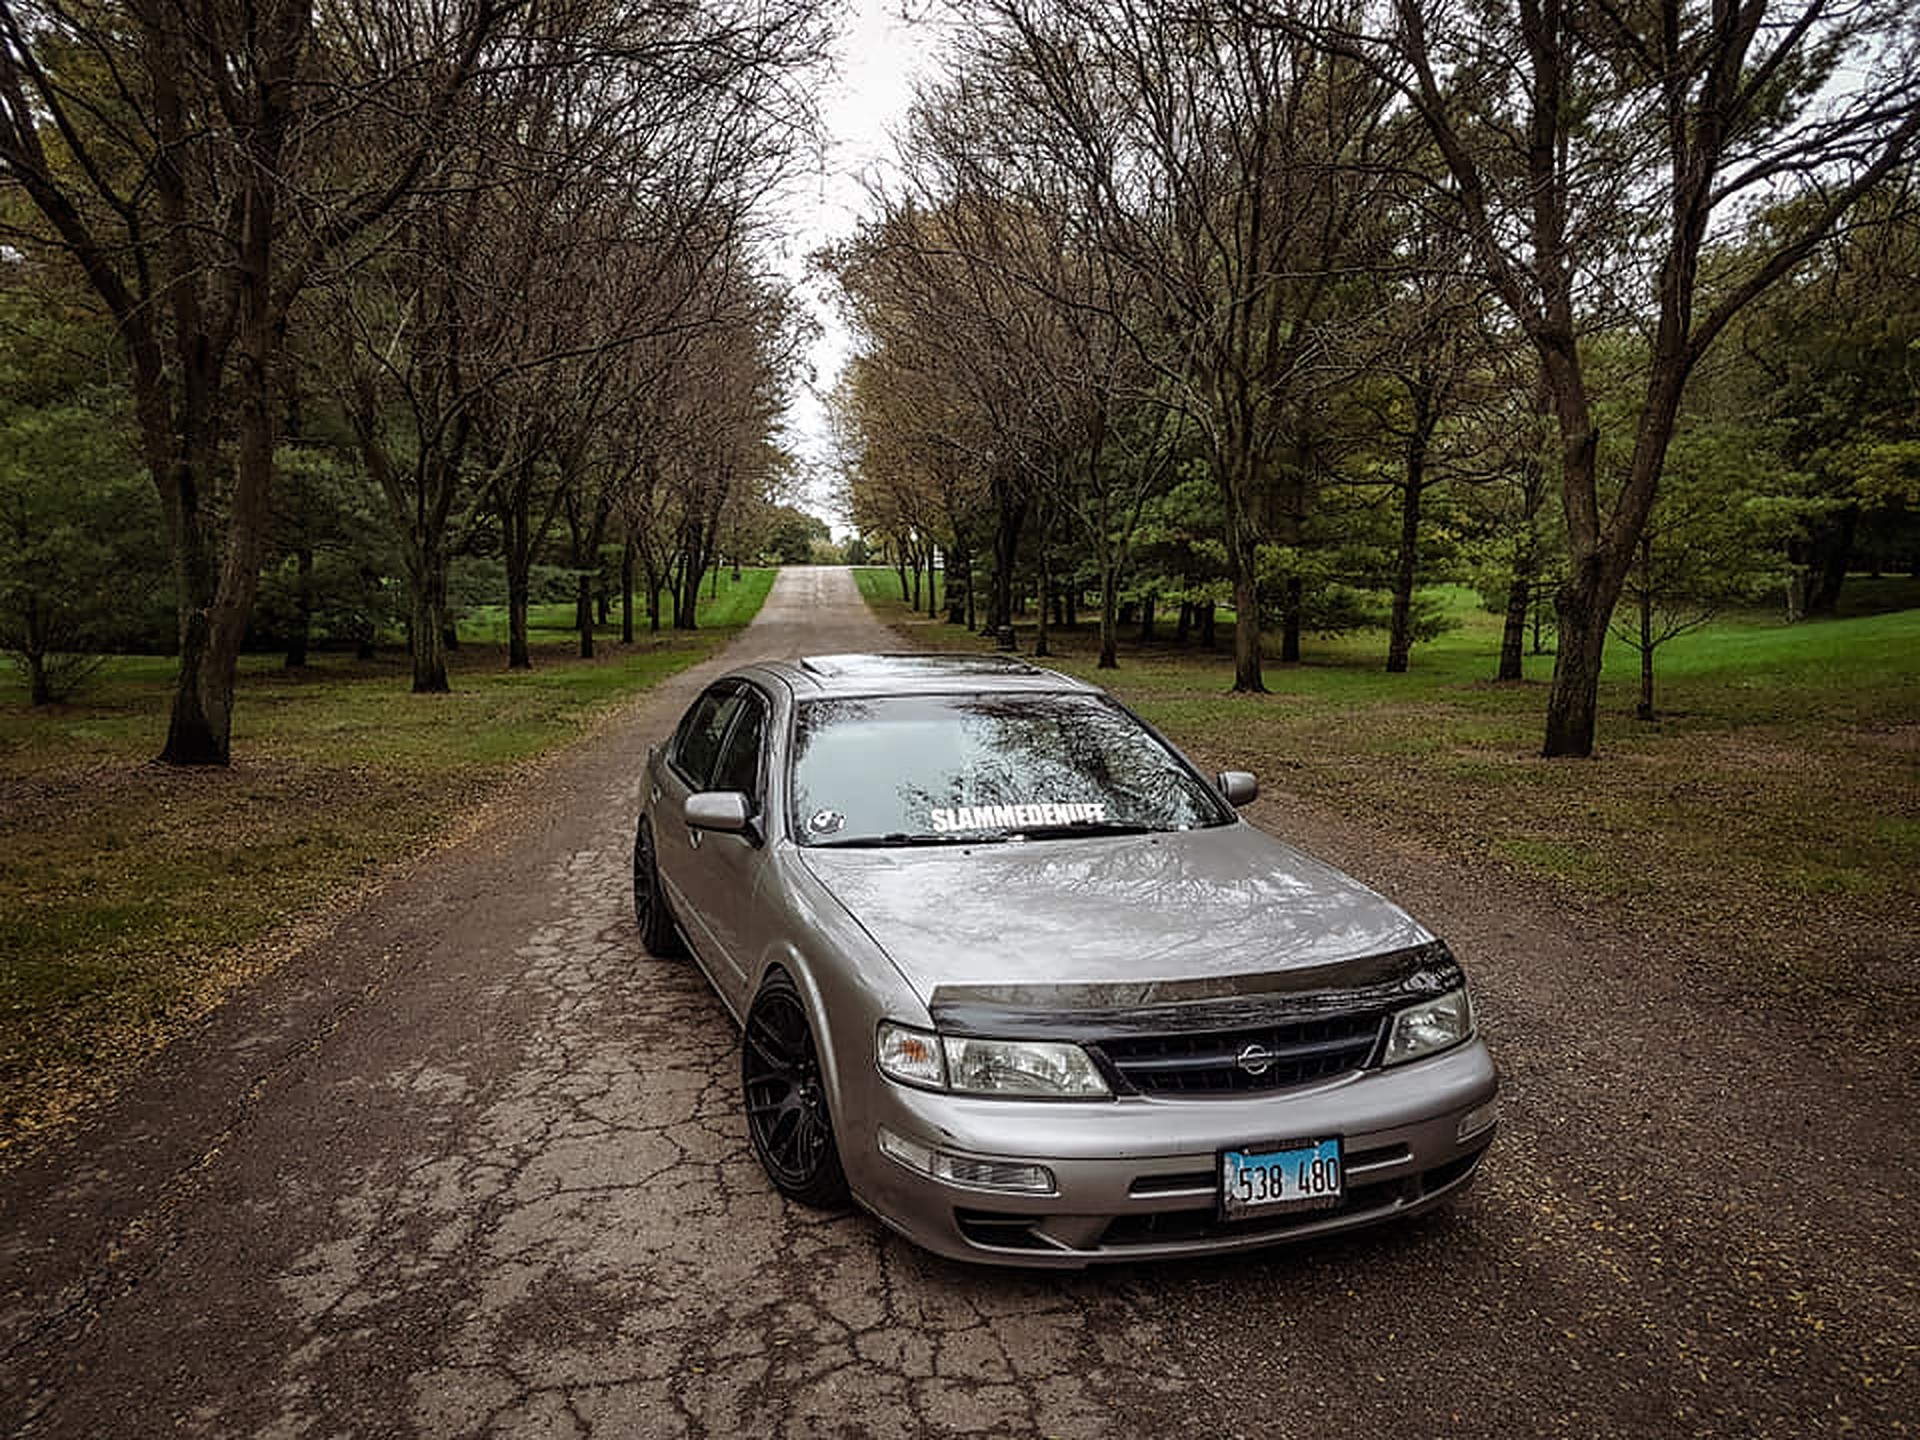
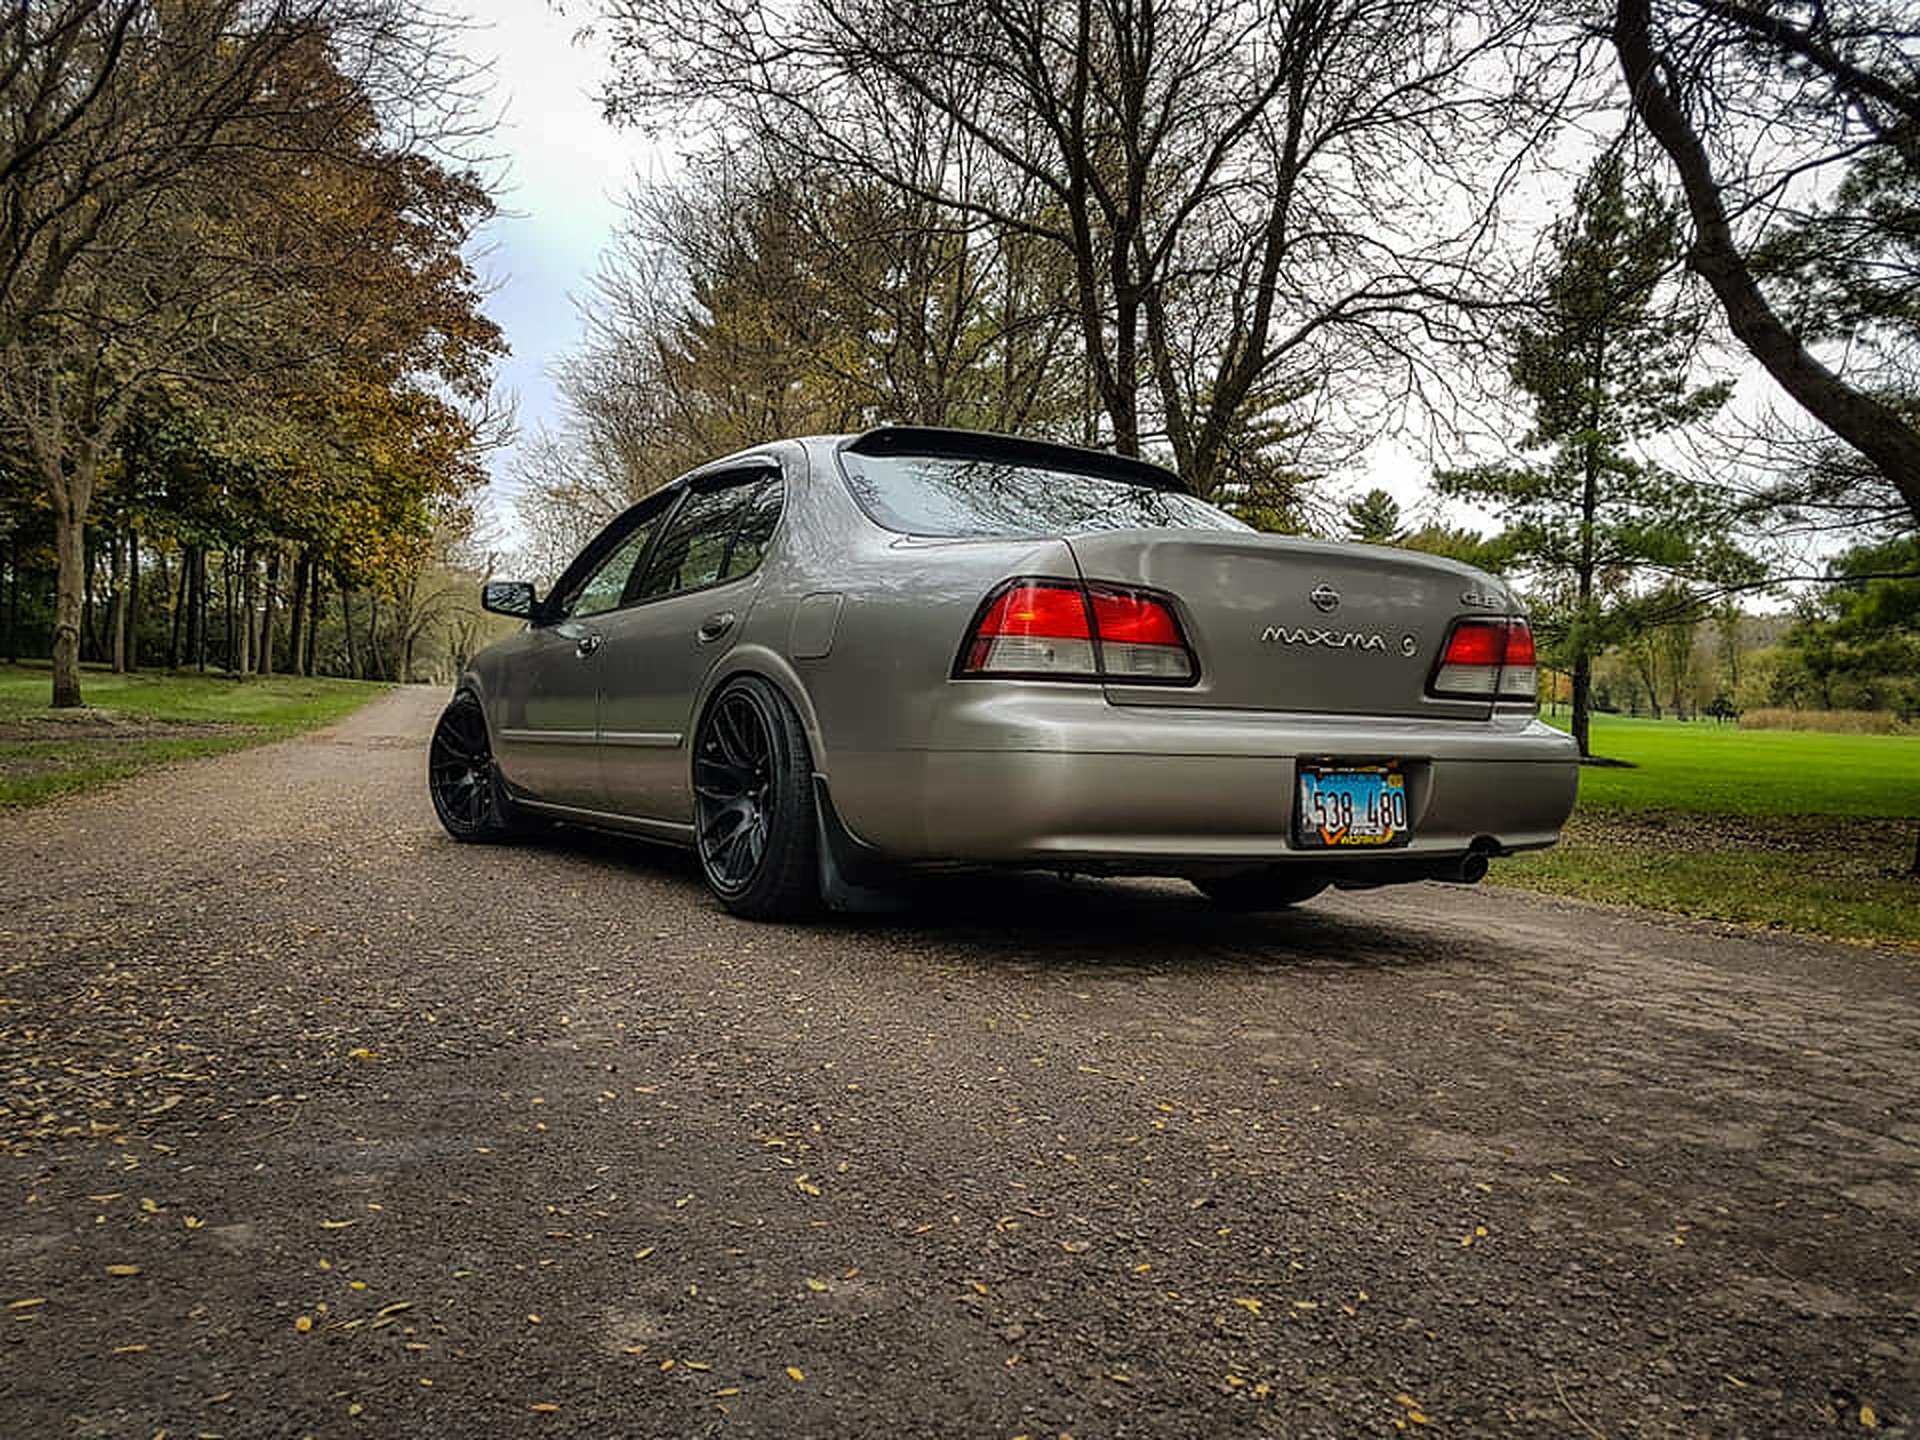
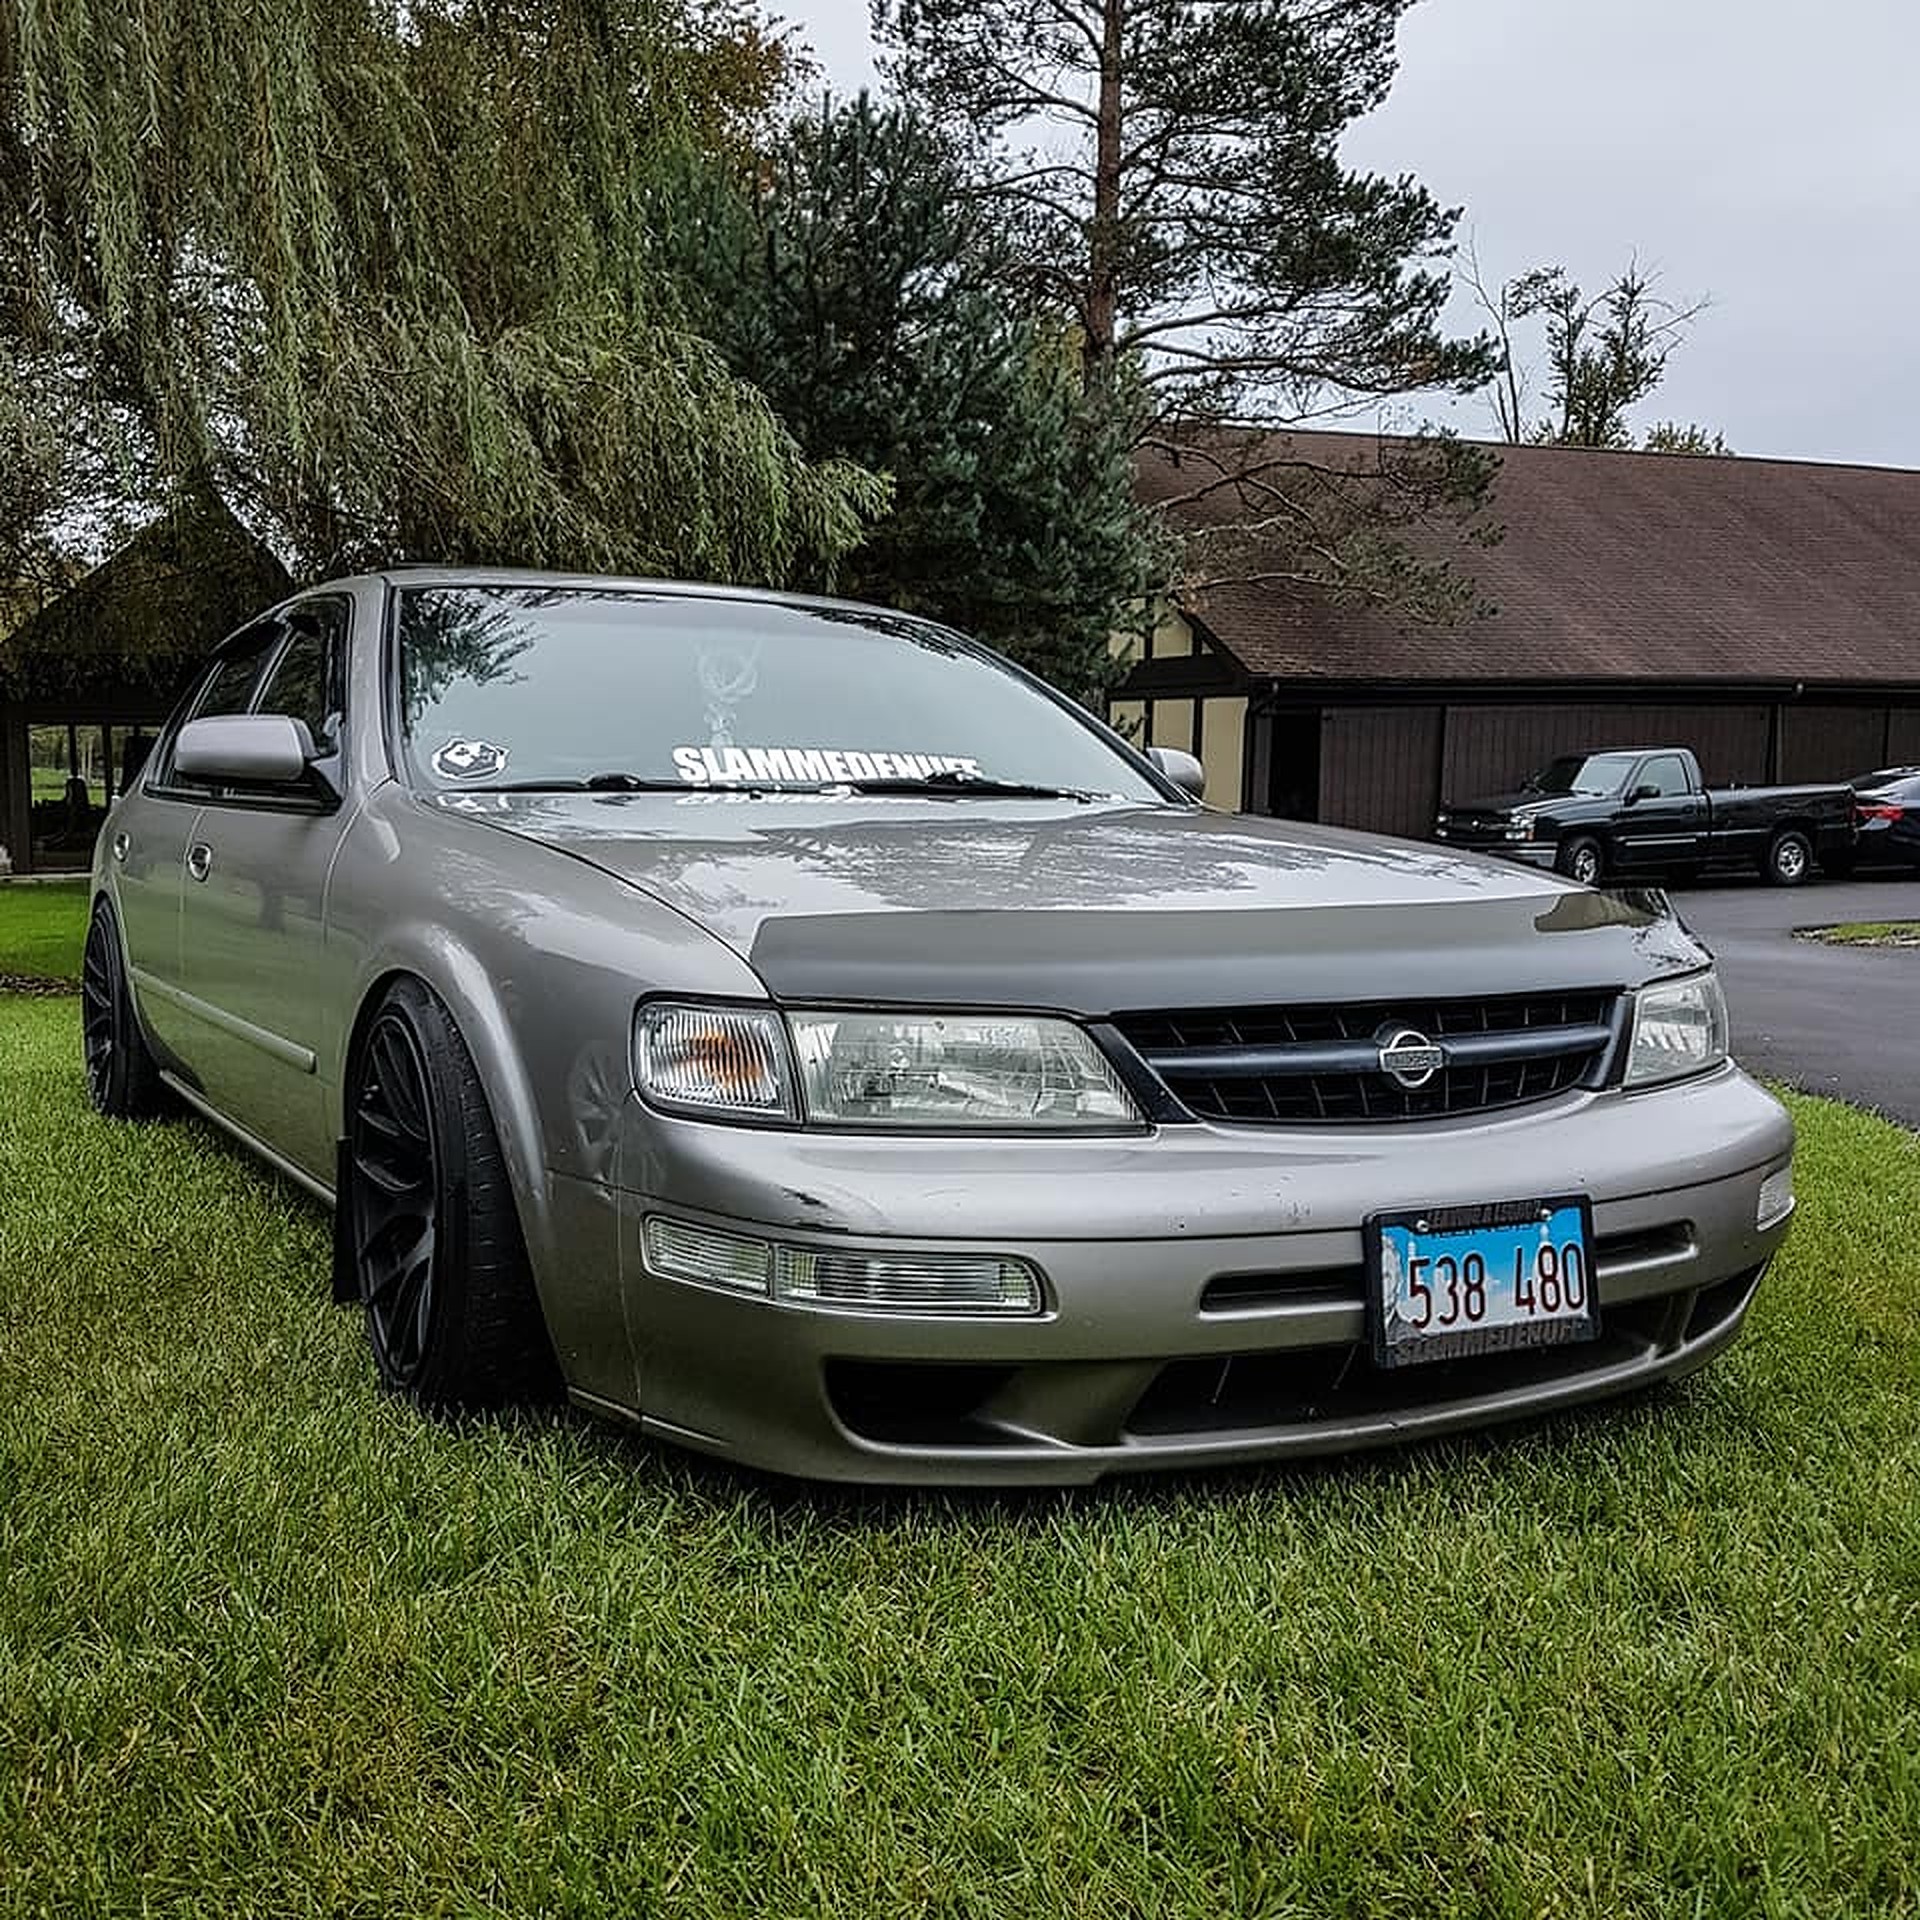
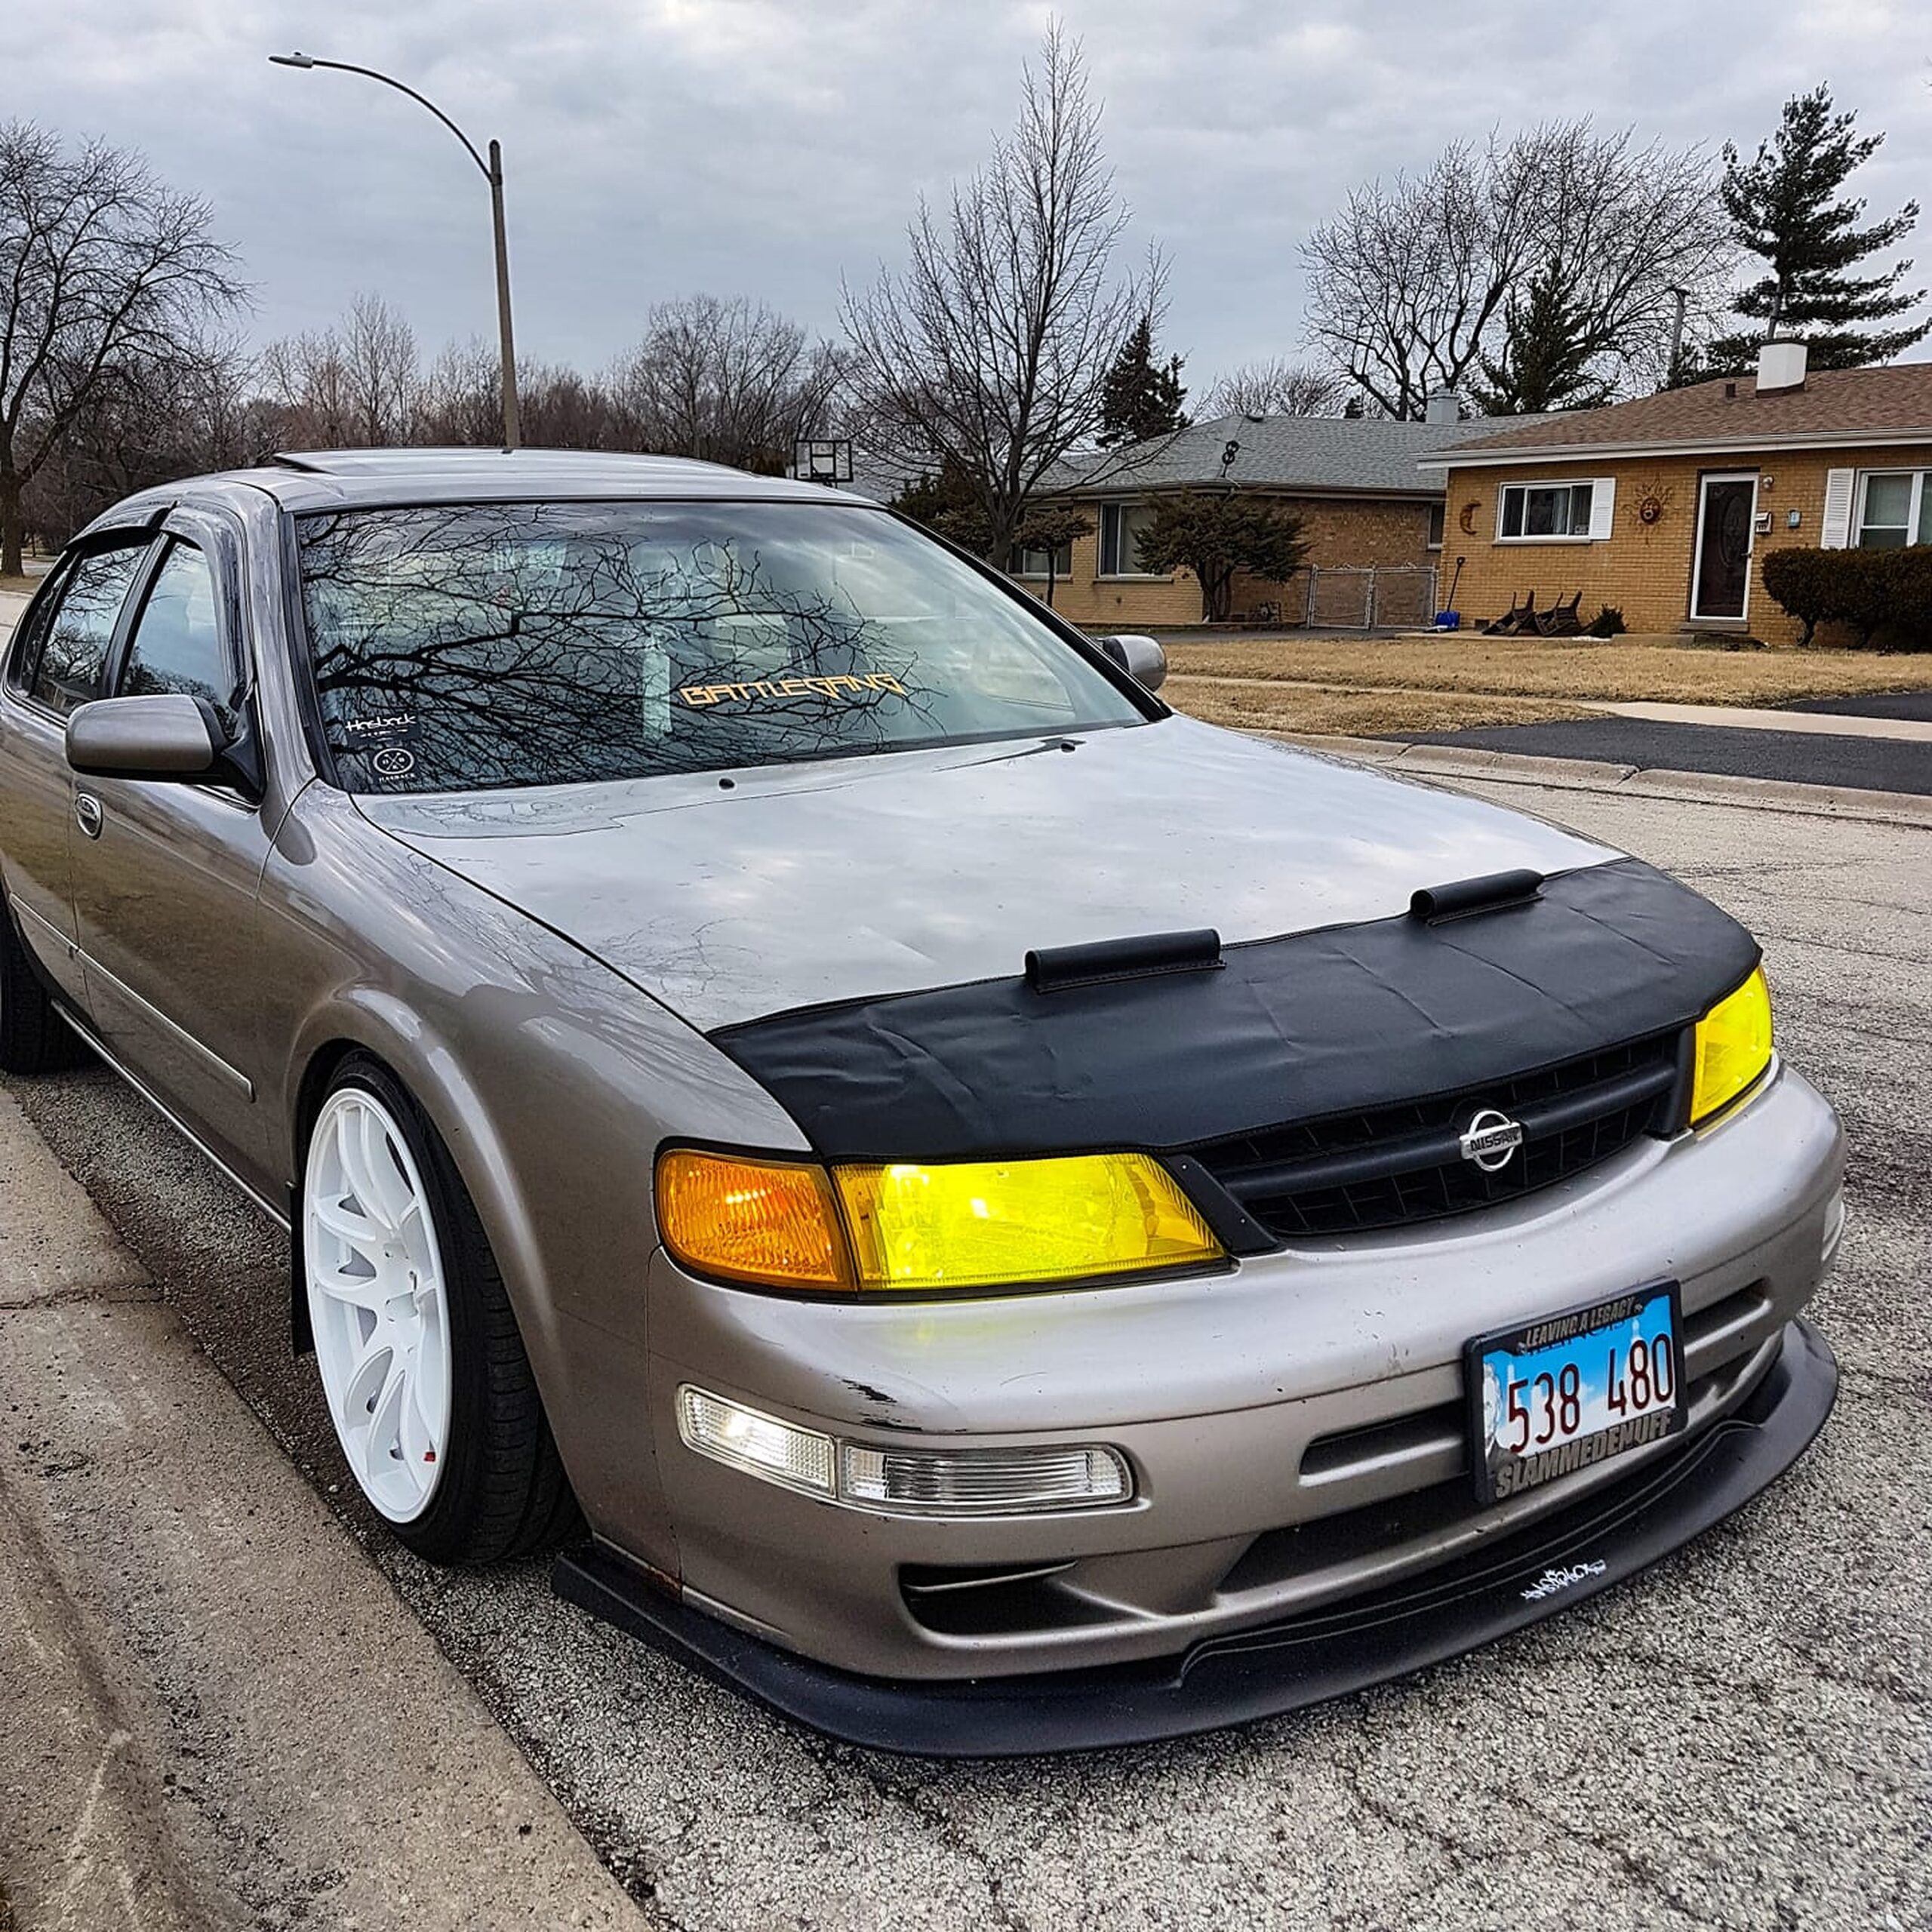
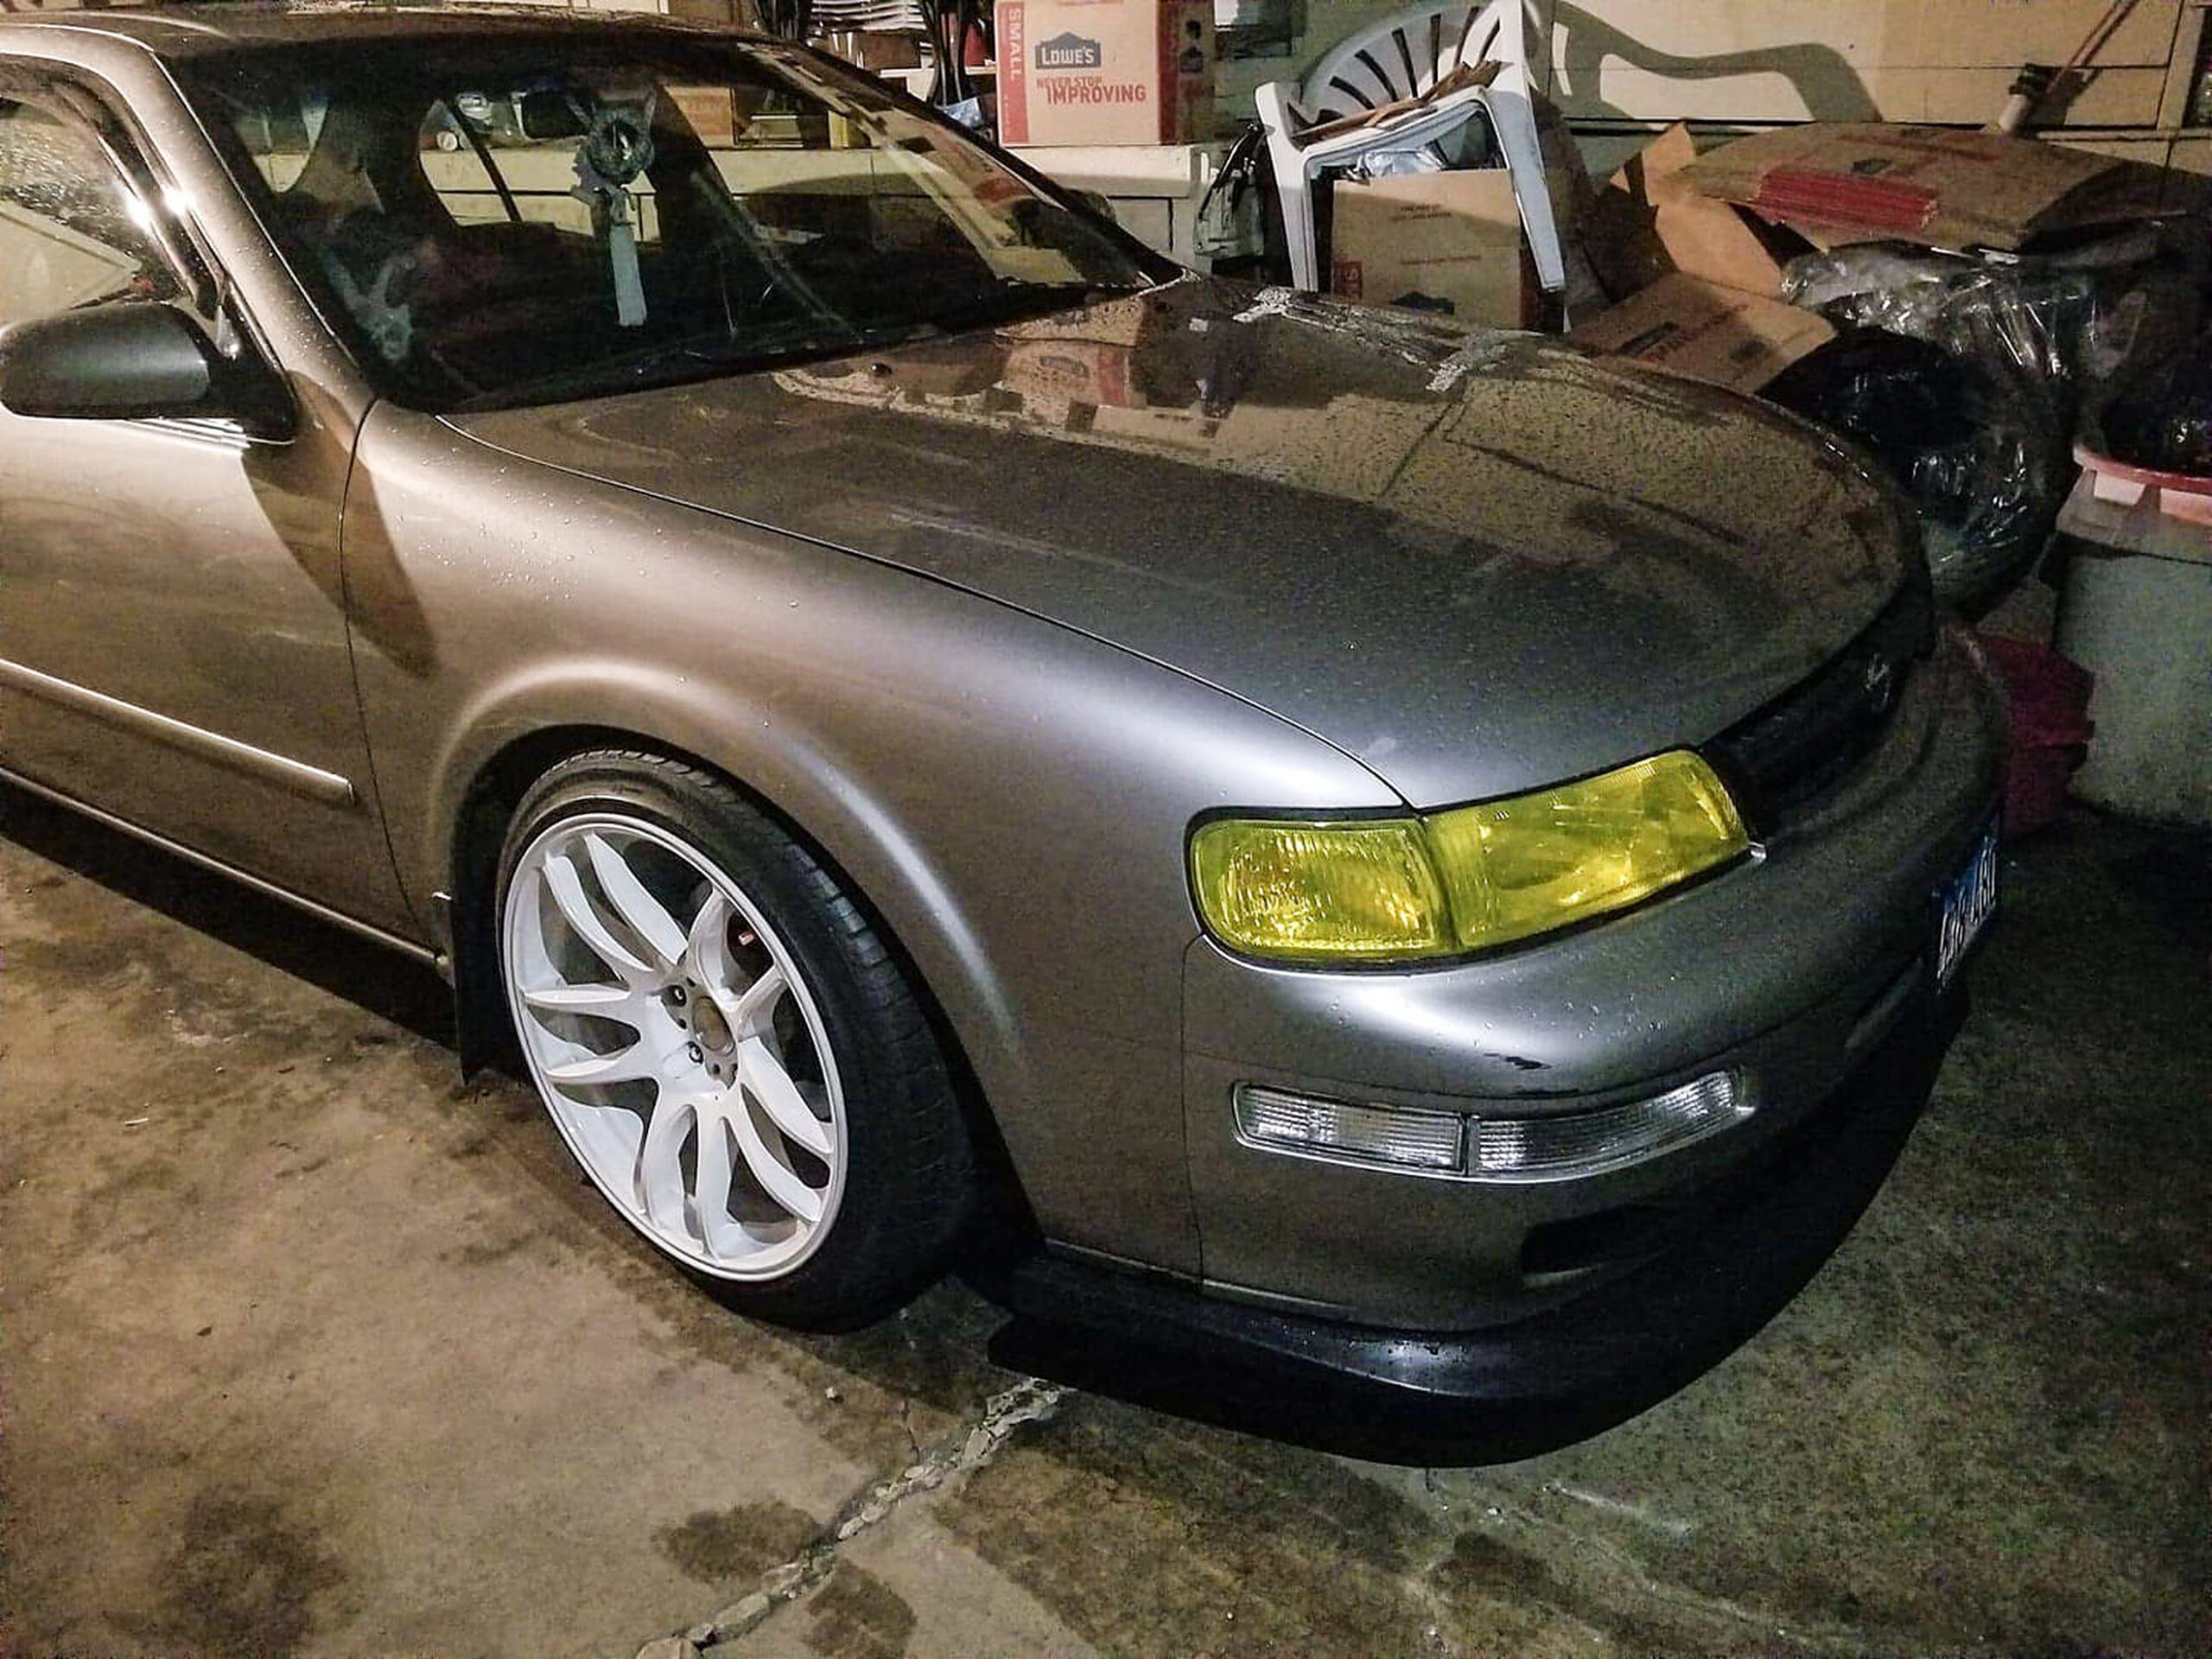
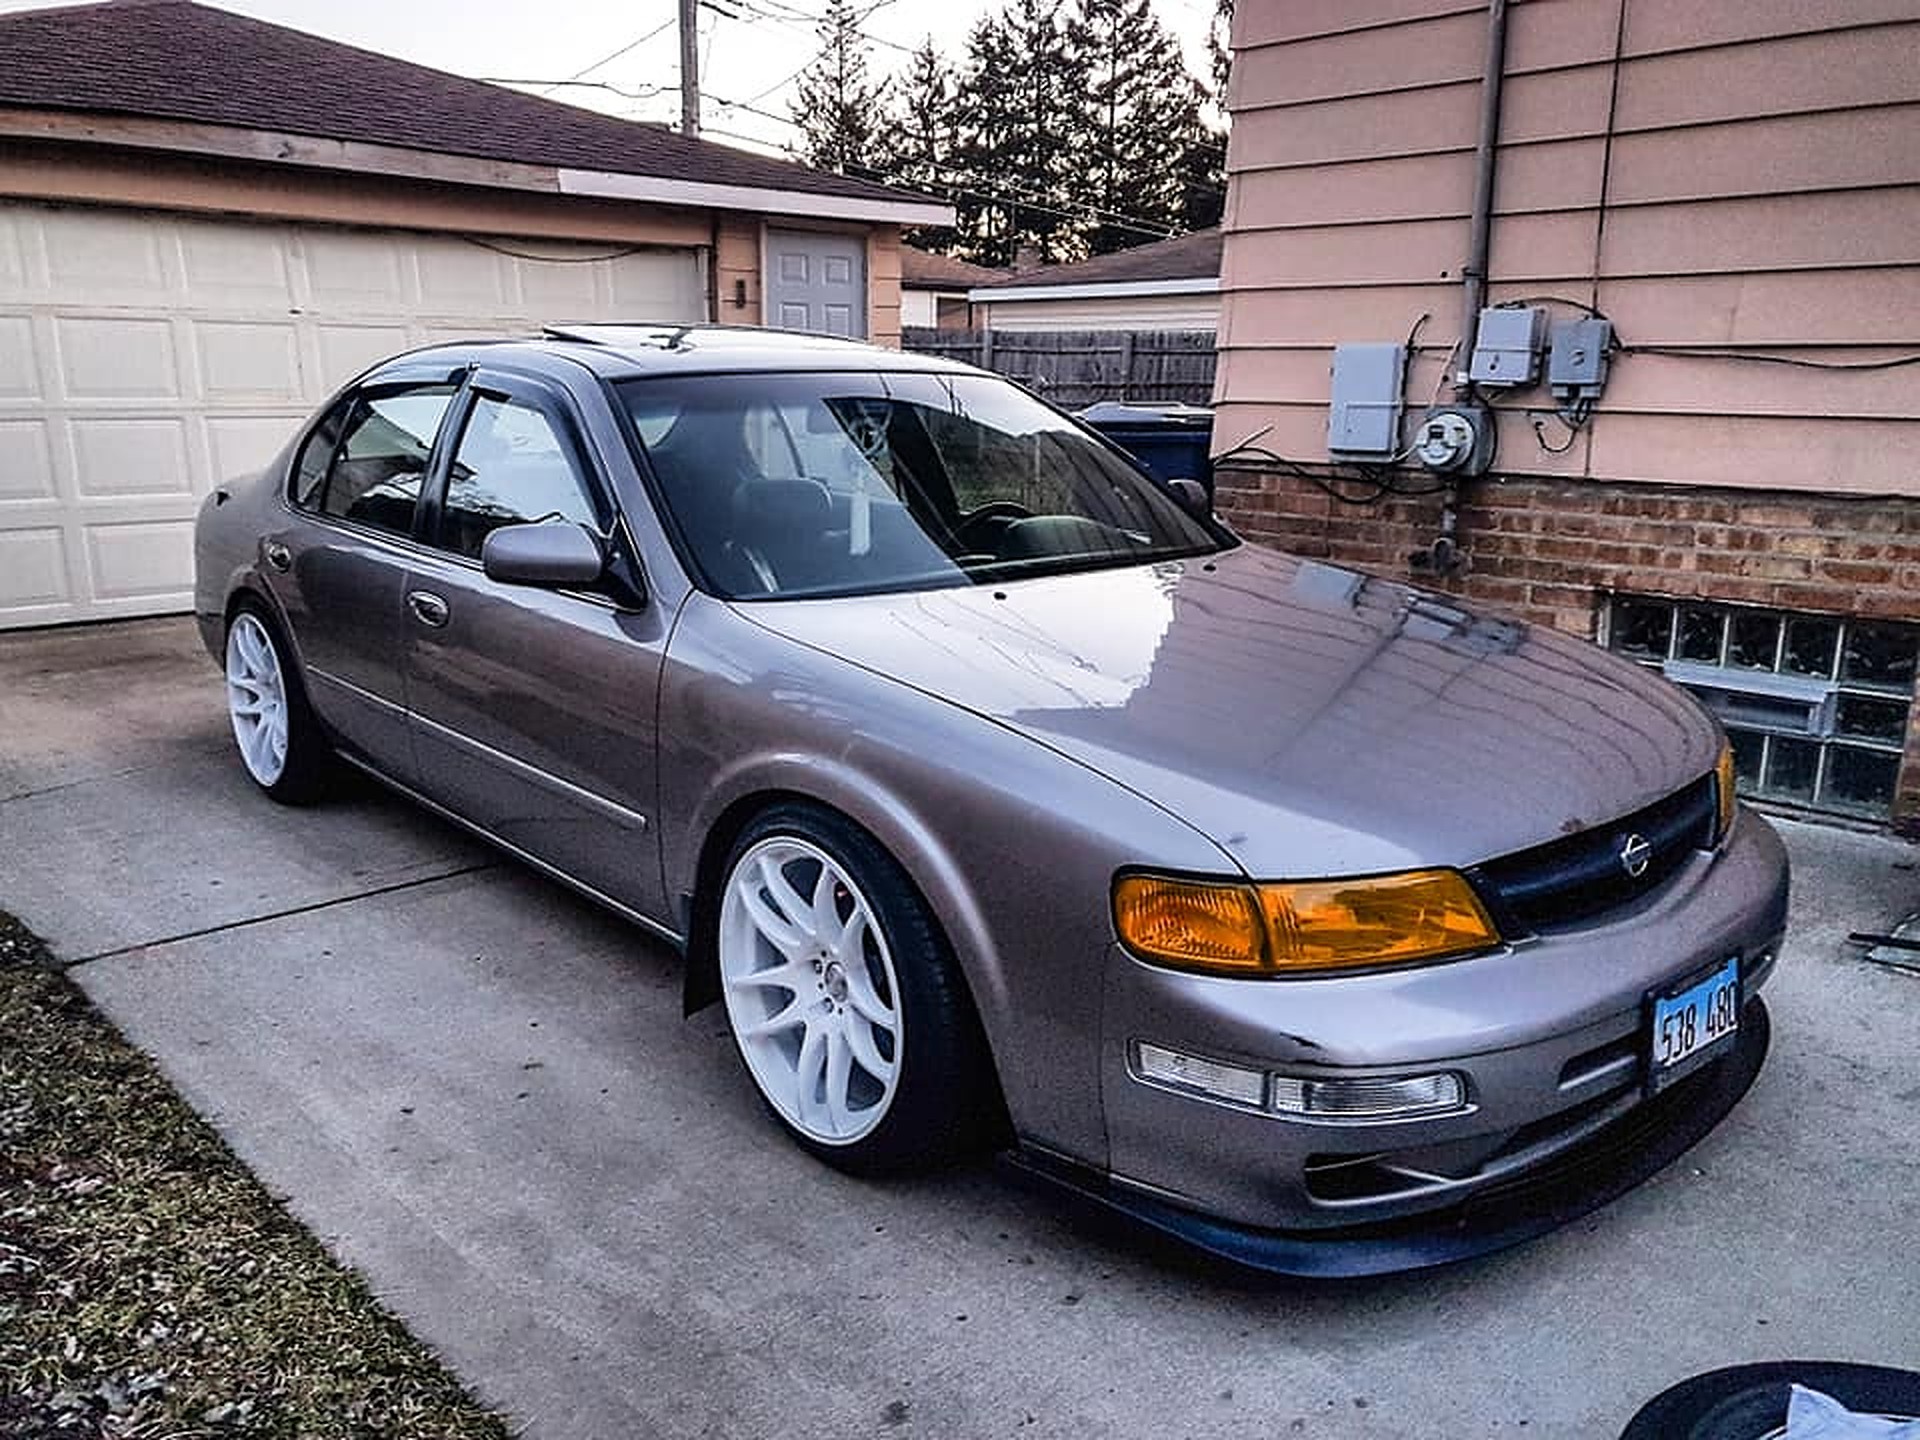
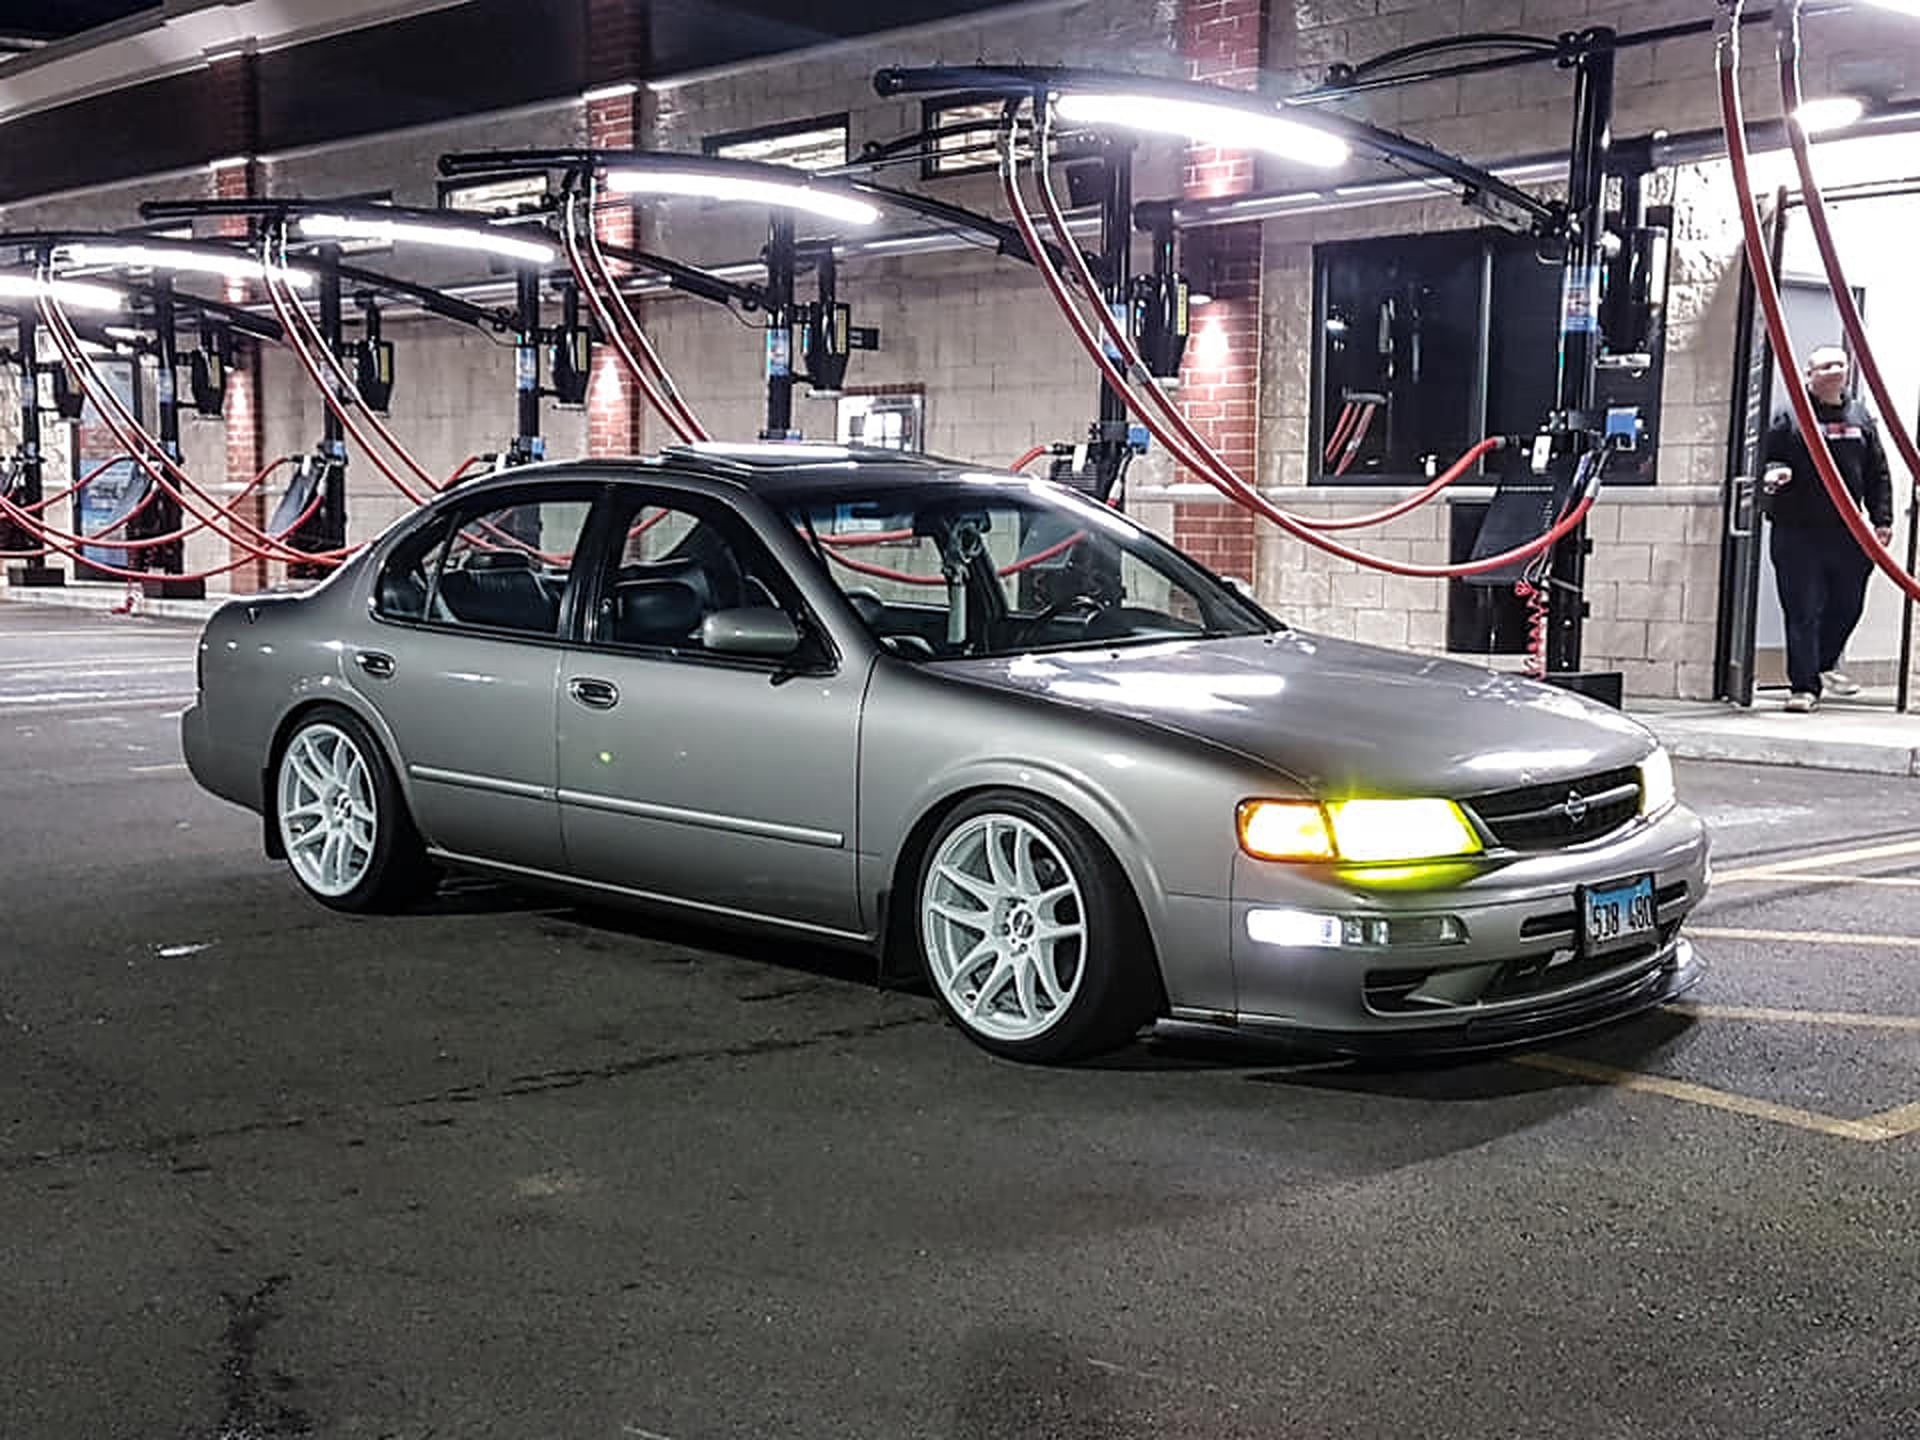
Owner: Ediberto R.
Year: 1999
Model: Maxima
Color: Tan
Transmission: 4-Speed Automatic
Trim: GLE
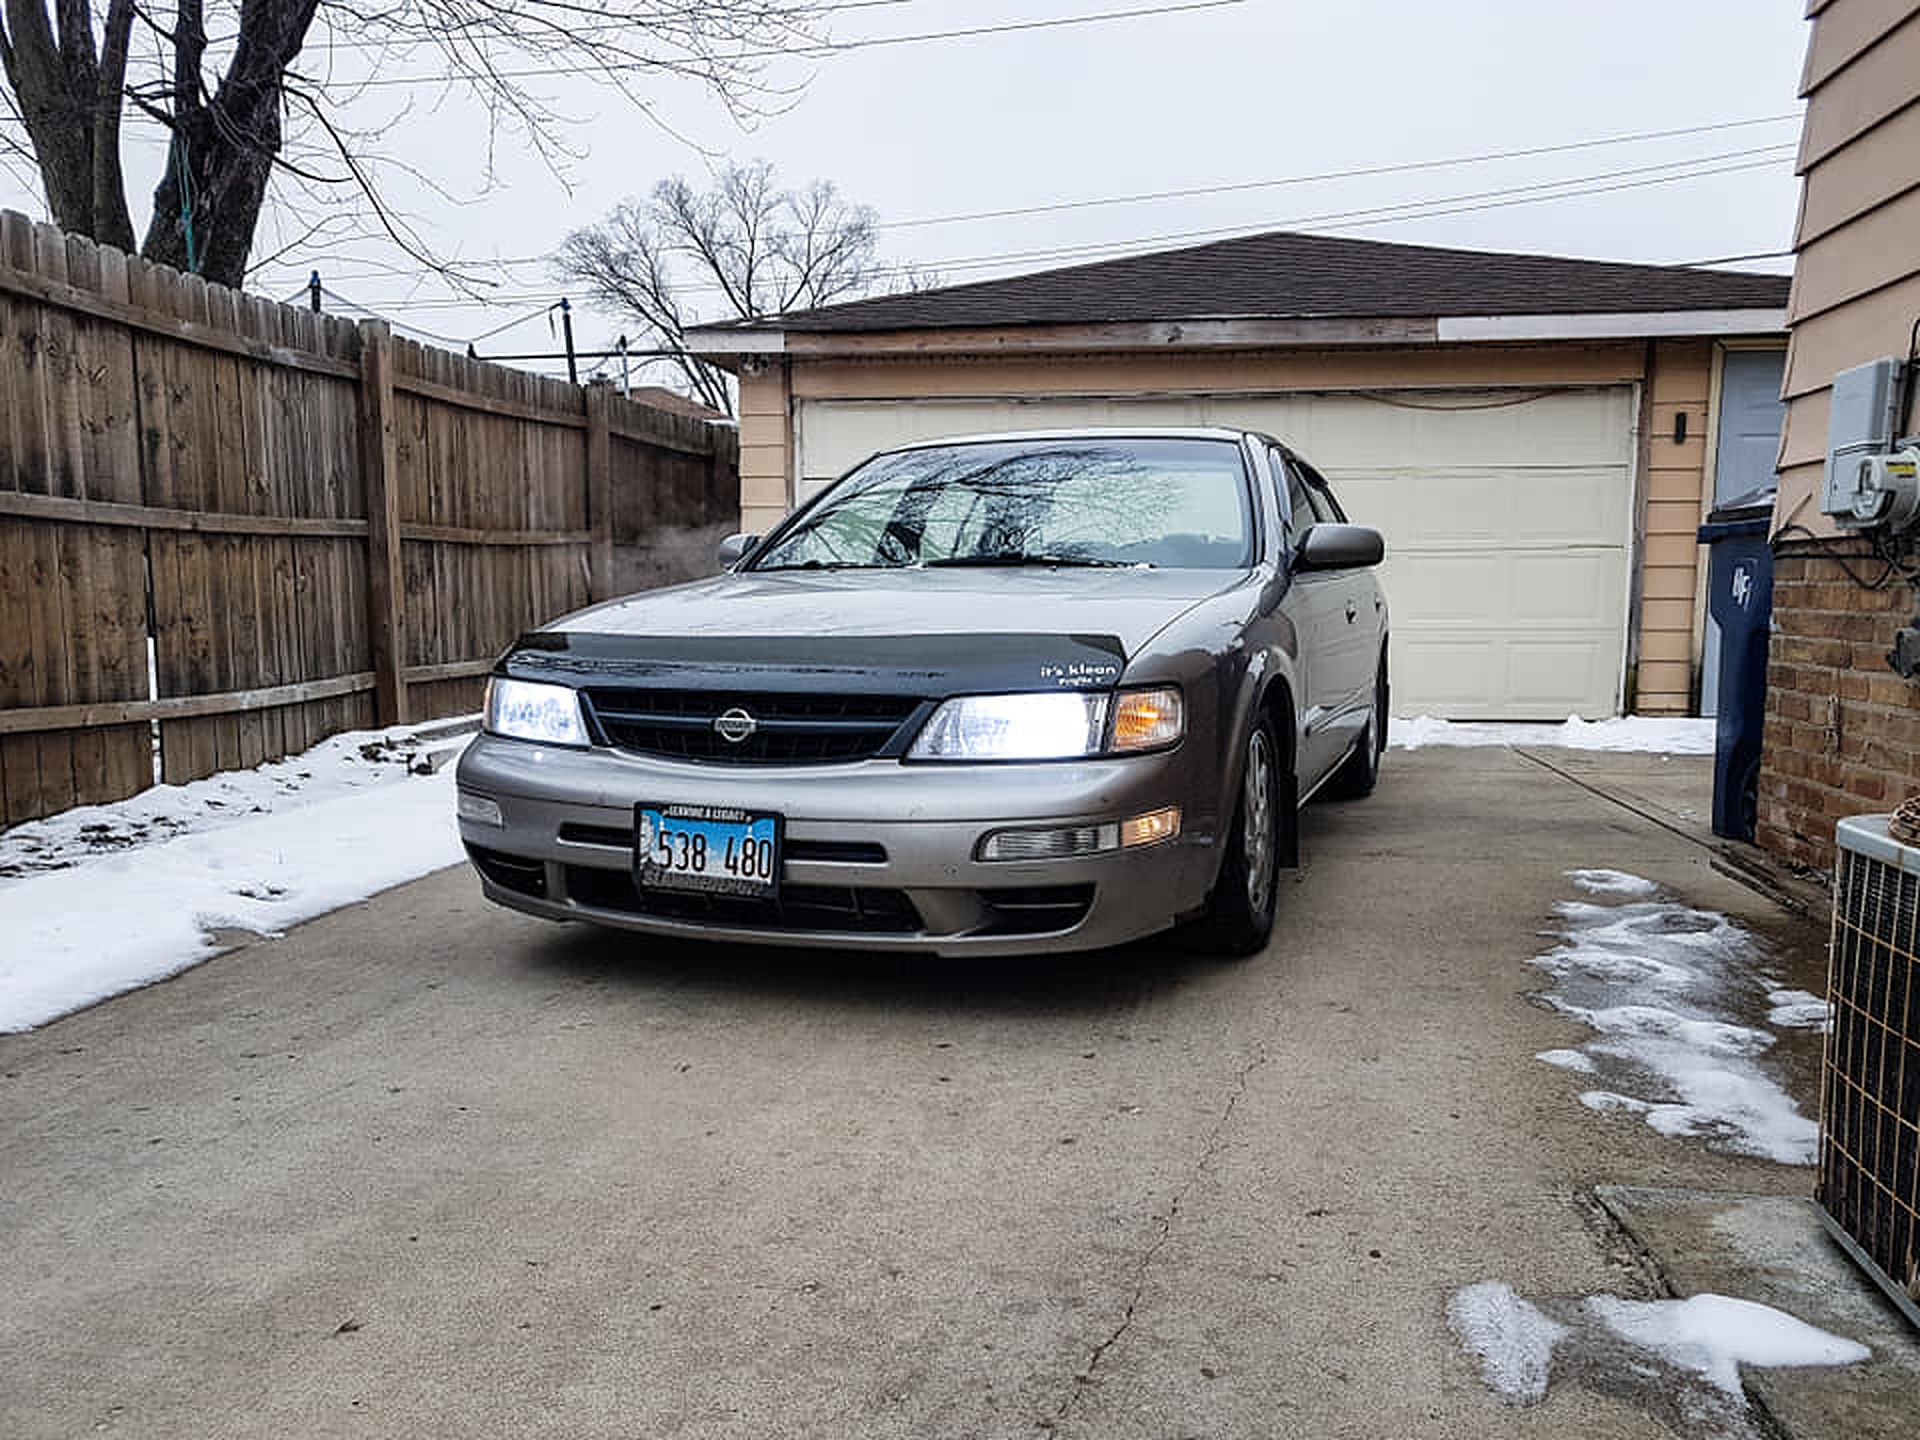
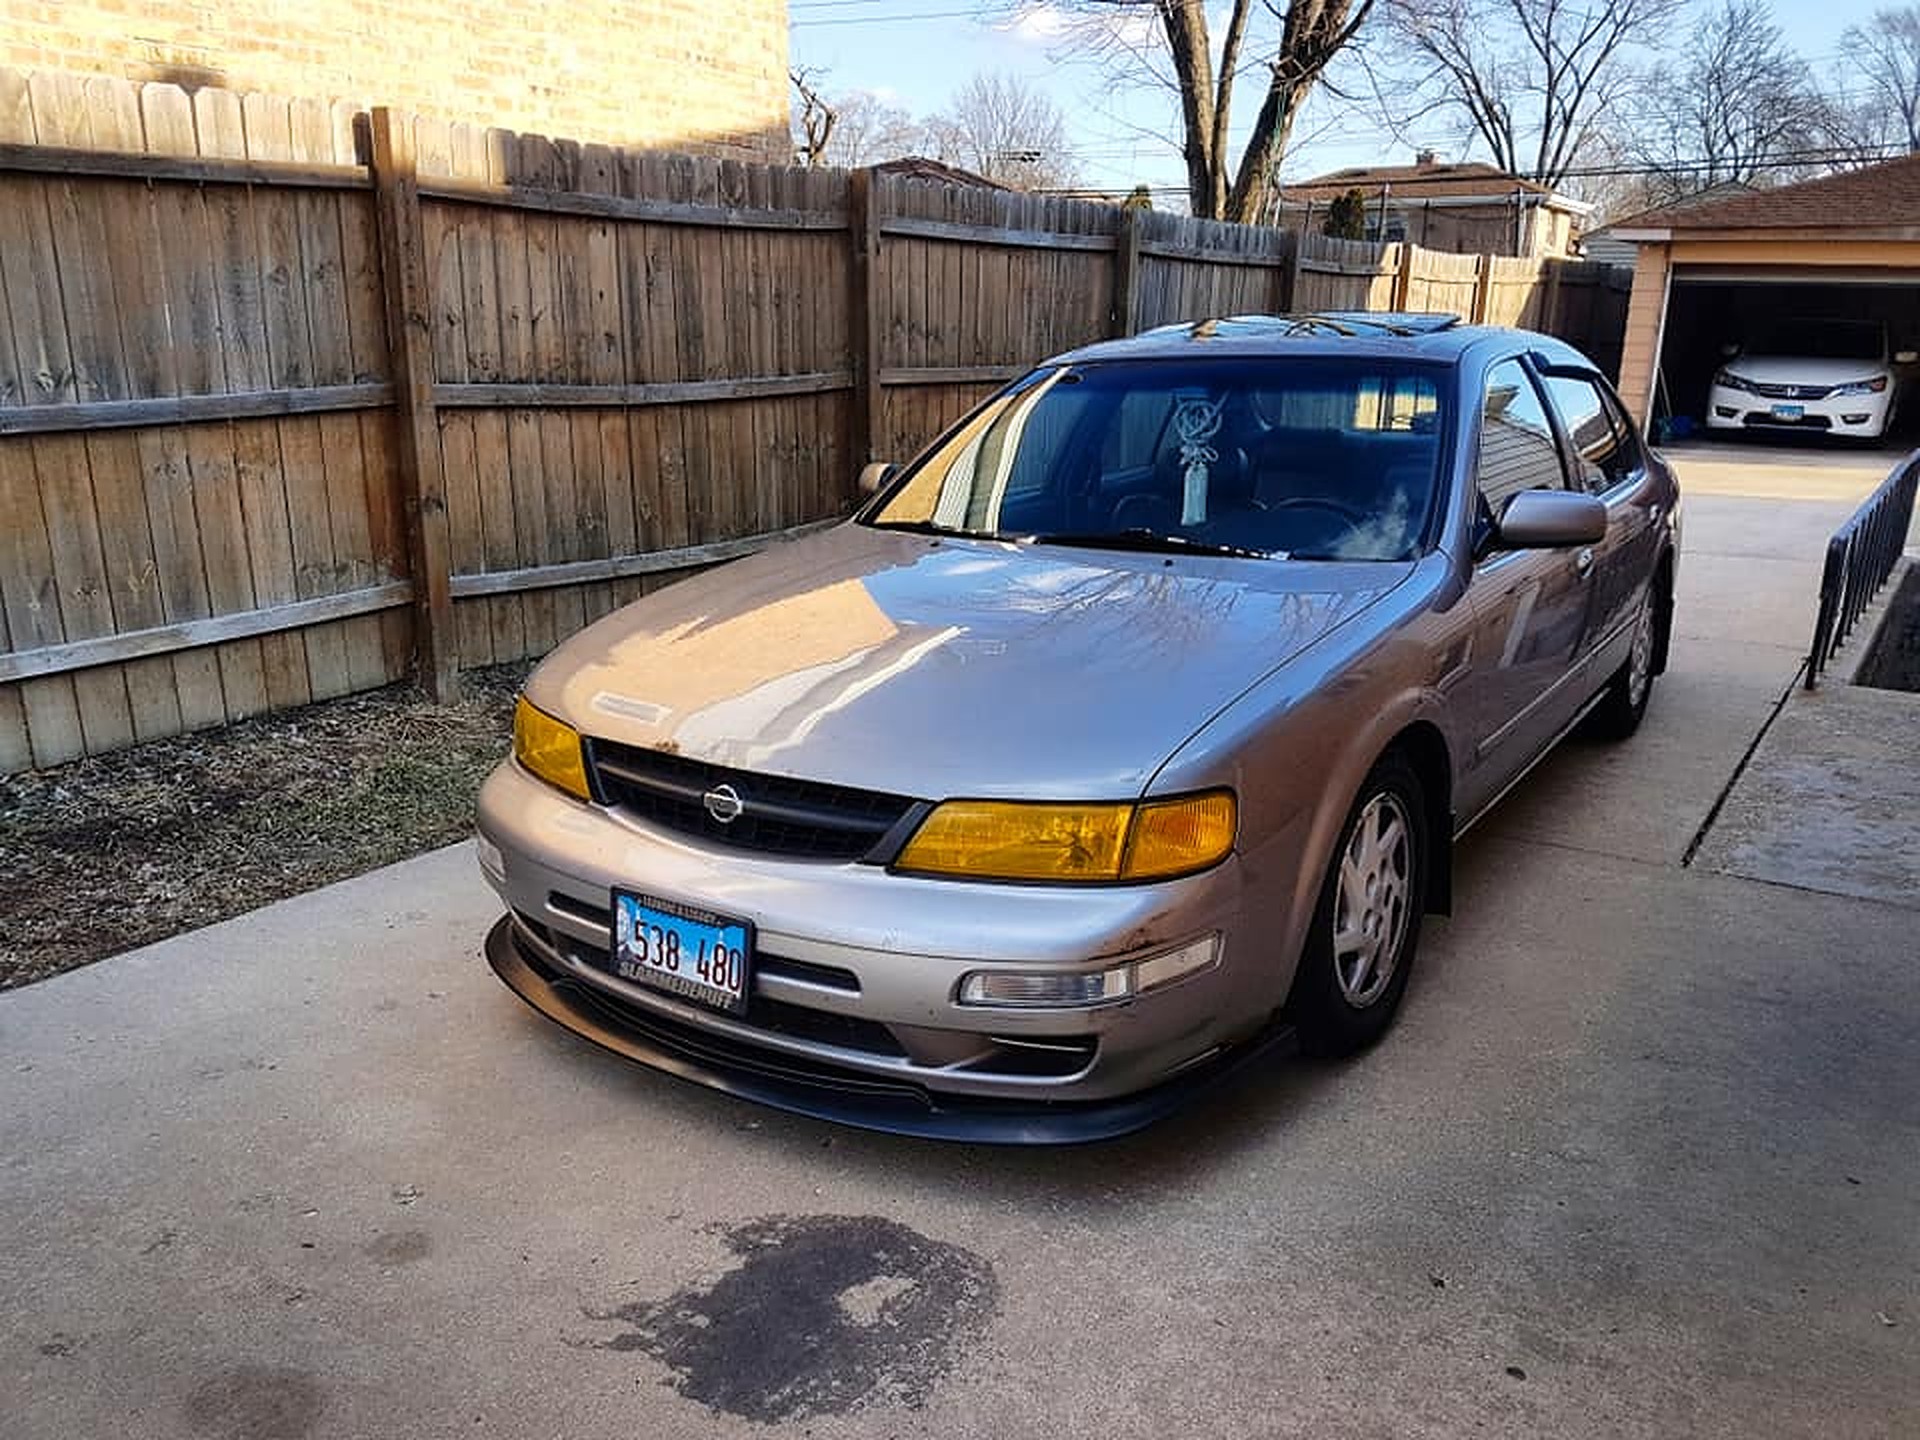
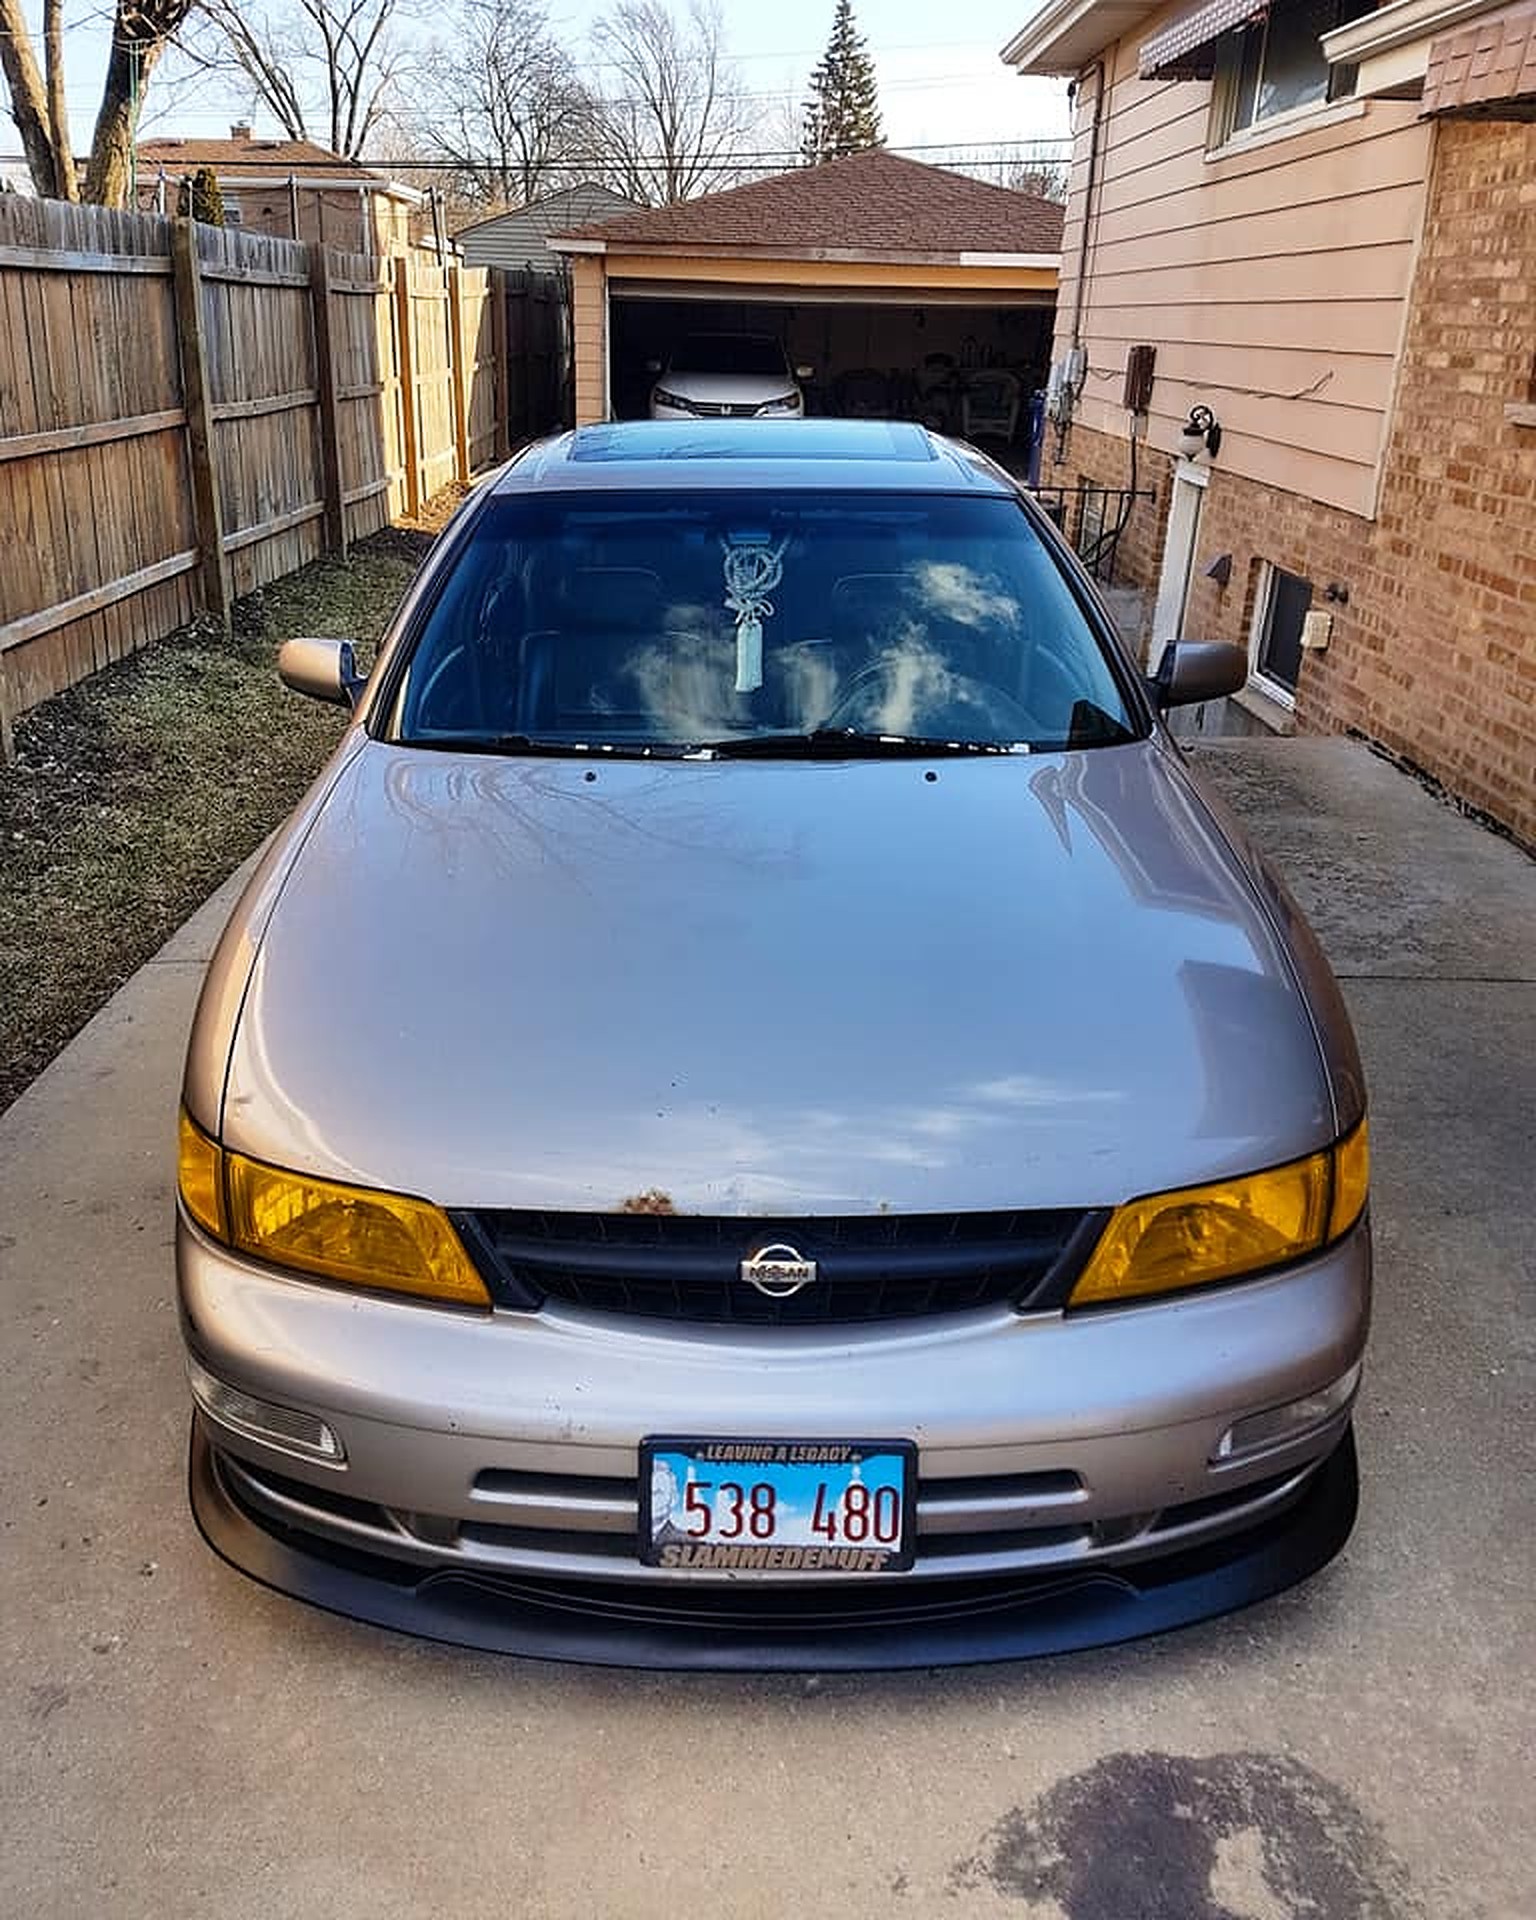
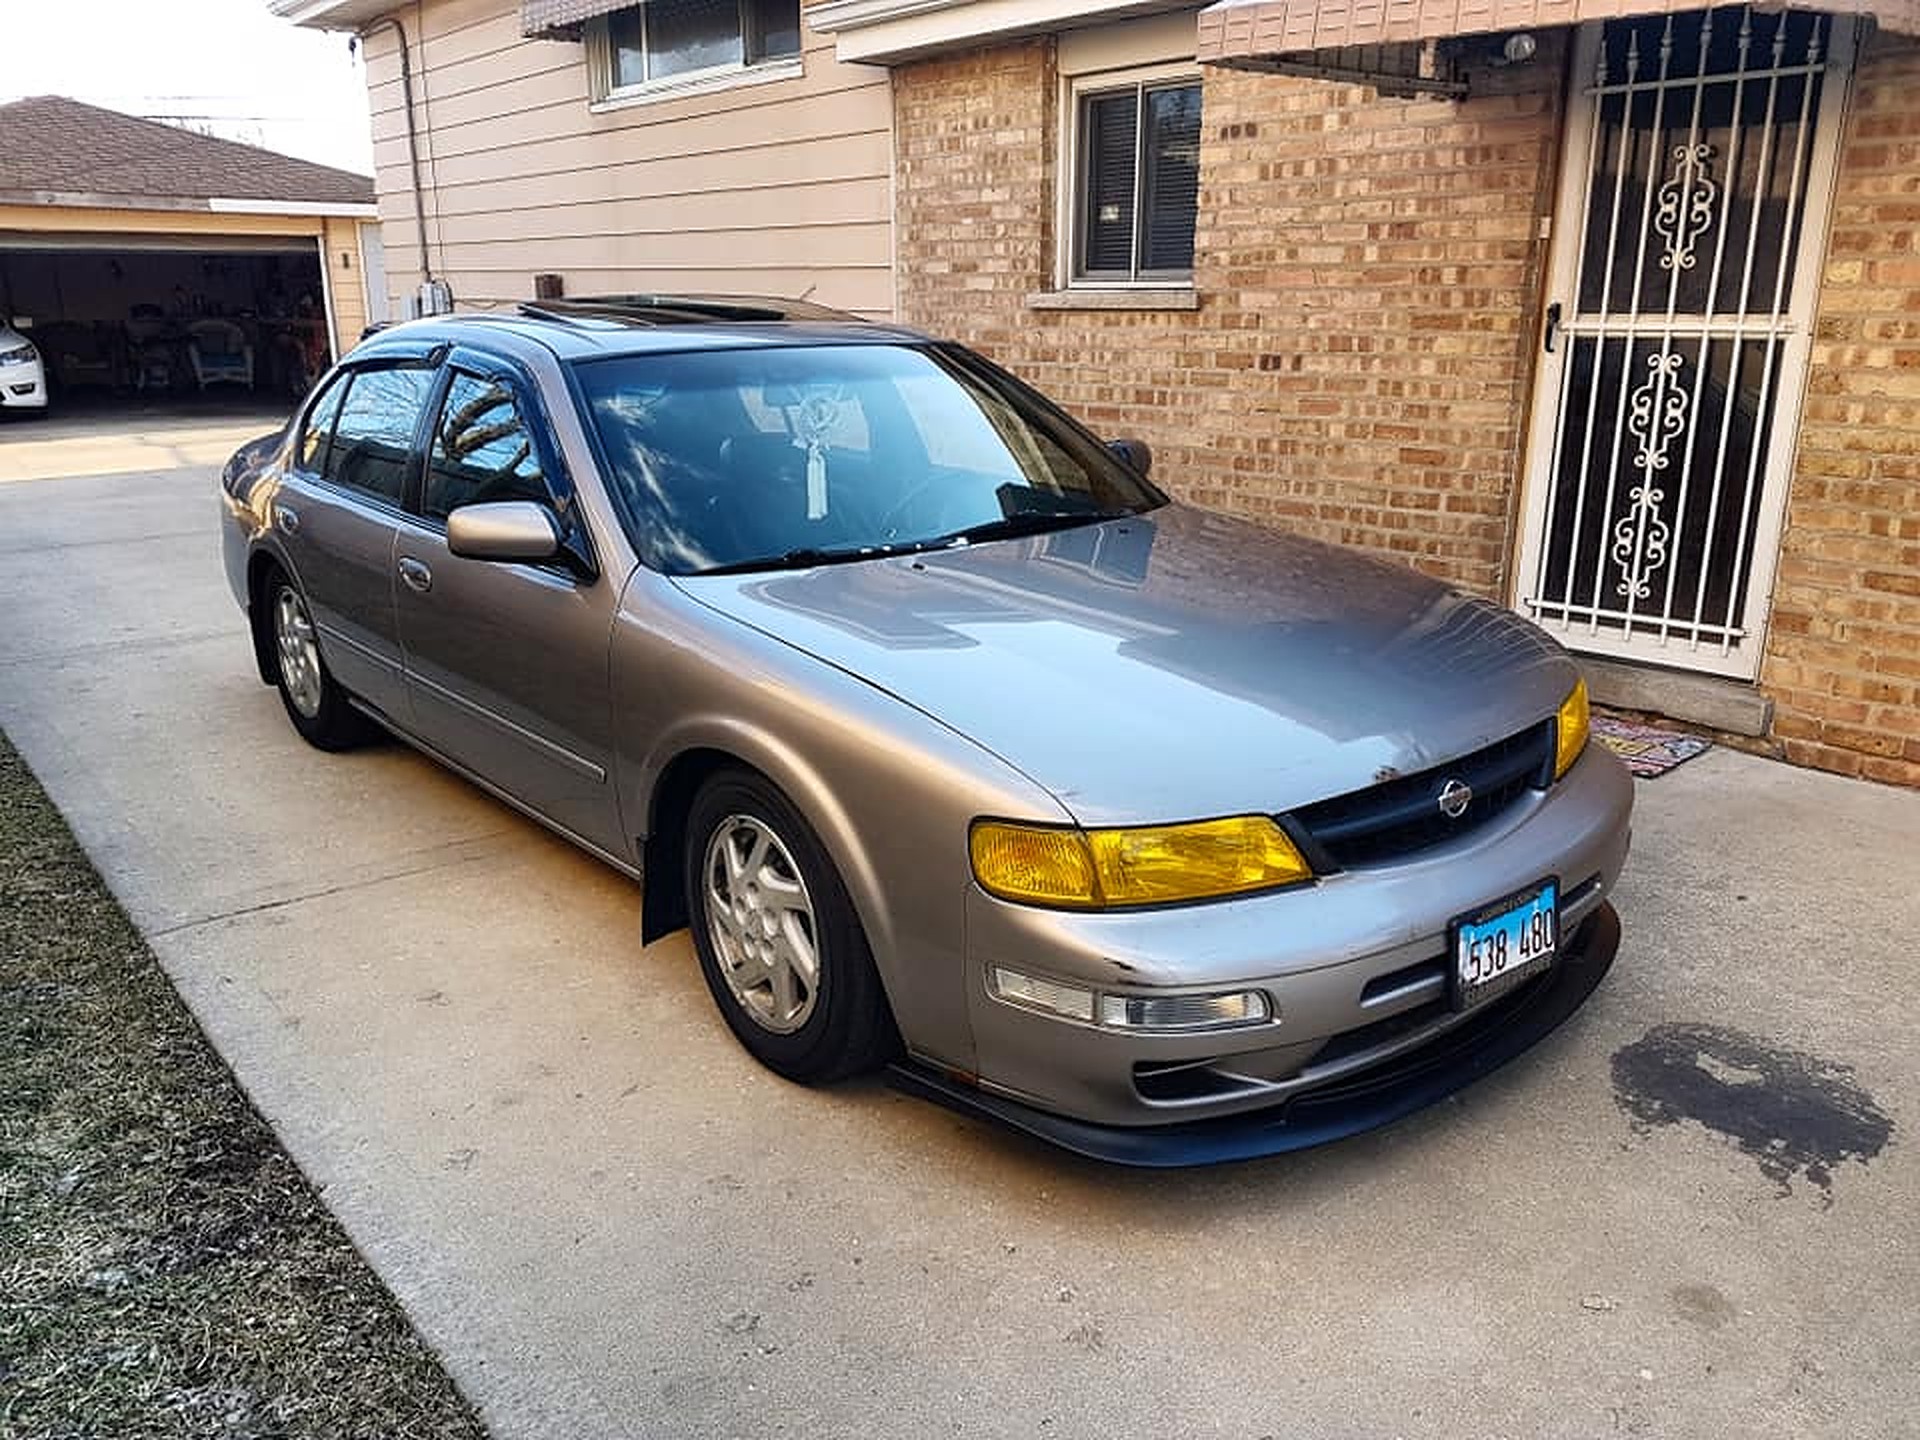

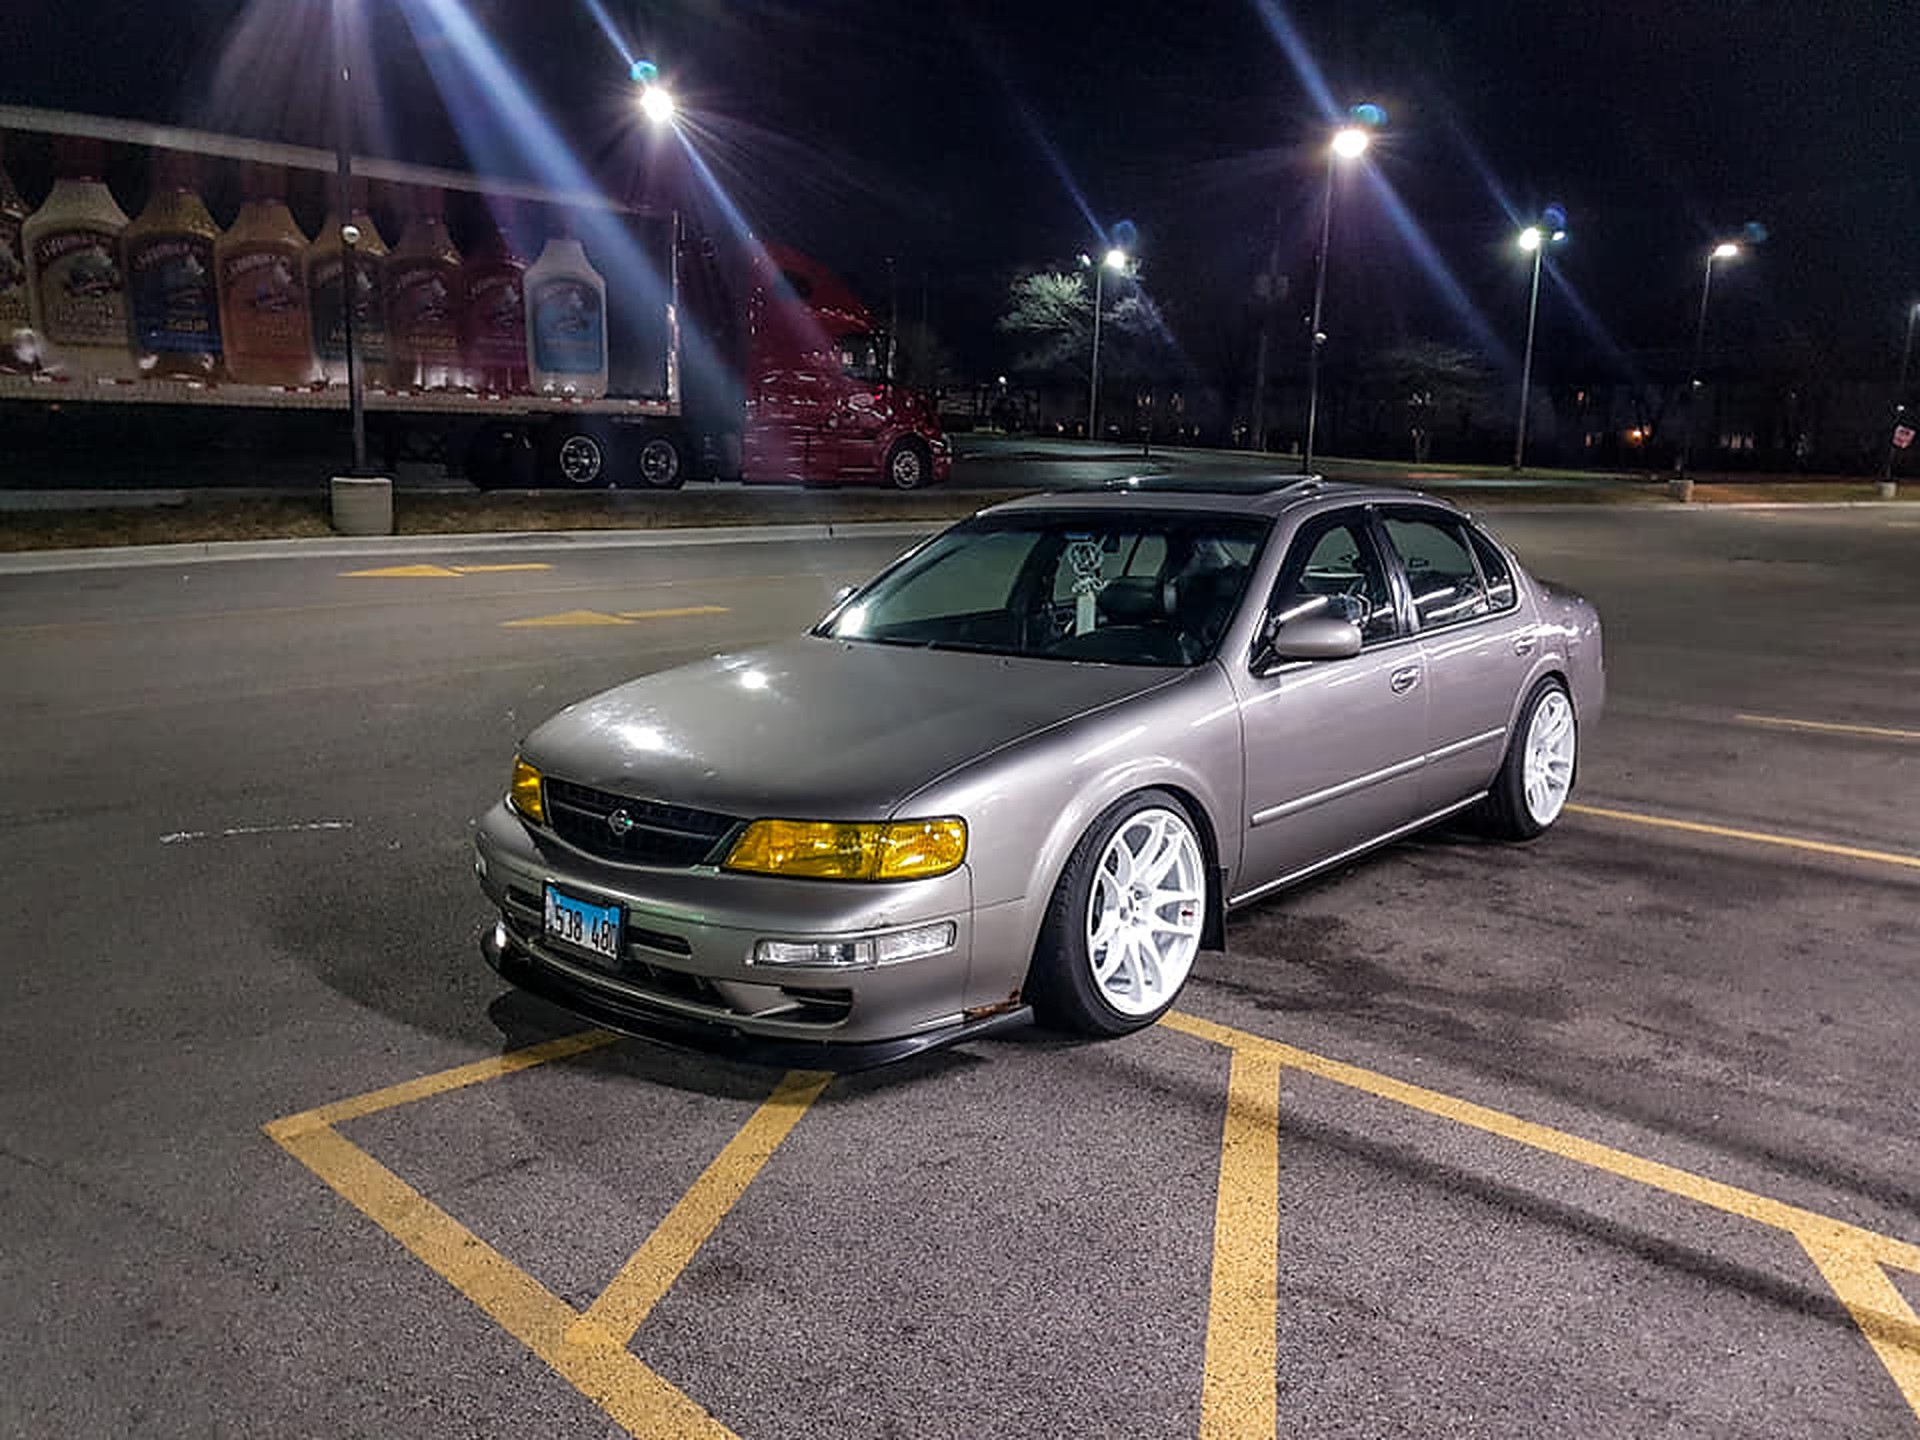
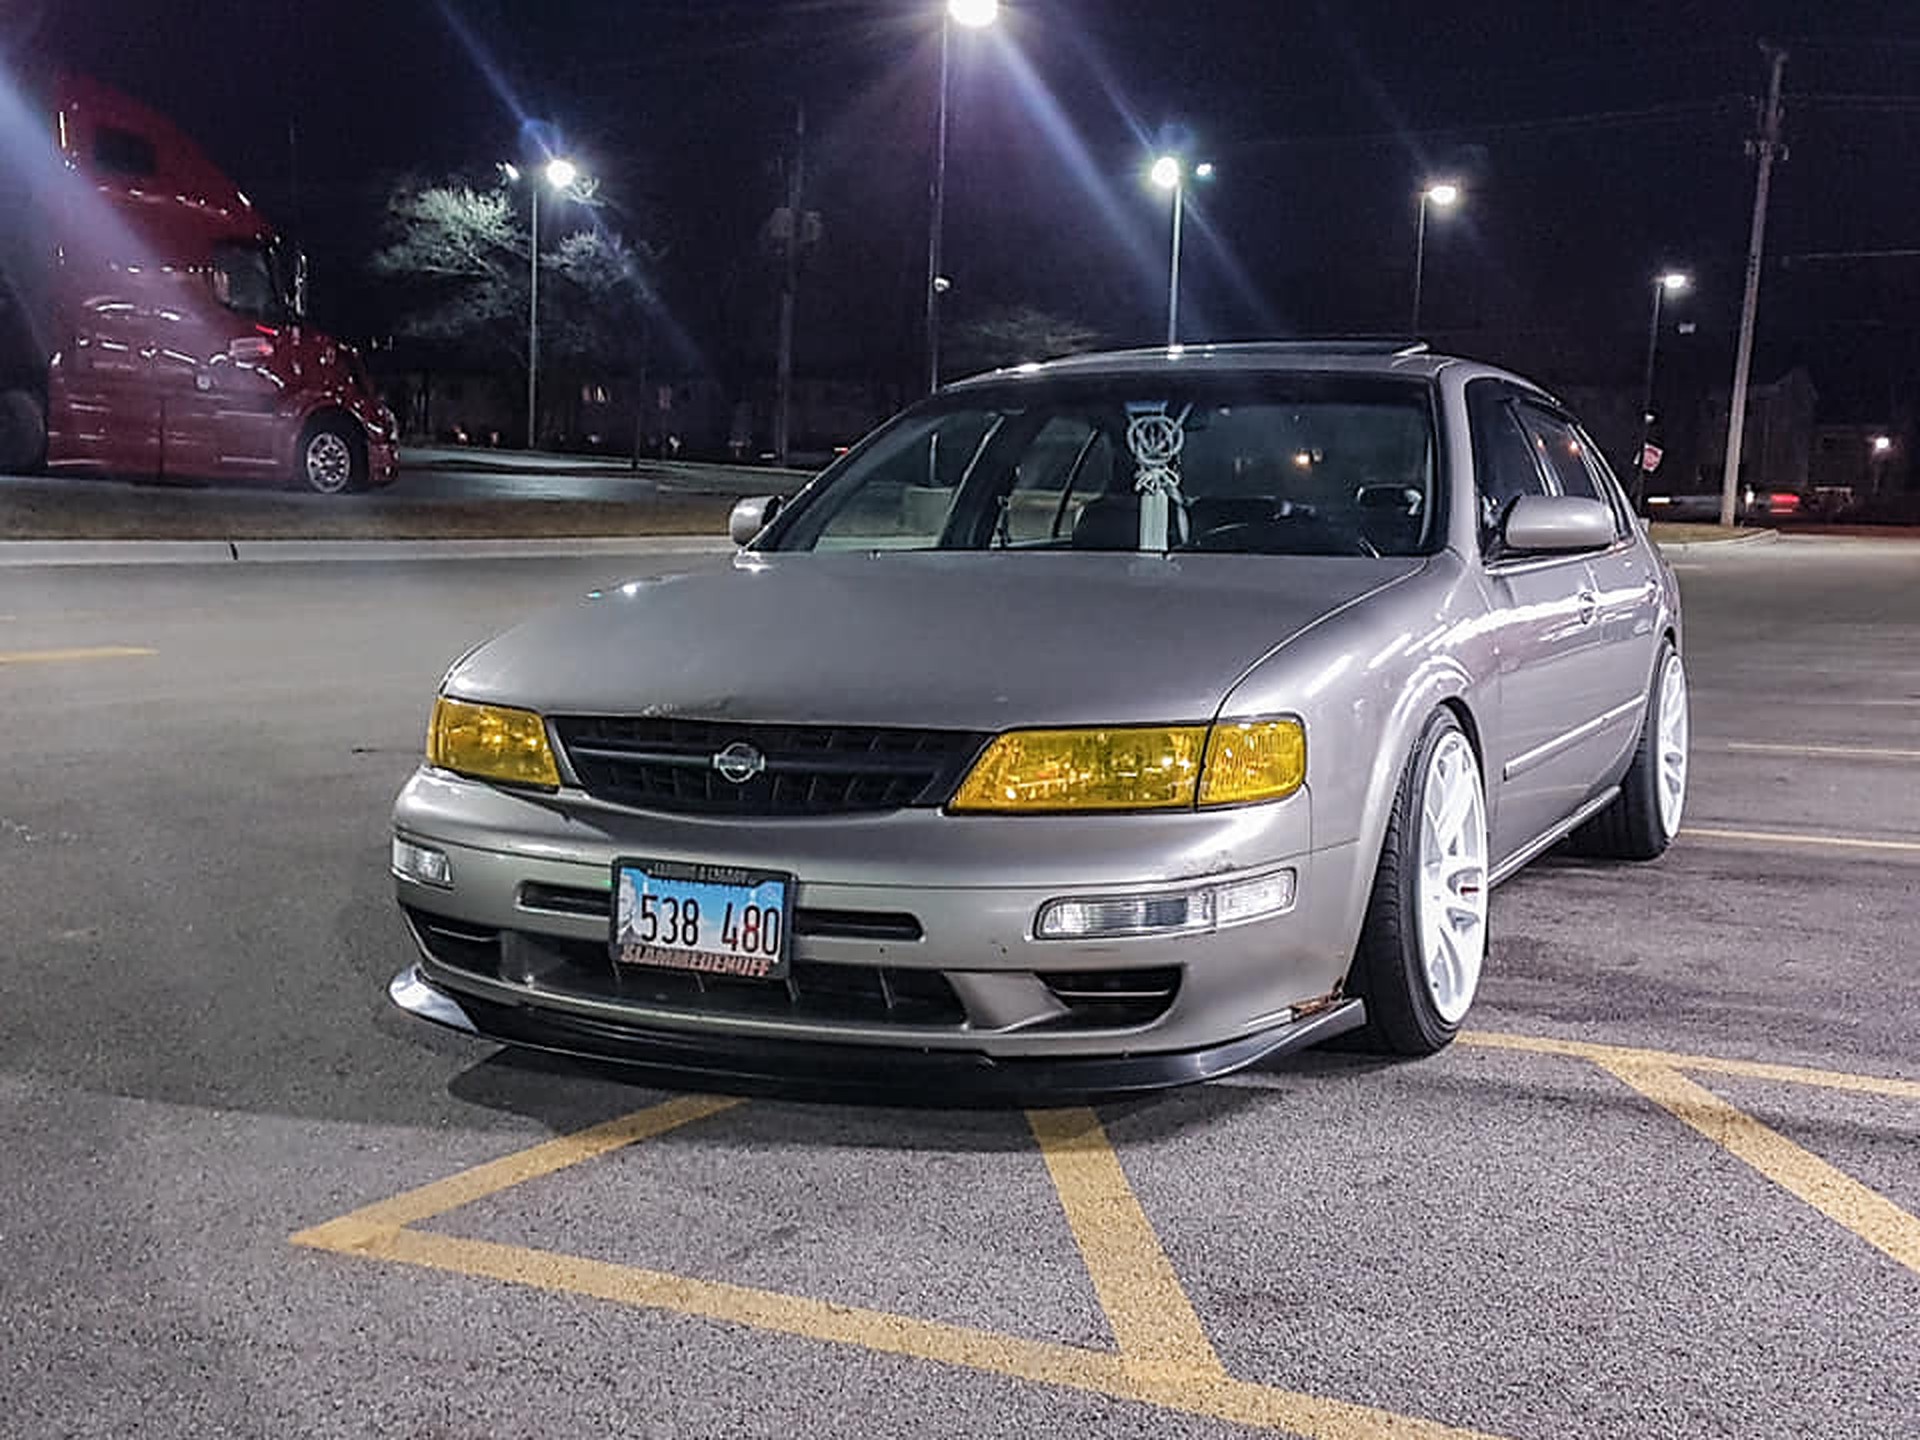
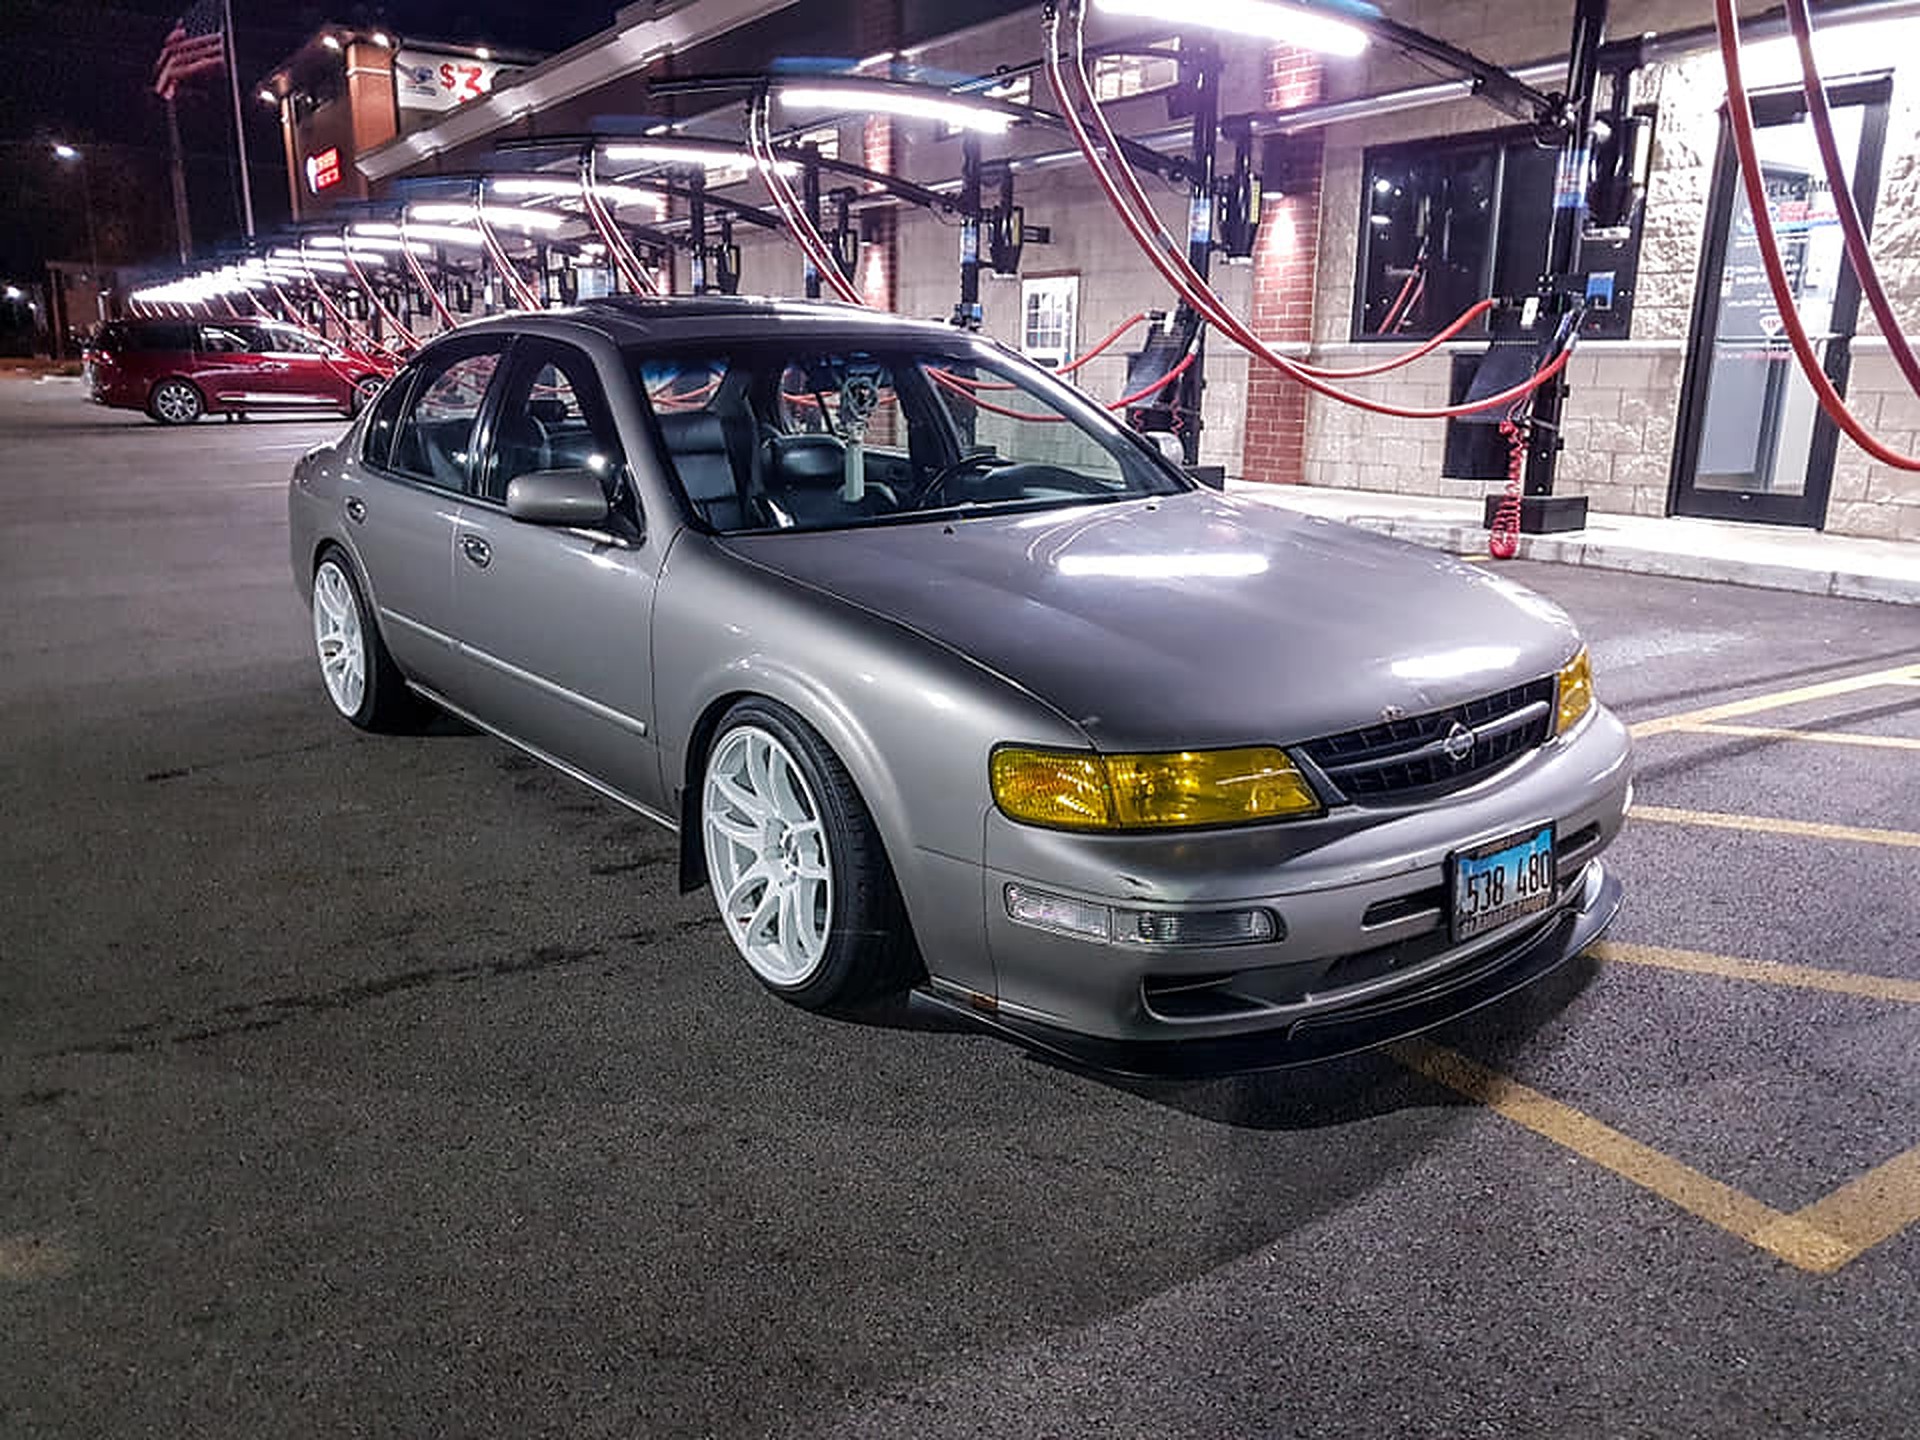



Owner: Ediberto R.
Year: 1999
Model: Maxima
Color: Tan
Transmission: 4-Speed Automatic
Trim: GLE
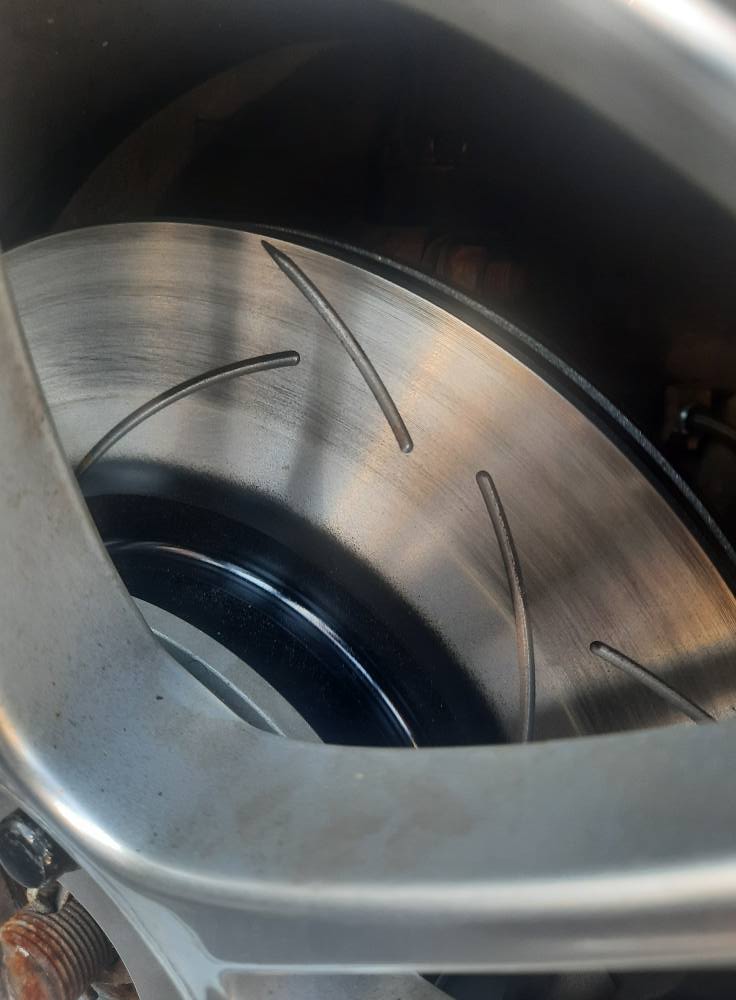
Credit: Tom Perdue
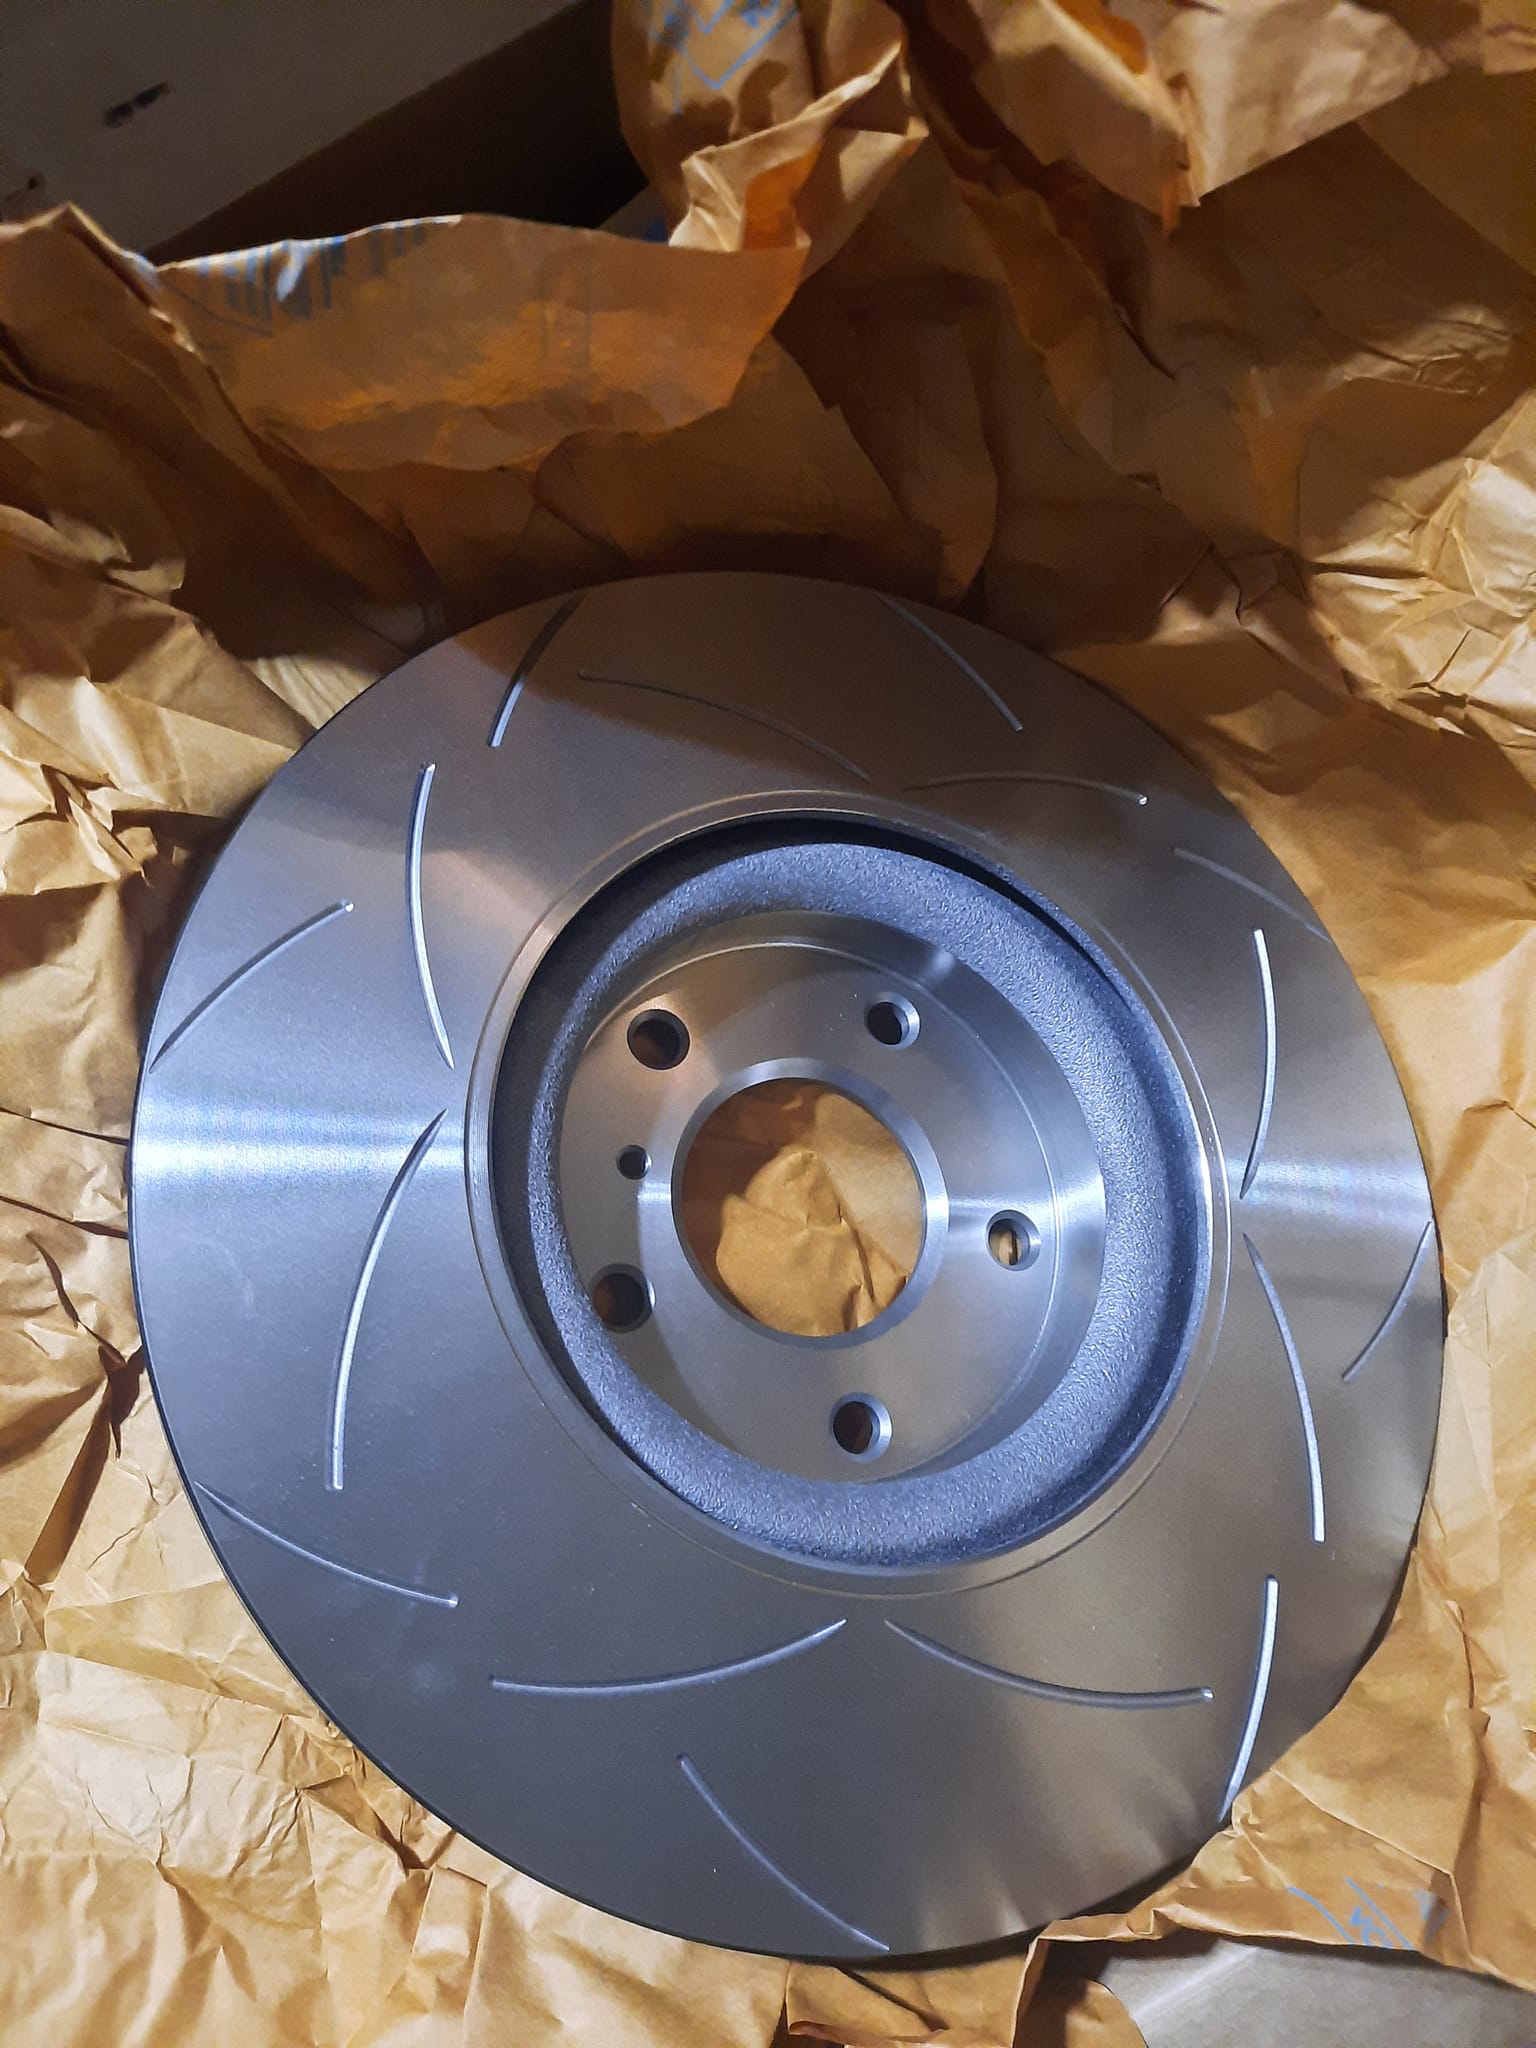
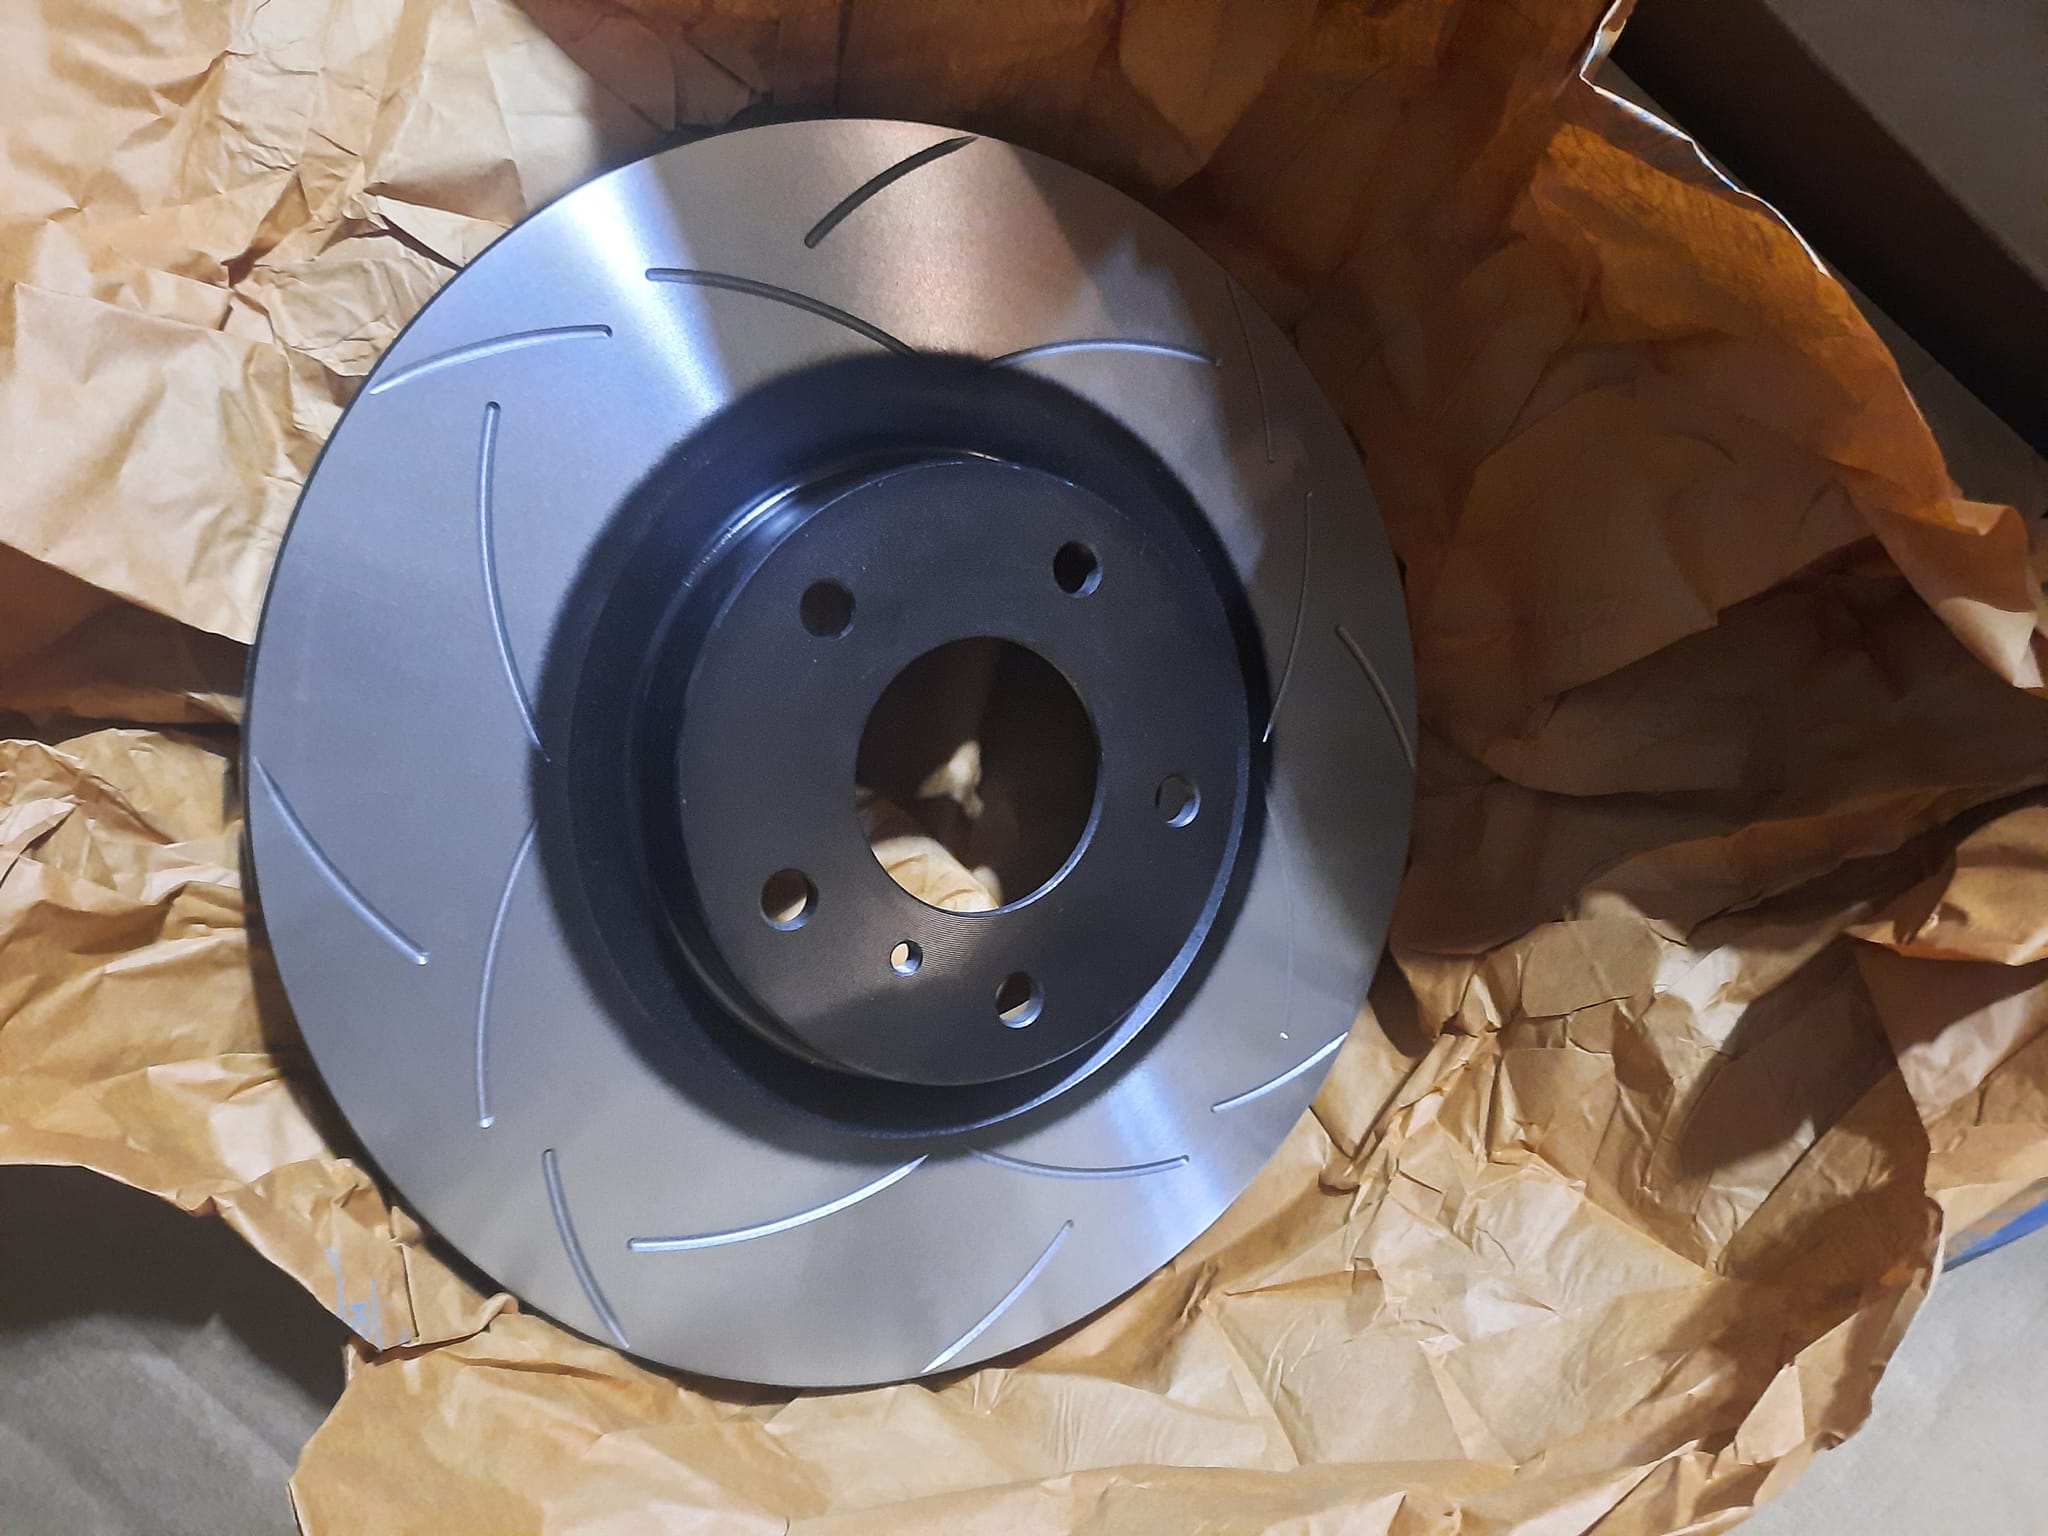
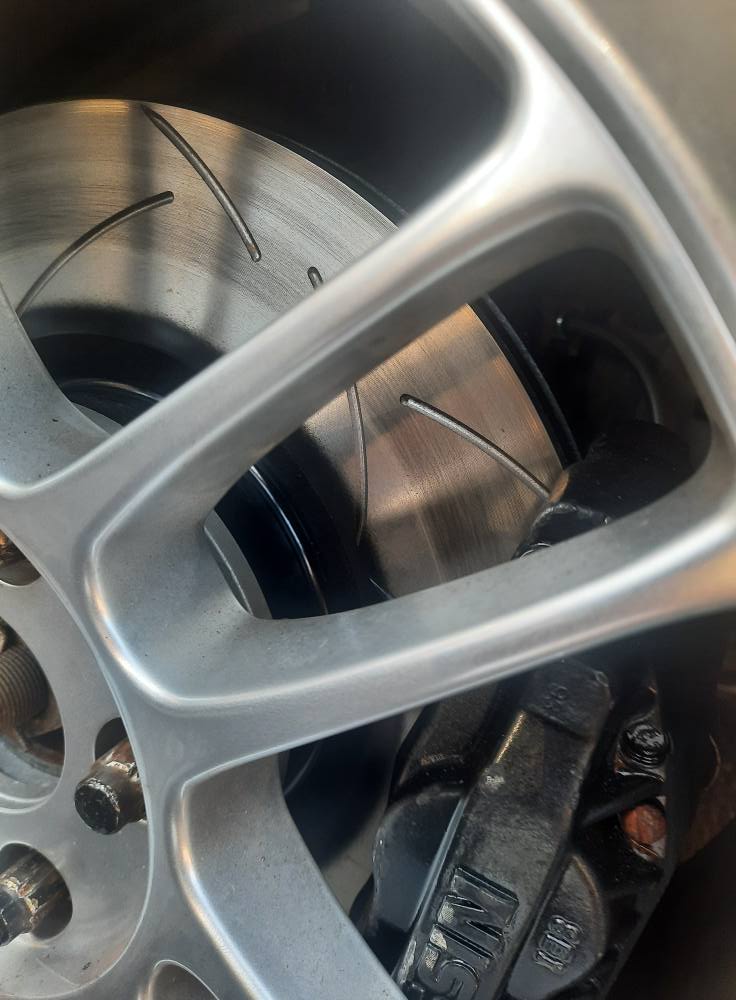
Installed Z32 calipers with G35 drilled/slotted rotors — required an 8mm spacer for proper fitment.
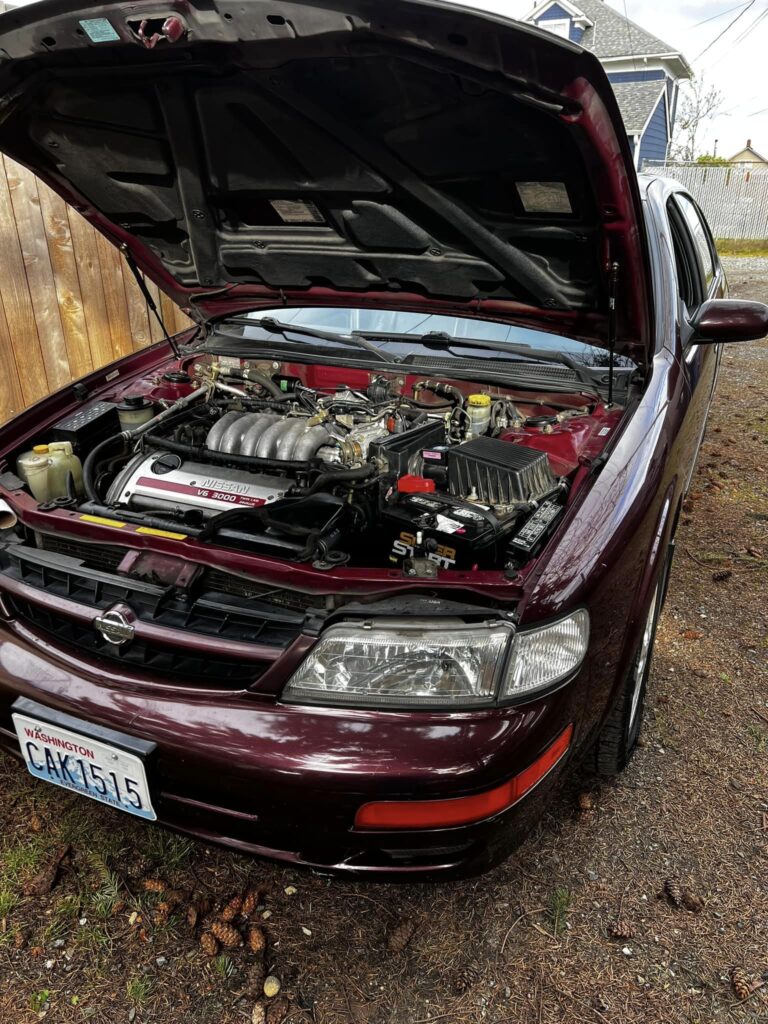
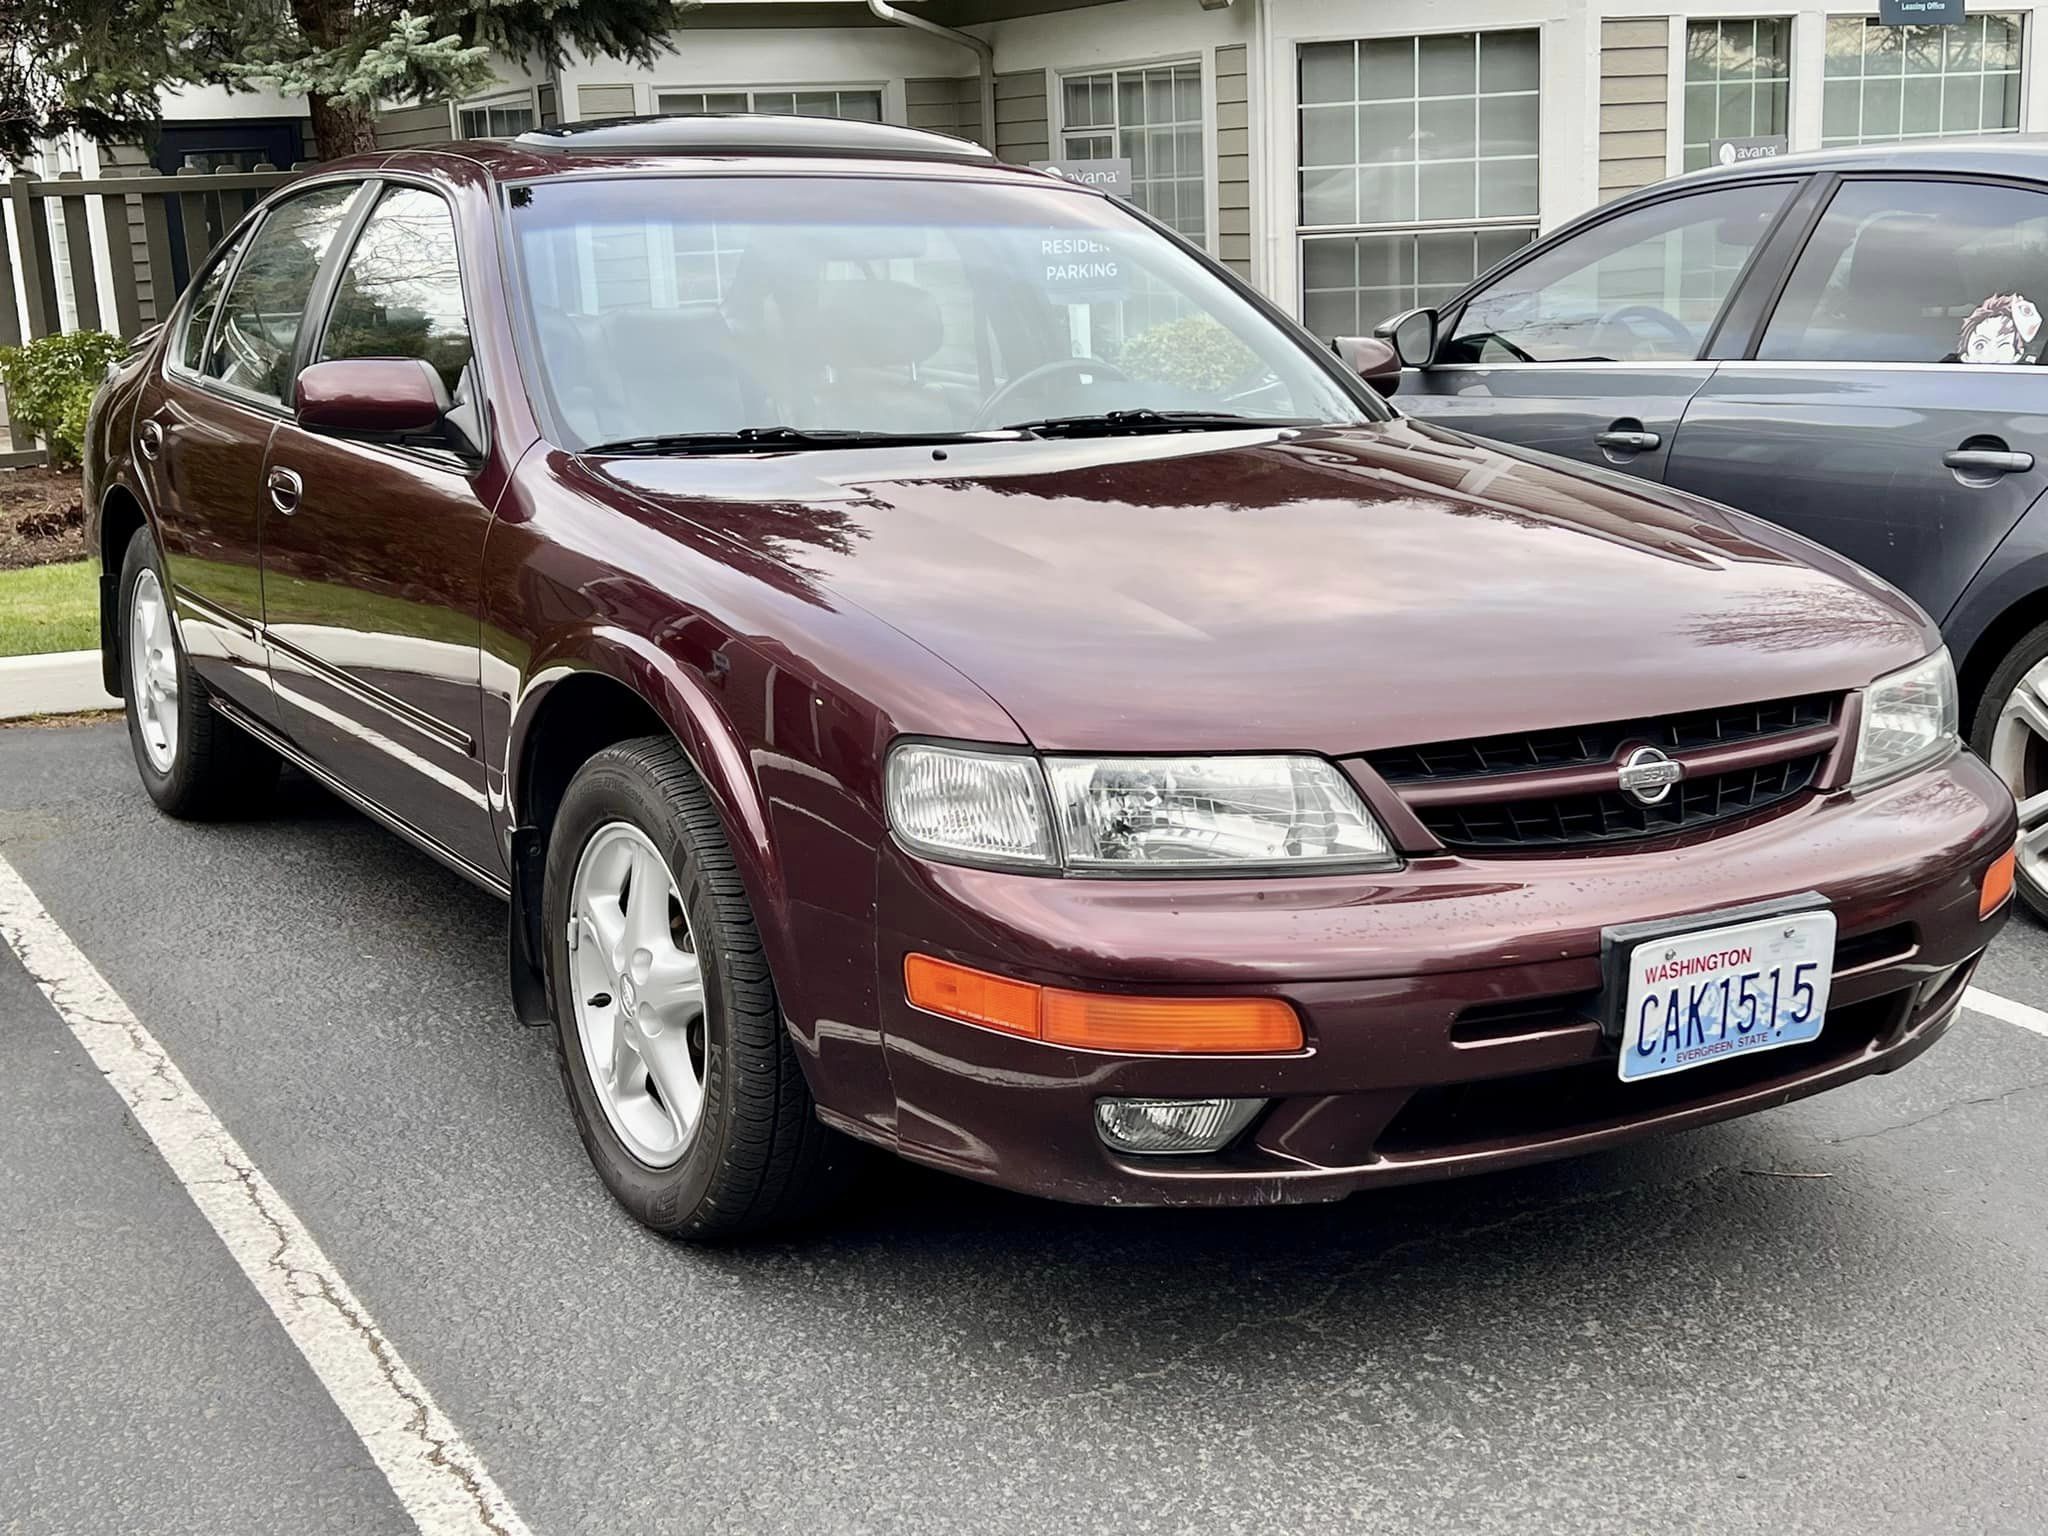
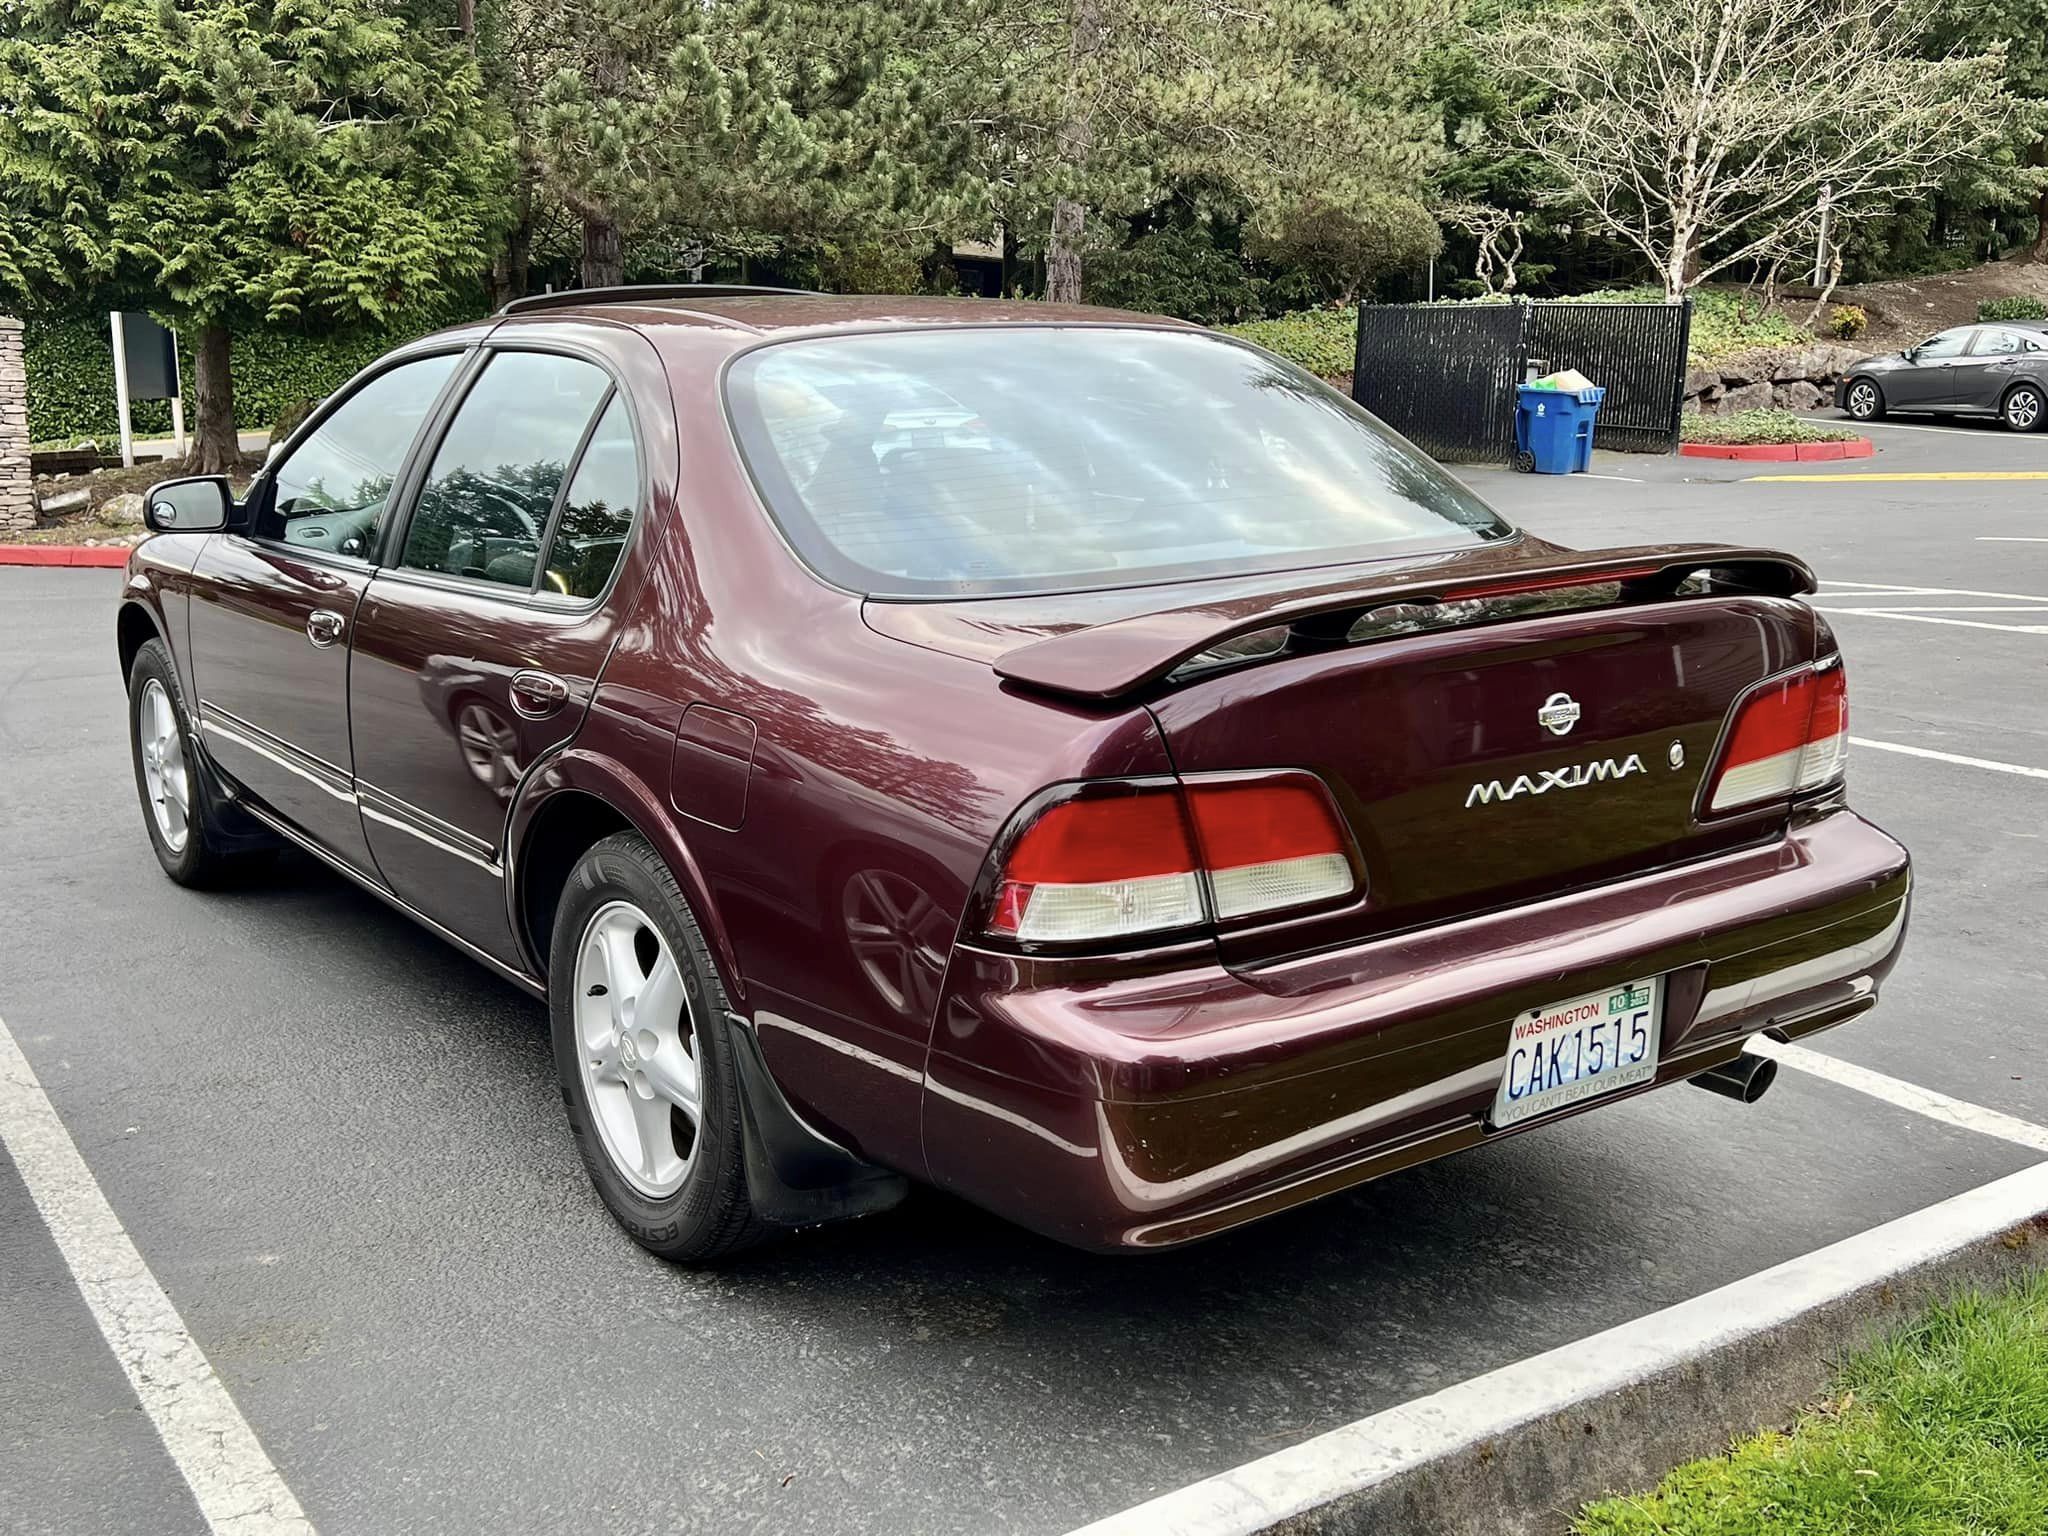
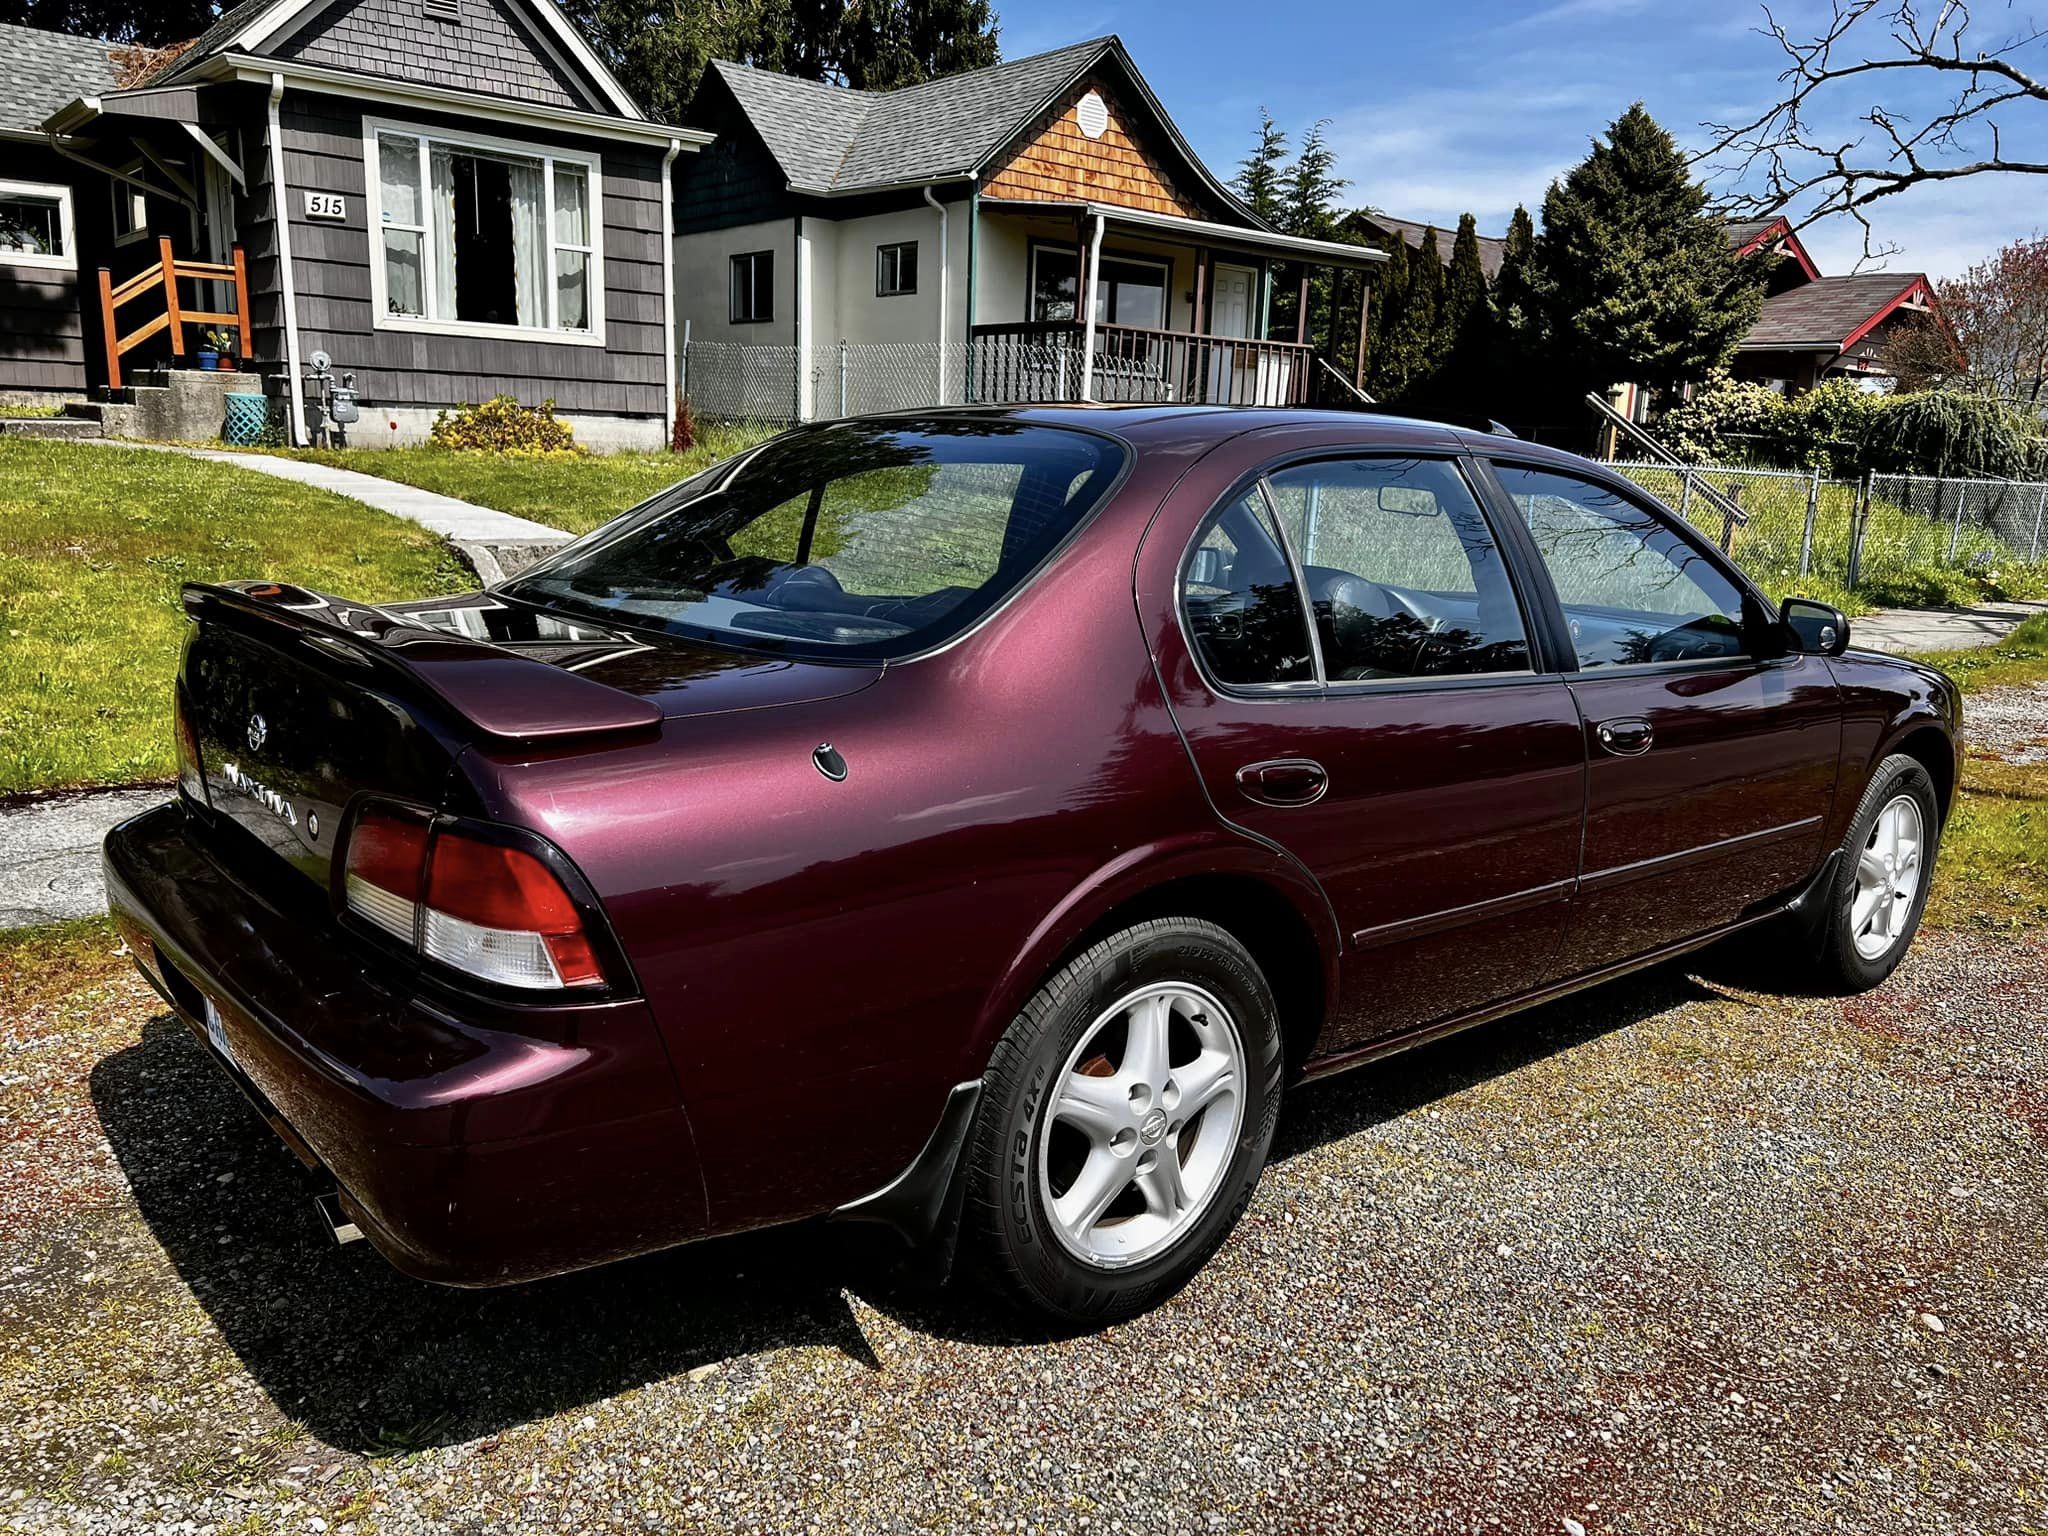
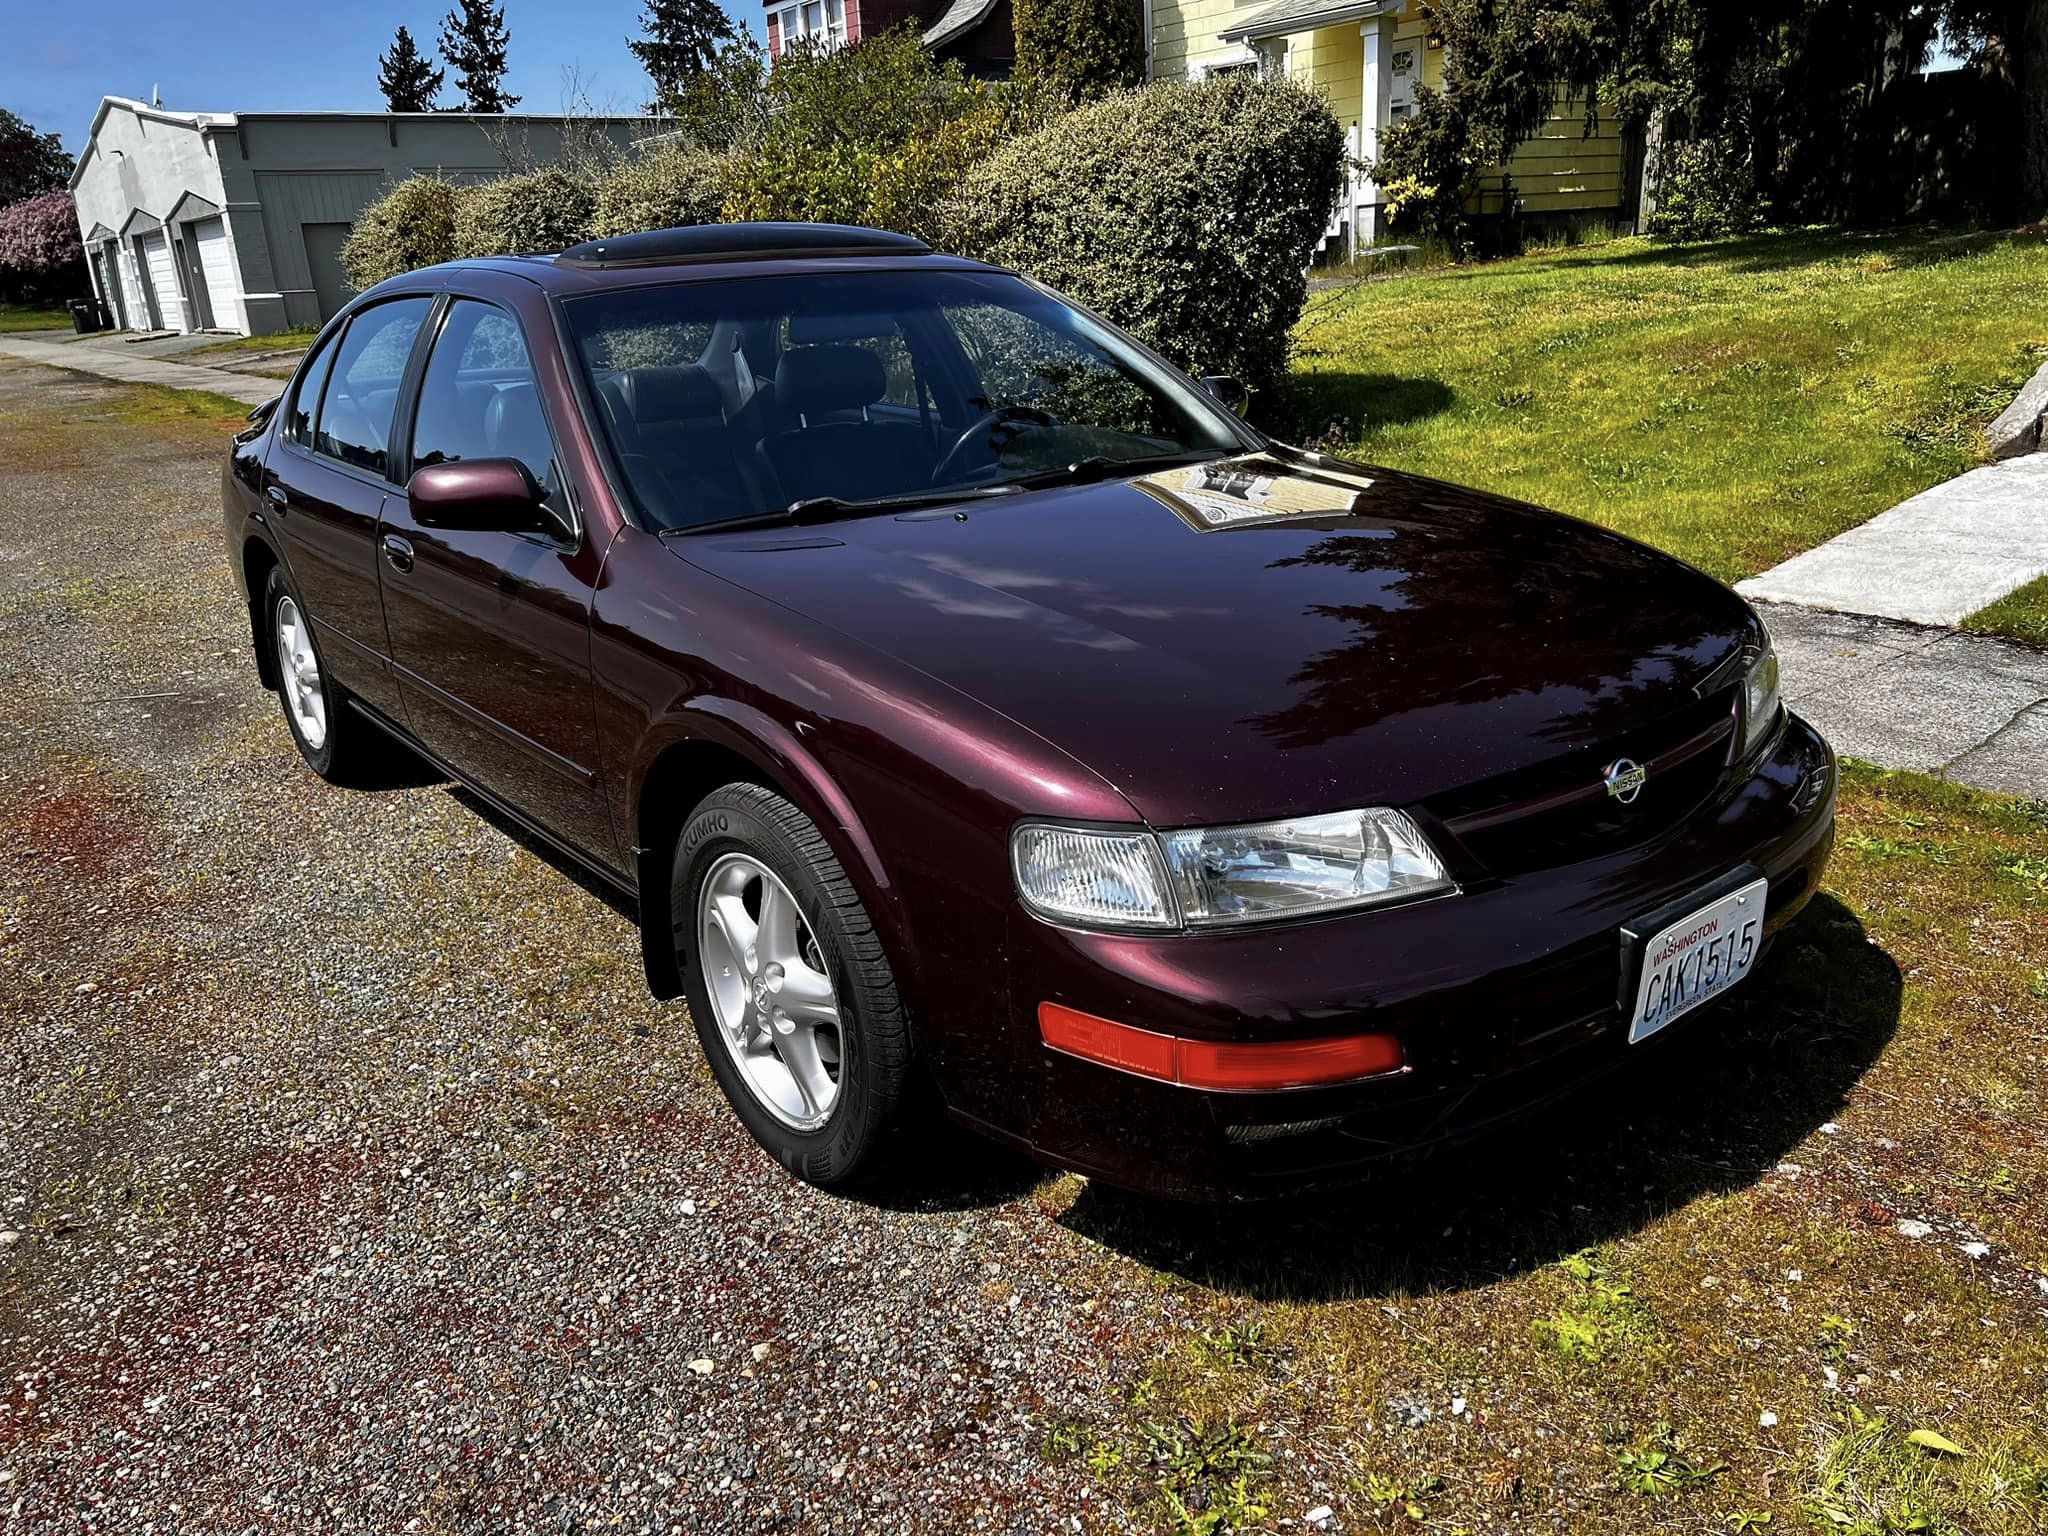
Owner: Jeff H.
Year: 1997
Model: Maxima
Color: Rosewood
Engine: VQ30DE
Transmission: 5-Speed Manual
Trim: SE
What’s up guys. I’m the 2nd owner of this 1997 Nissan Maxima SE with the leather trim and cold weather package in Rosewood. I absolutely love this car, I’ve owned it for 2 years so far. I try to keep it as clean as possible while also daily driving it and enjoying it.
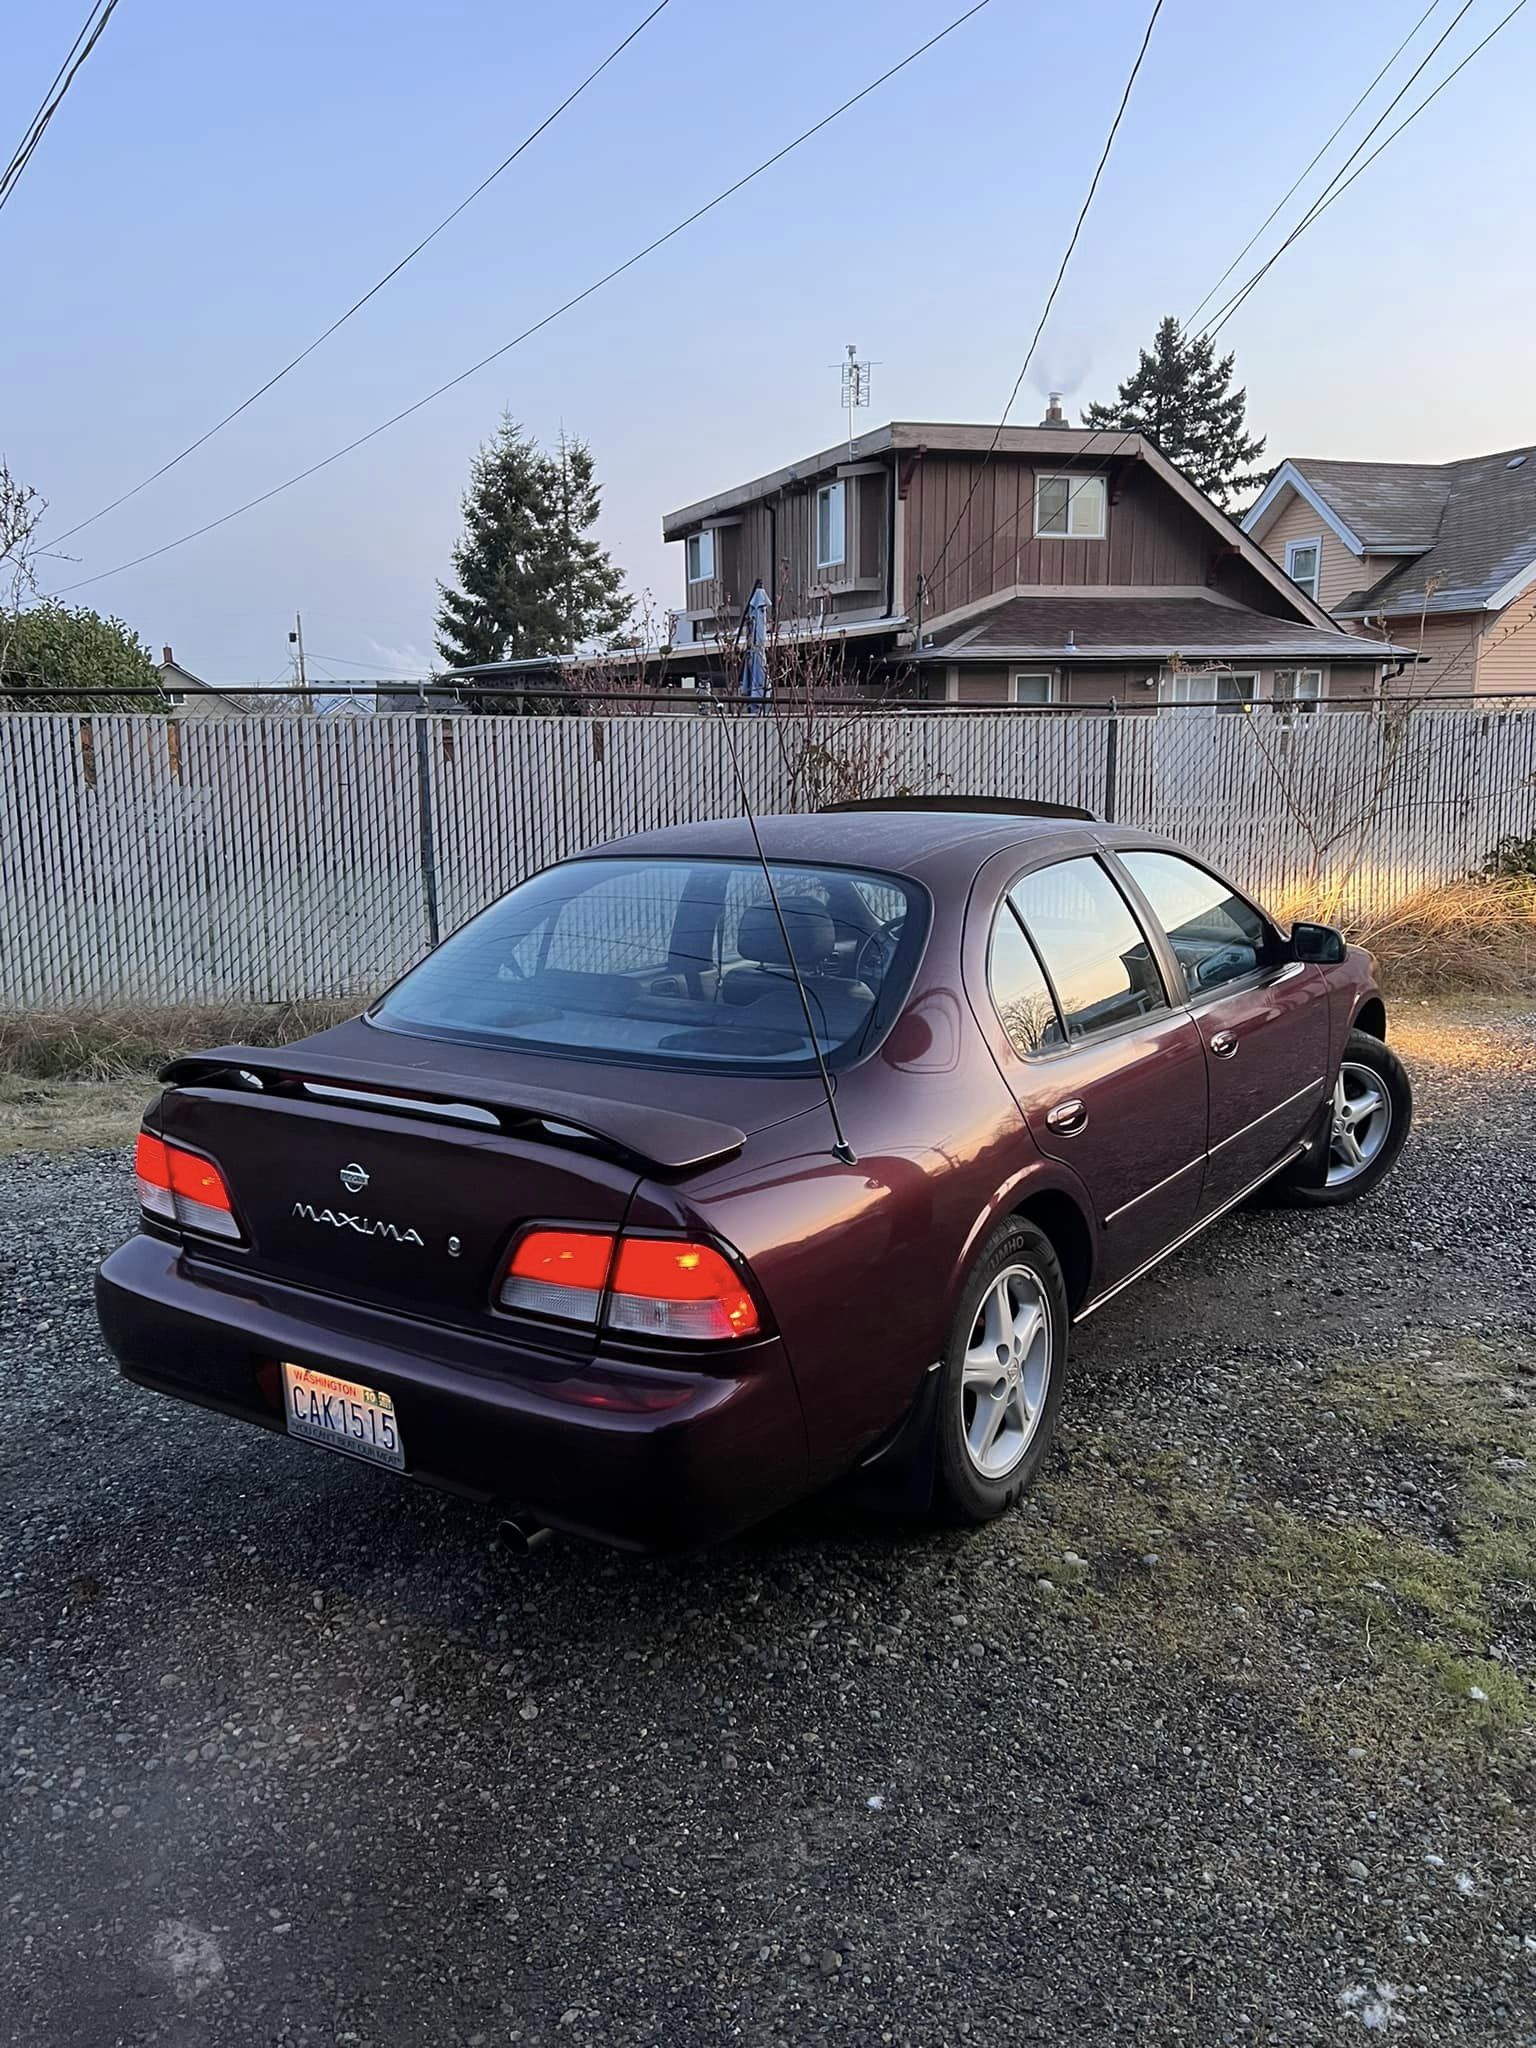
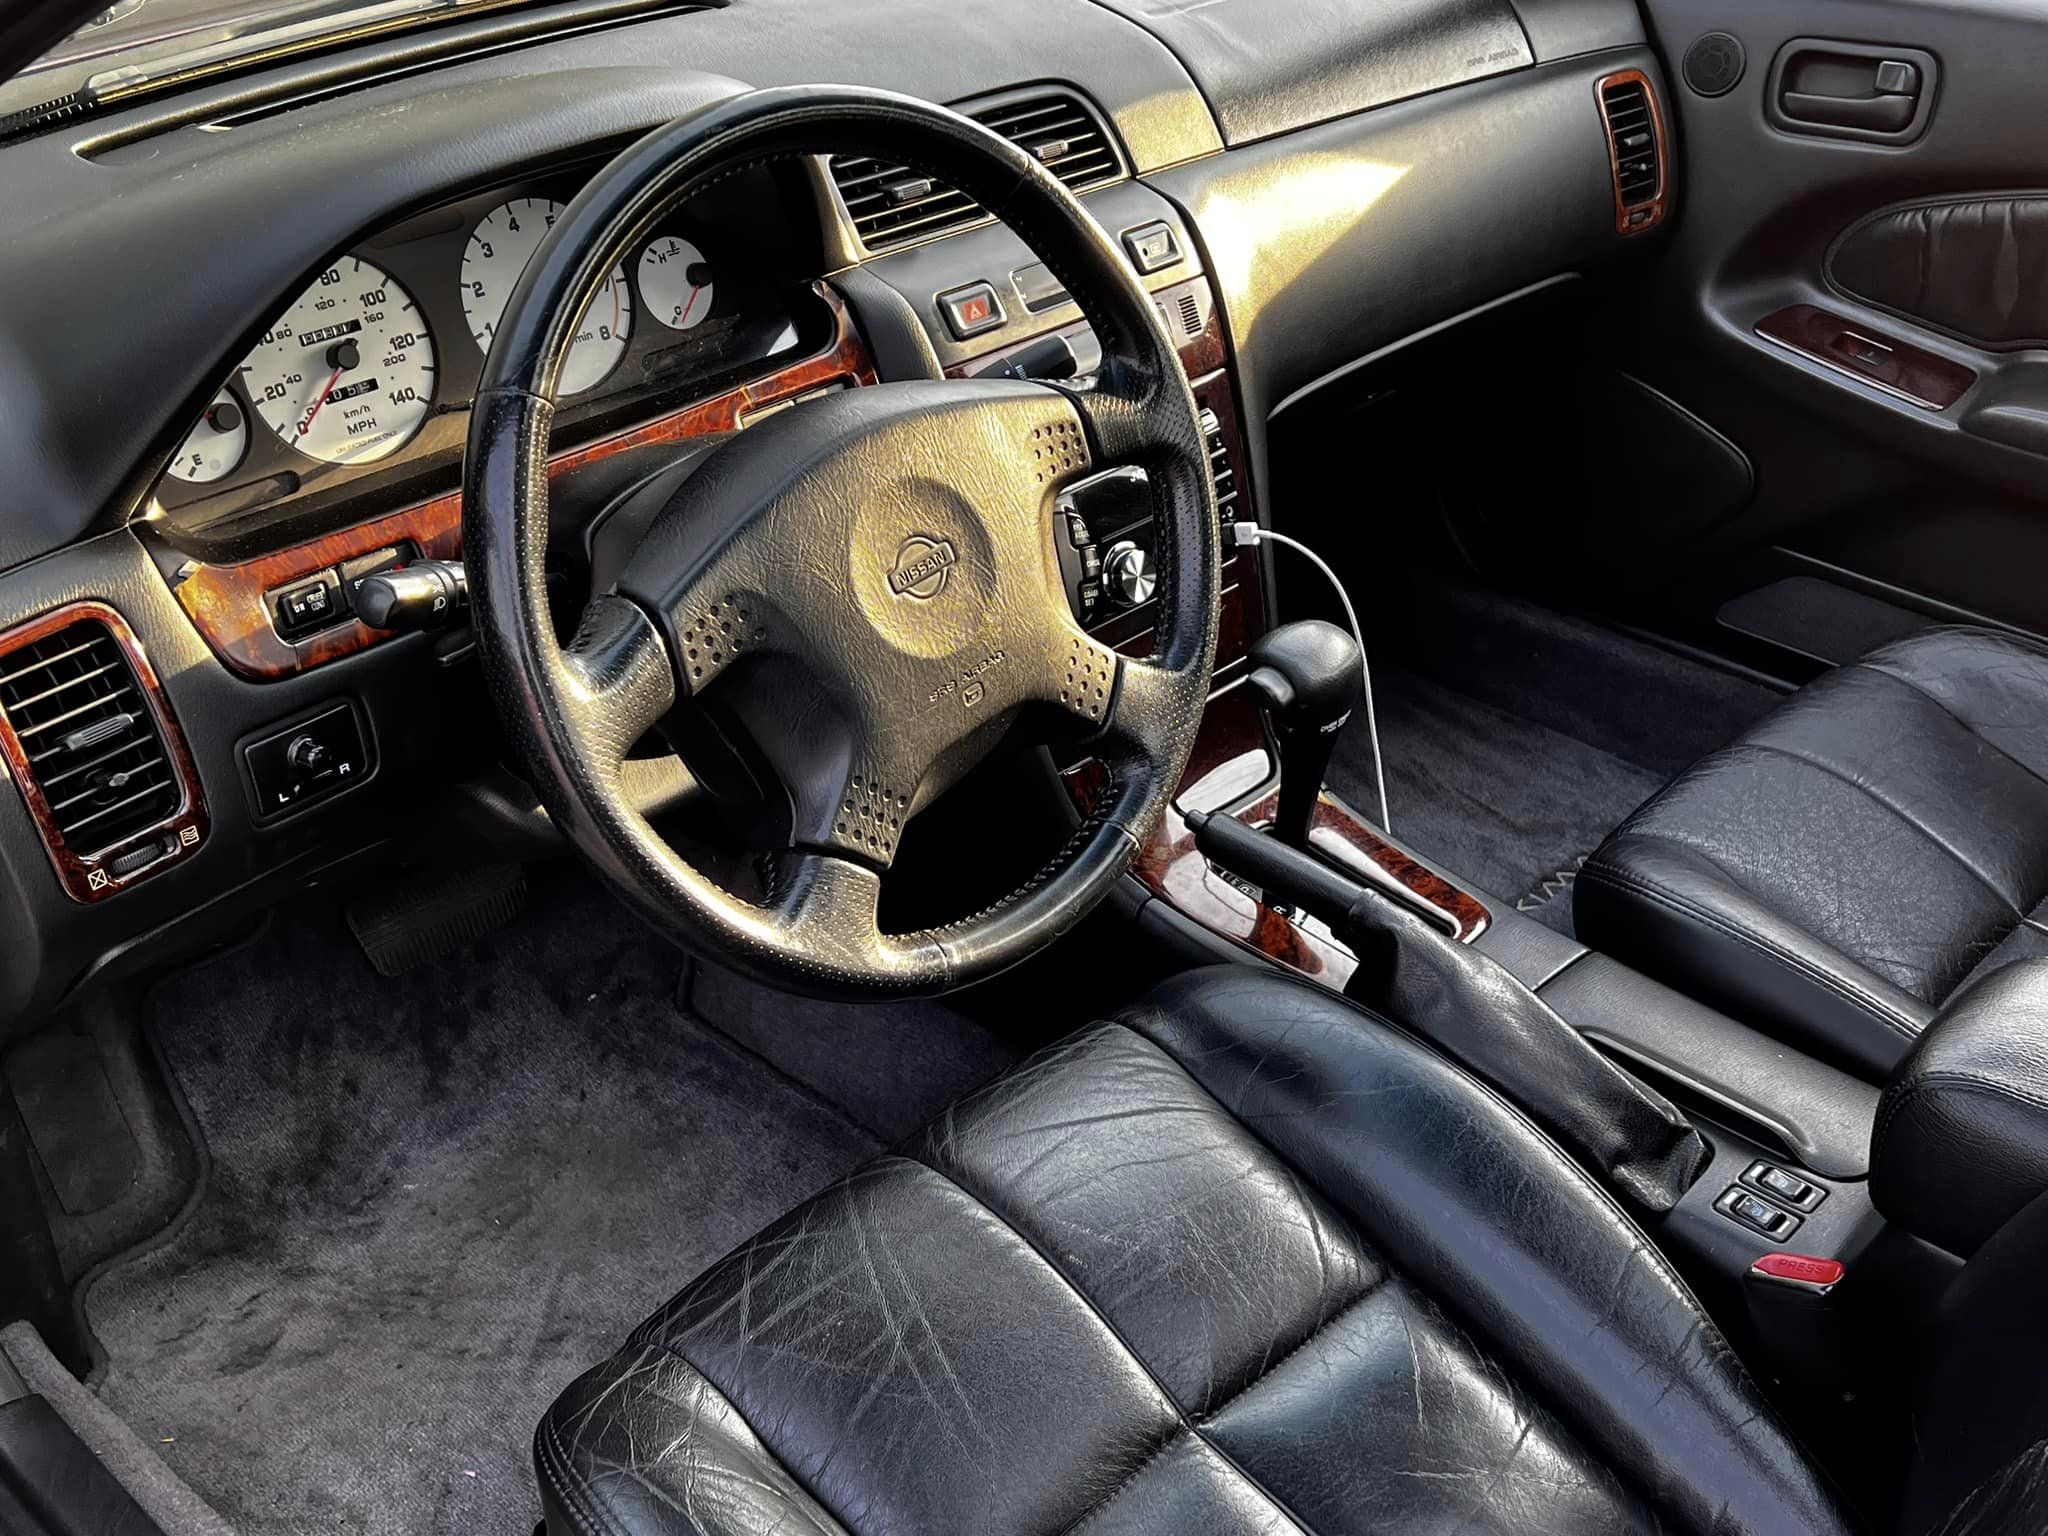
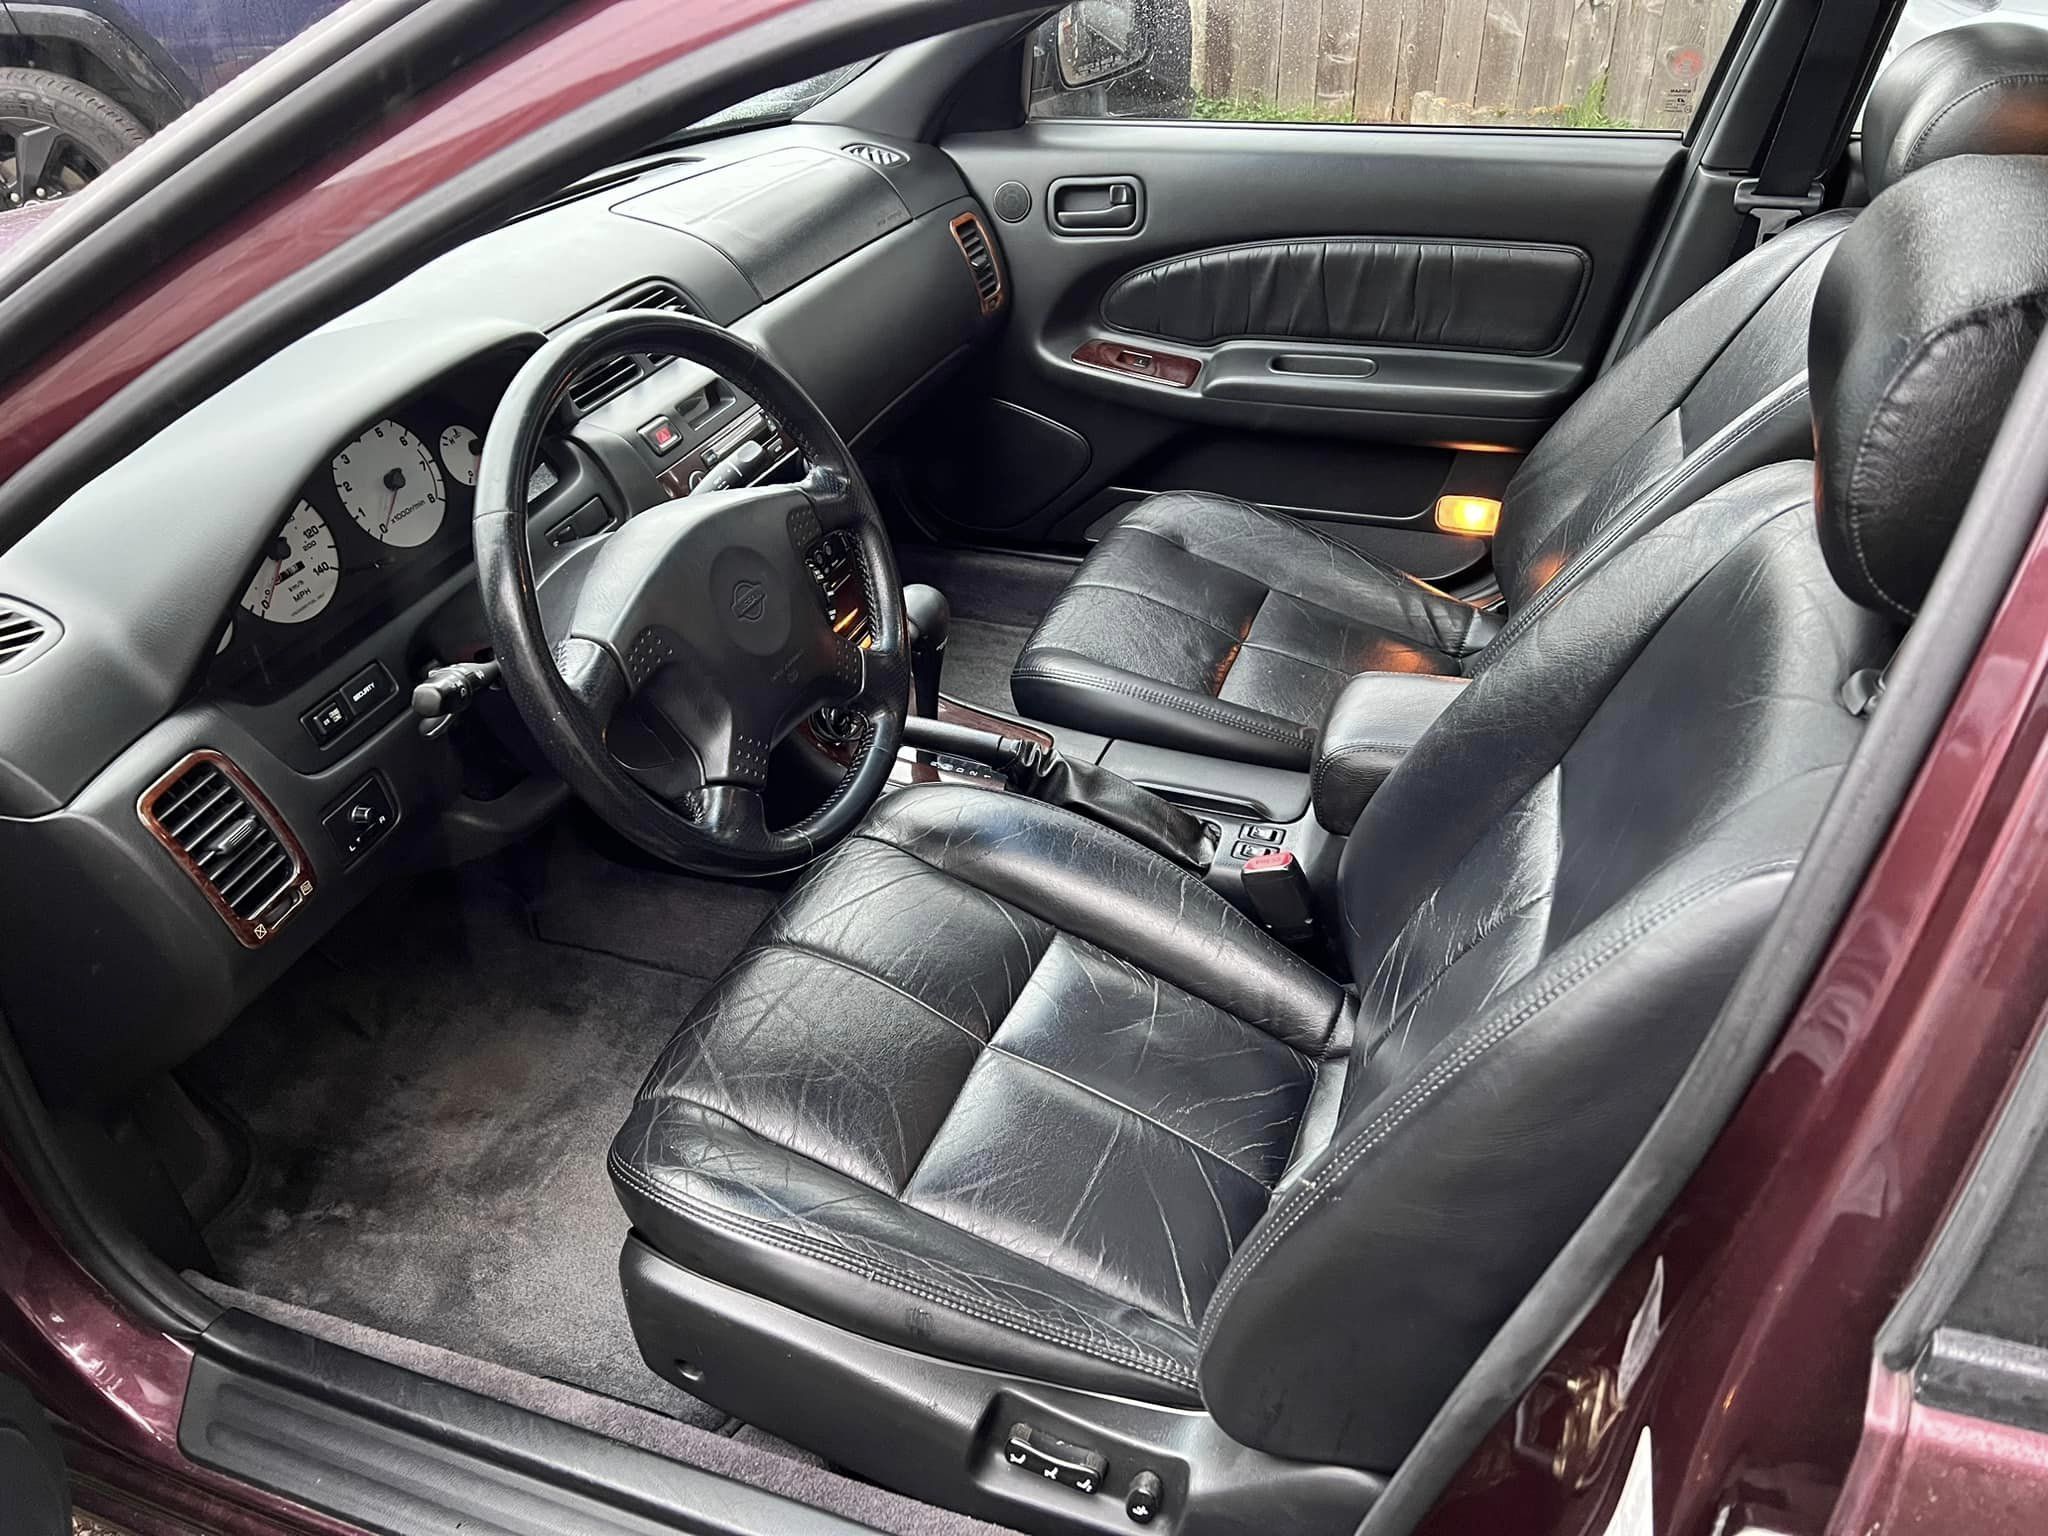
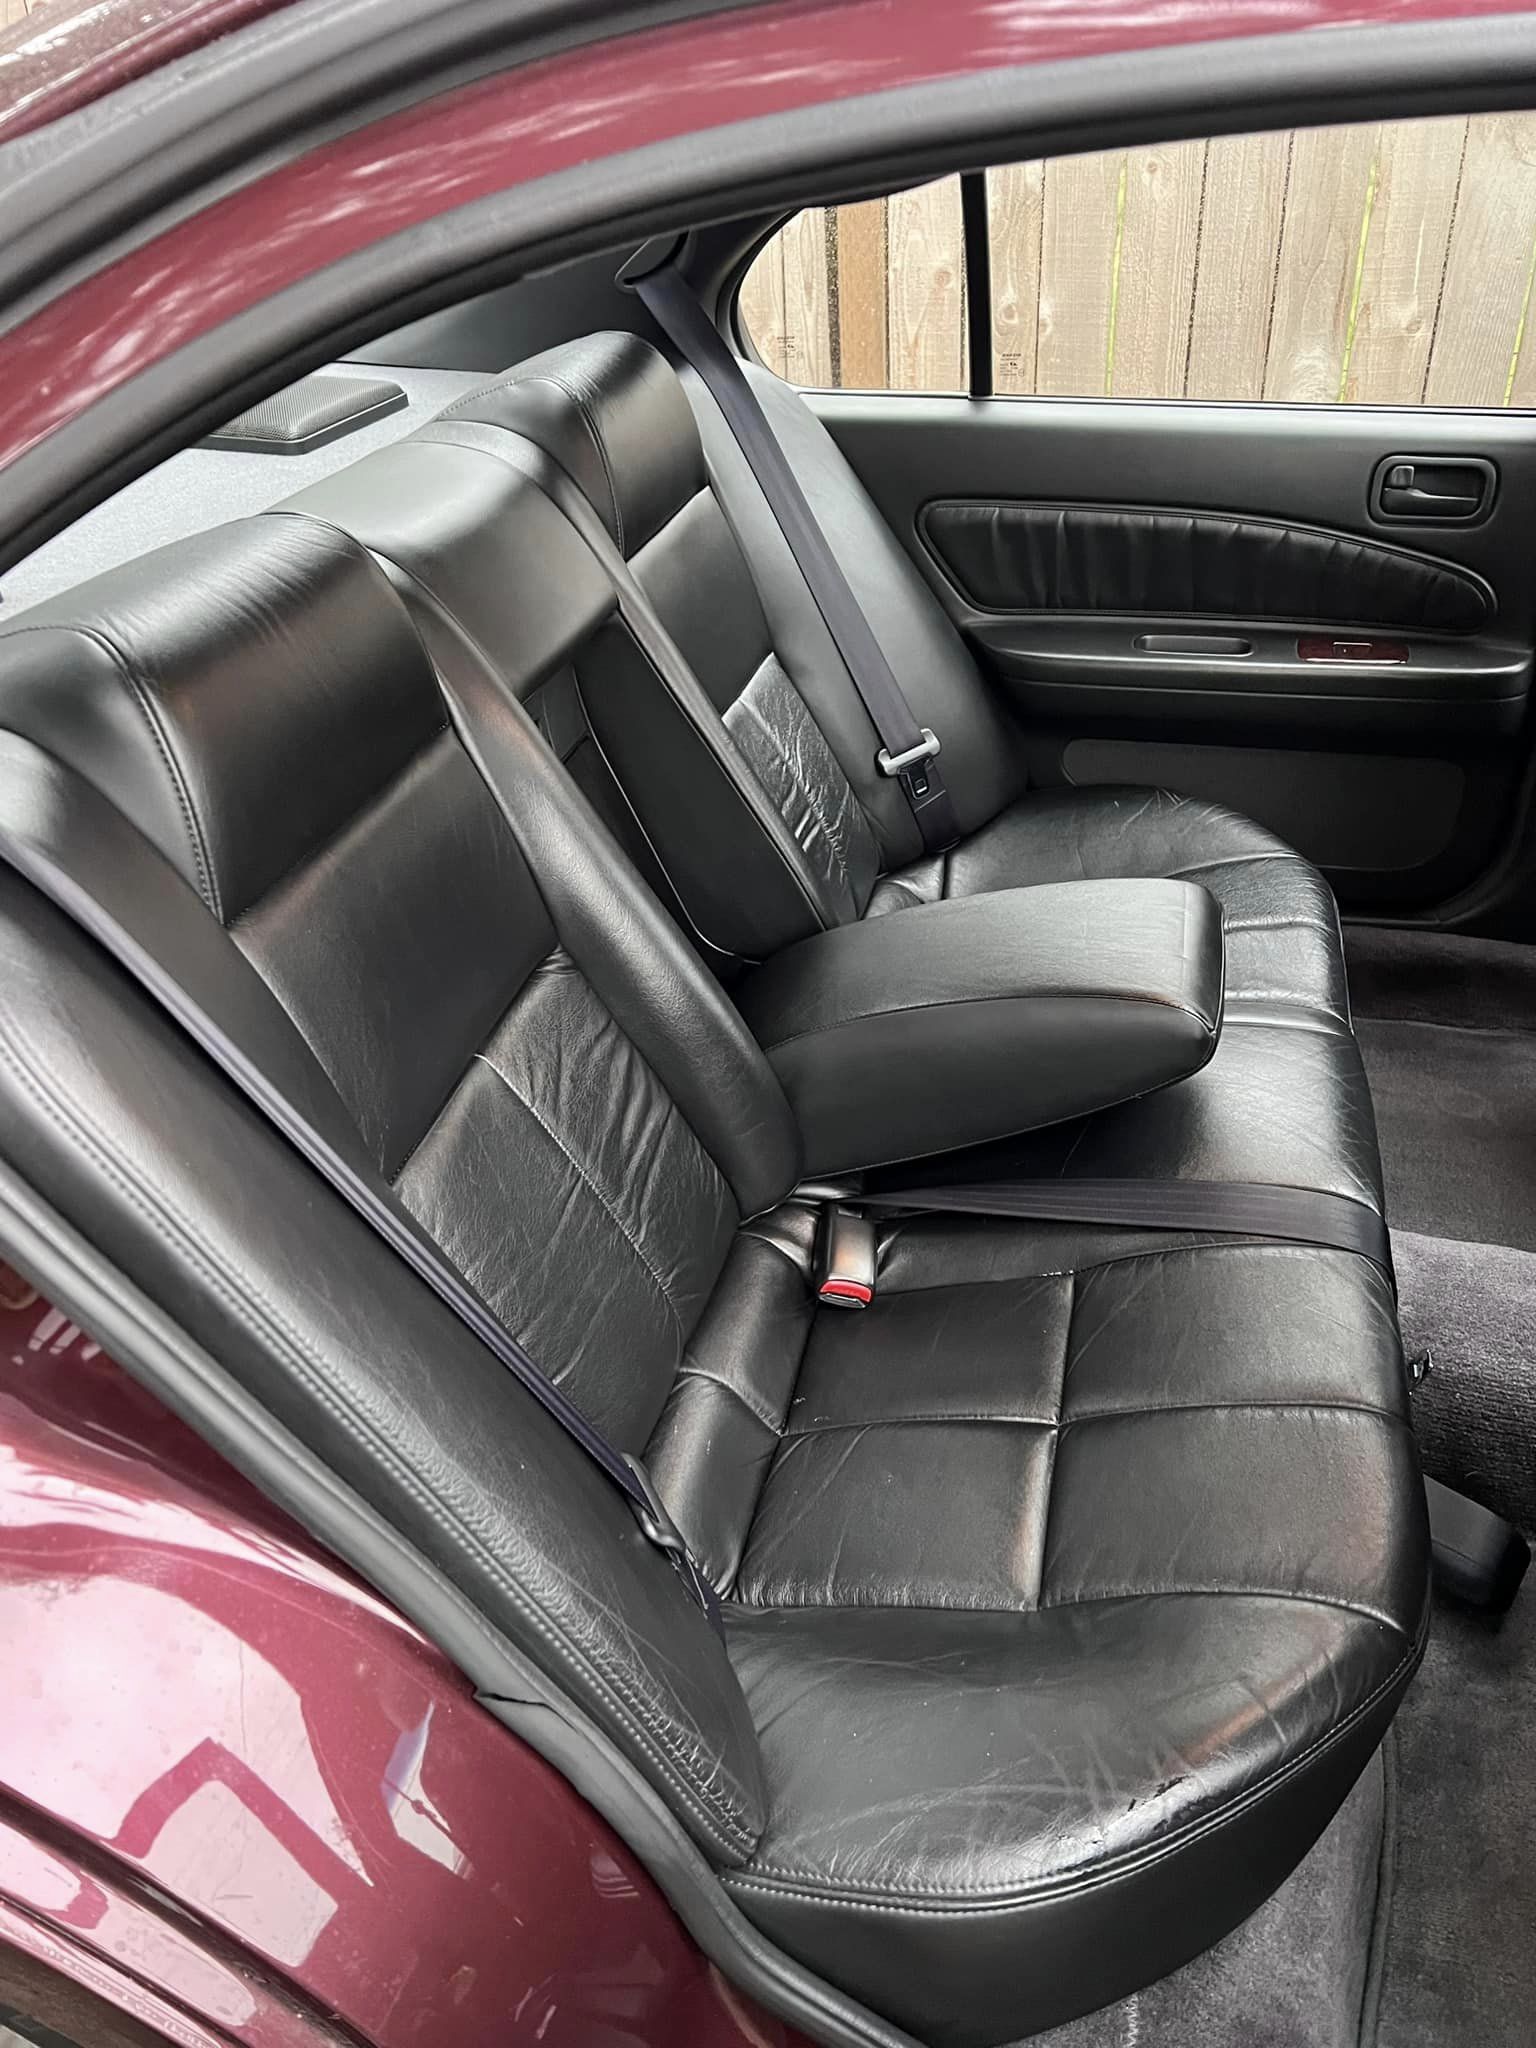
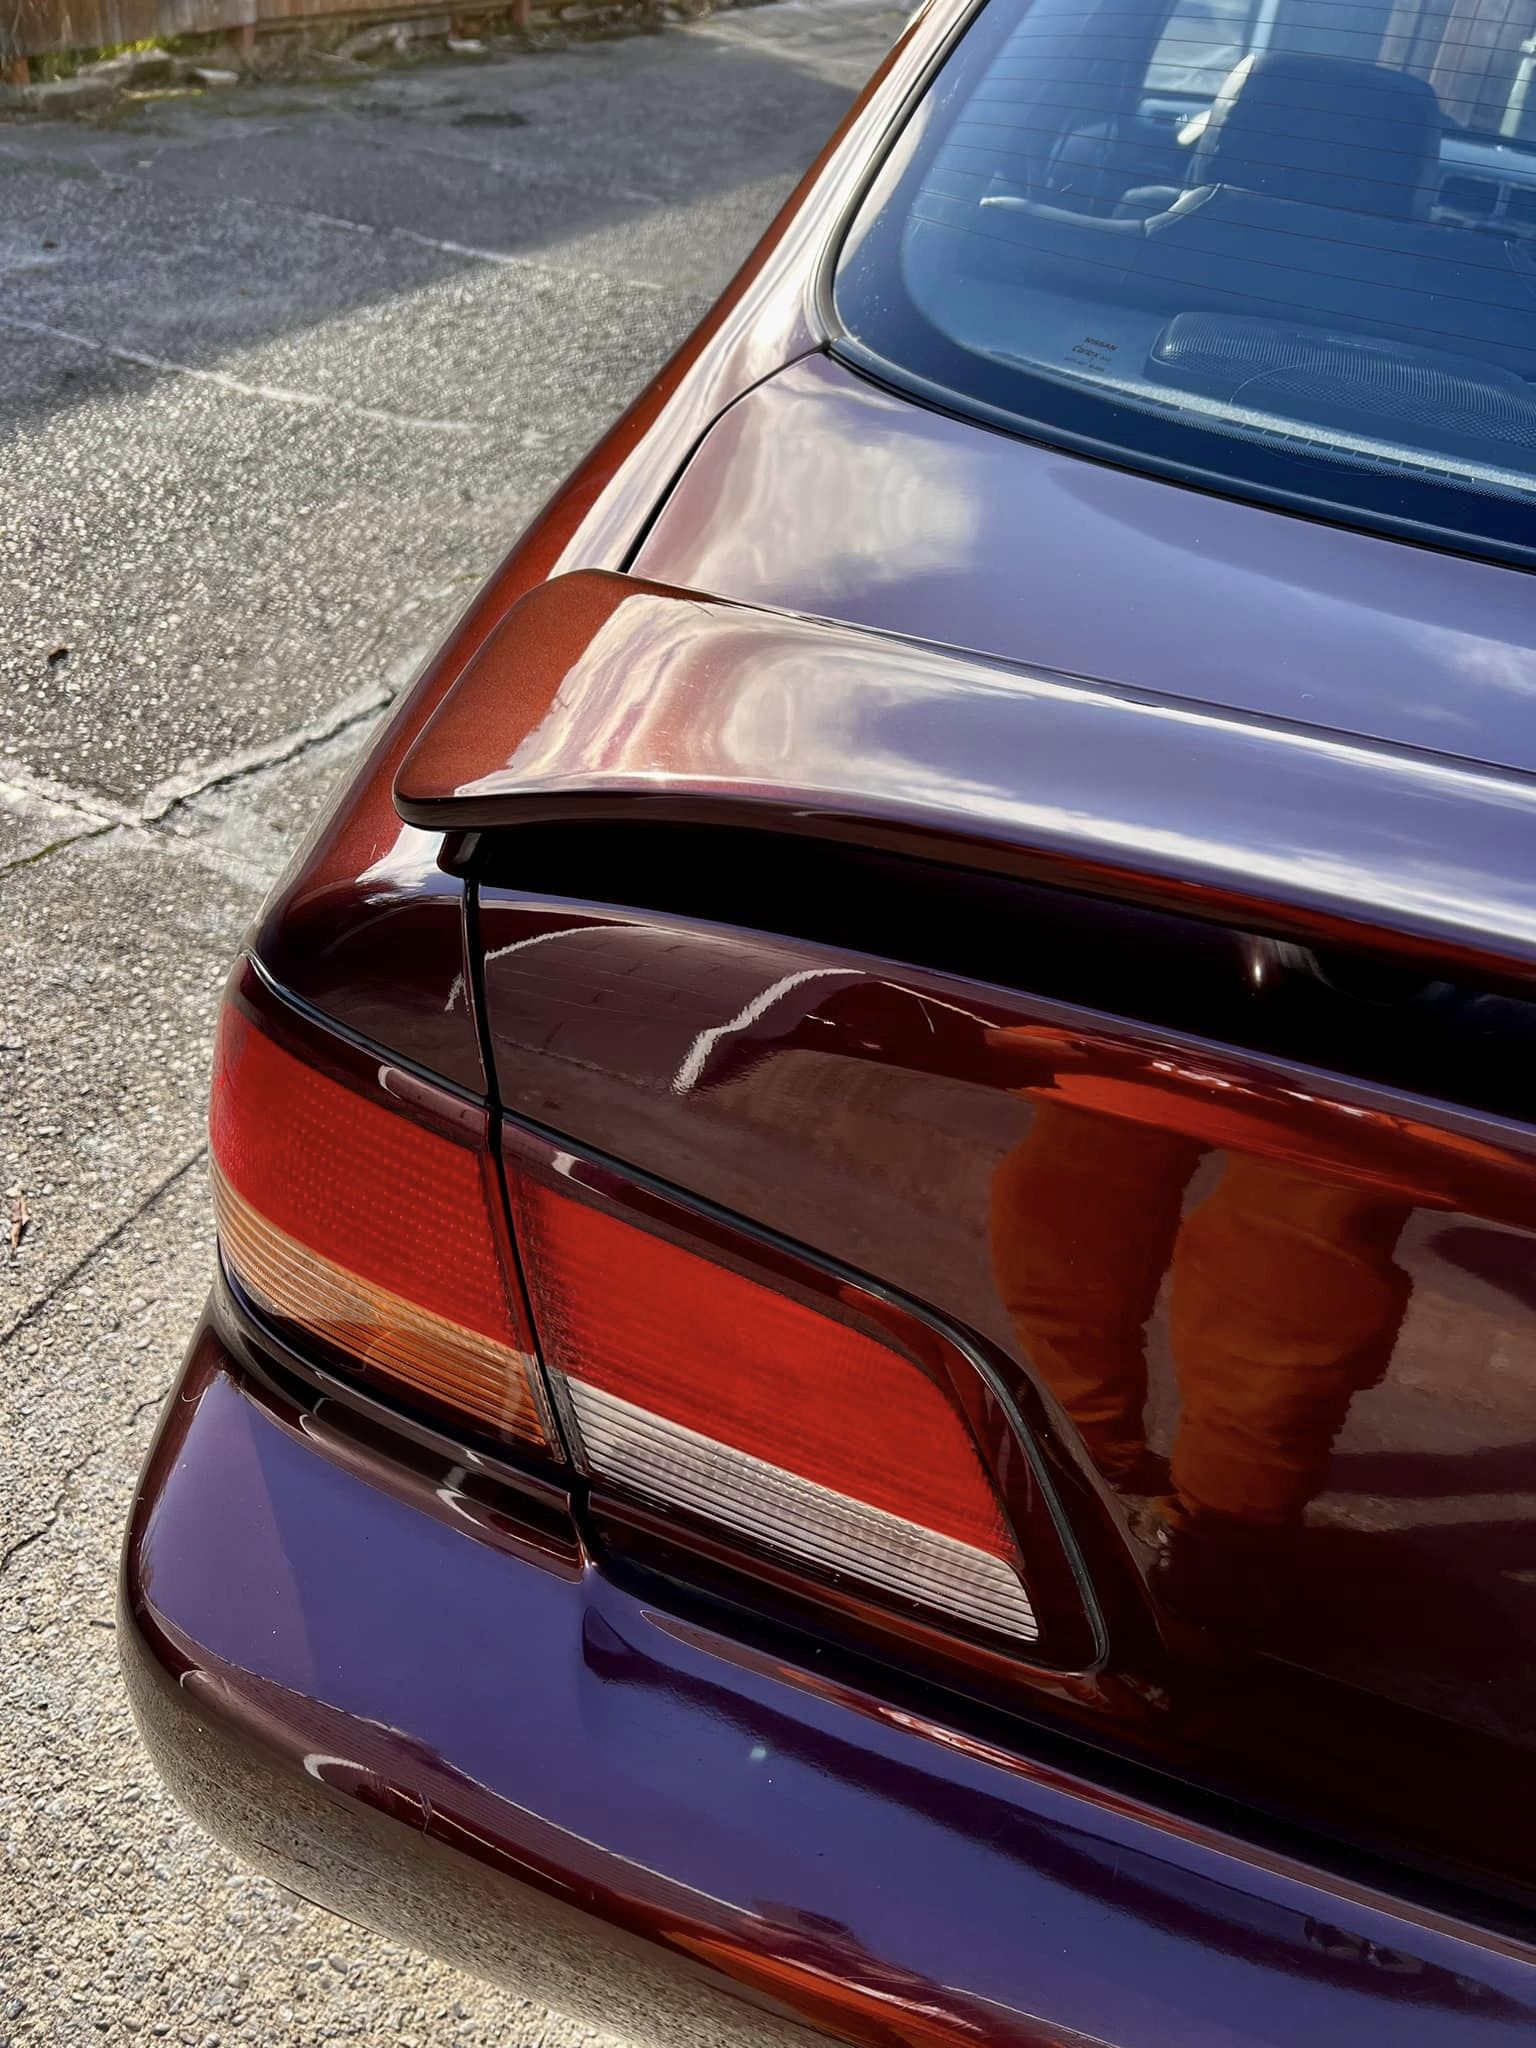
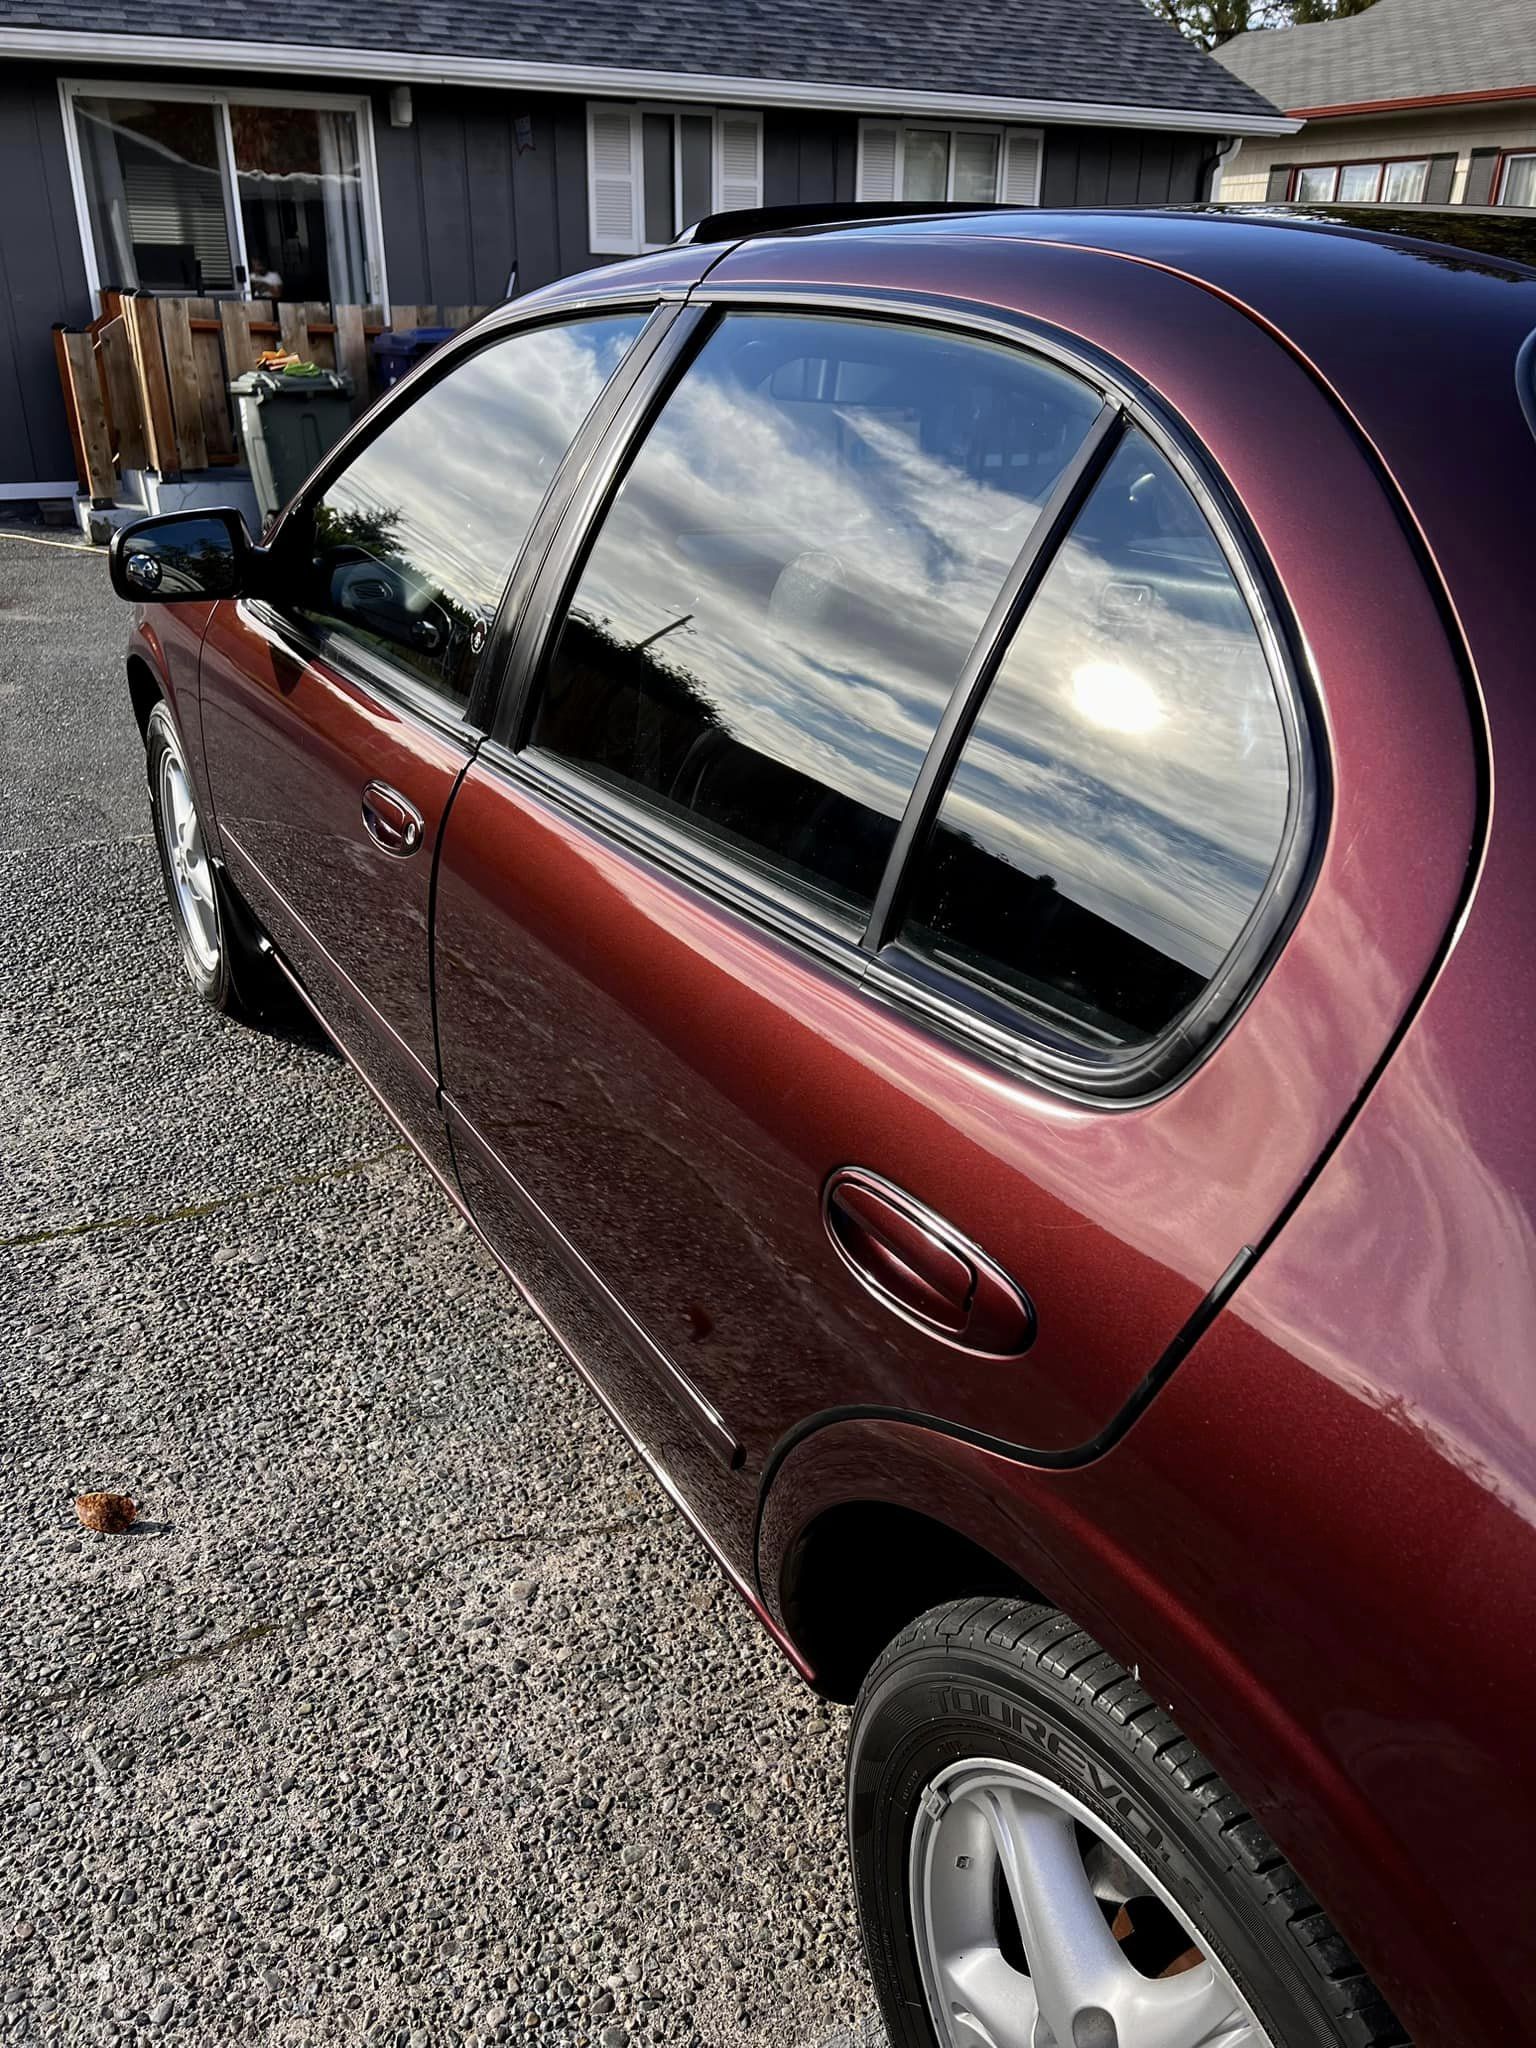
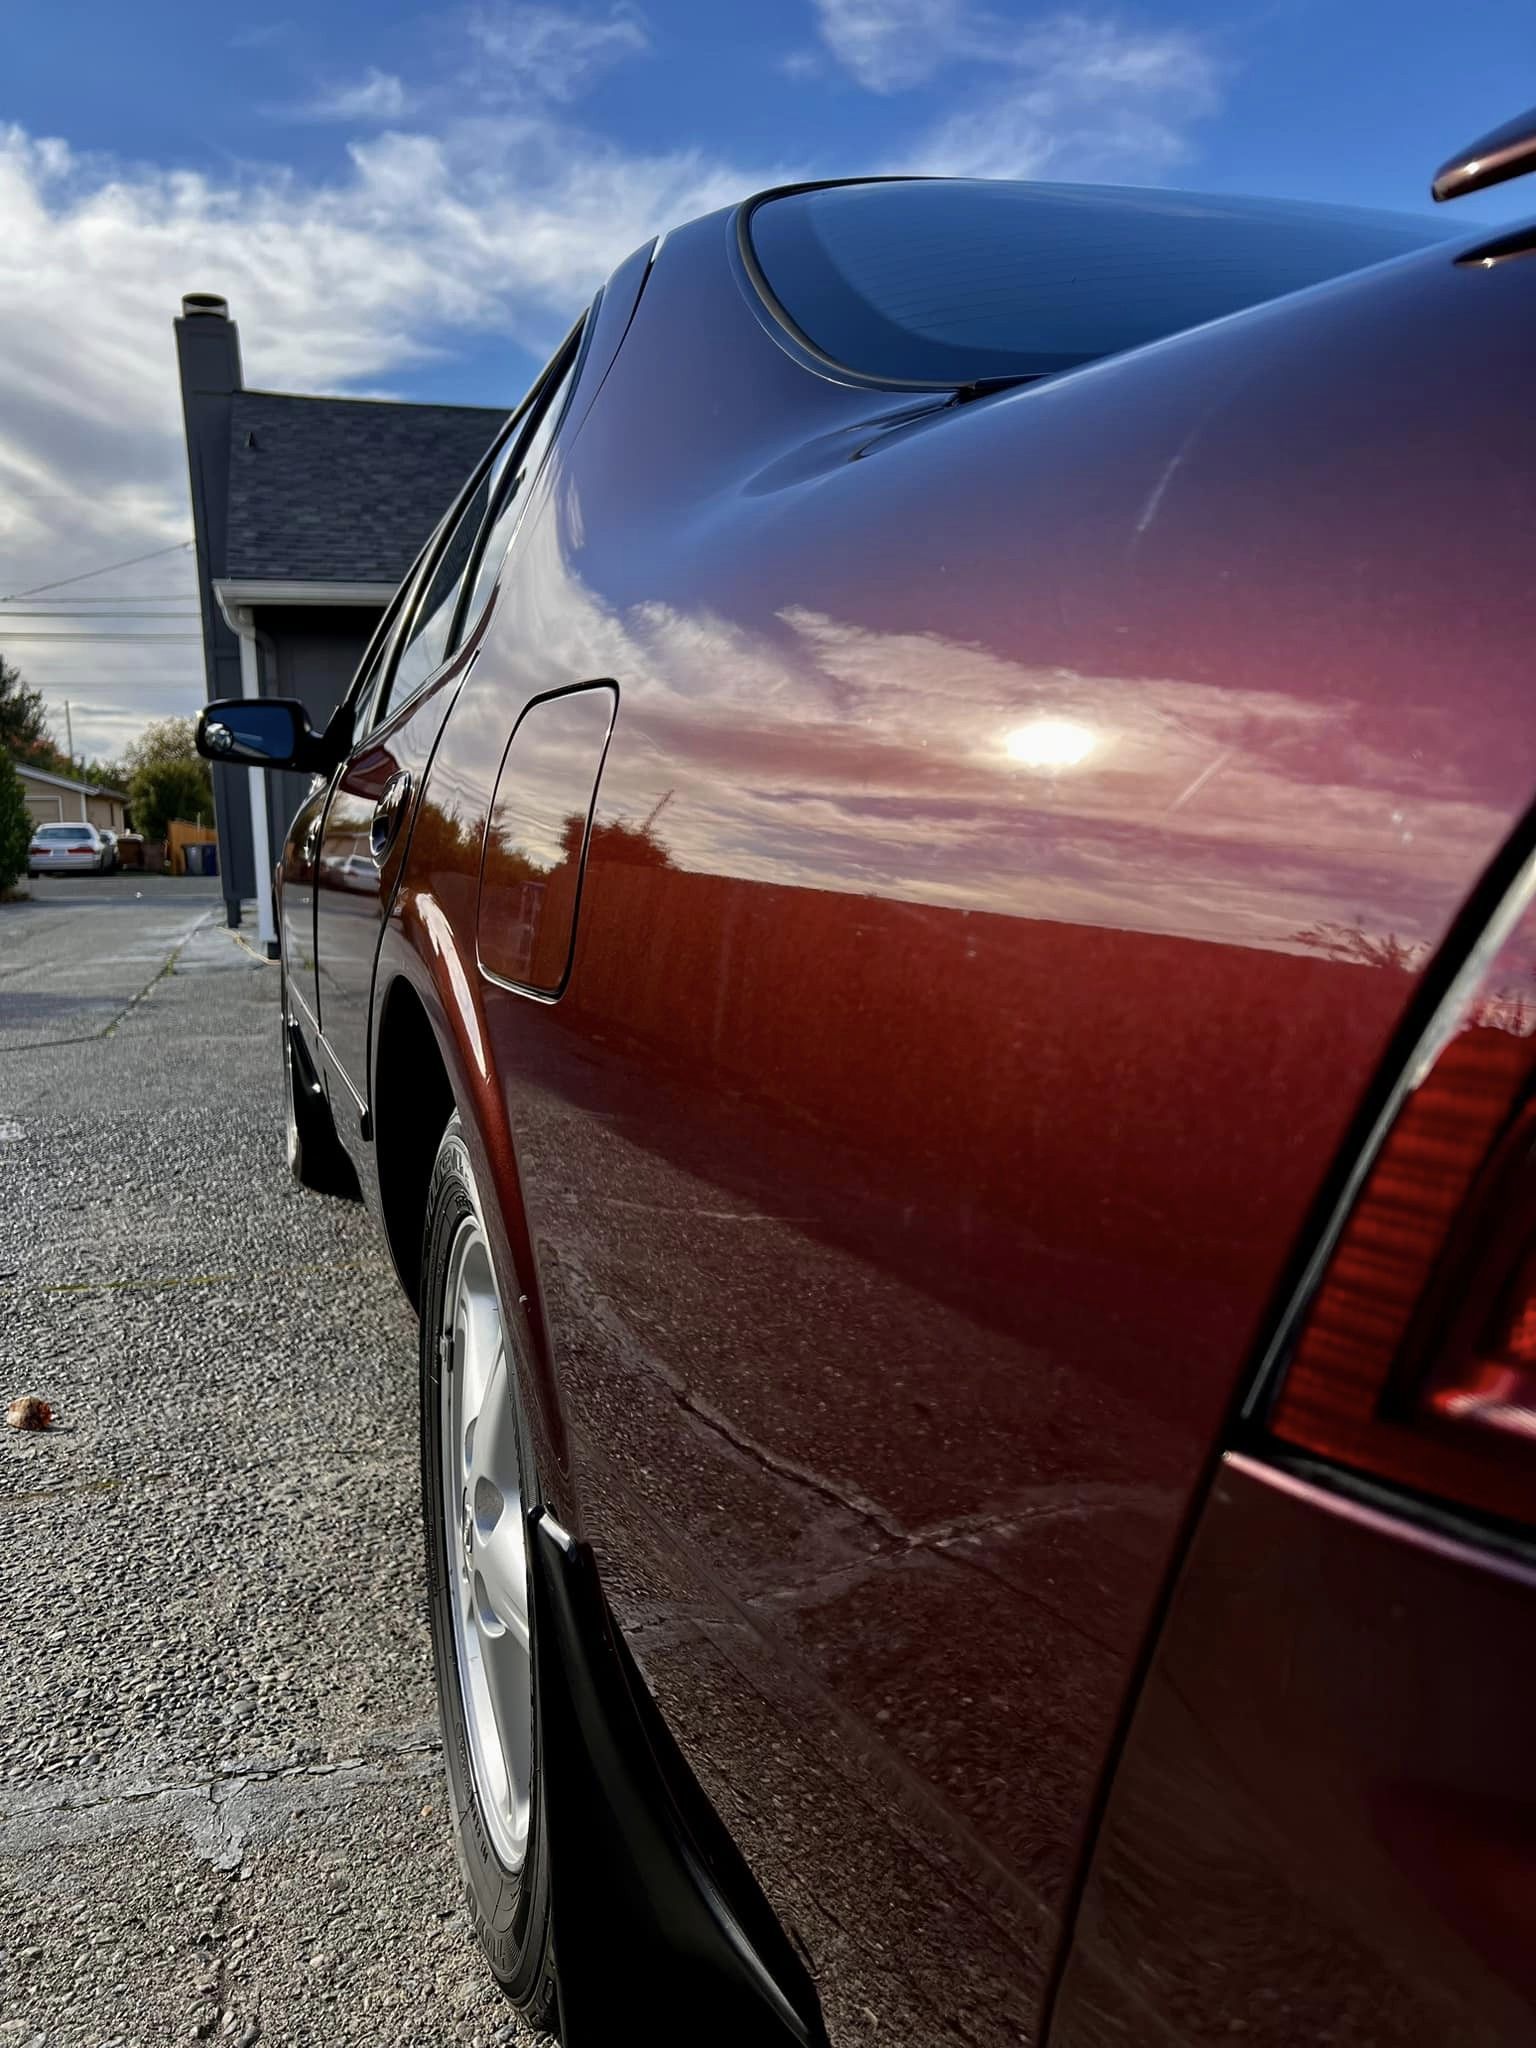
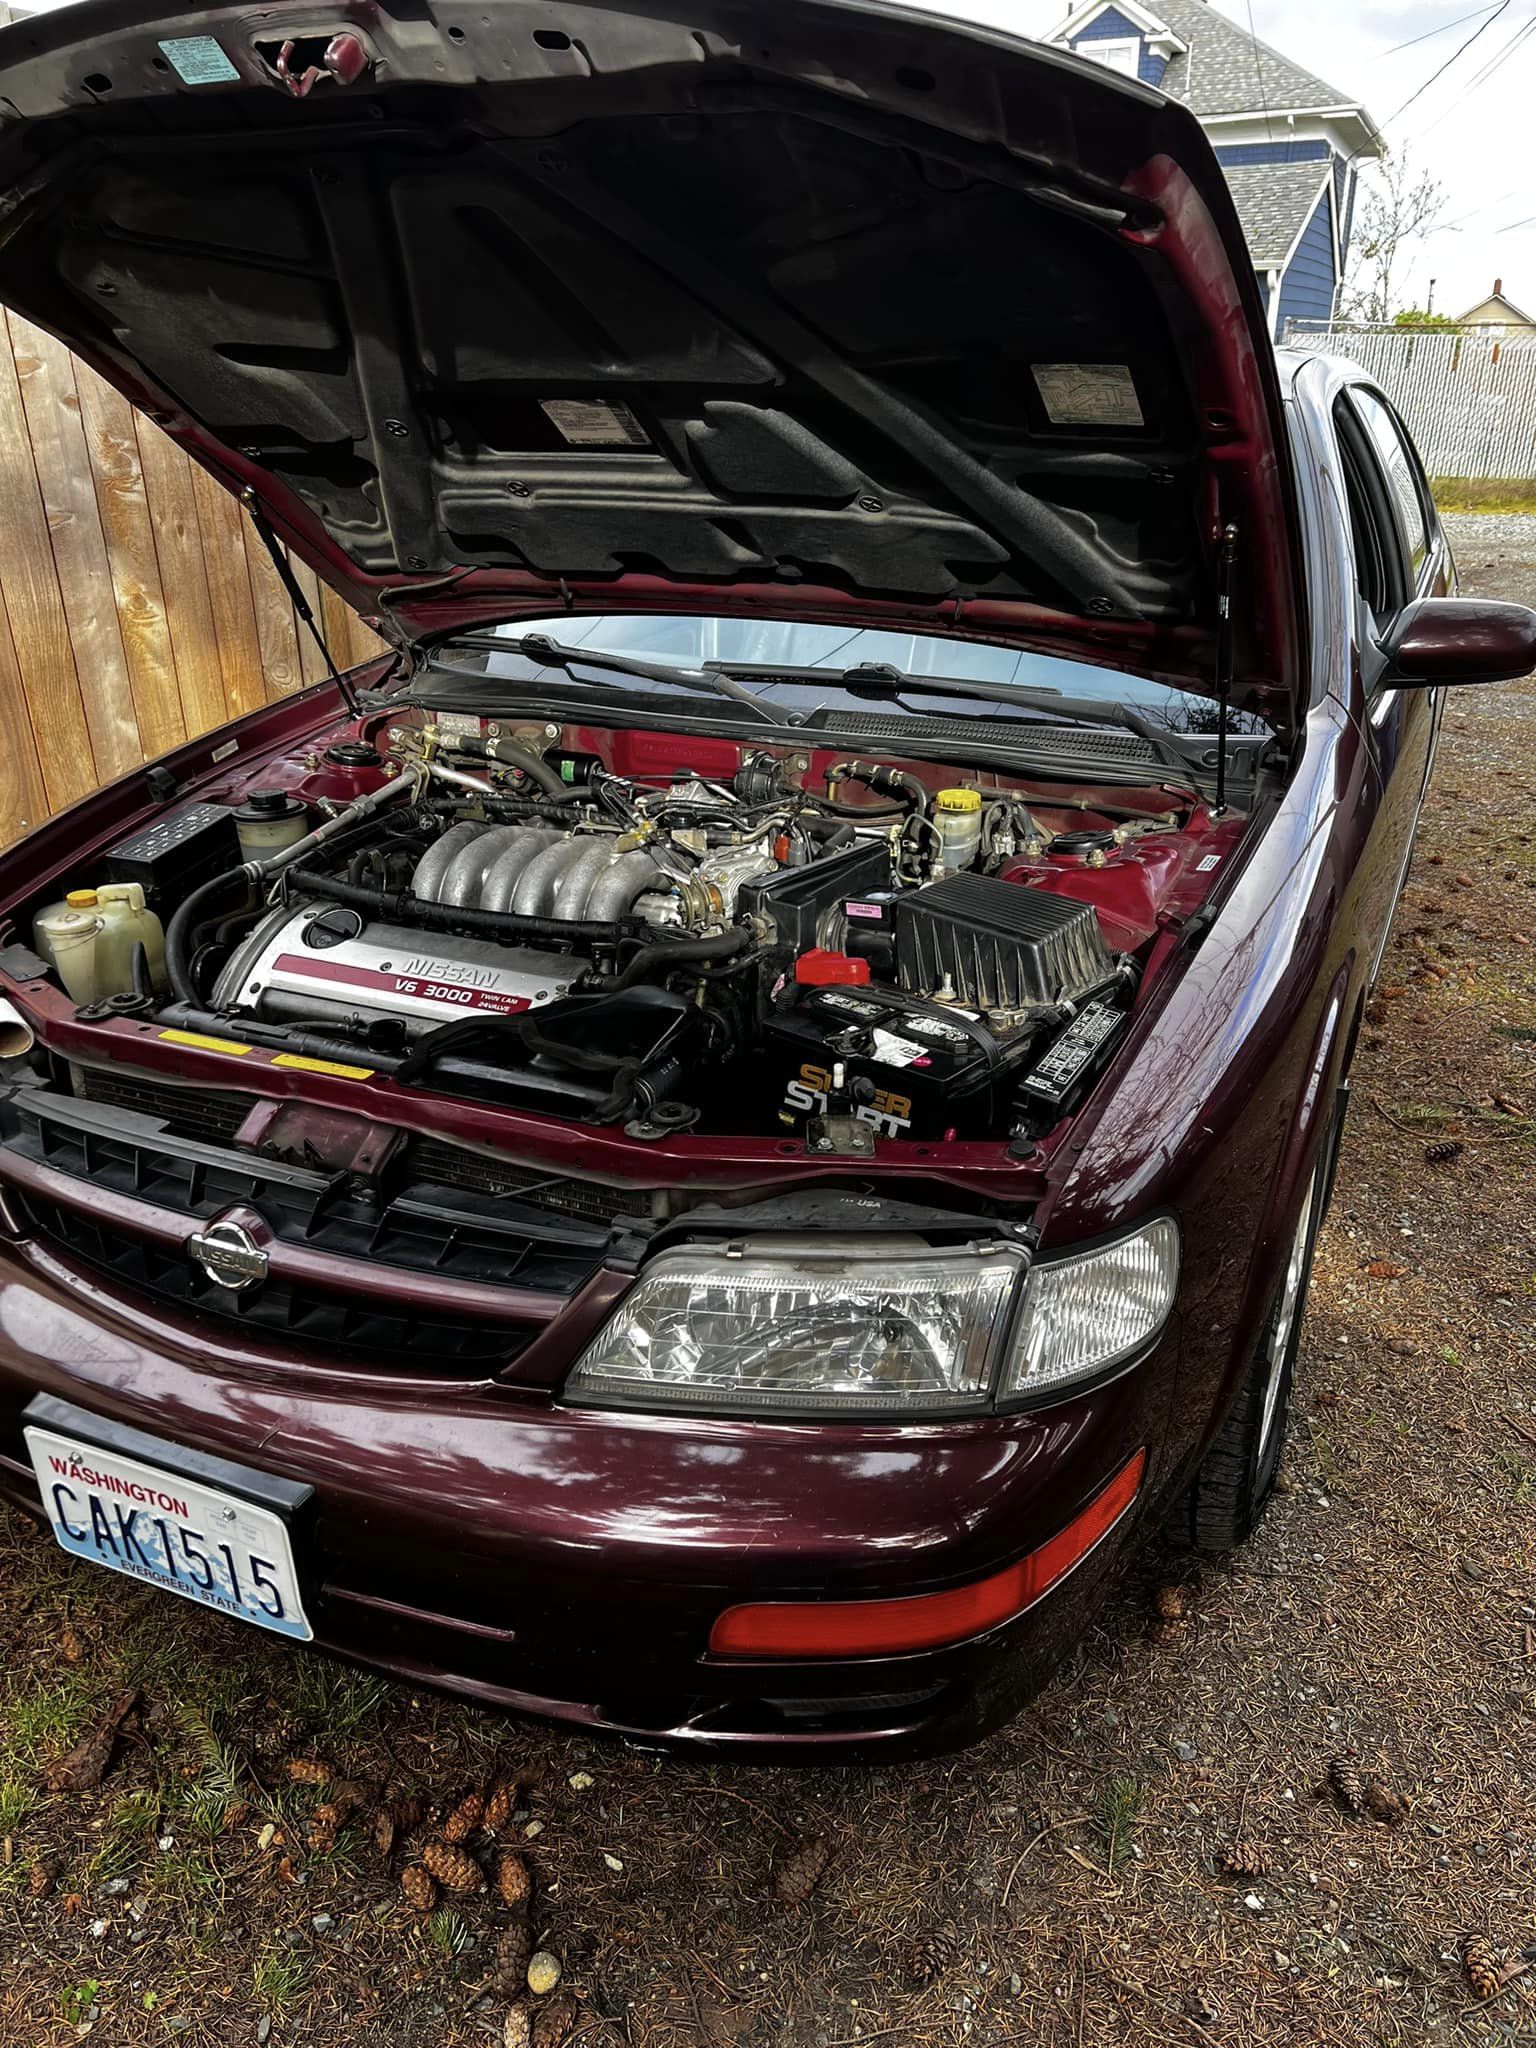
Credit: James W.
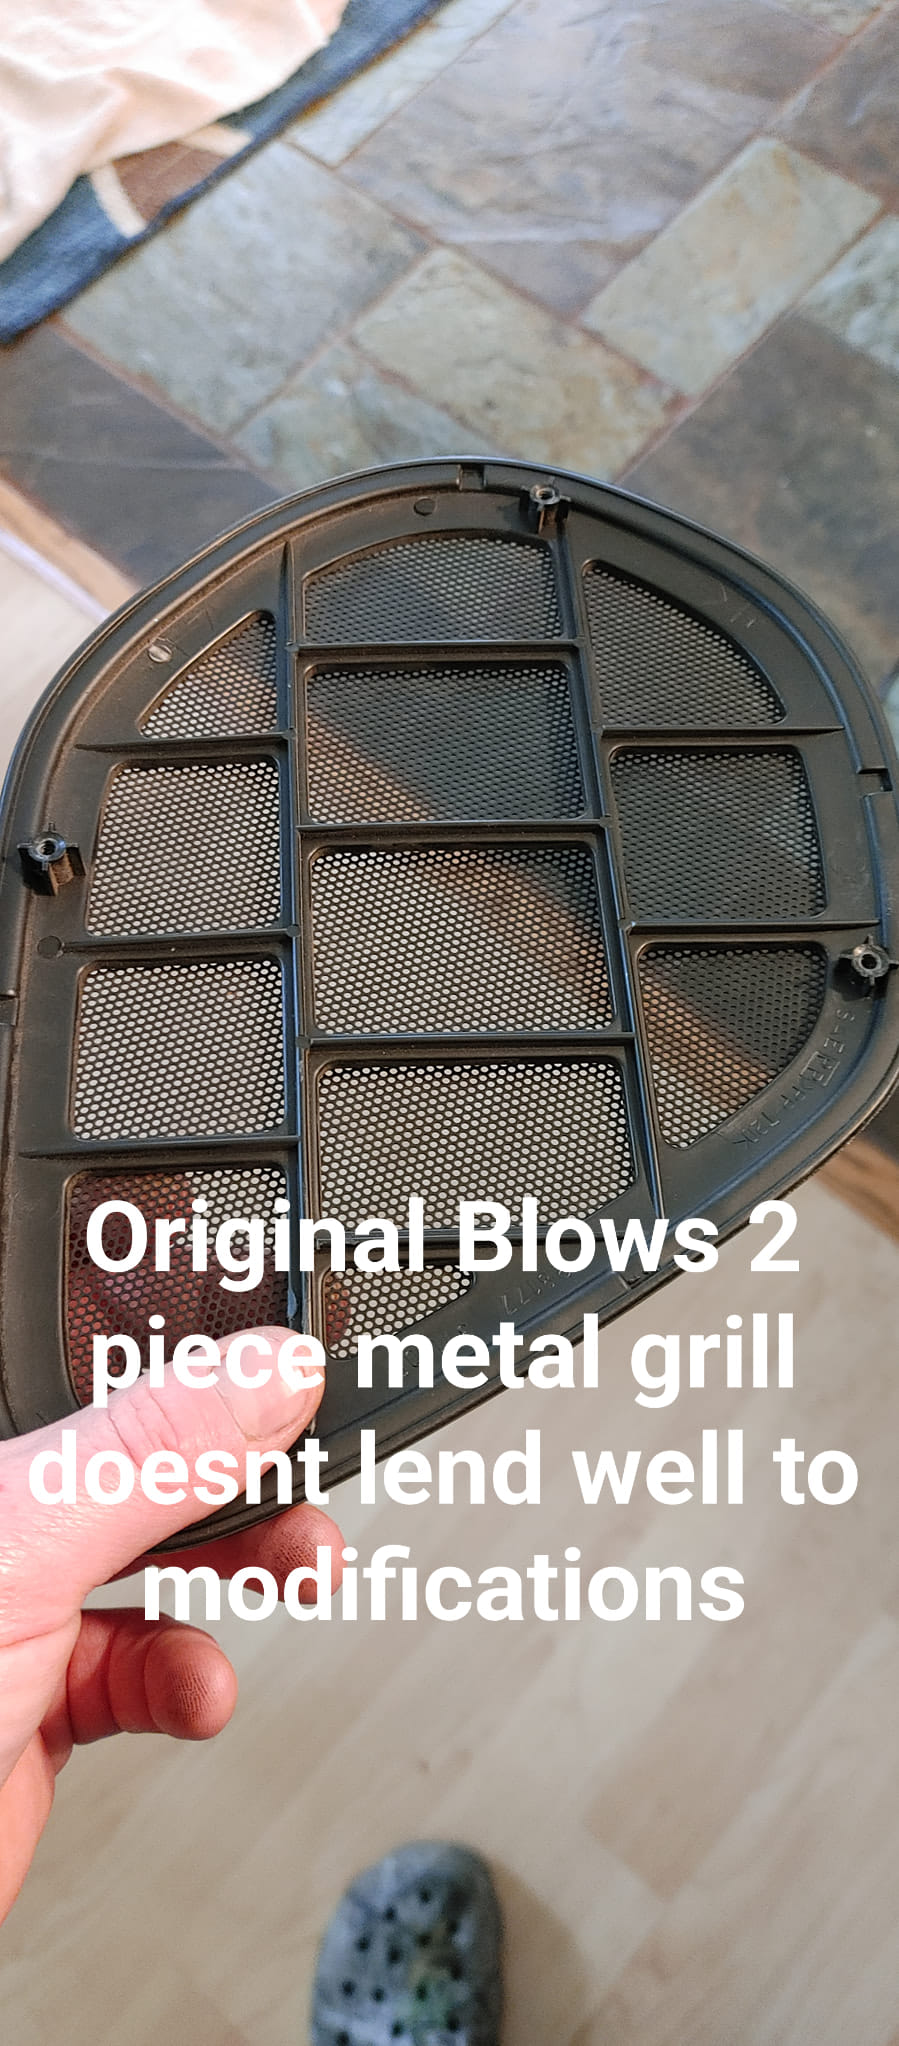
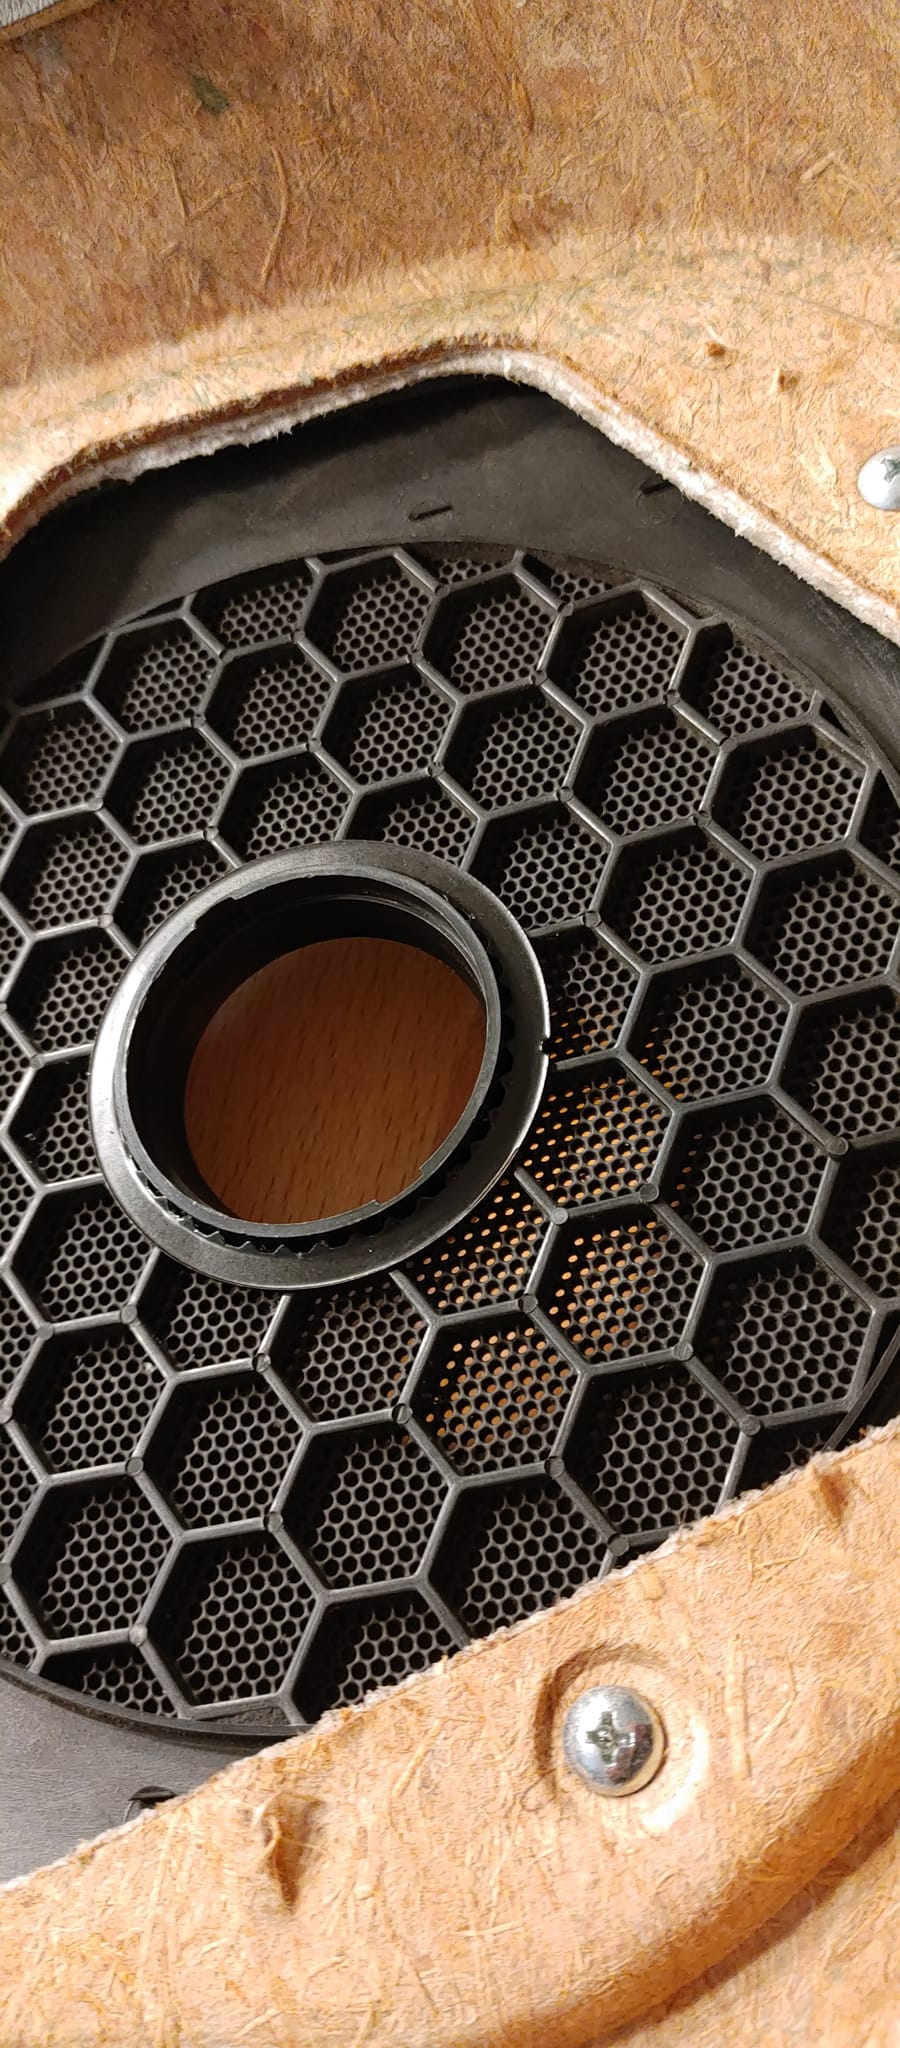
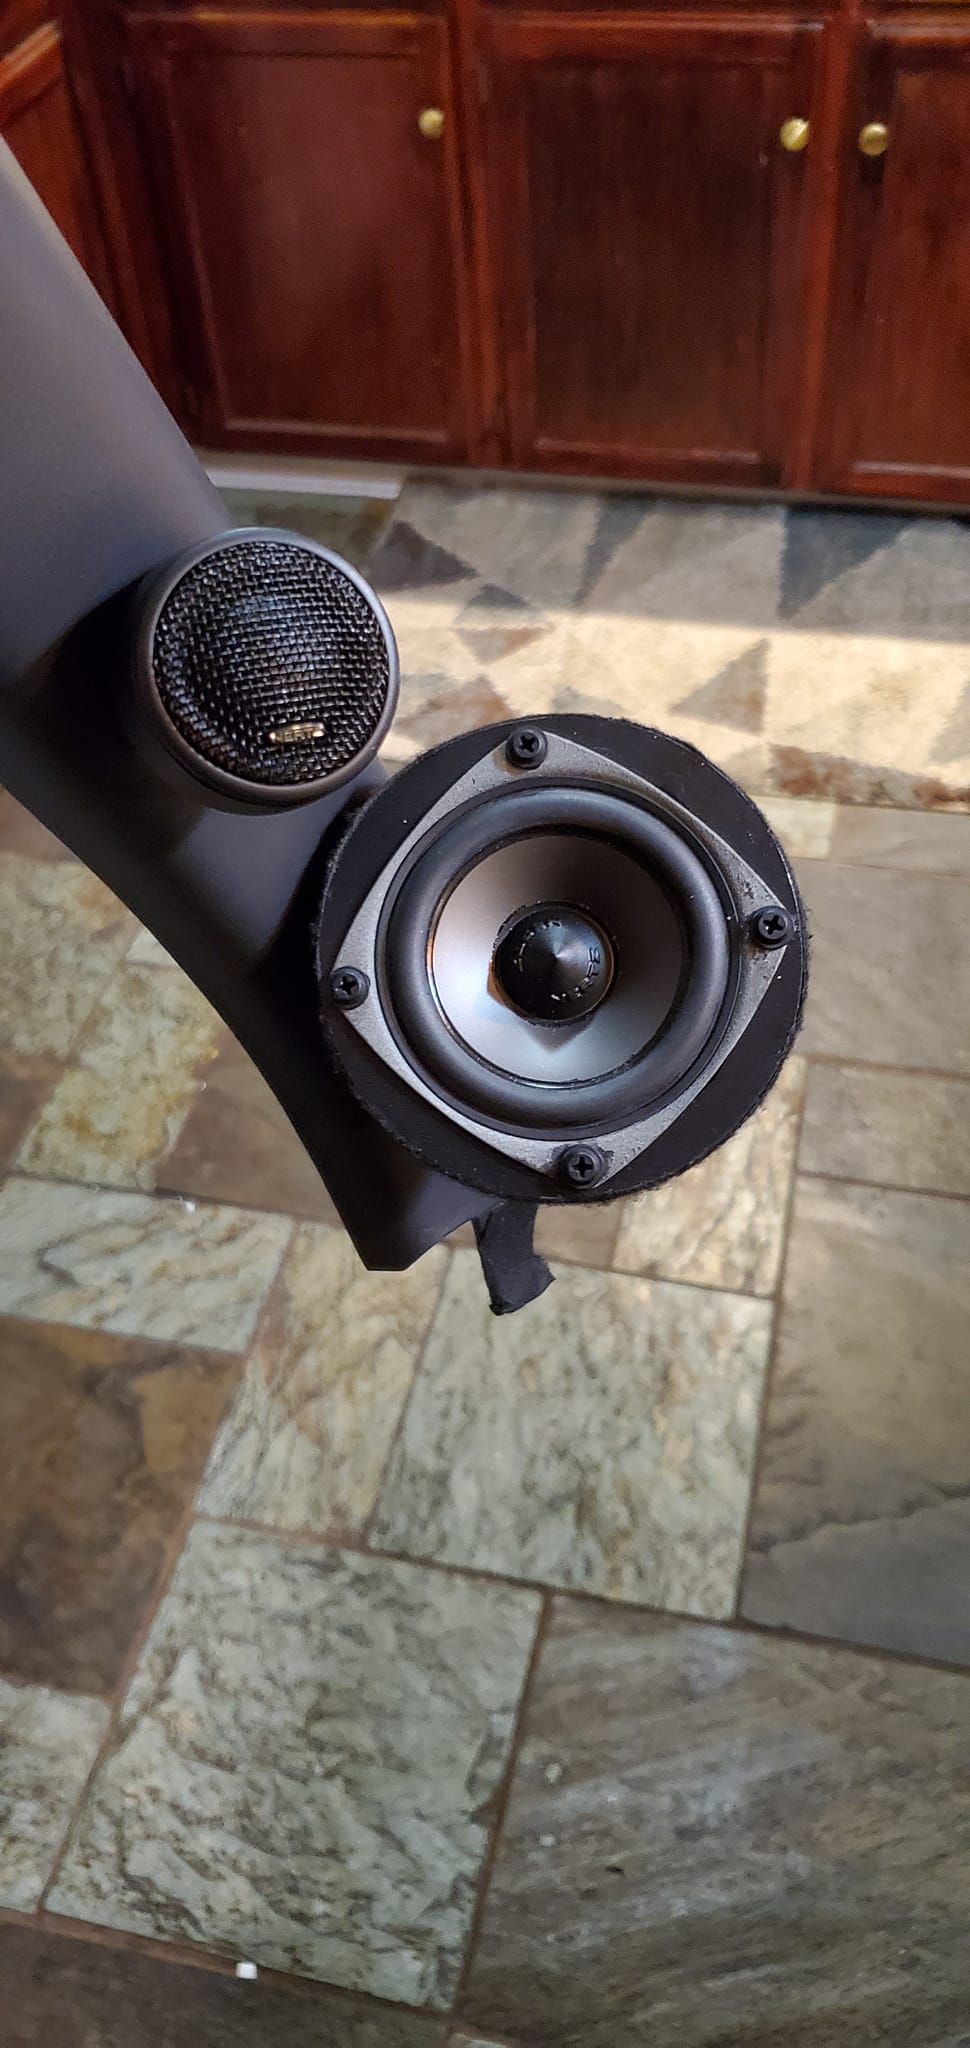
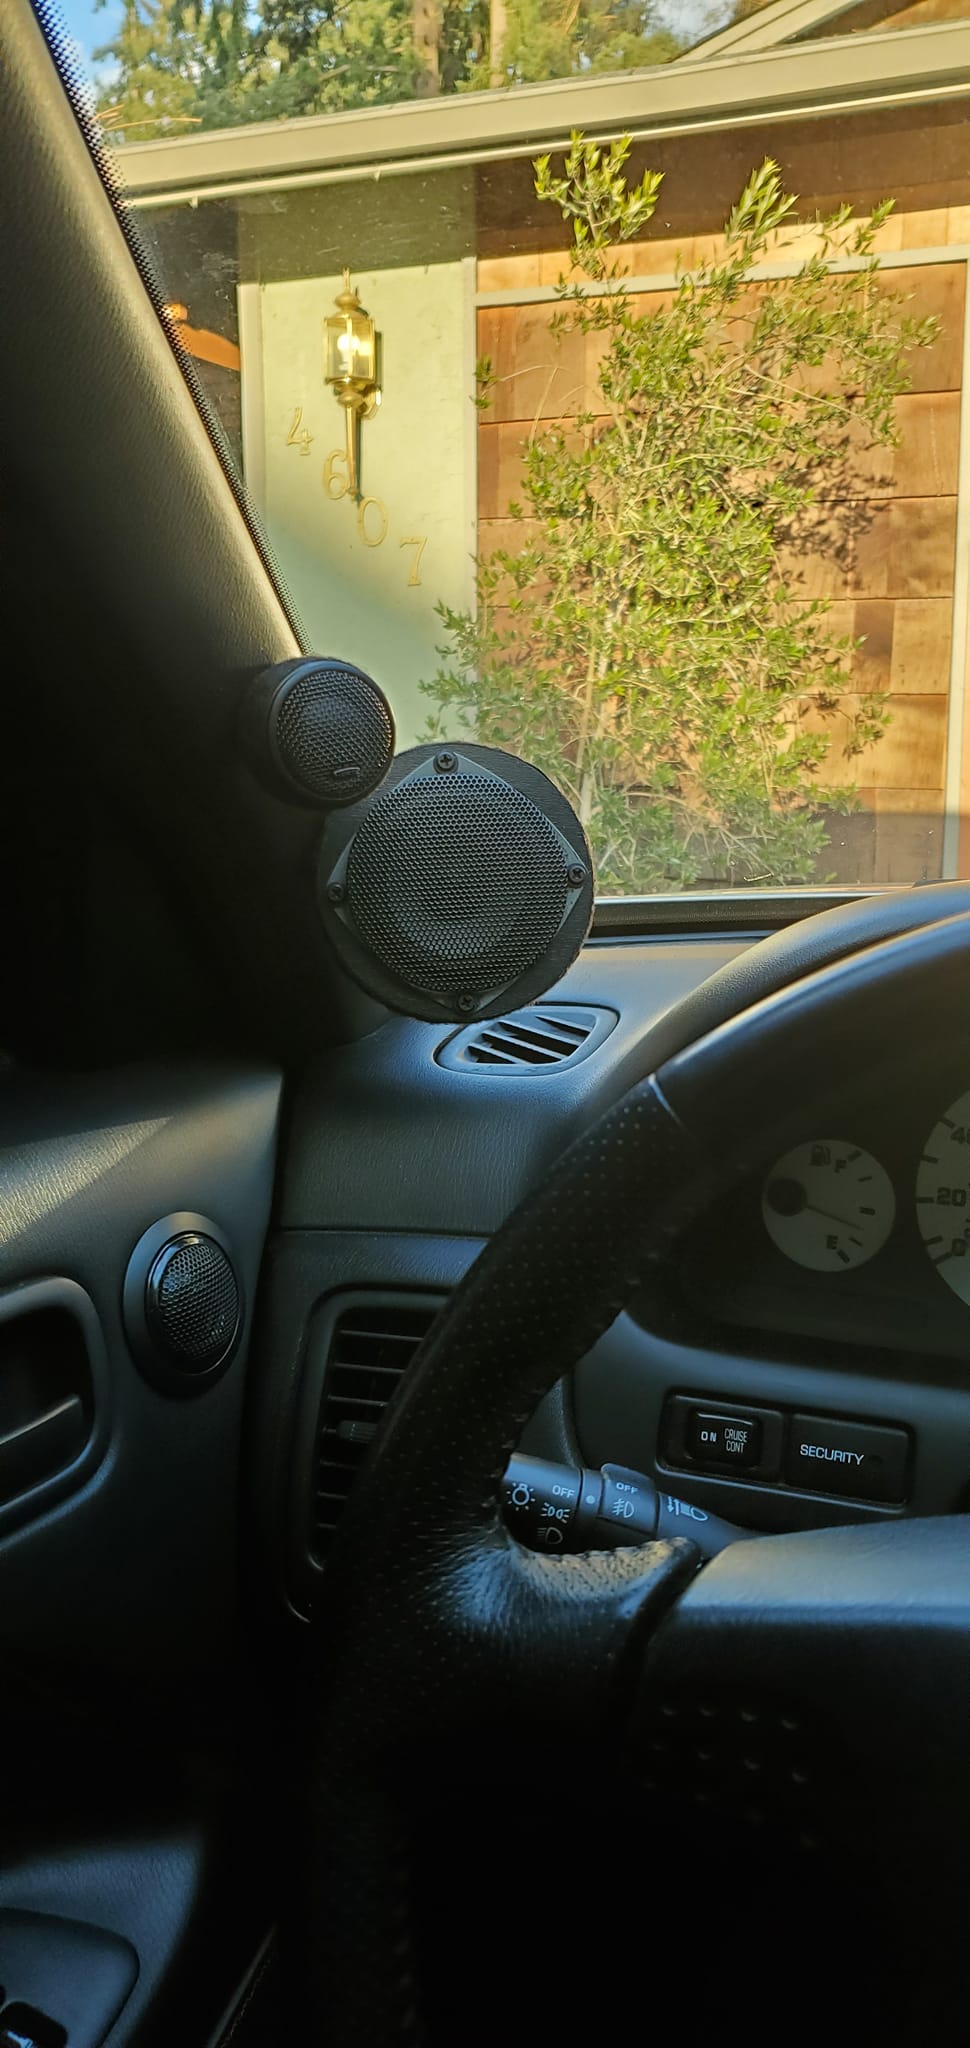
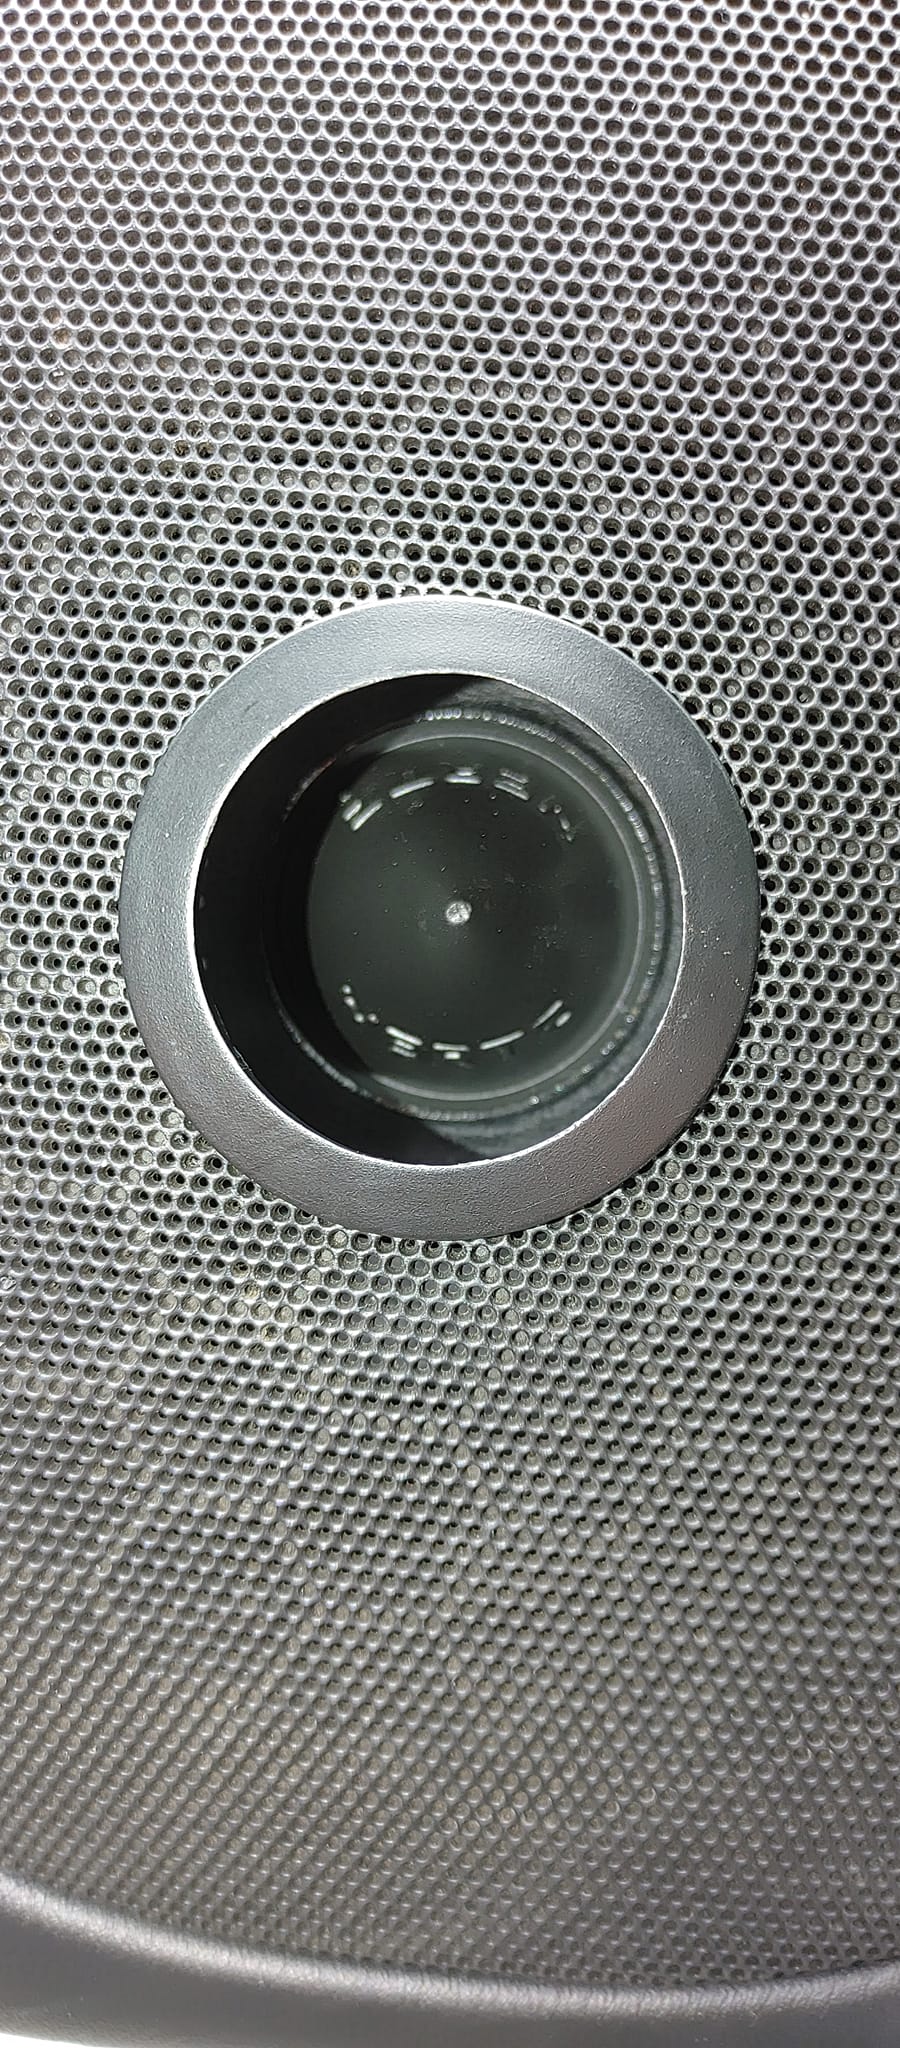
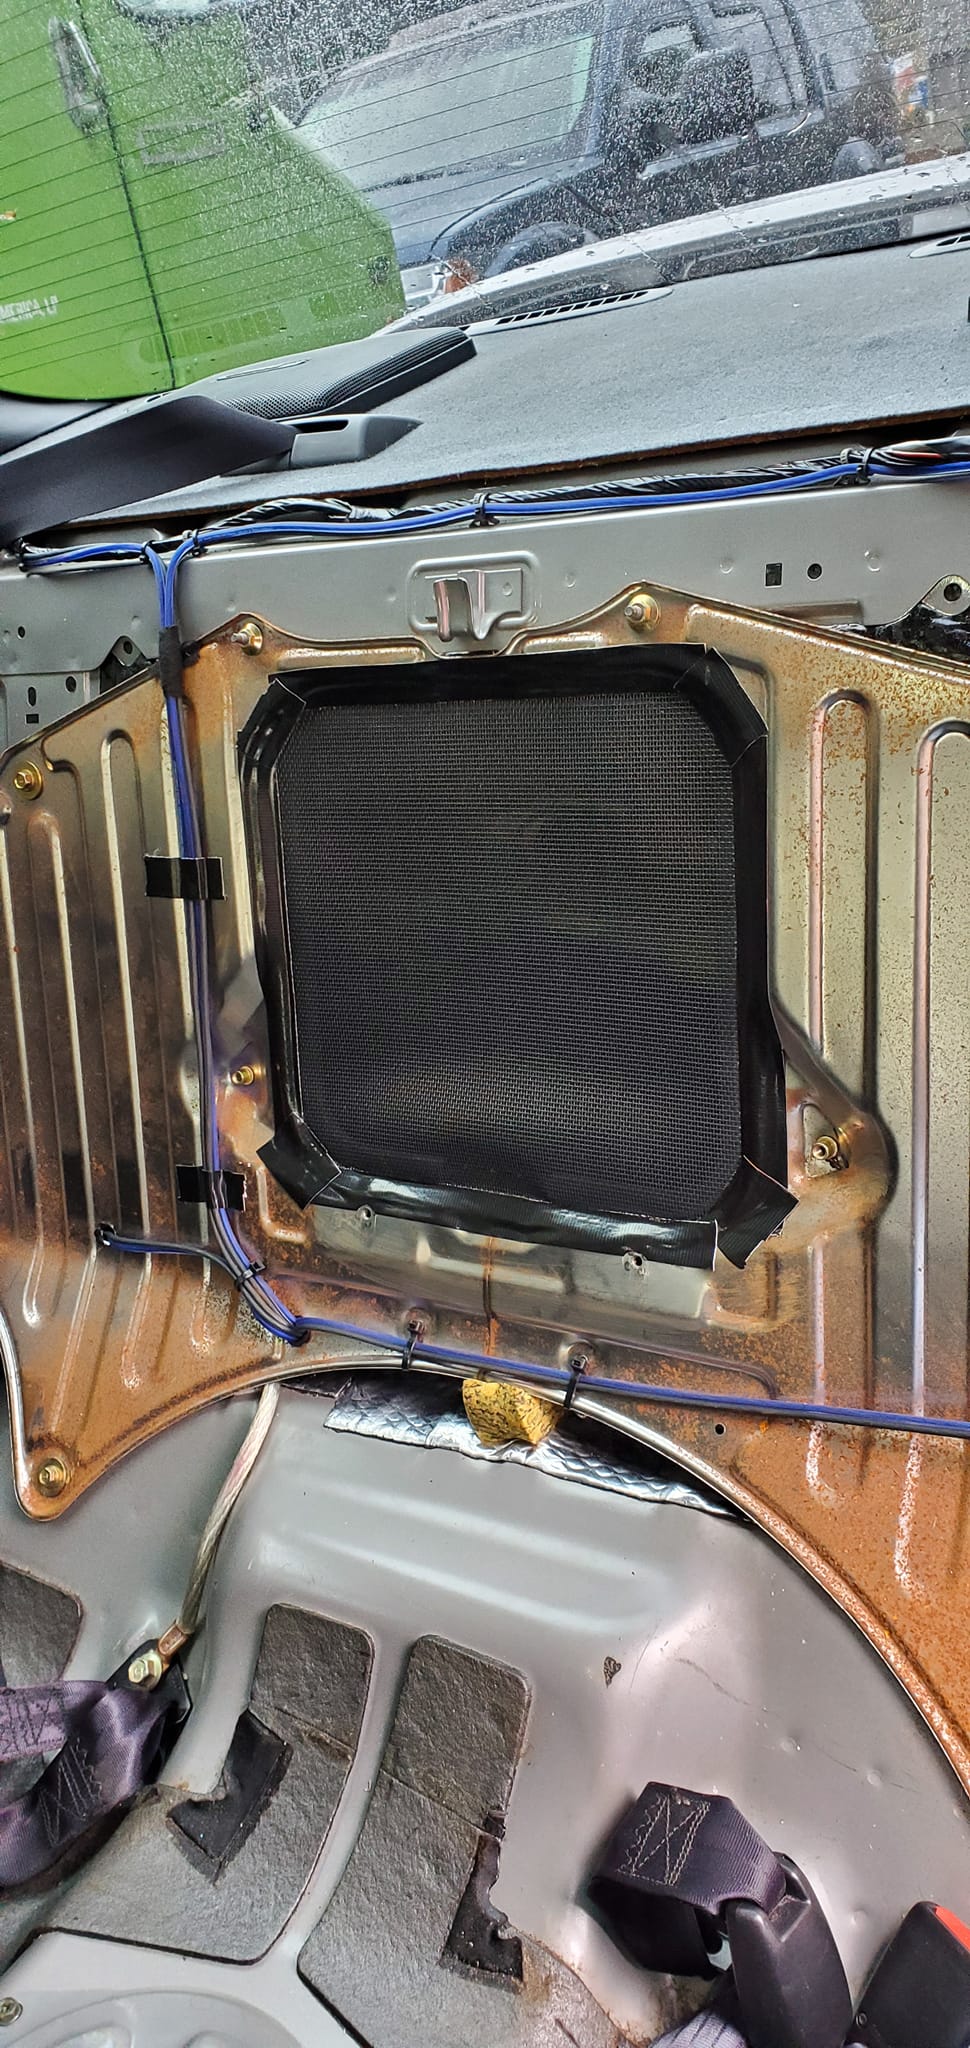
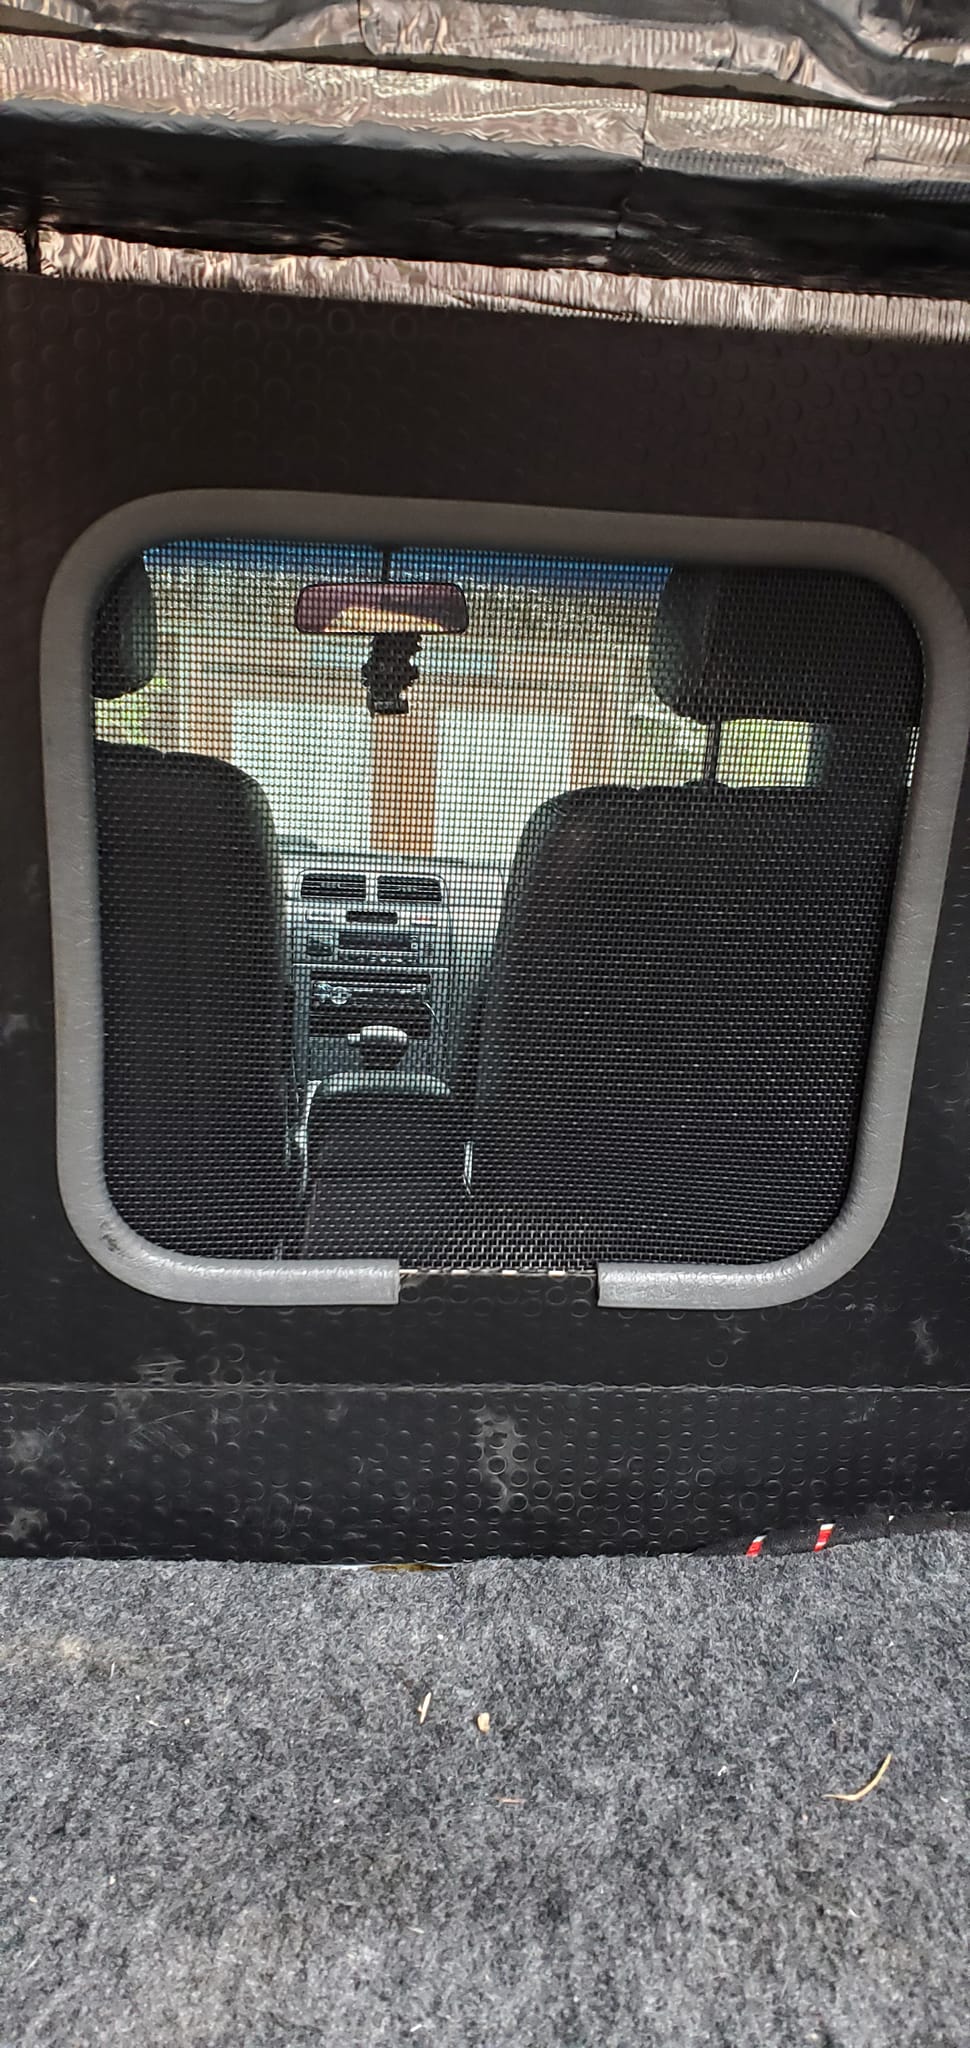
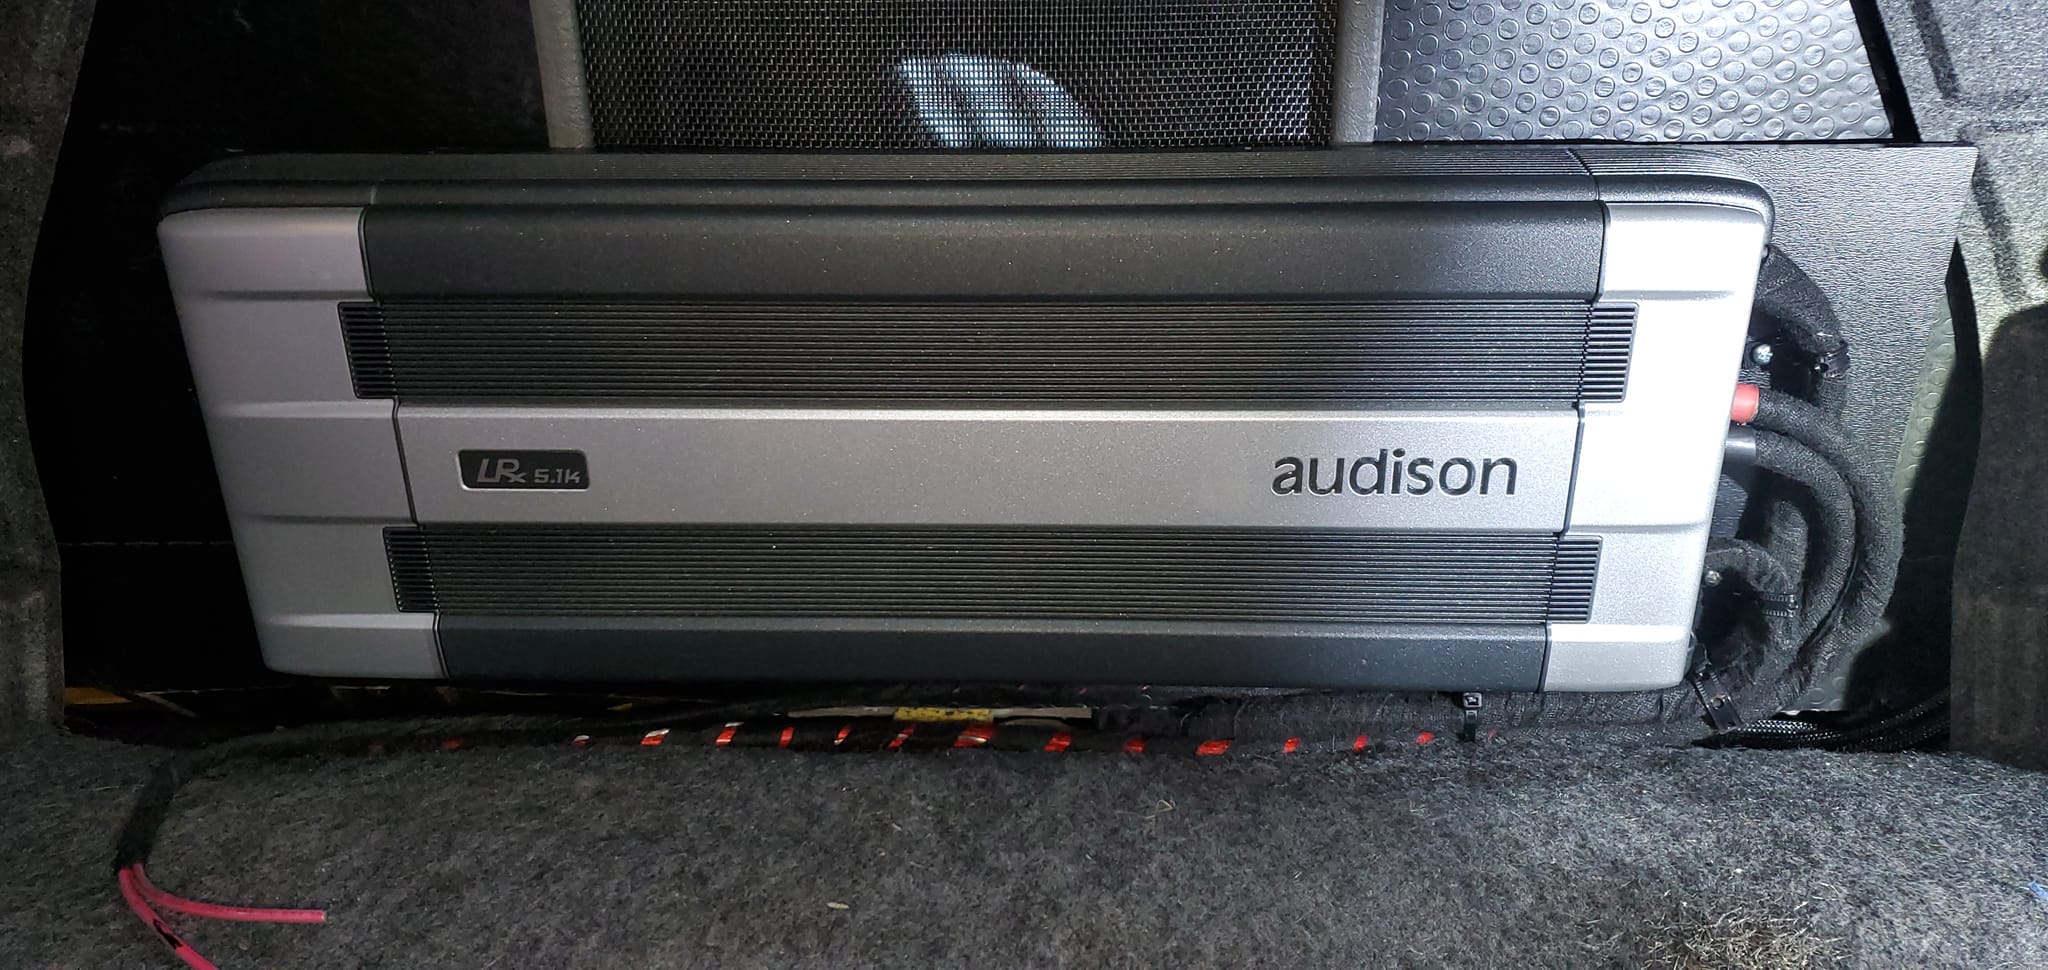
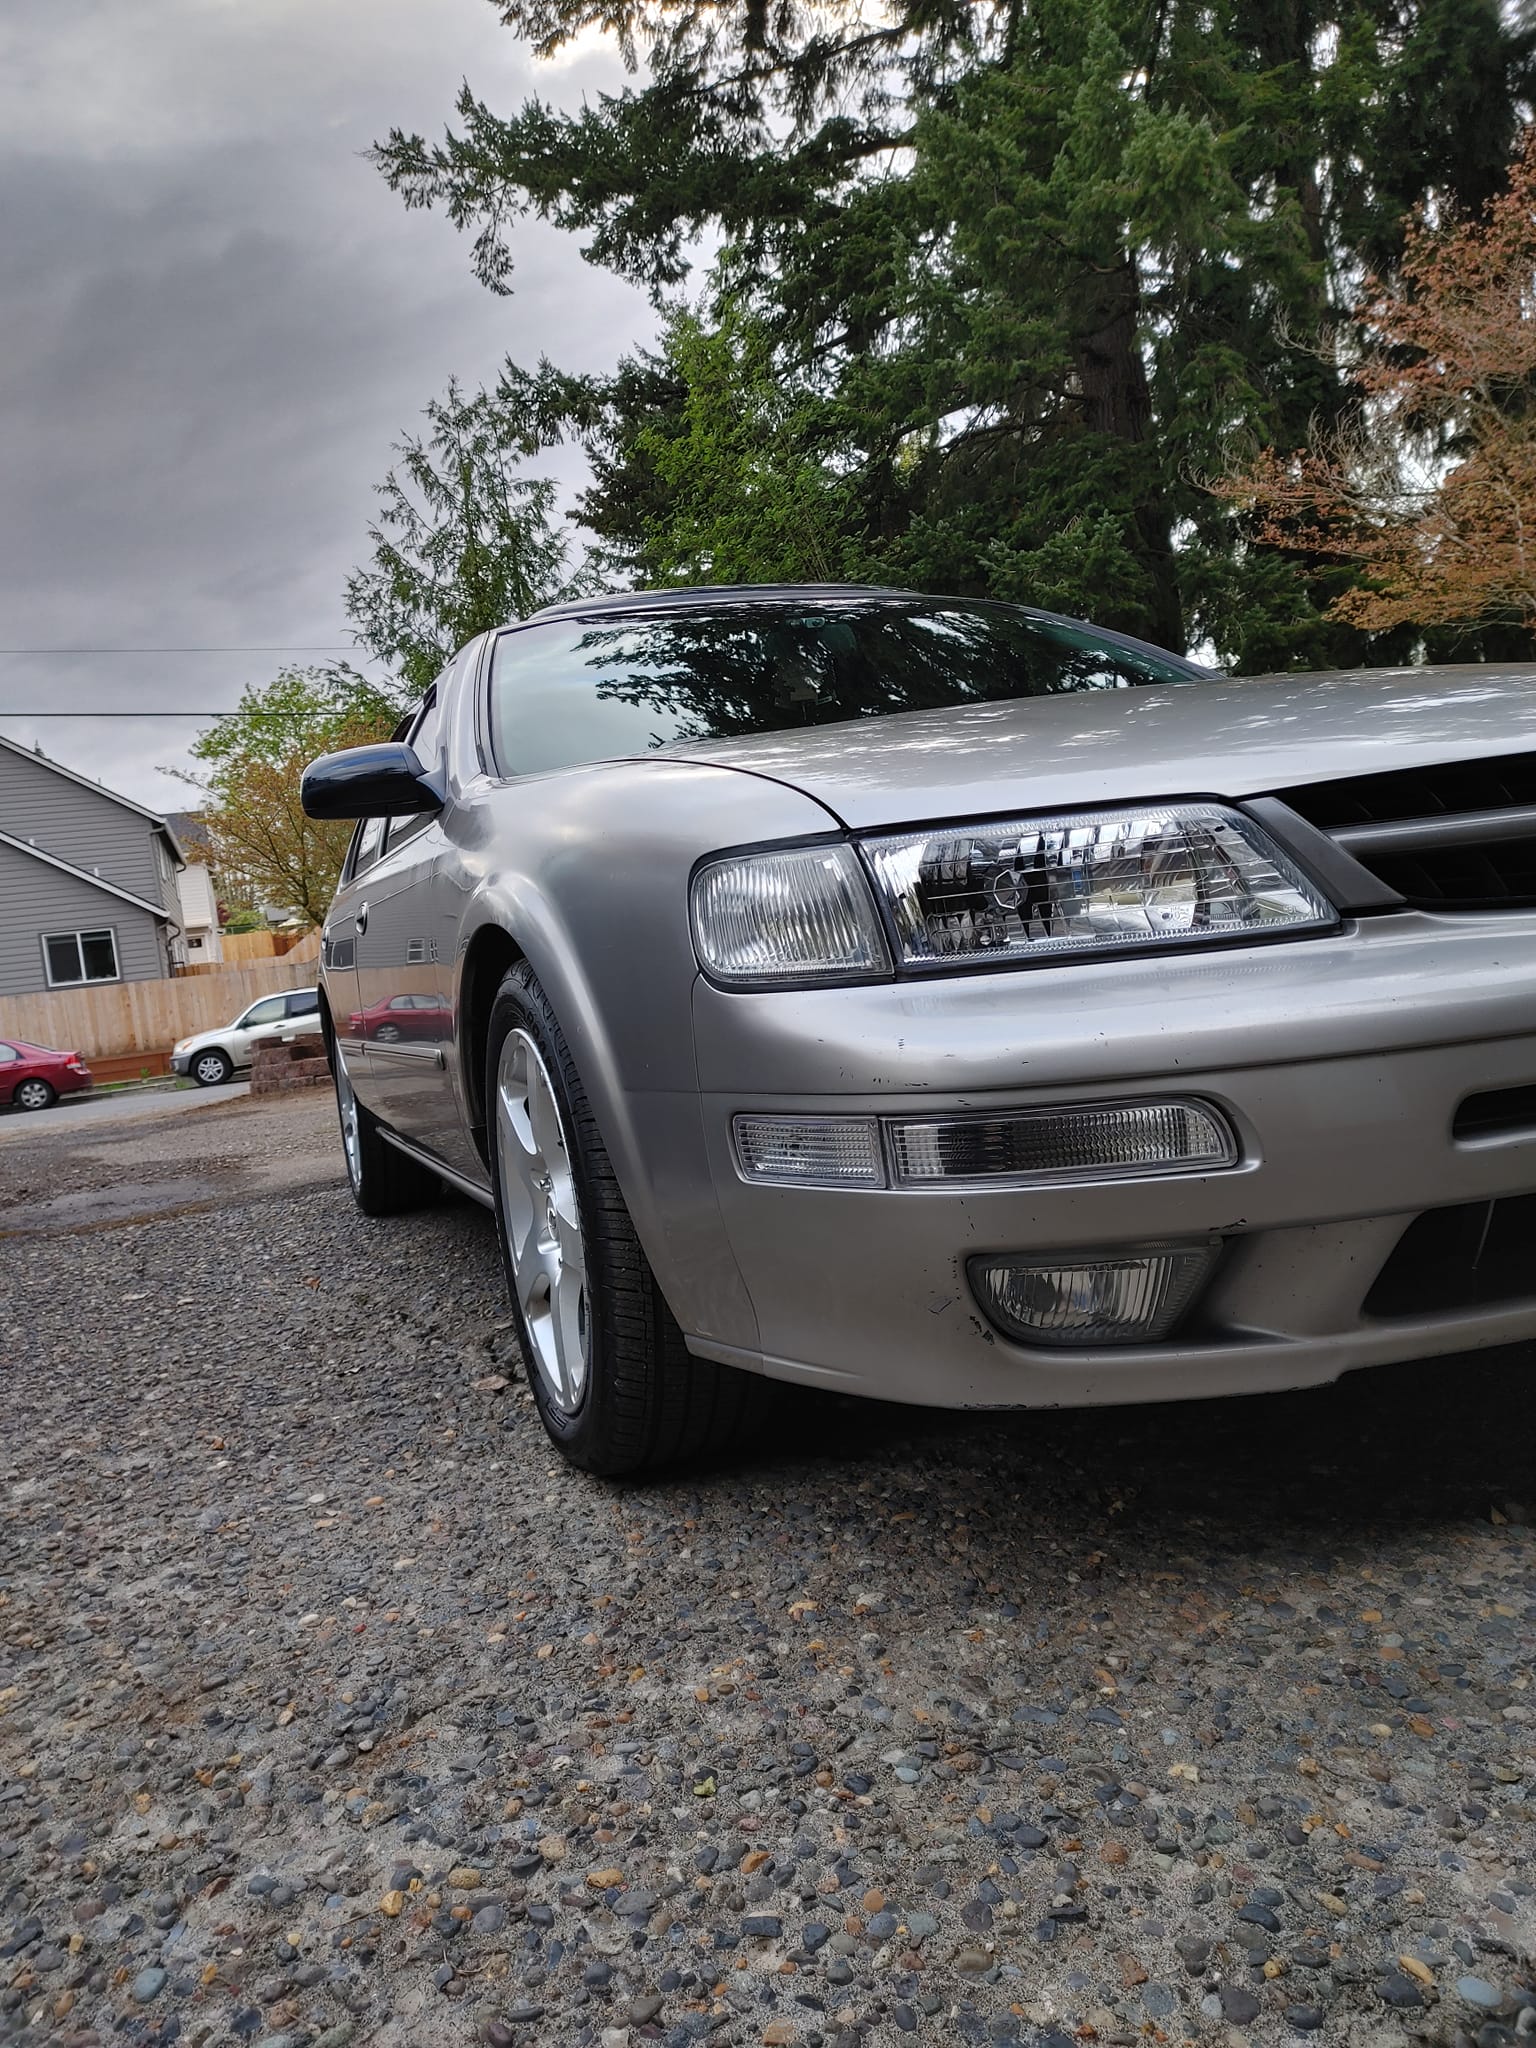
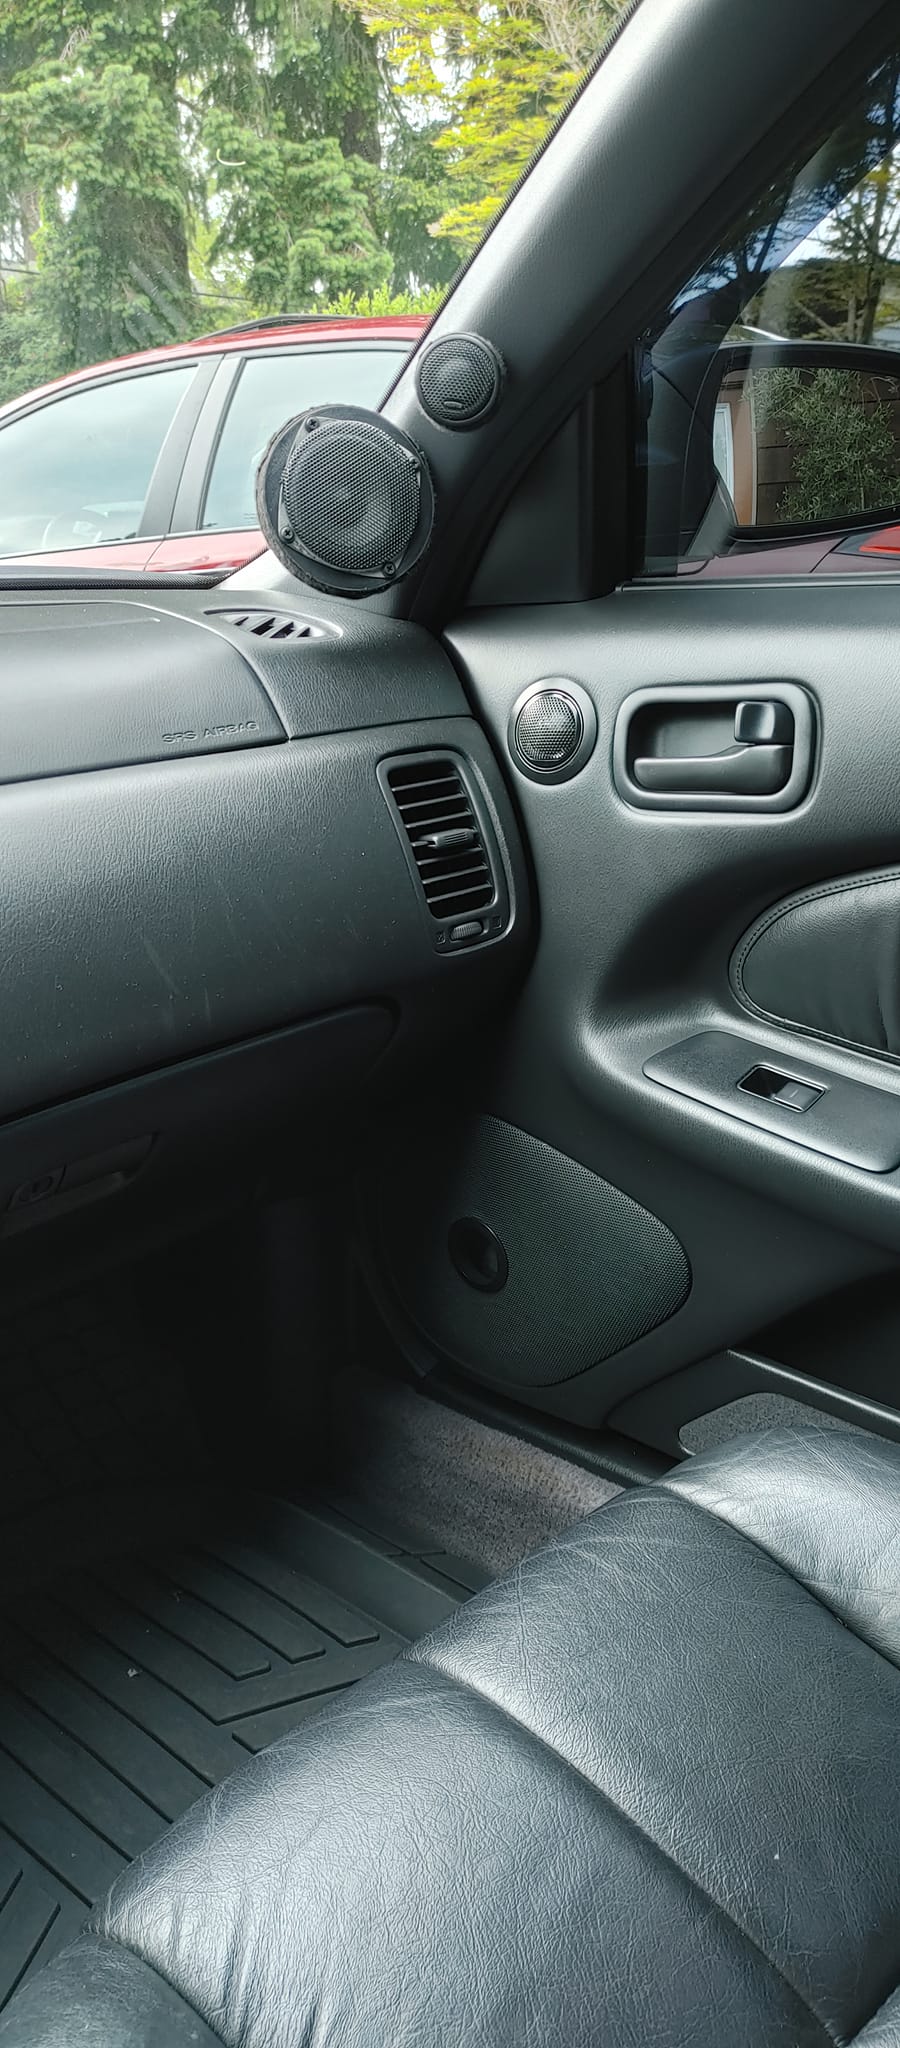
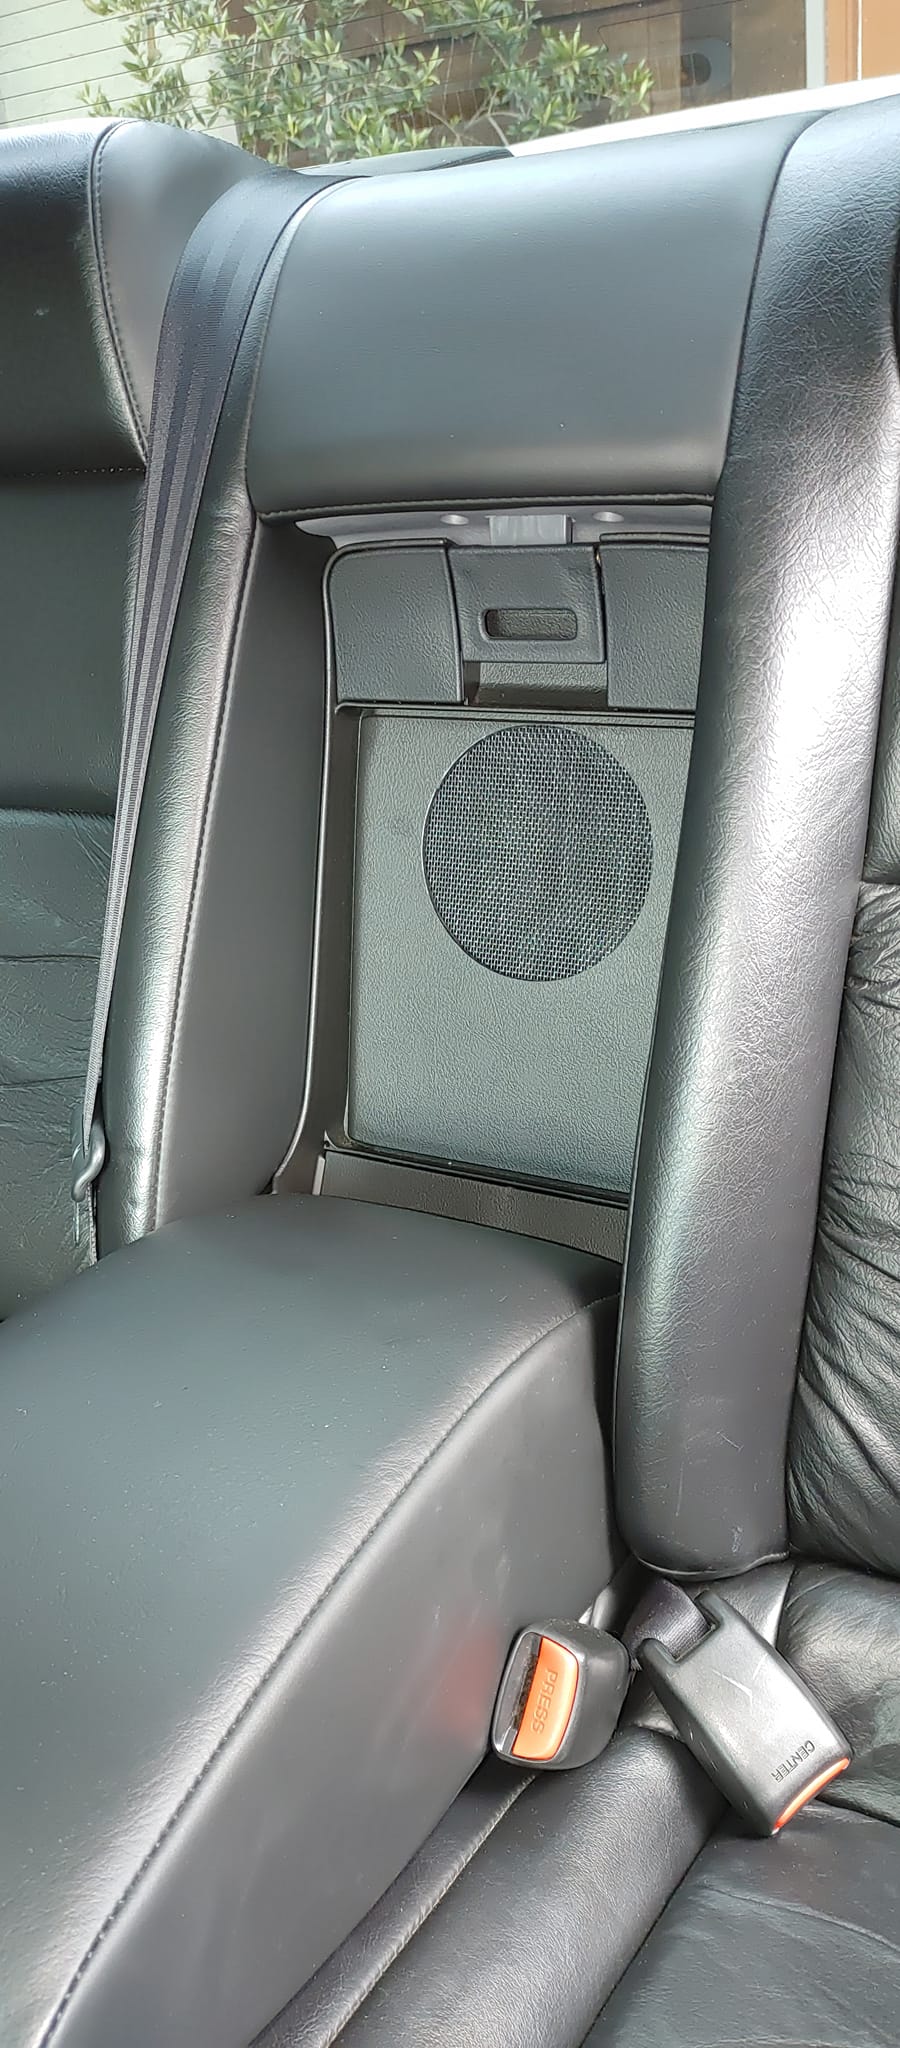
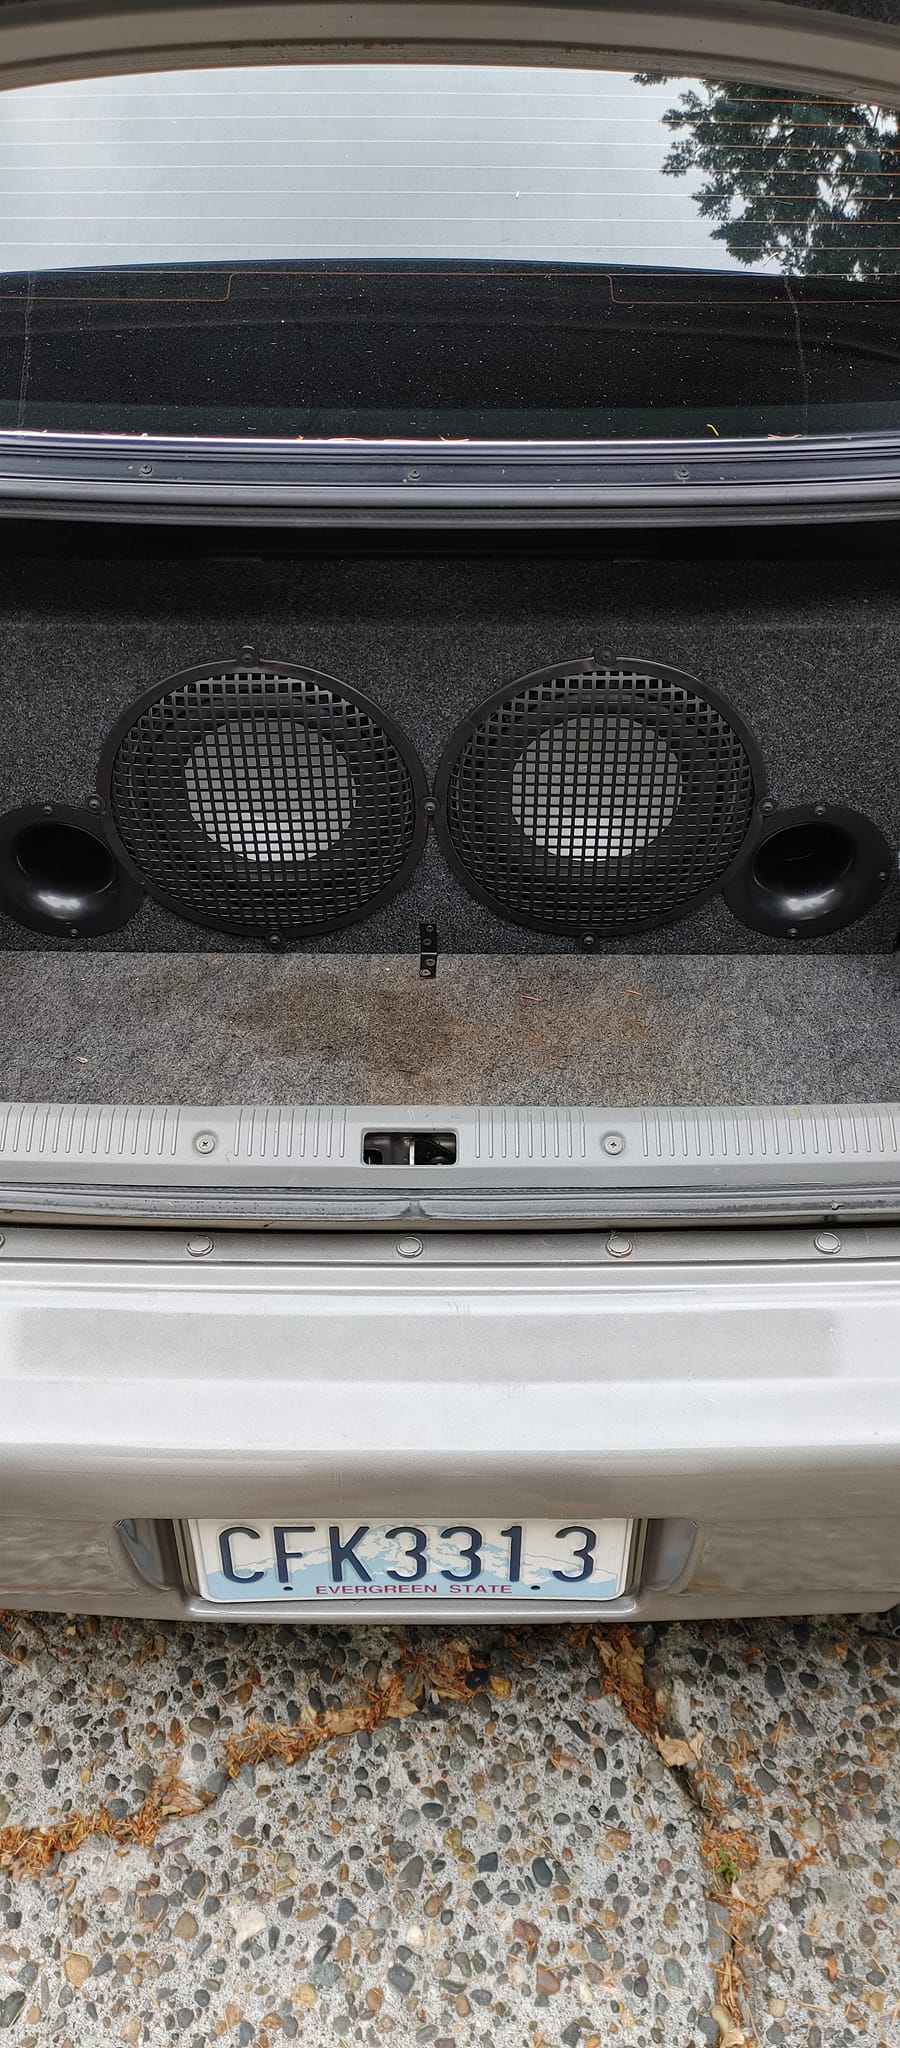
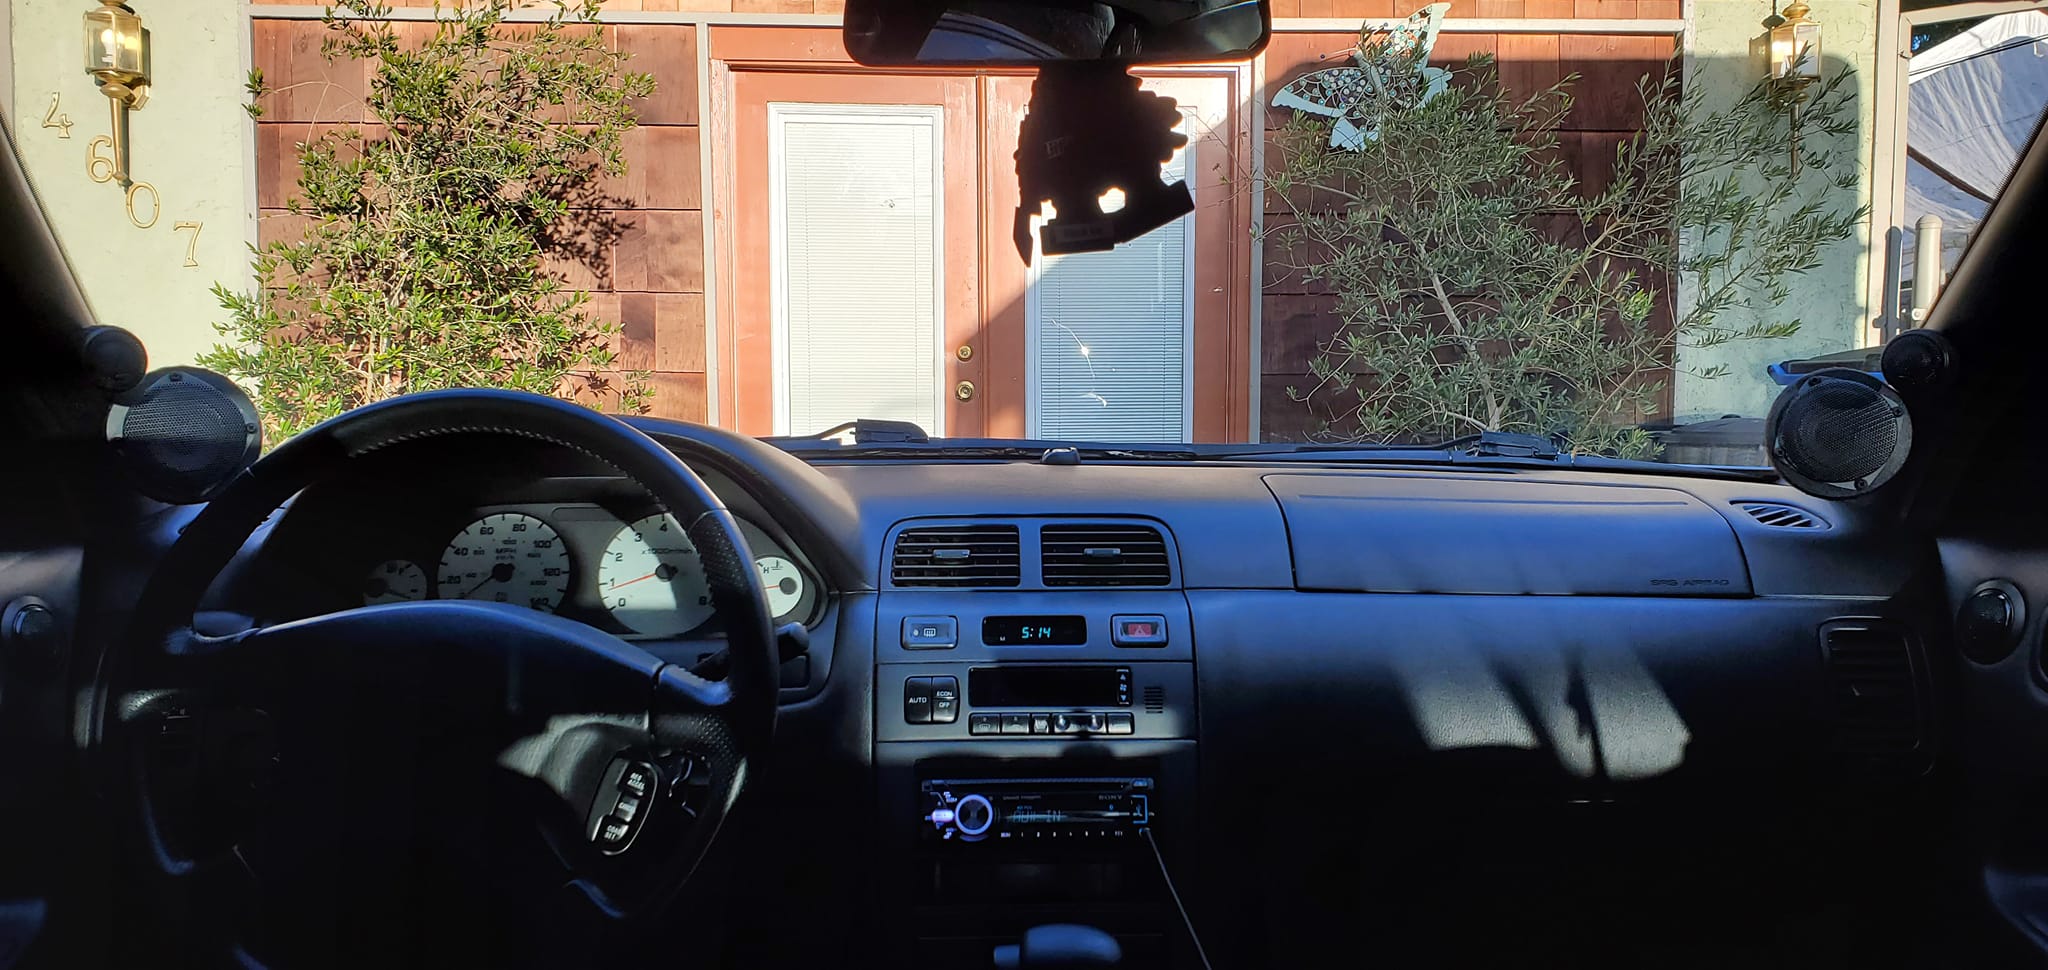
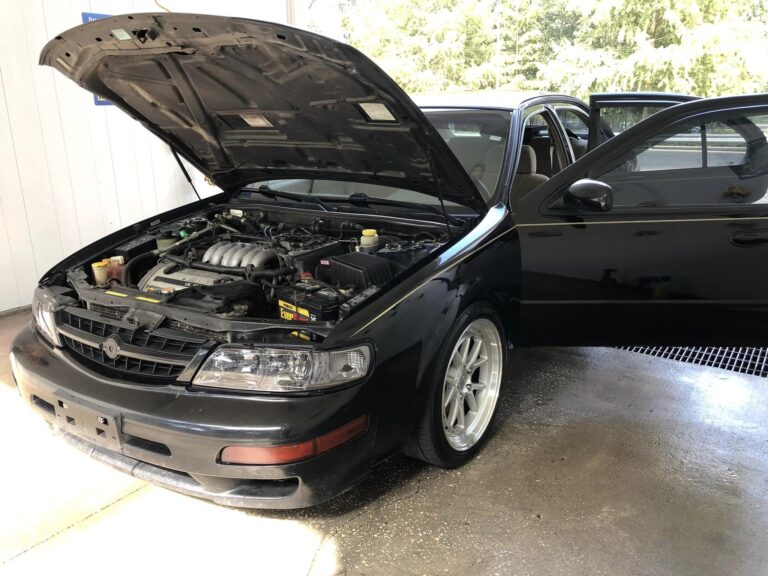
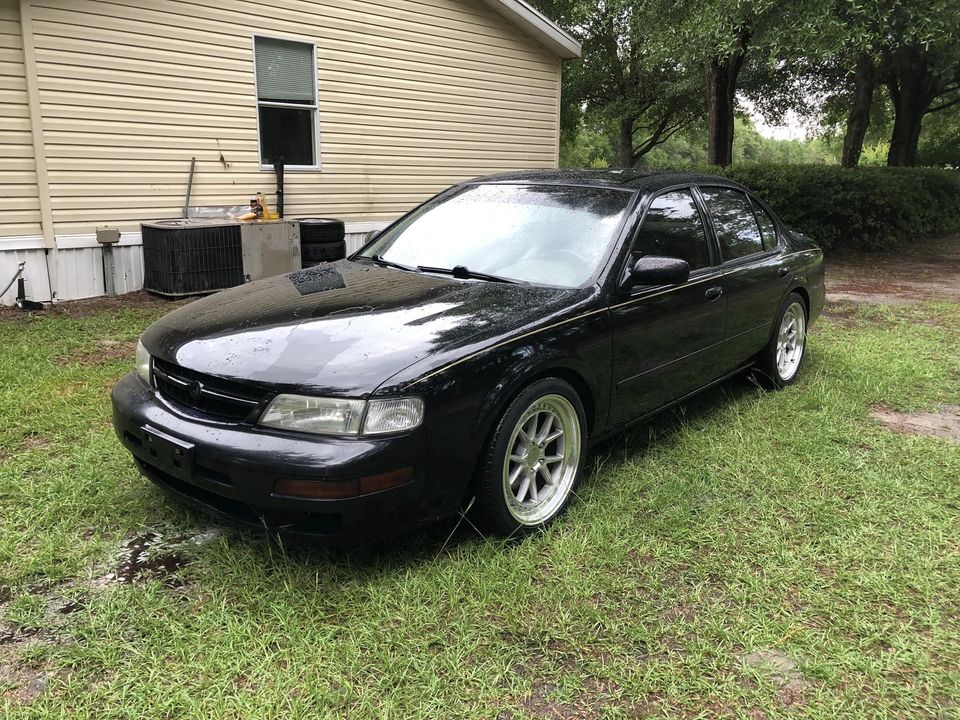
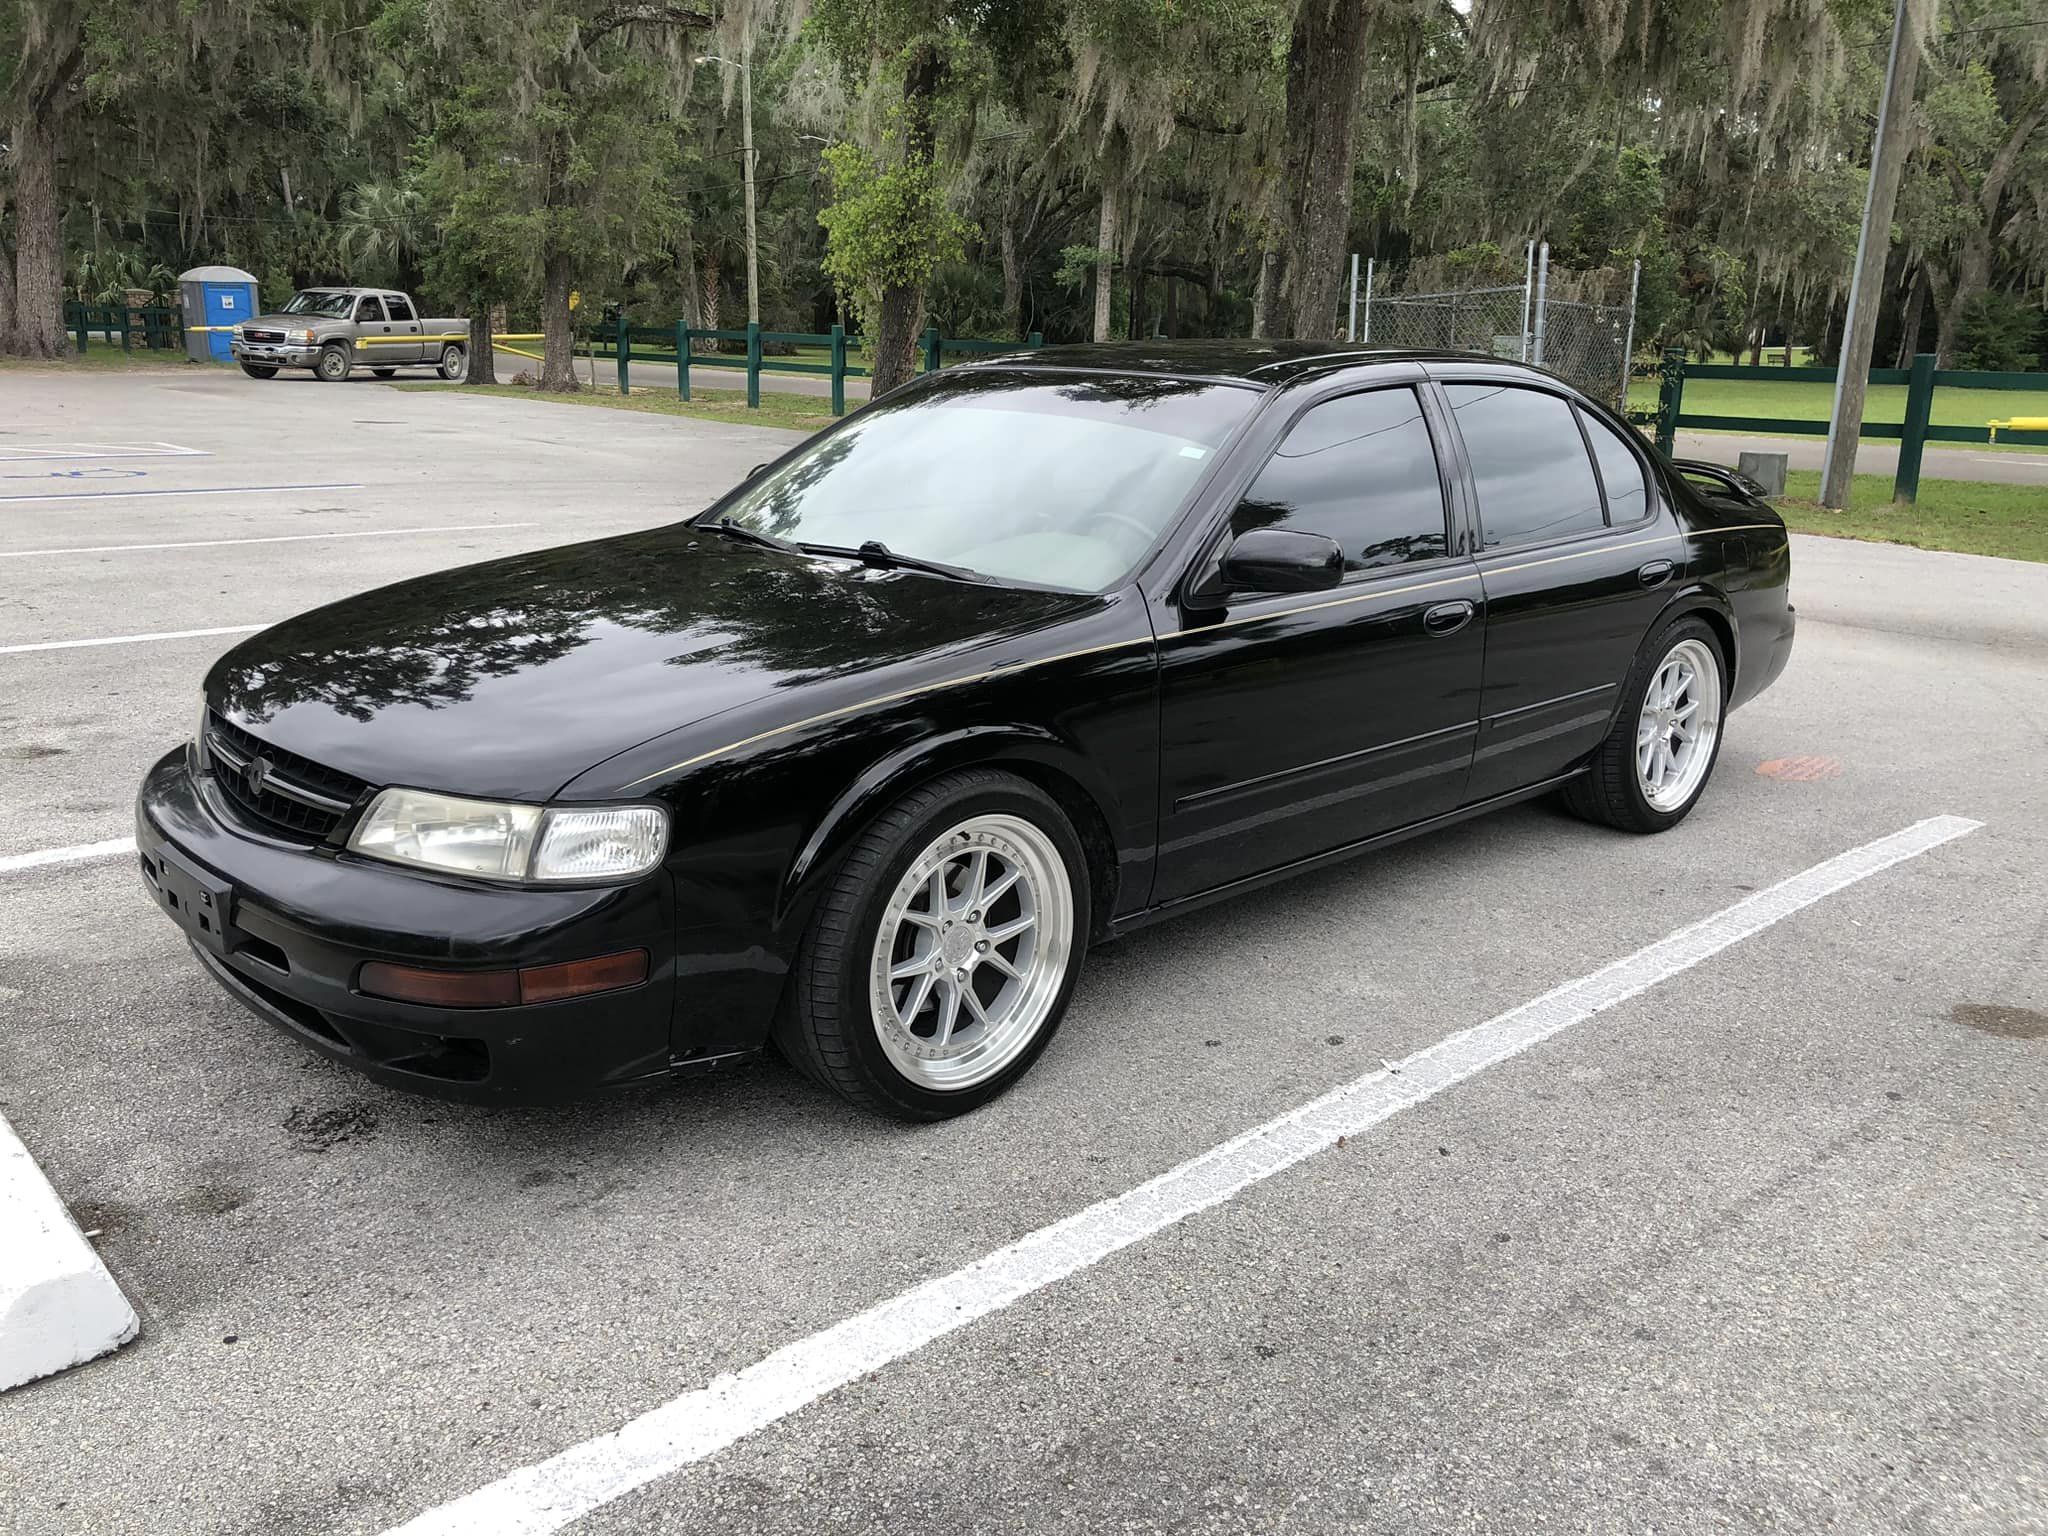
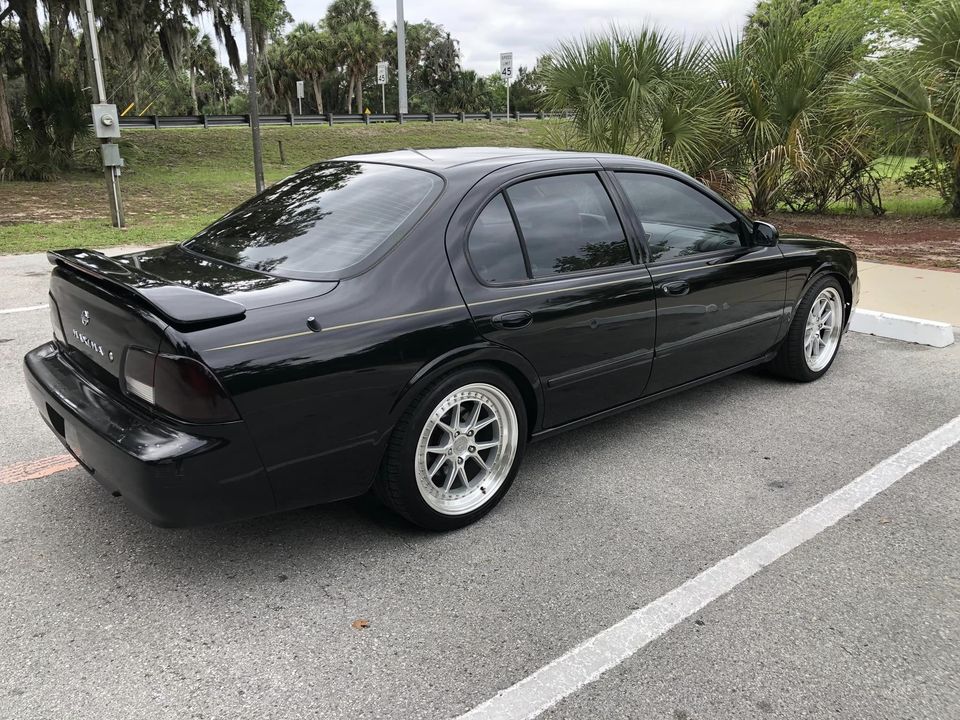
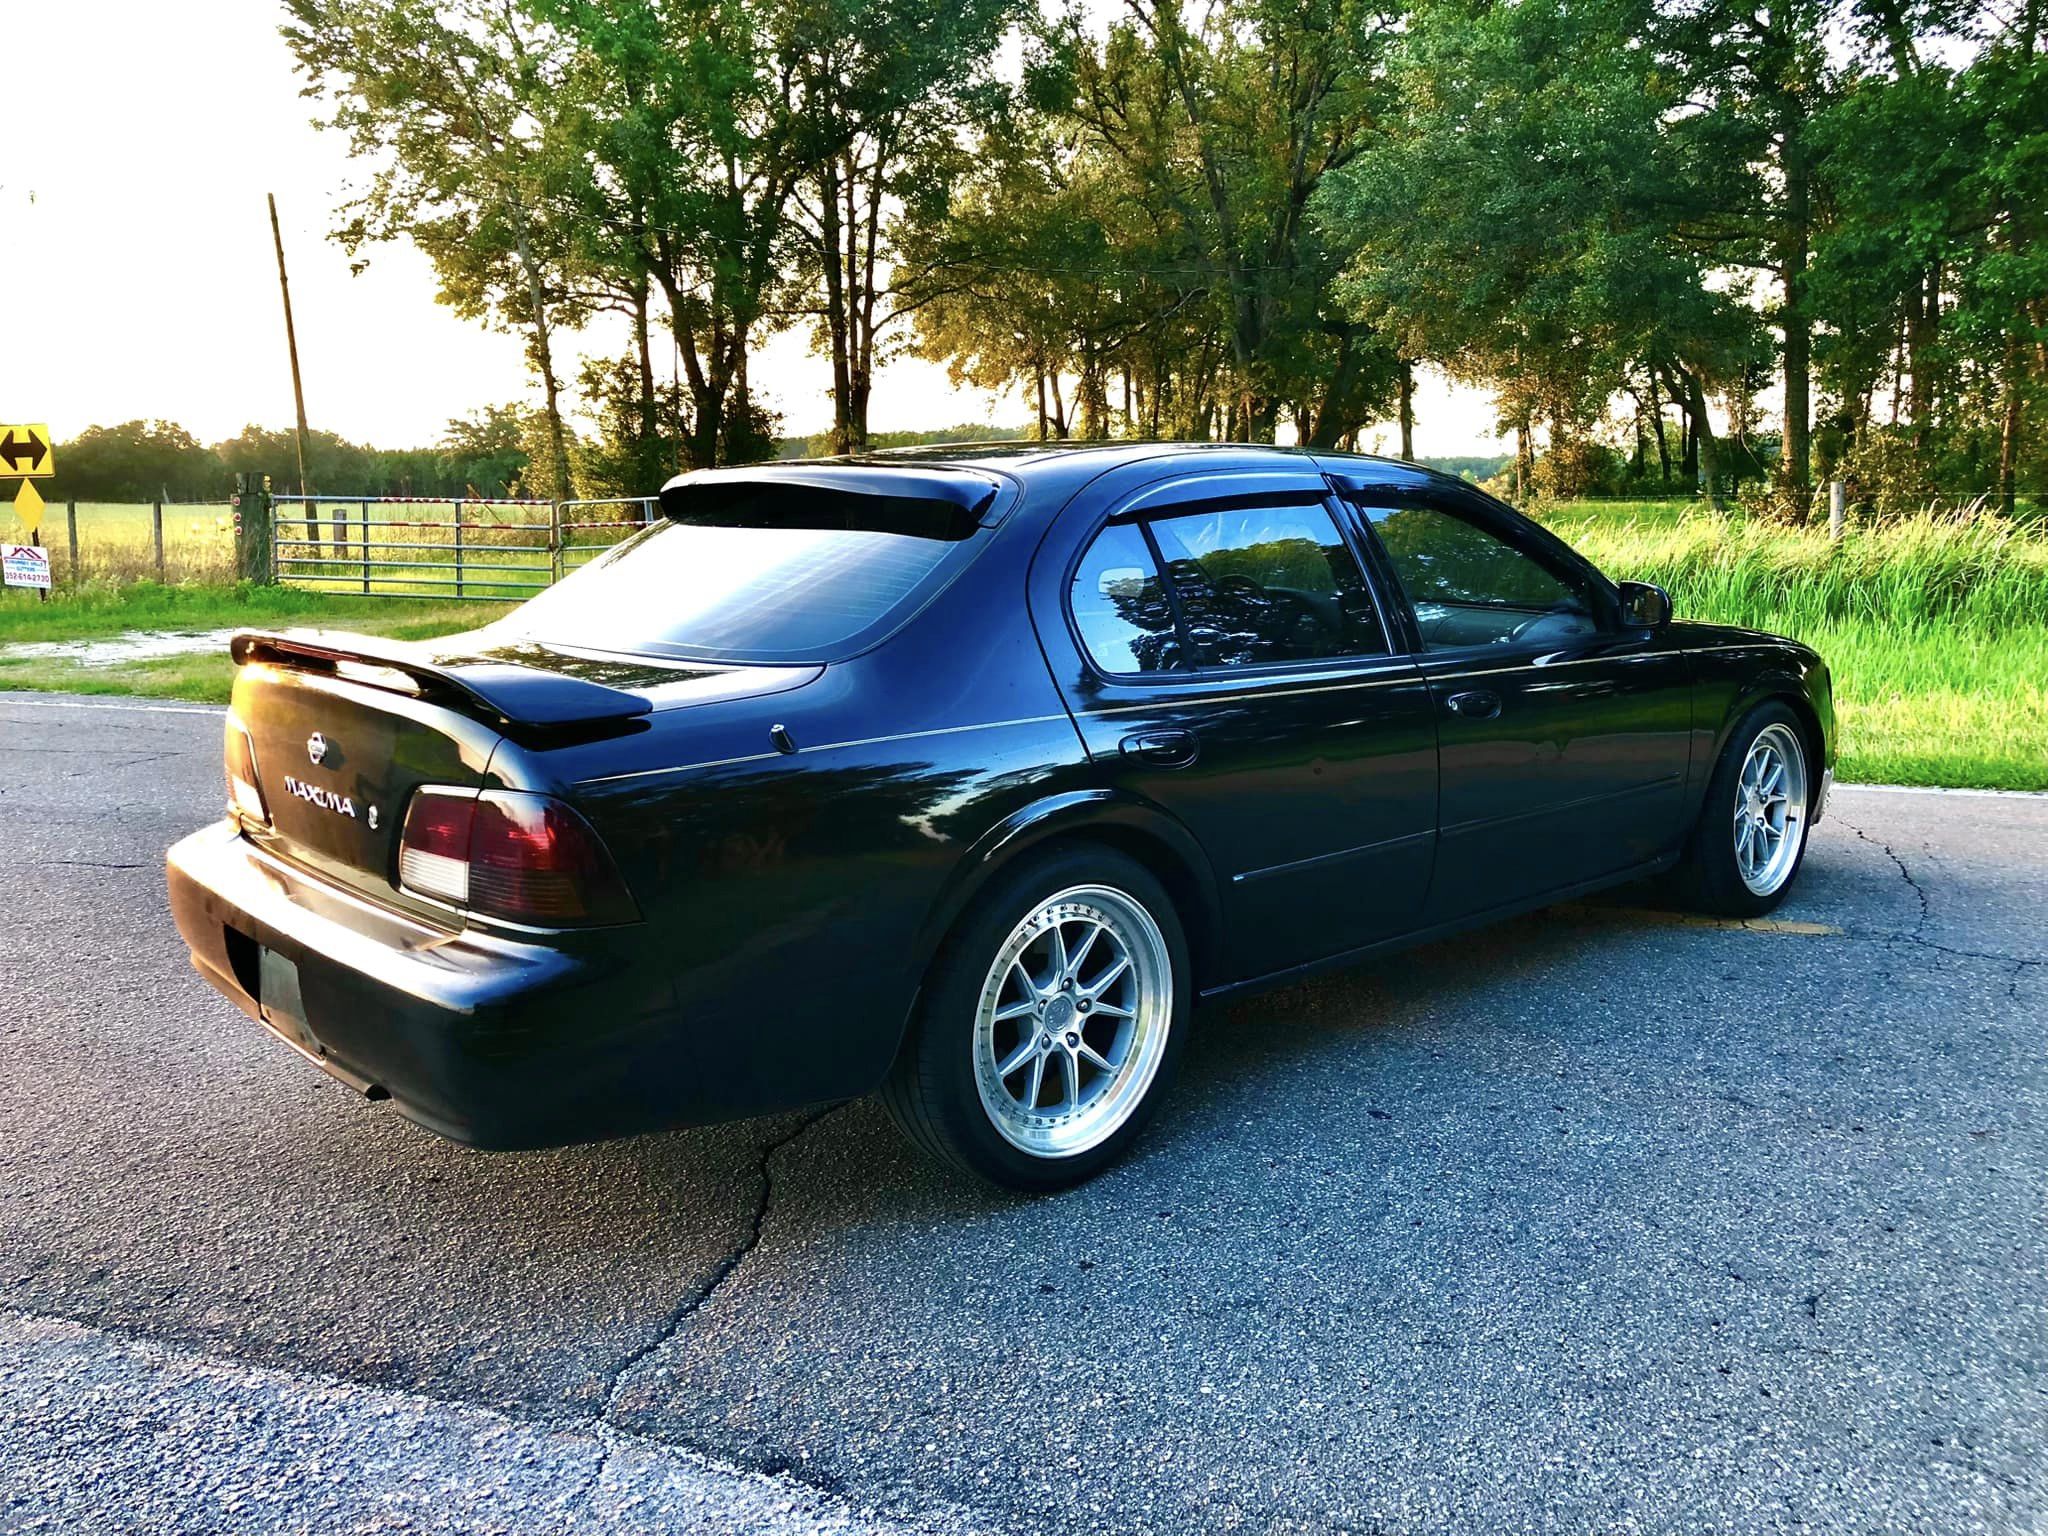
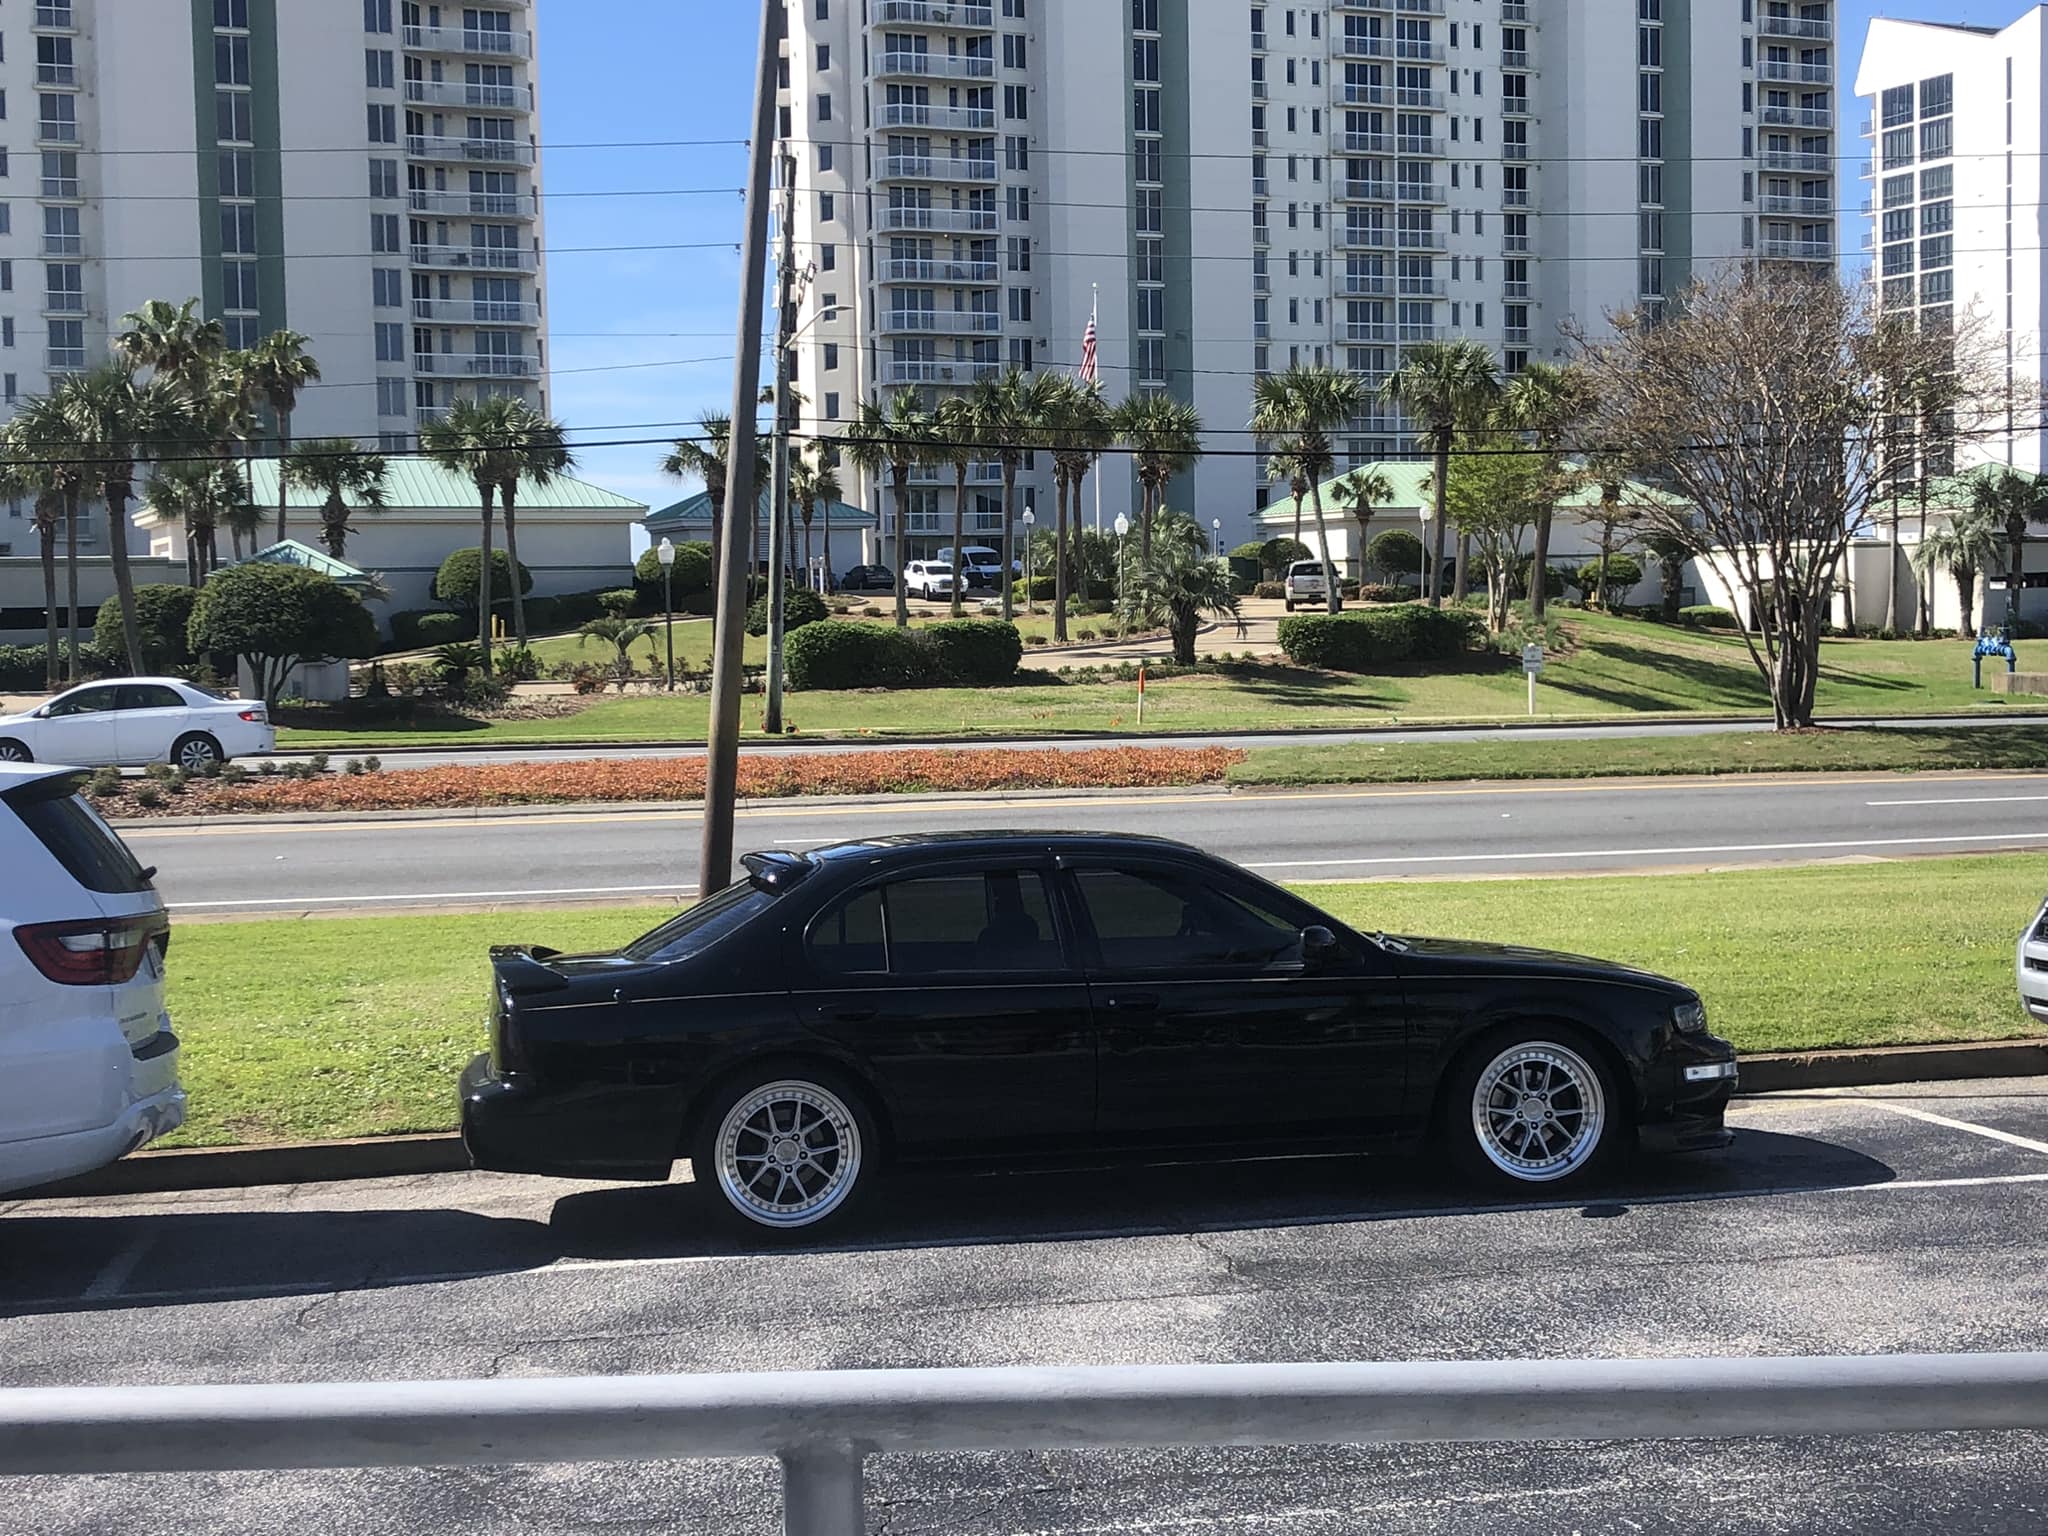
Owner: Tyler H.
Year: 1997
Model: Maxima
Color: Black
Engine: VQ30DE
Transmission: 4-Speed Automatic
Trim: GLE

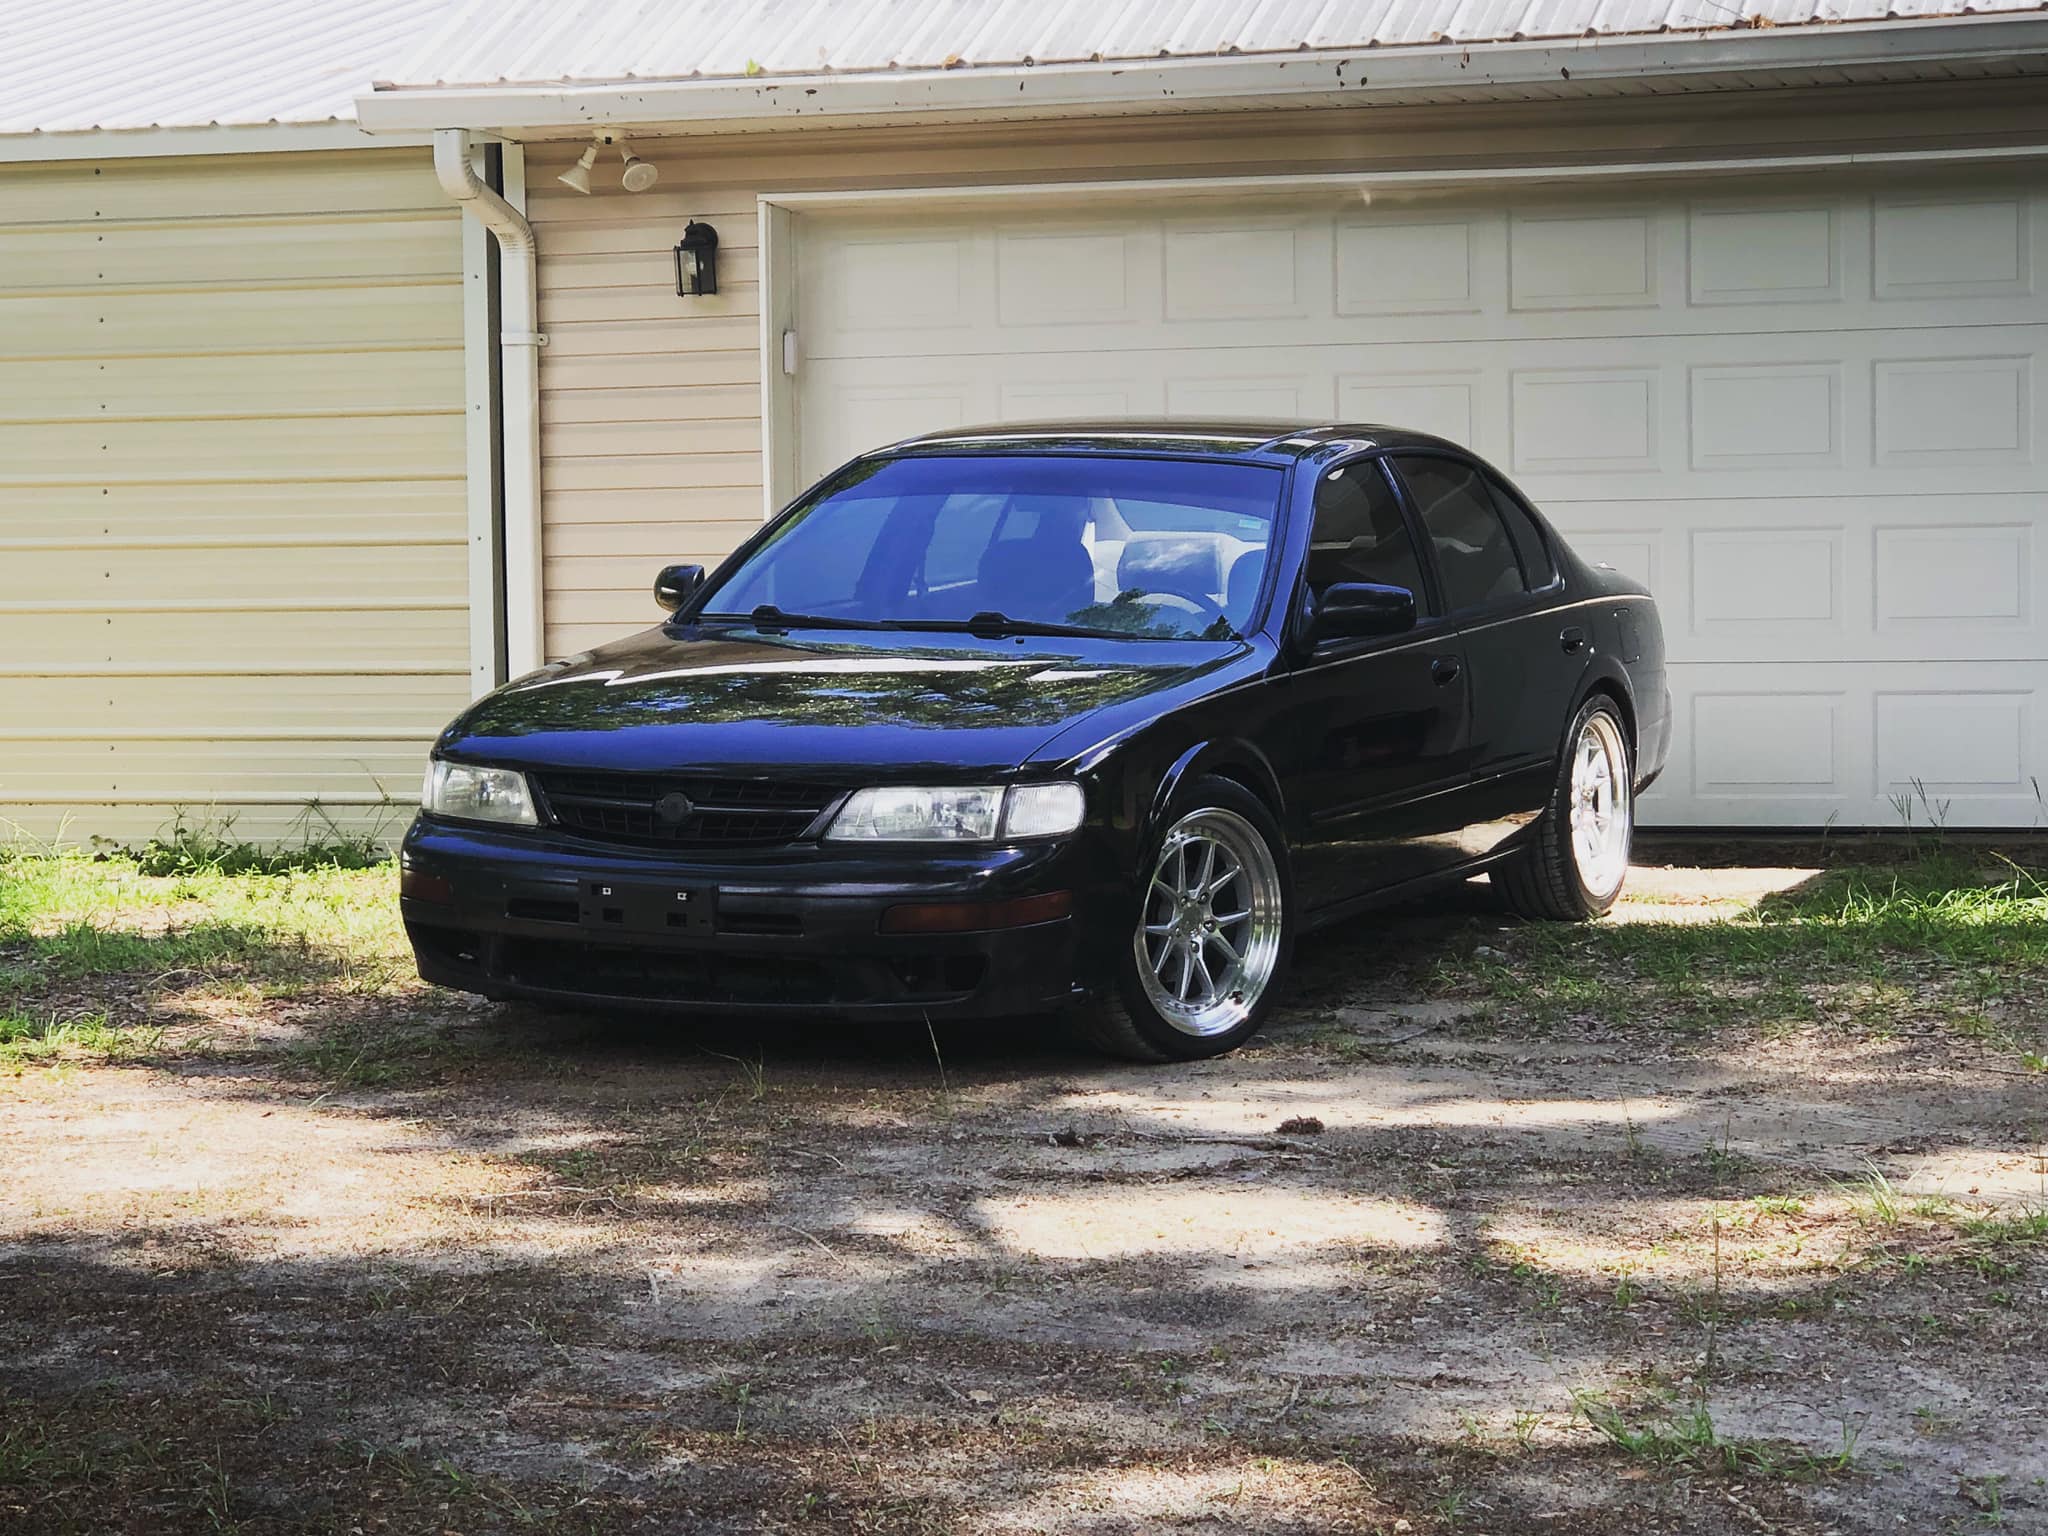
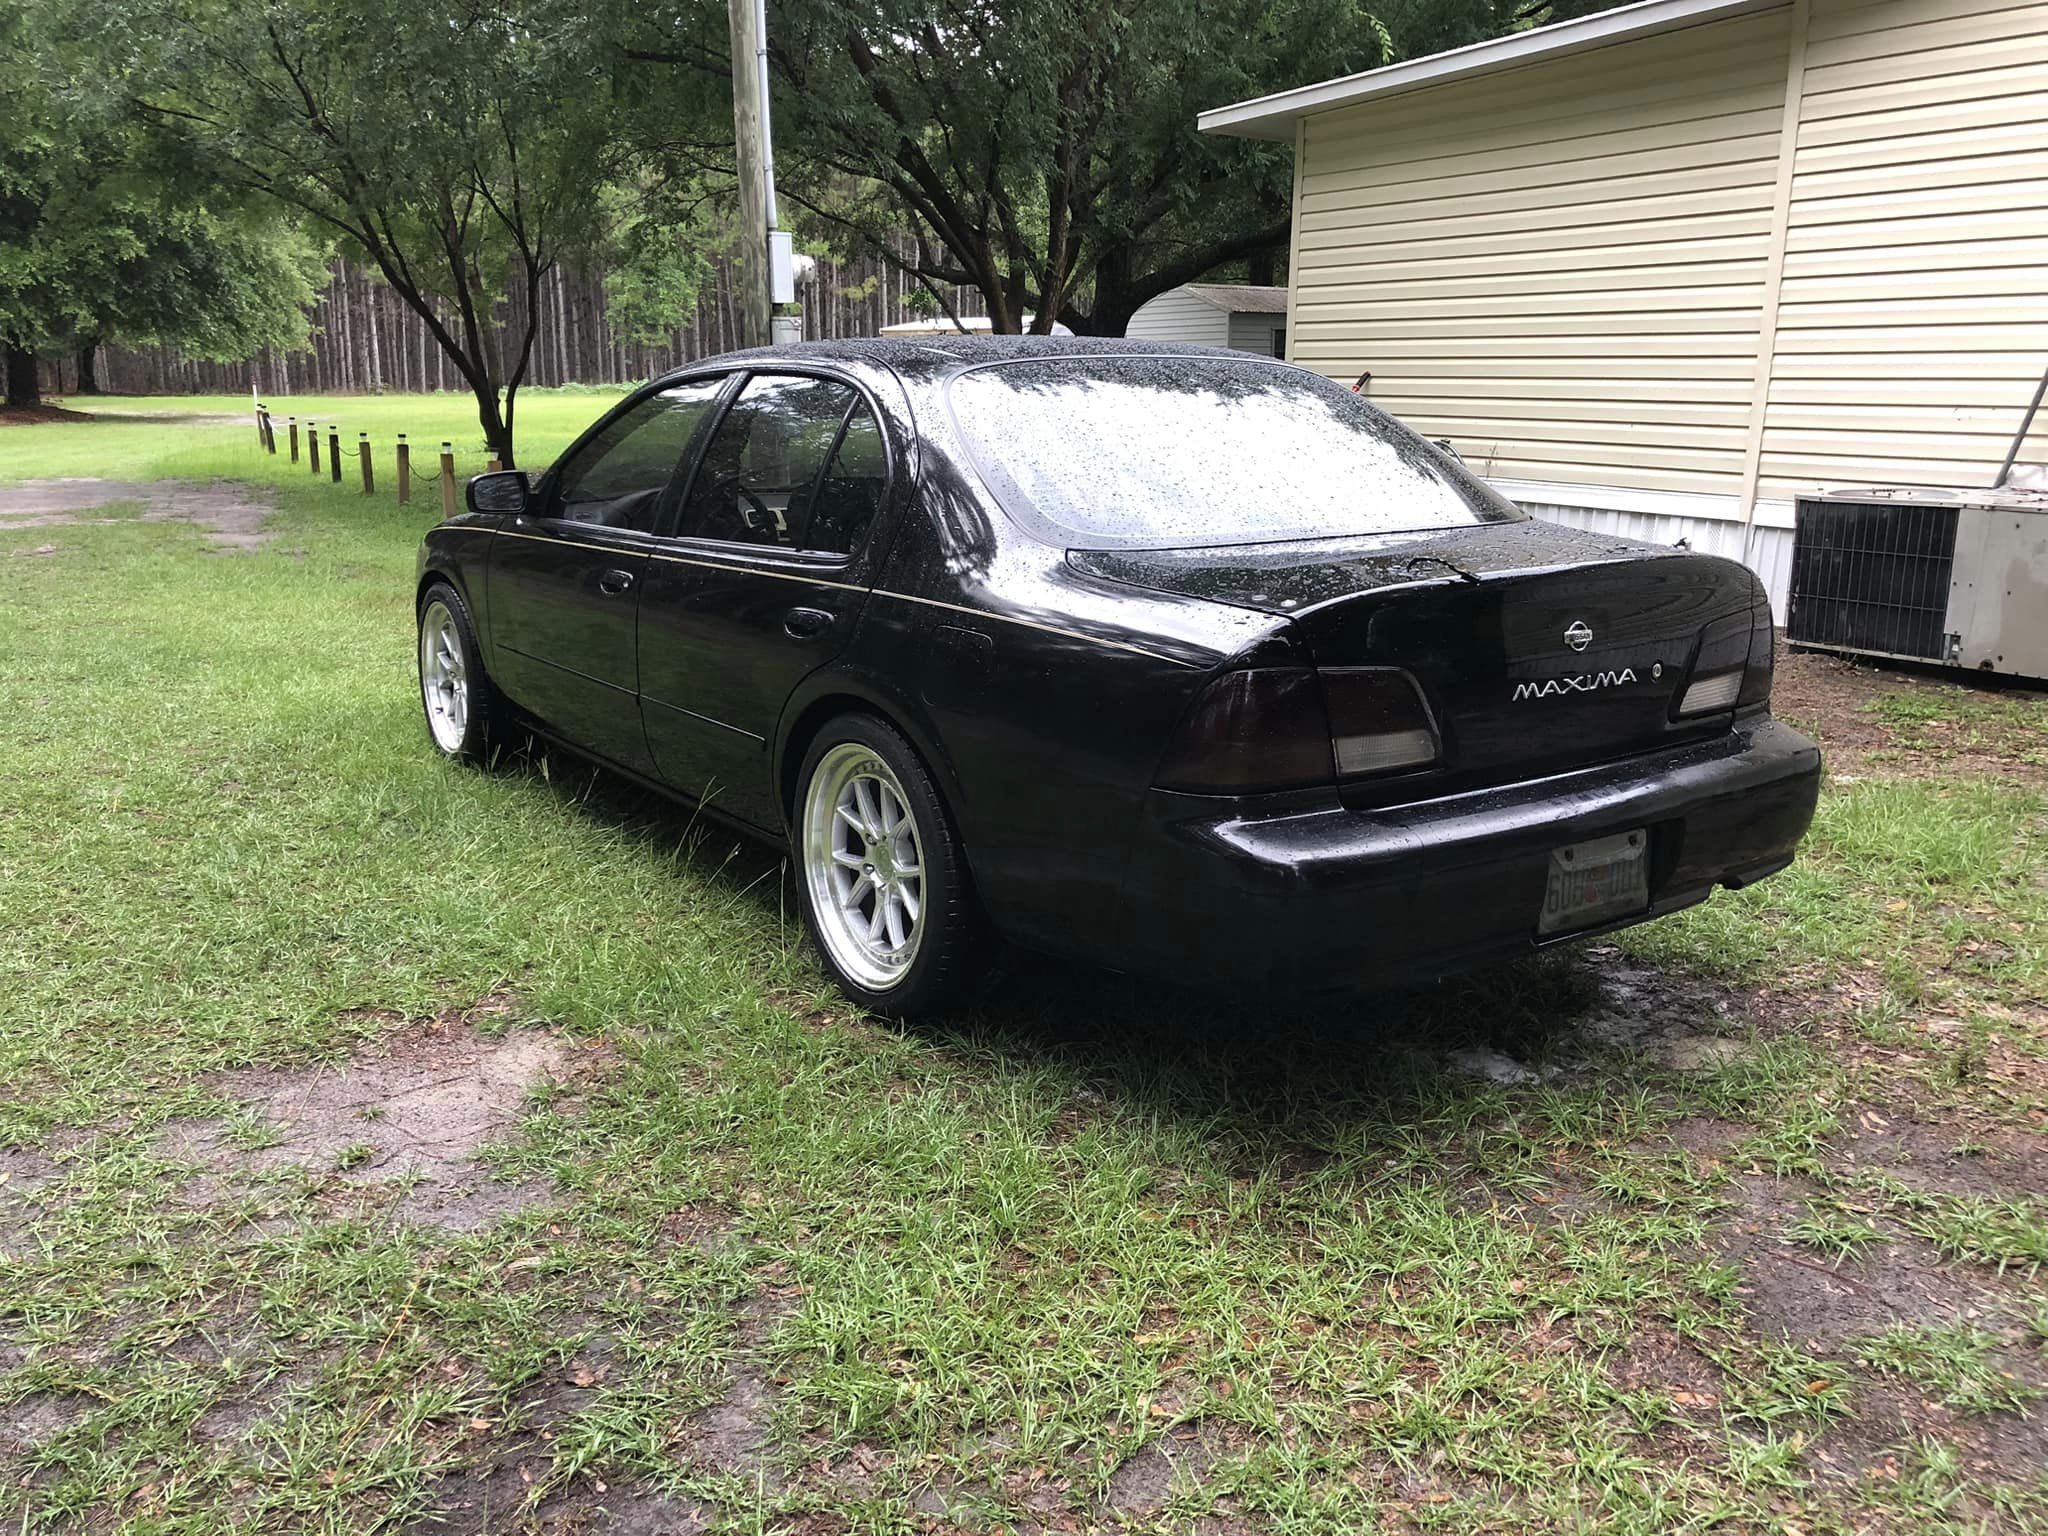
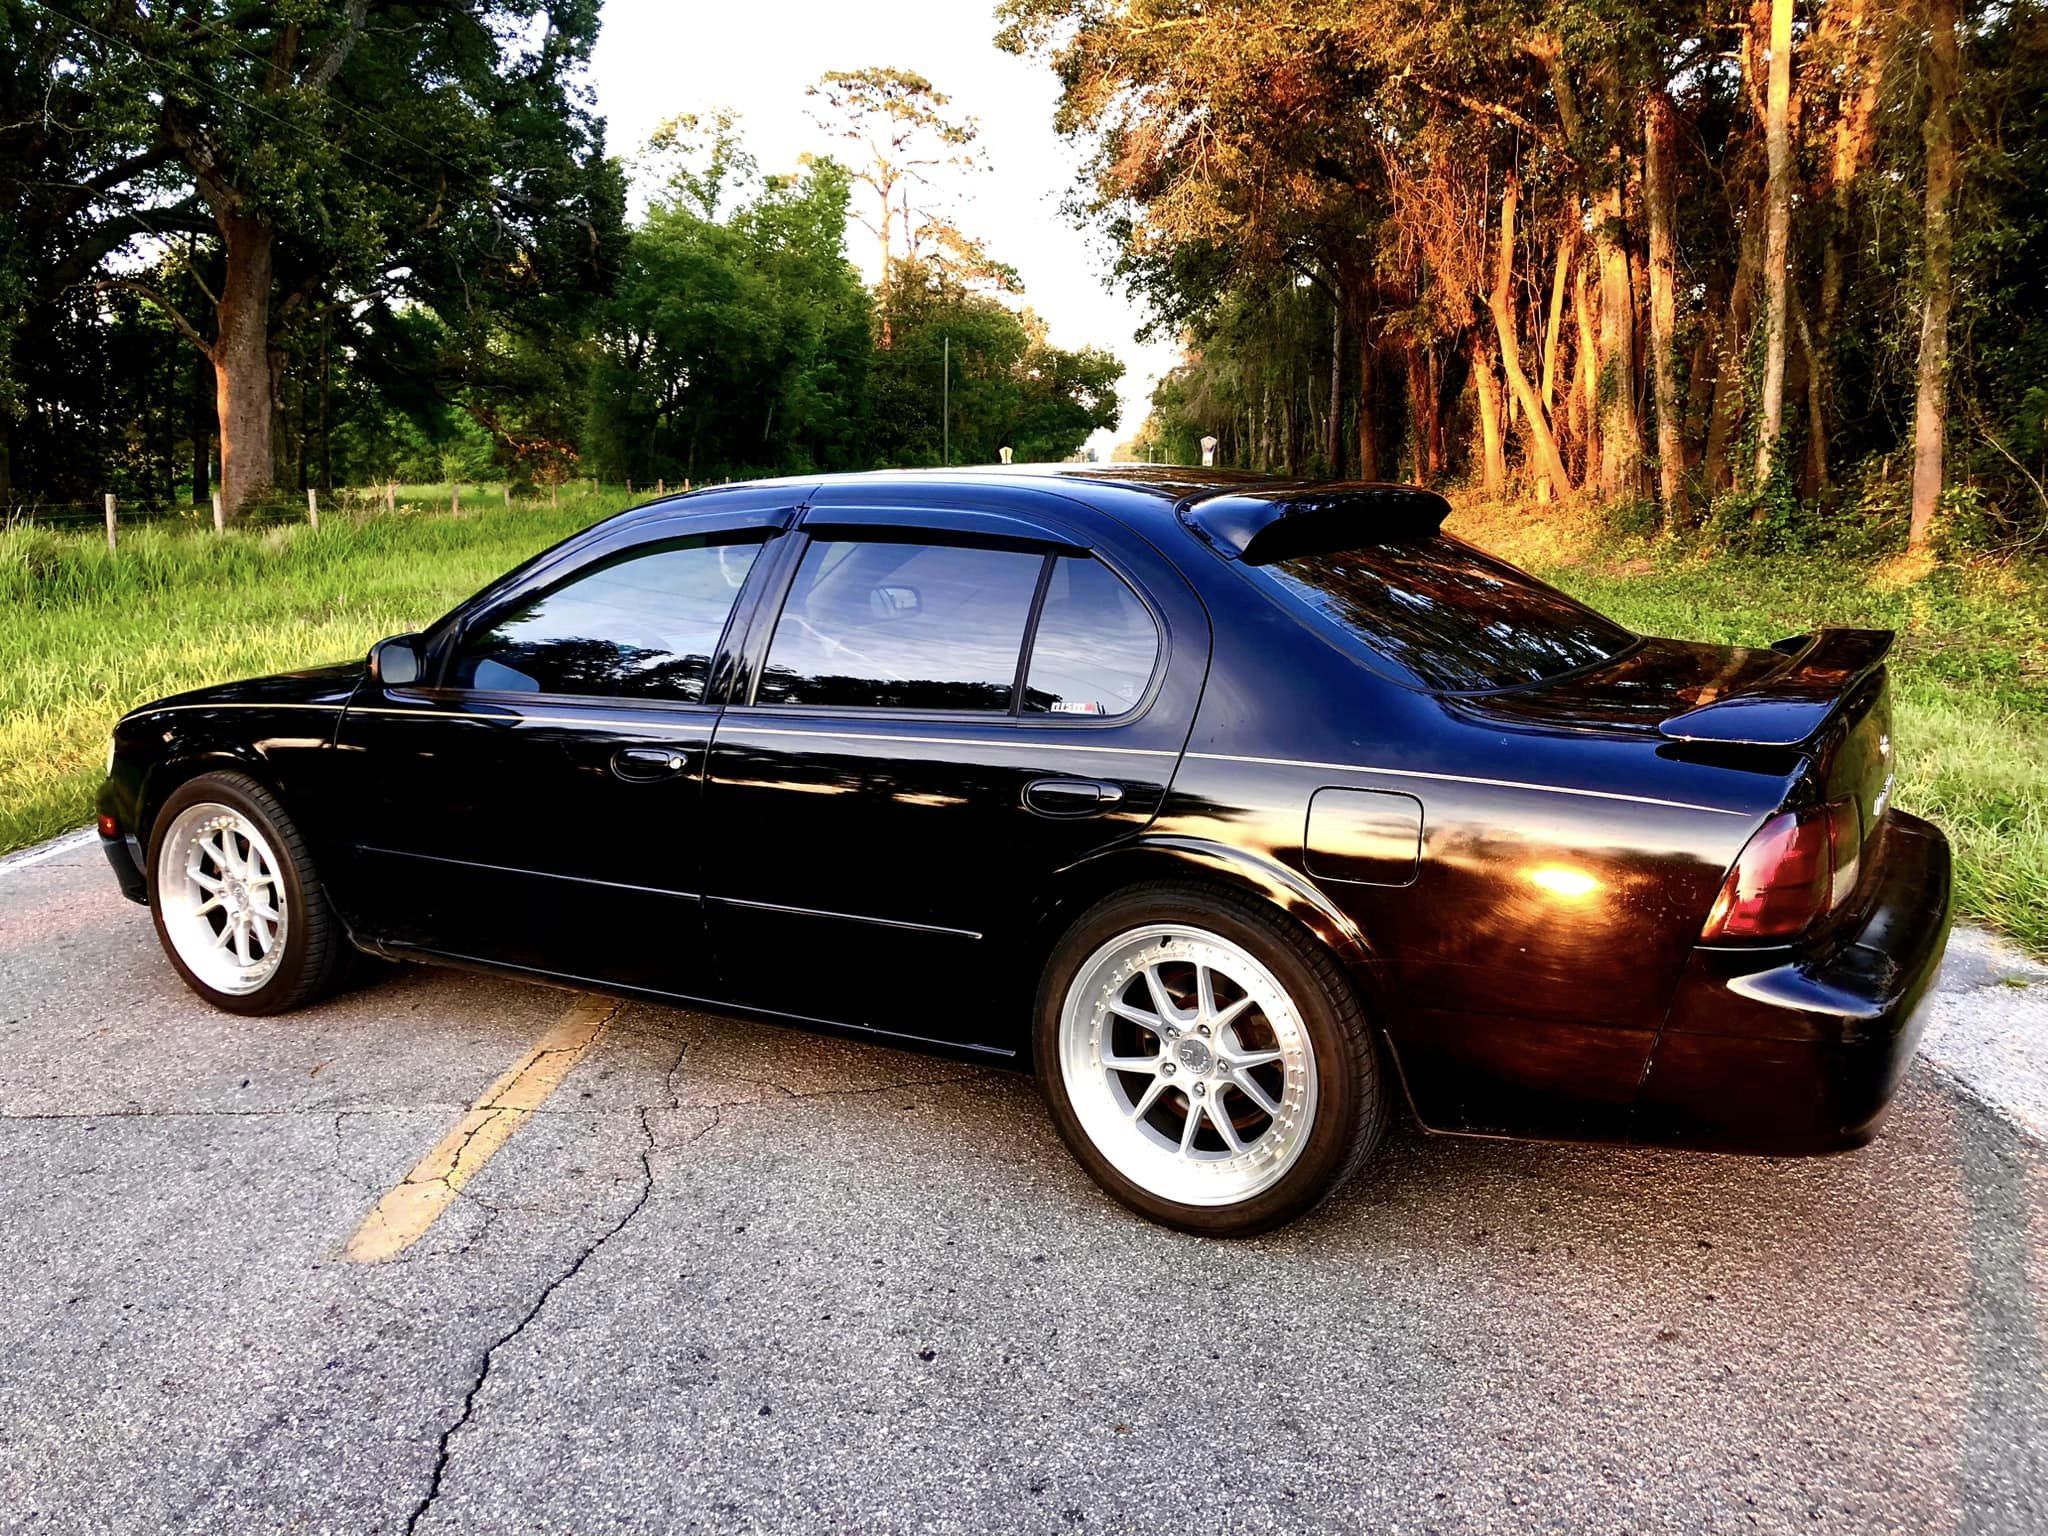
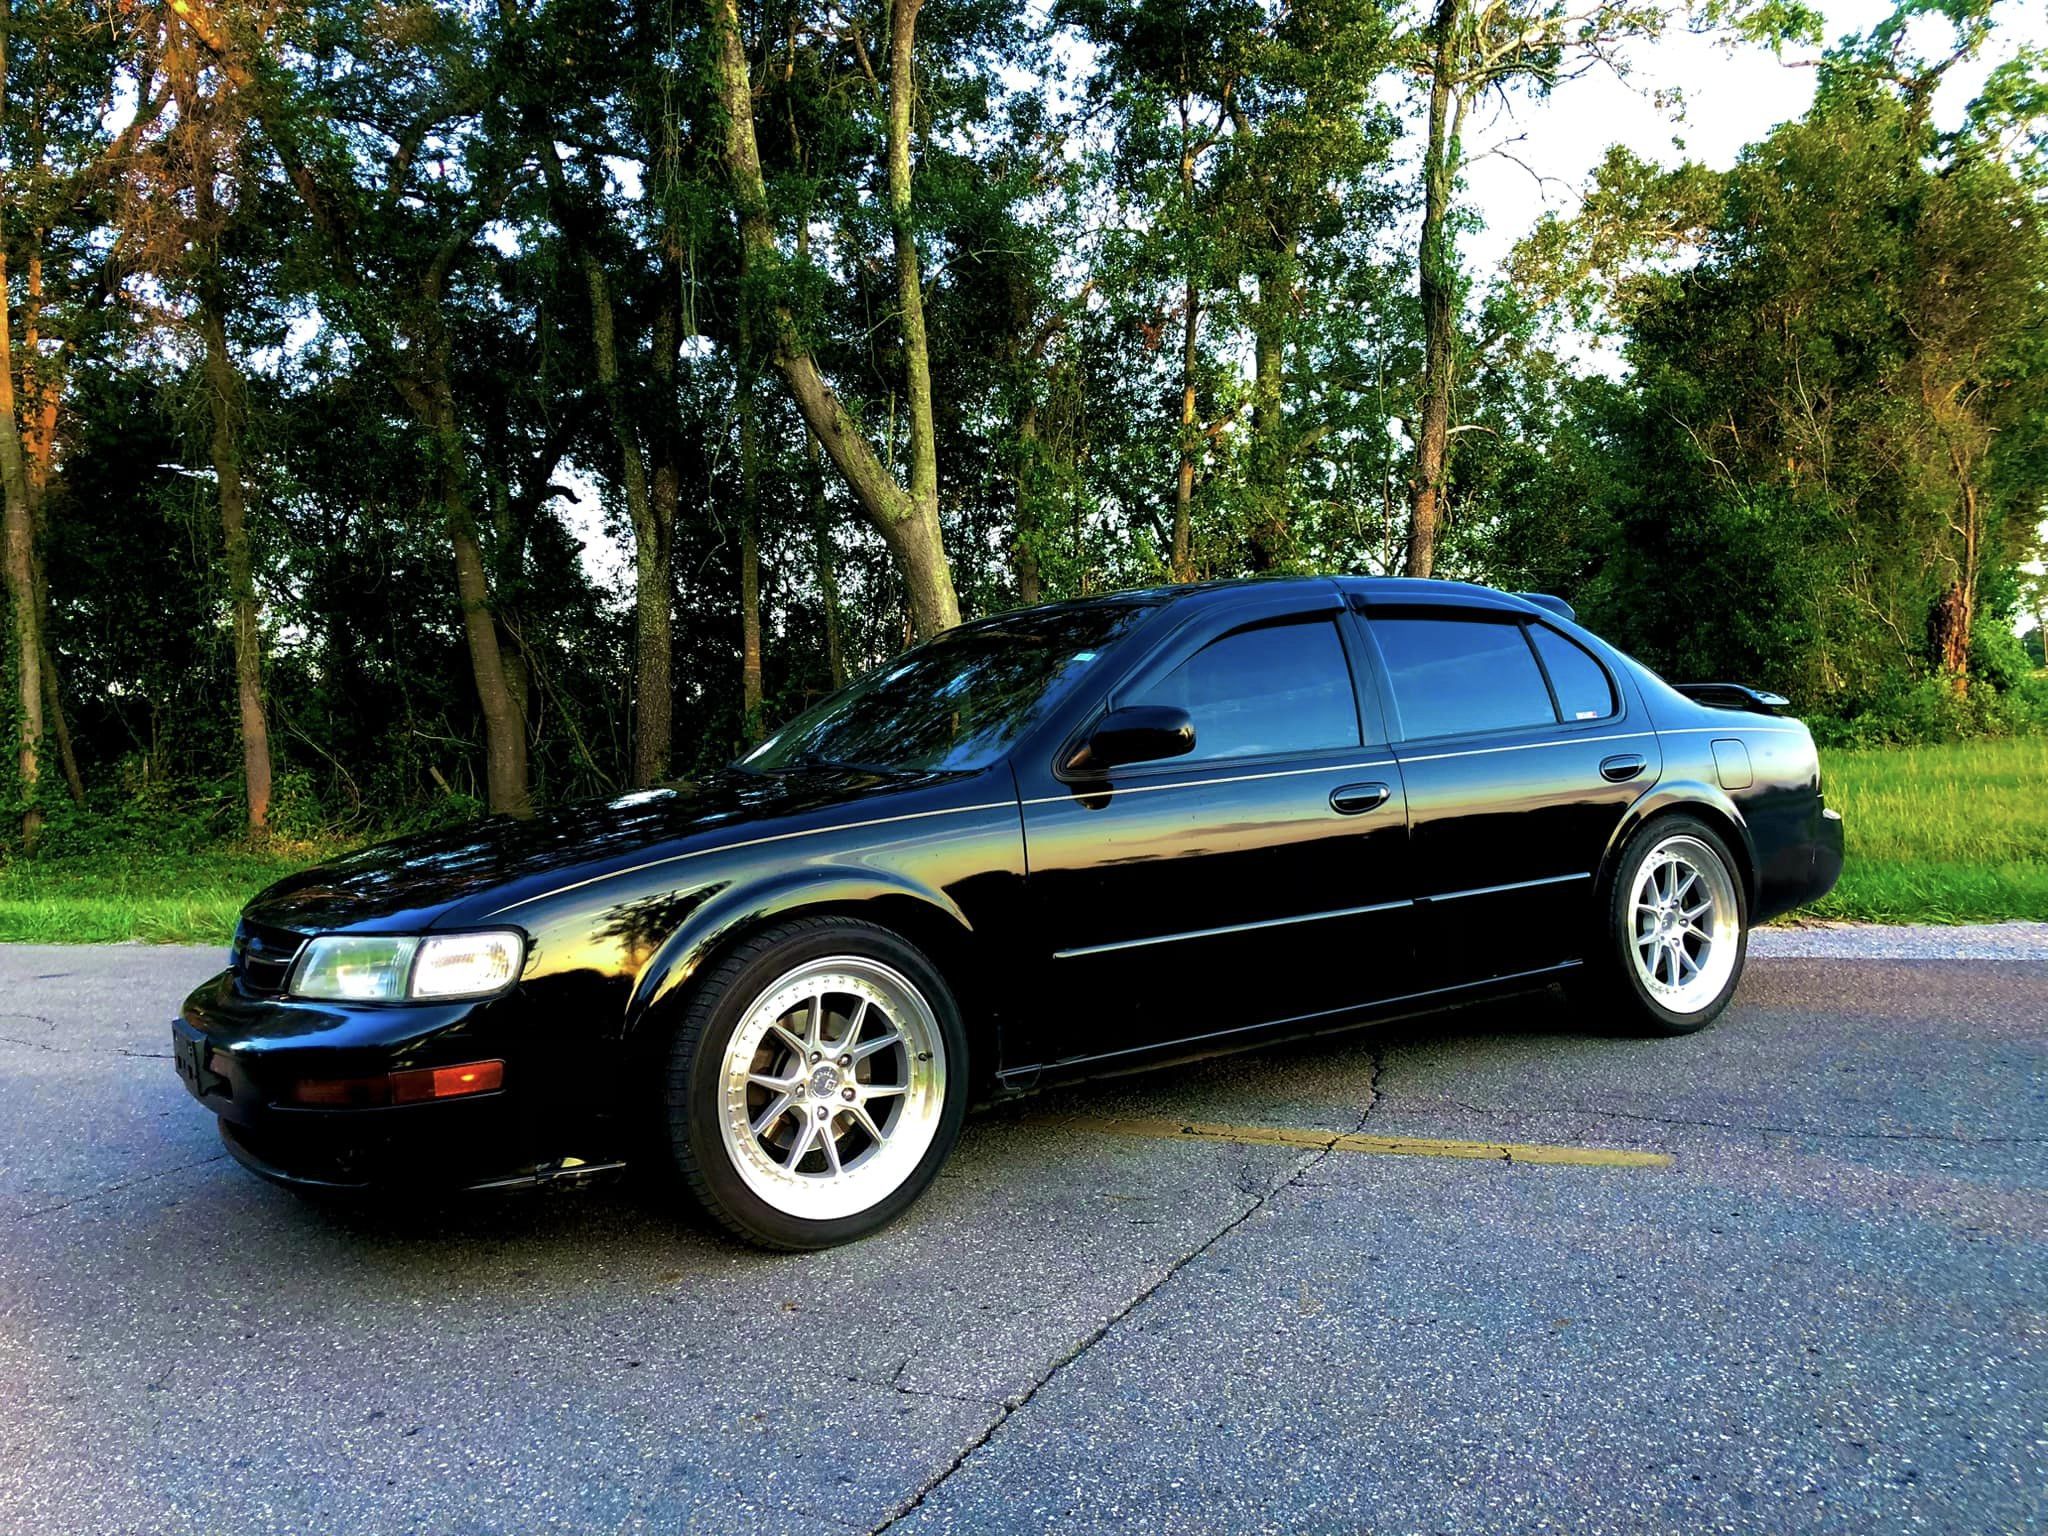
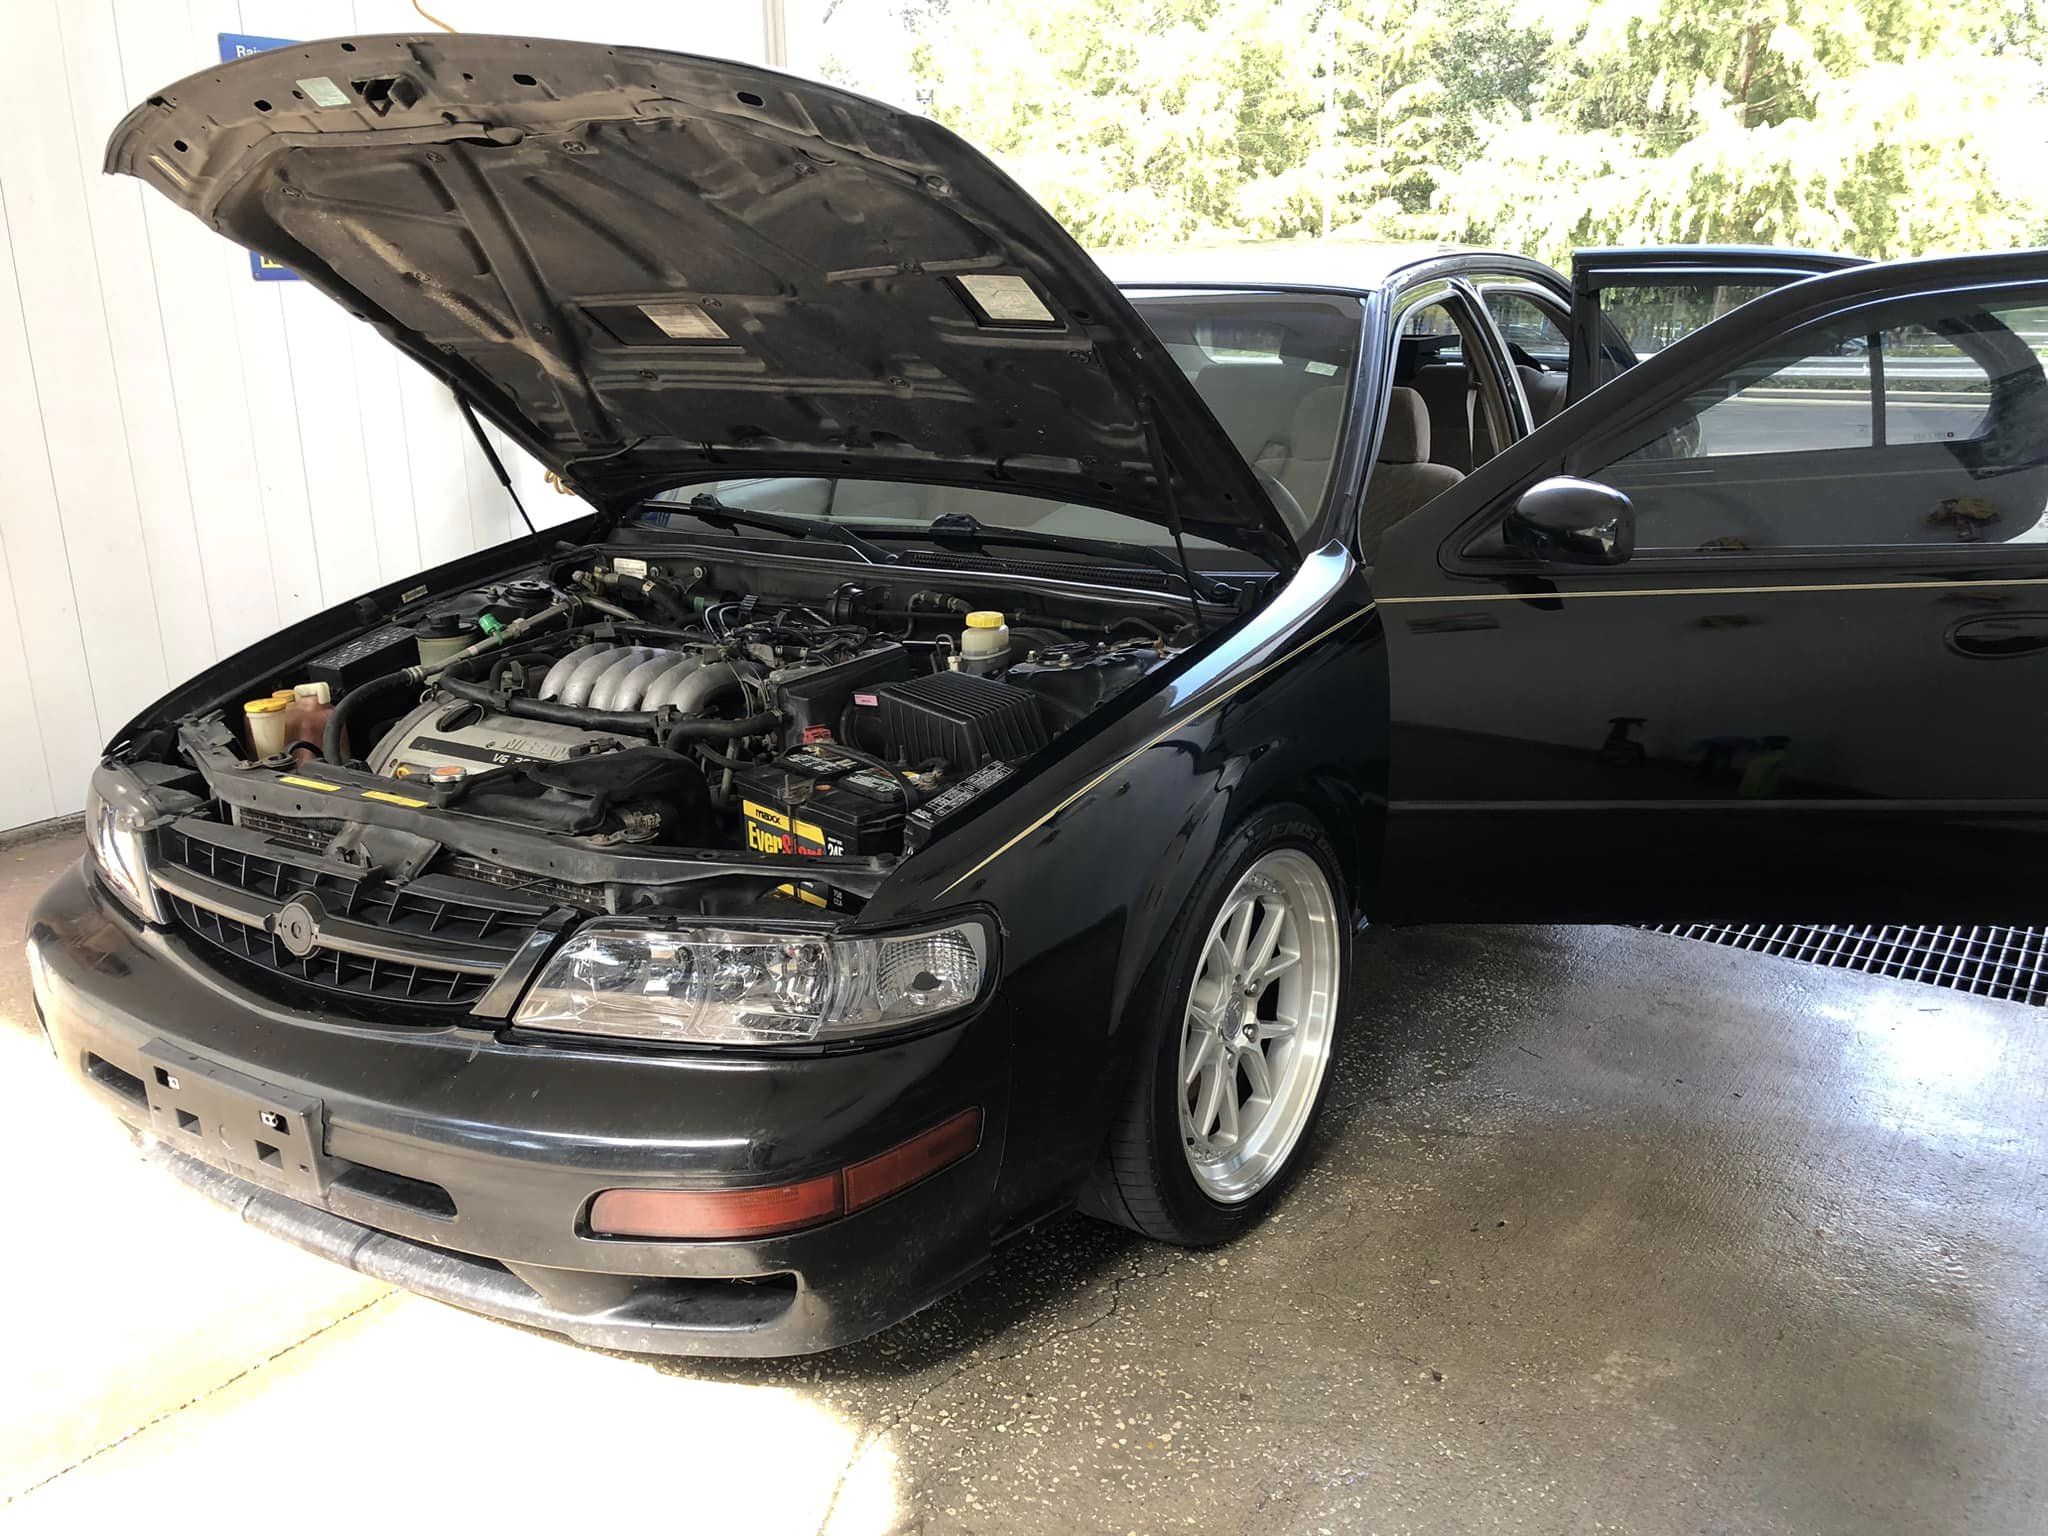
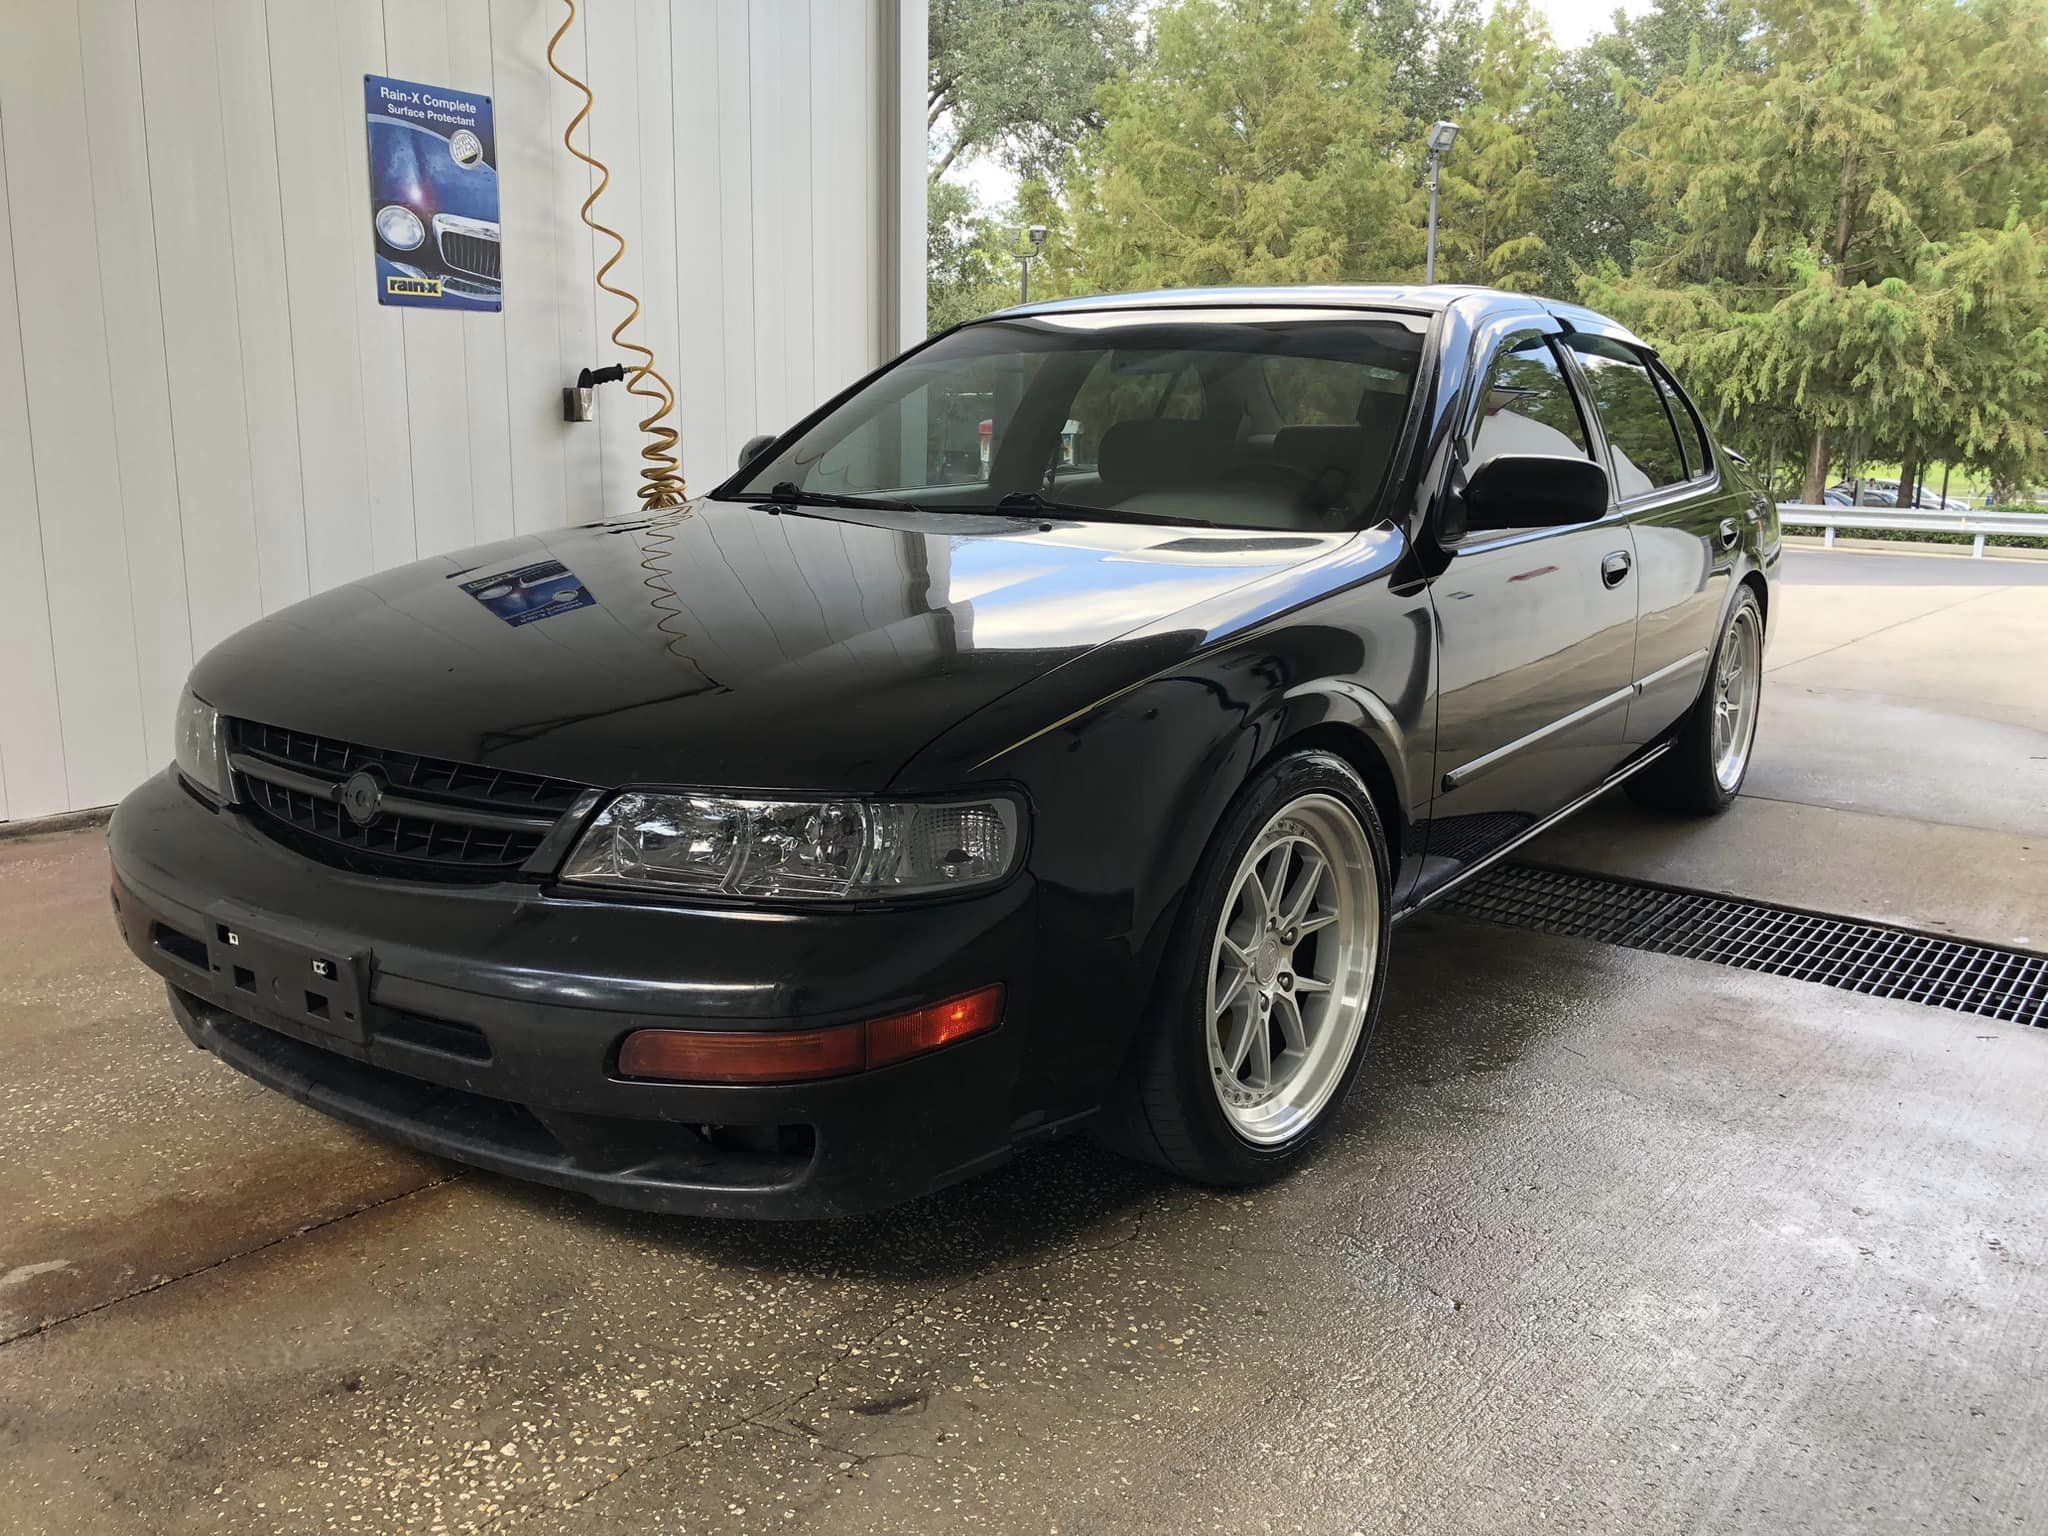
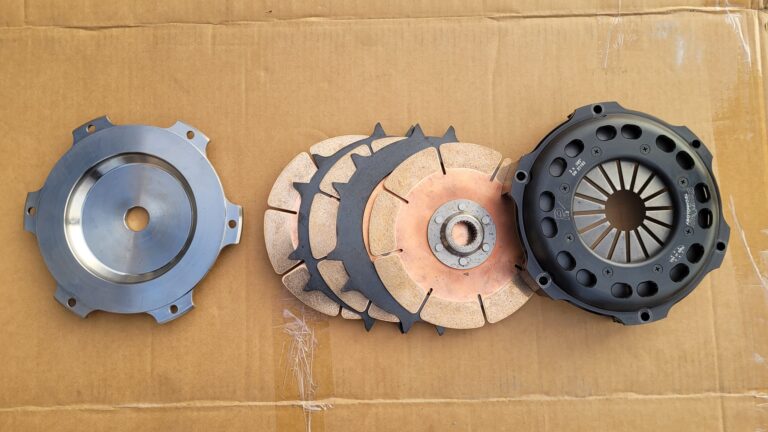
Credit: King Shom Lion Neysmith
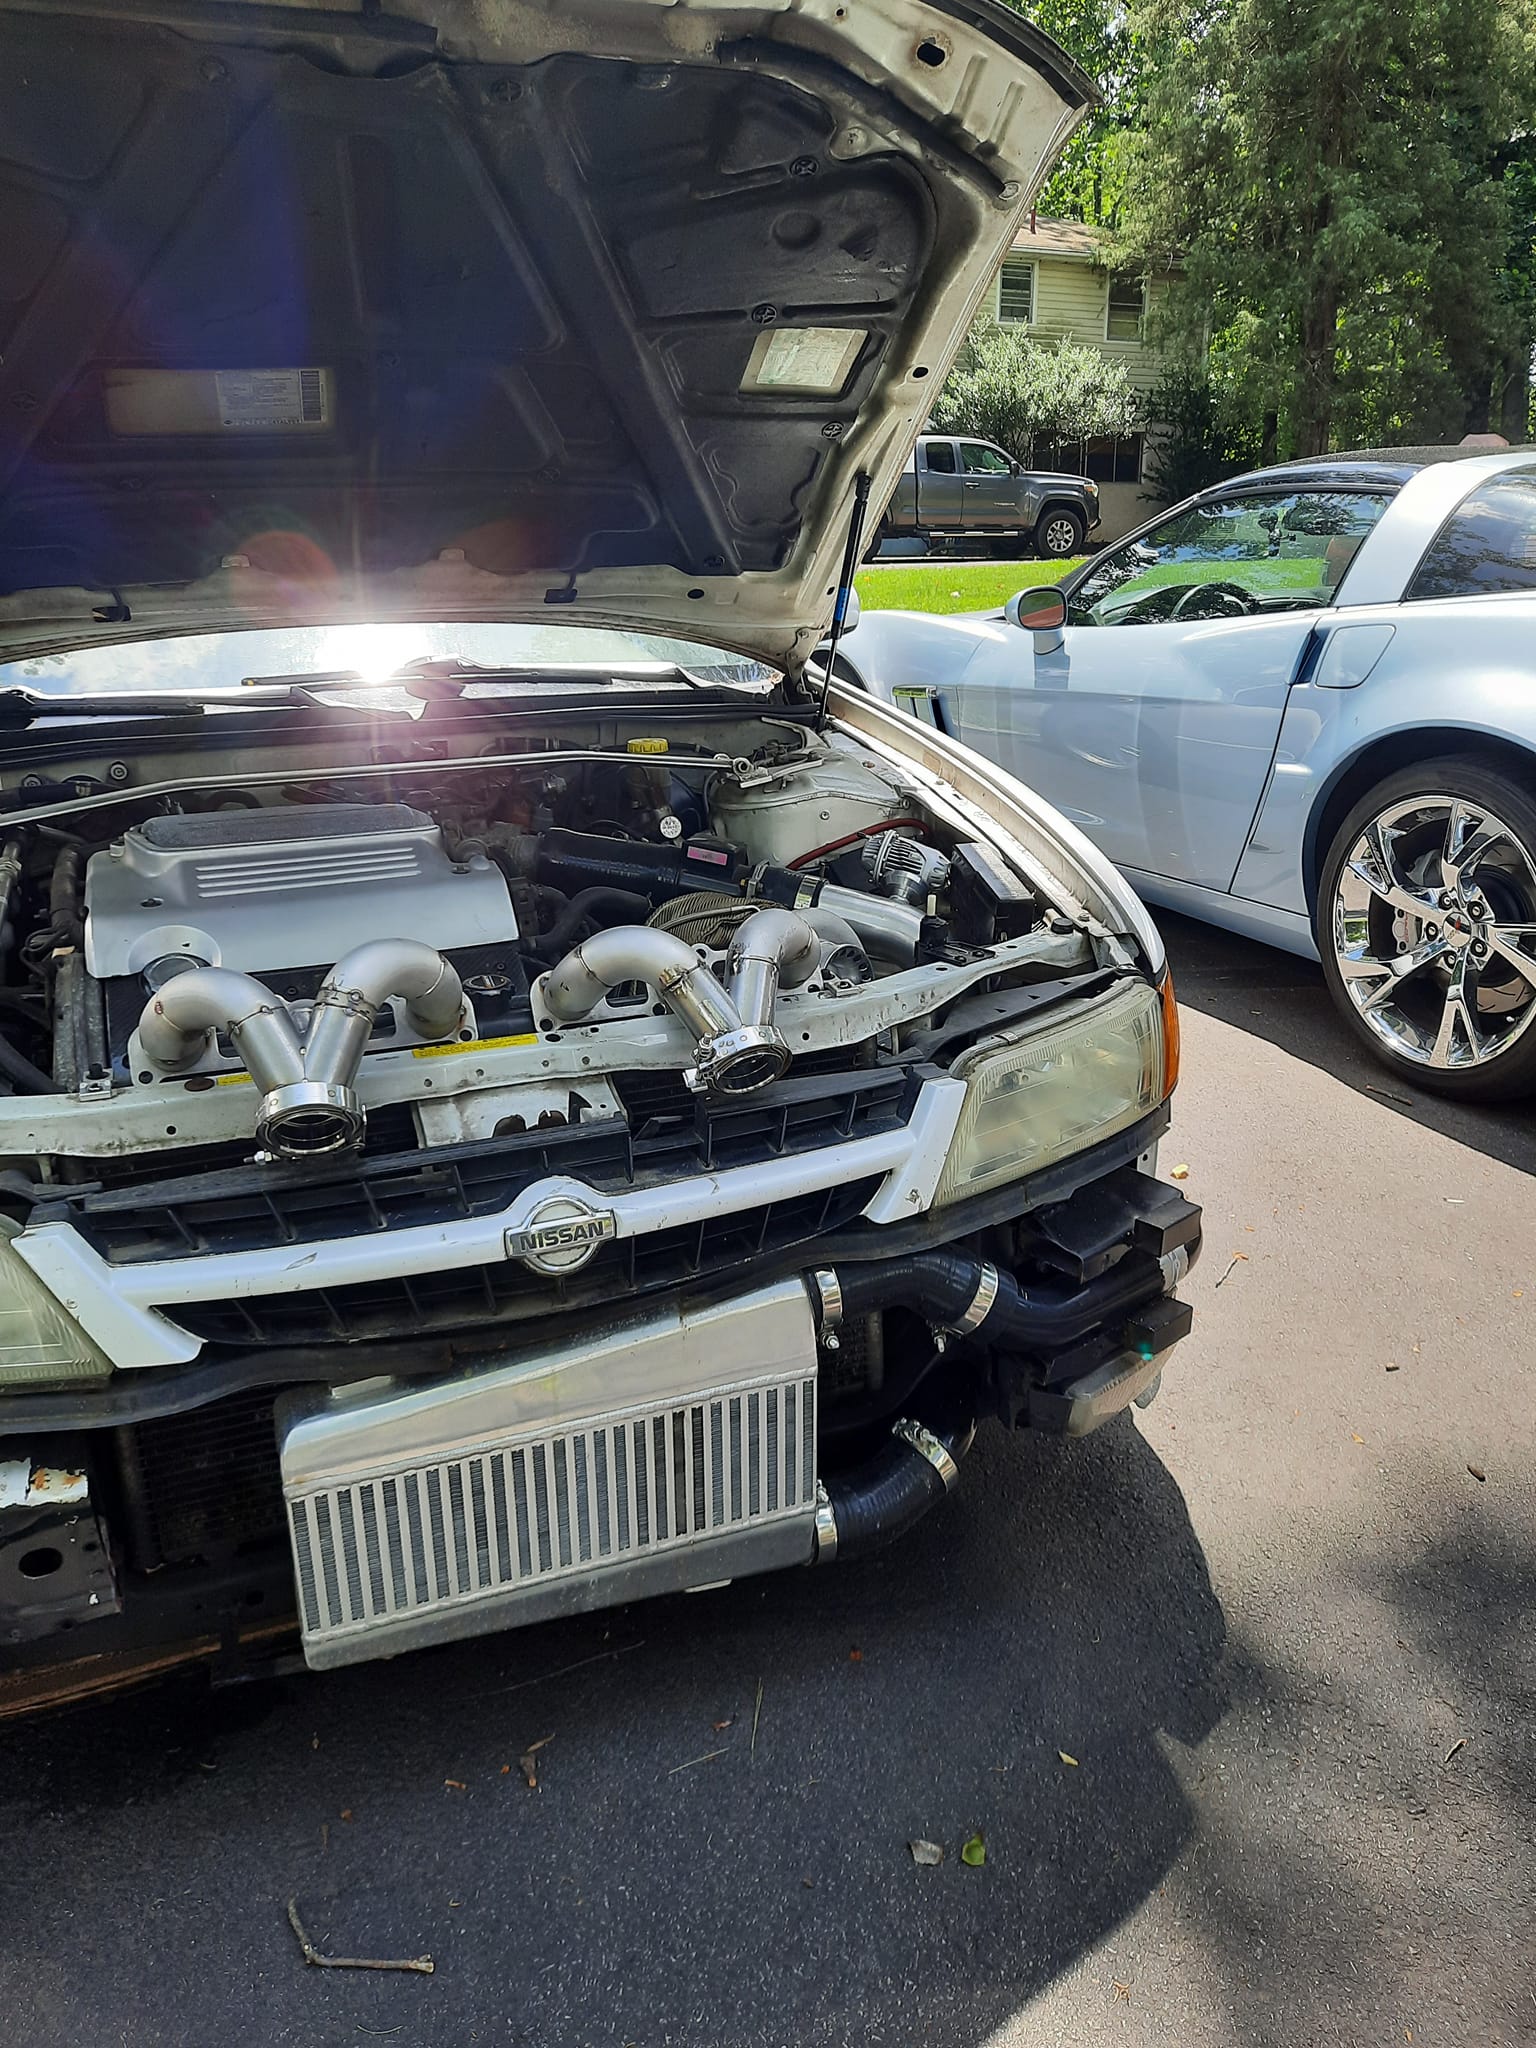
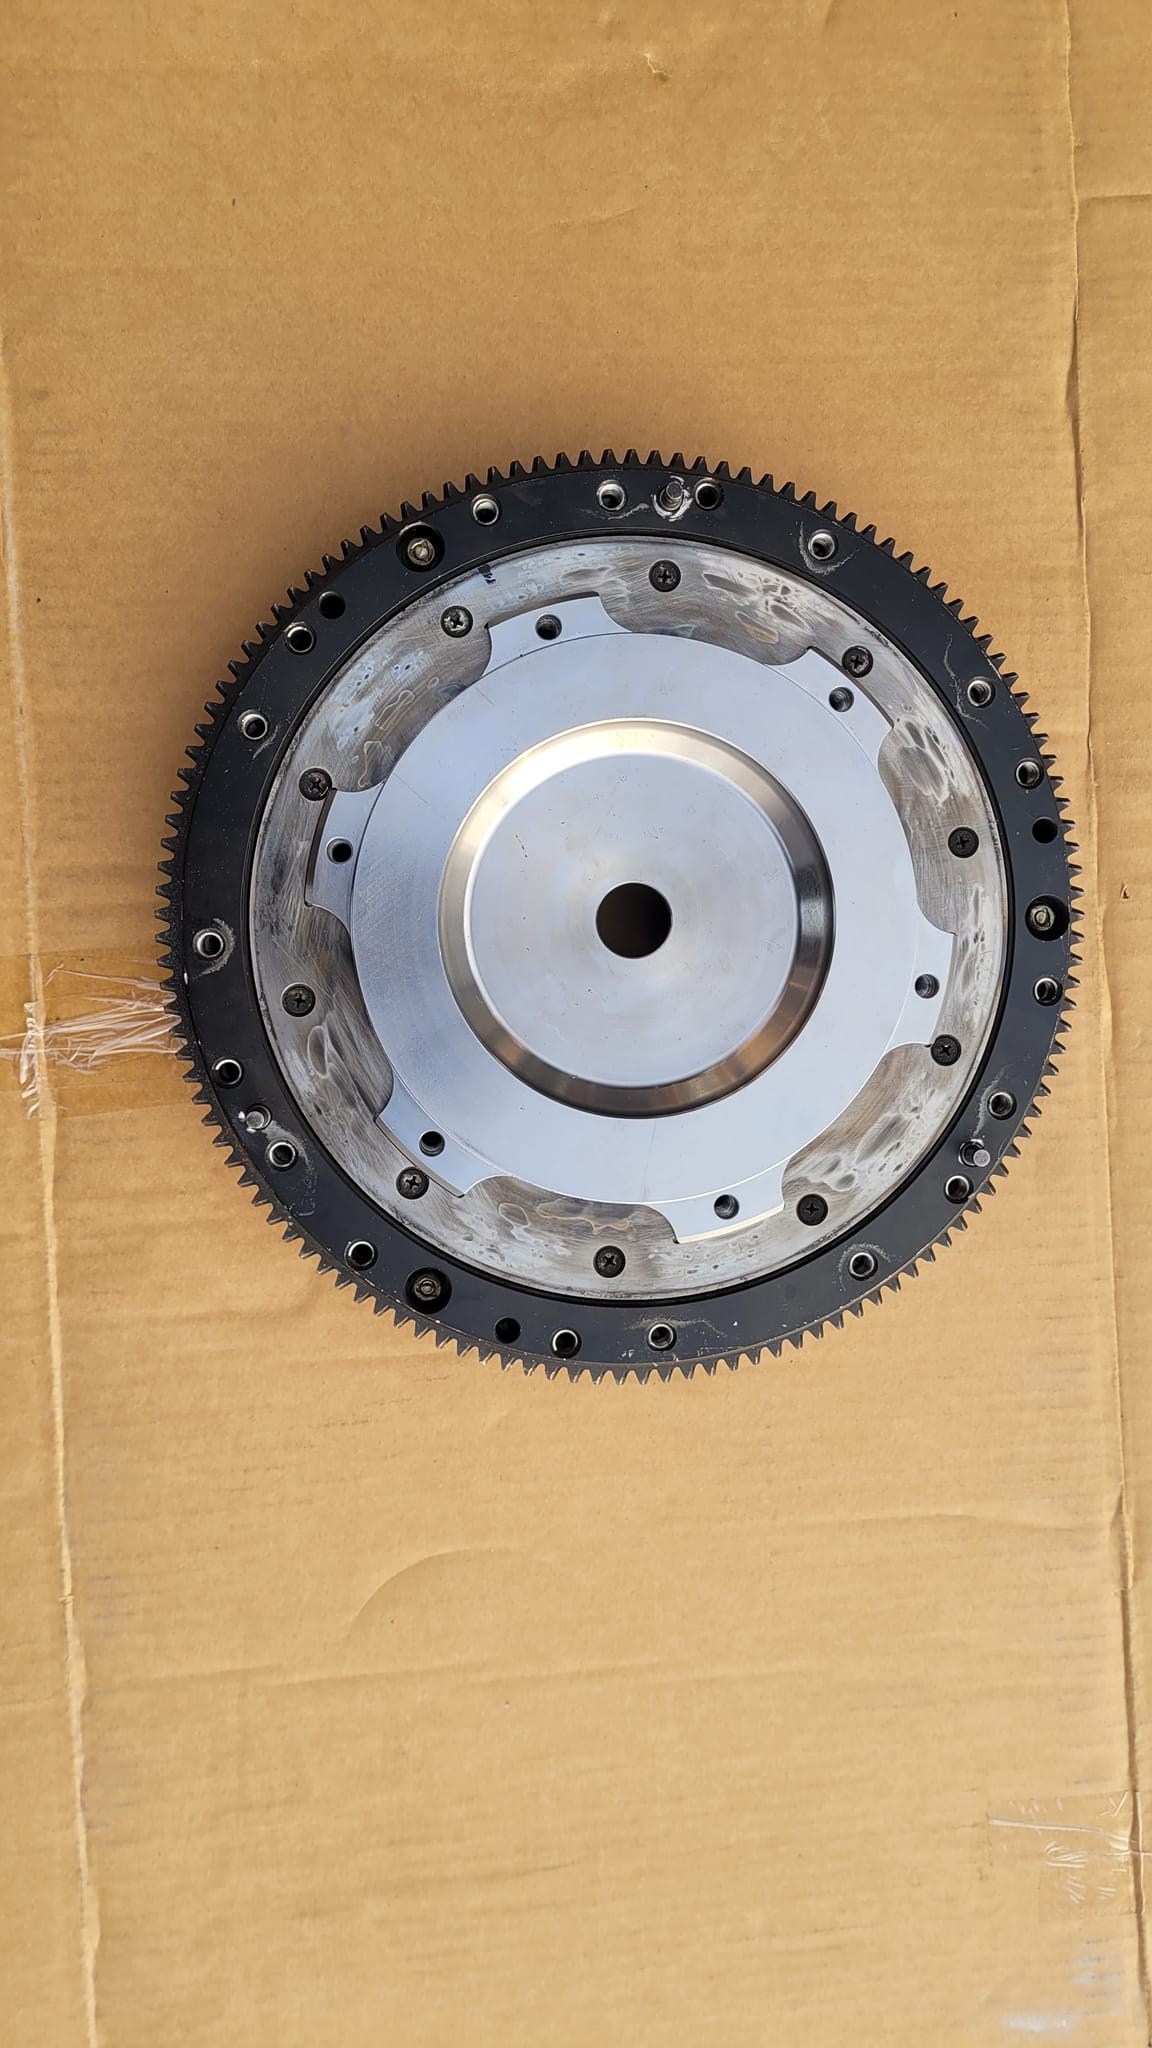
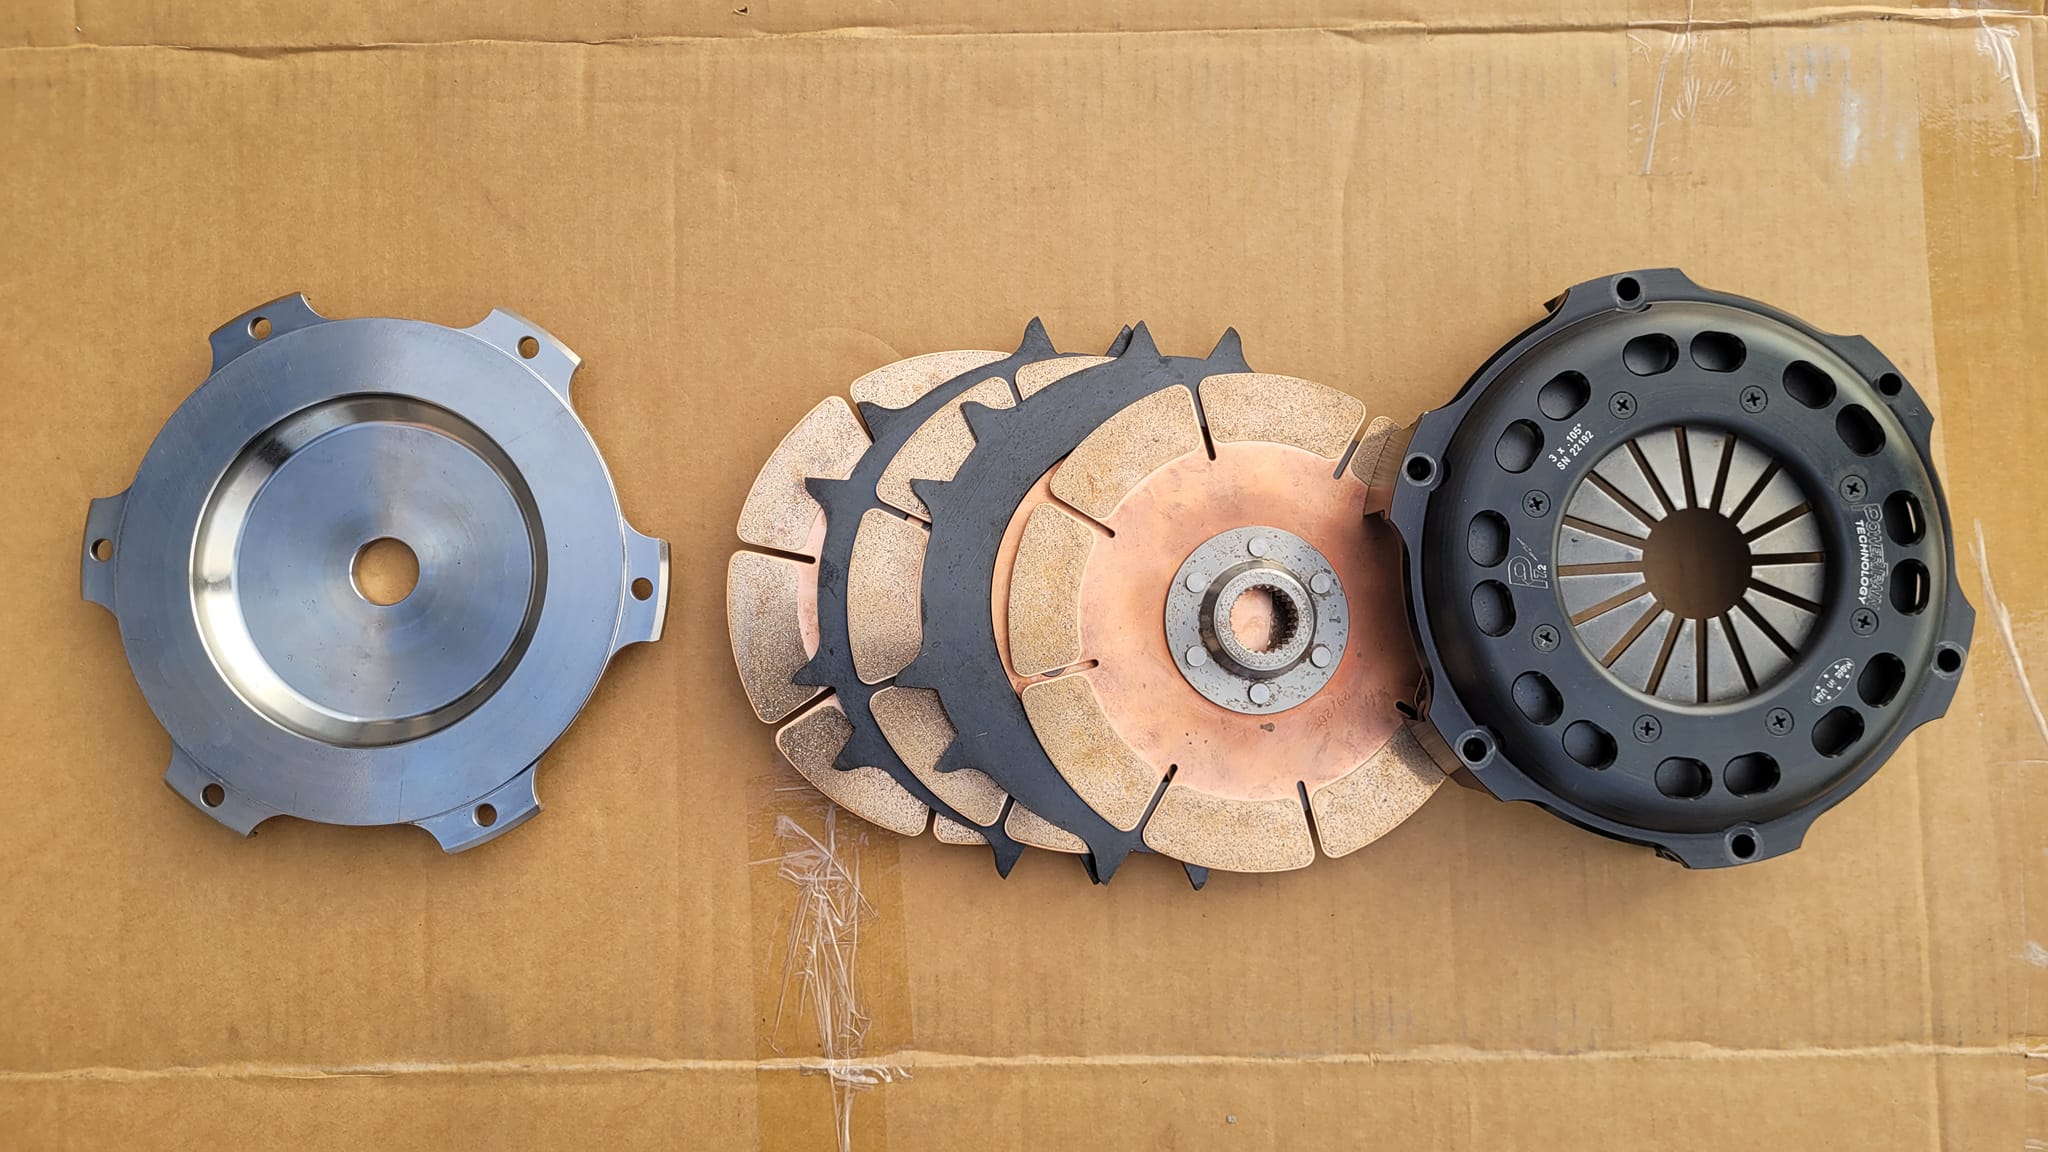
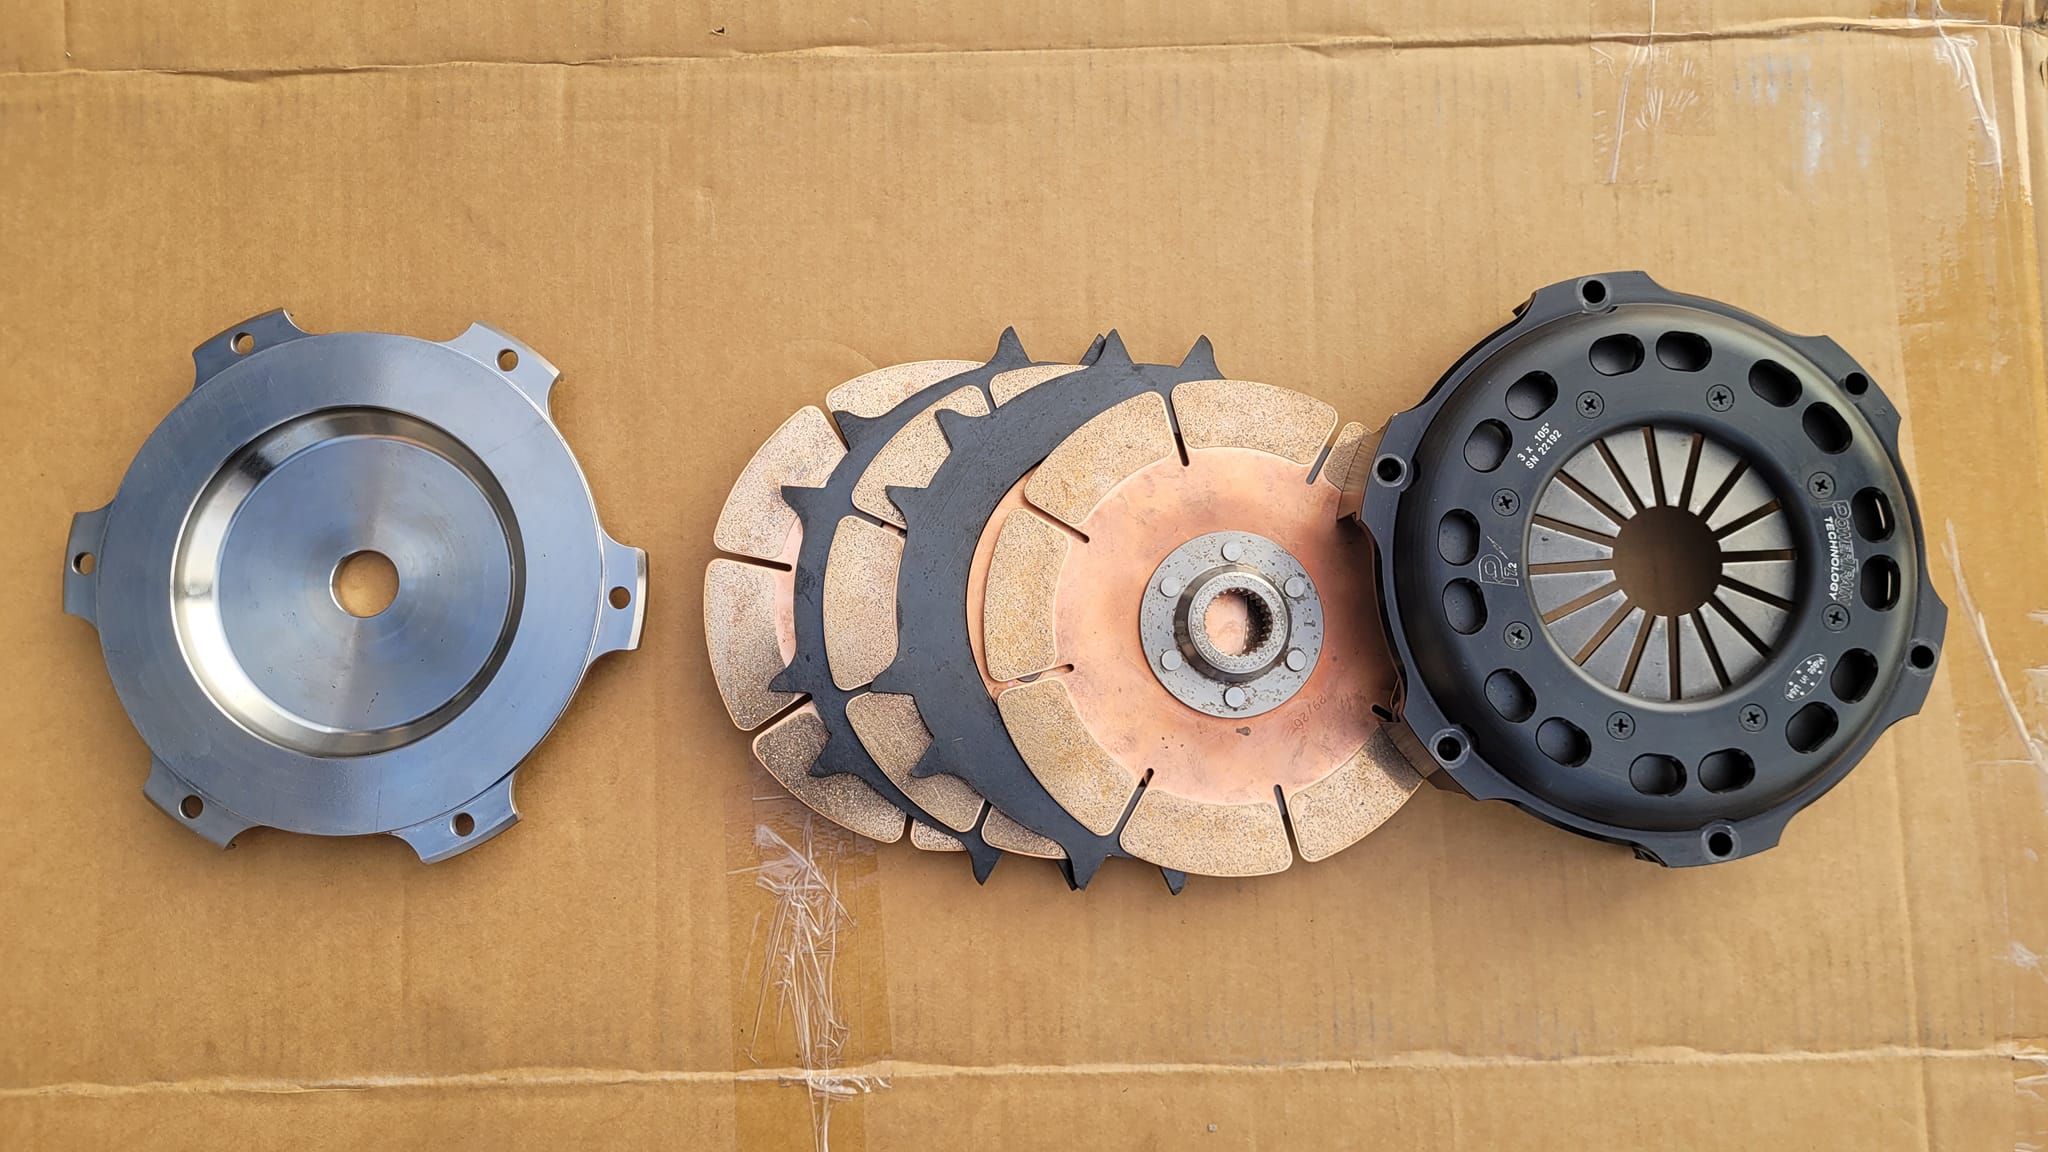
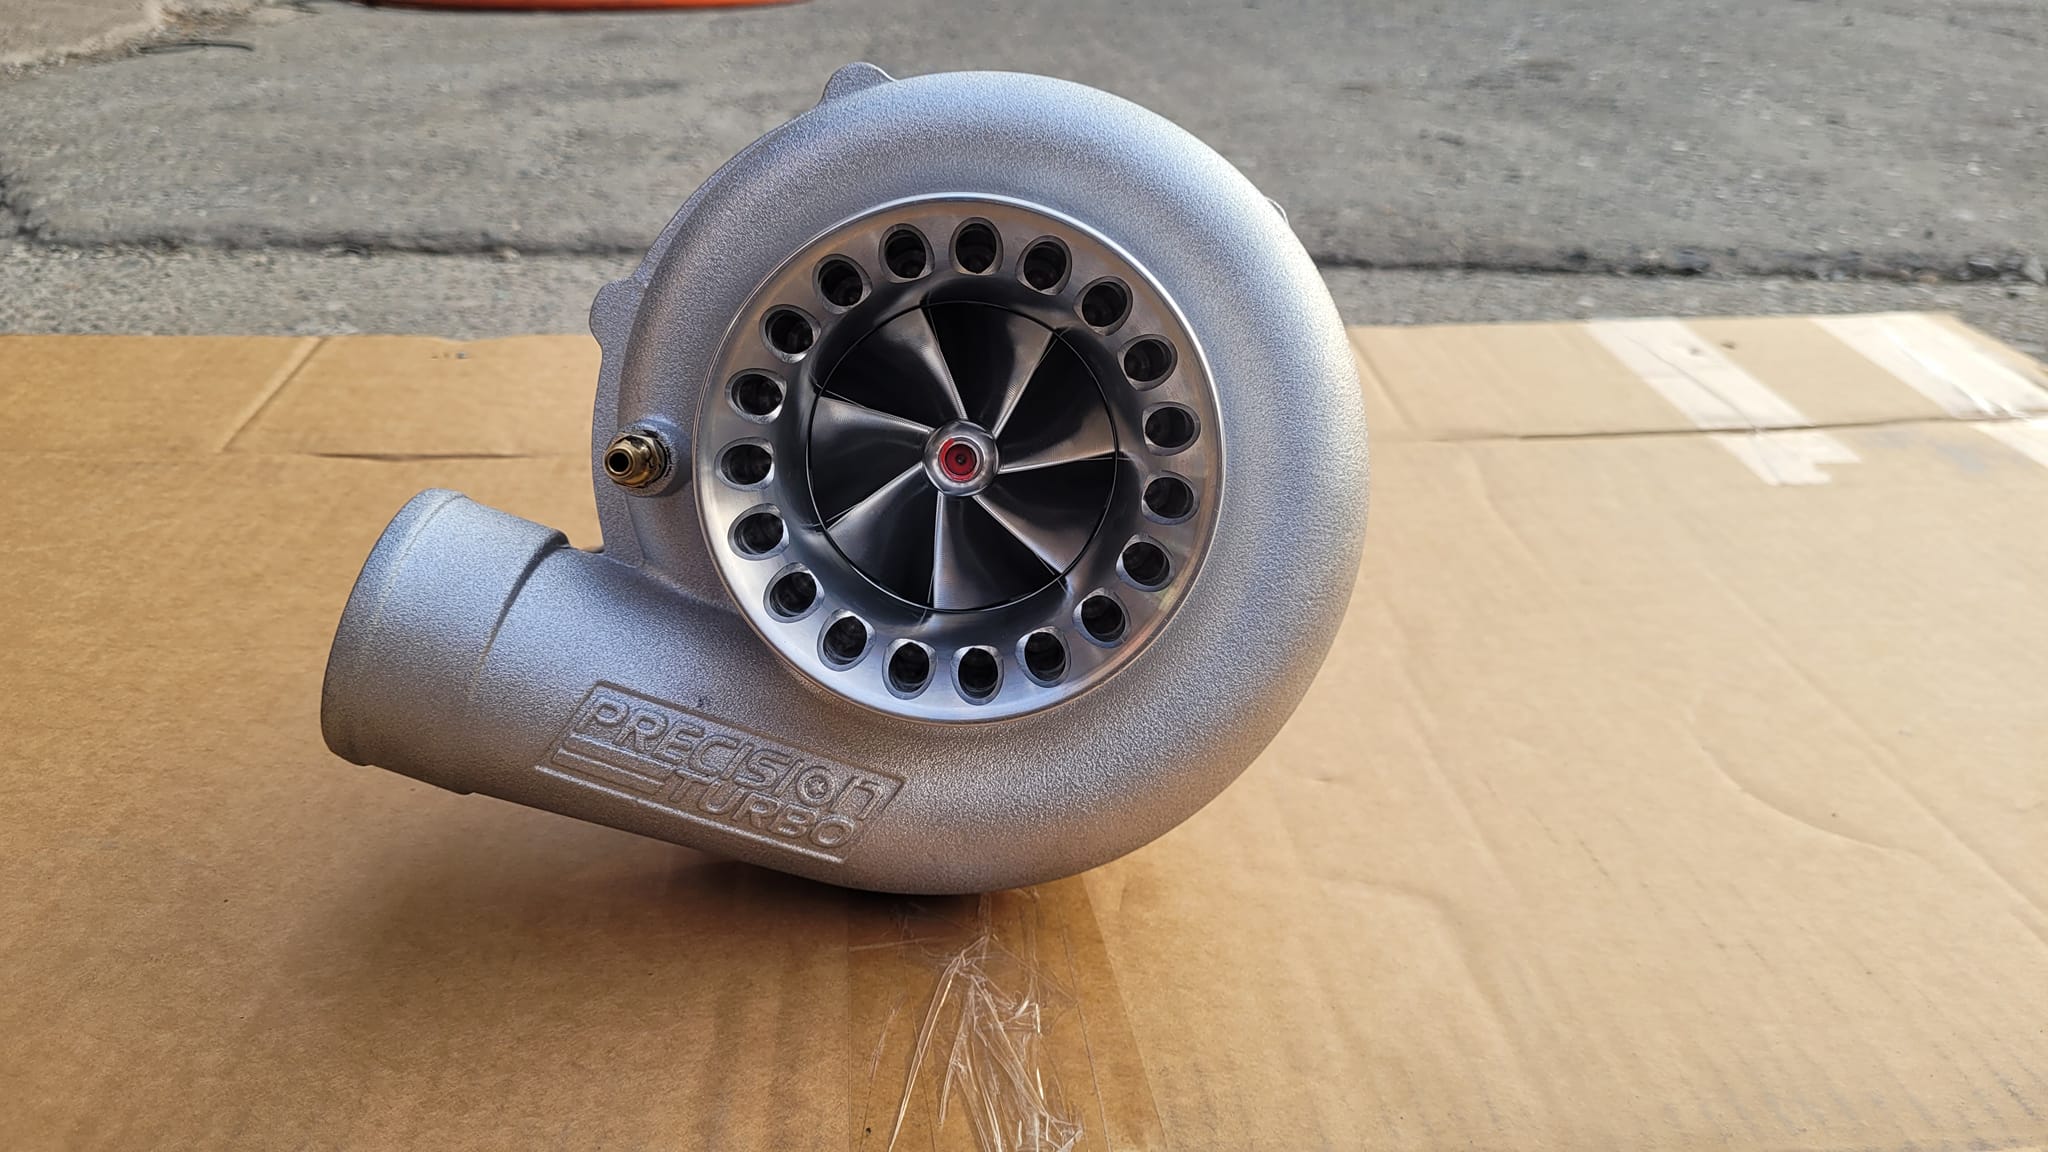
The two limiting factors that prevented us to reach our horse power goal just reach… Triple disc clutch + Gen 2 PTE….. ready to see what this Vq35 is capable of…
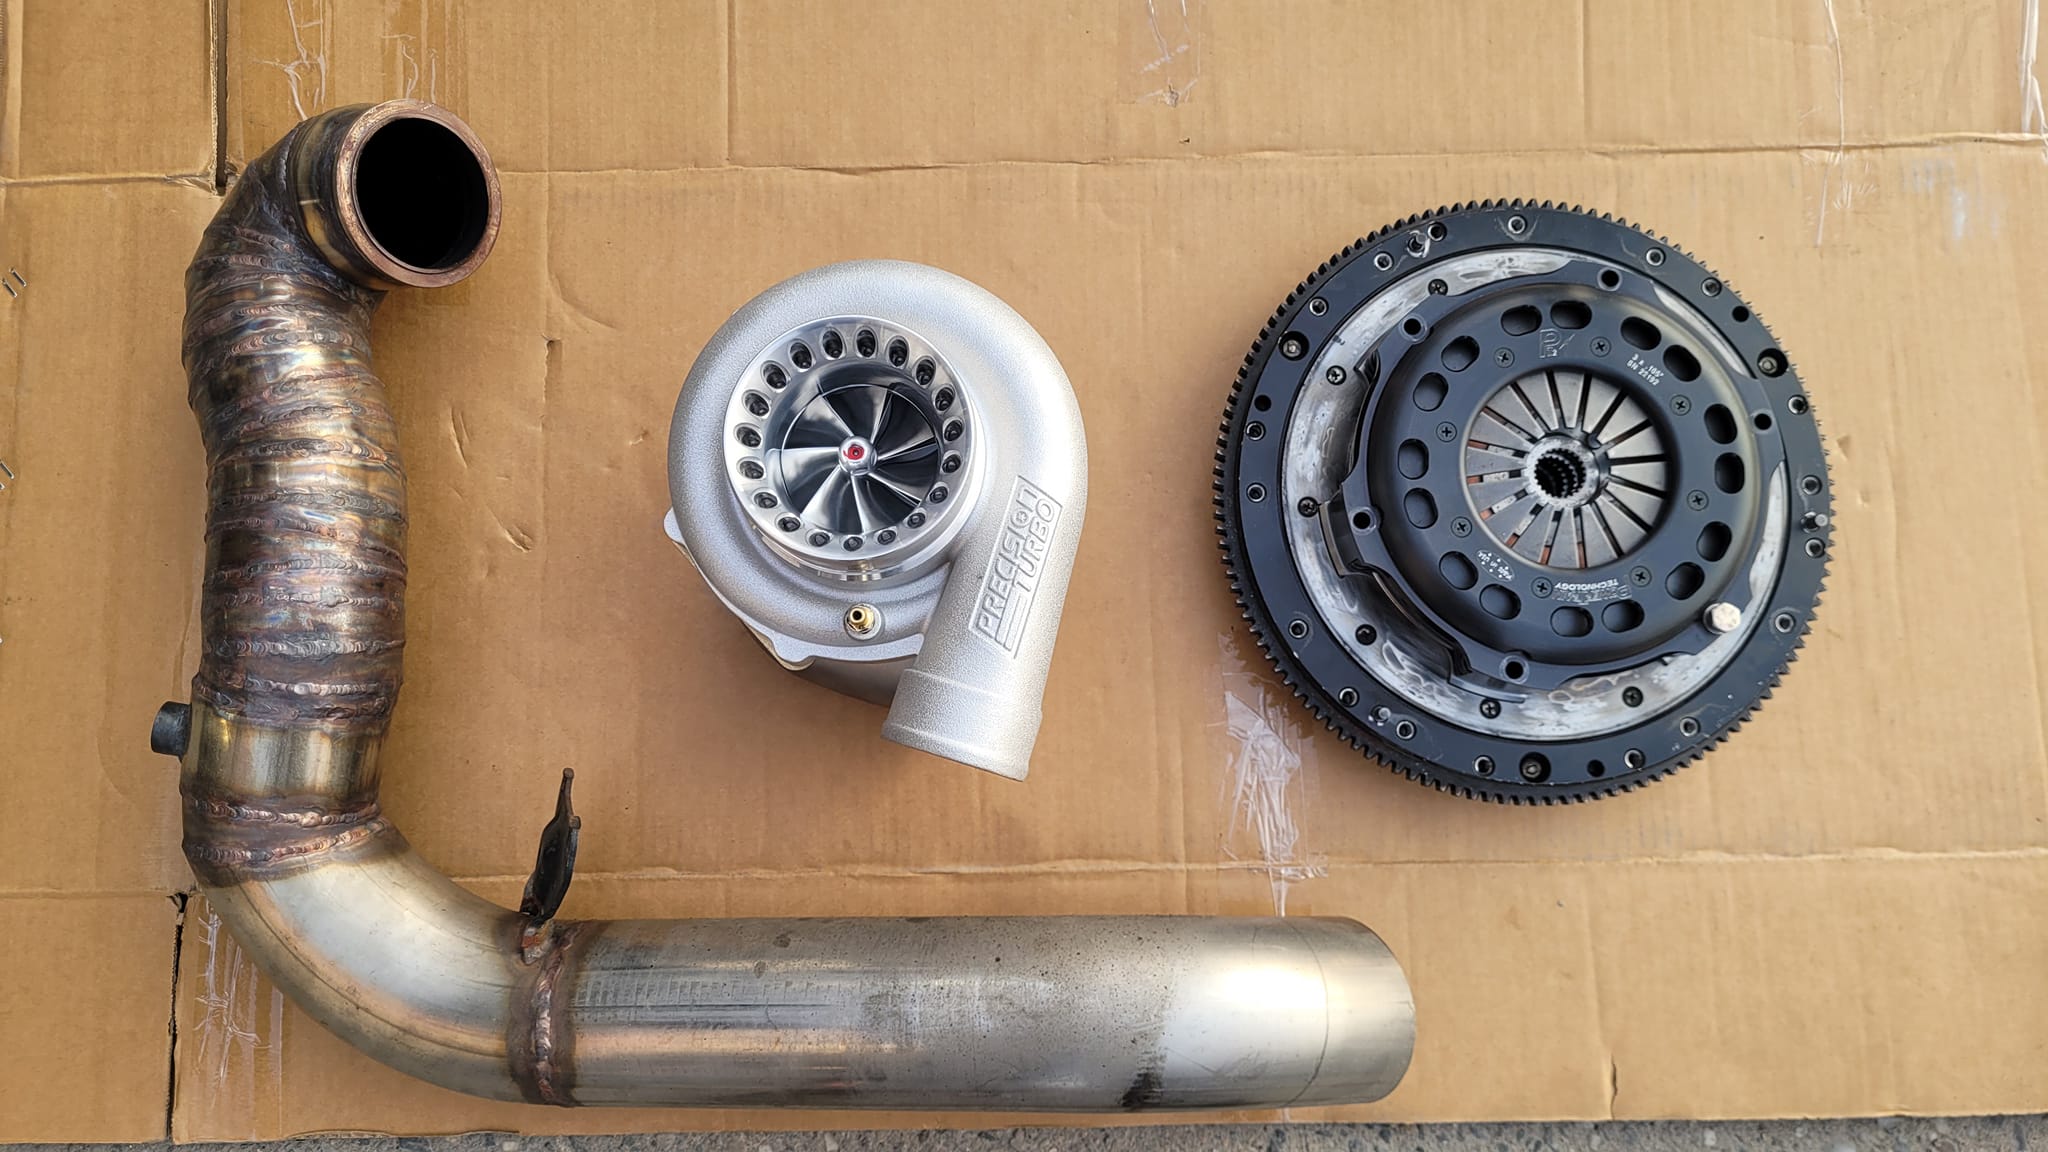
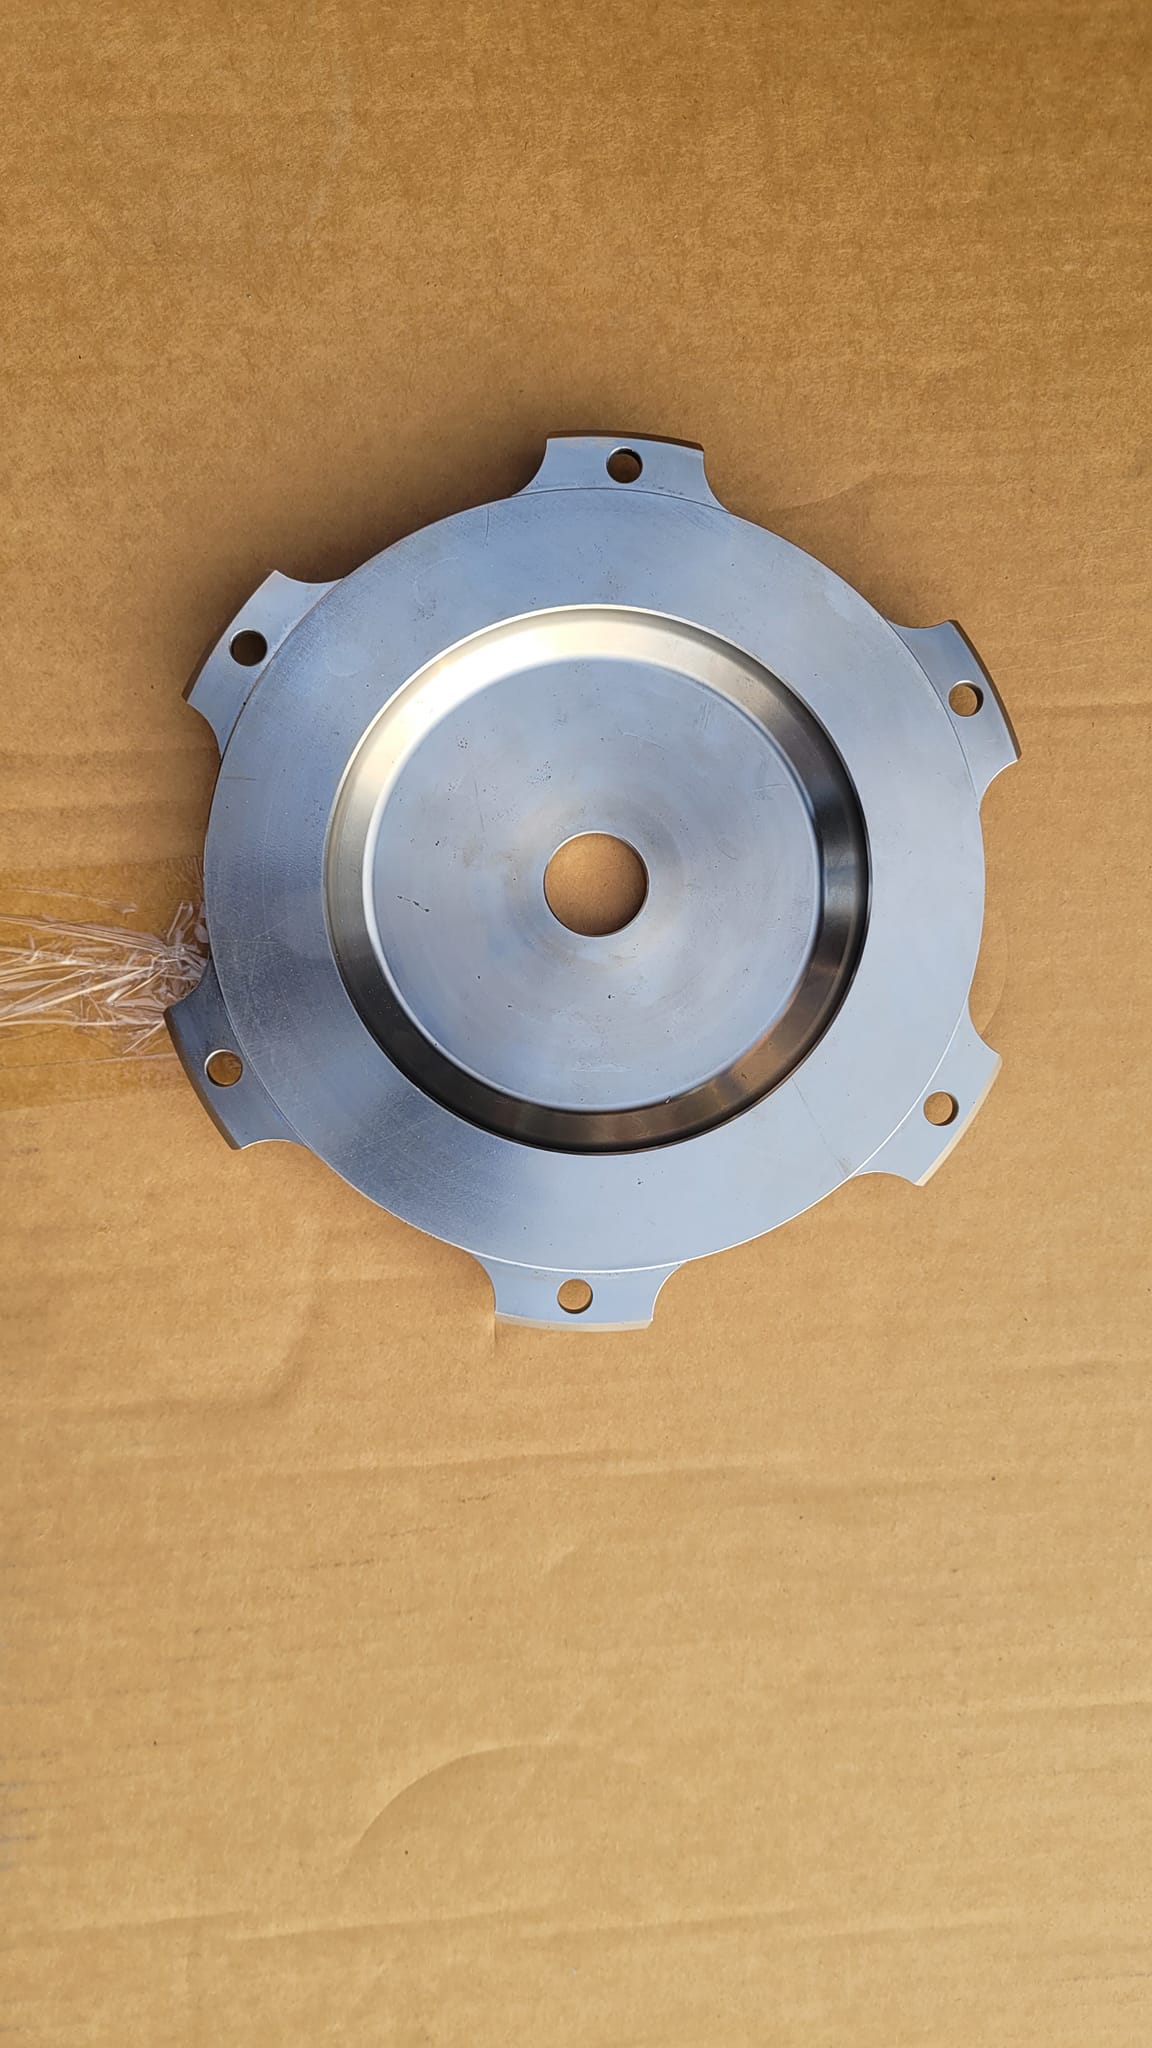
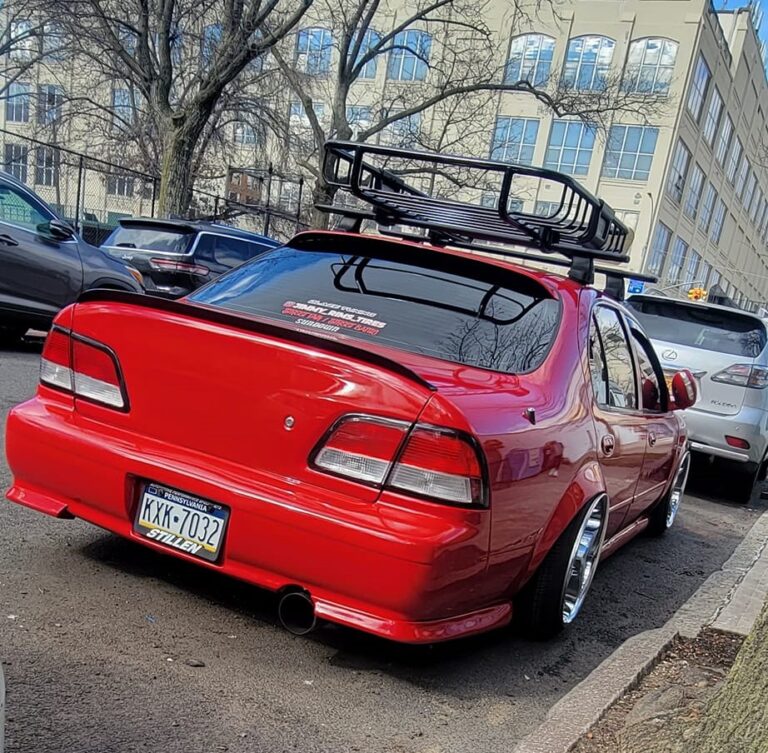
Owner: Mijo Too Wavy
Year: 1999
Model: Maxima
Color: Red
Engine: Gen3 VQ35DE (3.0 Timing using 95′ ECU)
Transmission: 5-Speed Manual
Trim: SE


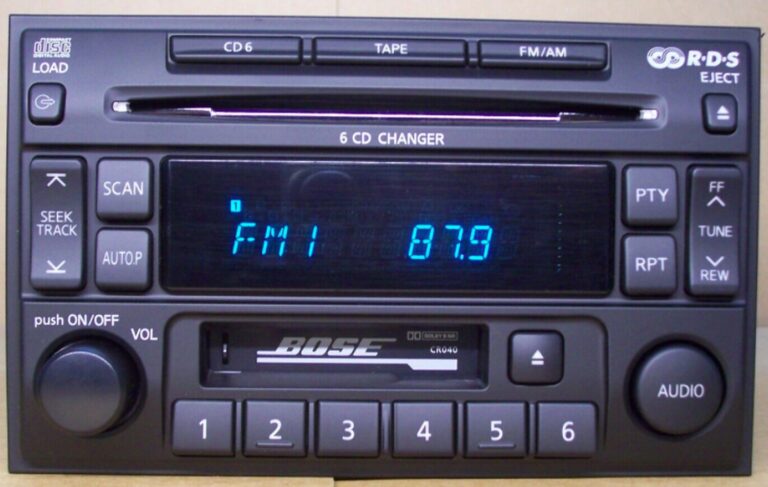
Member Credit: SuBXeRo
I am building this thread in order to help all those with stock BOSE questions as far as replacement questions goes. If you know what to search for, your answers can be found quickly. But, for most this can be a tedious procedure. Below I will post some helpful hints, tips, and knowledge on how to deal with your premium BOSE system. This thread pertains to Infiniti’s 96-99 with a BOSE premium sound system. THIS THREAD IS MORE GEARED FOR 96-99 INFINITI I30’s, BUT YOU MAXIMA OWNERS CAN BENEFIT TOO AS WELL AS OTHER AUDIO ENTHUSIASTS!!!
The Q and A:
Q1. I have a stock Premium Bose Sound System in my car, what does this mean?
A1. You have a Clarion headunit (even though bose is plastered all over it) which integrates to individual BOSE amplifiers which feed power to each BOSE speaker.
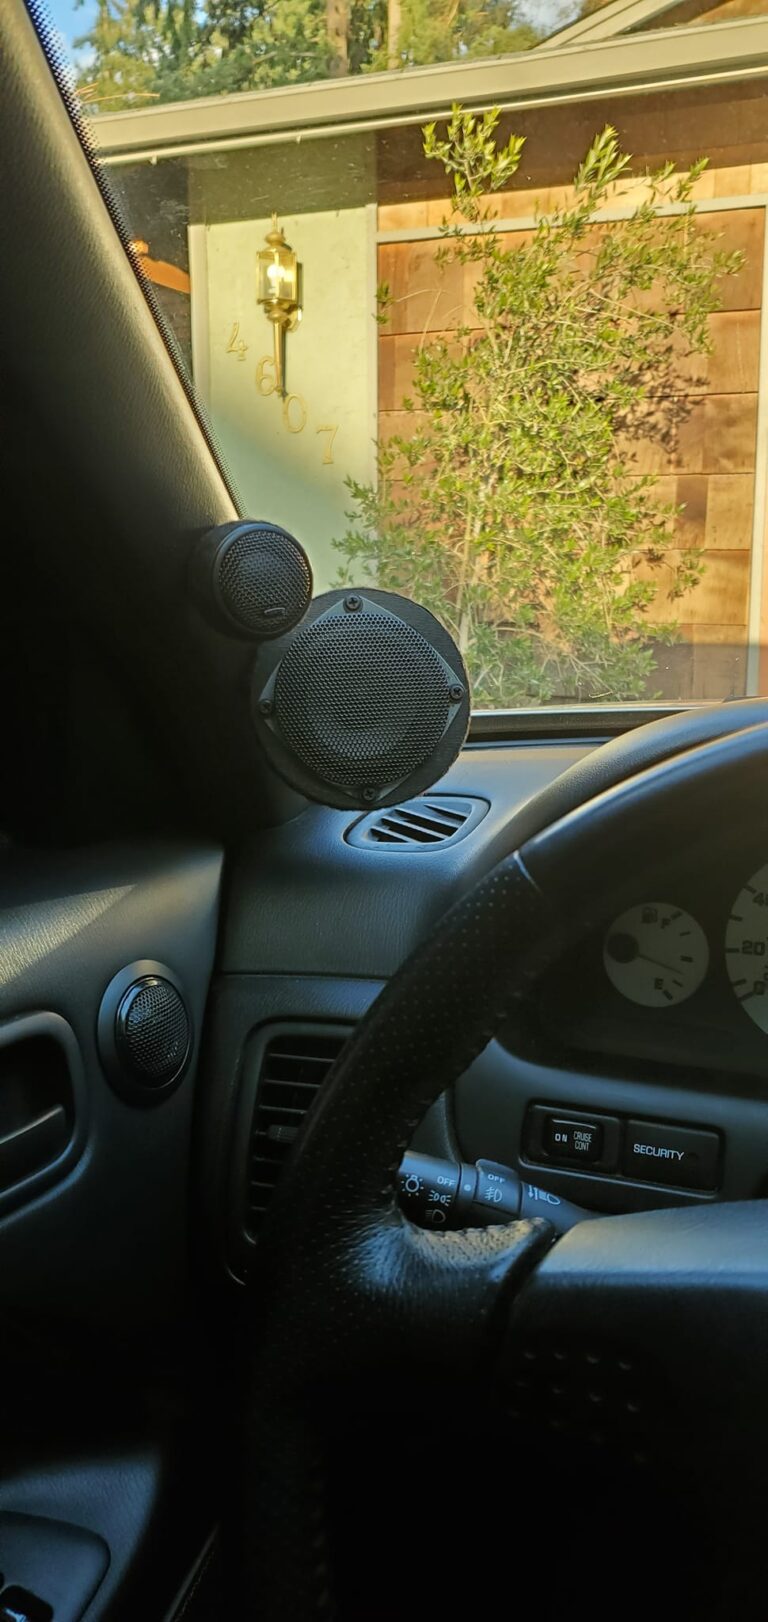
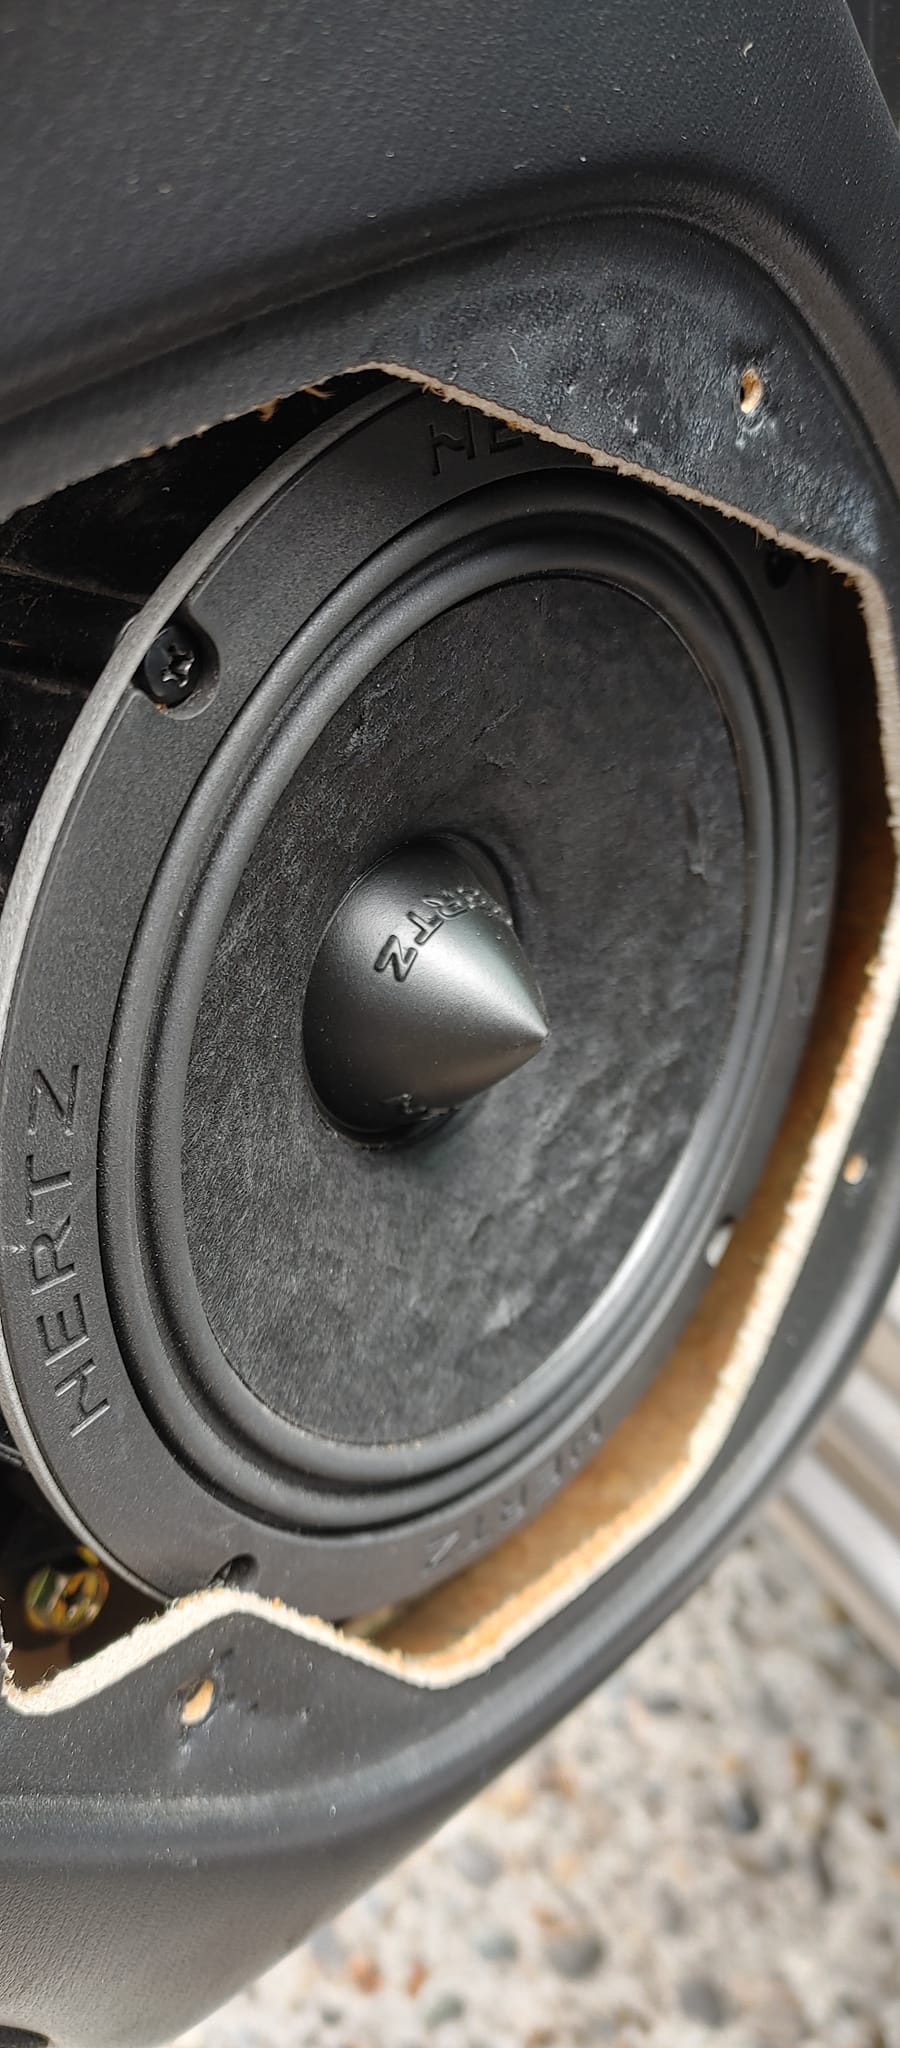
(AKA 4 speakers, 4 amplifiers. Front speakers are components consisting of 6.5 inch woofers with 2 inch mounting depth and tweeters on the pillars. Rear Speakers are full range 6.5 inch speakers.)
Q2. My stock premium sound system headunit has died, what do I do.
A1. You have choices. Get it repaired, which can be costly and far from time efficient, or purchase a headunit of your choice. There are 2 integration harnesses that allow you to send a signal from your new headunit to the BOSE amps behind each speaker.
Method 1:
Amp Integration Harness Metra Part 70-7550 as shown here:
Metra Part 70-7550
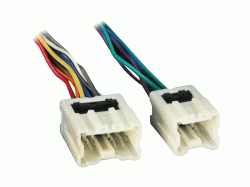
This harness is all well and good, but it is taking the raw power signal from your headunits internal amp and sending it to the BOSE amplifiers. This harness is geared for aftermarket headunits without 4 sepaker preamp out jacks. This method will work, BUT, you get alot of distortion because it’s a high level signal. TOO much signal produces distortion, too little signal will prevent the volume from reaching a decent level. As I said before, this will work, but you will get a crappier signal.
Method 2:
Amp integration Harness Metra Part 70-7551
Metra Part 70-7551
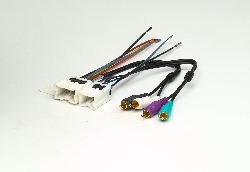
This harness is the best harness you can get. This harness utilizes the low level RCA preamp outputs of your new headunit to produce a clear signal to your BOSE amplifiers. With this harness you bypass your headunits internal amplifier and use only the preamp outs. This method supplies the proper amount of signal to eliminate distortion presented by direct amplifer hookup like with the Metra 70-7550.
Q3. Ok so now that I have chosen an aftermarket headunit and the wiring harness of my choice, what other items do I need?
A3.Well assuming that you still have a stock antenna wire, you most likely will need the antenna adapter 40-NI10
Infiniti/Nissan Antenna Adapter Metra Part 40-NI10
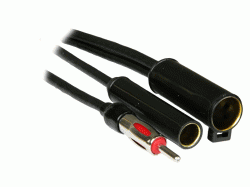
This adapter will allow your stock antenna wire to work with th aftermarket antenna wire found on the rear of your aftermarket headunit.
Q4. How will my aftermarket radio fit into my car. I have a 1 din radio, what do i do?
A4.You need to get a dash kit. There are several companies that sell dash kits to fit your stereo, but for the sake of keeping everything from the same company we will use METRA as our source for this dash kit.
Dash Kit 1:
Nissan/Infiniti Multi Kit Metra Part 99-7417
Nissan/Infiniti Dash Multi Kit Metra part 99-7417
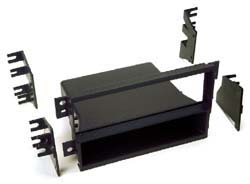
For infiniti purposes, you will not use most of the pieces floating around that center section. YAY!
Dash Kit 2:
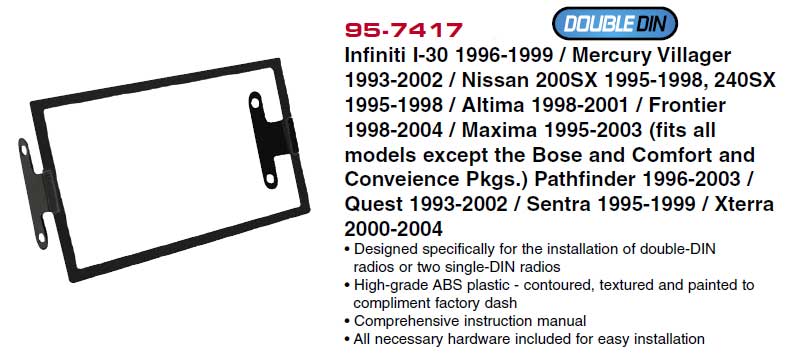
Now if you so decided to be a baller and purchase a 2 DIN aftermarket headunit you can purchase the 2 Din dash kit Metra part 95-7417
2 Din Multi Kit Metra Part 95-7417
Q5. MY BOSE amp died on the back of one of my speakers, can i use the power from my aftermarket headunit?
A5. NO, NO,NO. Bose runs their speakers at 1 ohm. Aftermarket headunits run their channels at 4 ohms unless otherwise stated. 99% of the time it will be 4 ohms. If you try to power the 1 ohm Bose speaker, you will burn out the amplifier in your new headunit. It is much more difficult to drive a 1 ohm load than a 4 ohm load. I know, its kind of contradictory to what you would believe but its true. The lower impedance actually creates more heat and stress on the headunit which is why it overheats. Some amps are designed to push low impedance loads and those can handle the heat. Headunits just aren’t designed like this. I suppose there could be a sporadic design here and there but i would place huge wagers on a deck being 4 ohm nominal over 1 or 2 ohms. Also note, impedance is dynamic and constantly changes but the nominal impedance needs careful attention.
Q6. Can i replace a BOSE speaker with a different brand speaker and connect it to the BOSE amp?
A6. NO and YES Once again, the speaker runs on 1 ohm, most, 99% of aftermarket speakers run on 4 ohms. You could run a 4 ohm speaker but you most likely have lower volumes since the amplifier would produce less power at 4 ohms than 1 ohm. Your challenge here would be to find a like quality speaker that has similar characteristics to the stock speaker. If you swap one, I would swap the other as well. In the end, you would do better to find a 2 ohm speaker like Infinity has and hope it has a good efficiency to help eek as much out of the wattage that is left to create a decent amplitude.
Q7. Is it hard to integrate the wiring harness?
A7. Not at all. When you integrate the wiring harness of your choice you are not splicing any part of the existing harness. The harness that is attached to your car remains the same. The integration harness you purchased will plug into your car’s harness. From here you have wires on the opposite end that need to be attached to the wiring harness that comes with the aftermarket headunit you chose. Both the headunit and and Metra cable come with directions specifying what color wires are for what. The Metra cable packaging has the wire designation on the back so do not throw the packaging away. Somewhere in your headunit manual will be the wire color designations for their harness.
Q7. Why are there so many damned colors?
A7. So many colors because of so many connections. Most aftermarket manufacturers follow the same wire color schemes to keep things more uniform. It is easier on everyone’es part when it’s this way. HOWEVER, this is not true in 100% of the cases. Always double check to make sure that the colors match so that when you hookup your accessories you don’t ruin anything.
Q8. WHOA OMG, WTF. I have an extra black wire emanating from my METRA harness 70-7551, who what and why is it there and what do i do with it?
A8. Ok here’s the deal. After a lot more research i am fixing this answer. The deal is, there are 2 ground wires, 1 per harness. Unfortunately, there will most likely be no place to connect these to on your new aftermarket headunit because these wires are grounds for the bare negative wire which travels along side your + and – signal cables to your amps at your speakers. This method is called shield wiring because this single bare negative wire removes electrical pulses from its environment and grounds them. This prevents interference on your signal. Basically, now that you know this you should ground these two wires to the chassis as close as possible to the HU. I haven’t done this yet because i just figured it out so i will fix the end of this and tell you all where i put my grounds for them.
Q9. My harness comes with crimp tubes, are these any good?
A9. The crimp tubes are fine. The metra harness’s don’t have crimp tubes to my knowledge but many times, in the case with my alpine headunit, the headunit harness has crimp tubes. You can use these tubes and things will work fine but it is always recommended that you twist the wires together and cover it with something to protect the bare wire. I always ditch the crimps and twist the wires together and then use heat-shrink tubing. You should solder the wires together as well and then cover with shrink tubing, but you don’t have to. Make sure the wires are firmly together. If you chose to forego the shrink-wrap, use electrical tape. Choice is up to you, i just find shrink-wrap tubing to be more of a finished look.
Q10. How is My BOSE Headunit grounded?
A10. The way your BOSE headunit grounded is via the metal case. In other words, your headunit is screwed into the cage which is screwed into the dash which is connected to the chassis which is a common ground to your battery.
Q11. Ok so now that you have explained these confuzzling ground wires, how the hell do i ground my new aftermarket headunit?
A11. Well, there are options. Chances are you new aftermarket headunit will come with a black ground lead on it. In the case of our cars, ground the wire to the chassis spot of your choosing. Your new aftermarket headunit may ground itself to the chassis via its metal casing but make sure that the black ground wire from your new headunit is grounded to the chassis.
Q12. Ok i have an annoying whining noise and/or other static/pop noises coming through my speakers what can I do?
A12. When you have a whine coming through your speakers that means that somewhere in your car is a ground loop. This is a rather common occurrence unfortunately and is caused when there are multiple grounds to a negative and electricity could travel either path causing noise in the system. A more in depth way to explain it is as such: your whole car is basically a ground plane for which negative electricity travels back to the battery. Different parts of the car have different ground resistances. This differential in resistances is the noise you hear when you have a ground loop. If speakers aren’t involved, these resistances drops aren’t necessarily a huge concern but even the smallest drops can cause noise in your audio system. You want to try and use the biggest pieces of metal in your car to ground on because they generally have the lowest resistances. Be weary though that using mounting bolts that are pre-existing might now be best. Also take note that some body panels are glued together and don’t necessarily conduct electricity that well. Typically, you may have to try a few locations and if need be, whip out your multi-meter. I had to do this with my challenger audio install.
Now the whining you hear is the alternator spinning and you will notice the noise is louder at higher RPM, so that means its proportional to how fast the alternator spins. My assumption is that the whine is caused by the alternators recharging and supplying of power back into the system. Just some more information, alternators have diodes on them so as to prevent electricity from flowing back in. Diodes limit electricity to one path, so electricity cant go back. Now in some cases the diode or diodes on the alternator get burned out or just break and this can cause the whine as well. Usually this is an absolute last thing to check is a more rare occurrence.
Now that you read this whole speal you are probably wondering what you can do to fix the issue. Well i have a solution that has worked for me and many others but isn’t a 100% sure. You can buy ground loop isolators which this method is for those using the RCA jacks on your aftermarket headunit. You need to purchase 2 isolators because each has a l and r channel and your have 4 channels to you need 2. These help to eliminate the noise in the circuit. This isn’t a cure but more of a band-aid for the greater problem. Isolators can work in several ways from breaking the signal path and replicating the signal via magnets or using filters to try and “clean” the signal. Jensen Transformers makes the magnetic isolator and it is spendy but it works and is really more of a cure but is still a bandaid. In these cars though, with multiple amps in different locations, it is very difficult to get them grounded on the same plane nicely. This is where “less is more” is aptly placed.
http://www.partsexpress.com/pe/showd…number=265-012
Q13.How do I actually get to my Bose Headunit?
A13.Its very easy, the tough part is not breaking anything while doing it. For you to get at your Bose headunit you need to take the center console apart a little bit. The wood trim by the gear shifter is held down to the console with pain in the *** v-clips. The first time I took it up i did it with my fingers, i was able to fit my fingers in on the inside of it and pull up towards one of the corners. You can take a flathead screwdriver and use a cloth to help not damage the trim to pry it up. When you get it up, you are left with the cigarette light attached to it. Just pull the cord off the back of the light, it just pressure fits more or less. After that, the ashtray is there, there are two screws holding this in, one on the left and one on the right. To get it out, you need to open it and pull it out, the light for it is connected and u can throw it to the side of disc it. After that, you can get access to both of the bottom screws that hold the cage that holds the tray, HU, and AC controls. You need to remove the top vent and disc the wires from the harness, its kind of a ***** to leave it connected and sit the vents on your dash tbh. Getting the vents out cant be troubling, my method was to put my fingers into the vents at the bottom up to about my second knuckles and press down and pull out. The vents stay by being force fit in and held in with little pieces of plastic that let u push it back in but not pull it out easy. After the vents are remove, you now have access to the two top screws of the cage, remove those and you can now pull out th whole cage and you can get access to the wires and screws holding the HU in.
The low sound issue resulting from the preamp voltage: I didnt find any cheap method before i traded my car in, the best thing you can do is buy a preamp line driver. TRU Tech makes a good one, very expensive $300, this is what Nismos recommends. You can find cheaper line drivers like the ones memphis makes that are about 60-120. Fortunately in recent years, more line drivers have come onto the market at more affordable prices making them good options. Even still, when i choose a new aftermarket deck, i try to get one with high voltage pre-amp outs. My current Pioneer deck is a 3-way deck with 5V preamp outs. I wouldnt let this limit you though if you plan to do outboard active processing and what not.
It really comes down to cleanliness of sound and quality of signal. Your aftermarket HU will produce a great RCA signal compared to the raw signal at the trade off of amplitude (strength of the signal and the result of what you hear). I know there are converter packs you can buy which take the raw power signal or the HU and convert it to RCA, i don’t know if the signal strength is higher than that of the metra harness. These converters i think from what i remember were like 35-80 bux.
◙◙◙◙◙◙◙◙◙◙◙◙◙◙◙◙◙◙◙◙◙◙◙◙◙◙◙◙◙◙◙◙◙◙◙◙◙◙
Additional items may be found on METRA’s website. Put your car info in and you can choose your application needed.
http://www.metraonline.com/vehicleguide.aspx
If you want to poke around for other car shiz, check out Installer.com. That is where i purchased my harness, they have everything you need to do a great intsallation.
http://forums.maxima.org/audio-elect….Installer.com
◙◙◙◙◙◙◙◙◙◙◙◙◙◙◙◙◙◙◙◙◙◙◙◙◙◙◙◙◙◙◙◙◙◙◙◙◙◙
Edit: 2/24/08
Ok, after consulting with the mechanics manual for the car with a lot of trying to figure out the wiring schematic i have come to this. I have no idea what the popping noise yet, BUT I HAVE ALTERNATOR WHINE. yes quite annoying, but i have learend a couple good things.
Fixed Q8, it was all wrong, damn you metra almost perfect but it helps to consult with your mechanics guide in the electrical section. Also added some new info
I still have a popping noise, haven’t figured it out yet. I have some slight alternator whine. I am assuming that this was there originally for me but was inaudible due to the original type of harness used on my radio. Now that i am using RCA’s it is much clear, but the whine is now audible. I am assuming this has to do with my currently ****ed up grounding situation. So as soon as things are properly grounded we should be good i hope. As a side note, i never had alternator whine until i had my new headunit installed. So it has to be it.
EDIT: 3/30/08
I added question 12 on alternator whine elimination and getting rid of other possible noise coming through your speakers.
EDIT: 4/23/09
Added a little shpeal on how to get to the HU and more on the low volume issues.
EDIT: 10-30-2013
I am never on here but happy to the thread is alive. I did some updating and cleaned up grammar and added some new helpful info. I know a lot of the links are dead, i am not fixing them. The info existing should be near enough to help you find the same or like product to what is listed. My e-mail is at the top of the thread if you need my assistance. I just deleted like 15 unread PMs from the last 4 years that i never read because I never came on here. E-Mail me with questions or other general audio concerns and I will help in whatever way I can.
Wiring Harness Wire Guide:
This is as if you were looking at the harness connected to your car dead on with you holding the connectors with the top row missing 2 connection points in the middle. These numbers are verbatim from the mechanics book for a 1996 infiniti i30 with a bose premium sound system.
Smaller Harness:
16_______12
15_14_13_11
11 = Shield Wire Ground (ground wire runs with signal cables(+ and -) for rear BOSE amplifiers to shield their signal)
12 = Amp On Signal Wire (turns on all 4 BOSE amplifiers)
13 = Left Rear –
14 = Left Rear +
15 = Rear Right –
16 = Rear Right +
Larger Harness:
10_8 ___4_2
9_7_6_5_3_1
1 = Front Left –
2 = Front Left +
3 = Front Right –
4 = Front Right +
5 = Power Antenna
6 = Battery (this ensures you keep your presets when your car is turned off)
7 = Illumination Constant (wont dim when lights are on, most cases you would use this)
8 = Illumination Switch (will dim your radio when your lights are on)
9 = Shield Wire Ground (ground wire runs with signal cables(+ and -) for front BOSE amplifiers to shield their signal)
10 = ACC/Ignition (the red wire)
◙◙◙◙◙◙◙◙◙◙◙◙◙◙◙◙◙◙◙◙◙◙◙◙◙◙◙◙◙◙◙◙◙◙◙◙◙◙
DISCLAIMER:
I take no responsibility for you messing up your car or electronics. The info above was supplied as guidelines for you to make good decisions and to help aid you in your purchases and install. If you feel that you cannot or feel that you do not possess the knowledge and ability to make the right choices, go to a professional installer.
Credit: 95maxrider
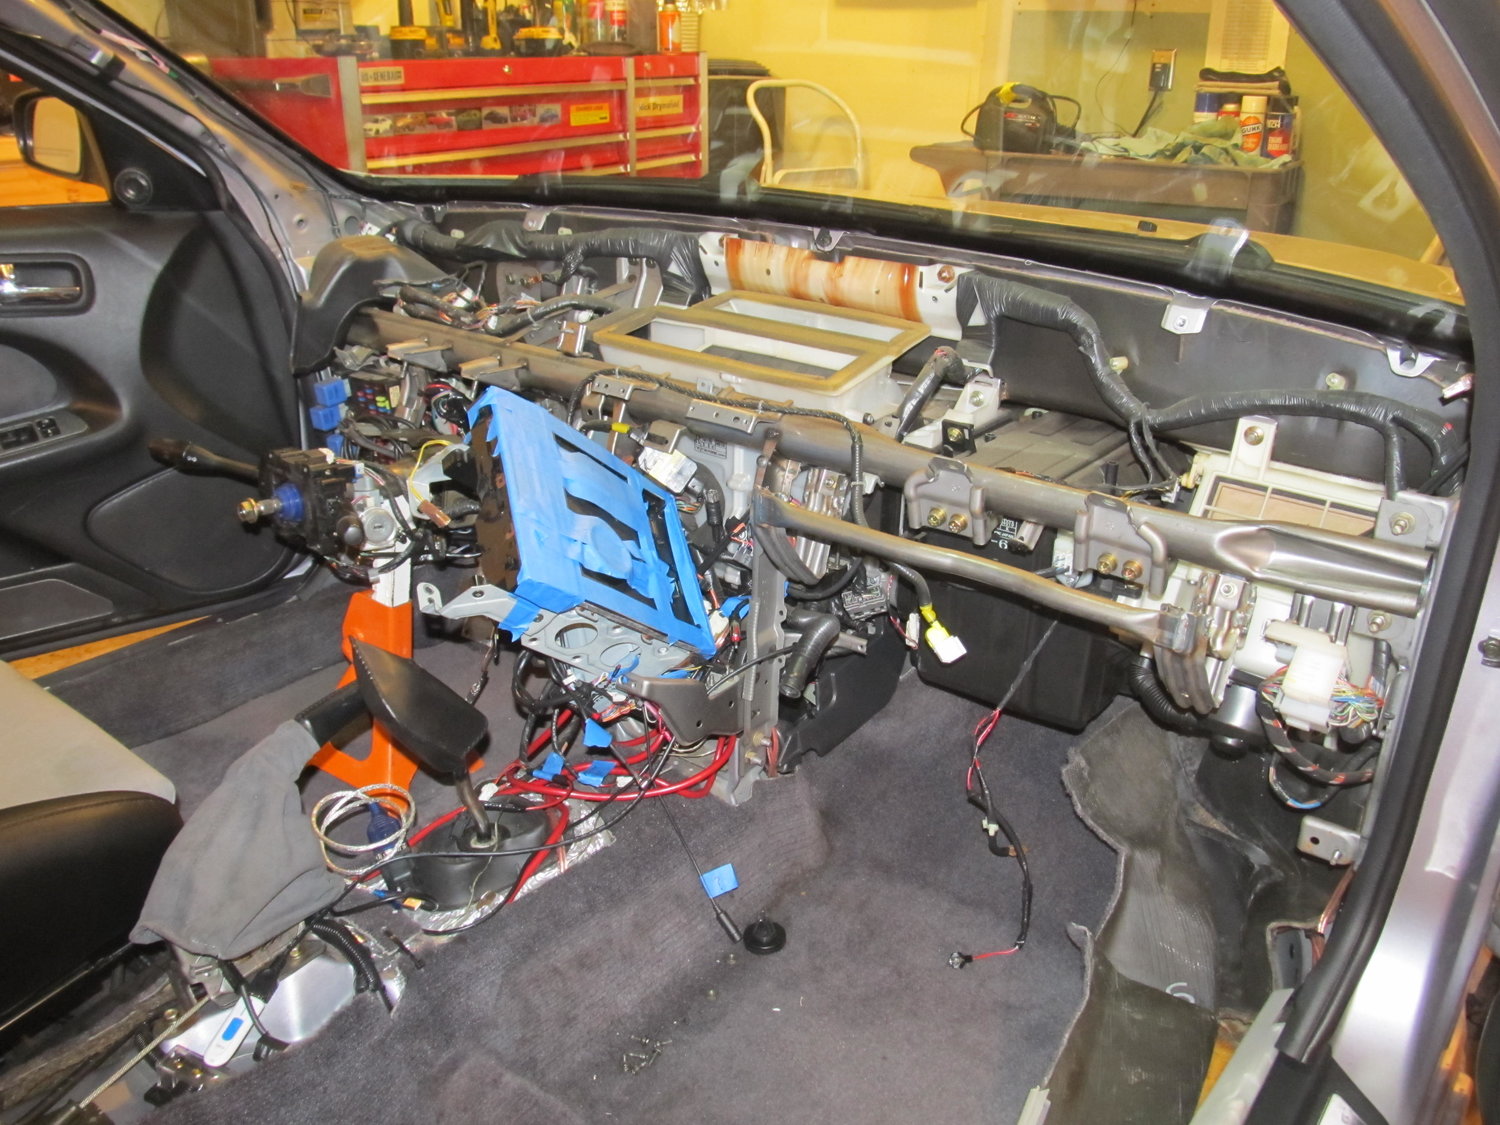
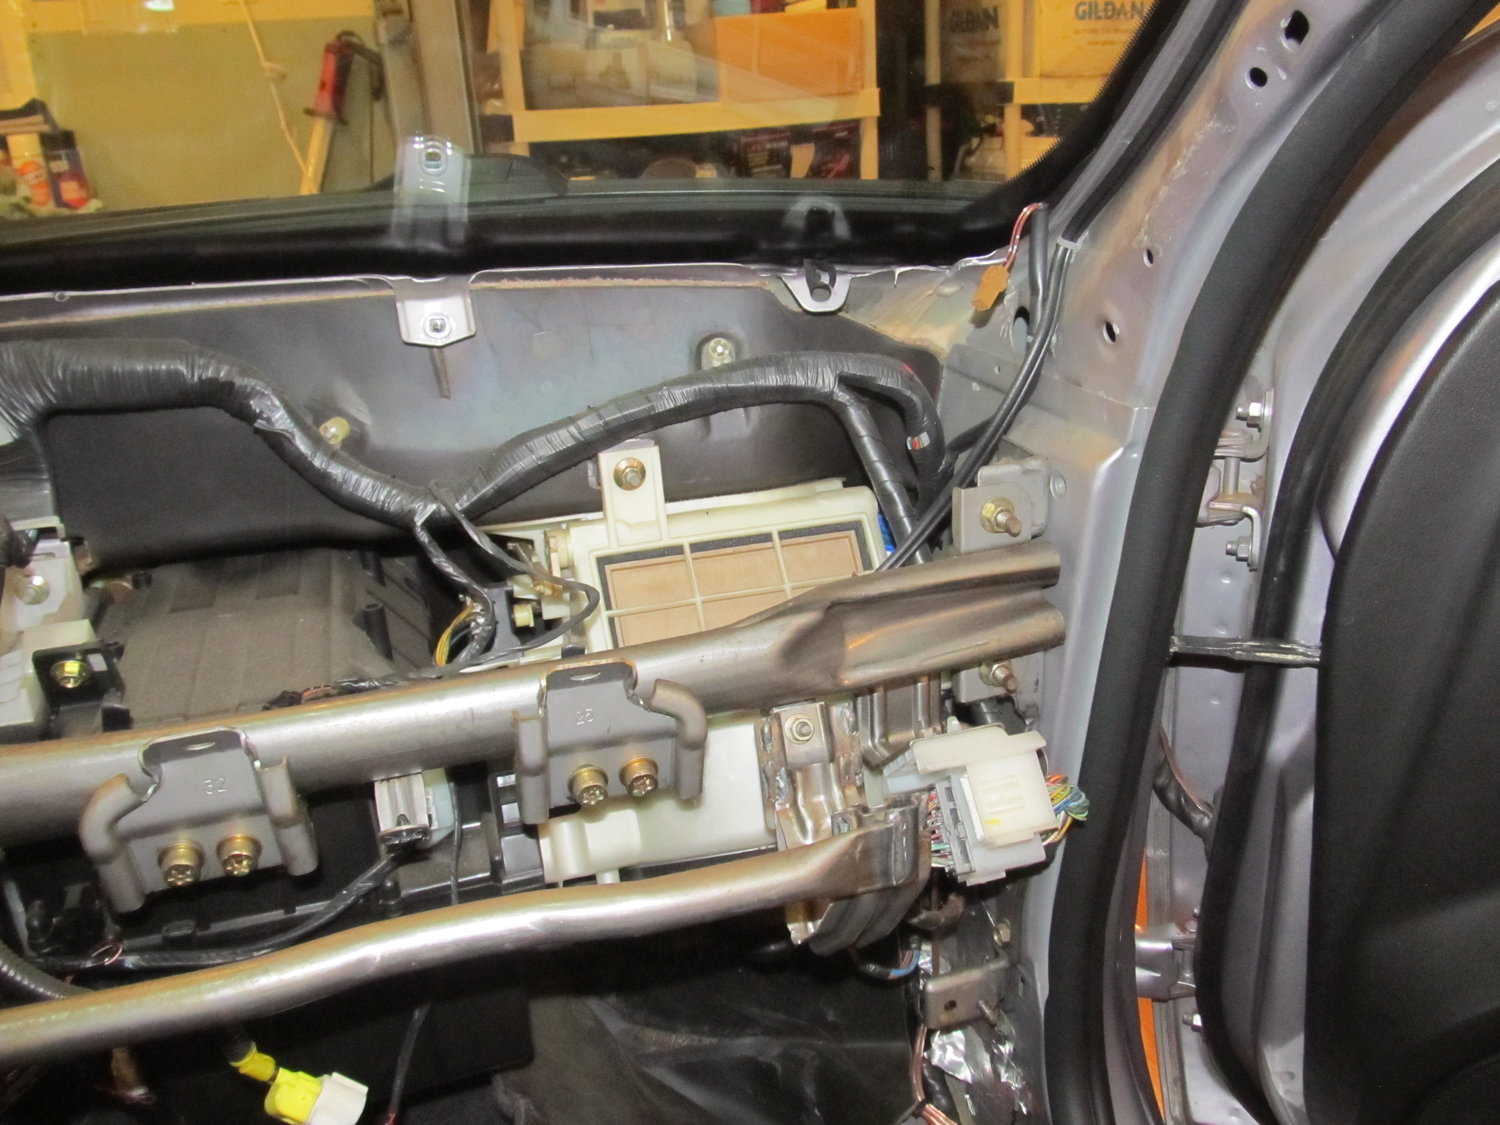
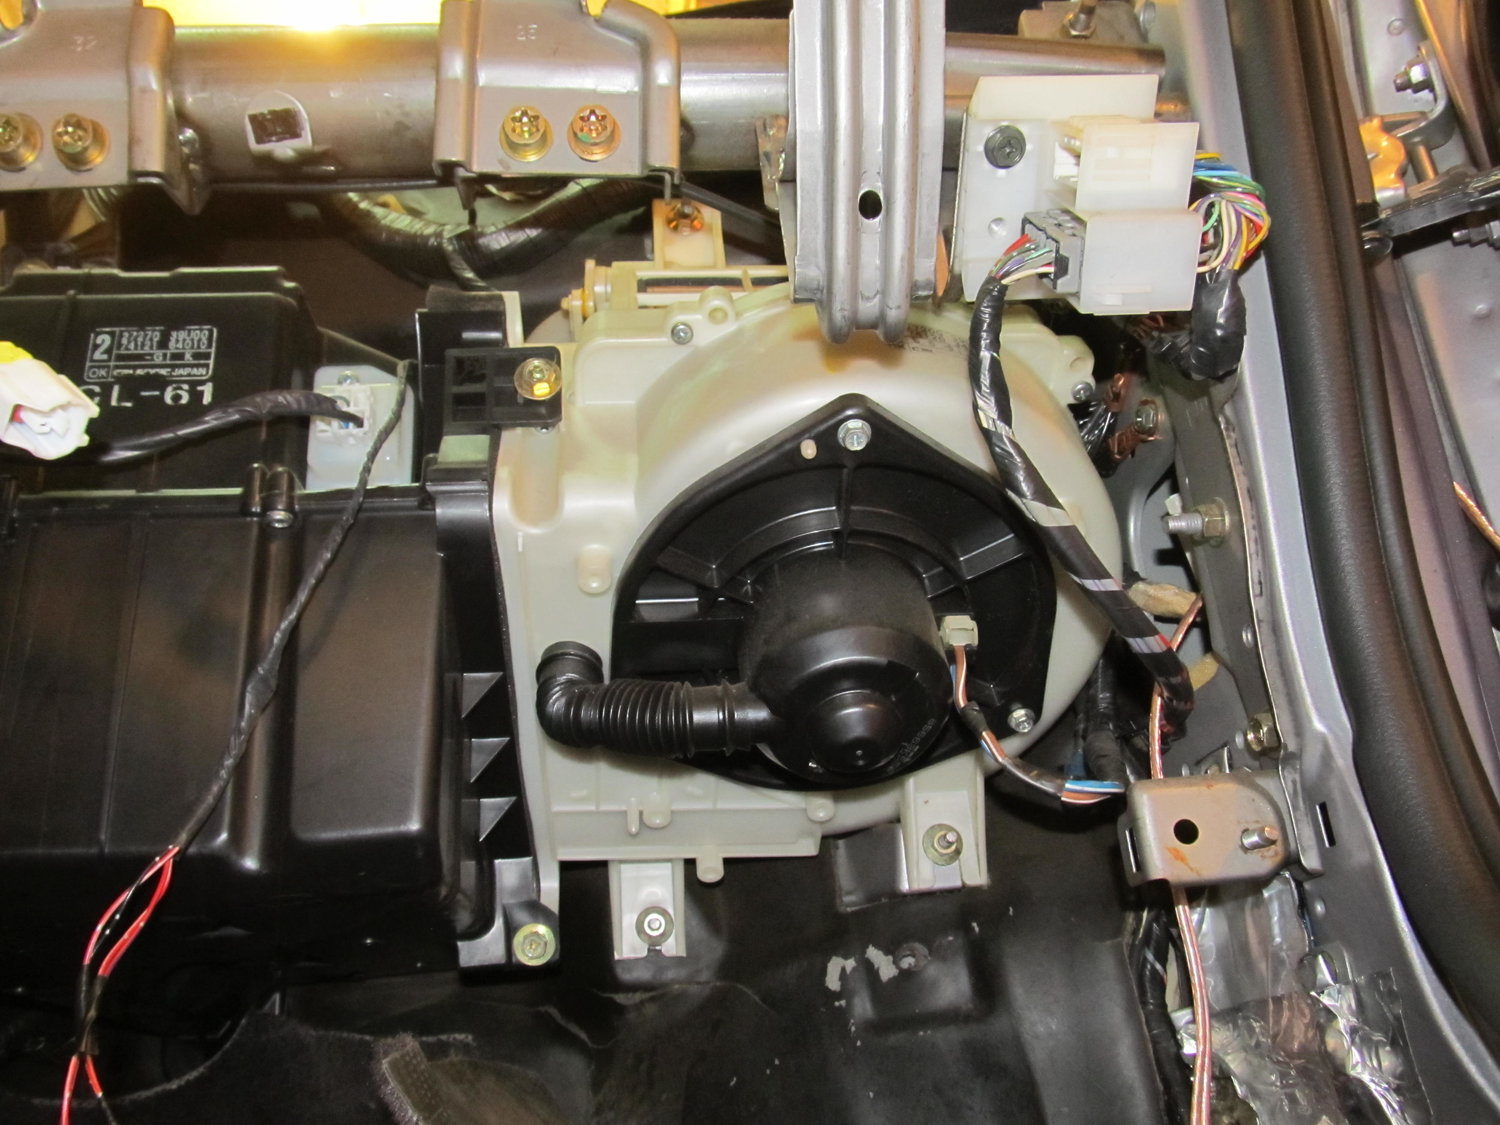
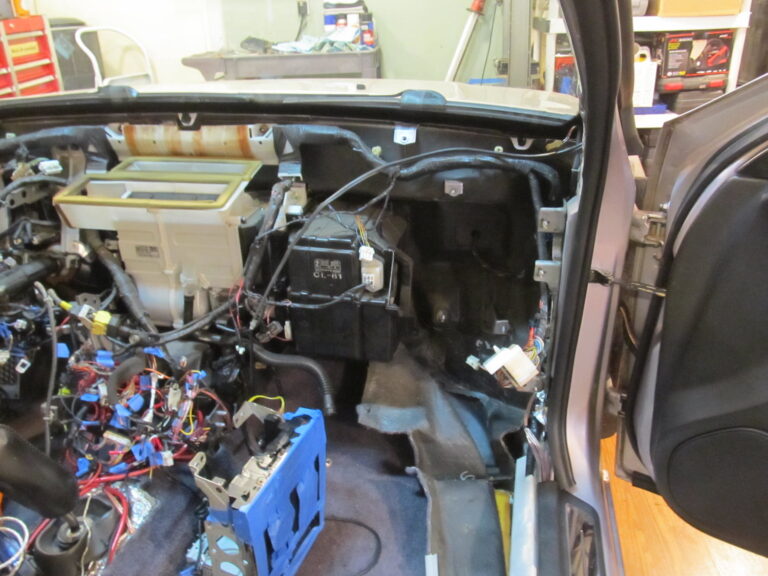
I’m trying to track down a water leak that’s coming down the corner behind the blower motor on the firewall. I’m really hoping I can remove the blower motor (the white thing on the right) without removing the whole heater core (black part on the left). I’m really not trying to drain all my coolant and my AC lines. Does anyone know if it can be done? Without removing the blower motor, I can’t get to any of the seams on the firewall. So close, but so far!
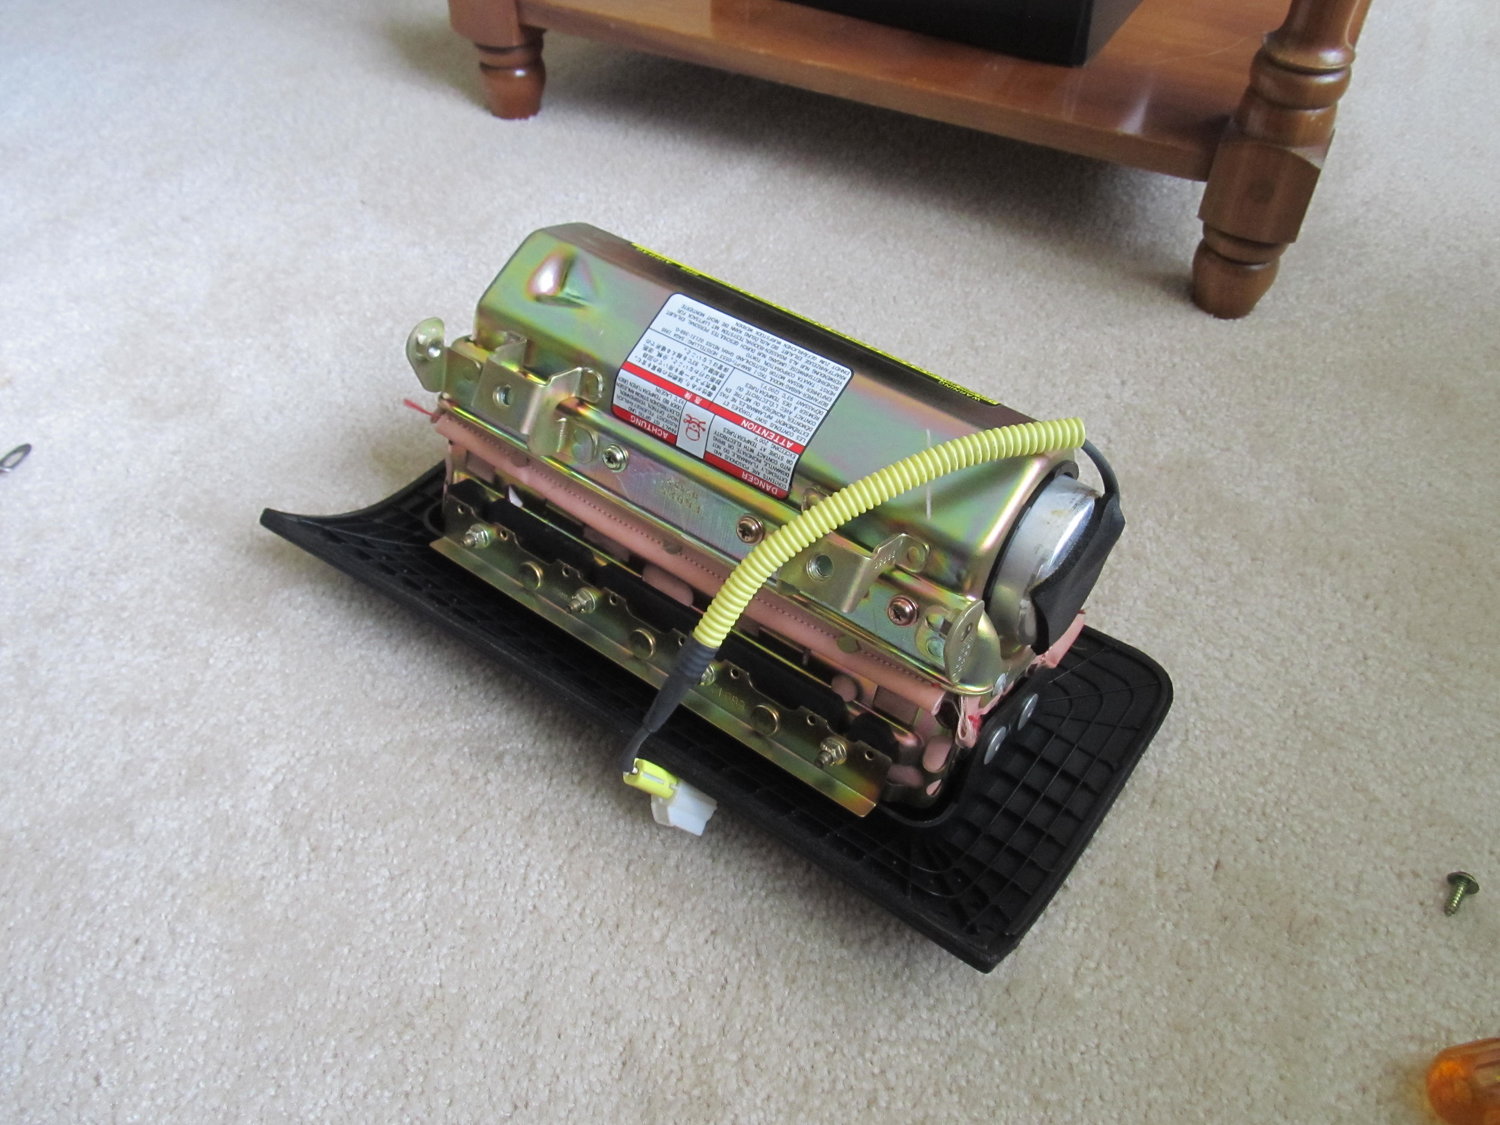
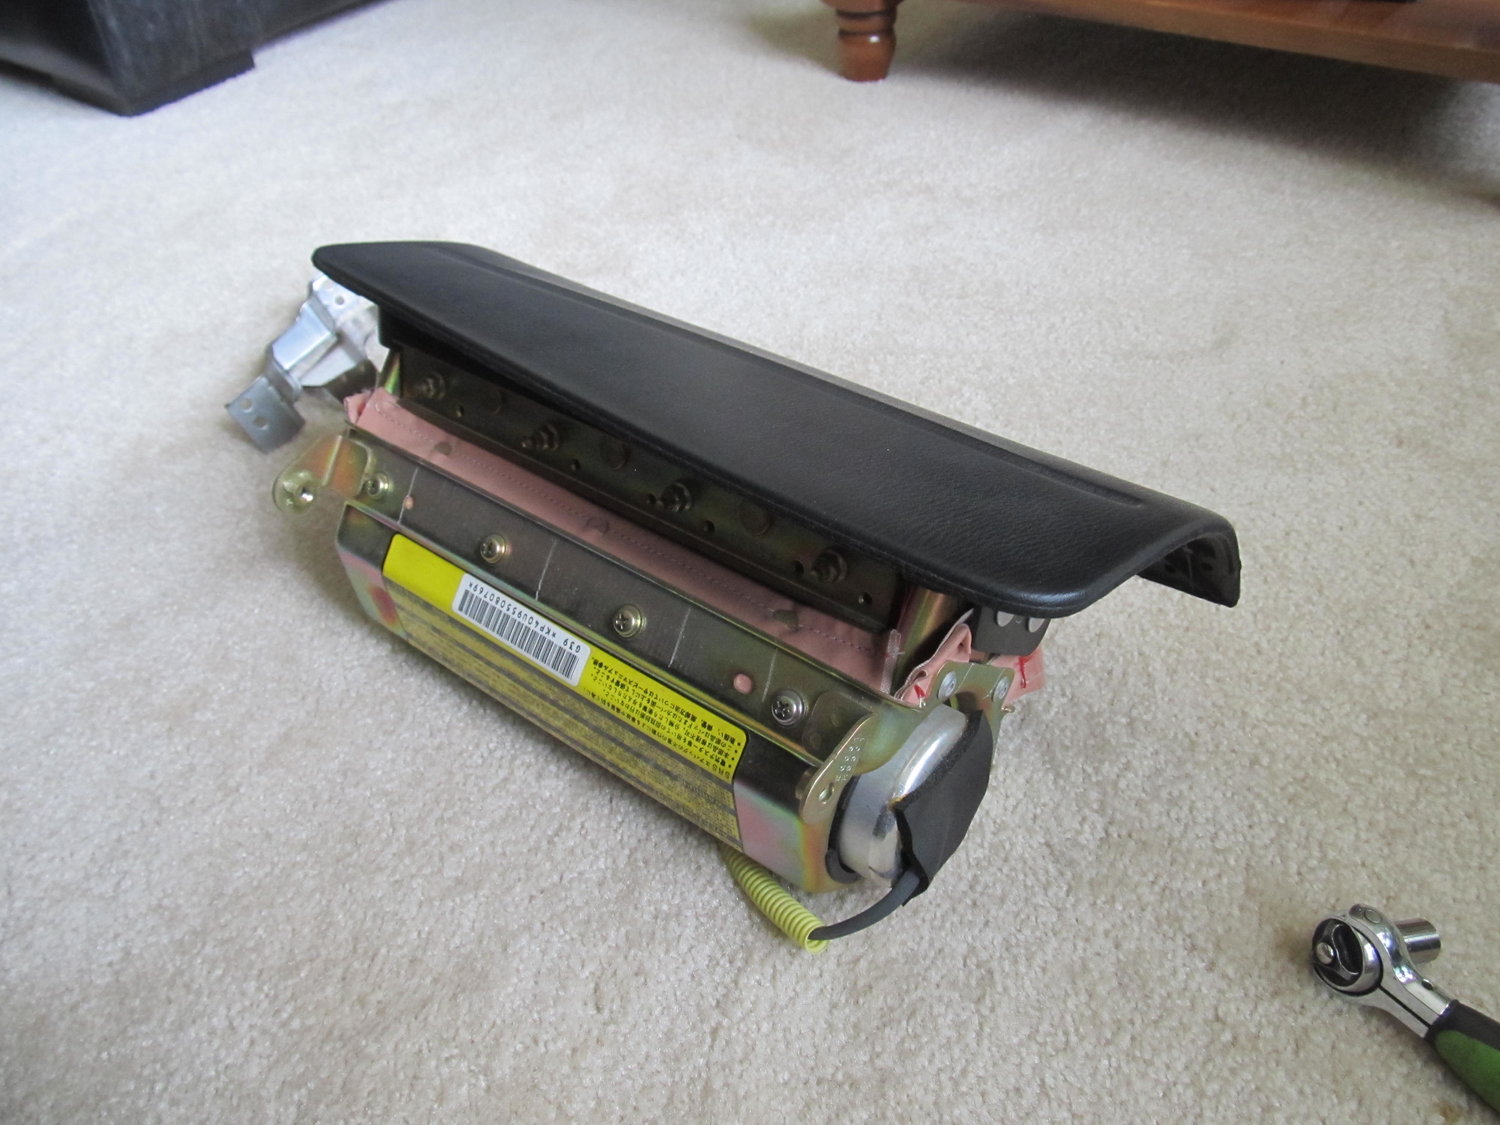
I would also like to remove the PS air bag, as I don’t have one on the DS, which disables the PS one, so I might as well get rid of it. Except it seems to be “one piece” with the outer cover:
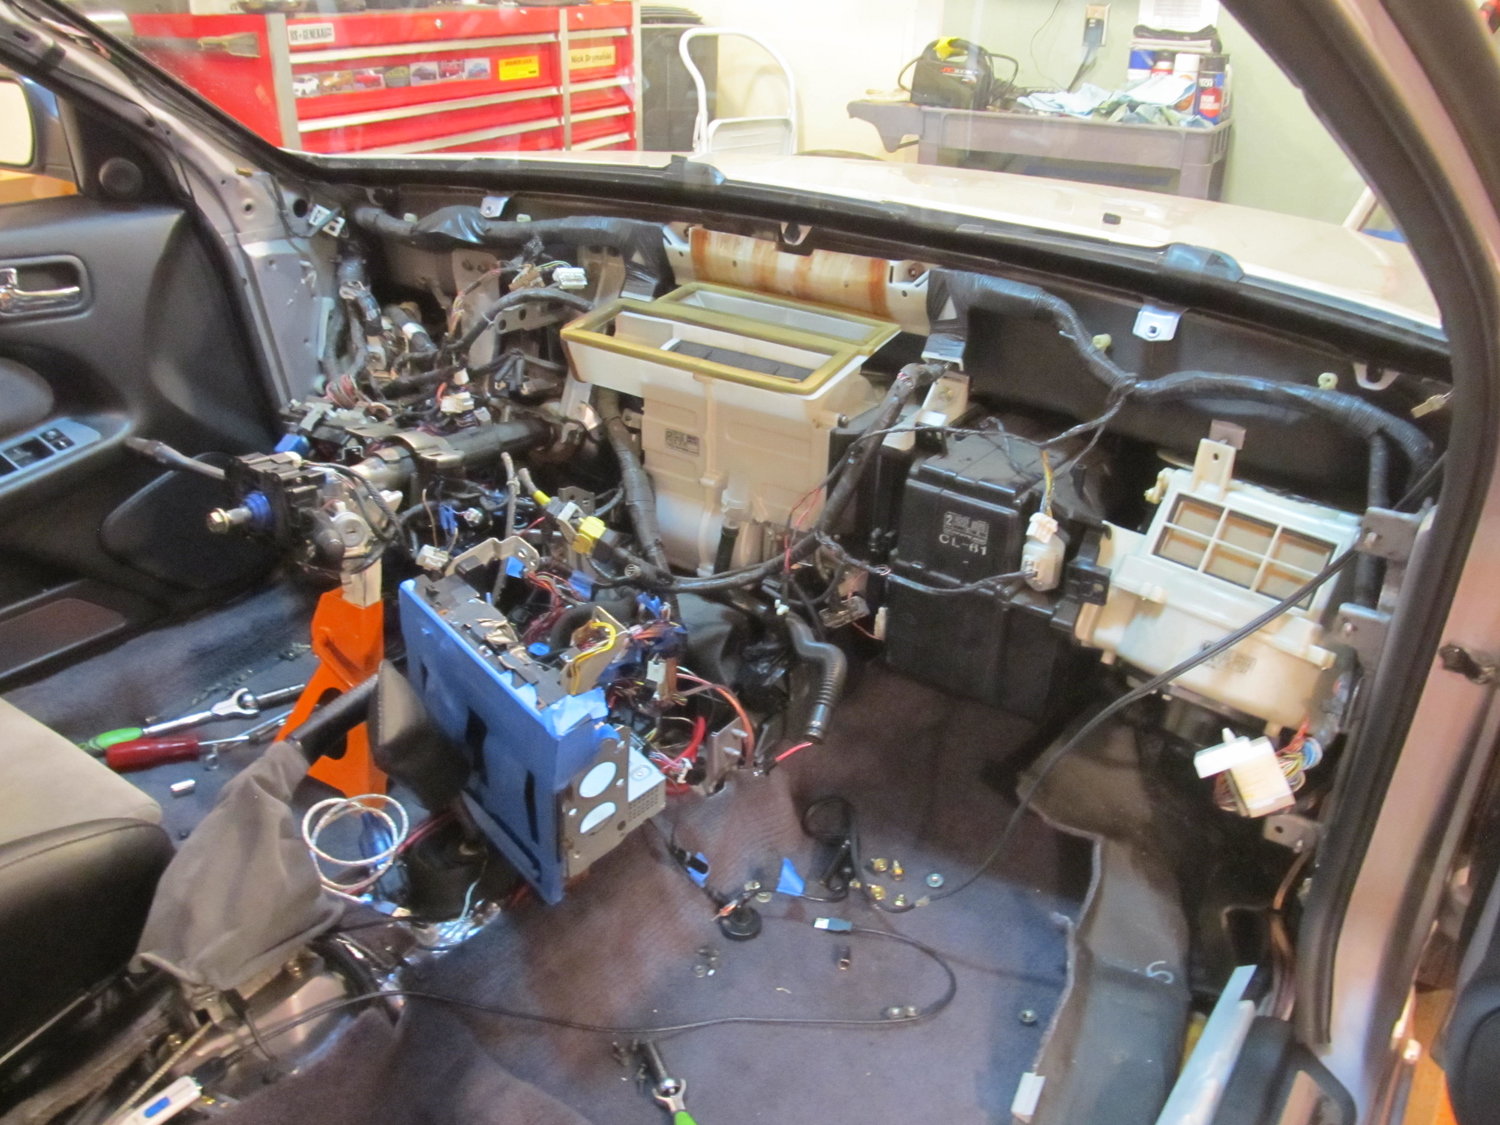
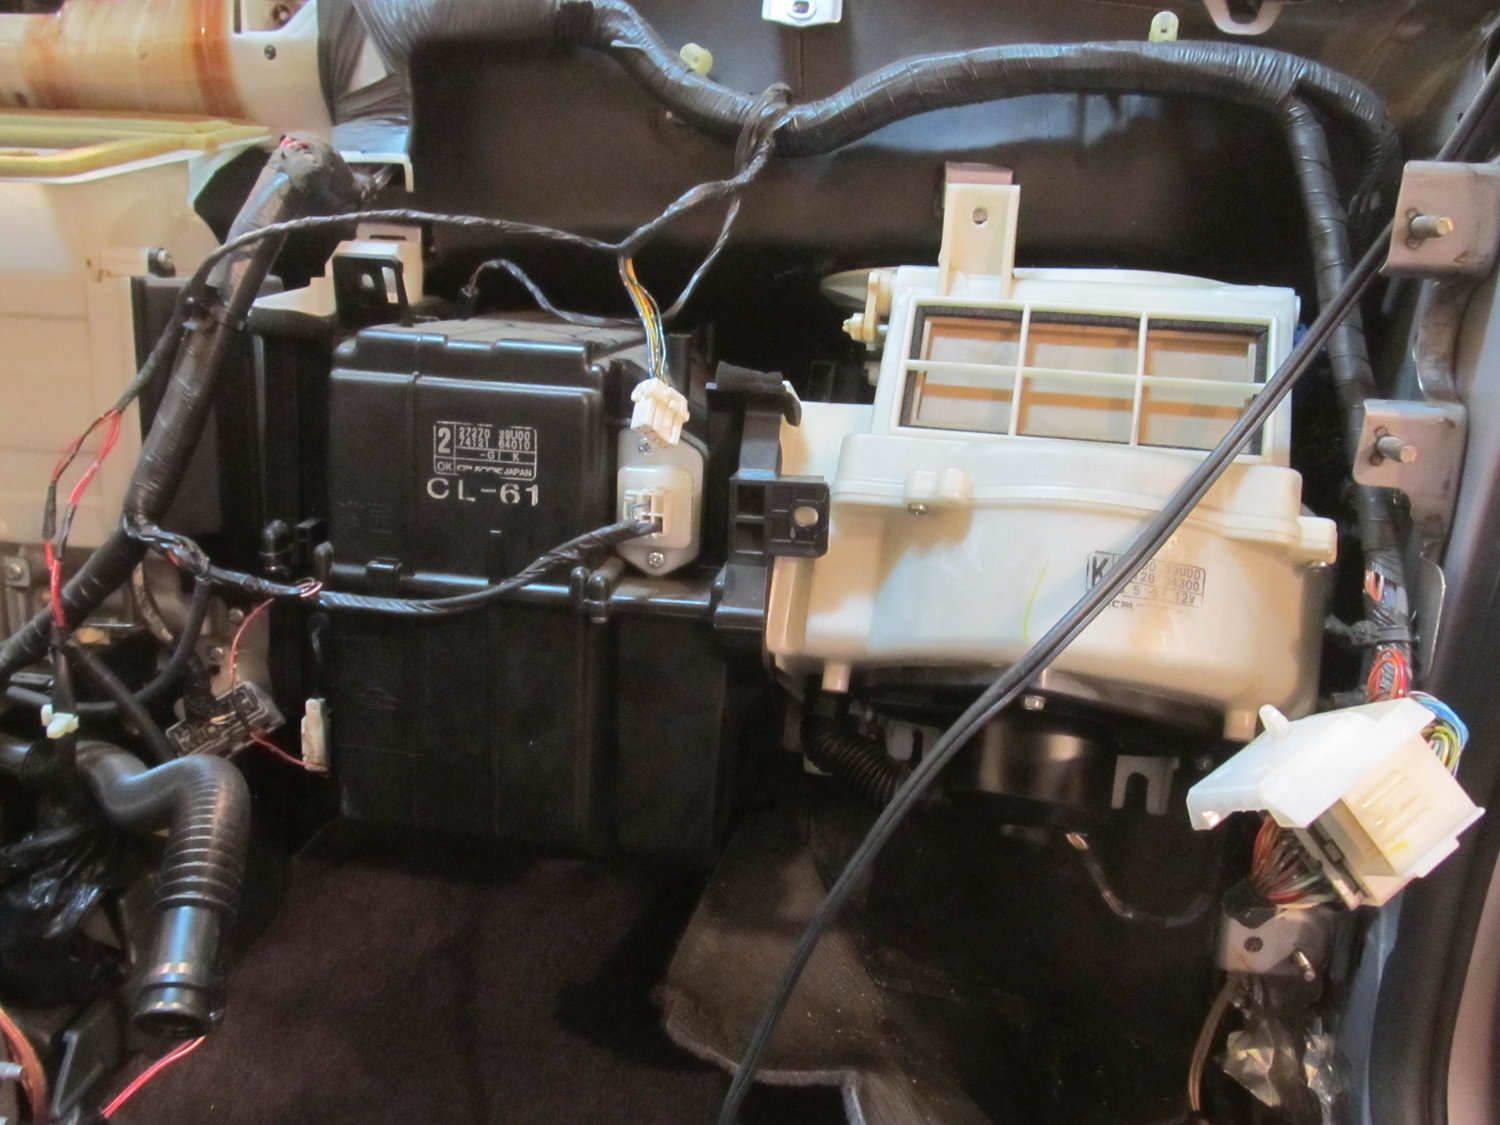
Well I got the blower motor out without removing the AC evaporator in the black box to its left! I was under the impression that the black box housed both AC and heater stuff, but upon looking at the lines from the engine bay, it became clear that the black box only held AC stuff. The main blower assembly in the center is what houses the heater stuff I guess. I do have the ability to recharge the AC, but it’s not something I’m very good at, and I didn’t feel great about venting my whole system to the atmosphere. So I hoped and prayed that I would find a quick and simple way to get out the blower by itself. I went back into the garage this morning pretty worried about what the day had in store. I had the idea that I might want to trim off some plastic from the black box to give me enough room to slide out the blower. I was in there looking at it, and noticed that one of the sides for the black AC box was pretty flimsy. With almost no effort, I was able to snap off a good piece of it. I then followed up with my snips, and with that little bit of plastic out of the way, I could get the blower out! It was a joyous moment to be sure. Here’s what I did:
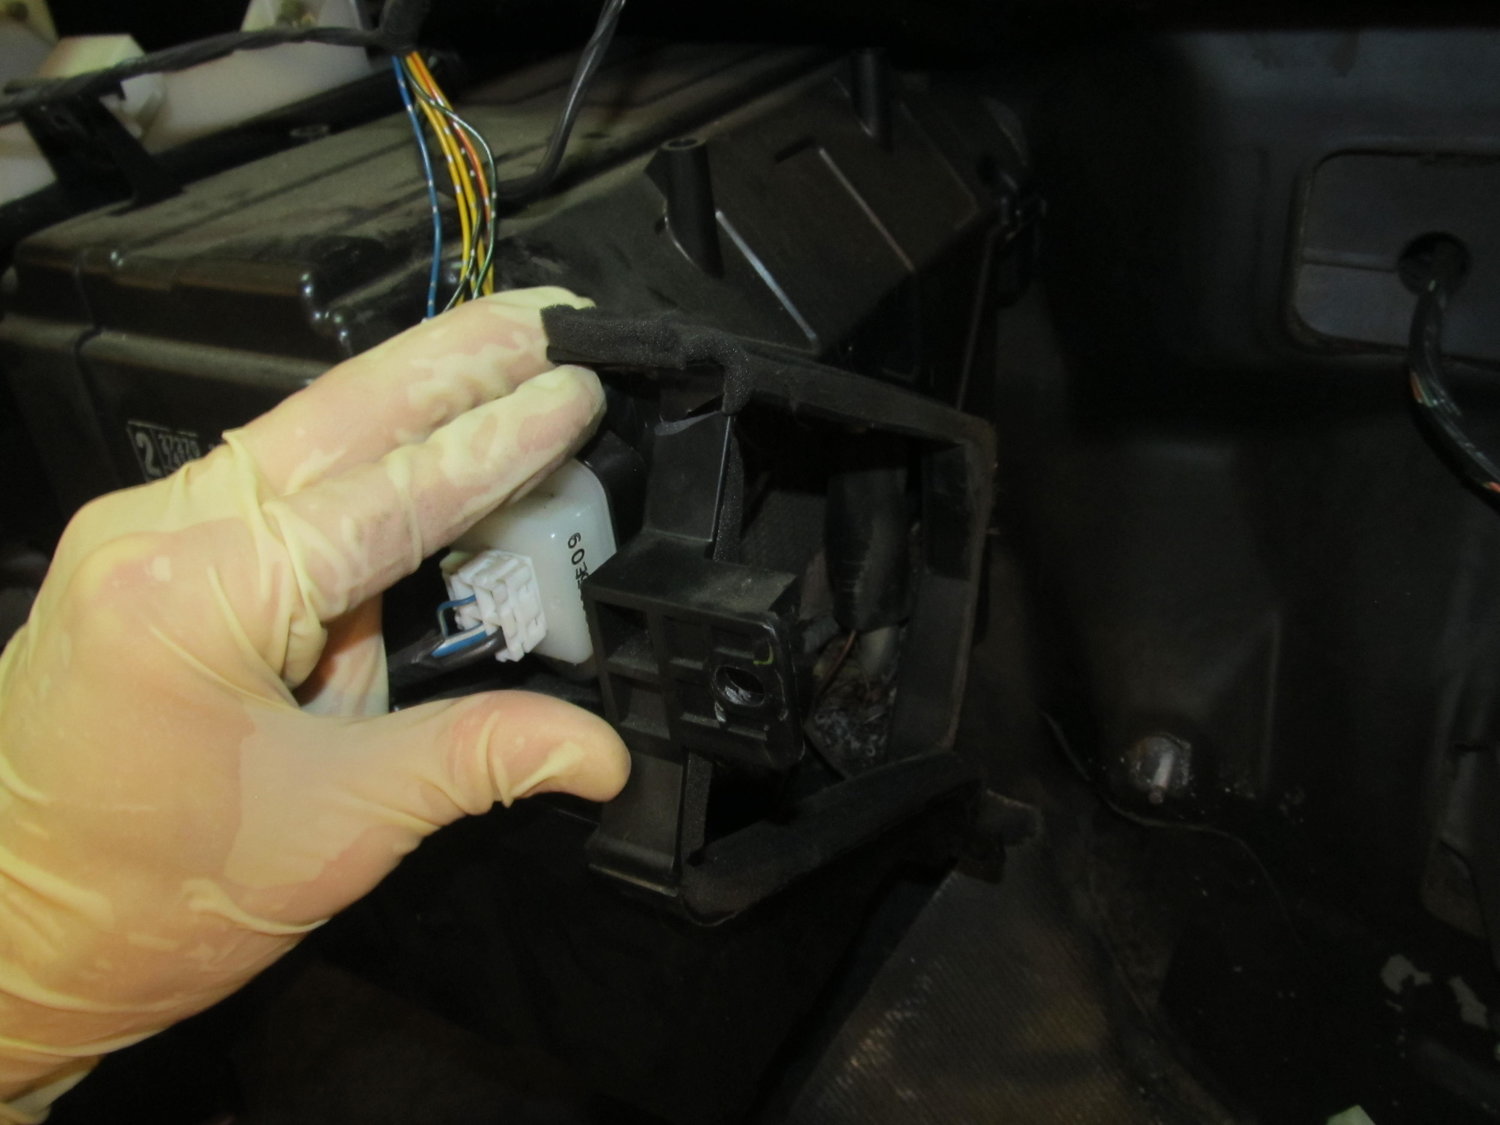
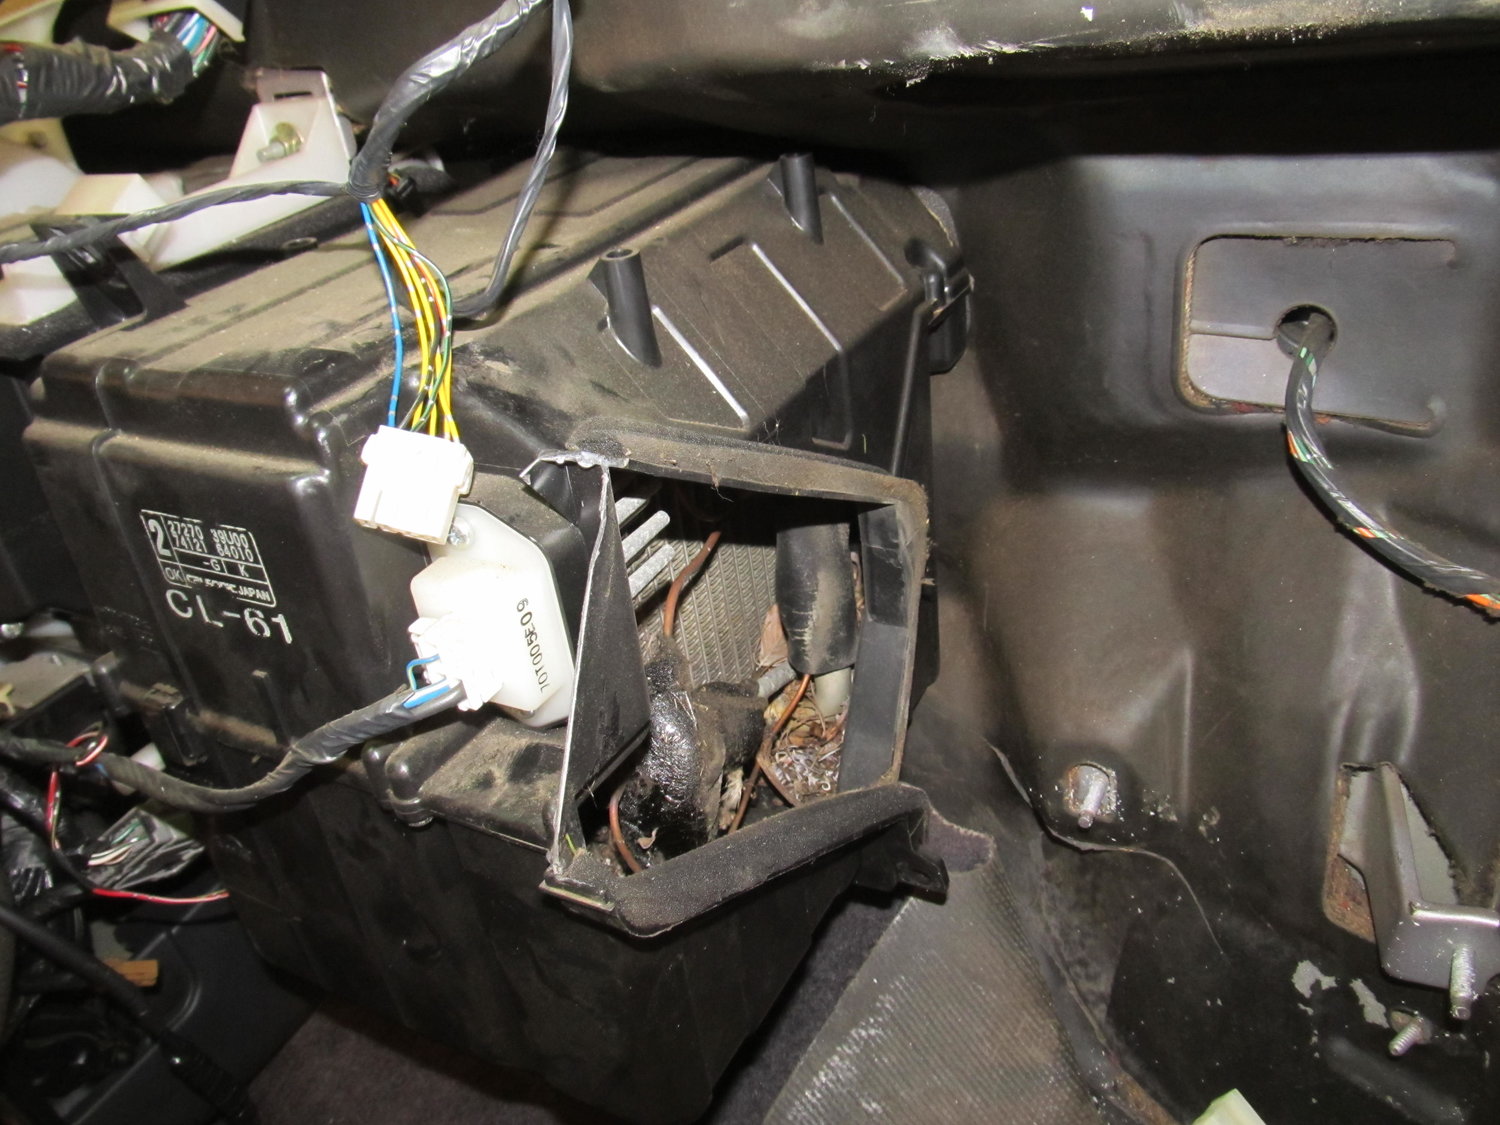
That little bit of plastic was all that was keeping me from getting the blower out!
As this out of focus picture shows, there was a good amount of debris in the evaporator housing:
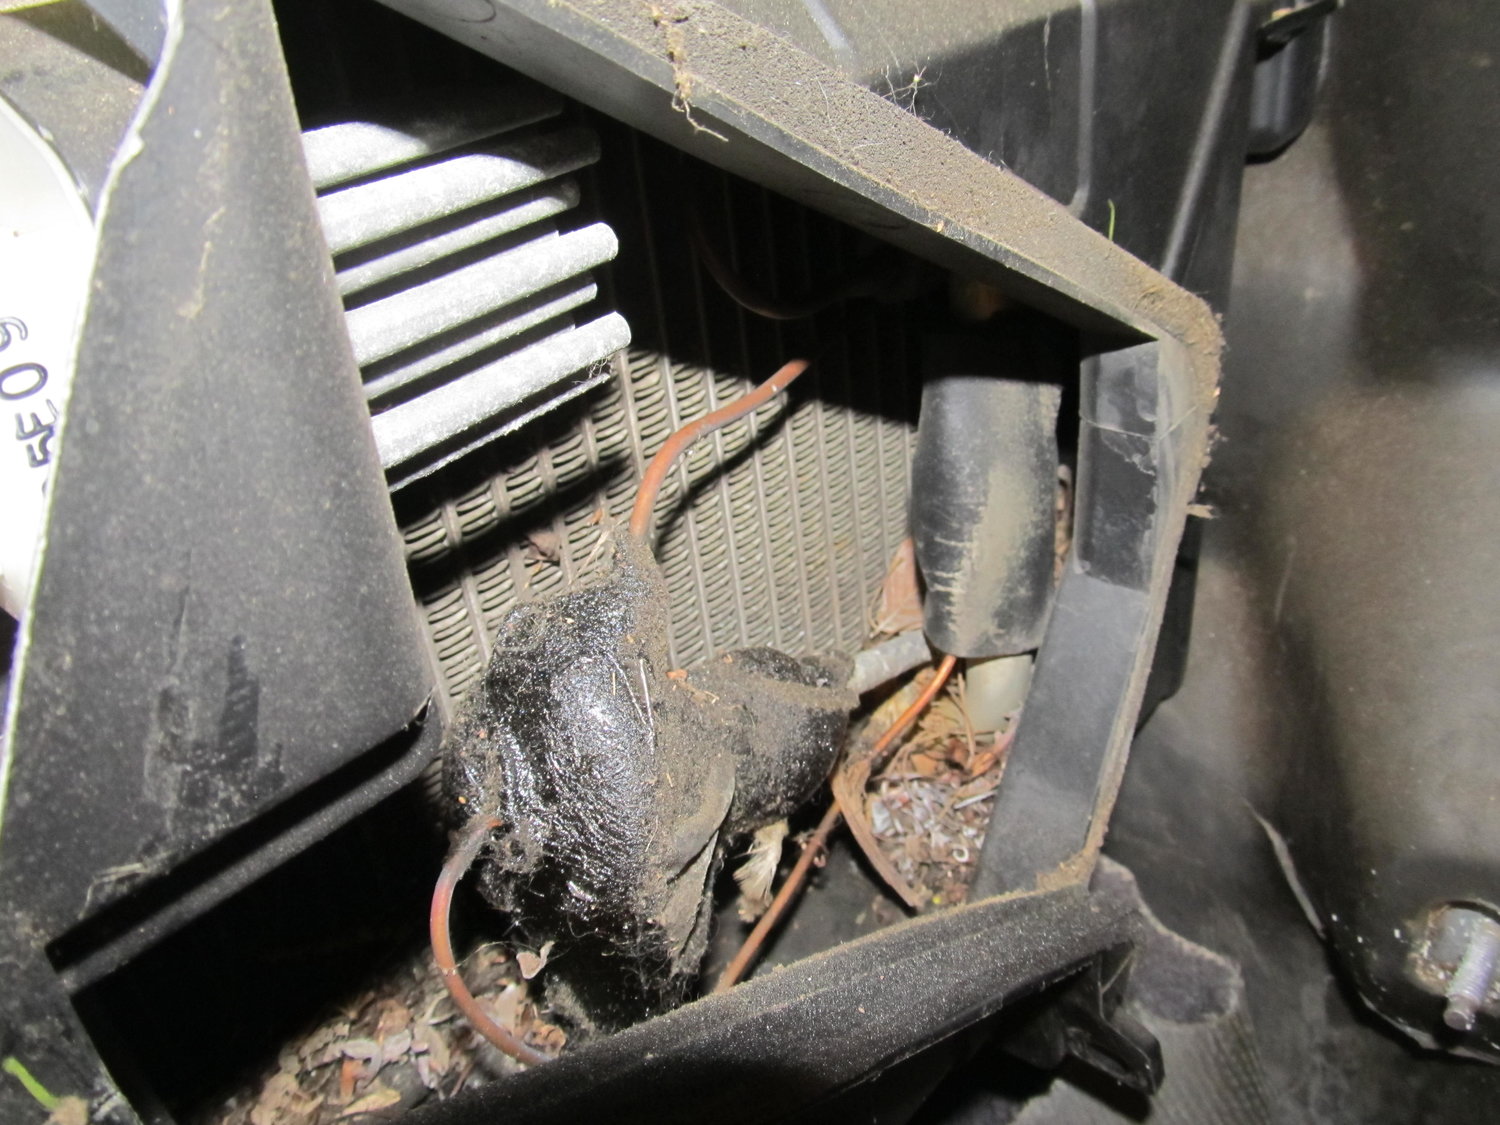
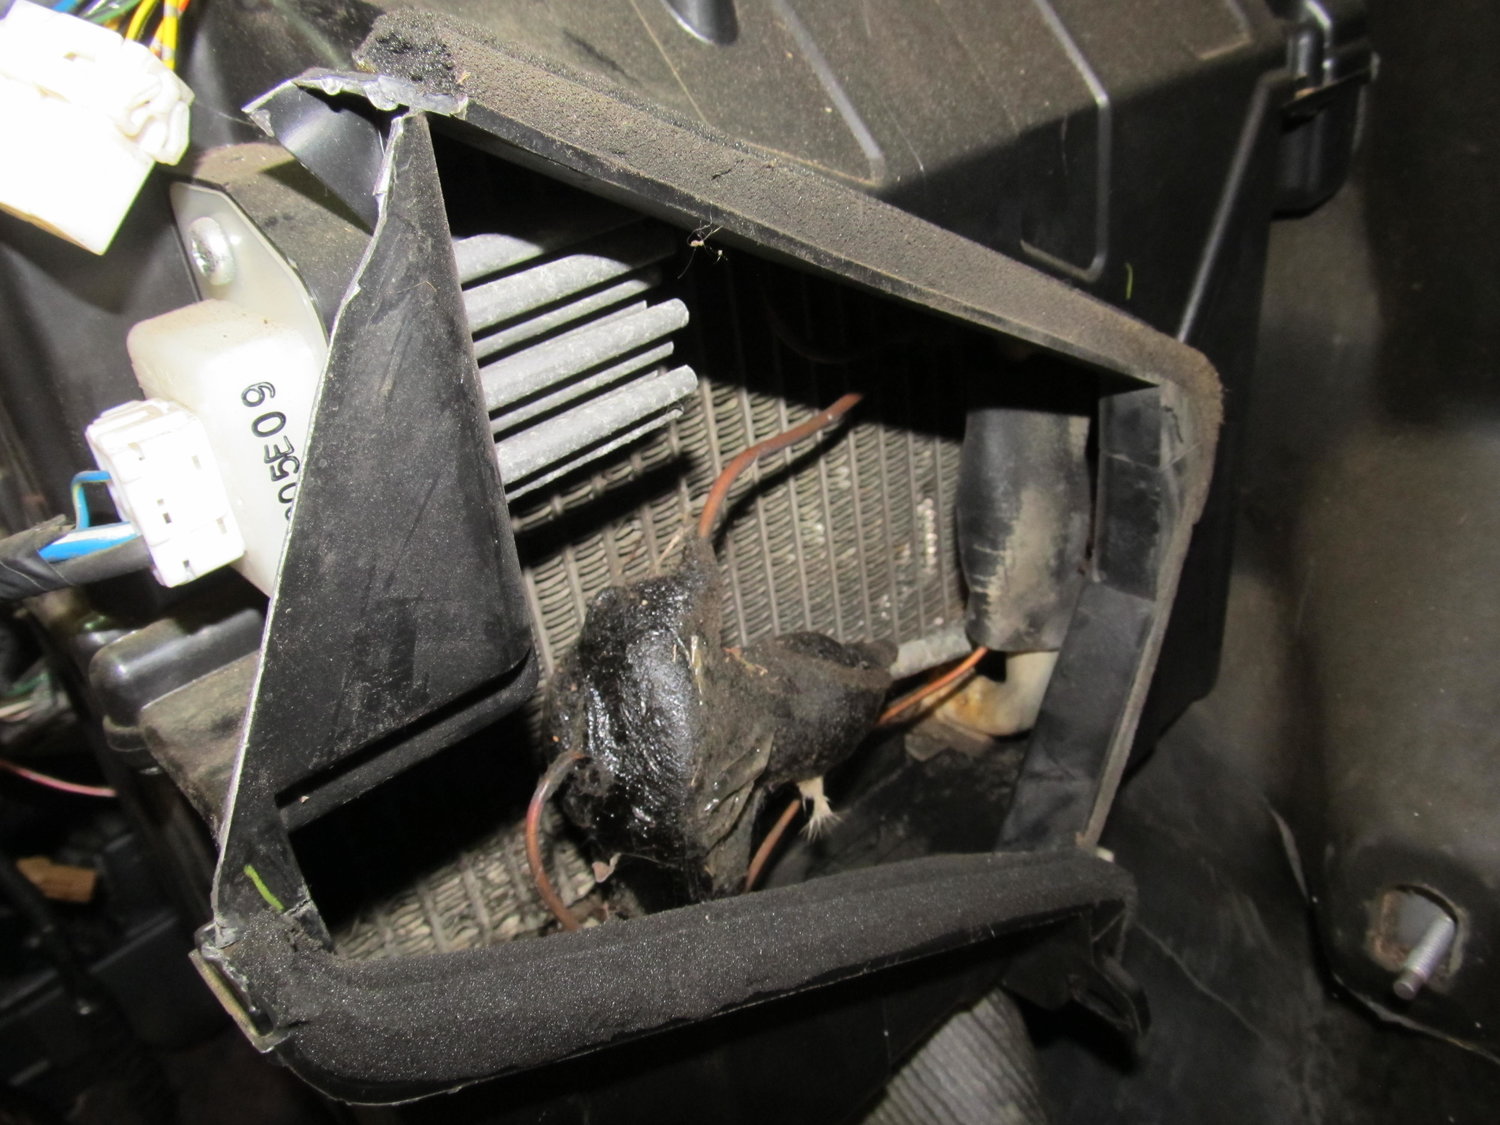
So I spent some time with different picks and my shop vac and cleaned it all out:
The blower was actually very clean:
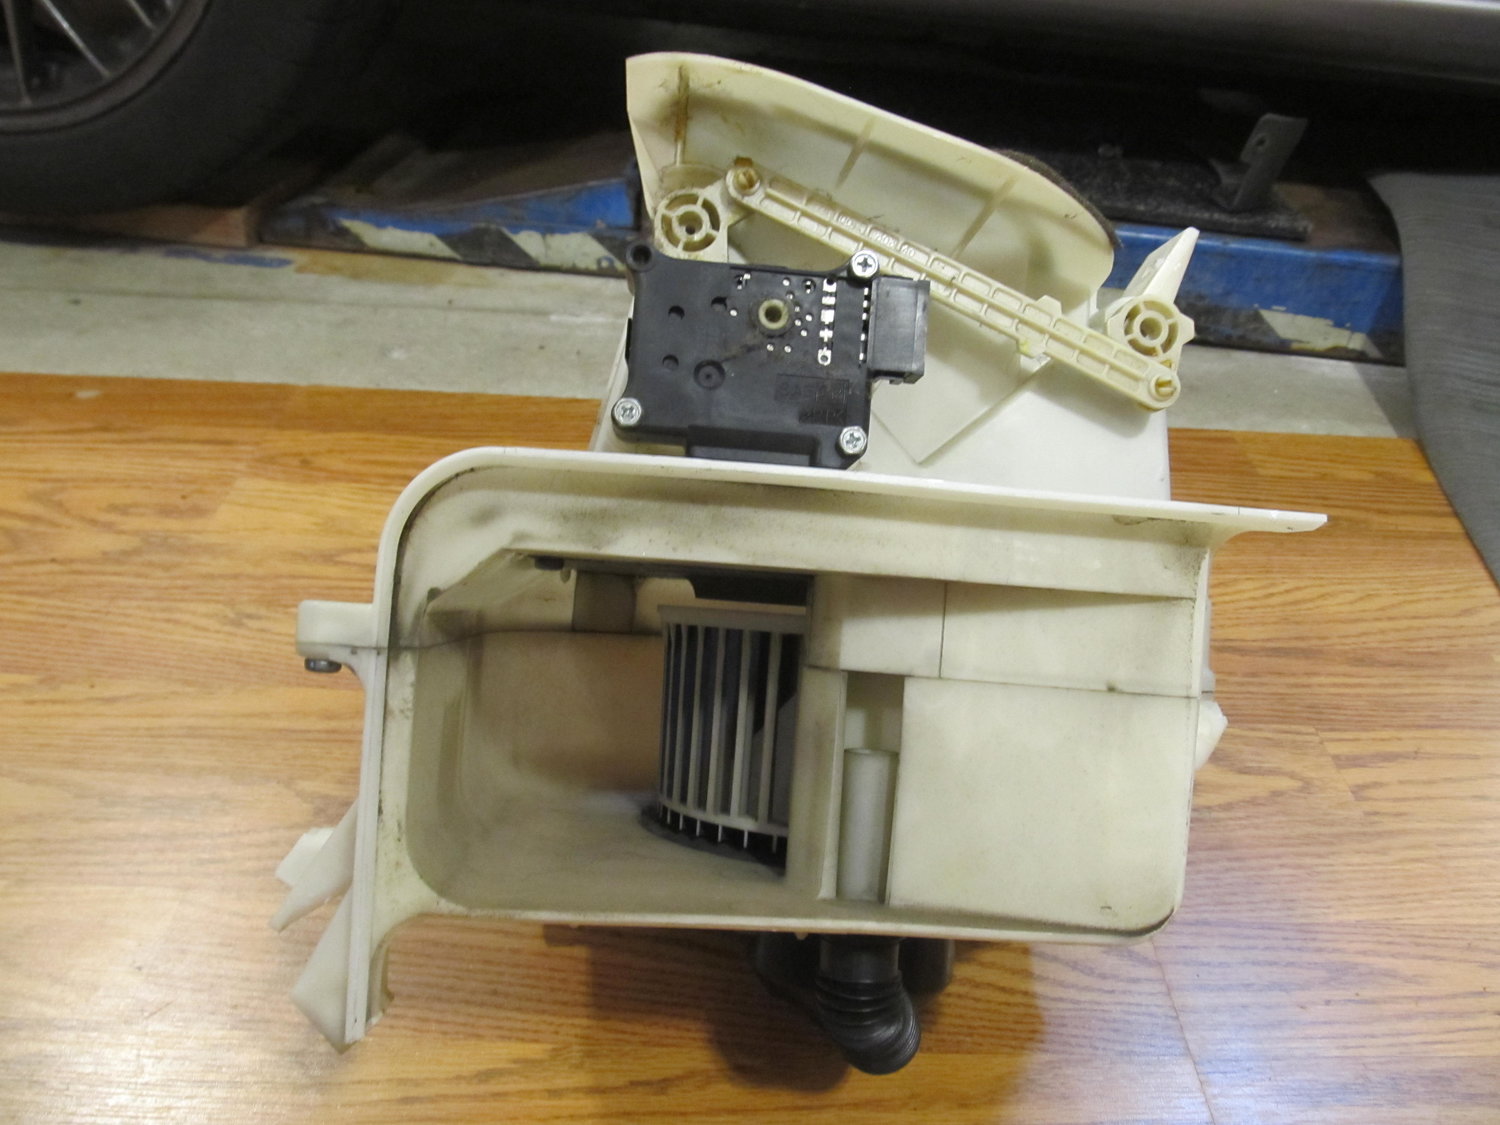
So I was then left with this:
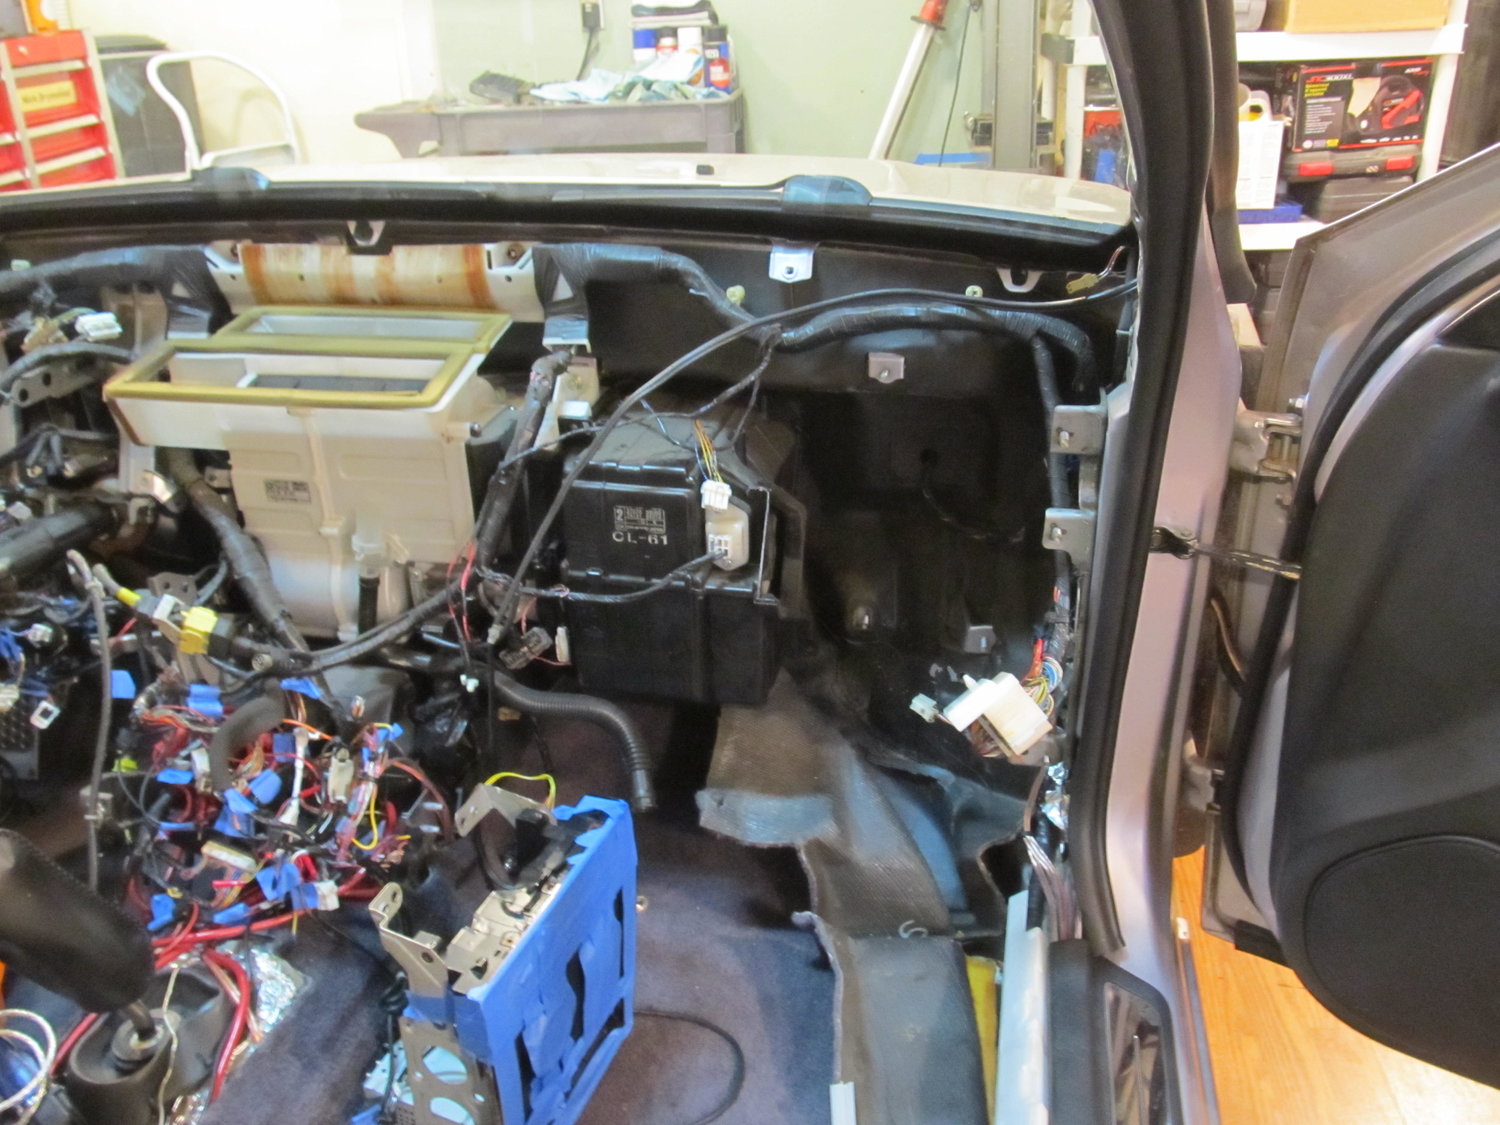
But there was still the factory insulation in the way. I ended up just cutting off a piece so I could get easy access to where I thought the leak was (I’ll reinstall properly when I’m all done). And with that, I was FINALLY able to see the source of my water leak:
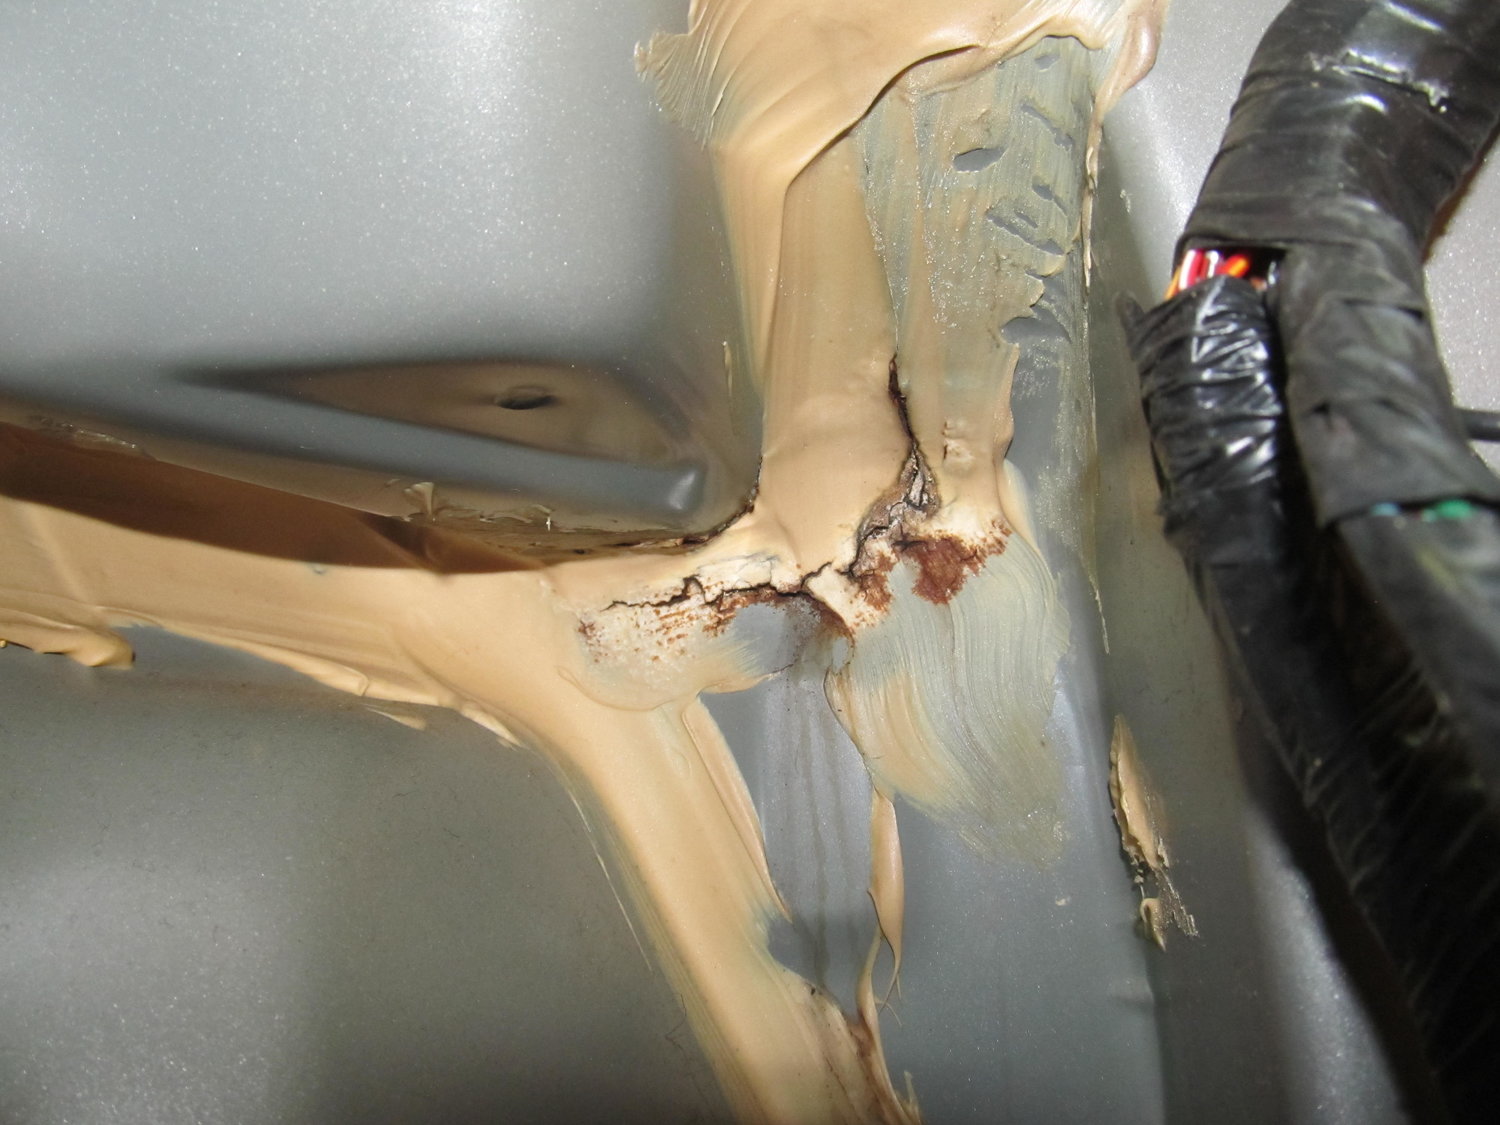
It’s not in the exact same spot as the pics from schmellyfart, but it’s not far, maybe 2″ away. It’s clear that this area has a few body panels coming together, and it’s also right next to the drain for the cowl, so being sealed properly is crucial. If you have a water leak in a 4th gen, I wouldn’t be surprised to find it’s in this area! You can see three water trails coming down from that area, so I’m very confident this was my problem.
I spent quite a bit of time with different wire wheels, both on my big gun and little ones on my dremel, trying to peel back the old seam sealer so I could get a better look at exactly where the water is coming in.
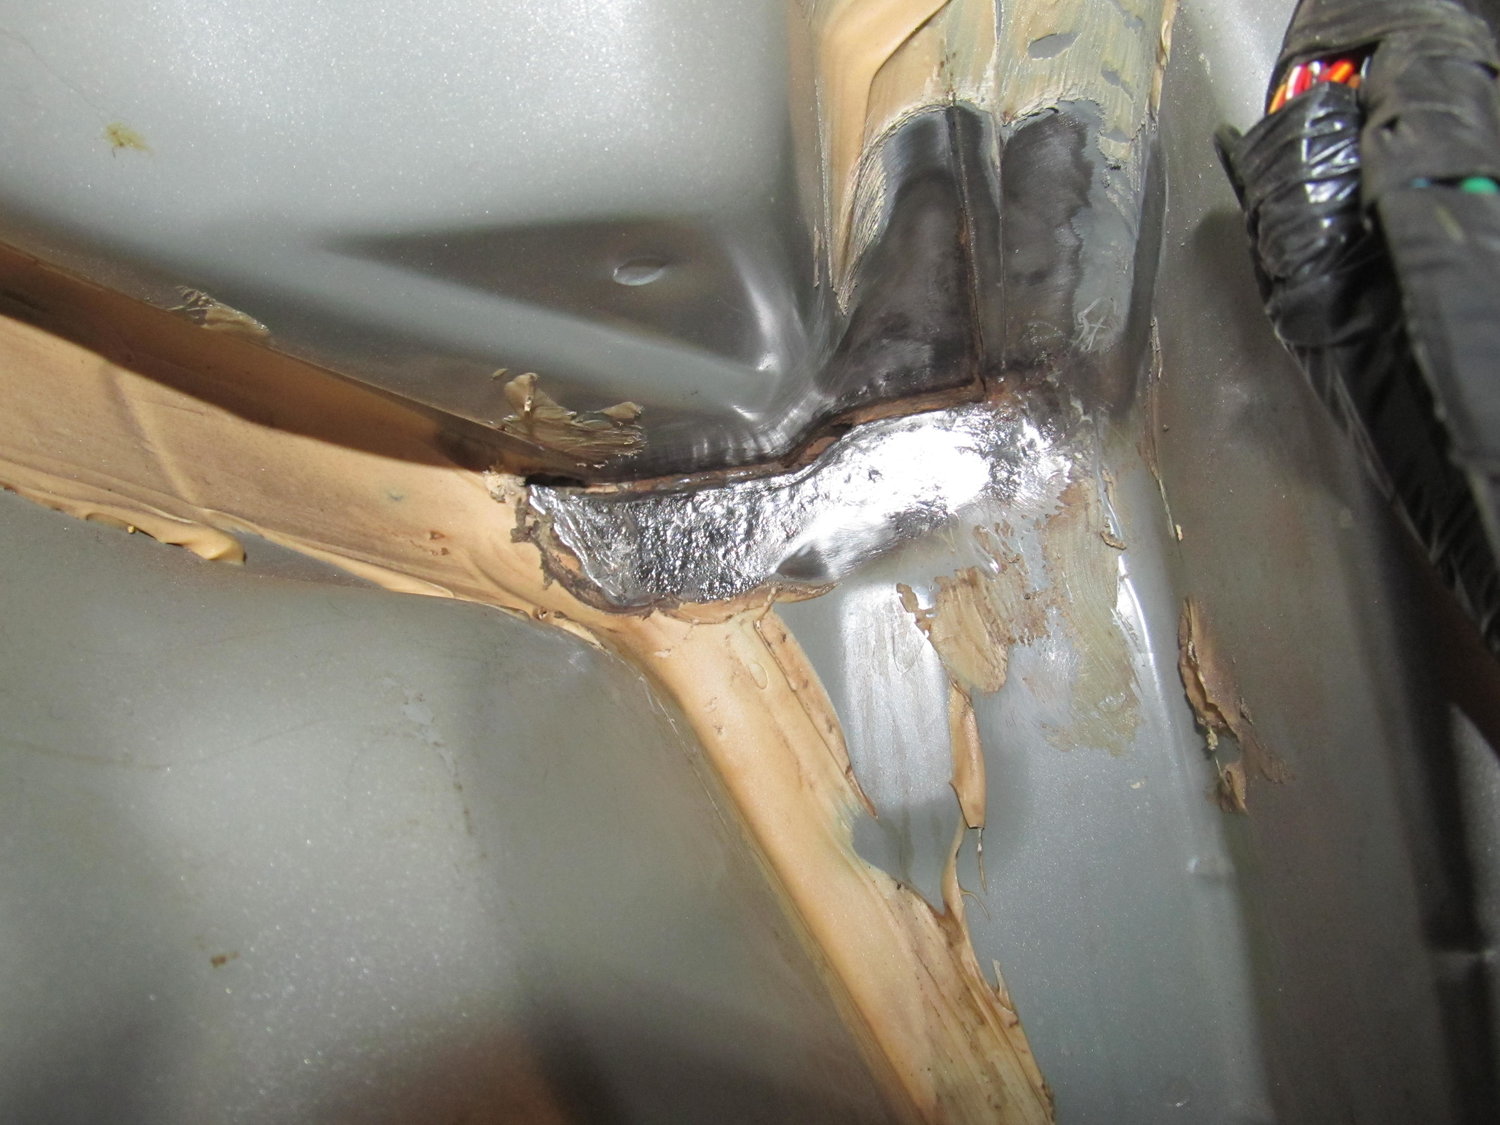
It doesn’t really come through in the picture, but the horizontal area just right of center is actually completely open now. I had to scrape the old seam sealer out of it with a screwdriver, because I didn’t want any of that old cracked stuff getting in the way of my fresh seam sealer. Now I’ll be able to completely refill the gap with new sealer. Access into this area was pretty awkward, and my back was aching after a few hours in there, but I think I’m happy with how clean I was able to get it. When I finally couldn’t get it any cleaner, it was time to prep the surface for the seam sealer:
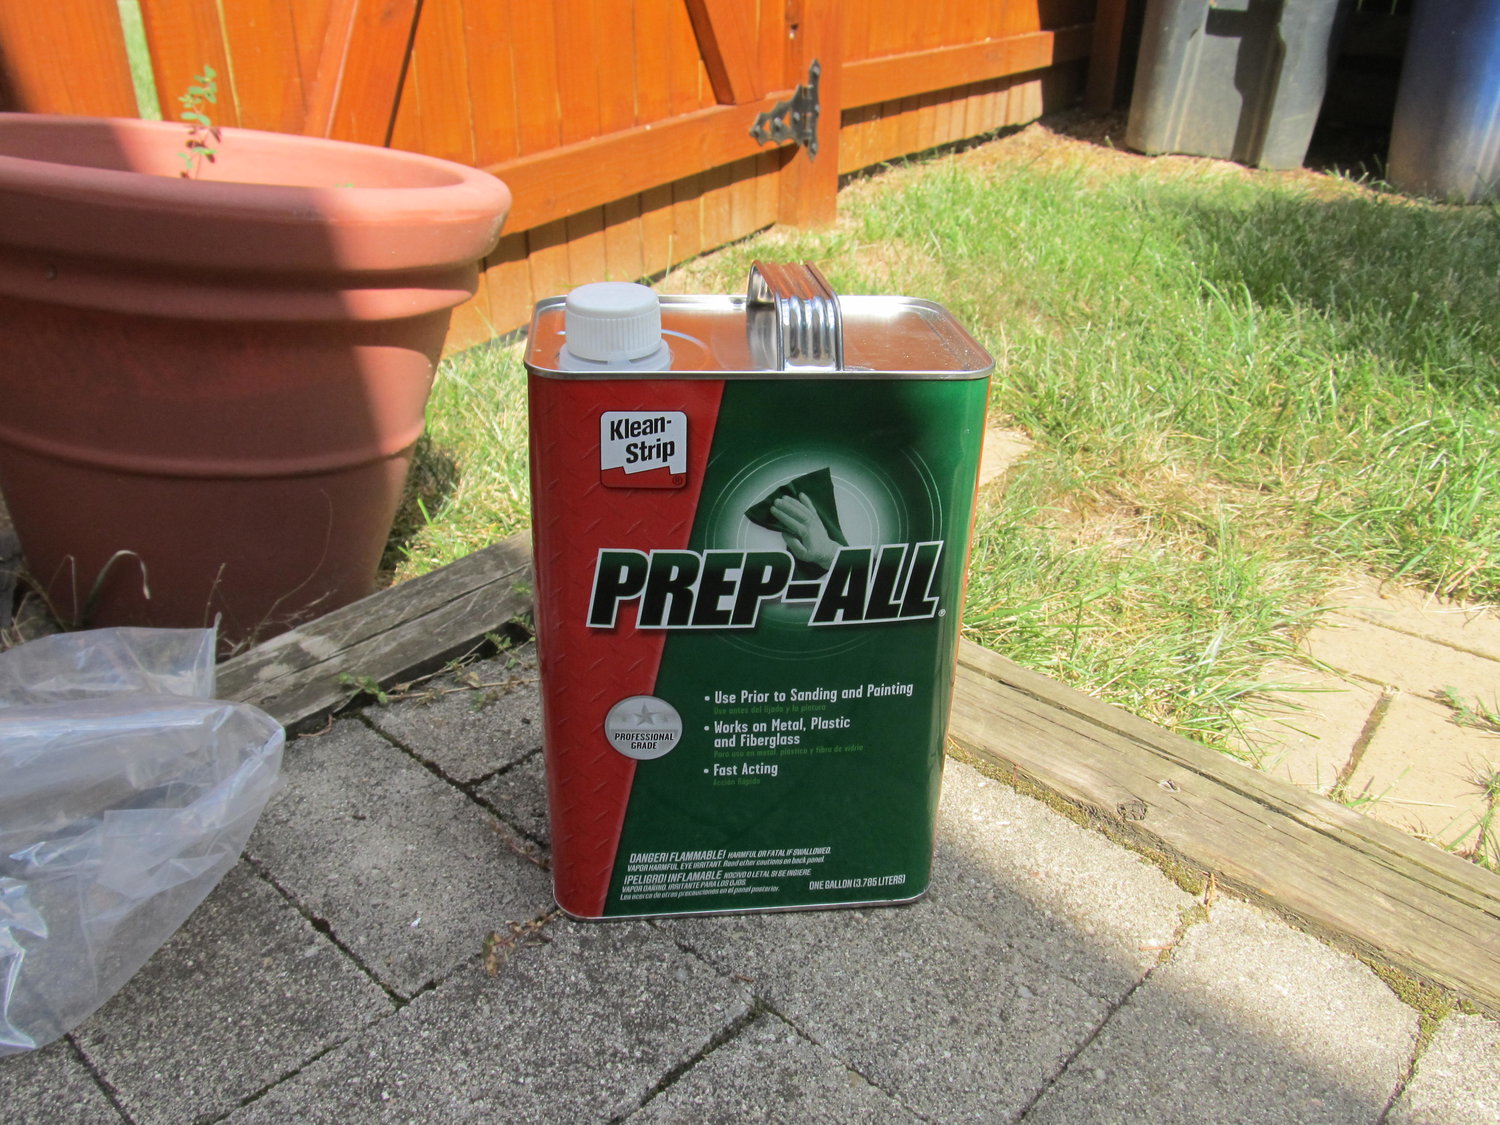
This stuff is SUPER strong, and has tons of warnings all over it. I go full-hazmat when I use this stuff, but professional painters swear by it, so I grit my teeth and bear it. I was considering applying the seam sealer today, but then I thought about it more and realized I would feel much better about it if I bought a new tube of it. My current tube is a few years old, and since I couldn’t get a firm answer on its shelf life, I decided I would rather spend another $20 on new sealer than to have my current sealer fail because it was too old and didn’t adhere properly. It should be here on Tuesday, so I’ll continue after that. But for now I’m feeling pretty damn good that I was able to get the blower out by itself without ruining anything!
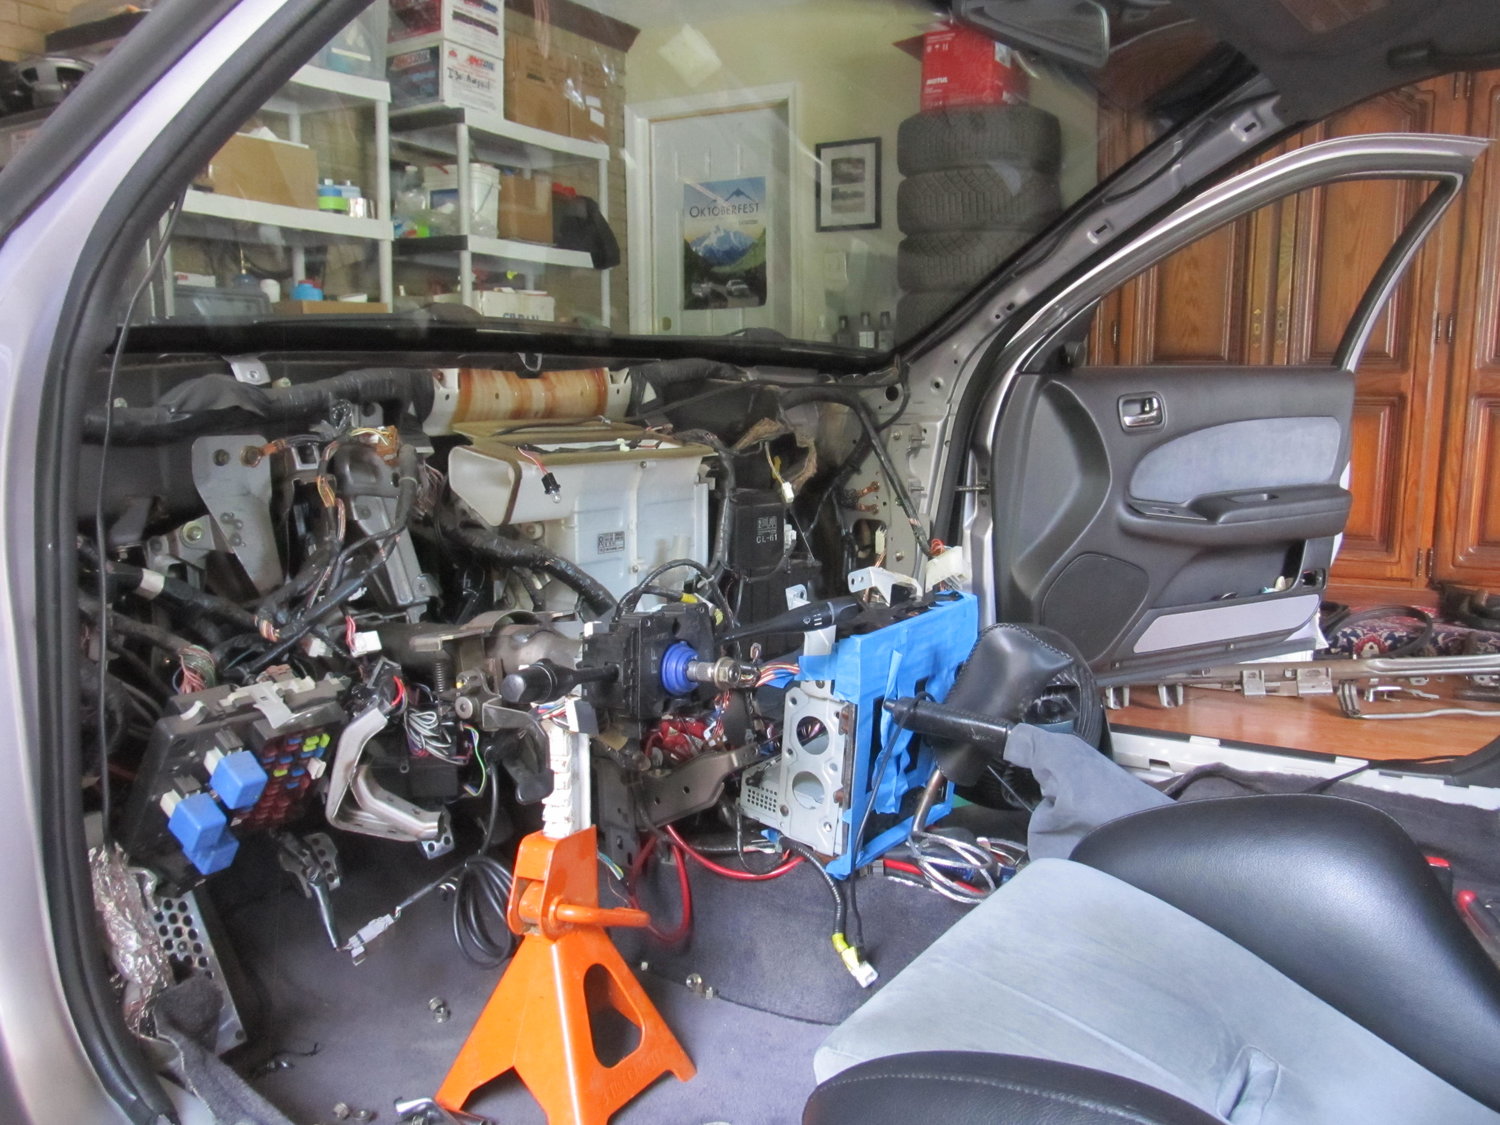
I’m left with this to look at, and ponder how many things I’m going to forget to reinstall, or reinstall in the wrong order. I’m not out of the woods yet!
Credit: 95maxrider
Hi everyone,
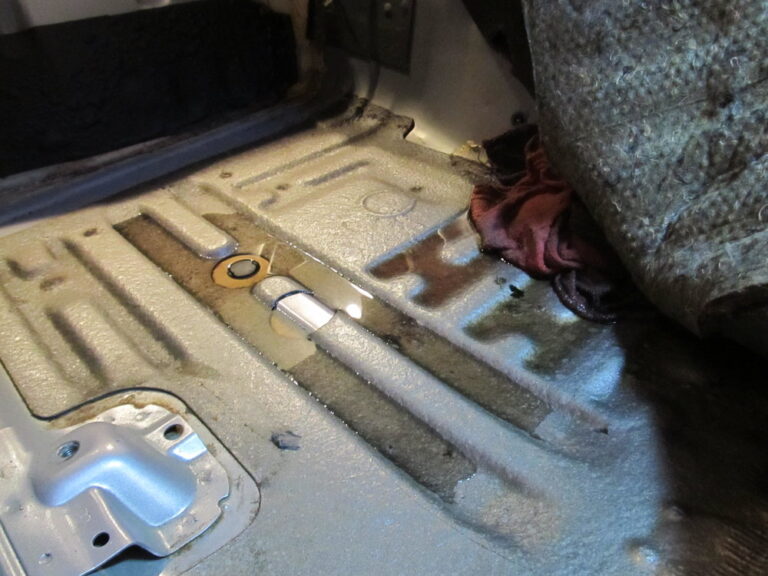
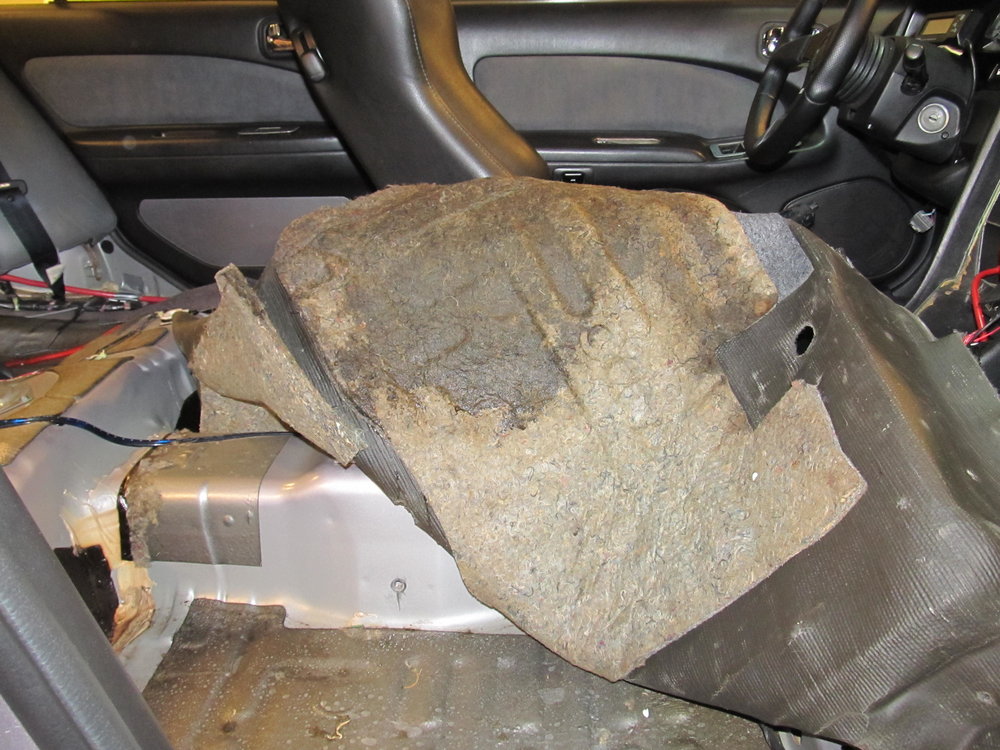
A little while ago while redoing some stuff for my stereo I noticed a large amount of water in the area behind the passenger seat on the floor. This is what tipped me off:
Then this…
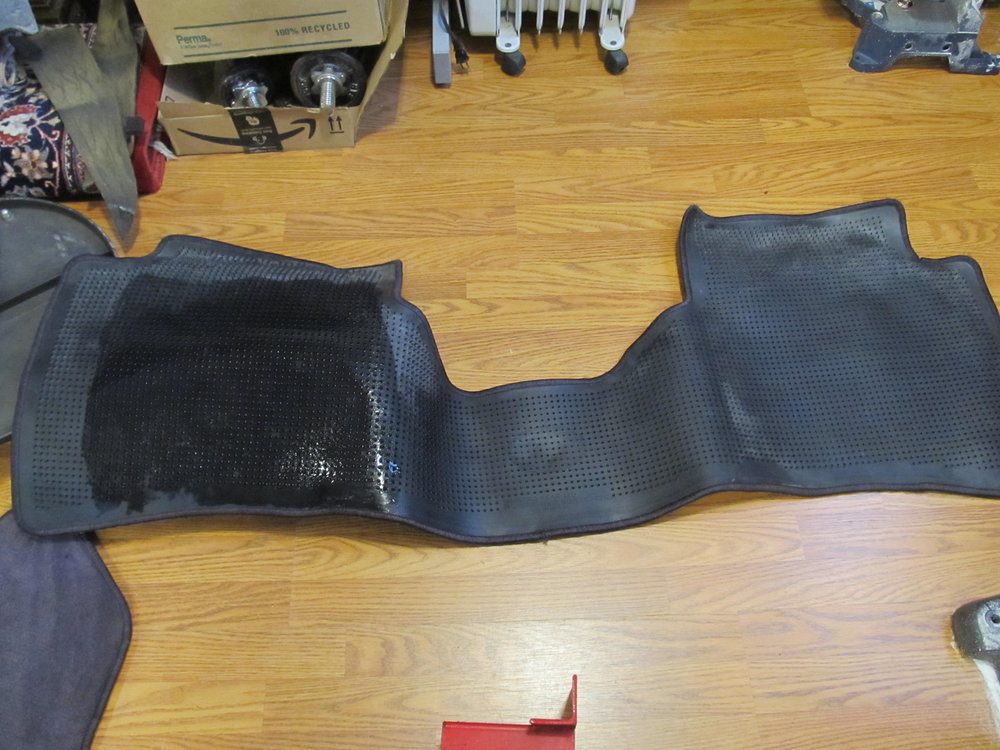
And finally, this is what drained out of the carpet over night:
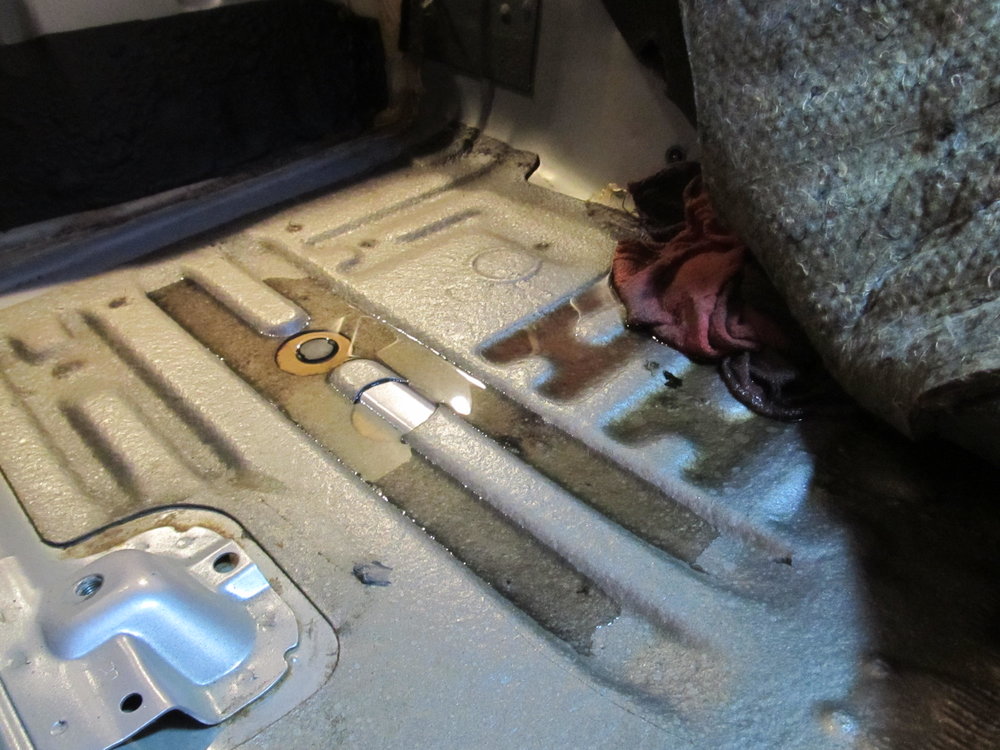
I know what you’re thinking: your sunroof drains are clogged! Except I don’t have a sunroof in my car!
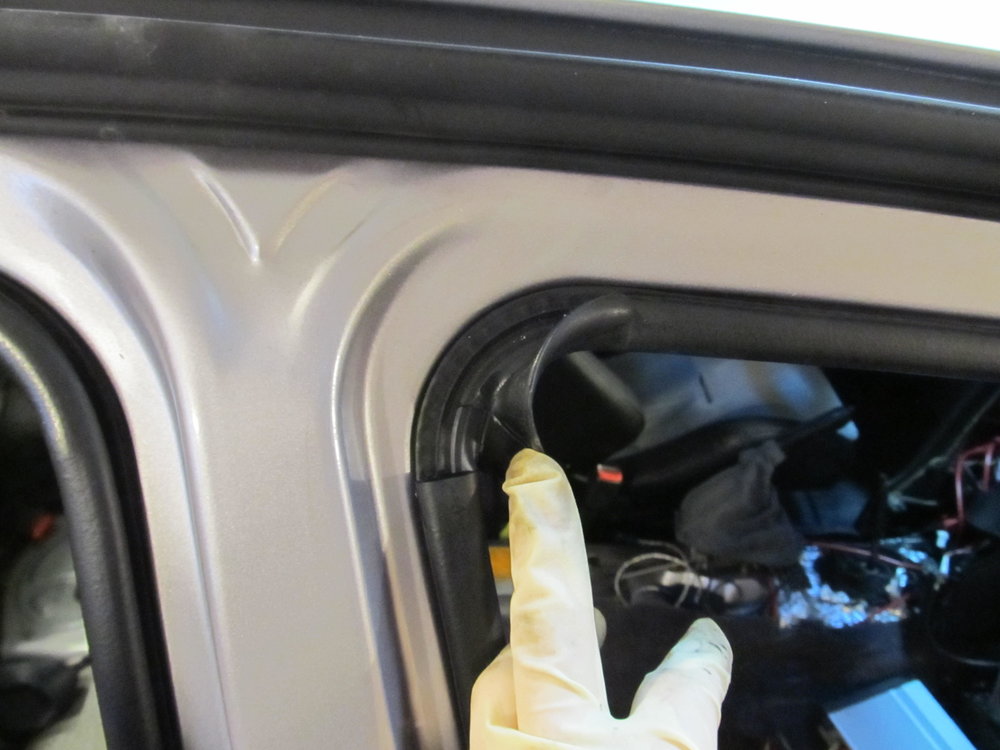
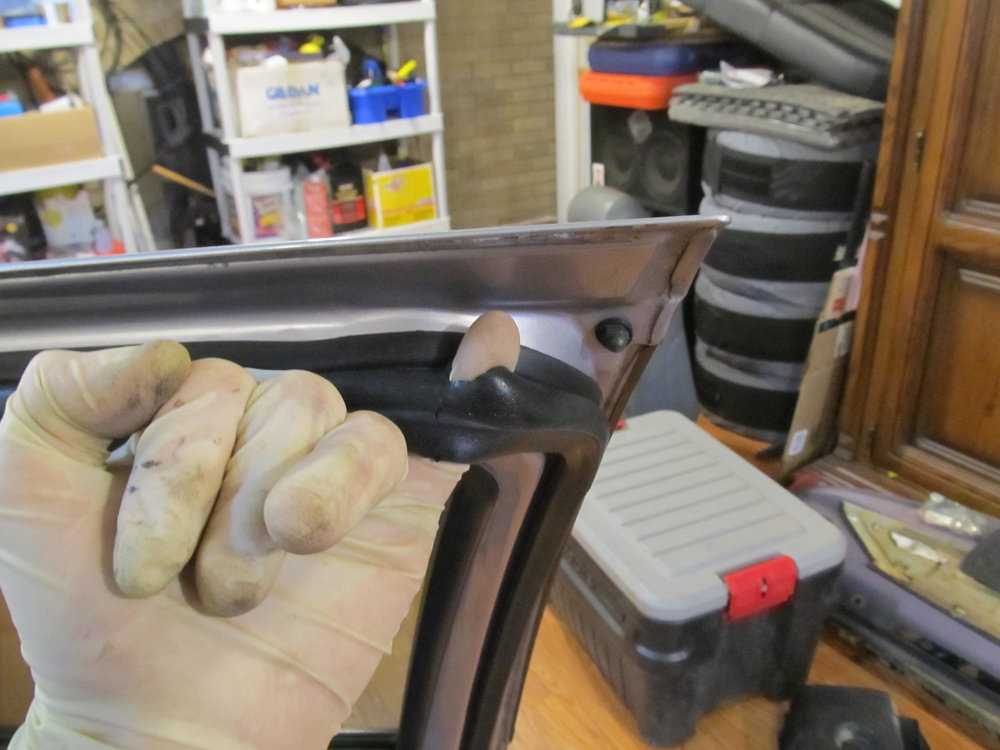
I knew that my door rubber on the PS front door had some rips in it, so I picked up some good ones at the junkyard and installed them.
Old:
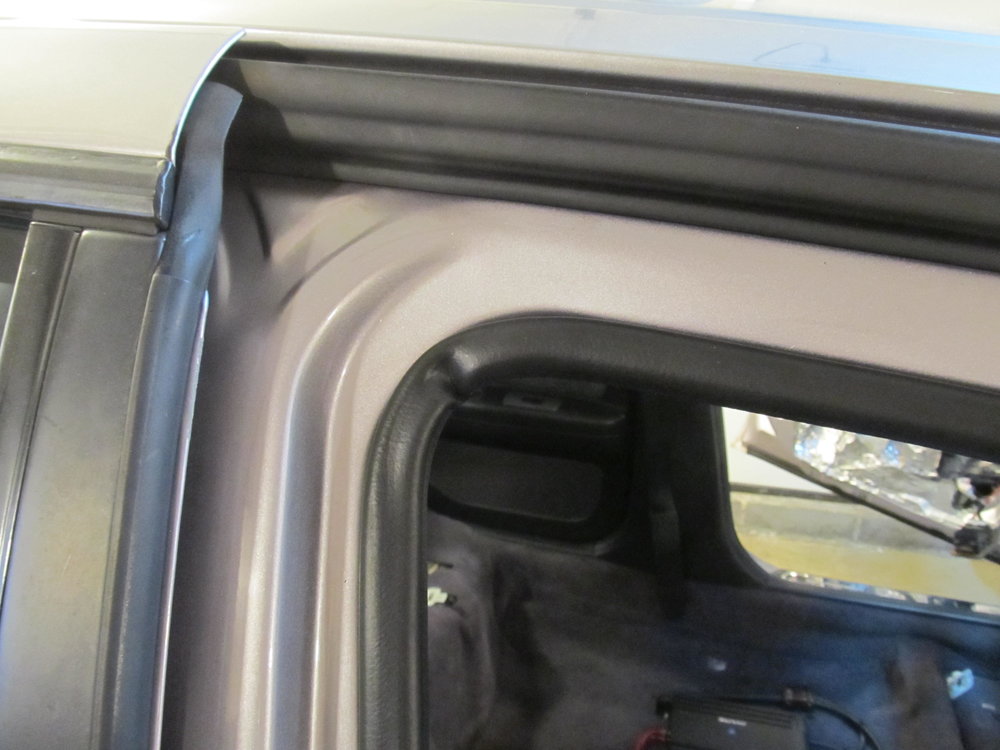
The new one for the body side has a little crease in it, but I don’t think it’s anything to worry about:
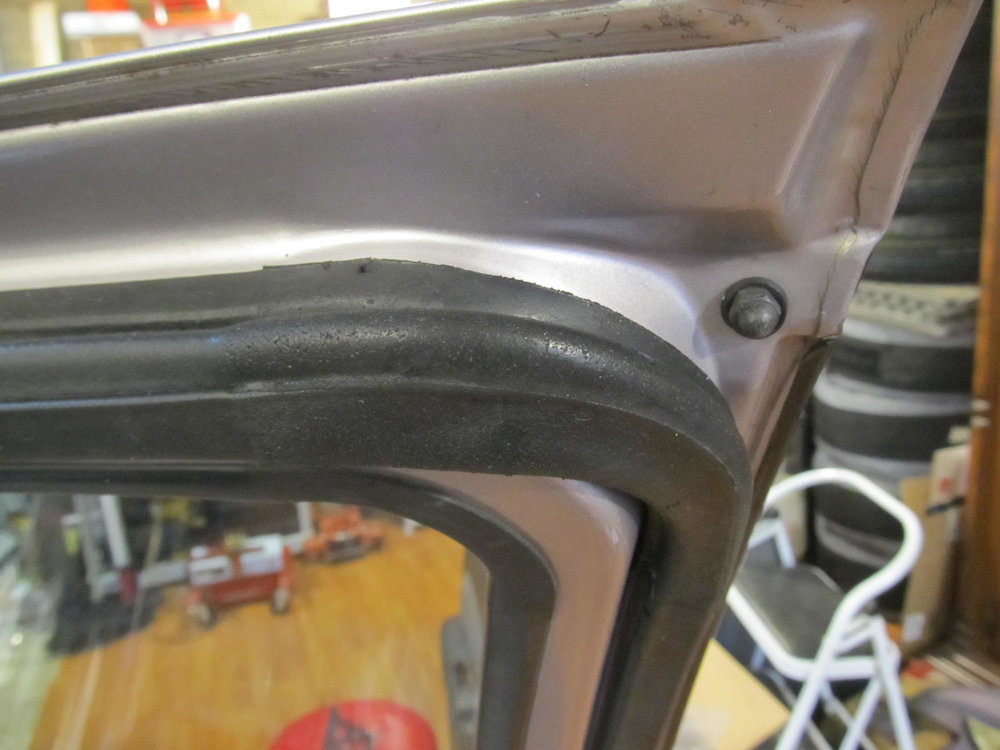
And yet, after all that, I just found the same area soaking wet again. I’m completely stumped as to what’s happening here, and how water is getting into that area. I should mention that I park my car in my driveway, which is uphill, so if water gets in the front of the car, it could make its way to the rear without issue. With that said, I saw no indication that anything in front of that area was wet.
Time for an update, I need some more help!
It turns out that the water behind the passenger seat was actually coming from the front of the car, not the rear. That’s due to my driveway being on an incline. I located a water leak somewhere around the base of the A pillar on the PS. I removed the A pillar cover, and as far as I can tell, the water isn’t coming from anywhere around the windshield. I can only see it coming out from below, in this corner:
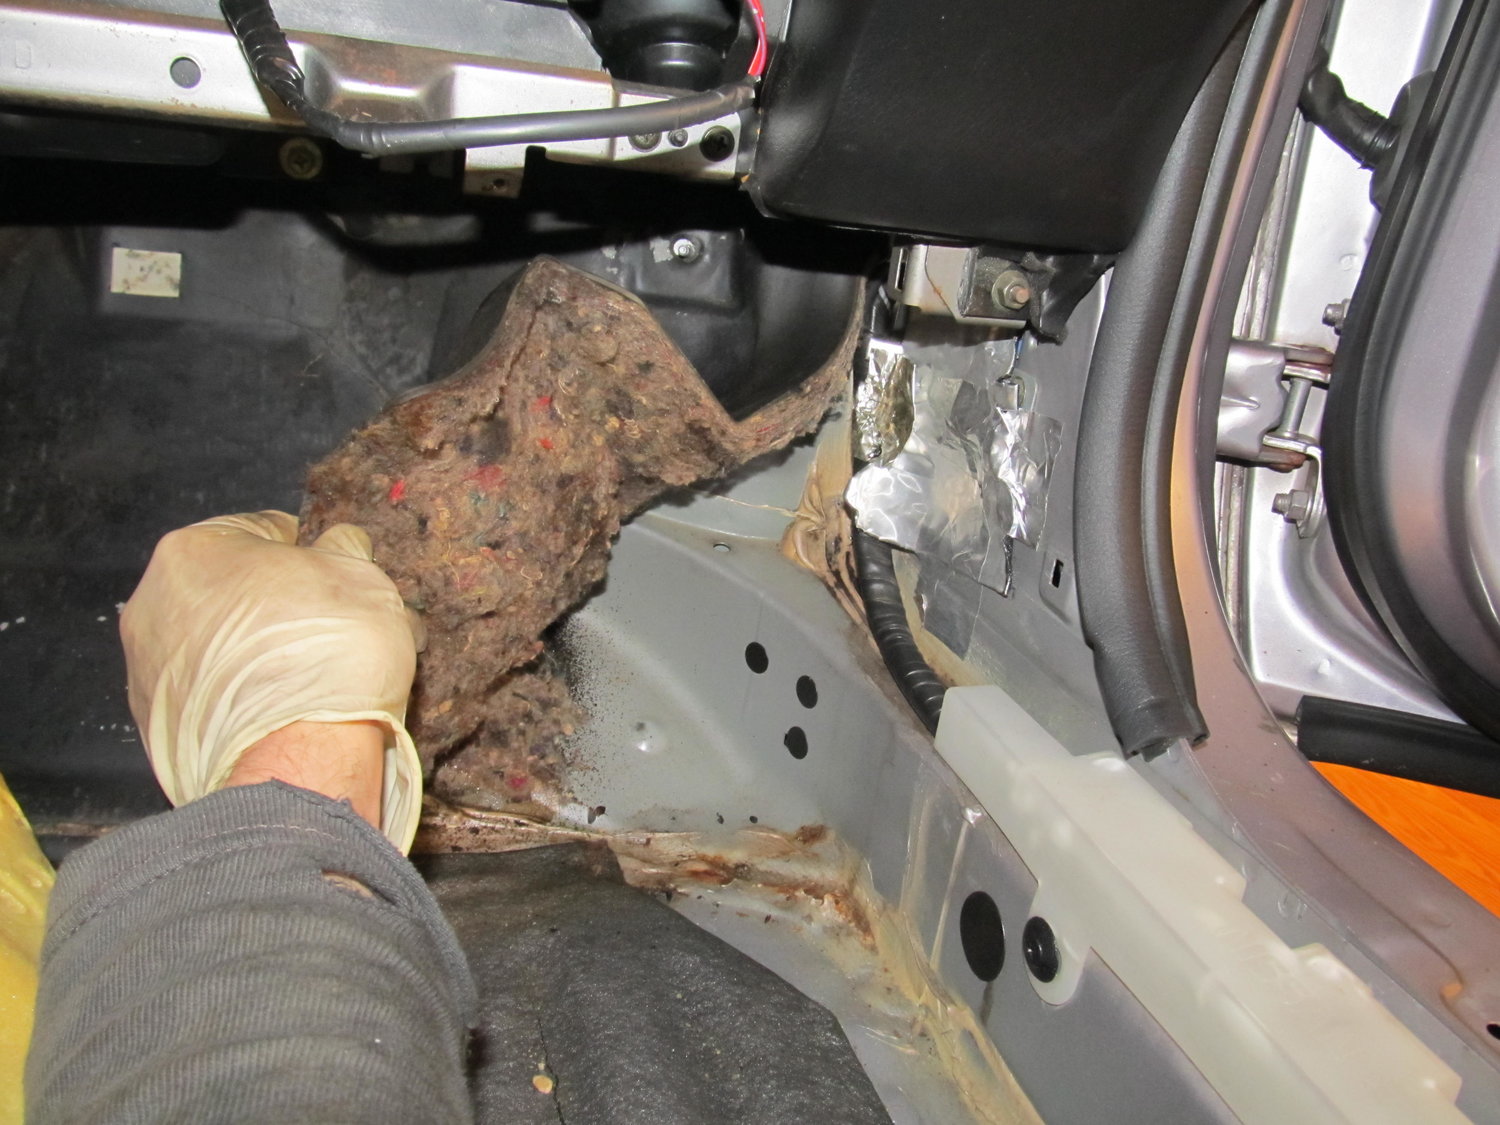
So I decided to remove the PS fender to see if there were any visible cracks on the firewall. Unfortunately, taking the fender off did little to help me see where the leak is coming from.
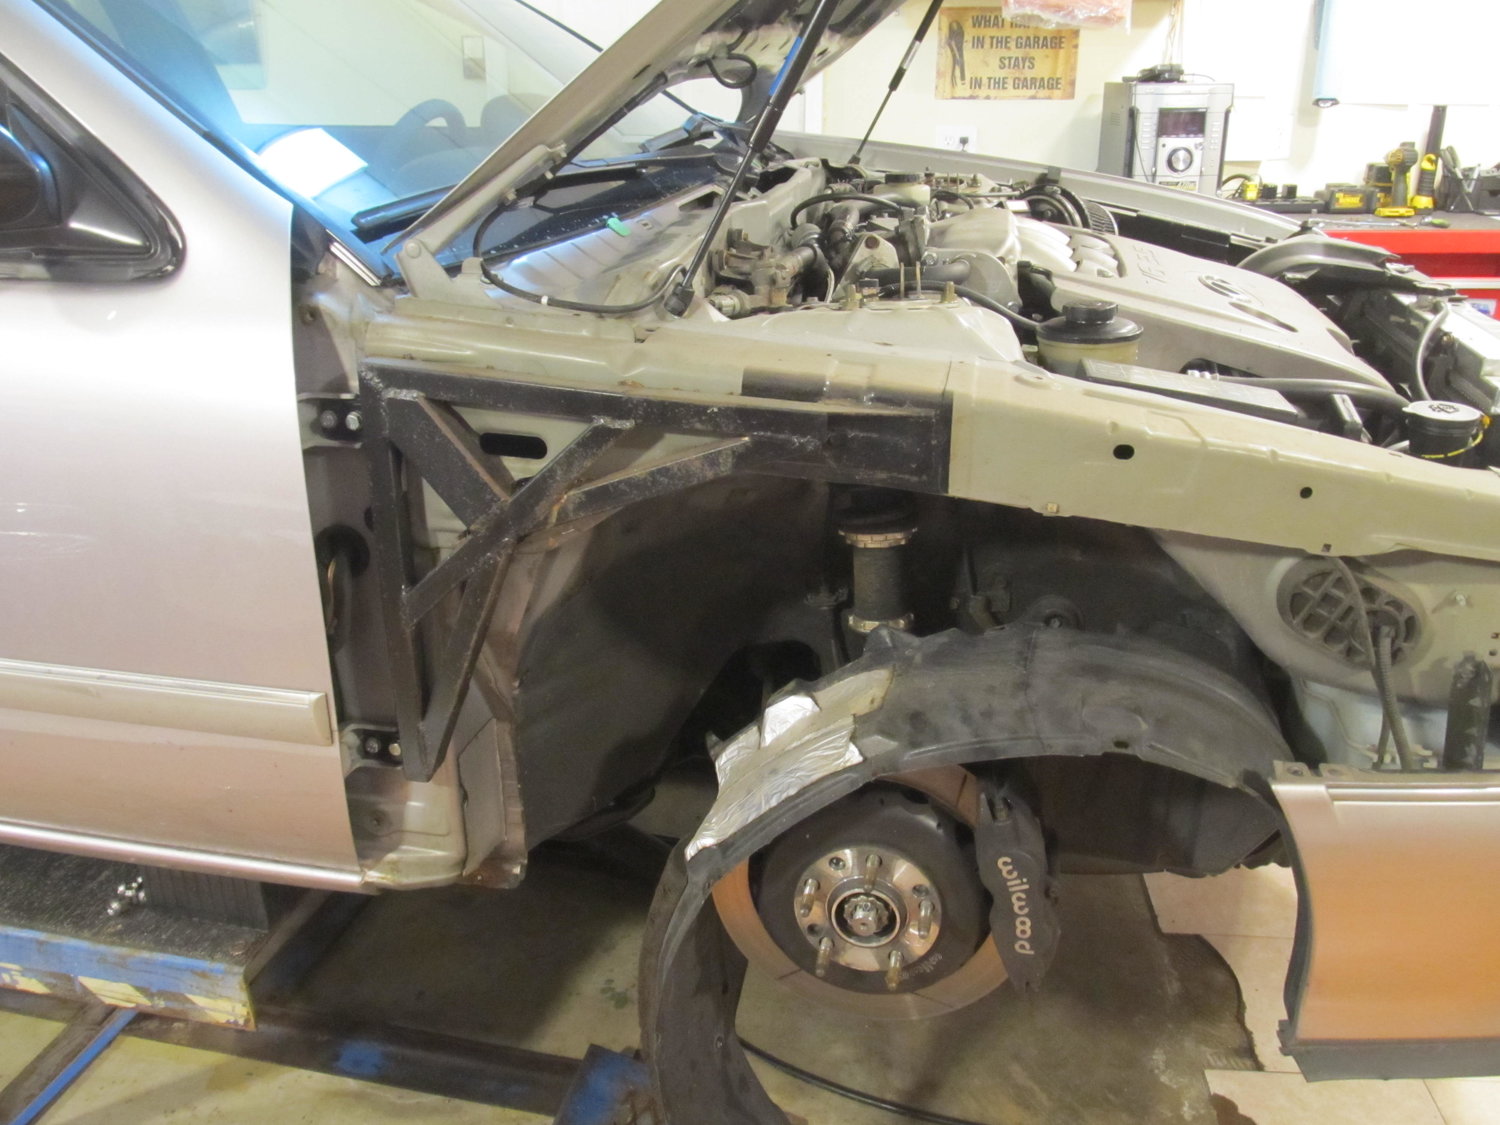
Here are some closeups:
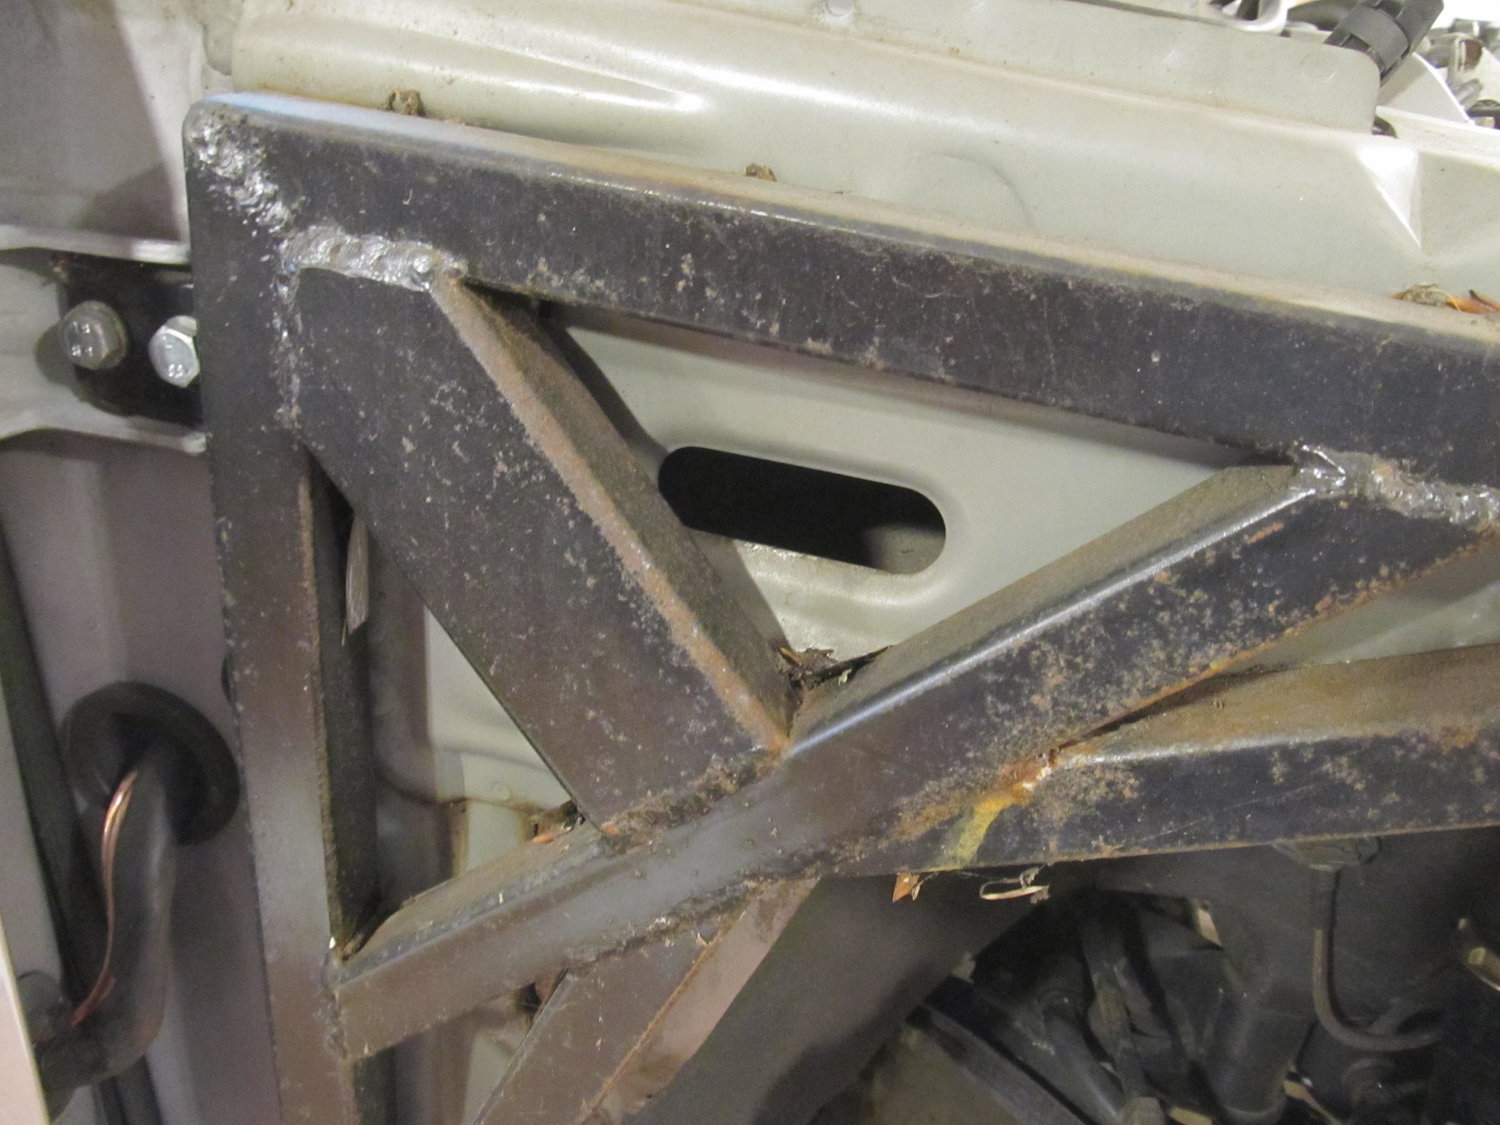
There appears to be a drain hole beneath that large oval hole:
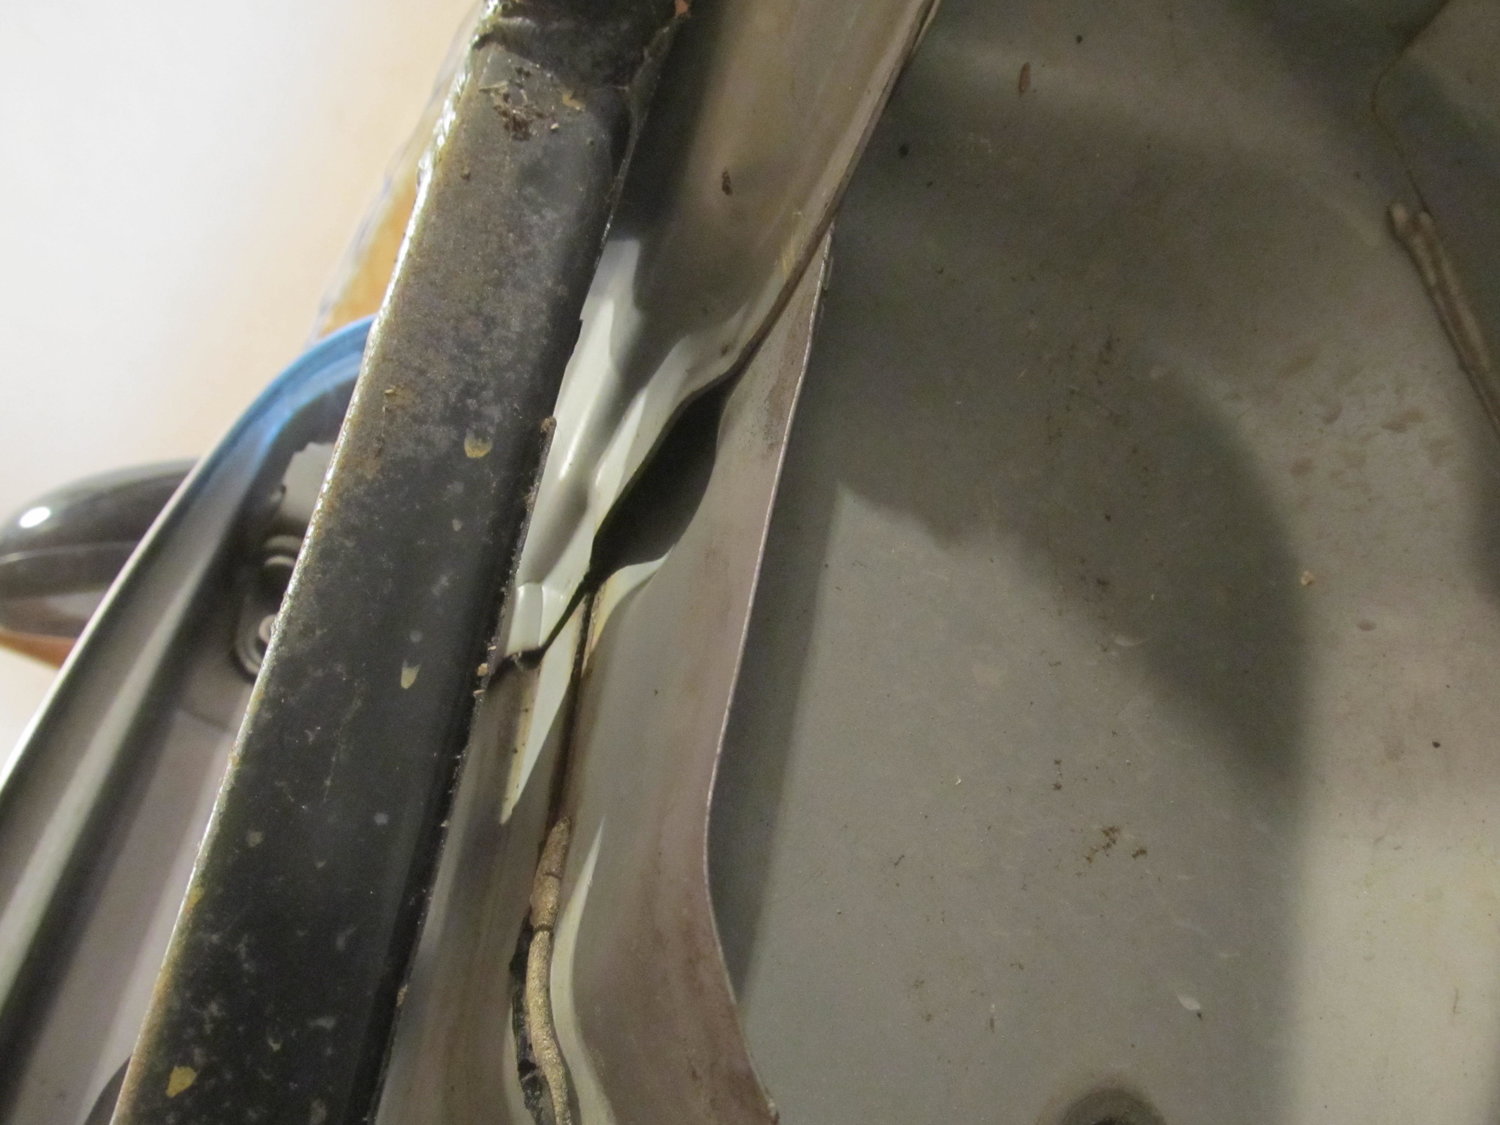
I was able to clear out some debris by sticking my vacuum into the large oval hole, and I think some of it was semi-clogging the drain. I took the car back outside and got the hose ready:
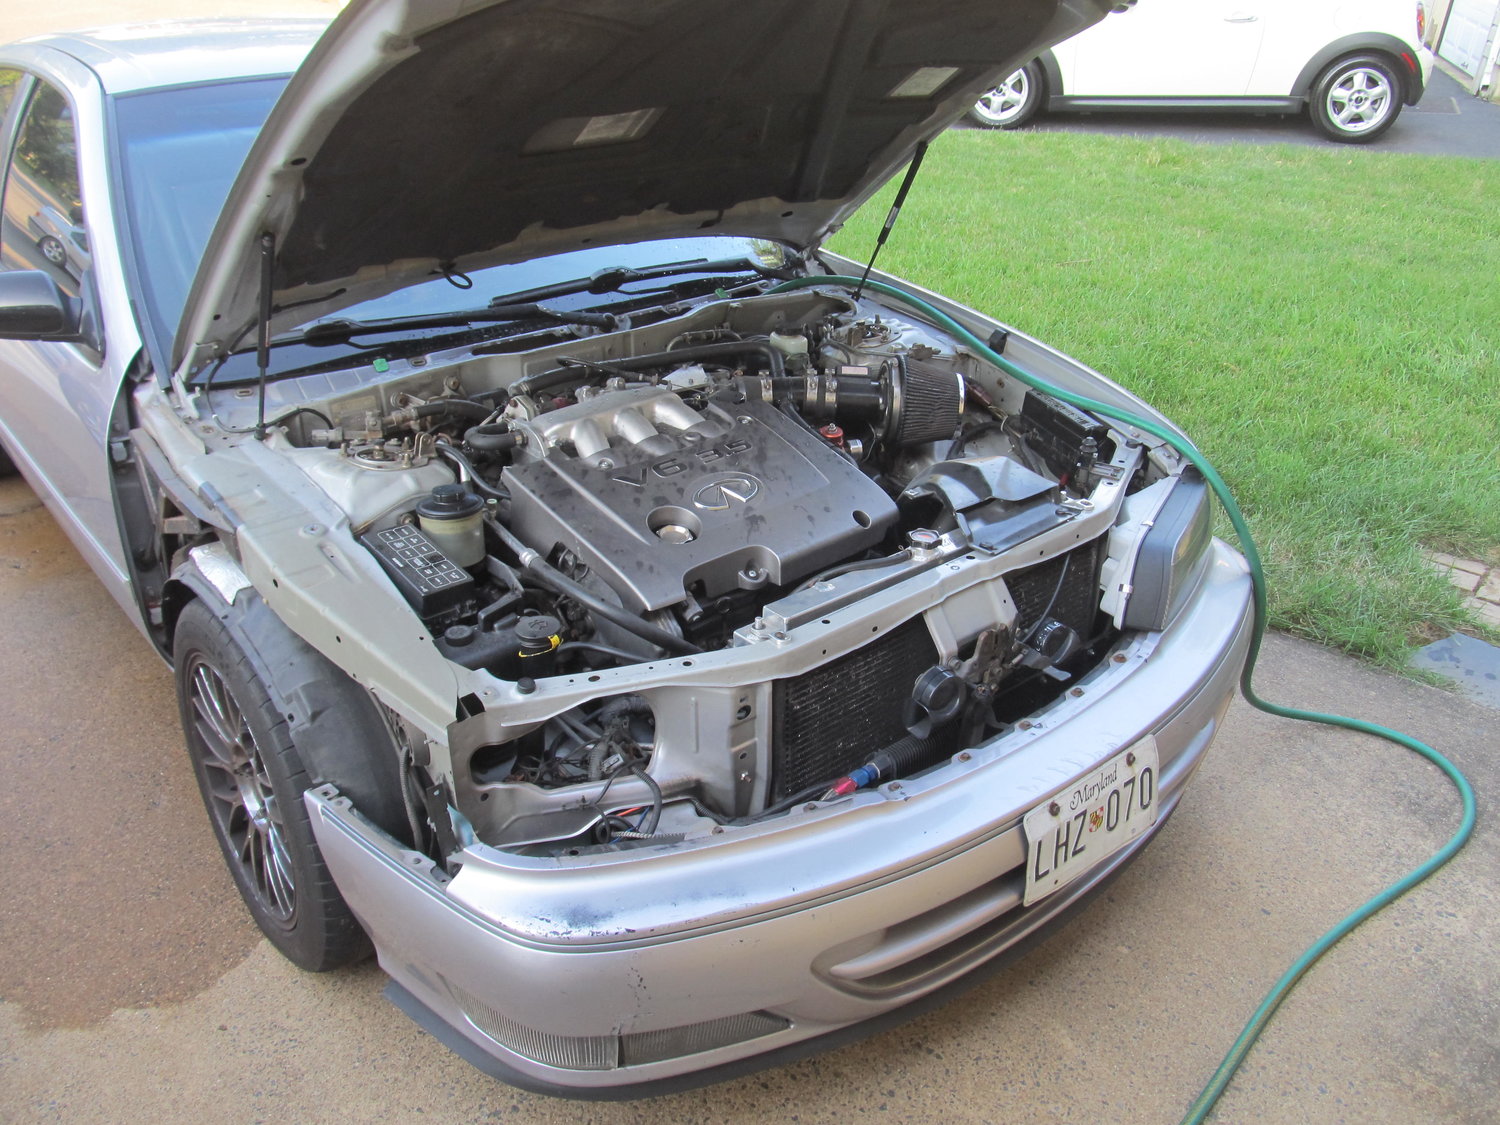
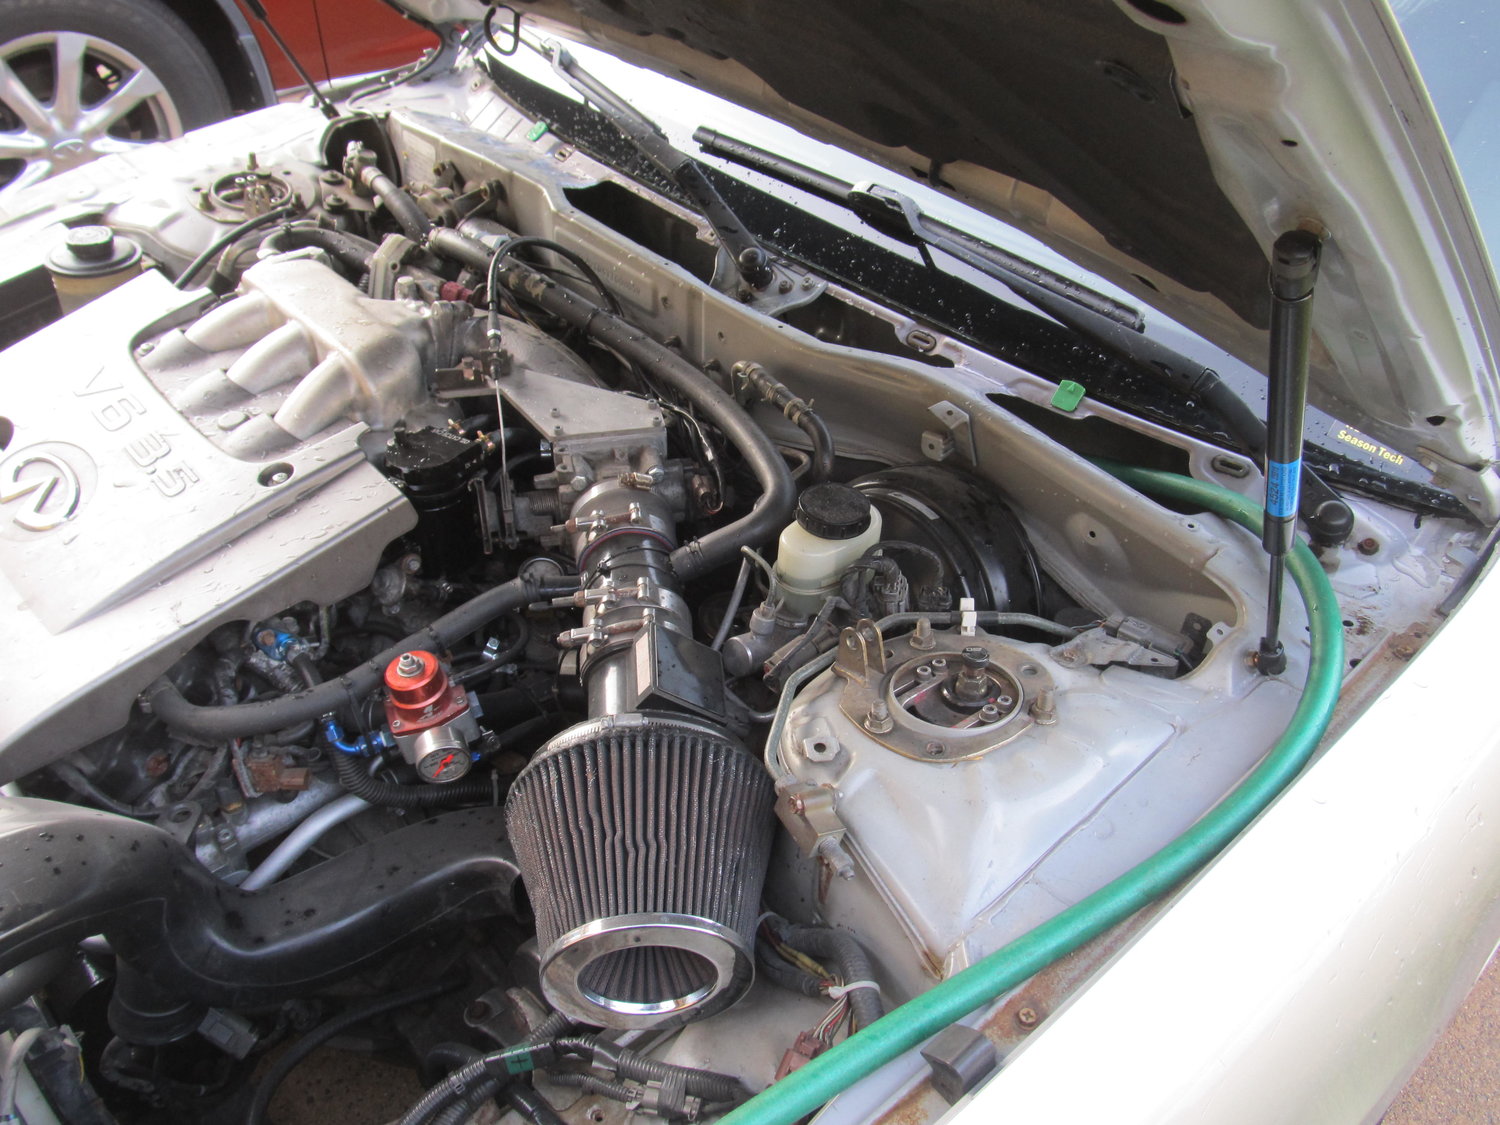
Sure enough, the water mostly drained out of the little drain under the large oval:
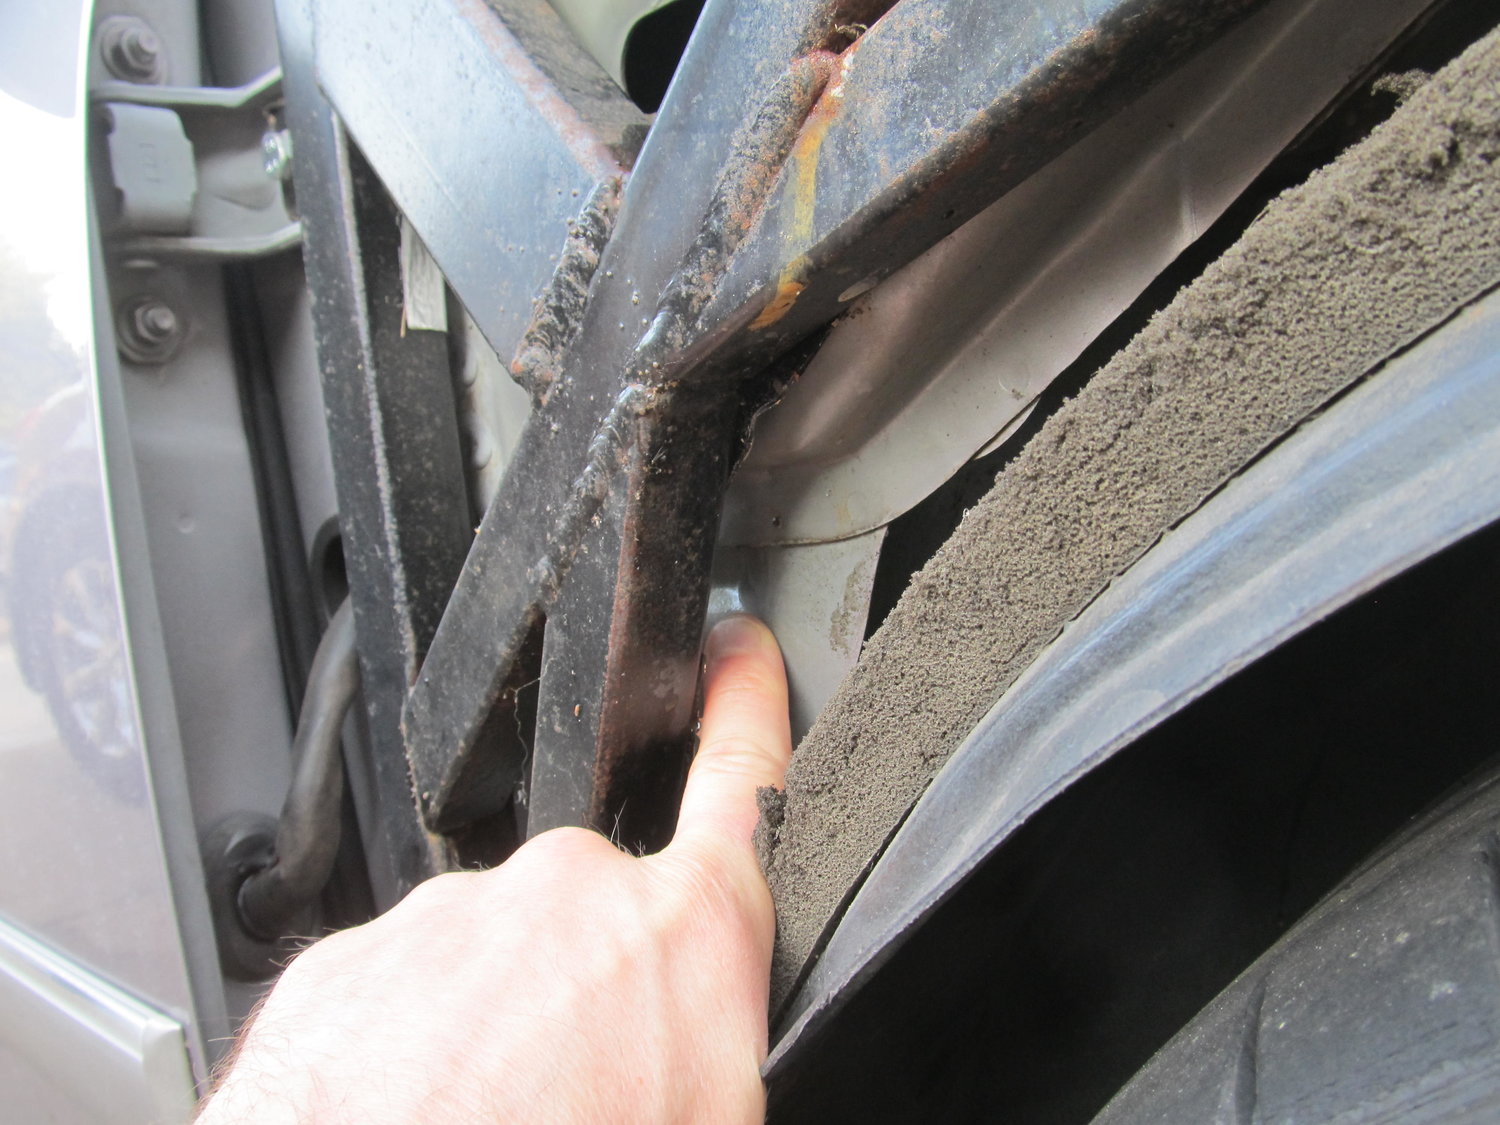
This is the view inside the oval hole:
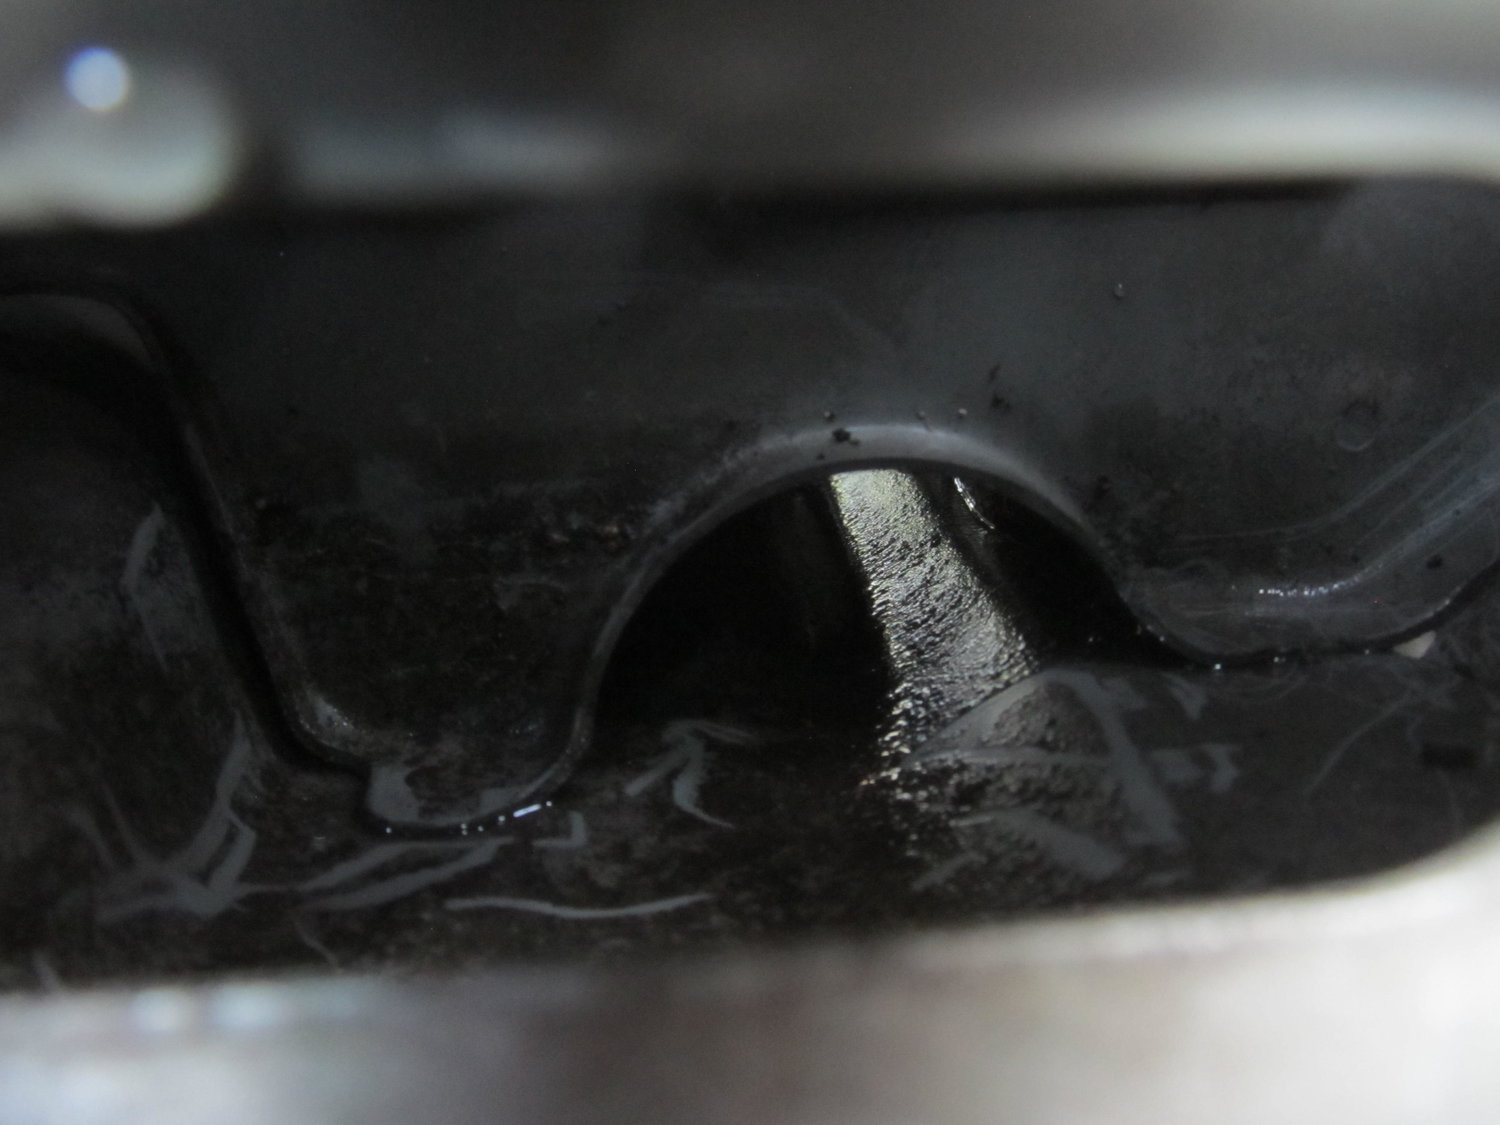
The chamber behind that wall is where the intake for the HVAC is located. That intake sits inside a hole surrounded by metal about 2″ high, preventing water from going into the HVAC. Here’s a view from the DS:
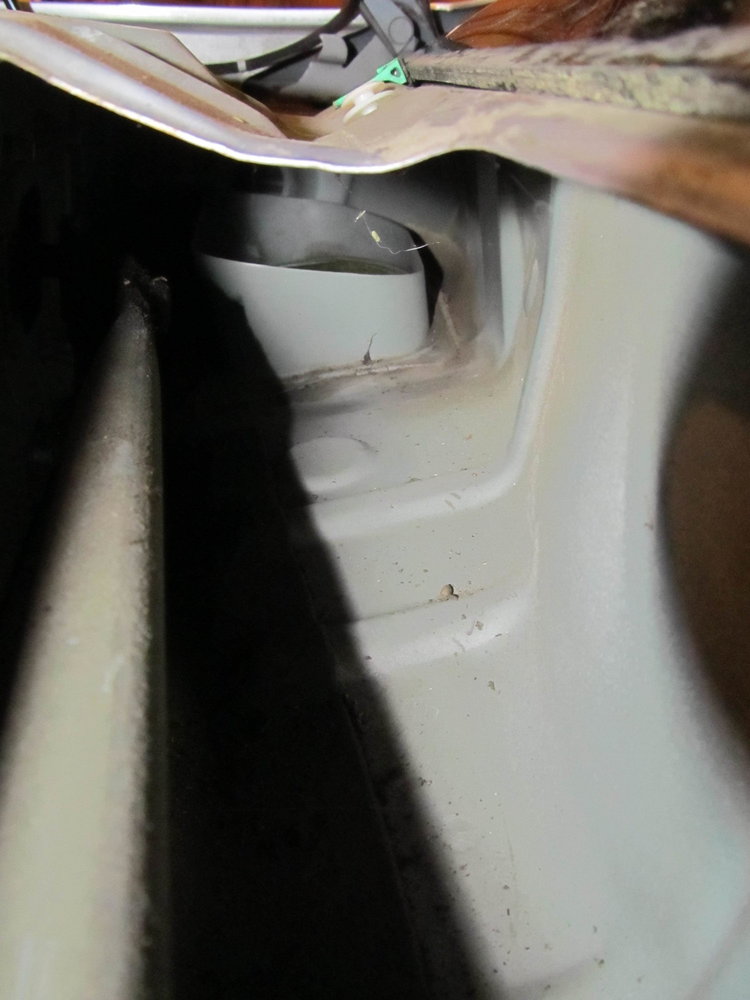
With my hose putting out a lot of water, no water went into the HVAC. But it did come right into the car again! So this seems to point to the problem being somewhere around the HVAC intake on the firewall, and not higher up around the windshield. The only problem is that I can’t see a way to access the area where the leak is occurring, none of the metal around the firewall is removable! The only thing I can think to do now is to remove the dash and/or the heater core. Can anyone think of any other solutions here? Am I overlooking something real simple and stupid? Here’s a look at the heater core:

So Schmellyfart is taking apart a car to go to the junkyard, and was nice enough to snap some pics of what the inside of a 4th gen car looks like with the dash and heater core removed. These pictures are very helpful, and if you look close, you can see an area that is rusting, likely around where mine is doing the same:
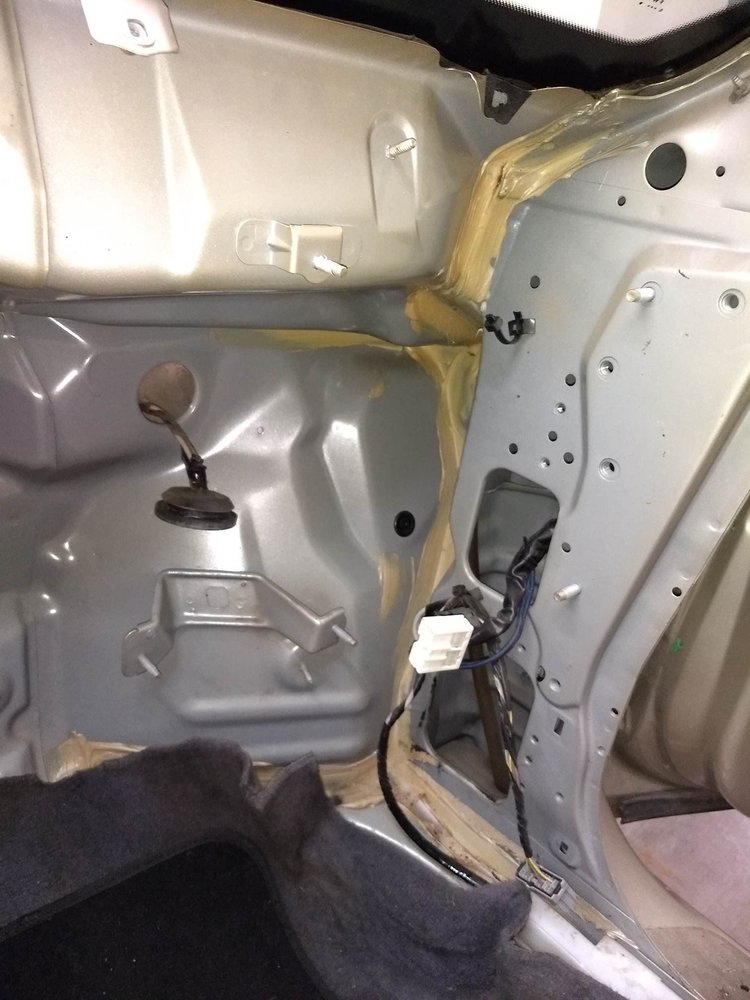
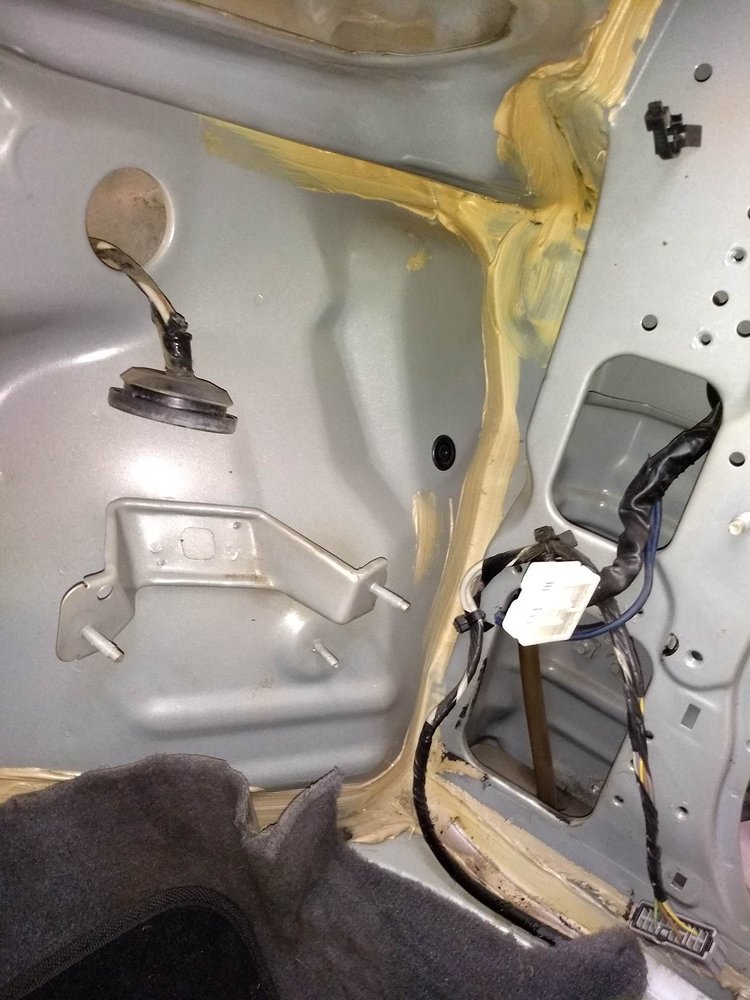
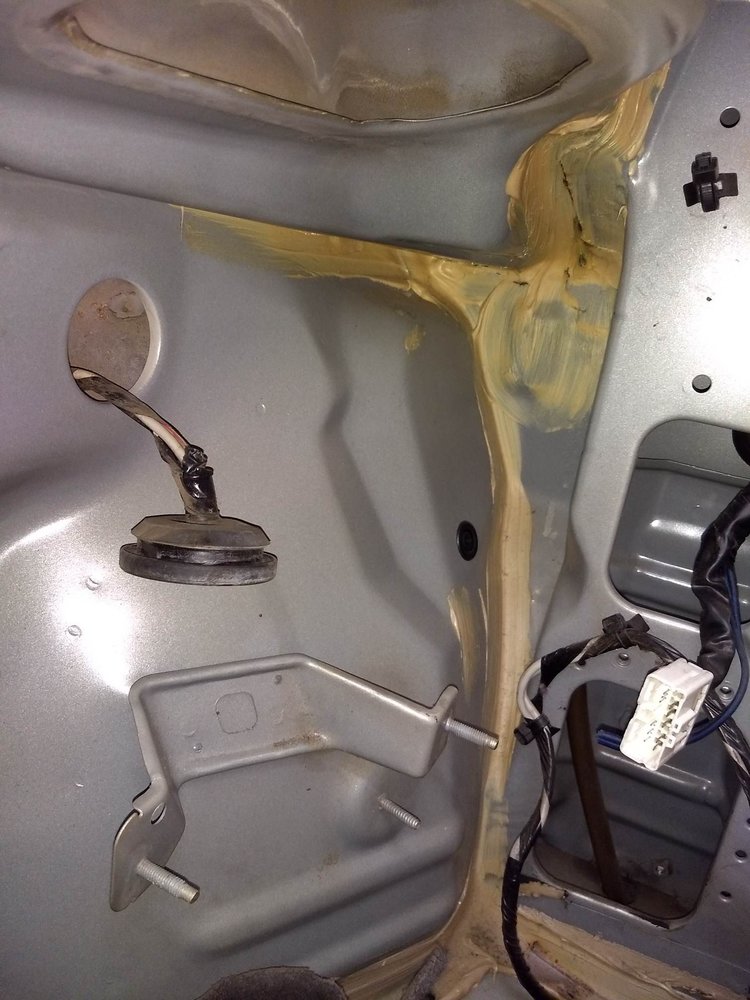
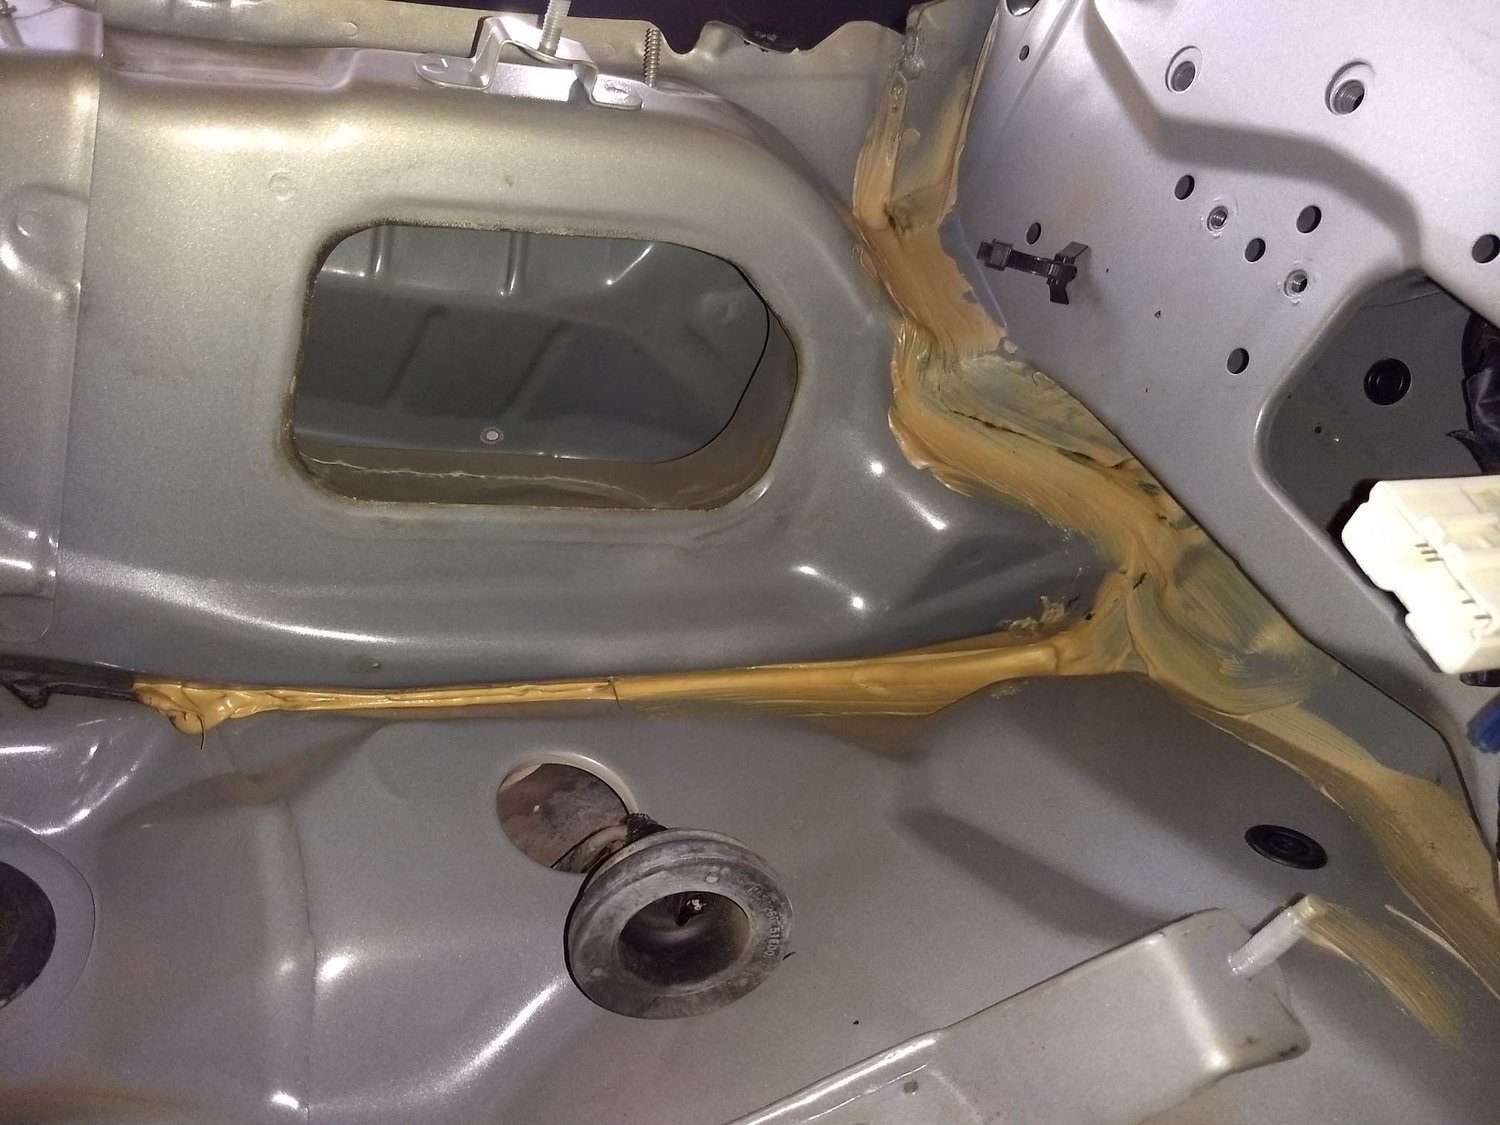
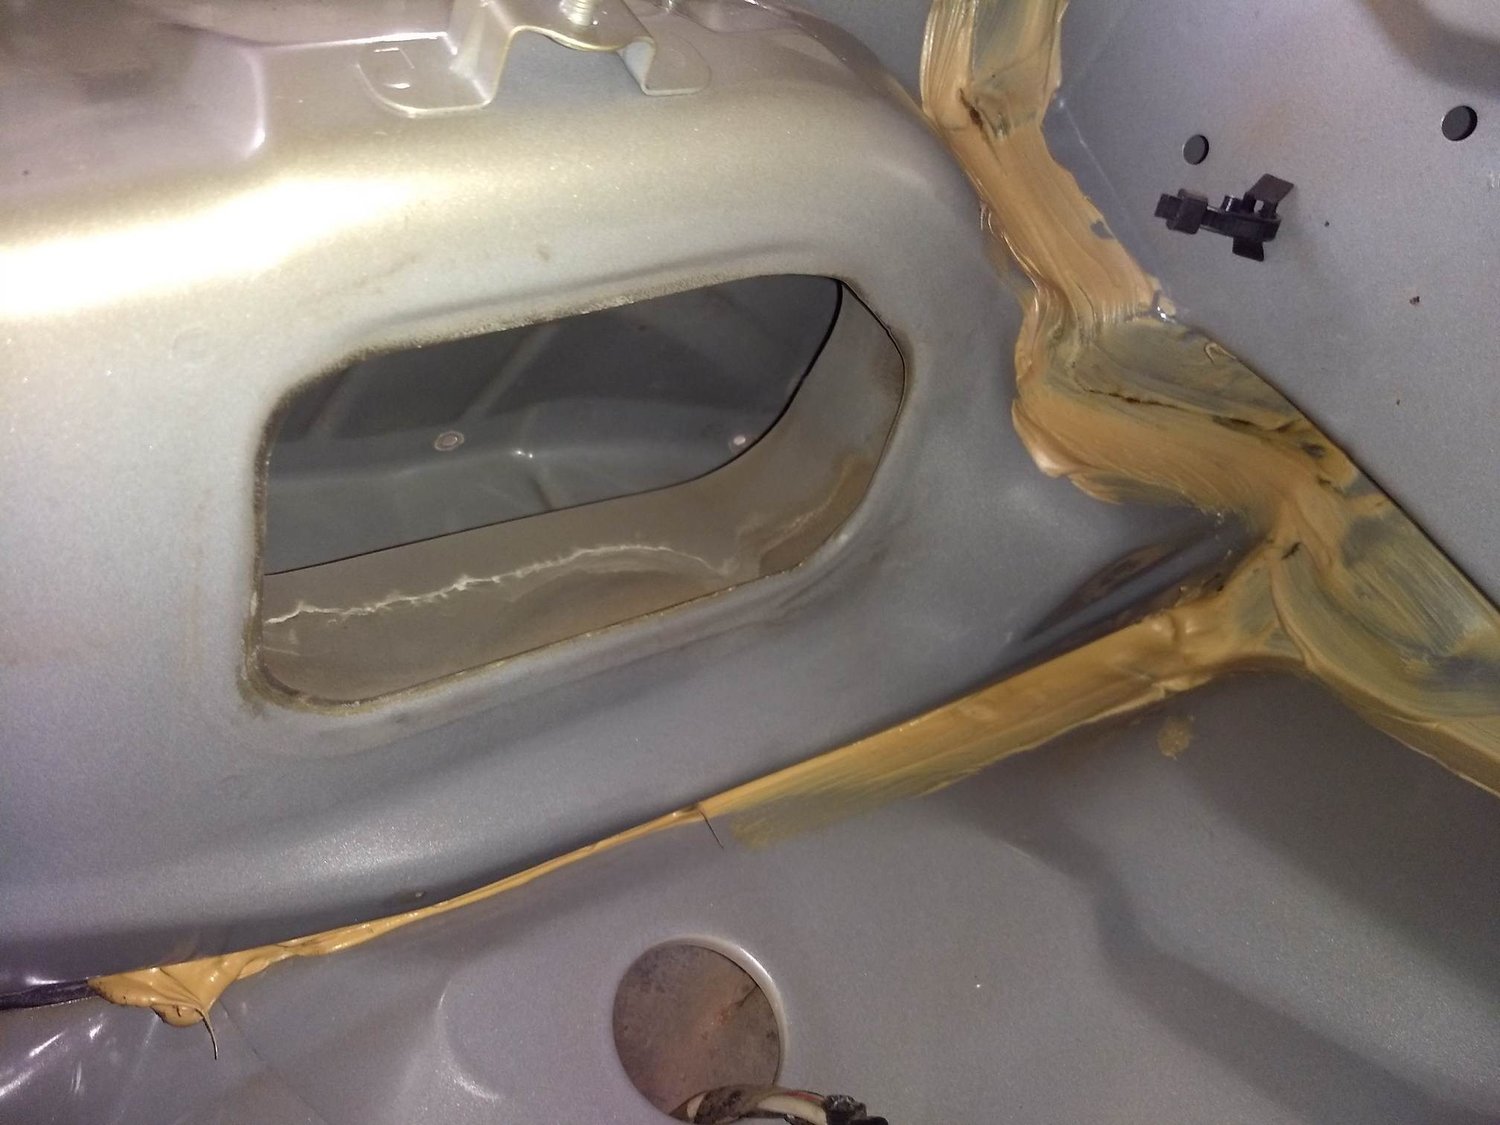
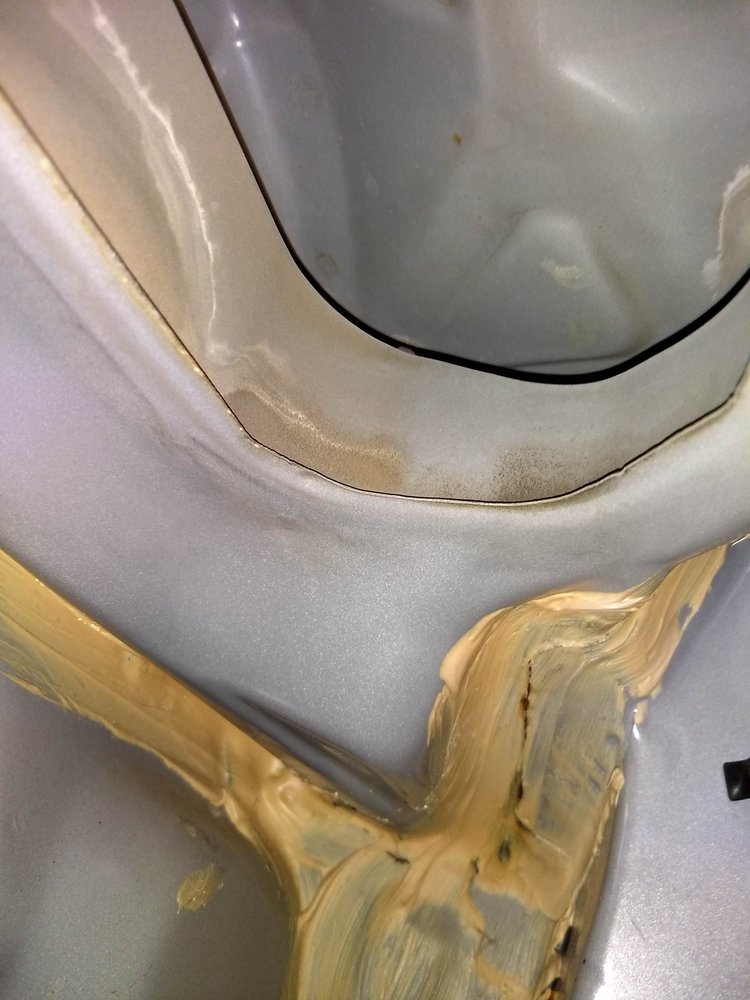
Ok, so I’ve pulled the dash, and I’m looking at the heater core and blower motor assembly:
I’m really hoping I can remove the blower motor (the white thing on the right) without removing the whole heater core (black part on the left). I’m really not trying to drain all my coolant and my AC lines. Does anyone know if it can be done? Without removing the blower motor, I can’t get to any of the seams on the firewall. So close, but so far!
I would also like to remove the PS air bag, as I don’t have one on the DS, which disables the PS one, so I might as well get rid of it. Except it seems to be “one piece” with the outer cover:
removed the crash bar, but the blower motor still doesn’t have quite enough room to come out.
Well I got the blower motor out without removing the AC evaporator in the black box to its left! I was under the impression that the black box housed both AC and heater stuff, but upon looking at the lines from the engine bay, it became clear that the black box only held AC stuff. The main blower assembly in the center is what houses the heater stuff I guess. I do have the ability to recharge the AC, but it’s not something I’m very good at, and I didn’t feel great about venting my whole system to the atmosphere. So I hoped and prayed that I would find a quick and simple way to get out the blower by itself. I went back into the garage this morning pretty worried about what the day had in store. I had the idea that I might want to trim off some plastic from the black box to give me enough room to slide out the blower. I was in there looking at it, and noticed that one of the sides for the black AC box was pretty flimsy. With almost no effort, I was able to snap off a good piece of it. I then followed up with my snips, and with that little bit of plastic out of the way, I could get the blower out! It was a joyous moment to be sure. Here’s what I did:
That little bit of plastic was all that was keeping me from getting the blower out!
As this out of focus picture shows, there was a good amount of debris in the evaporator housing:
So I spent some time with different picks and my shop vac and cleaned it all out:
The blower was actually very clean:
So I was then left with this:
But there was still the factory insulation in the way. I ended up just cutting off a piece so I could get easy access to where I thought the leak was (I’ll reinstall properly when I’m all done). And with that, I was FINALLY able to see the source of my water leak:
It’s not in the exact same spot as the pics from schmellyfart, but it’s not far, maybe 2″ away. It’s clear that this area has a few body panels coming together, and it’s also right next to the drain for the cowl, so being sealed properly is crucial. If you have a water leak in a 4th gen, I wouldn’t be surprised to find it’s in this area! You can see three water trails coming down from that area, so I’m very confident this was my problem.
I spent quite a bit of time with different wire wheels, both on my big gun and little ones on my dremel, trying to peel back the old seam sealer so I could get a better look at exactly where the water is coming in.
It doesn’t really come through in the picture, but the horizontal area just right of center is actually completely open now. I had to scrape the old seam sealer out of it with a screwdriver, because I didn’t want any of that old cracked stuff getting in the way of my fresh seam sealer. Now I’ll be able to completely refill the gap with new sealer. Access into this area was pretty awkward, and my back was aching after a few hours in there, but I think I’m happy with how clean I was able to get it. When I finally couldn’t get it any cleaner, it was time to prep the surface for the seam sealer:
This stuff is SUPER strong, and has tons of warnings all over it. I go full-hazmat when I use this stuff, but professional painters swear by it, so I grit my teeth and bear it. I was considering applying the seam sealer today, but then I thought about it more and realized I would feel much better about it if I bought a new tube of it. My current tube is a few years old, and since I couldn’t get a firm answer on its shelf life, I decided I would rather spend another $20 on new sealer than to have my current sealer fail because it was too old and didn’t adhere properly. It should be here on Tuesday, so I’ll continue after that. But for now I’m feeling pretty damn good that I was able to get the blower out by itself without ruining anything!
I’m left with this to look at, and ponder how many things I’m going to forget to reinstall, or reinstall in the wrong order. I’m not out of the woods yet!