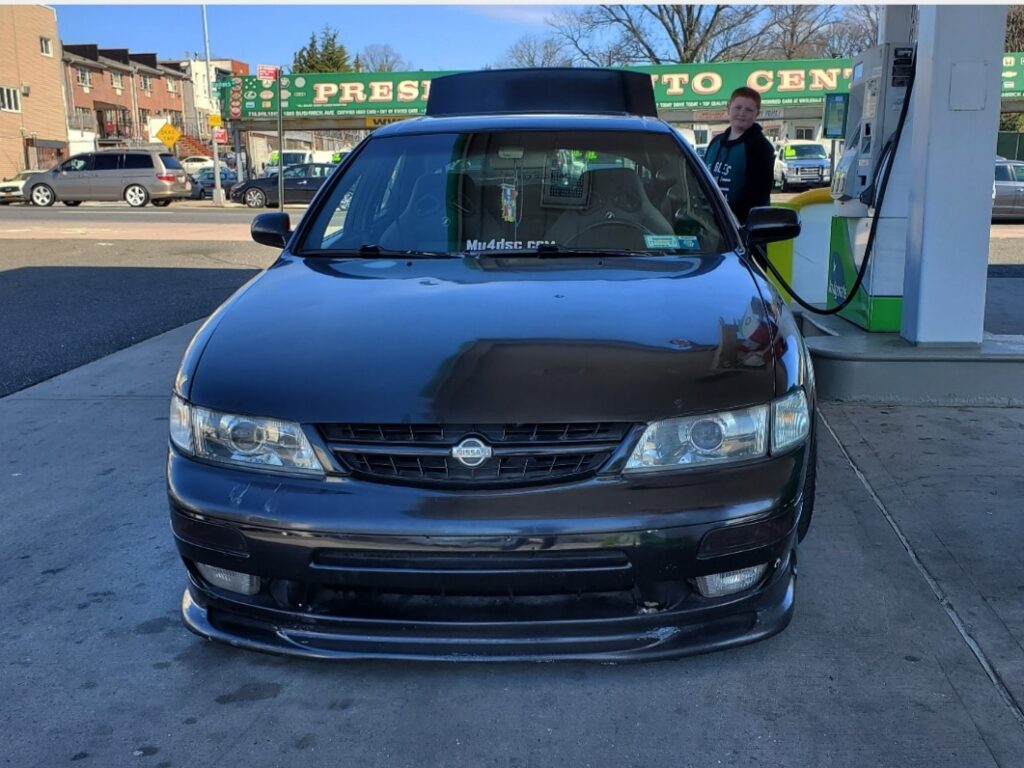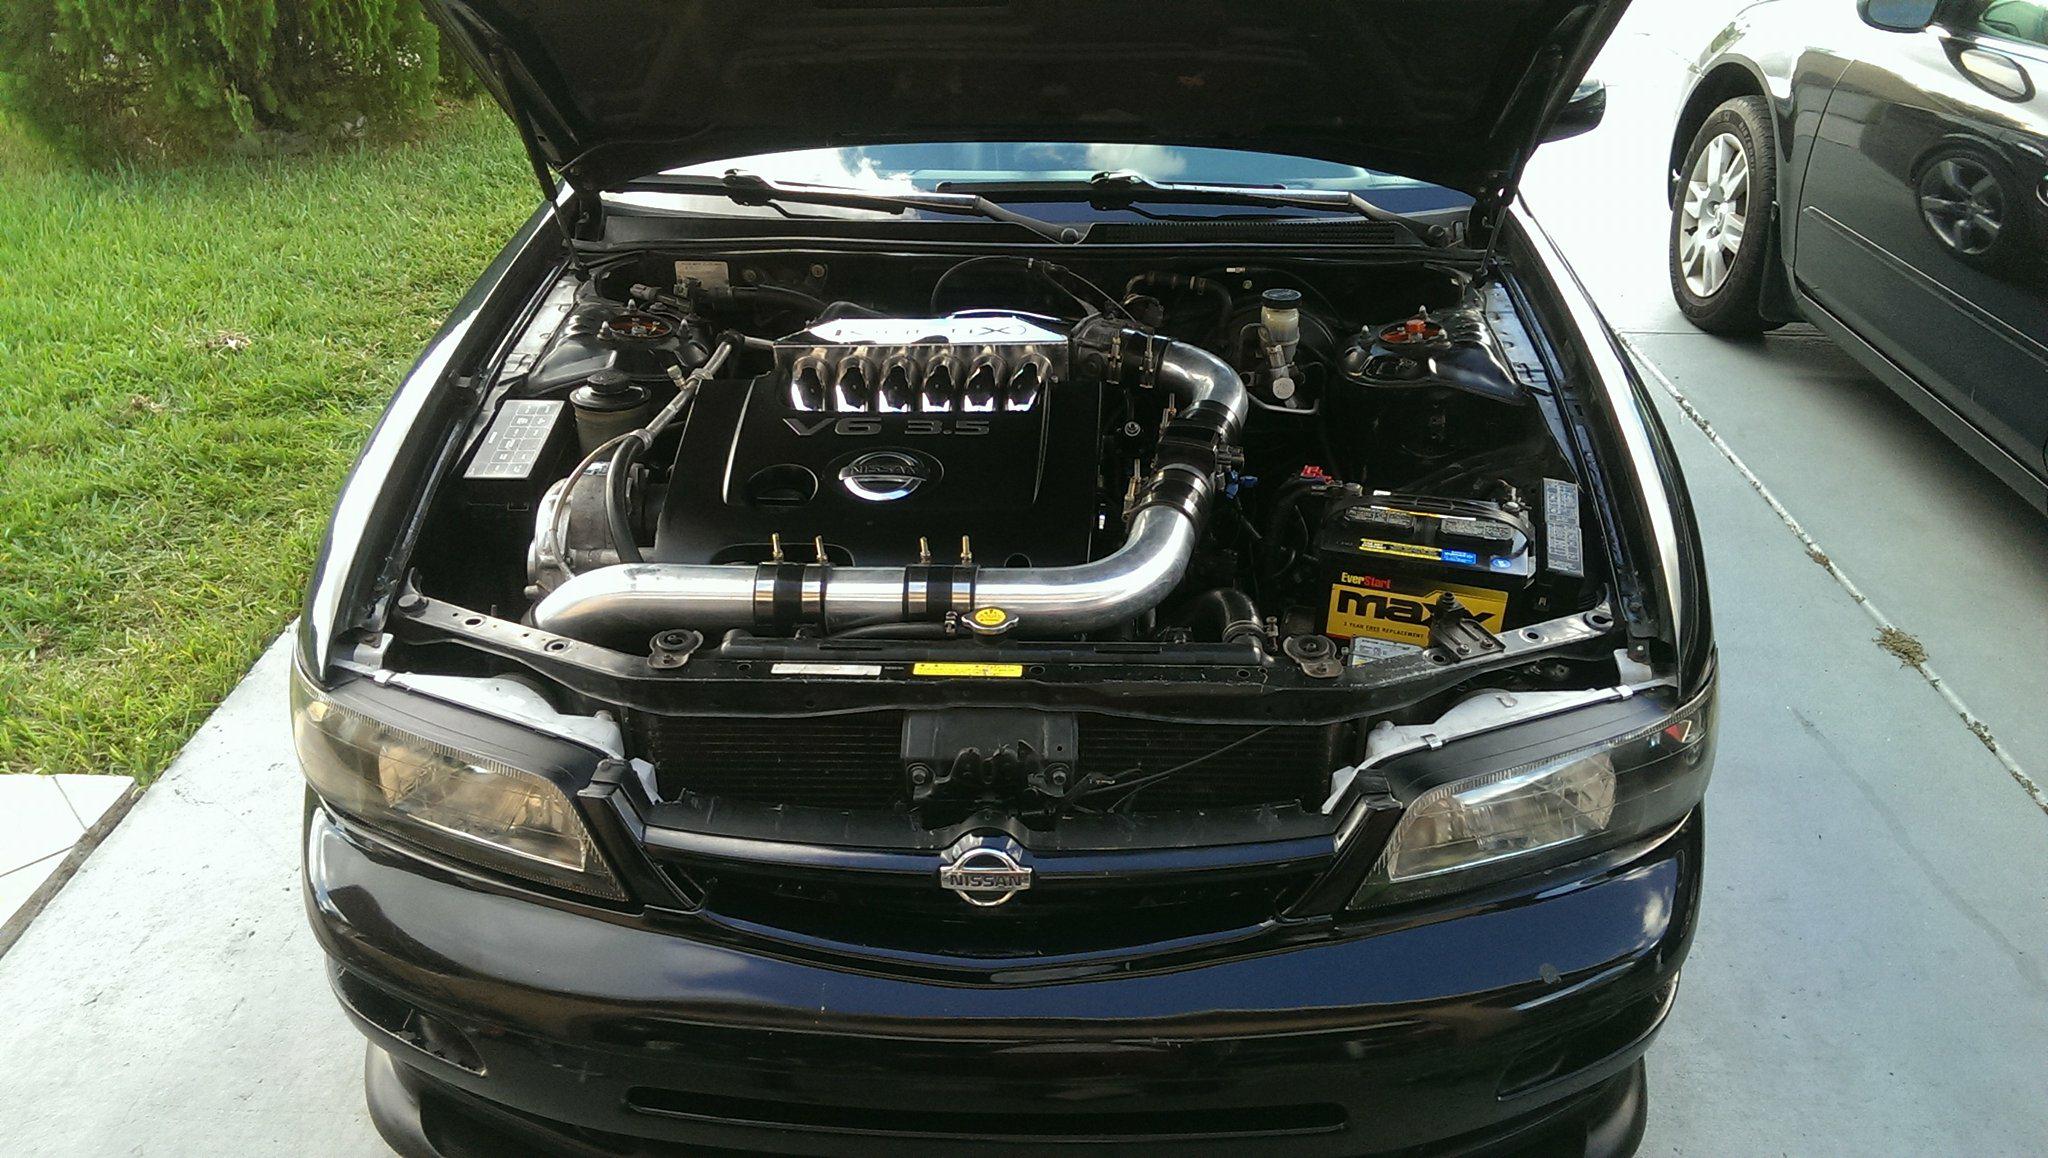
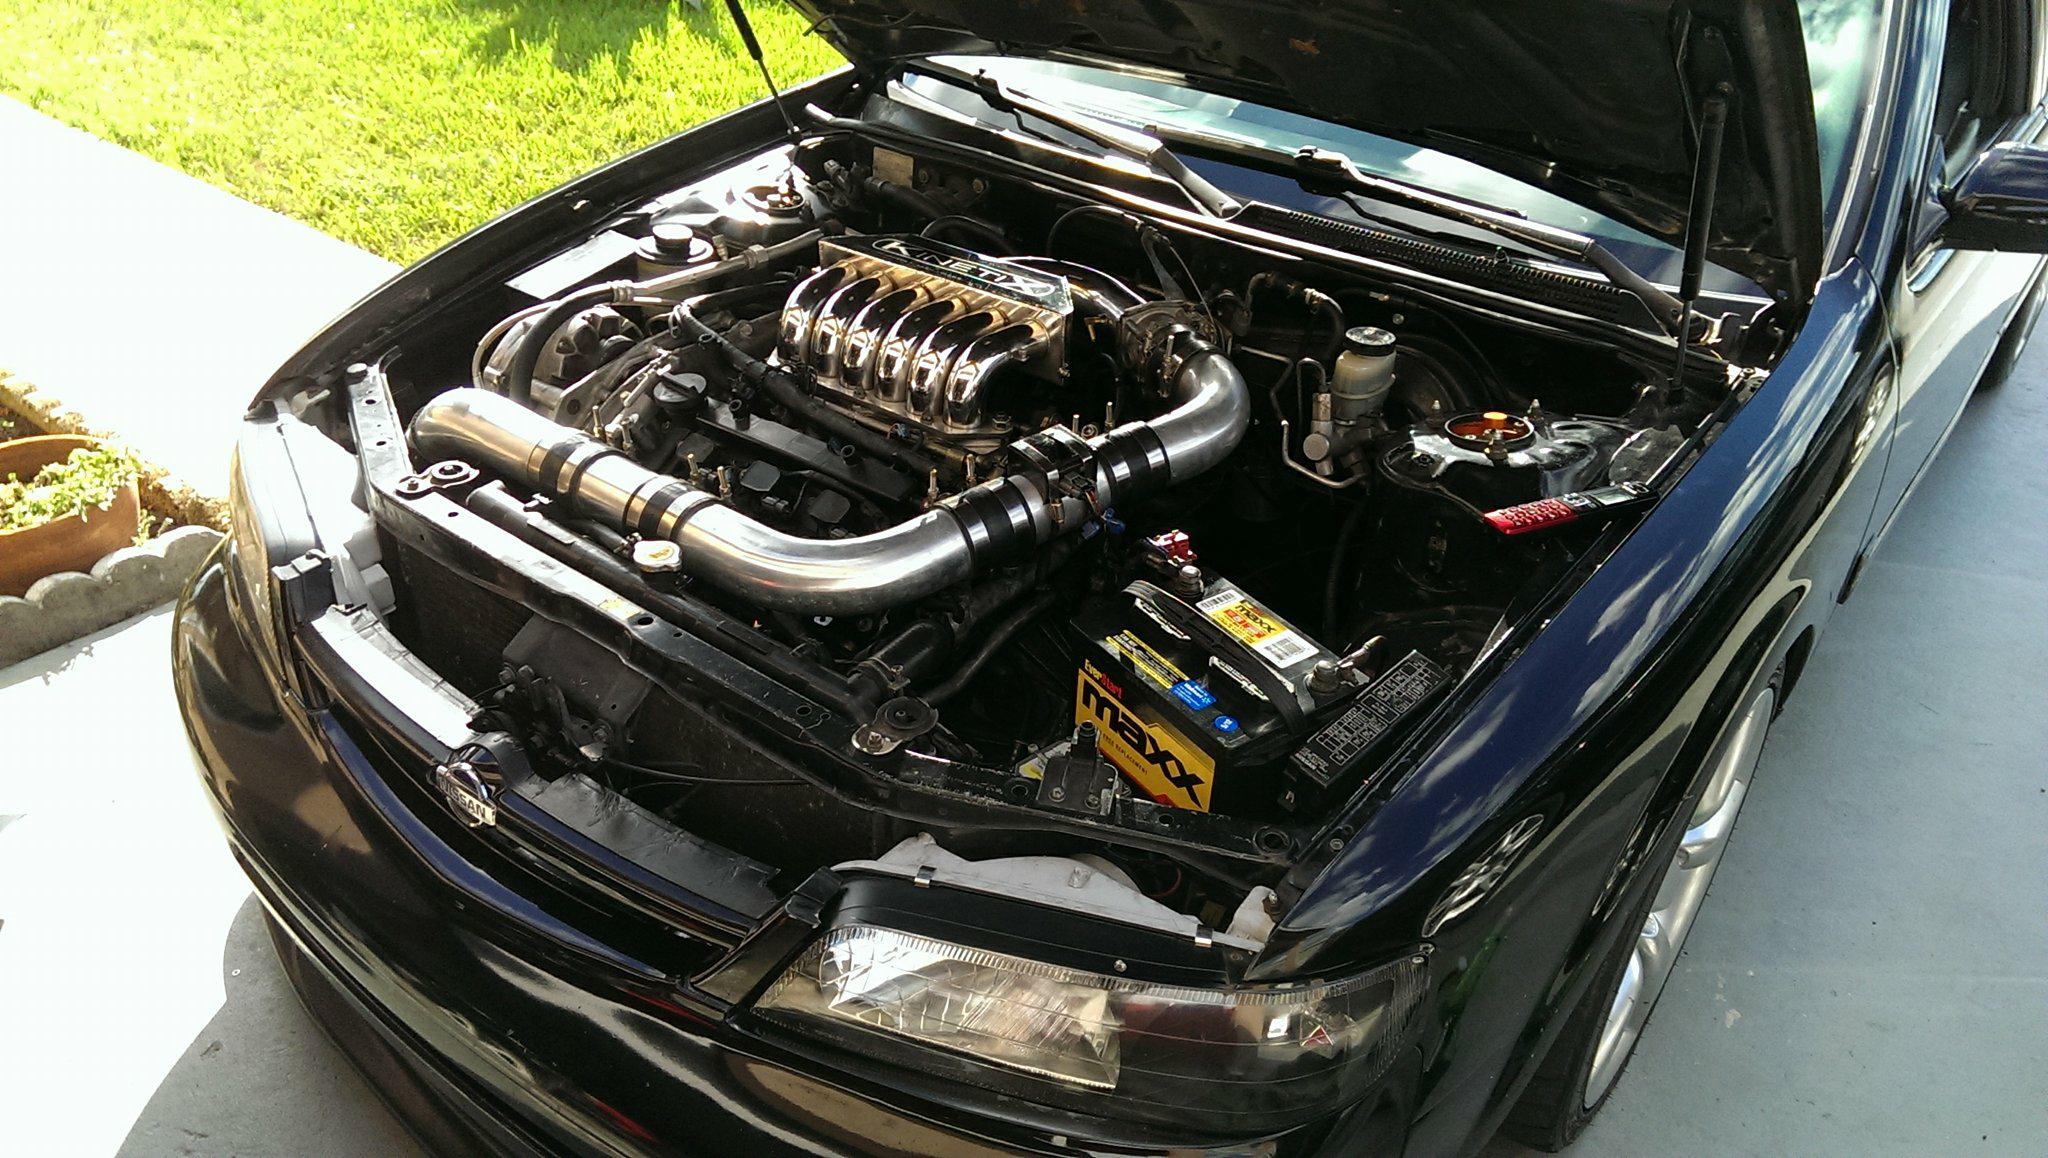



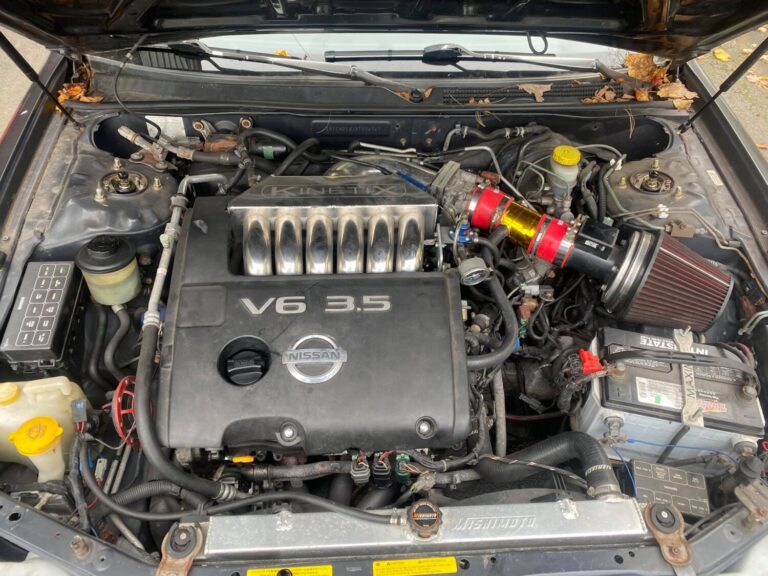


 NRG 350MM – 4thgen Maxima


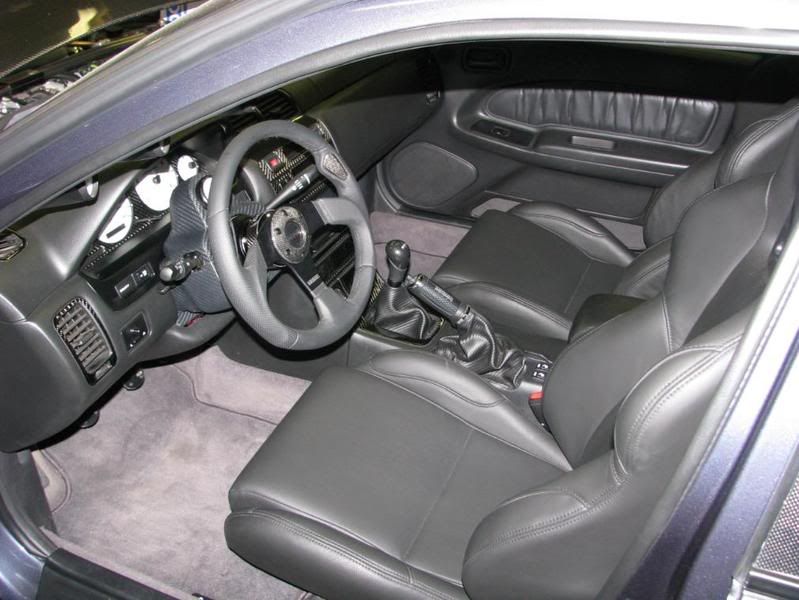
Momo Millenium Sport Steering Wheel w/NRG Hub (SRK 140h) and NRG 2.5 Quick Release



Community Member Credit: Turbobink
Matic-D may not be a technical requirement but it is certainly and unquestionably the safest choice … if one cares what the FSM says, that is.
In having owned my 1999 since MAR of that year and in having personally completed the vast majority of services and repairs since the expiration of the manufacturer’s warranty, I feel comfortable in letting those interested know what I’ve found works. Nonetheless, if others hold differing perspectives, based on their notable experience and long-term trials and errors, with regard to a specific topic (this case being the 4th generation Nissan Maxima) those individuals should feel free to espouse those perspectives in an effort to contribute to assisting those who’ve asked for assistance.


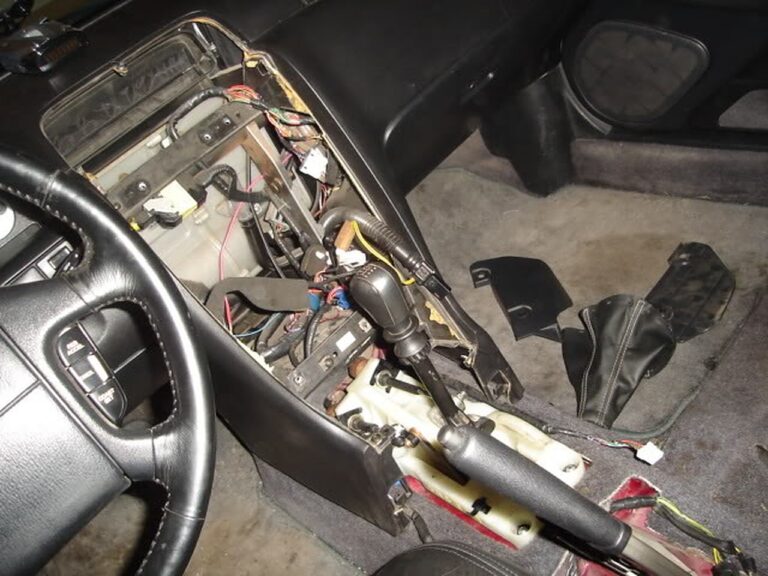
Community Member Credit: One Post Wonder
So I did the 6 speed swap a couple of years ago following the guide in the stickies. I did a lot of research on the swap and thought I would improve the guide a bit by consolidating the information I found, fixing some grammatical errors, and adding some of my own experiences to the mix. I’ve added the part prices and who I bought them from for reference, although I would recommend swappers find parts locally. I didn’t include any pictures from my swap but the same ones in the original procedure thread apply. If I’m missing information or information is wrong, let me know.
Check the 5 speed removal guide for information on removing the 5 speed parts.
1. Install shifter cables (Method 1)– Route the cables through the passenger side. Pull off the A/T control cable cover and snake the cables in above the ECU. No need to drill through the sound deadener, but boring out the hole wouldn’t be a bad idea, as it can be hard to move and bend the cables to route them properly.
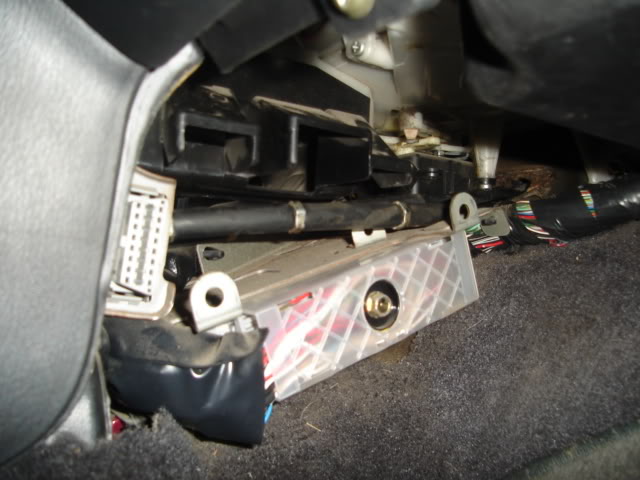

It will be necessary to drill into the shift cable cover as the pre-drilled holes will not line up.
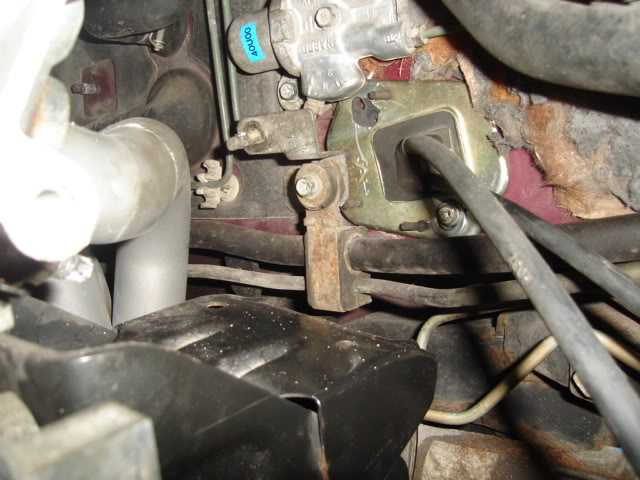

Apply weather insulating/sound deadening material such as Dynamat (shown above) on the firewall hole to keep road noise and water out.
2. Install shifter cables (Method 2)-If the A/T control cable hole was not drilled into the firewall from the factory, or is otherwise inaccessible, use the manual A/C control cable hole in the firewall, right above the fuel filter. It will require about 2 inches of boring out (towards the bottom) to fit both cables. Apply insulating material to the hole to keep water out.
3. Mount shifter assembly– Pretty easy to do also, but it needs to be slightly modified. There are bushings on each of the 4 bolt holes, these bushings must be taken out in front because, if not, the bolts attached to the floor won’t be tall enough to be used. You will need 2 pairs of nuts and bolts for the back holes.
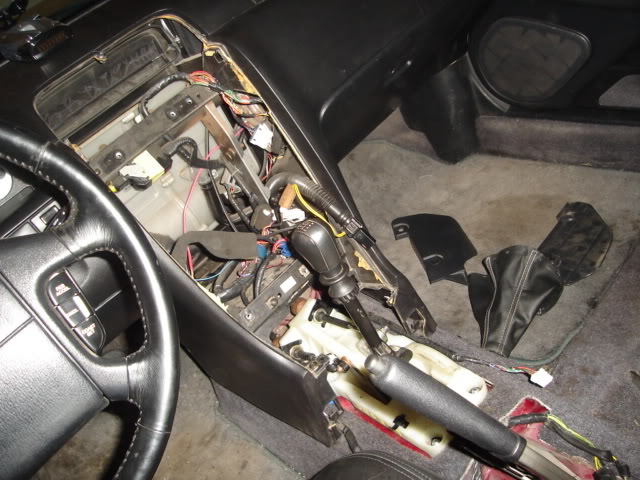
4. Taking off the old 5spd mount– Cut off the old 5 speed mount with a suitable cutting tool (angle grinder and bolt cutters work well). Cut and grind the extended part of the mount bracket as close as you can to the frame so that the new mount can go on relatively flush to the frame.
5. Install 6spd flywheel– Take the 6spd CKPS ring off your aftermarket flywheel and align that timing ring with your custom ring (these custom timing rings MUST BE PRECISION MACHINED to avoid spark timing issues). Then drill out the corresponding mounting holes. Then reattach the timing ring with the supplied bolts and some blue locktite if desired. Since you are using a 5spd CKPS, you don’t need to clock the timing ring, so just install the flywheel by aligning the dowel pin and tightening the bolts in a criss-cross pattern, to the torque specs.
Fidanza Maxima 3.5 flywheel installed:

Make sure to clean the pressure plate and flywheel well with brake cleaner, and torque all mounting bolts to the correct specs in the correct sequence. With Fidanza flywheels, it is even more critical to torque all bolts correctly to prevent stripping threads from flywheel or pressure plate mounting bolts.
6. Trans mount install– You can either weld this mount to the frame or bolt it to the frame. If you do decide to bolt it to the frame, you will either need to cut a small, rectangular hole in the outward facing side of the frame to be able to anchor the bolts with the mounting nuts, or you can try drill through both top and bottom of the frame (the frame is hollow inside), vertically aligning the drill points. You will need to install the transmission on the engine to align the mounts. Get the transmission on, use a couple bolts to get the transmission flush with the block. Reinstall the front cross member if unbolted. Bolt on the transmission-mounted bracket on the transmission, and then attach the frame-mounted rubber mount with the mounting bolts. Then set the frame mount flush on the frame and mark the holes. Unbolt both brackets, lower the front cross member, and uninstall the transmission if necessary. Drill the holes for the mount. Then cut the rectangular hole on the outward facing side of the frame and tighten the nuts onto the bolts, securing the frame mount.

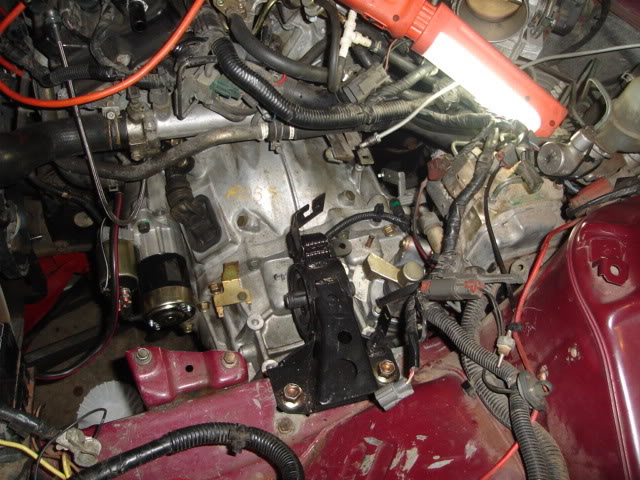

7. Moving the ABS modulator (if equipped)– The modulator is bolted to a bracket, which bolts to the inner frame rail. This bracket needs to be gotten rid of. Use zip ties to pull it upwards by the master cylinder.
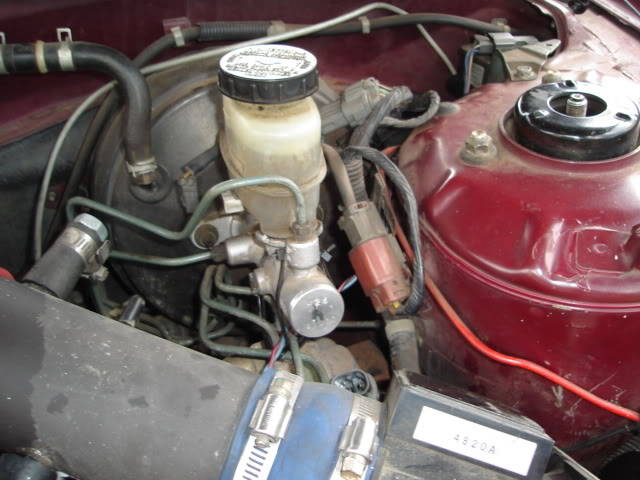
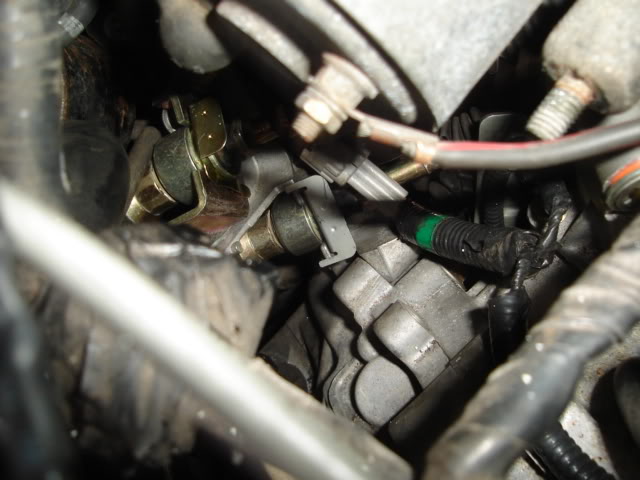
8. Transmission install– It’s easiest to do with someone under lifting it up and someone up top helping. Remove the transmission-mounted shifter and shifter cable bracket to gain clearance. It may be necessary to grind down part of the frame to get the transmission on (shown below). Make sure the mating surface between block and bell housing is clean, to avoid starter grounding problems. Torque the transmission bolts to spec and in the proper sequence. Reinstall the shift cable bracket and shifter. Raise the front of the sub frame, so the cables can be attached to the shift assembly using cotter pins and the cables installed in the bracket using the appropriate clips.
Attach the mount bracket to the transmission. Then jack up the transmission/sub frame, so the 2 mount parts can be joined. Torque the front sub frame and the mount bolt to spec.
9. Starter install– The 6spd starter ground cable is a female connector, so is the connector on the engine harness. You may either cut both connectors off and solder them together or cut the male connector off of a 5spd starter and solder it onto the 6spd starter.
10. Relocating CKPS– If you are using a FWD 6spd Fidanza flywheel, no further action is required other than reinstalling the CKPS sensor in its original location. The crankshaft position sensor (CKPS) hole will need to be enlarged, and a new hole for the mounting bolt will need to be drilled and tapped IF the RWD 6spd Fidanza flywheel is used. The RWD 6spd flywheel has a different timing ring offset than the FWD 6spd flywheel.

Draw a line on the bell housing and on the CKPS; bore the hole out to the driver’s side, until the car will start and run. Then mark, drill, and tap the hole. The tap for the hole should be 6.7mm. Use the “Making Your Own CPS Ring” guide to make your own CKPS ring that does not require CKPS relocation, or use a precision machine shop to make the ring.
Community Member Credit: maximase86
Write-Up: cefirowriteup
1. Disconnect the ground to the battery terminal.
2. Remove the cornering lamps. There is a Phillips head screw that holds the lamp to the headlight. Once you removed the screw, just pull the corner lamp out in the direction the car is facing. Note that the cornering lamp may be tough to remove. Note, keep all your existing bolts and screws as you will need to reuse most of them.
3. Remove the bulb from the cornering lamp as well as unhook the harness. Set aside.
4. Remove the grill. There should be clips near the top corners of the grill. Pop these clips and then lift the grill up and out. Set aside.
5. Unplug the headlight harness and remove the headlight bulb.
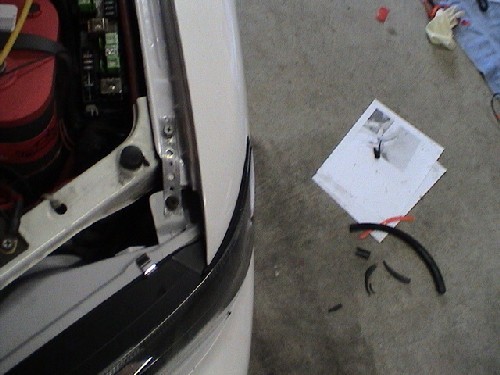
6. Now it’s time to remove the headlights. First, remove the 10mm bolts that hold the headlight to the bracket on the fender. Next, there are 2 10mm nuts holding the inside of the headlights to the car on each side of the radiator. You’ll probably need a deep well 10mm socket, or if you have a set of gear wrenches, this will help out a lot. Once that is removed, pull the headlight in the direction the car is facing. Watch for the adjustment bolts, as they like to snag on things when pulling out. Your car should look like below when you’re finished.
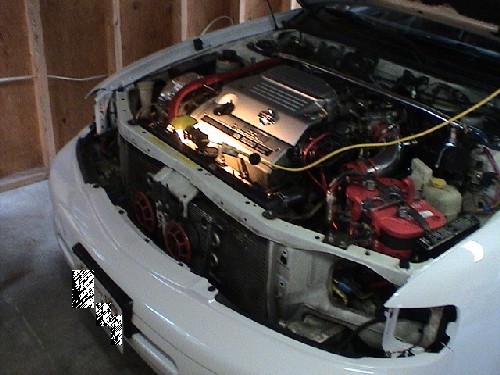
7. Next you will need to remove the little black trim piece that sits under the original headlight. There should be about 3 10mm bolts that hold them in place. Remove them from both sides.
8. Next comes the fun part, time to hack your car up! There are 4 places you want to mark with a sharpie. The main headlight support bracket, the 2 tabs for the corning lamp, and a portion of the frame which you need to make a cut out to allow the lamps to fit. See the following pics:
The upper portion of the support bracket with cut marked.
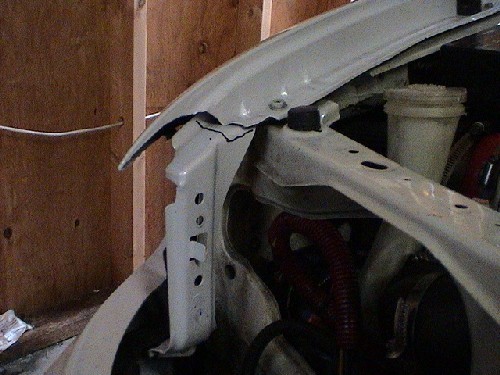
Cornering Light Tab and Frame with cut marked.
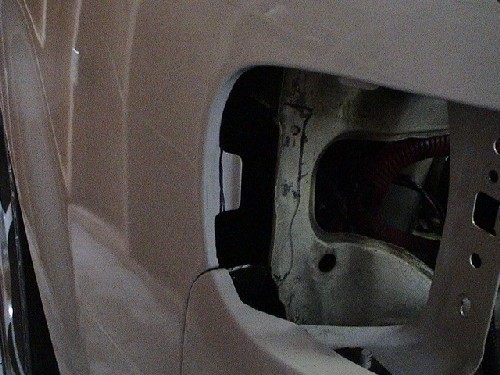
Upper Cornering Tab with cut marked.
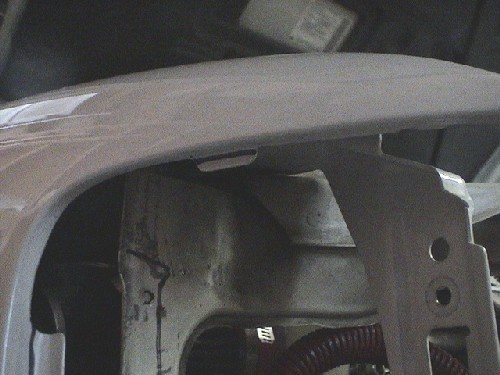
Bottom of the headlight support bracket
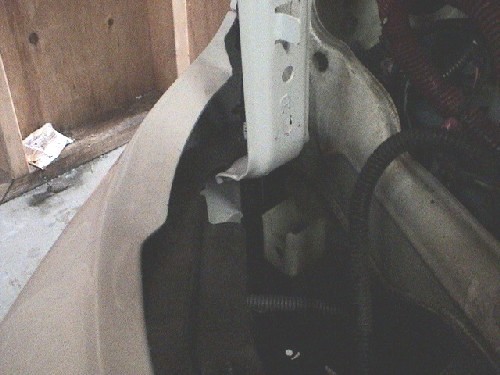
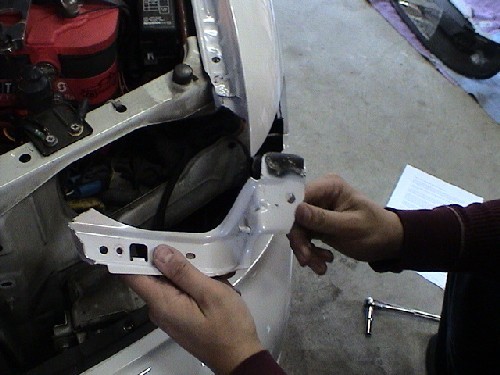
You have 2 options with this. To help give the ability to revert to stock you can do one of 2 things. You can use panel poppers, or some kind of screwdriver to pop the spot welds at the bottom, or you can bend the bracket down.
9. After you made your marks, go ahead and make the necessary cuts. There are few different tools you could use (i.e. grinder, Dremel, etc). The Dremel might provide the best results. You will need to use the heavy-duty cutting discs, and be ready to use 10-15 discs.
10. Once your finish cutting, and you got the bracket out of the way, it’s time to do a test fitting. Put the Cefiro headlight in place. Make note of any places that might be in the way. Take out the headlight and make cuts as necessary.
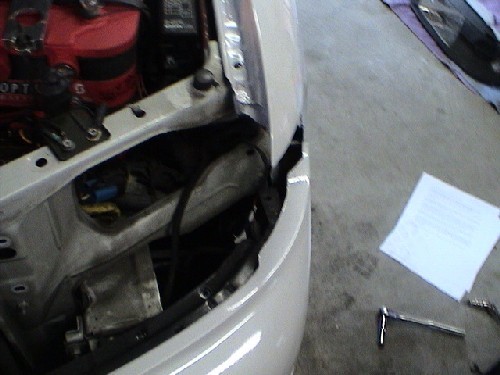
11. You may need to make the holes there in the headlight bolts near the radiator larger in order to reduce the gap between the headlight and the fender. It is impossible to get it perfect, but it does help a little.. If this is the case, you can use a Dremel with a grinding bit to enlarge the holes as necessary.
12. Once you have your headlight set the way you want it, you will now need to fill in the gap. (And since you have these instructions because you have a 4th gen, there WILL be gaps).
13. To fill in the gap, you’ll need to get some black weather-stripping. You can usually find a bulk back at your local parts store. What you want to do is with the headlight in place; measure out a piece that will fit the gap best. You may need to do some trimming to get everything to look good. Once you have the piece you need, remove the adhesive backing and attach the weather-stripping to the headlight. Keep in mind; this is sort of a trial and error thing, so you will have to work with it a little before you get everything to work.
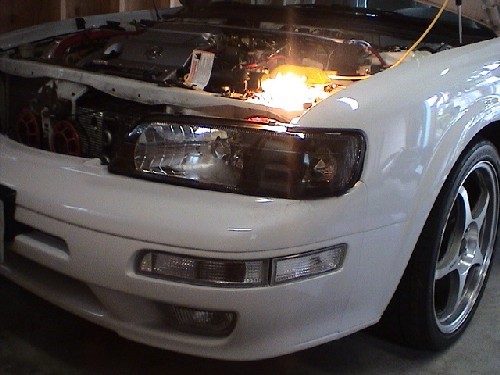
14. Next you want to splice the H4 harness into your existing harness. To do this, it’s easiest to reconnect the ground, and while using a voltmeter, test which wires run which with the lights on. (Black will be ground).
15. Next splice the city lights into the side markers. You may need some extra wire handy to do this
16. Next you will need to convert the parking lamp socket to work on the 1157 Harness. Line up the large tab on the harness with the large notch on the corner housing on the Cefiro. Make note of which notches need to be enlarged to fit the socket in. Take a Dremel with a grinding bit (or Exacto knife) and grind out the notch(s) until you can fit the socket in place. Once this is done, you can install the bulb and socket.
17. Install your H4 bulbs and plug the harnesses in. Then fit the headlight to the car. Bolt down the inner nuts.
18. Next, removed the forward most bolt on the fender nearest to the headlight. Cut a piece of galvanized plumber’s tape that is long enough to reach from the tab on the Cefiro’s to the hole where the bolt for the fender goes. Be sure to align the holes. You will need to find a bolt and nut that will go through the hole on the tab of the Cefiro lamps to secure the plumbers tape. Once you finish that, bolt the plumbers tape into the fender. You may need to push the headlight inwards for the bolt to go in.
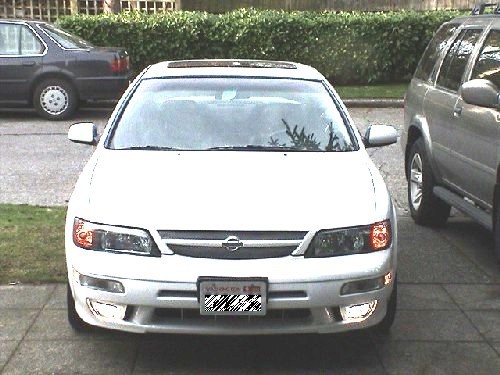
19. Once both headlights are secure, take your grill and clean off the bottom section. Affix some heavy duty double sided tap to the bottom section. Set the grill in place and push down to set the tape. You might need to play with the alignment to get it right. Next you can either use plumber’s tape or zip ties to secure the grill to the radiator support frame.
20. Once everything is back on, close the hood and check fitment. Make adjustments as necessary. Also check to make sure all your lights are working properly.
21. You’ve just finished the Cefiro install. Now that wasn’t so bad was it?


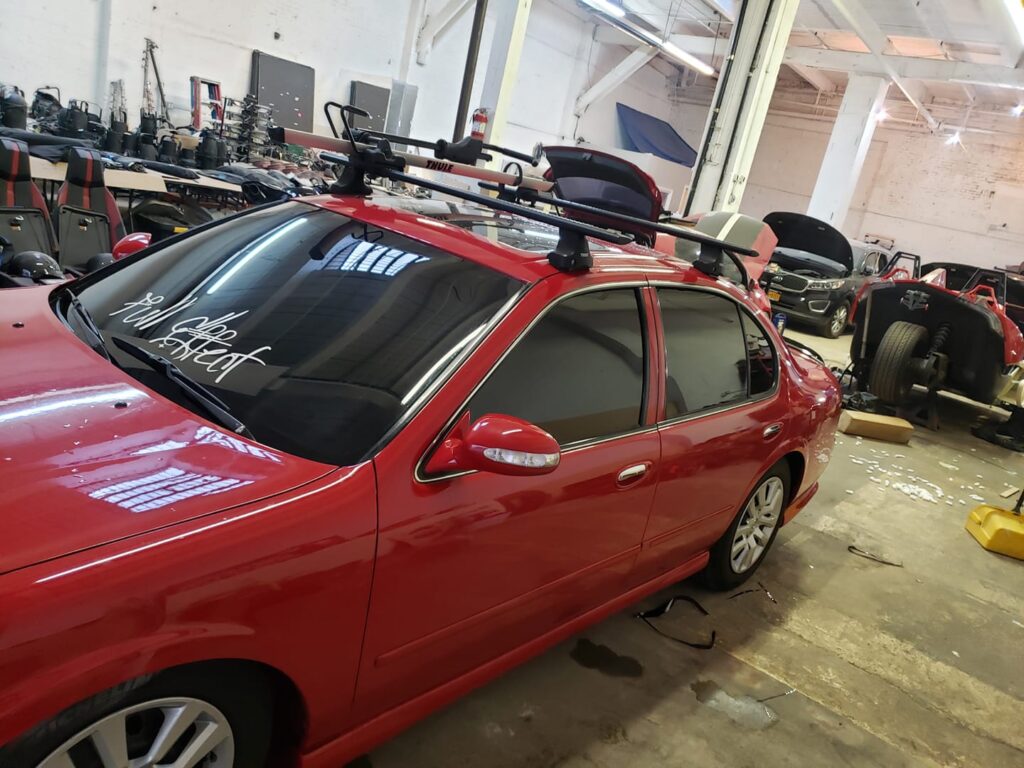
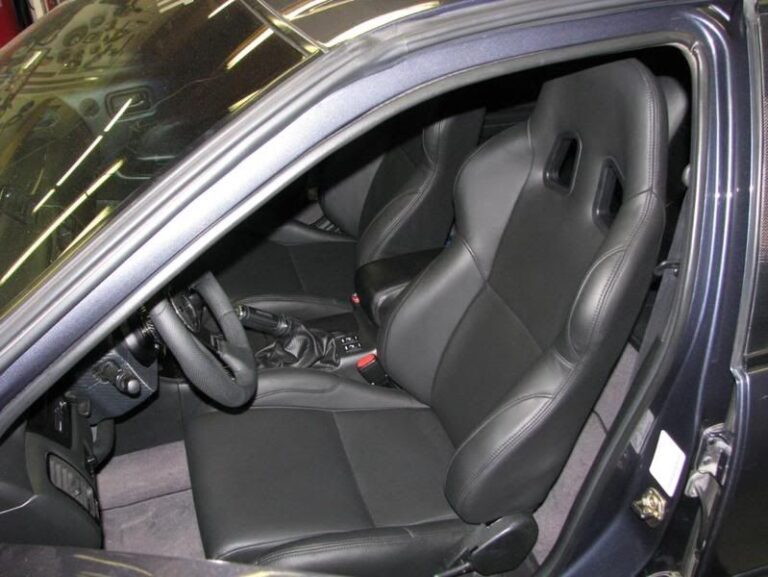
Community Member Credit: The Wizard
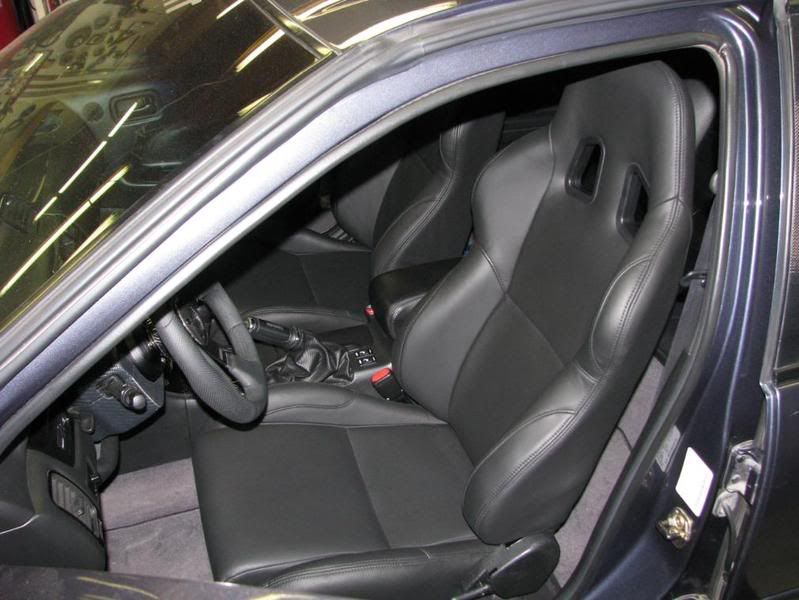
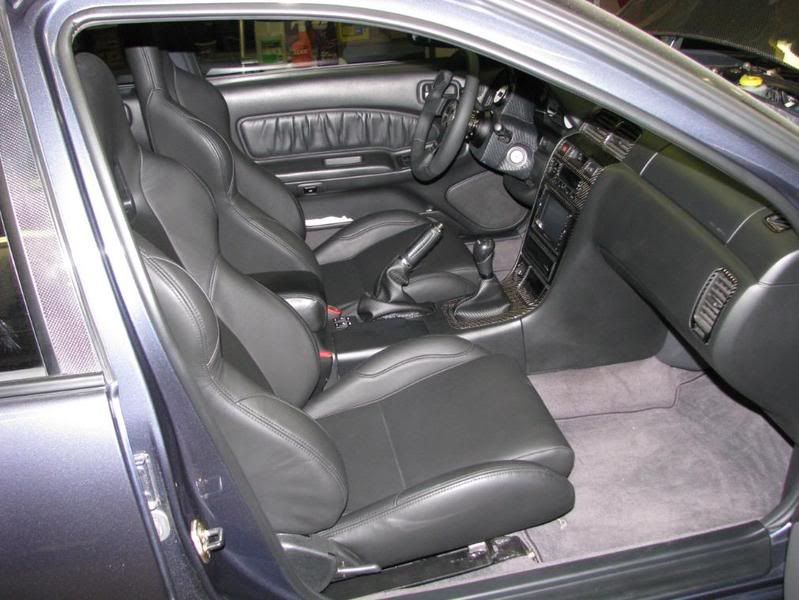
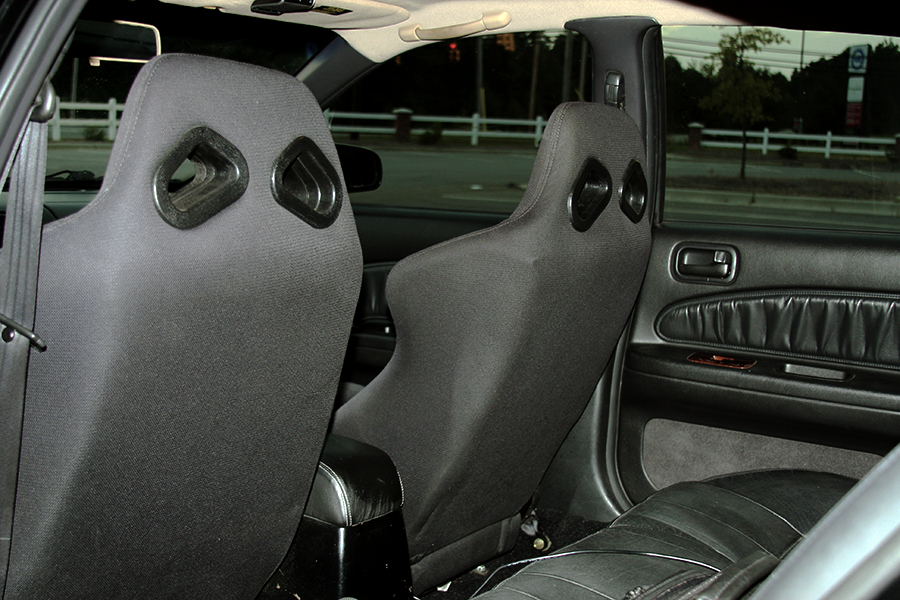
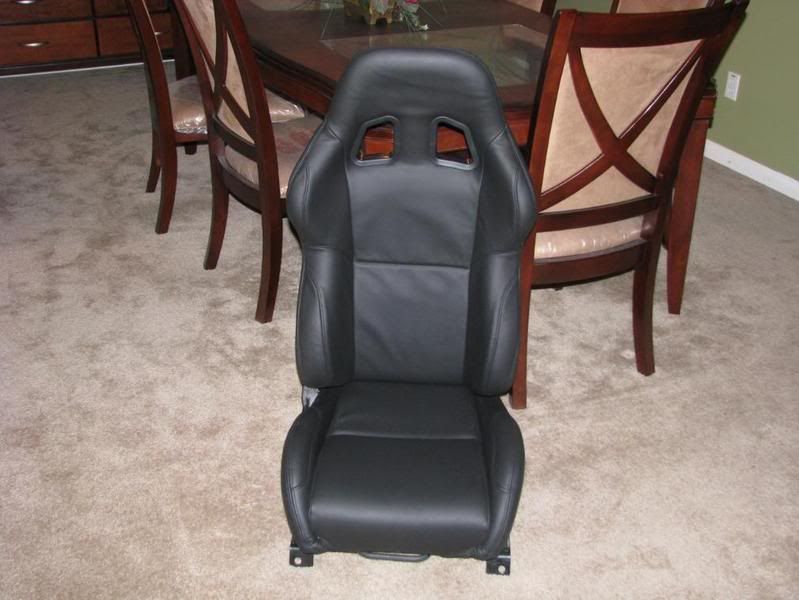
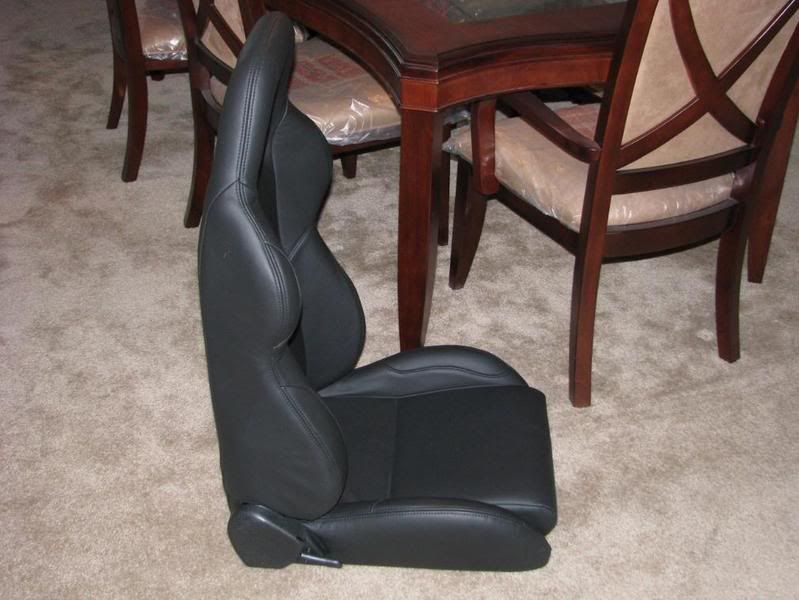
These are full leather Corbeau A4 seats. I splurged for the double locking sliders for aesthetic reasons and ease of adjustability. The double-locking sliders added $20 (each) to the cost of the bracket.
They feel great and hold me very well during aggressive driving…. and my car smells like a brand new car. Gotta love leather when it’s brand new!
On with the pics. Here’s the seat itself.
Here’s a picture of the bracket with a double locking slider the way it came originally.
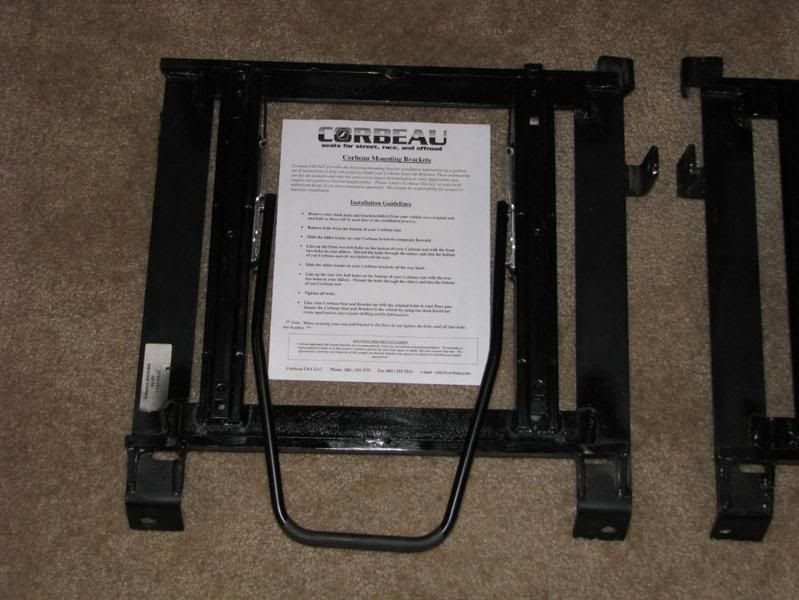
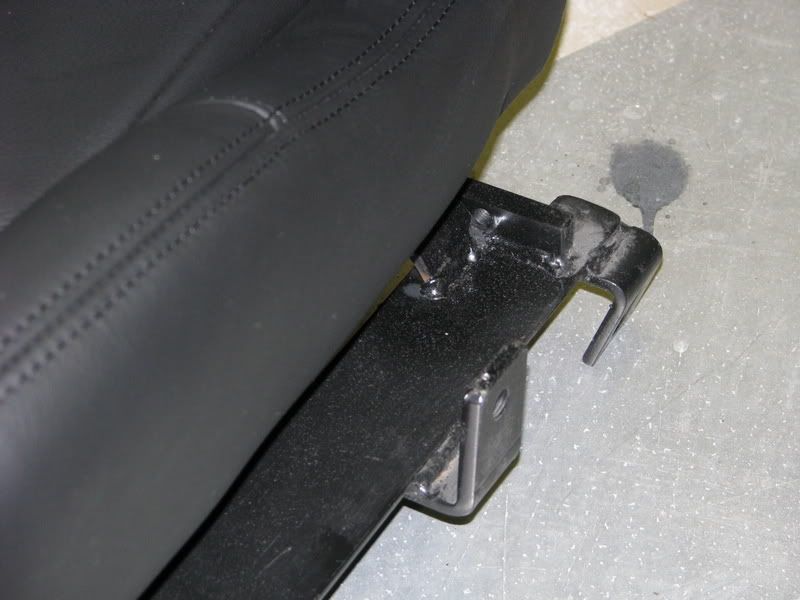
After I installed the seat, and with the seat in the utmost forward position, I couldn’t push the clutch in comfortably. With the seat all the way back, it almost touched the back seats! So I took matters into my own hands, cut off the brackets, moved the bracketry up 3.25 inches, and rewelded. See pic.
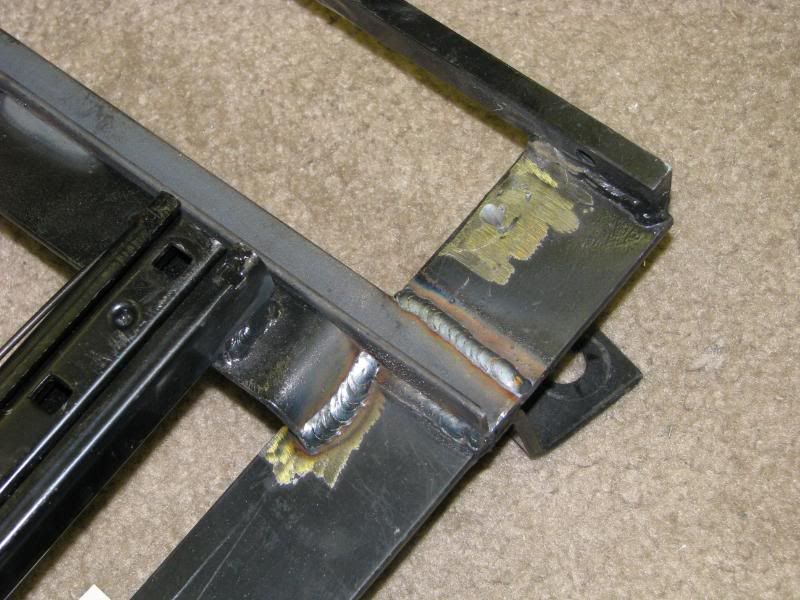
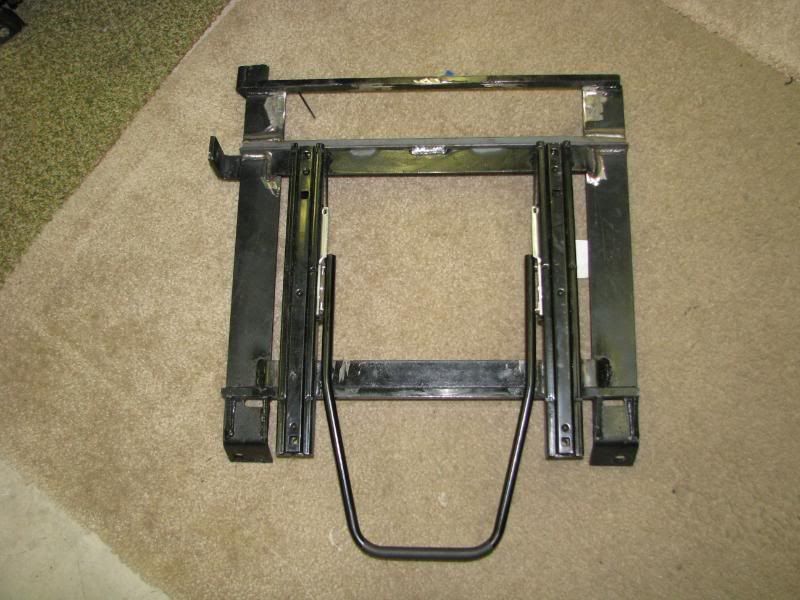
All done and repainted.
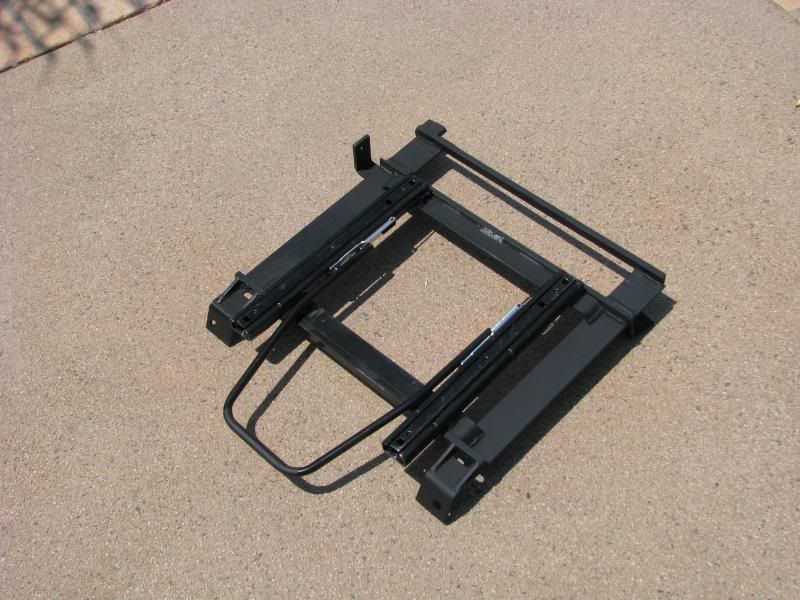
Seat Bealt Mount
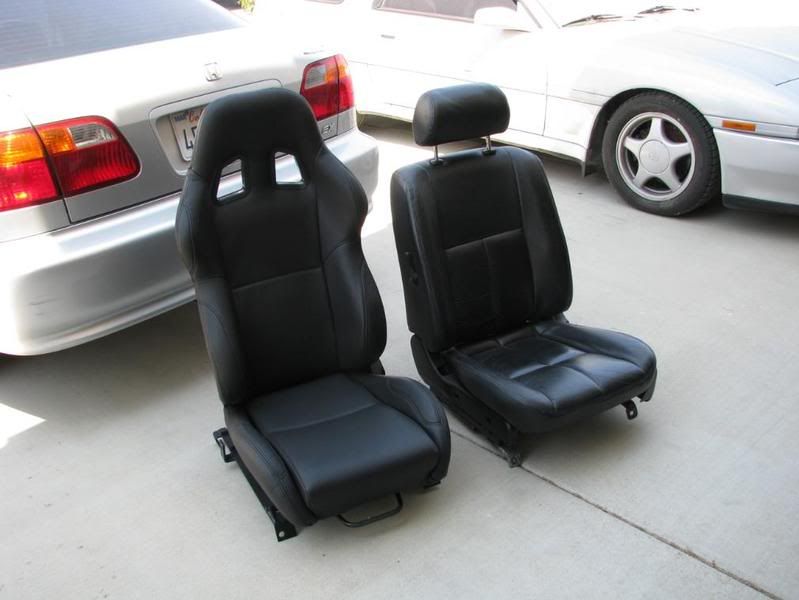
Here’s a comparison pic. outside of the car.
Comparison pic inside the car
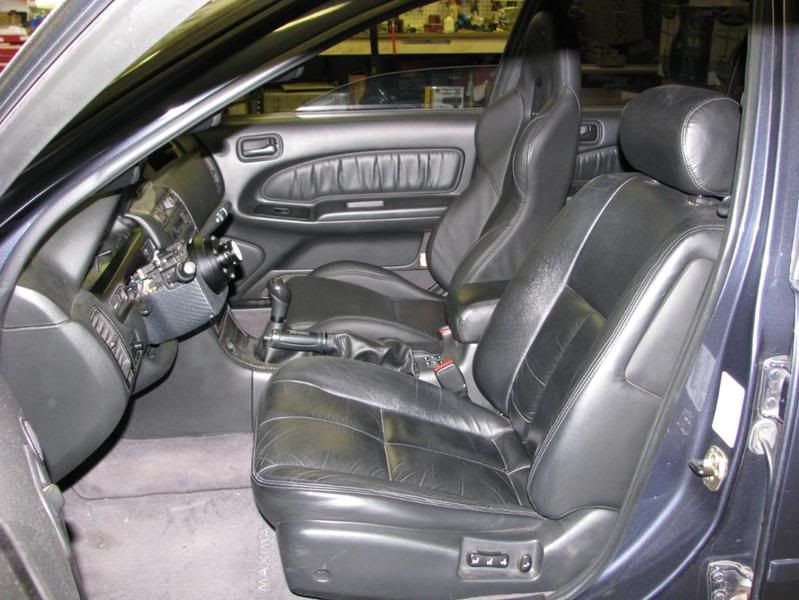
Another angle
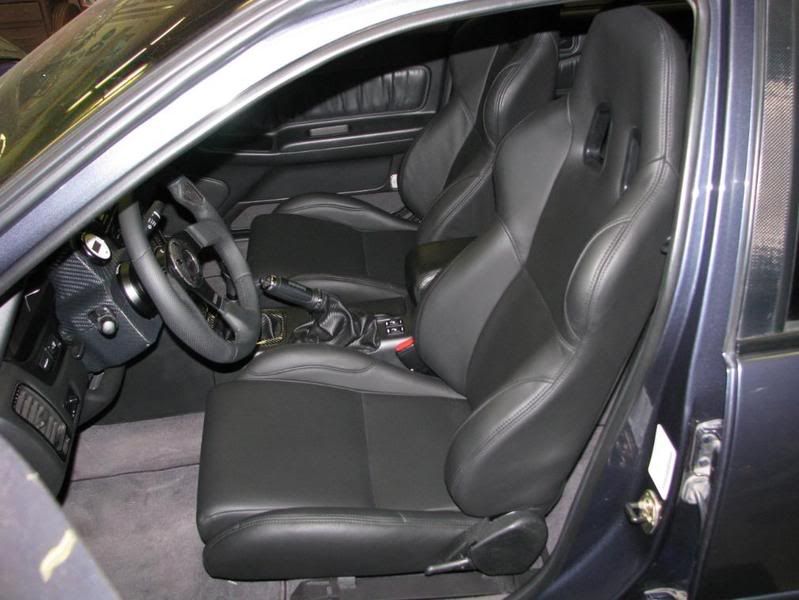
Both seats installed