Order Link: https://www.courtesyparts.com/oem-parts/nissan-positive-cable-2411044u00
Part Number: Positive Cable – Nissan (24110-44U00)




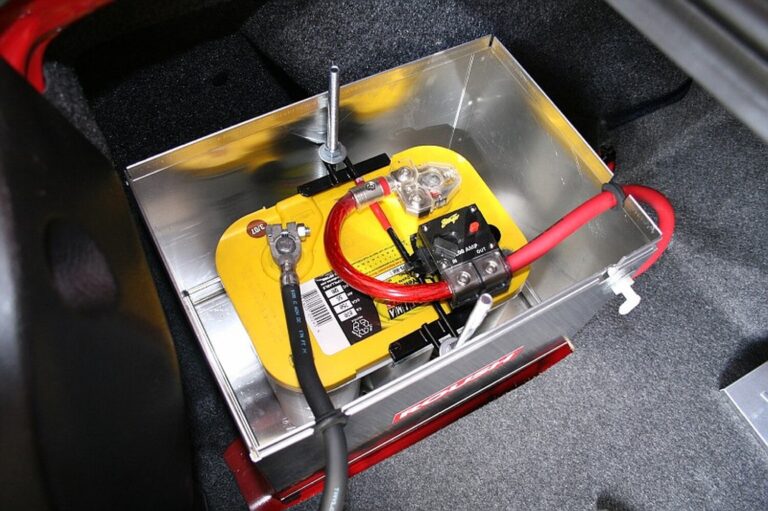
Order Link: https://www.courtesyparts.com/oem-parts/nissan-positive-cable-2411044u00
Part Number: Positive Cable – Nissan (24110-44U00)
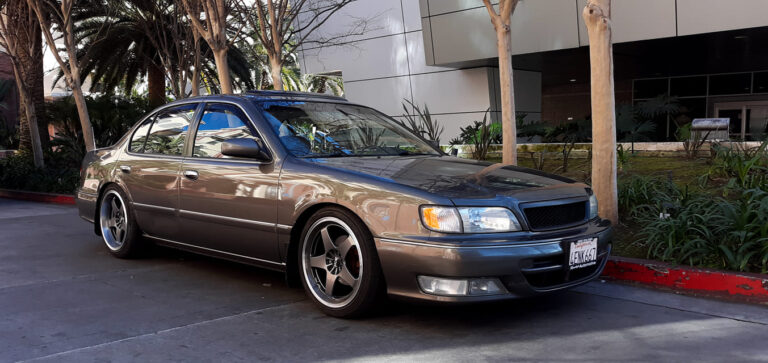
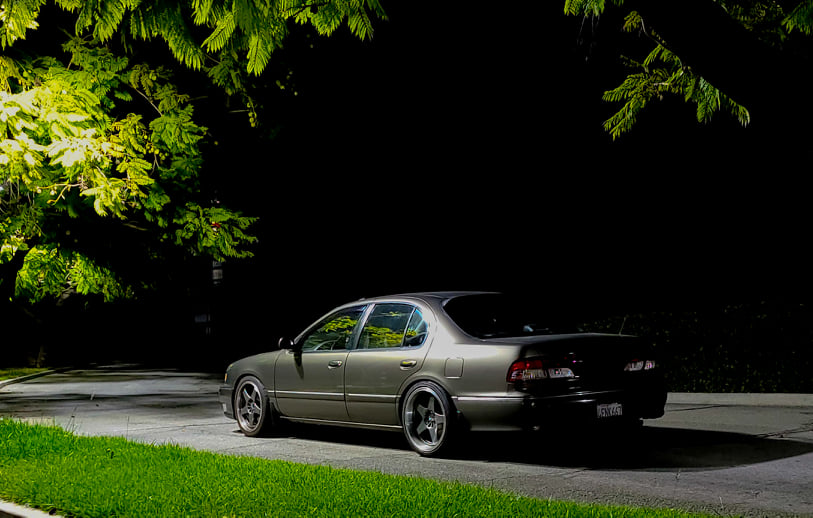
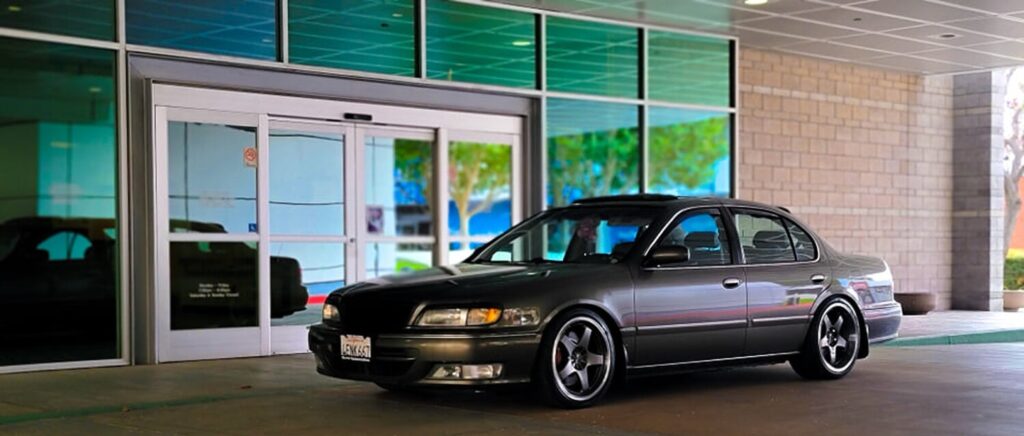
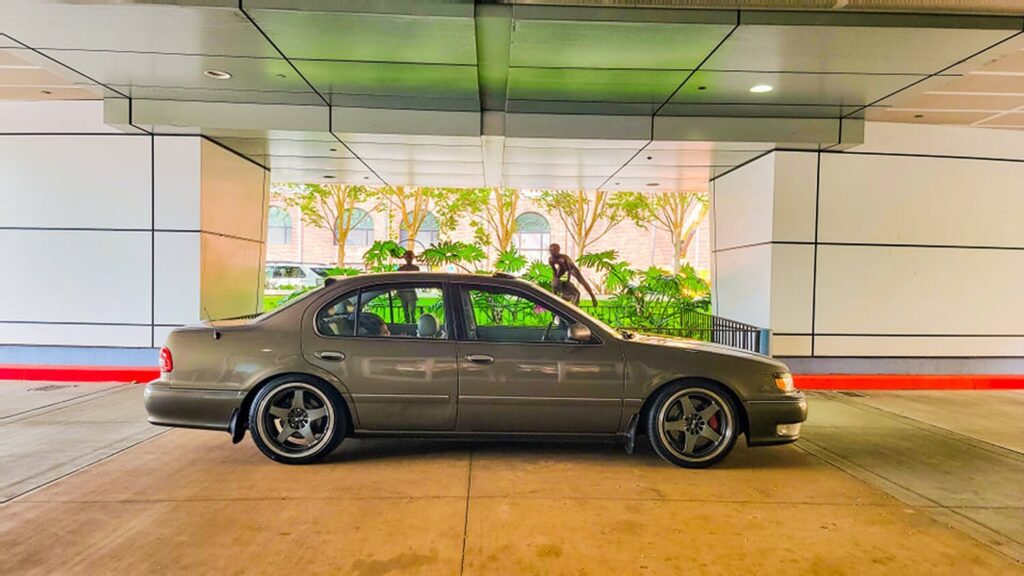
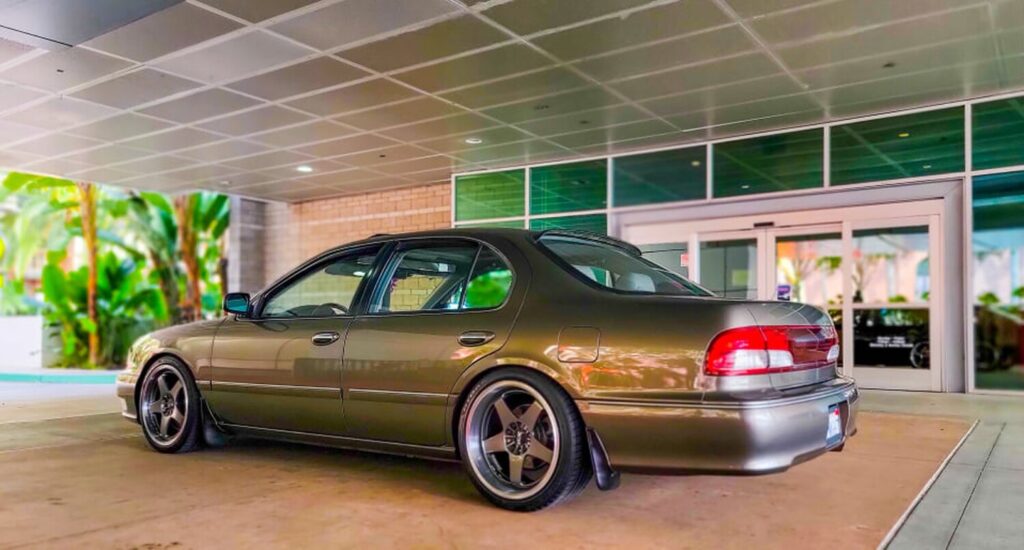
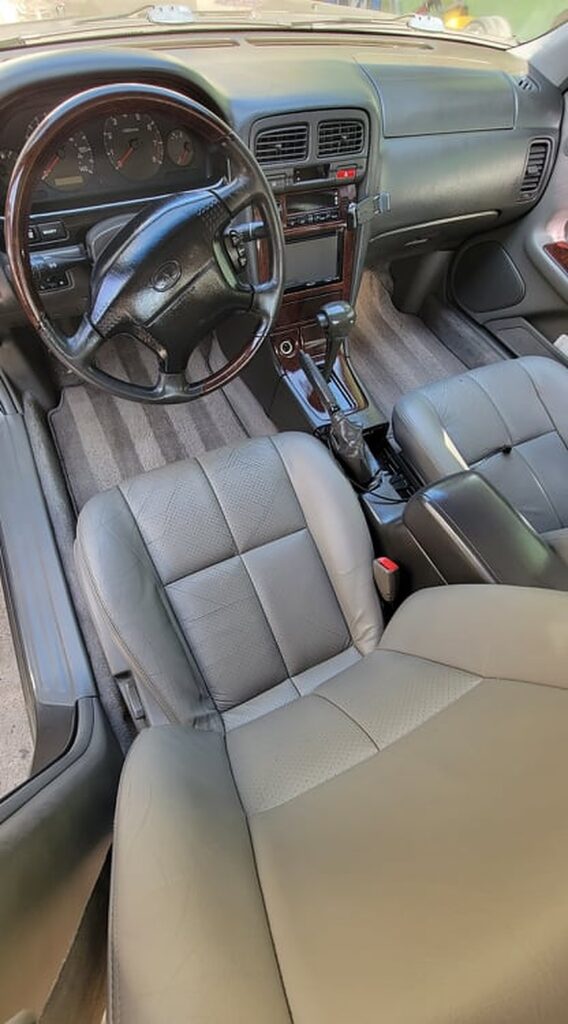
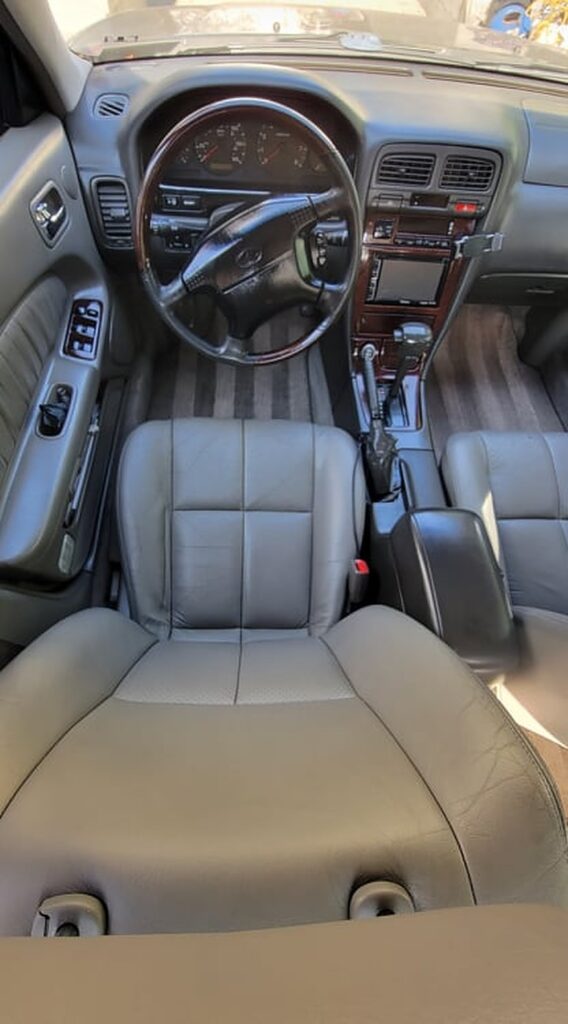
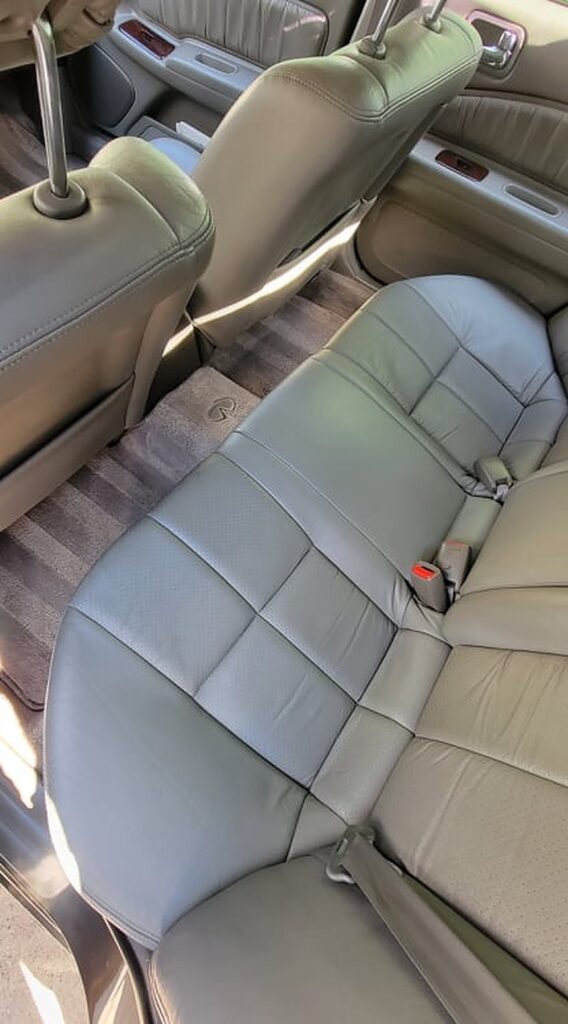
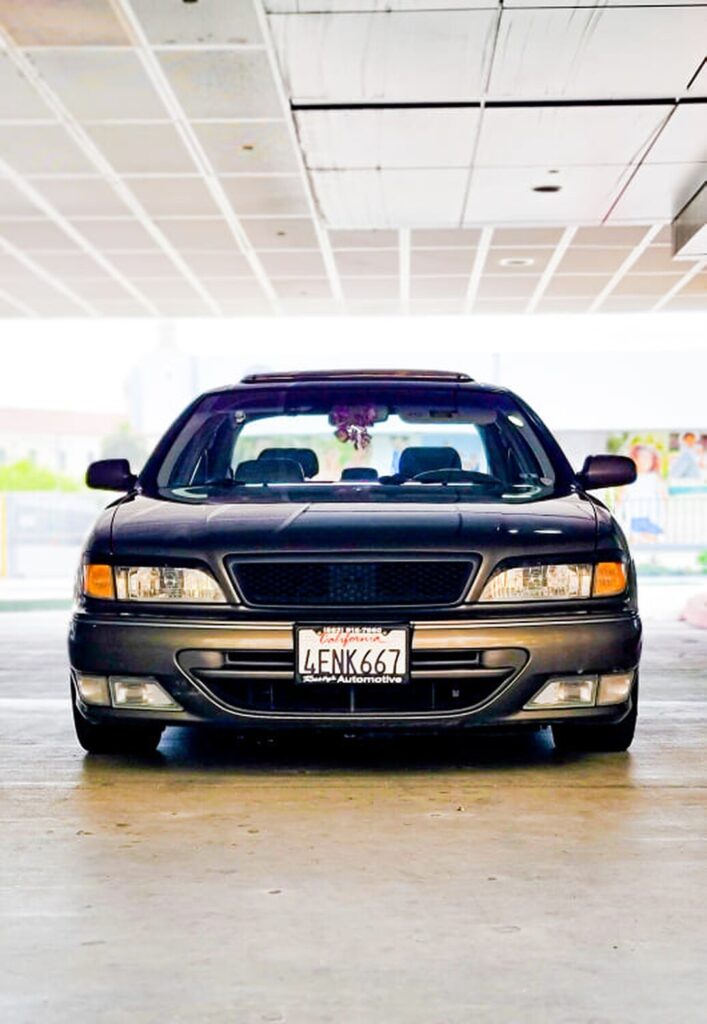
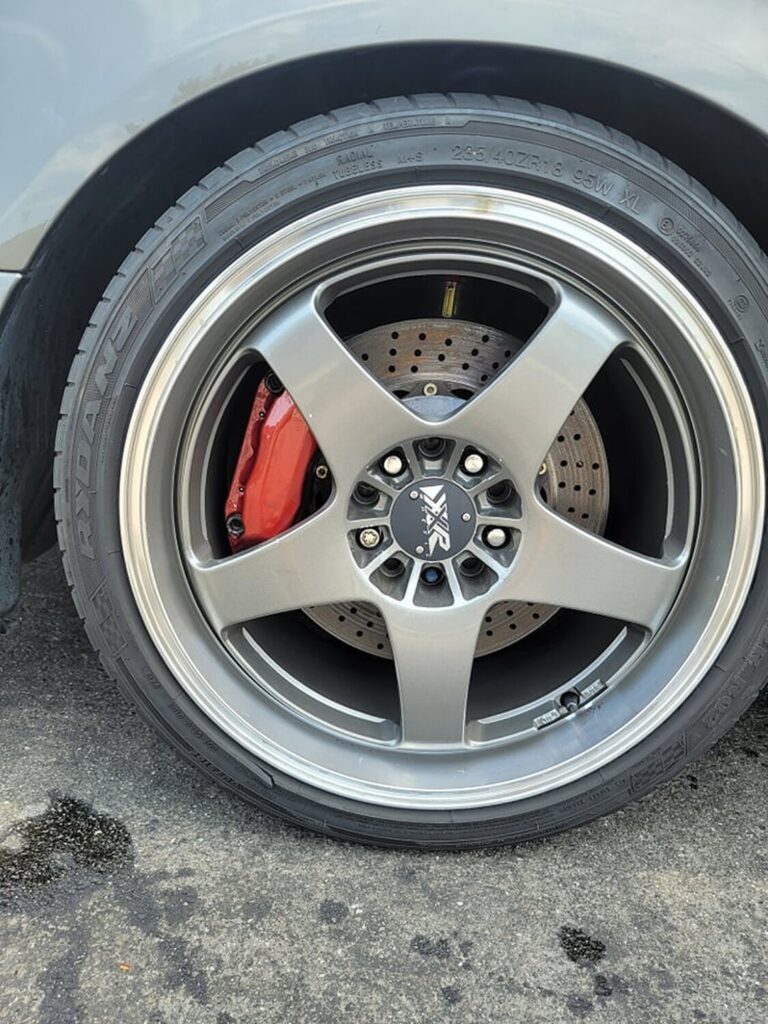
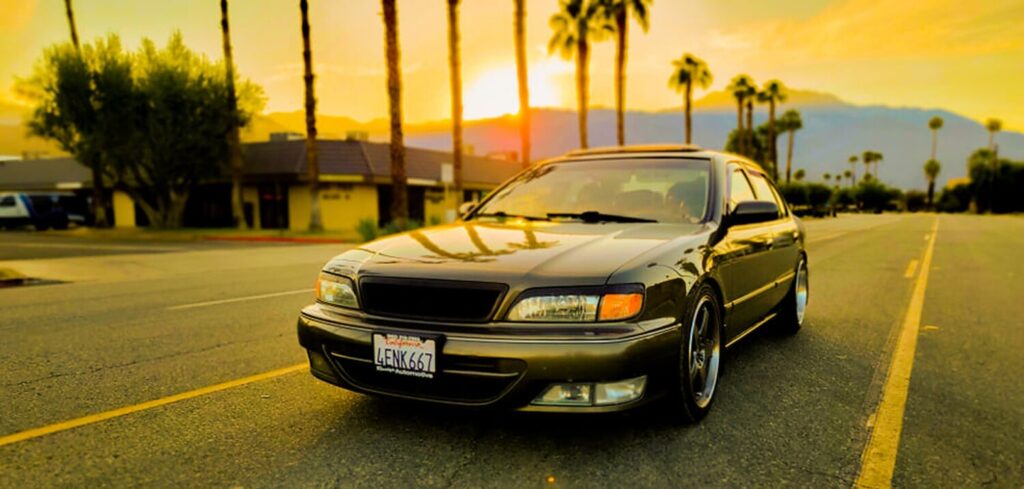
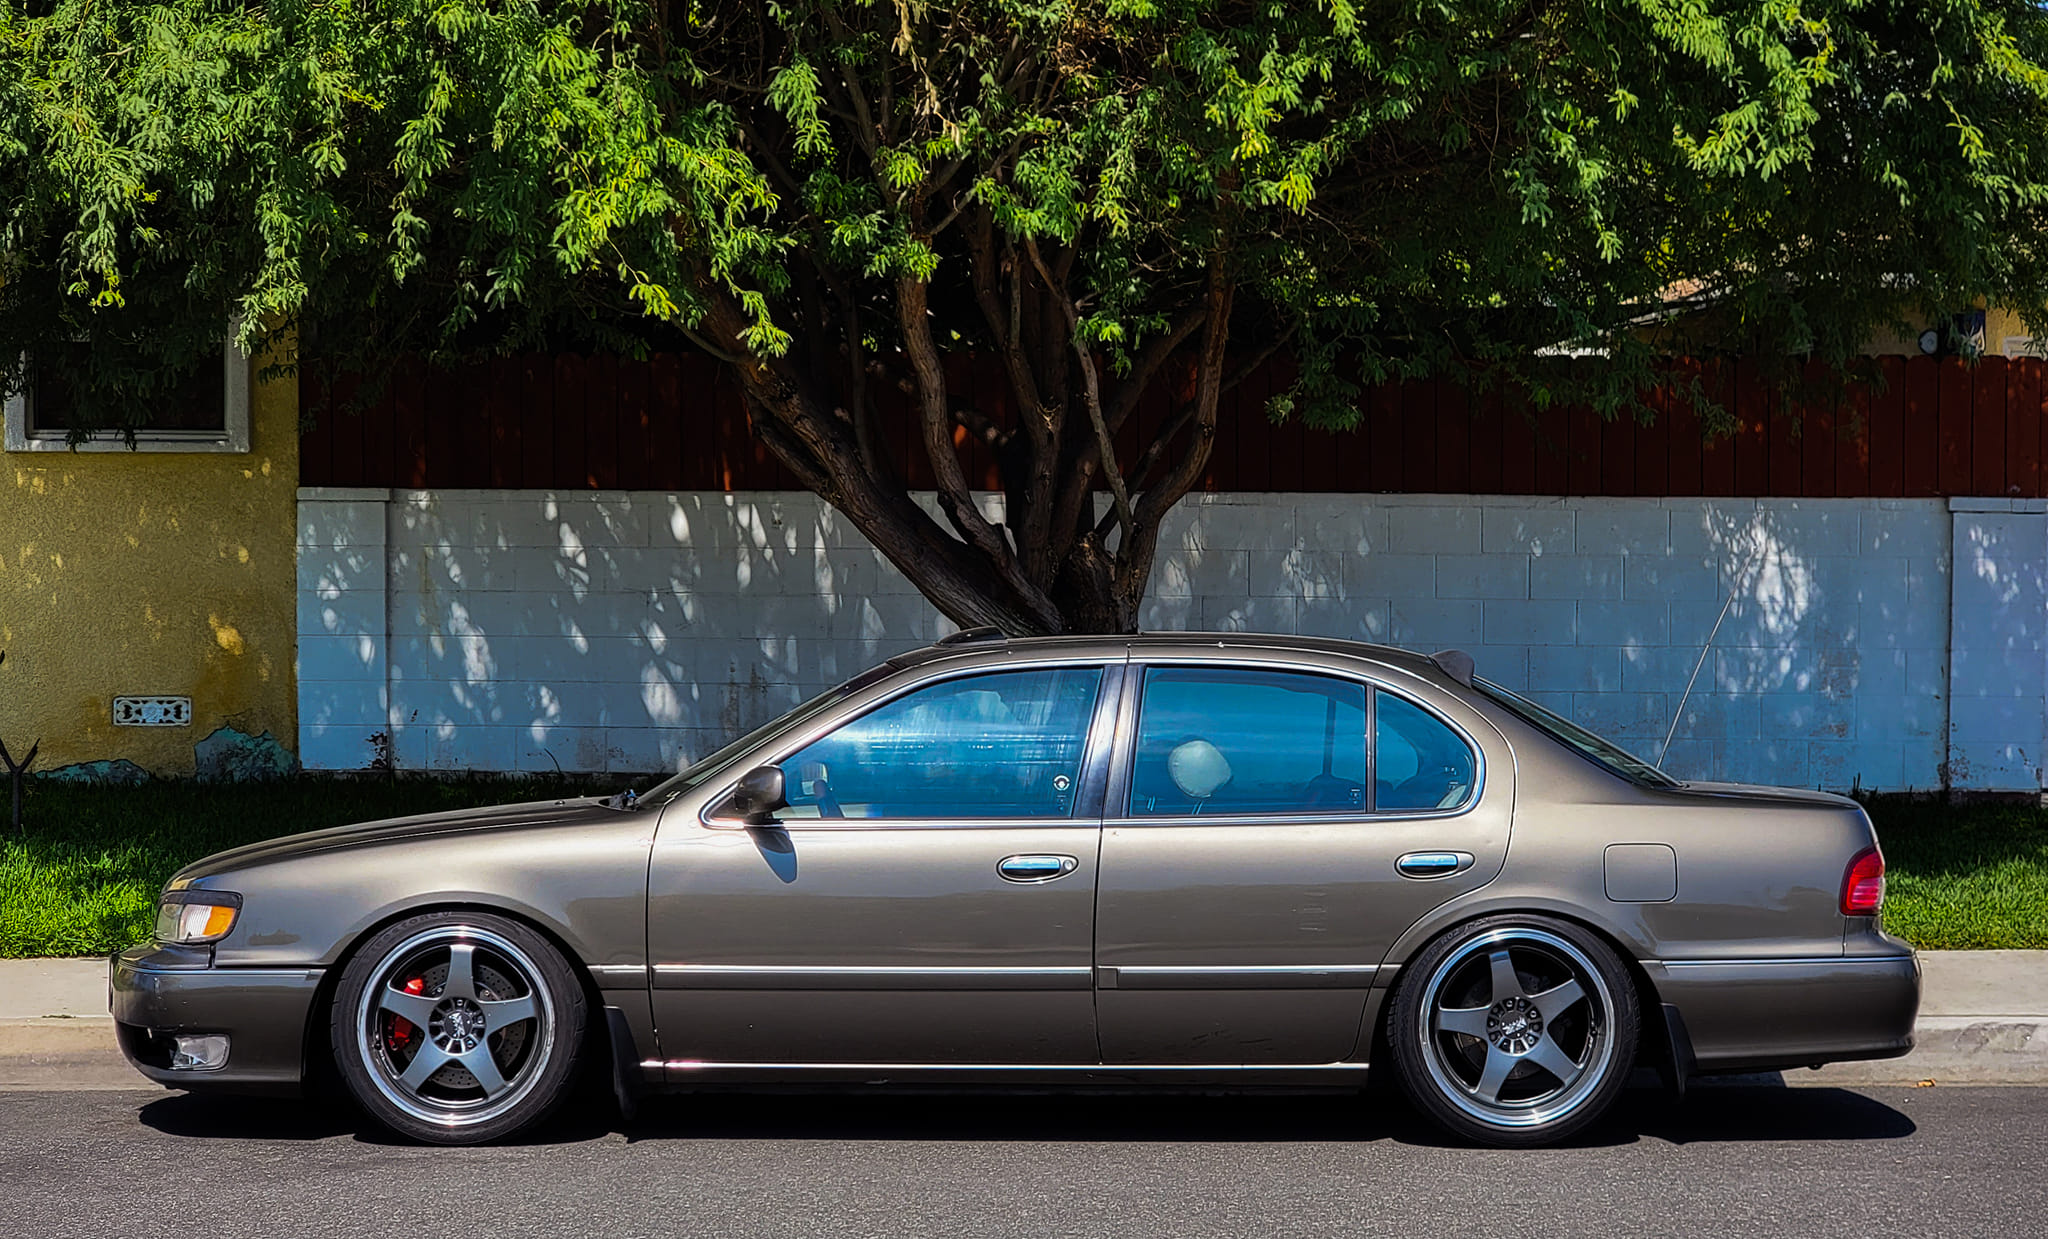
Owner: Carlos Armijo
Year: 1998
Model: Infiniti i30
Color: ET1 Autumn Bronze Pear
Transmission: 4-Speed Automatic
Trim: Standard
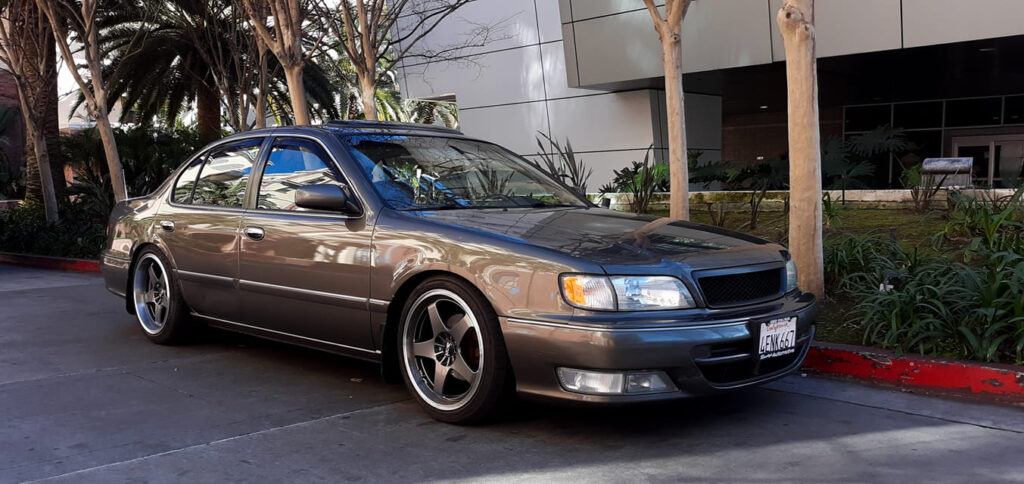
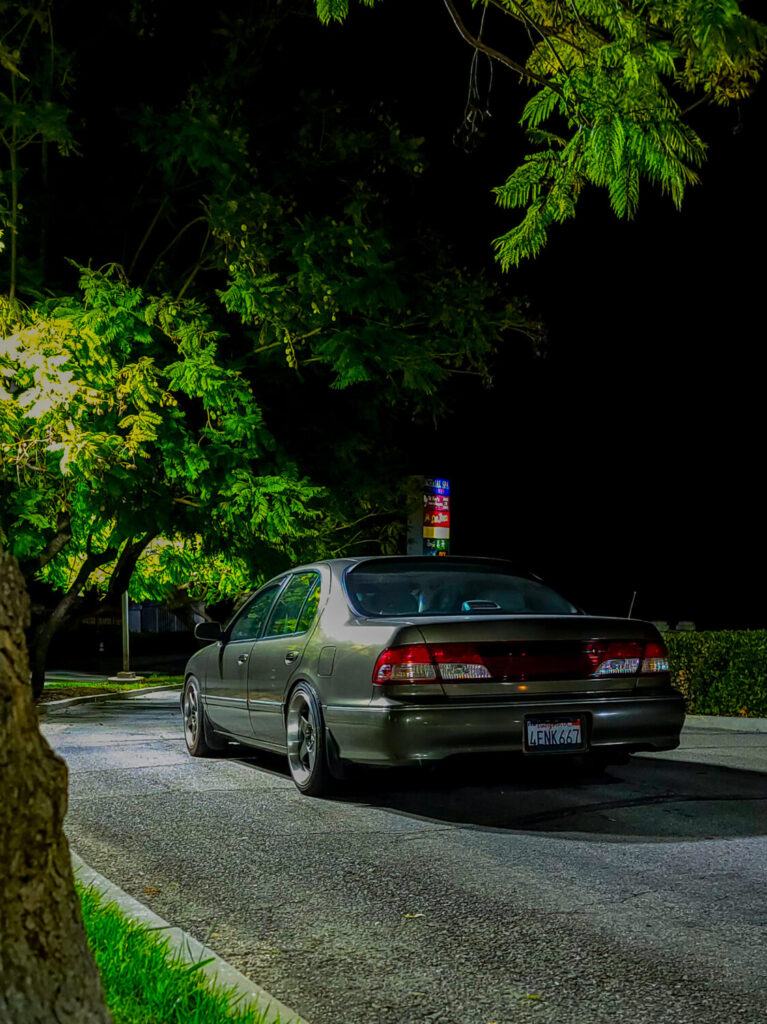


Member Credit: 95naSTA
Original Source Credit: https://maxima.org/forums/4th-generation-maxima-1995-1999/639883-lower-radiator-support-replacement-pics.html
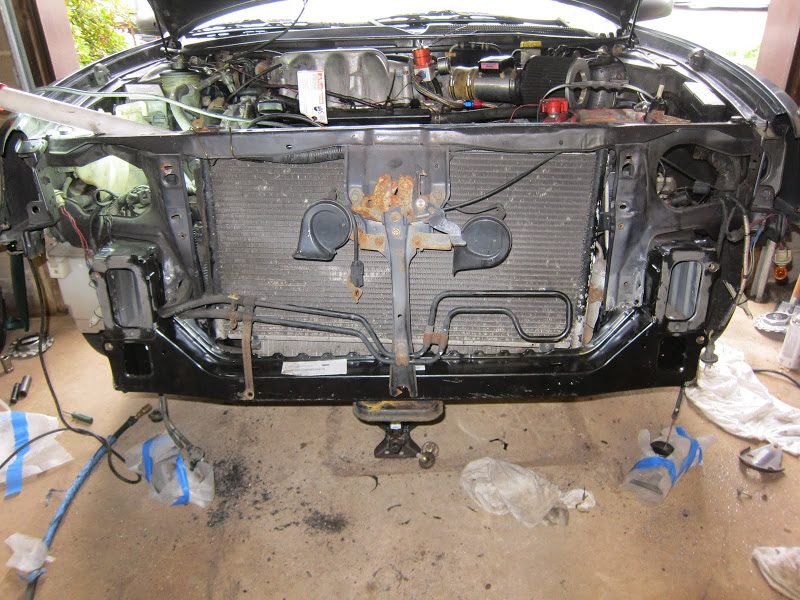
The total time start to finish was 9 hours but my font end was a little mangled. I had to pull out one lower corner, slide hammer and sledge the passenger unibody rail, unkink the drivers side upper rad and unibody rail, and a few other things to get the new part to fit. Ignore the miss alignments. They’re more of an upper rad, fog bucket and bumper support.
Other new parts: bumper support, support brackets, hood struts, and cross member bolts.

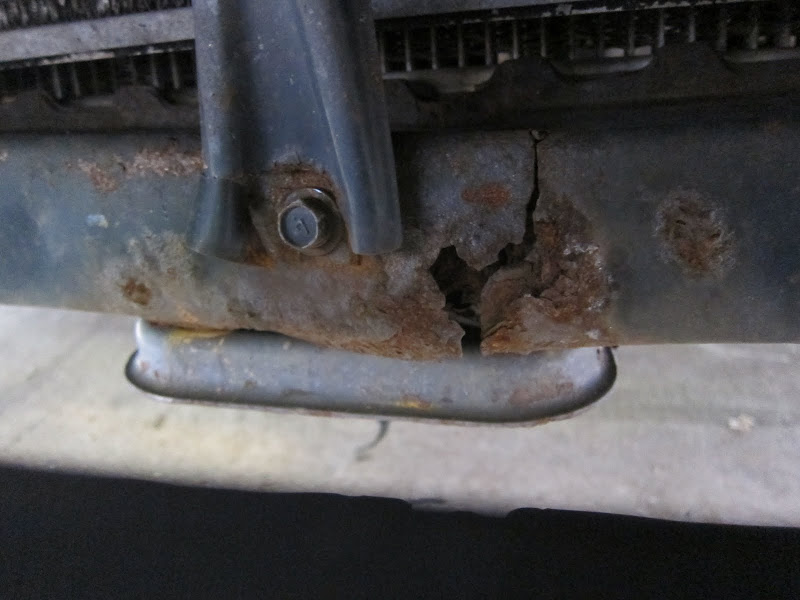
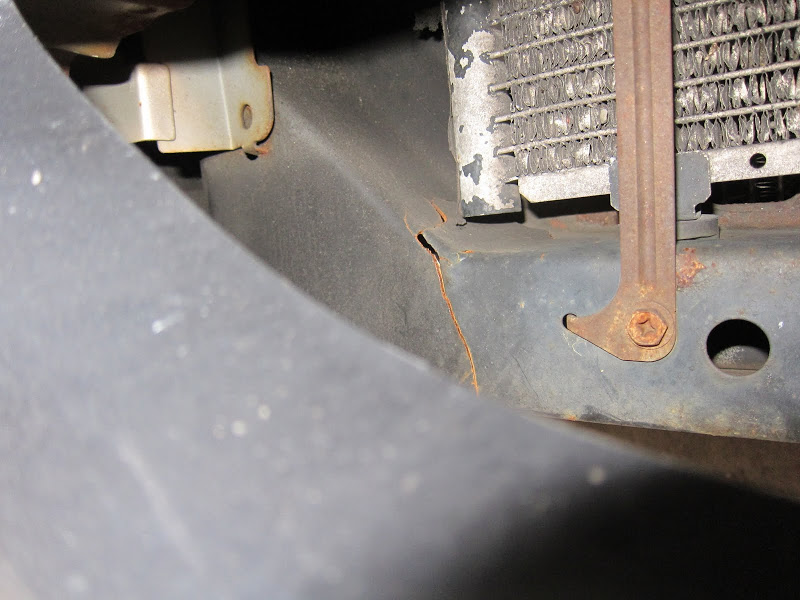

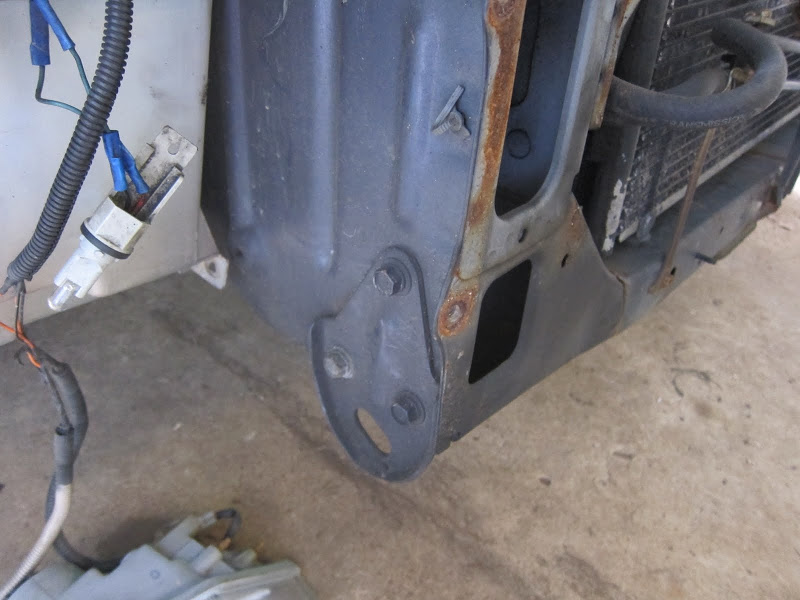


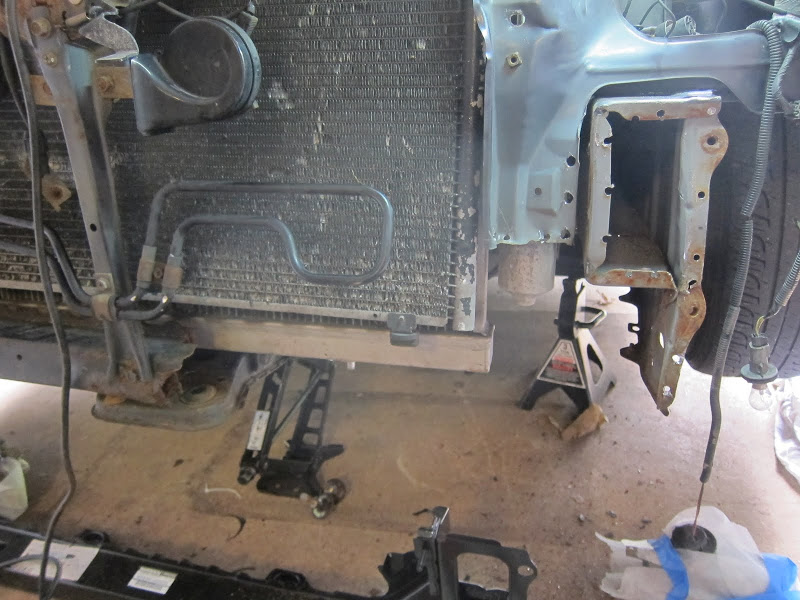

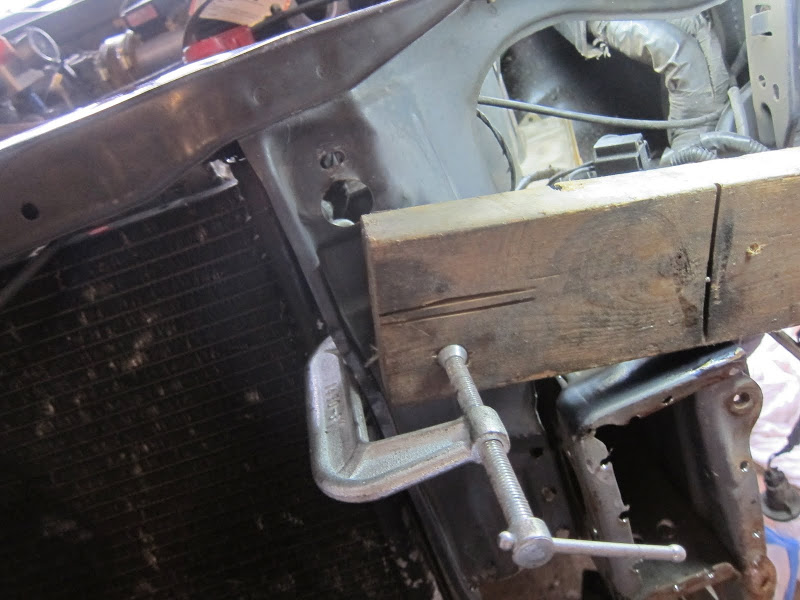
I welded it in either from the back through the holes drilled in the unibody during dismantling or I drilled new holes through the new support to weld it to the unibody. I wouldn’t suggest just bolting it in.
I lined everything up, bolted it in with the tow hooks, spot welded, then took the hooks off to do the last few spot welds on the bottom from the rear. There are 6 spot welds per side that are in the unibody rail and a pita to drill out. I used a die grinder with a long shanked carbide burr to burn through those. This pic shows the 6 inside:


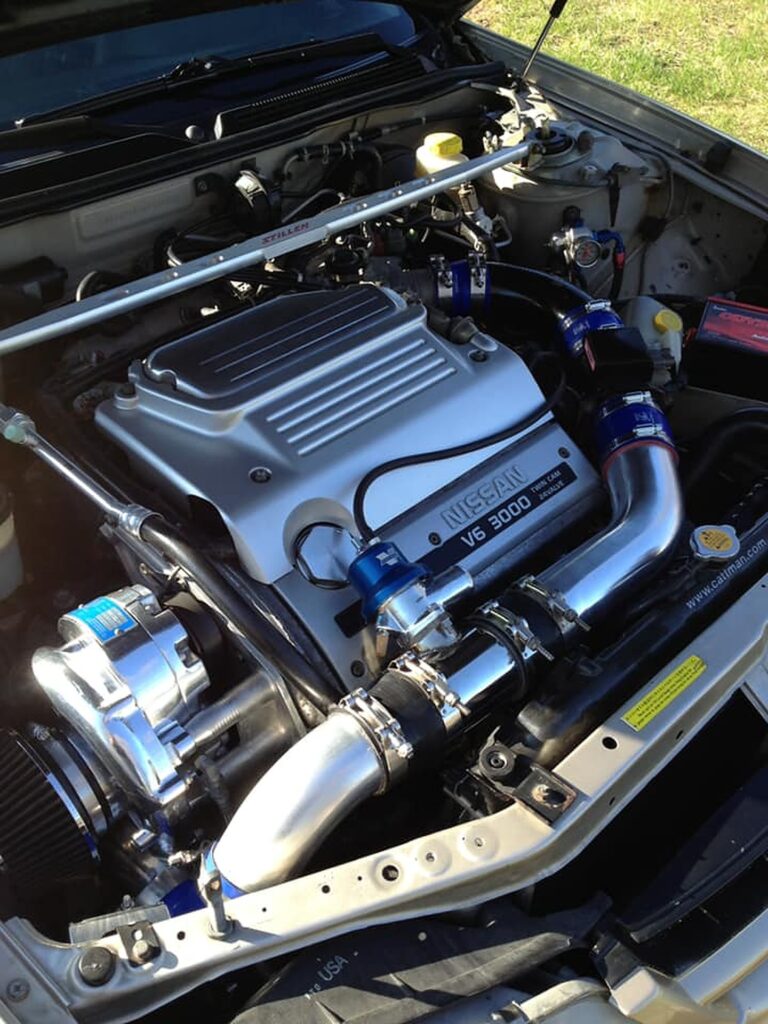
Owner: Stillen Maxima
Year: 1998
Model: Maxima
Color: Tan
Engine: VQ30DE
Transmission: 5-Speed Manual
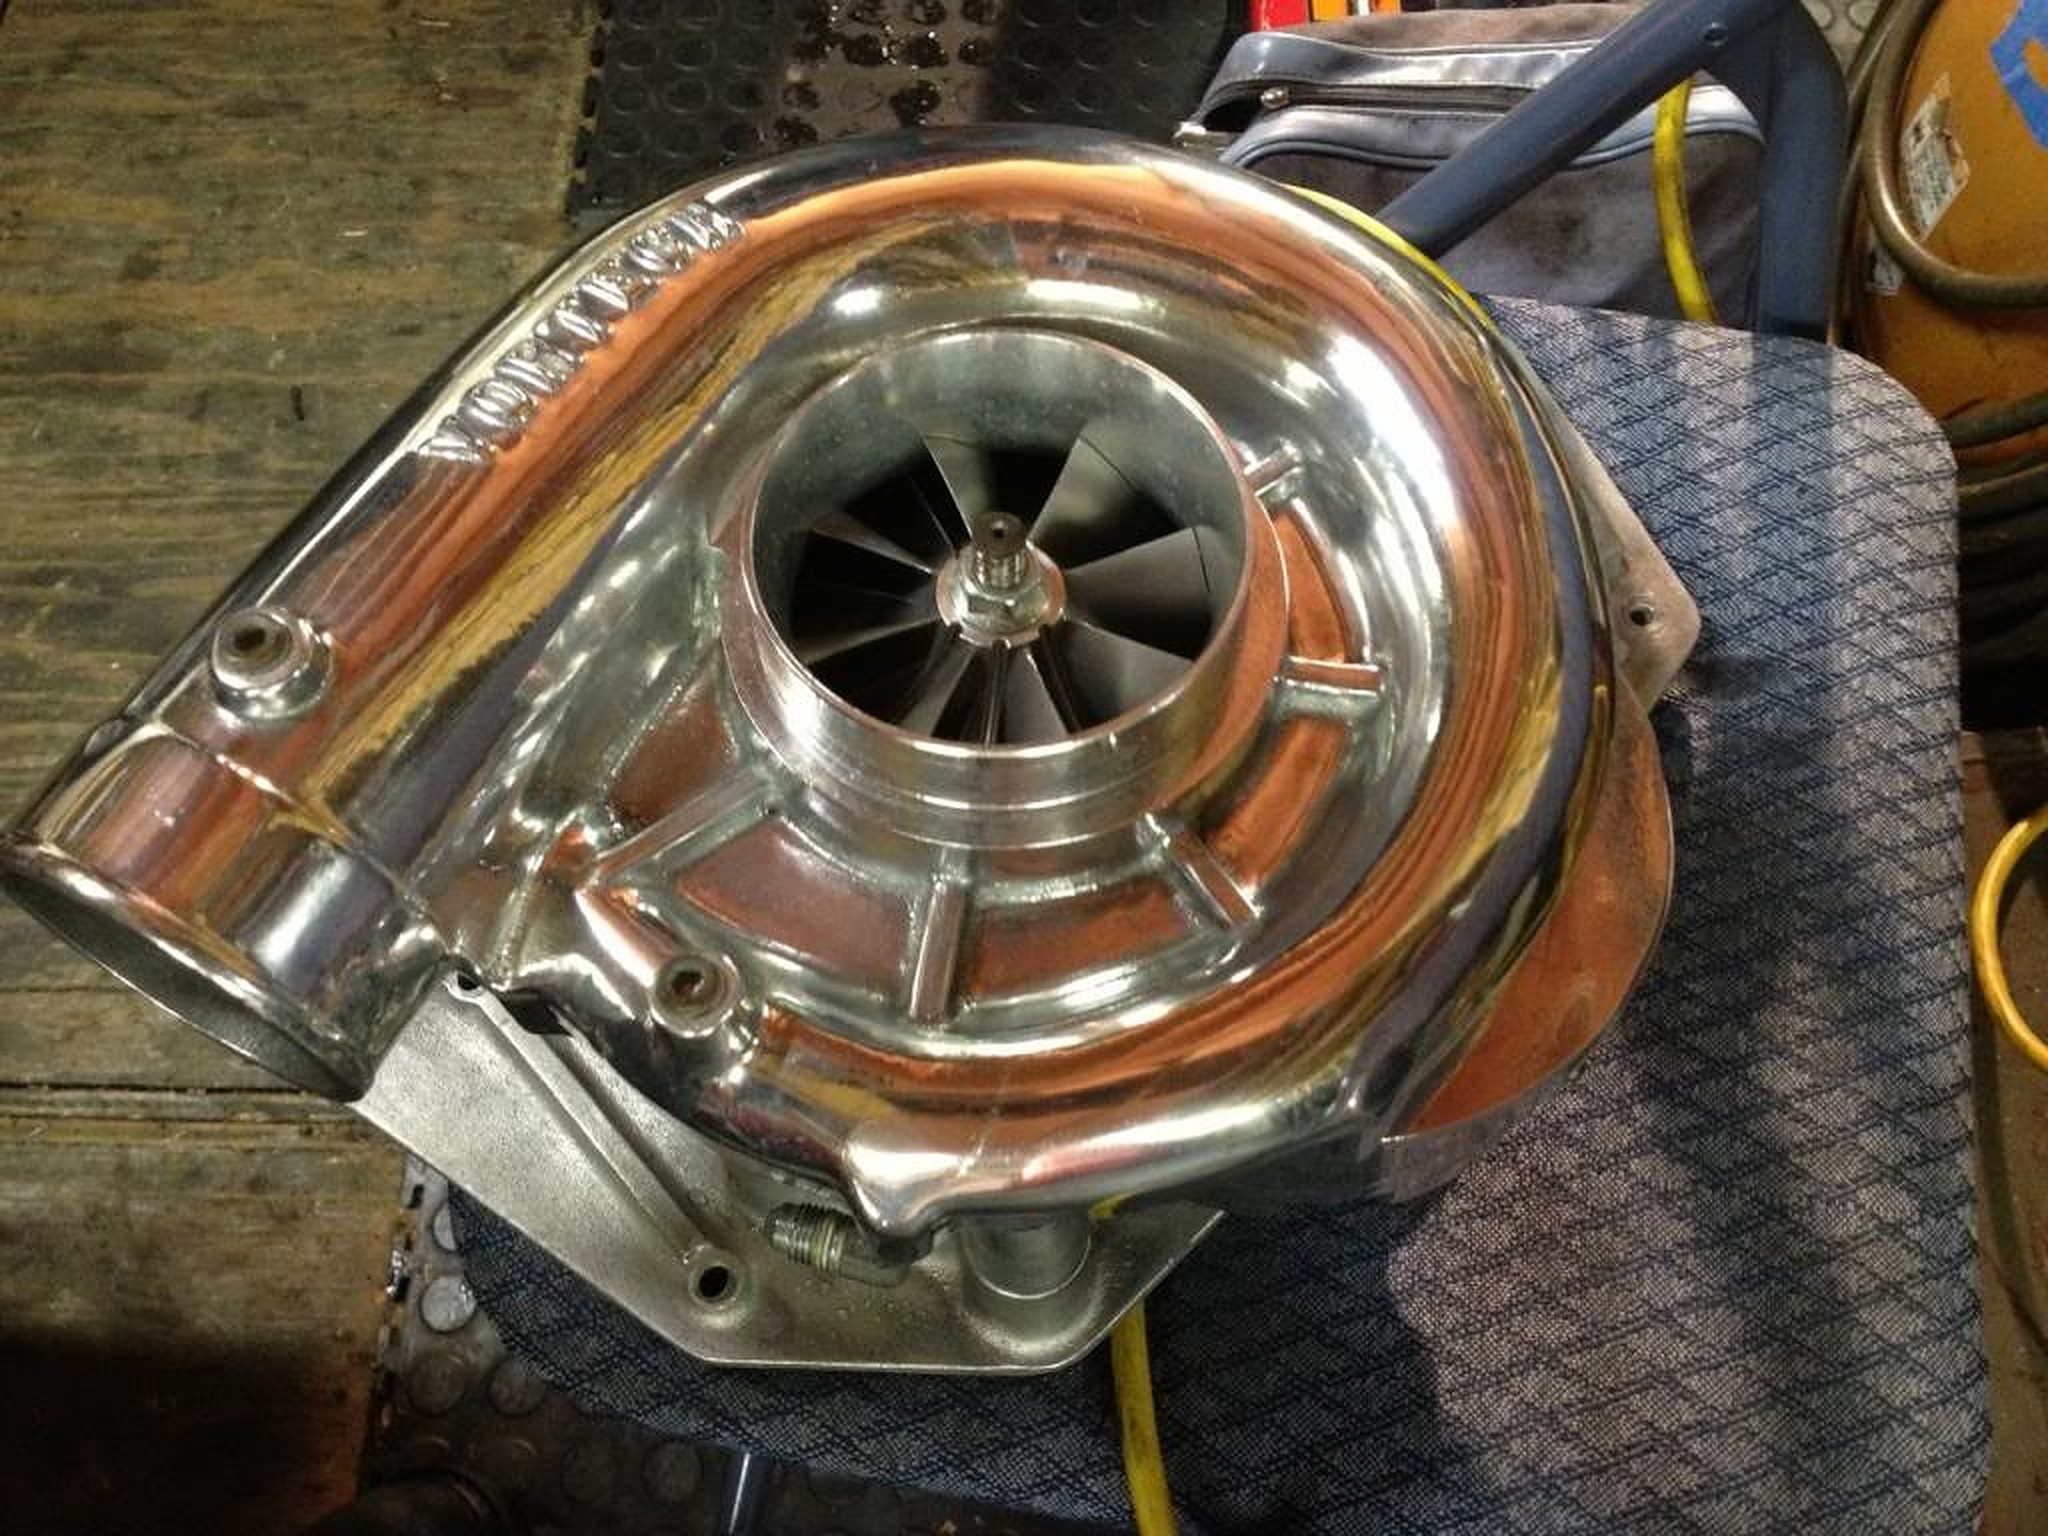


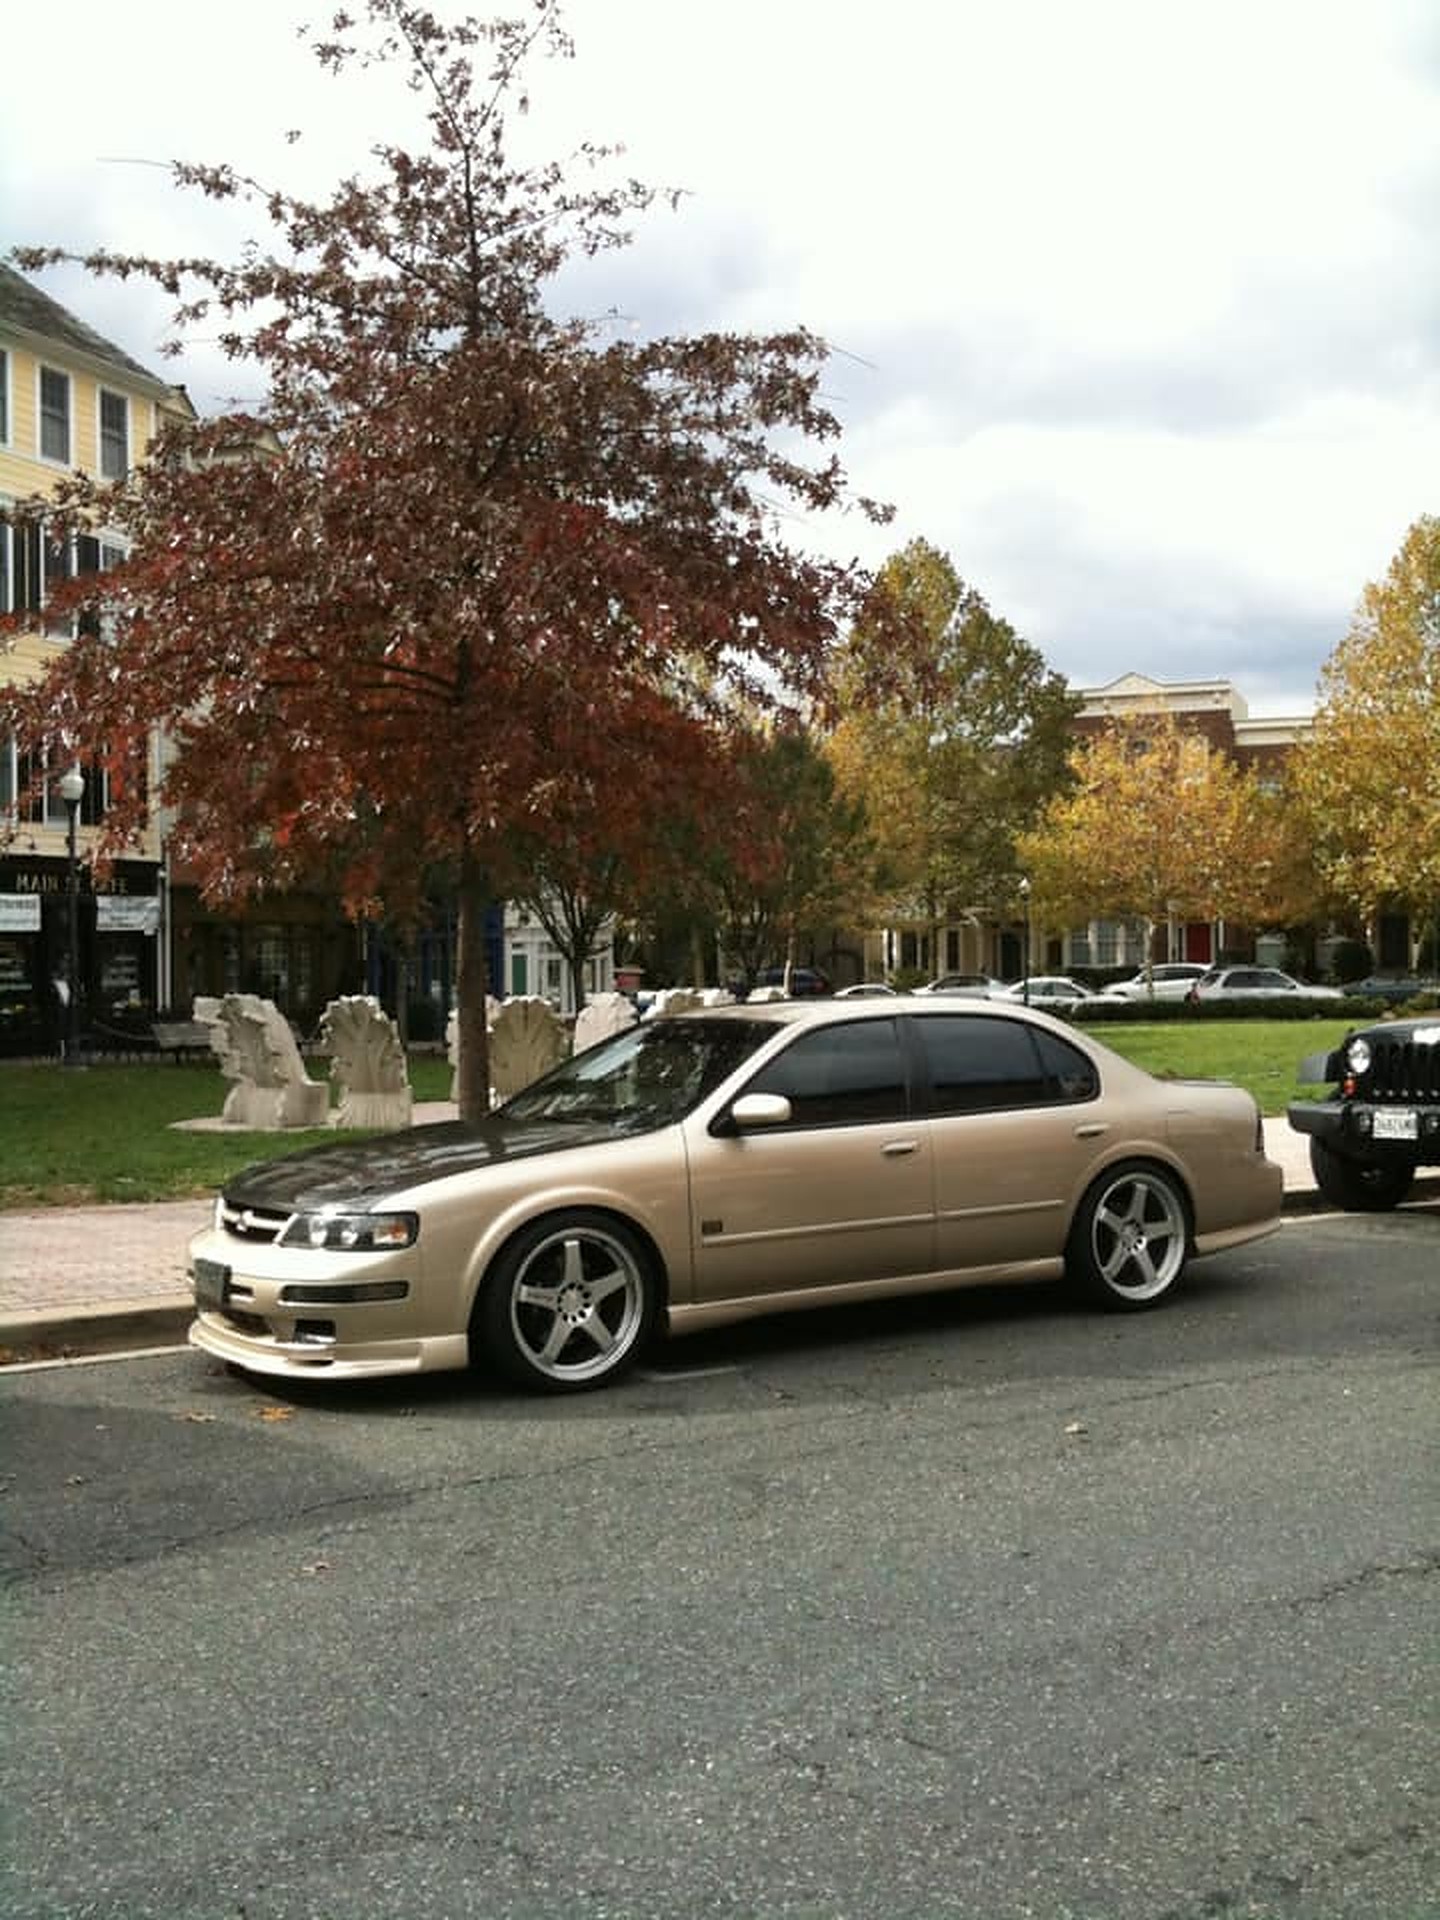
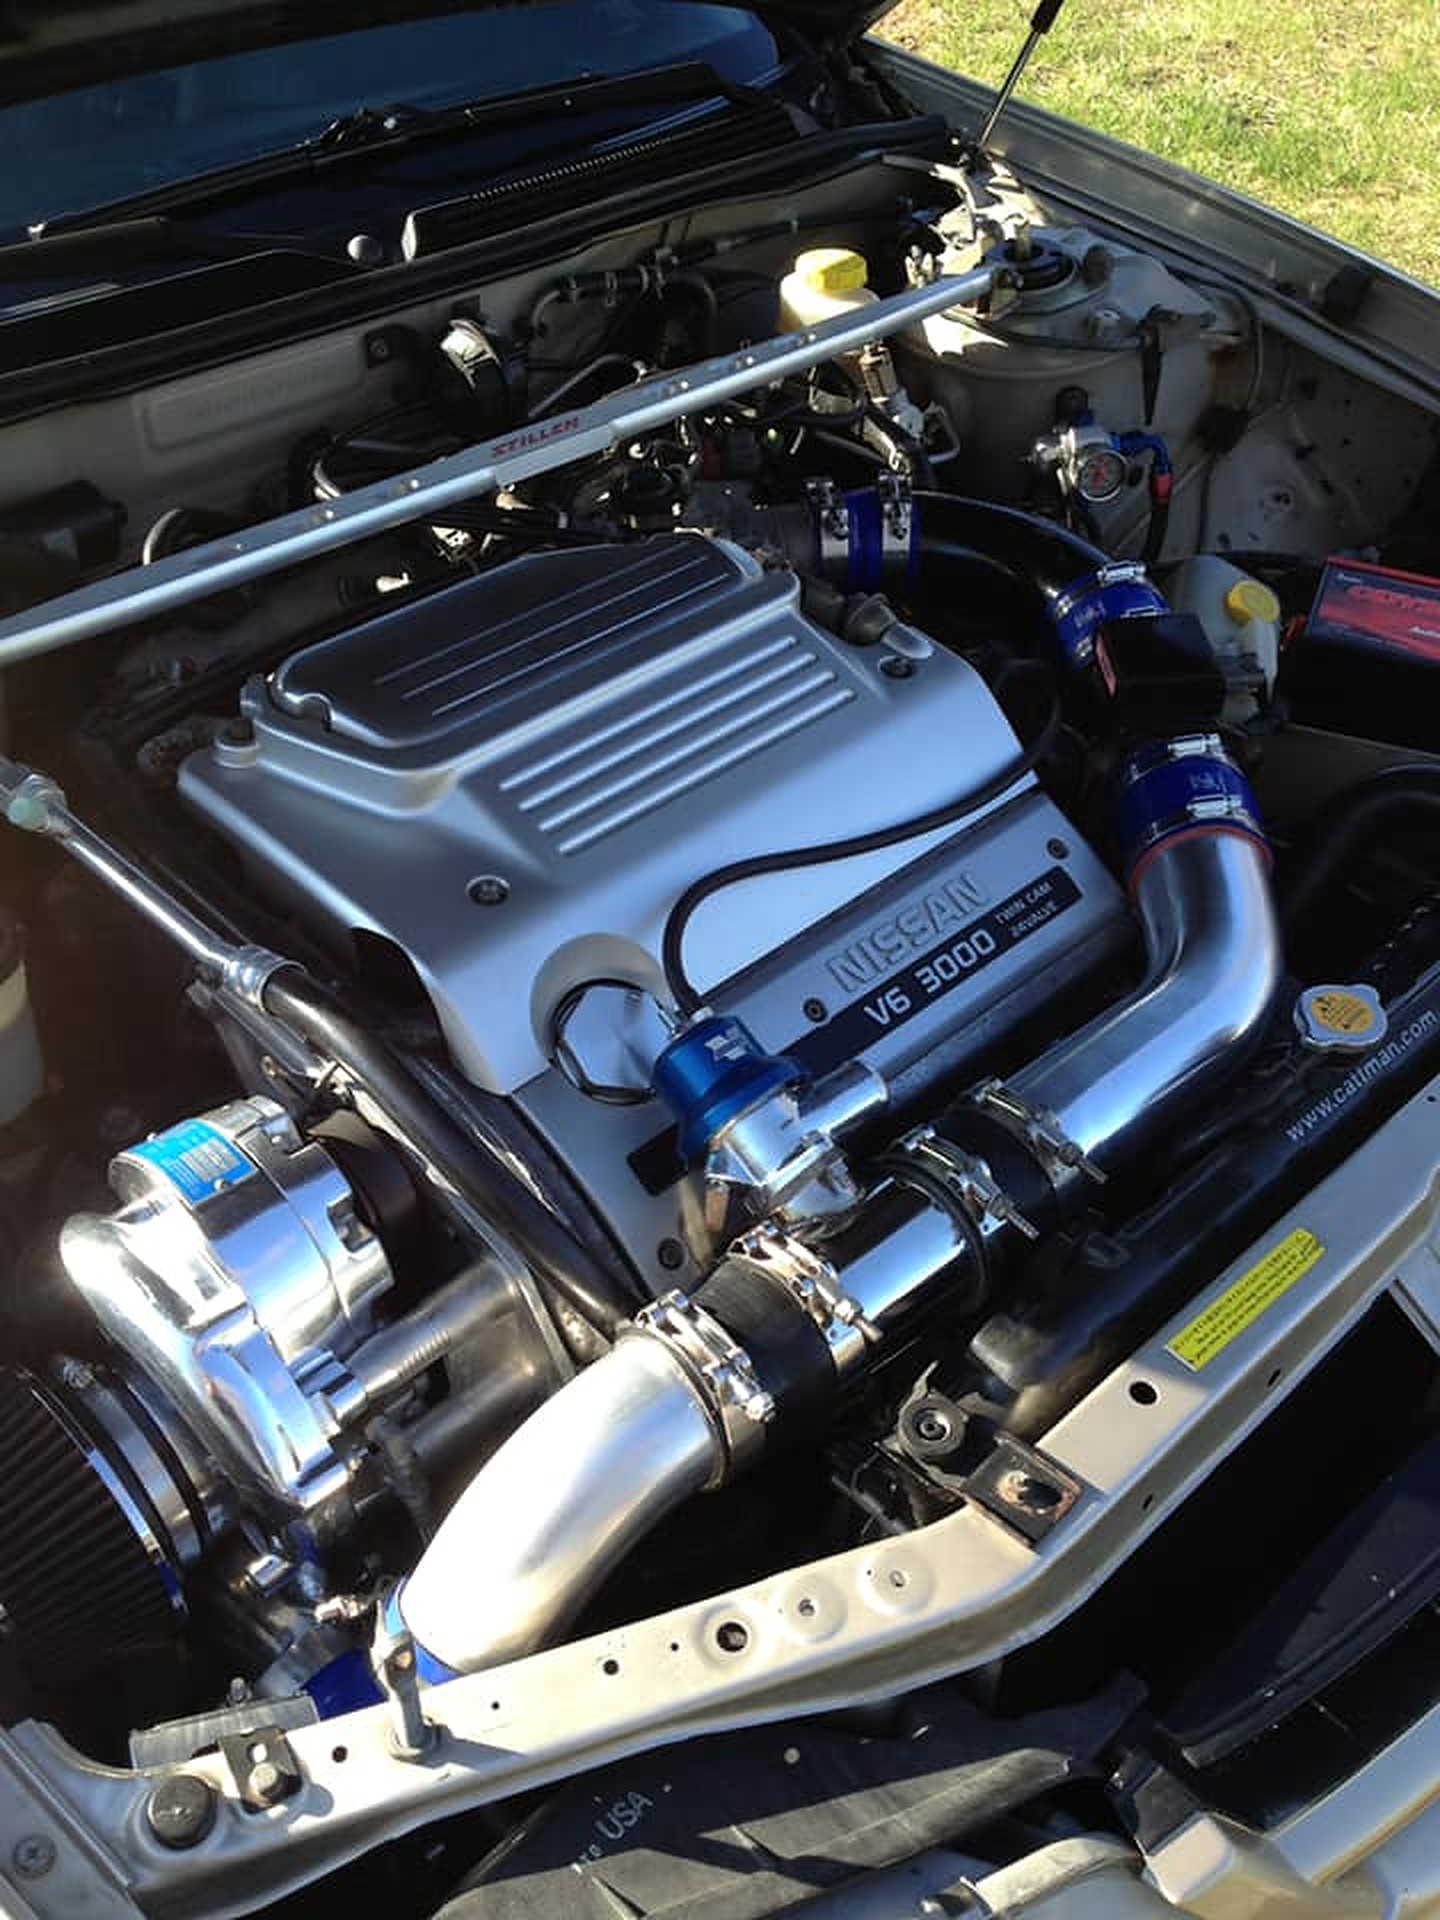

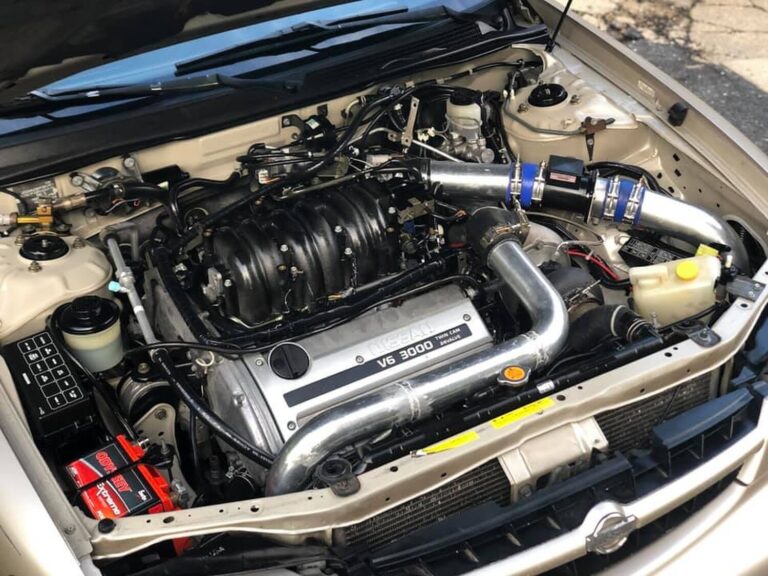
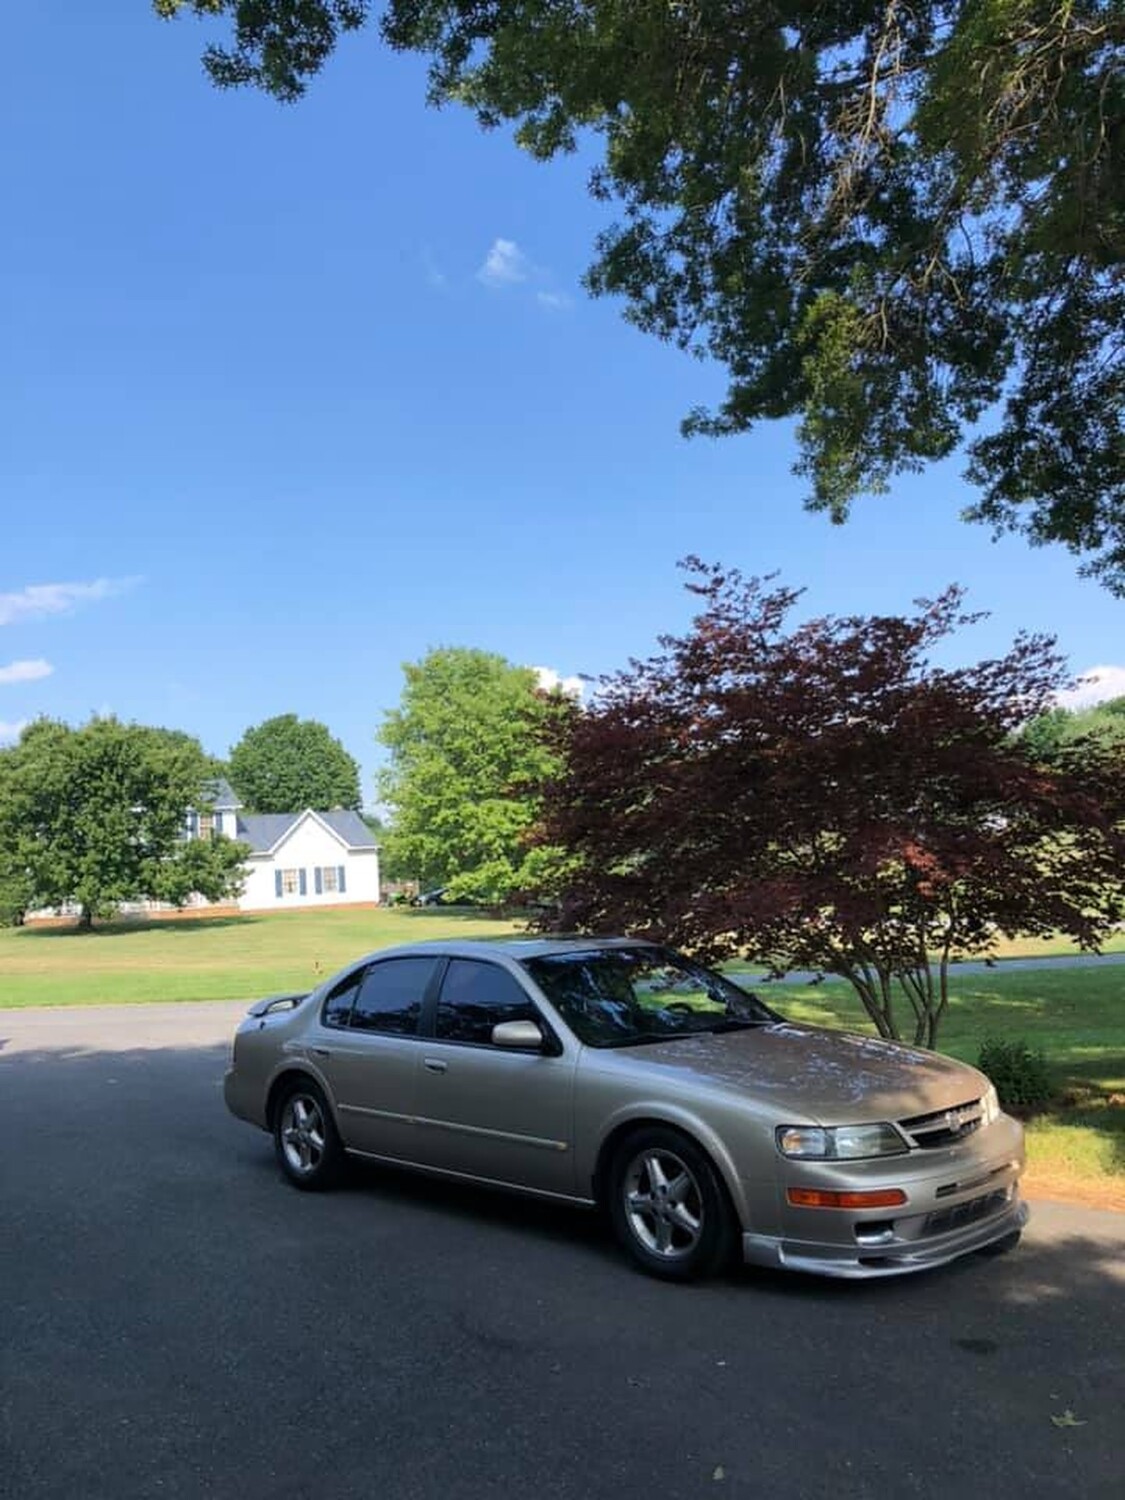
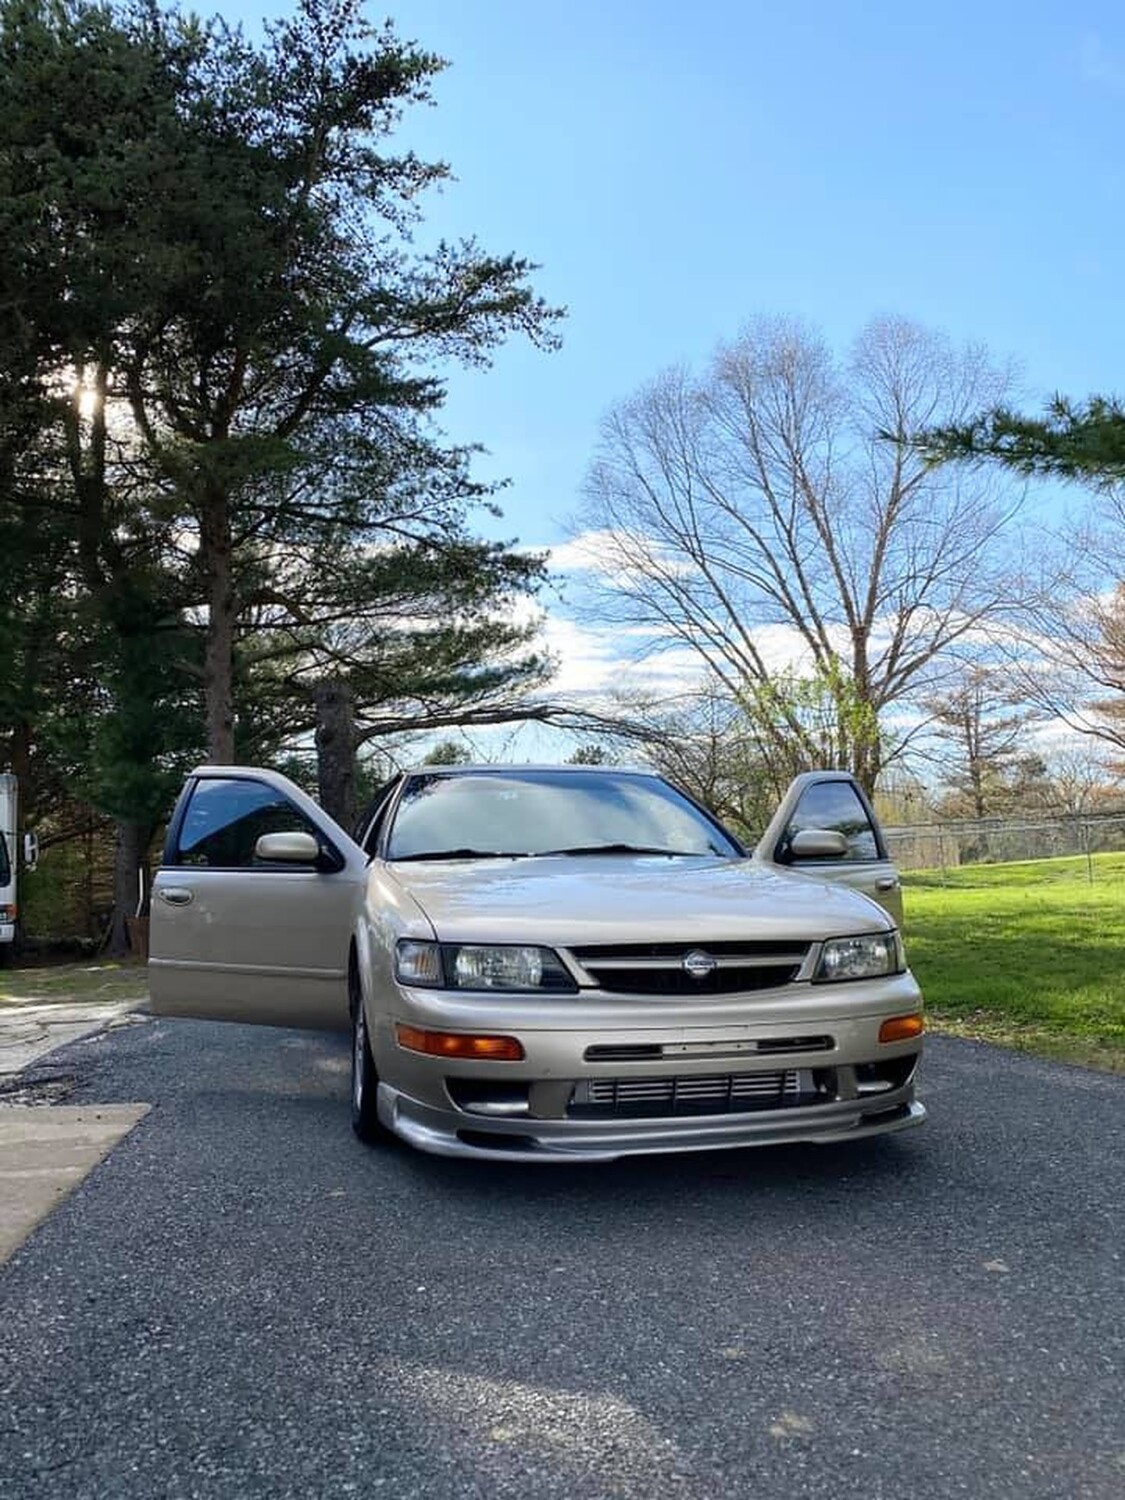
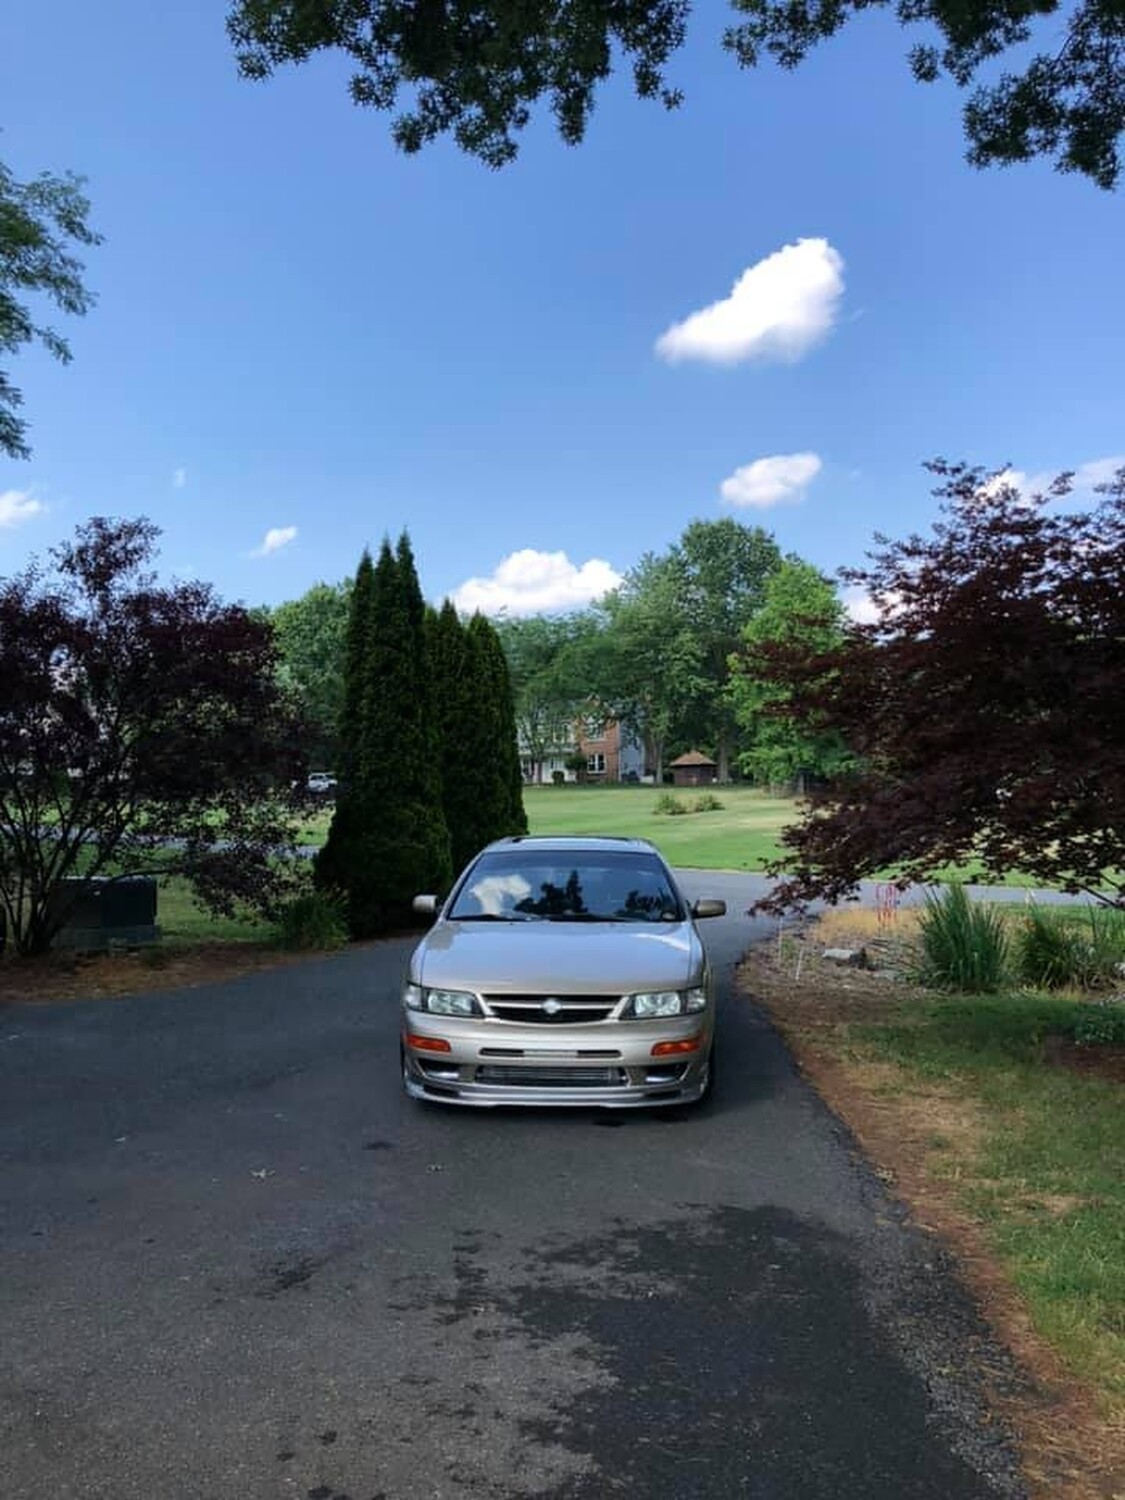
Owner: Stillen Maxima
Year: 1997
Model: Maxima
Color: Tan
Engine: VQ30DE
Transmission: 5-Speed Manual

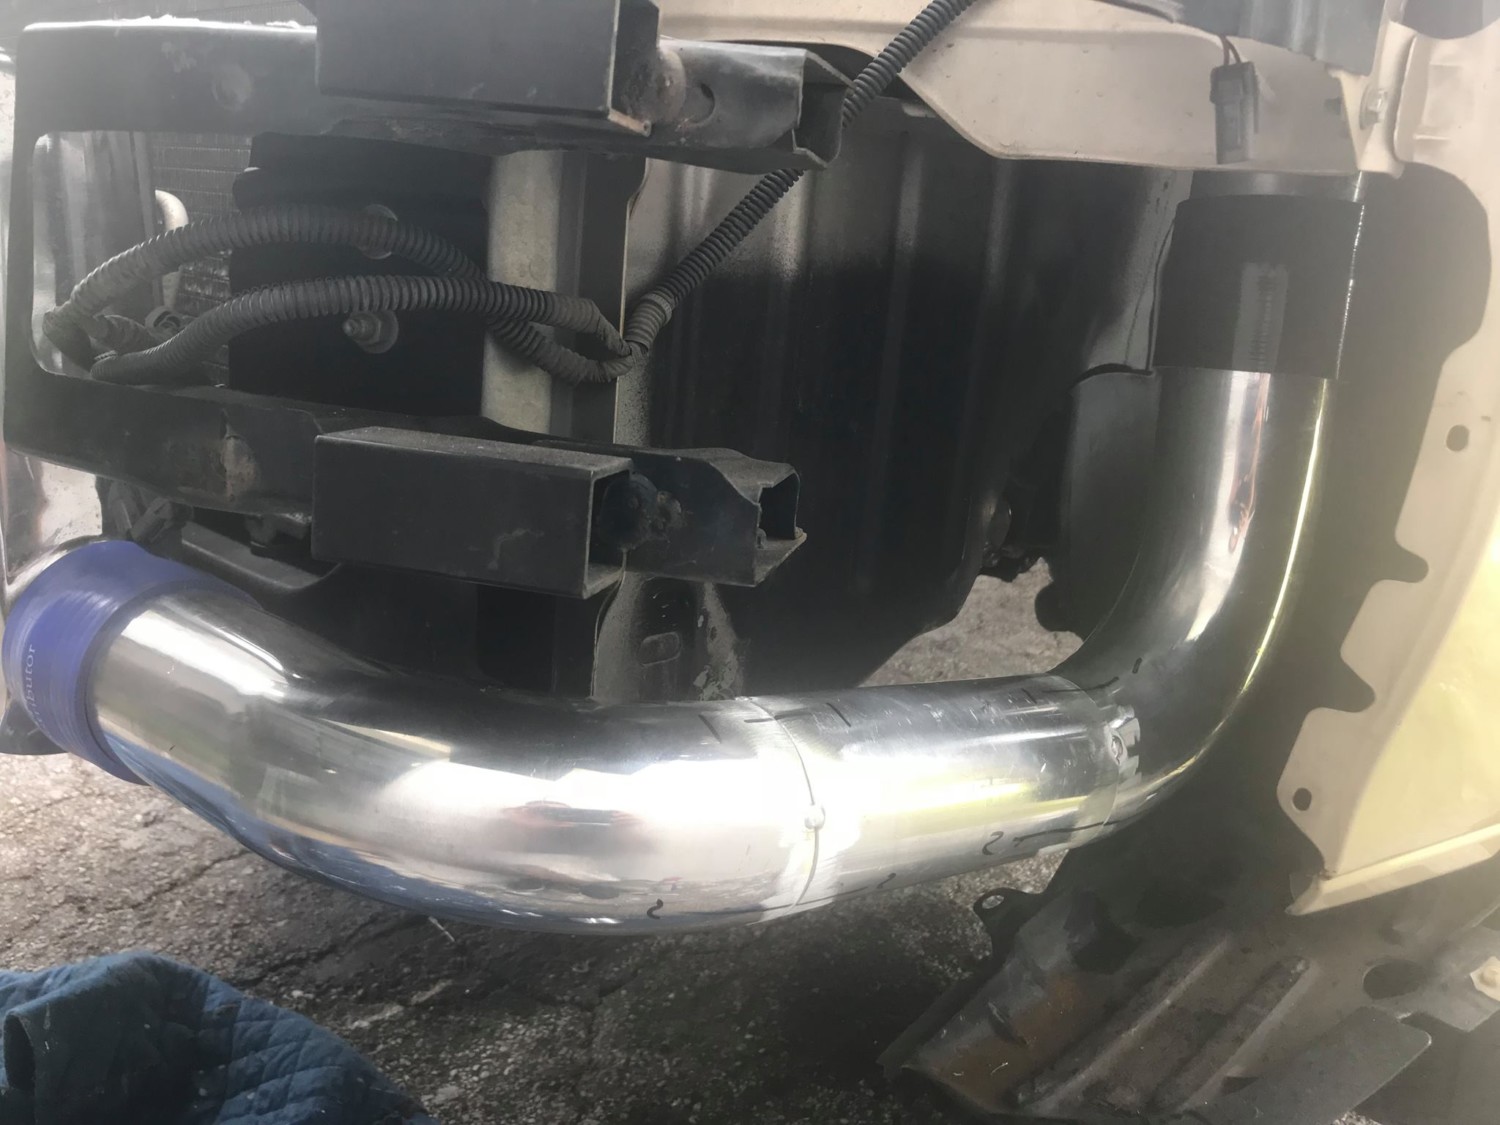

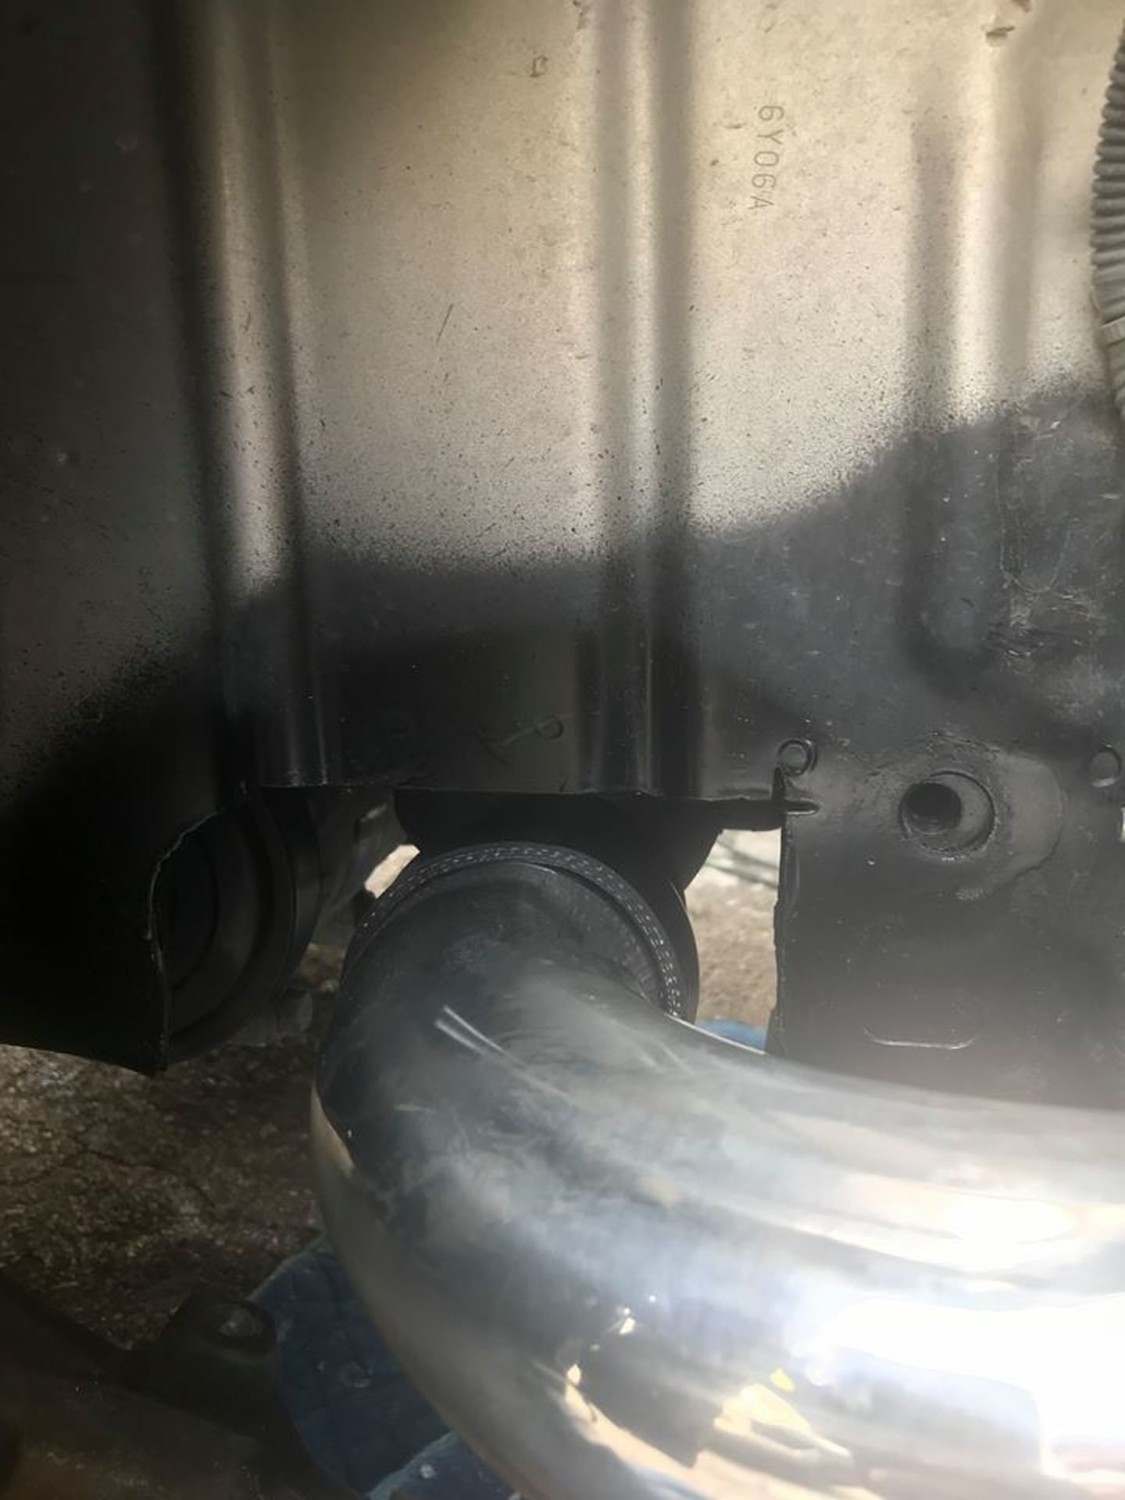




Member Credit: 95BLKMAX
I wanted bigger brakes, but I didnt want to spend a fortune (as much as one would spend, say for a Z32 upgrade, or the 6th gen rotors with Z32 calipers, etc…) for just front brakes. Plus I dont autoX, I just do alot of highway spirited driving; so I wanted a beefier setup that wouldnt break the bank.
Parts / Cost:
SPECS – (Per 1995 FSM and 2003 FSM)
4th gen Rotors (mm/ inches)
280×22/ 11.02×0.87
5.5 gen Rotors (mm/ inches)
296×24/ 11.65×0.94
4th gen Caliper Pot (mm/ inches)
57.2/ 2.252
5.5 gen Caliper Pot (mm/ inches)
57.2/ 2.252

HOW TO- (I write this assuming you already know how to do a brake job, this how to made with attention to the work specifically related to the conversion process of being able to install these bigger brakes)-
Remove wheels, calipers (disconnect the lines from them but have a bottle near, they will leak alot of fluid), caliper mounting brackets and pads
Have this ubber drill bit…

It cost me $35 locally at a “nothing but nuts and bolts- specialized hardware store (Mitchell Supply Company) also 4 of these Metric bolts with lock washers (stock 4th gen on left, new 5.5gen on right)…

I bought them so long ago I dont recall the specs, so just go to the hardware store with the caliper mounting bracket for thme to check * With the Ubber drill bit, drill out the two holes on the hub. Try your best to keep it straight. Go slow with the bit at first because if it gets caught up, the drill WILL fling around and it could cause bodily harm depending of how strong of a drill you have. Once it started boring the hole out just go downtown on them. They should look like this afterwards…
Make a few cuts along the shield’s overlap up to the vertical part and with pliers bend the overlap up to vertical. The 5.5gen rotors wont fit otherwise…

Now with that done, the installation is the exact same as a normal brake job, only that you’re using the 5.5 gen parts. Hook up the lines and you will have to bleed ALL 4 calipers. At least with me, I let so much fluid drain that air got into the master cylinder, thus my line for the rear brakes had air, so I had to bleed all 4 corners. Break them in and enjoy the noticeably improved braking over that of the 4th gen parts.


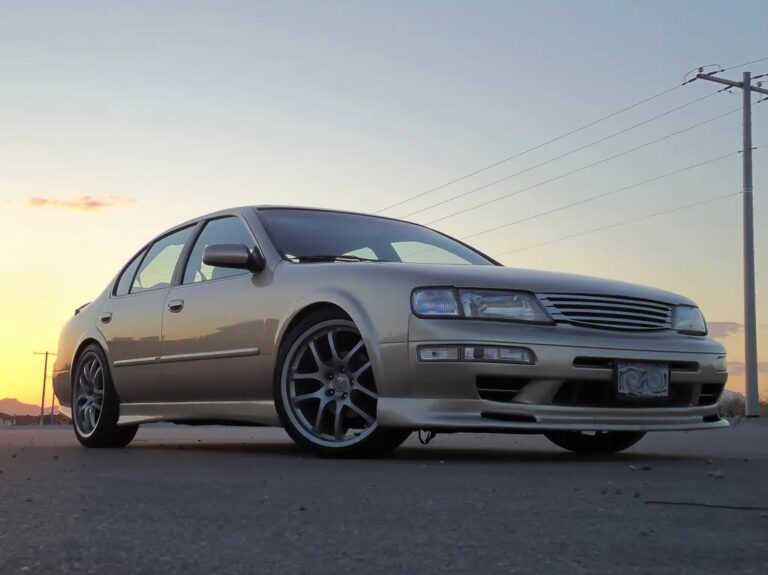
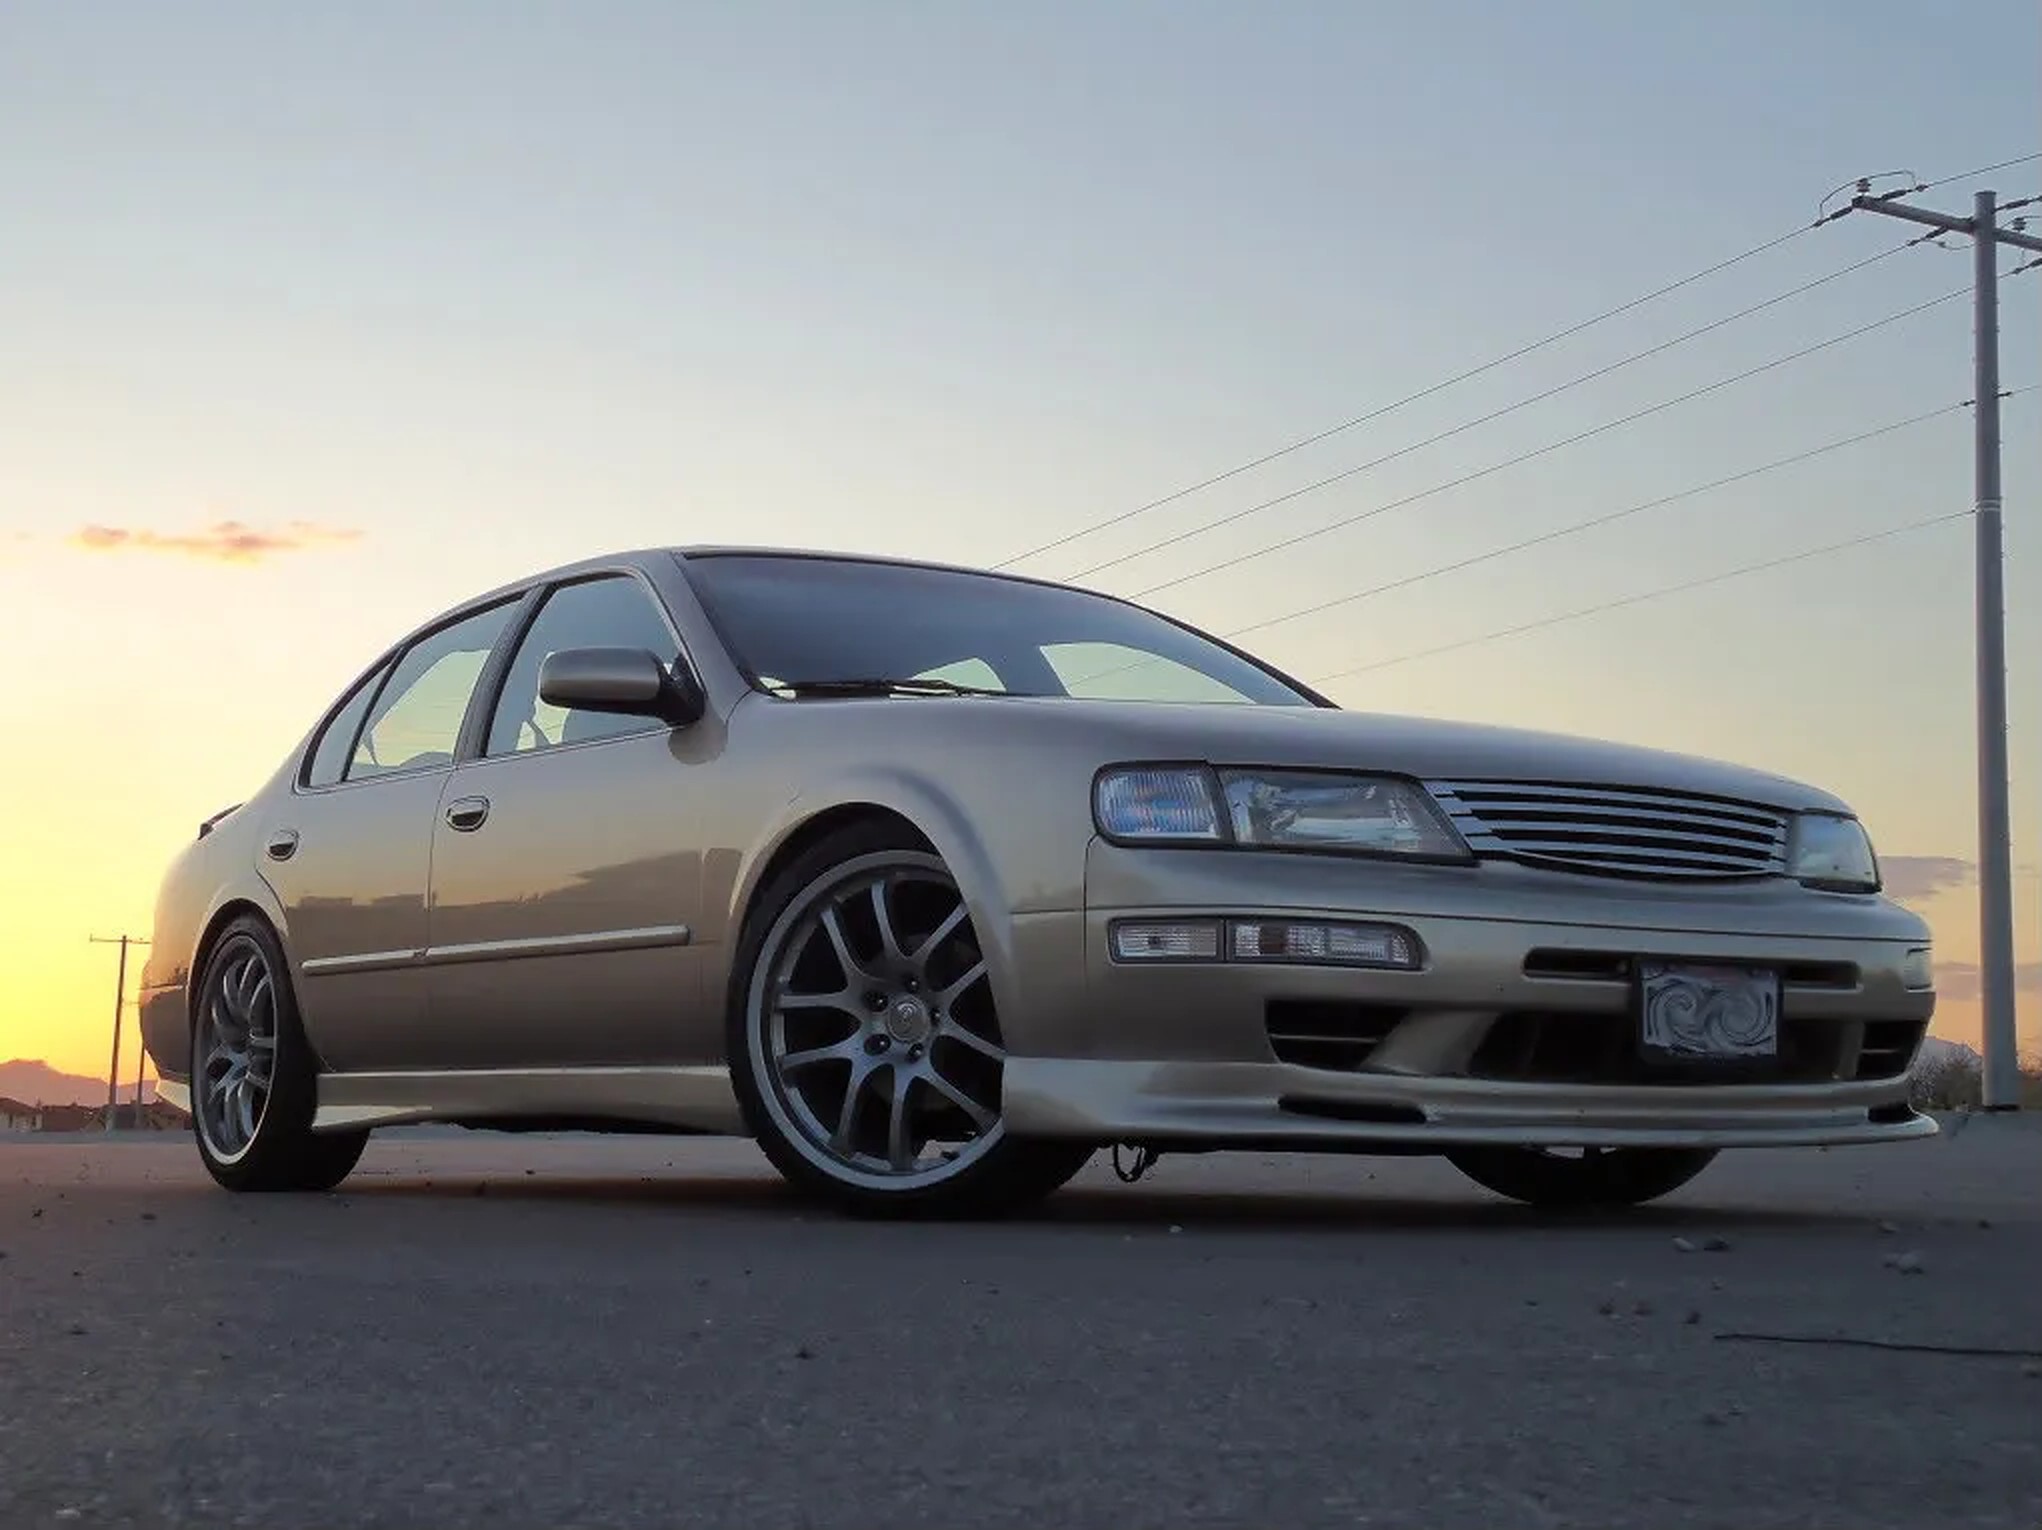
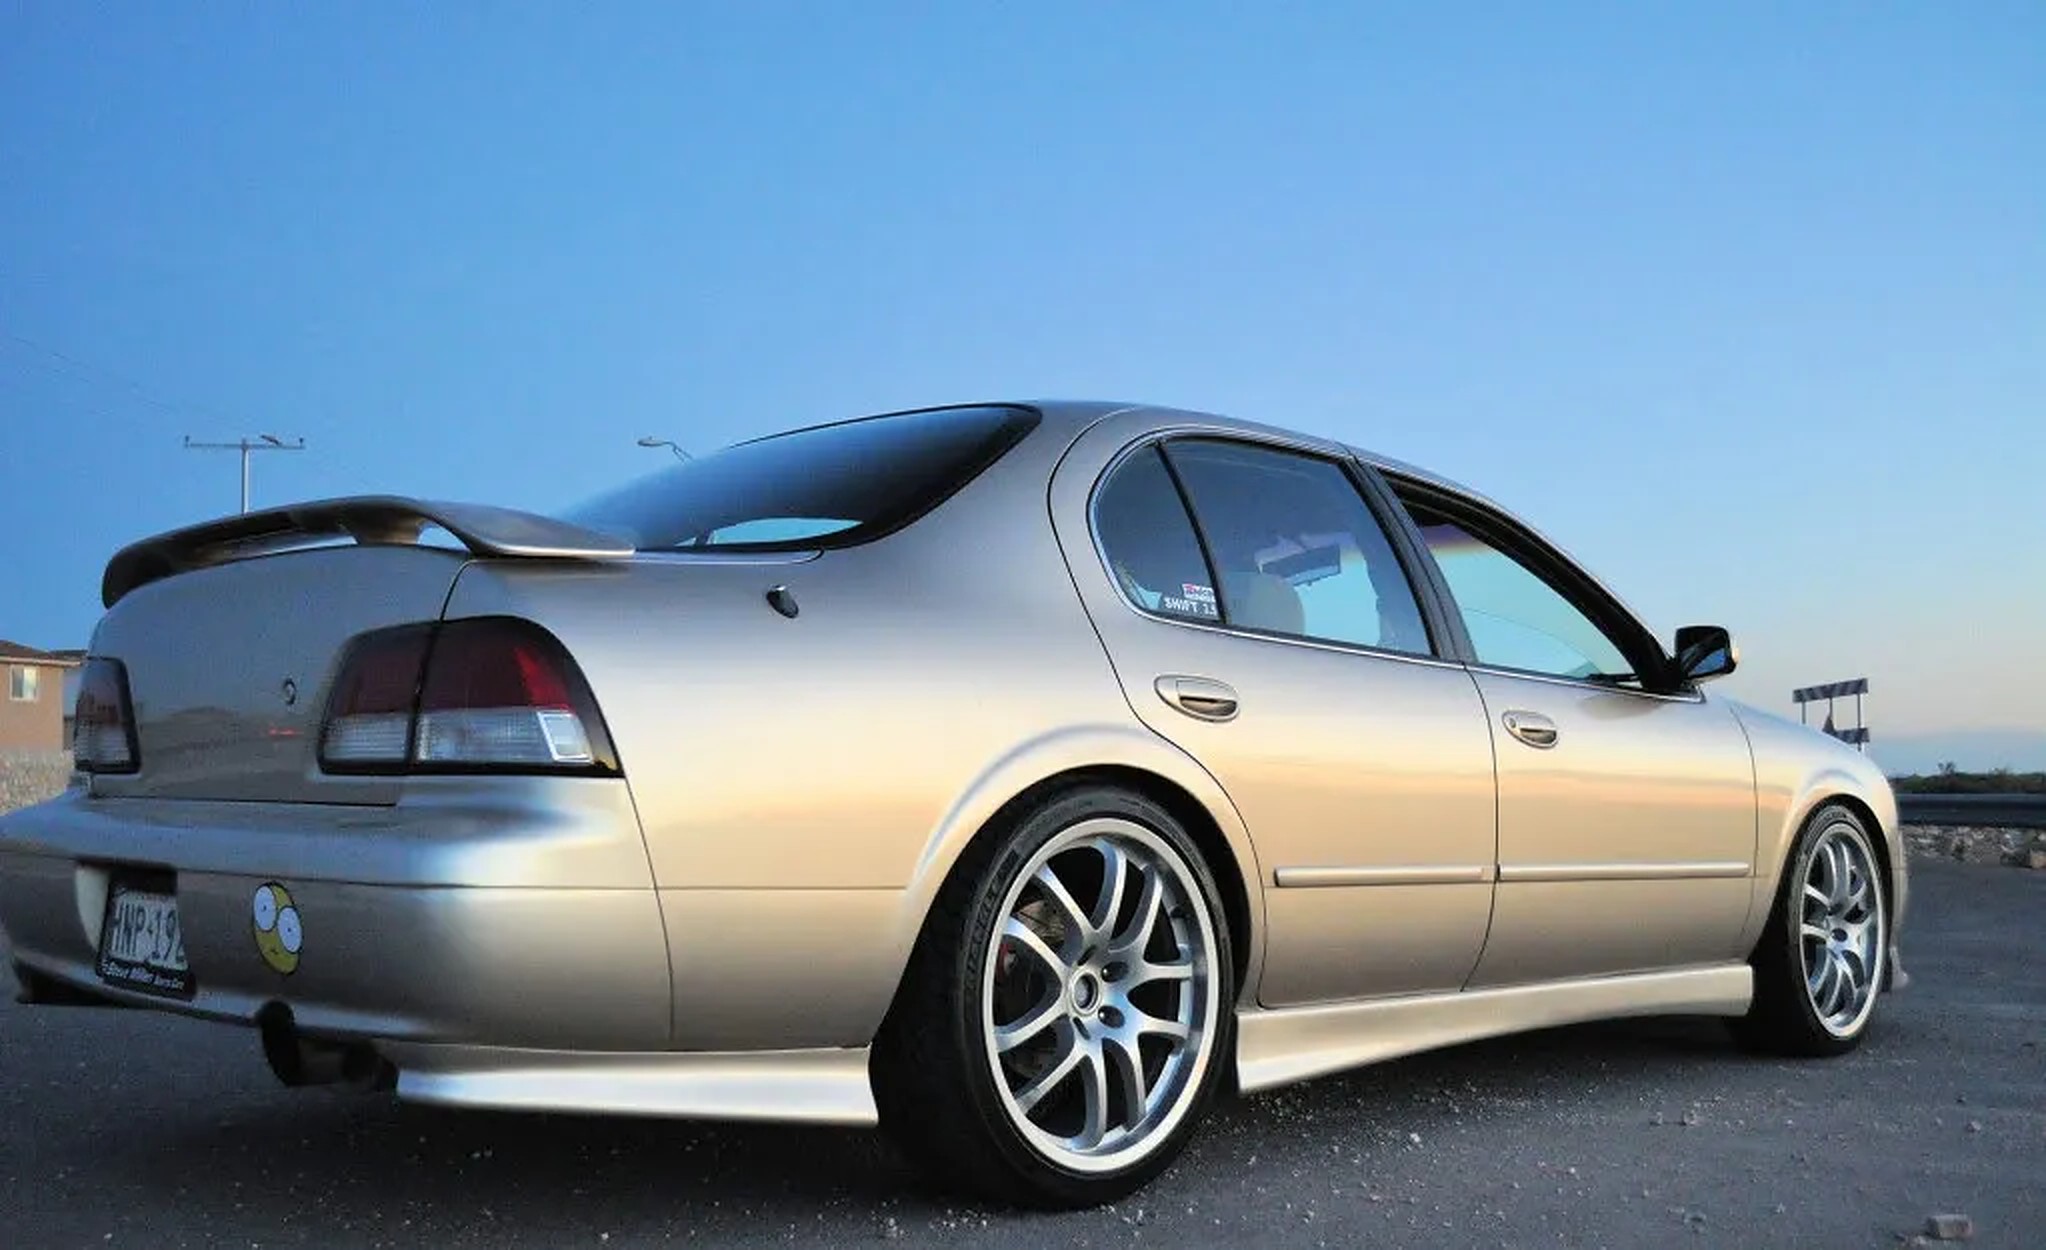
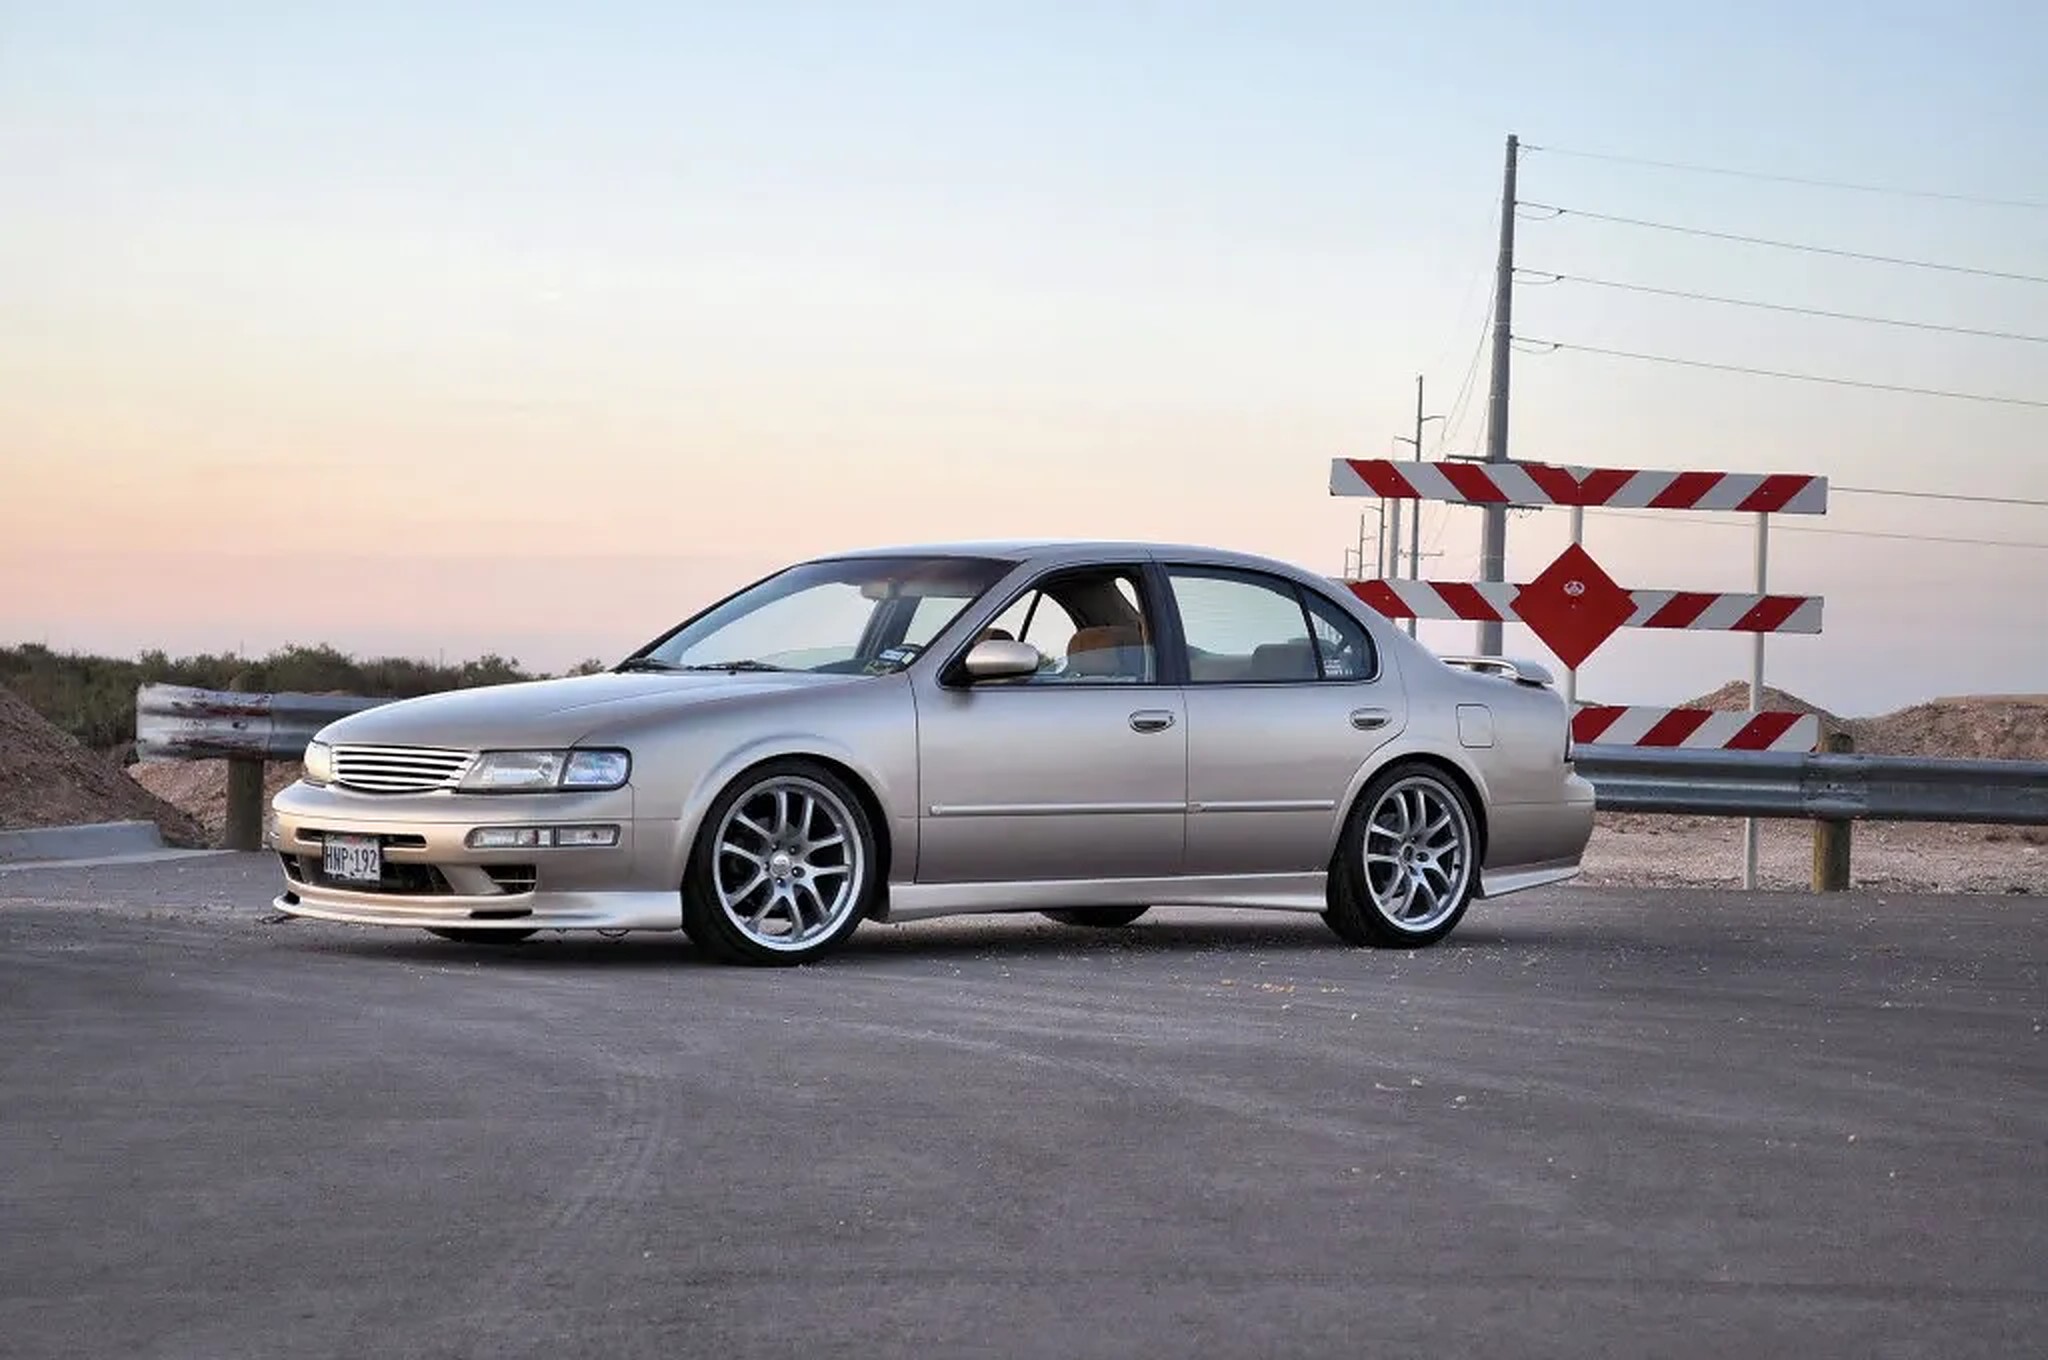
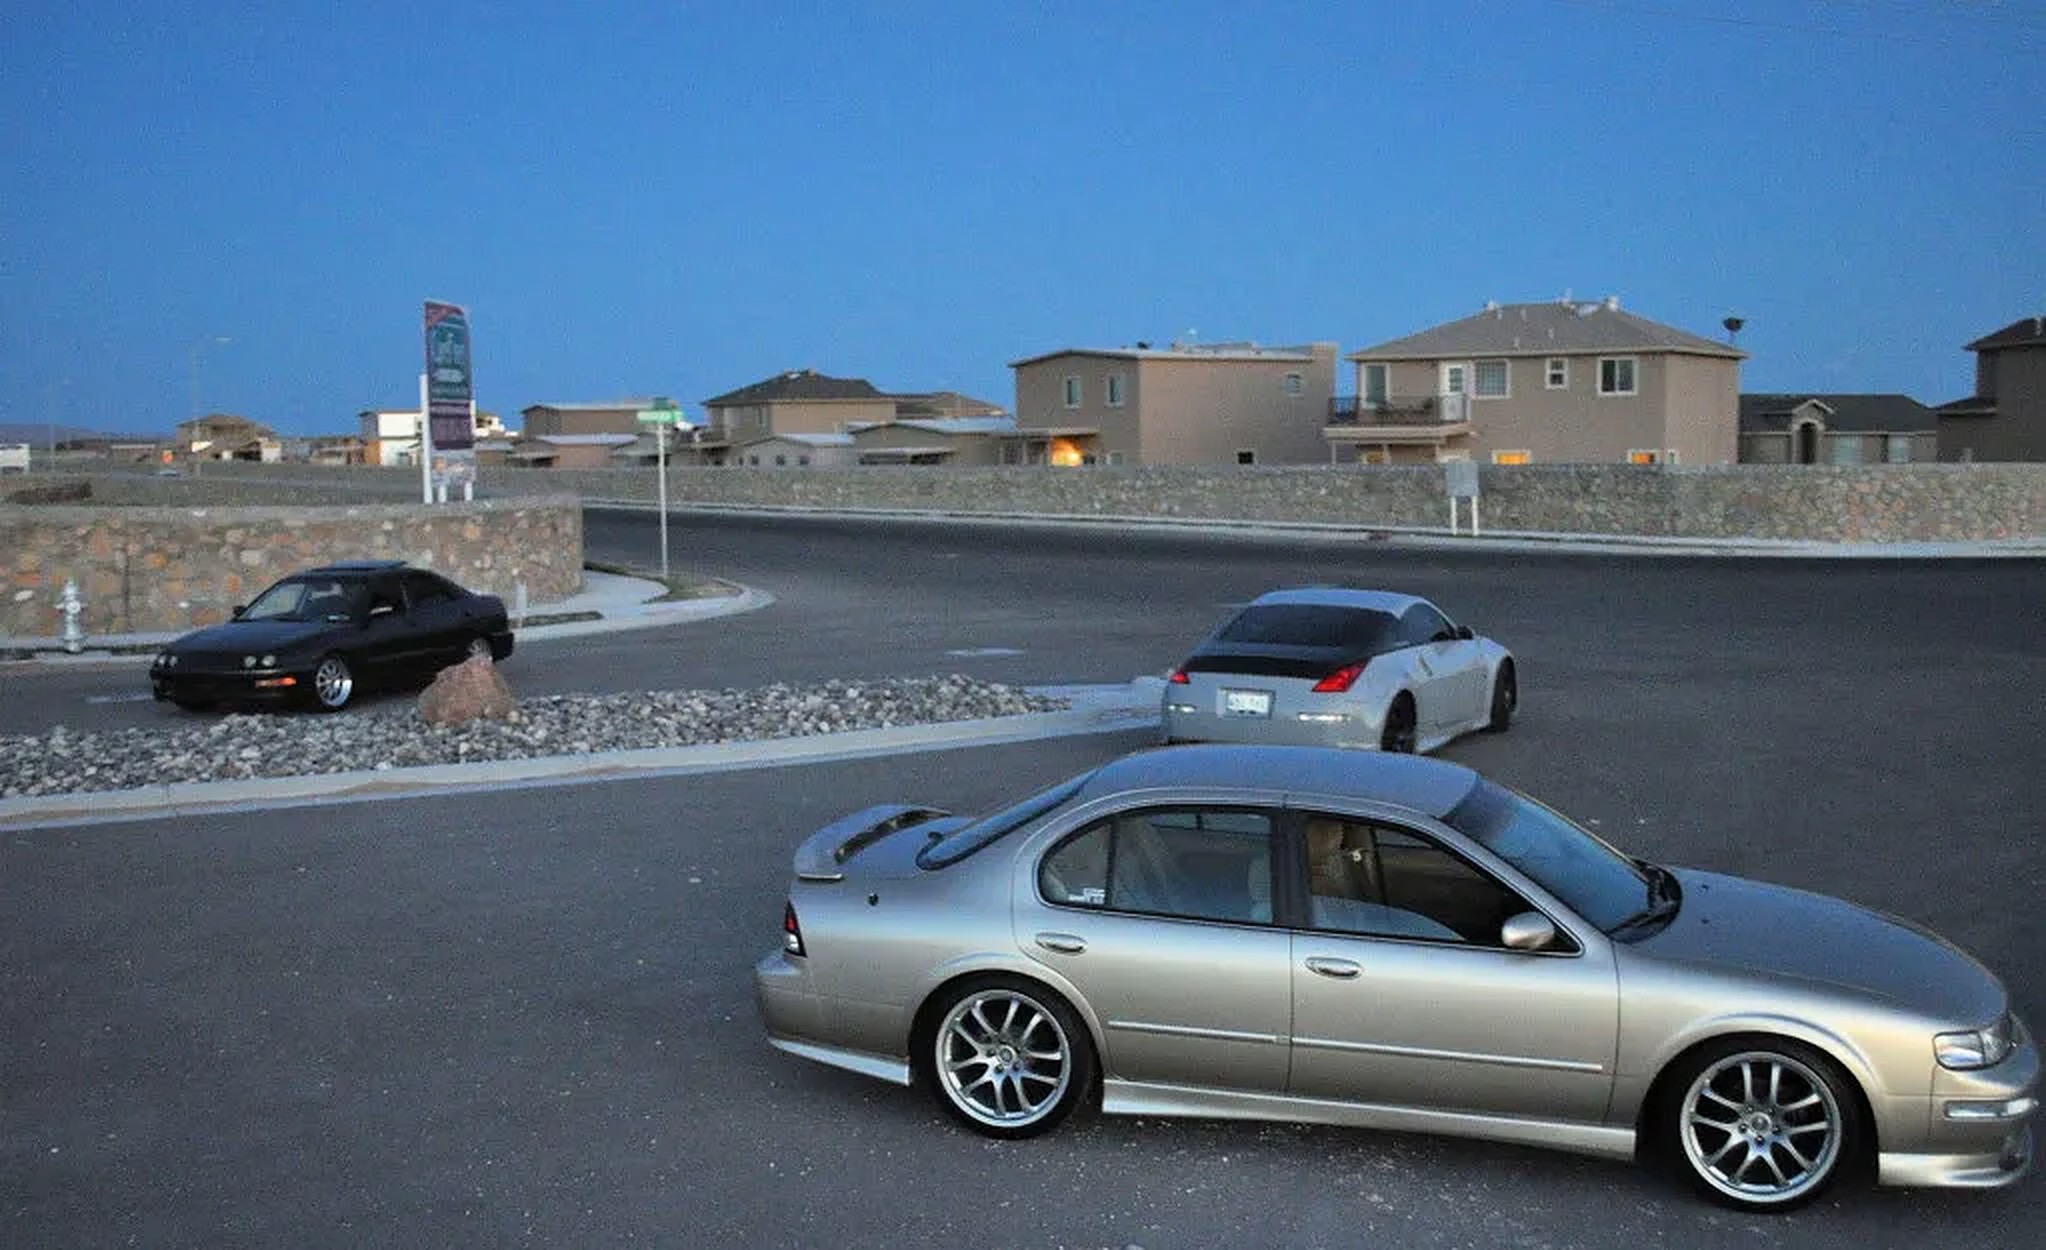
Owner: 915Max
Year: 1998
Model: Maxima
Color: Tan
Transmission: 5-Speed Manual
Trim: GXE
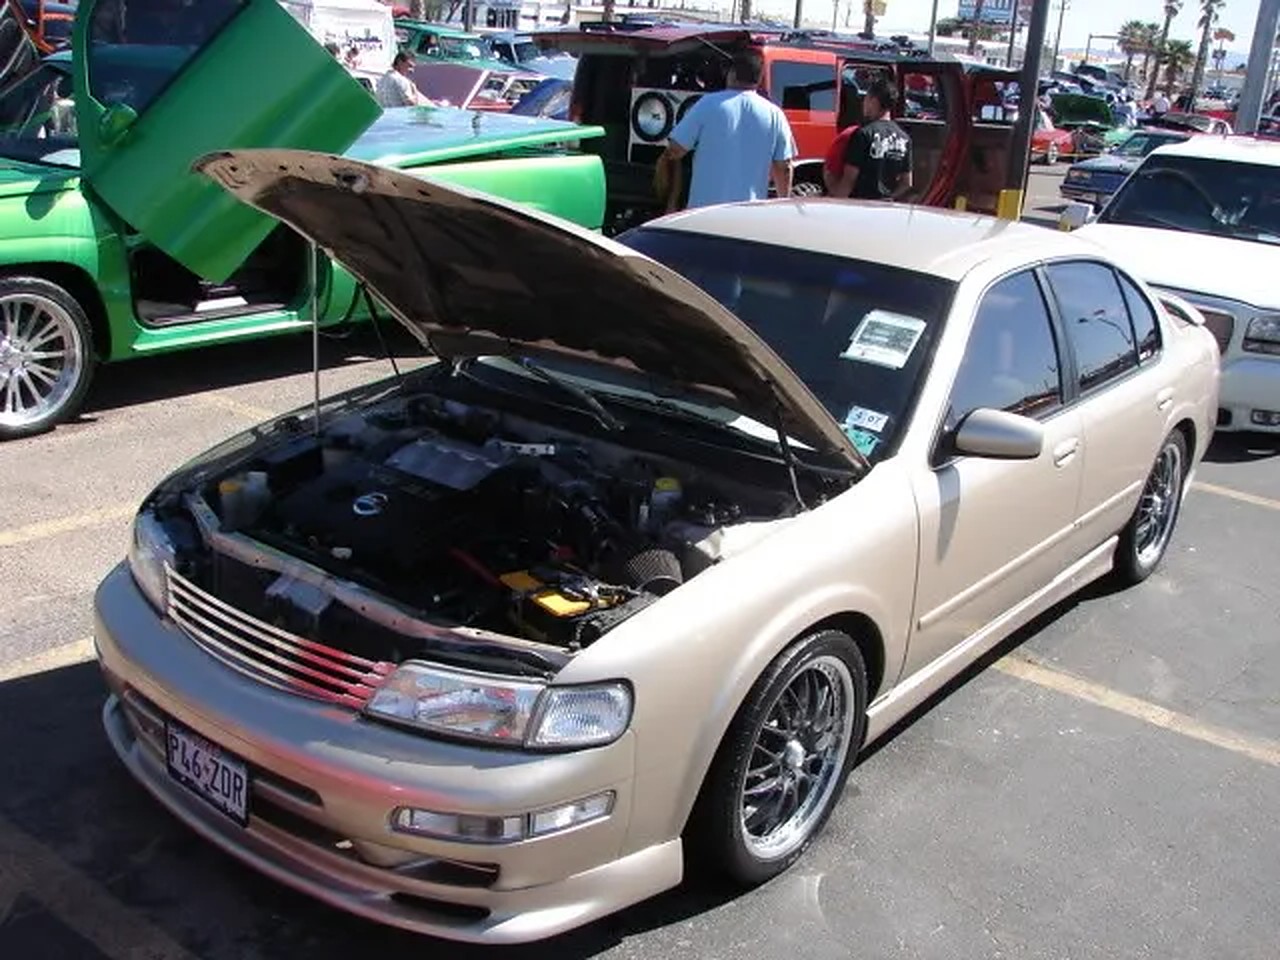
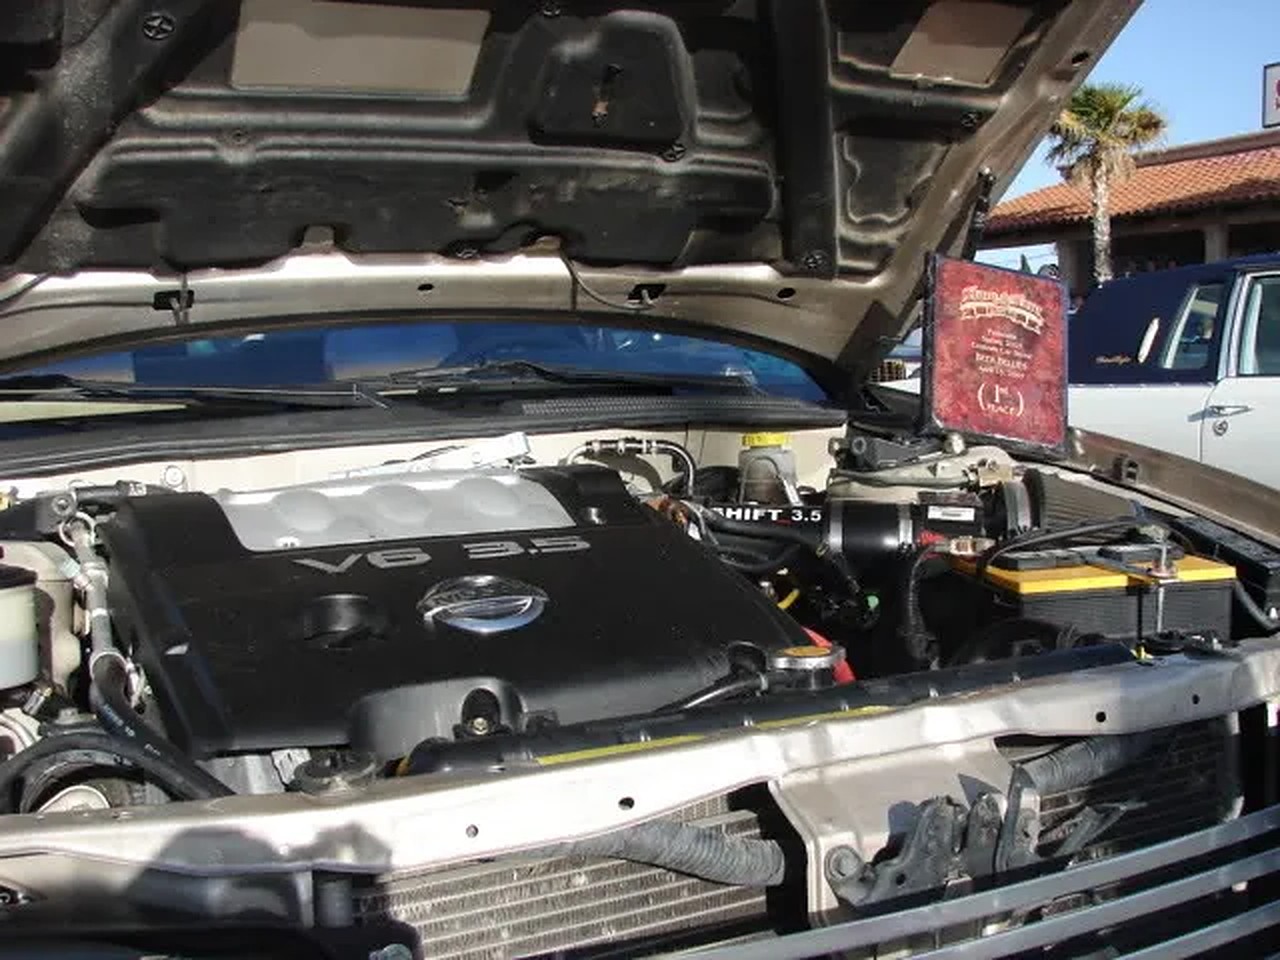
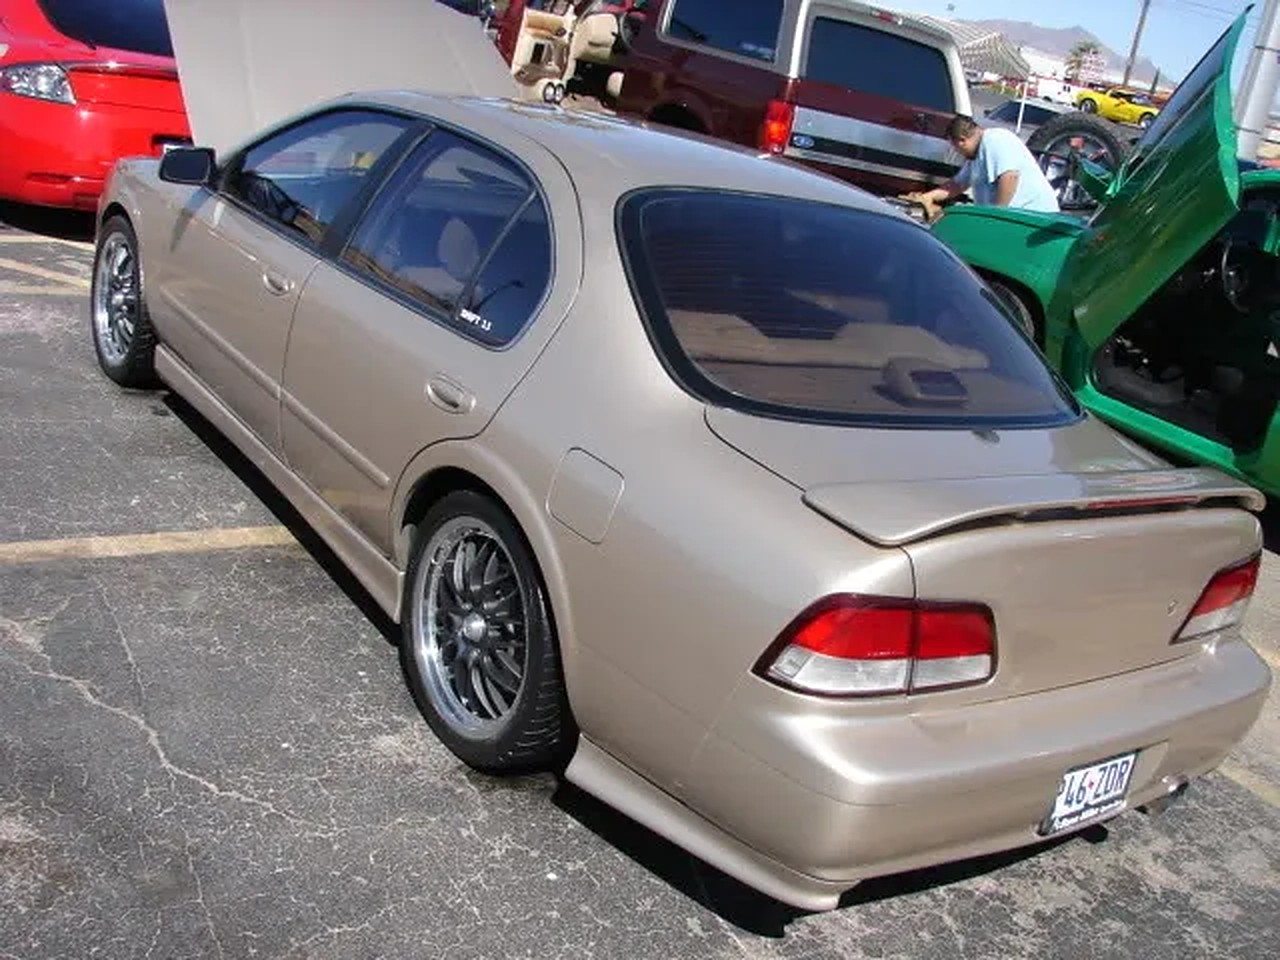
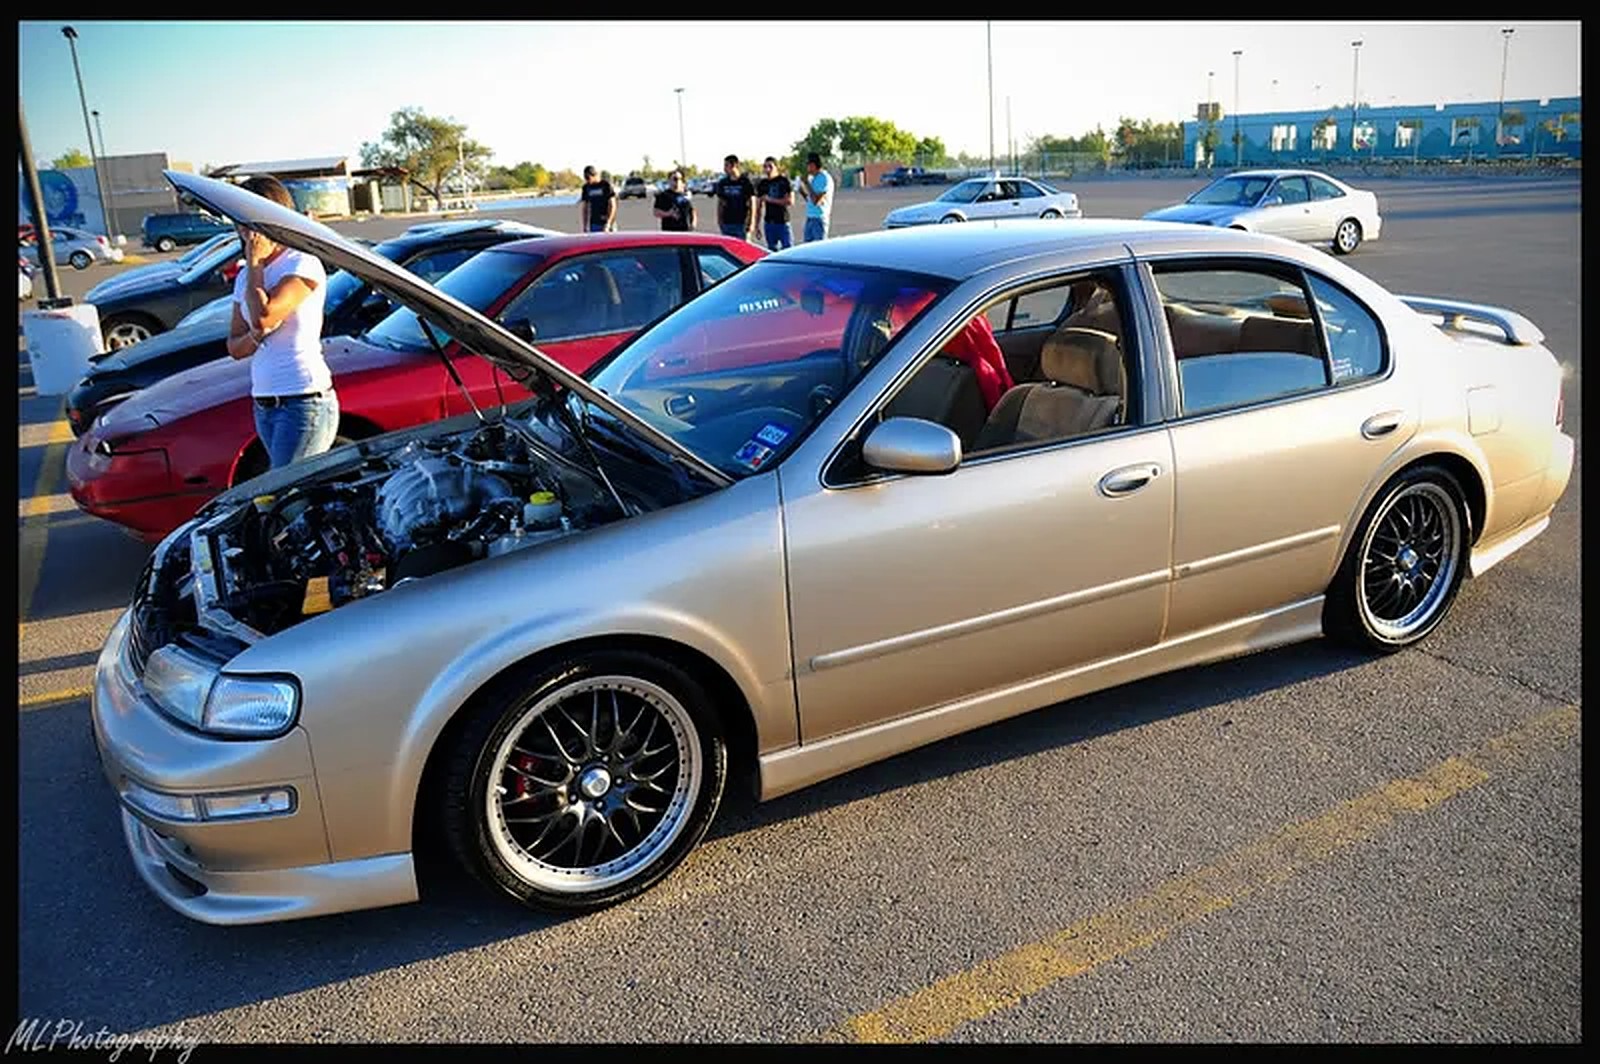
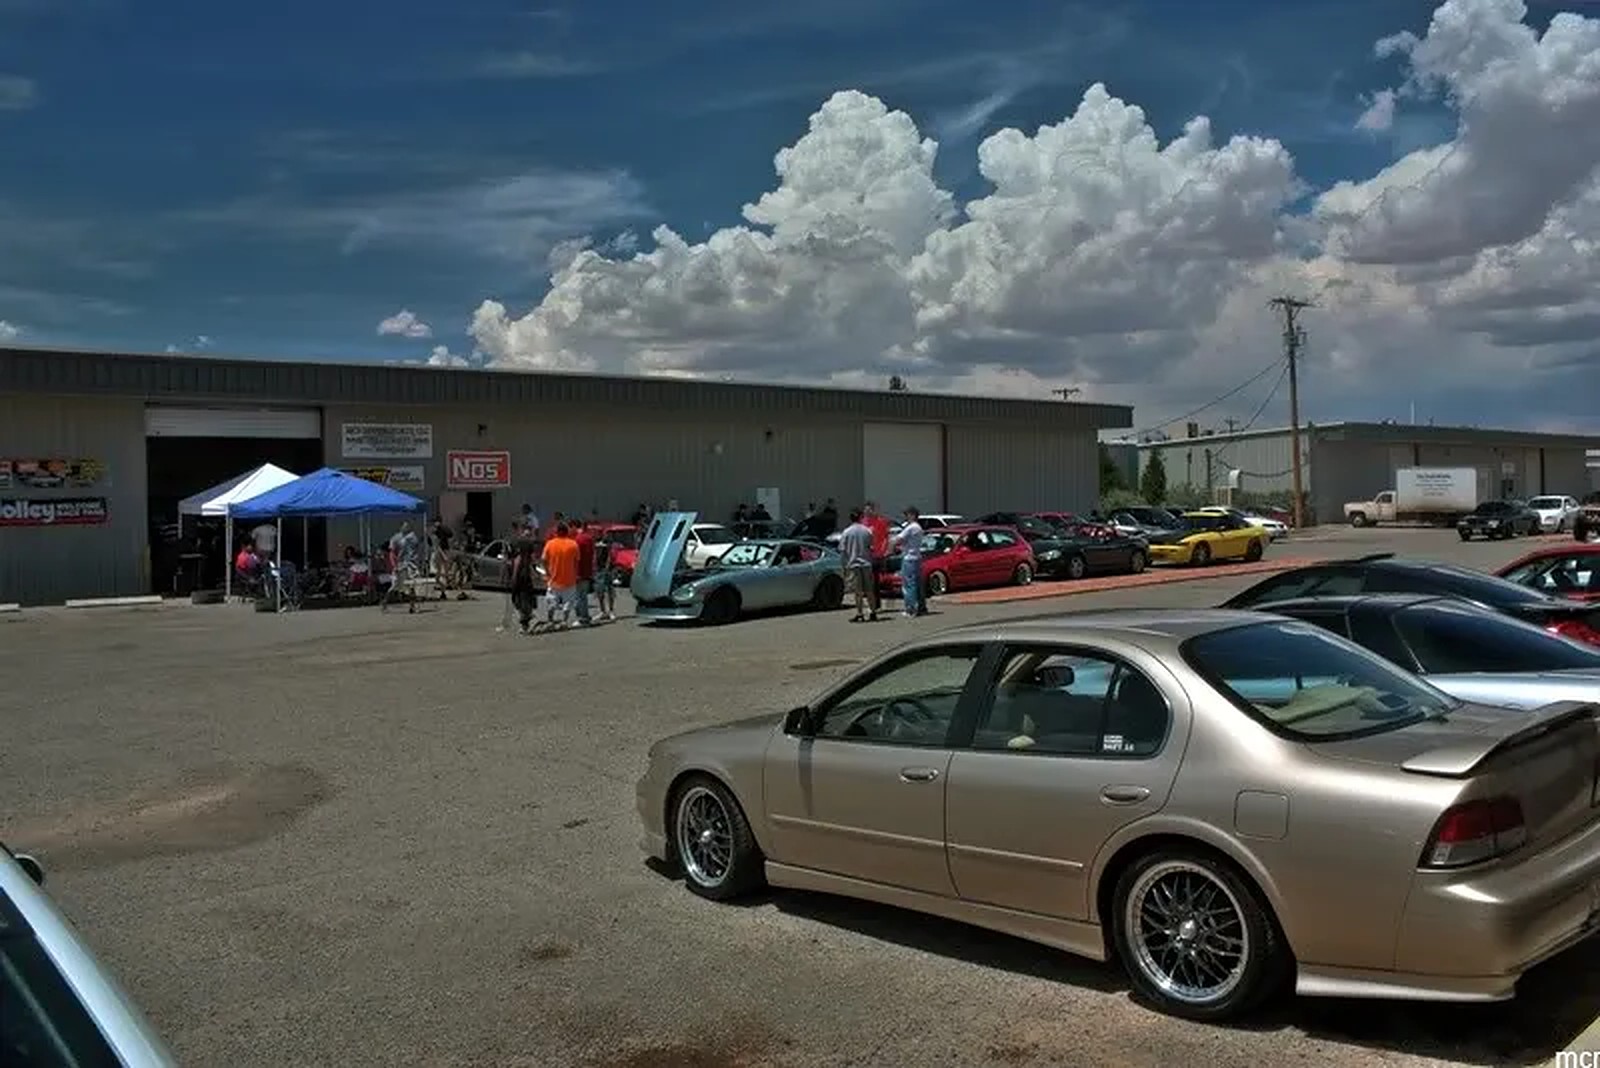
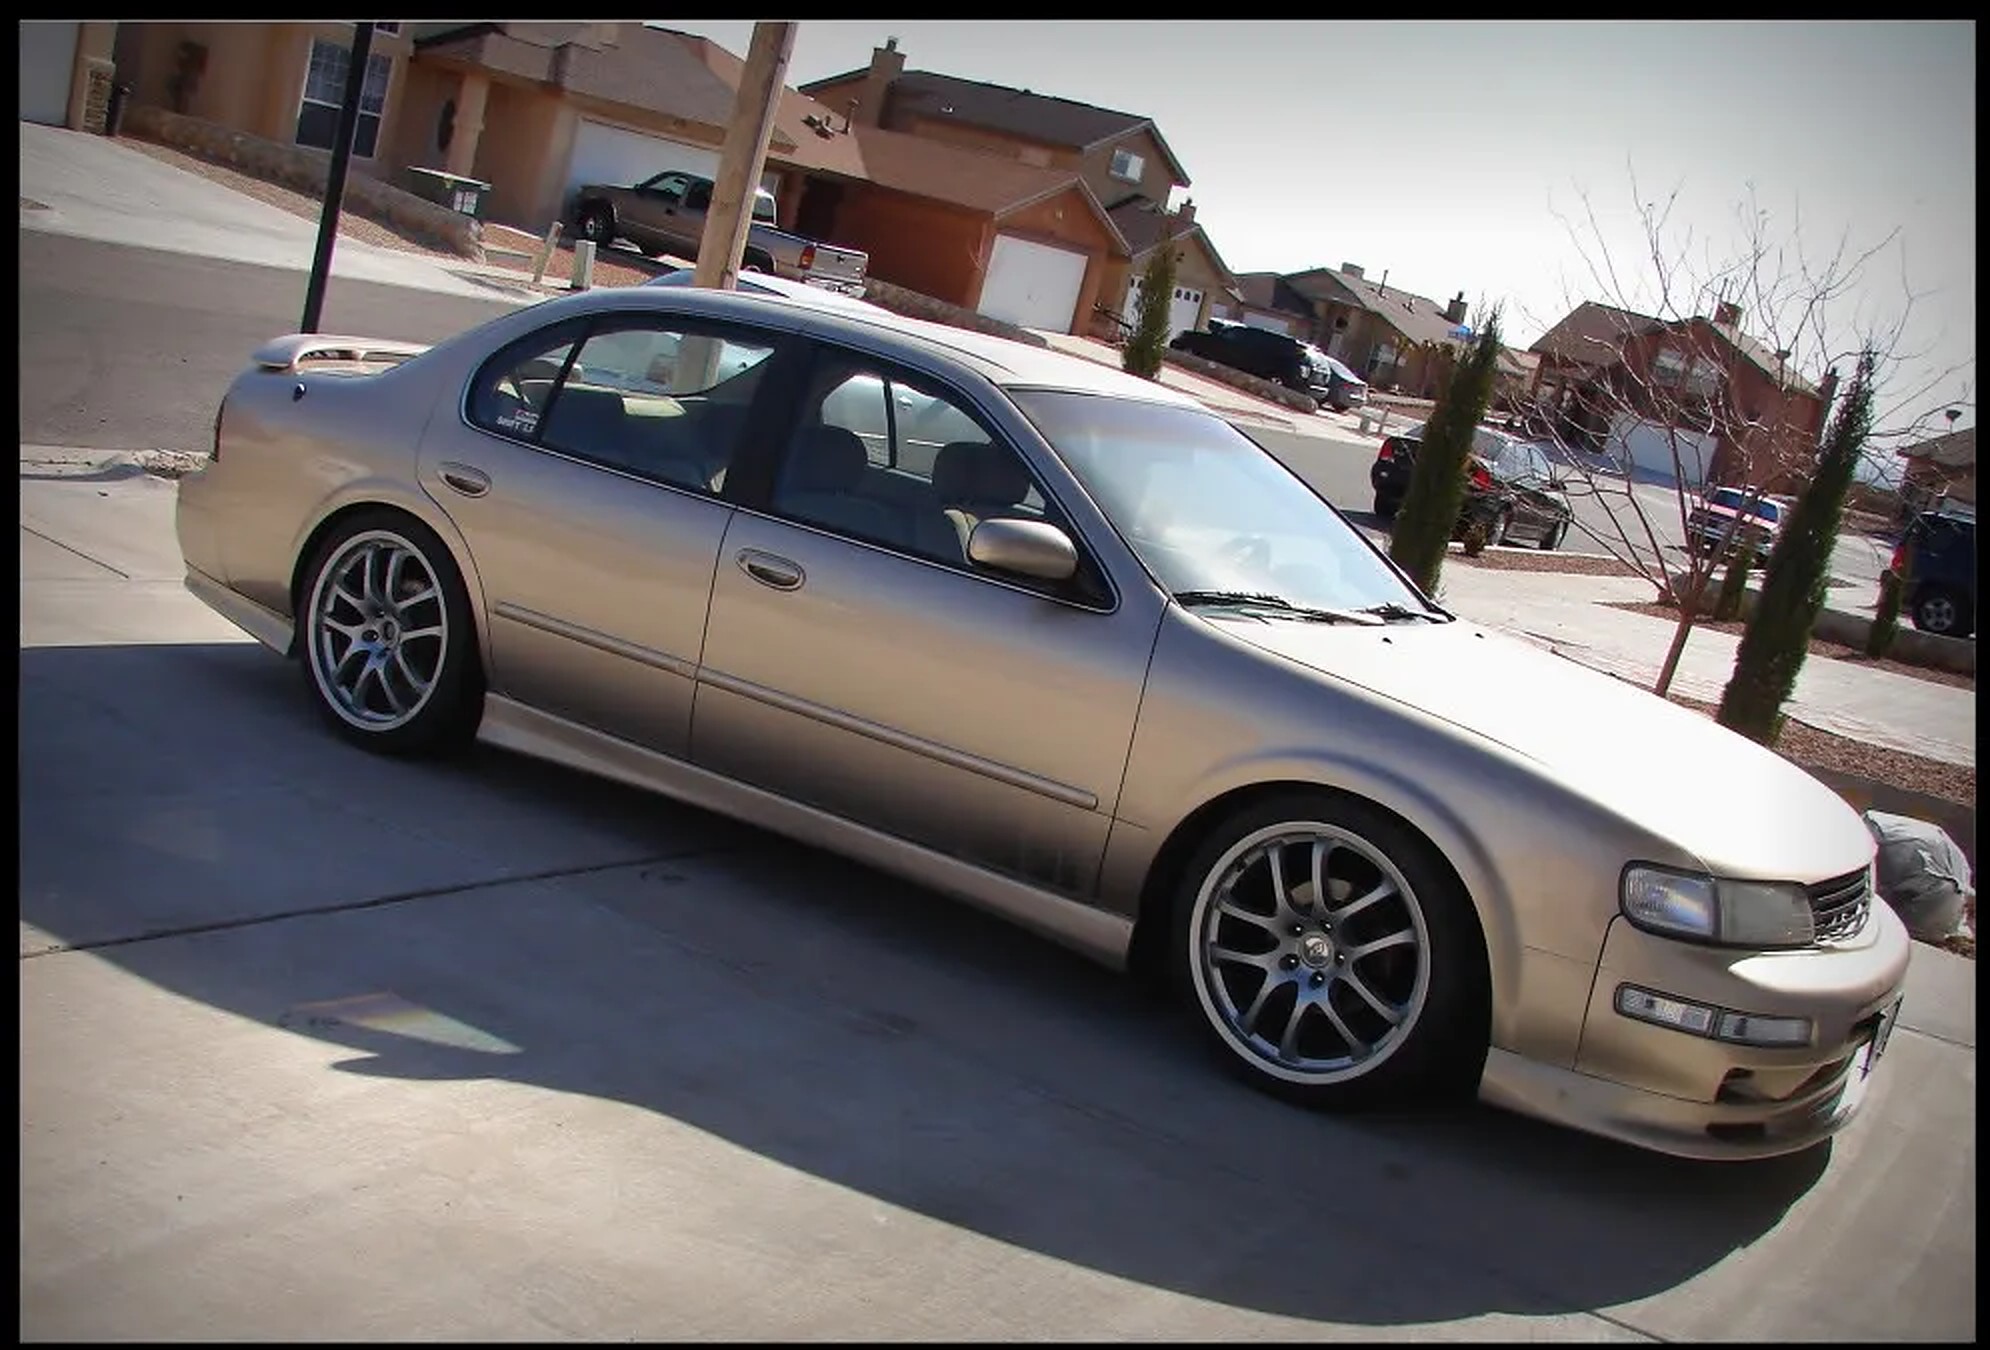
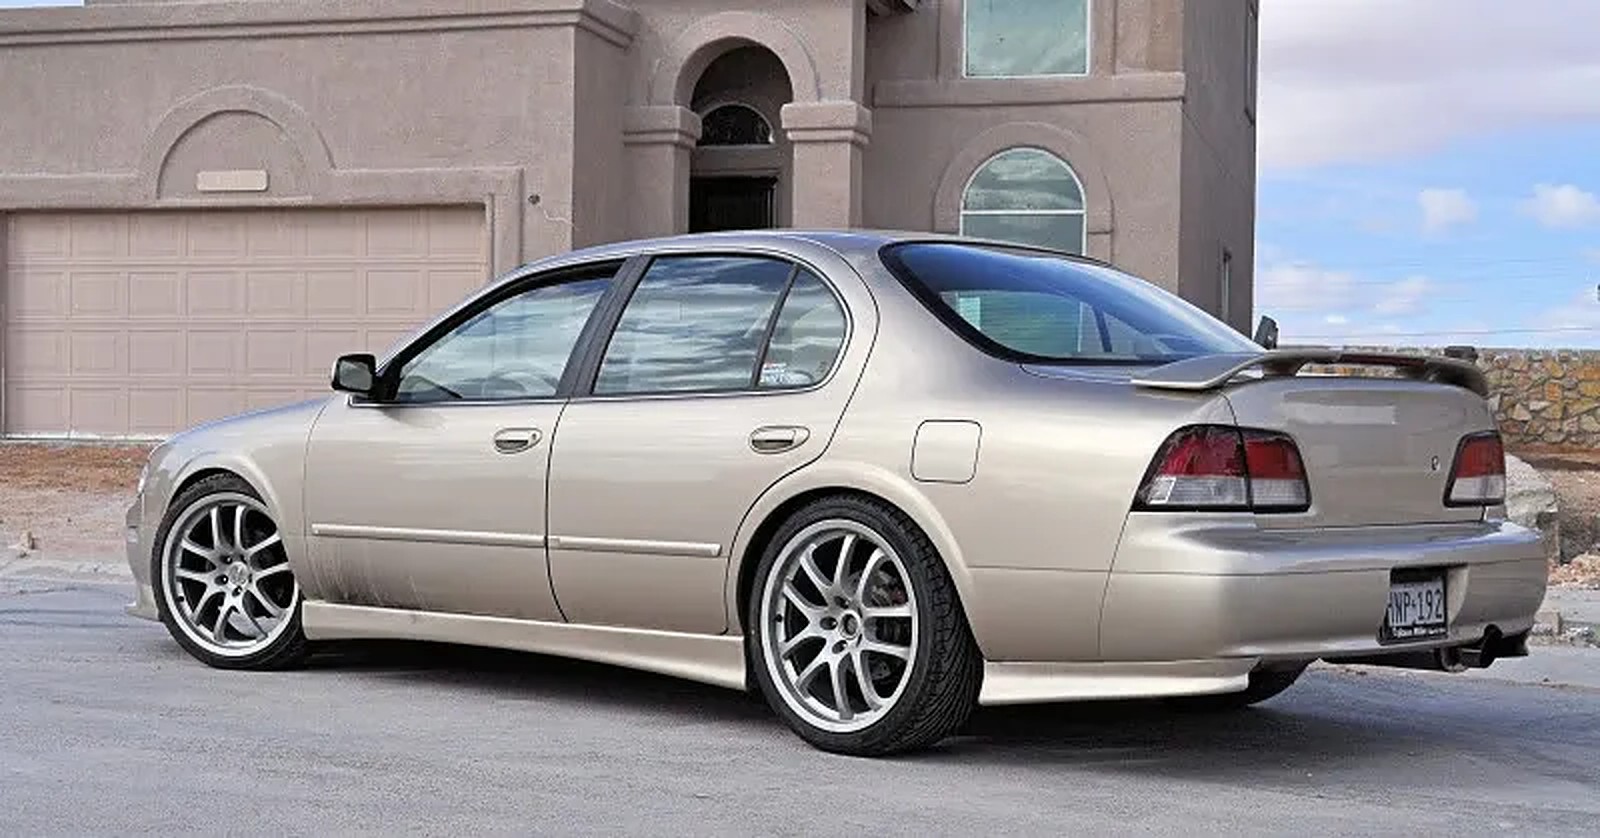
Member Credit: 95naSTA
Original Source Credit: https://maxima.org/forums/all-motor/660718-2007-altima-engine-4th-gen-3-0-timing.html
The point of this thread is to give people a heads up on what they’ll have to do to use the 07 Altima motor with the 3.0 timing. If you have the time/skill/money a full 3.5 swap will always out perform a hybrid setup. This is just for people that are lacking any of those and want something better than a typical hybrid swap.
I will not be telling you how to do a hybrid swap. That info is already out there.
Findings:


You still need to run spacers and drill the intake cams. If you’re wanting to run adapters, typical 3.5 swap adapters will not work. The spacers are for 3.5L swaps with 3.0 timing equipment. They can only be used with drilled intake cams or drilled primary and intake cam gears. These are not adapters.

Here’s where it gets a little interesting.
Researching this swap, the question came up of how the 3.0 timing equipment might alter the timing of the 3.5 cams. I found the exhaust lobe centers of cyls #1&2 on my old 1st gen 3.5 (03 max motor) with 3.0 timing and they were 122* BTDC for the rear bank and 119* for the front. This is about 10 crank degrees retarded from the stock VQ35’s cam numbers (112 BTDC exhaust lobe center line). I used a degree wheel on the crank pulley, the 3.0 outer timing cover arrow as a reference, and a dial indicator riding the lifter bucket to find max lift. IMO, this method is good +/-3 crank degrees but either way the exhaust cams are retarded.
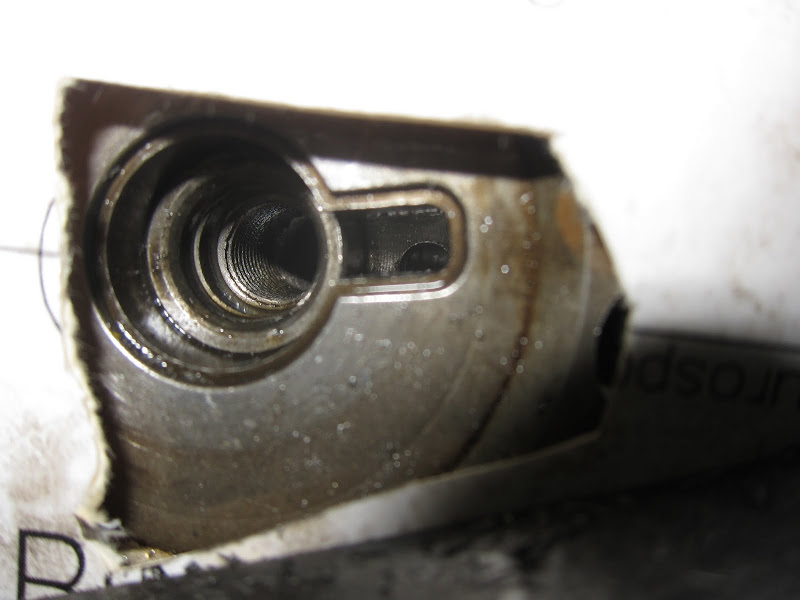
Now for the intakes. The dowel pins actually point up when cyl #1 is TDC’d like they do on a VQ30. But, that dowel pin would make the intake timing 28 crank degrees retarded from where a stock 3.0 would be.
07 Alti intake cam in a jig made from a 3.0 intake cam

Using a dial indicator with snake extension as a pointer to measure how many degrees the cam timing would be off if I used the 07 Alti VQ35 factory dowel pin.
Set as VQ30 timing

Clocked to the factory dowel pin hole


So, 14 cam degrees or 28 crank degrees off.
What I’m doing is drilling through the VQ30 primary/secondary timing gears and cam for the new (longer like other hybrid swaps) dowel pin 180* opposite of the factory gear timing slots so that I’m not just egging out the 07 Alti dowel pin hole. The stock 07 Alti intake cam bolts need to be reused for the intakes too. The VQ30s are too long.
The above cam timing would net:
Strange the exhaust timing matches up pretty close with a 3.5 Pathfinder. Either way it should be good overall.
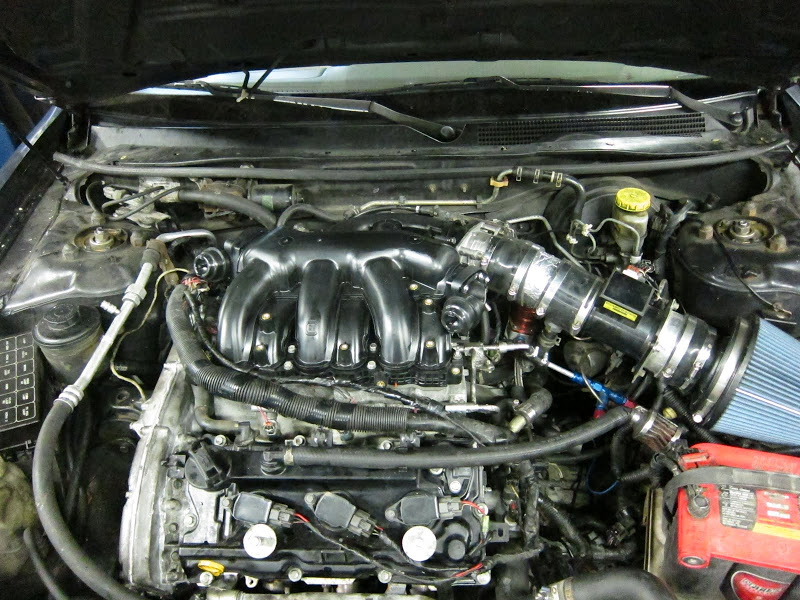
I’m going to be using an 09 Maxima upper intake and (converted) throttle body with this swap since both are larger. The p/ns for the lower intake on both cars are the same number. The 07 Alti’s could obviously used if the TB is converted too. Before the engine went back I made sure the 09 Max upper intake bolted up without issue. No problems.
Altima Manifold

Maxima Manifold

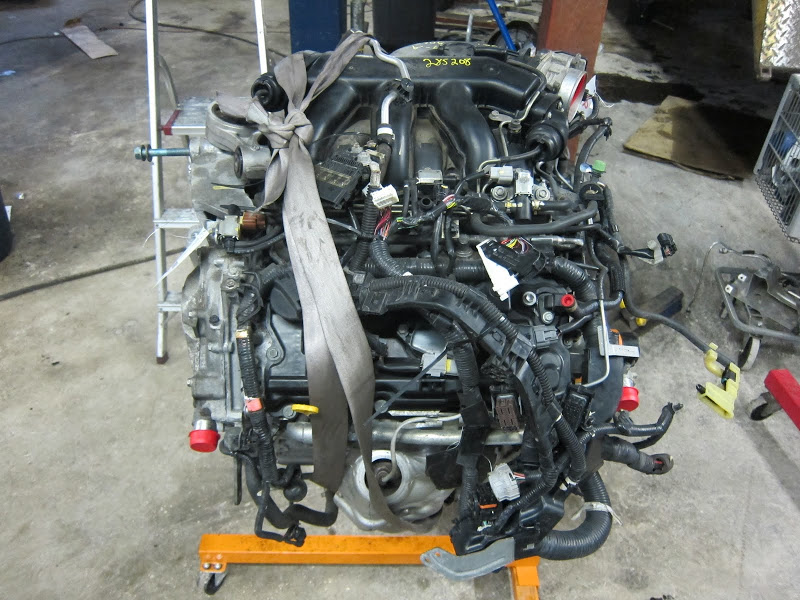

Stripped down:
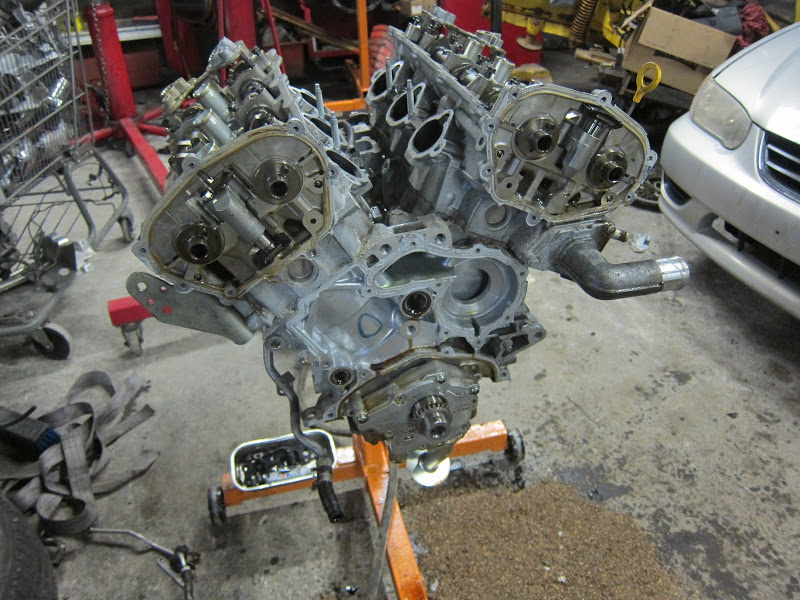
The 07 Alti comes with dual knock sensors like the 09 Max.I unbolted both and put the VQ30DE knock sensor on rear bank.

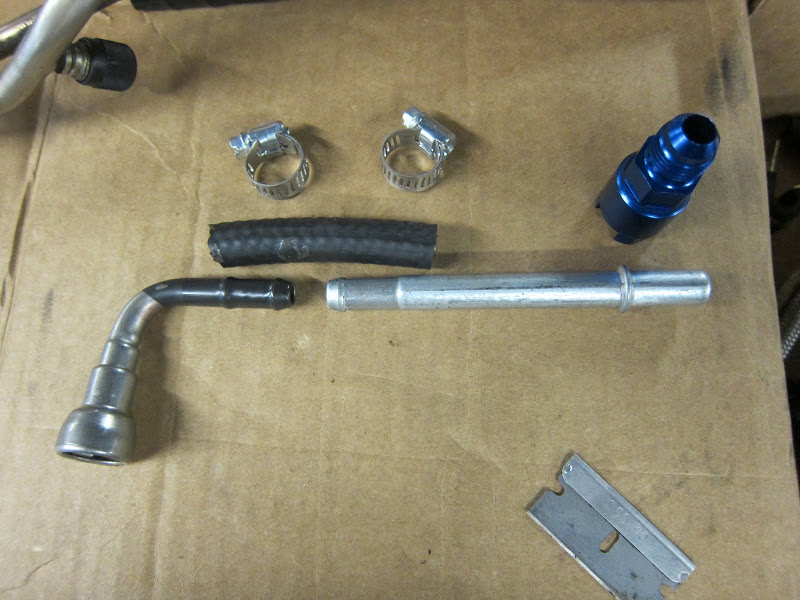
The Altima has a quick connect fuel fitting like the 09 max. My car already has AN lines from the filter. So, I need to get that quick connect to -6AN. I ordered 3/8″ and 5/16″ quick connect adapters by Earl’s since I wasn’t sure what size the rail was. The 3/8″ came but the 5/16″ is on back order. 5/16″ is the correct size and the p/n is 799-644120.
I got the 5/16″ to AN fitting on but because of the collar before the quick connect on the rail, the part that screws into the fitting to secure it needed to be grinded down. I have to get the car running asap. So, I did the following with what I had:

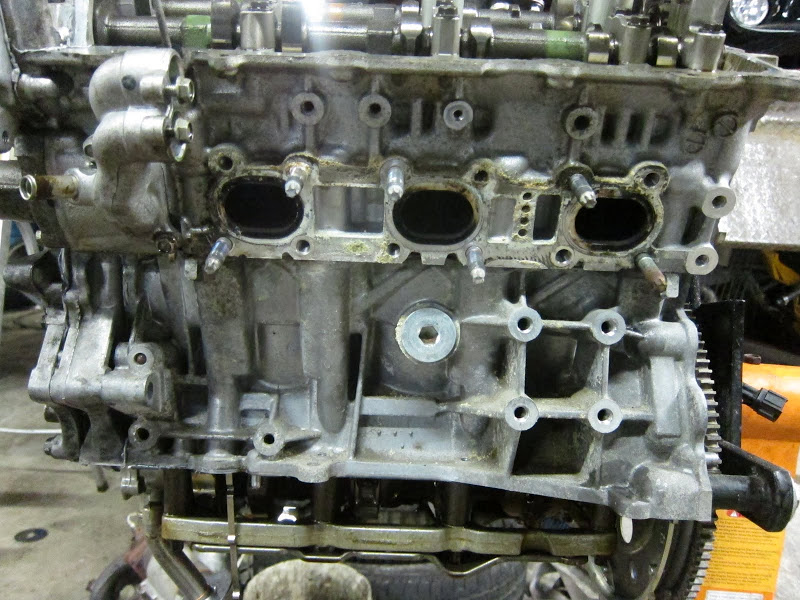
The cyl 5/6 exhaust manifold studs swapped:

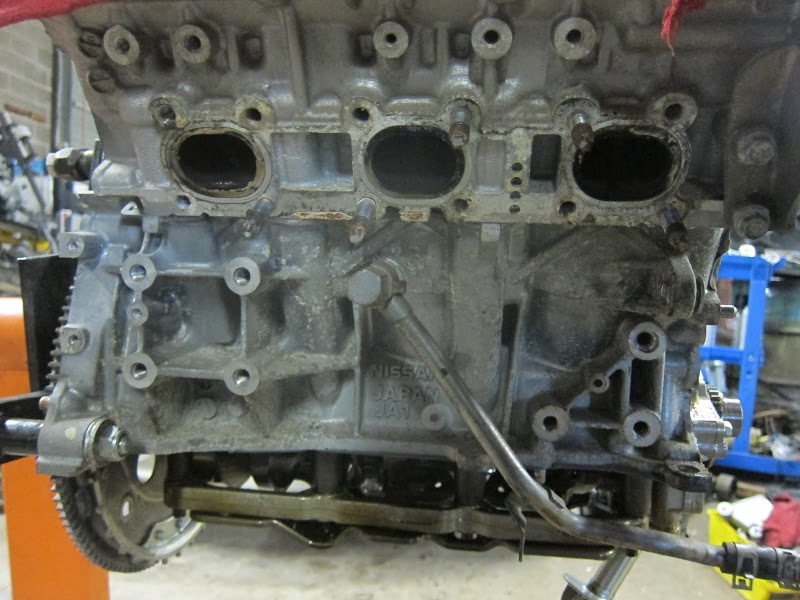
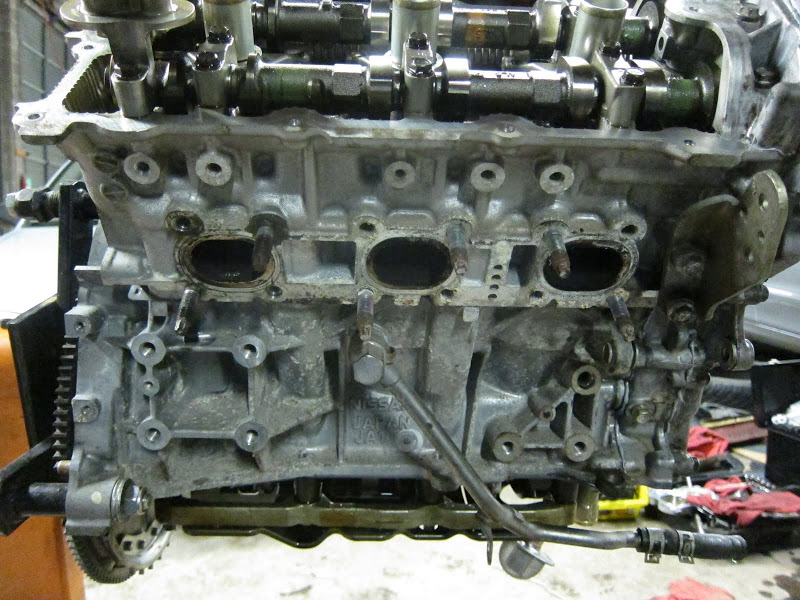
Drilled cams installed, Alti LIM and fuel rail installed with 380cc injectors, front of block prepped, and 07 Alti secondary tensioners primed. (Yes, the 07 Alti tensioners are used)
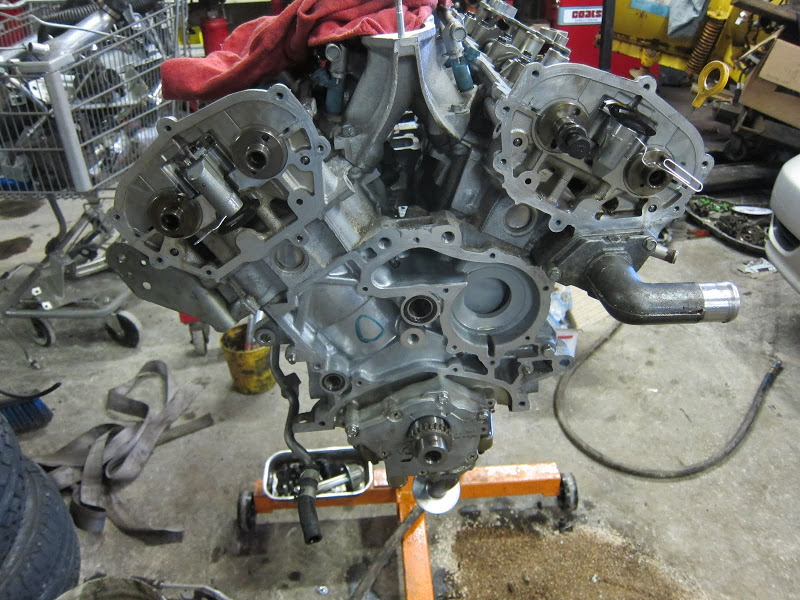
Shots of how the HR head went back to the VQ30 cam cap bolt pattern. So, no drilling of the inner timing cover is needed.

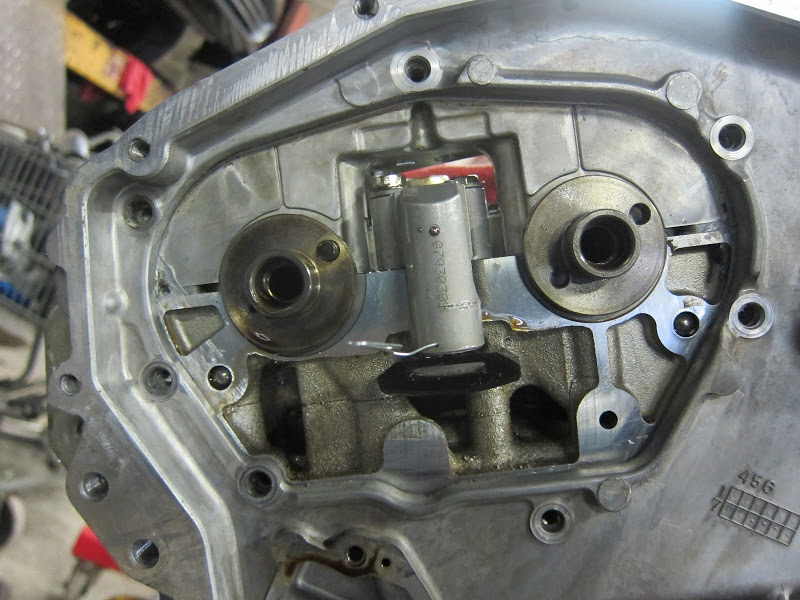
In my first post I mentioned how the stock 07 Alti intake cam dowel pin hole is close but not ideal timing. Instead of drilling near that hole and egging it out, I opted to drill roughly 180 from that hole through the primary and secondary cam gears and through the cam. This puts the dowel slots on the gears pointing in the right direction as if it were drilled like a typical 3.5 swap.
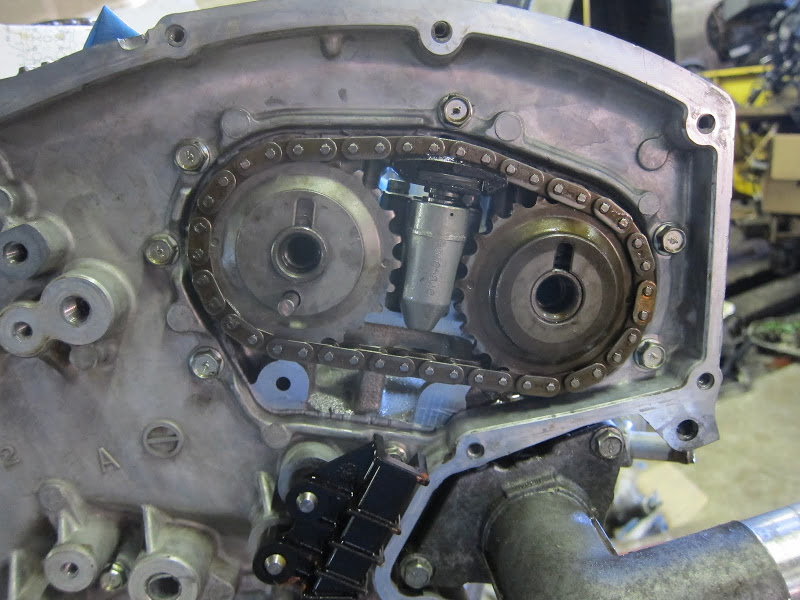
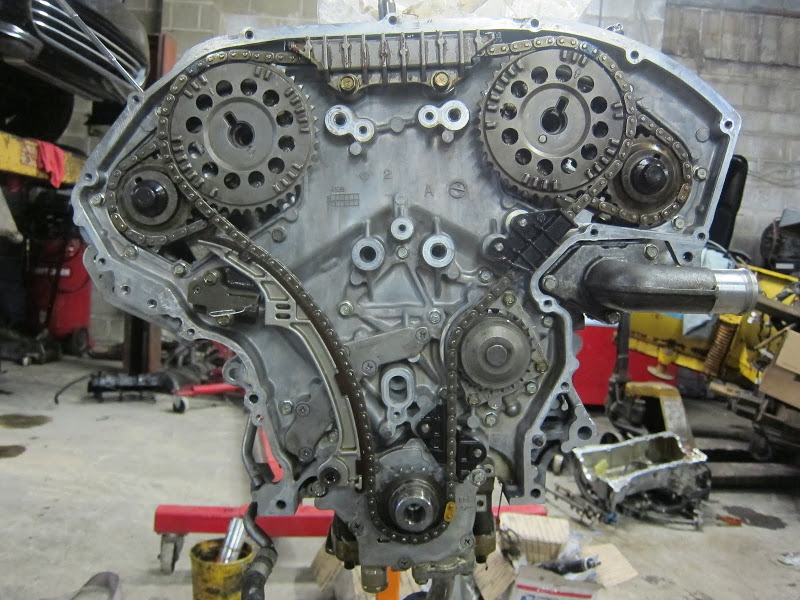


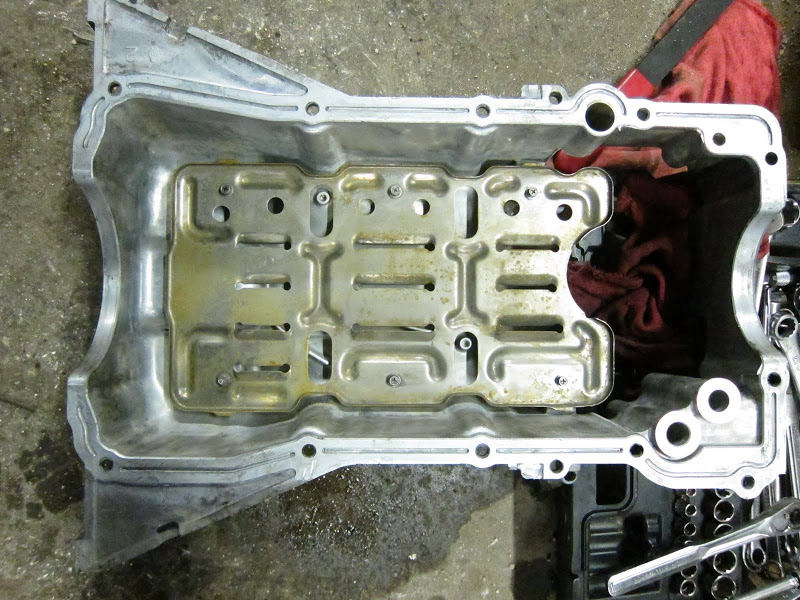
Removing the 3.0 windage tray since the 3.5 already one bolted to the caps/girdle.

Bolting the rest of the 4th gen crap back on


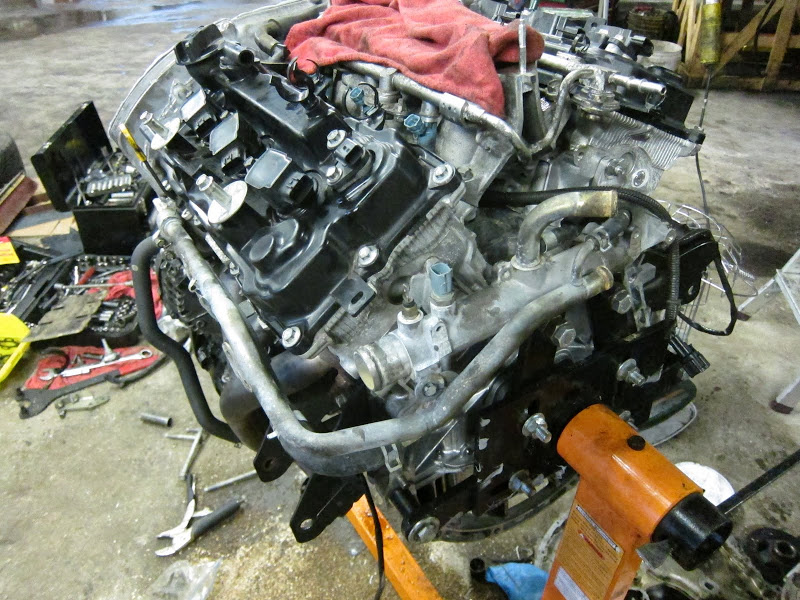
Close ups of the Alti oil cooler hose routing. The rear line needs to be bent slightly, the cooler sandwich is clocked counter clockwise from it’s stock orientation, the hardline that came with the engine has been bent slightly, 2 tabs removed, one re-drilled to bolt to the front of the upper oil pan with the a/c bracket, and a longer hose used from the sandwich to the hardline. A long rubber hose could replace the front hardline setup too. And the p/s belt clears no problem.
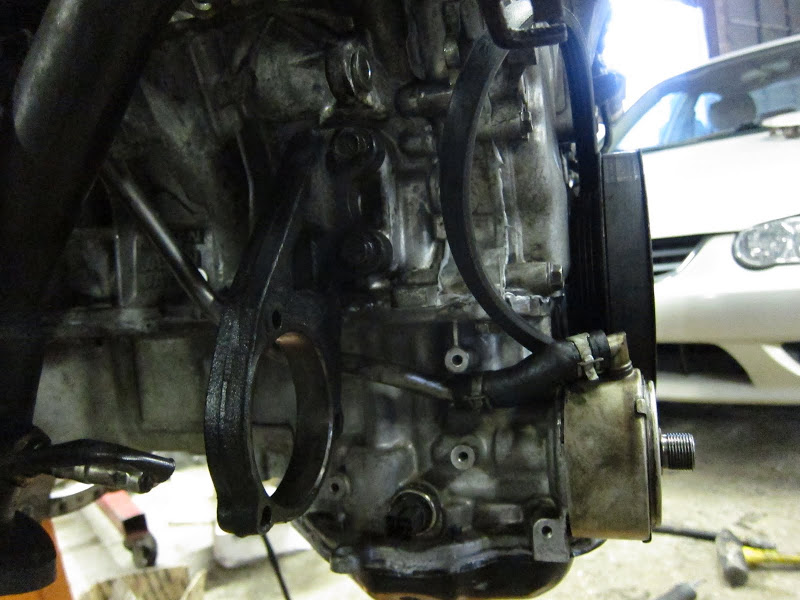


It’s ALIVE. This is as clean as this will ever be.. (notice the different rear main seal too)

Dirty but all together.
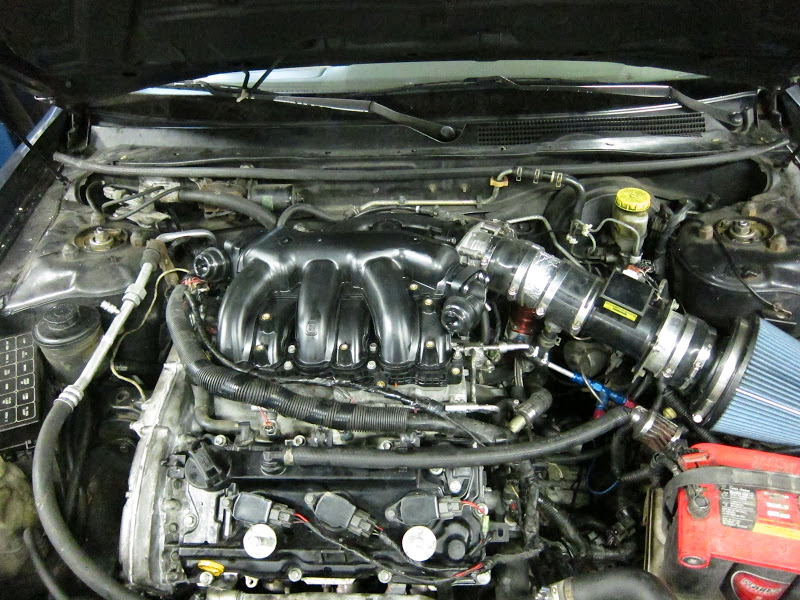
A couple other misc things with the swap:
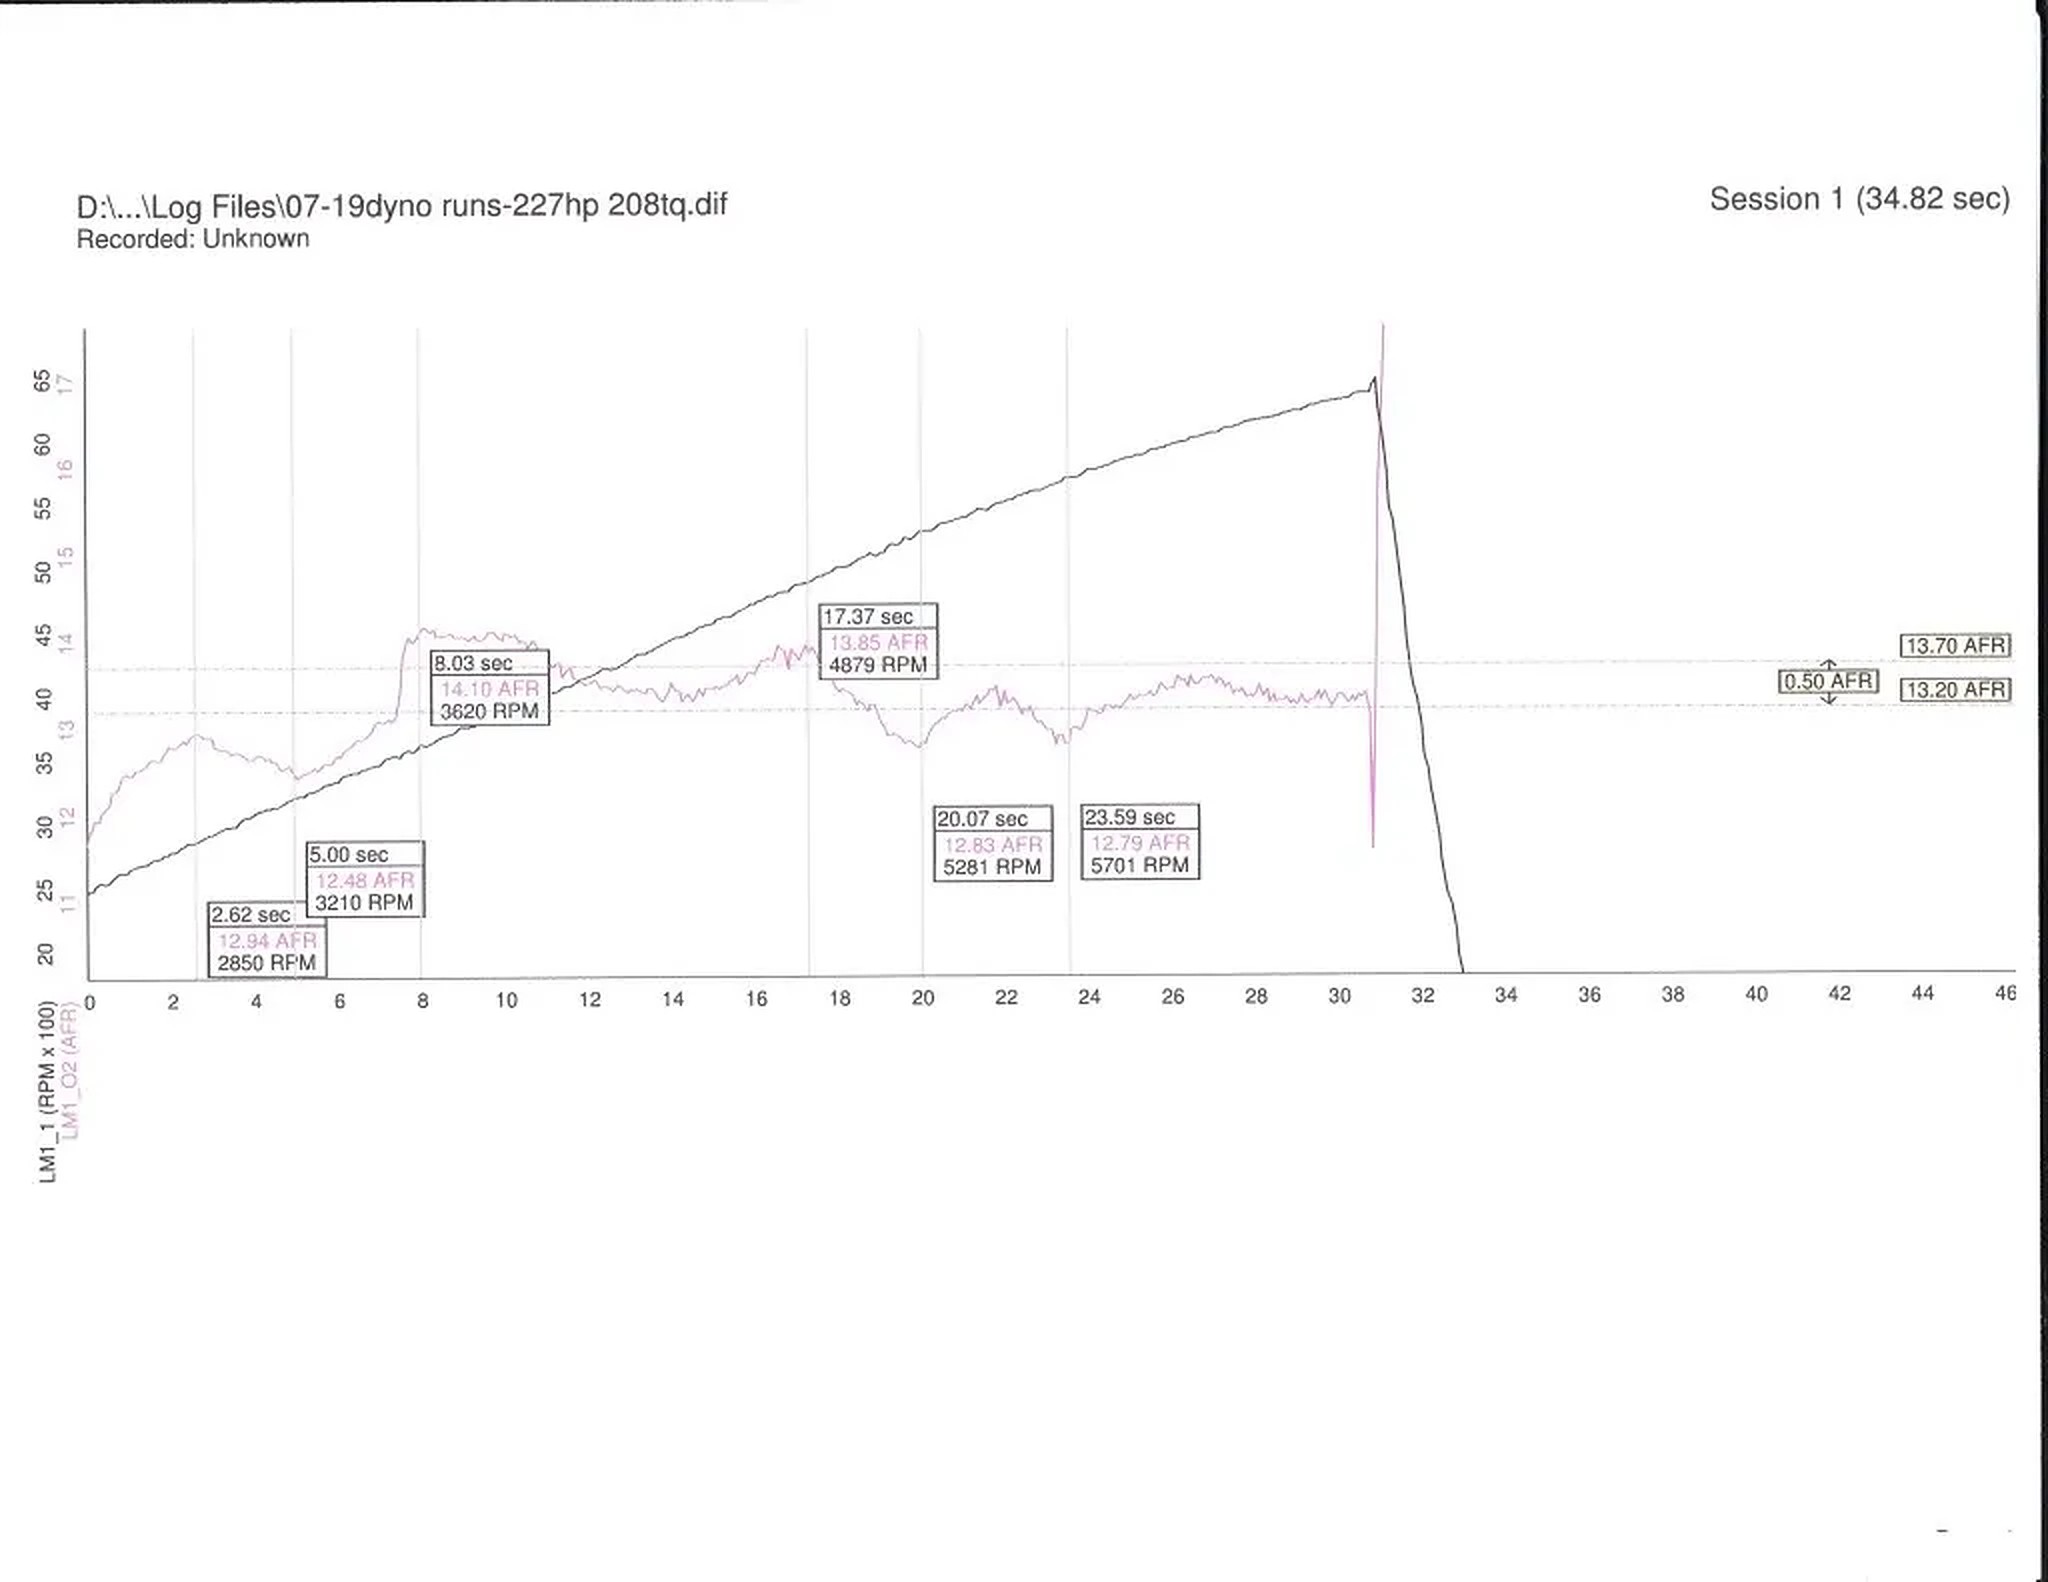
I’ve yet to really push it but it idles good, runs smooth, and pulls good mid throttle. Somewhere in the near future I’m going to gut the upper and remove the VIAS valves. So, now we know how this is possible, not just that it is.
Also, in the opinion of the OP, how does this differ, difficulty level/wise compared to the 02-08 engine swap?
On those auto or CVT second-gen 3.5s with the CPS in a different spot you have to swap the upper oil pan anyway.
So, if you were going to drill the cams and use a second-gen 3.5 that came with an auto or CVT trans, it’s basically the same thing.
Nice work, any plans to dyno it? How much did that engine run you?
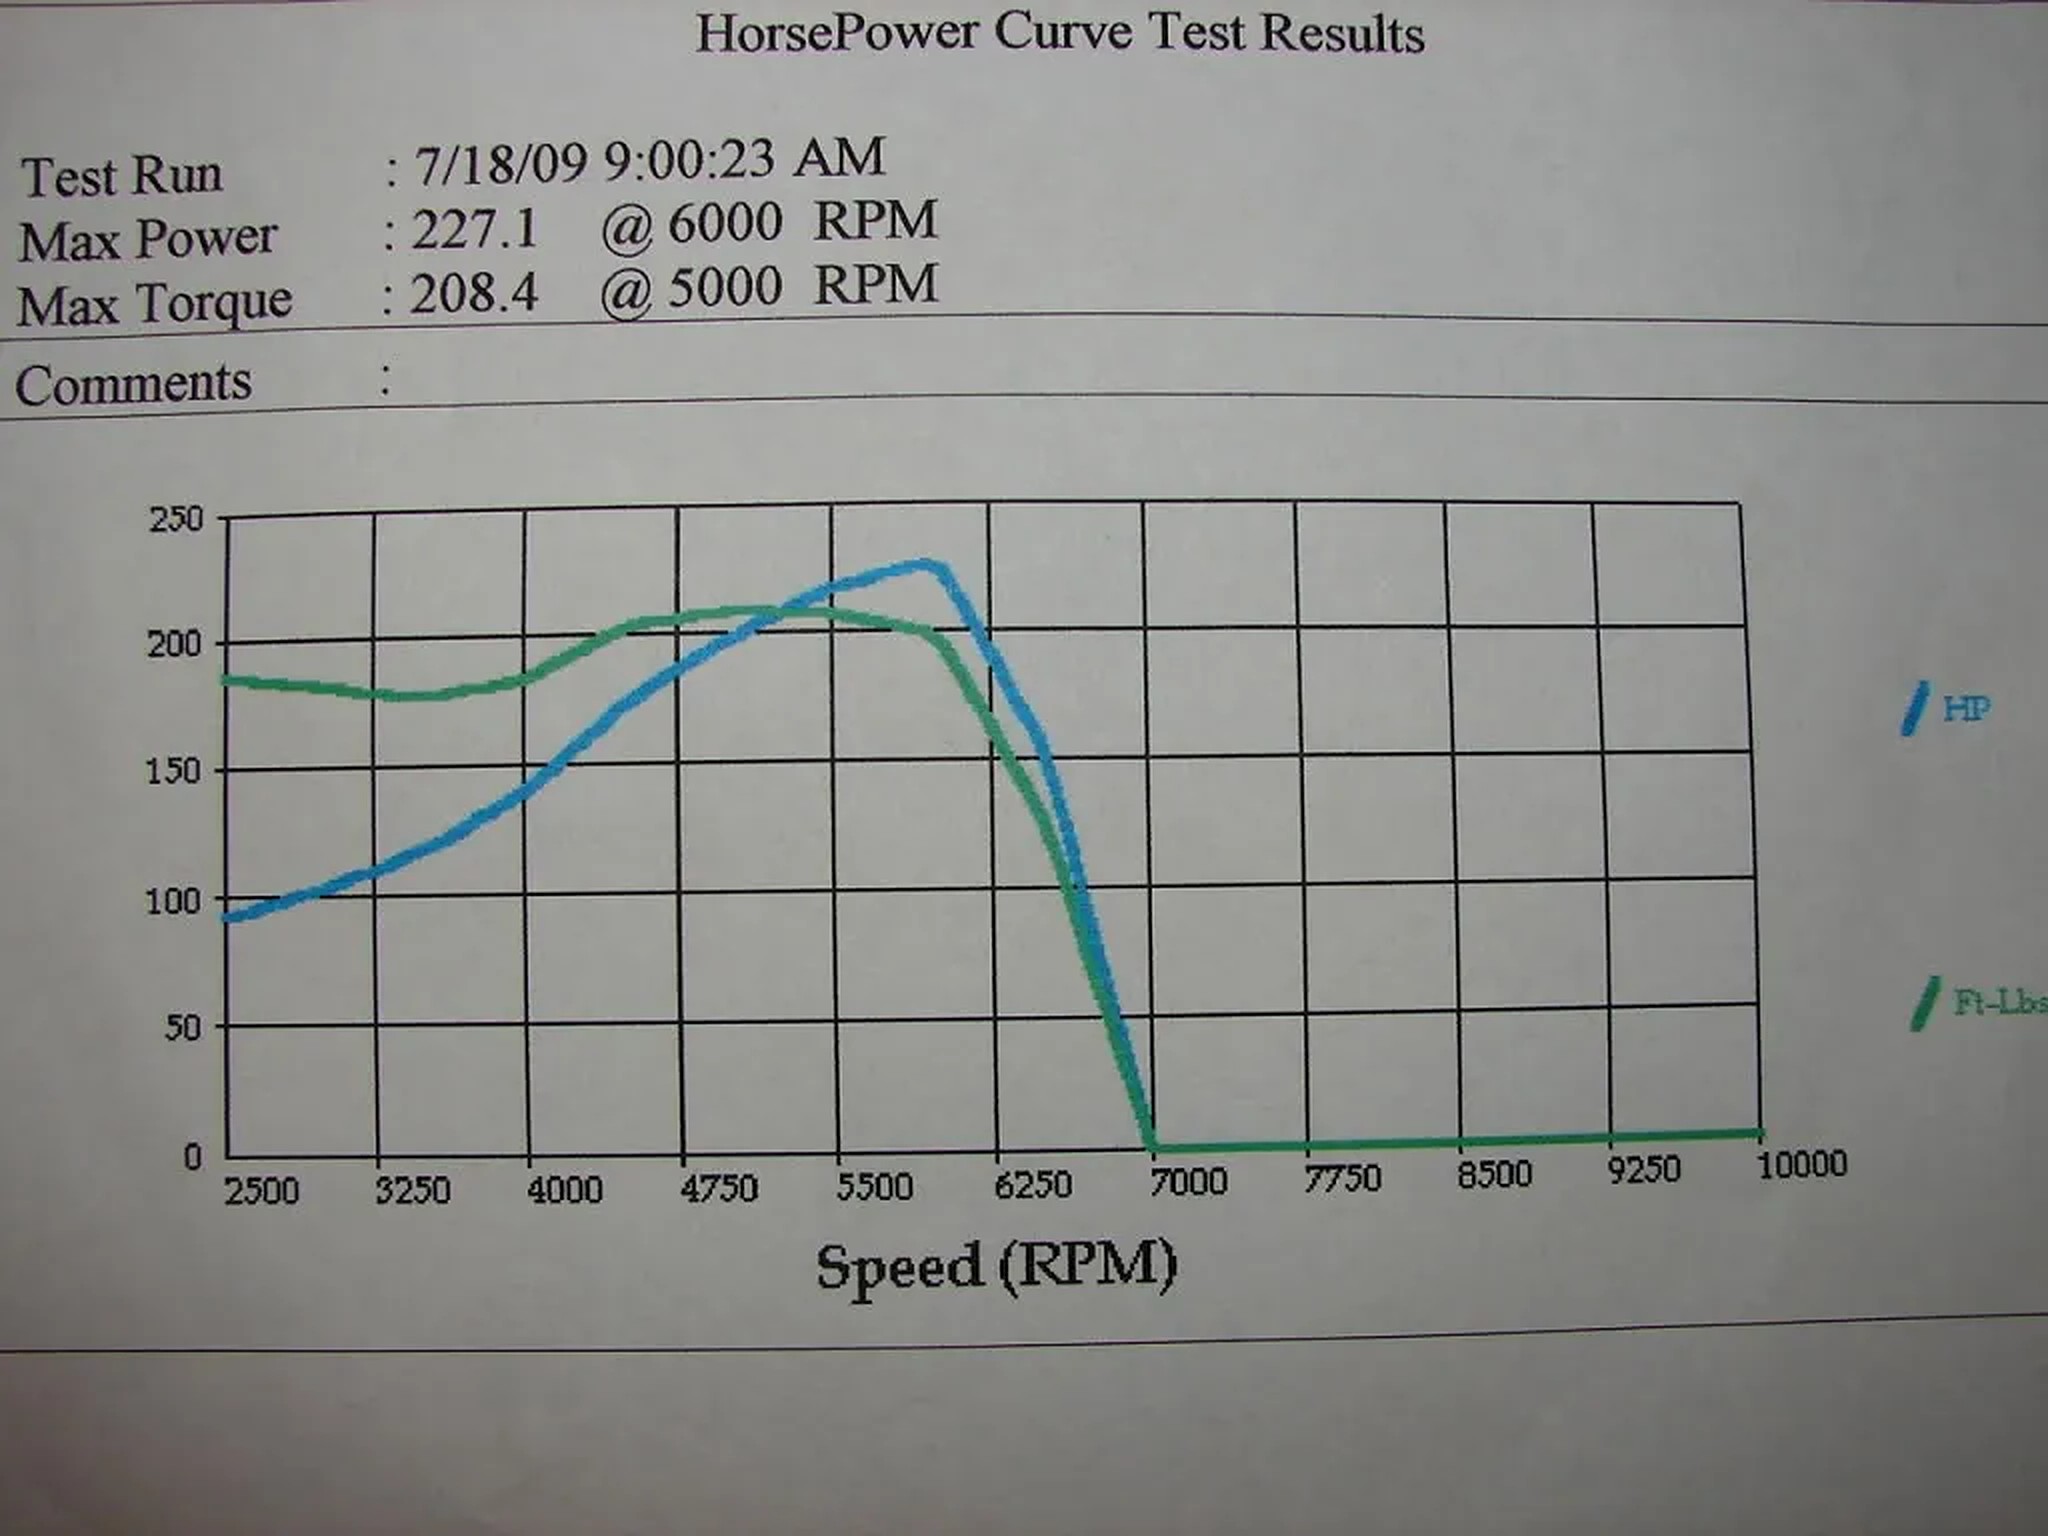
Yep, Once I gut the 09 upper and get the EMU in + tuned, I plan on getting on the dyno. I picked up the engine with 47k for $1400 including the $200 core charge.
Quick question about the cam timing on this swap. Would it be possible to use regular 05 max cams in the 07 Altima VQ so that I could use the adapters? I did some slight FSM research and they both have the same bearing/bore diameters. Only difference I can find is the lobe height witch is about .6 mm less on the max cams.
I am assuming the cam length and lobe placement would be the same but I would just like another opinion before I make the decision to try it. This way would just be 10x easier for me since I have multiple sets of 05 cams laying around, plus I don’t really have the resources to drill the Alti cams.
Yep, no reason you can’t run any non-HR head VQ cams with adapters. But, as with any cam swap, you’ll want to check the valve lash.
I got the new setup to the track tonight.
Track prep:
Year of Engine: 2008 Altima
Engine Modifications: 3.0l timing, upper and lower oil pans, drilled intake cams/sprockets, 09′ Maxima upper intake and (75mm) TB, 3.5″ Intake, Q45 MAF, BPI flow stack, Aeromotive AFPR, Cattman headers, 3″ SS exhaust Y-back.
Tuned: Rough tune with EMU
Transmission: AE 5MT VLSD
PBs
Slips: (7447)
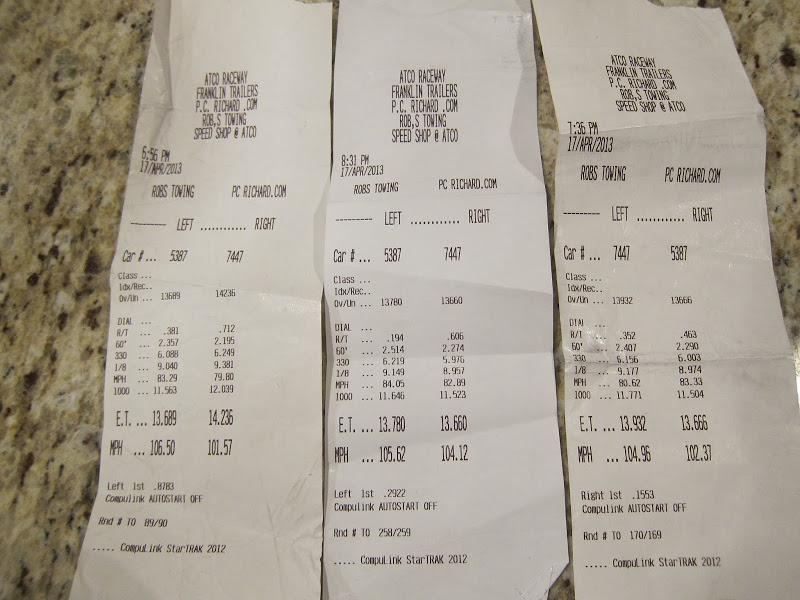
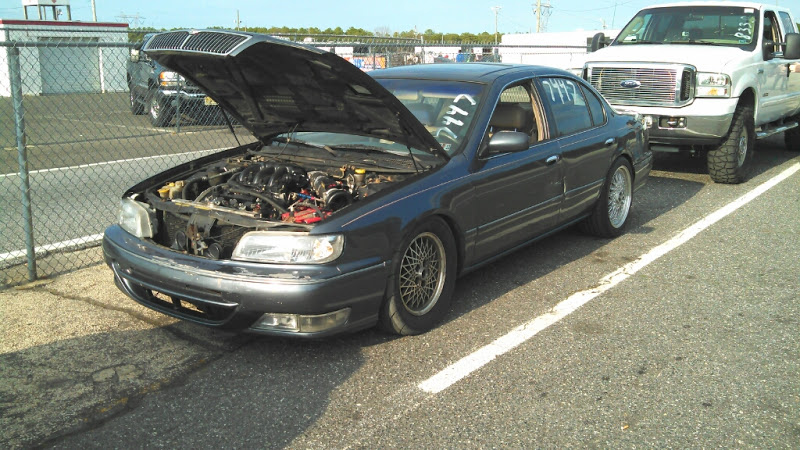
My 60 still needs work, as does my tune, the VIAS isn’t hooked up, and I was only shifting at 6600ish. But, all in all, I’m happy with the improvement over my last time at the track with the old 3.5 DE, 2.5″ exhaust, and stock 3.5 TB.
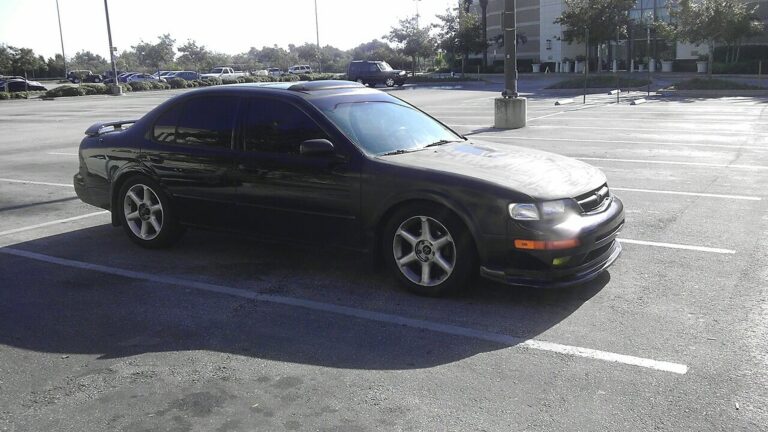
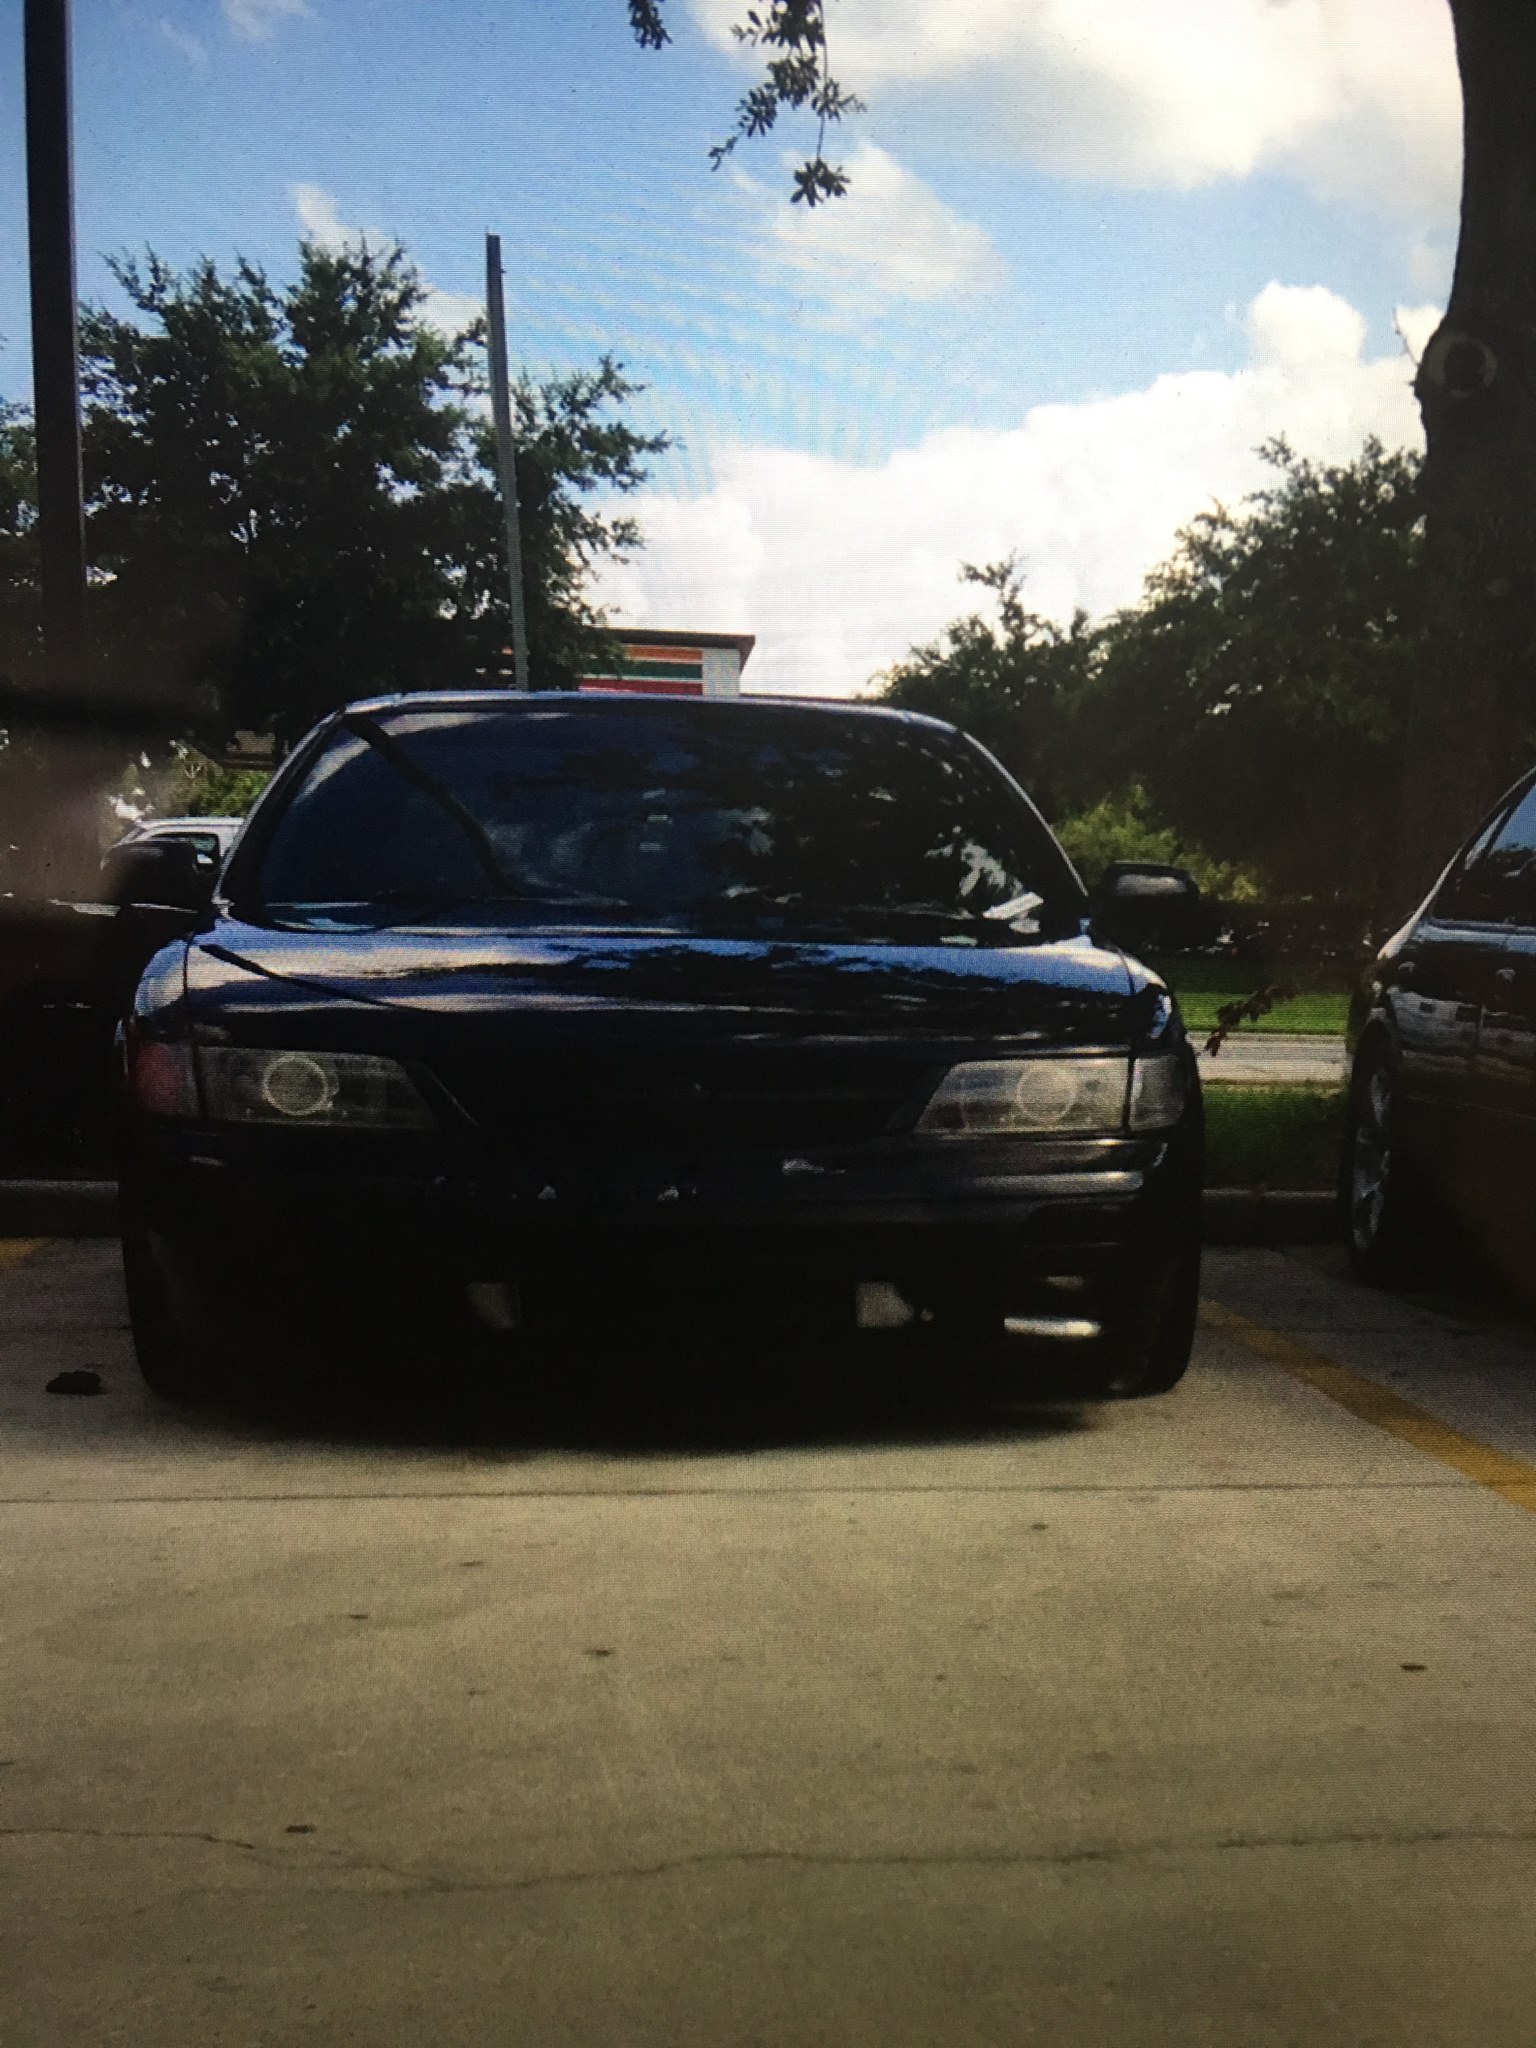
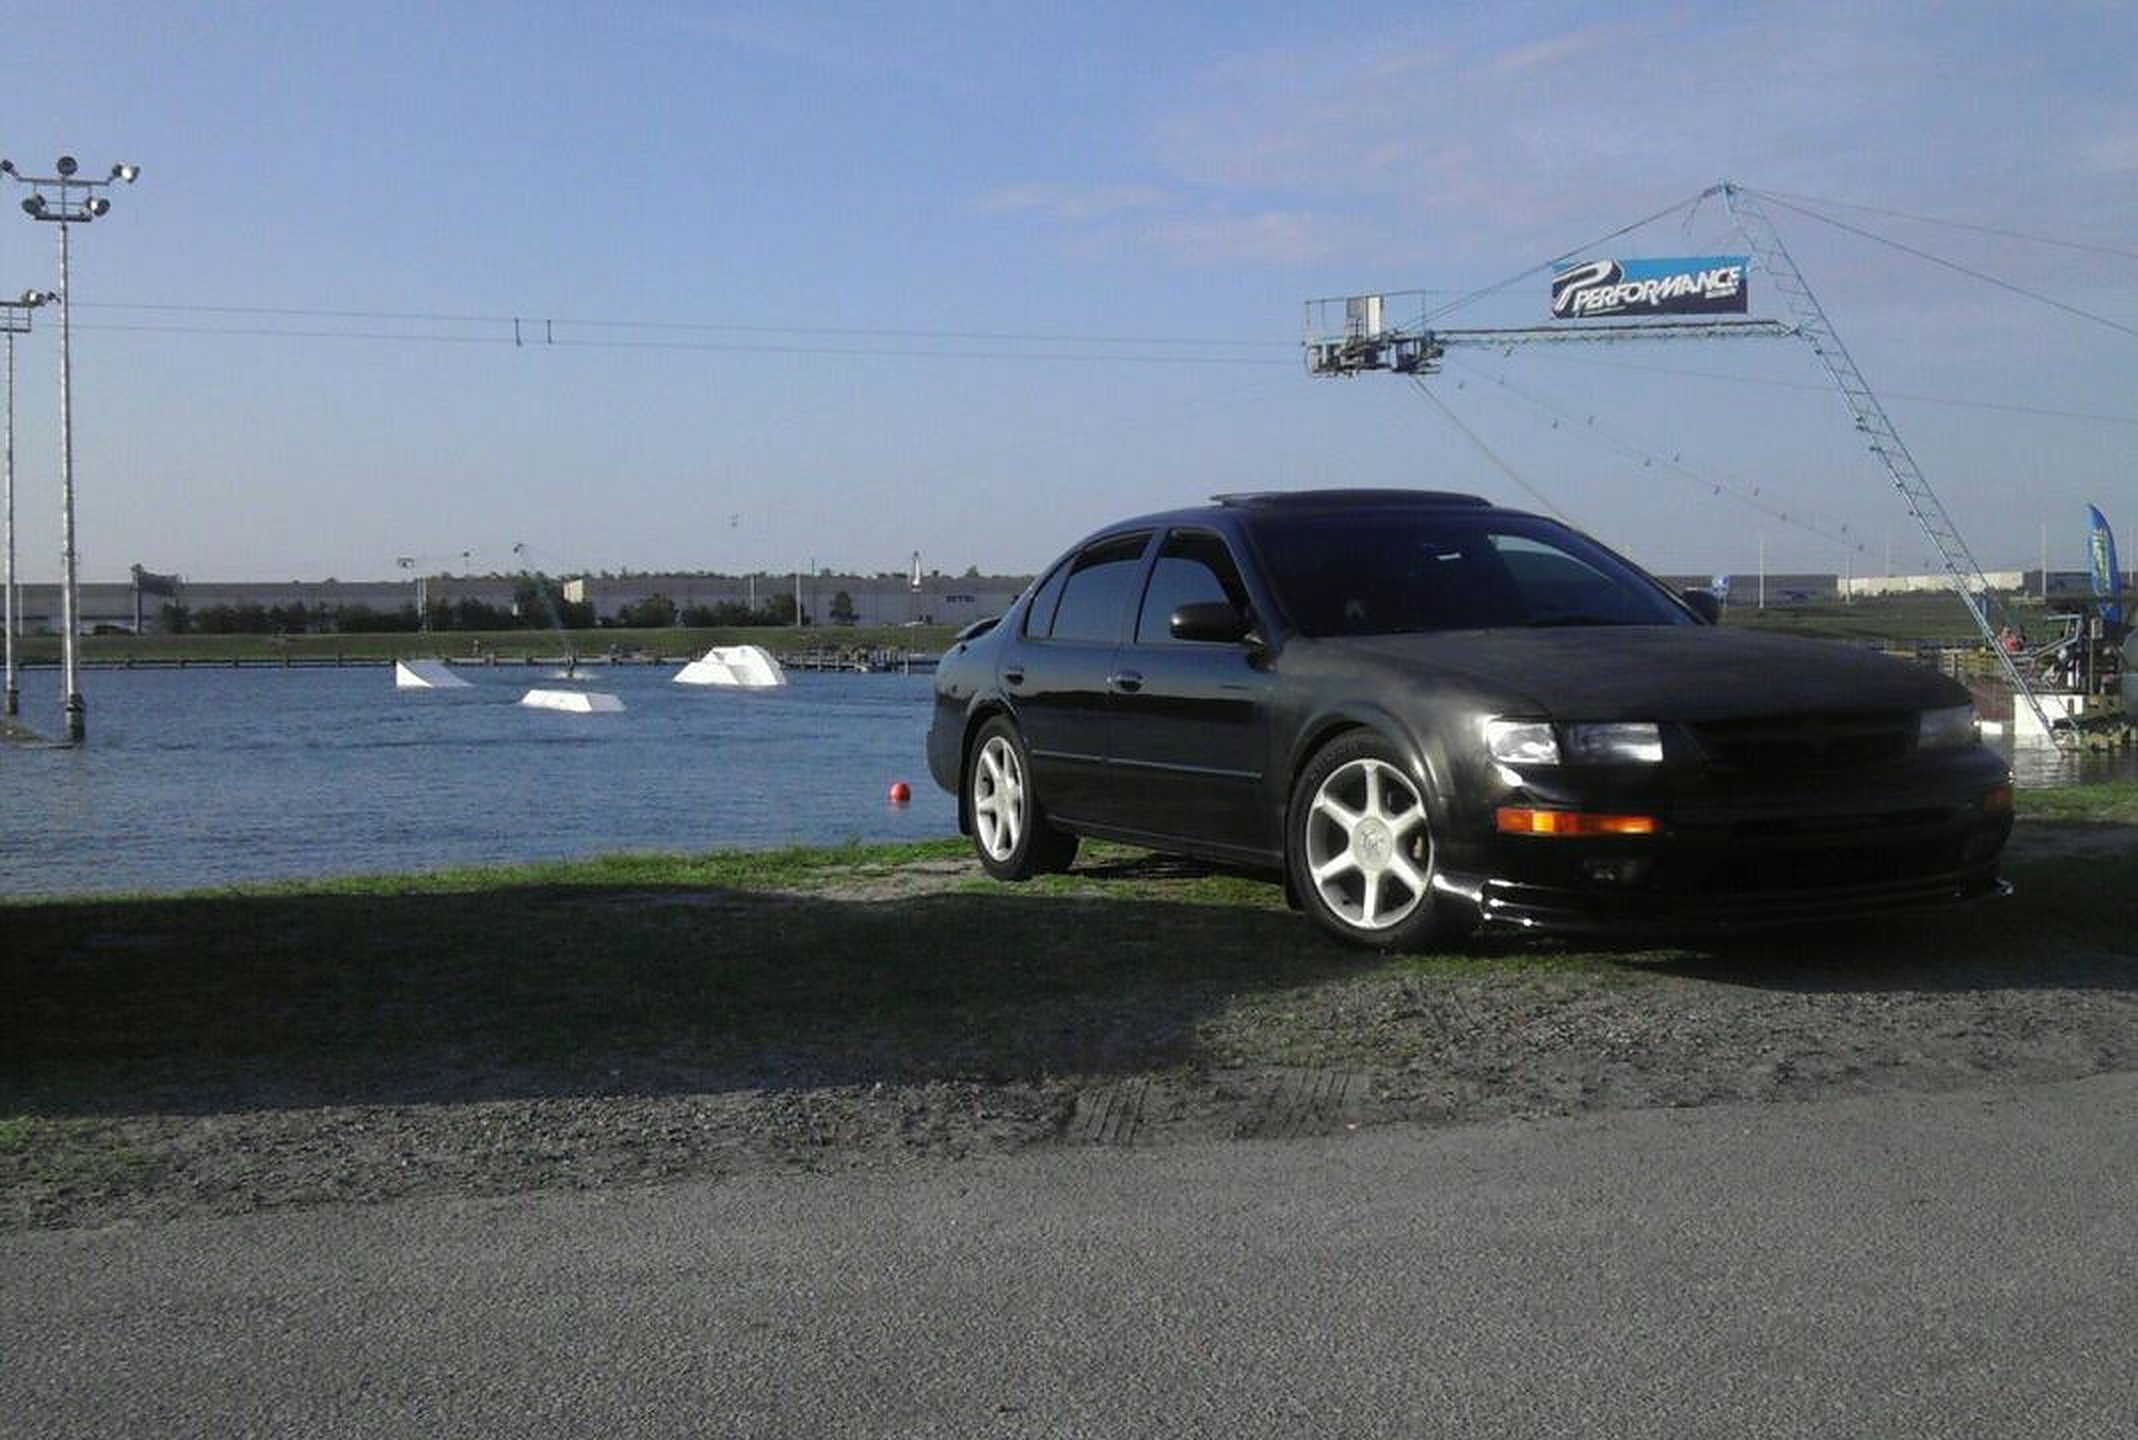
Owner: Cristian Shaw
Year: 1998
Model: Maxima
Color: Black
Transmission: 5-Speed Manual
Trim: SE

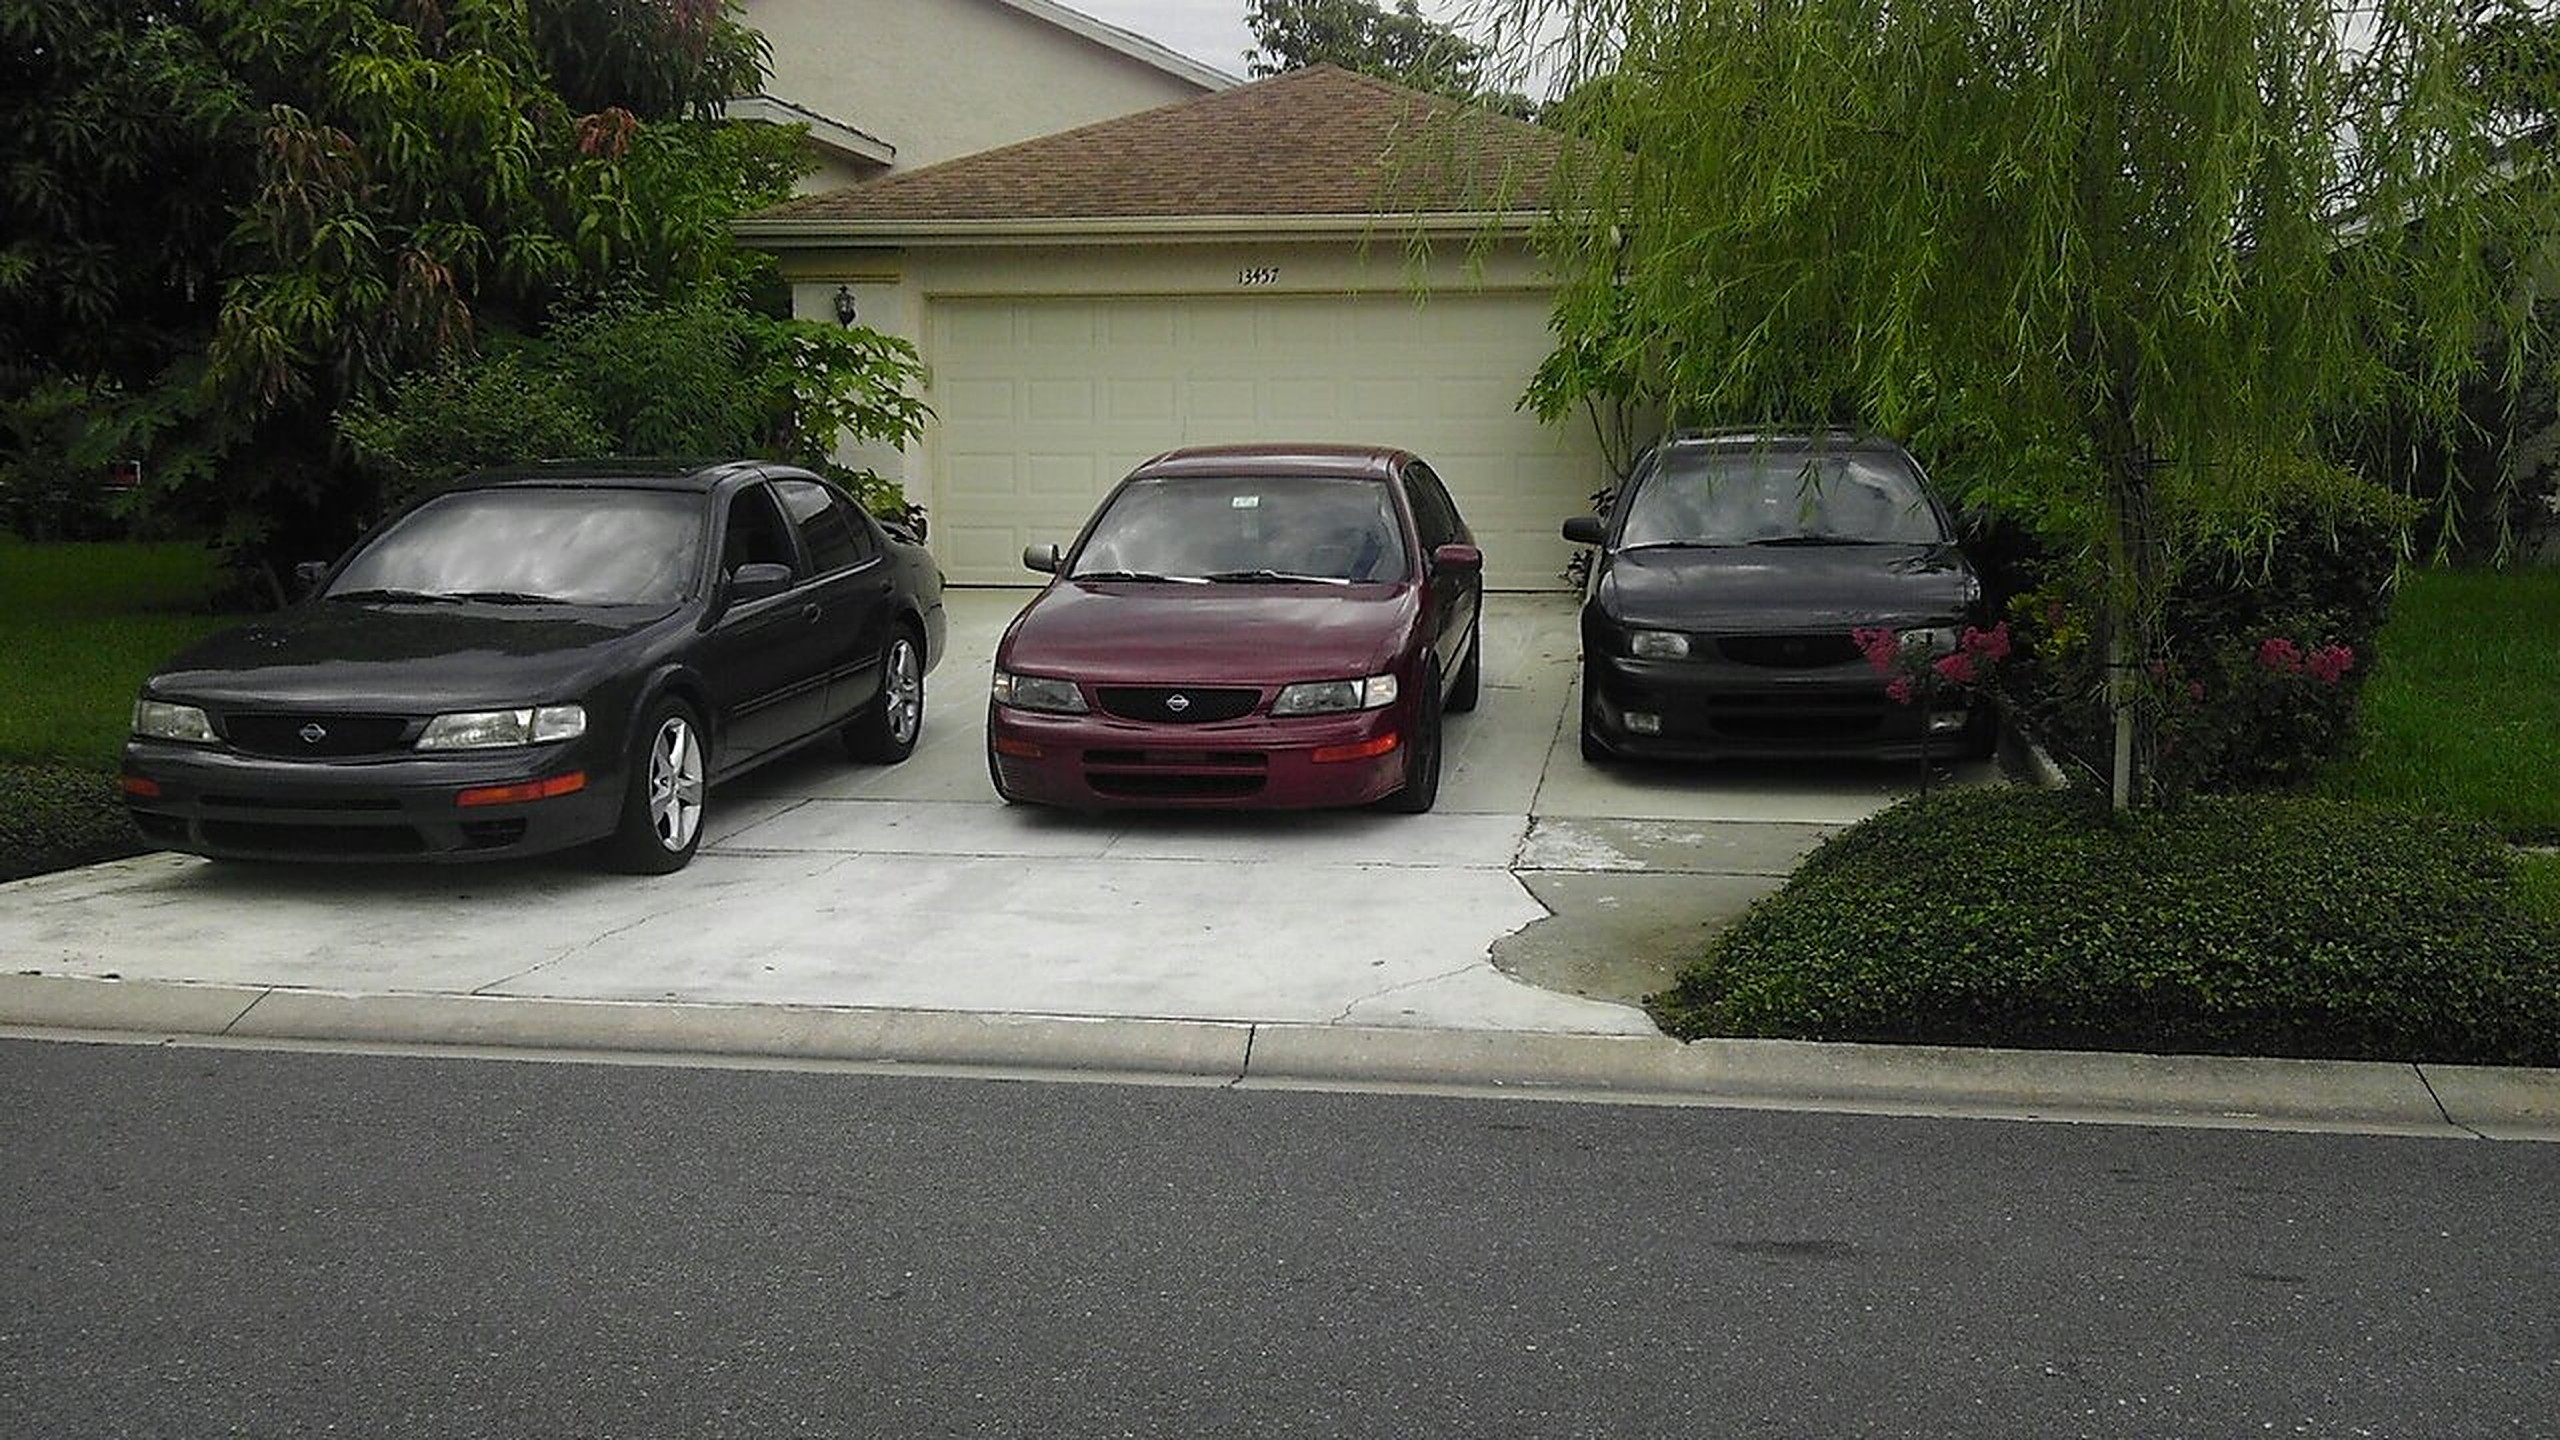
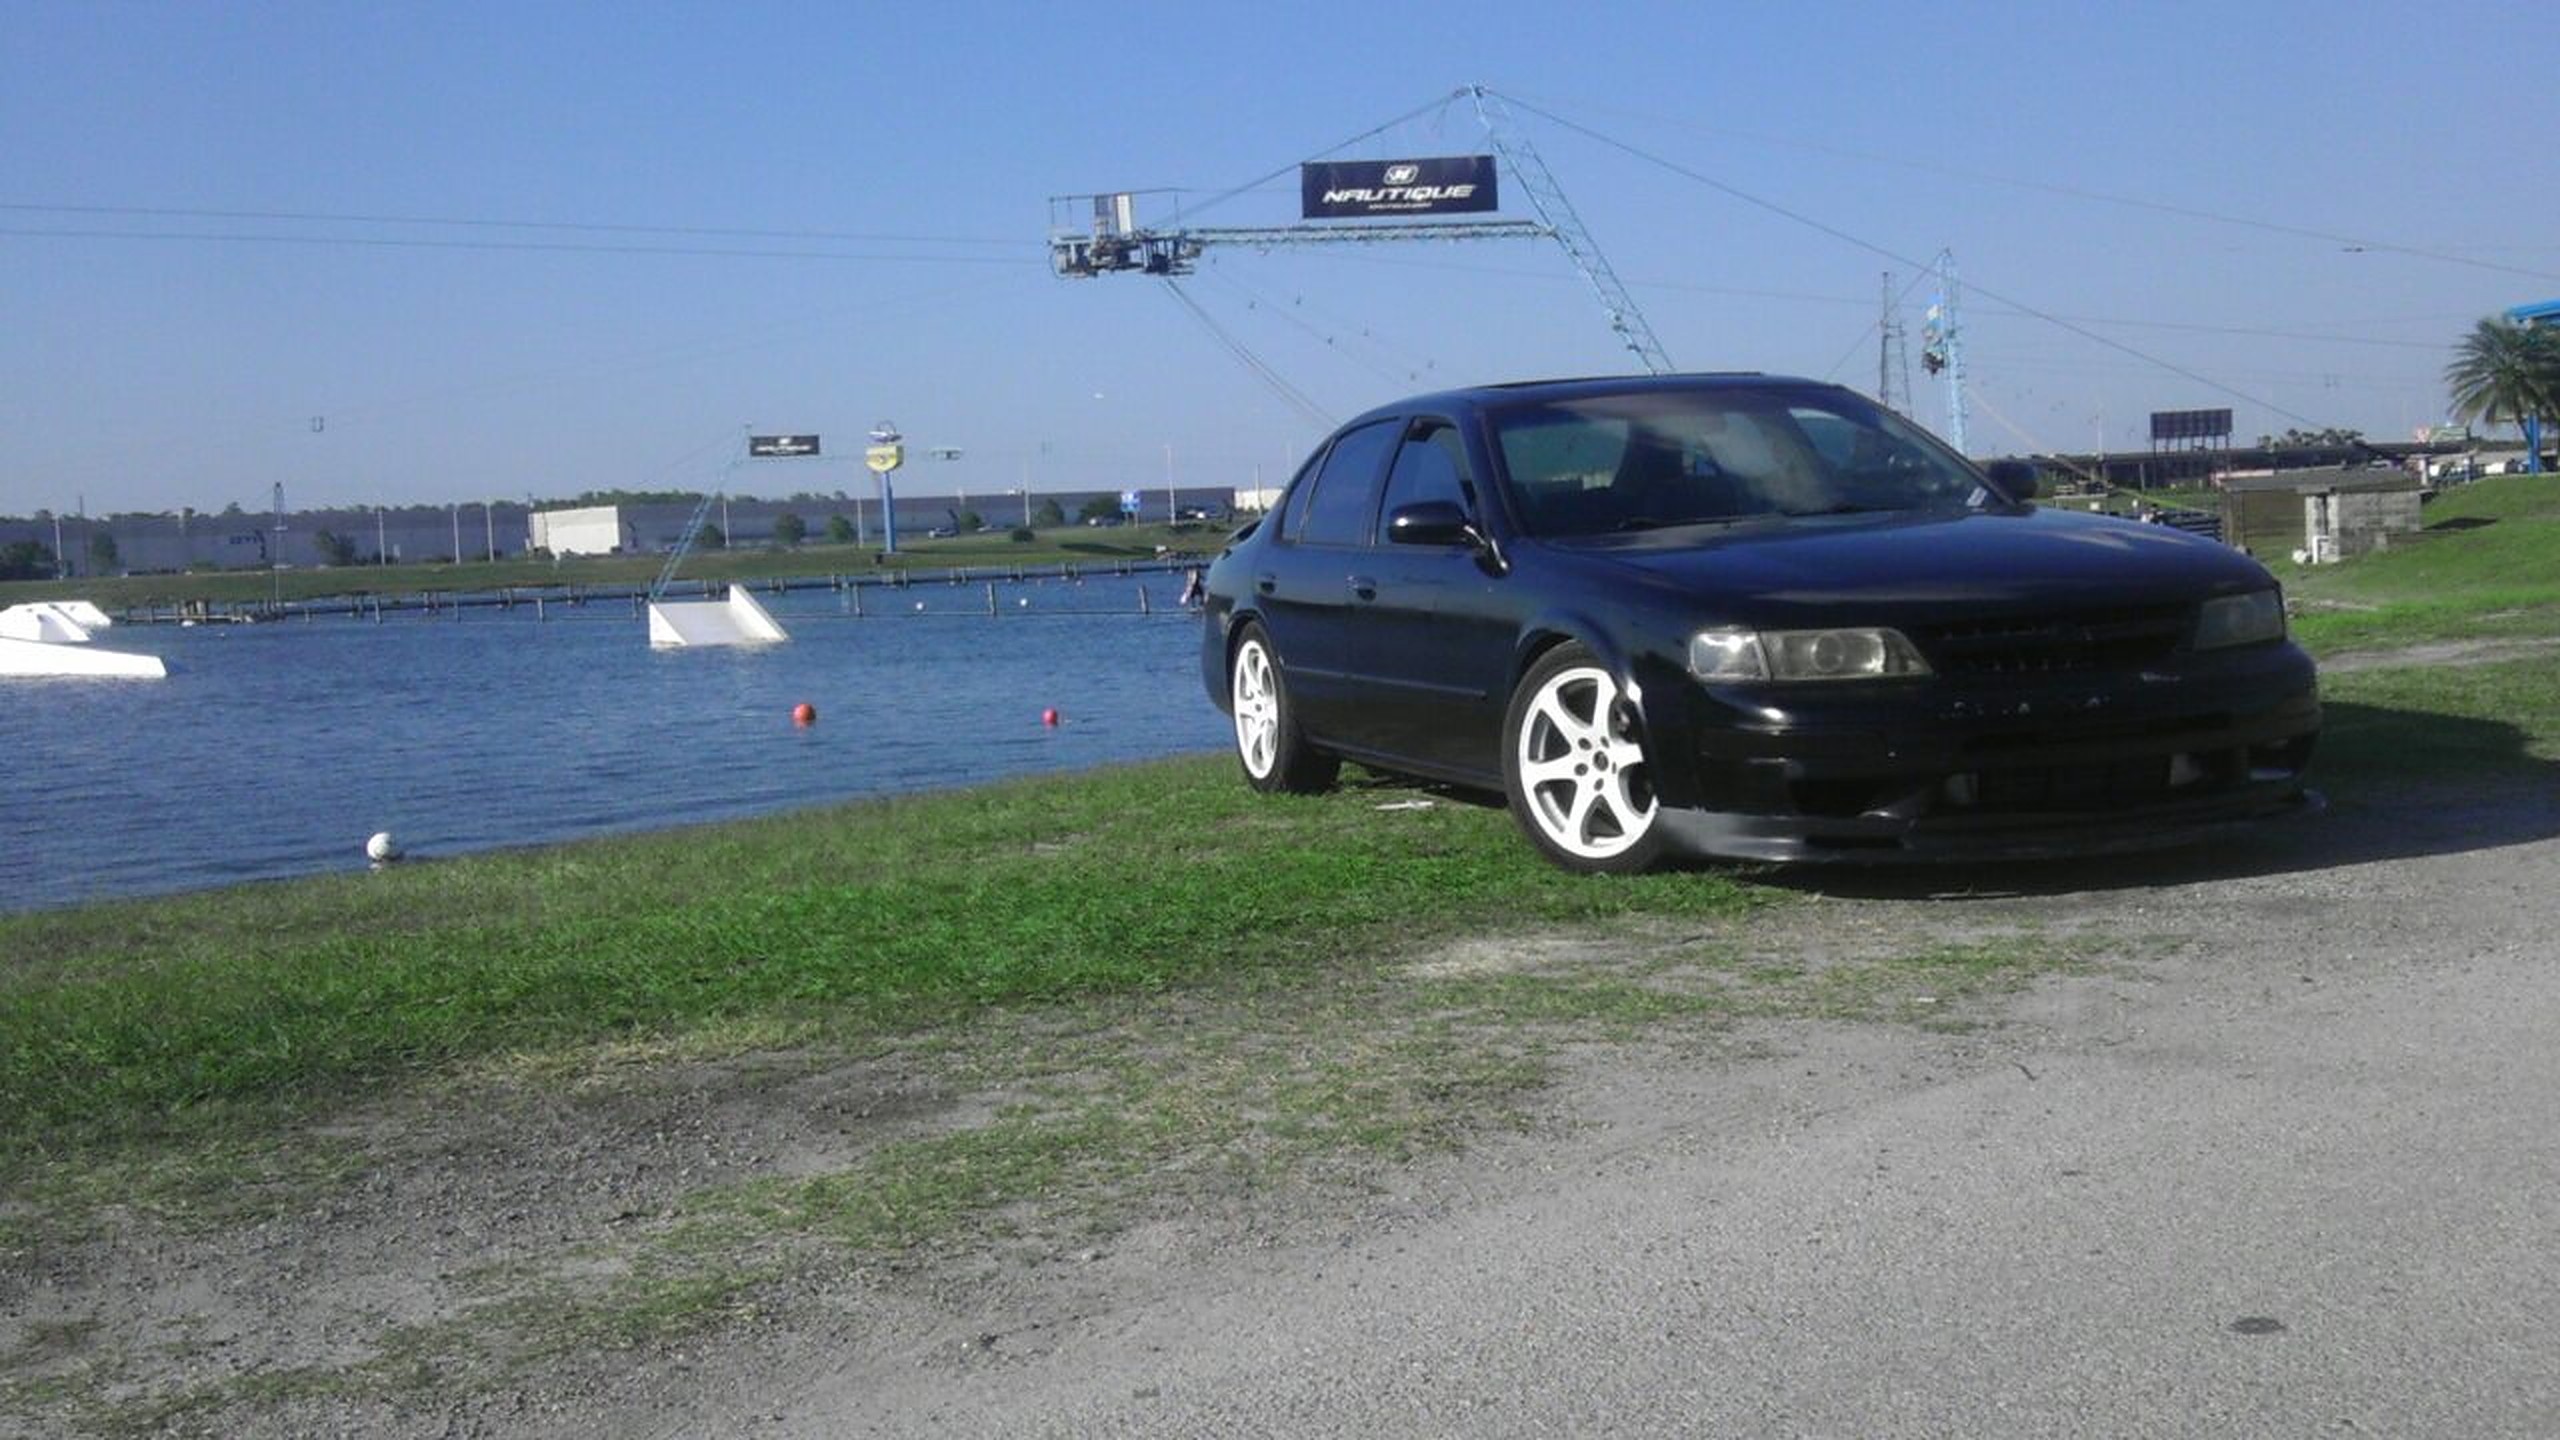
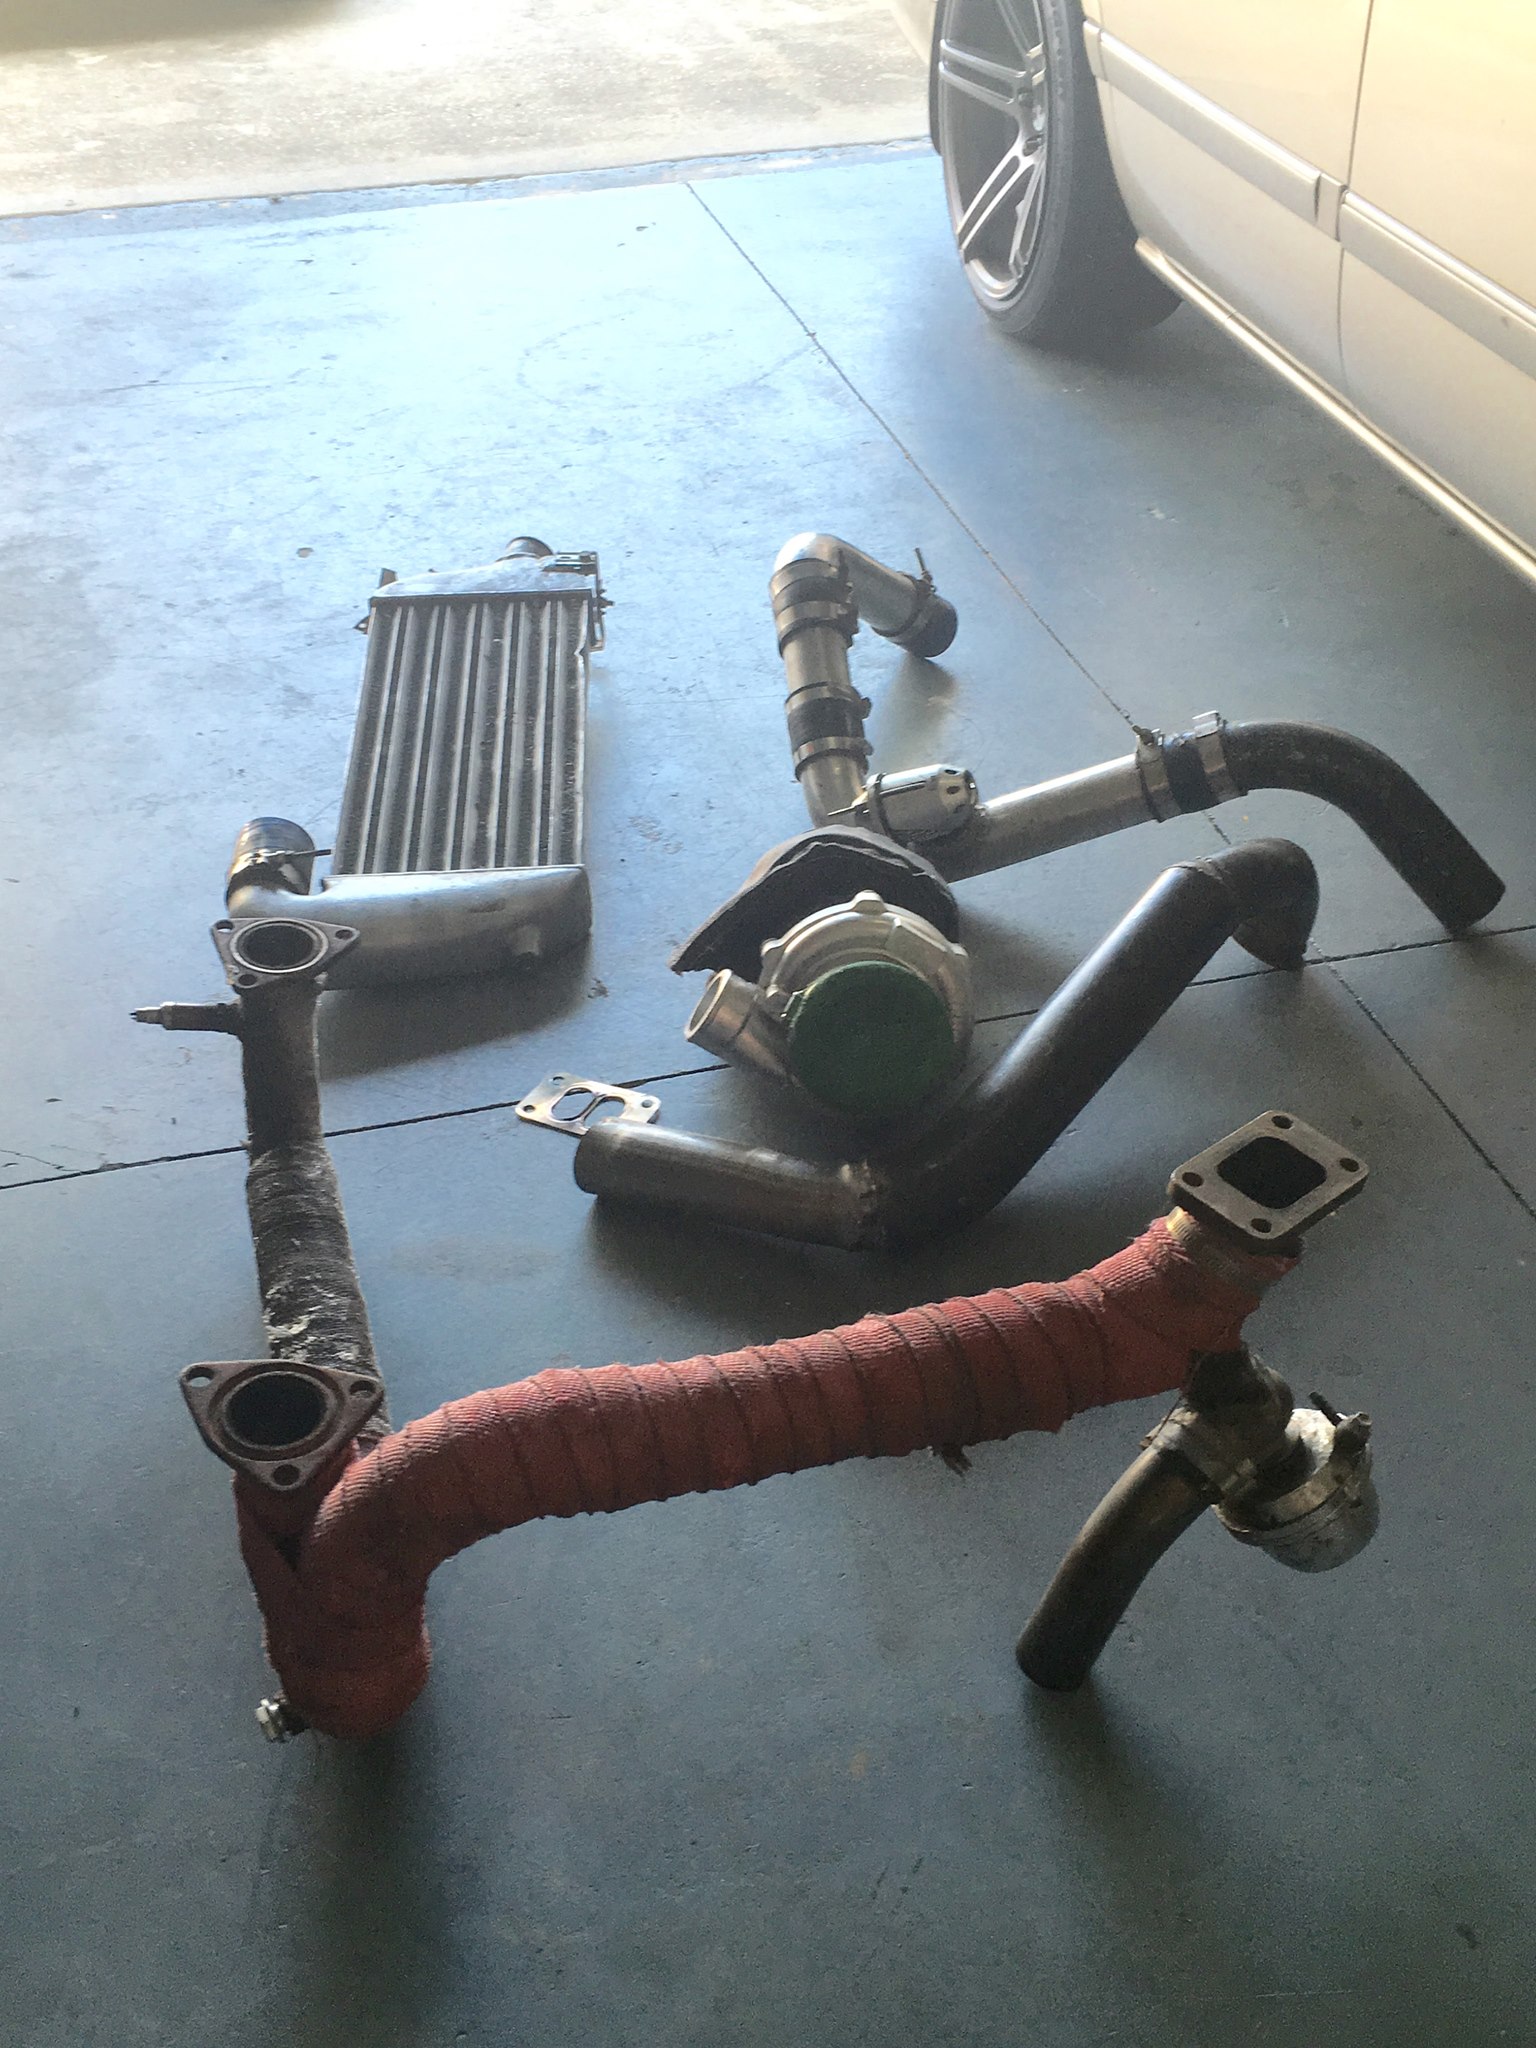
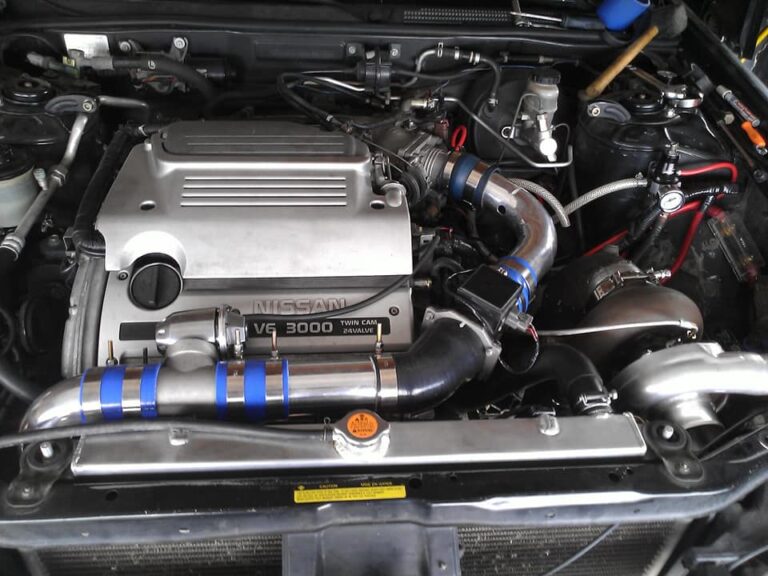
Owner: Chong Her
Year: 1995
Model: Maxima
Color: Black
Transmission: 5-Speed Manual
Trim: SE