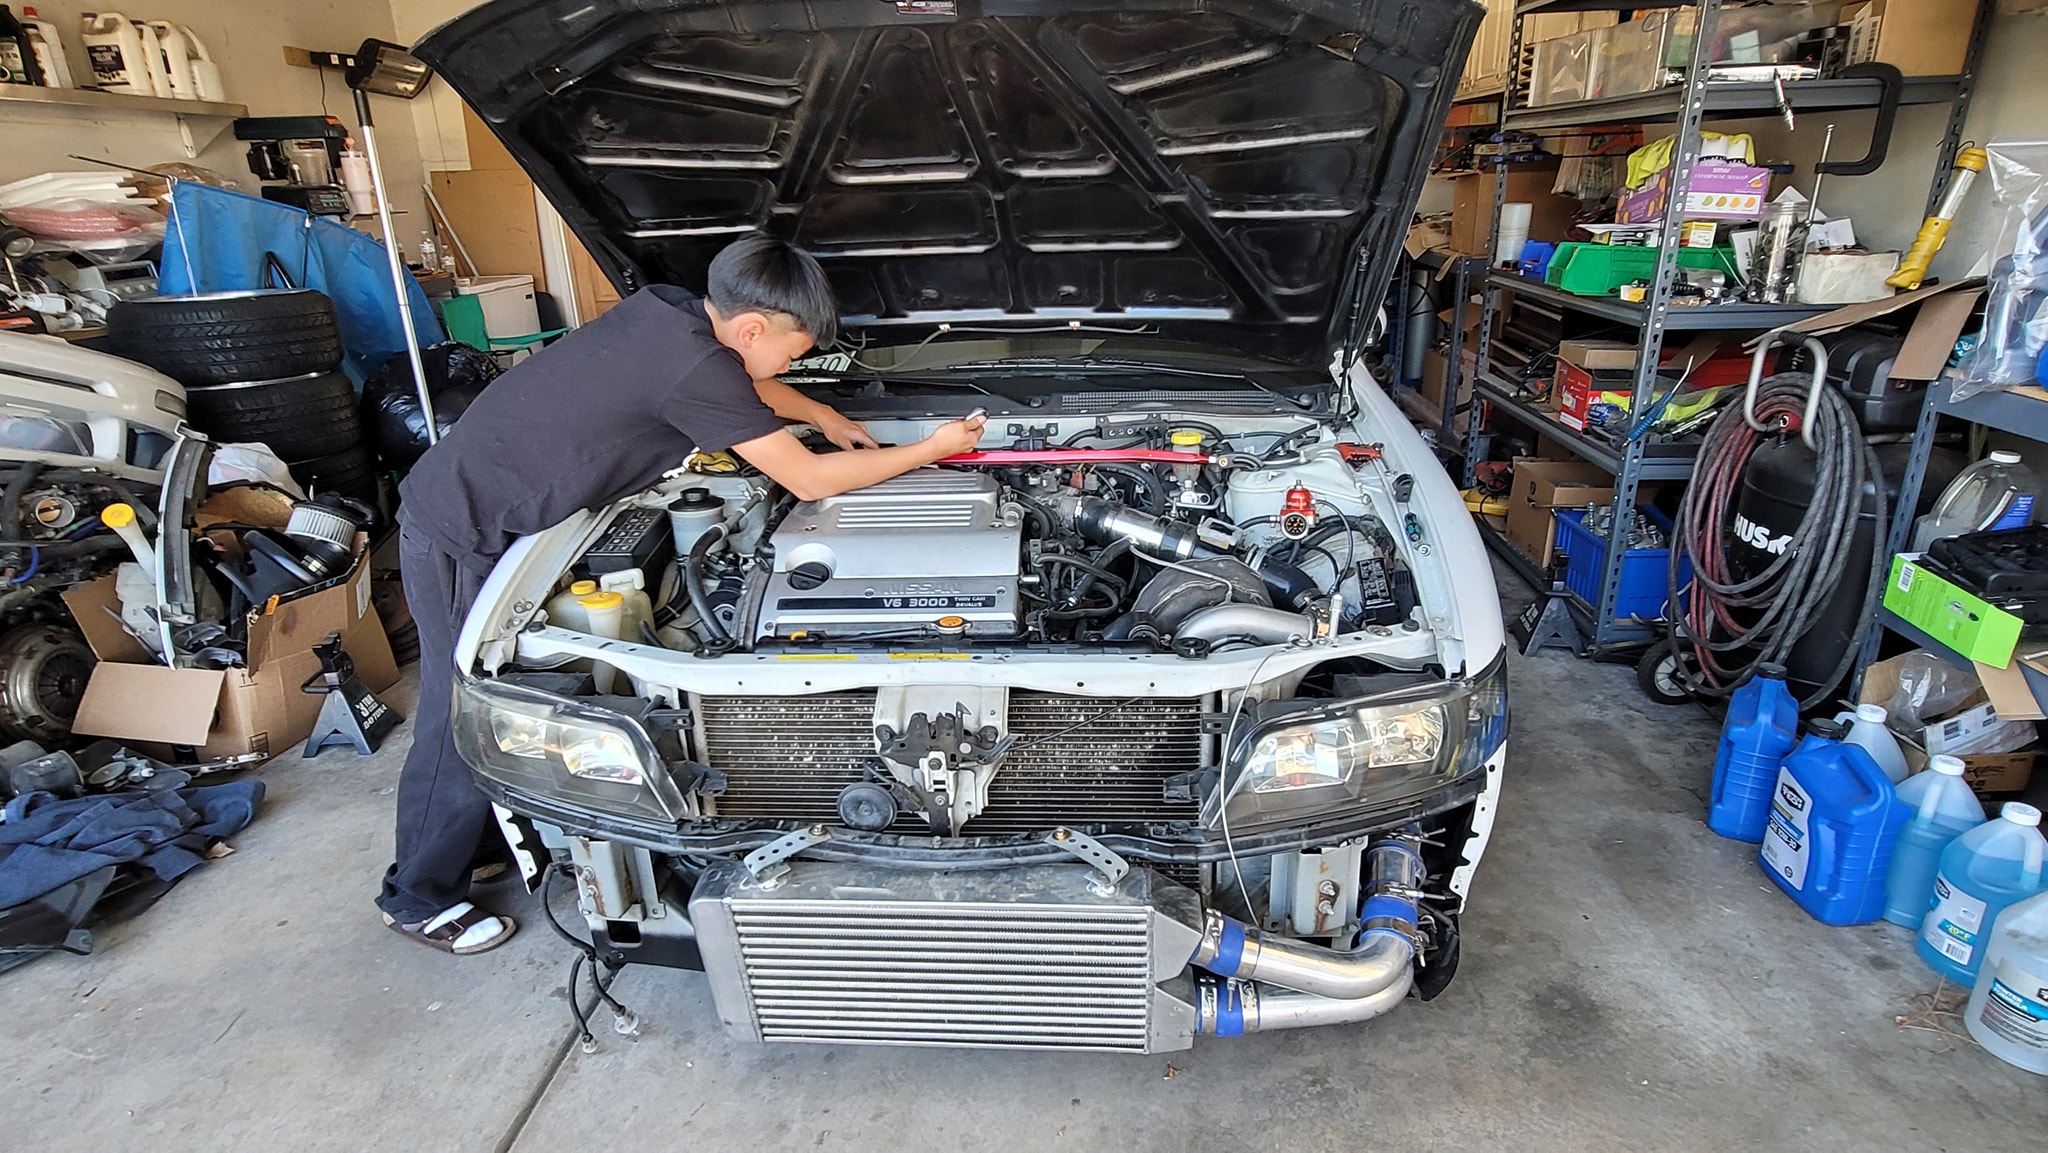
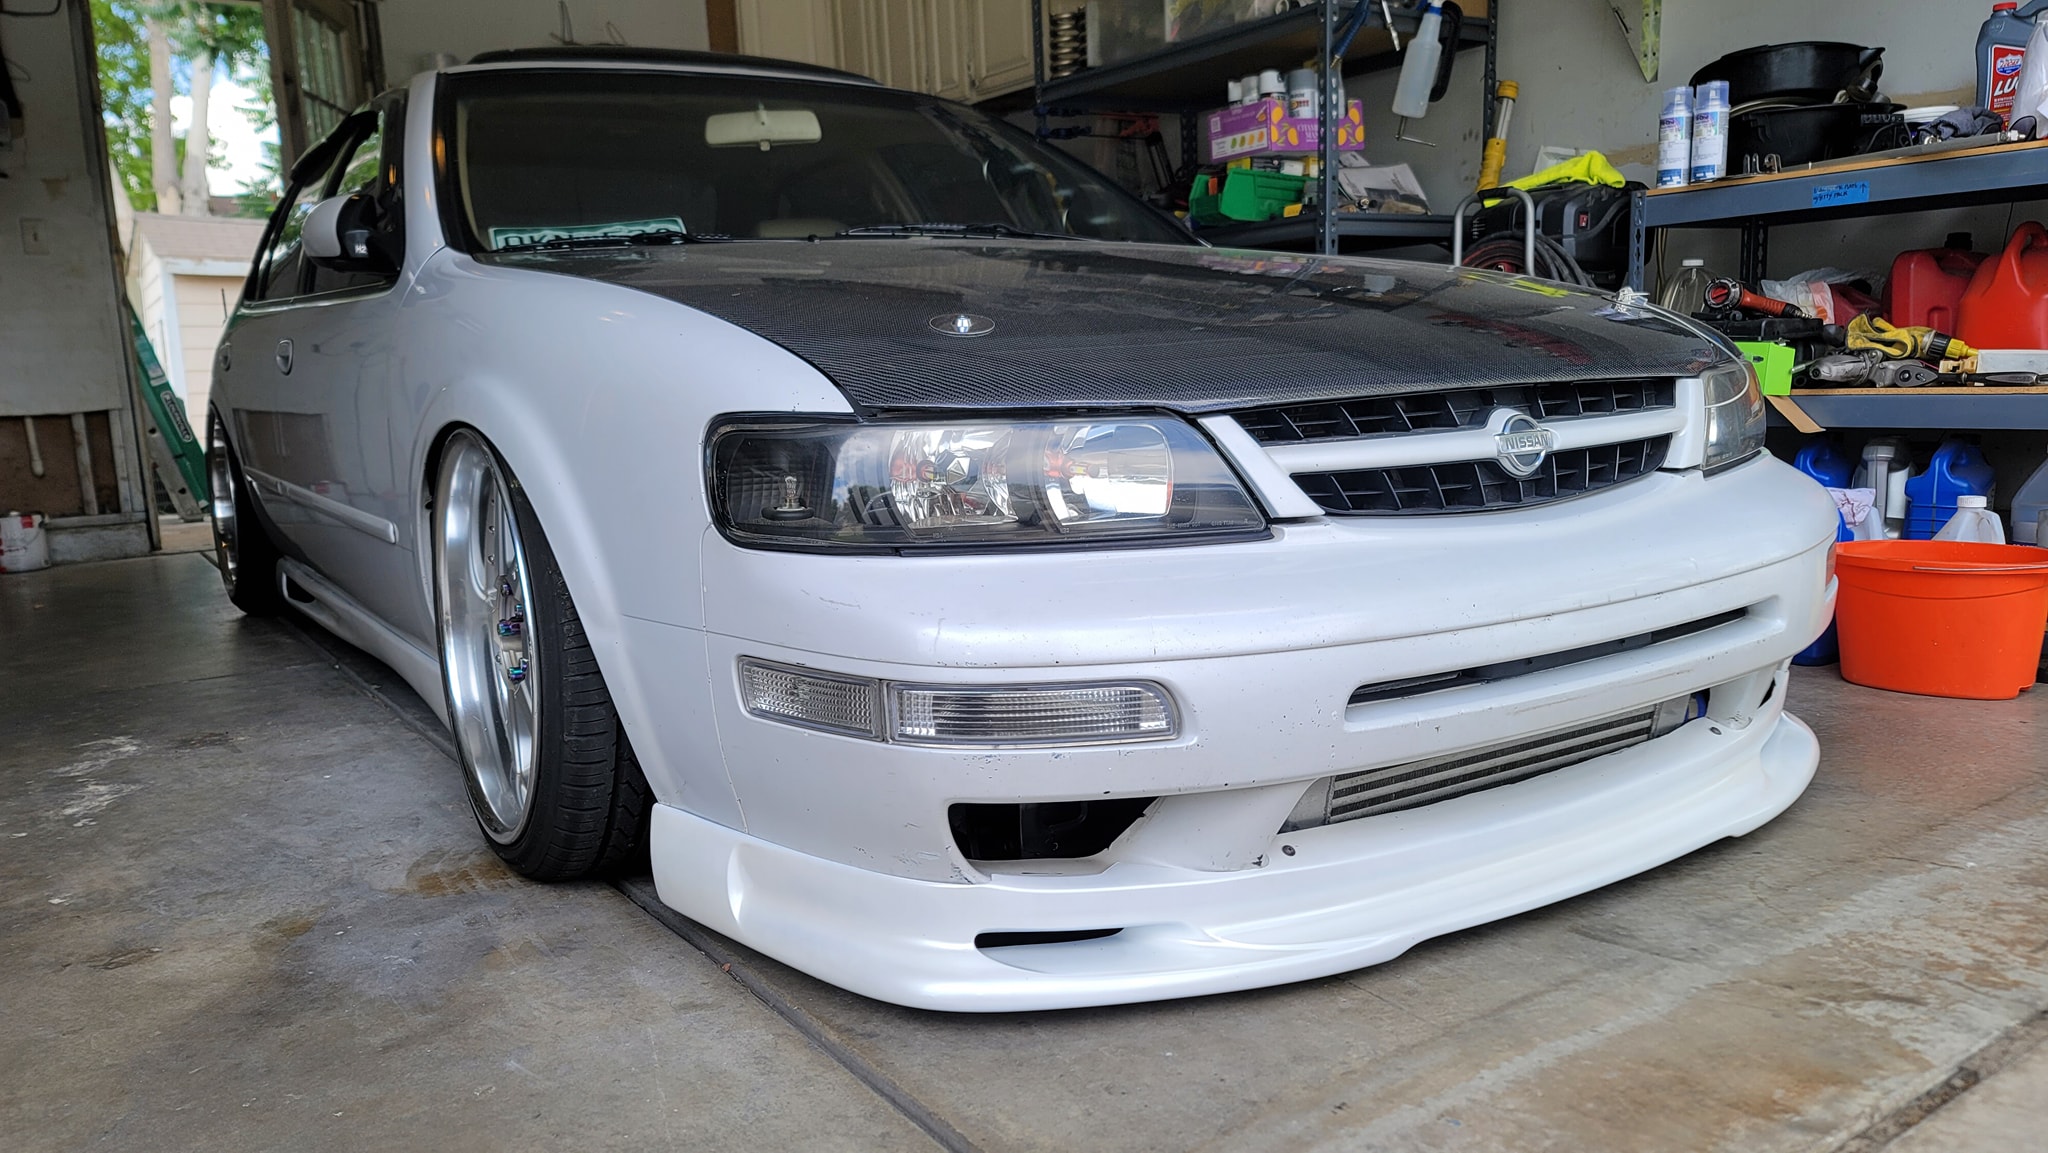
Owner: Chong Her
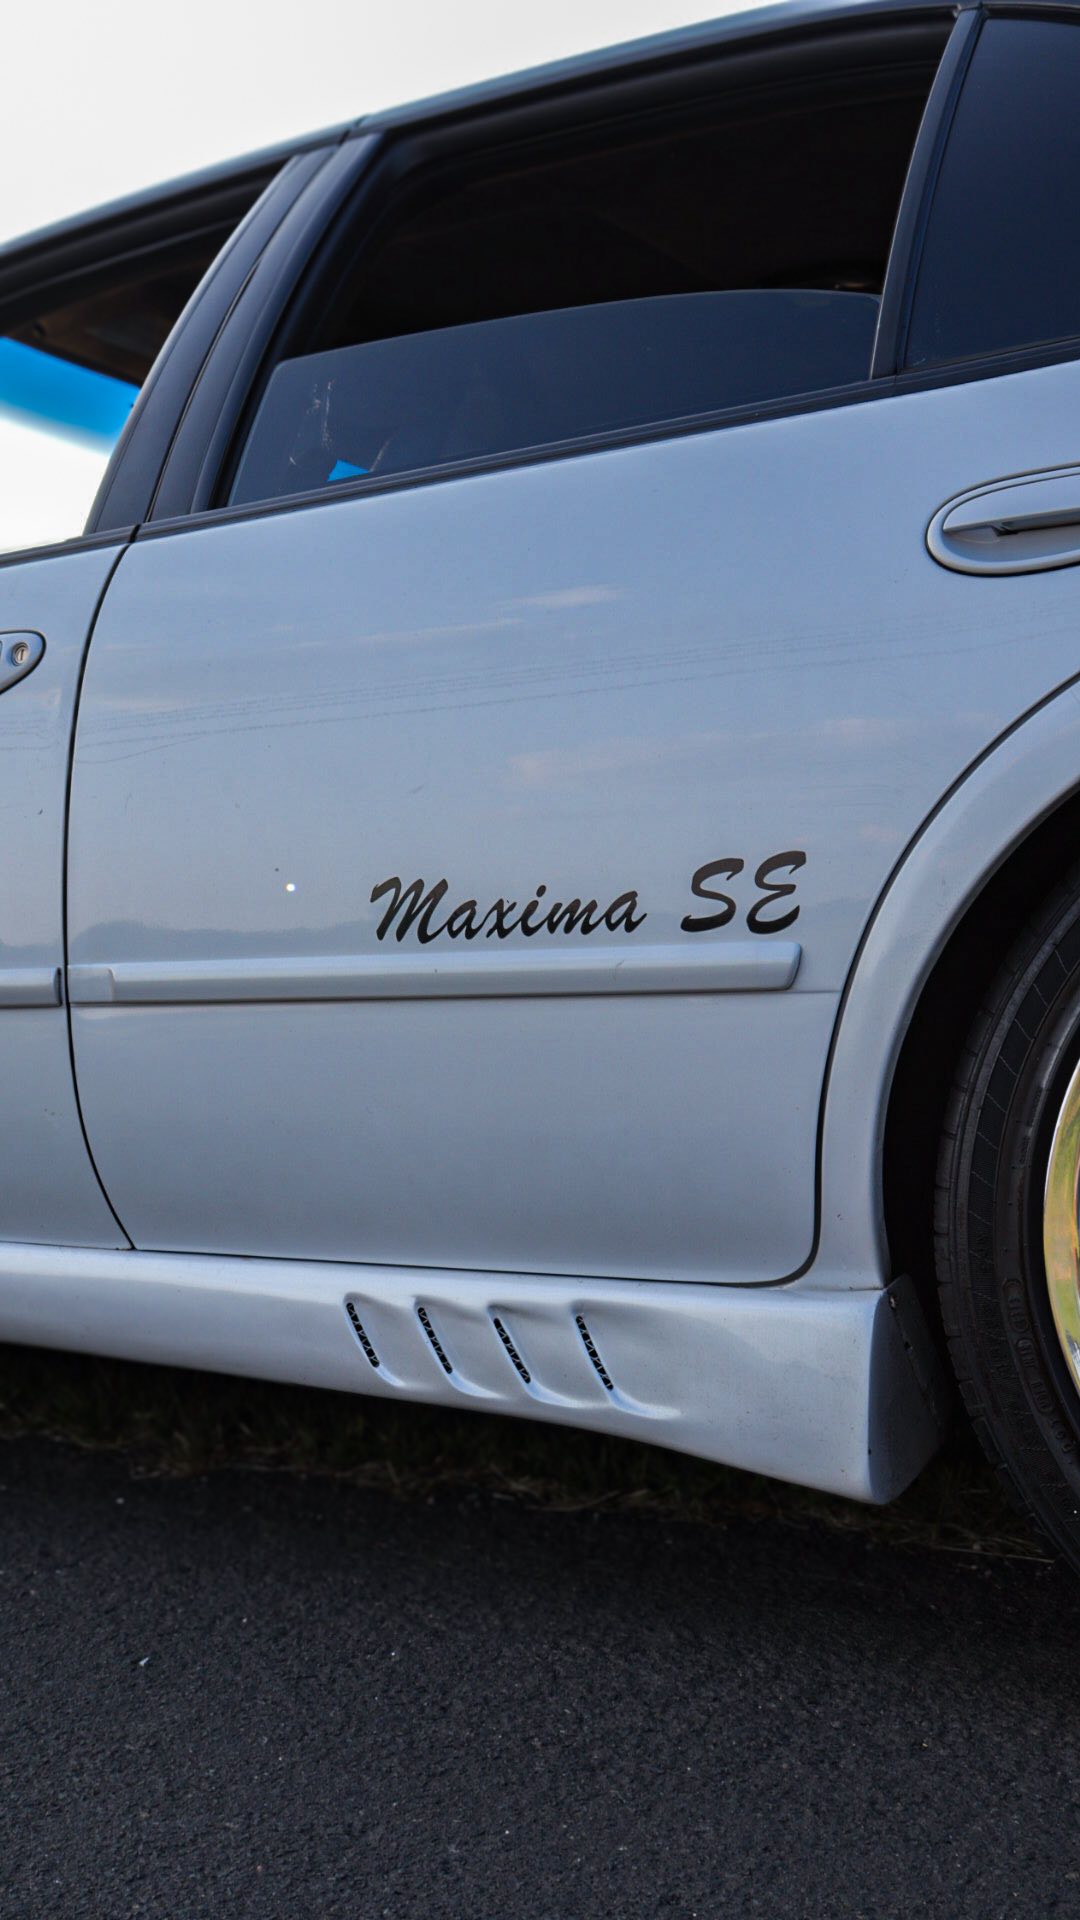
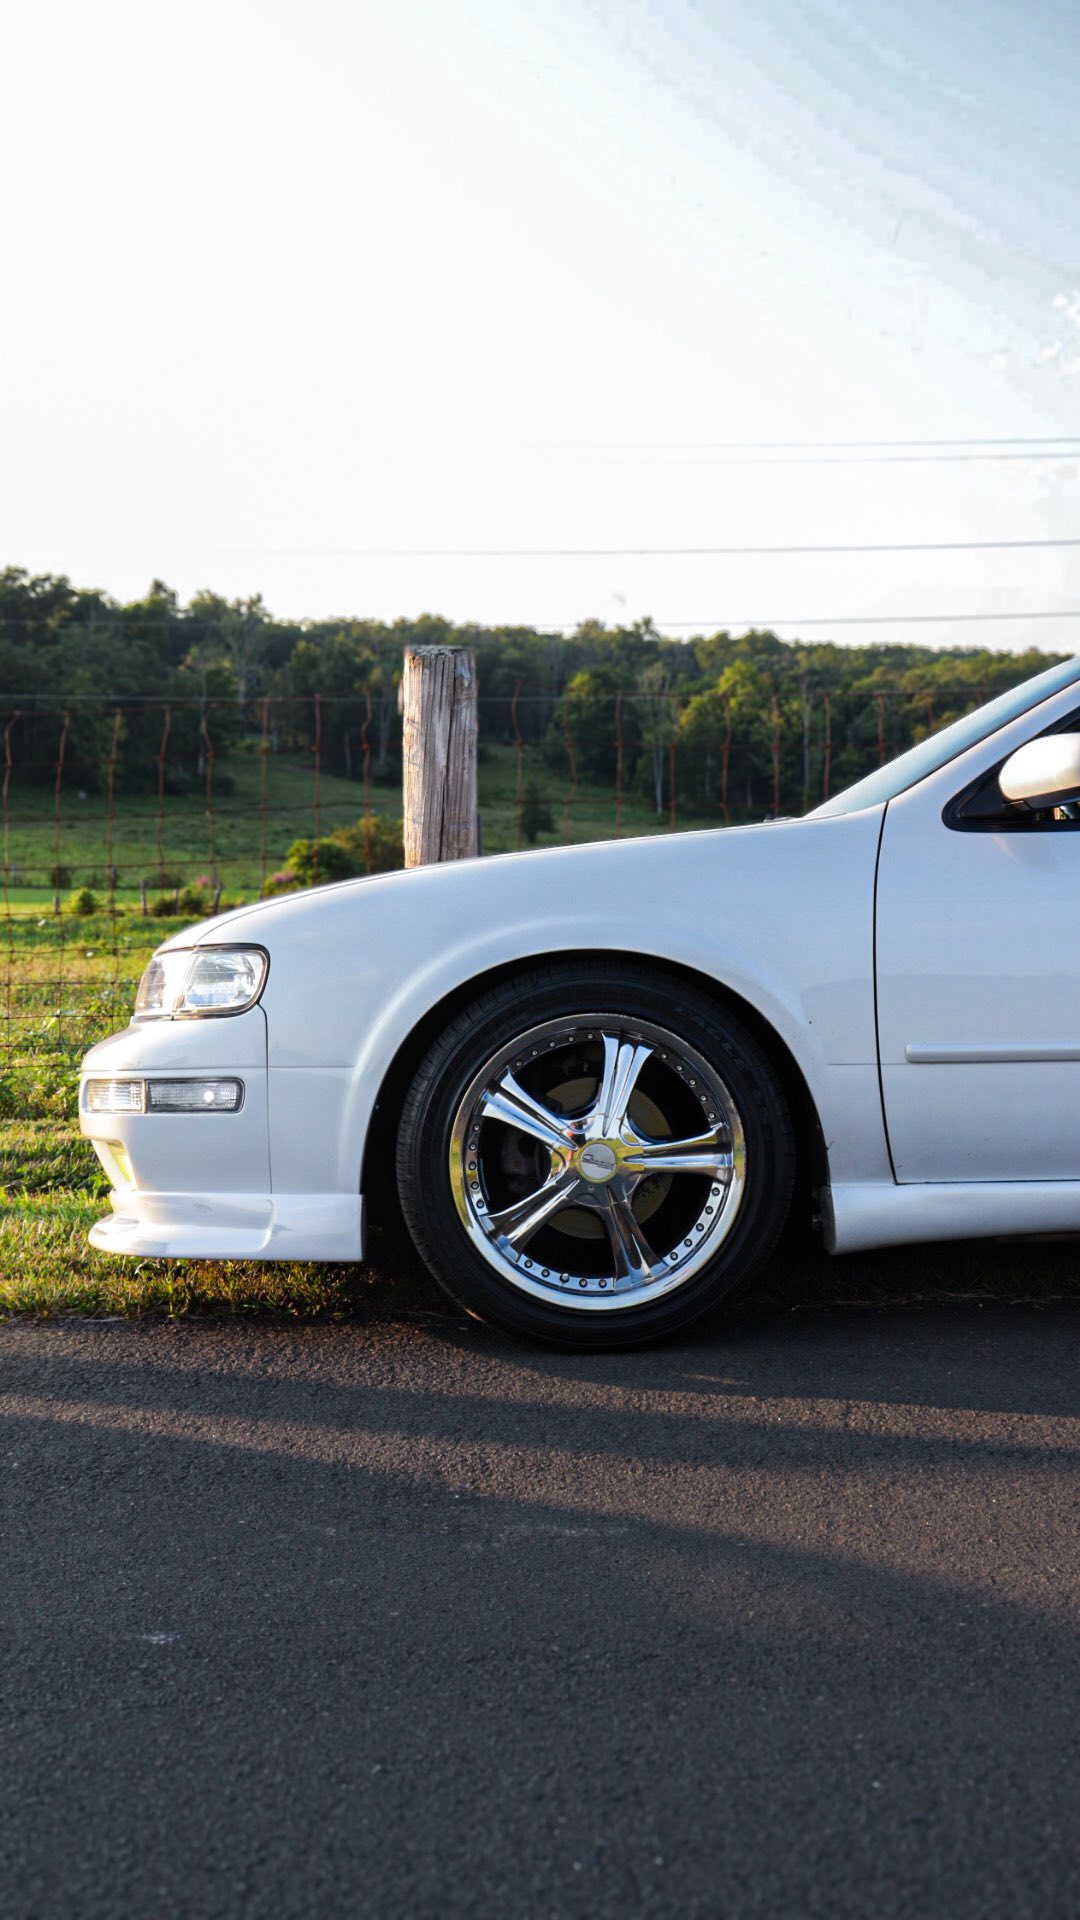
Year: 1998
Model: Maxima
Color: White
Transmission: 5-Speed Manual
Trim: SE


![]()


")
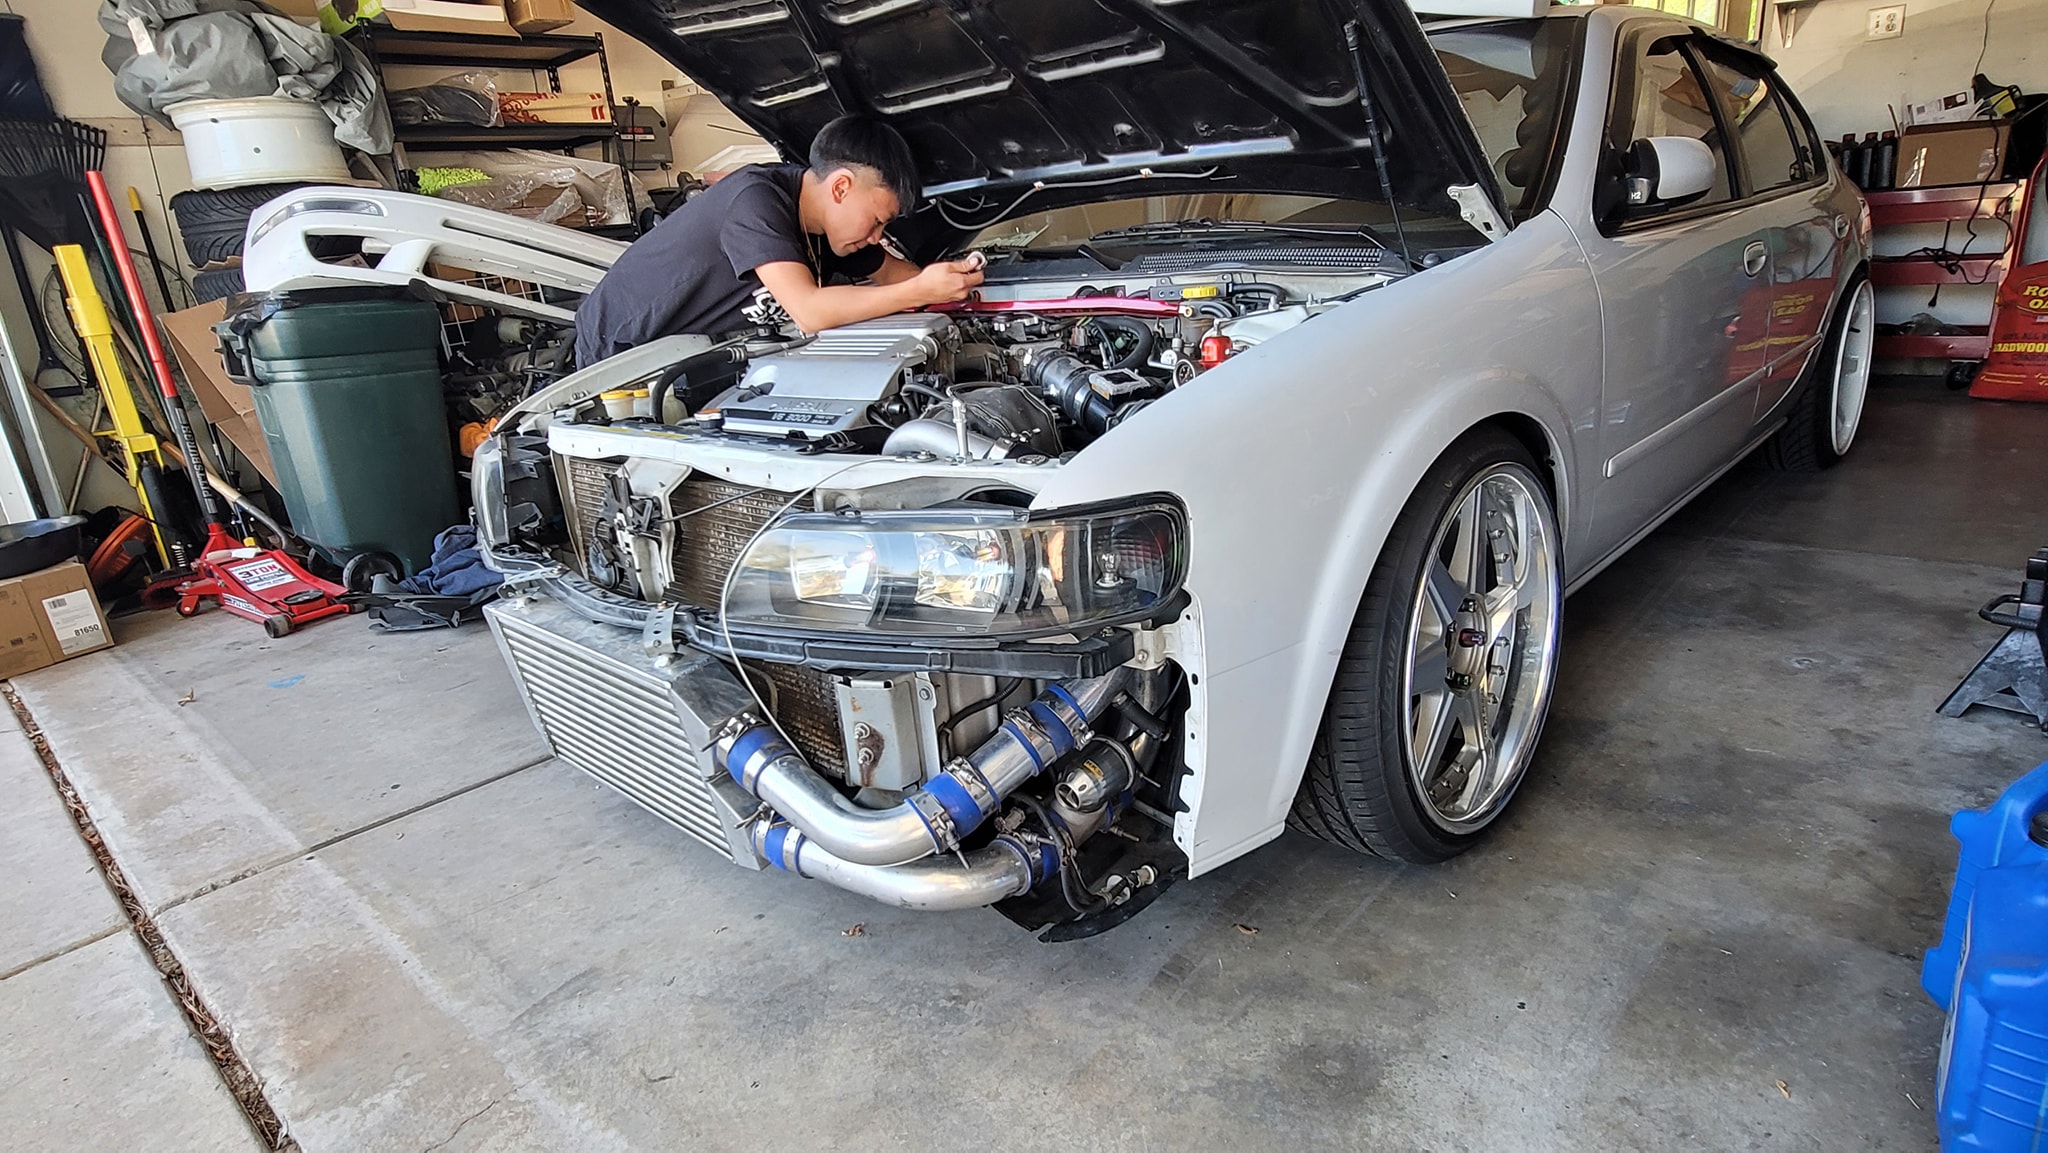
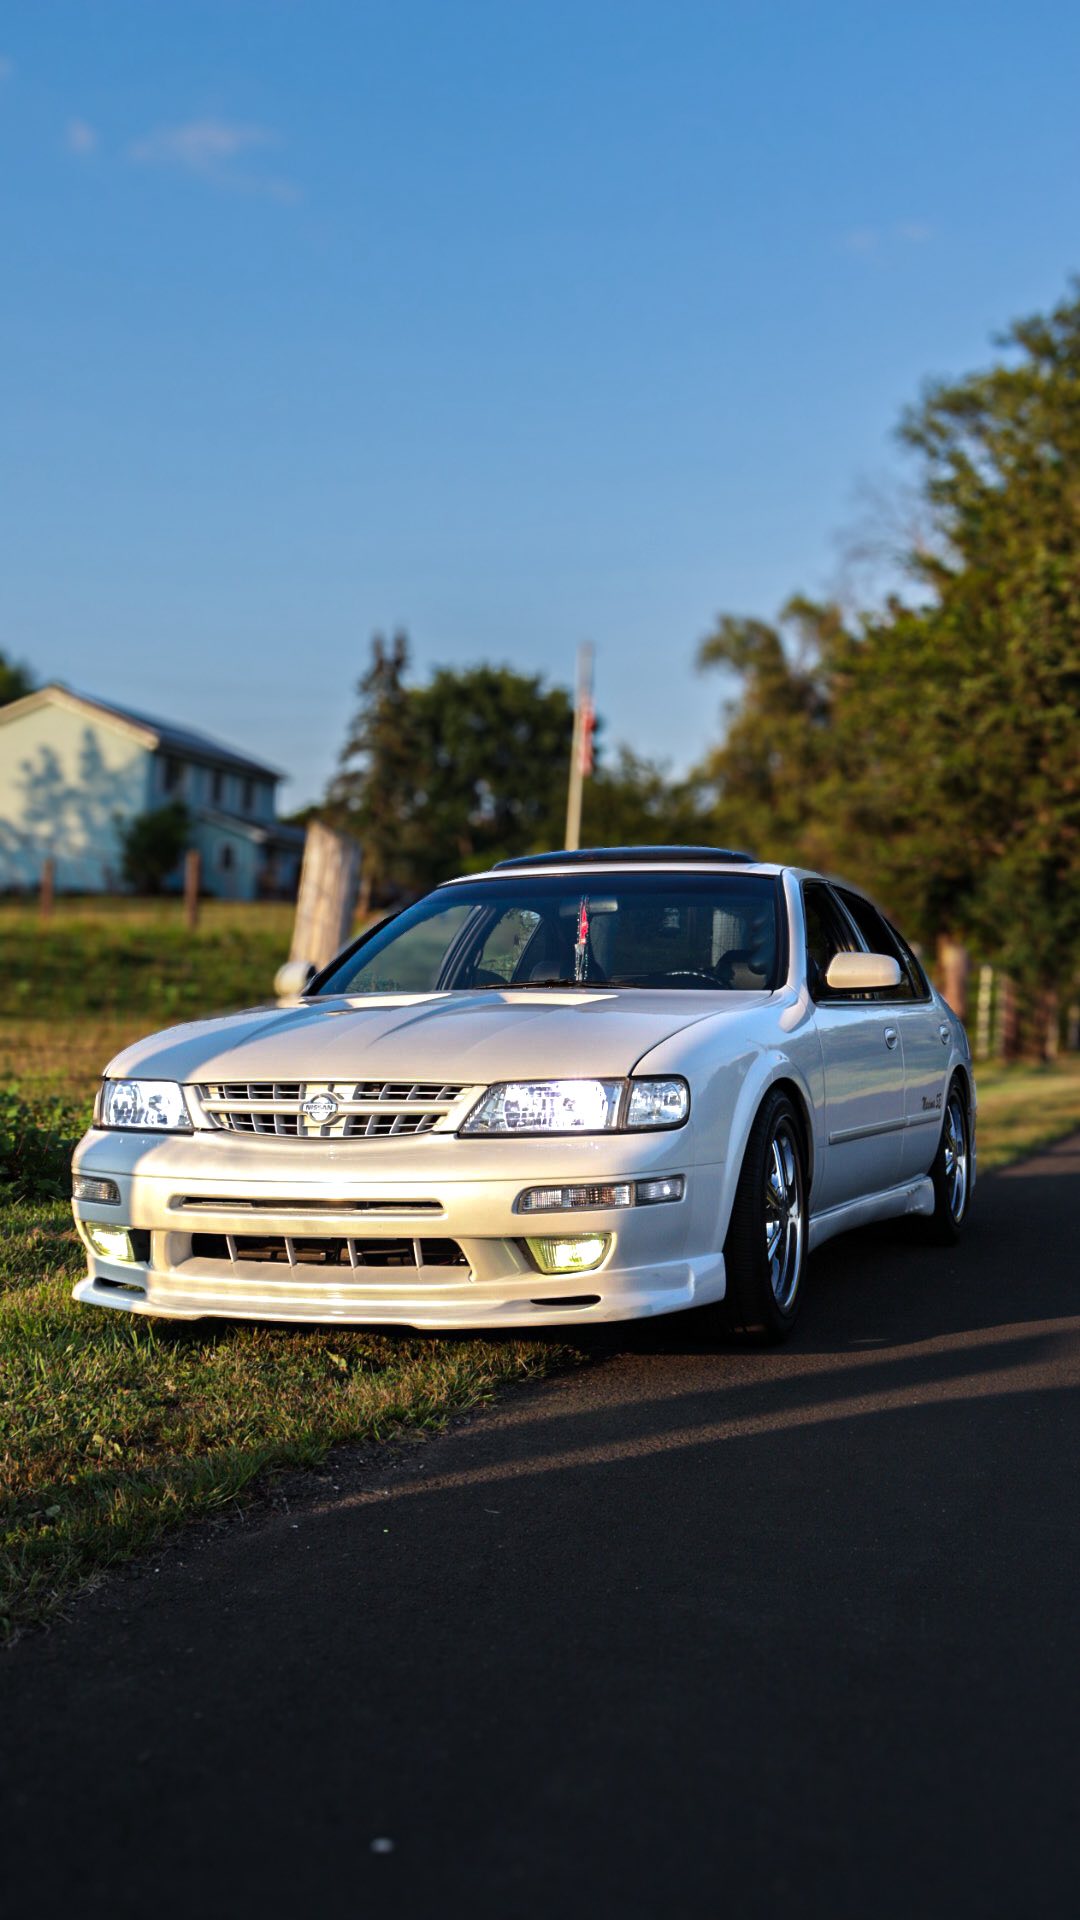
Owner: Chong Her
Year: 1998
Model: Maxima
Color: White
Transmission: 5-Speed Manual
Trim: SE
![]()


Community Member Credit: TJ Max / ewuzh
For some reason, the big Allen head bolts that bolt the SC to the plate seemed to be standard, not metric. I figured it made sense since the bolts, Vortech, etc assembly is American-made, not overseas. So it wouldn’t be metric. If you do not have the EXACT Allen keys for these do not even ATTEMPT to turn the bolts, they will strip and you guys would be screwed.
The way I did it was:
1. Jack up car, support on a jack stand, pull off wheel, remove the plastic liner that covers the belt area.
2. Pull off the air filter and disconnect the charge pipe, get it out of the way.
3. Disconnect the SS oil feed line.
4. Remove those 2 17mm bolts through the motor mount (far left on the SC plate).
5. Get those 8mm bolts (or 10mm) that go through the plate and the timing chain case off. Even the ones right behind the pulley. Use a 10 or 8mm open-end wrench to back them out.
6. Get under the car, use a 14mm wrench to get the nut off the tensioner pulley off, and pull off the tensioner pulley.
7. Remove the 3 bolts holding in the tensioner bracket.
8. Reach up and get a 12mm socket onto that bolt up by the fat radiator hose. (Some find it easier to remove the SC plate with this hose disconnected from the Thermo housing completely) I agree, but I don’t like to make unnecessary messes. Remove that 12mm bolt.
9. Next, come from the top or bottom, up to you (If the rad hose is removed, it is so much easier to get to). And use an angle wrench to get that 19mm bolt off the idler pulley. Once you get this off, there is an Allen bolt underneath it that needs to come out as well.
10. There is one more bolt that goes through the standoff bolt, should be obvious. Disconnect Crank Position Sensor (it is the only wire harness running through/near the SC plate). Go underneath and loosen the hose clamp on the oil drain back J tube. When you finally pull the SC plate off grab that hose and yank it off the drain-back tube.
Hope this helps. Good luck.
Hard to explain this, but I used one of those 6 in one universal screwdriver and pulled the bit/insert out. So now you have an empty screwdriver sorta. I slipped the Allen key in that and used it as a mini breaker bar for those Allen bolts behind the SC plate. I think the sizes were standard 3/4 and 1/2. Don’t quote me on it though.
Tools:
Steps
![]()
")

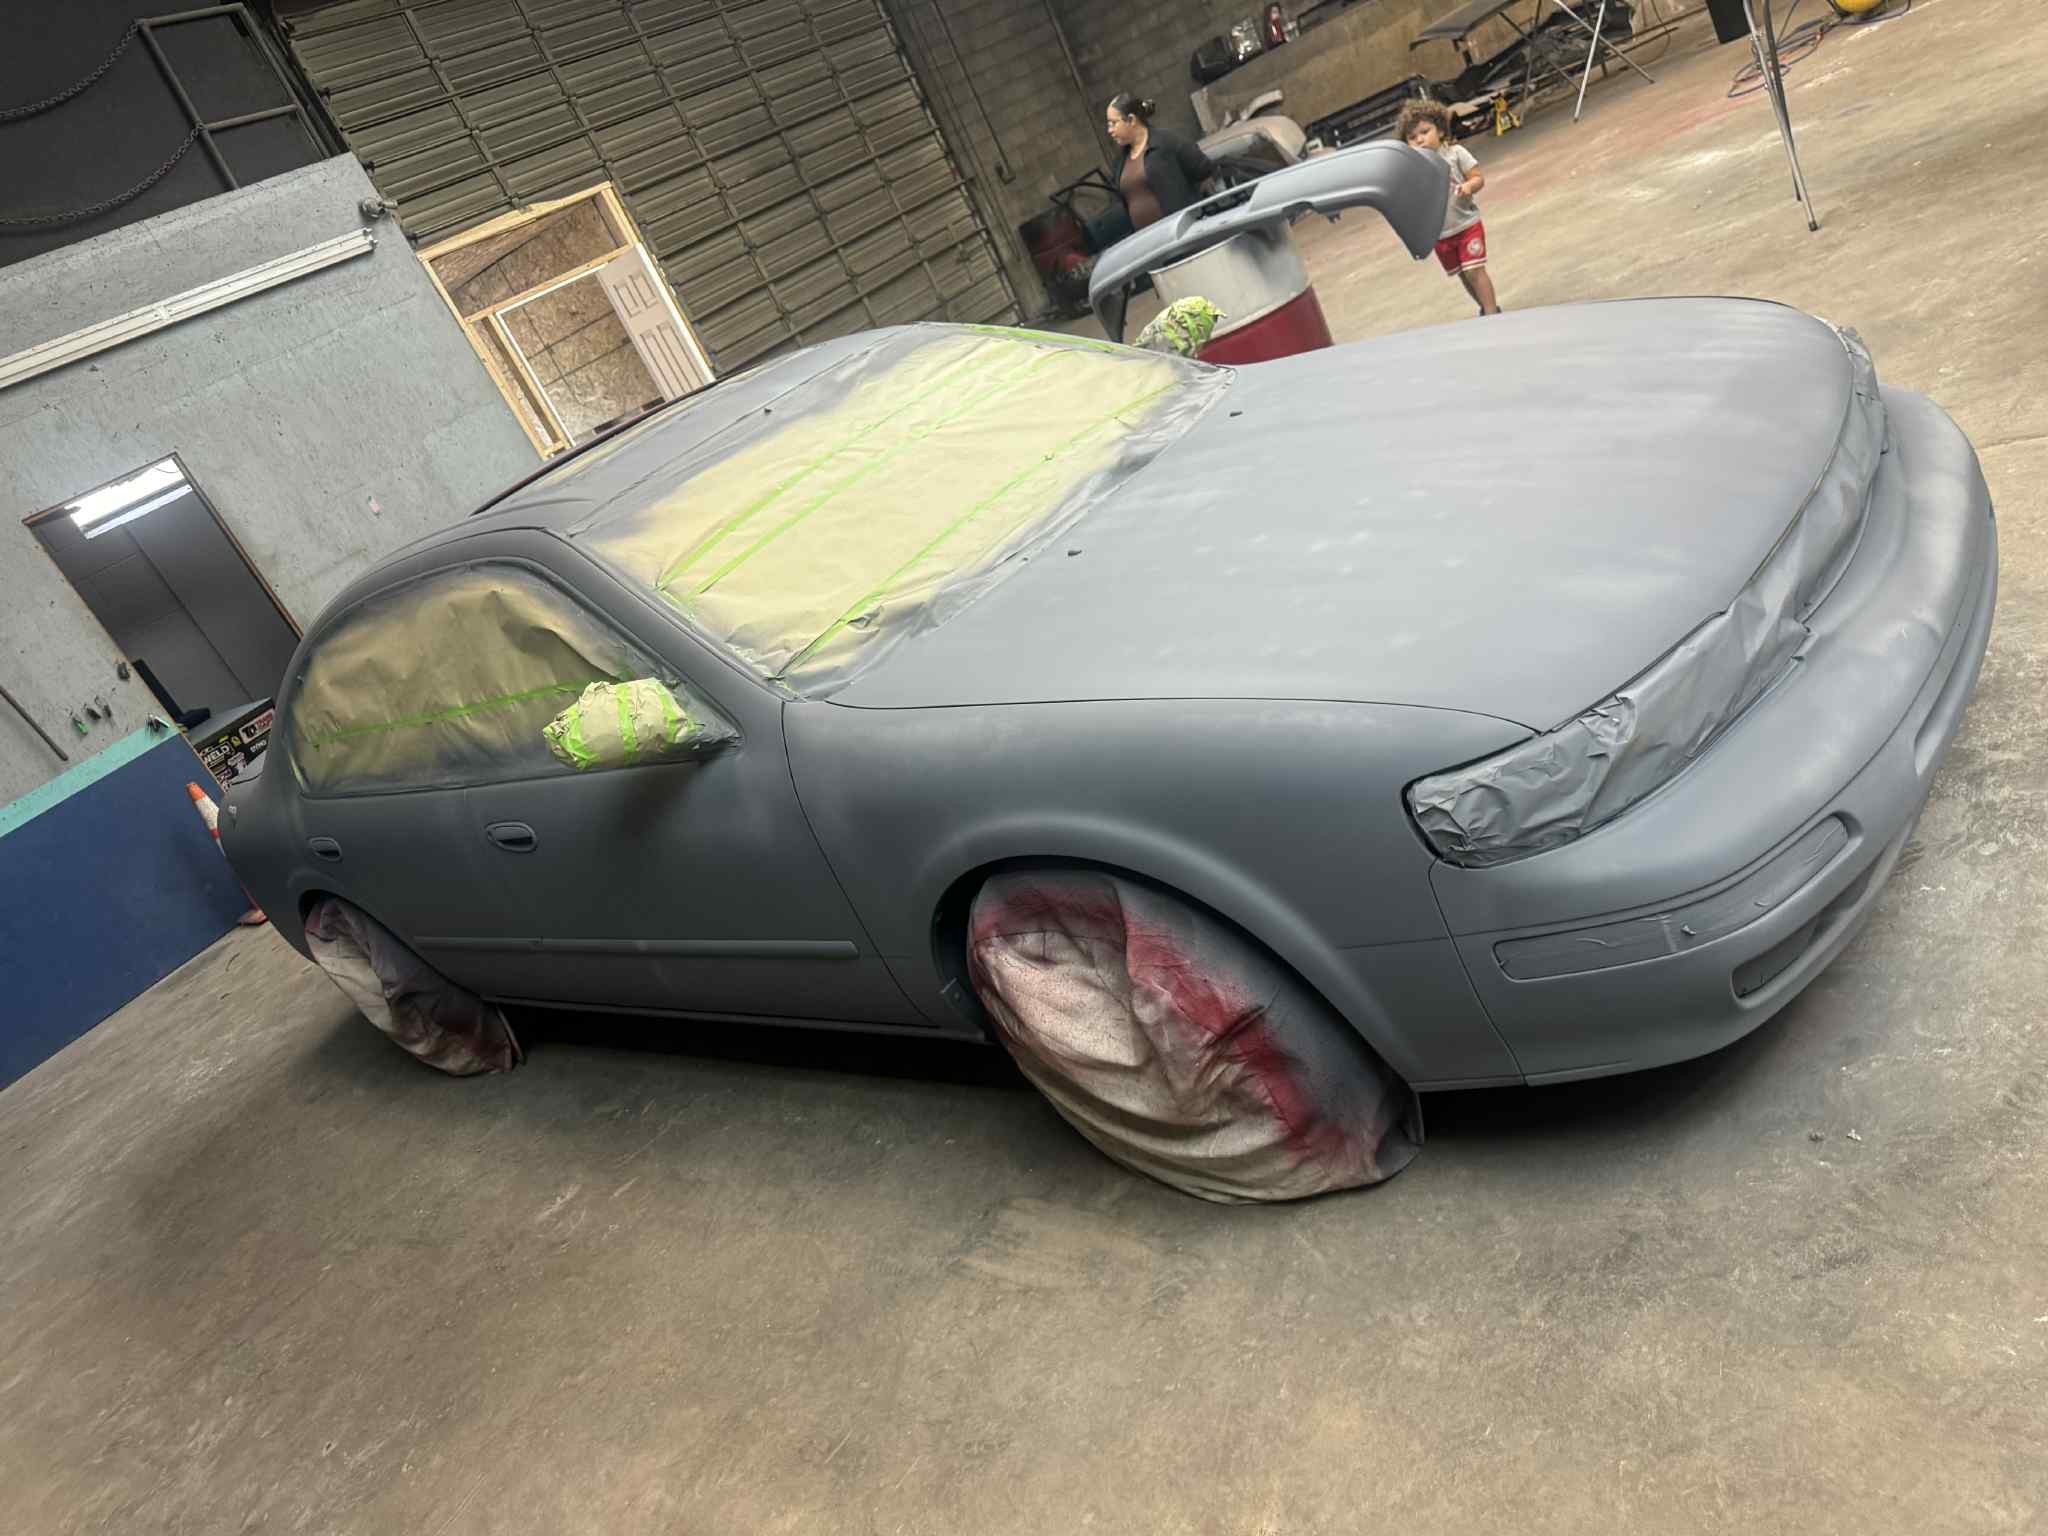
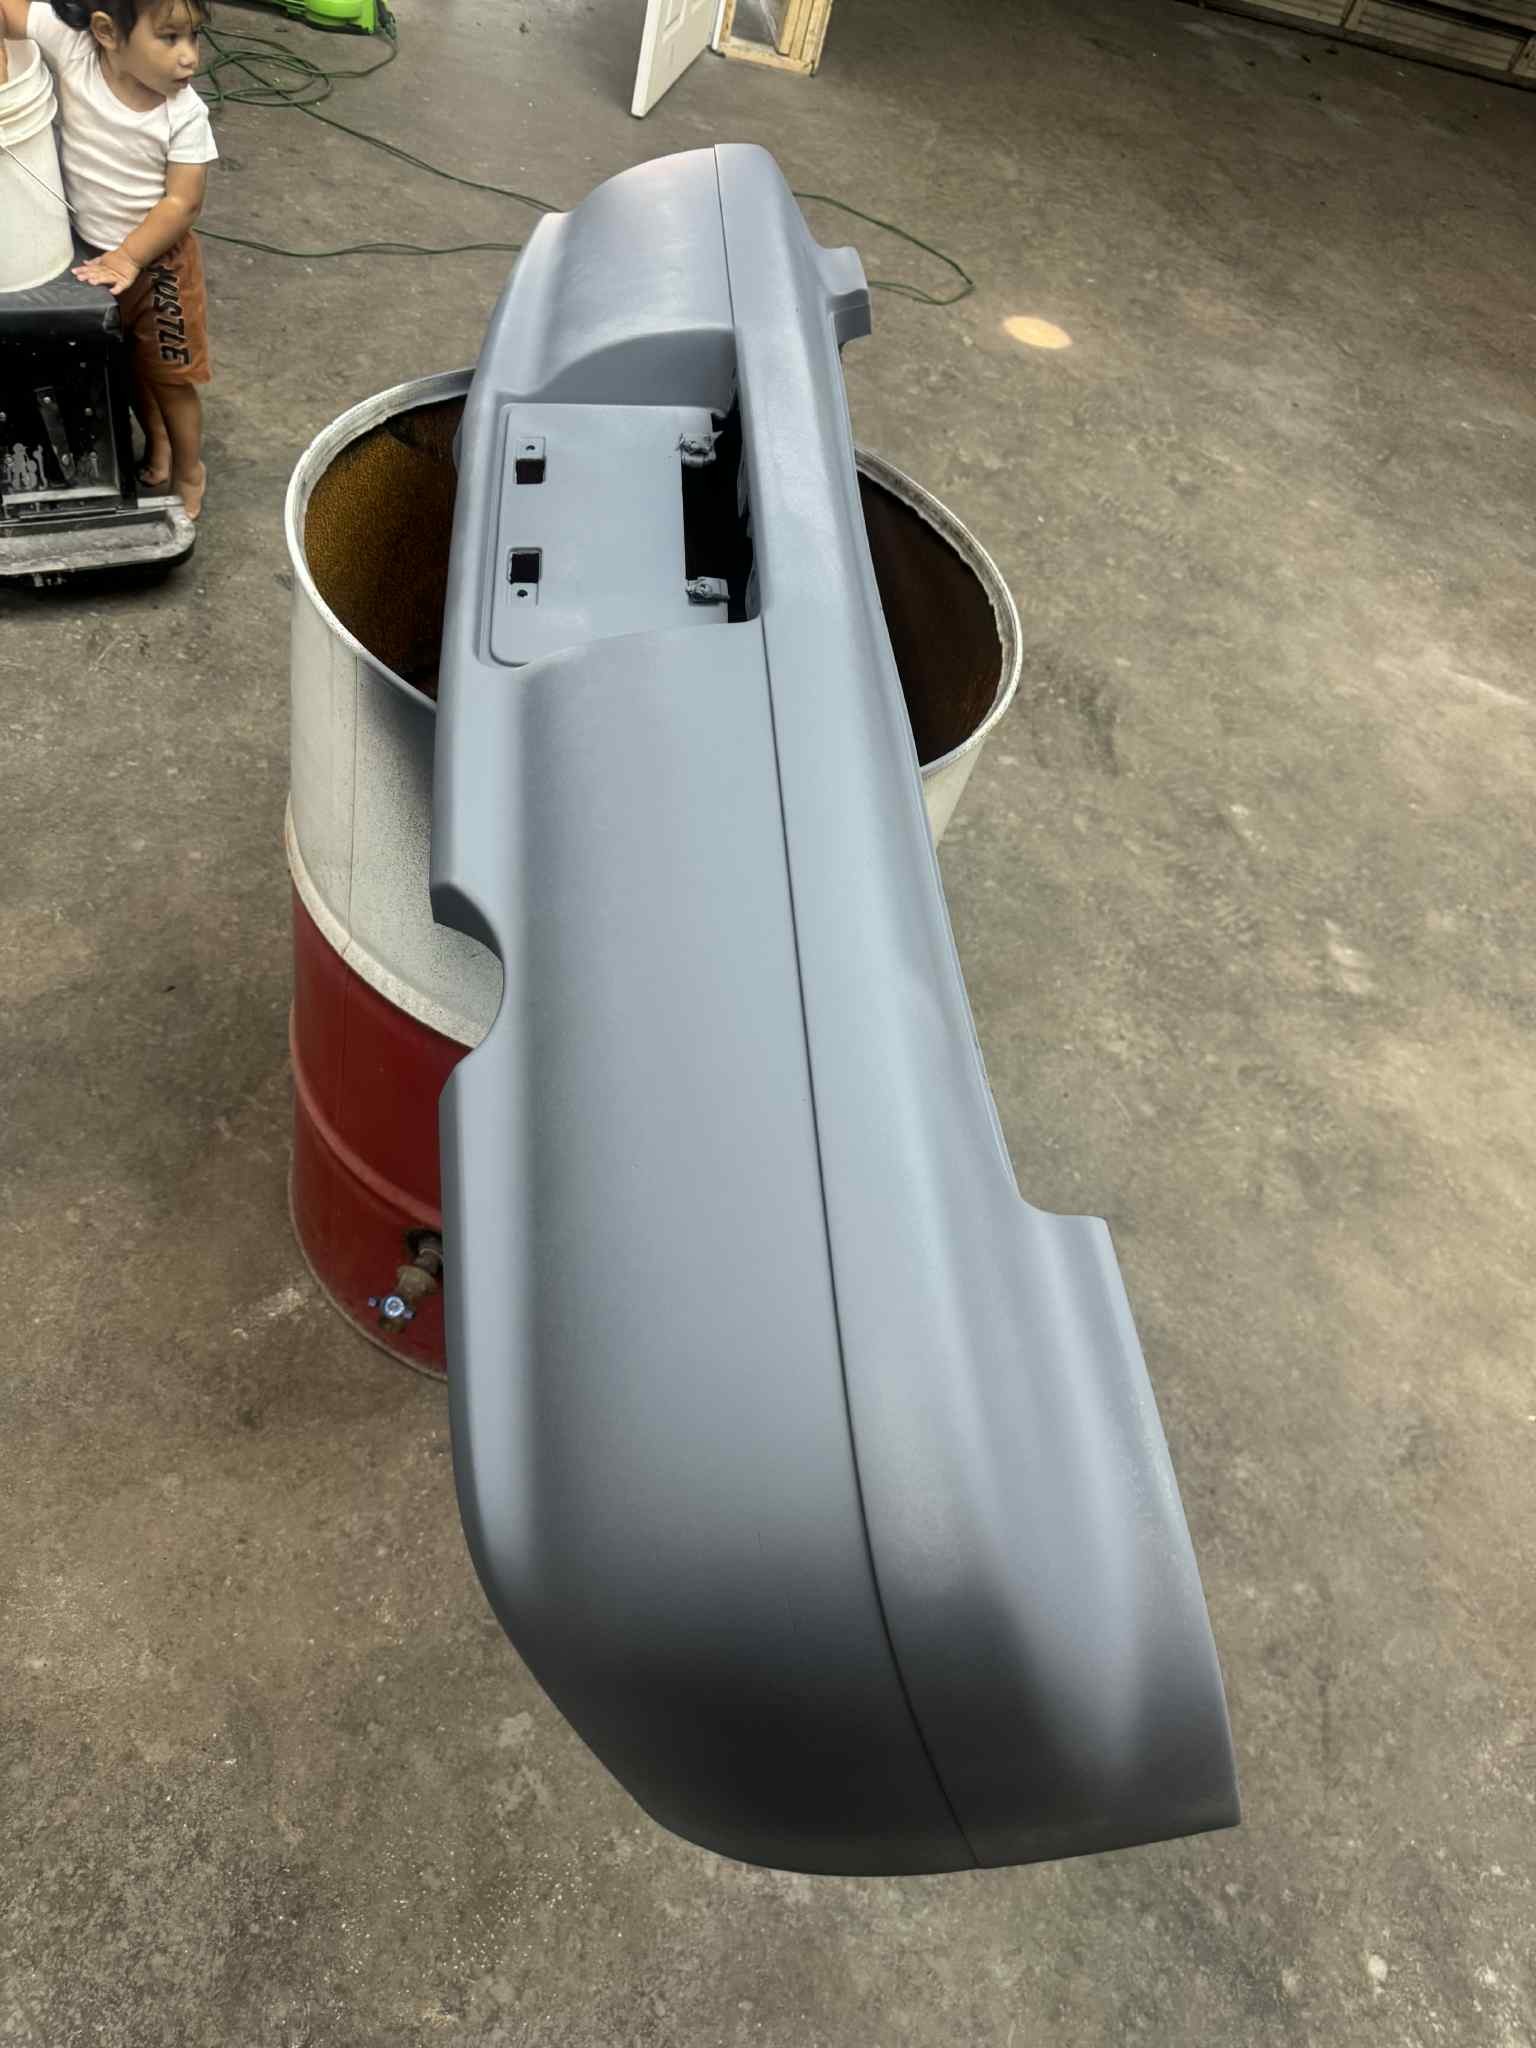
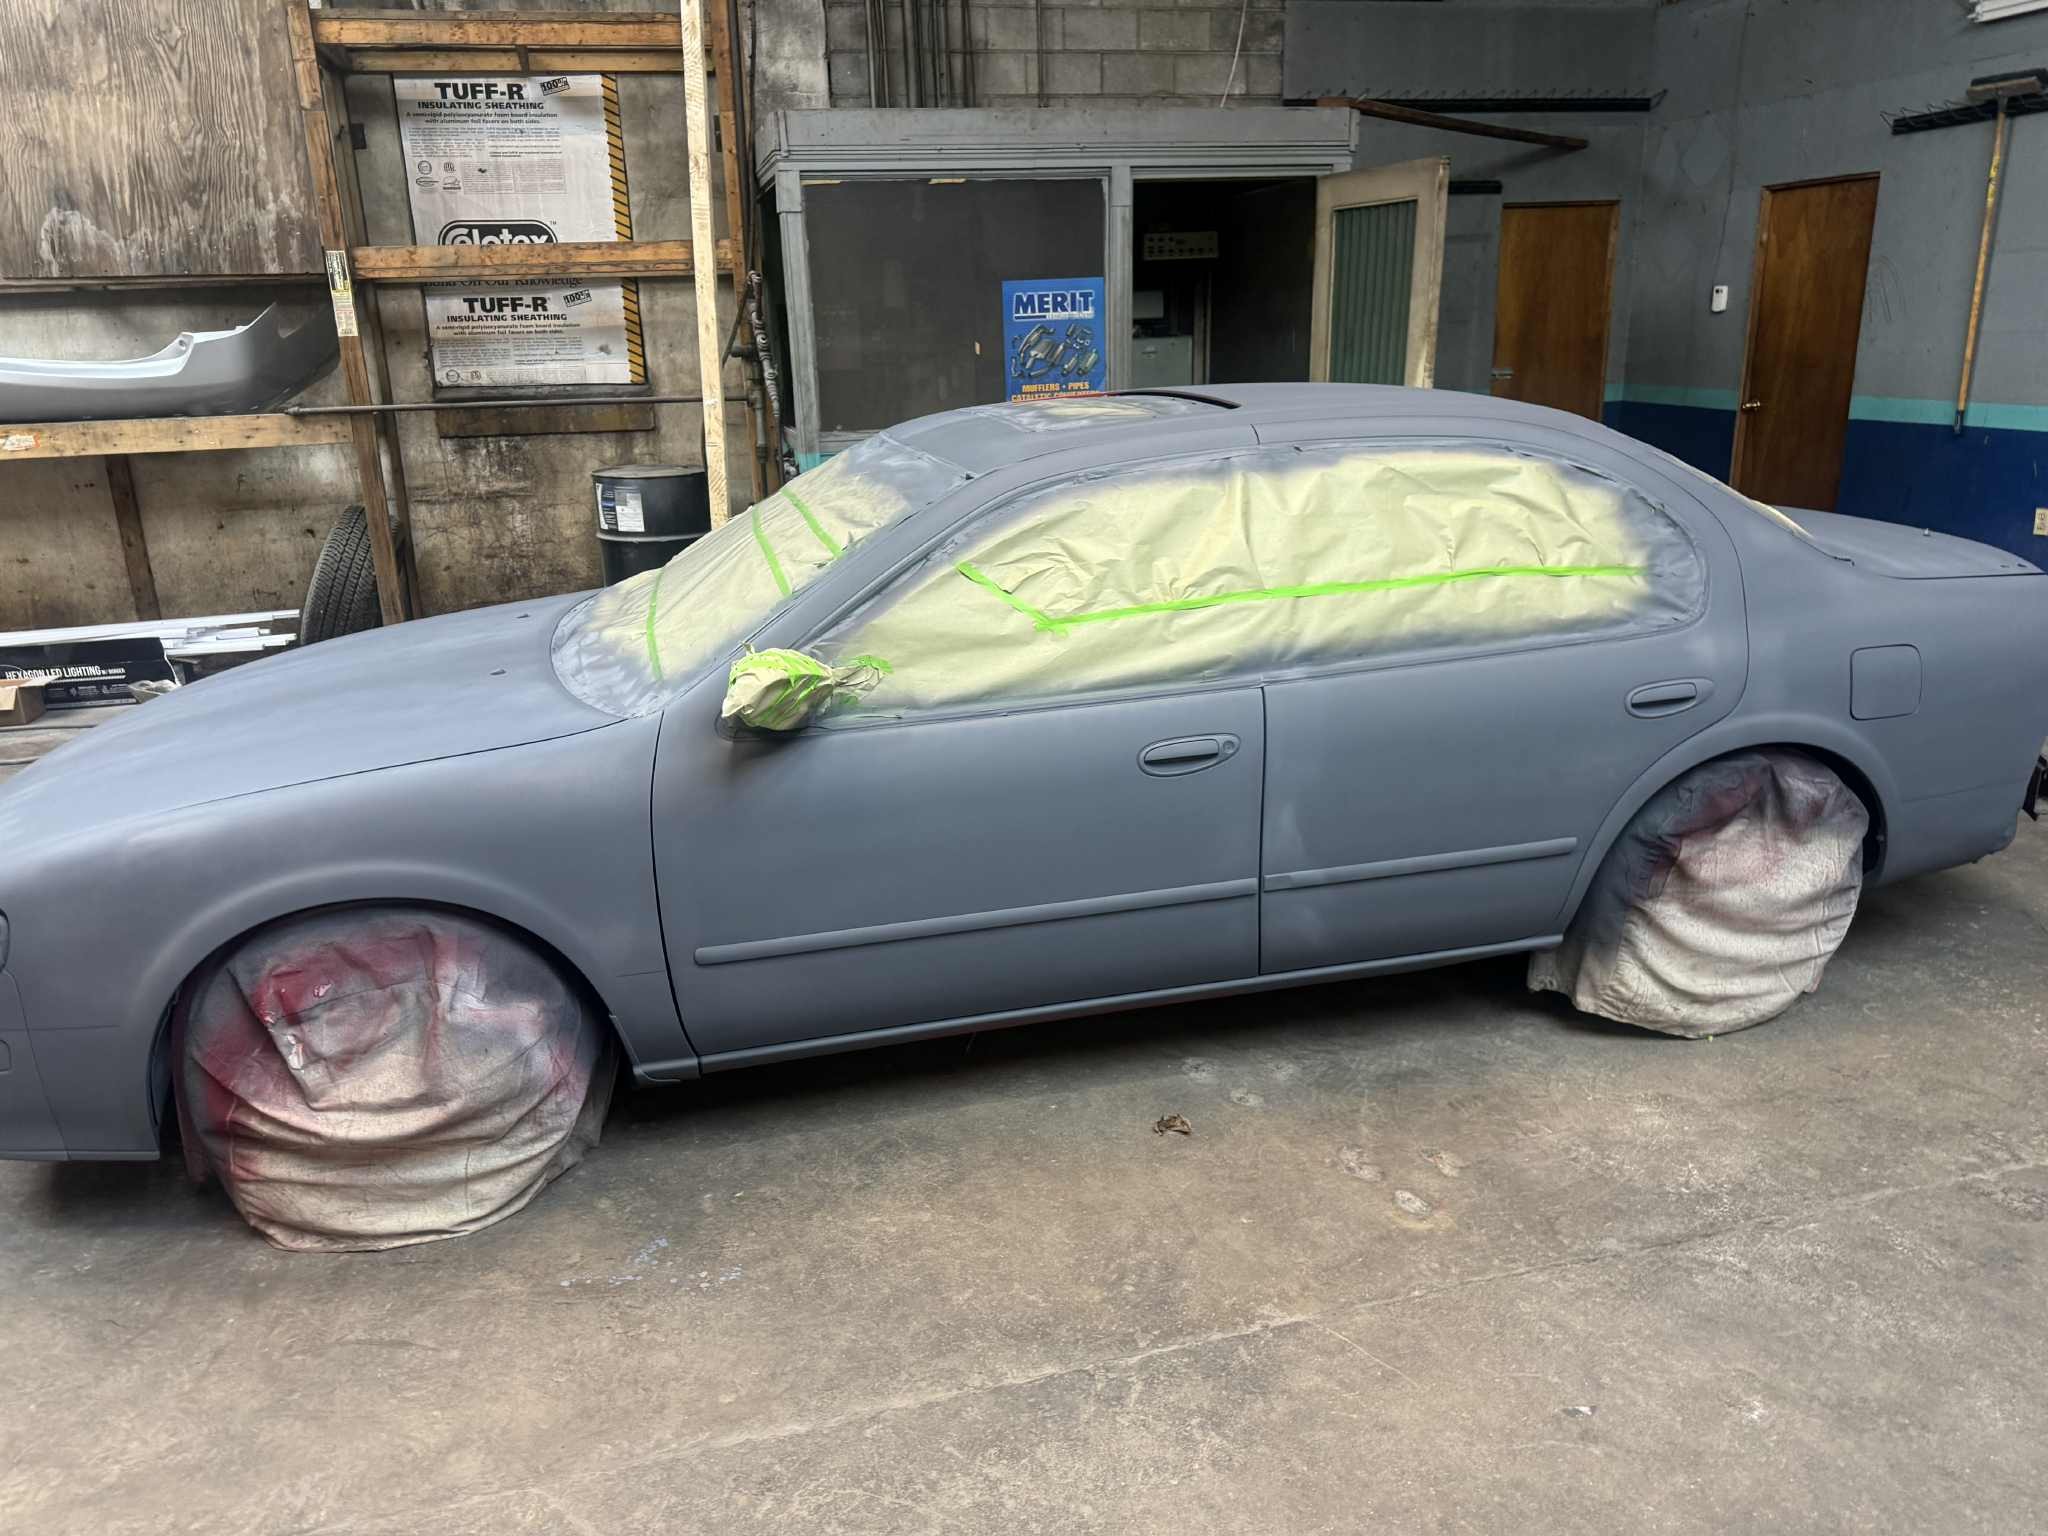
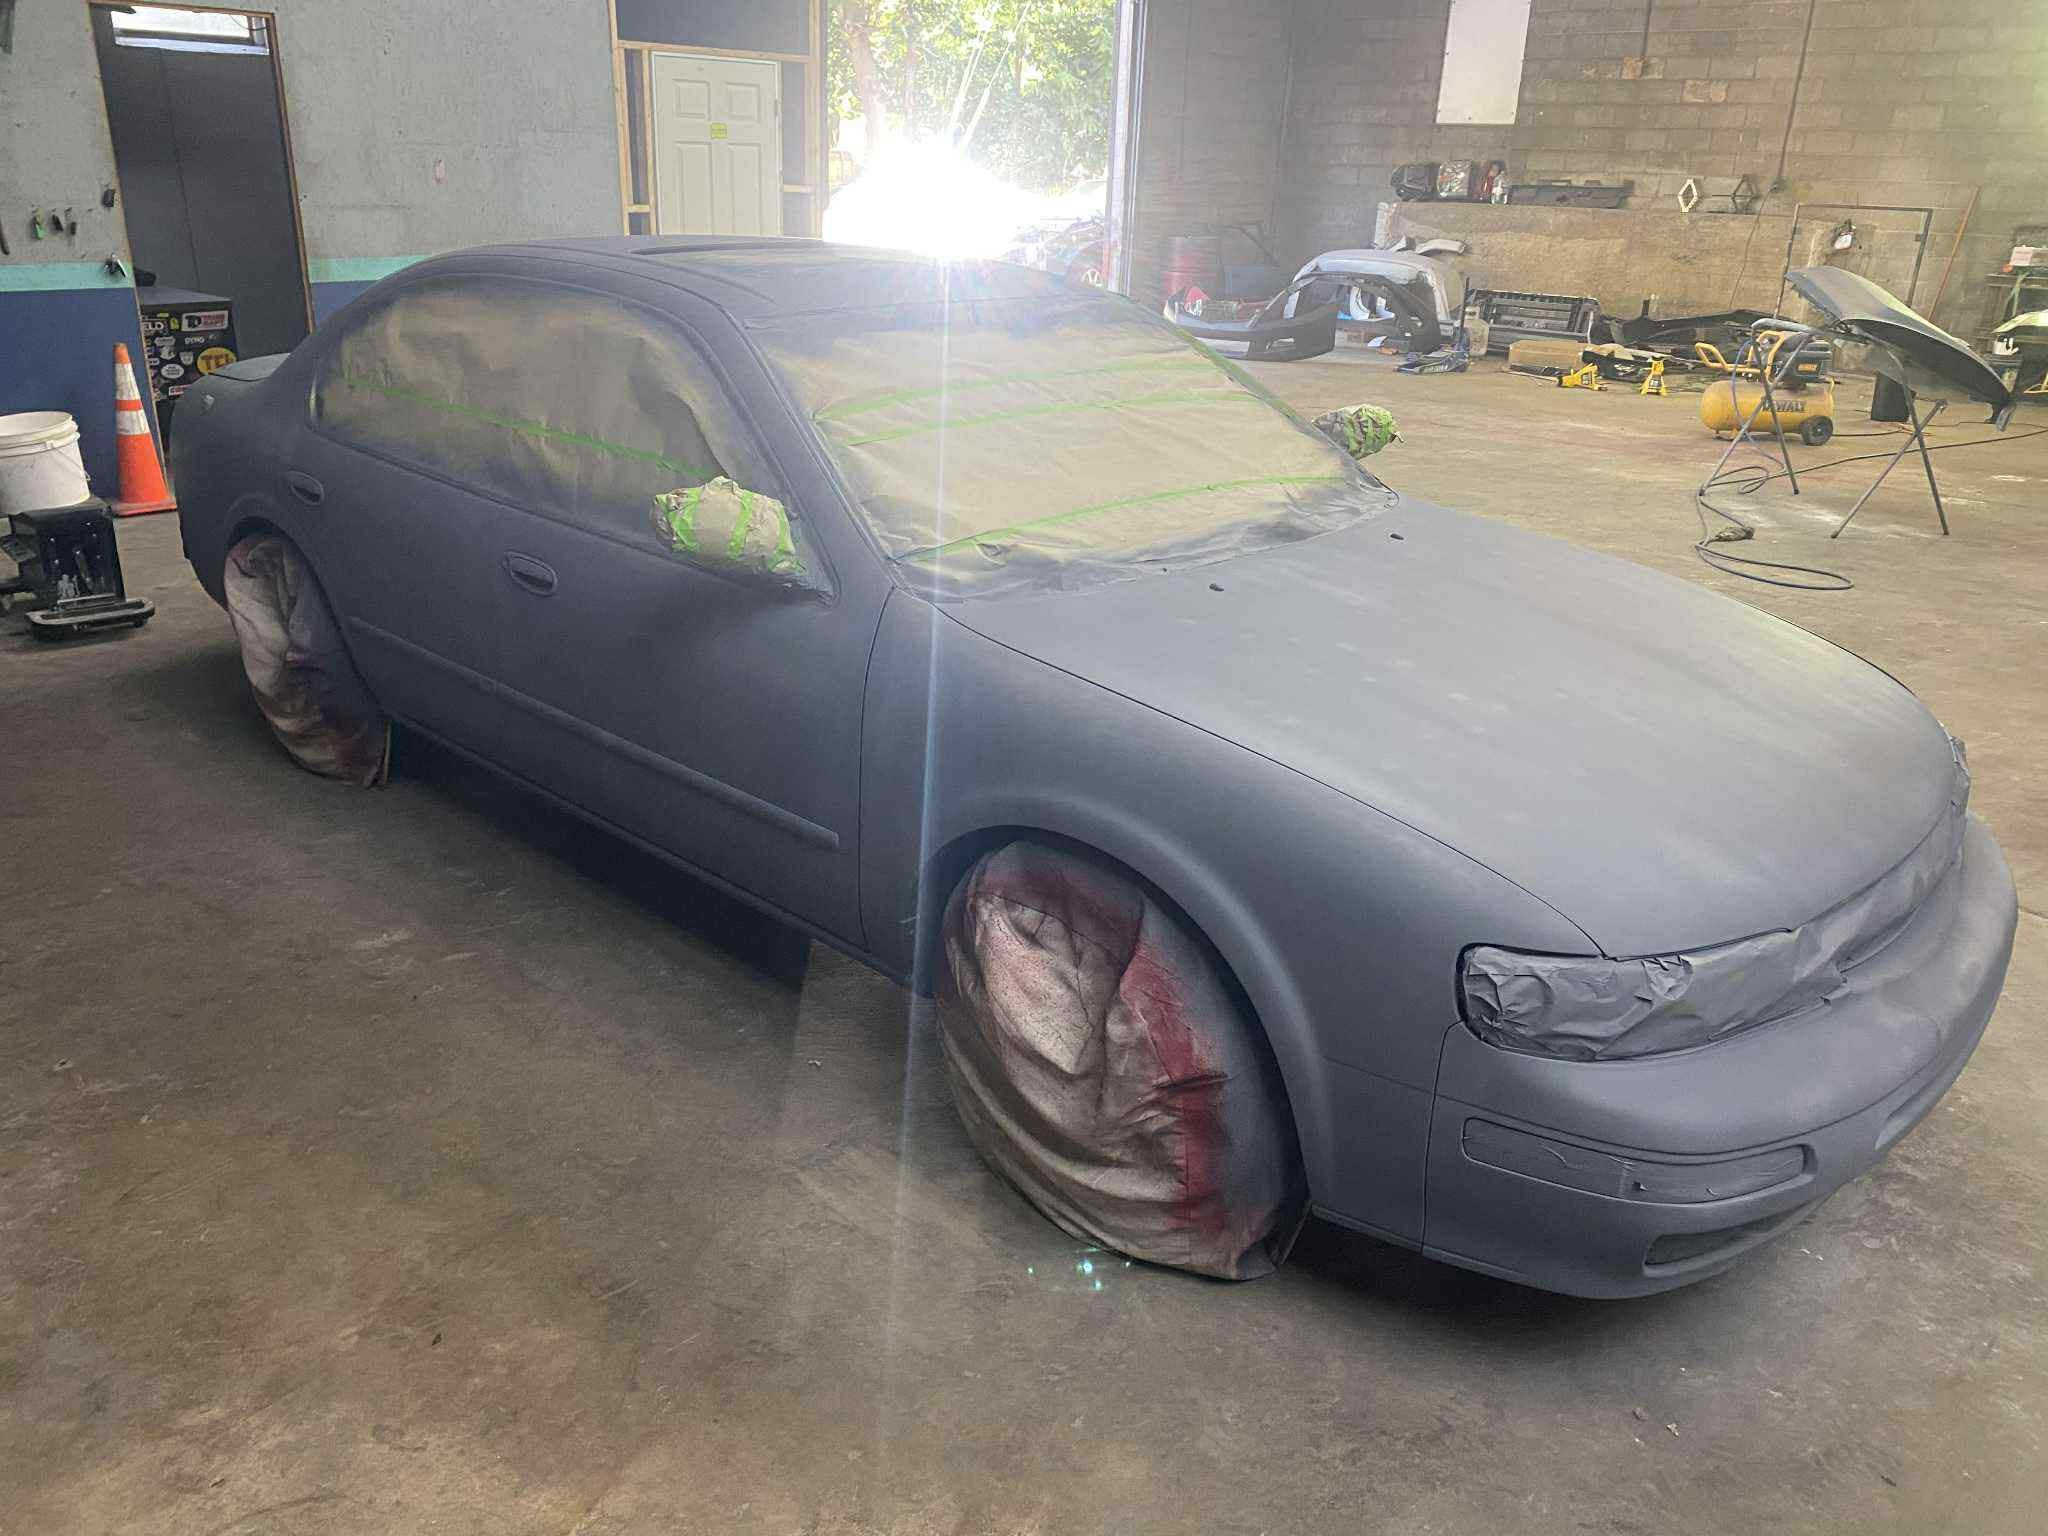
Community Member Credit: Rick E.
Finally got my car back from getting cleared. Dang, I missed her, LOL. I think it turned out great. Keep in mind this is NOT an actual “paint job”. This was just black sealer and then clear coated so I can wrap it flat black. The vinyl wrap doesn’t stick well to flat paint. Ok, a little back story. When I first bought this car is was dark forest green but literally had no clear coat on the outside of it. It is a totally rust-free car so I decided this would be the one I would use for my 500+hp project. It was never intended to look “perfect”, just good. I have another Maxima that is going to be my show queen so on this one I just fixed the major bodywork and filled to side molding on the doors for a cleaner look. Although I love a super shiny black paint job, I just did not want to put the time into getting this car perfectly straight. I’m saving that time and energy for my other car. I will wet sand and buff this one but mainly so that the wrap will stick better. So this shiny look is only temporary and then it’s back to stealth flat black, LOL


![]()

Credit: oldngivout
I have been following the discussion on the IACV problems with the 3.5 engine swaps. This is what I did on my 98 I30/3.5 swap with the A32 IACV.


![]()

Owner: Julian Mercado
Year: 1995
Model: Maxima
Color: White
Engine: VQ30DE
Transmission: 4-Speed Automatic
Trim: SE


![]()

Member Credit: Nealoc187
My buddy who builds turbo kits for a living put a set of ebay headers on a VQ35 a couple months ago and he said they were just fine aside from the fact that he had to do a little work to the Y-pipe to make it mate up with the exhaust. I figured you can’t really go wrong. Can’t be worse than stock.
So I went on ebay and looked em up, there seem to be about 5 different manufacturers making them. Not sure who actually builds them, but they are just being sold by normal rice distributors but none of them look bad. I chose these because I liked the look of the collectors the most from the ebay pics, and this auction actually had pics showing piping diameters and what not, whereas some of the other header auctions had fewer pics, or crappier pics, etc. These just seemed the most “legit” and thoroughly thought out to me. I received them yesterday and took these pics.
Some of them I think have EGR pipes and what not, I don’t run an EGR so I didn’t bother looking for ones that had EGR pipe. Some are stainless others are mild, some claim to be ceramic coated while others do not. I wasn’t terribly concerned with any of that just the look of the craftsmanship from the ebay pictures, and I’m happy with what I received for the price. The thing I really like, and was actually surprised to find, was that there is an extra pipe that completes the “y-pipe” portion of the header that actually transitions up to 3″ which is perfect for me since I have a custom 3″ exhaust with custom 3 bolt flanges on it so we were gonna have to mate the header to my 3″ exhaust anyways, but the fact that the header itself transitions to 3″ makes things much easier for me. Just add a little length of pipe to make it the proper length and then throw the 3 bolt flange on there.
BTW you have to search Altima headers to find them, they don’t seem to pop up when you search maxima headers.


I have these same headers on my VQ35 swapped 92 Maxima. The Ypipe couldn’t be used since it runs exactly where the VQ crossmember runs. I am running a 4th gen crossmember in my swap, which runs right down the middle of the car. The 3rd gen has exhaust in the middle and the crossmember is to the side of that. But with my swap, I welded in some custom brackets in the exhaust tunnel and radiator support and now I can bolt a VQ crossmember to that. I had a custom Ypipe made that bolts right to these headers.
So overall, I am VERY happy with the ebay headers. The quality is surprisingly good for the money spent.
Here are some pics of my custom Ypipe with these headers:


The RH header near firewall had to be shortened by 2 inches in order to make this Ypipe. It was a tad too long.

![]()

This is a great alternative to OEM or 300zx 4thgen filter replacement.
Price: $30.49
Order Link: https://www.ebay.com/itm/292809283152


![]()
")
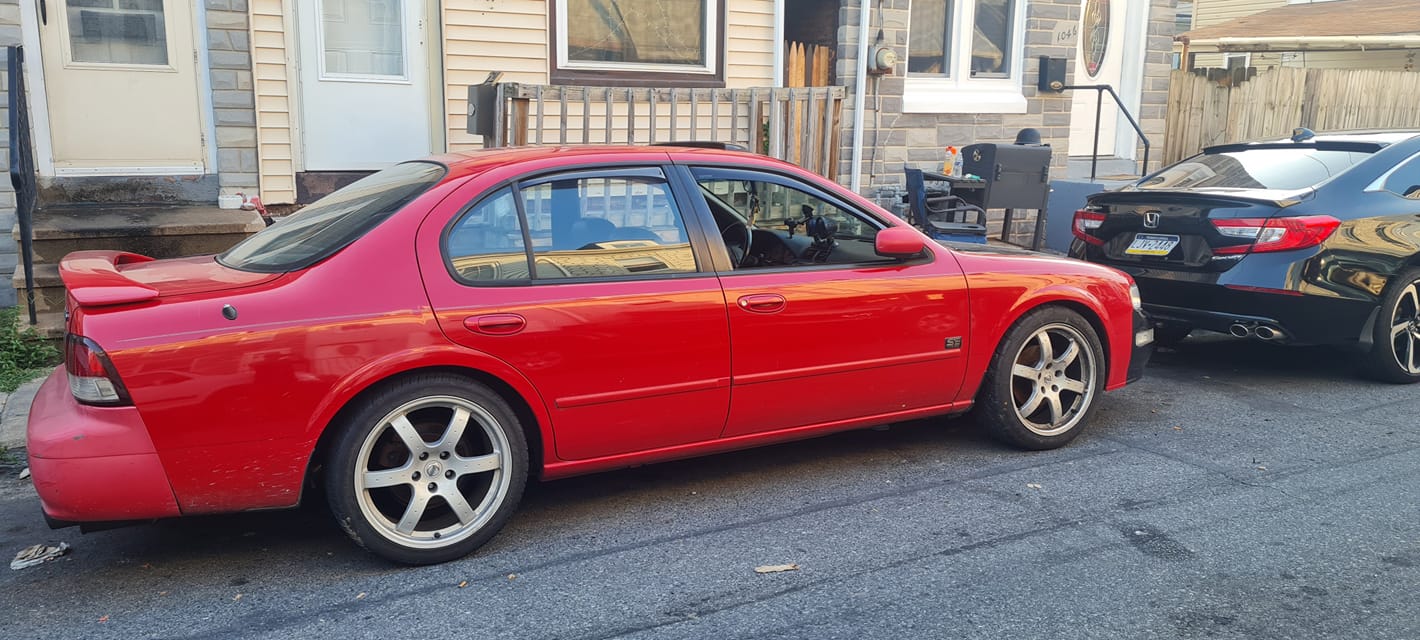
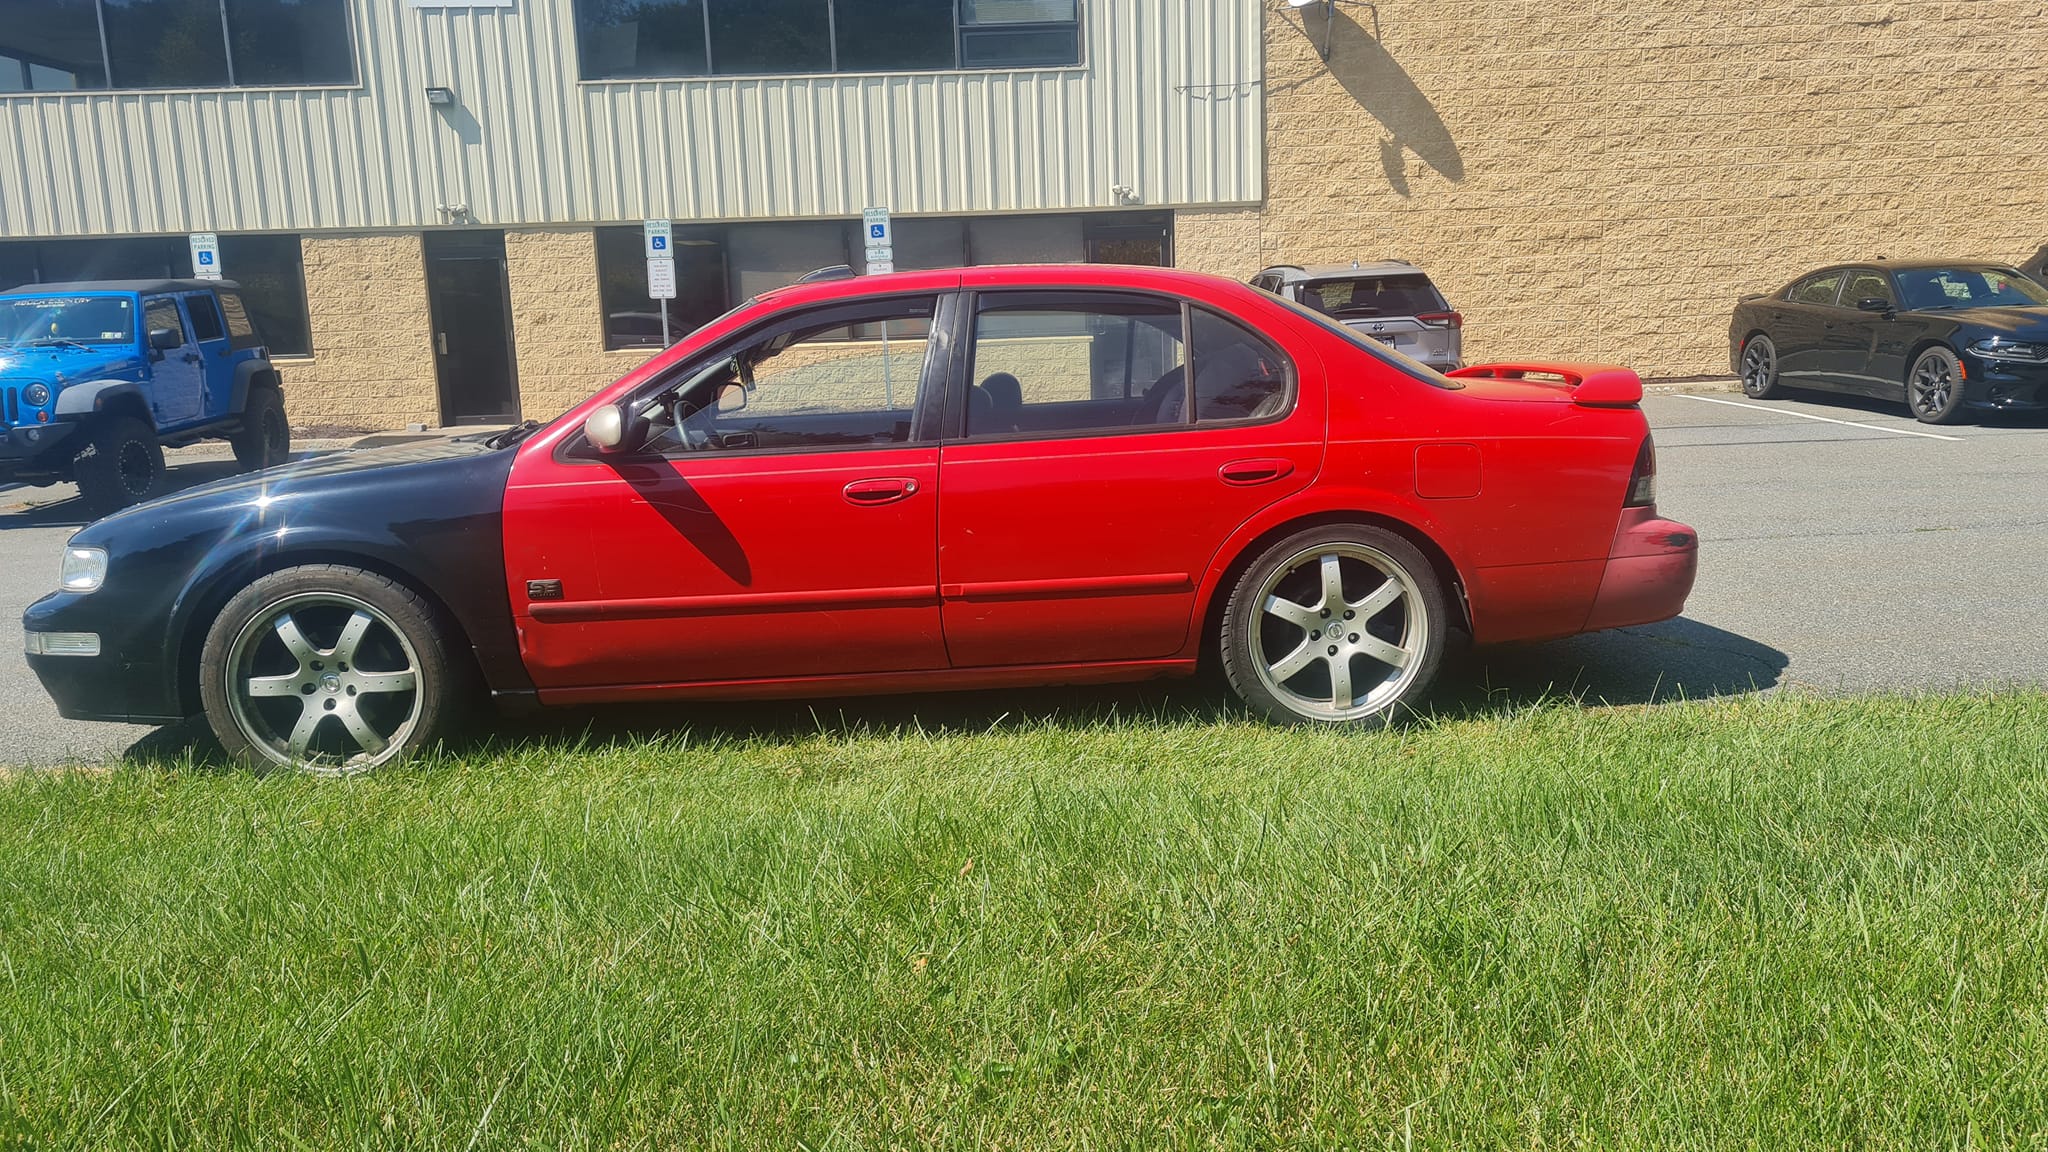
Owner: Alejandro F.
Year: 1999
Model: Maxima
Color: Crimson Blaze
Engine: VQ30DE –> VQ30DE-K –> Gen
Transmission: 4-Speed Automatic –> 5MT –> 6MT HSLD
Trim: SE-L
![]()


 2
2


