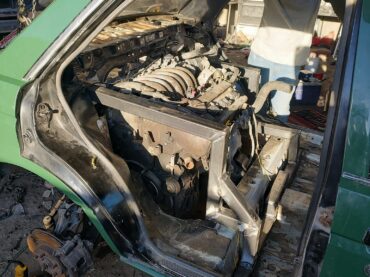
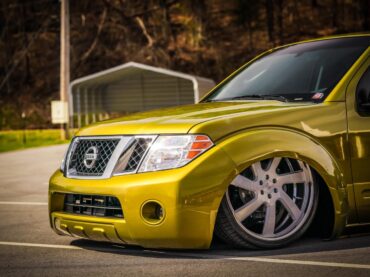
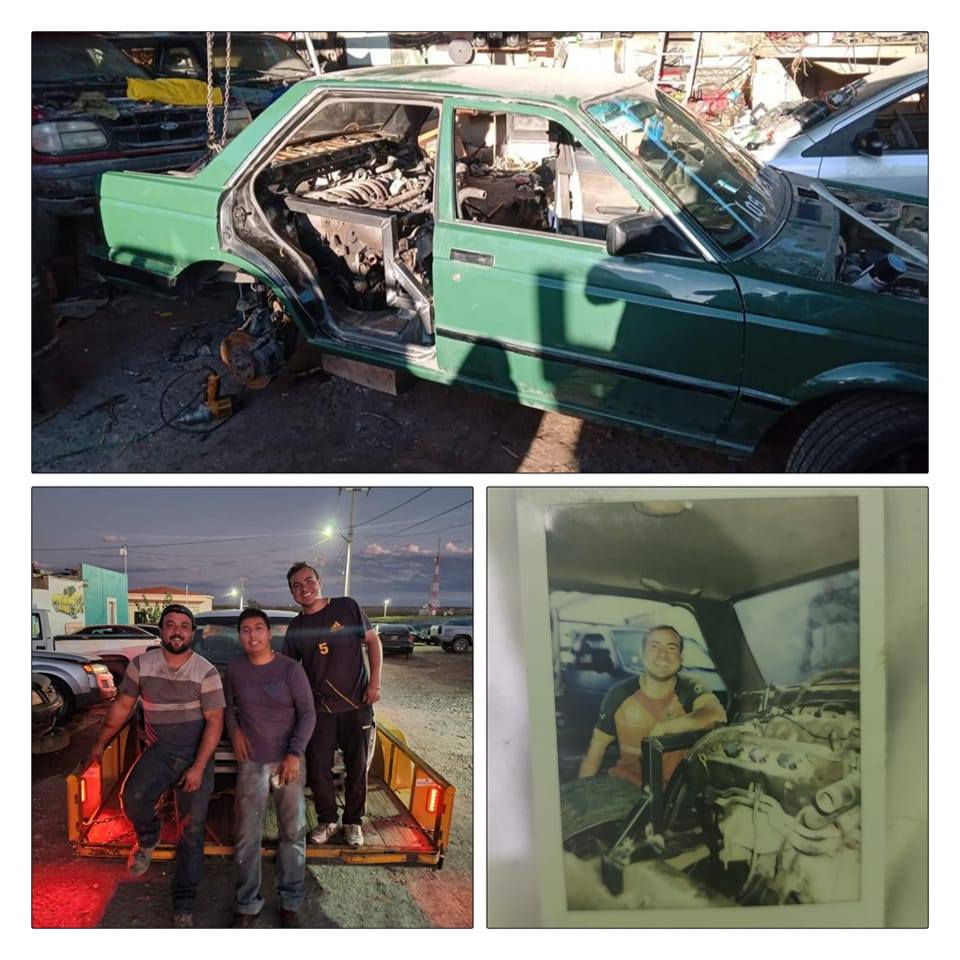
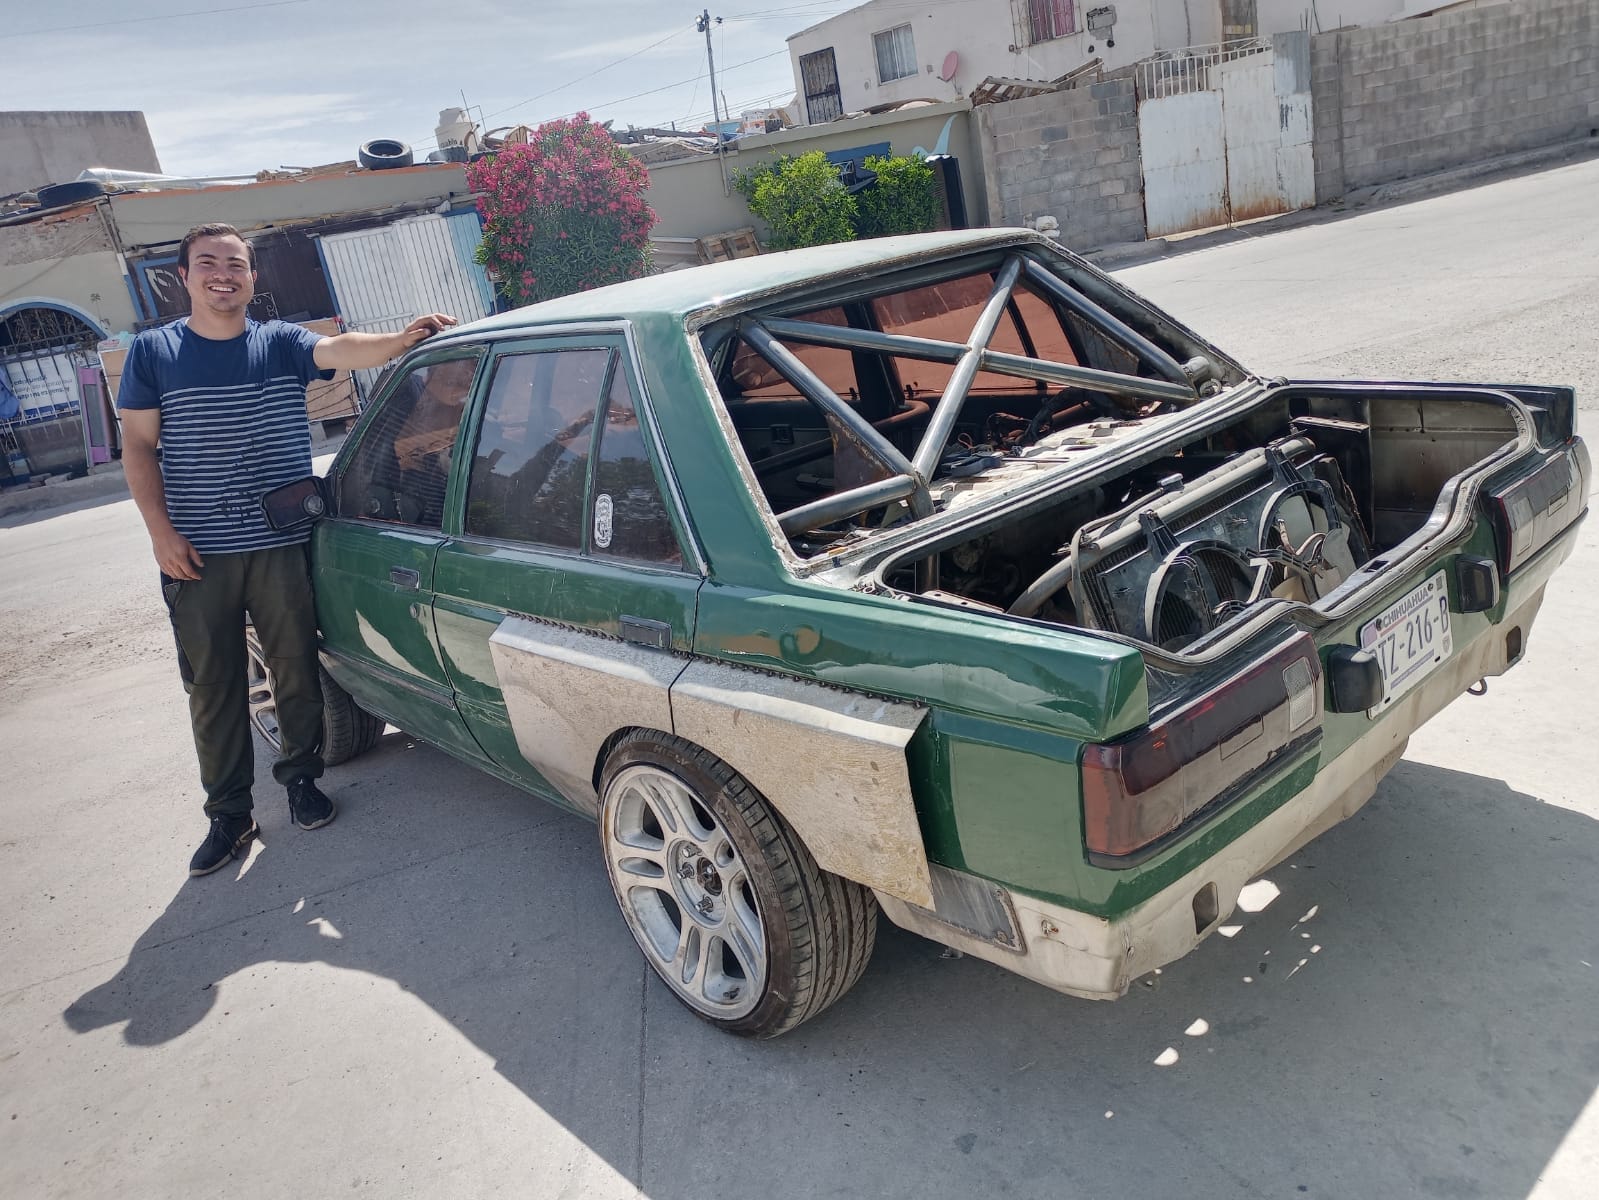
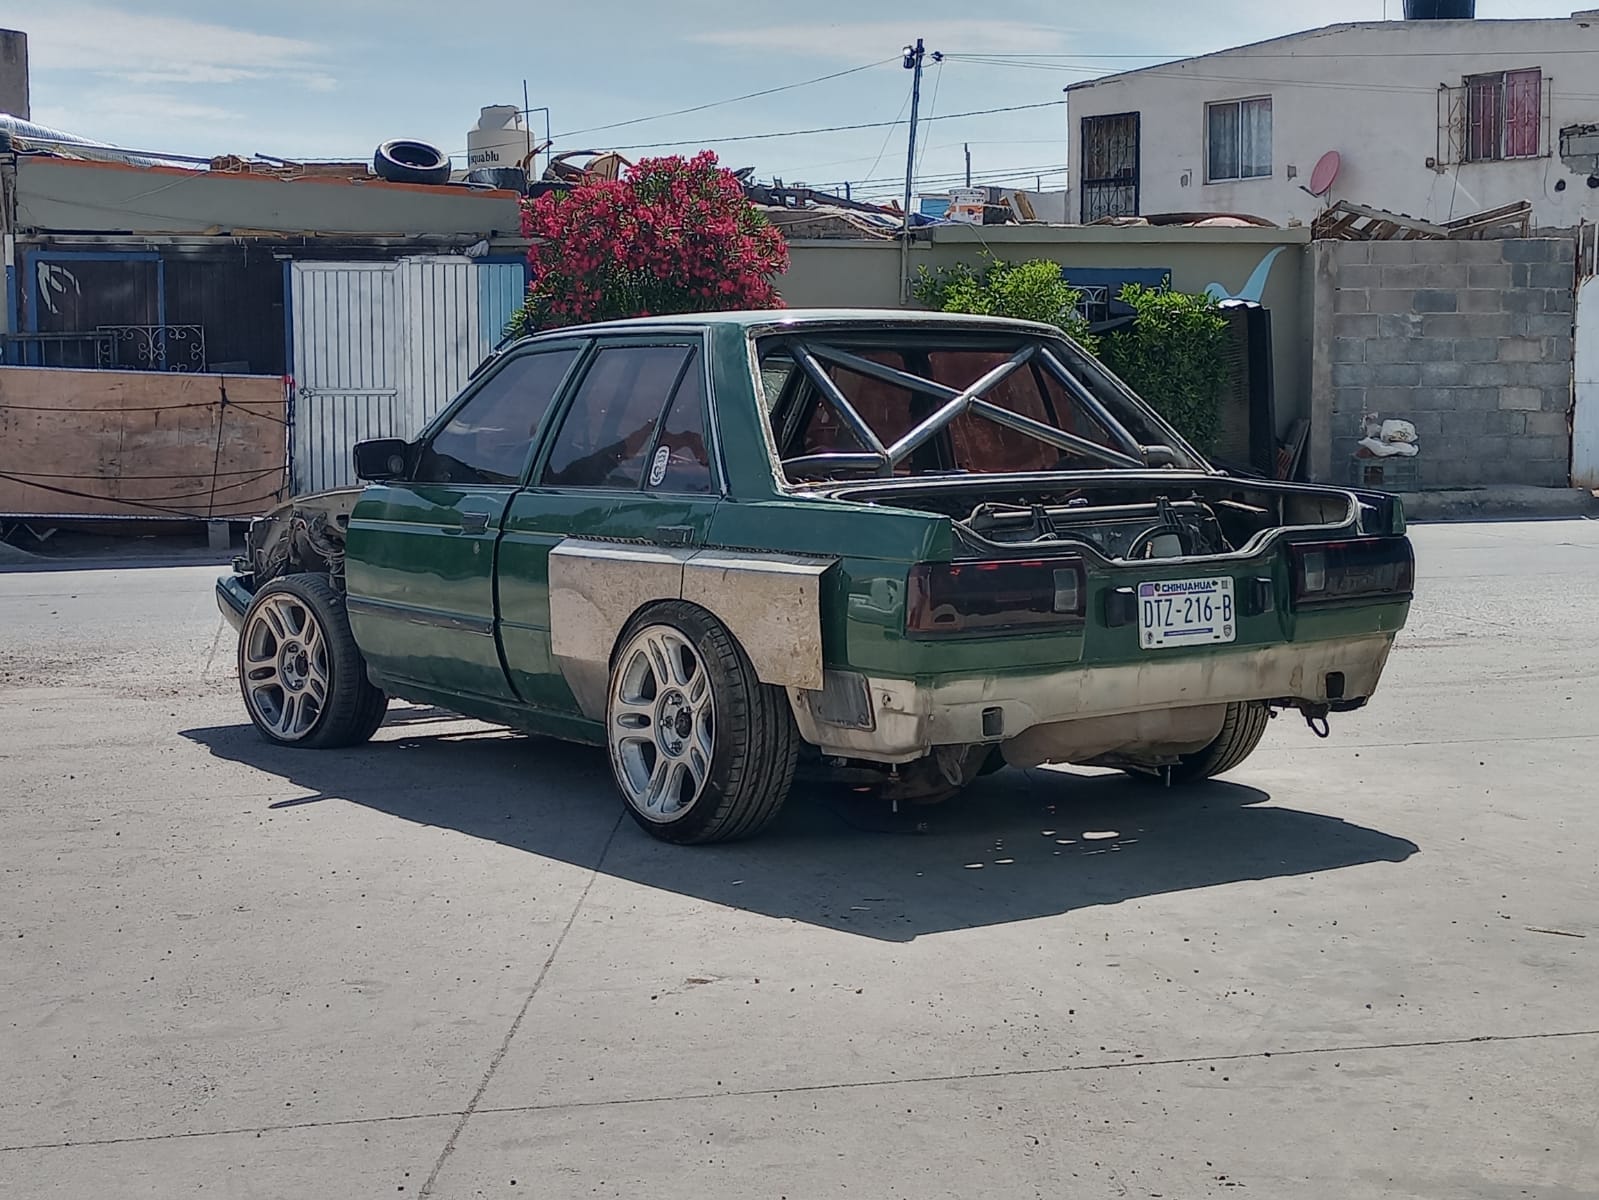
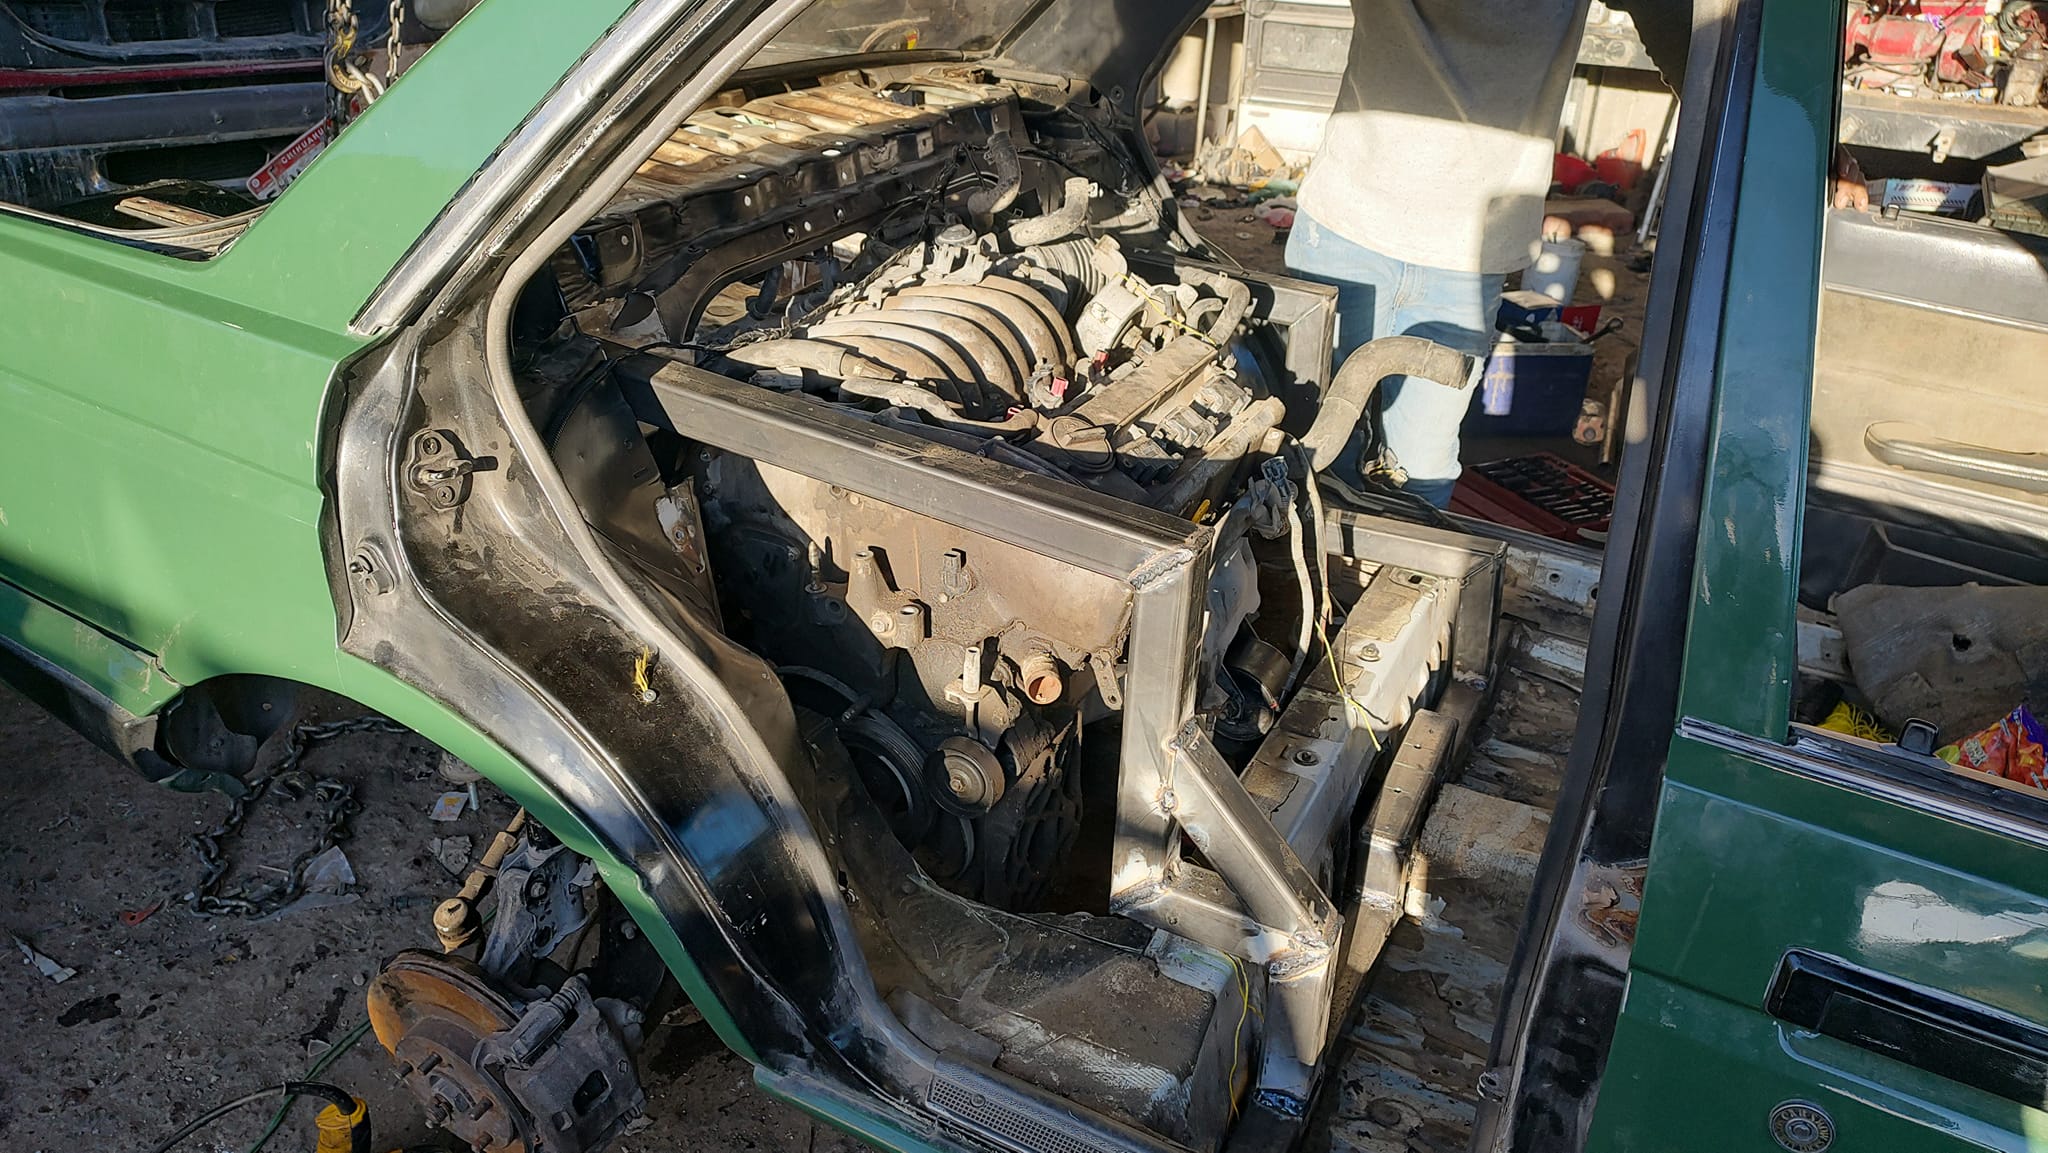
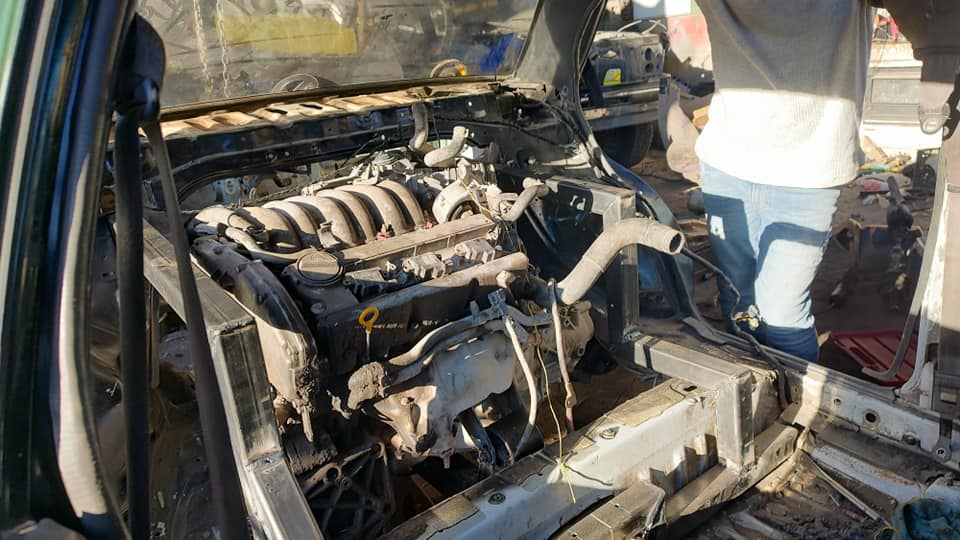
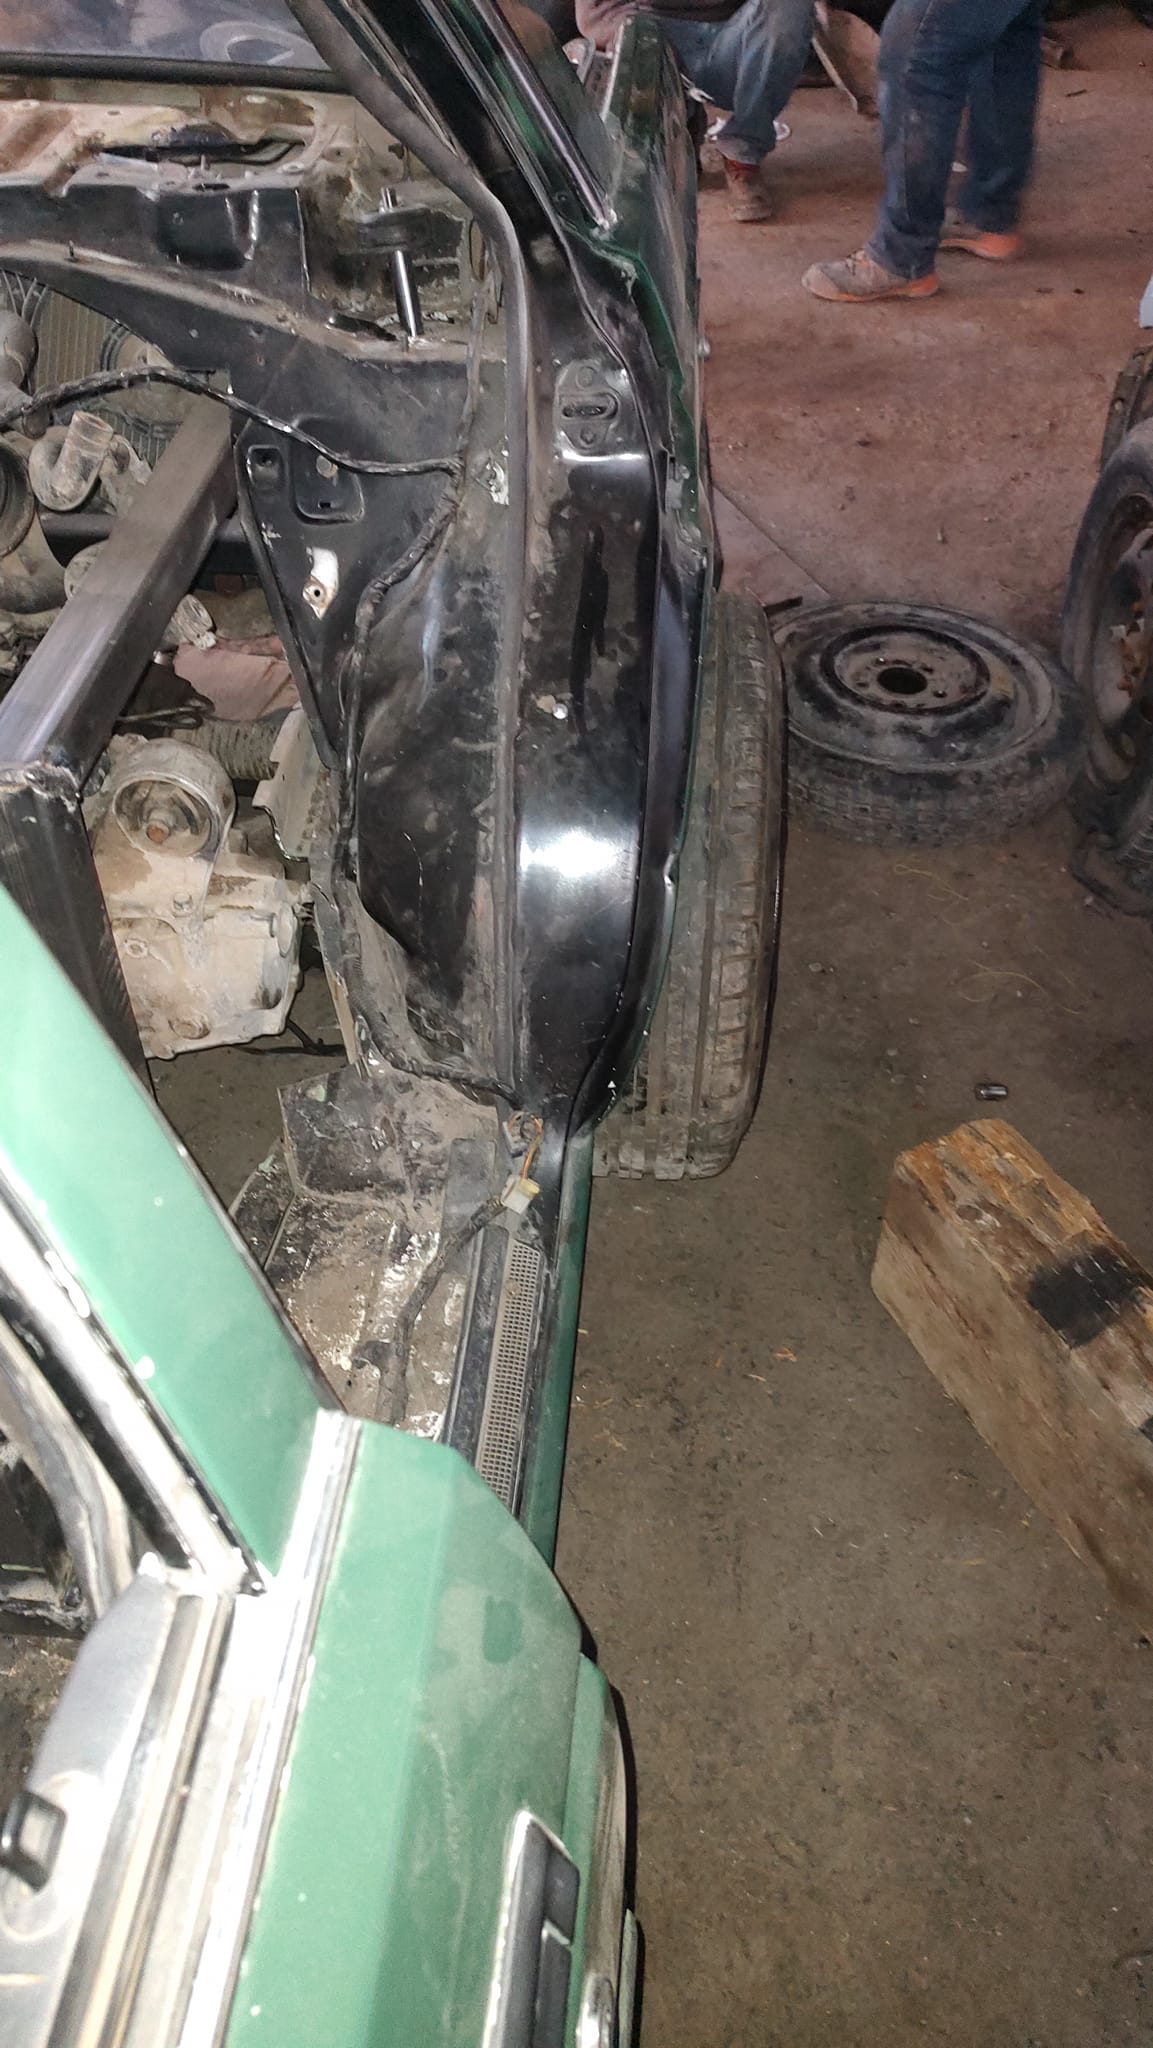
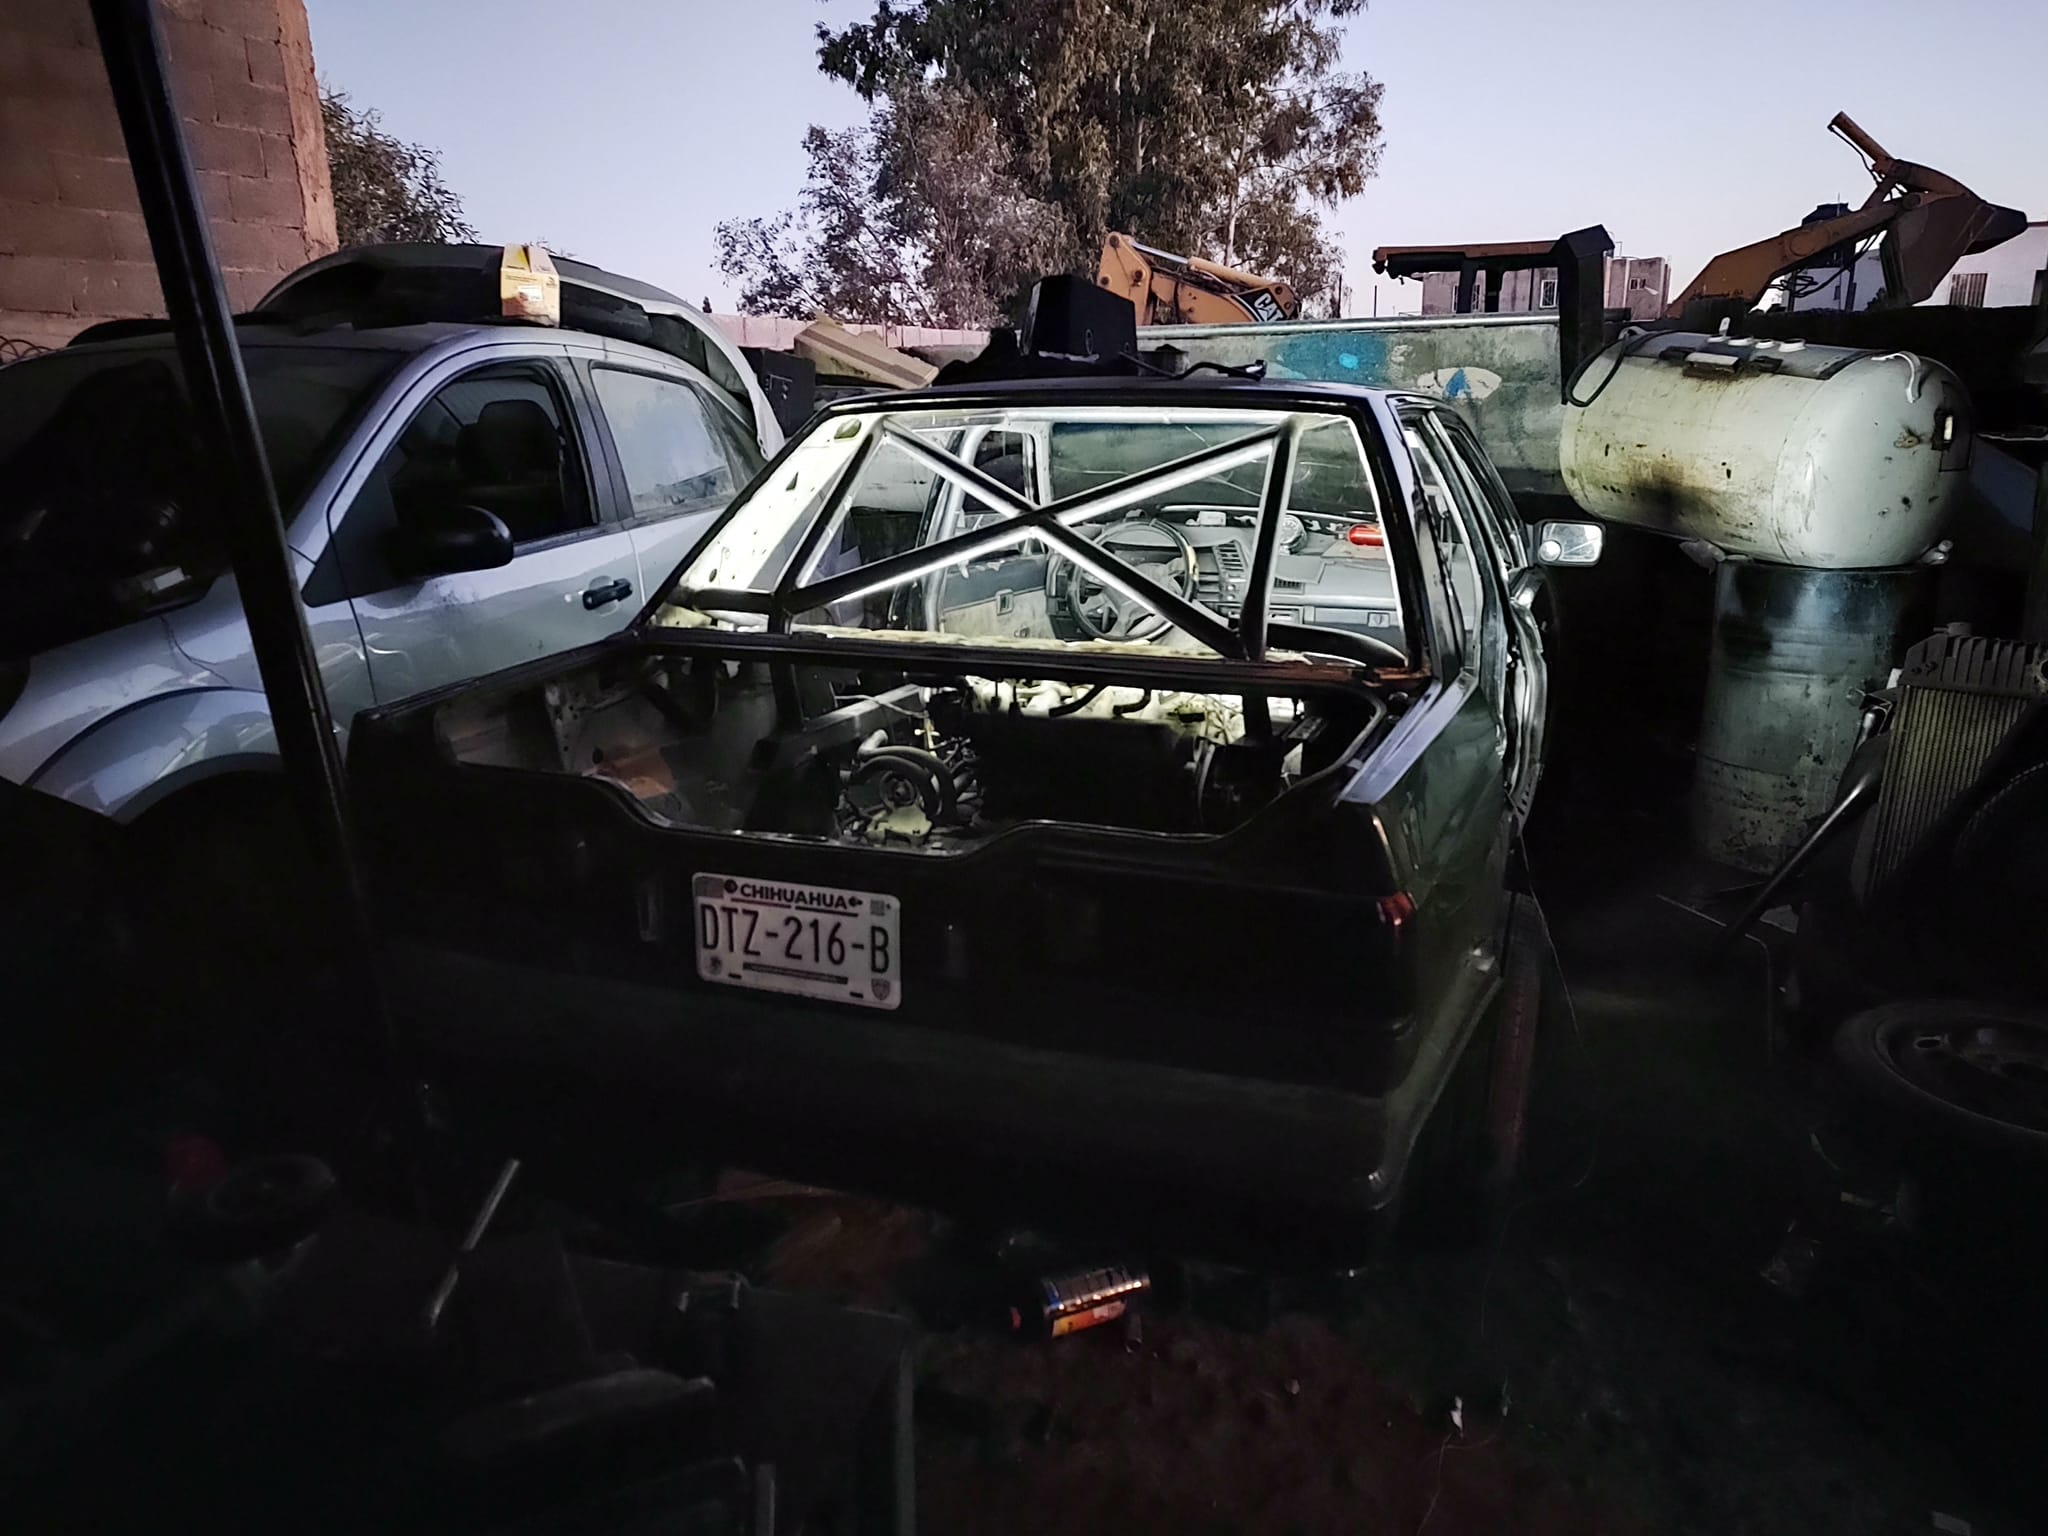
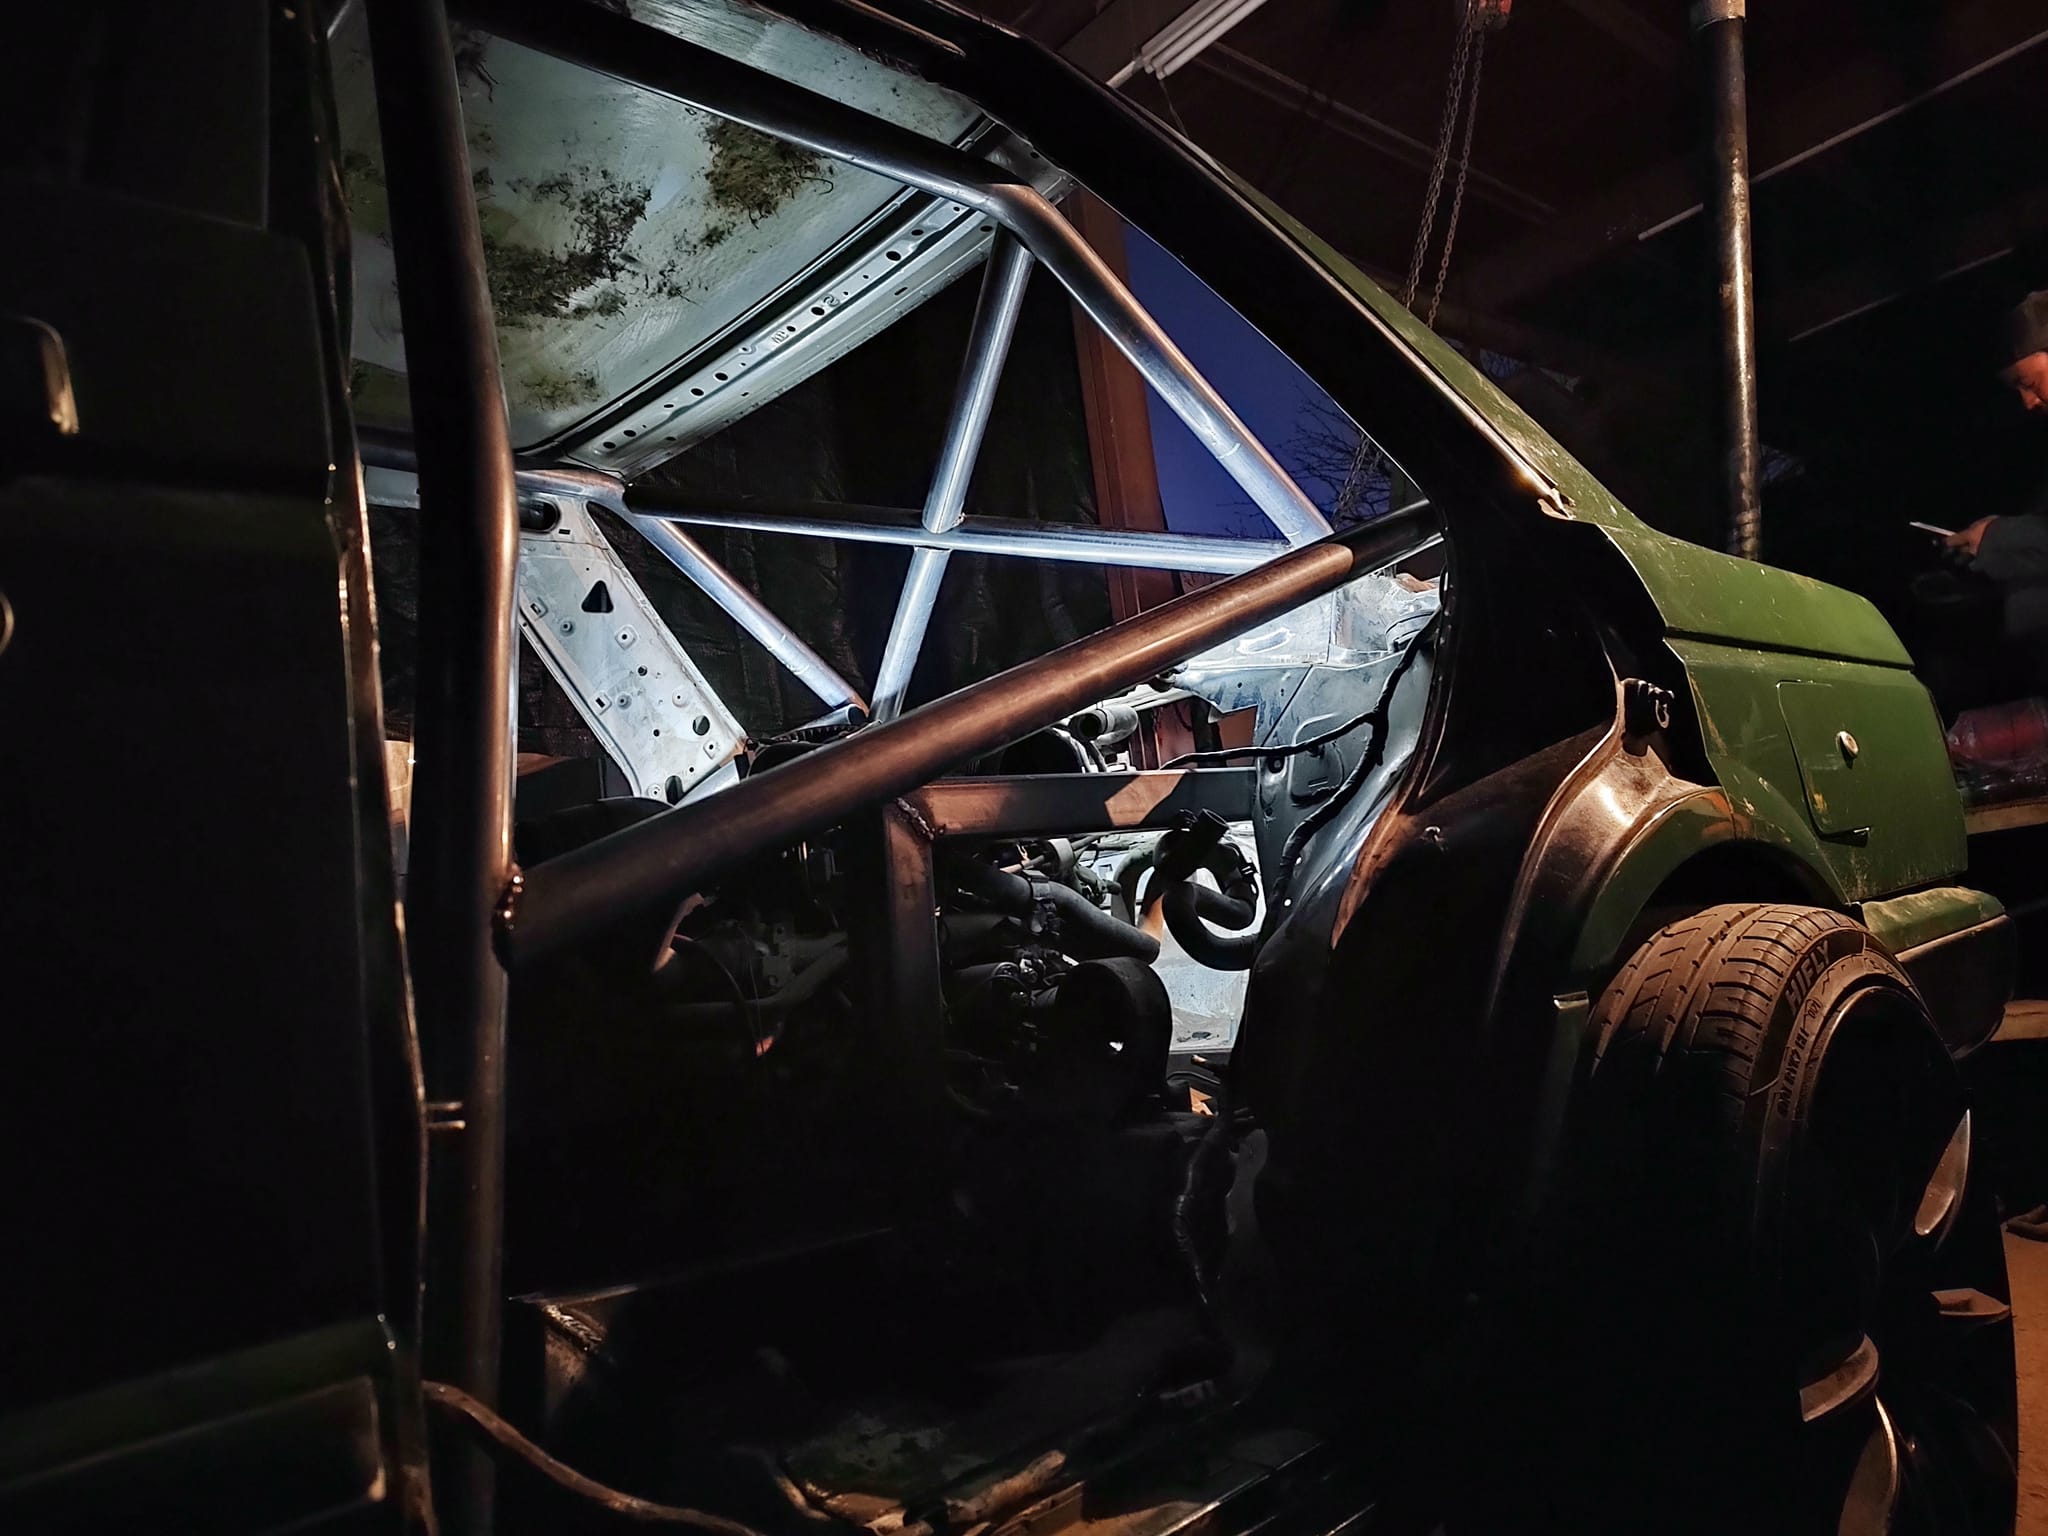
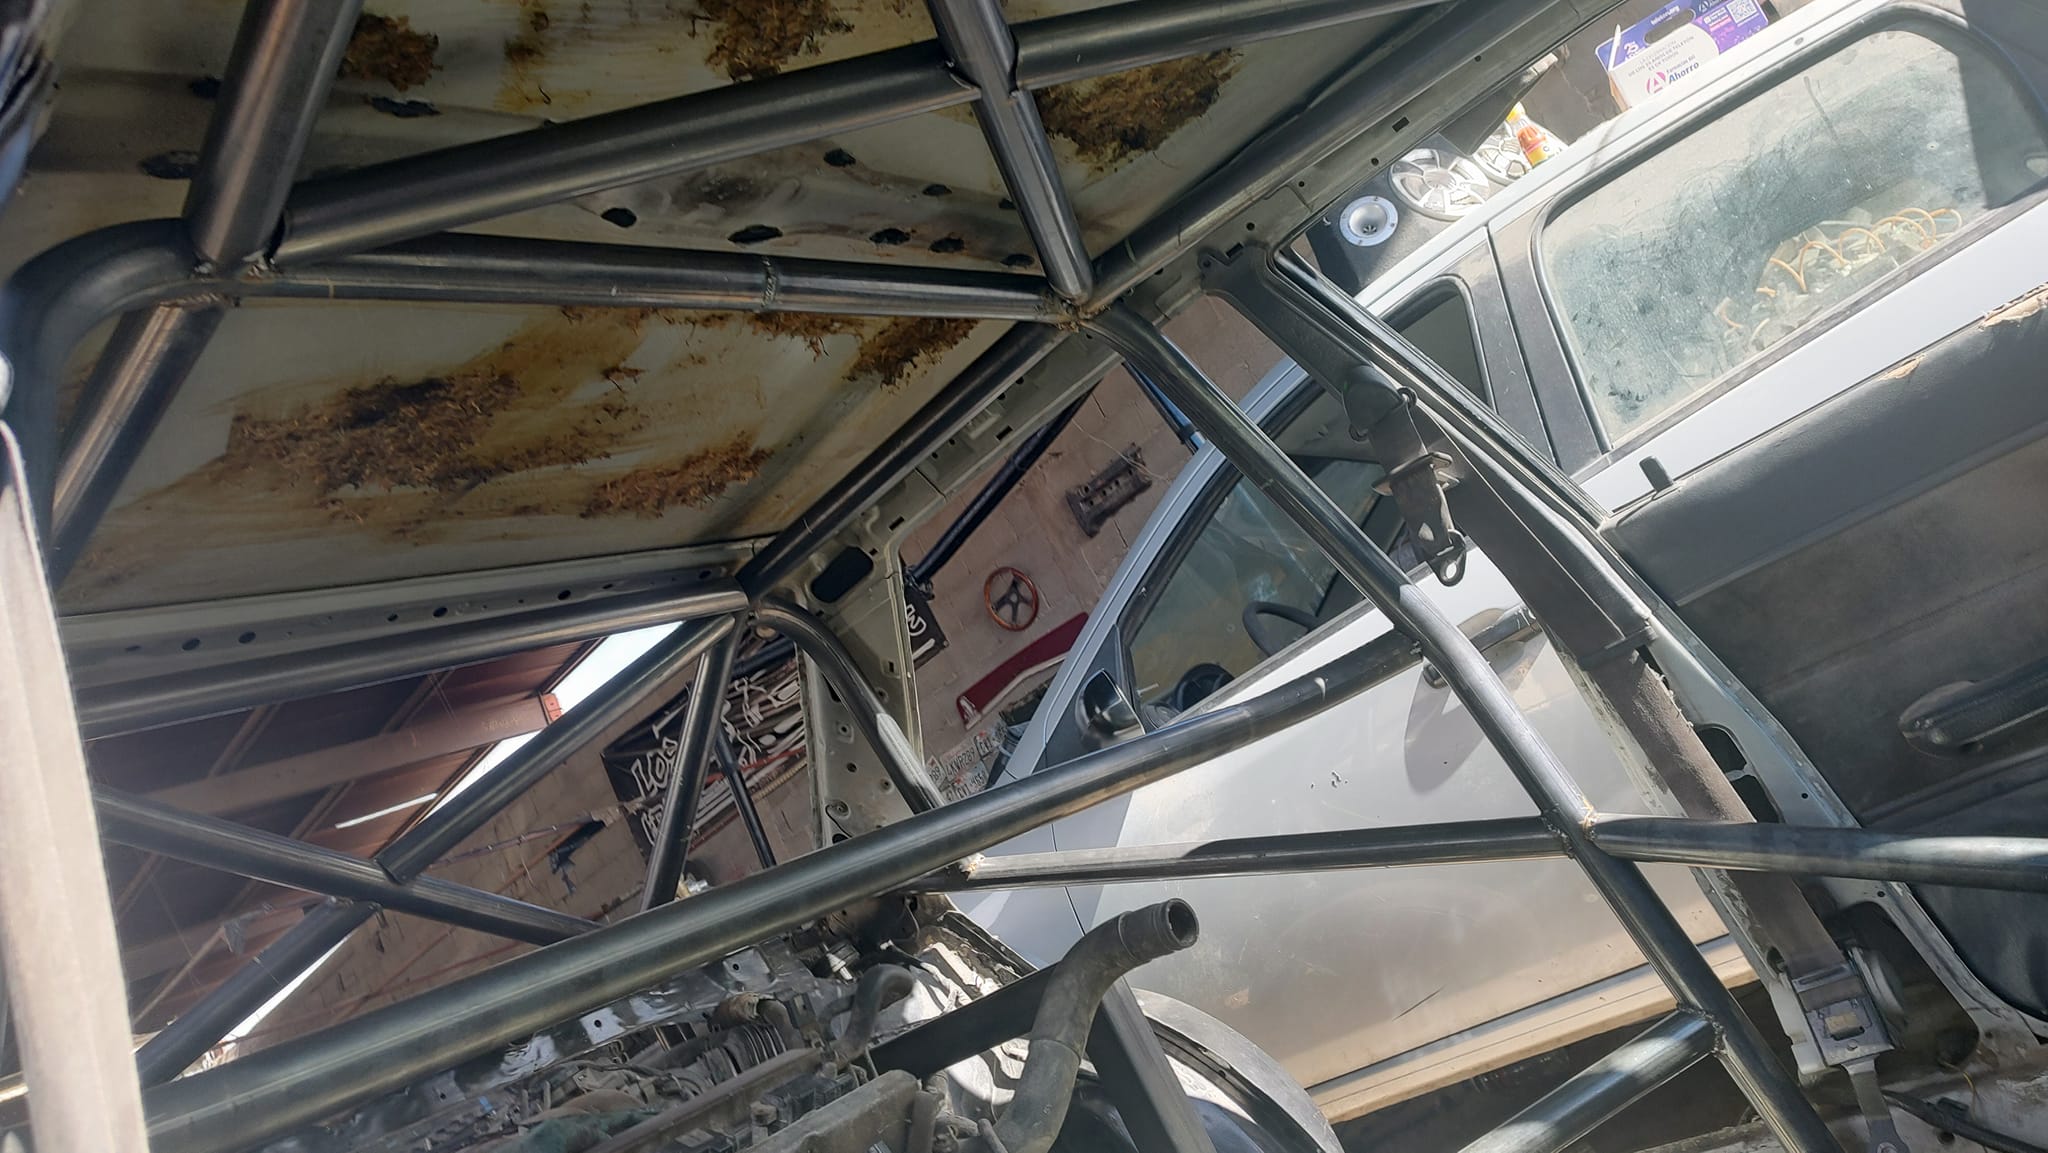
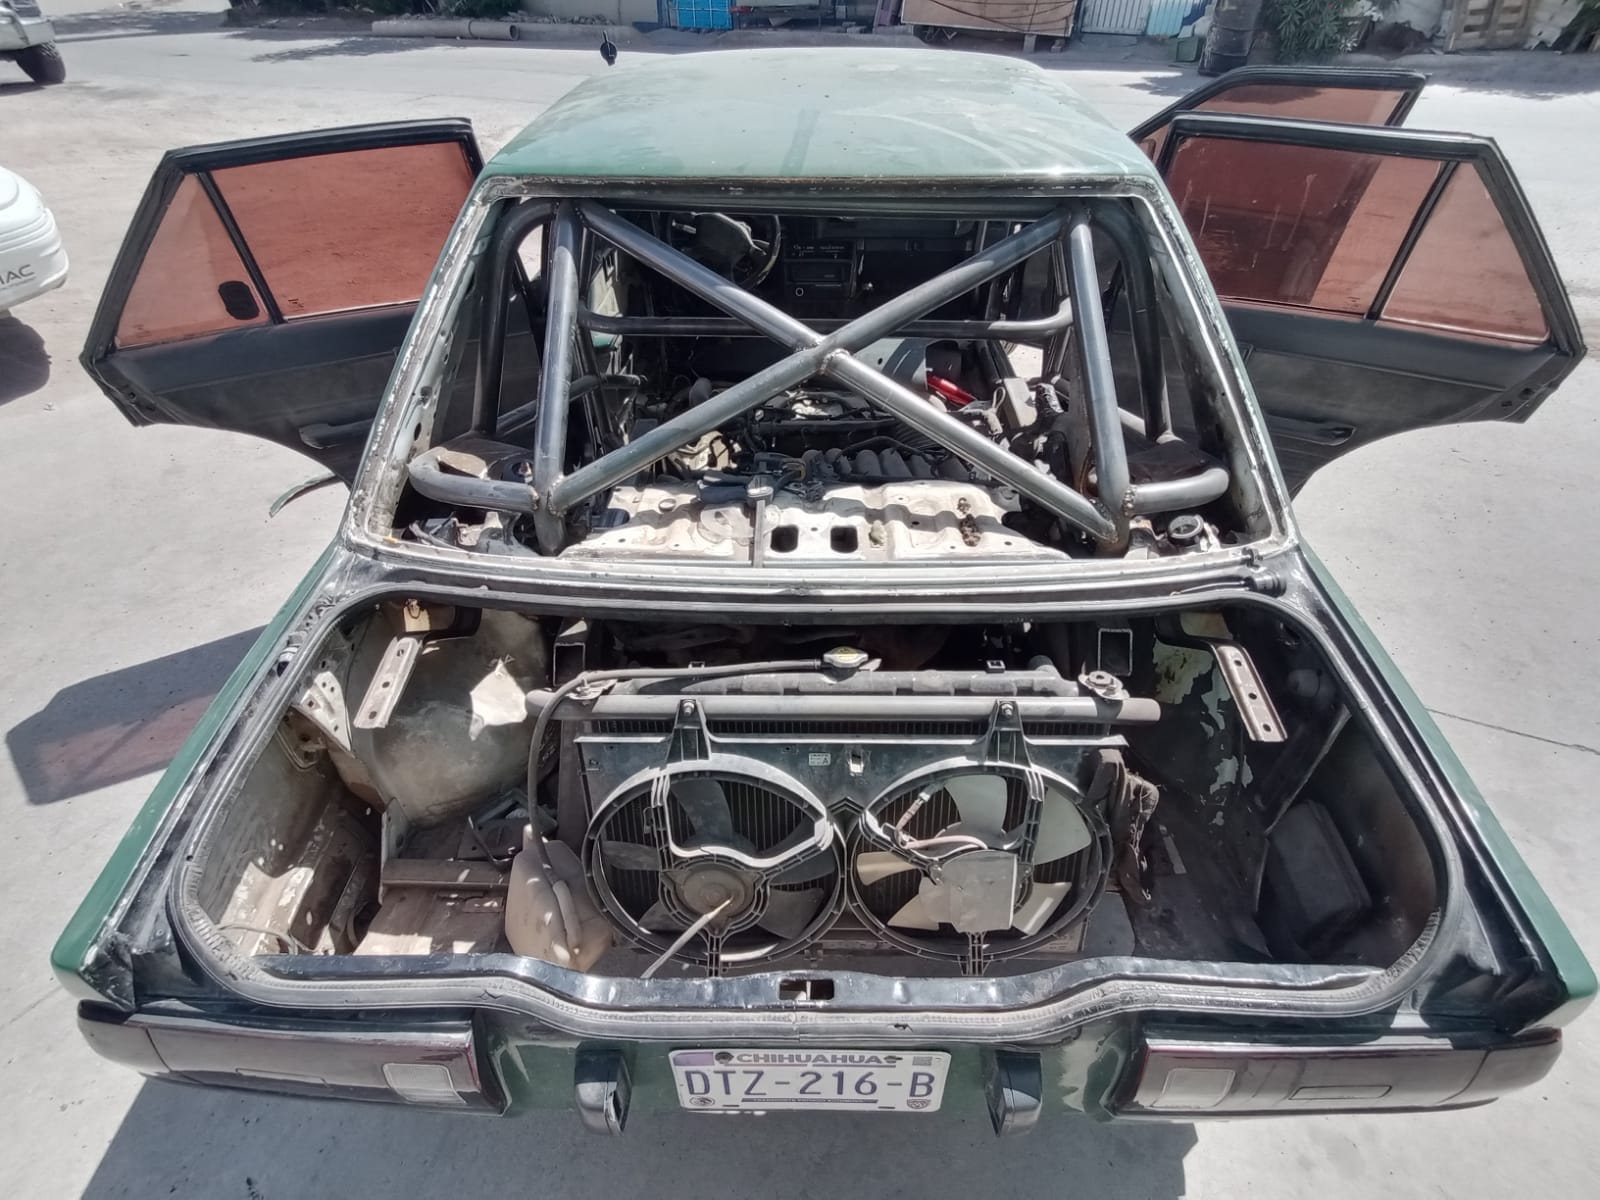
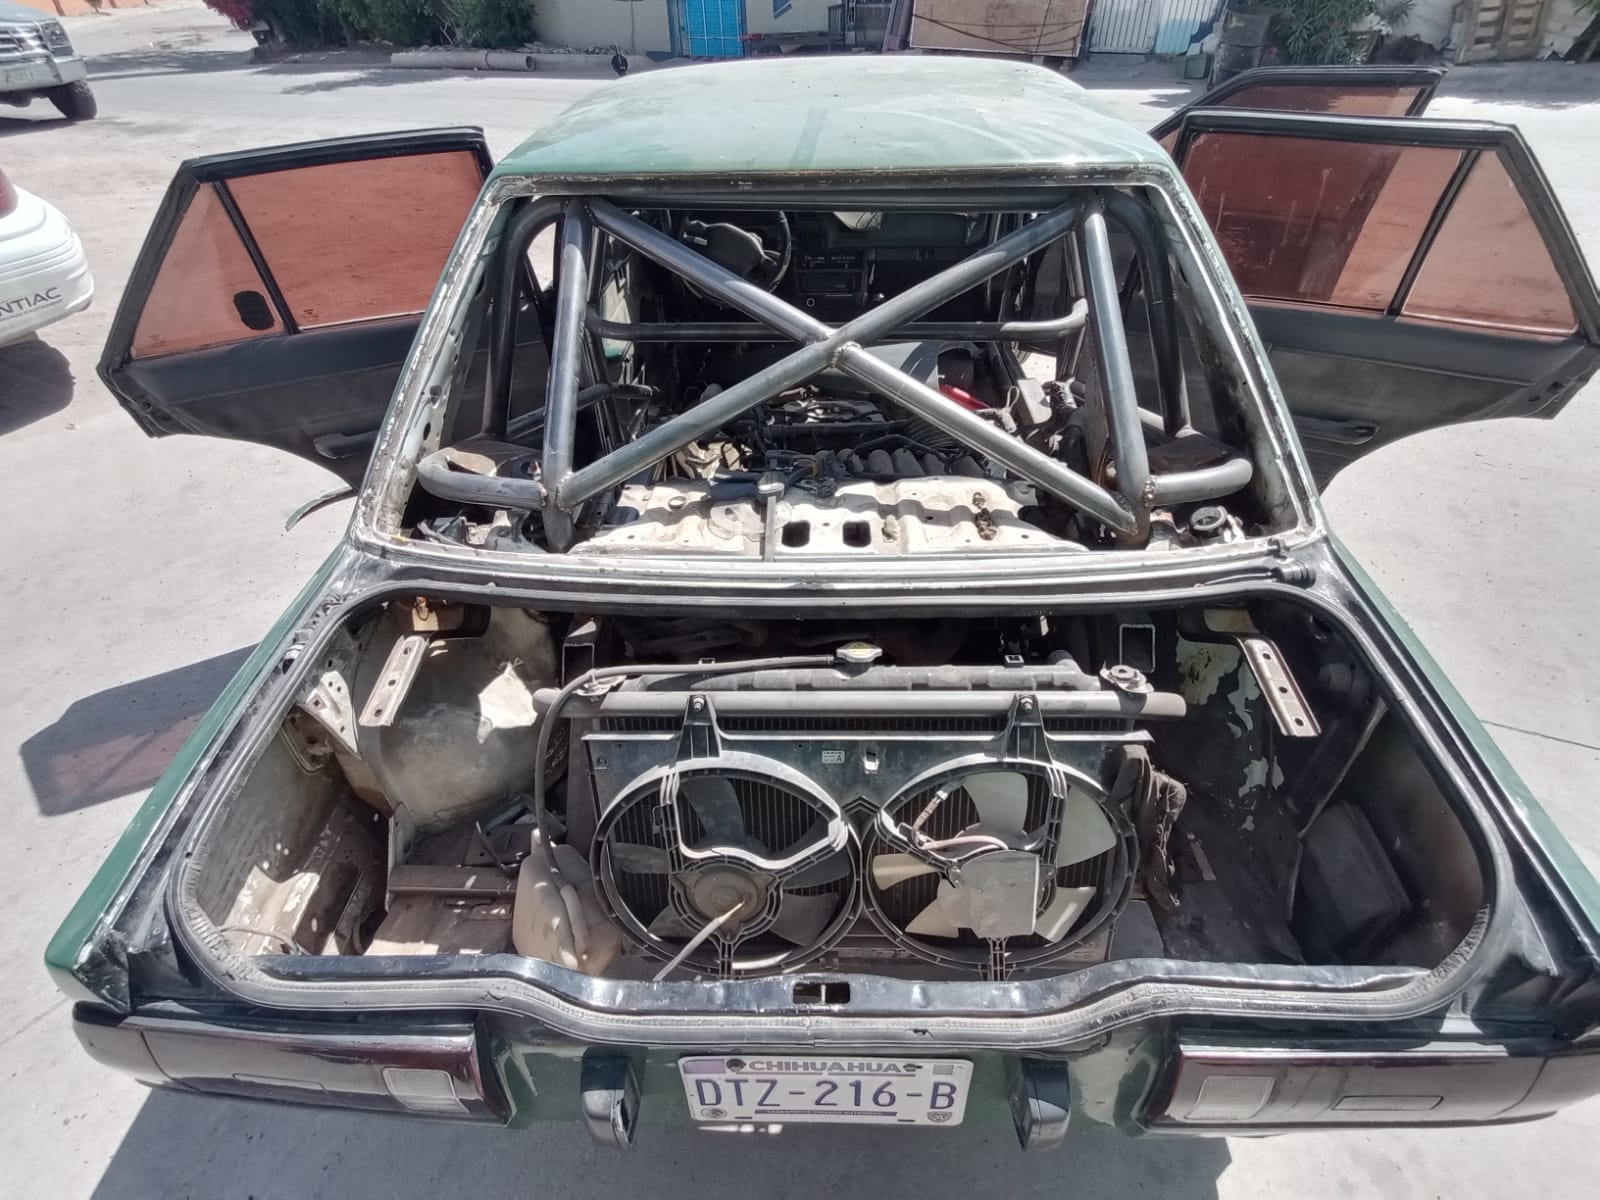
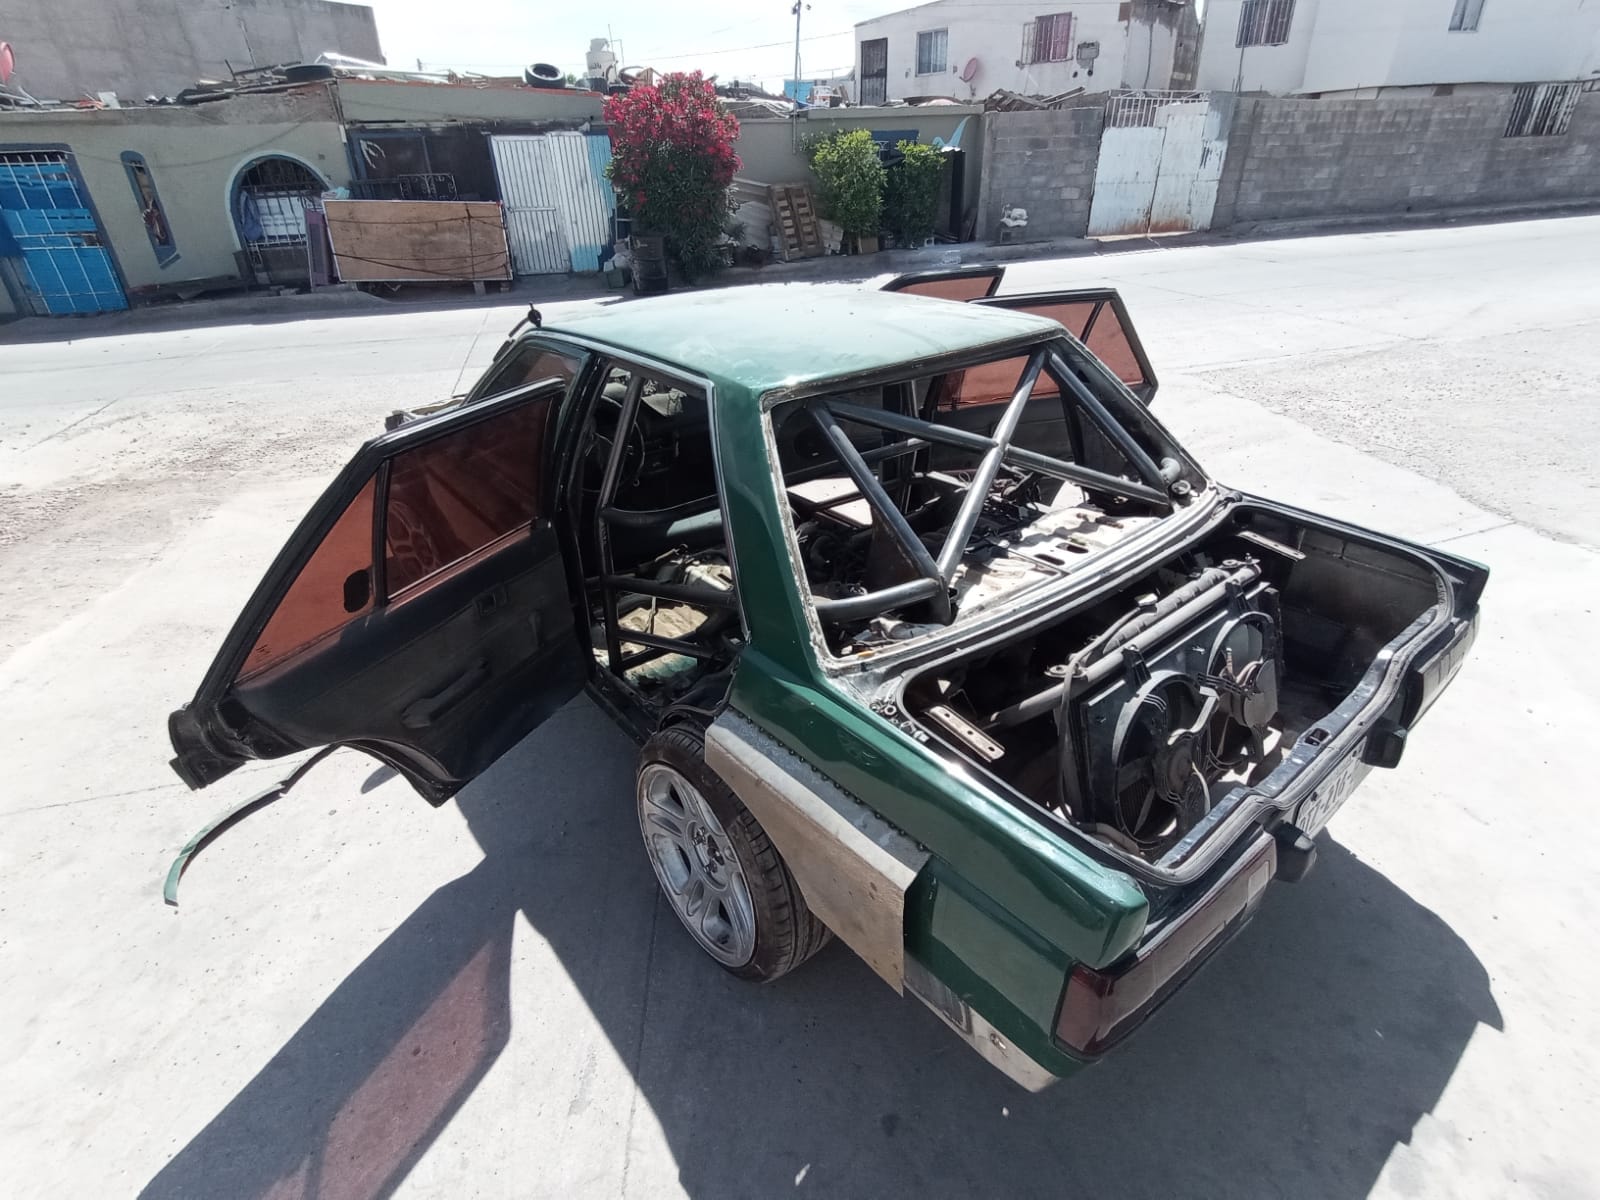
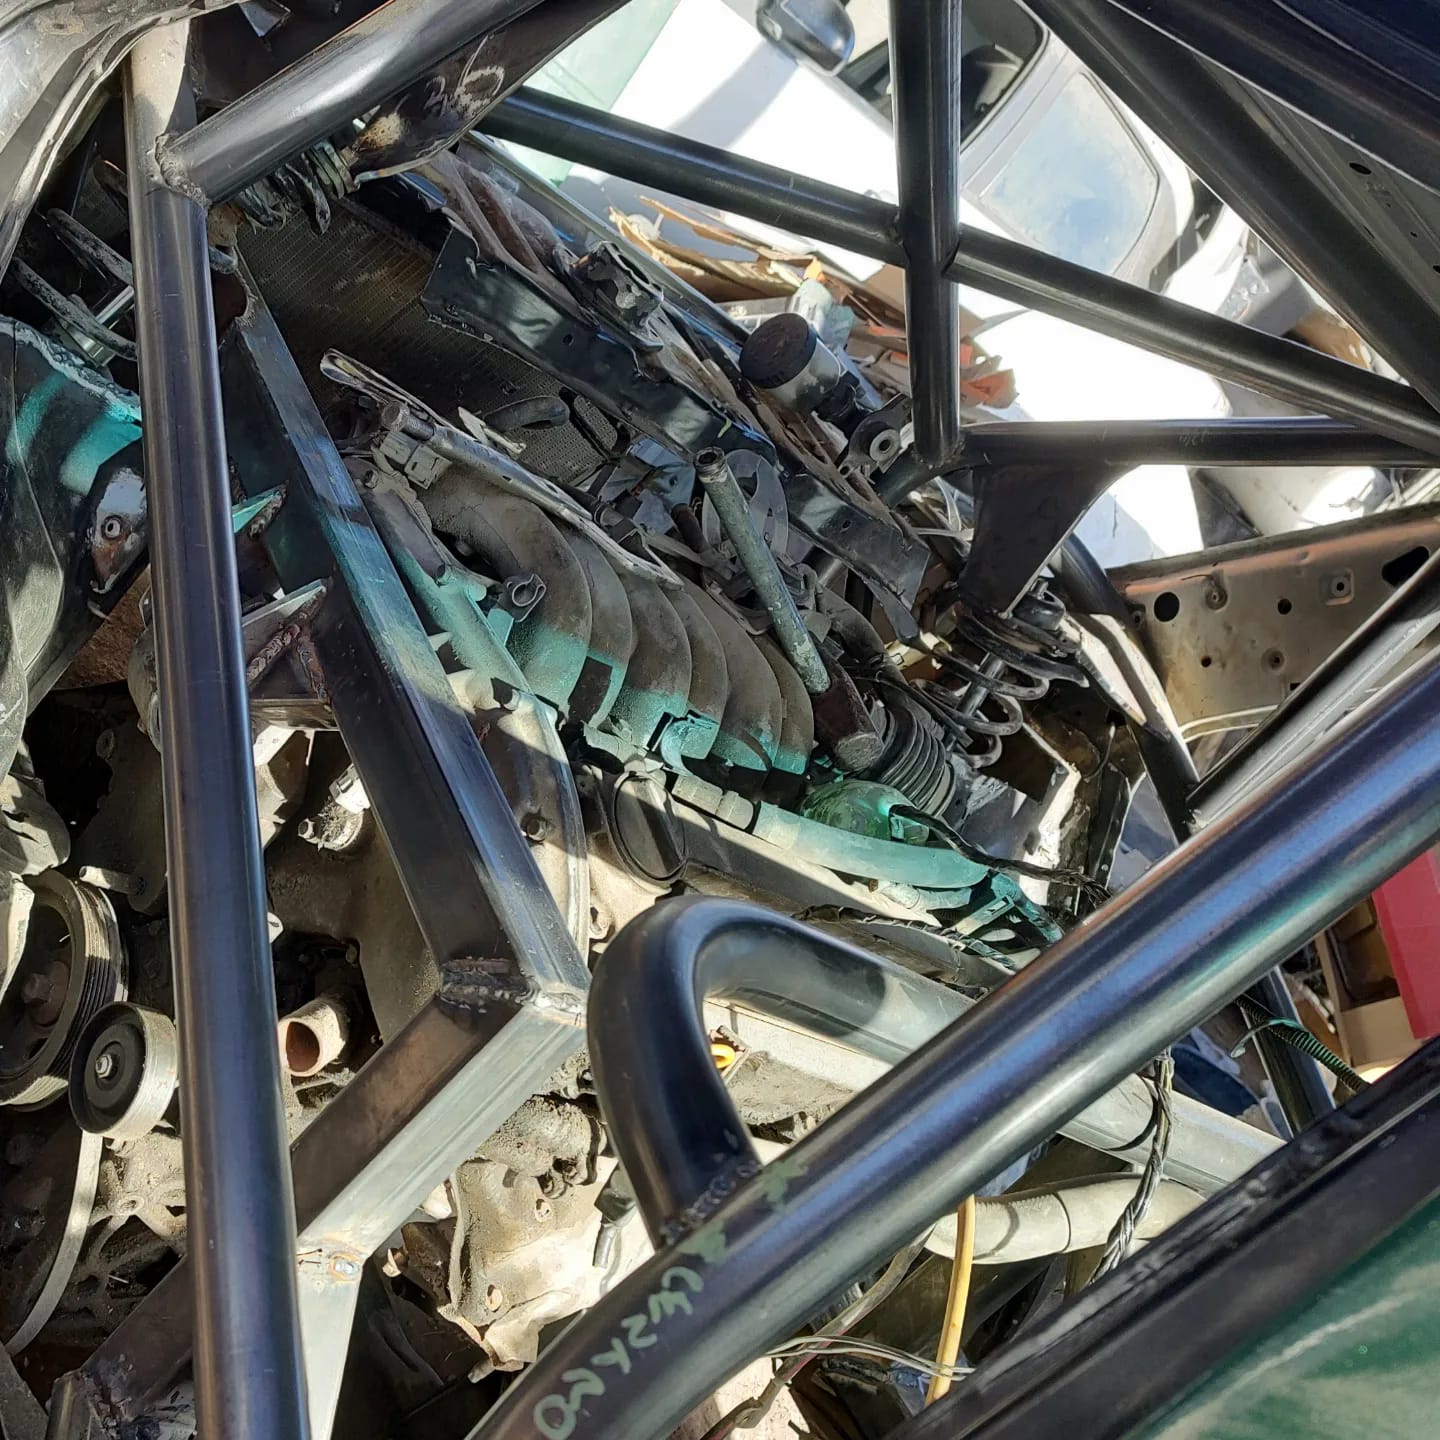
Owner: Alvaro Baca
Year: 1990
Model:Tsuru
Color: Green
Engine: VQ30DE

![]()


")
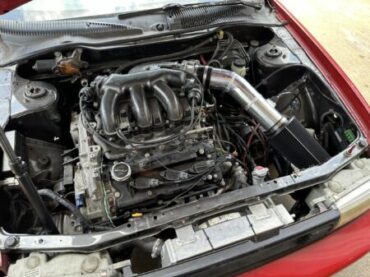
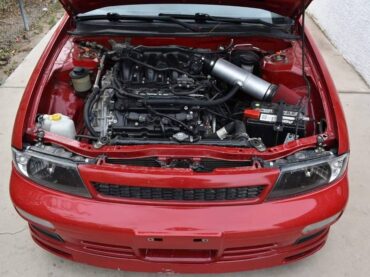
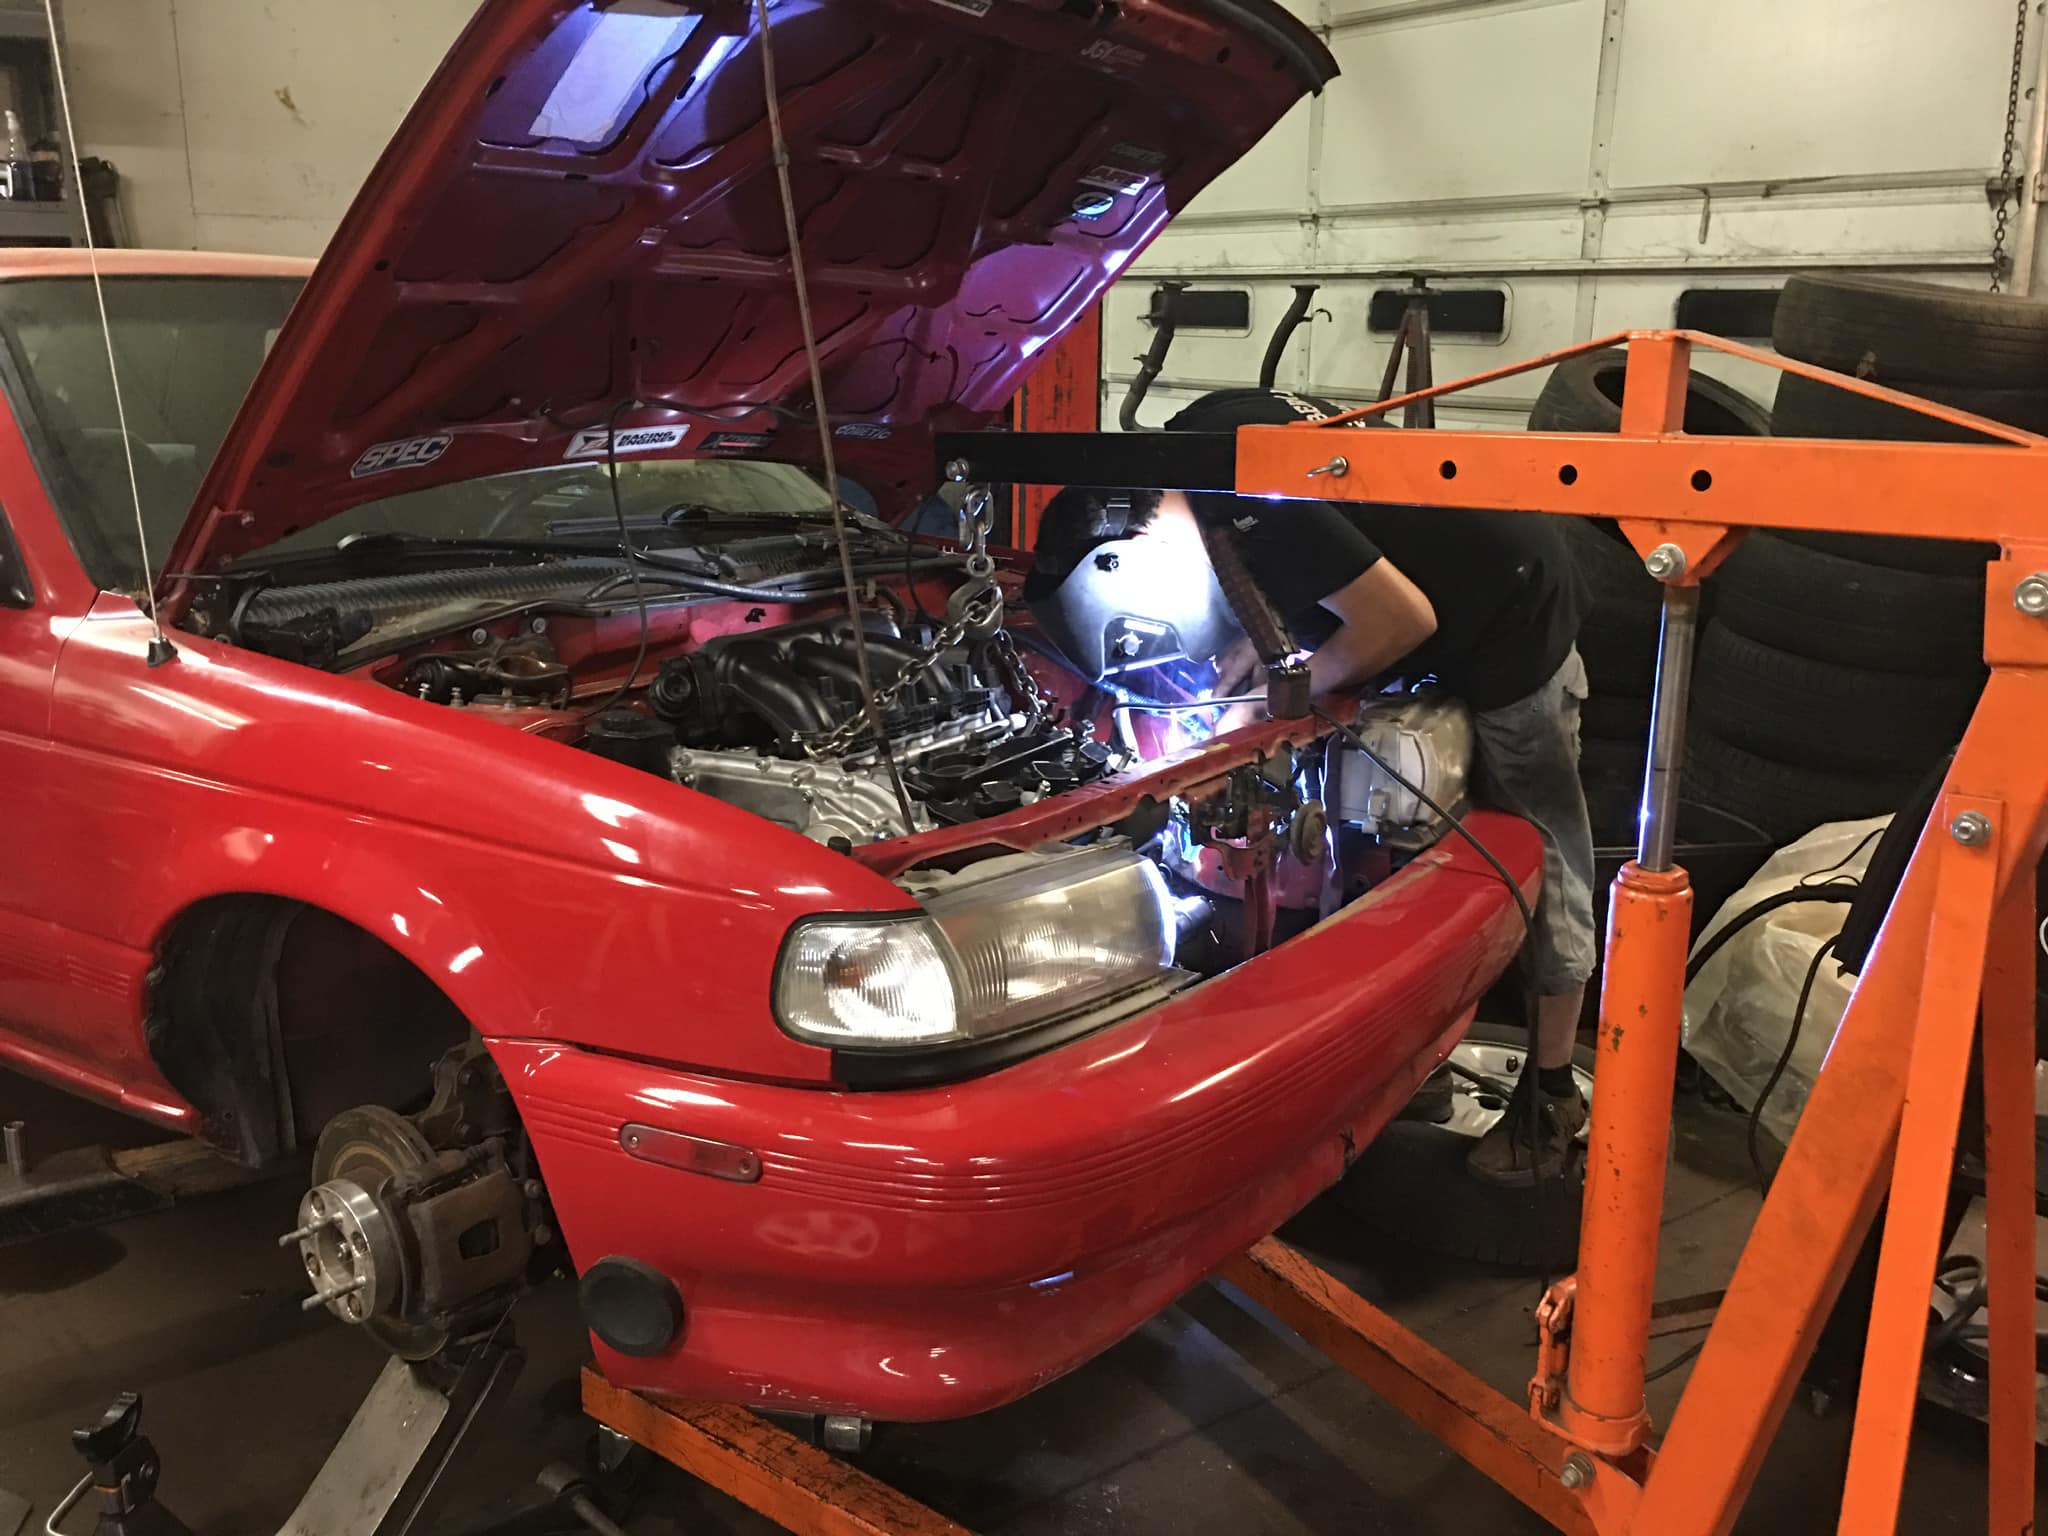
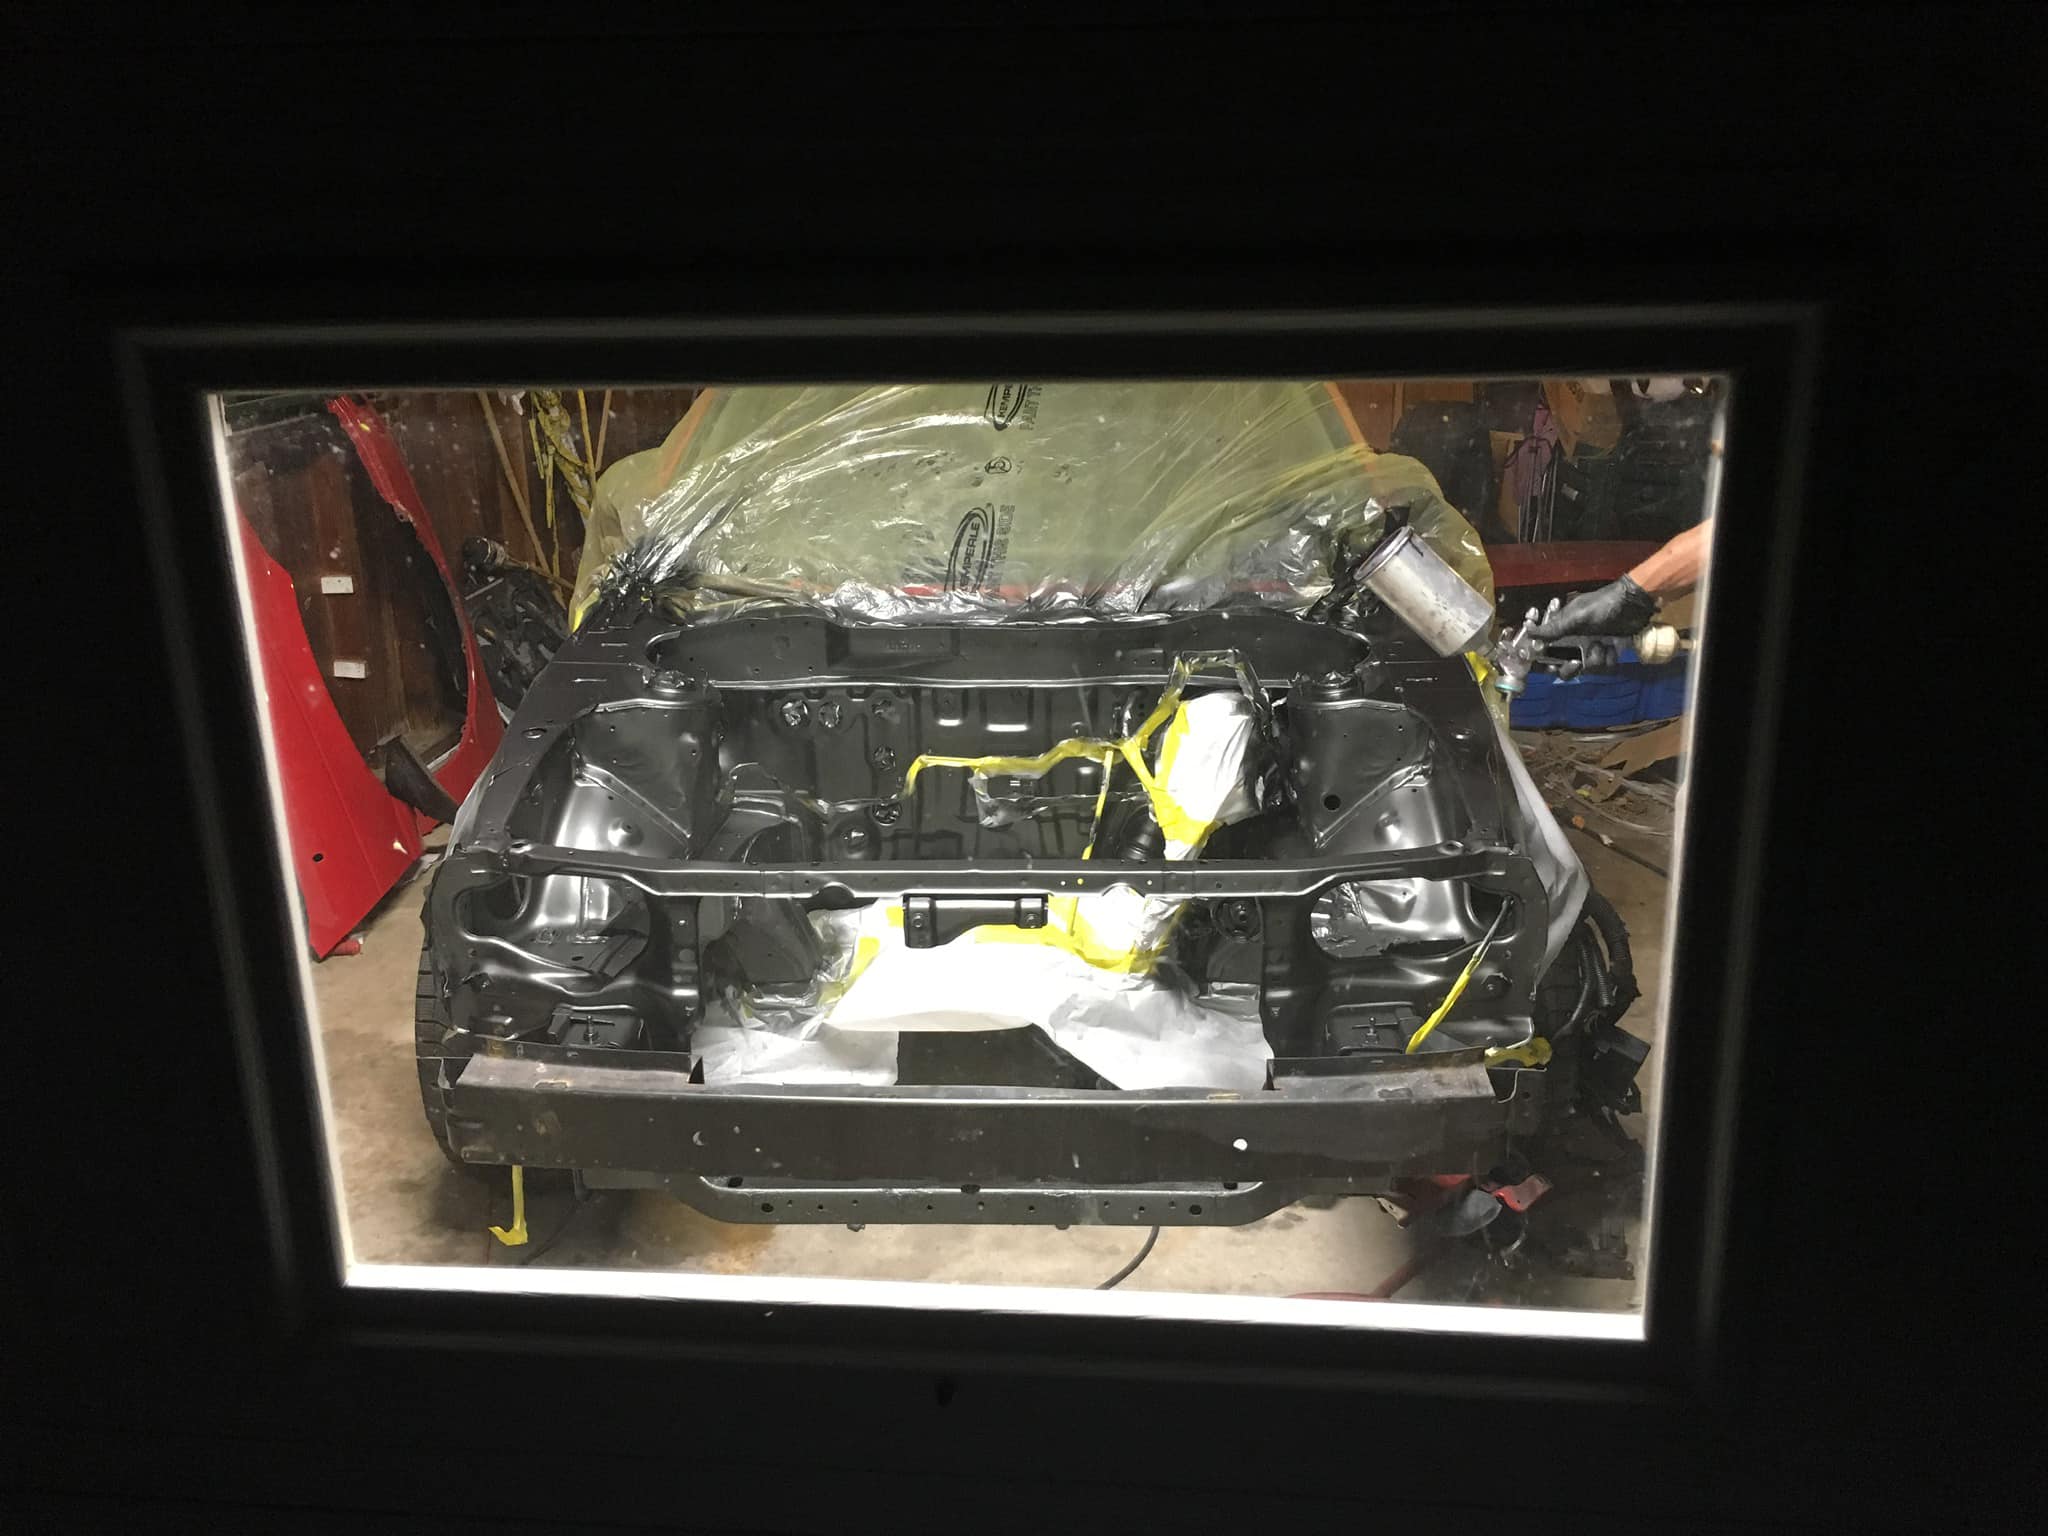
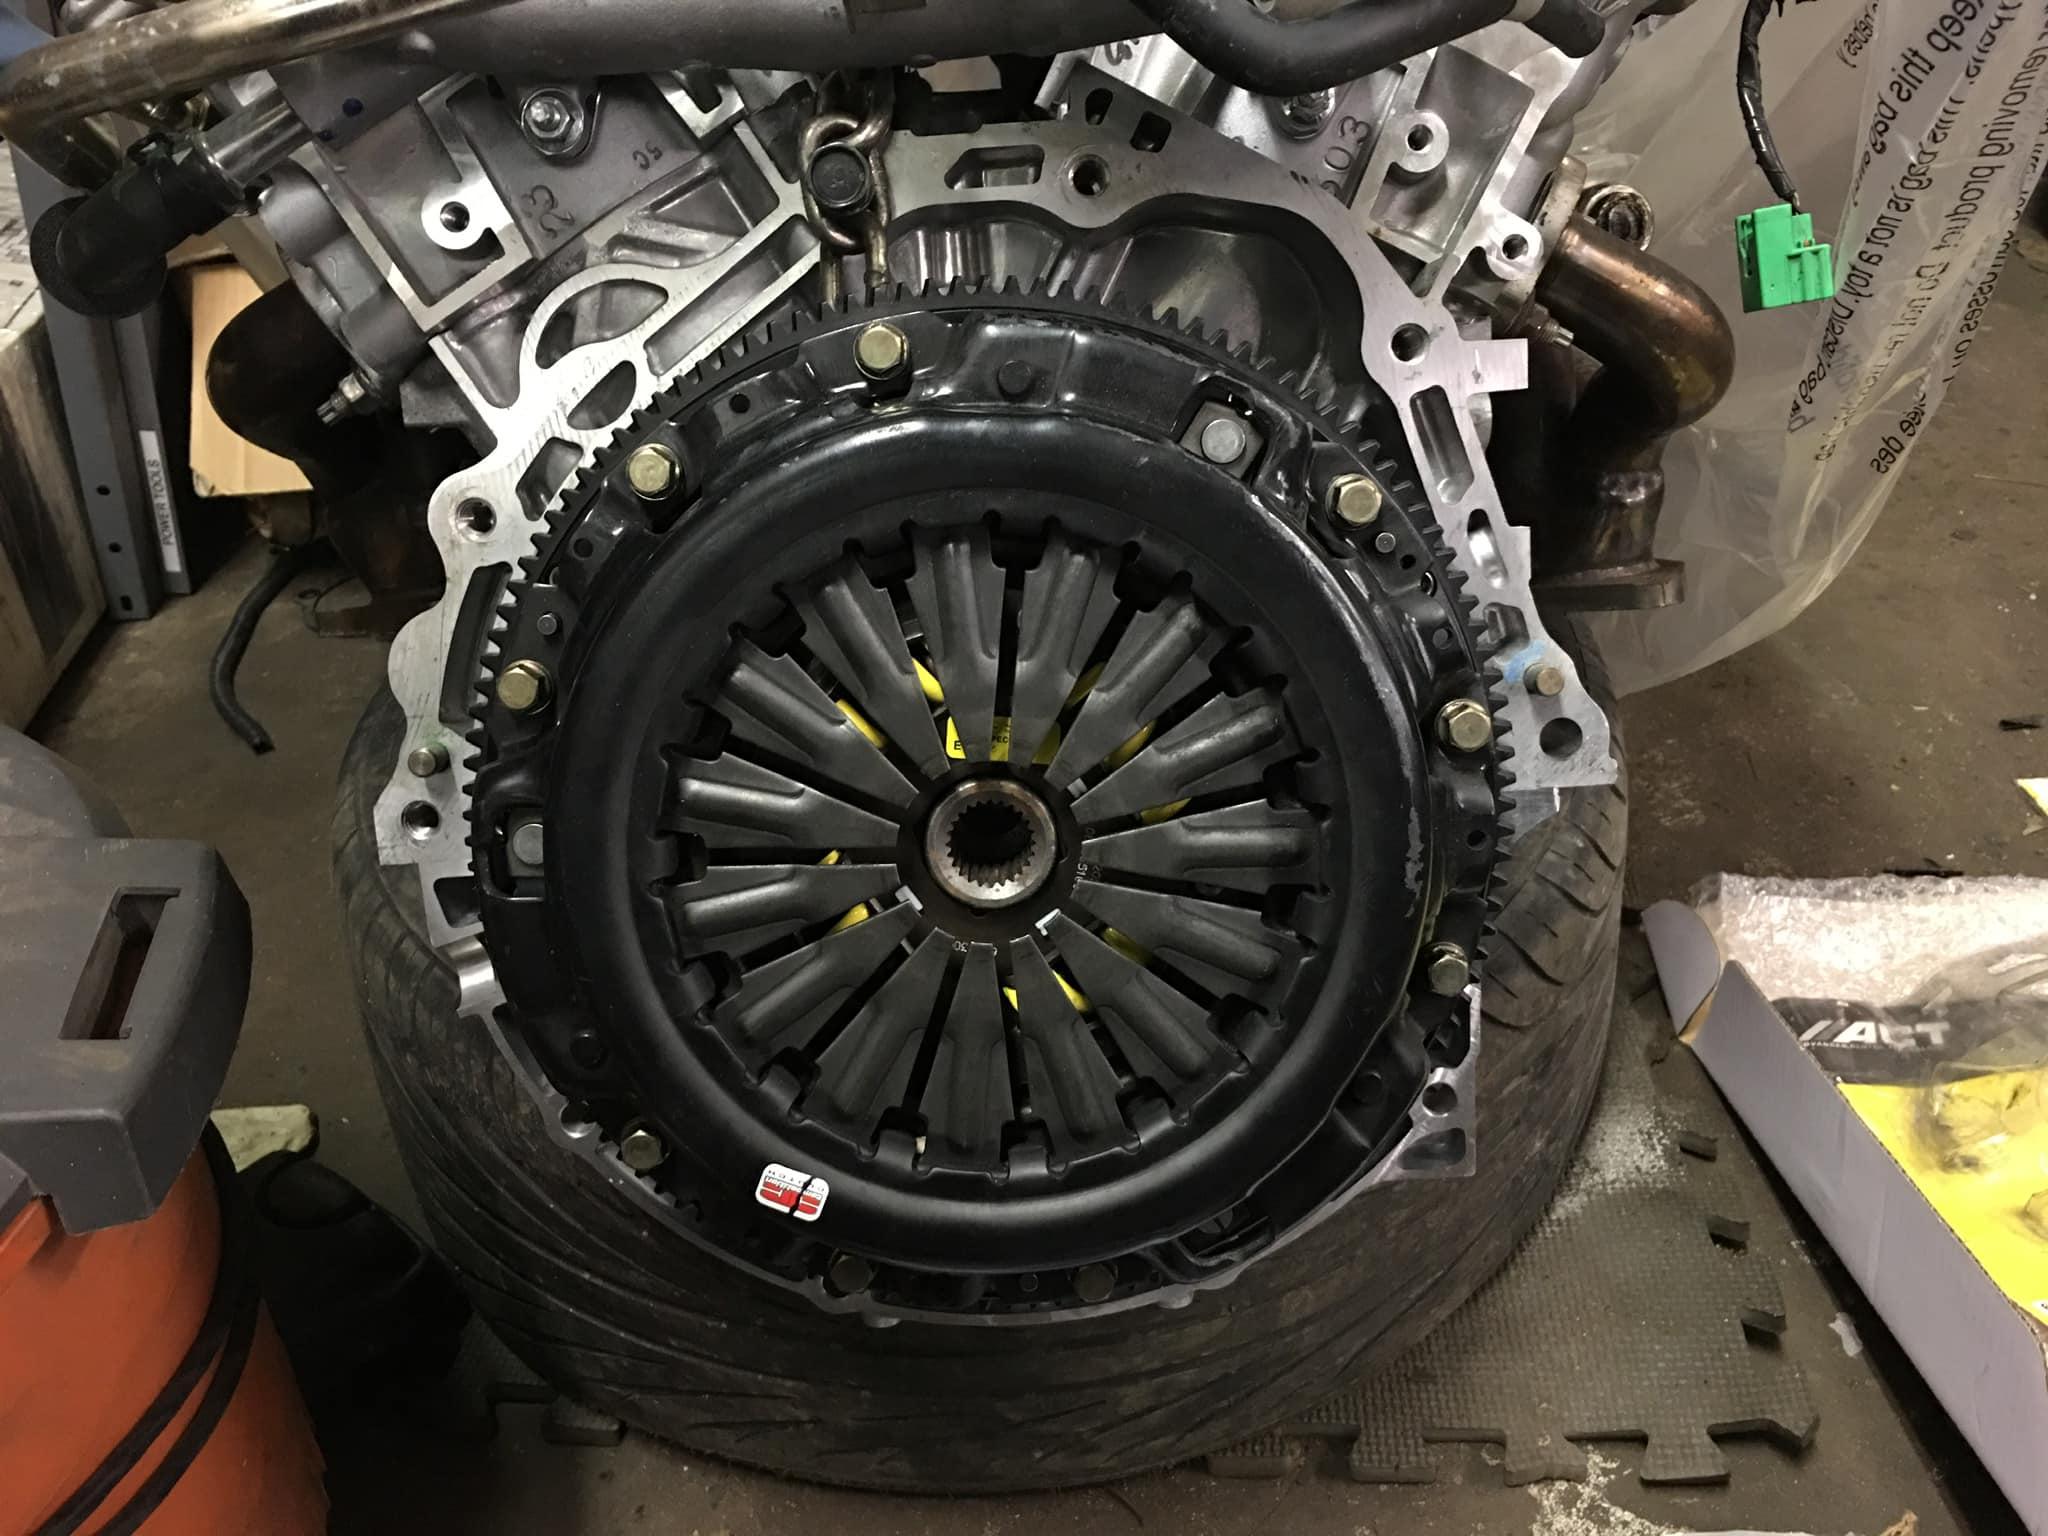
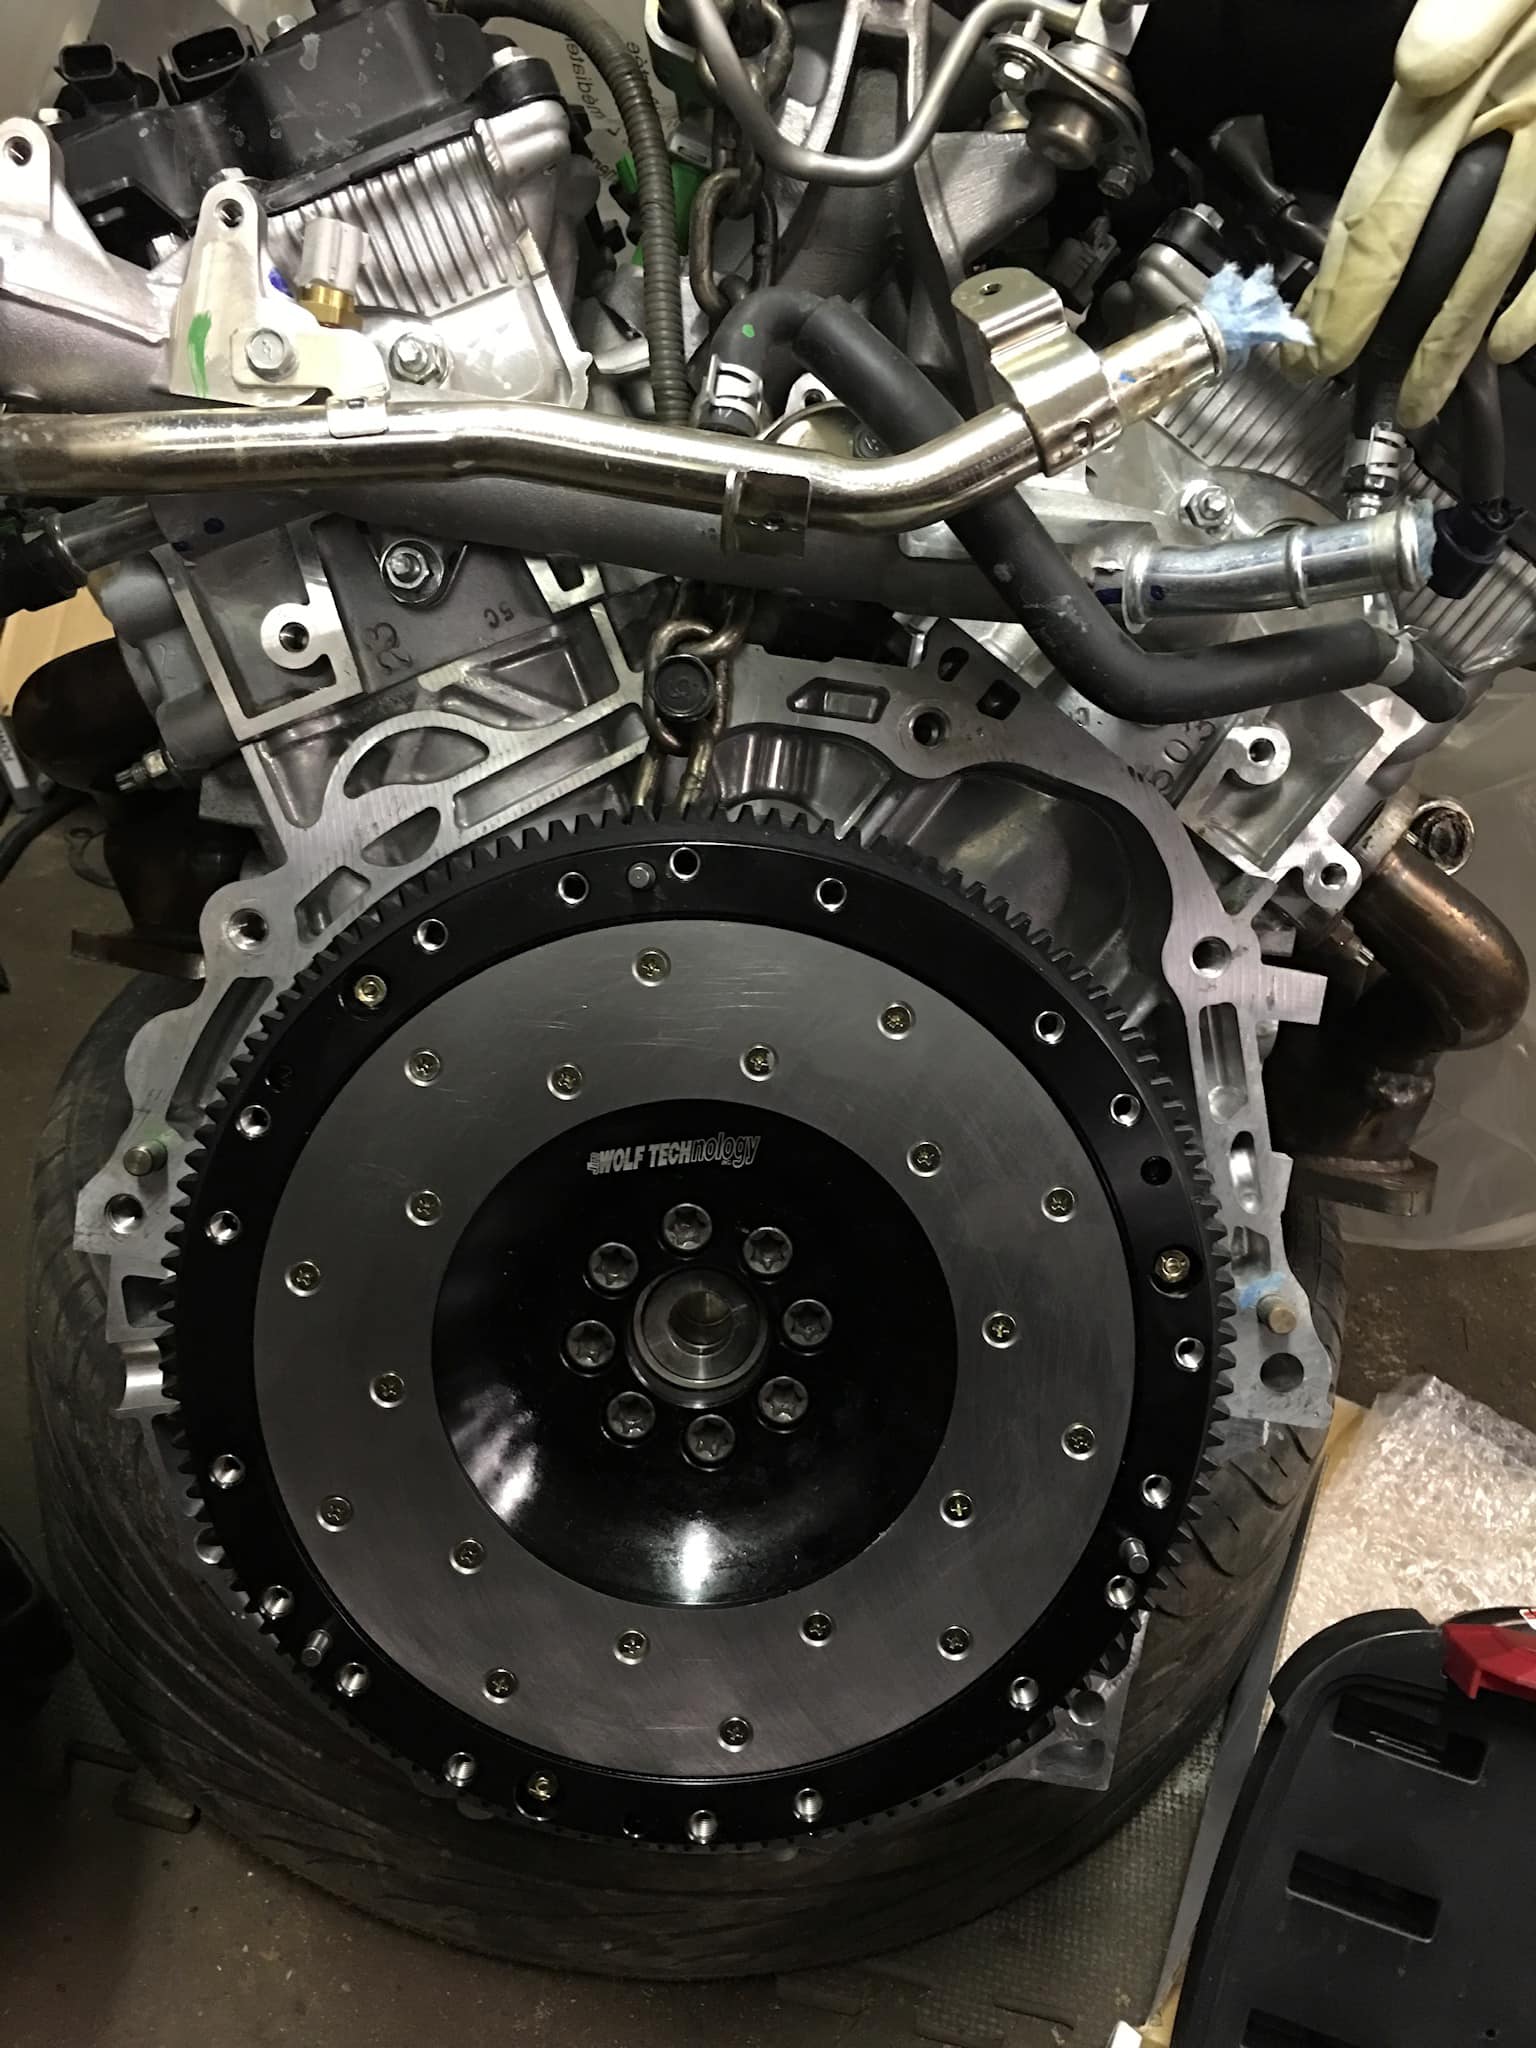
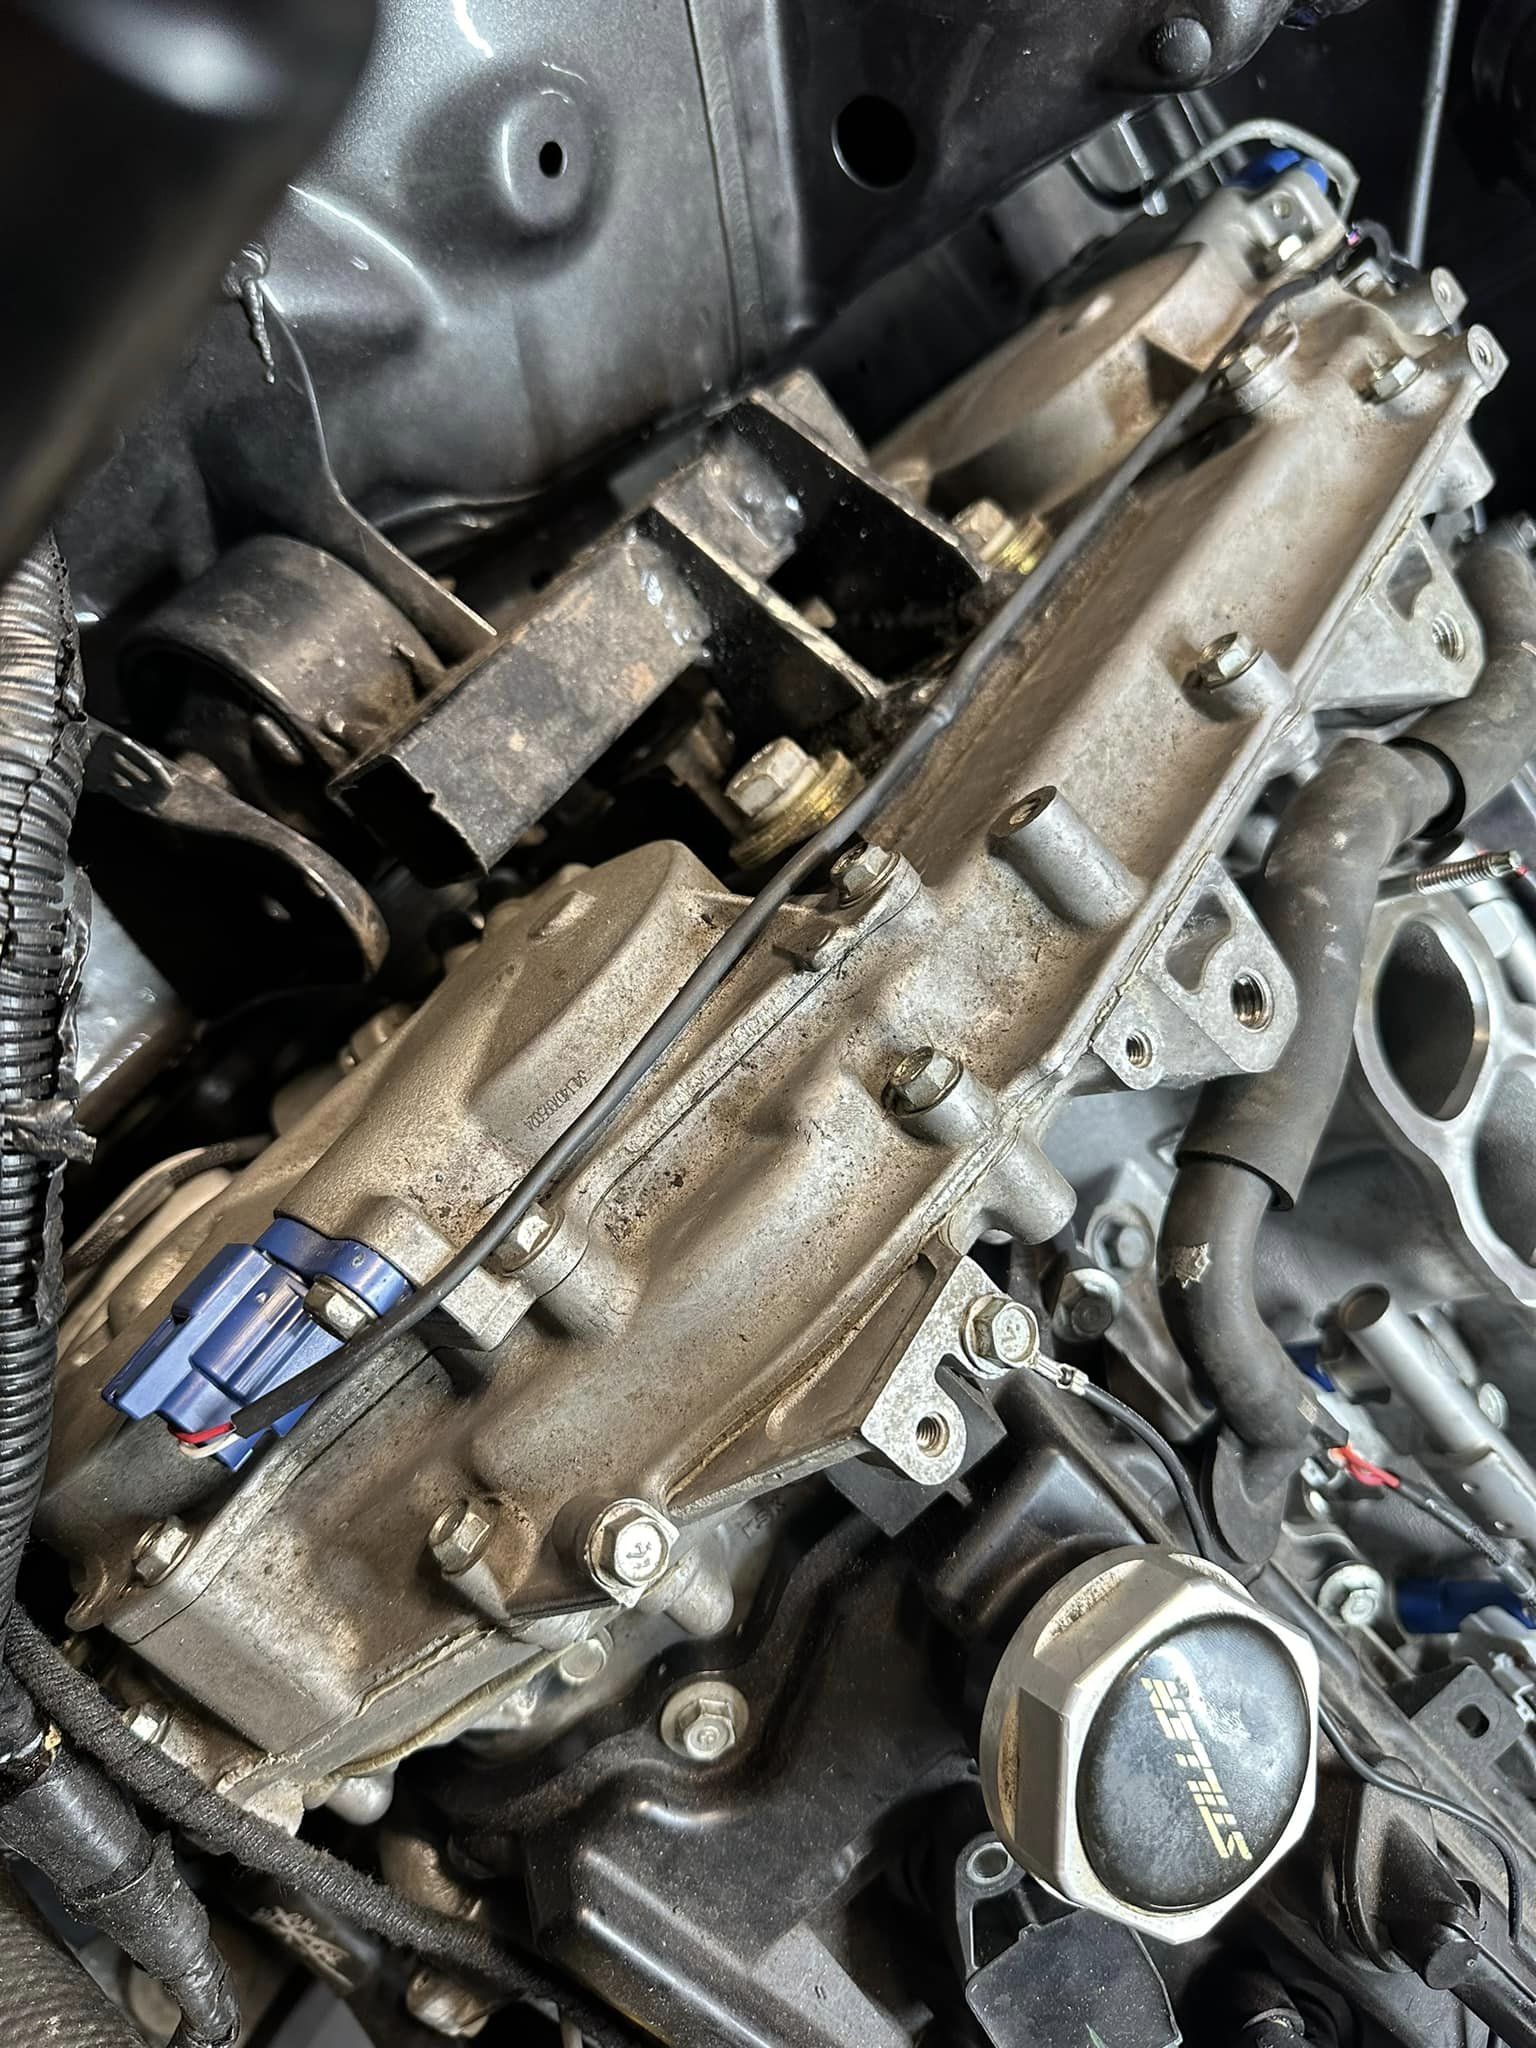
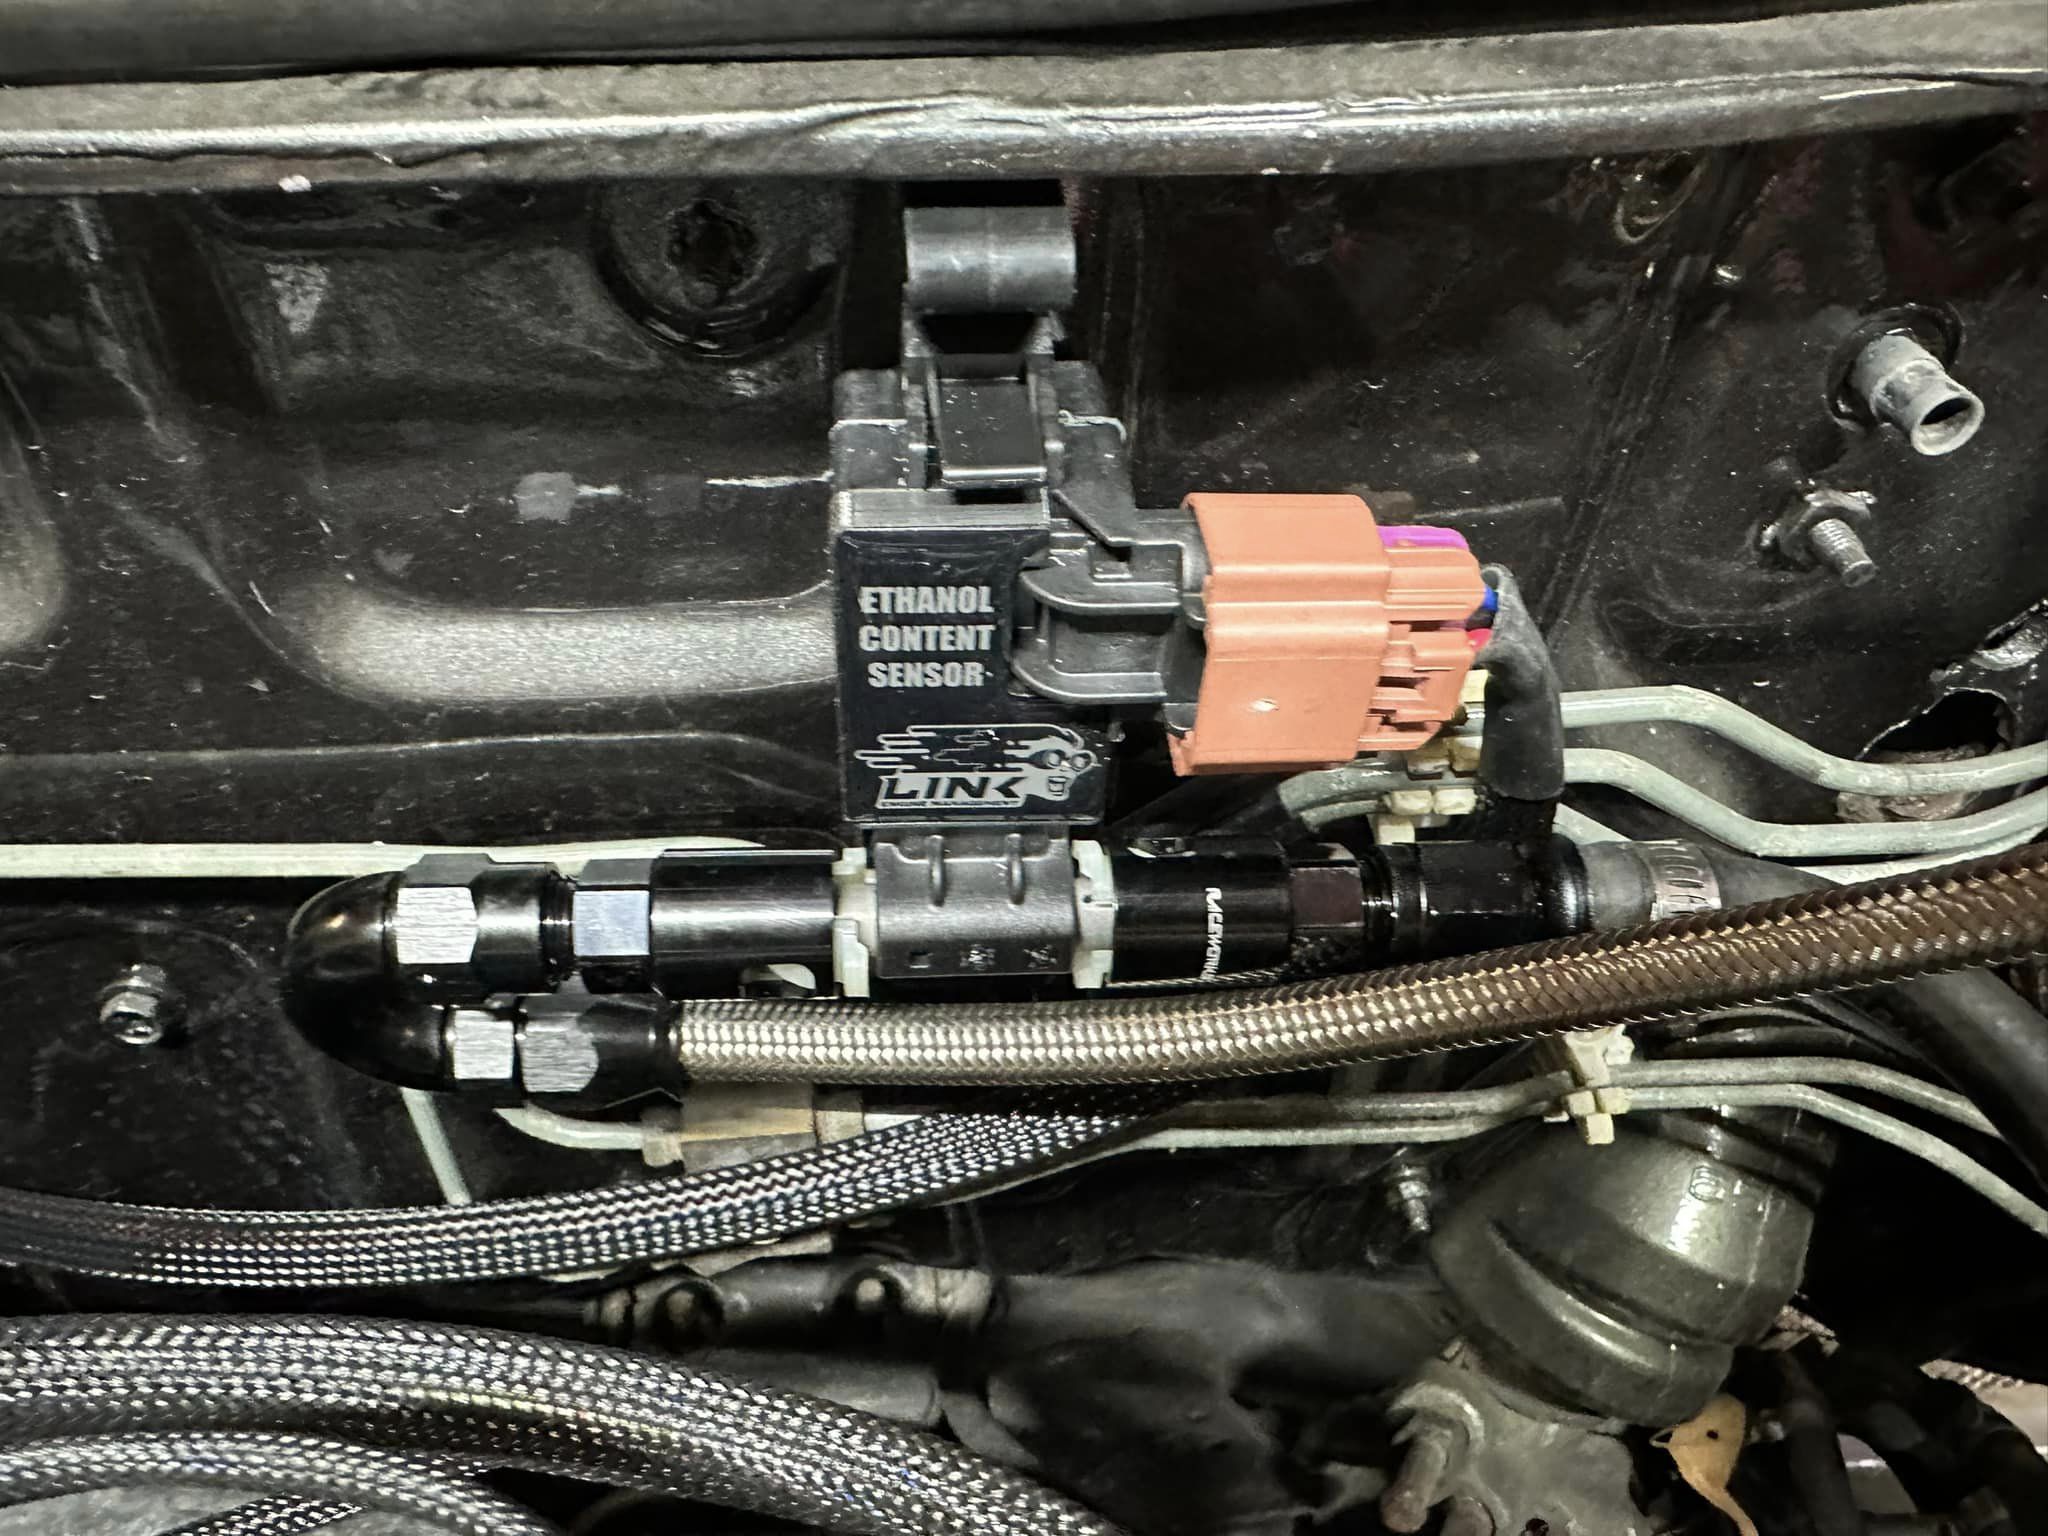
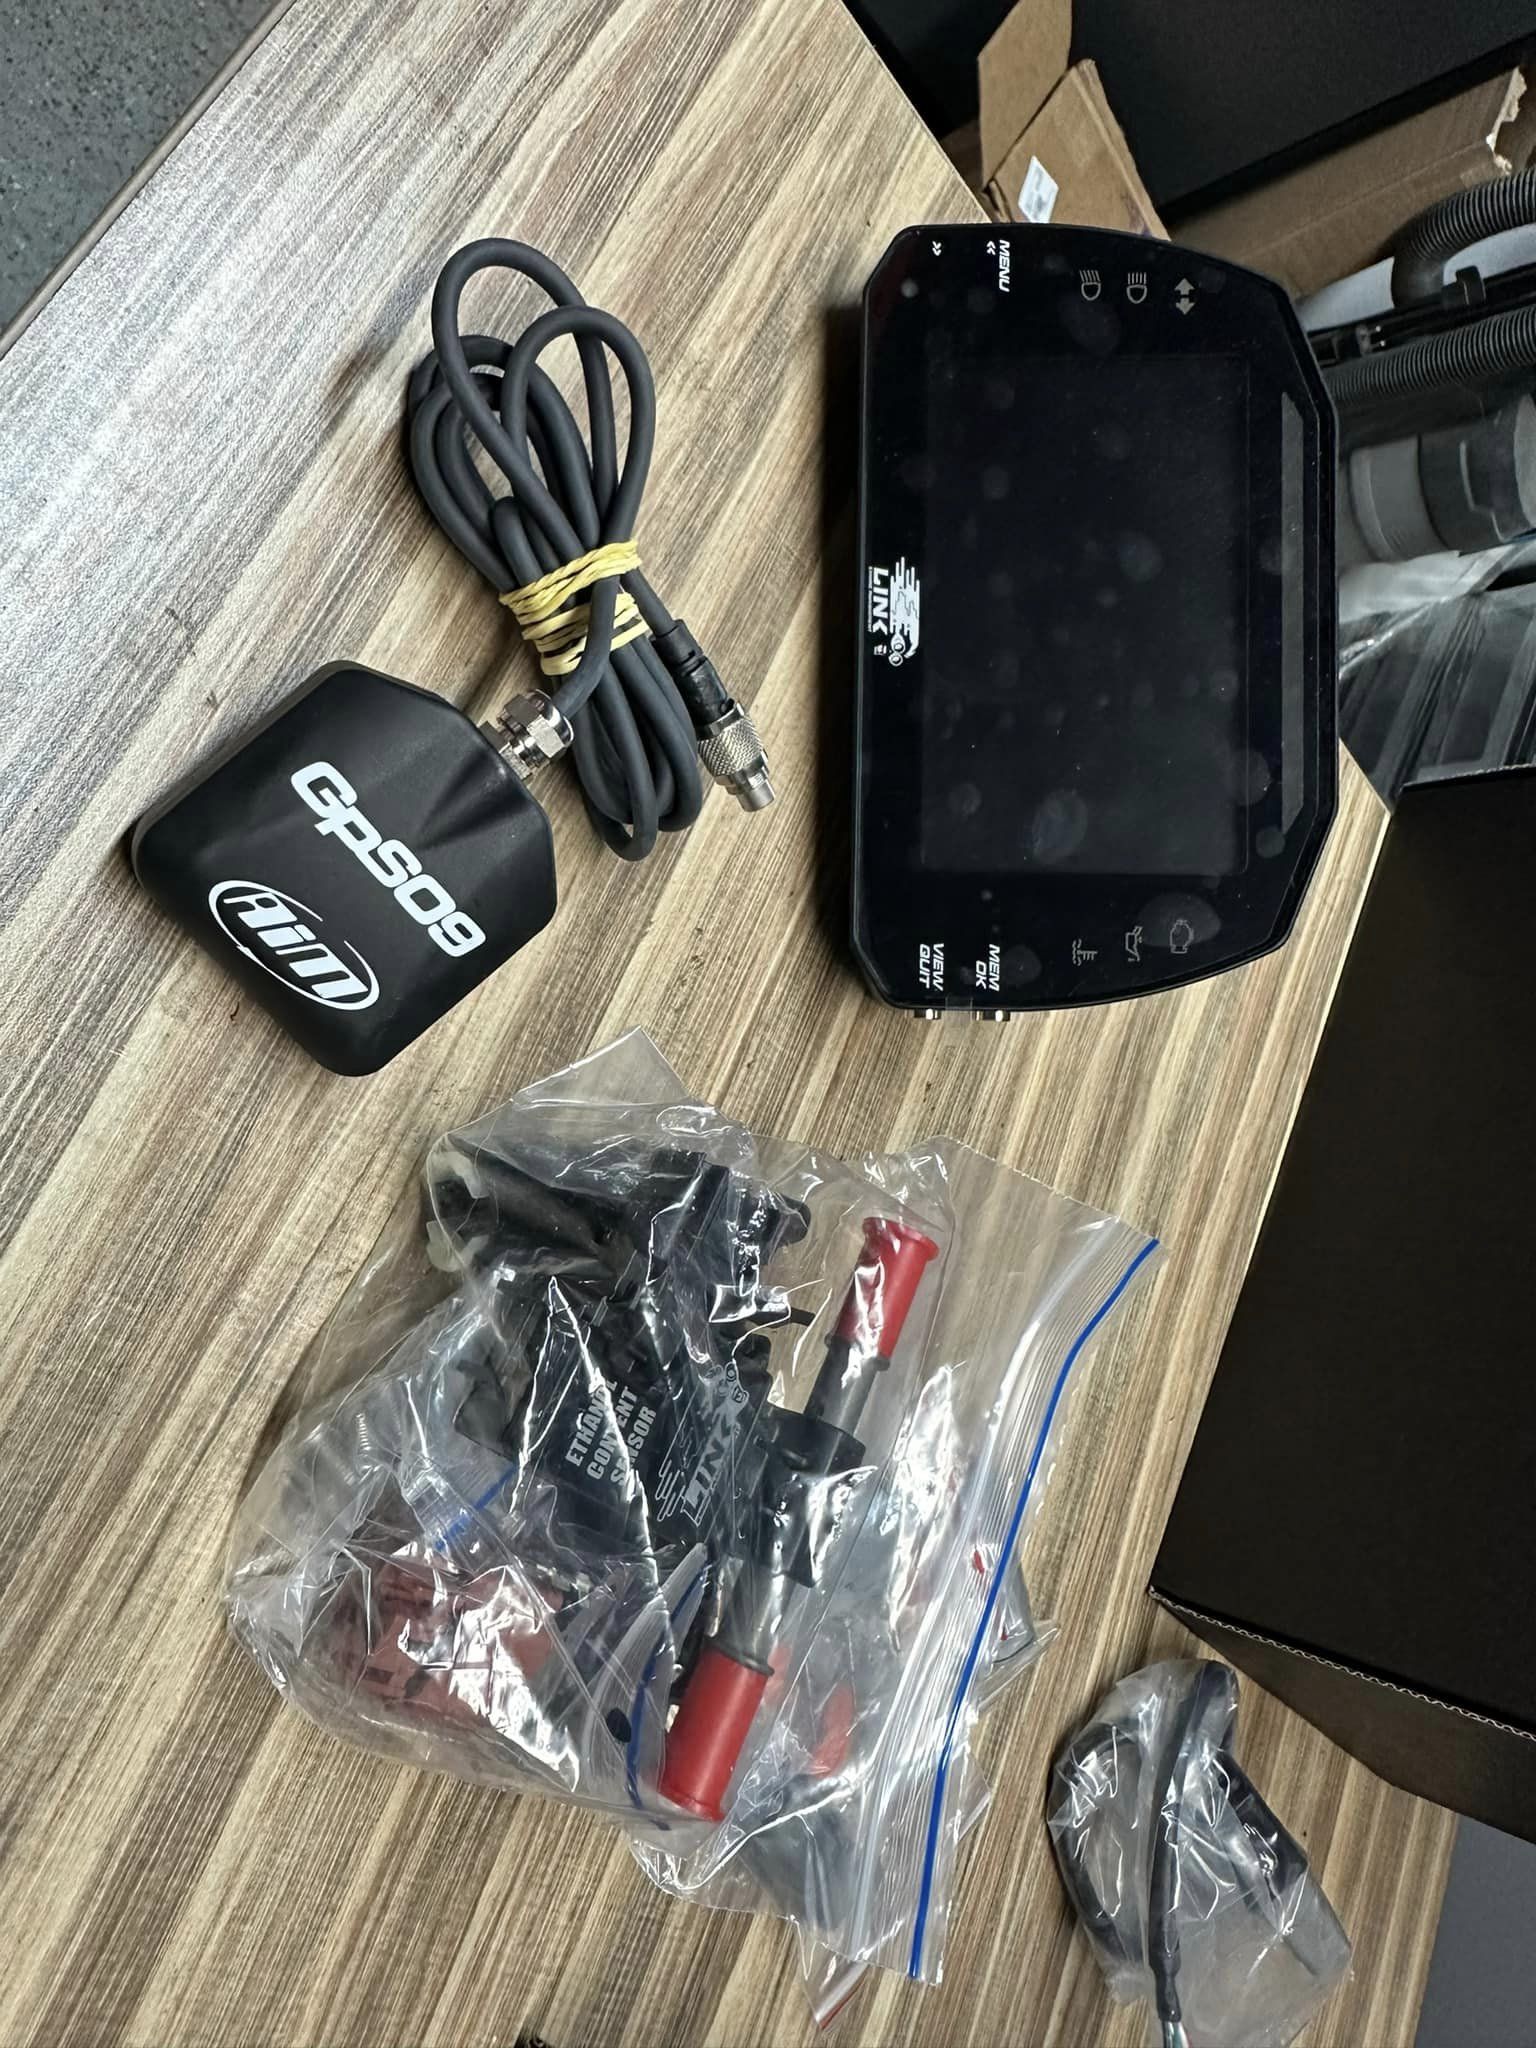
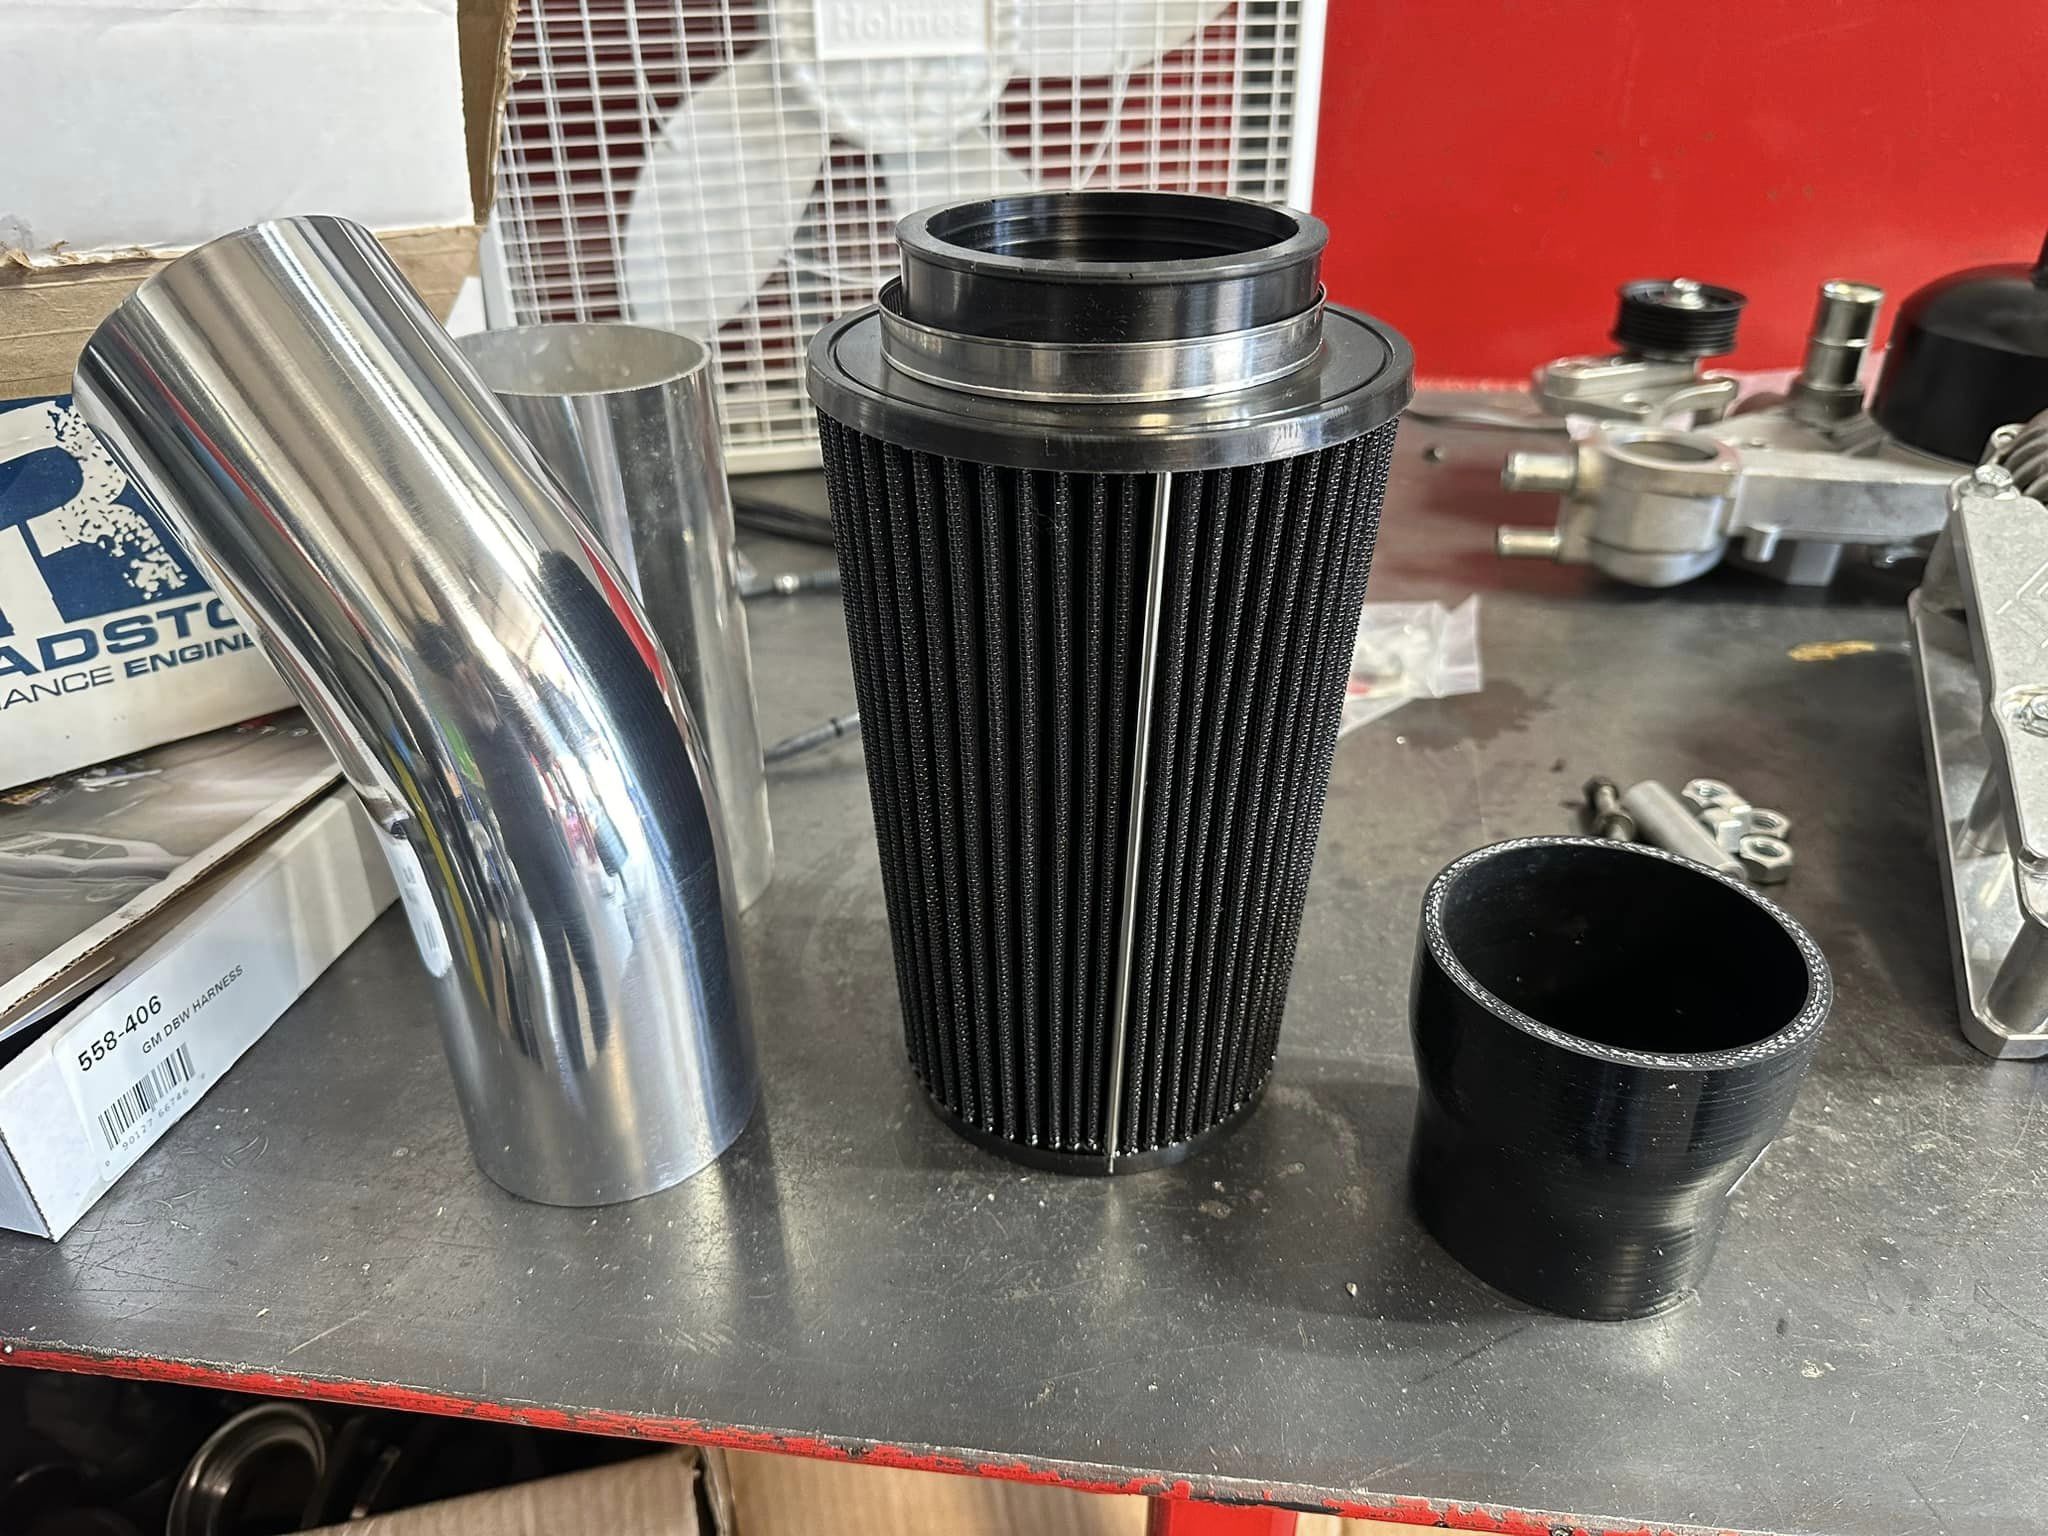
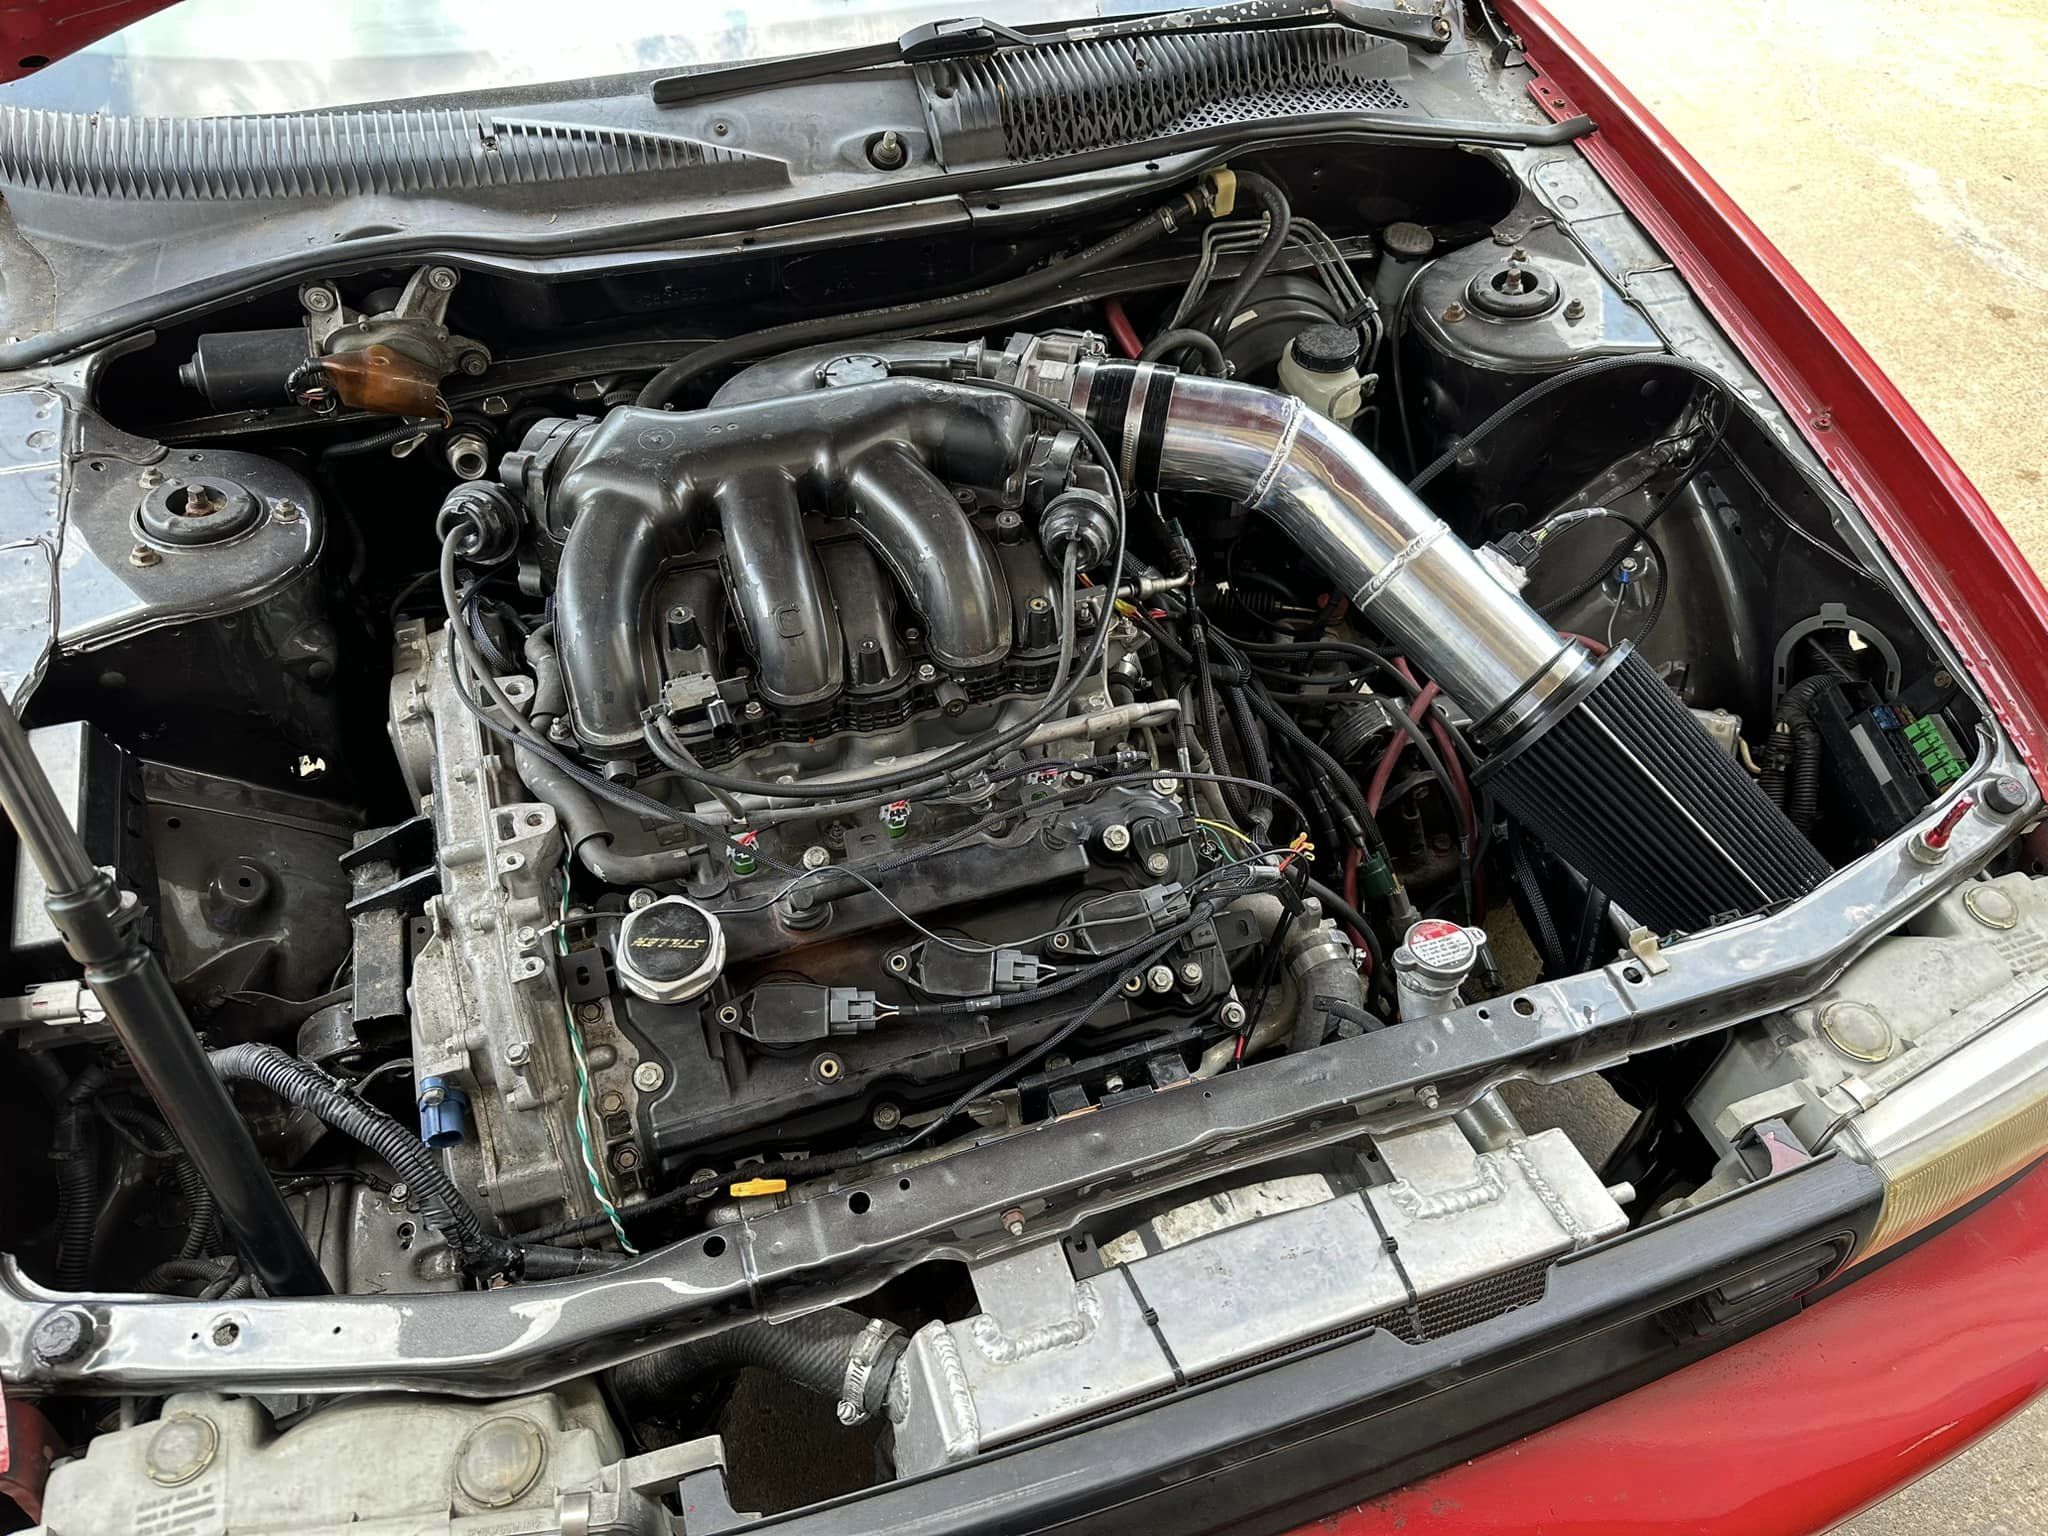
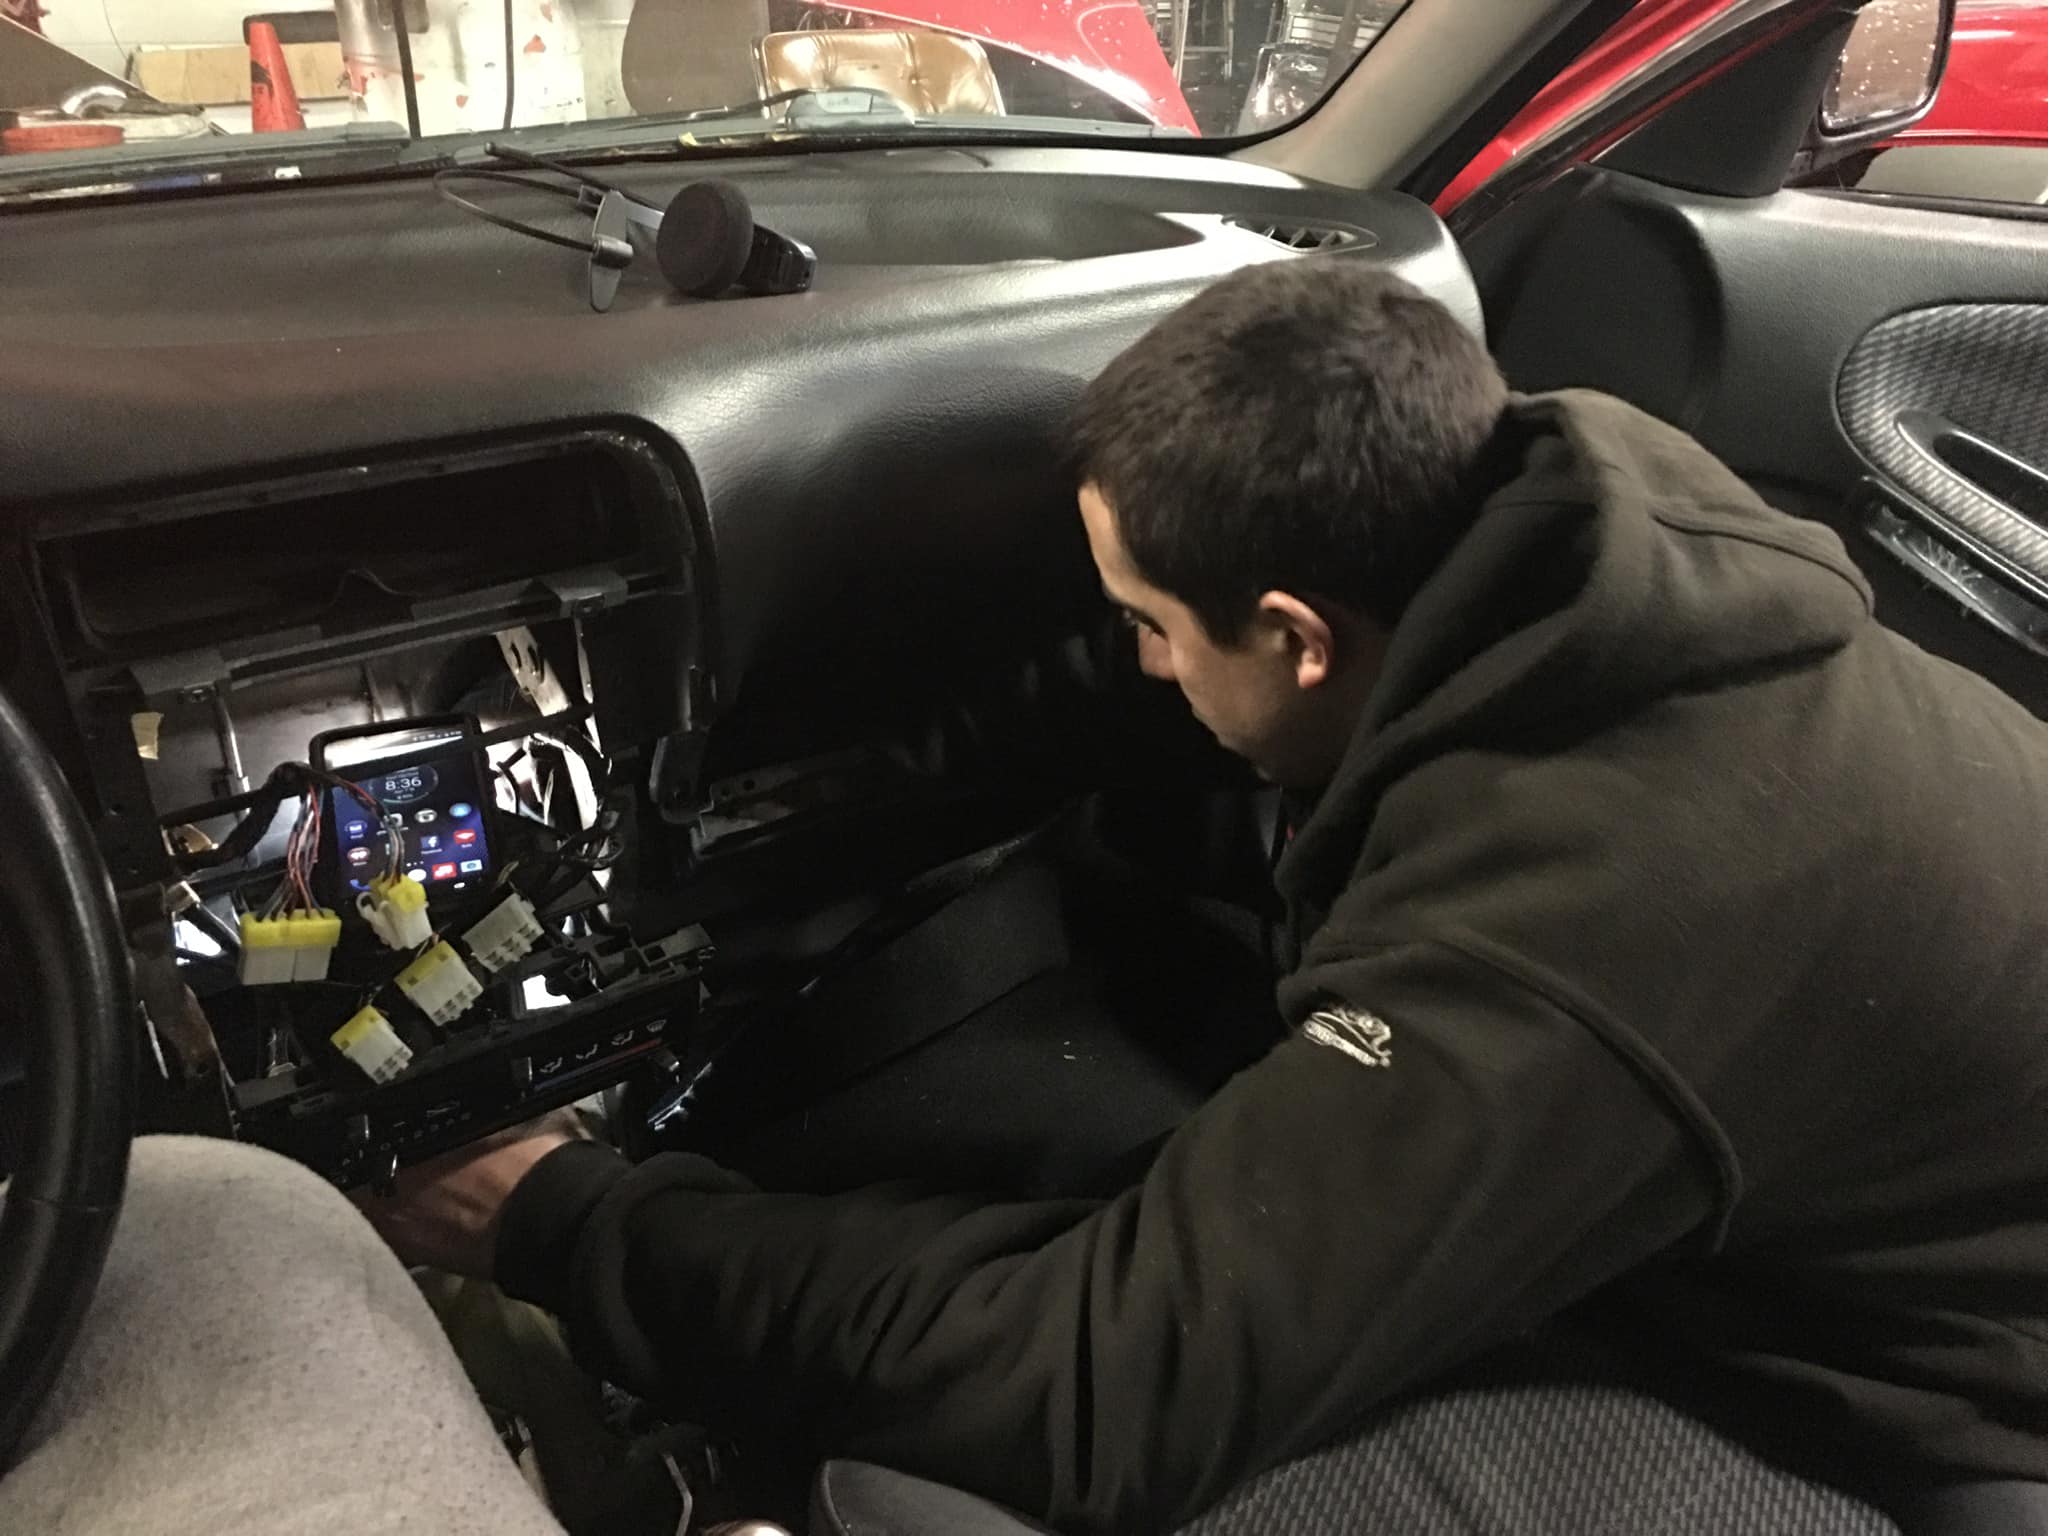
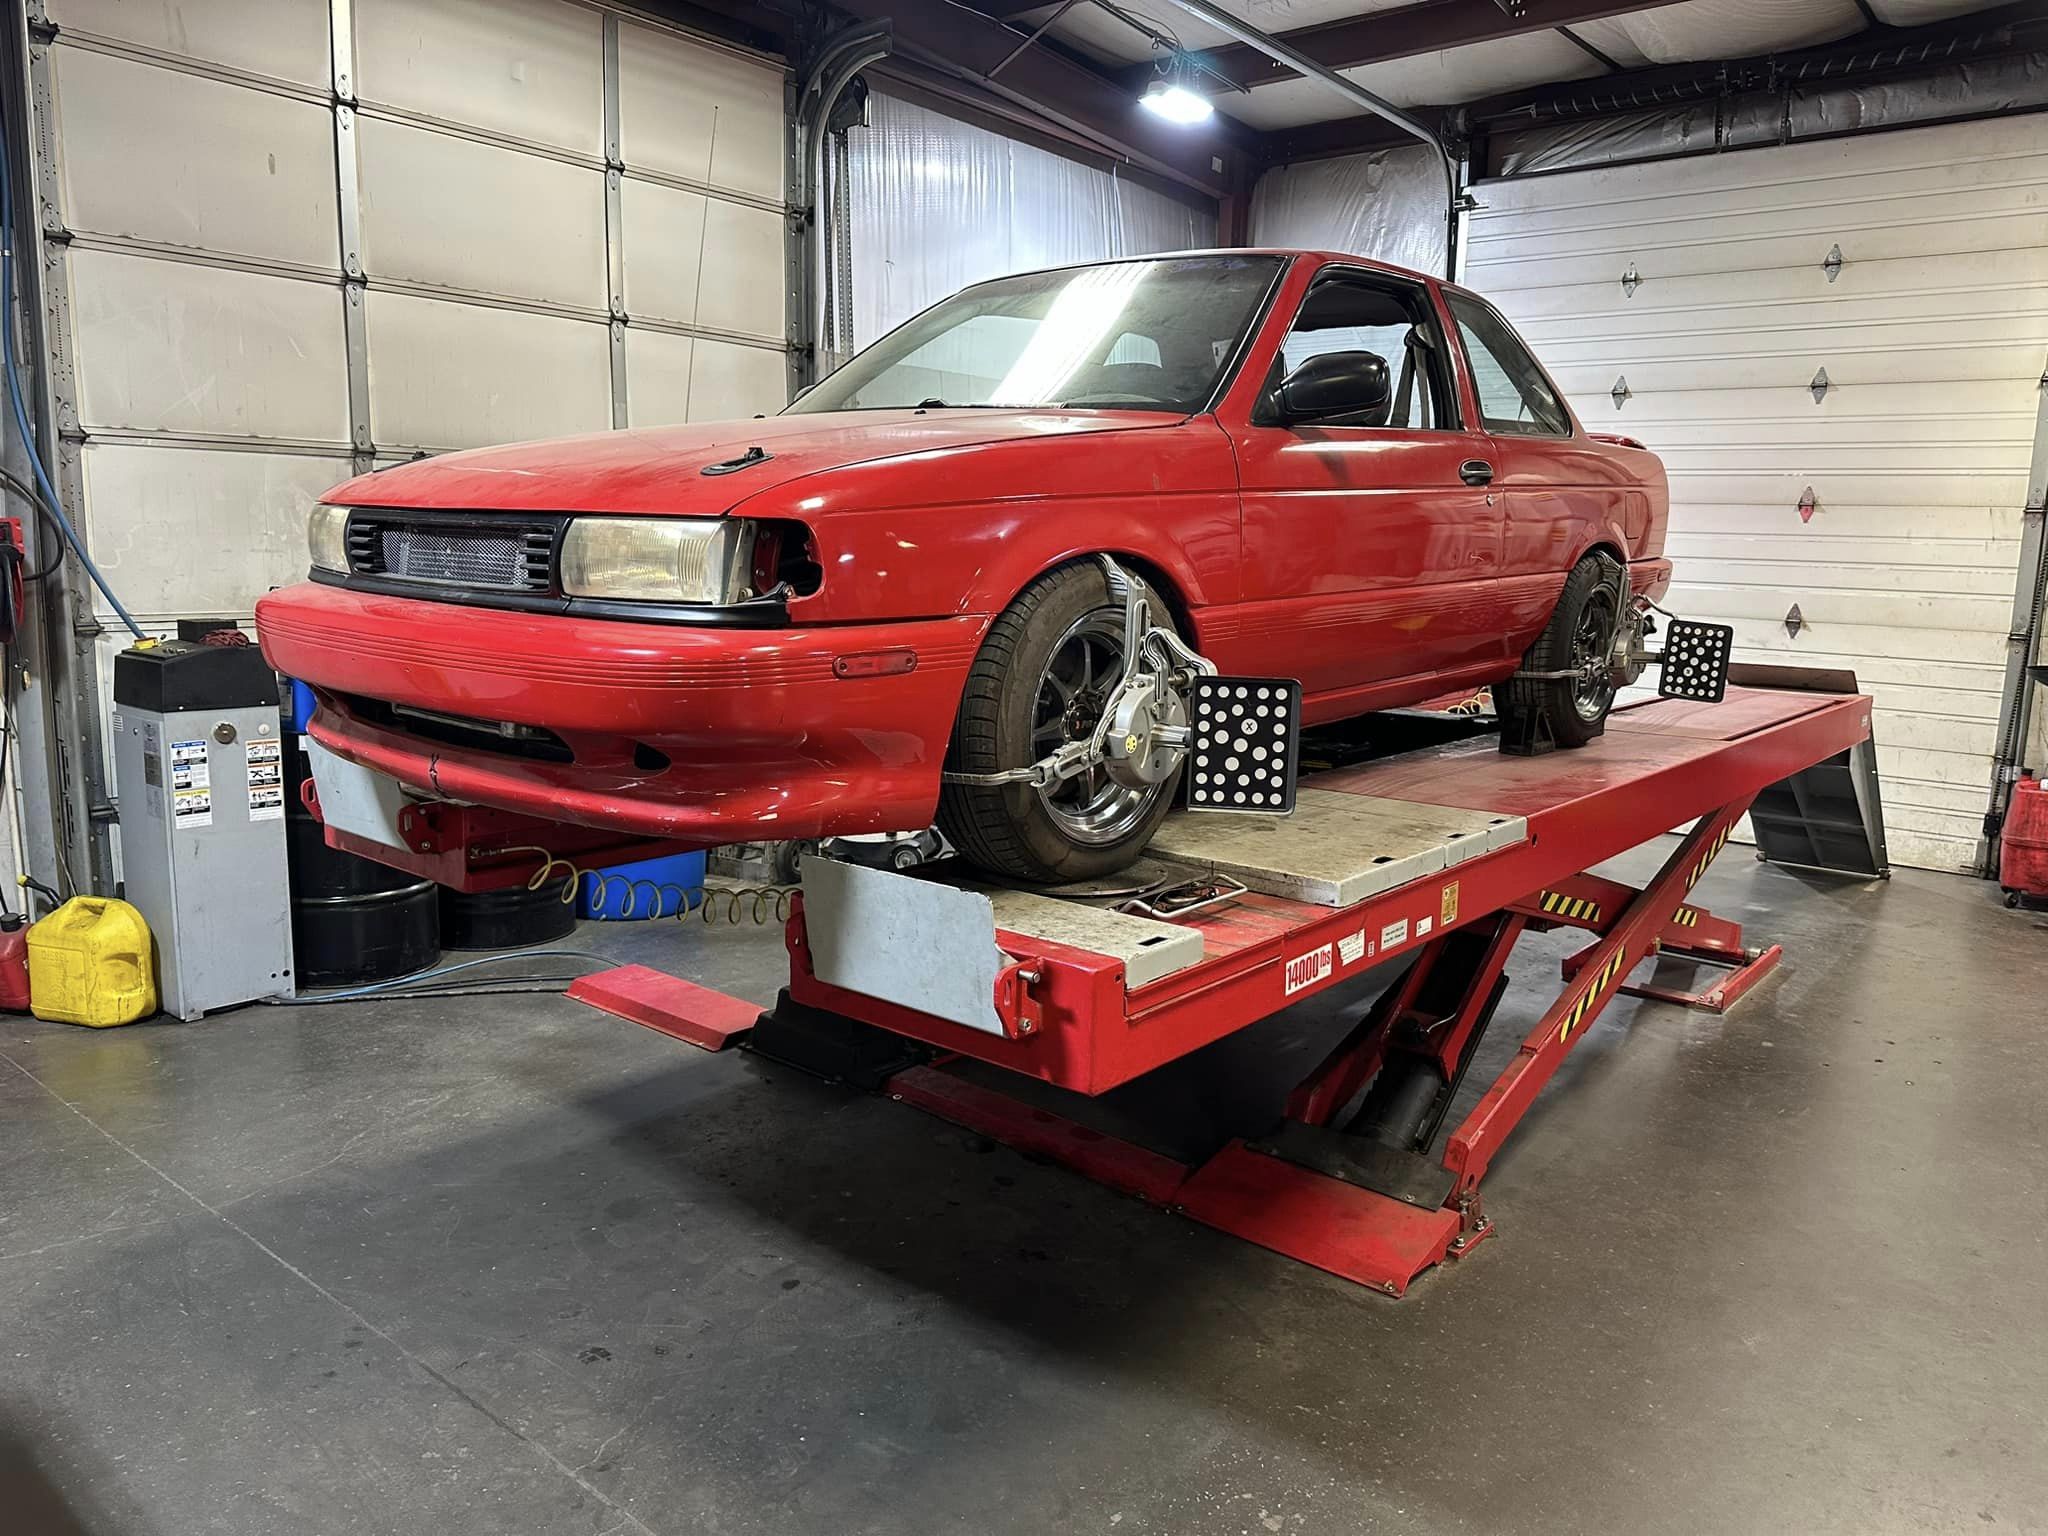
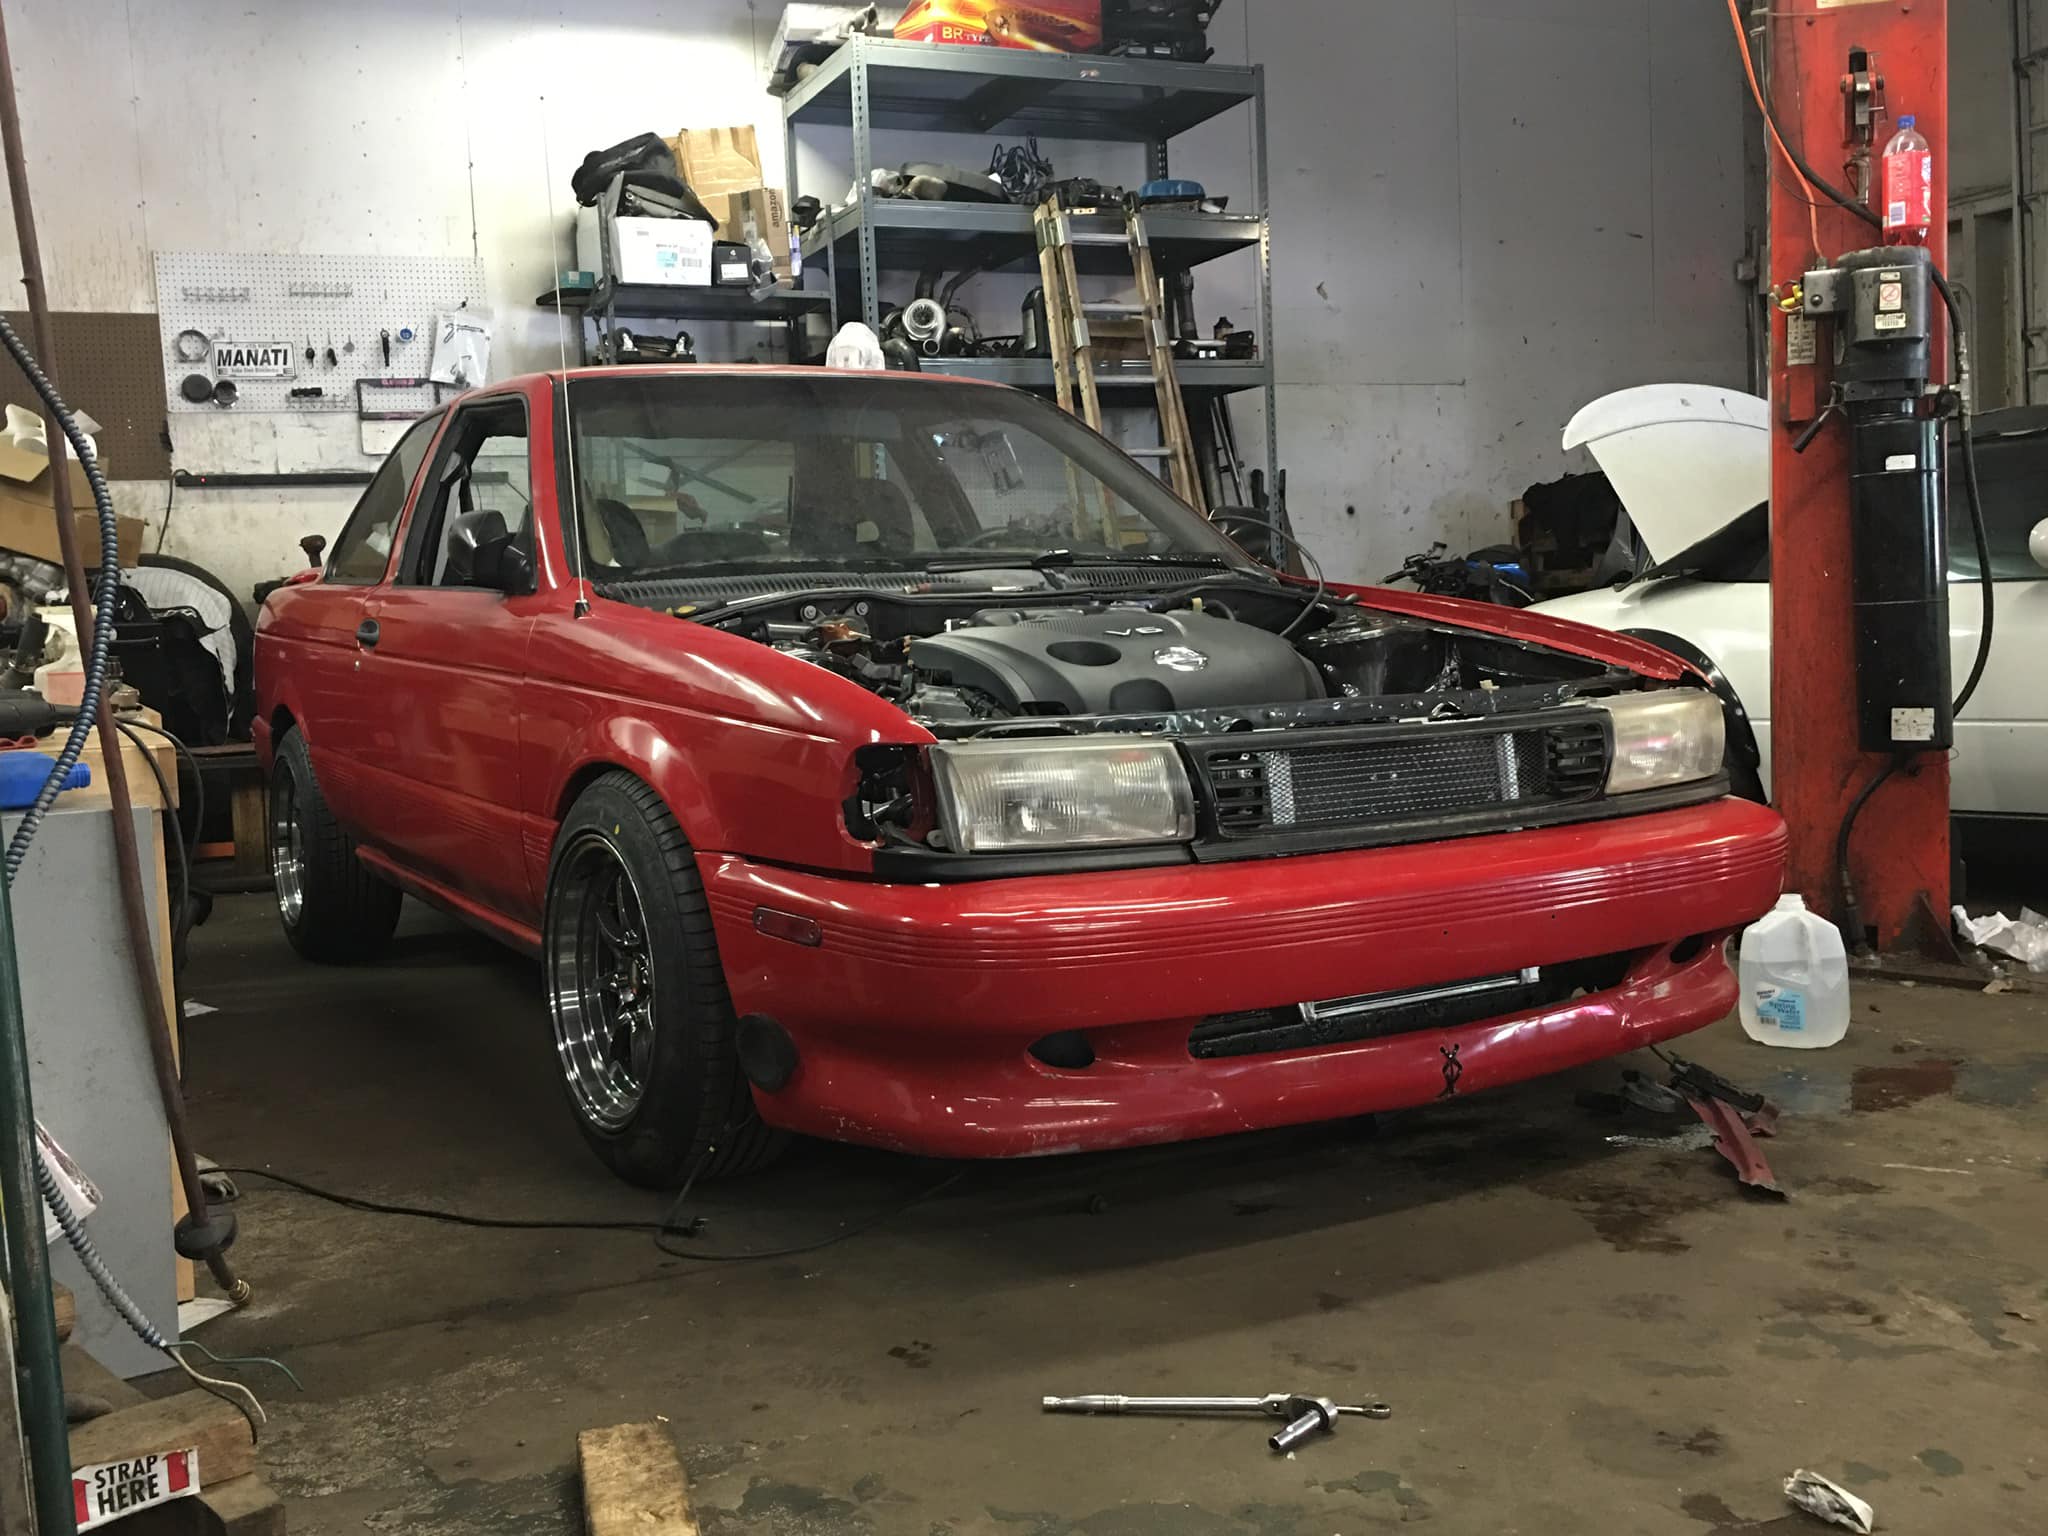
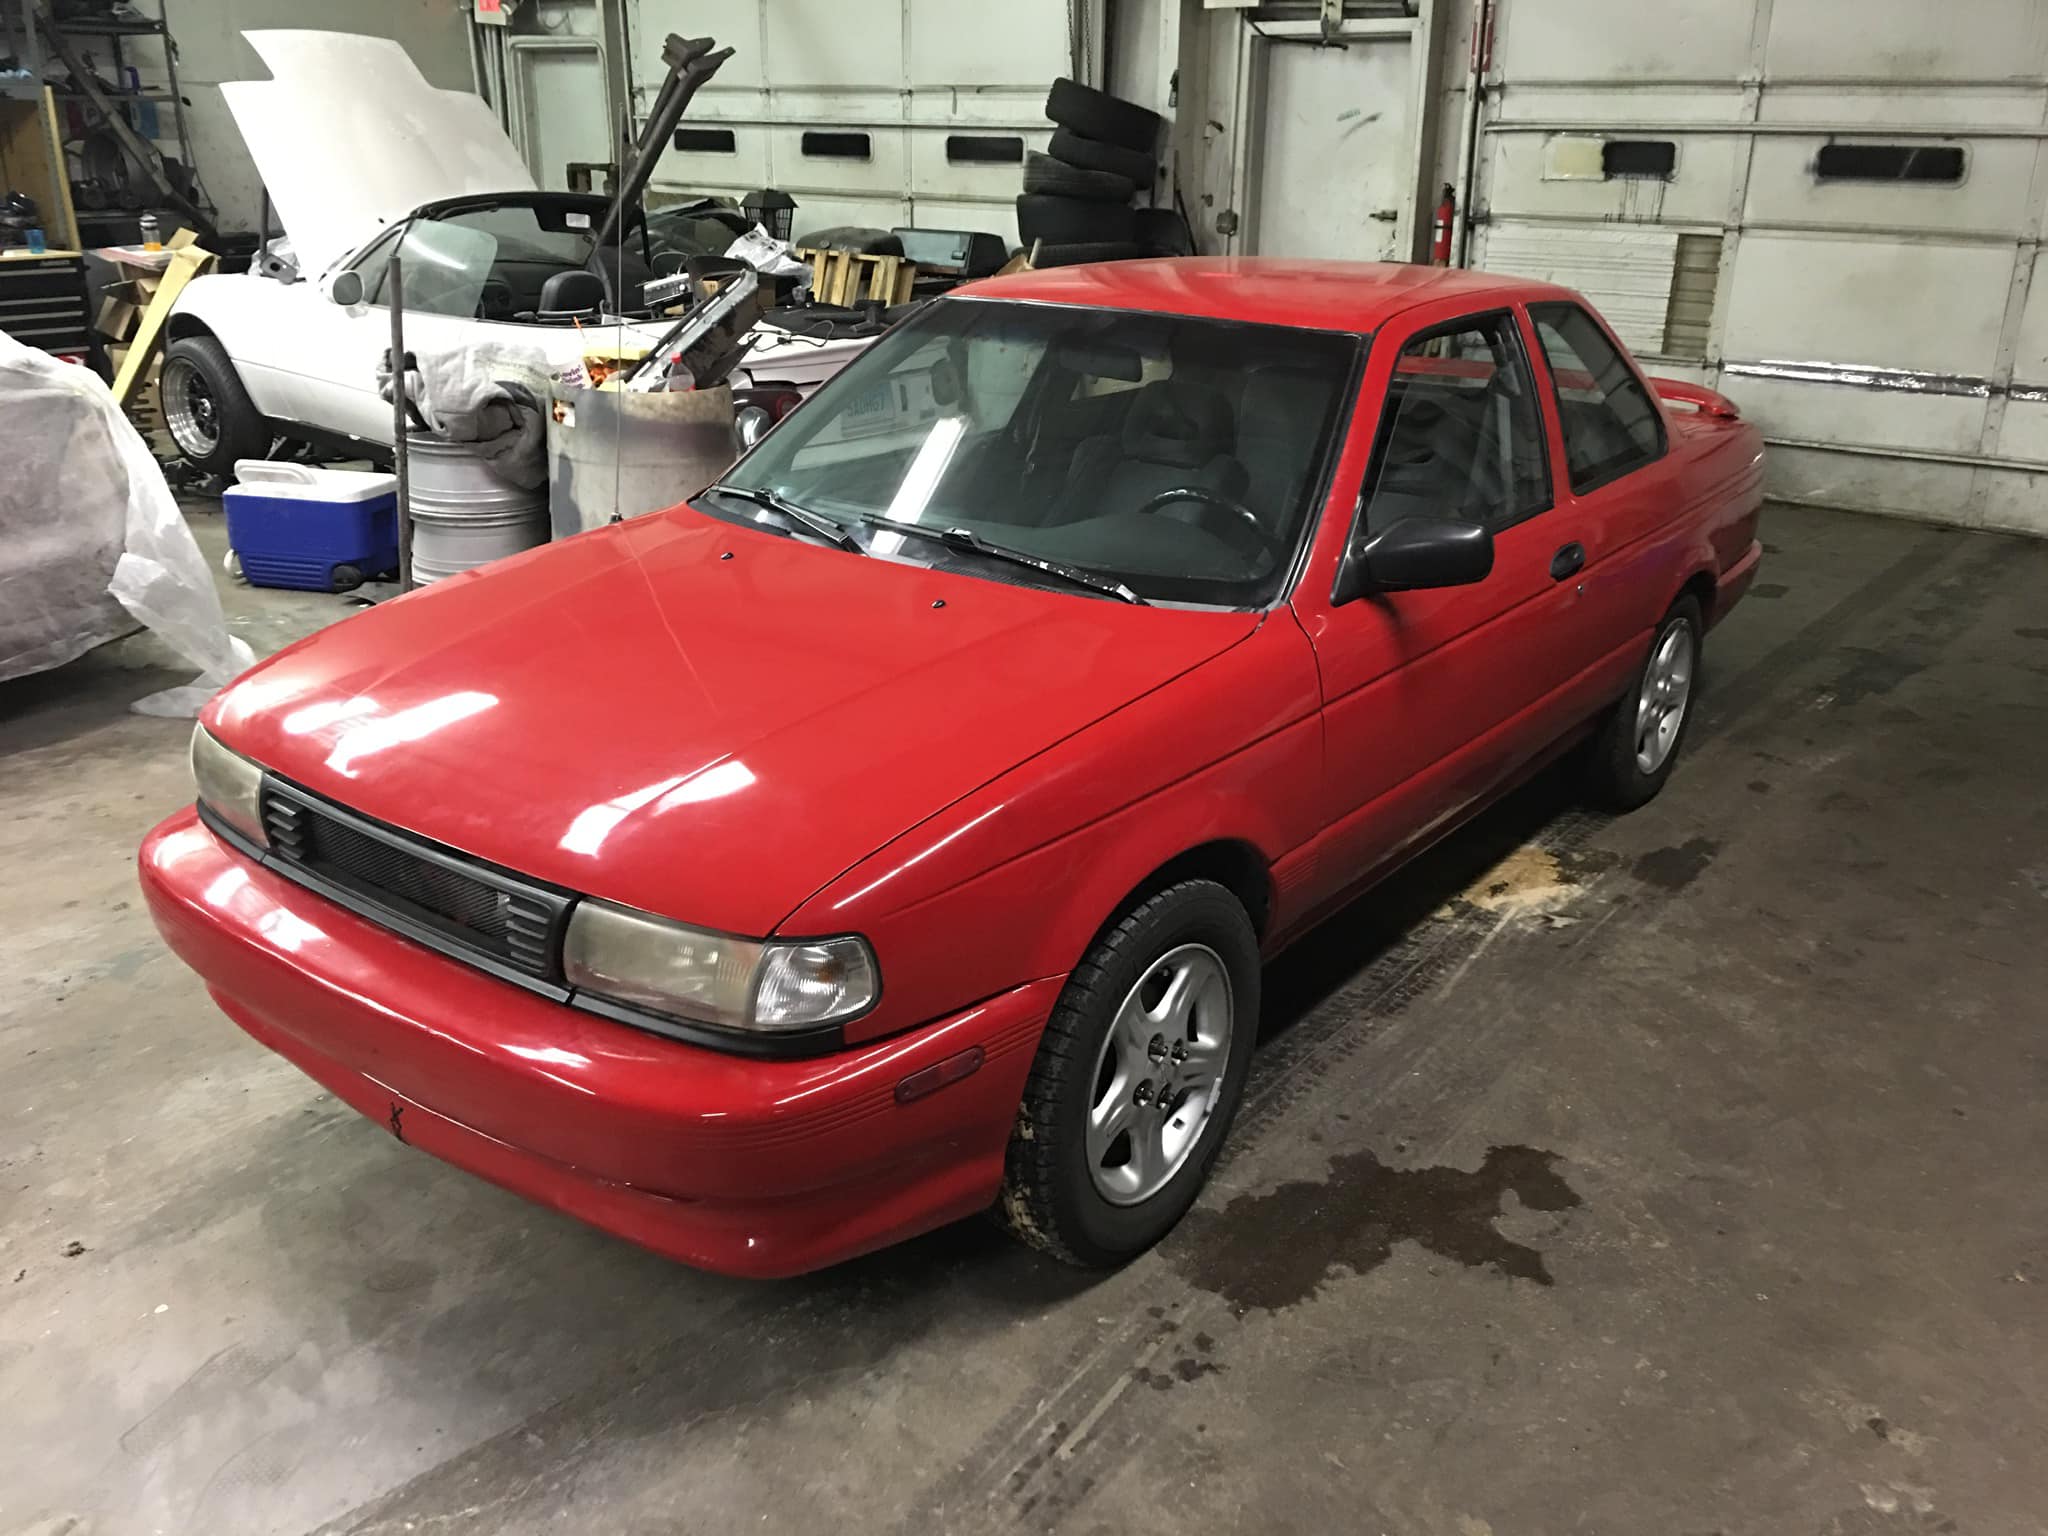
Owner: Hector Cruz
Year: 1994
Model: B13 Sentra SE-R
Color: Red
Engine: 2014 Nissan Maxima Engine w/ 2,900 Miles
Transmission: 5-Speed (Cable) to 6-Speed (Hydraulic) Manual
ECU: Link G4 Standalone


![]()

Member Credit: Street Secret Garage
This is something you don’t see every day. Very nice build!


![]()

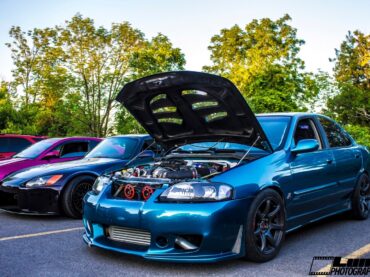
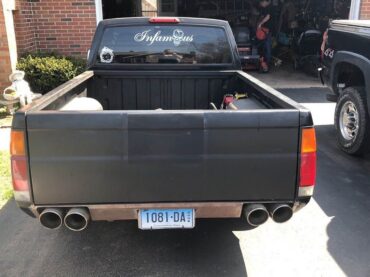
Owner: Kyle English
Instagram: @bagged_g710
Year: 2007
Make/Model: Infiniti G35s
Color: Black
Transmission: 6-Speed Manual (RWD)
Trim: Sports Package
Engine: 6.0 Bottom-end w/ LS3 6.2 Top-end & Big Cam


![]()

")
Credit: NISformance
Specs:


![]()

![]()

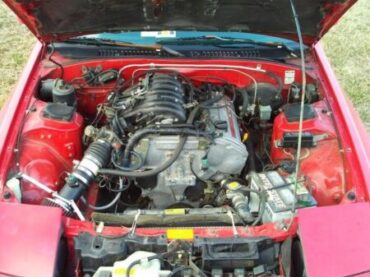
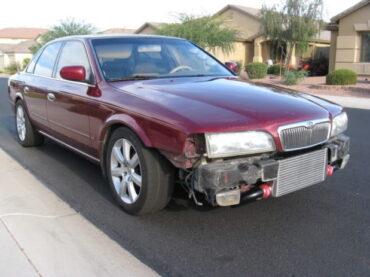
Owner: Jason Garber
Year: 1991
Model: RX7
Color: Red
Transmission: 6-Speed Manual (350z)
Trim: SE


Engine/Transmission
Suspension/Brakes/Wheels:
Electronics/Wiring:
Cosmetics/Miscellaneous:
![]()
")
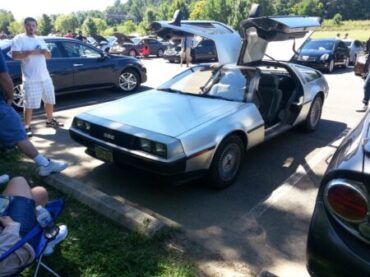
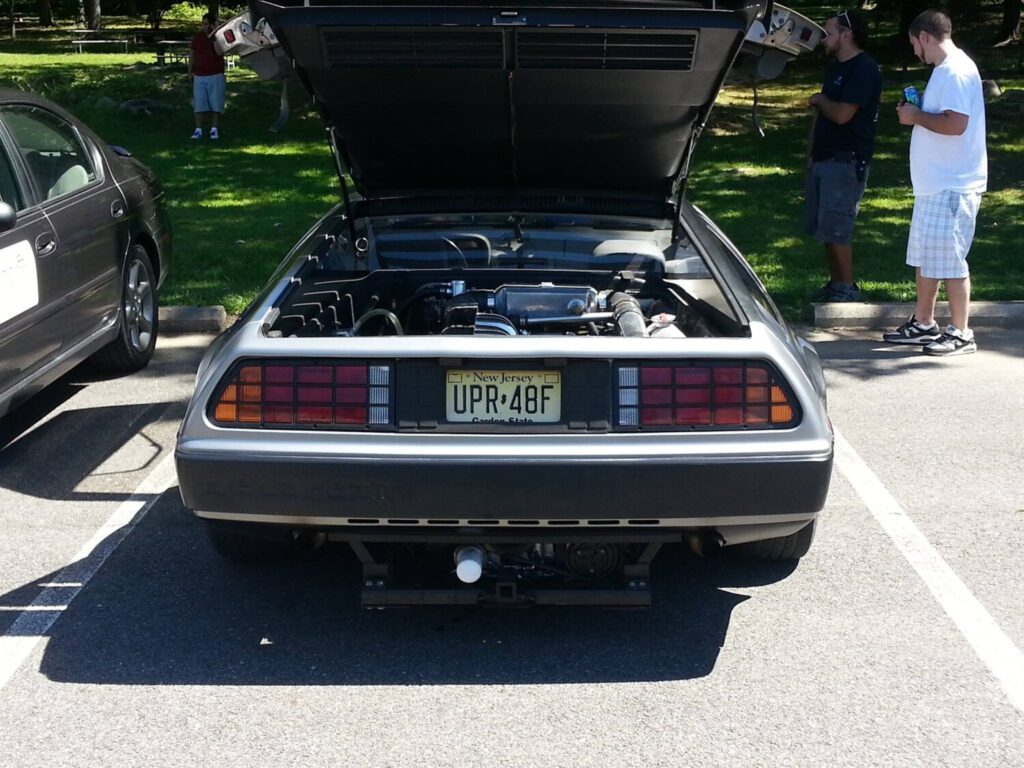
Owner: Marc Levy
Year: 1981 (VIN 06068)
Make: DMC
Model: DeLorean
Color: Grey
Engine: Nissan VQ35DE with ProCharger C2
Transmission: Porsche 915 Manual Transmission


![]()