

Last Updated: 08/19/2021 @ 12:56 pm
Member Credit: JSutter
I’ve been working like crazy on my father’s 07 SL. It’s been neglected pretty good to say the least. I have already tackled this job on my 03 Altima, which suffers from the exact same problem.

If you have this problem, roll up you sleeves and get to work!
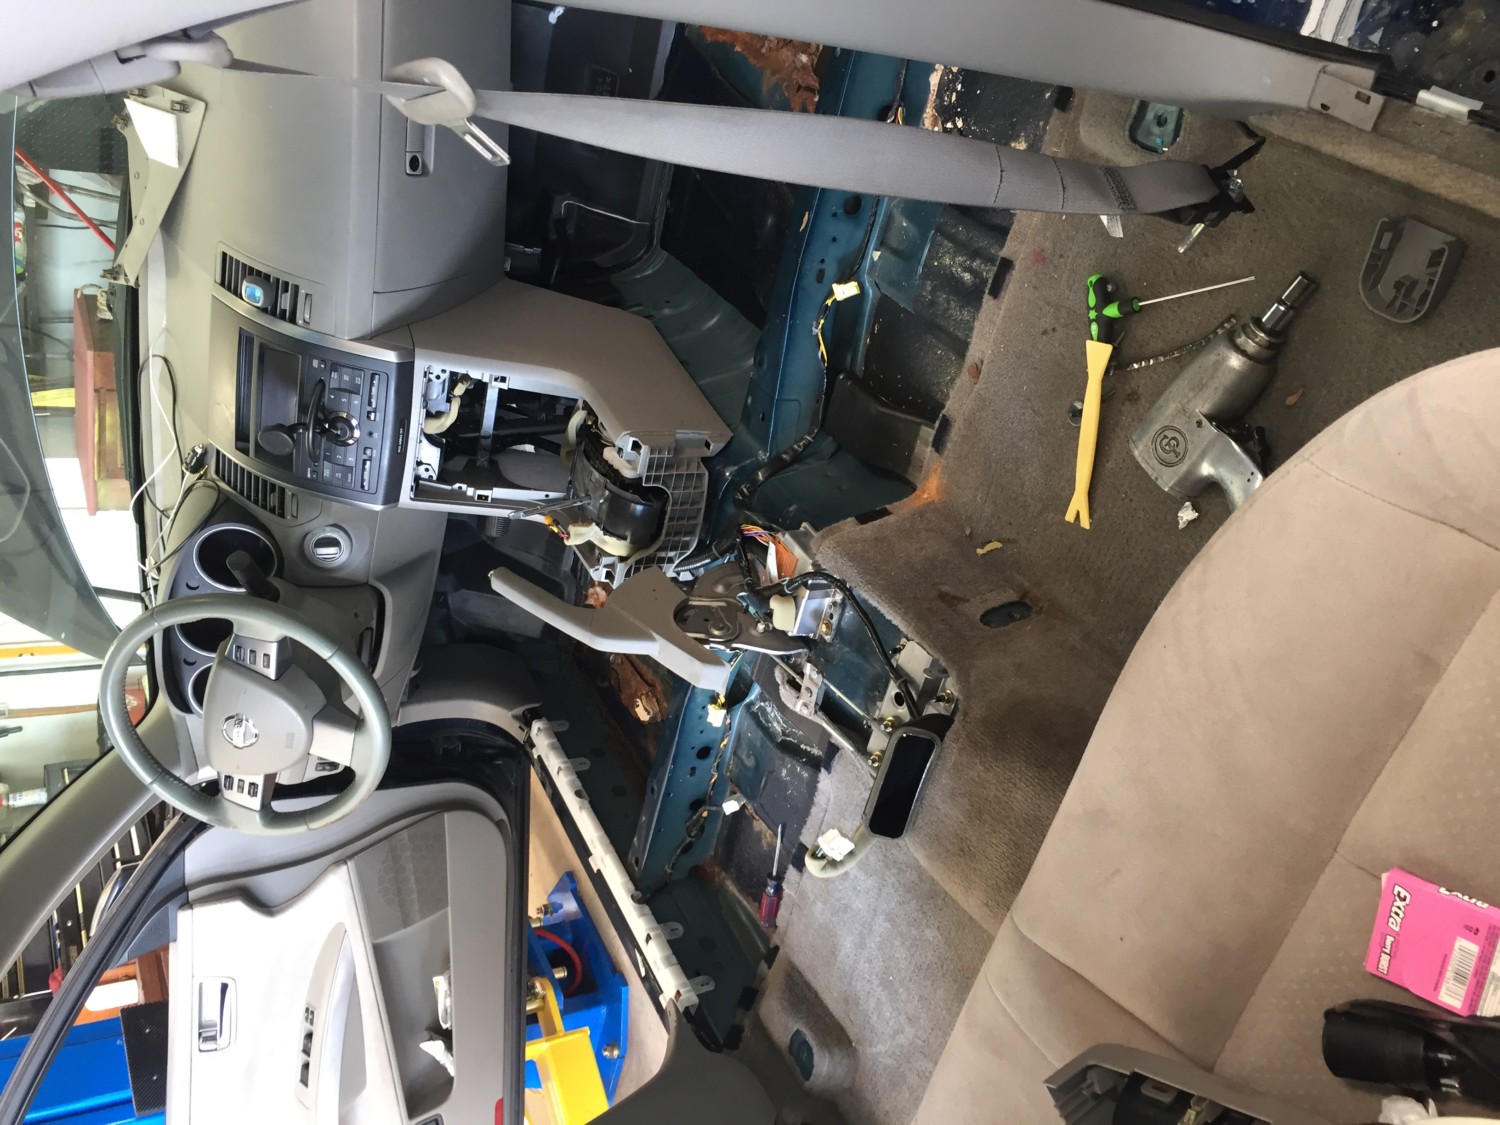
01 – Unbolt seat and lean it back. You don’t need to remove it from the car.
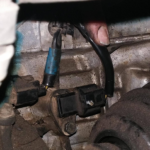
02 – Disconnect battery. You’ll have to unplug the wiring, including air bag, if you want to remove the carpet from the vehicle. Work smart, don’t set off the air bag.
03 – Remove trim from around carpet. The panels pop off with no screws, just clips.
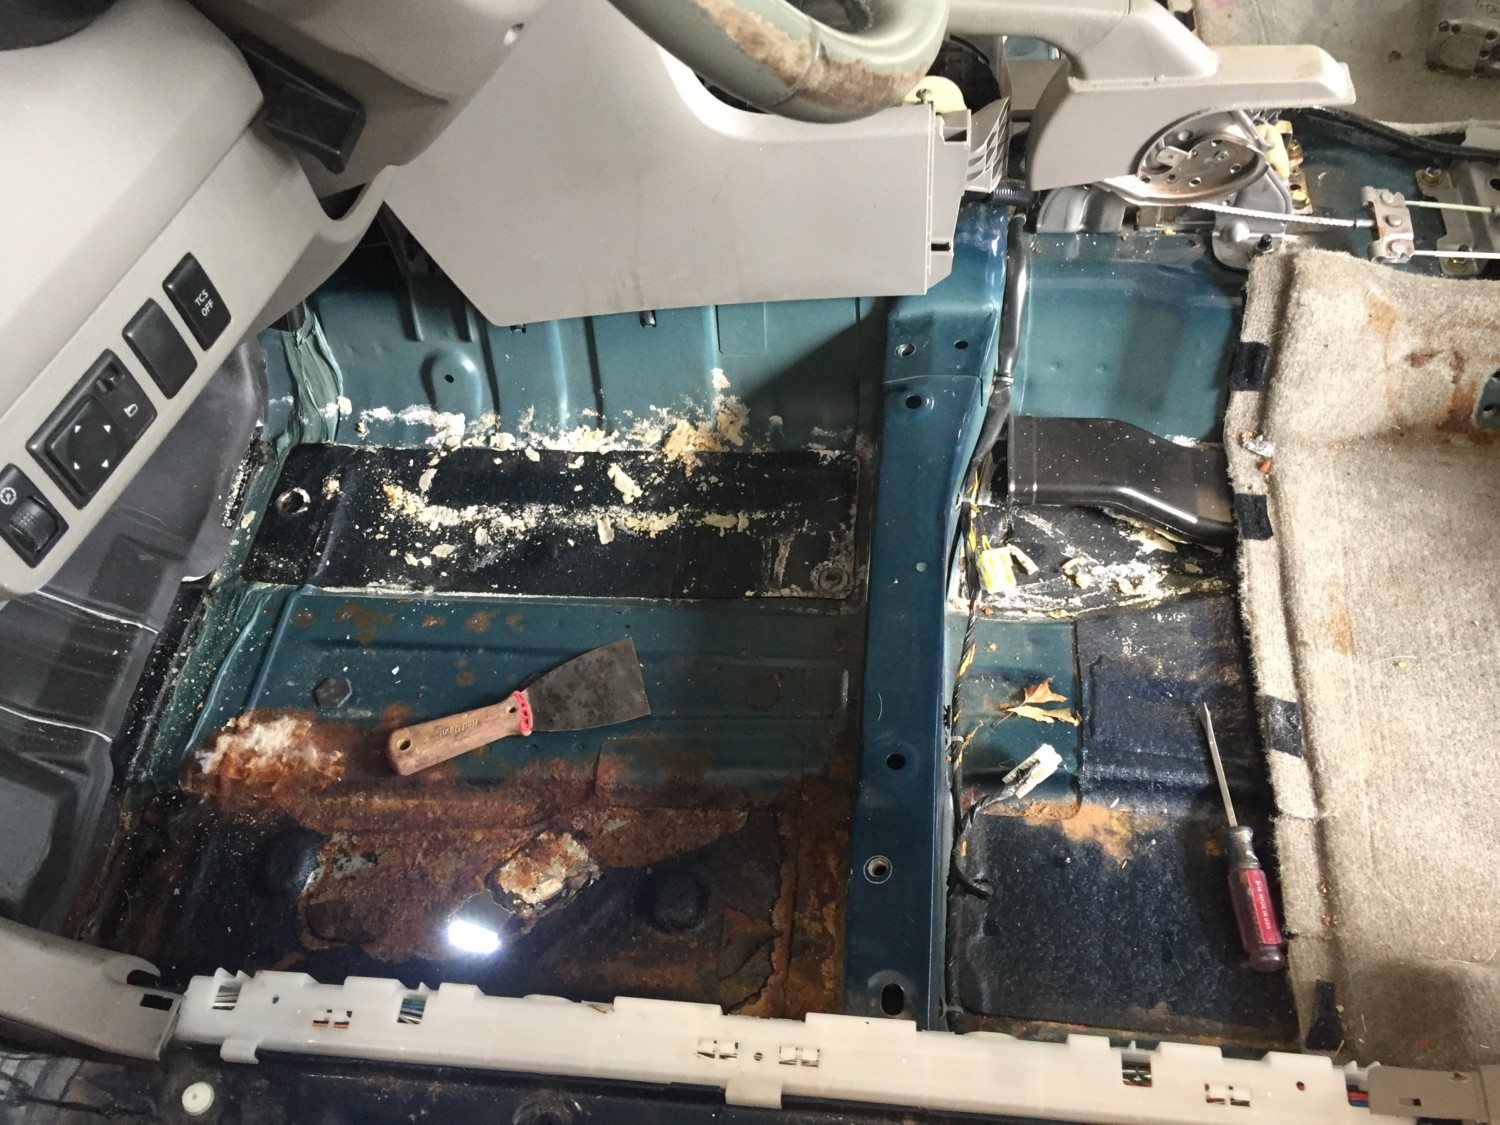
04 – Remove carpet. It’s held in with clips on the sill and velcro around the edges. There are some push pins on the drivers side. You’ll need to remove the HVAC drain tube from the ducting on the passenger side. Finally you’re getting to the issue.
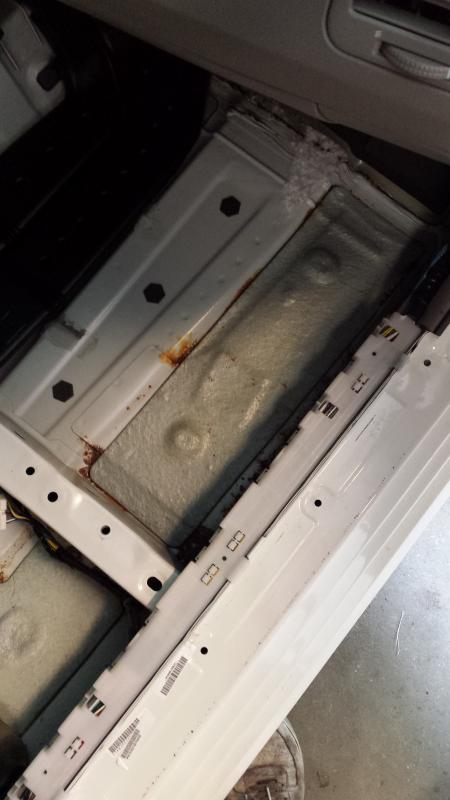
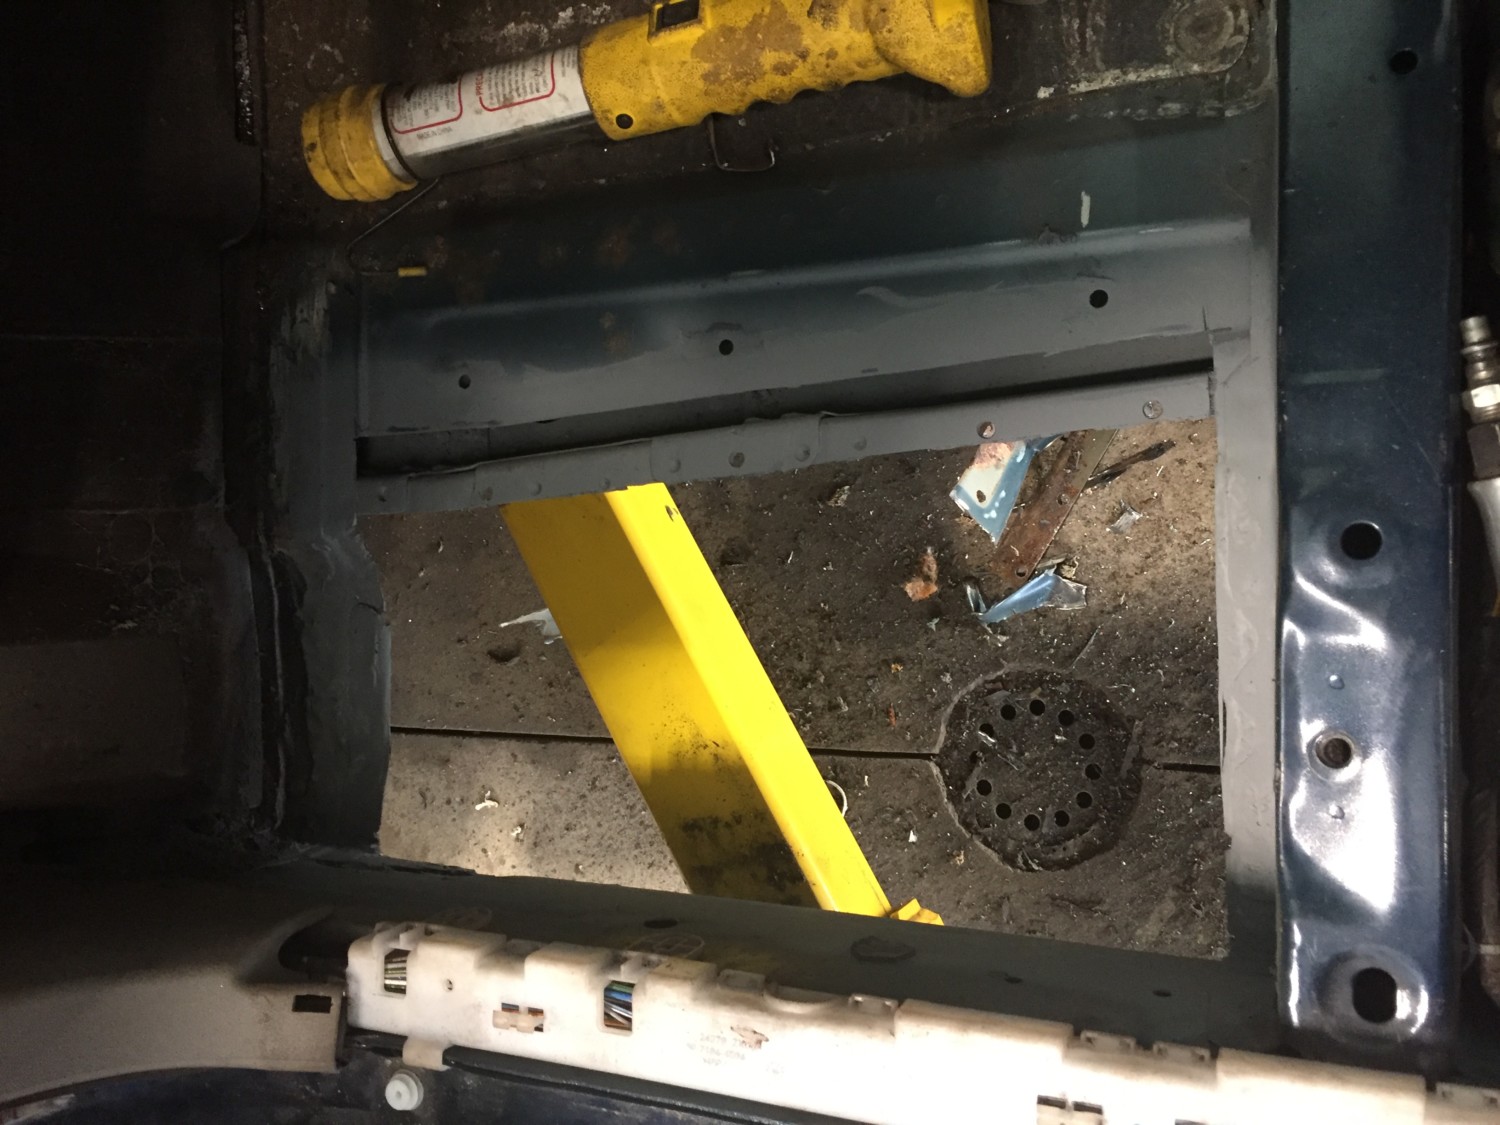
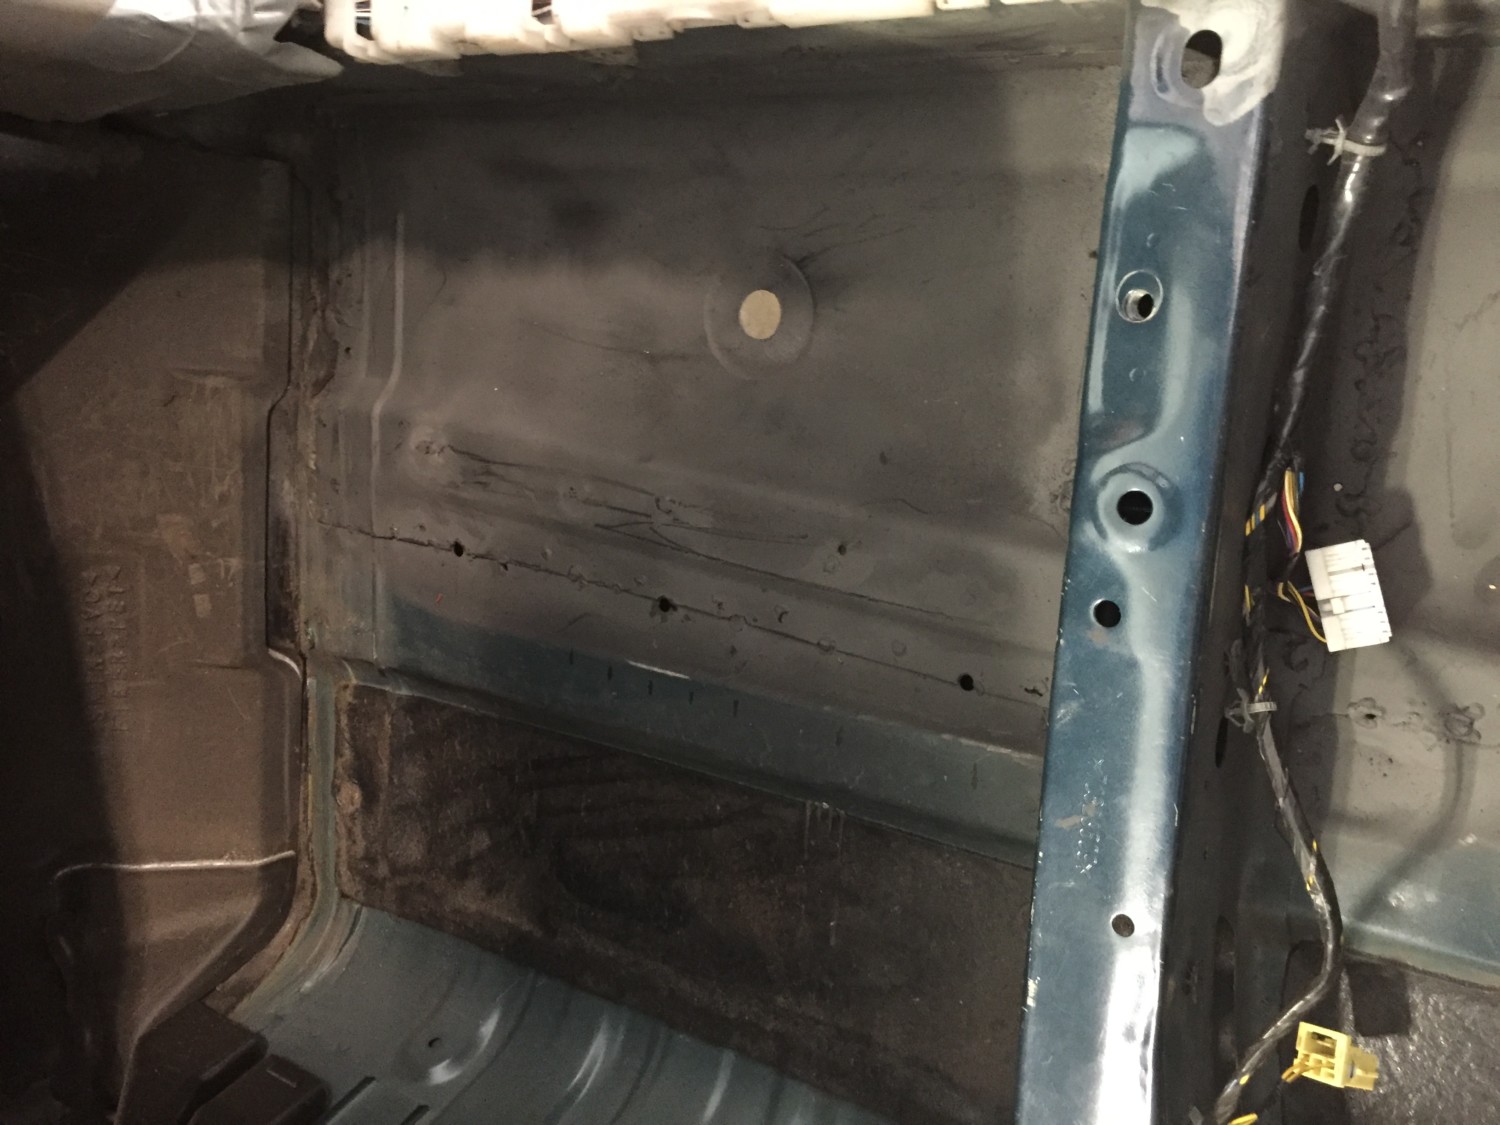
05 – Time to get dirty. Remove the sound deadening. A chisel and mallet work just fine. Some have been lucky and it peeled up in one piece.
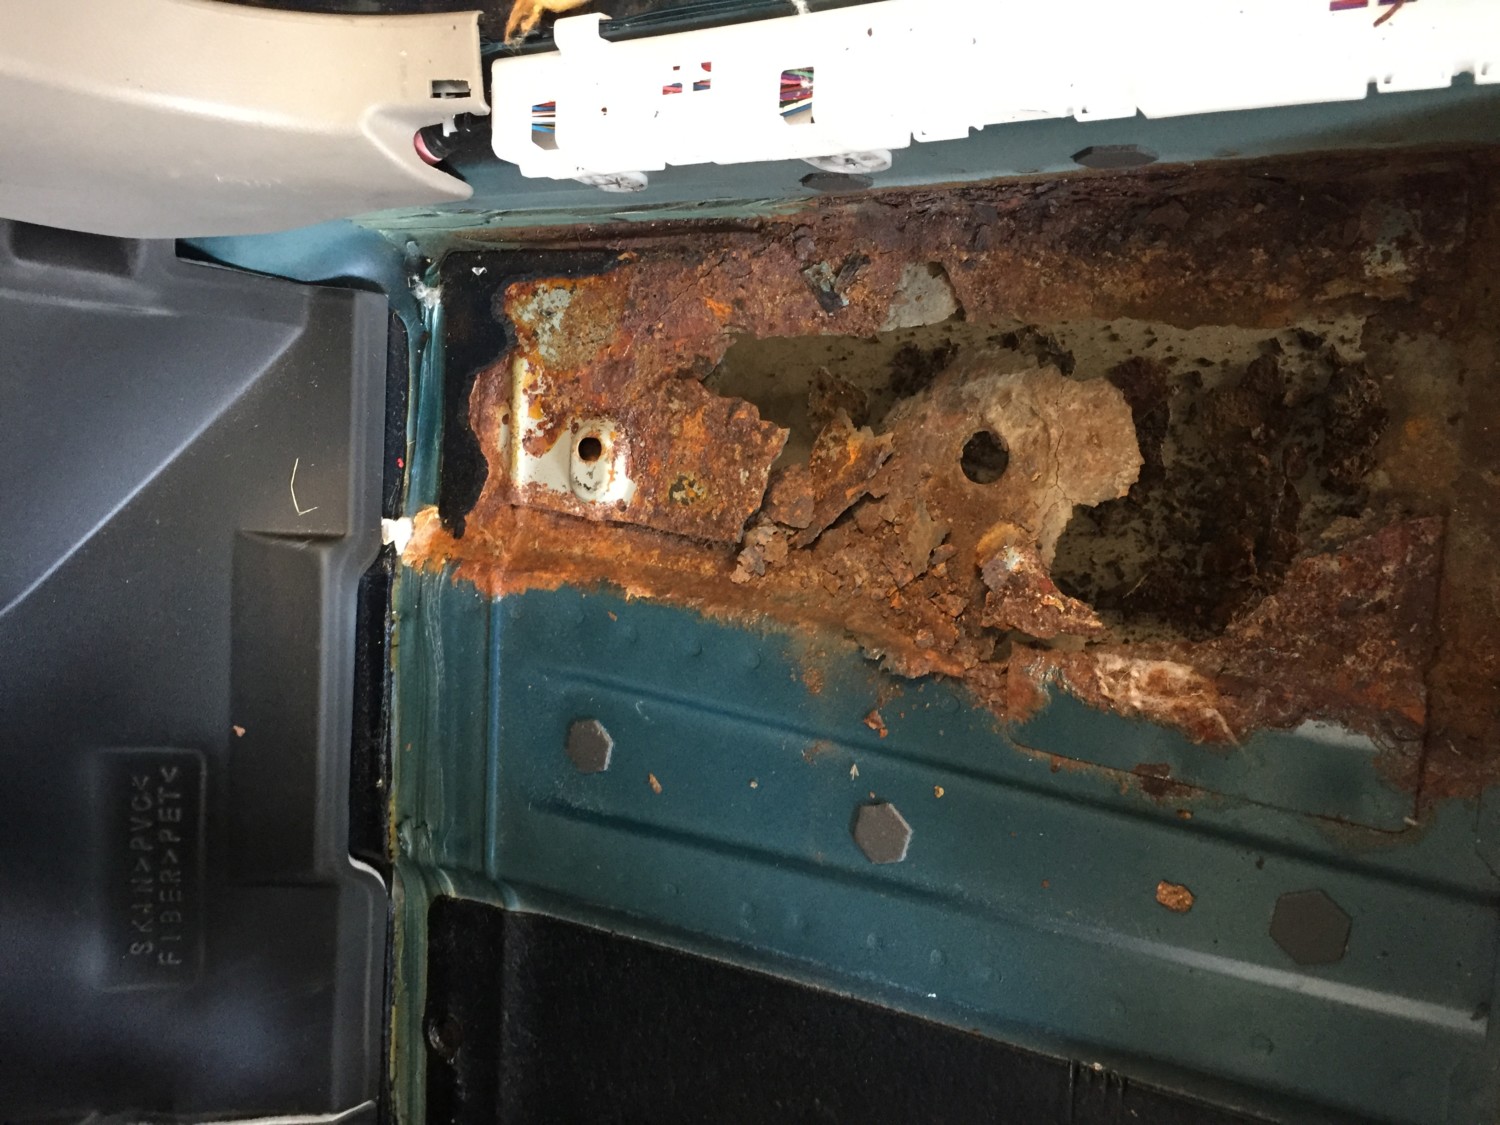
06 – Drill out any spot welds and remove the first layer of sheet metal. Hammer and chisel or air hammer if you choose. This is where all the water got trapped.

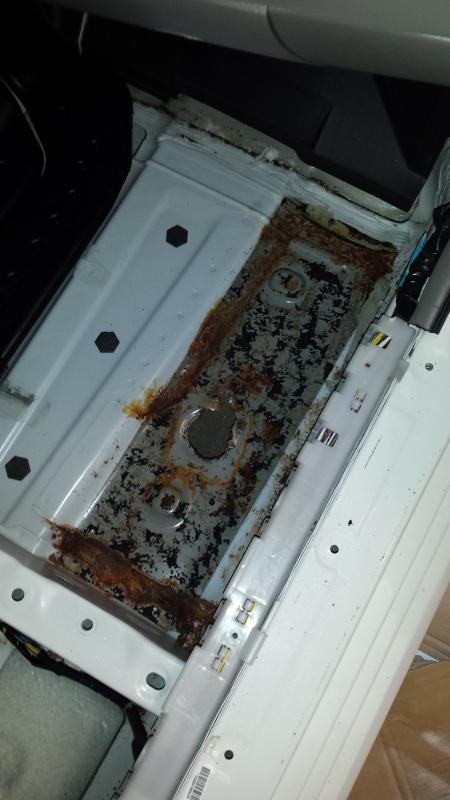
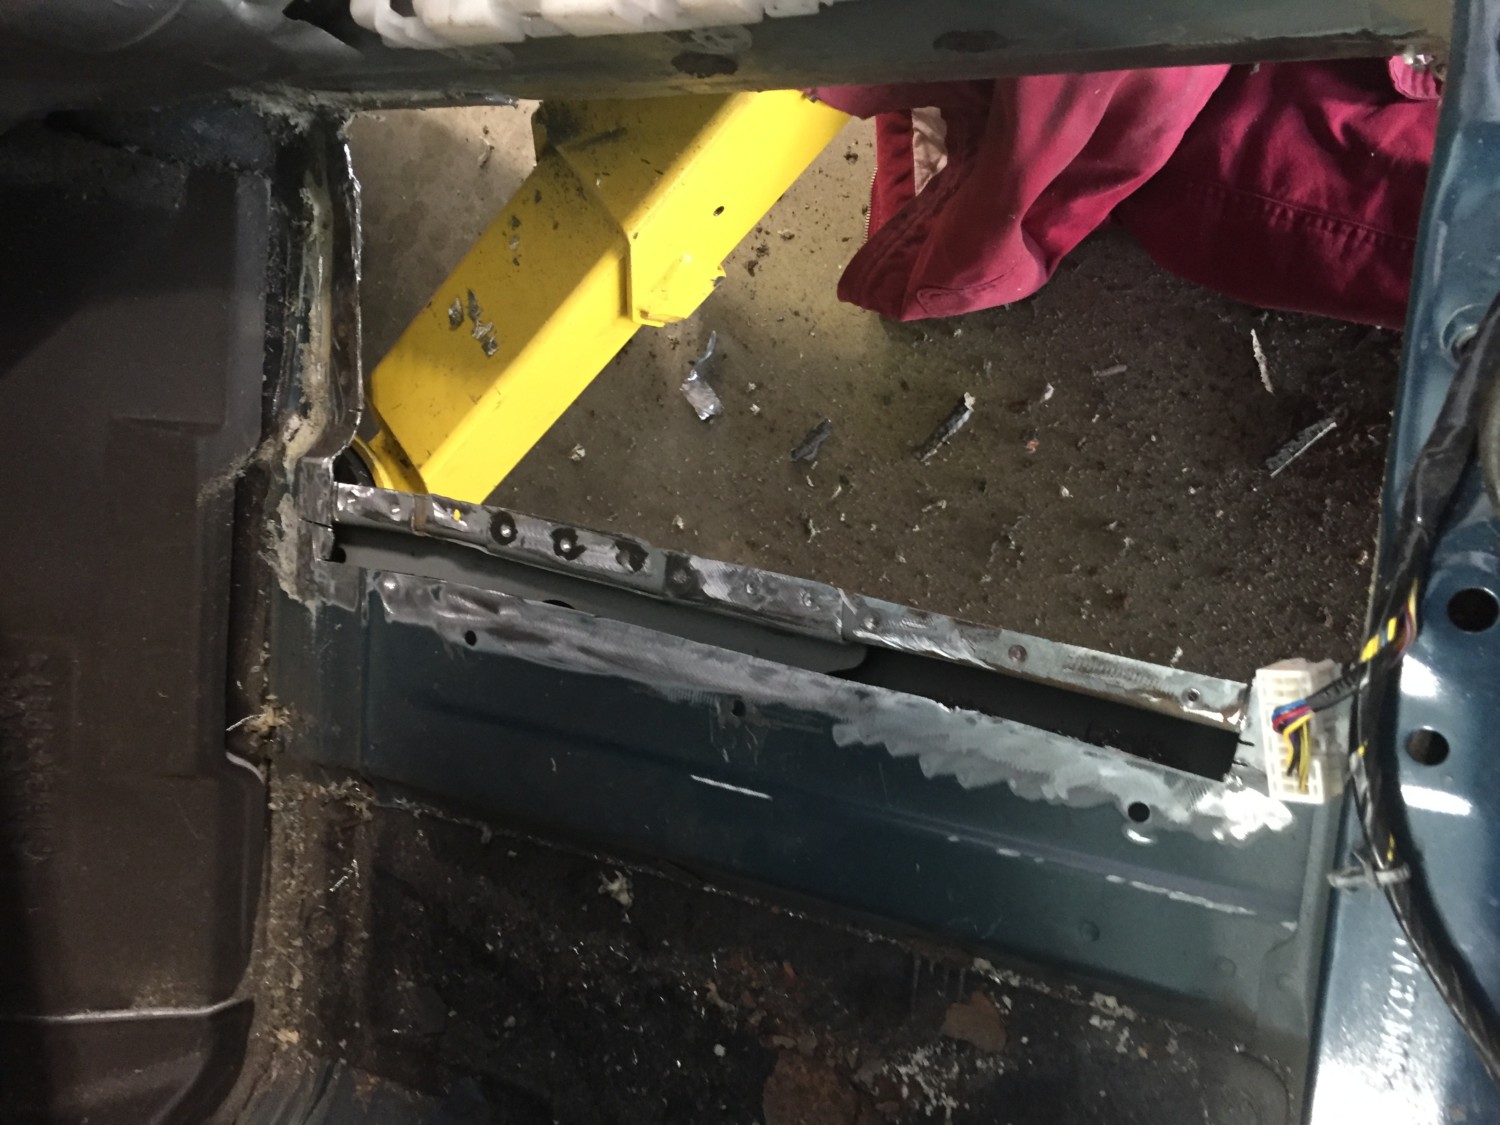
07 – Cut out the rusted floor pan. Get as much of the rust out as you can yet leave as much good metal as you can. I had to cut from the seat mounting area to the reinforced area of the foot well. About 18″ long and 8″ wide.
08 – Grind the metal the best you can. The cleaner the better, ask me how I know.
09 – Hit it with some rust treatment.
10 – Prime the bare metal. I am welding the new panel in; I used copper weld through primer. If you rivet or use panel adhesive the new panel in you can use the appropriate primer.
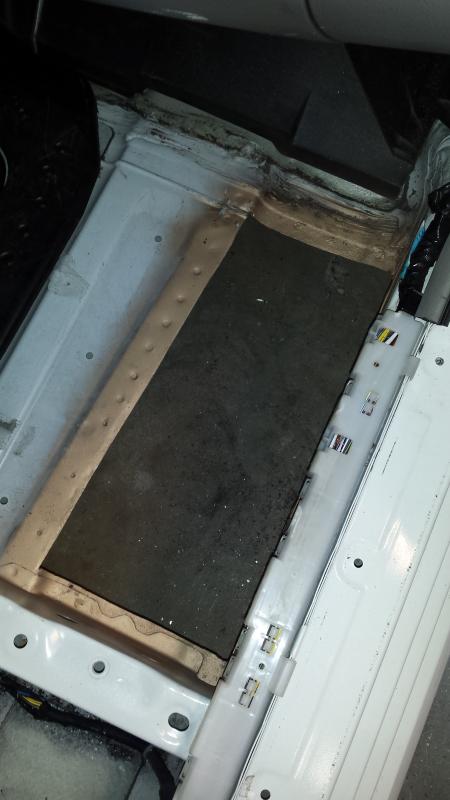
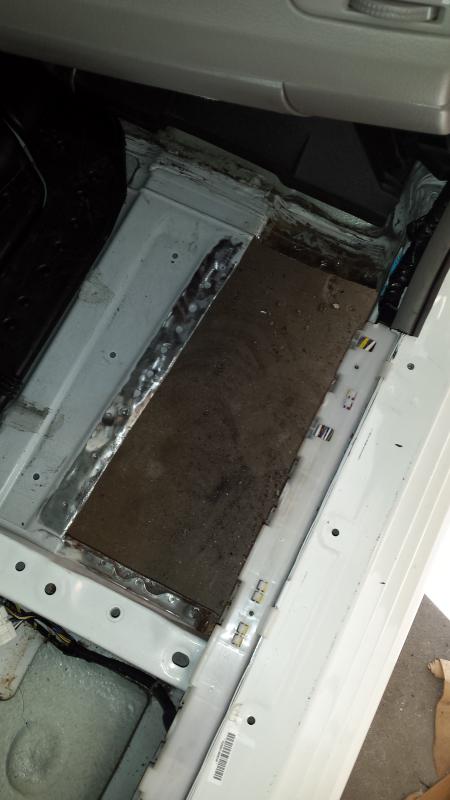
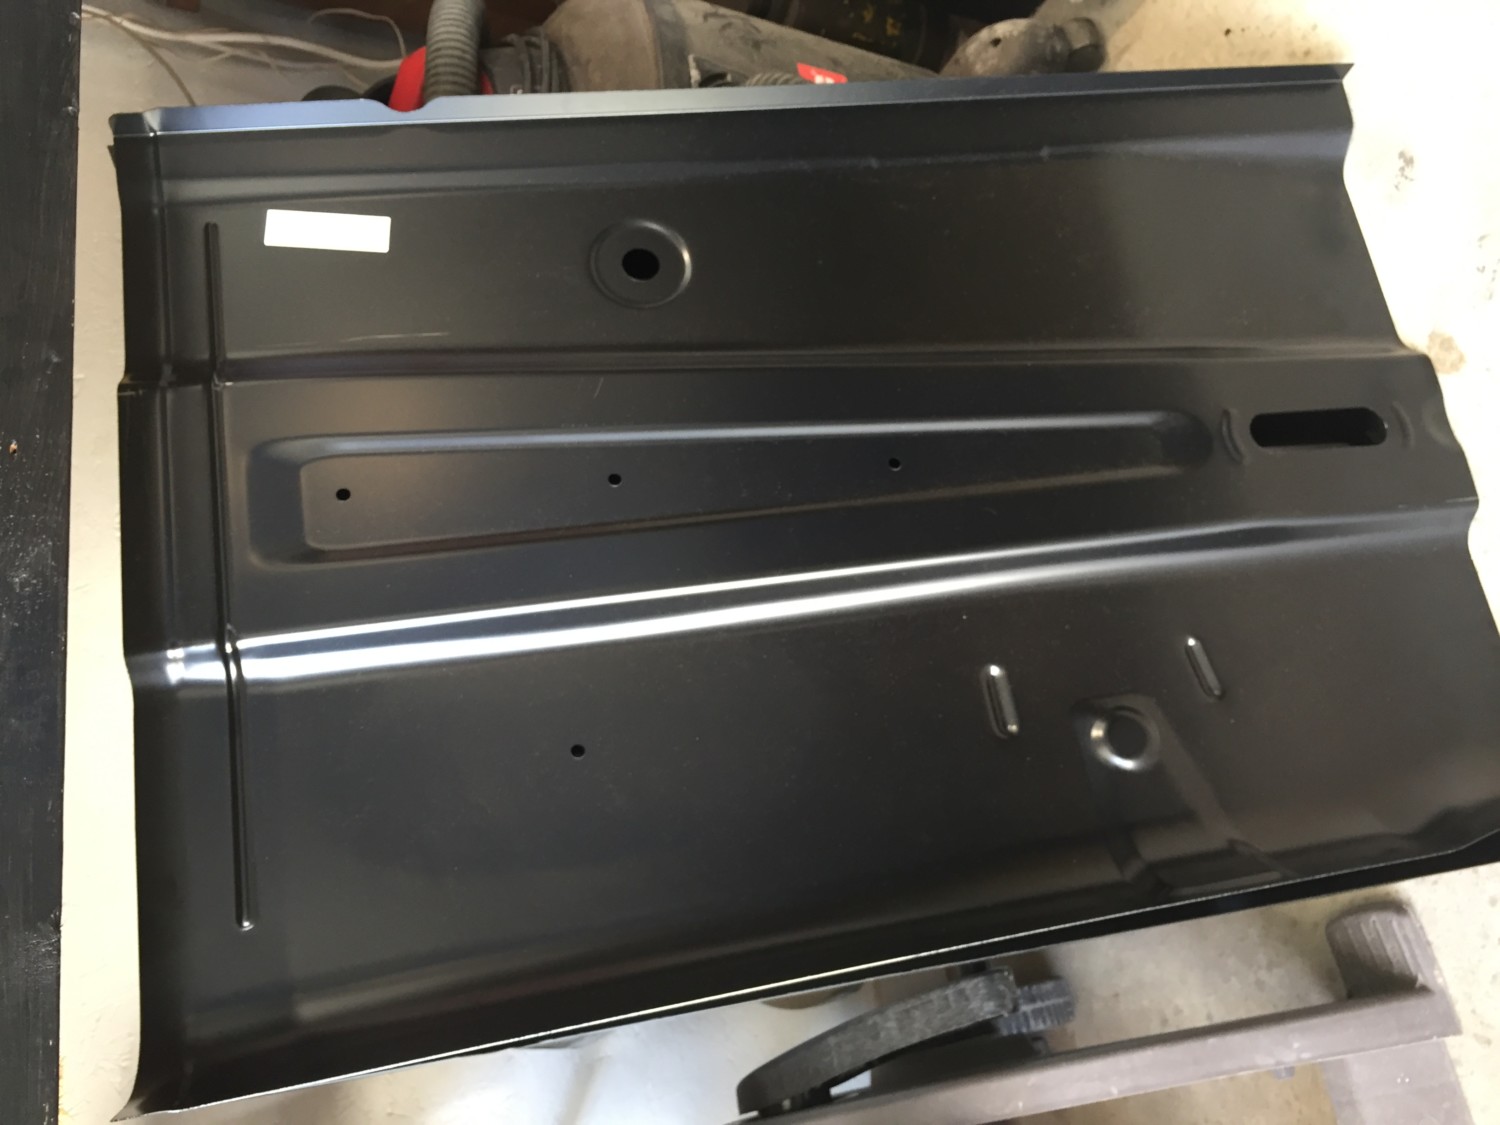
11 – Make a patch panel. I chose a piece of 12×24″ mild steel. Unfortunately it’s somewhat thin at 22 gauge. I had 16 gauge which would have been difficult to bend and shape. 18 gauge would have been closest to the original metal. Get creative if you don’t have lots of shop tools. Clamps, wood, and a hammer will get you there.

12 – Test fit. Bend, hammer, repeat…..
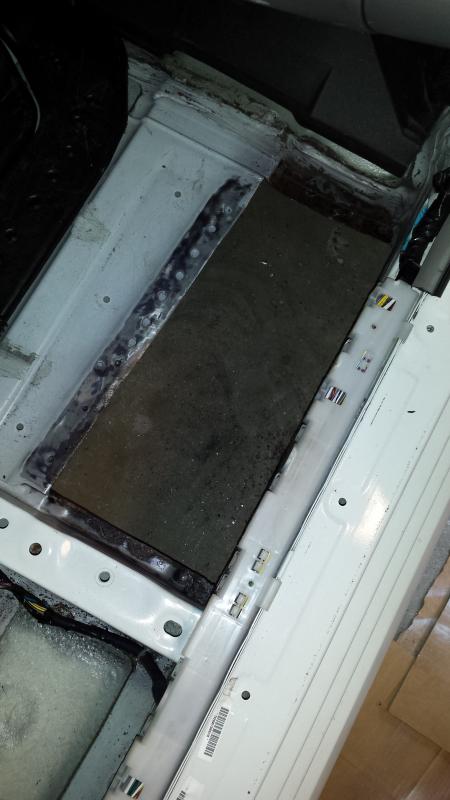
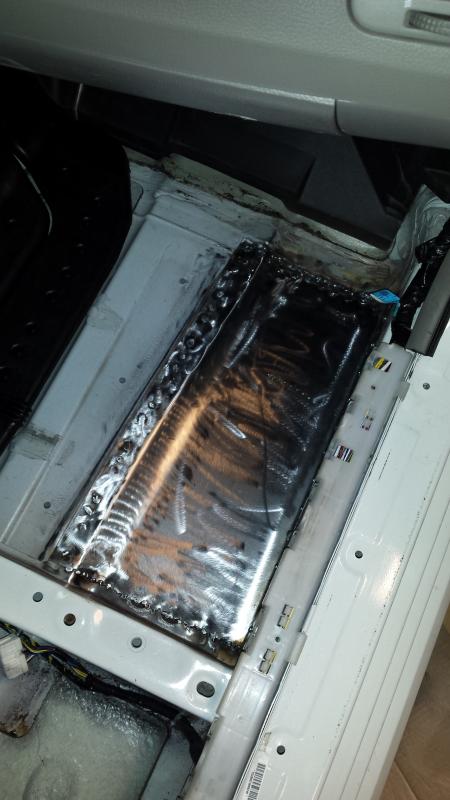
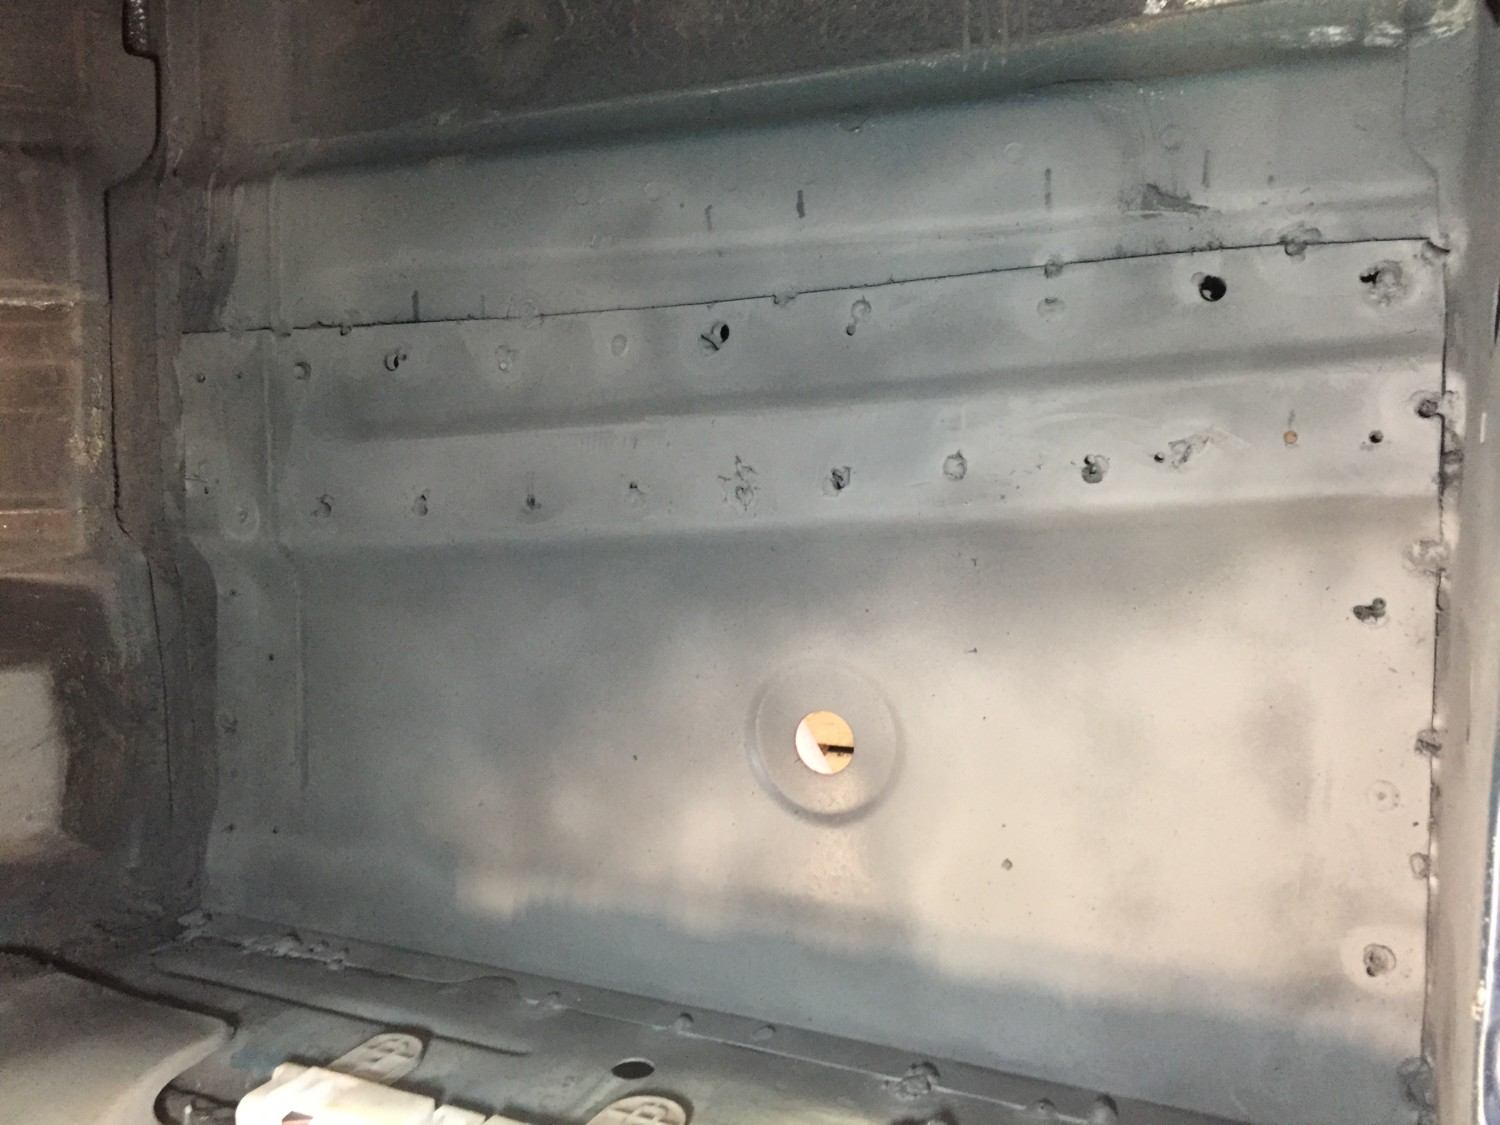
13 – Weld it in. Or rivet, screw, glue, whatever your method may be.
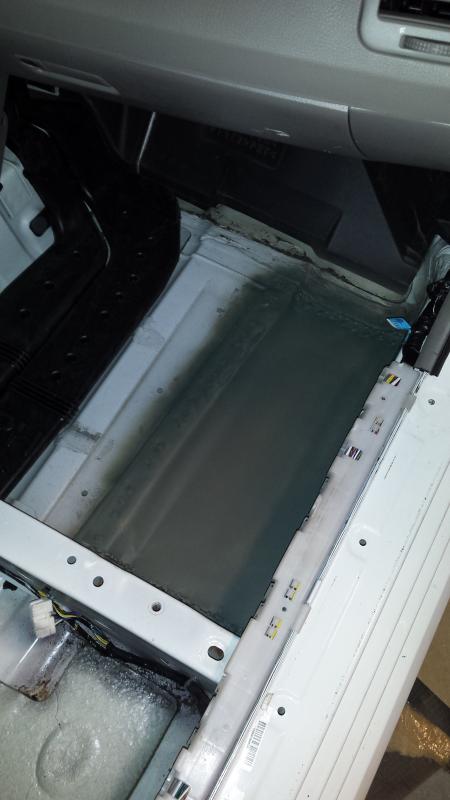
14 – Prime the bare metal, inside and out.
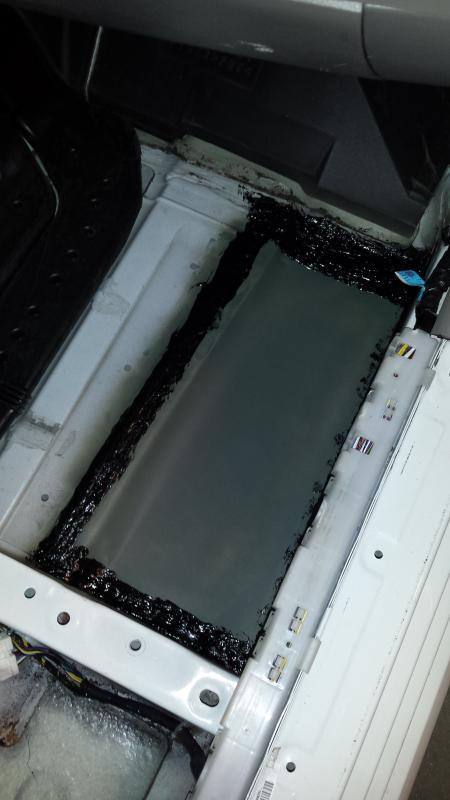
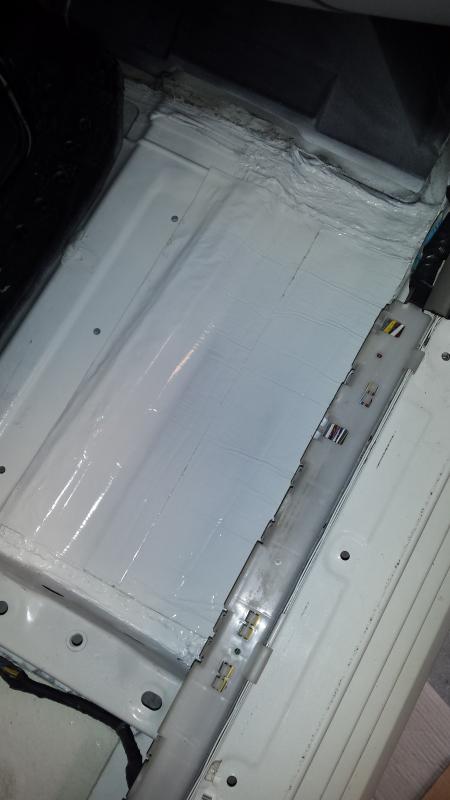
15 – Seam seal the edges, inside and out.
16 – Paint the area, inside and out.

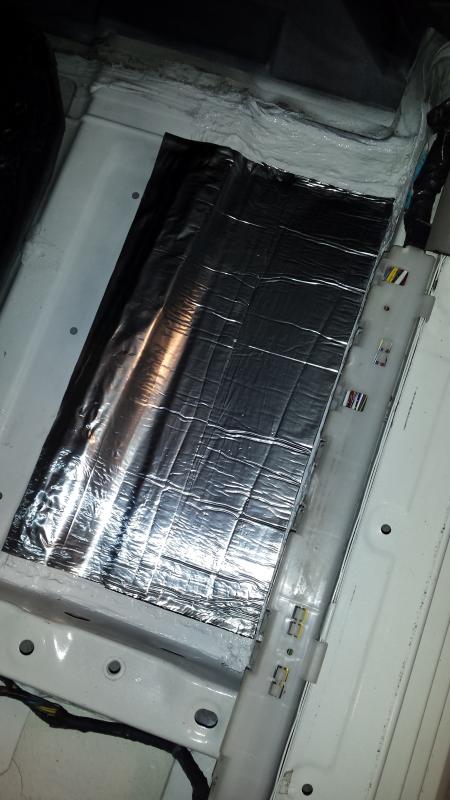
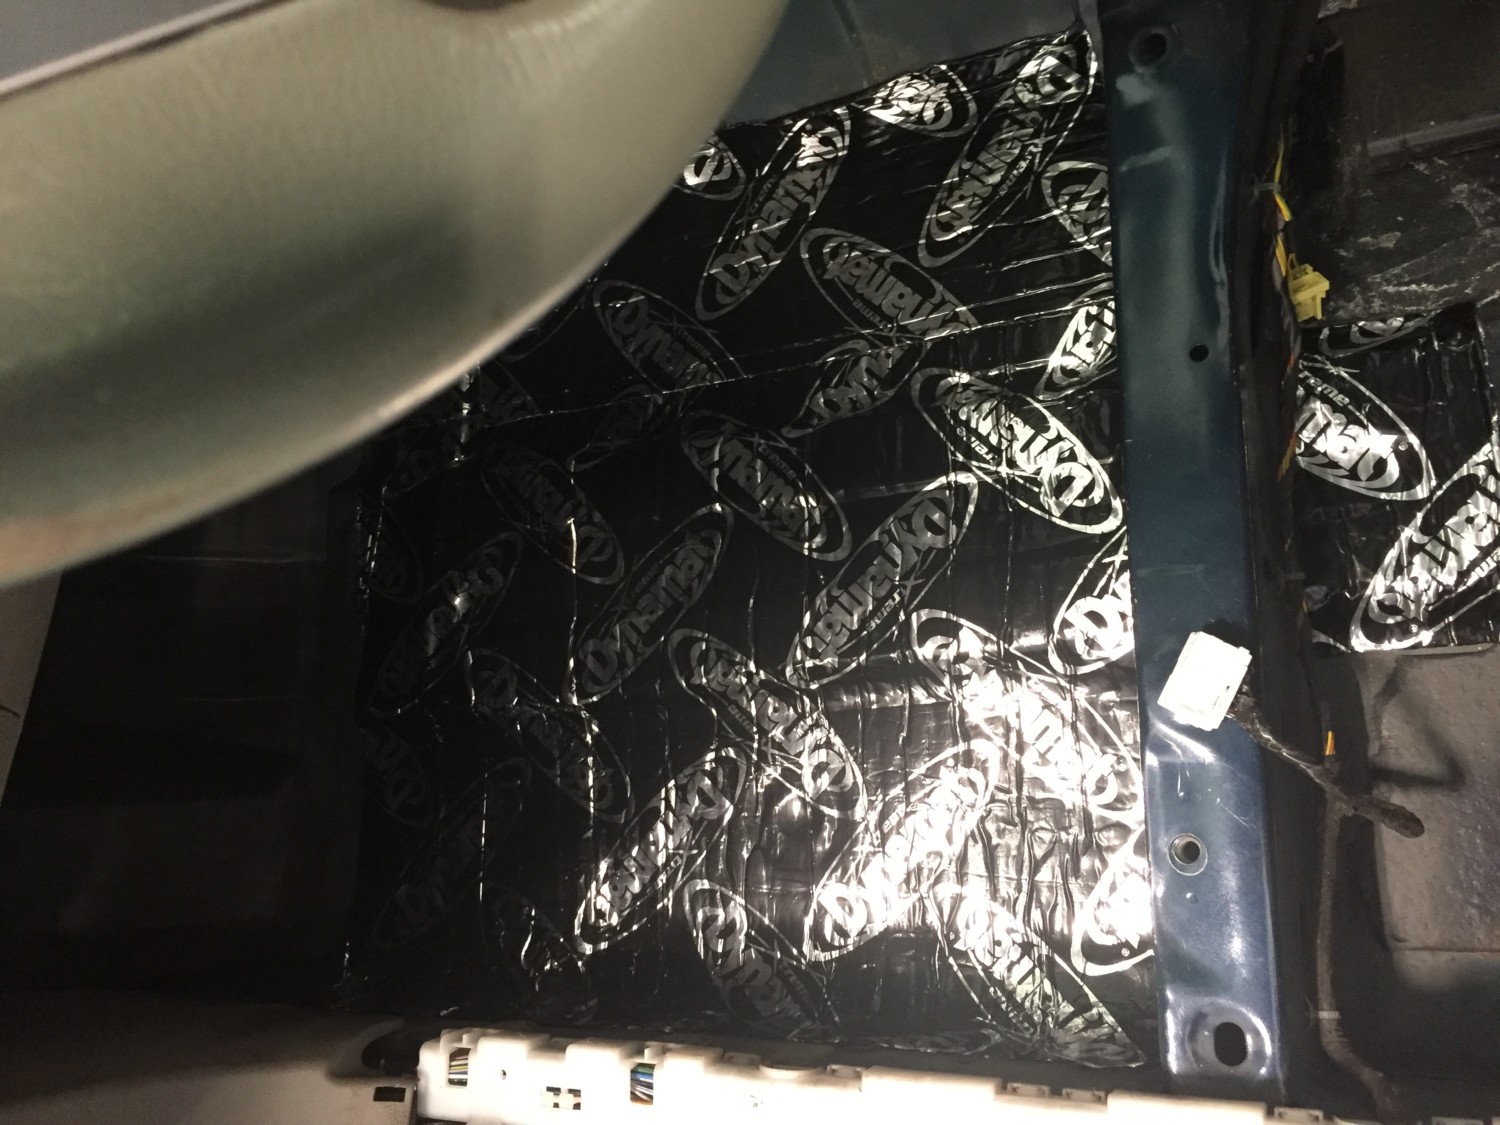
17 – Add some sort of sound deadener if you like. I used peal and seal type stuff on the inside. I under coated the under side like crazy.
18 – Paint over it again? Sure why not.
19 – Put the interior back together.
20 – Repeat on other side.
Additional Photos by mdb007

Video by Jason Lyrics
![]()

Comments are closed.