To remove ECU the 4 Philips screws should be removed: 2 from rear side and 2 from front side. But it will be still difficult to remove Air Mix Door Actuator. The next step is cutting out all plastic clumps holding electric cables on the ECU frame.
Final step is removing the ECU frame: take out 2 (10 mm) bolts from rear side. There is no mount bolts for a front part of ECU frame (just pull out central plate by shifting frame back/rear).
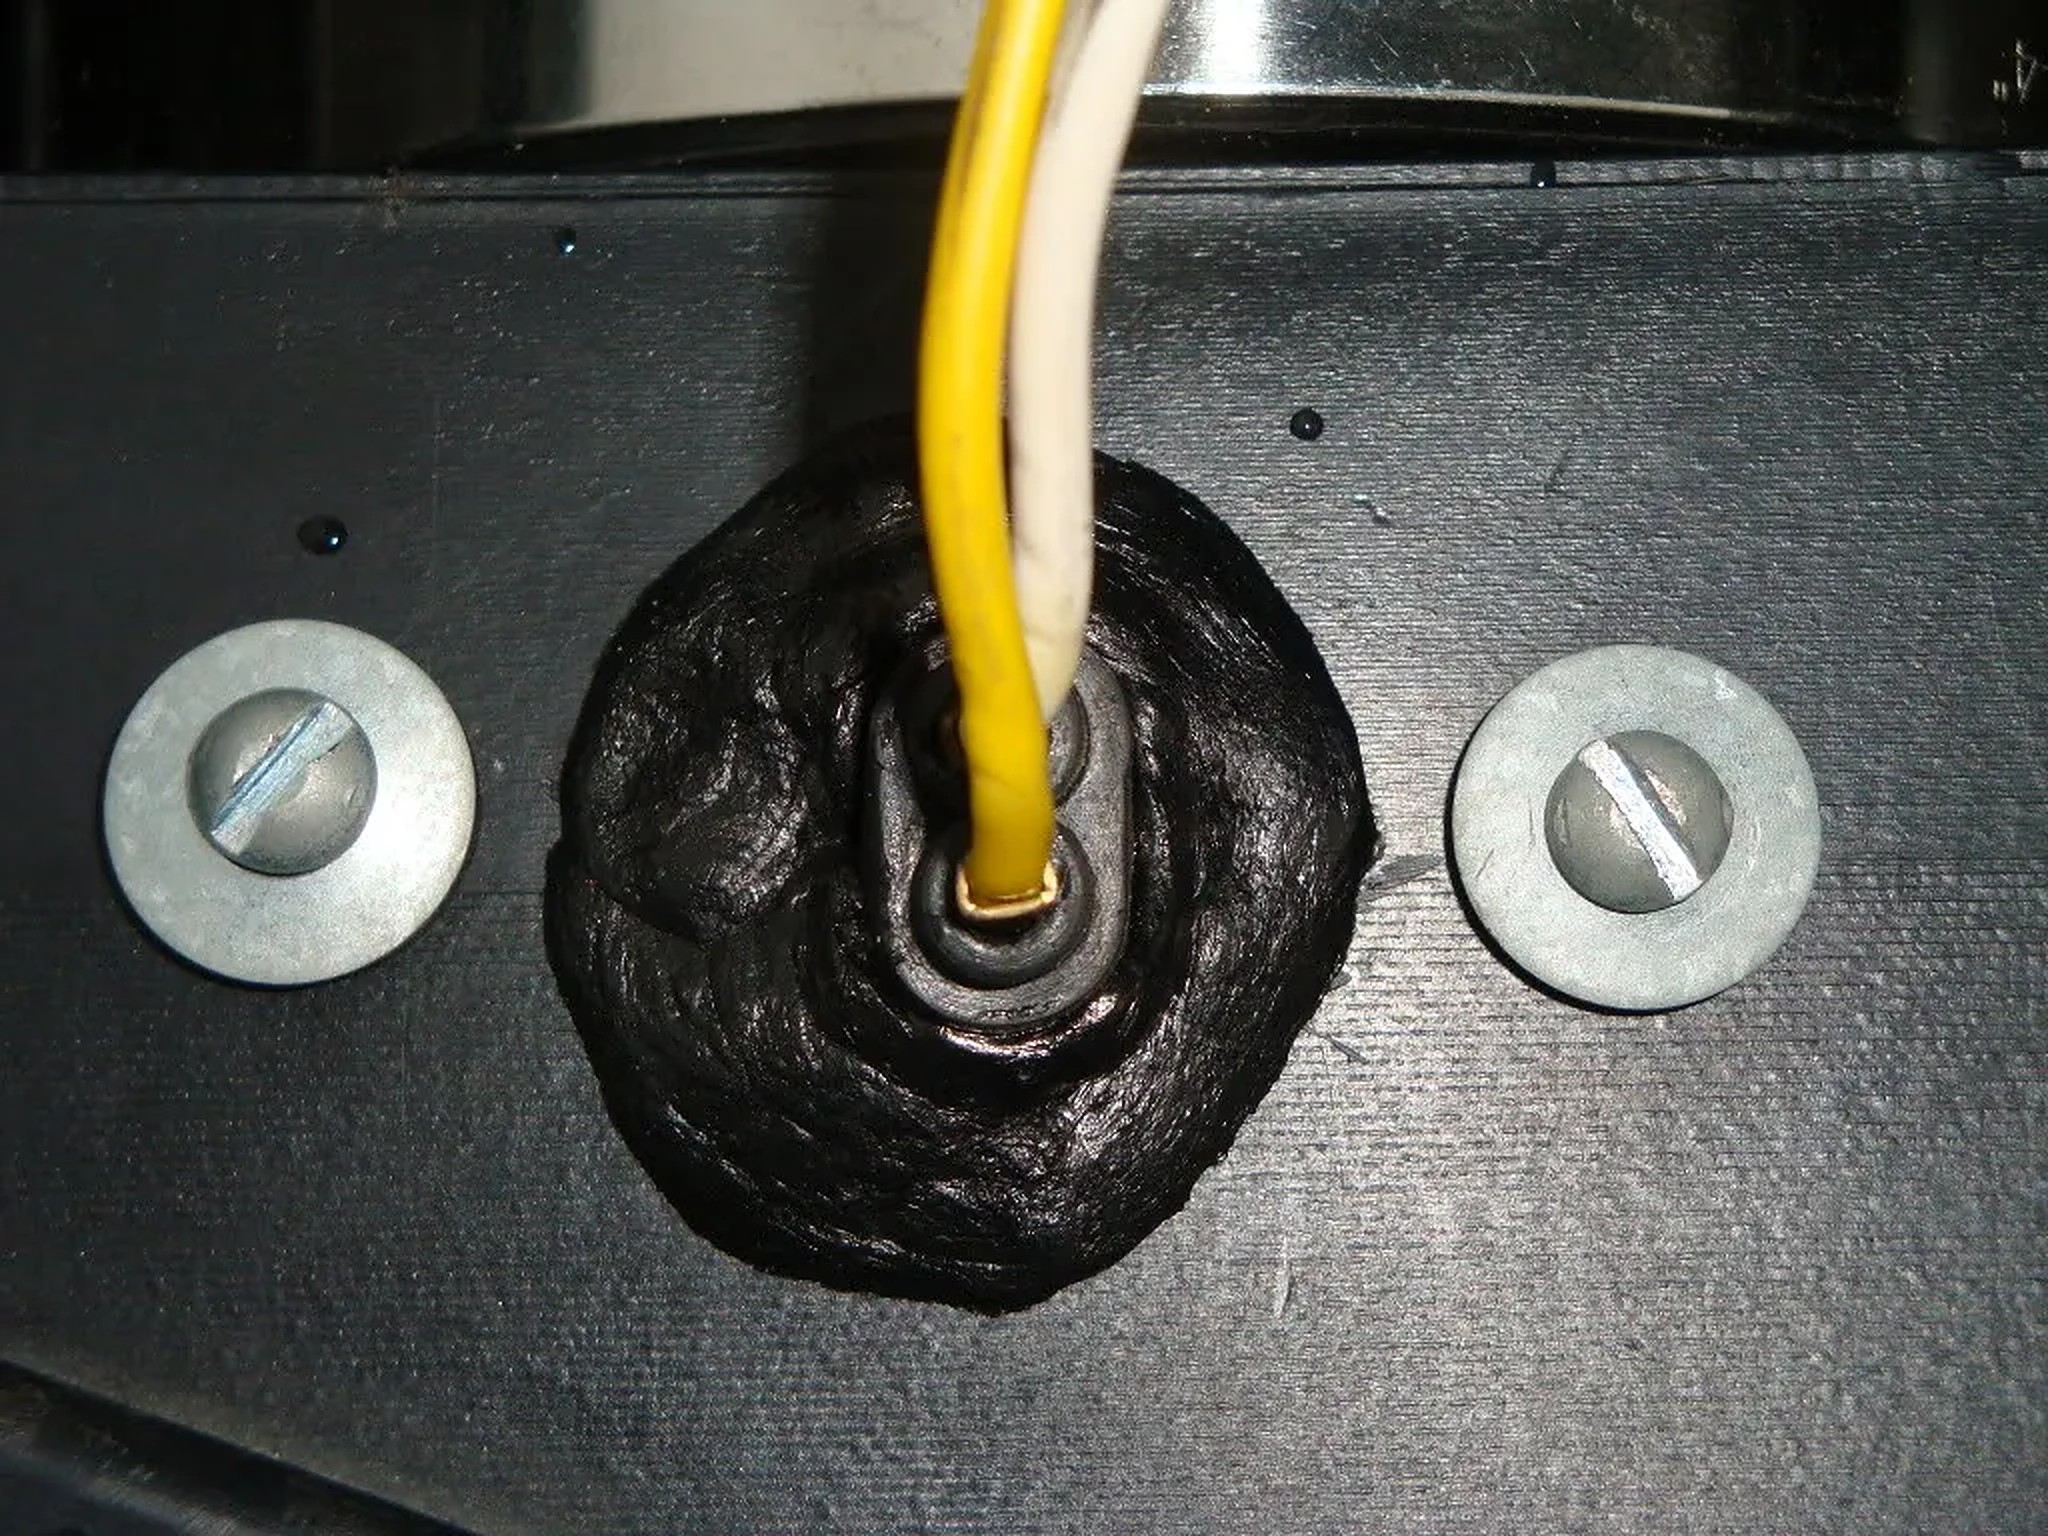
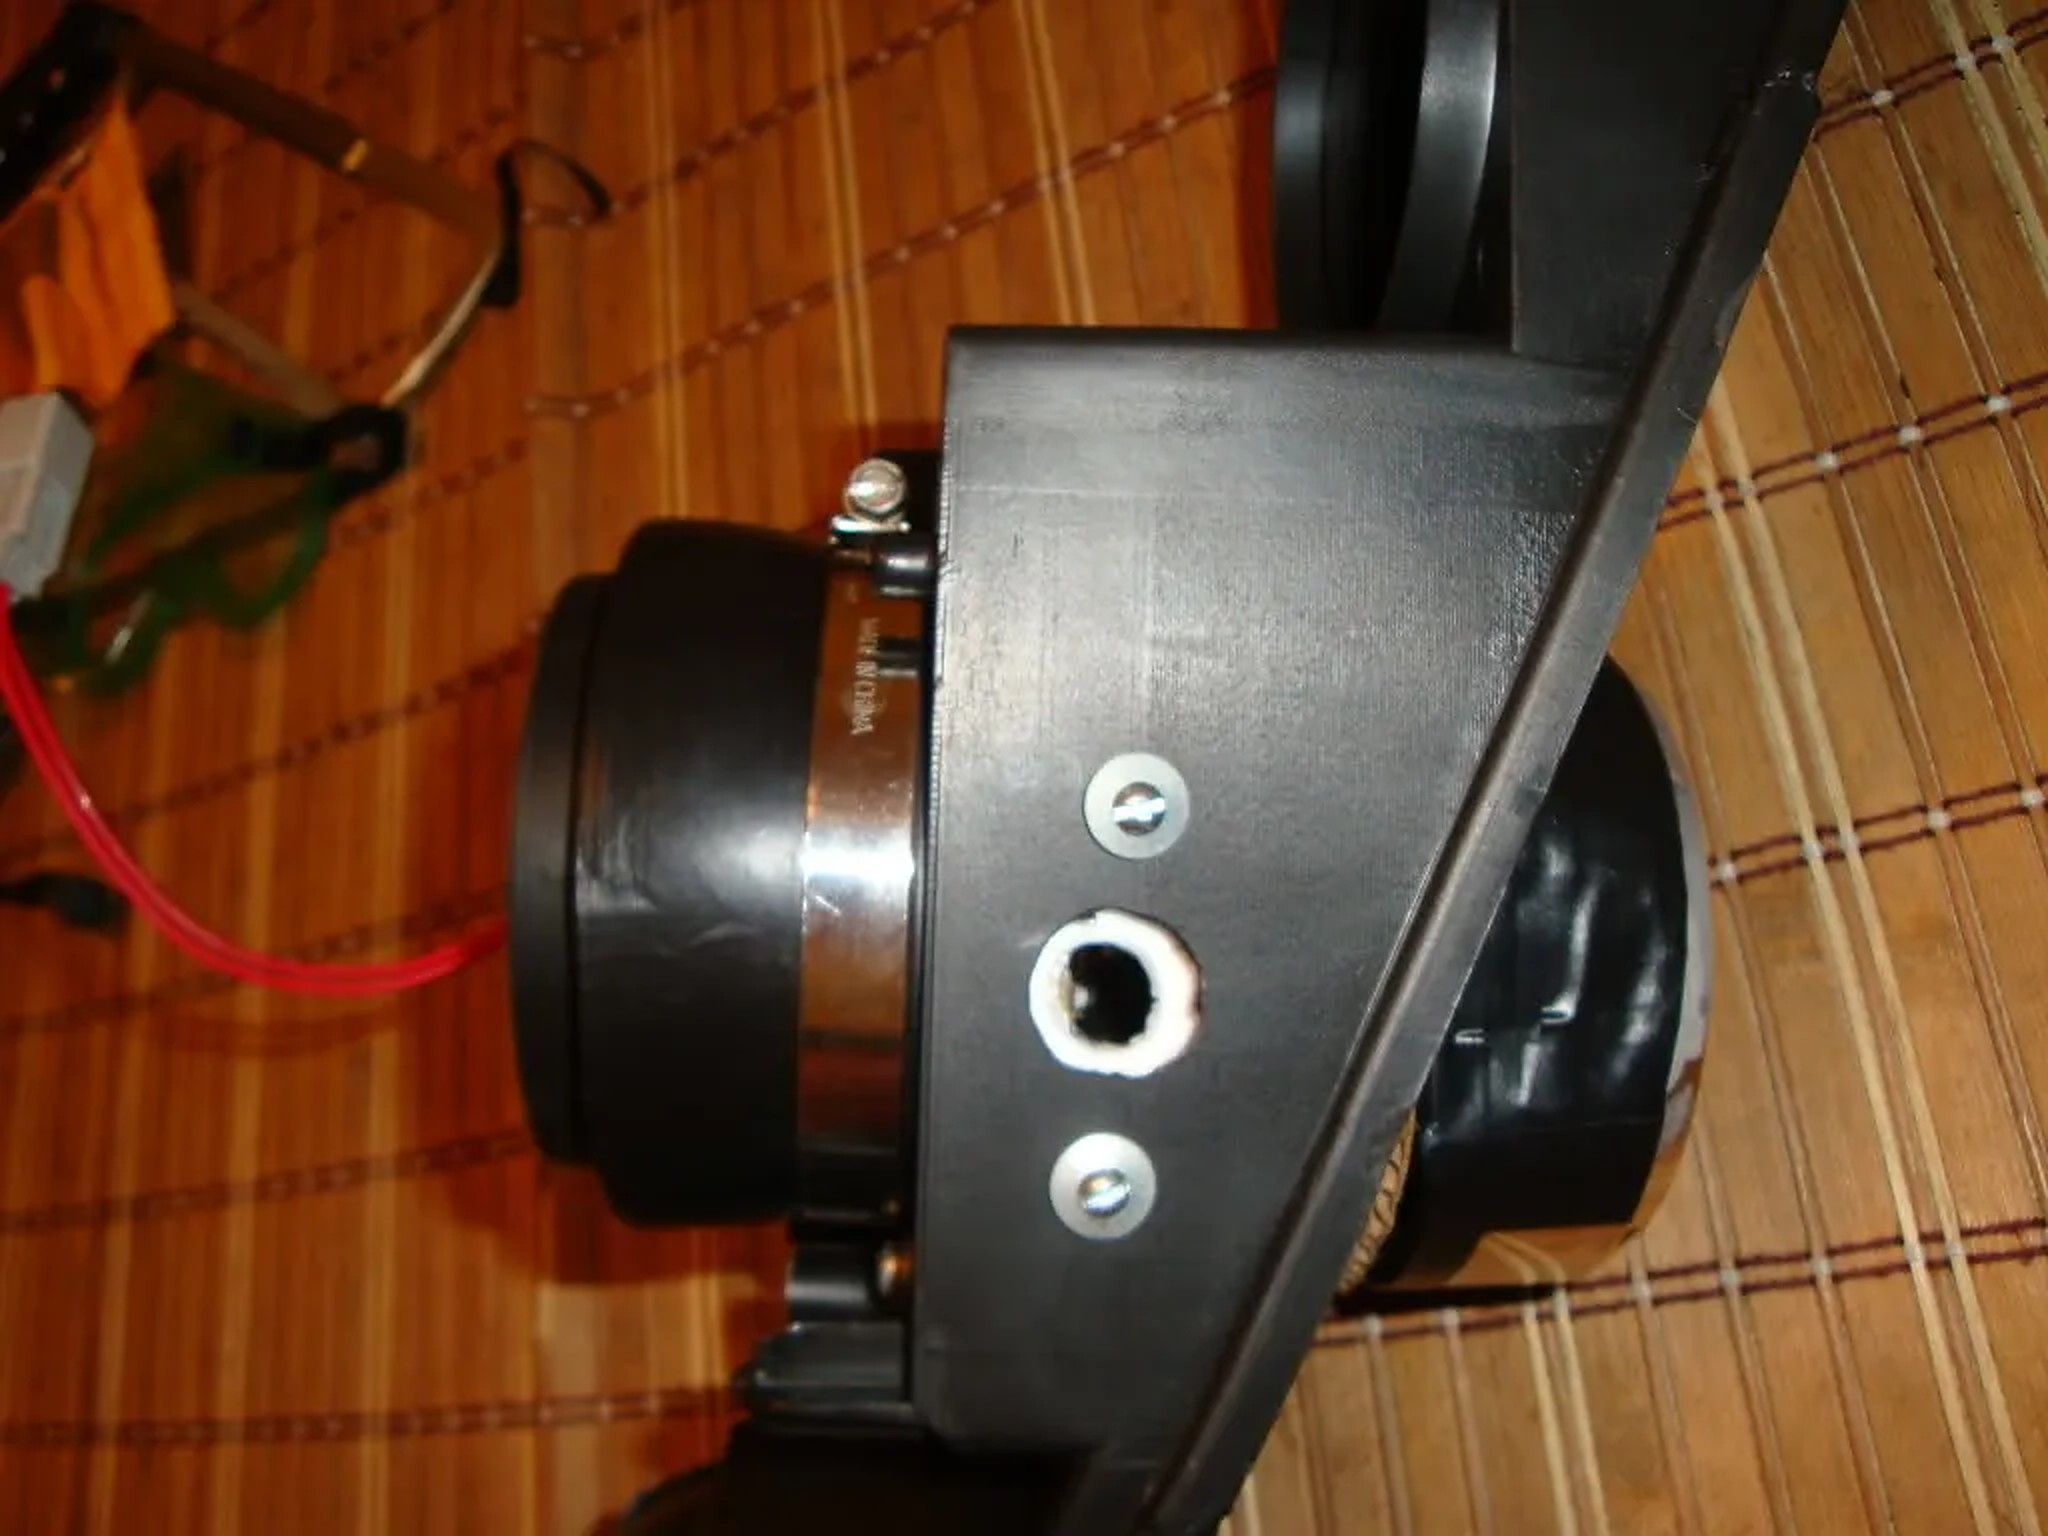
Someone may find useful to cut out some parts of the ECU frame. (Pictures attached) And use parts of the plastic rings (from 1/4 tube) for holding the 3 screws inside of holes of actuator.
I had to write something because this job sucks! ’97 I30 with a bad air mix motor (only blowing cold air all the time…did the FSM diagnostic on the climate control system and got a -26 PBR short circuit). Had to order the new motor/actuator from Nissan Parts Zone ($60) because rock auto, eBay, and Autozone had nothing.
Anyway, I’m in the middle of doing this job now, and there is no freaking way to get to the air mix motor without removing the ECU, and moving the wire harness out of the way. I also had to take the glove box out to undo a dash harness that patches into the main ECU harness. The long story short is that it took me the better part of 3 hours just to remove the failed air mix motor. I honestly thought that this would be a half-hour job, and it’s going to take me the better part of tomorrow to finish.
I may end up doing an official write up with pictures, but just wanted to complain and tell everyone that this job is a pain in the !@!#$ There is no space to work, and the three bolts that hold the air motor in place are not accessible unless you remove the ECU and have a special small ratcheting screwdriver (got mine from harbor freight for $2) to remove the ECU from its bracket and the air mix motor from its mount, and a long handle 10mm ratcheting wrench to remove the ECU mounting bracket from the body.
Damn this repair, I hate hanging upside down in the front seat. I may actually install a remote start and car alarm system since I’m down here and wires and dash panels are exposed. Gotta love underestimating the time on a repair job! I think I live for this %$^&; Nissan / Infiniti 4 ever!
The PBR is built inside the Air Mix Door Motor, it is not a separate item.
Here is a view of the Air Mix Door Motor from the passenger foot well.
Here is the Air Mix Door Motor opened up. In the left half, about the middle, is a small gear. It is mounted on the PBR. If you look on the right half, there is a white half gear that has some metal fingers on it. The metal is copper and you can see green corrosion on the fingers. That corrosion is why your motor doesn’t work.
ards the front of the car. You can barely see it from the driver’s side foot well, it is more easily seen from the passenger side foot well. The PBR is built inside the Air Mix Door Motor, it is not a separate item.
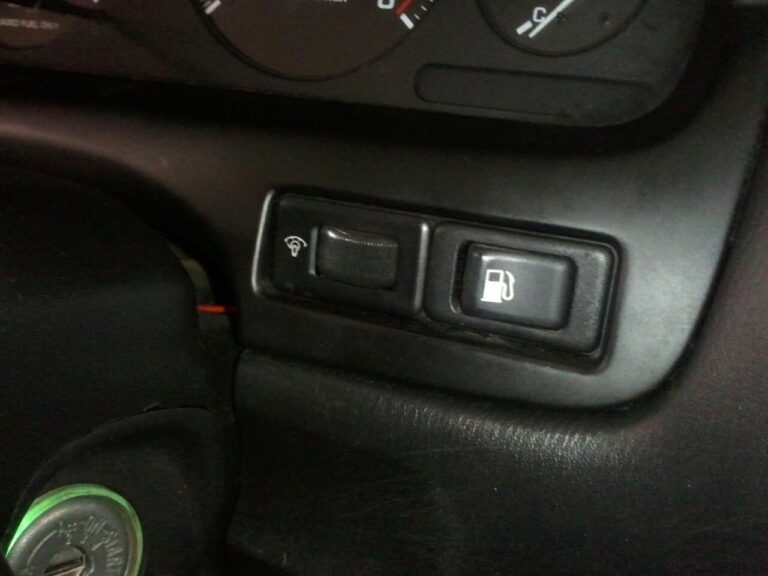
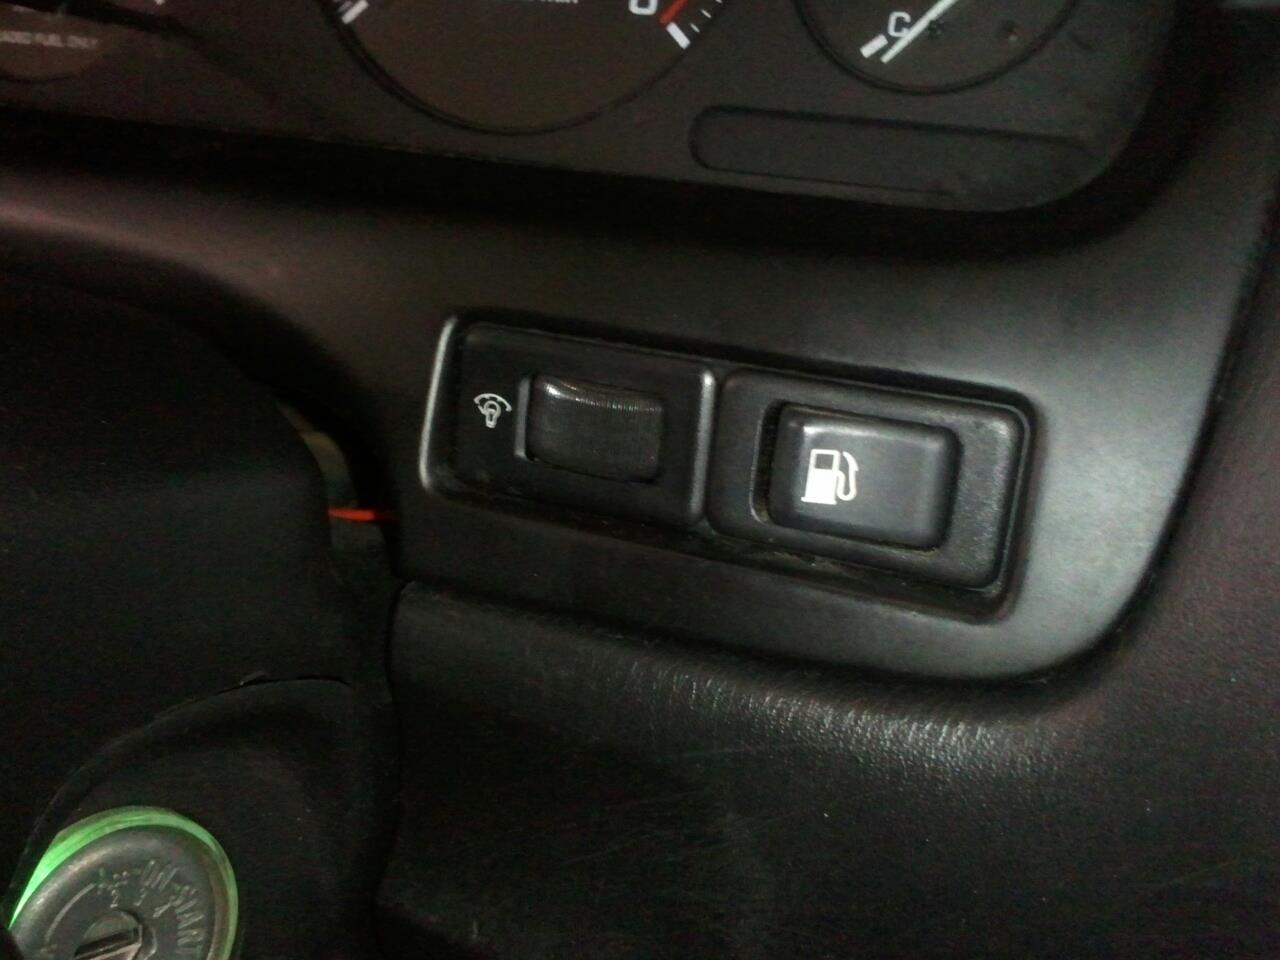
Instead of having a gas lever at the driver’s side seat, it’s a switch on the dash.
Also, you gotta have the power going into 1 specific wire. The actuator and switch are only 2 wires but you can have the actuator push against the latch instead of pulling it like I did a first. I just swapped the terminals in the connector. Extremely simple and very quick to install.
I spent less than $10 on everything.
Wire it from the trunk latch release fuse, then it should work without the key.