Category

myFX35-FX45

Category

Community Member Credit: fxlr8

PROCEDURE WAS DONE ON MY 2008 M45. PROCEDURE SHOULD BE SIMILAR ON MOST INFINITI VEHICLES. MAKE SURE TO CHECK YOUR OWNERS MANUAL FOR PROPER FLUID SPECS AND CAPACITIES.

TOOLS:

  • JACK STANDS
  • JACK
  • 10MM HEX SOCKET
  • SOCKET WRENCH
  • TORQUE WRENCH (FT/LBS)
  • BREAKER BAR (IF NEEDED)

SUPPLIES:

  • 2 (QUART) BOTTLES DIFFERENTIAL GEAR OIL (75W-90 SYNTHETIC IS WHAT I USED)
  • FLUID PUMP
  • DRAIN PAN
  • RAGS

SAFETY:

  • NEVER GET UNDER A CAR WITHOUT OUT QUALITY JACKSTANDS OR RAMPS IN PLACE. NEVER EVER GET UNDER A CAR ONLY RAISED AND SUPPORTED WITH A JACK.

PROCEDURE:

LIFT AND SUPPORT ALL 4 CORNERS OF YOUR VEHICLE WITH JACKSTANDS. YOU WANT TO KEEP THE THE CAR AS LEVEL AS POSSIBLE SO YOU WILL BE ABLE TO PUMP IN THE CORRECT AMOUNT OF FLUID INTO THE DIFFERENTIAL.

LOOSEN AND REMOVE THE TOP FILLER PLUG FIRST (YOU’LL WANT TO REMOVE THE FILLER PLUG FIRST SO YOU CAN BE SURE THAT YOU WILL BE ABLE TO FILL UP THE DIFFERENTIAL AFTER THE FLUID IS DRAINED).

2.jpg

LOOSEN THE DRAIN PLUG. ALIGN YOUR PAN UNDER THE DIFFERENTIAL AND REMOVE THE PLUG.

3.jpg

LET THE FLUID DRAIN COMPLETELY.

4.jpg

AFTER THE FLUID DRAINS, CLEAN THE DRAIN PLUG AND REINSTALL THE DRAIN PLUG. TIGHTEN THE DRAIN PLUG TO 25FT/LBS.

5.jpg

7.jpg

GRAB YOUR FLUID AND PUMP AND FILL YOUR DIFFERENTIAL UNTIL THE FLUID STARTS COMING OUT OF THE FILLER HOLE. YOU MIGHT HAVE SOME FLUID COMING OUT SLOWLY THE WHOLE TIME YOU ARE PUMPING, BUT IT WILL NOT BE FULL UNTIL IT IS COMING OUT PRETTY GOOD (AROUND 1.7 QUARTS).

6.jpg

AFTER THE FLUID IS LEVEL WITH AND COMING OUT OF THE FILLER HOLE PUT BACK THE FILLER PLUG AND TIGHTEN TO 25FT/LBS.

8.jpg

CLEAN UP ANY FLUID THAT YOU SPILLED, ESPECIALLY OFF THE EXHAUST PIPES.

DONE!

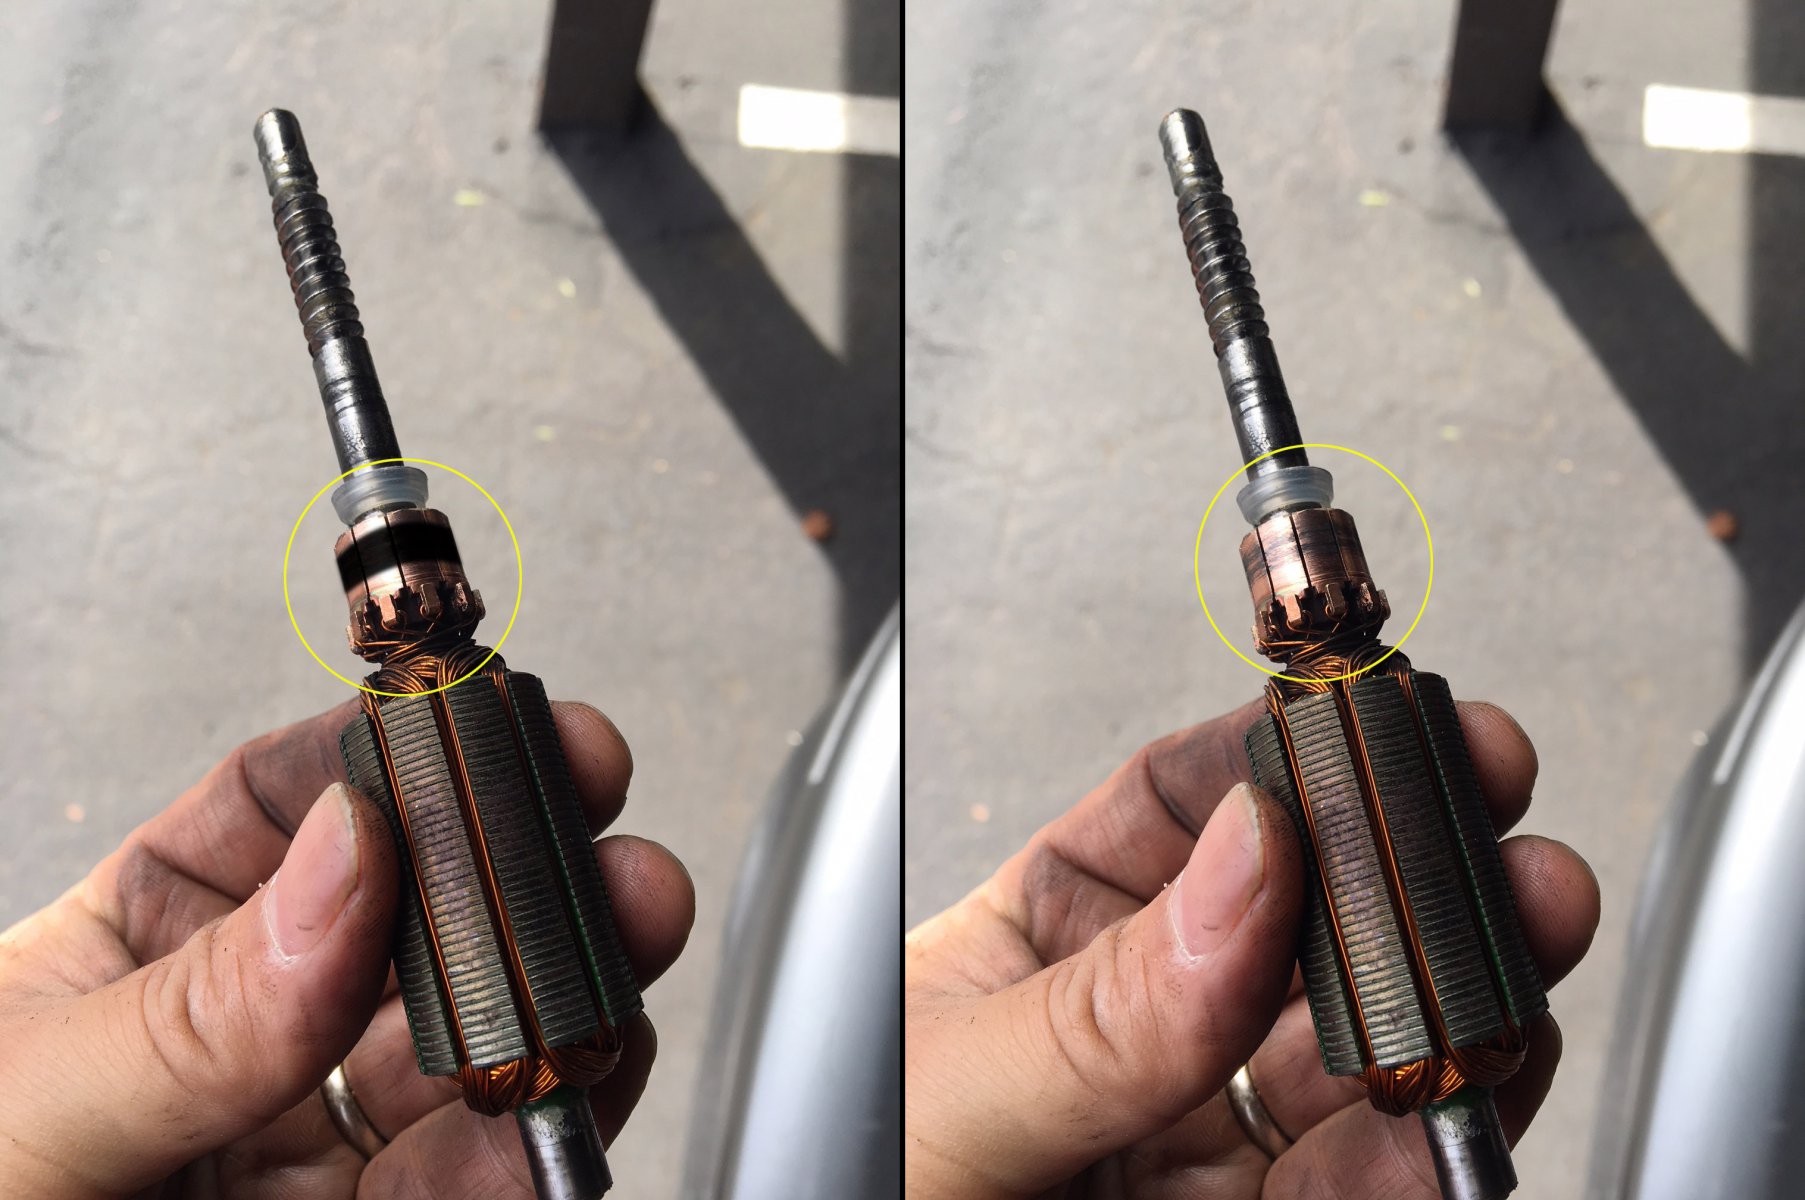
MY CAR HAD AROUND 39,000 ON IT, NOT SURE IF THE FLUID WAS EVER CHANGED BEFORE I DID IT.
OLD FLUID ON LEFT / NEW FLUID ON RIGHT.

P1050367.jpg

Additional Videos

Loading

Community Member Credit: Eddy

I started having issues with my rear trunk latch life gate on my 2004 Infiniti FX35. It just wouldn’t open. For some time, I was just removing the trunk 15A fuse where it would reset the latch. It would eventually open. But this ultimately got worse. I got tired of taking the fuse in and out whenever I wanted to open the trunk. Also, I really didn’t want to spend $100+ bucks on the part to fix it, so I figured I’d try whatever was out there.

So I tried the solution in this write-up. I won’t take all the credit because I found some info on one of the FX35 forums (member Jim Lee). It took me about 20-30 minutes to do and WOW, everything works again. It’s been a few days now and all works fine. Basically, you turn your motor back to brand new again by following this how-to. The motor has something called a ‘commutator’. It needs to be super clean. When I took my motor out, it was very dirty and black. It is the common issue of the brushed motor. You can Google “Commutator” to learn more about it. 

Update 4/9/2021: This officially resolved my issue. All is good and saved me a bunch of $$$. 

Update 8/25/2024:  I had to repeat the process, but it didn’t work right away. If you run into this, all you need to do is remove the “15A Rear Door Fuse” and then put it back; that should reset it. If the fuse is blown, make sure to replace it.

Commutator Reference Photo:

Summary: I would recommend try this how-to. It will save you a lot of money and it’s very simple to do. The part is about $100 bucks and labor may be another $100 bucks. This was FREE to me and just took 20 minutes of my time. Plus you learn a little about how these things work.

Nissan OEM Part Replacement Information

If you are looking to just replace and not attempt this how-to, below is the information you need to order the correct part for your FX35. Please cross-check the part number to ensure it works for your generation FX35.

Part Description: Motor-Closure, Back Door
Part Number: 90554-AQ000
Price: $124.03

This video below will show you how to remove the plastic covers to expose and take out the latch motor.

How to Fix and Clean Motor “Commutator”:

Original Photo Credit: Jim Lee via FX Forums

After doing the above and taking out the motor, you can follow the steps below:

Take off the 3 screws on the motor.

Pull the shaft out of the housing.

Simply use a terry cloth rag and apply some elbow grease back and forth to clean it.

These were actual pictures of my FX35. You can see how dirty it was as seen above. You can see the green cloth I used.

After cleaning it, it looks like this. Literally brand new again!

Put everything back together. AND NOW EVERYTHING WORKS AGAIN! Before I would have to take out the trunk fuse in order to reset it and hoped it opened. Now it opens consistently with no issues at!!

Motor Reference Photos:

Loading

Community Member Credit: fxlr8

MATERIALS:

  • ORDER YOUR FILTER (MAKE SURE YOU GET THE ACTIVATED CARBON FILTER)
  • Part Number: FC35530

TOOLS:

  • PHILLIPS SCREWDRIVER

SAFETY

  • EVEN IF THIS PROCEDURE DOES NOT REQUIRE RAISING OF THE VEHICLE, WE CANNOT STRESS ENOUGH…NEVER GET UNDER A RAISED VEHICLE WITHOUT THE USE OF QUALITY JACK-STANDS

1. REMOVE THE DOOR SILL BY PULLING UP AND UN-POPPING THE CLIPS.

2. UNSCREW THIS PLASTIC NUT AND REMOVE THE SIDE PLASTIC PANEL. THE PLASTIC NUT SHOULD COME OFF BY HAND, IF NOT USE A WRENCH.

3. LOOK UNDER THE GLOVE-BOX AND REMOVE THIS PLASTIC PANEL, PULL DOWN ON THE FRONT AND IT WILL UNCLIP.

4. USING YOUR PHILLIPS SCREWDRIVER UNSCREW THESE 2 PHILLIPS SCREWS UNDER THE GLOVE BOX.

5. OPEN YOUR GLOVEBOX AND UNSCREW THESE 4 SCREWS.

6. YOUR GLOVEBOX SHOULD NOW COME OFF (DISCONNECT ANY WIRES NECESSARY – DO NOT DISCONNECT THE YELLOW AIR BAG PLUG/WIRE).

7. TO REMOVE THE FILTER YOU WILL PUSH ON THIS TAB TO RELEASE THE FILTER COVER.

8. PULL OUT THE OLD FILTER.

9. INSTALL YOUR FILTER **(NOTE THE DIRECTION OF AIR FLOW ON THE NEW FILTER – THE AIR FLOWS DOWNARDS IN OUR CARS, SO MAKE SURE YOU INSTALL YOUR FILTER PROPERLY).

NOTE: WHEN PUTTING THE FILTER COVER (DOOR) BACK ON YOU WILL NEED TO LIFT THE FILTER UP WHILE CLOSING THE COVER, THE DOOR HAS TABS ON IT AND THE FILTER NEEDS TO SIT ABOVE THESE TABS.

Loading

Community Member Credit: Eddy

Out of nowhere, I noticed that the trunk on my FX35 was not fully closing. Initially, I thought the actuator was toast and I would need to replace it. When you get the lock, you should be able to hear the trunk latch engage. I wasn’t hearing.

I did some research and found a quick solution. I removed the 15A – BACK DOOR fuse for 30 seconds and plugged it back in. After that, the trunk was opening and closing fine. I may have to replace the actuator soon but at least the trunk is closing. I was worried someone could just randomly open it and take stuff from the trunk.

Hope this helps anyone who has the same issue.

If you need to replace the actual, I found the following information. Adding it here for future reference.

Photo of Actuator


Loading

Community Member Credit: Eddy

My recline and power seat move button stopped working. Seems like they were stuck. I’m sure I could have taken it off and tried to prepare it but I found a better solution that worked for me. I bought two Dorman 85919 toggle switches and swapped the button with that. The switches fit great and work 100%. A good option for those who don’t want to pay $100 bucks for a new one. This costs less than $10 bucks to do.

Loading

Community Member Credit: angryfx

1- Take the 6 clips out of the grill.

PB281278.jpg

2- The grill is now free but there are 4 clips that are attached towards the radiator that you use
a plier to take out…. close up of the clip…

PB281280.jpg

3-the holes were where the clips were held in place to the bumper.

PB281282.jpg

4-the headlights are held by 4 screws. 2 on top and 2 at thhe bottom… one behind the front bumper
and the other behind the wheel wells.

PB281286.jpg

PB281291.jpg

PB281292.jpg

5-to remove the bumper you will have to remove 10-15 bolts depending on how many you have under the car
by the bottom plastic cover… but you have to remove 2 screws that hold the bumper to the fender…on each side..

PB281301.jpg

PB281298.jpg

hard to get a nice pic so these are some supporting pics..
PB281300.jpg

6- once you unbolt these 2 bolts then you will see that the bumper will kinda wobble… they are still
held in place by 2 clips right under the headlight housing… if you pull the bumper you will see them.

PB281305.jpg

PB281306.jpg

PB281303.jpg

7- when pulling on them be careful i broke 1 of the clips but when putting them back in i found it
not to be bi issue with just 1 clip instead of 2 but still be careful…

8- with the bumper off or hanging by 1 or 2 screws at the bottom… you can now access the bolt under
the headlight. this shoul be the last bolt to remove… unplug all th electrical harnesses/wiring…
take em out gently…

PB281307.jpg

PB281308.jpg

PB281327.jpg

PB281328.jpg

9- once you take the headlights out you can now exchange the ballast (3 screws) held in under the headlight.
and the light bulbs..(unclip the metal pin and take the bulbs out..

PB281321.jpg

this is the ballast ( i didnt know until today)

PB281318.jpg

now take the silver holder out by twistin like a regular bulb

PB281314.jpg

you will see the rear side of the bulb

PB281320.jpg

unclip thes metal sprins by pushing them with your thumb n finger n open the latch….

PB281315.jpg

10- do it to the other side and put the bulbs and the ballasts back in …..

PB281317.jpg

PB281321.jpg

11- if you are going to do DTRL SWAP now is the time …. cut the black wire cover tape

PB281343.jpg

12- i used a nipper to cut the tabs because i was lazy…

PB281349.jpg

13 – please refer to dtrl swap thread for more info if you have any question.

14 – put headlight back in and connect all the wires

PB281335.jpg

PB281356.jpg

15 – put the bumper back in …..

PB281357.jpg

16 – PUT GRILL BACK IN AND CHECK THE LIGHT TO SEE OR OF THEM ARE WORKING WELL CLEAN AFTER
YOUR MESS AND FEEL GOOD DONE!!!!

PB281365.jpg

Video:

Loading

Credit: la_fx35

15IMG_1276_zpscbf1c628.jpg

Remove the battery compartment cover and crowl top cover to access the IPDM.

12IMG_1242_zpsfb887c65.jpg

IPDM

13IMG_1252_zpse597e81f.jpg

Lay some rag over the batter terminals so that your IPDM cover won’t be all scratched up and to protect the wires from sharp edges on the battery terminals.

Remove the IPDM, reach behind the IPDM and squeeze the two tabs toward the front of the car and lift it from the bracket.

14IMG_1270_zps5d6ef989.jpg

Remove the IPDM cover, use a small flat head screwdriver and lightly pry the tabs up while you pull the cover away from it.

16IMG_1253_zps08caa0f3.jpg

Remove the IPDM from it backing bracket, carefully work the wire bundle out of the guide tabs at the bottom of the backing bracket. Spread the two tabs on top of the backing bracket and then pull up to take the IPDM internal off the backing bracket.

18IMG_1258_zpsd46ba3dc.jpg

Loading